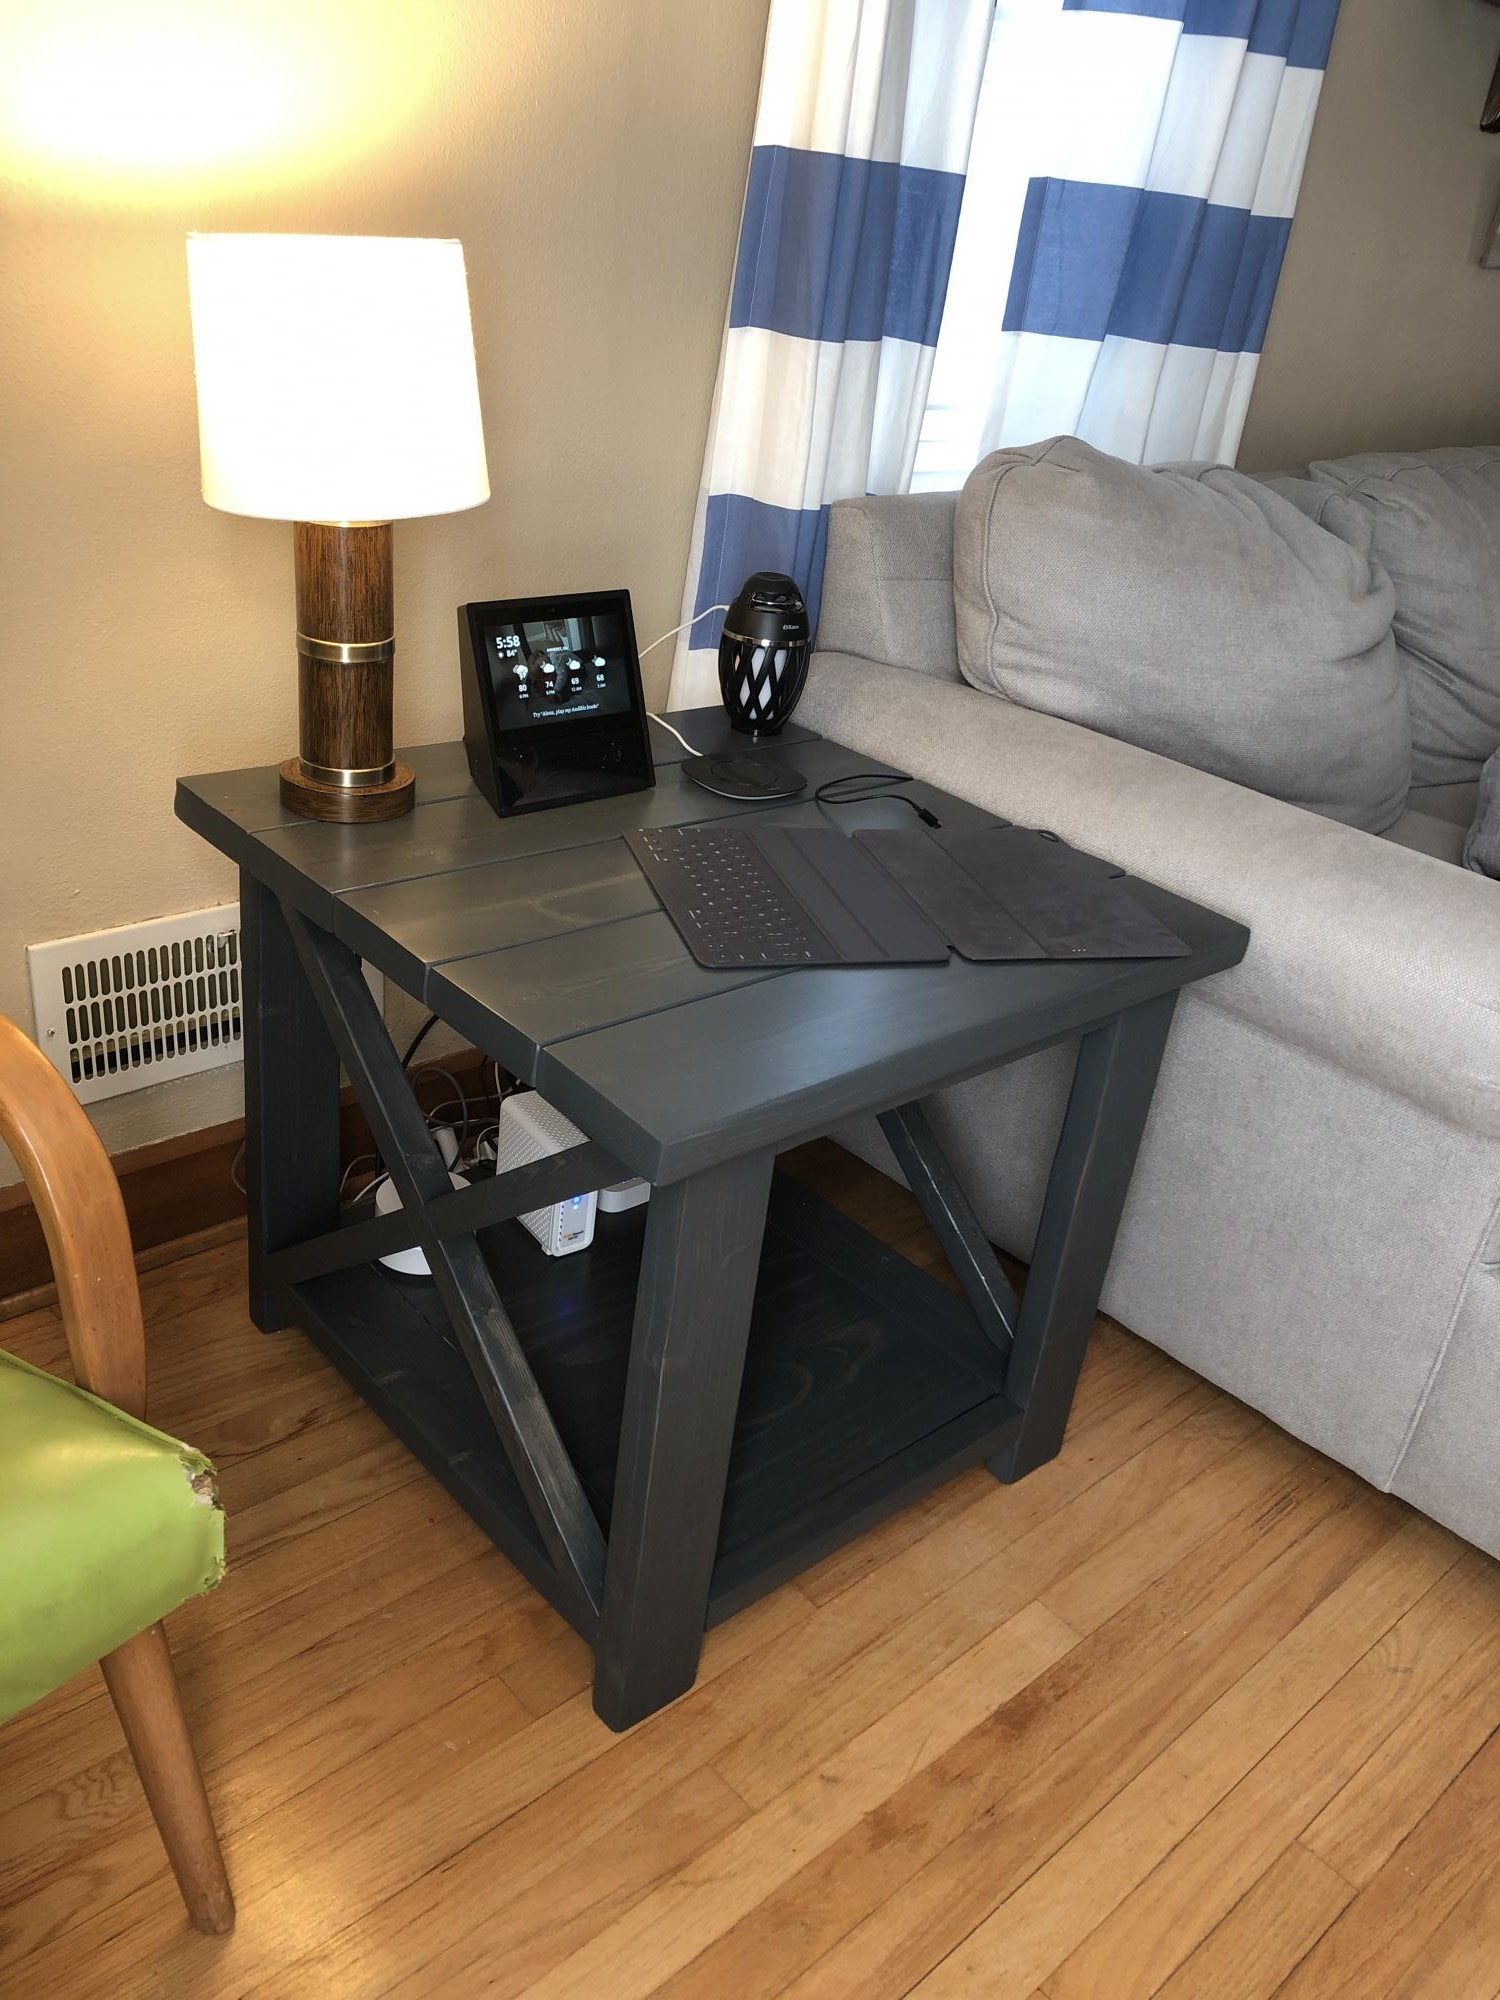
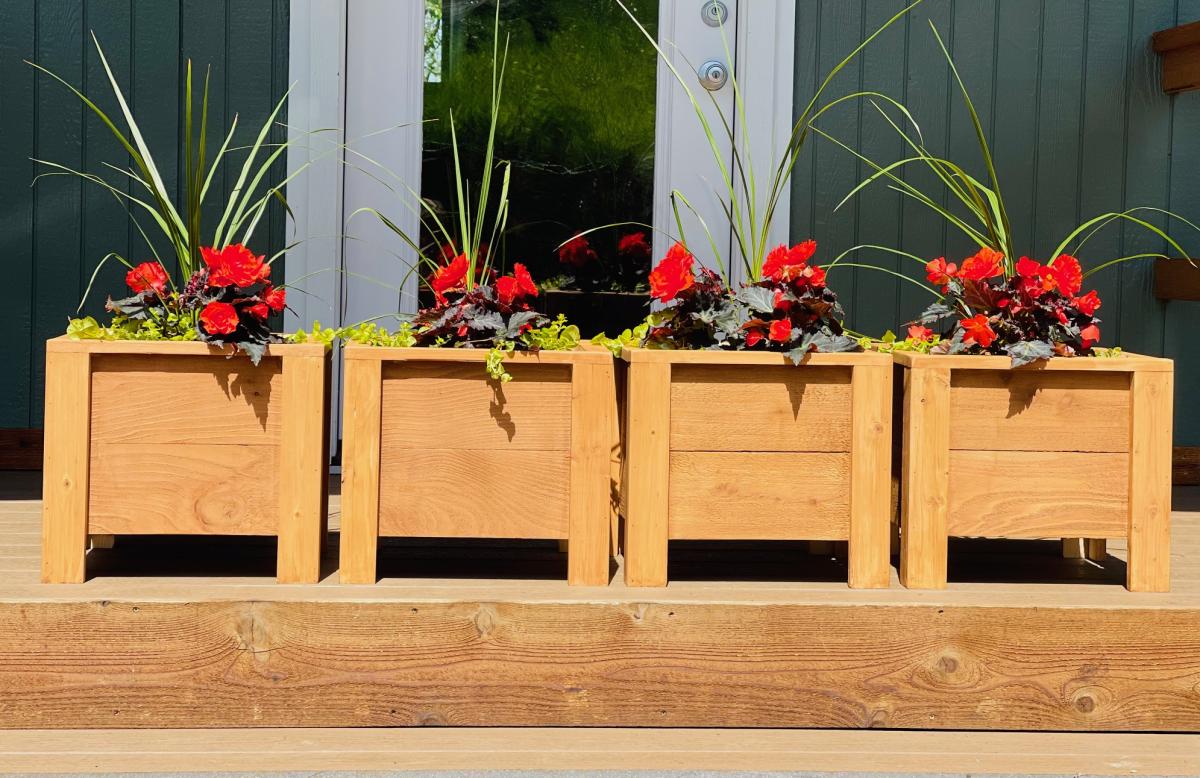
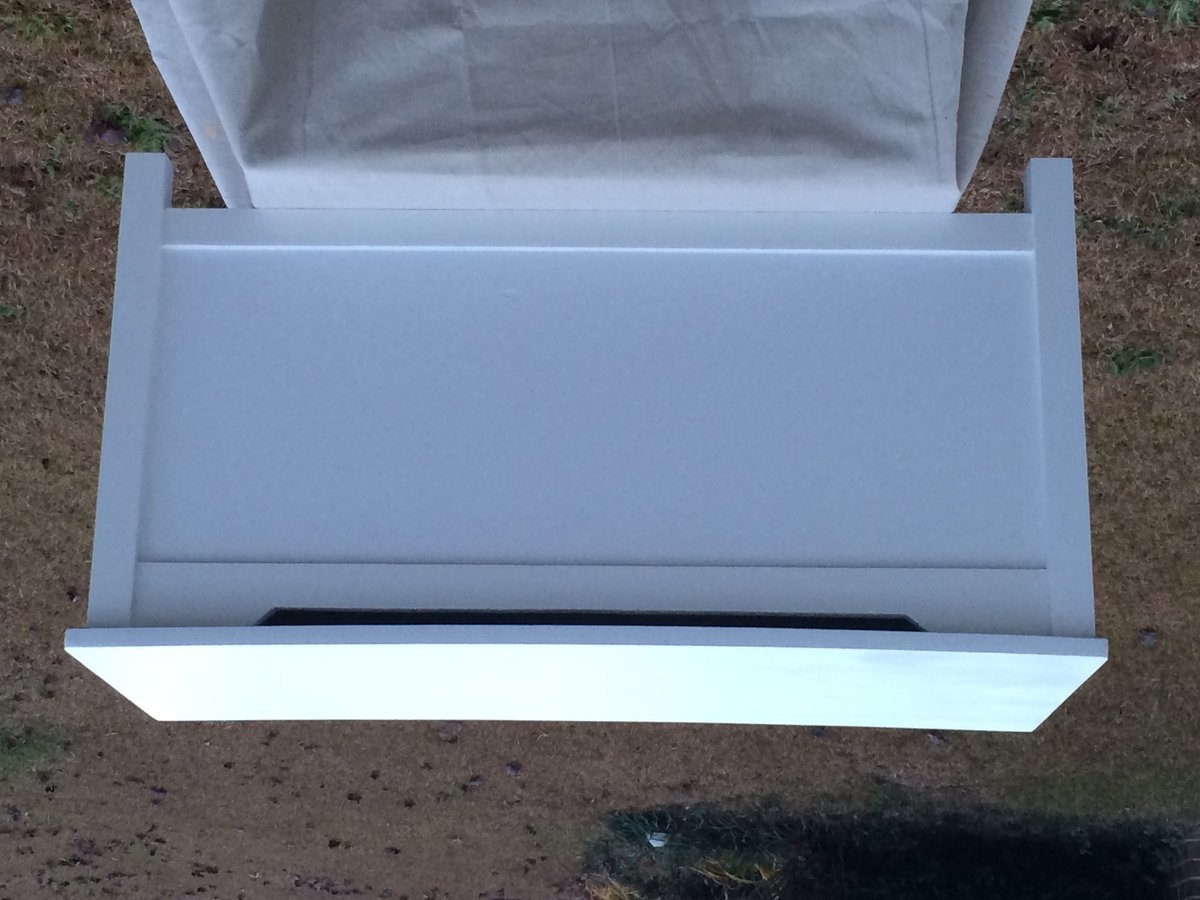
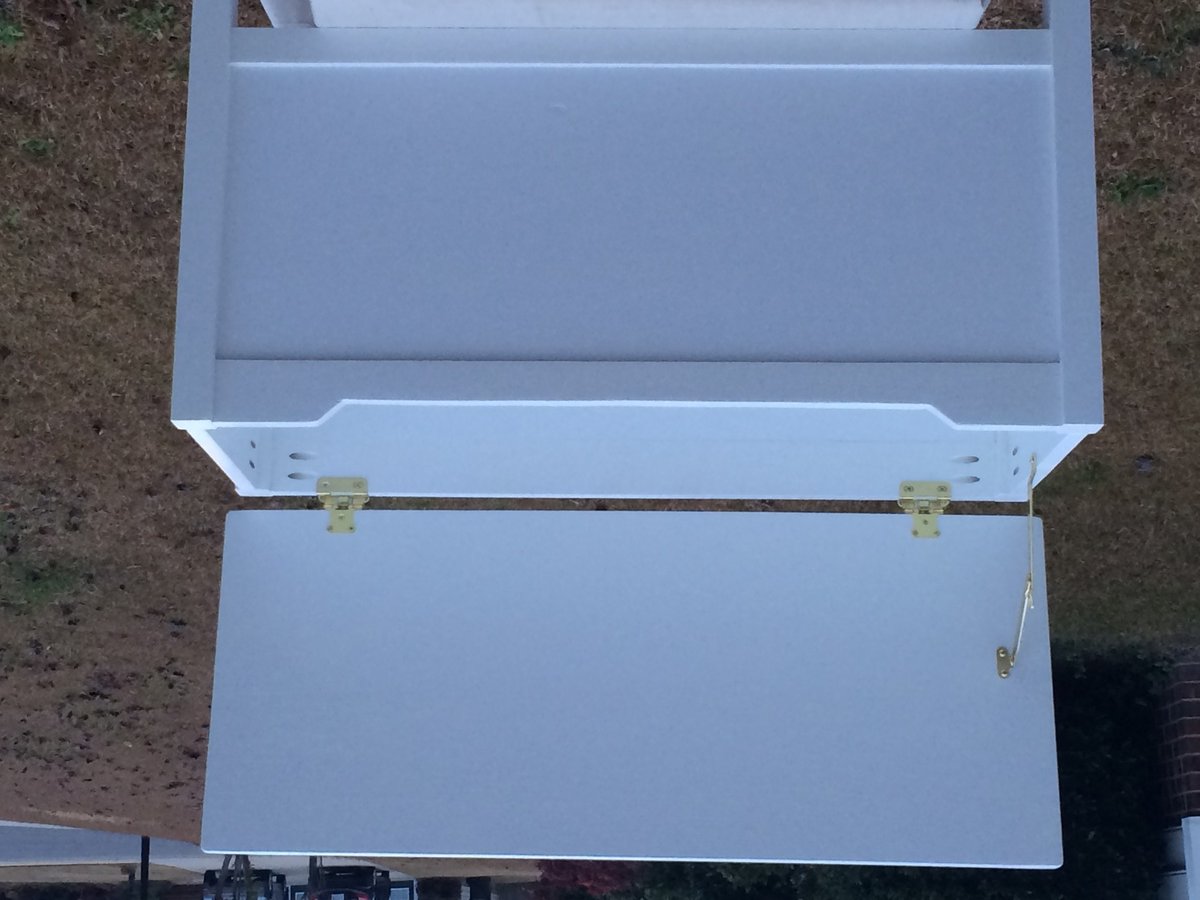
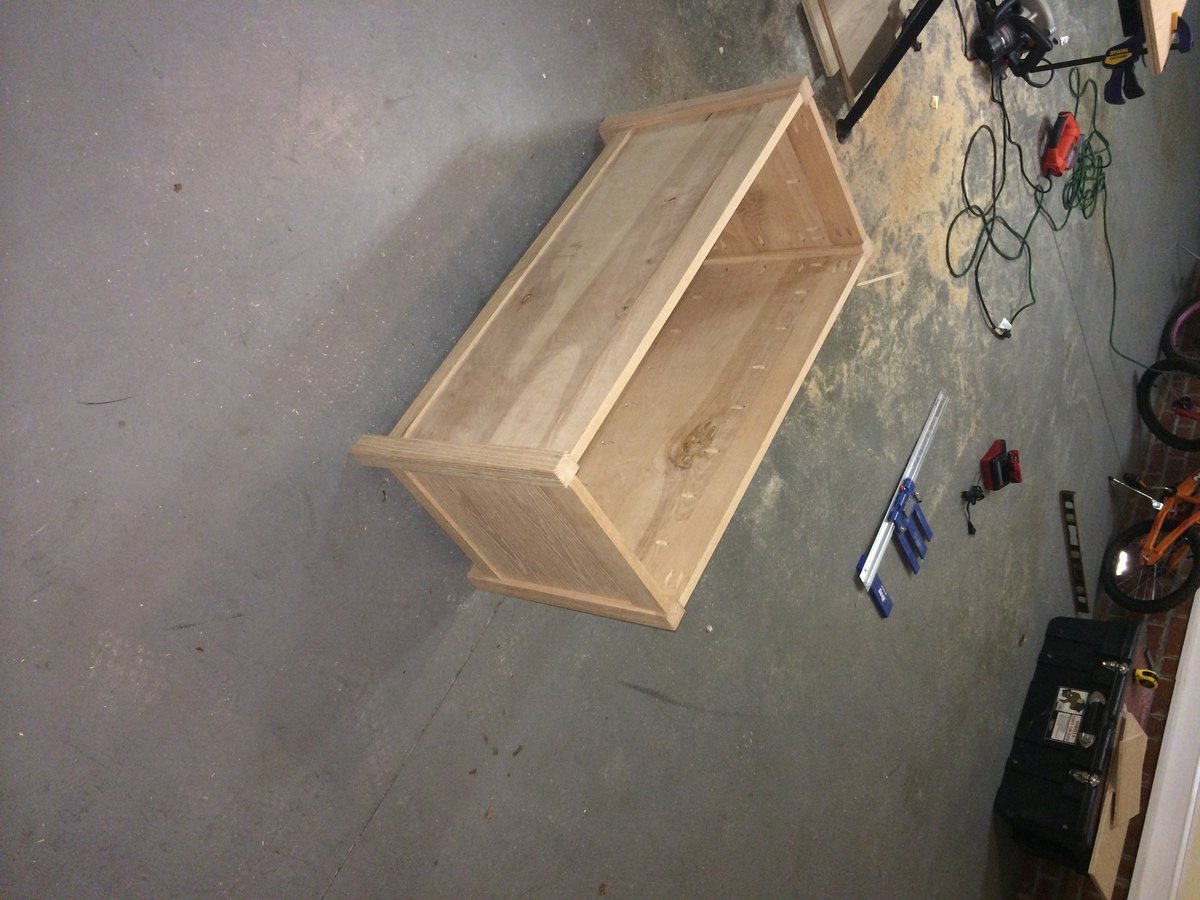
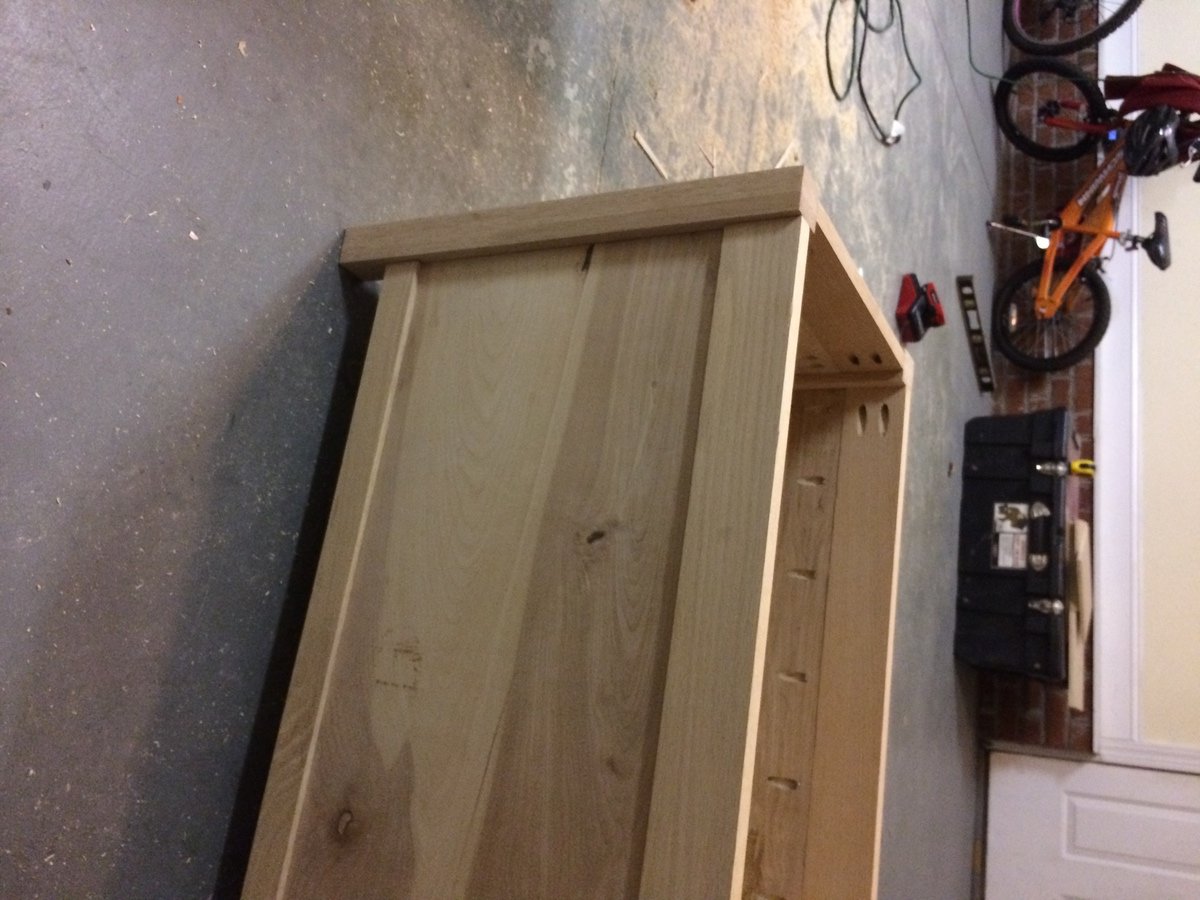
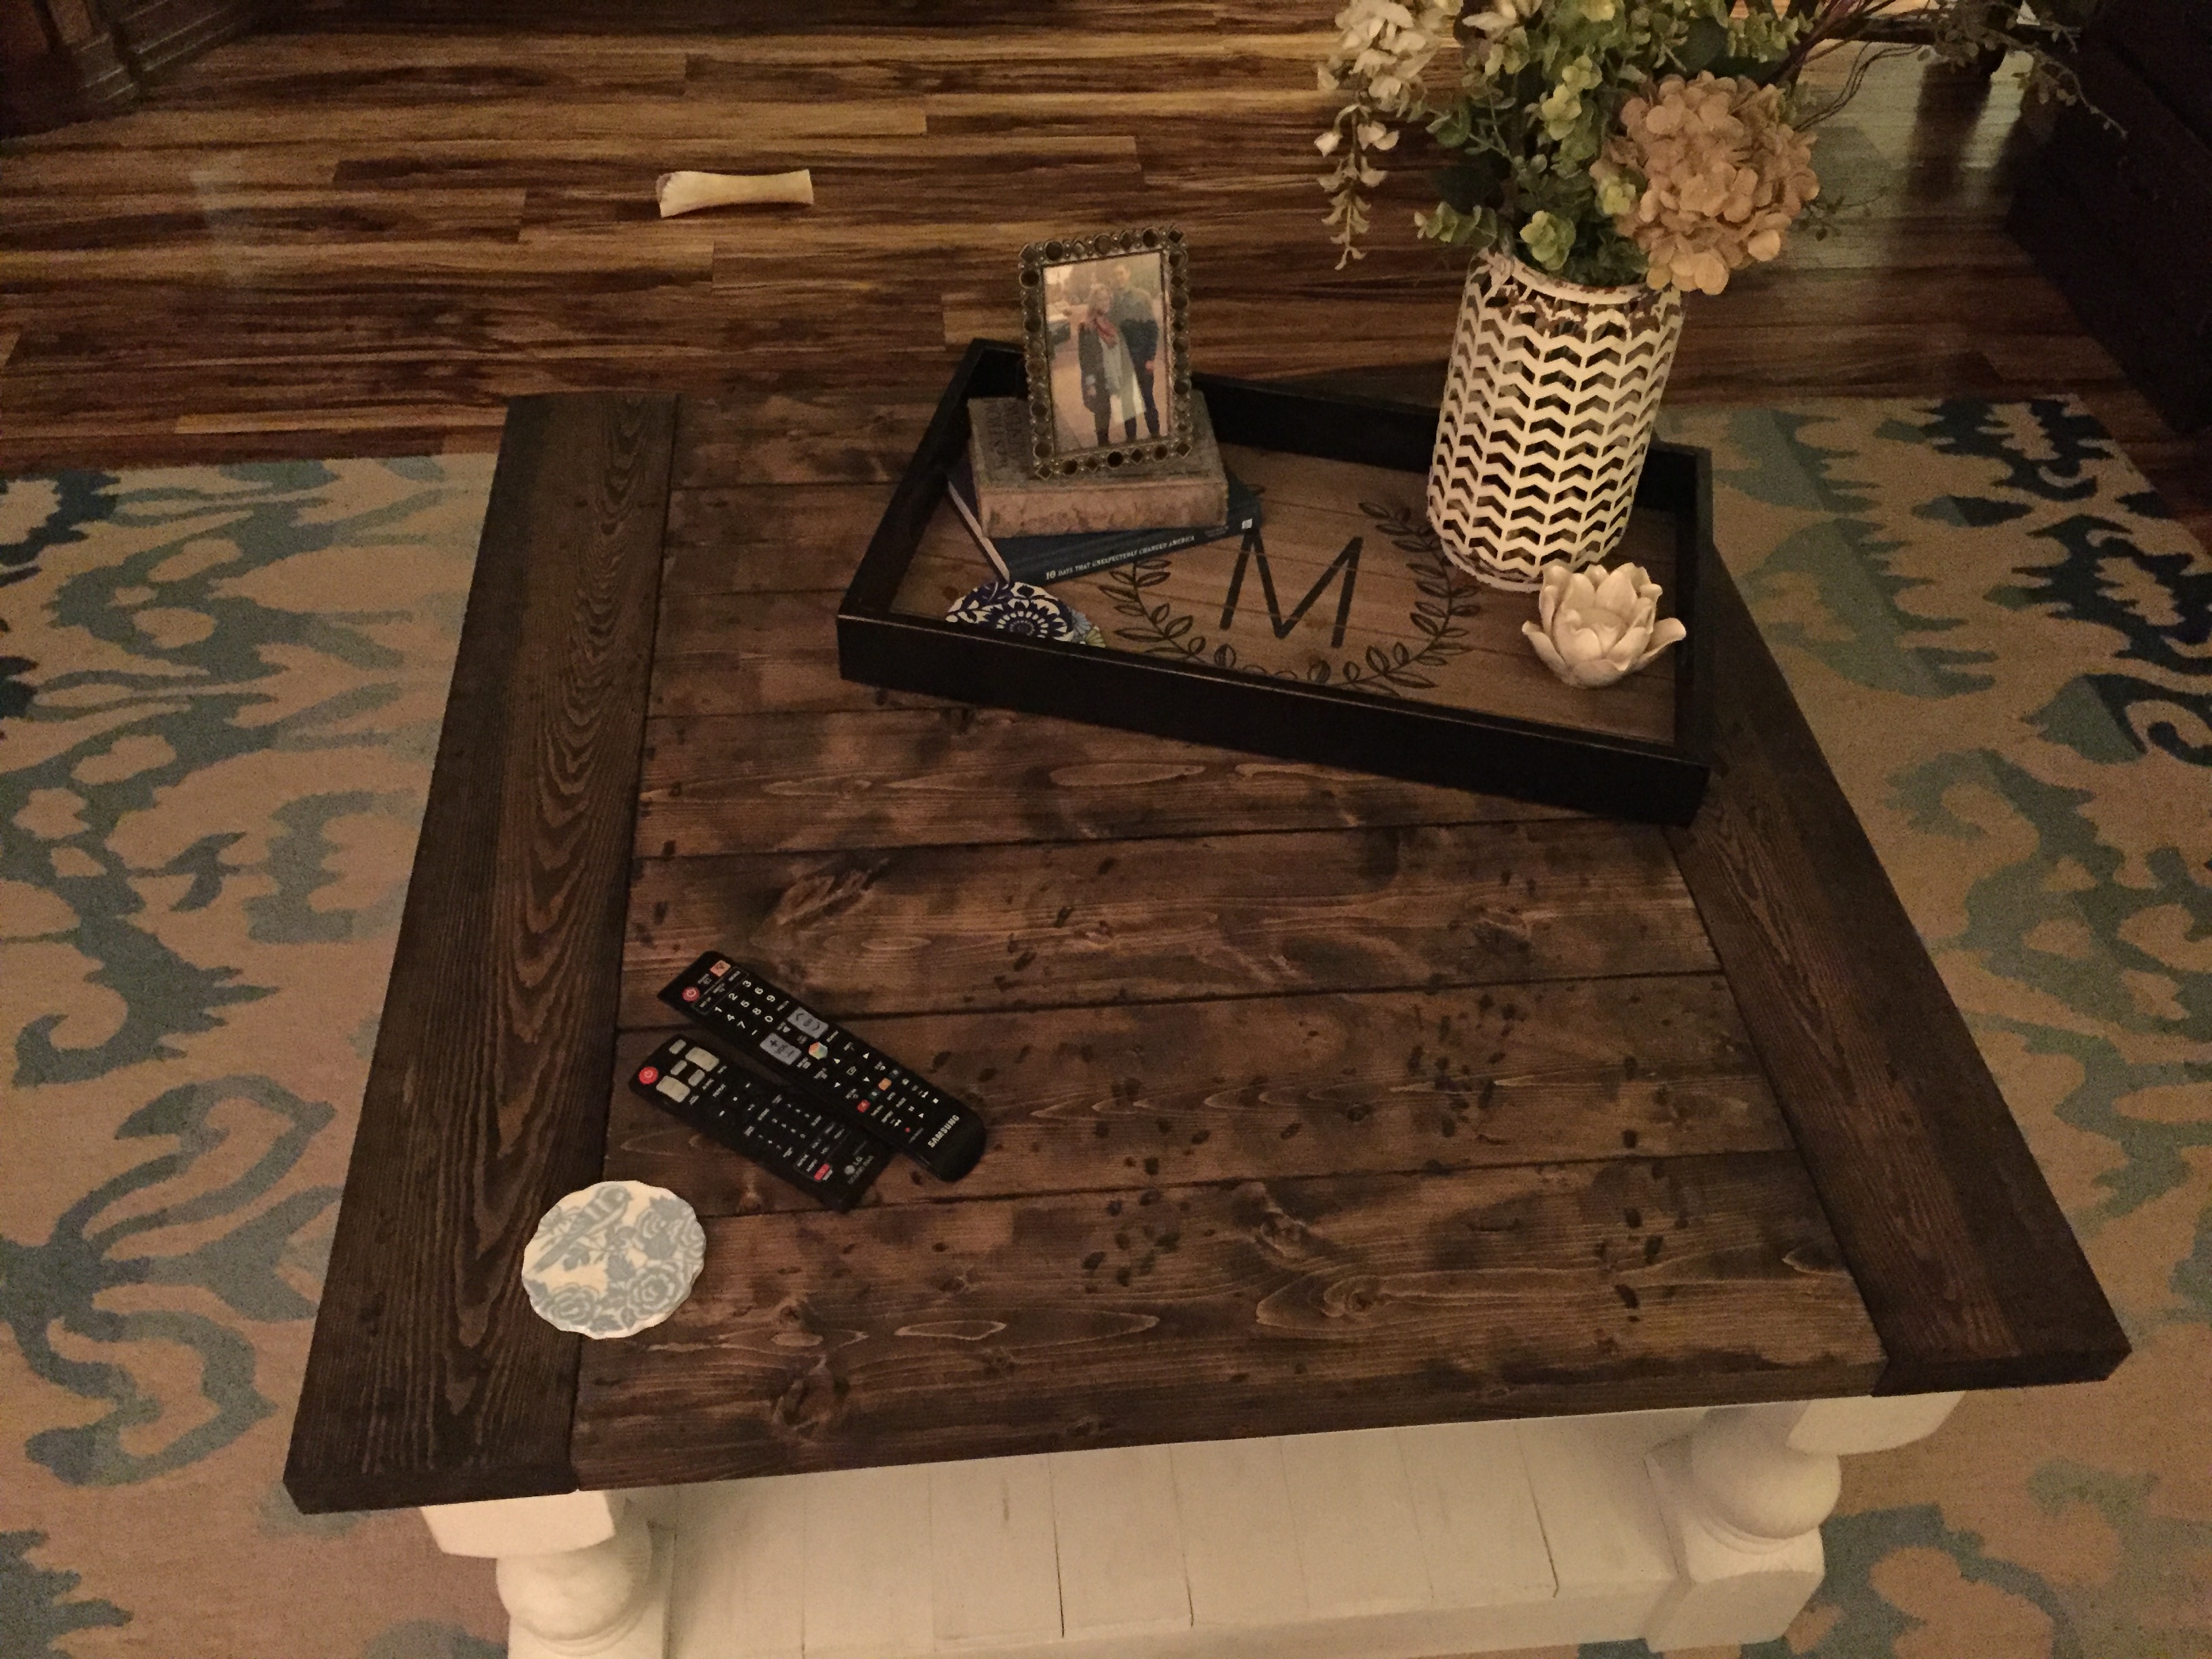
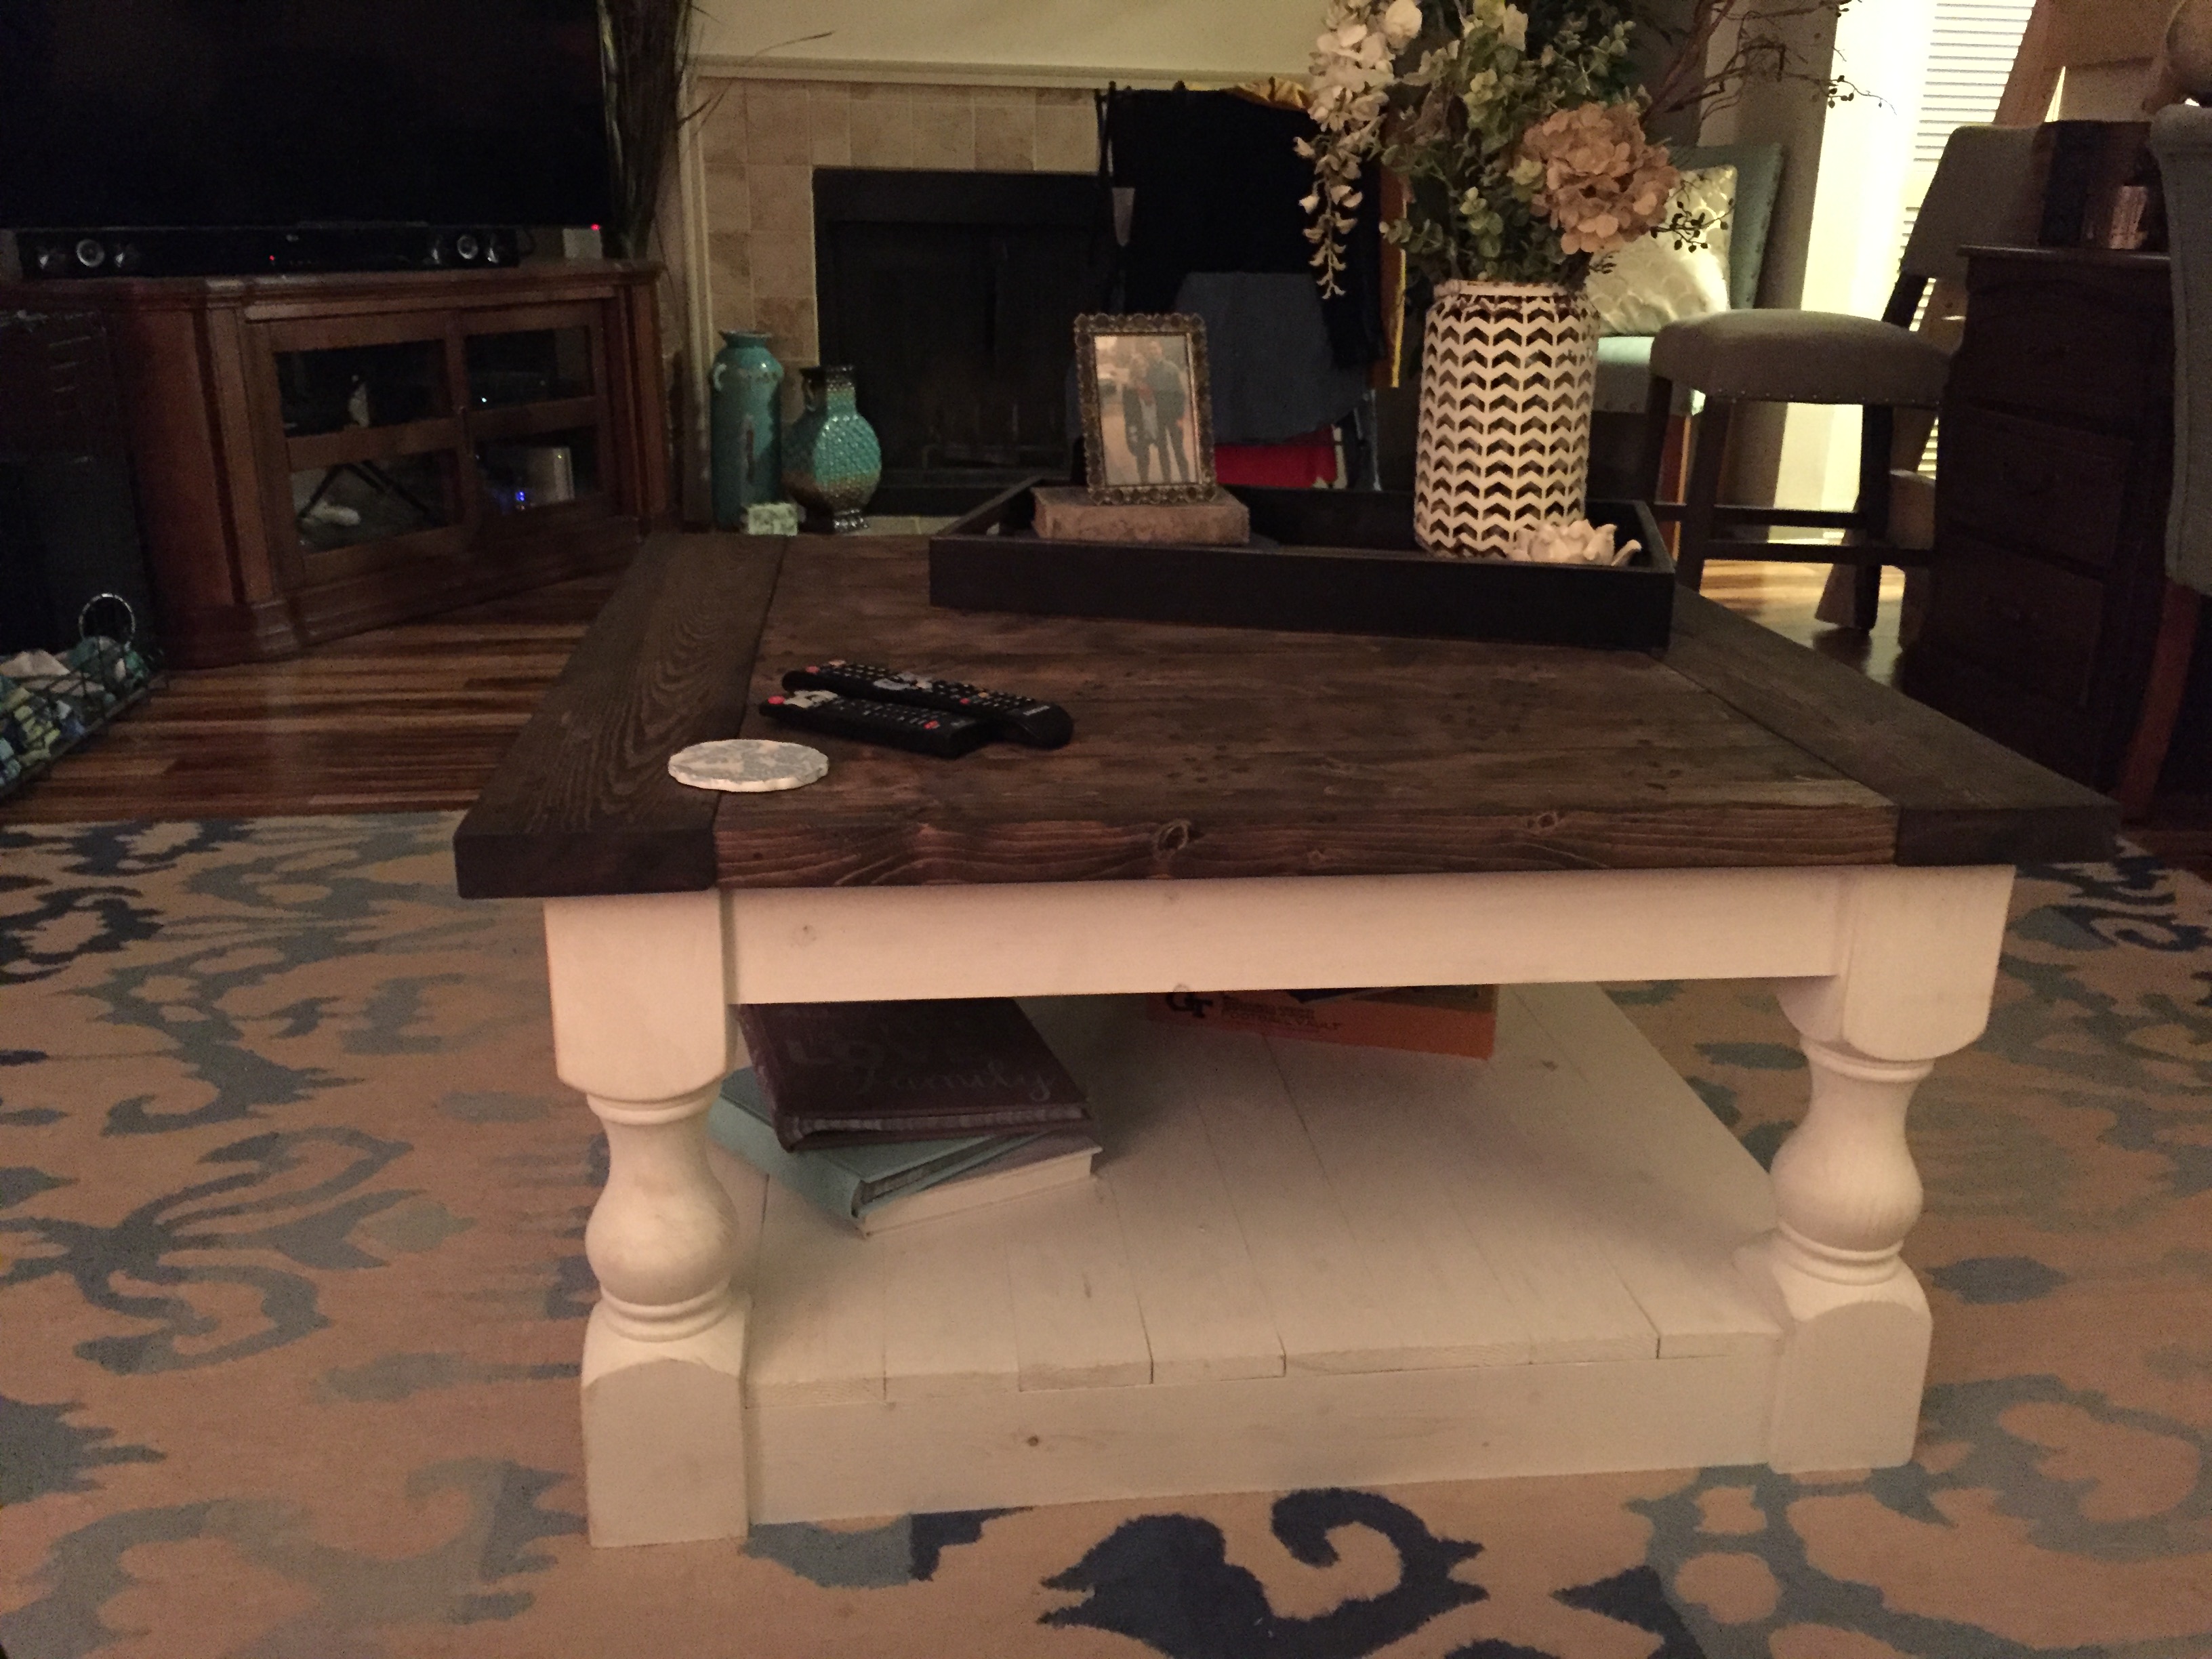
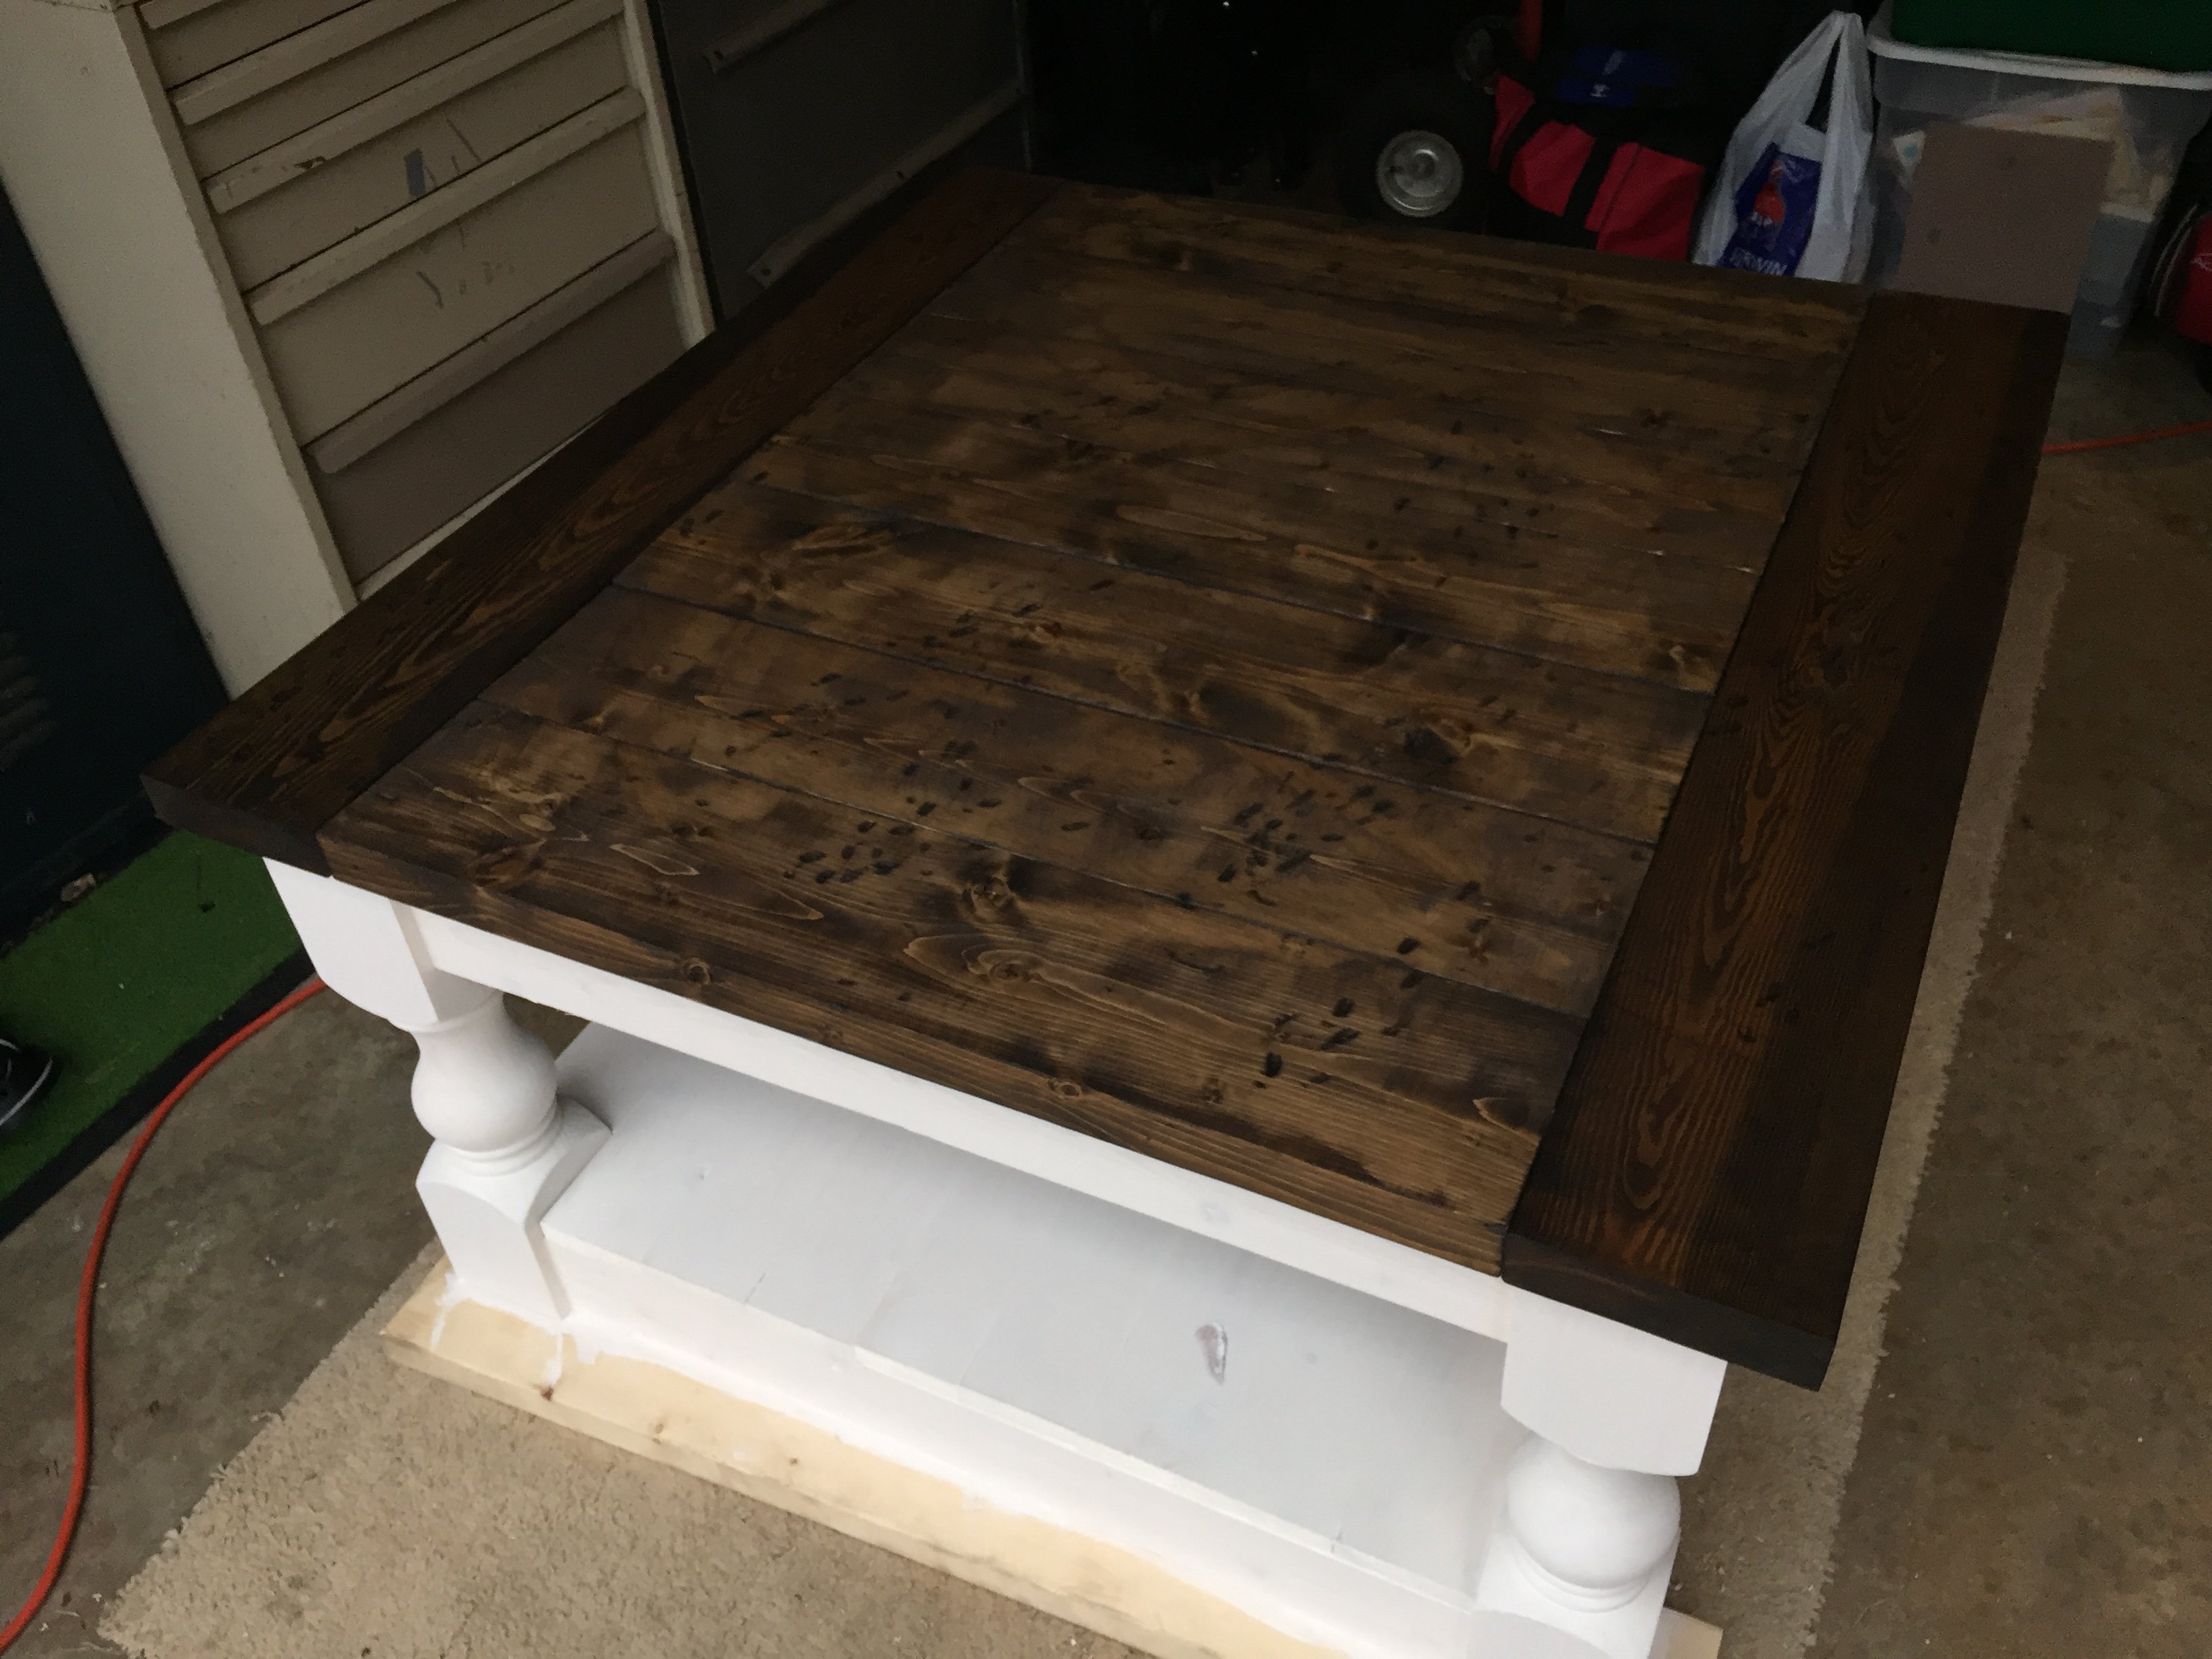
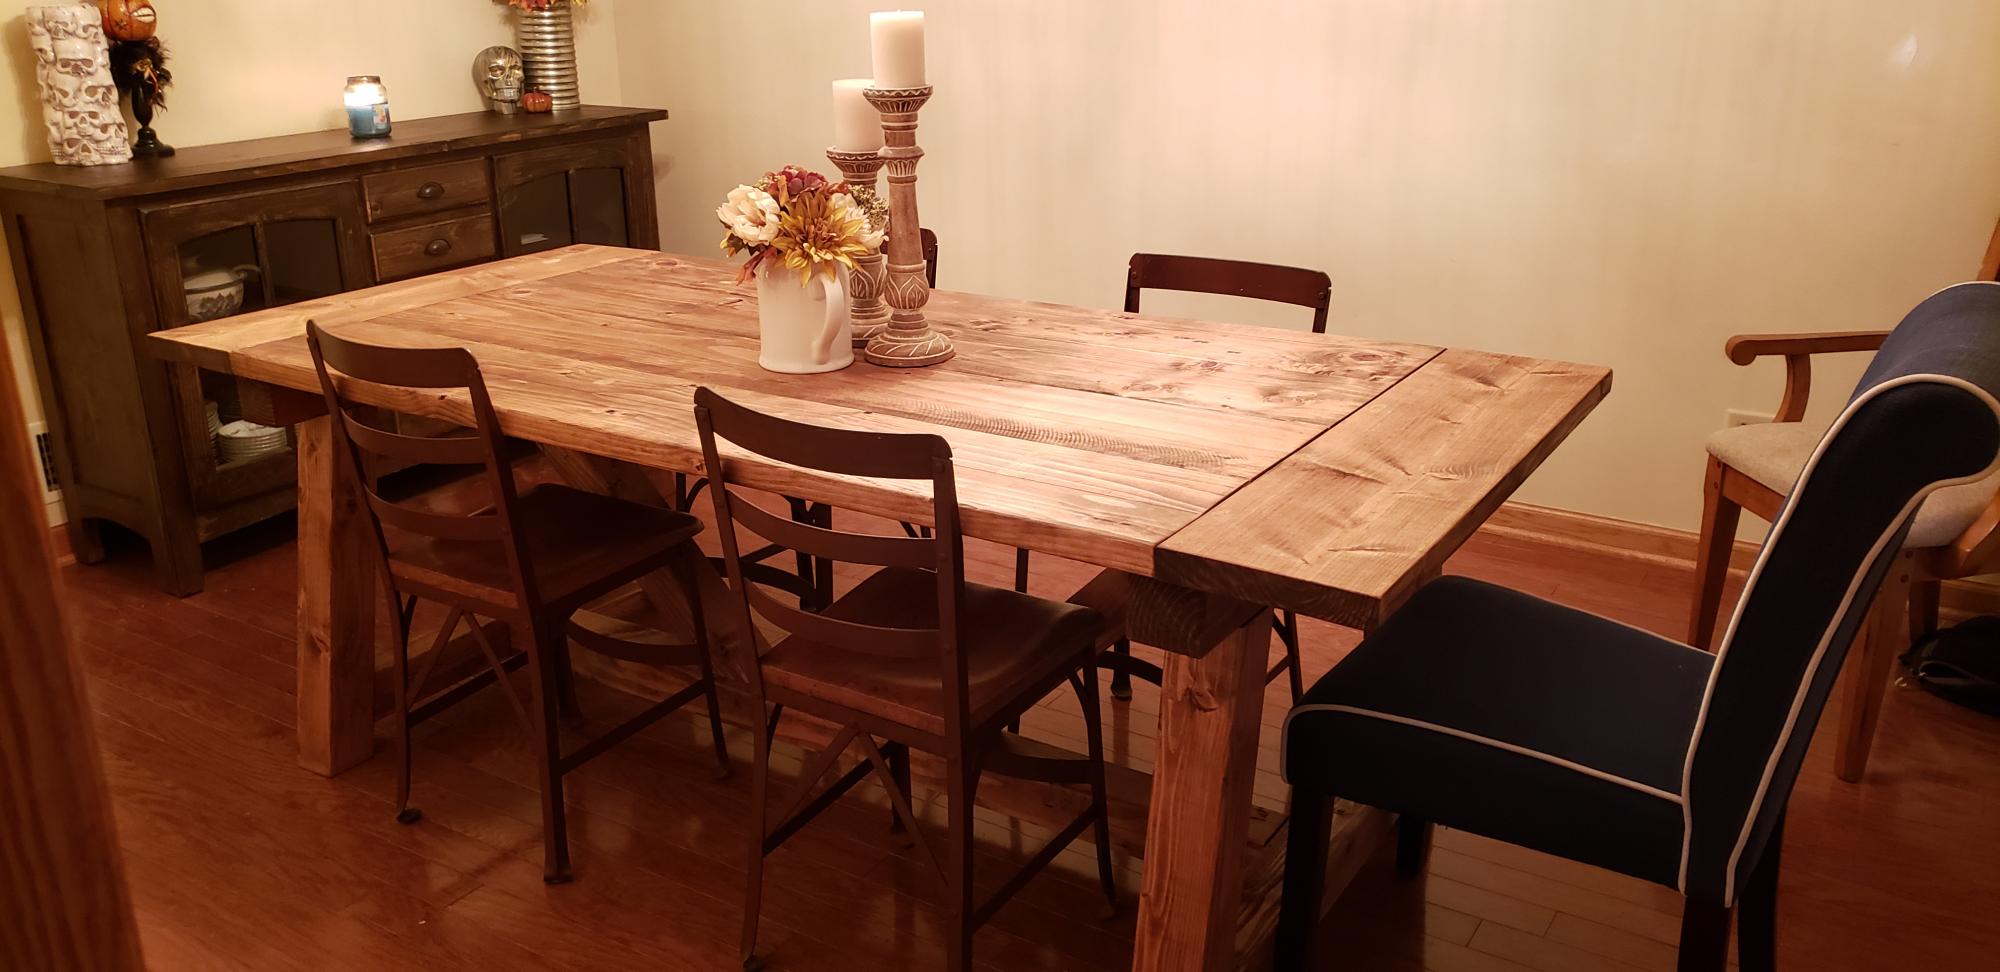
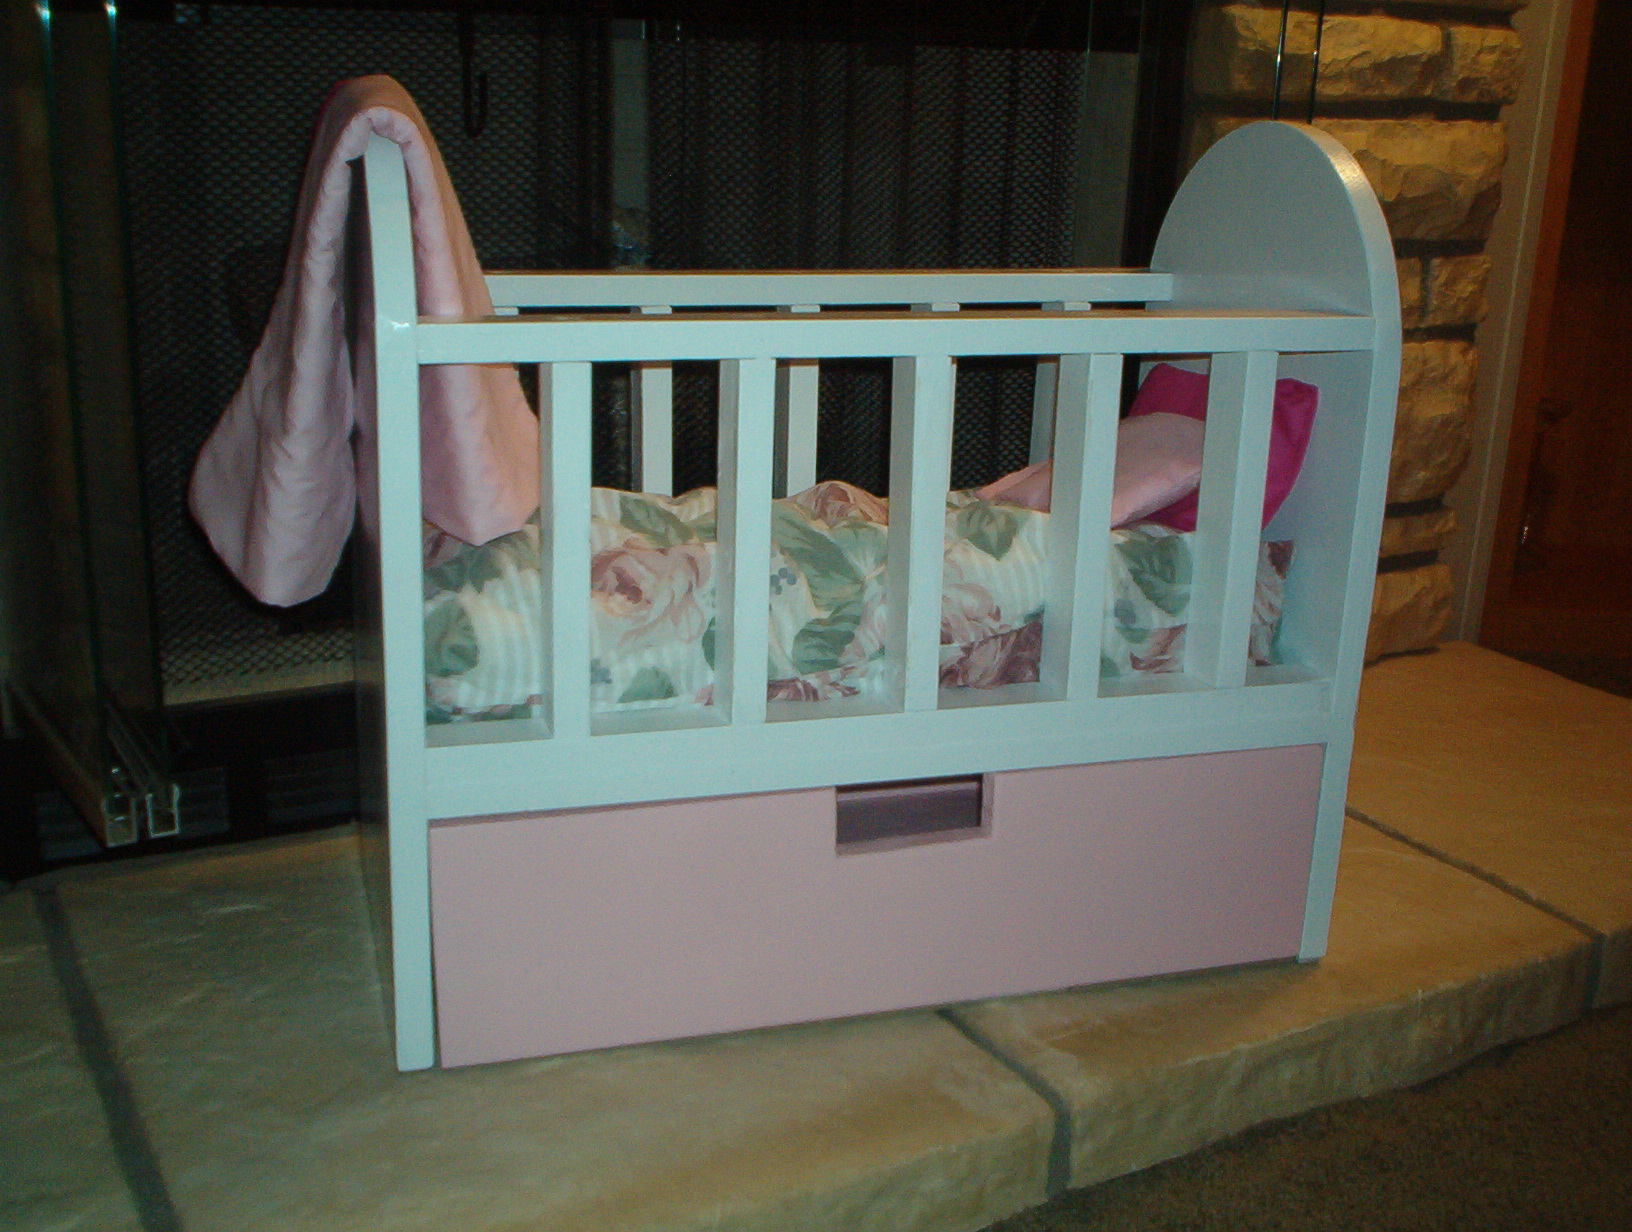
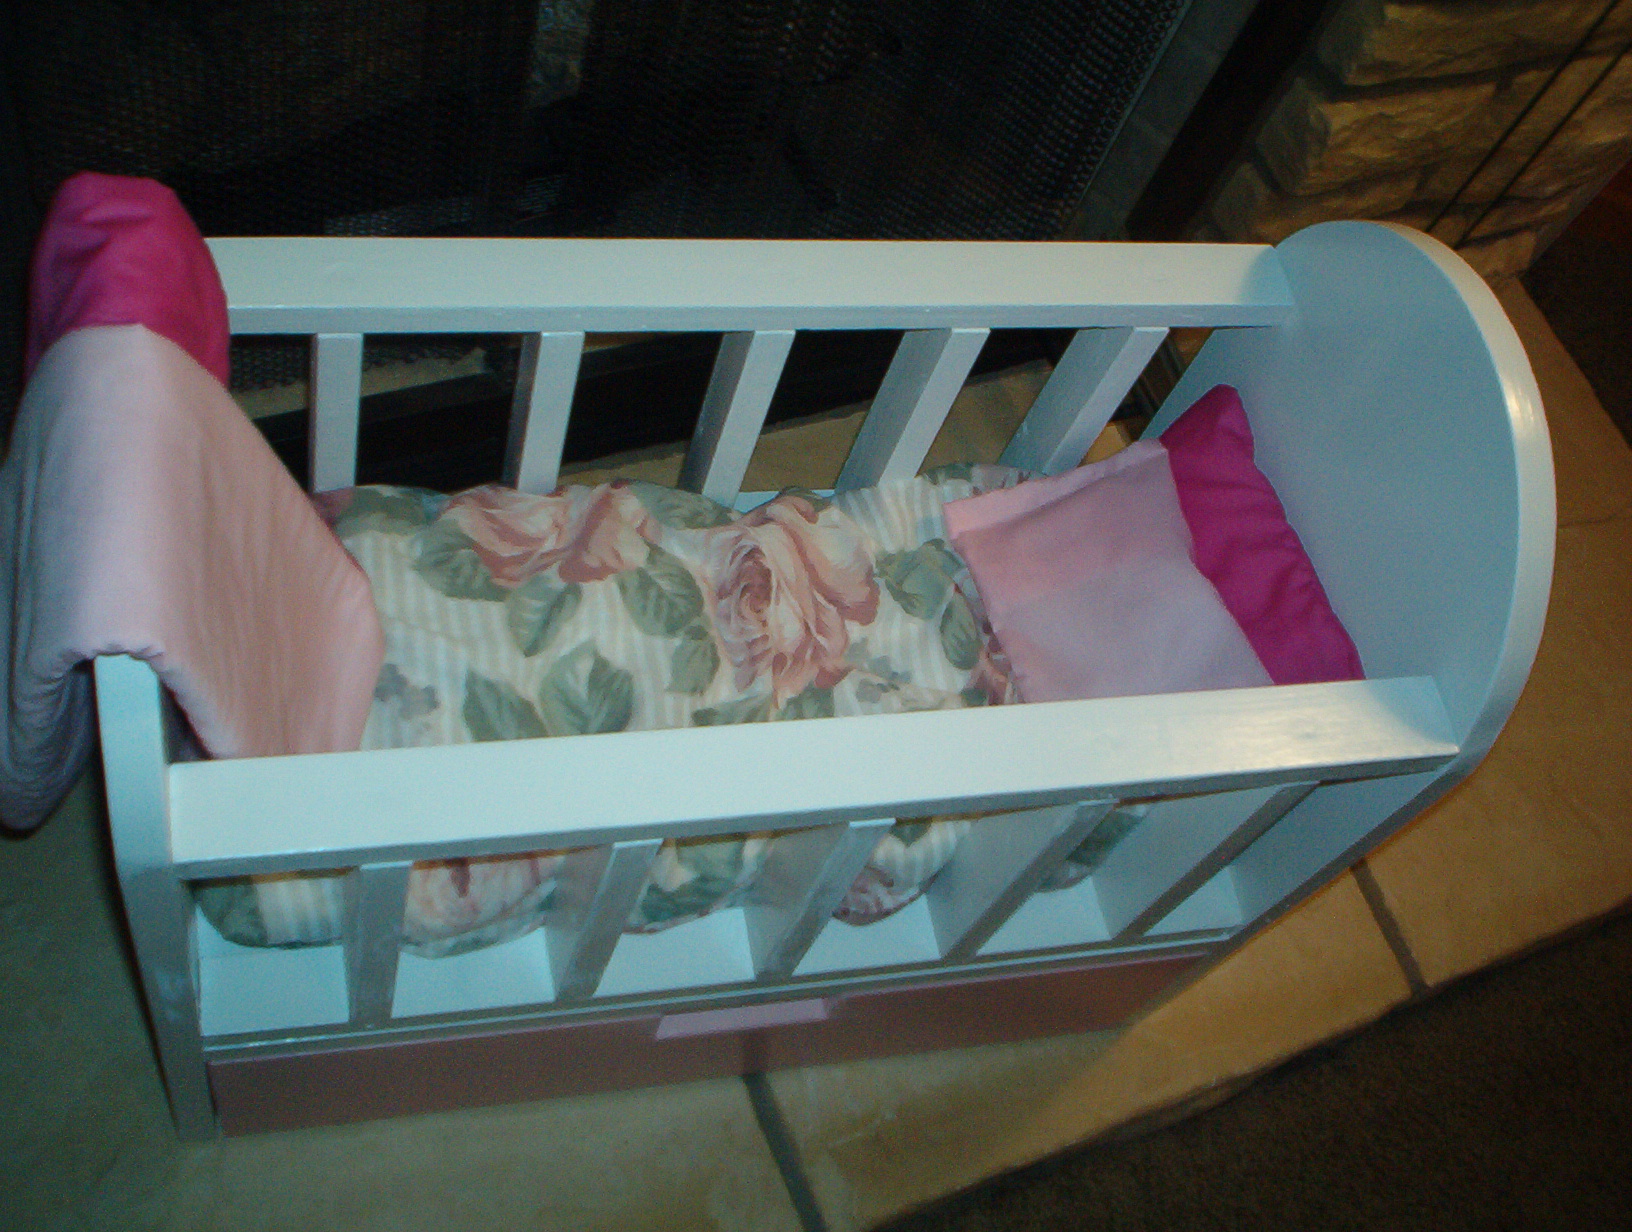
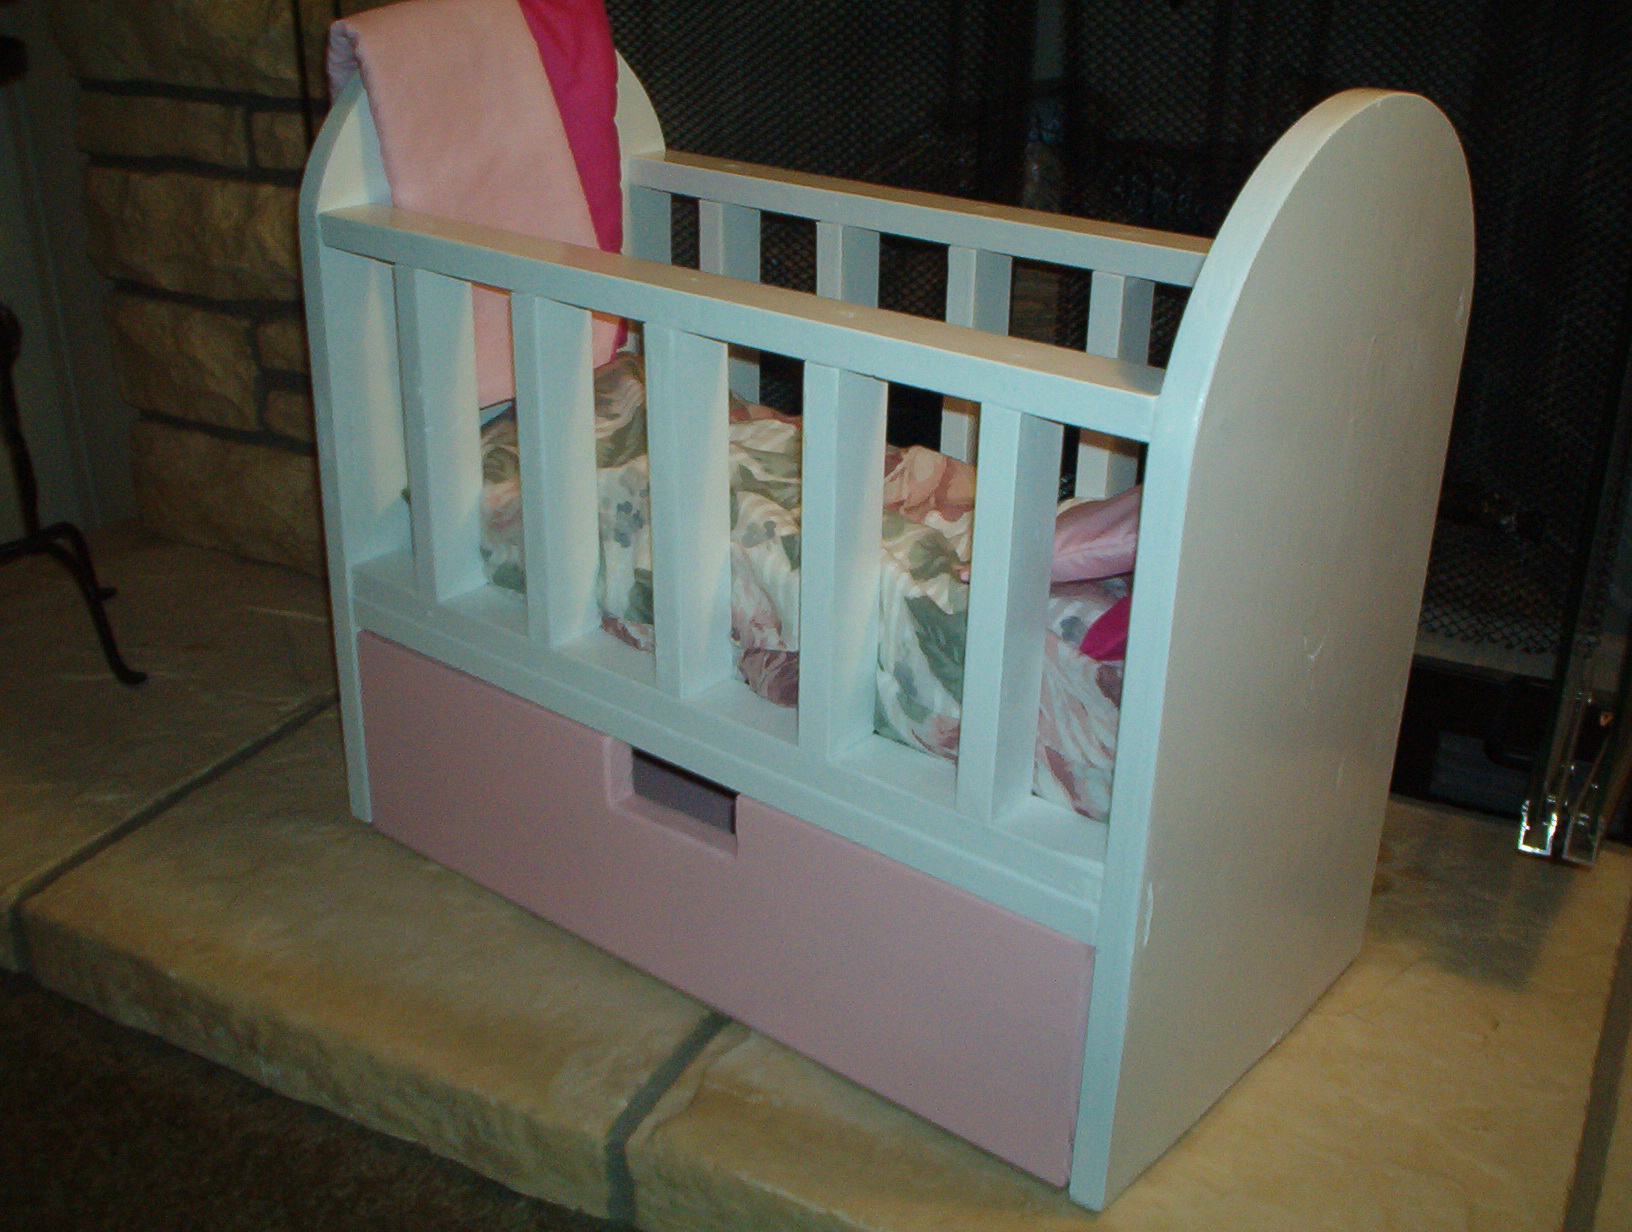
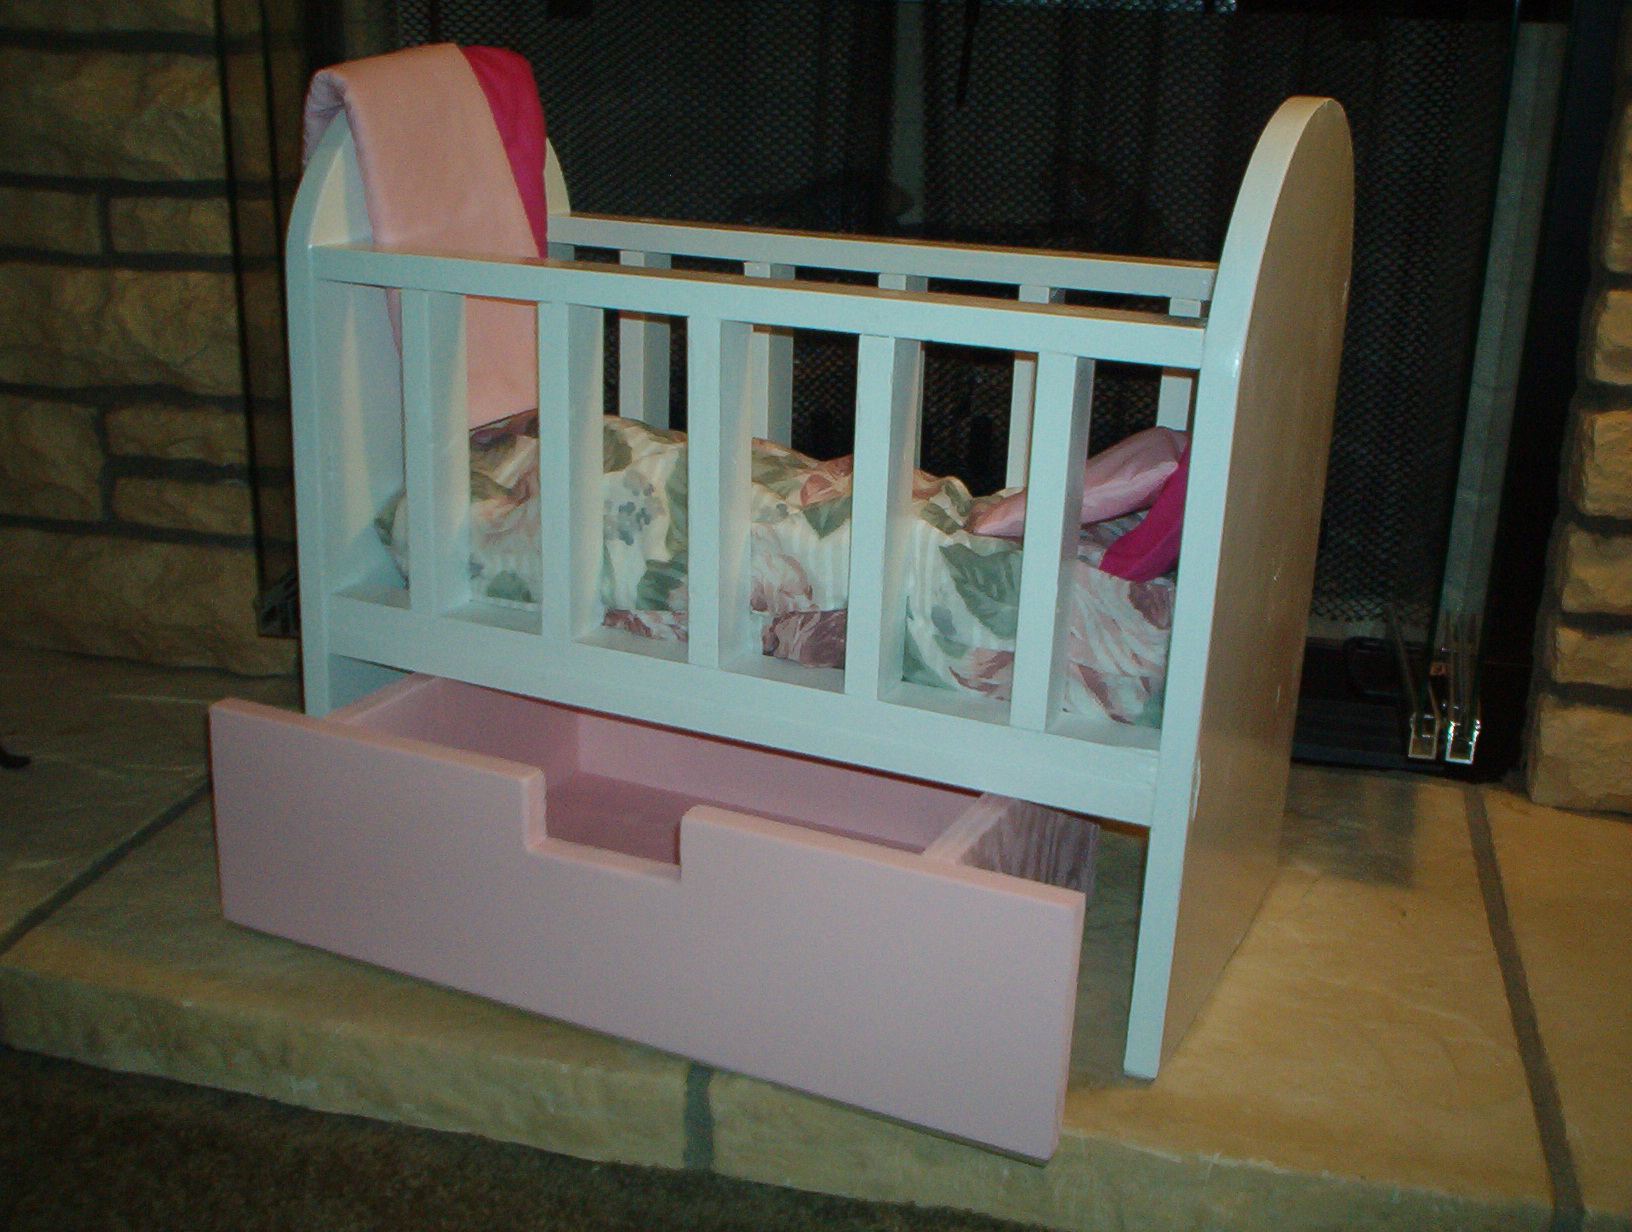
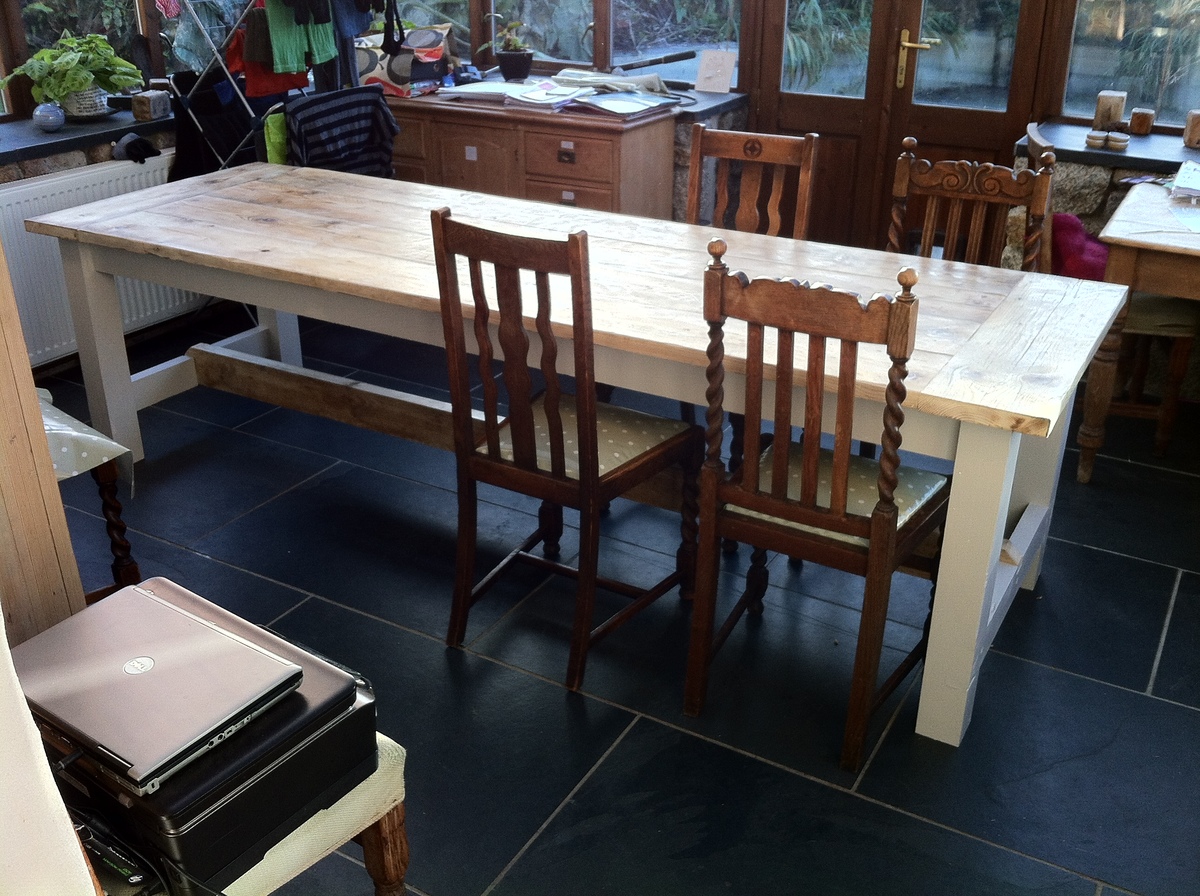
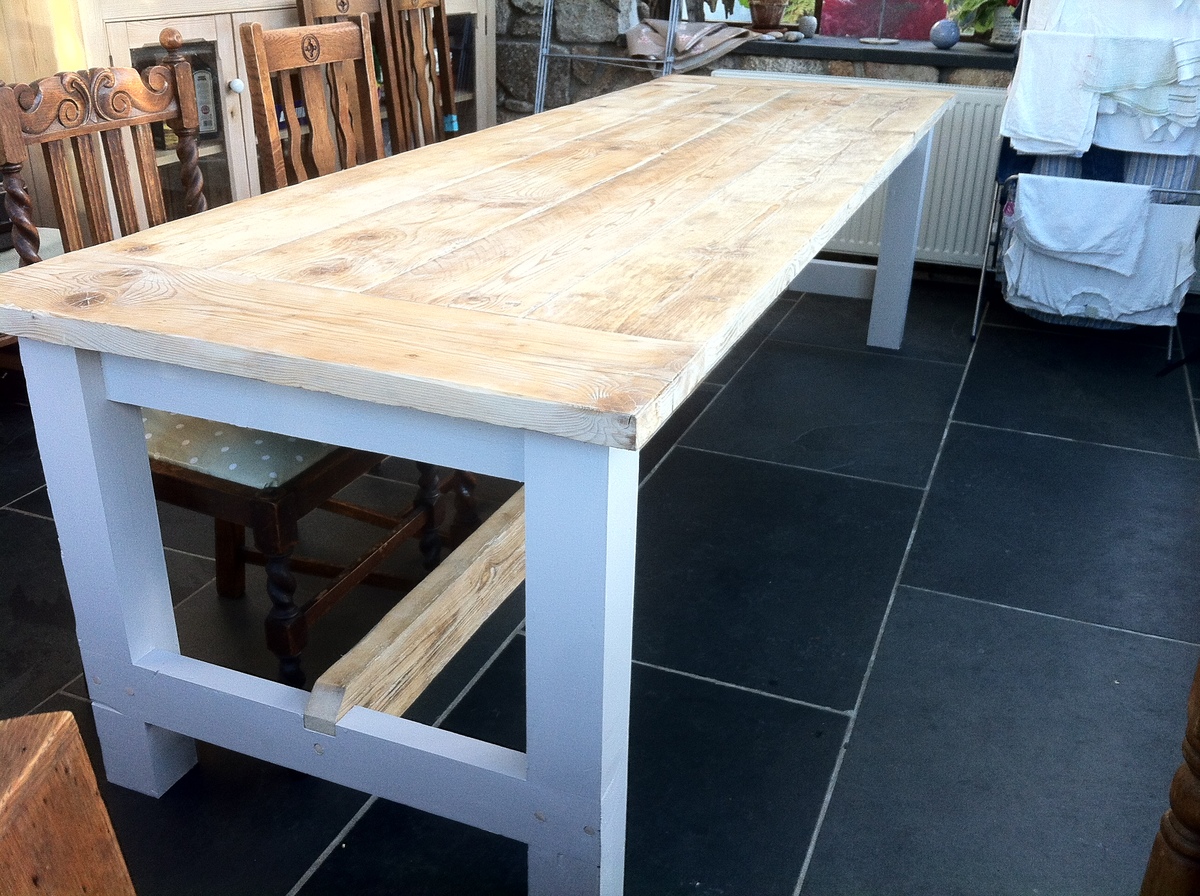
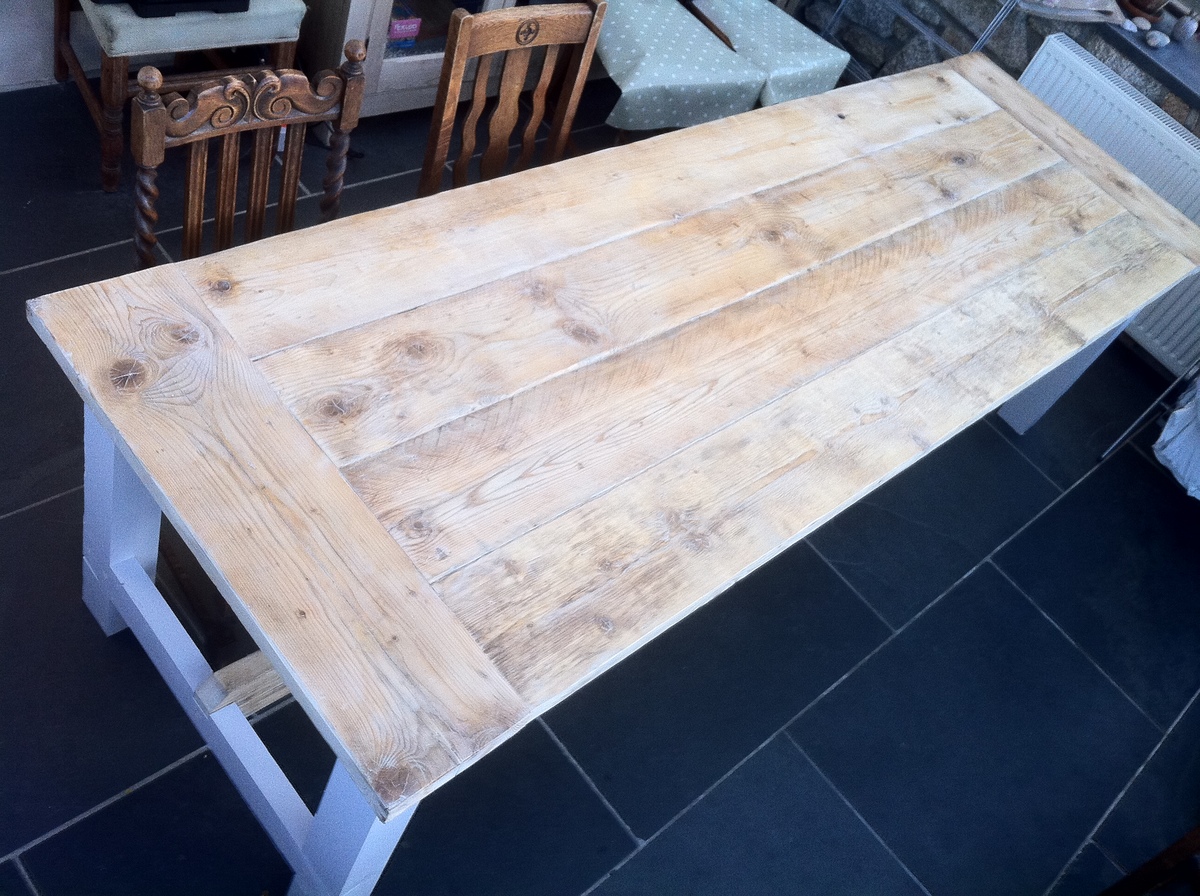
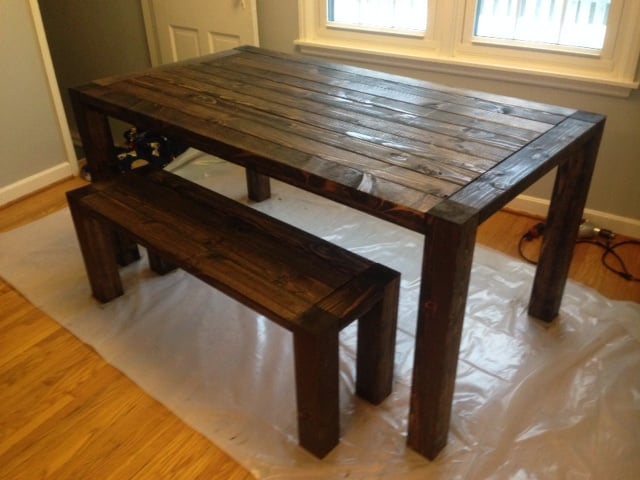
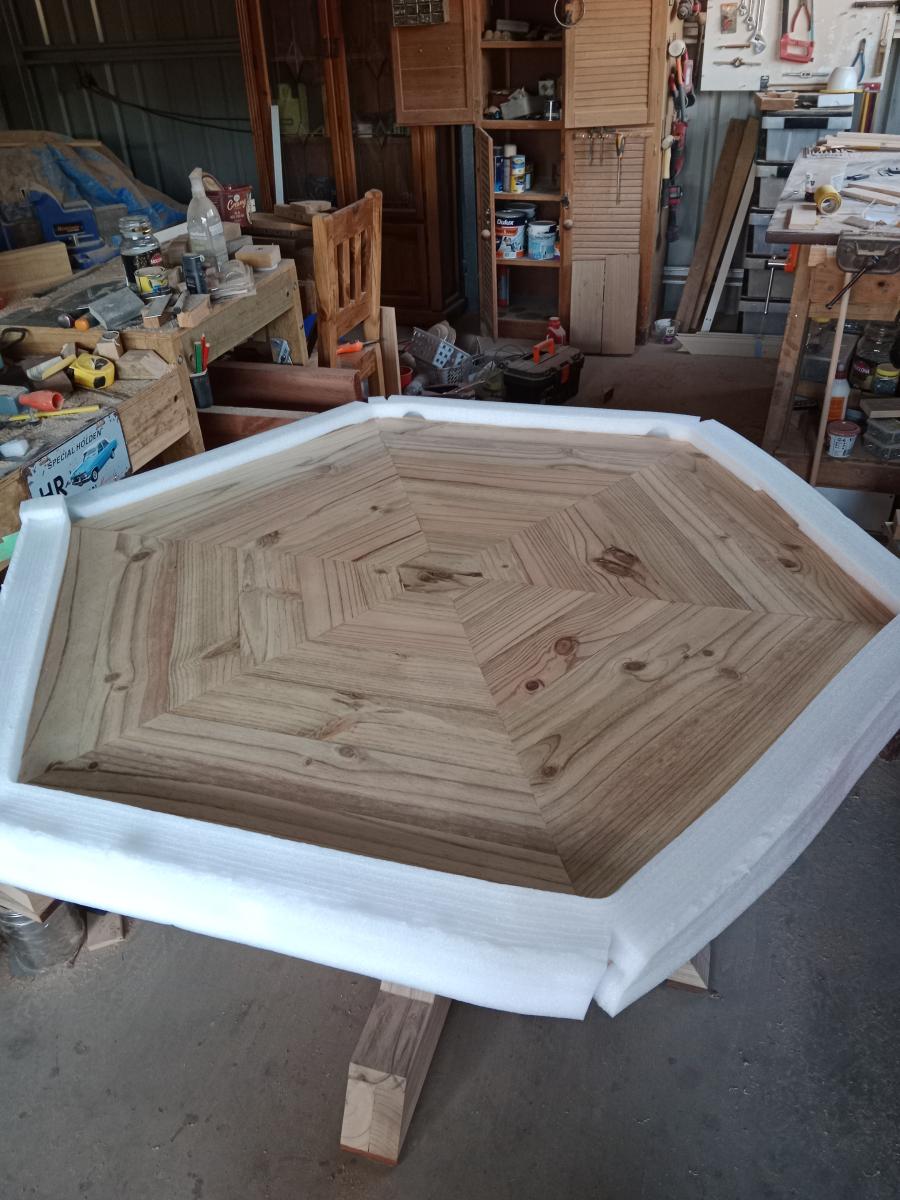
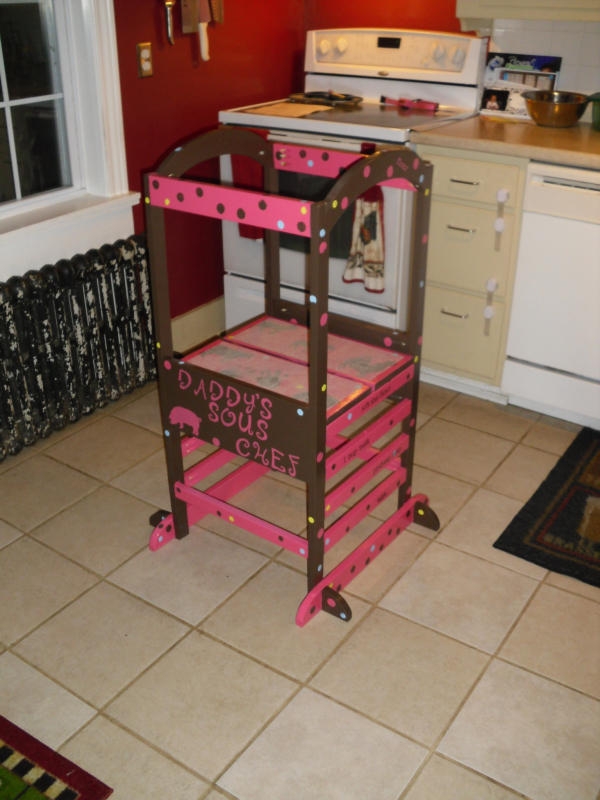
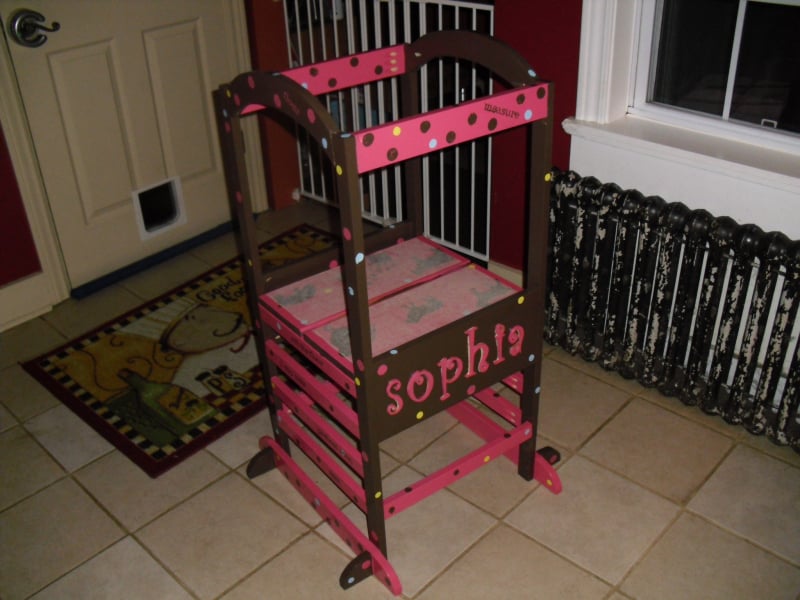
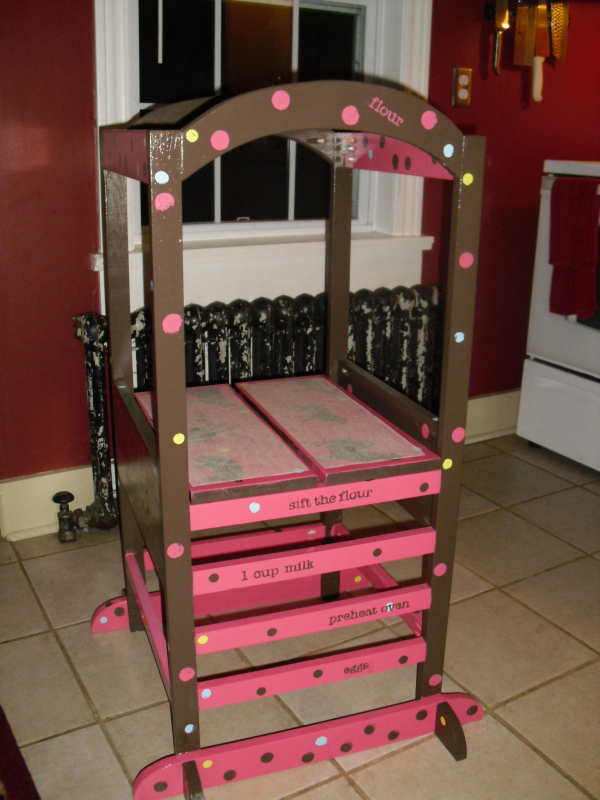
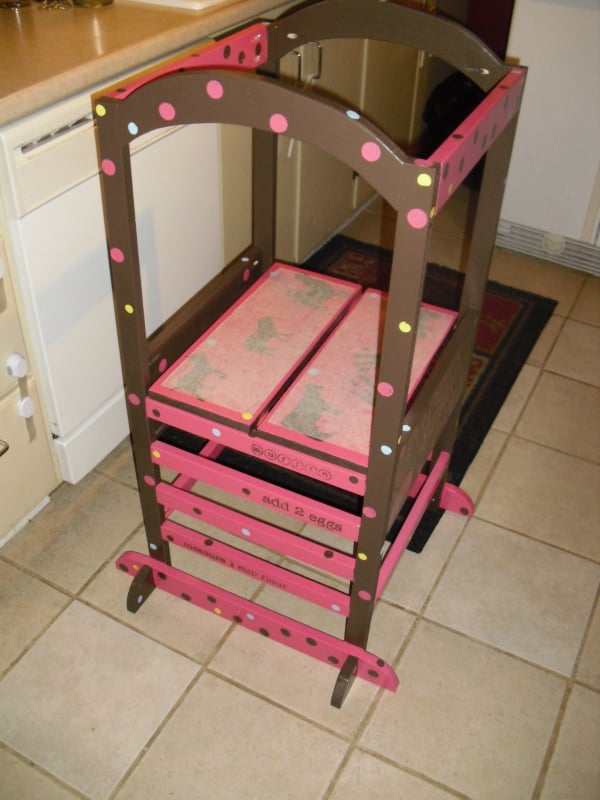
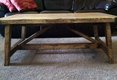
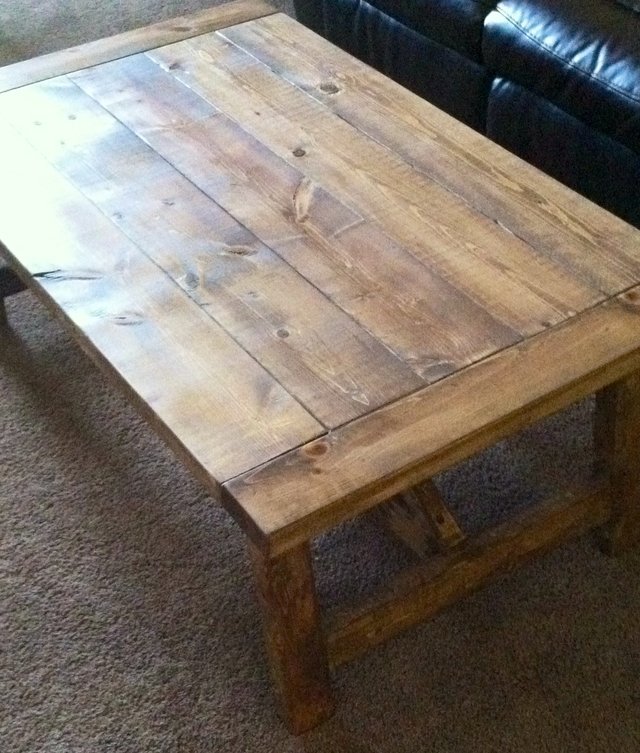
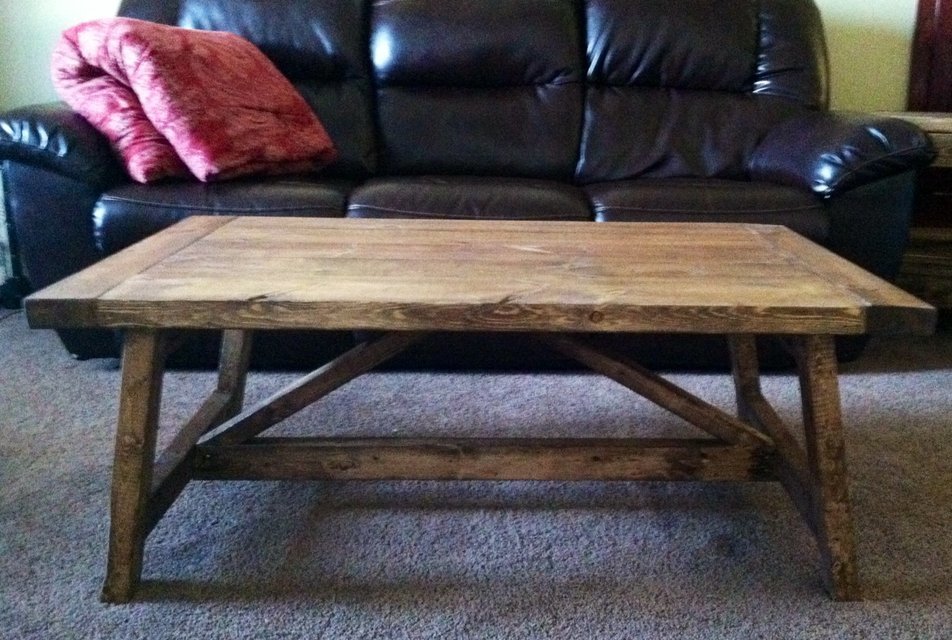
Trestle Outdoor Table
Love large family gatherings in the summer and this table was just perfect for that purpose.
OK, I think this build may be my biggest project yet! It is definitely the heaviest. With the strong winds we can get here in Florida we needed substantial outdoor furniture.
I did make some modifications along the way measurement-wise so the sofa would fit my front porch better. All in all, this took 2 full days. I built the sofa first, stained it the next day and then decided (due to trying to get stain in all the nooks and crannies) to stain the chair pieces first before putting it together.
I am so happy with the results and so far, almost a year later, this furniture looks great and hasn't moved an inch in any of the thunderstorms we've had! Thank you Ana!!
I gave my son's girlfriend a "gift certificate" for her birthday that said I would build her anything she'd like. There is a small patio outside my son's apartment that faces a lake. She decided to ask for some chairs so they could sit out on a warm night and watch the ducks swim by.
Though I've built a lot of kids' furniture now, I think this is my son's favorite item. He requests it constantly. I built two more for friends and even a tiny play one for his toy house.
This was my first attempt with a jig saw, and my biggest advice is to be sure the trigger is pressed all the way in and to go very very slowly. Also, when you are cutting the straight edges on the side, you can clamp a guide on just like with a circular saw. That helped a lot. By the time I made my second and third it was easy.
Rekourt dining room table with bench
Extremely easy with Ana's plans. Under $100.
Wed, 11/06/2019 - 10:52
Wow this turned out really great! I love the carpeted stairs, what a great idea!
Built this for my wife for our anniversary. Plans for the table was easy to follow. Used poplar for the table top. I copied the chairs from our large dining room table that we purchased so the two sets would match. I’m an Ana White follower looking forward using more plans. I used a jig saw to cut the circular table top instead of the skill saw using a fence.
James / League City Texas
After searching for a bed for our tween we found that we couldn't find the bed we wanted for the price we wanted to pay. I'd been eyeing this site for months and finally decided to take the plunge. The Shanty-2-Chic blog really motivated me to get this going.
This was our first (and arguably most expensive) project ever- husband ended up acquiring new tools to make the job easier, haha.
We followed the tutorial from the site with modifications for a full size mattress. (Just substituted 53x75 for the queen measurements and adjusted cuts accordingly.)
Used furring strips (1x3) for mattress support to save money.
Finished with zinsser primer (bought a quart for all our future projects)- this stuff is awesome!
Picked a flat white paint in a color that matched her dresser.
Cost of Daughters New Bed:
Lumber $120,
Kreg jig clamp $29
Air compresser with nail gun $150
Learning how to construct furniture ourselves: Priceless
Used the Ana White plans for the console table but omitted the 1x12 and used 1x4 45' for the perimeter and ran anothe 1x4 up the middle. We added cross supports under the top to attach the top to, eliminating the second layer on the top.
Made a mini TV set for my son and as soon as my older daughter saw that she had to have one too.
When I saw the plans for this bench I knew I had to make it. I had been looking for something to put on my porch, but hadn't found anything I liked.
I, or should I say, my husband had all the tools just sitting in the garage.
It was a great starter project. I definitely felt the learning curve. Thank goodness for wood filler and paint!
After finally getting fed up with having our mattress on one of those cheap metal "frames", and no headboard, I decided to try my hand at a platform bed and plank headboard.
I followed the headboard plans to a T, with the exception of using 1x4's for the front trim instead of molding (at HD/Lowe's, the cheapest option would have set me back $40), and making it higher and wider to fit my bed plans. Everything came together very easily.
For the bed, I drew up the plans myself. I wanted clean lines and a modern look, with short wide legs. Instead of having the mattress rest on slats, I elected to hide the box spring within the wood frame, with the mattress sunk down 4" below the lip of the frame.
Total cost for headboard: $100
Total cost for bed: $80
Do NOT waste your time going to Lowe's or HD to buy any of the 1x's. The only frustrating part of this project was finding un-warped wood, and the big box stores had me pulling my hair out. Find a local wood place in your area, give them a call, and ask if they sell to non-contractors. My local yard was actually cheaper than the big box stores, and their wood was straight as a board, as it should be.
Mon, 03/10/2014 - 04:29
This looks great! Can I ask, is it a solid board at the bottom, or two boards? What did you use for the nail heads that you can see connecting the bottom boards? I'm fairly new at this. Is that just decorative or are they the screws holding it together? How do you get that look?
Thanks! I am going to try to do something like this.
Made these for my both my daughters and they love them. I think I may make some to sell as so many people seem to like them. I used a routered edge on my tops which deviates from plans a bit. I also used a biscuit jointer and glued in some biscuits to create my top made from 1x6 and 1x4 boards. Great plans and thanks for doing what you on this amazing website.
Fri, 10/21/2022 - 05:44
These are really beautiful. I love the white wainscot (?) in contrast with the natural wood top. I wonder if this design can be stretched upward and elongated into a cat little box cabinet enclosure? My mom could use one that's easy to open up to clean tall enough for a bit of enclosed storage, and a table top height for a place the cat can relax away from the dogs.
This is a kids work bench that I saw on pinterest. I couldn't find plans anywhere so I just winged it. If anyone knows who I should give credit to, I would be happy to do that.
This is made from pine studs. The dimensions are 24" wide x 42.5" back height, 19.75 bench height, 19" deep. The peg board is 24" x 18".
I used Early American stain with dark wax finish. I painted the peg board with Rustoleum Navy spray paint.
I used a plan from Jen WoodHouse for the red tool box.
Changed it up to use less 2x4's for the seat and a few others. Grey stain from Dutch Boy turned out great.
After my wife commented how much our son enjoyed playing with a pretend kitchen during play group, I began thinking about building one of our own. Searching online I found all of the amazing work that had been posted here and drew inspiration from all of the examples already shared.
Yesterday was the grand unveiling and I'm happy to report it was well received. Our son had to be dragged away from it for his bath and bed after hours of opening and closing all of the door and restacking his dishes. Thanks to all of you for the great ideas and the confidence to build on my own!
PS: The Kreg jig is the greatest DIY invention of all time.
Mon, 03/19/2012 - 09:21
Man, this looks like a real kitchen! Love the stove and fridge!!!
Sat, 09/01/2012 - 16:05
The countertop and appliances were both done with just plain old Contact Paper. I found both at Lowe's. Good luck!
This was a neat project that made a great Christmas present, along with some horses, of course. What really finished it off was the shim shingled roof. I also liked the hinged doors which gives it a little action for the kids to play with.
Thanks for the plans.
Peter
I eliminated the bottom floor and created a shorter storage area instead. To make the project more manageable for one person, I chose 1/2" birch plywood, however, I think 5/8" would have been a bit more sturdy for this project. I love the plans and found them very easy to customize to fit my project.
My wife and I loved the original plan, but we needed the shelves to be wider.
So, I adjusted the plan to taper like a tree.
I used plywood and my wife painted it up.
The dimensions changed to 9 inches between shelves.
Modified the simple outdoor chair plans and made it into a loveseat.
Mike T.
I wanted to make my girlfriend a gift for her birthday and came across this shelf. It turned out wonderful and I can't wait to make one for myself now!