Fancy Desk
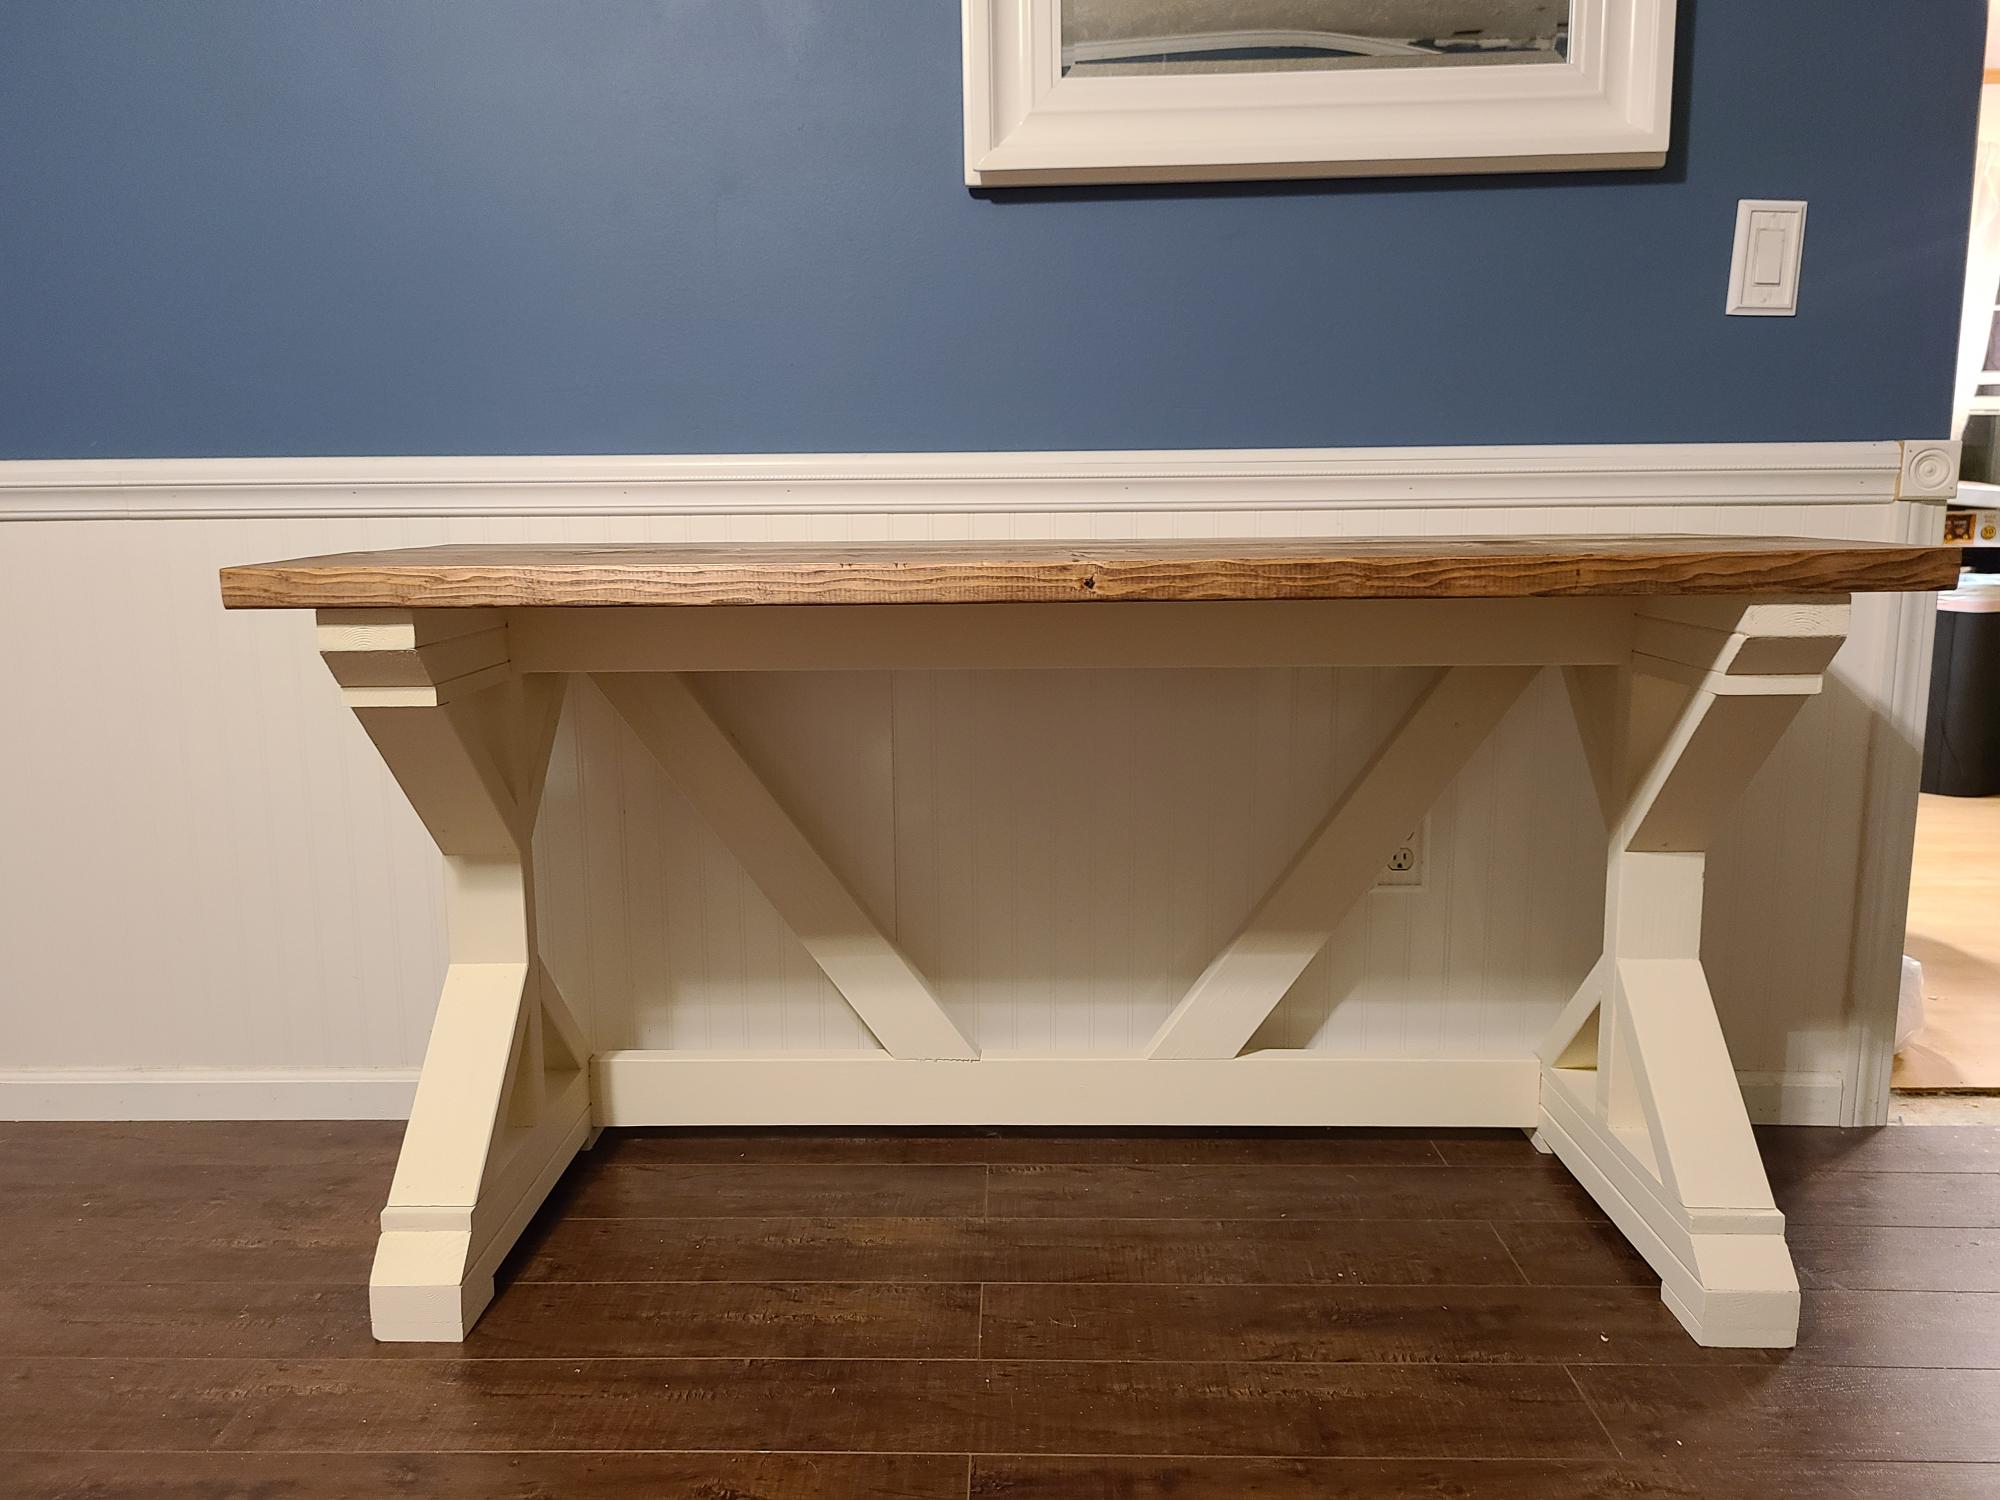
Needed new desks for remote learning and working from home. Easy to build and we love them. This is 1 out of 2.
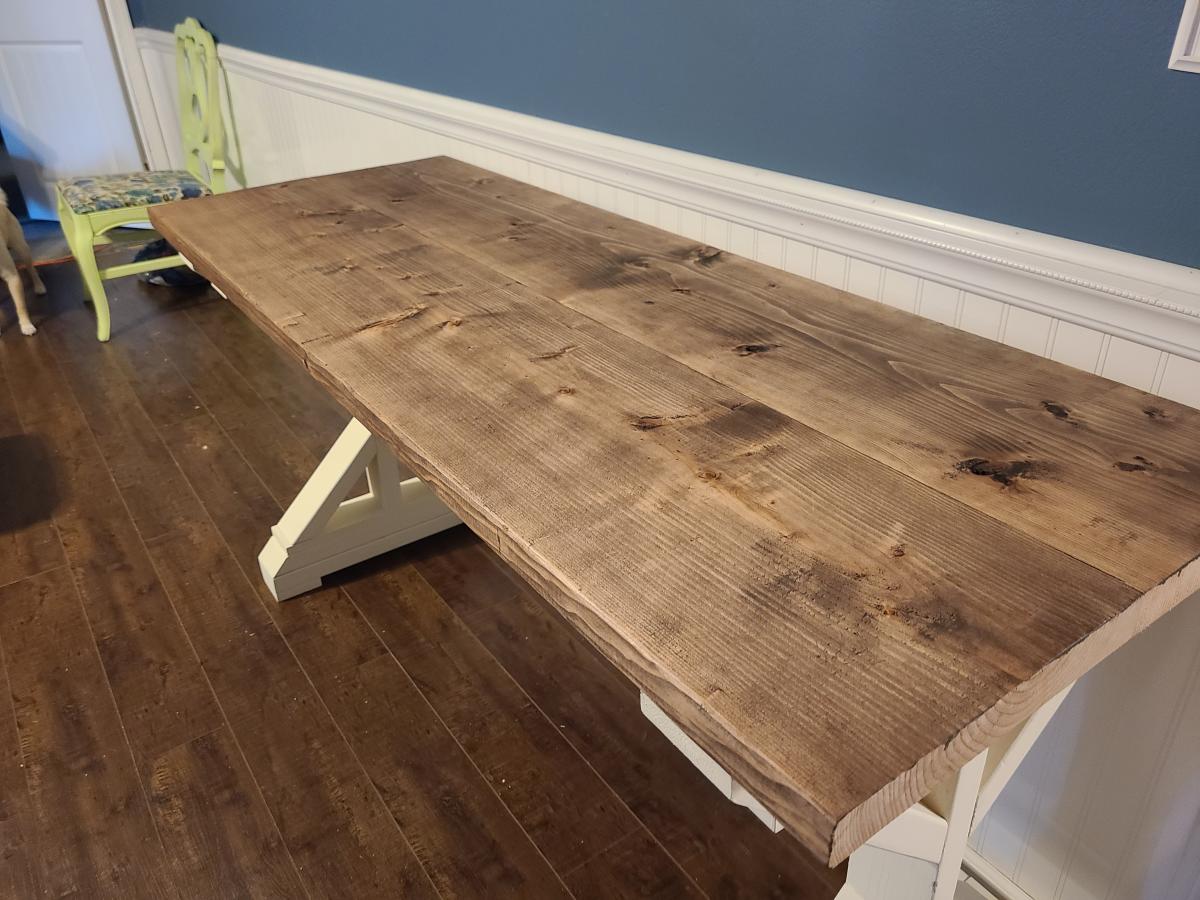

Needed new desks for remote learning and working from home. Easy to build and we love them. This is 1 out of 2.

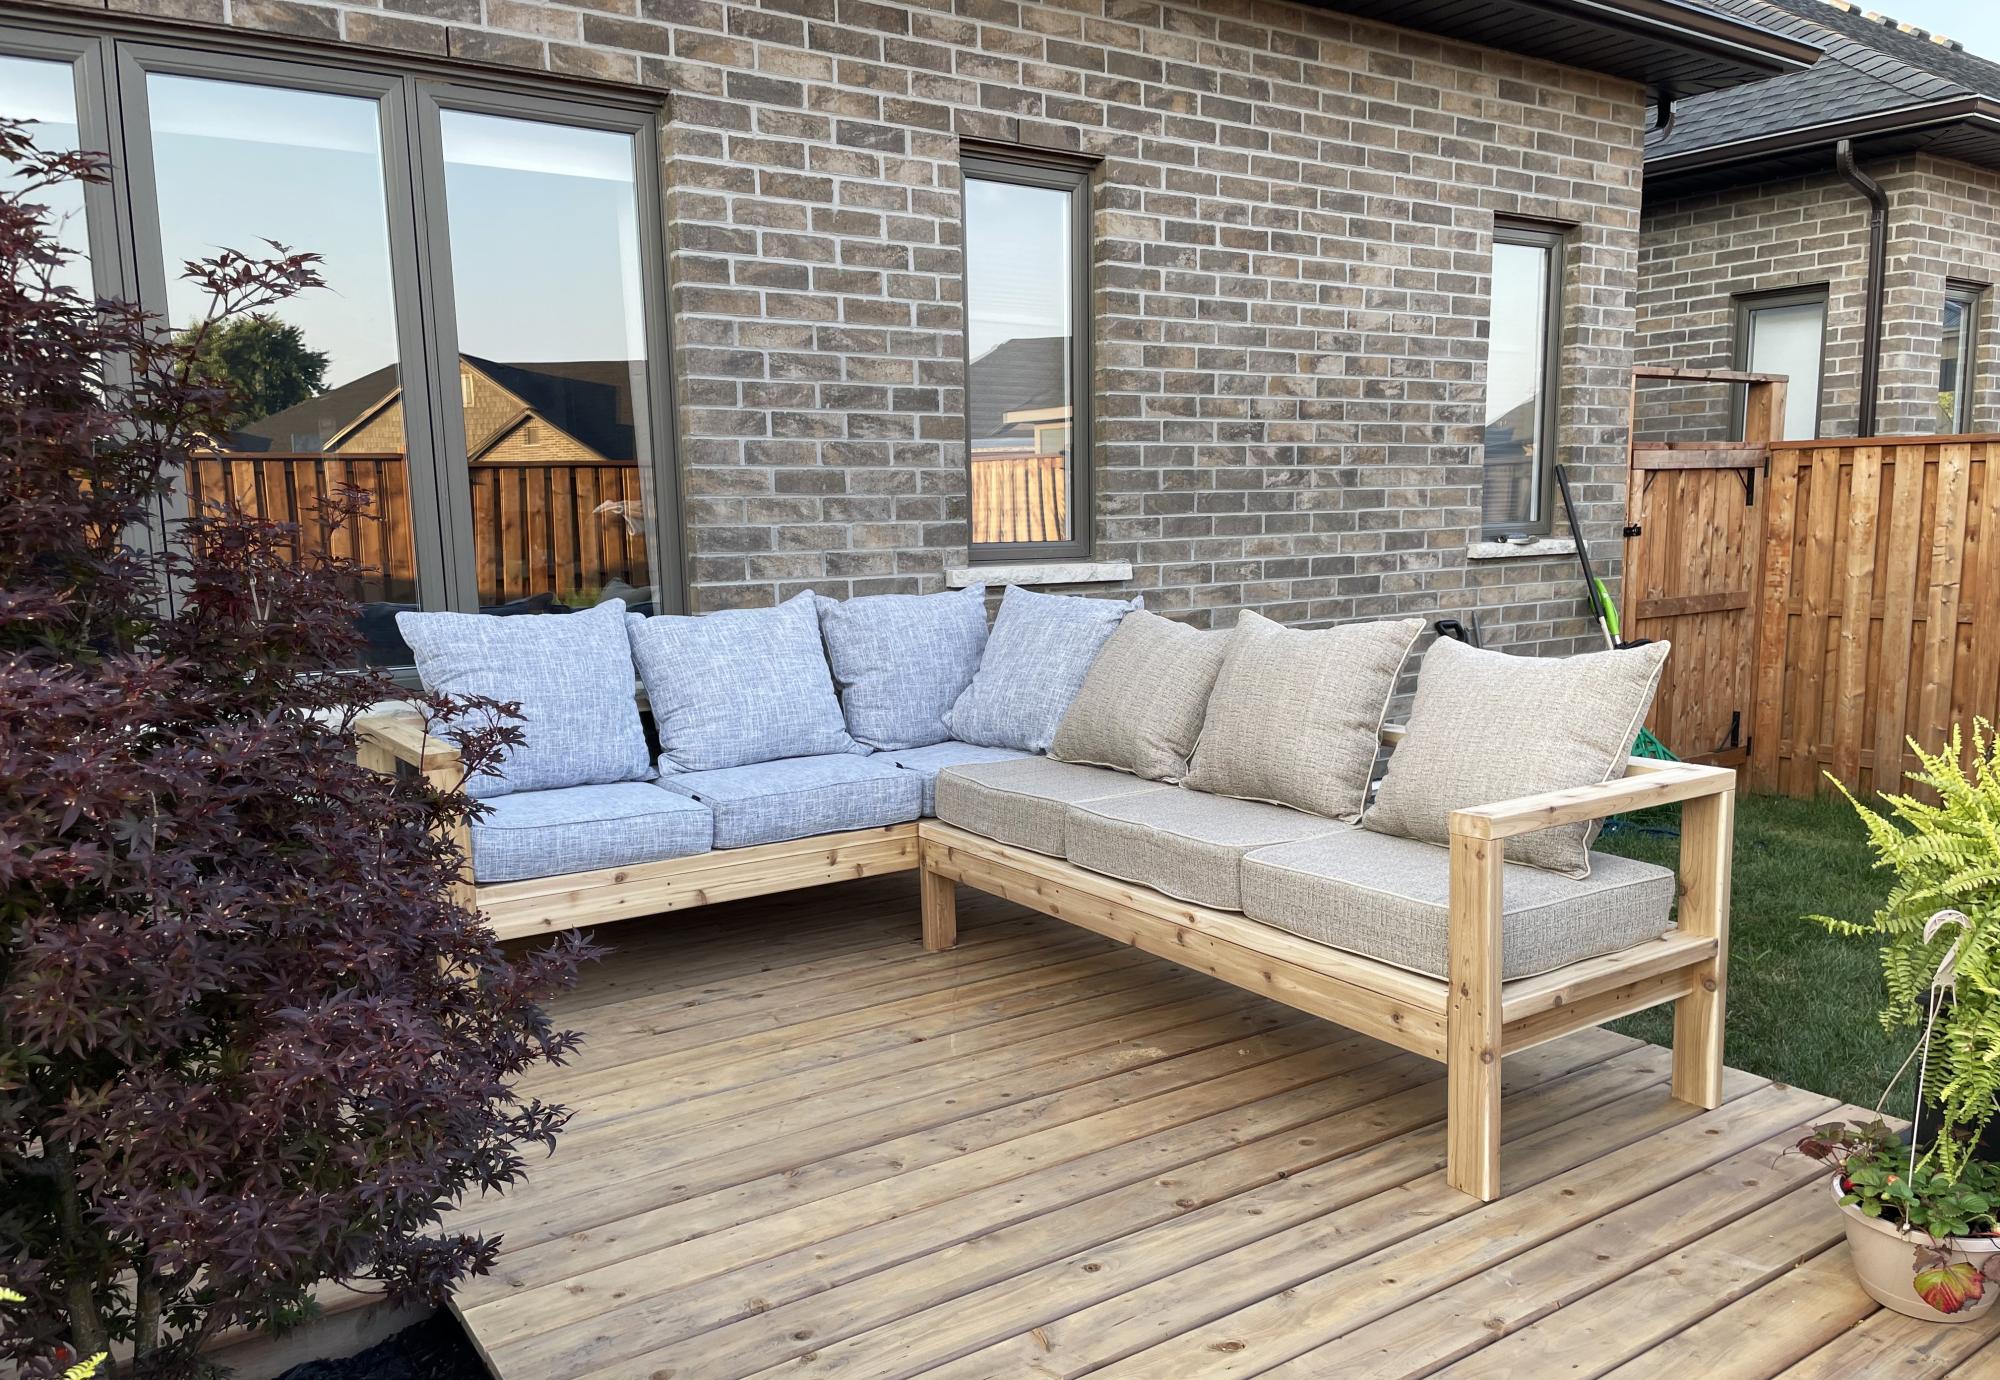
Built with cedar 2x4’s. My first big solo project! Super easy to follow plan… thanks Ana!!
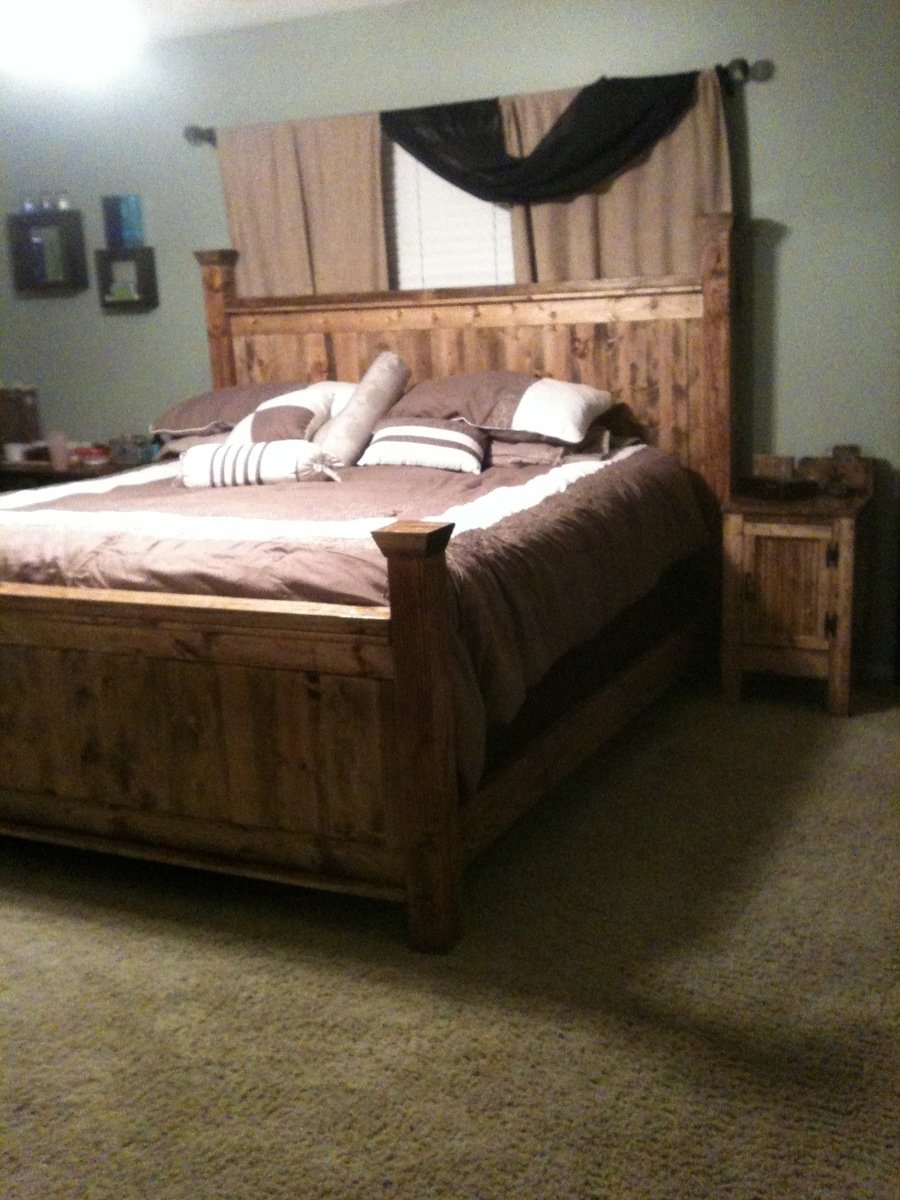
We love our farmhouse bed! Thanks Ana! We made a few modifications. We wanted the legs to look a tiny bit more substantial, so we used 1x6 boards for the headboard and footboard. We made our 4x4 legs longer and placed them on the outside to make it a poster bed. I also wanted the end caps on my legs. I glued and nailed 1x6 scraps to 2x6 scraps and then cut a square to size at a 15 degree angle with my miter saw.
Fri, 11/02/2012 - 18:59
This bed is ABSOLUTELY beautiful! I am going to make it, why not, right?! Anyway, the ridiculously expensive mattress we purchased (per Dr's. orders) is a queen & reasonably new. I am wondering if you have a plan for this bed in that size? That would be perfect. I will be anxiously waiting for your reply. Thanks so much & keep up the BEAUTIFUL WORK, You have found your gift & have put it to good use thus far! WTG. Make your weekend a fabulous one!
Take care,
JG
In reply to Bed sizing by Janell Gardner (not verified)
Mon, 11/05/2012 - 08:32
I don't have the plans for the queen size version. I would suggest using Ana's plans for the queen size farmhouse bed. Then, instead of your 4x4s being part of the headboard and footboard, attach them on the outside. In other words, the top panels will be cut to fit the headboard and footboard minus the legs. My 4x4 legs are 34" on the footboard and 60" on the headboard. I also opted out for the top 2x6. I hope I didn't confuse you too much. Please don't hesitate if you have more questions.
btw...thank you so much for your compliments!
Mon, 03/18/2013 - 21:25
I noticed your side table is the same color/style as the bed did you use this site for plans on that also? I LOVE your modifications for this bed!!
Wed, 03/27/2013 - 22:56
I love the modifications you made.This bed is absolutely beautiful. It was my inspiration to build my own...hopefully I'll get some pix posted soon...
After making the Kendal dresser for my cousin, she ask me to build her the small farmhouse table to put next to her glider. I had to make it smaller to fit her space but the plans were so easy to follow and just as easy to make the adjustments. Ana's plans are user friendly like that.
I also made the $10.00 ledges so the little guy can have a place for his stuffed animals and books.
The stain I used was the same as the Kendal dresser so it all matched beautifully in the room. I think this is about the 40th piece I've made from Ana's website since discovering it in January of this year. Am I hooked? I'd say so! Great plans!
My next project will be the toddler seats painted like animals from Killer B Designs that were featured today. I love them!
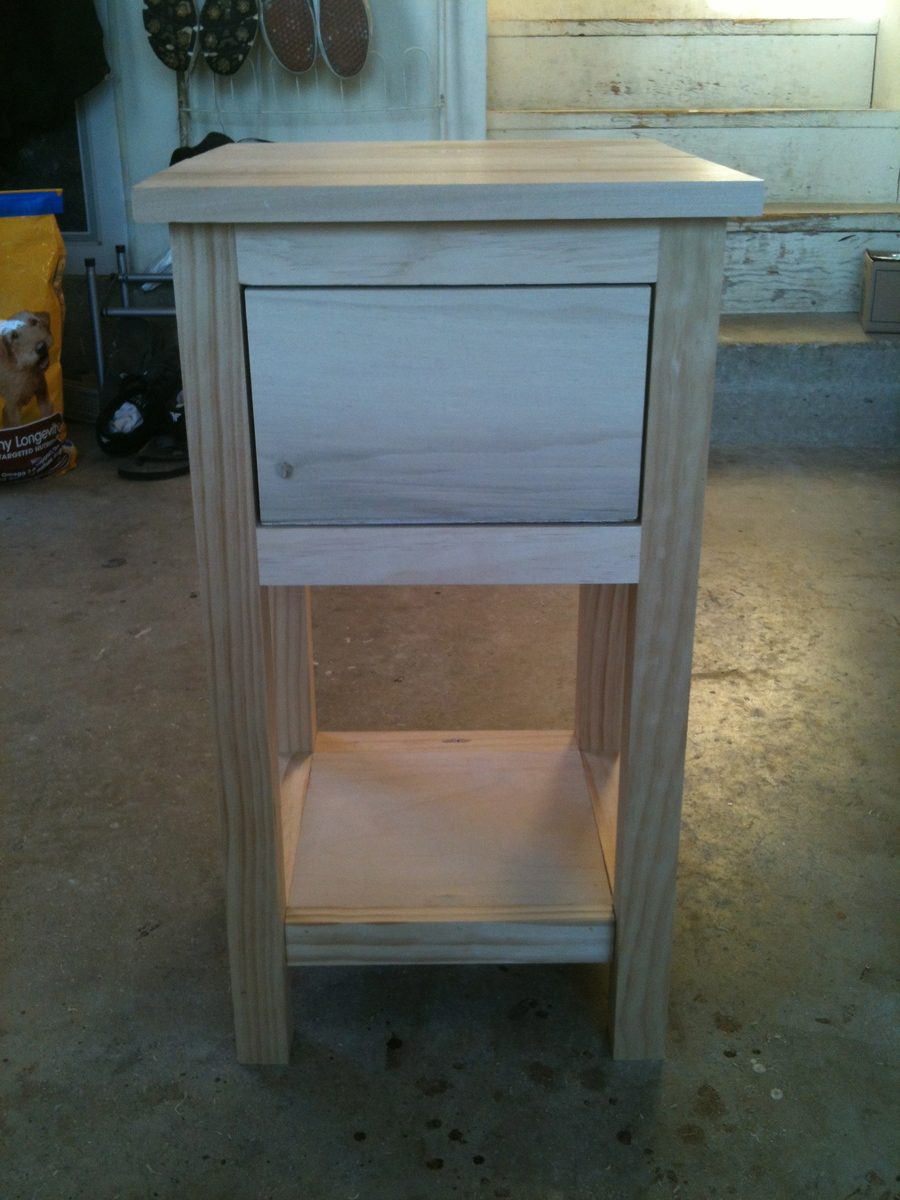
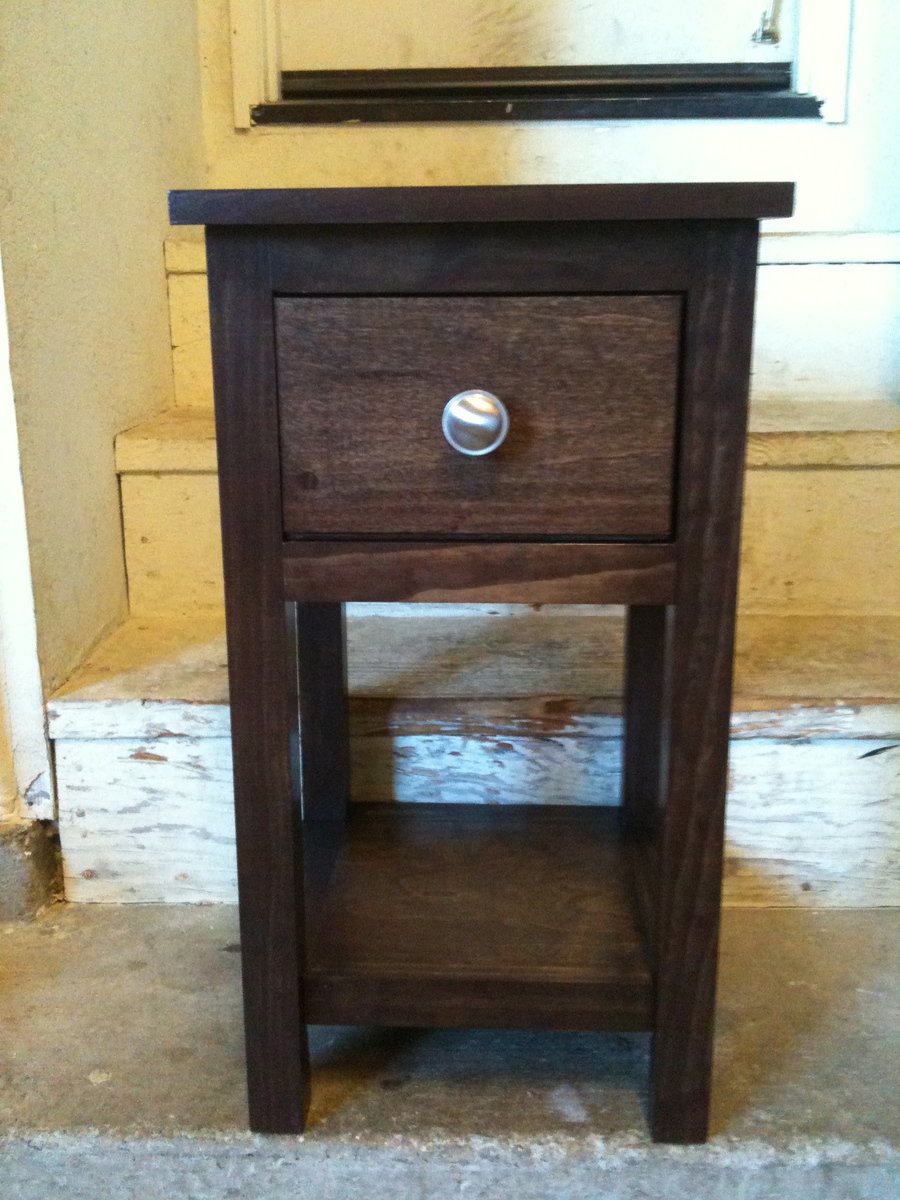
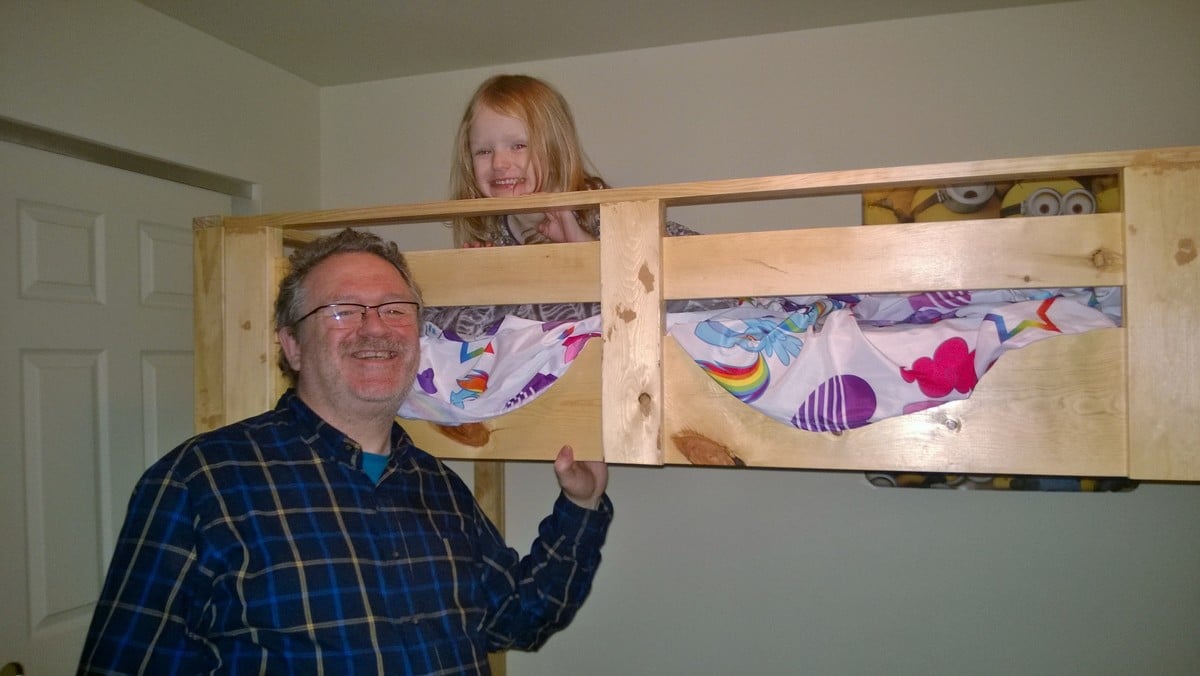
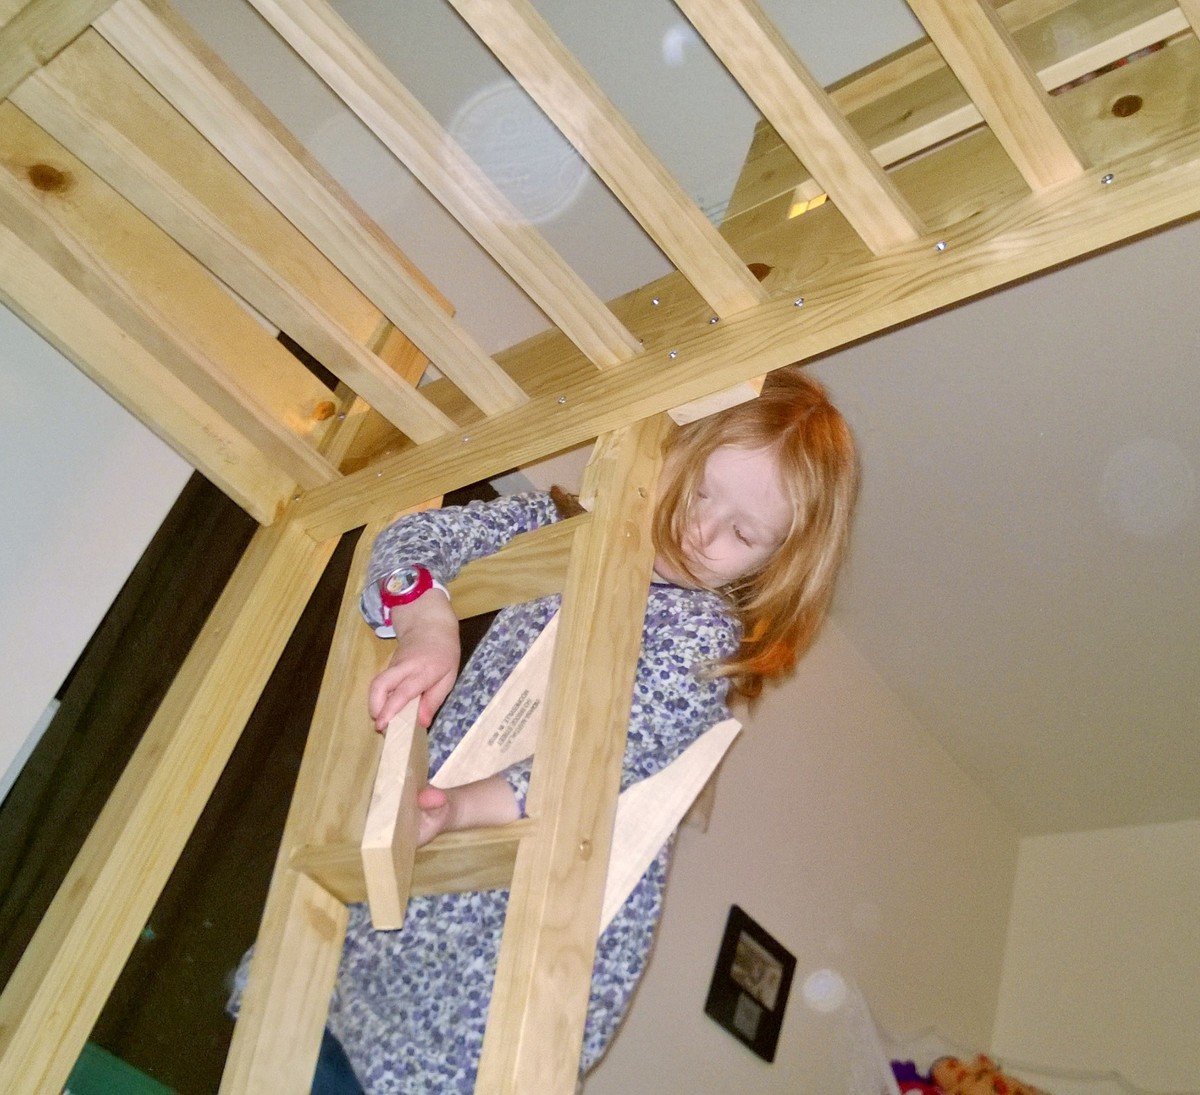
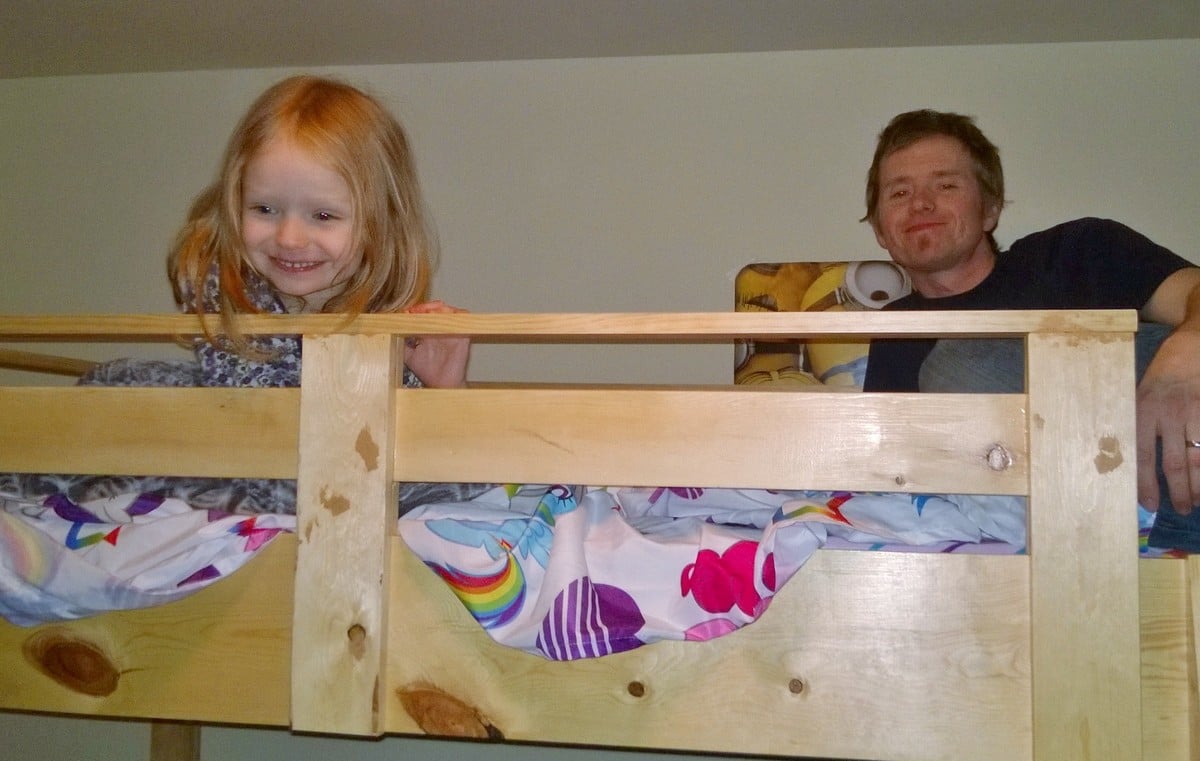
I have not done any wood working since high school some 30 years ago. I inherited a table saw, found these plans and thought 'why not?' I took my time with measuring, cutting etc. and the matress support pieces have a LOT of screws. This bed is SOLID. It holds my son and granddaughter easily. It disassembles and reassembles for moving so we had no trouble moving from the apartment to my son's new house. Do I need to say that I'm the hero grandpa for making this bed? My granddaughter has used this bed for a year and it's still as solid as day 1.
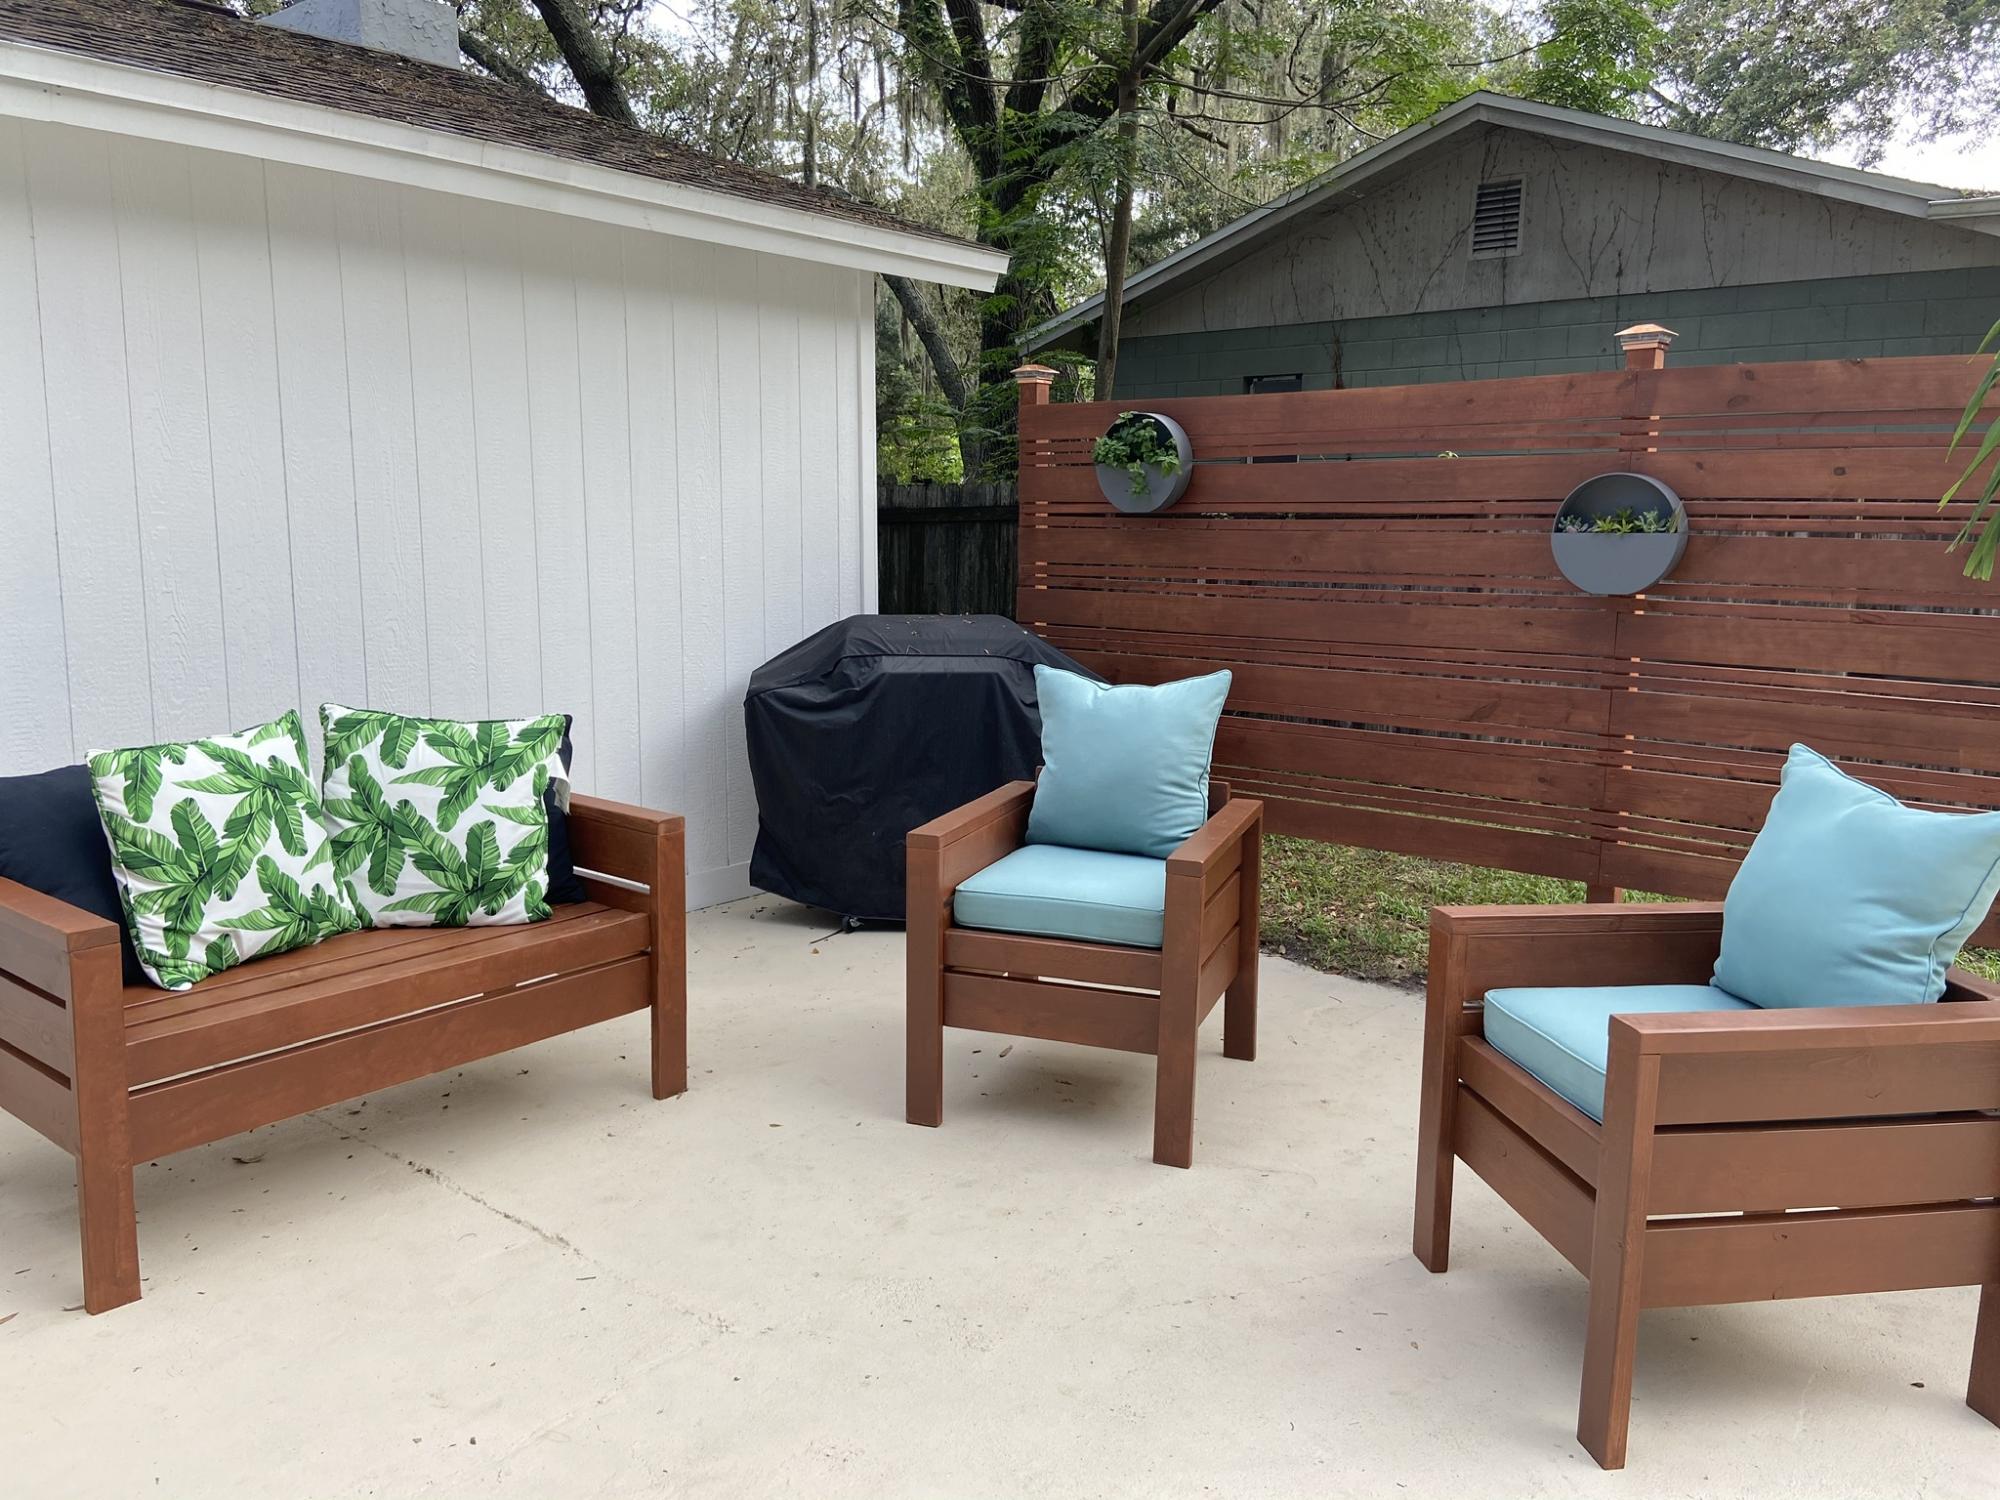
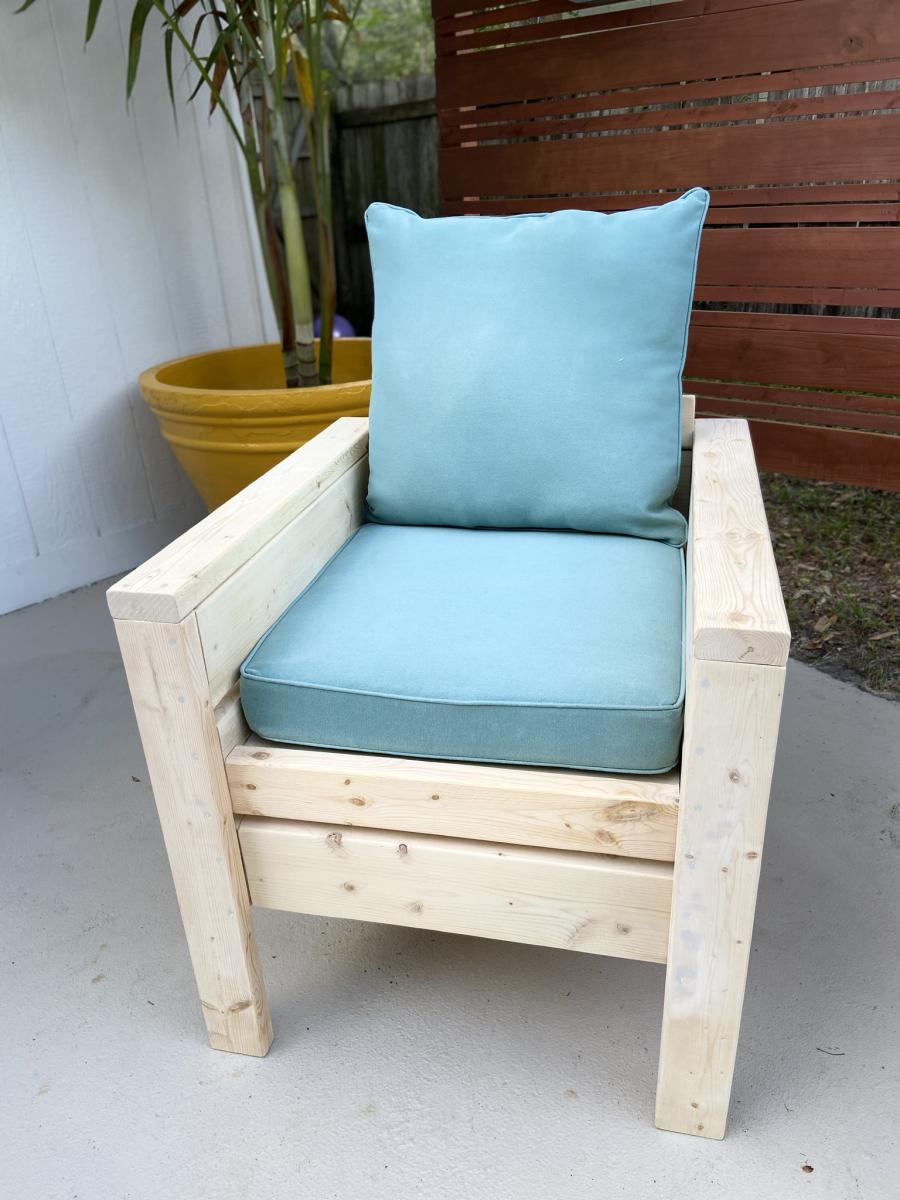
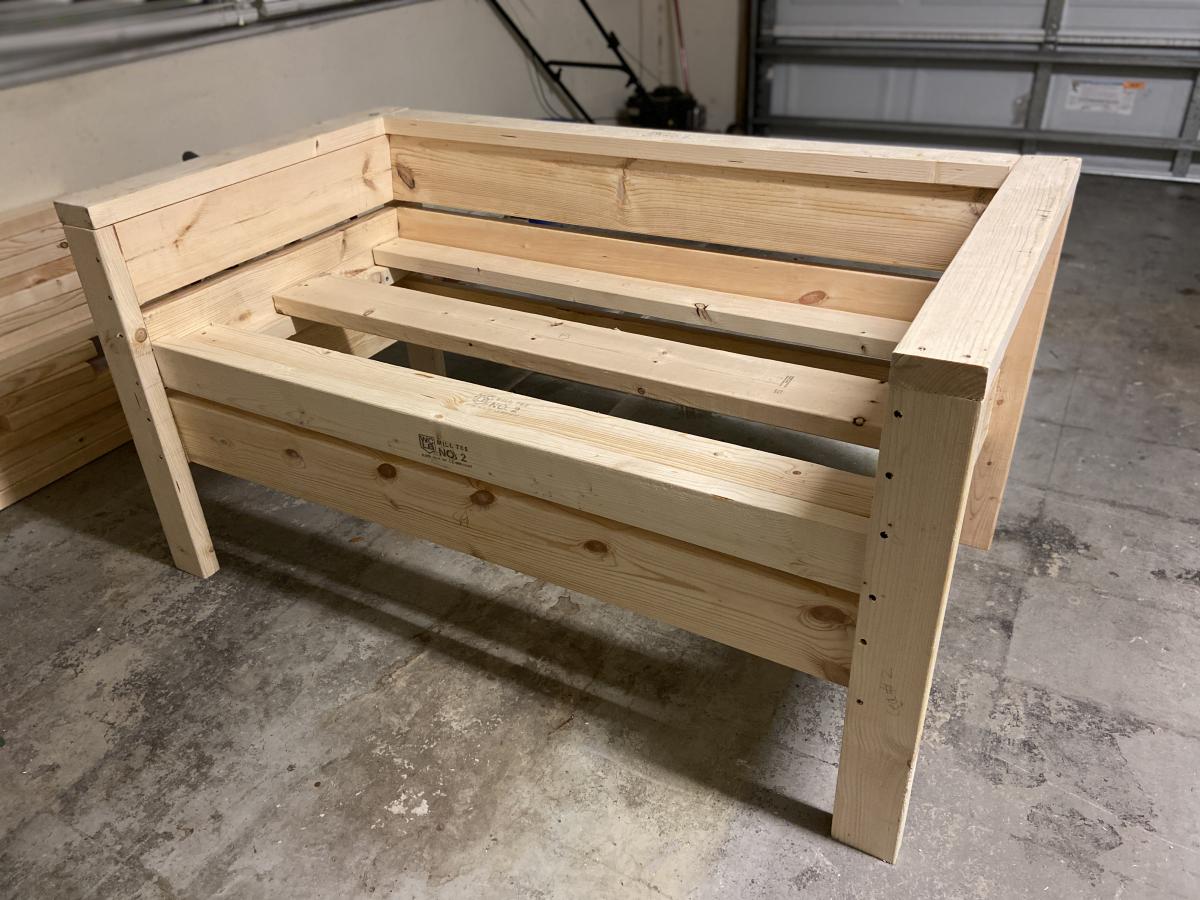
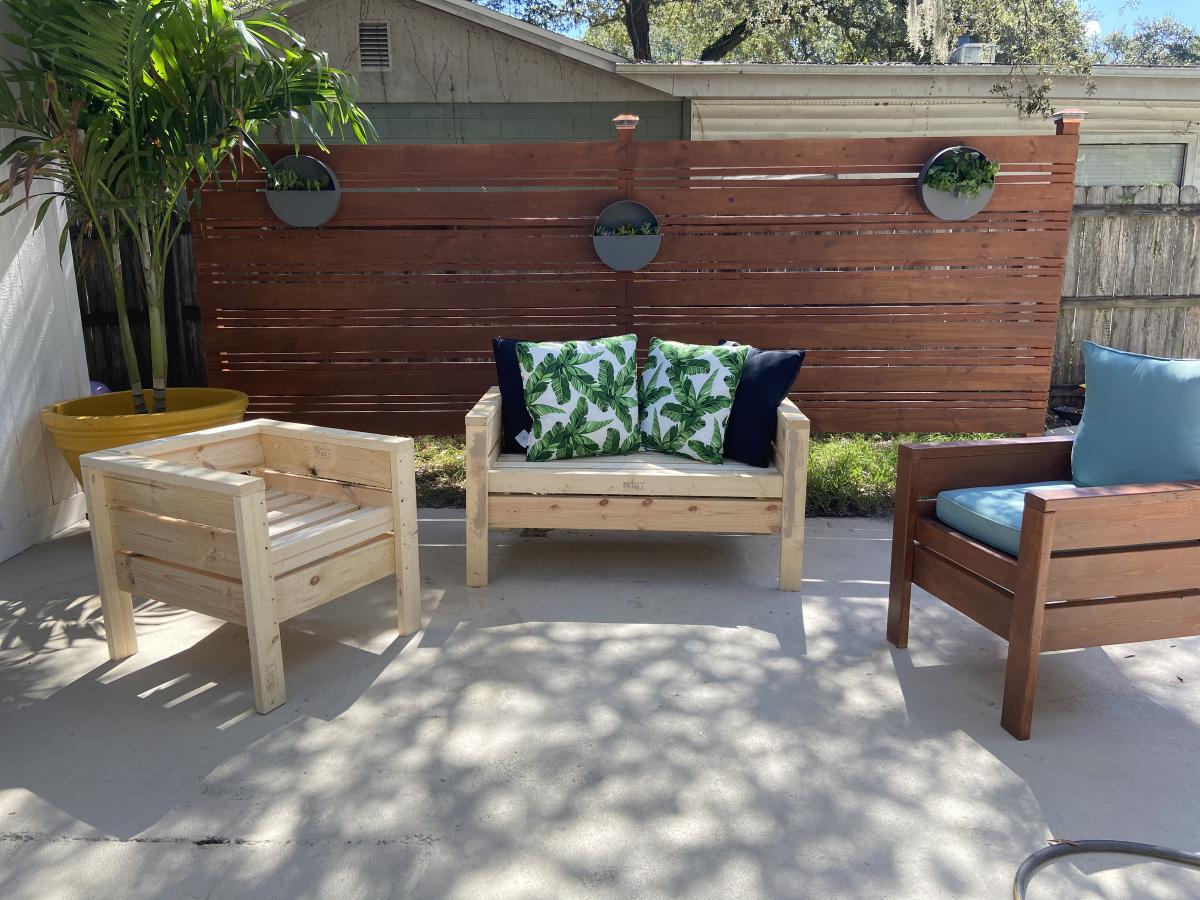
I was so excited to build this outdoor patio set! My husband and I looked high and low to find an affordable,“tall and sturdy people” outdoor patio set. The sturdy pieces we found were in the $600-$1000s... and I’m sorry.... we’re not paying that. Especially, since most of those sets were not built to hold up in the Florida rain and humidity. So my husband suggested... “ just build it!” I modified the leg length to 28 1/4”, since I have tall family. The cushions were found at Pier1 for a steal since they’re going out of business, so the chairs were modified to fit the cushion size 22”x 22”.
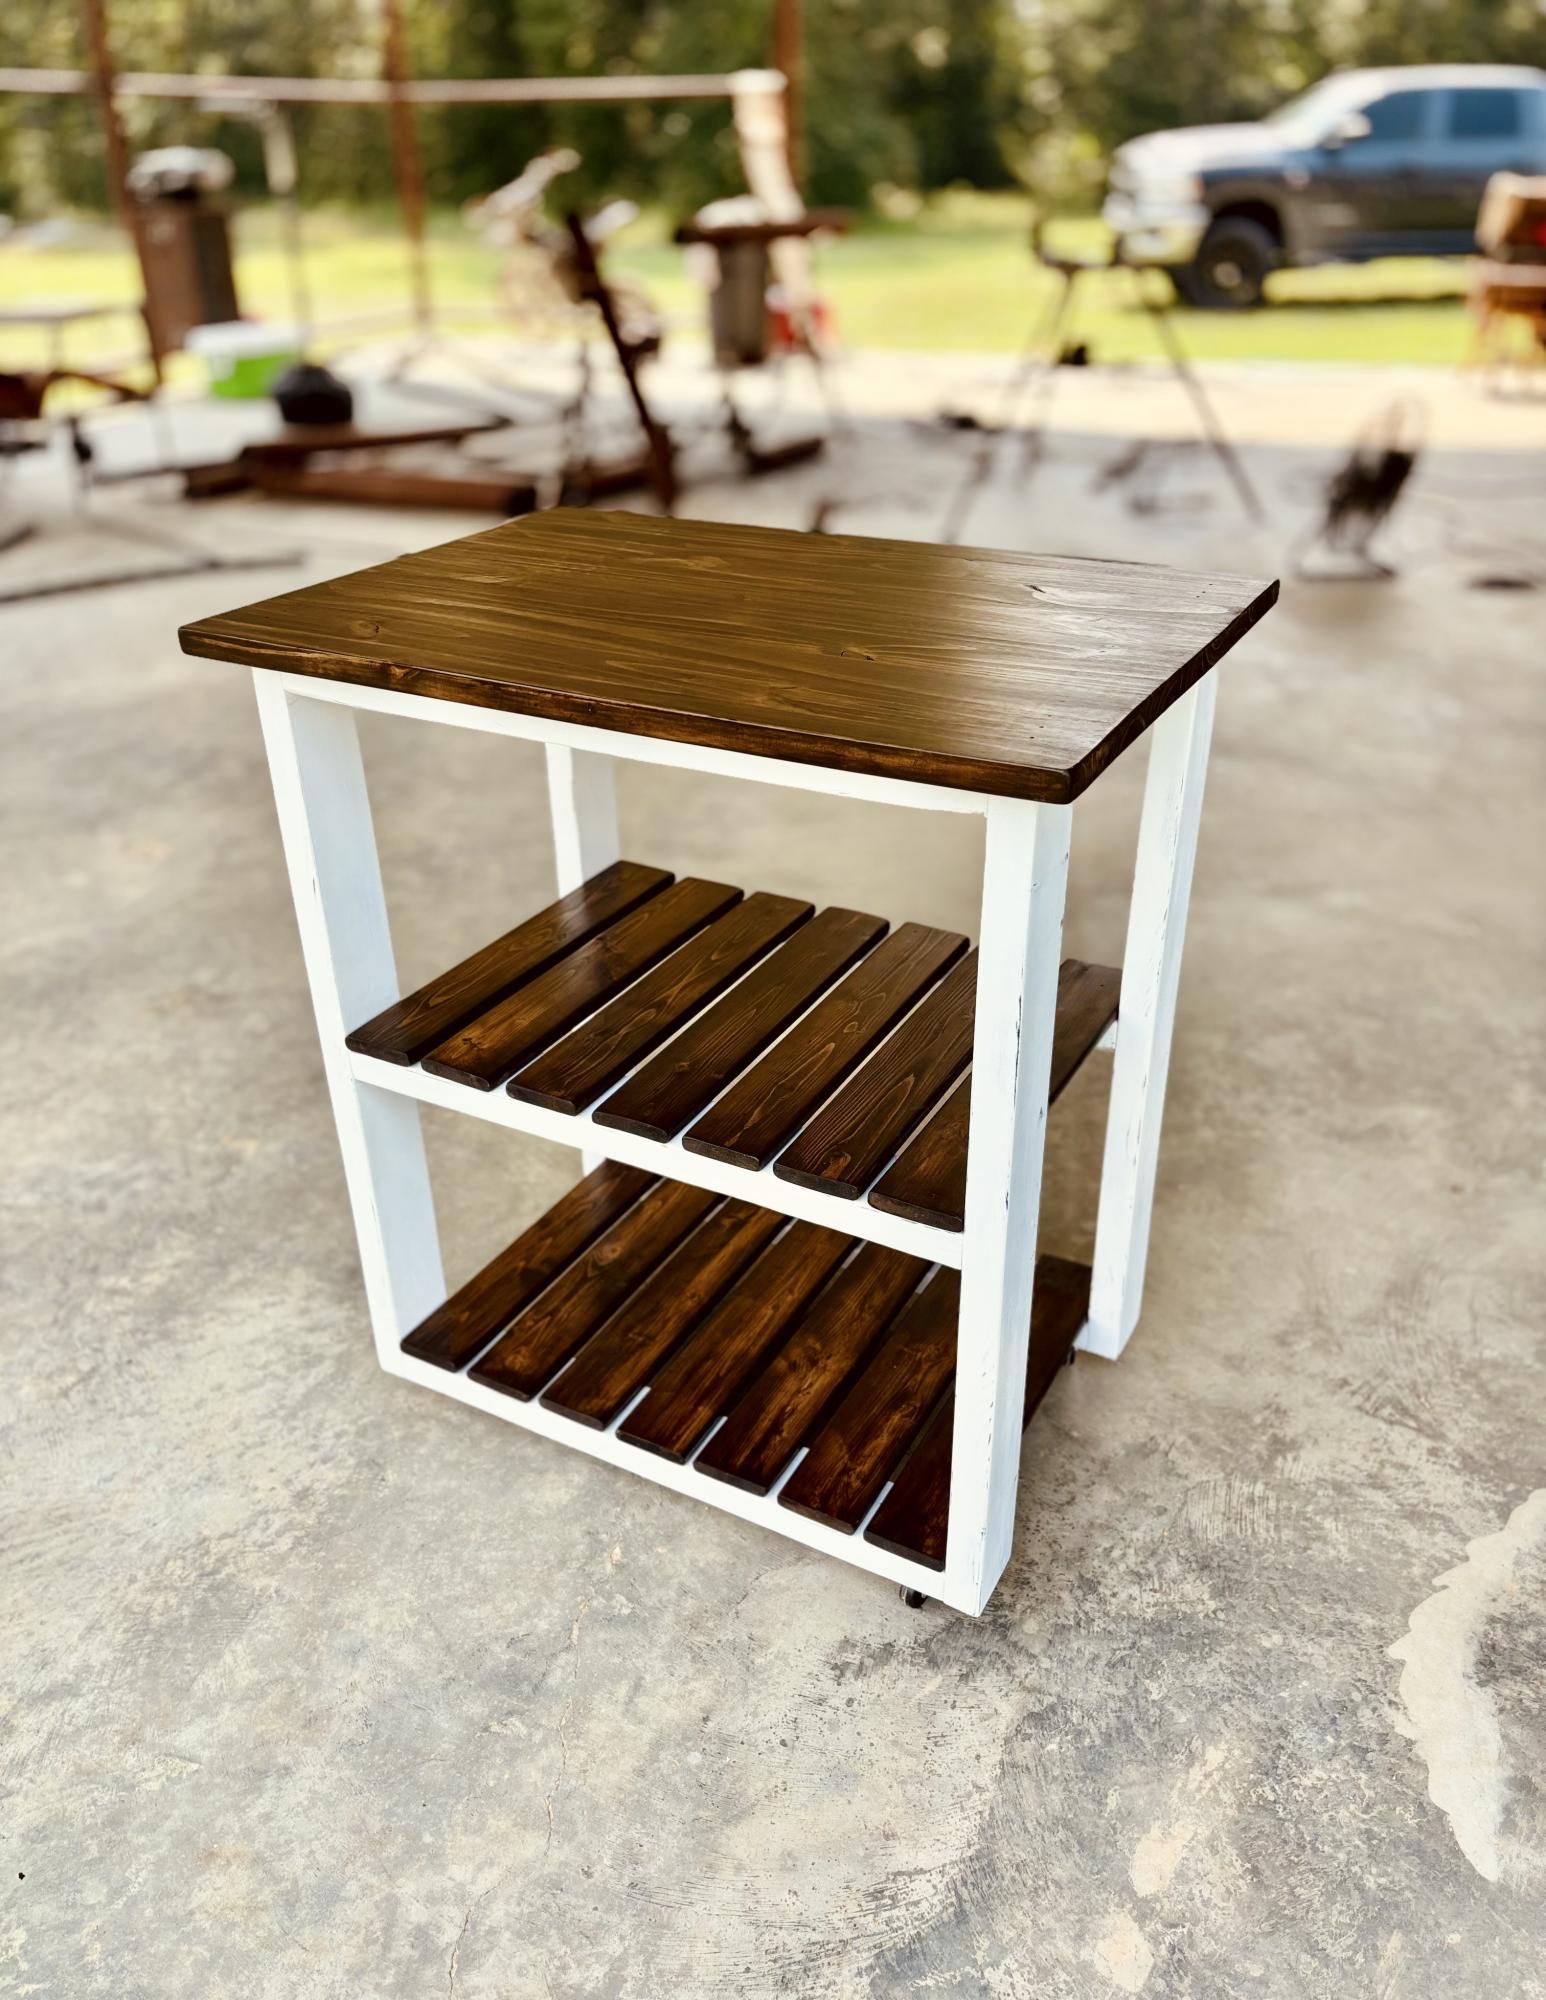
I changed it just a tad so could have shelves in case I wanted to use as just a stand instead of holding baskets. Turned out great.
Brandi Dowden
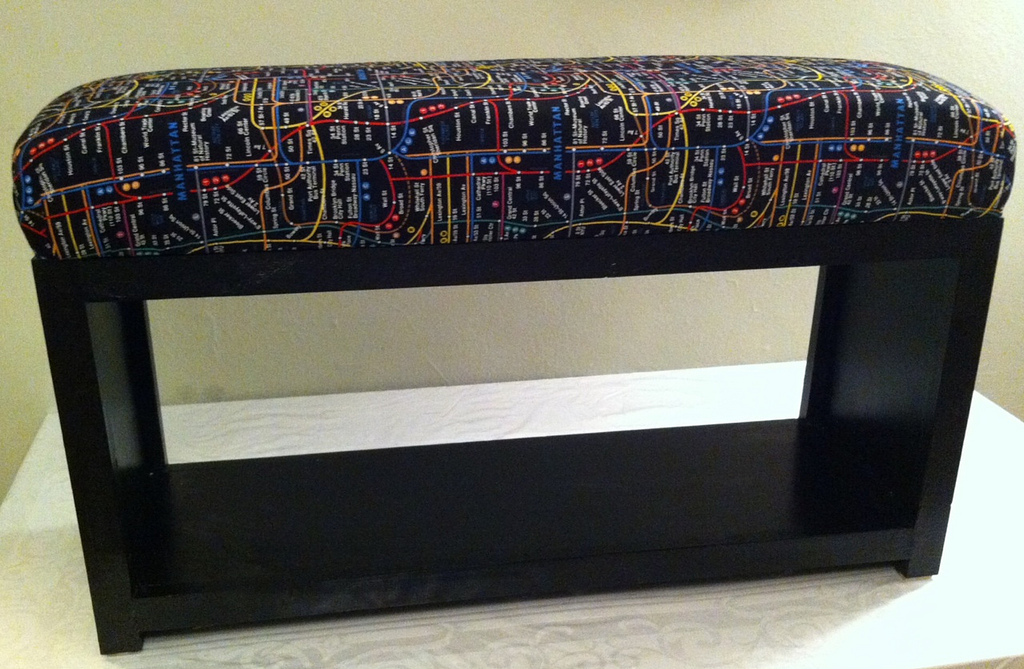
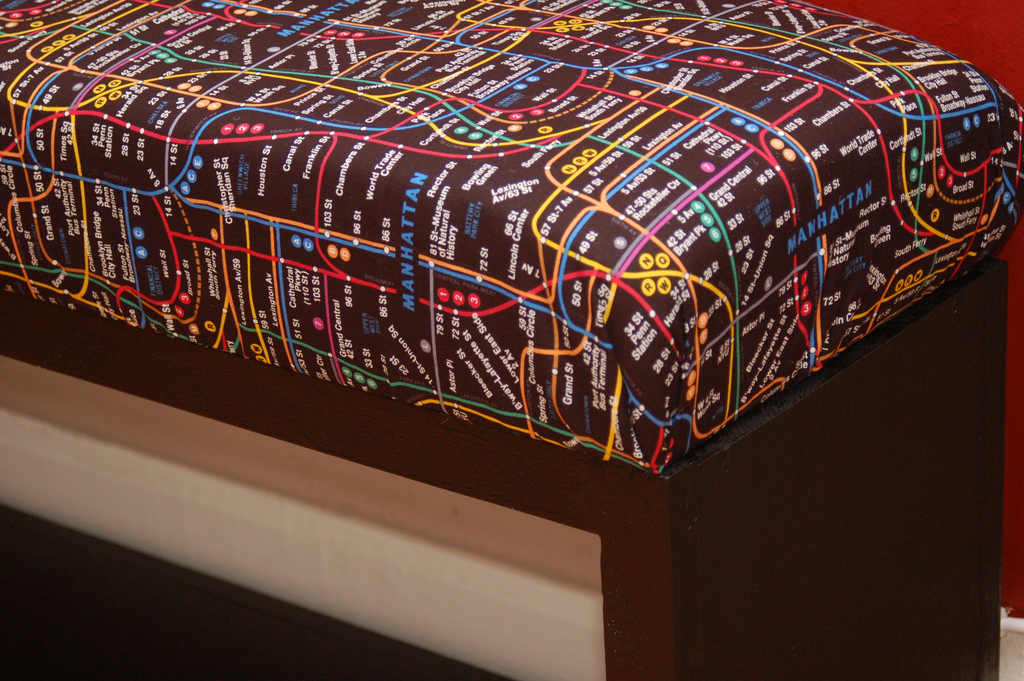
I chose to make the simple bench 2" shorter, and upholster it, using 4" foam and fabric.
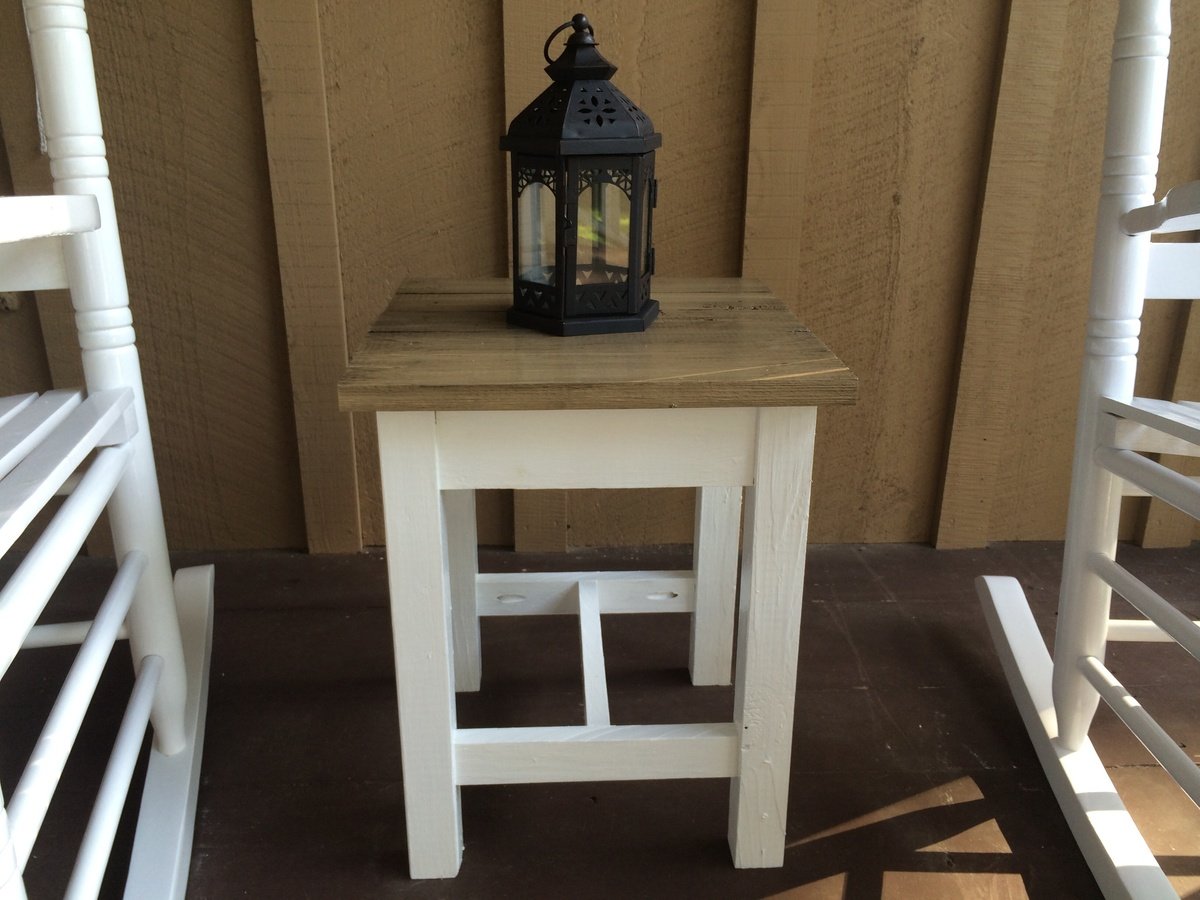
First Ana White build
Wed, 08/27/2014 - 16:36
Congrats on an awesome build! Great job, and I LOVE the finishes you used!
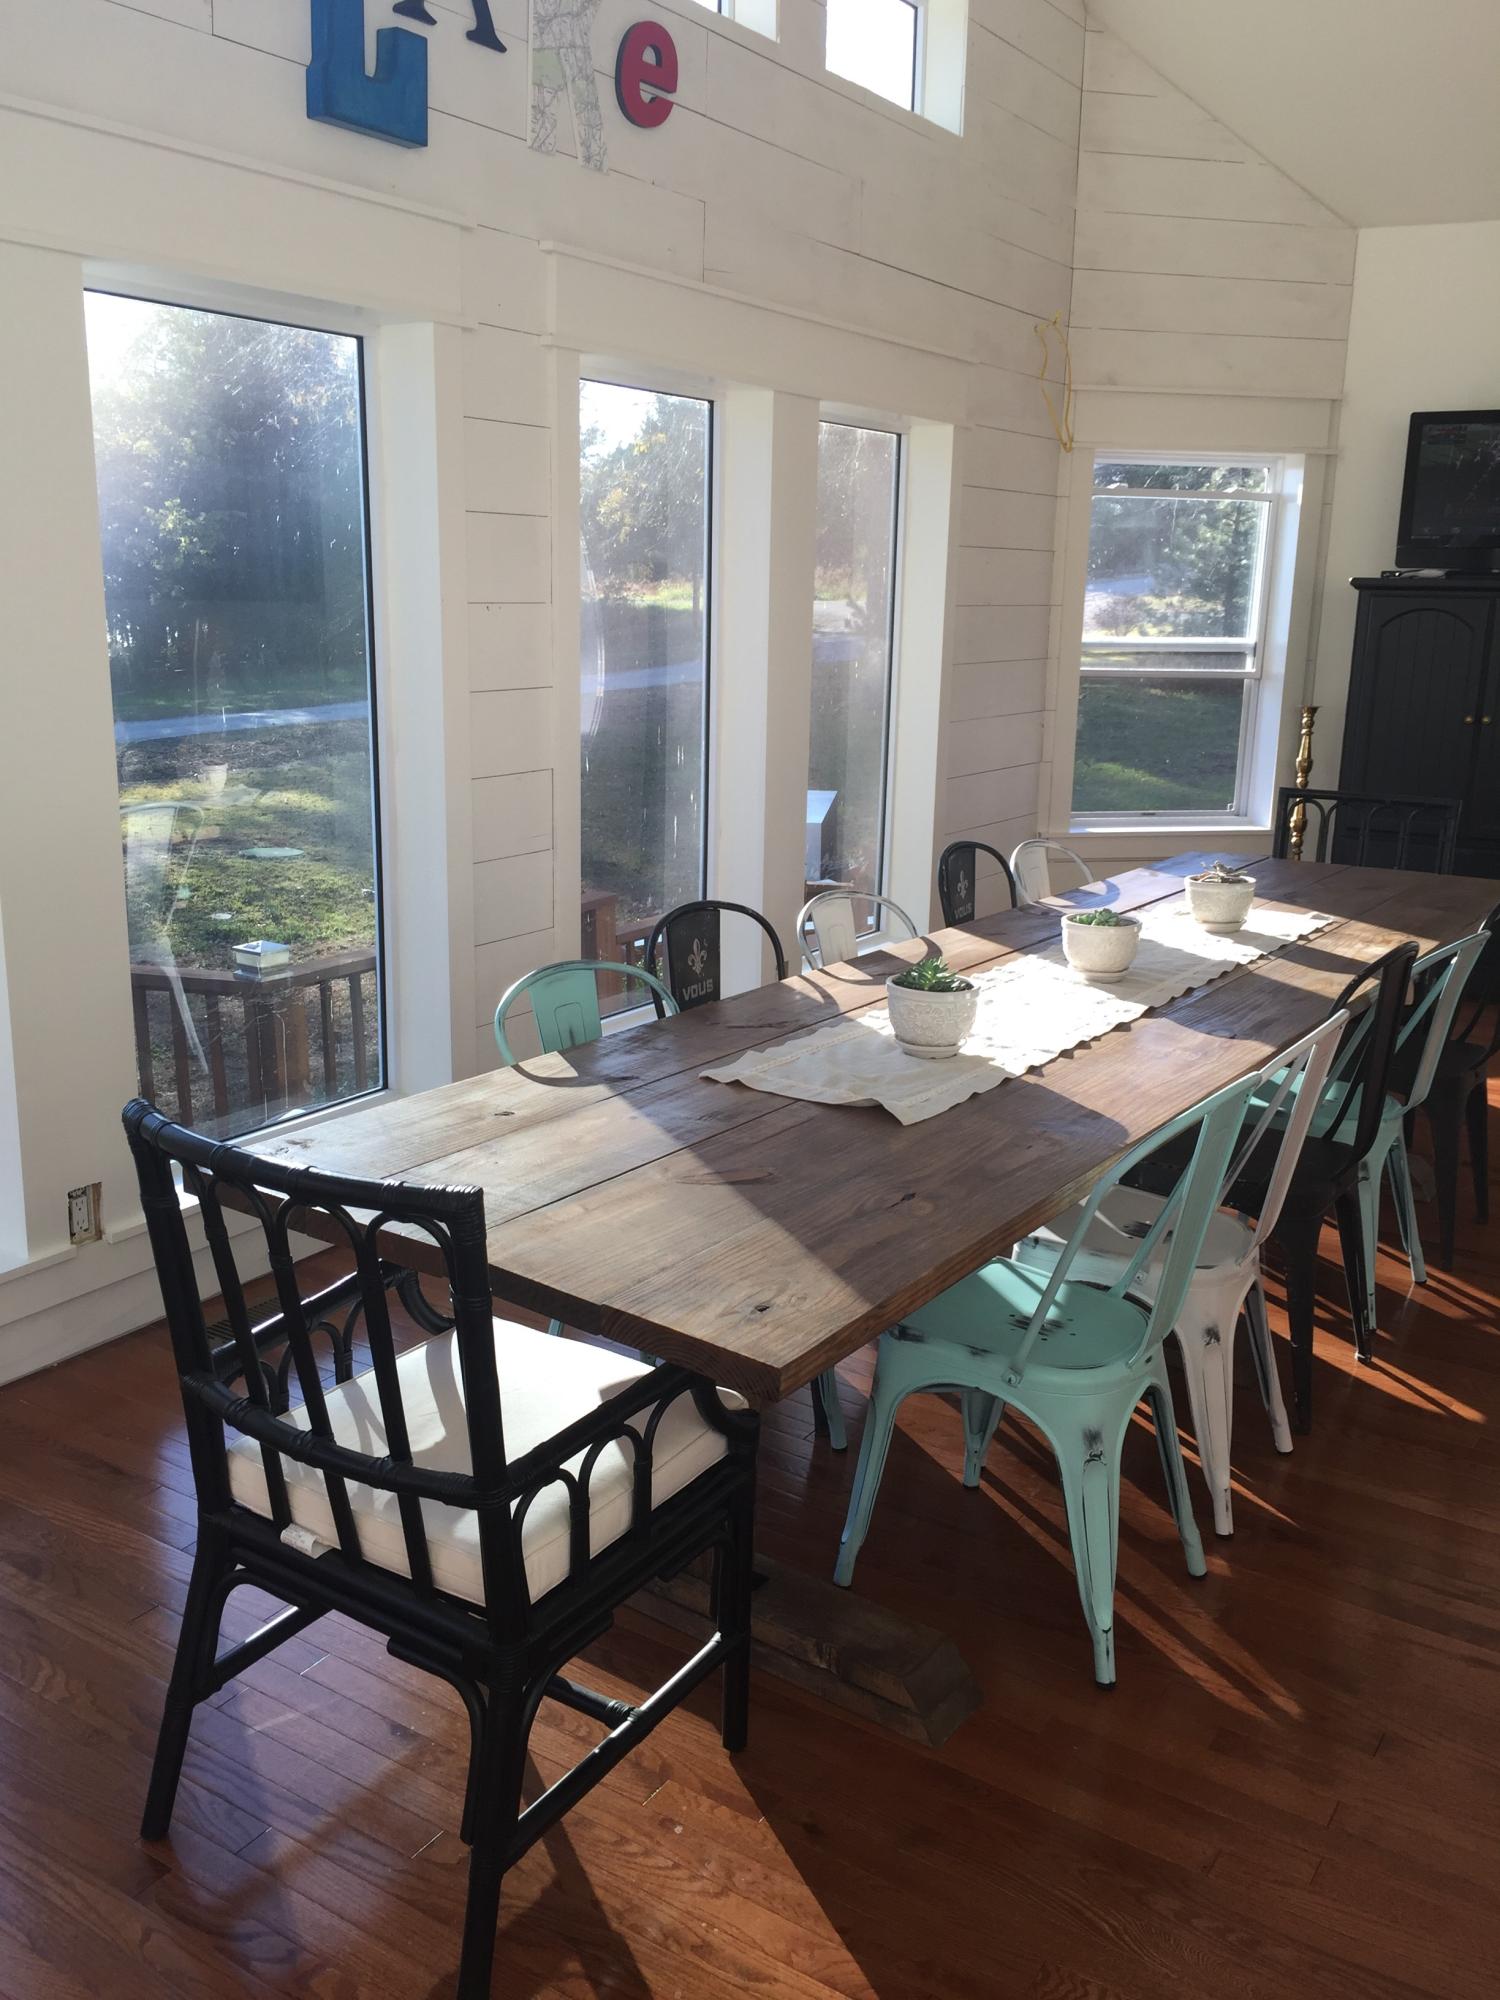
A modification of the plans from Shanty2Chic - built to fit the space. I eliminated the curves brackets - I wasn't able to pull those off without a bandsaw. Instead, the legs have black steele straps that will match hardware on the beams in the house.
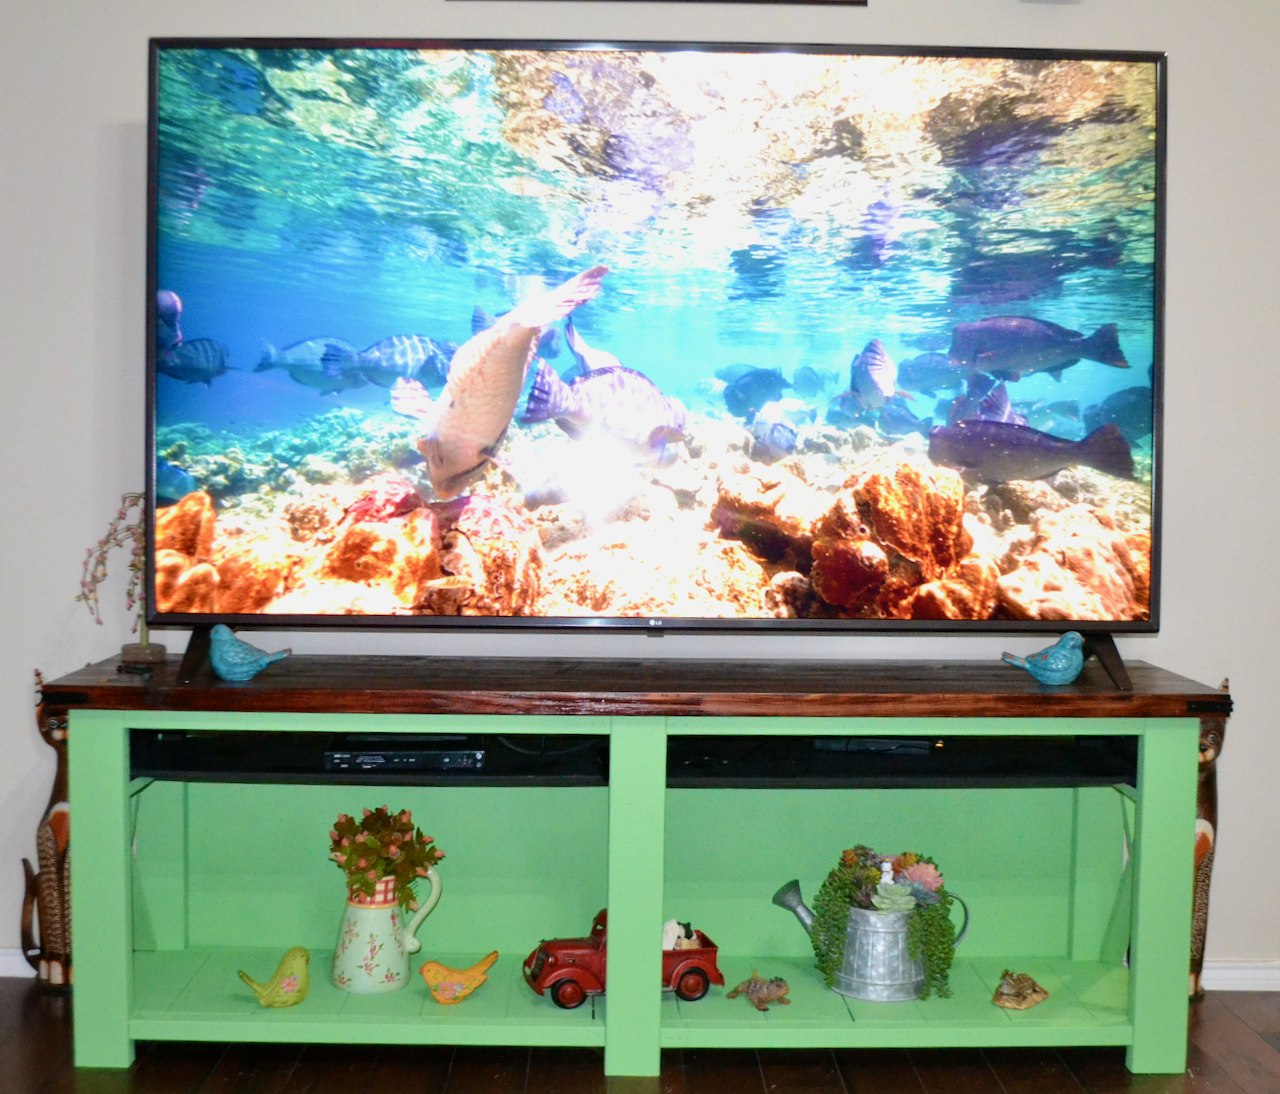
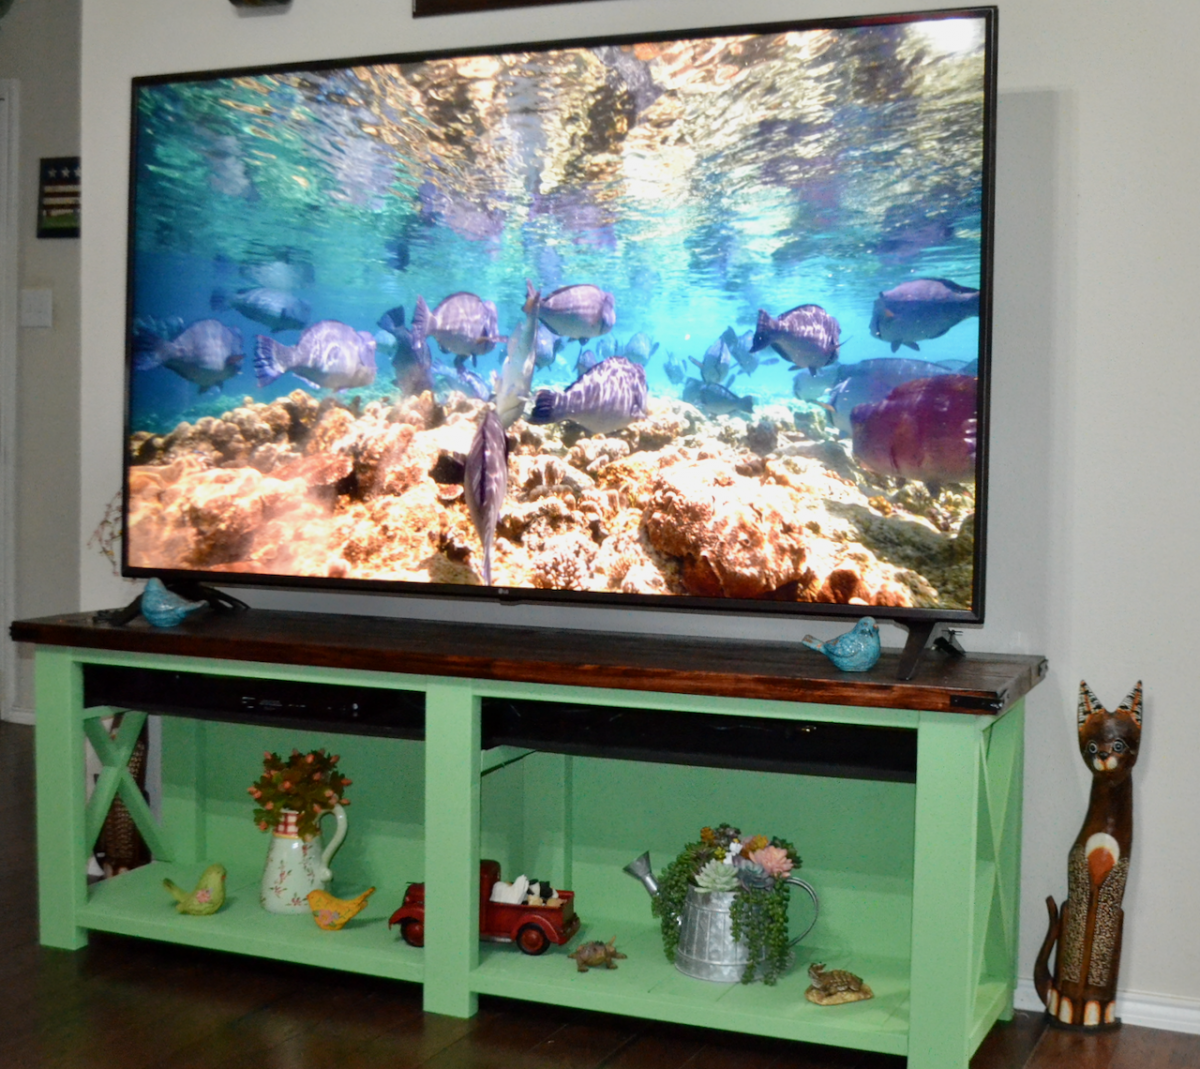
I modified the Farmhouse Console Table to serve as a entertainment center for our new 75" television. I removed the center shelf so that we could place our taller knick knacks there. I also put a 'hidden' shelf at the top and painted it flat black to hide the cable box, power strip etc. I also added a back to hide the wires. It turned out nice.
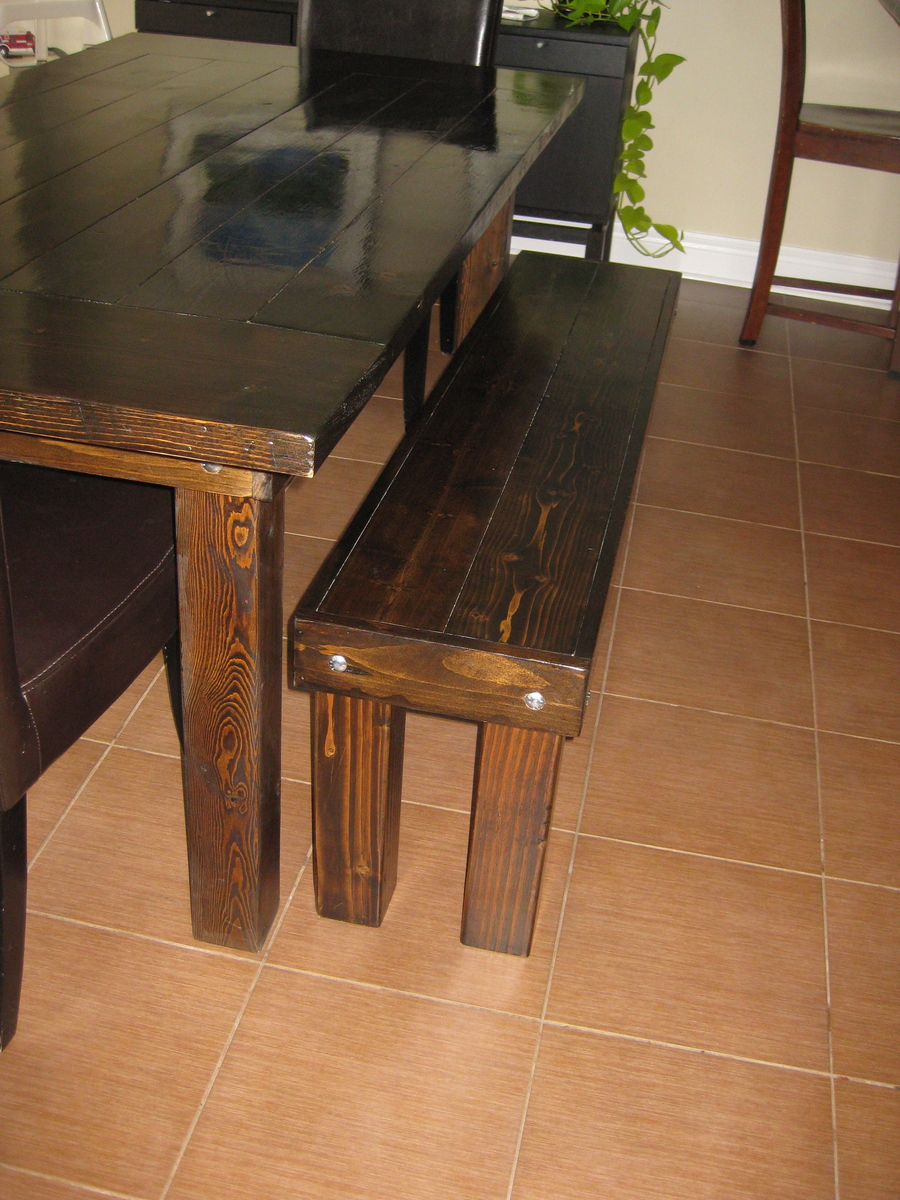
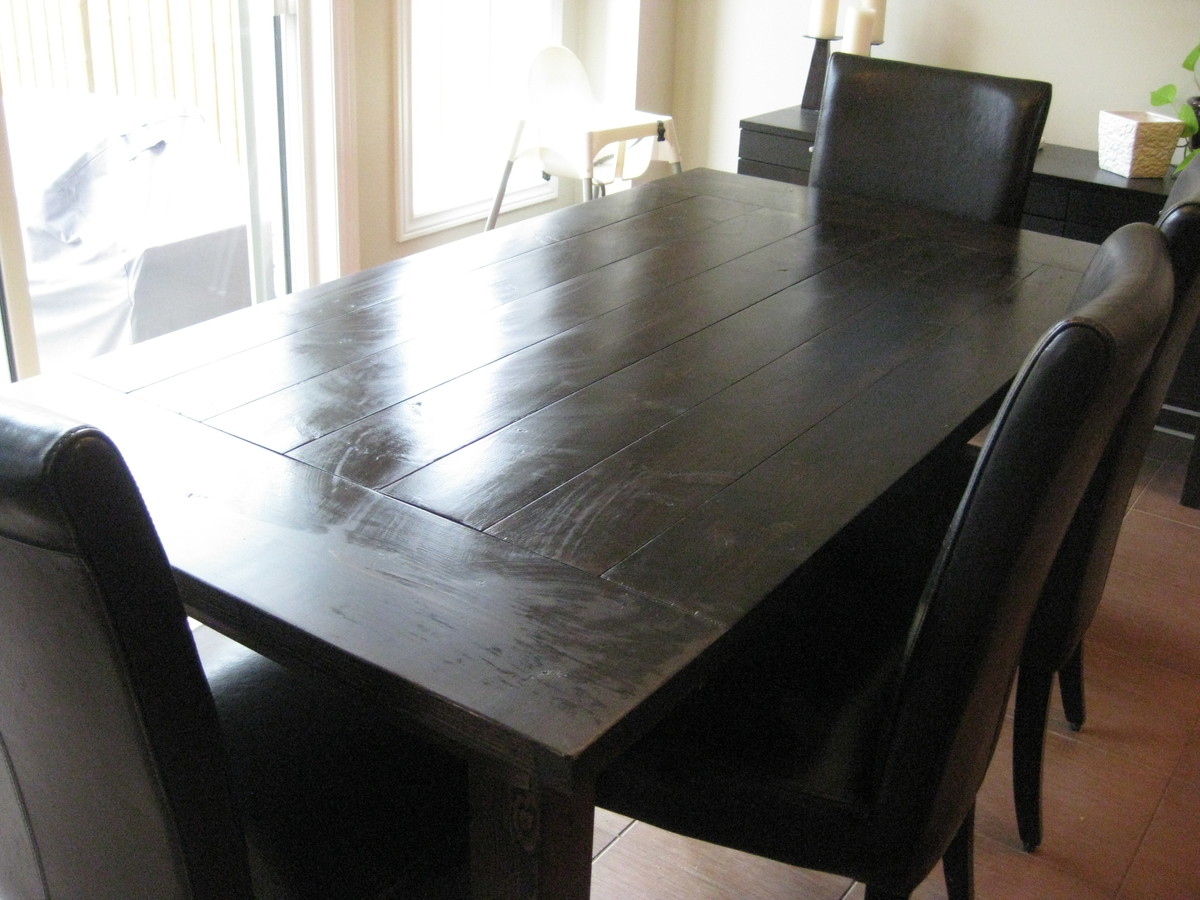
This was my first project inspired by Pottery Barn and while shopping in a local furniture store we realized the cost to have something very similar would cost $1500-$2000. This table was cut and prepped in my garage and then transported to my daughters house in my car and assembled and finished there. The bench is constructed from left over boards. I choose not to use 2X4 legs but rather opted for 4x4's. The length was shortened to 5' for a cross bar was not neccessary. I used carriage bolts to attach the legs to the shirt in case they ever needed to be disassembled. The top is not glued on, only PH screws used. This has been a very satisfying first project, thanks Ana for showing me the way to having lovely homemade furniture that really impresses, is very well made and for a fraction of the cost.
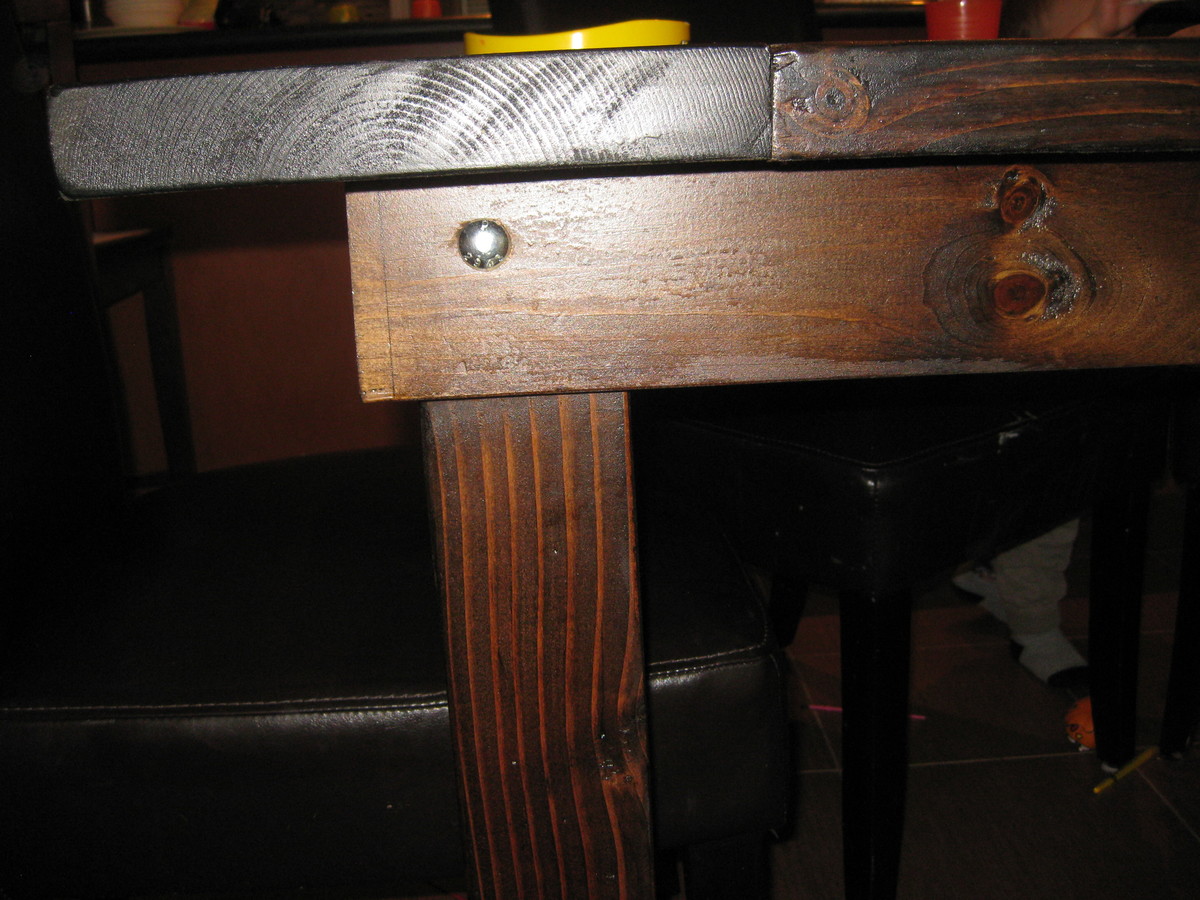
Fri, 11/09/2012 - 19:11
You did a wonderful job on the table and bench. I like the idea of using the carriage bolts and not gluing on the top. I have done the same for a couple of projects especially if you need to take a table apart or if the top should need repair.
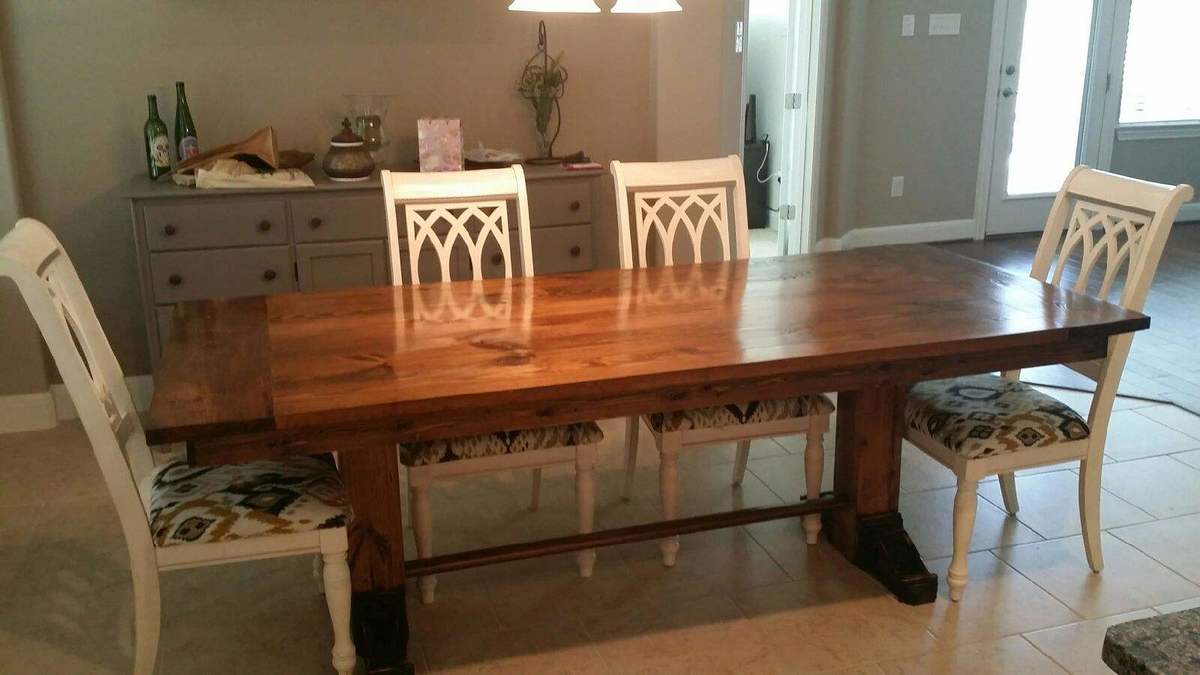
This is my version of the pedastal table.
Fri, 08/29/2014 - 07:18
It looks great! That finish on top is beautiful. :)
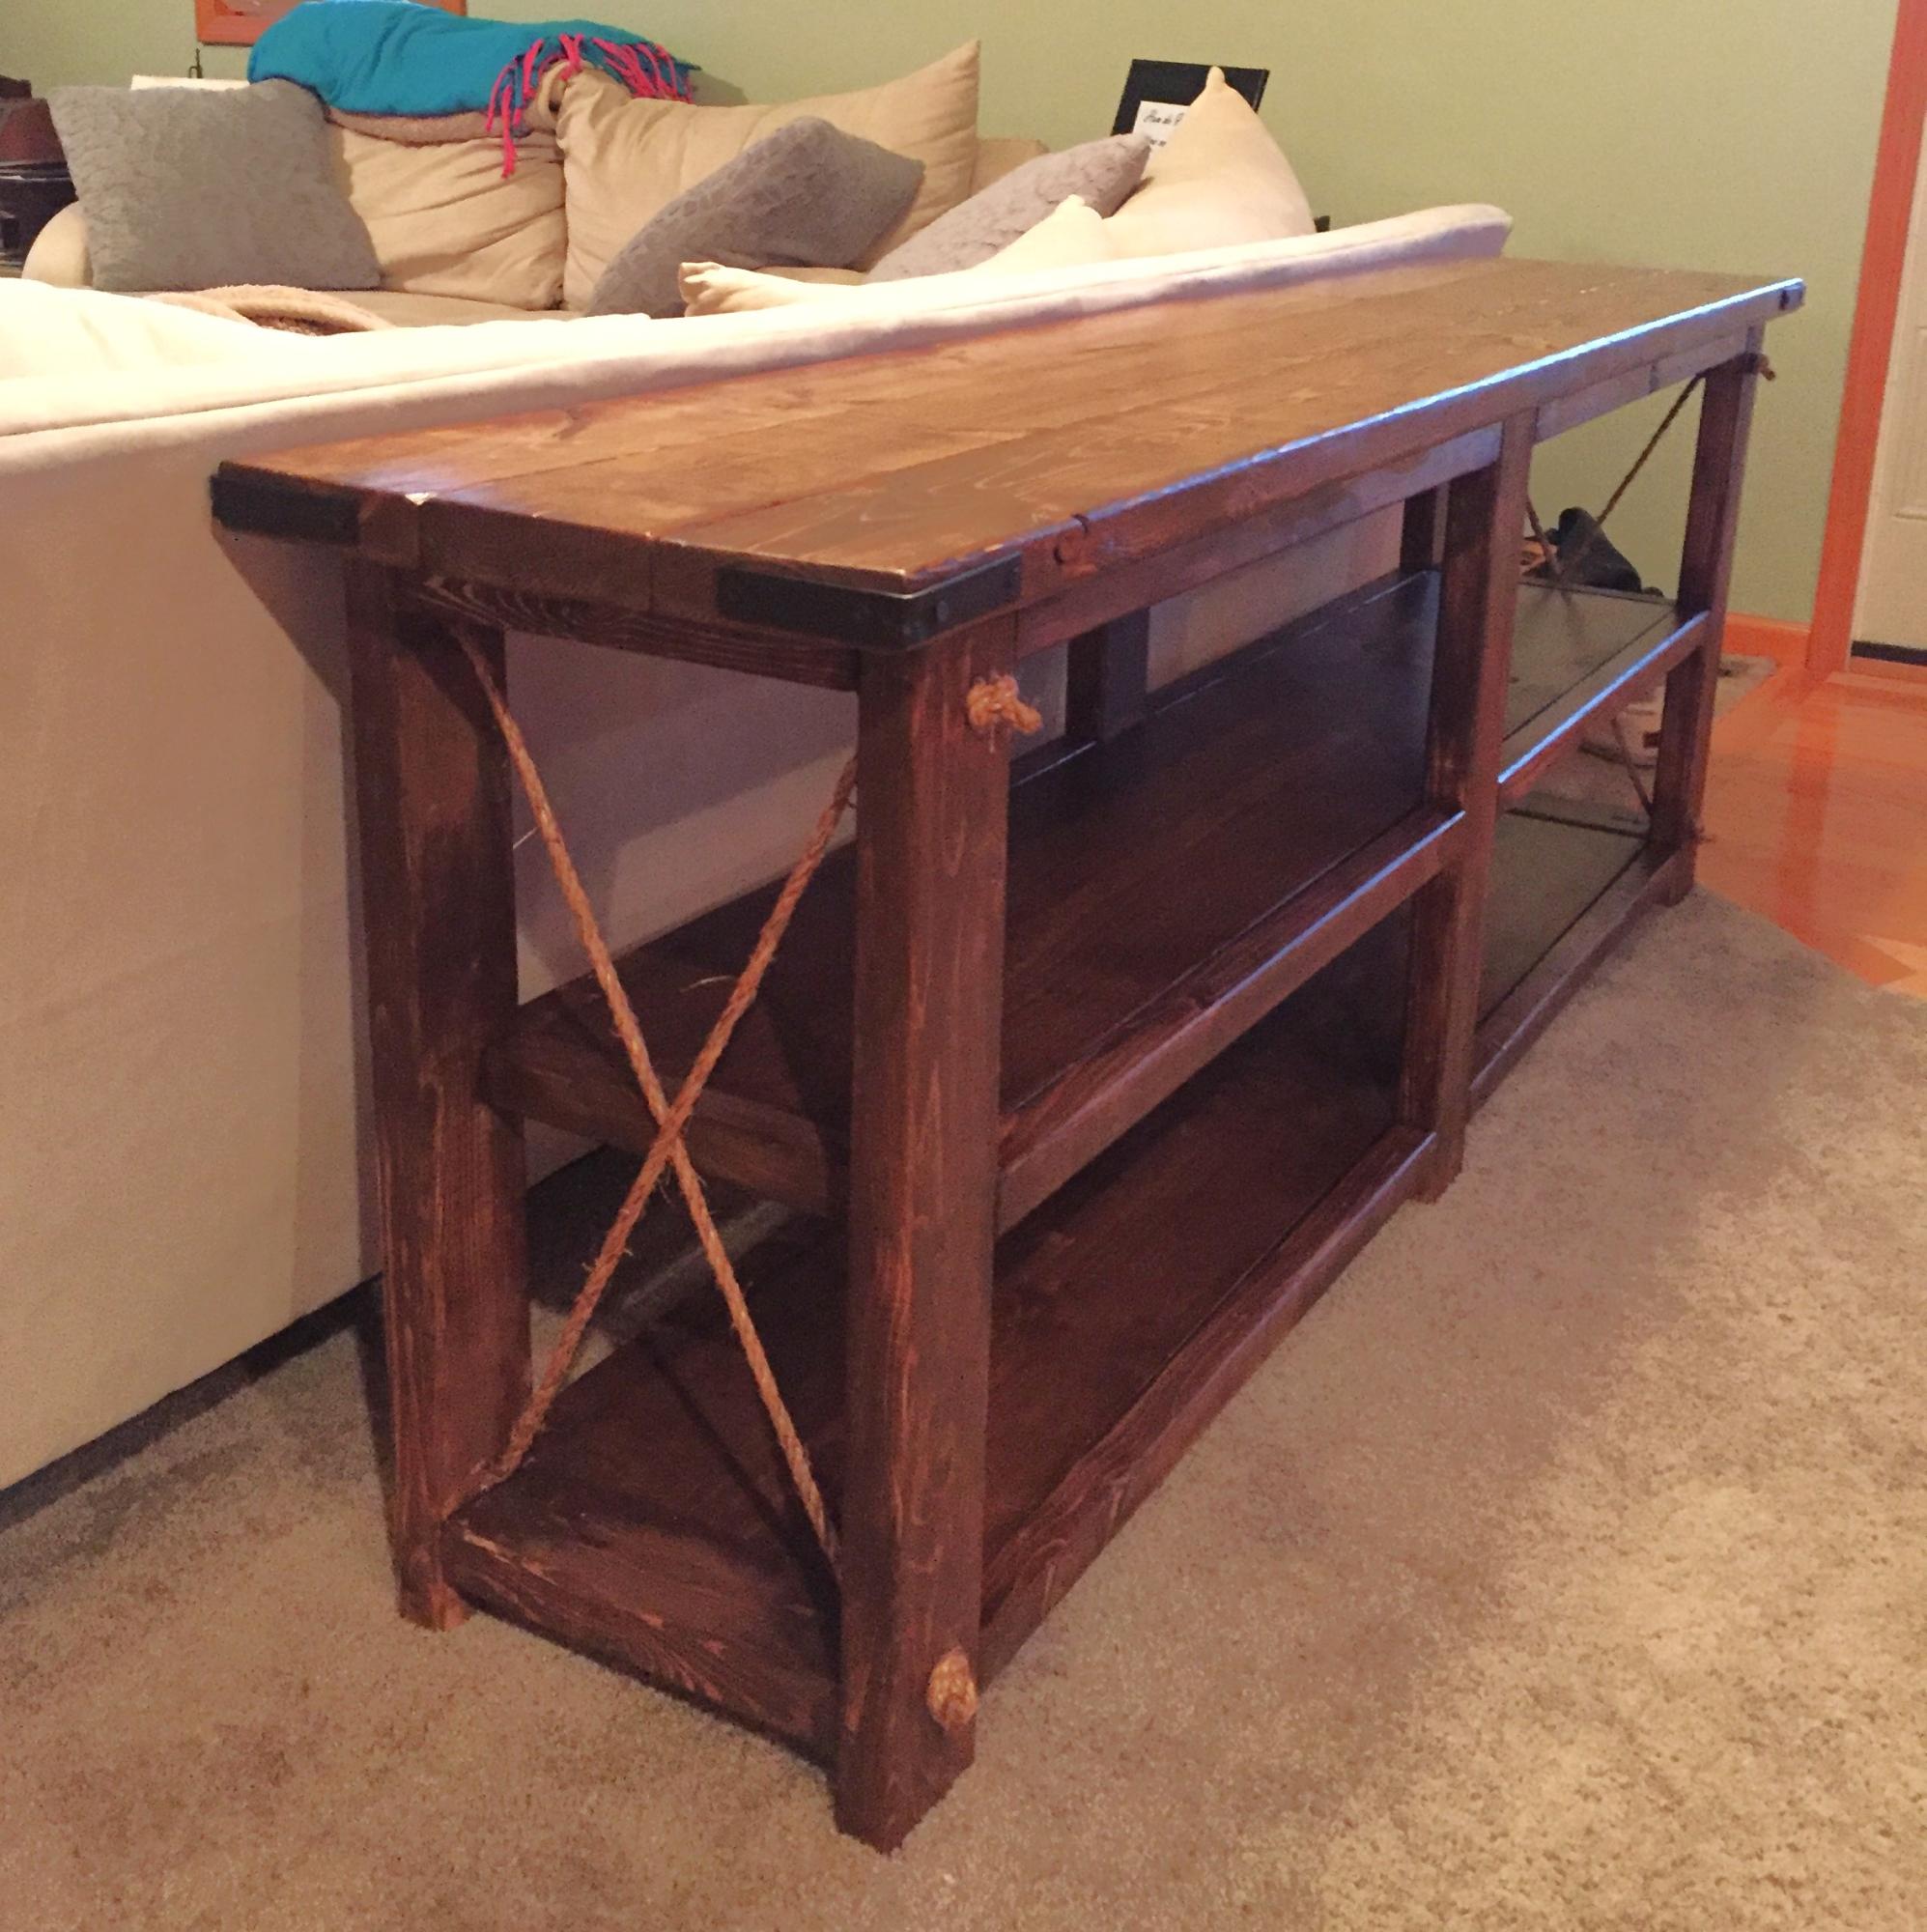
We took the plan from Ana and instead of the wood X's on the sides, we changed it to rope. We stained it a dark brown so this just gave it some more dimension... we love it!!
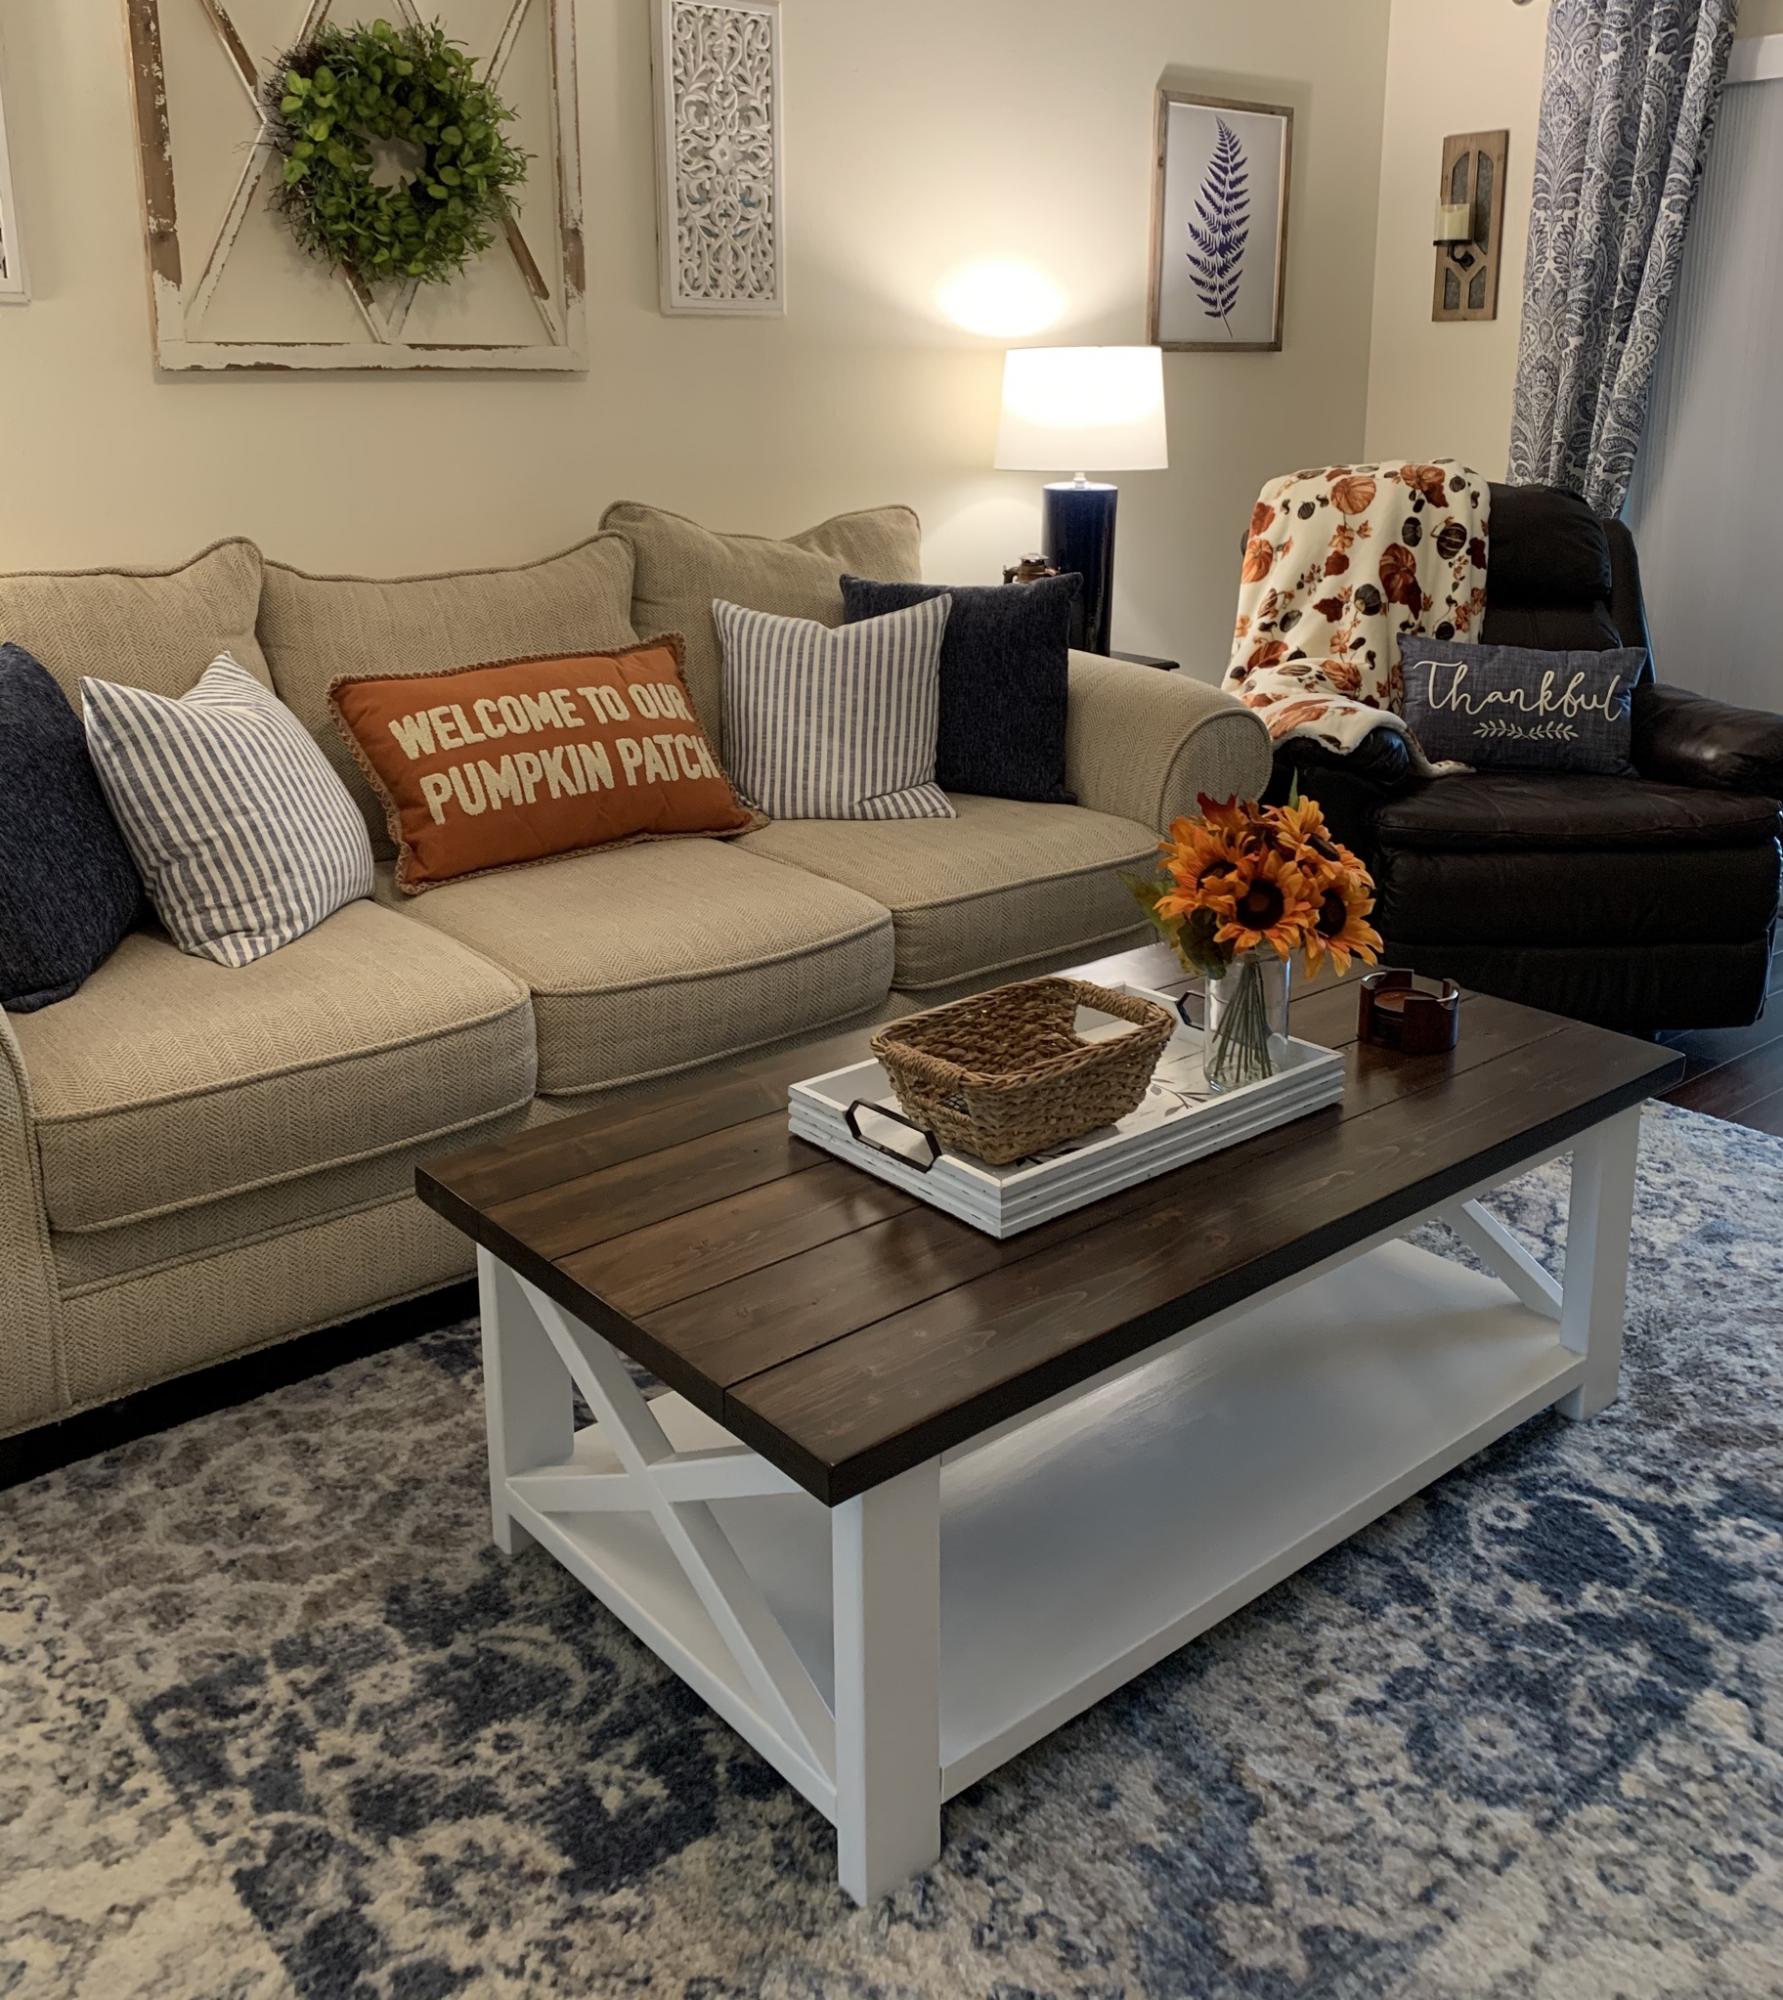
This was the very first project that my husband and I have ever built and it came out exactly as planned. We followed the instructions exactly as written and I’m in love with this table.
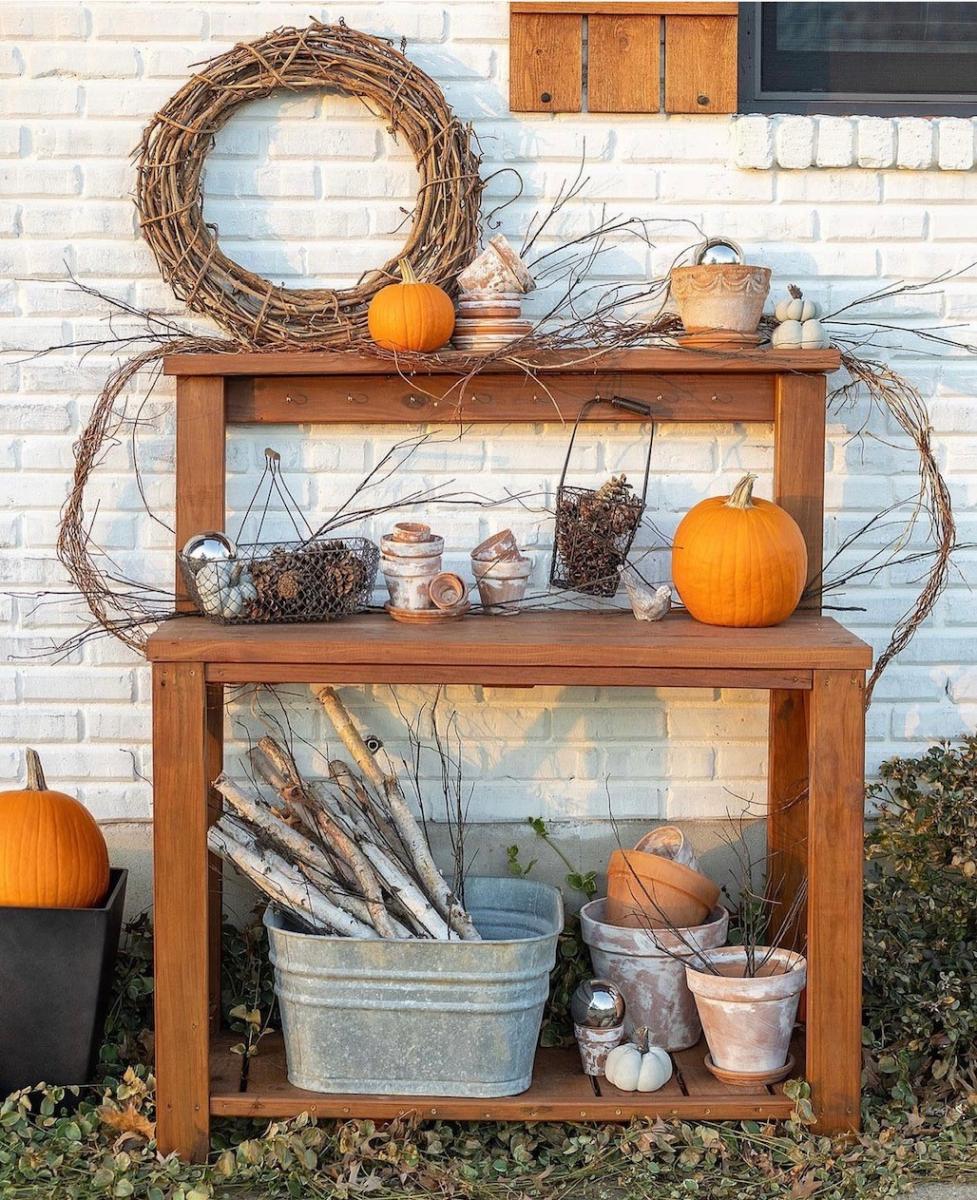
I wanted something with more height and room for decorating in addition to space for actually using it as a potting bench. I looked for ready-made online but nothing was exactly what I was looking for. I knew it was something we could build so I searched for free plans online. I love it because it has plenty of room for potting plants but also lots of space for decorating for the seasons and holidays. itsme_christyb
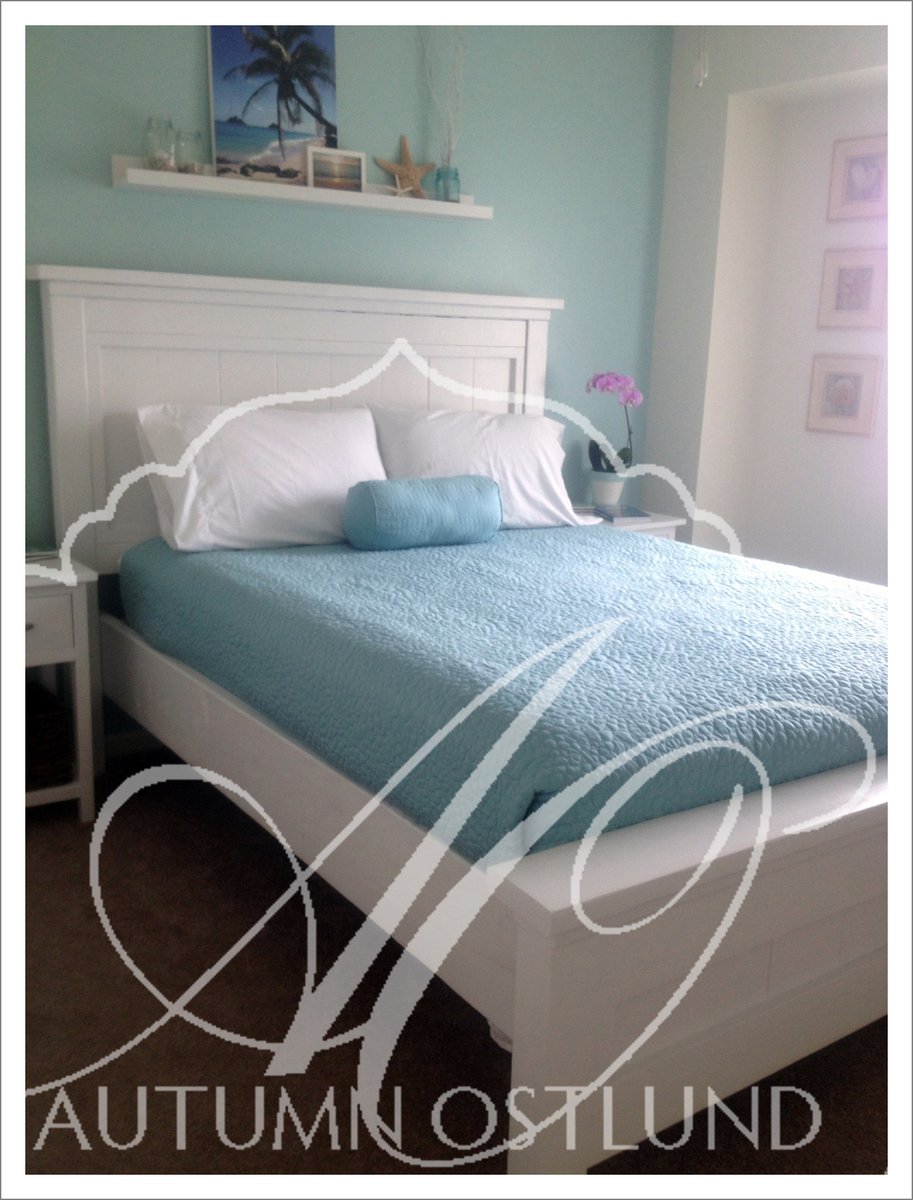
The farmhouse bed was the first project I tackled. Although it's far from perfect, learned so much and I love, love, love it!

The crib was our last build project for our daughter's cowgirl nursery. My husband knew he wanted to build the crib long before we knew we were pregnant.
As a mechanical design engineer, he found crib dimensions online that put together a design of what we wanted in CAD. We wanted the end panels to look like barn doors. We also wanted the slat sides to look like the metal on a horse stall. This gave us the overall look we wanted for our cowgirl room!
We also built together a side table, closet system, barm bookshelf, and dresser/changing table. I cannot take any credit for the crib. This was all my husband's work. Excited to bring our daughter home to her complete nursery soon!


Sat, 08/30/2014 - 20:57
Such a lovely, heartfelt build! It's beautiful, and bound to be an heirloom. Great job!
Sun, 08/31/2014 - 12:51
What a beautiful build. He did a great job, and you can sleep soundly knowing it is safe since he is an engineer! I also love the barn bookshelf in the background of the pics.
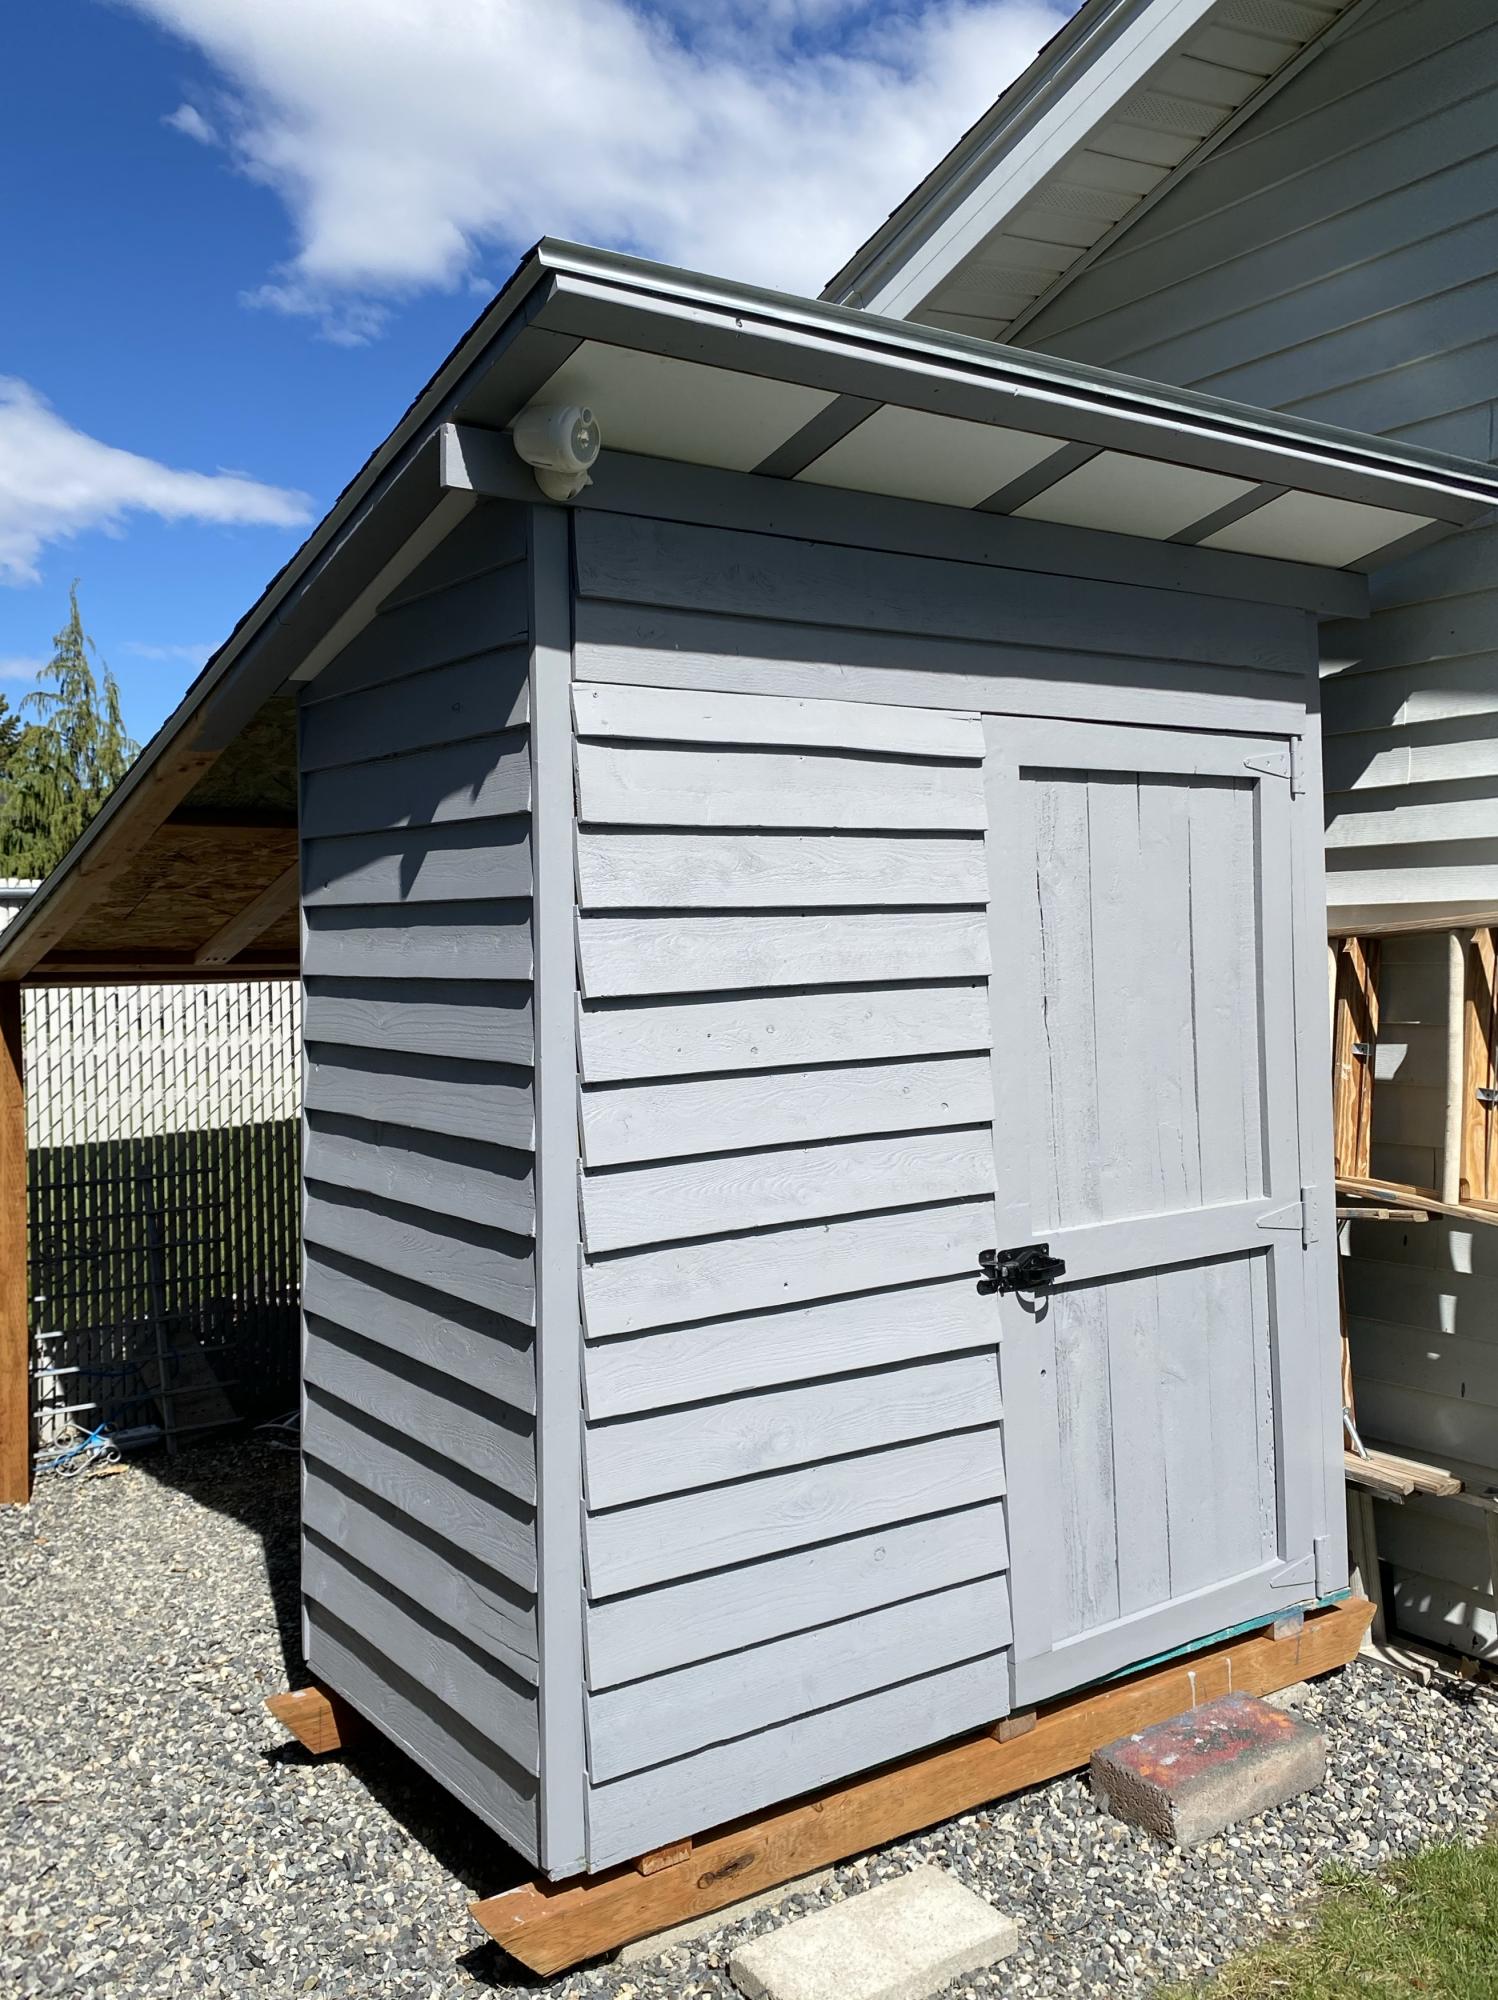
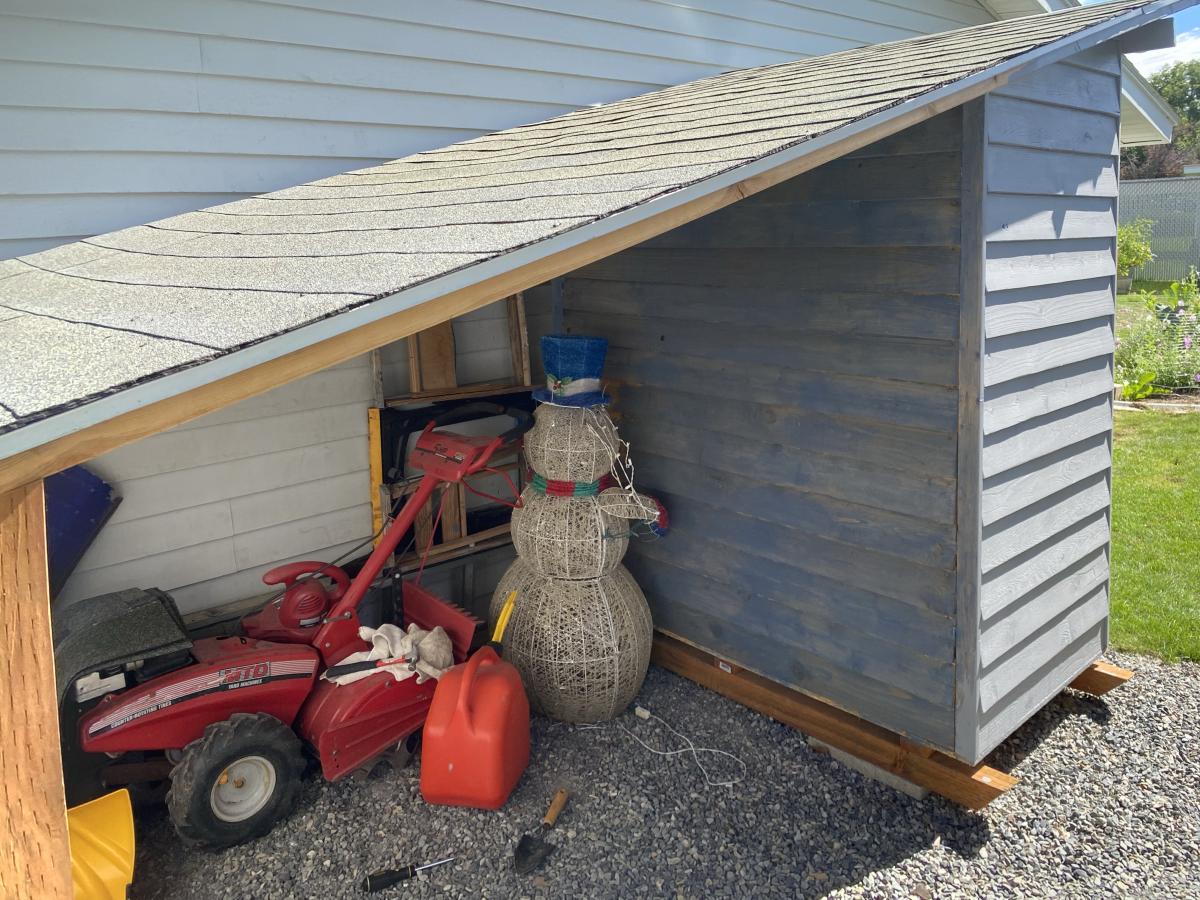
I really needed somewhere to park my rototiller and mower during the summer and ended up modifying the plans to include a lean-too/over hang area. This required flipping the shed to extend the roof line. I continued the 15• roofline and also then had to create and cover the soffits. I also reduced it to one door and placed it on a skid foundation so that technically it would be considered a temporary structure, no permits needed. I first used a semi transparent stain that looked much darker and grayer in the store but looked very blue and terribly streaky on the shed, see back wall area. I then restrained it with a solid stain, which I think looks much better and covered the streaky stain. Because I extended the roof and stained it twice, this really increased the cost, but I think it was well worth it. I can store all my yard and garden tools underneath and inside.
