Tree Shelf
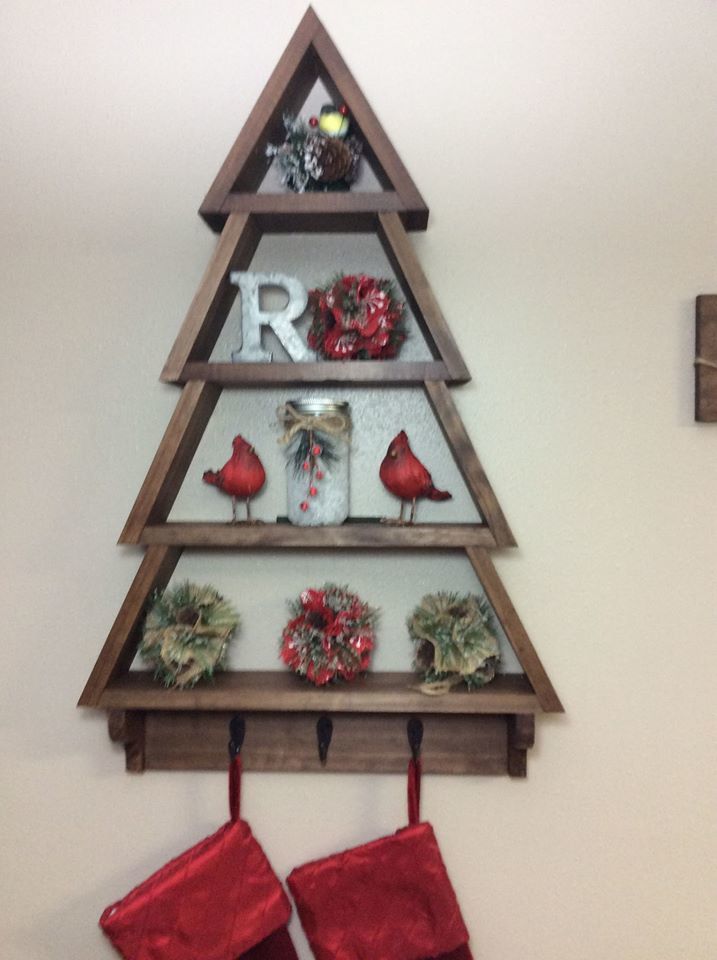
We loved making this project, I even learned how to work with angles.

We loved making this project, I even learned how to work with angles.
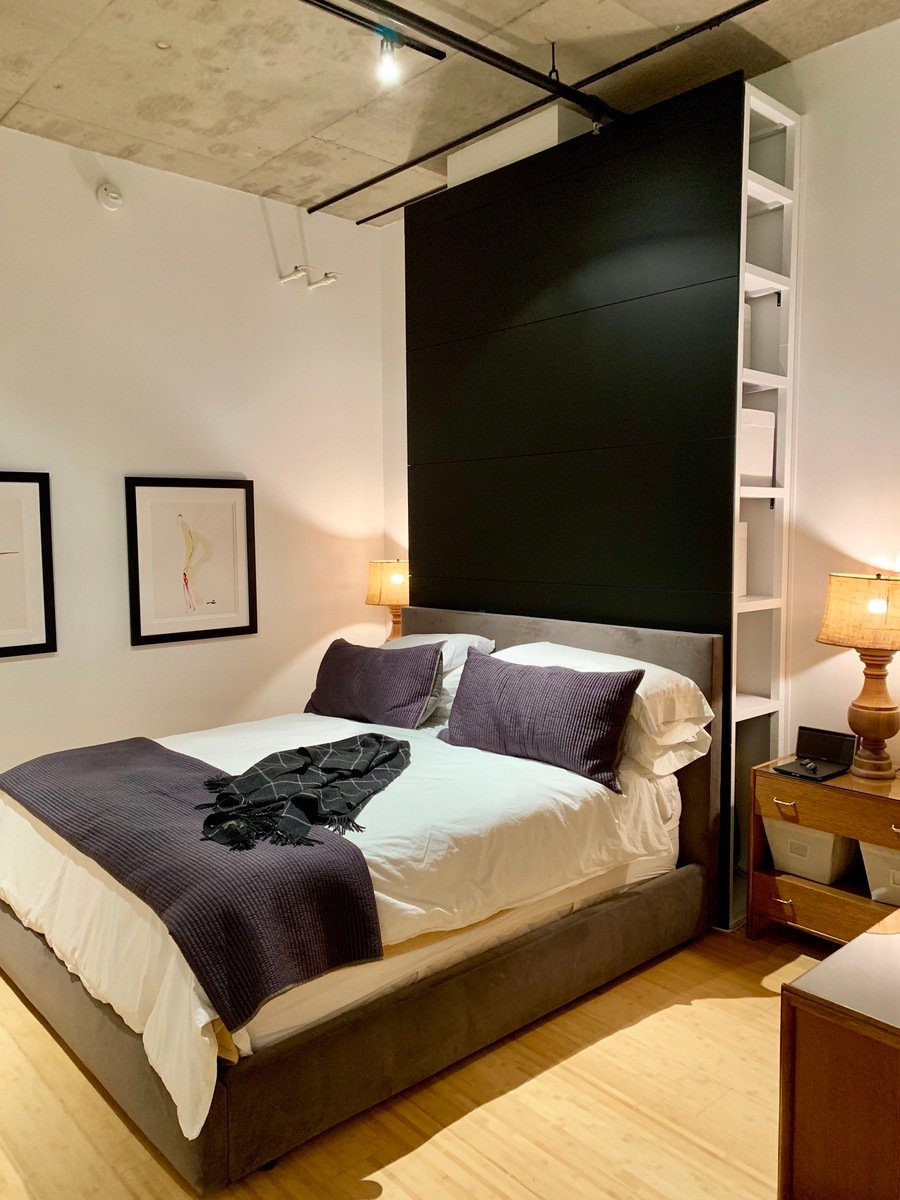
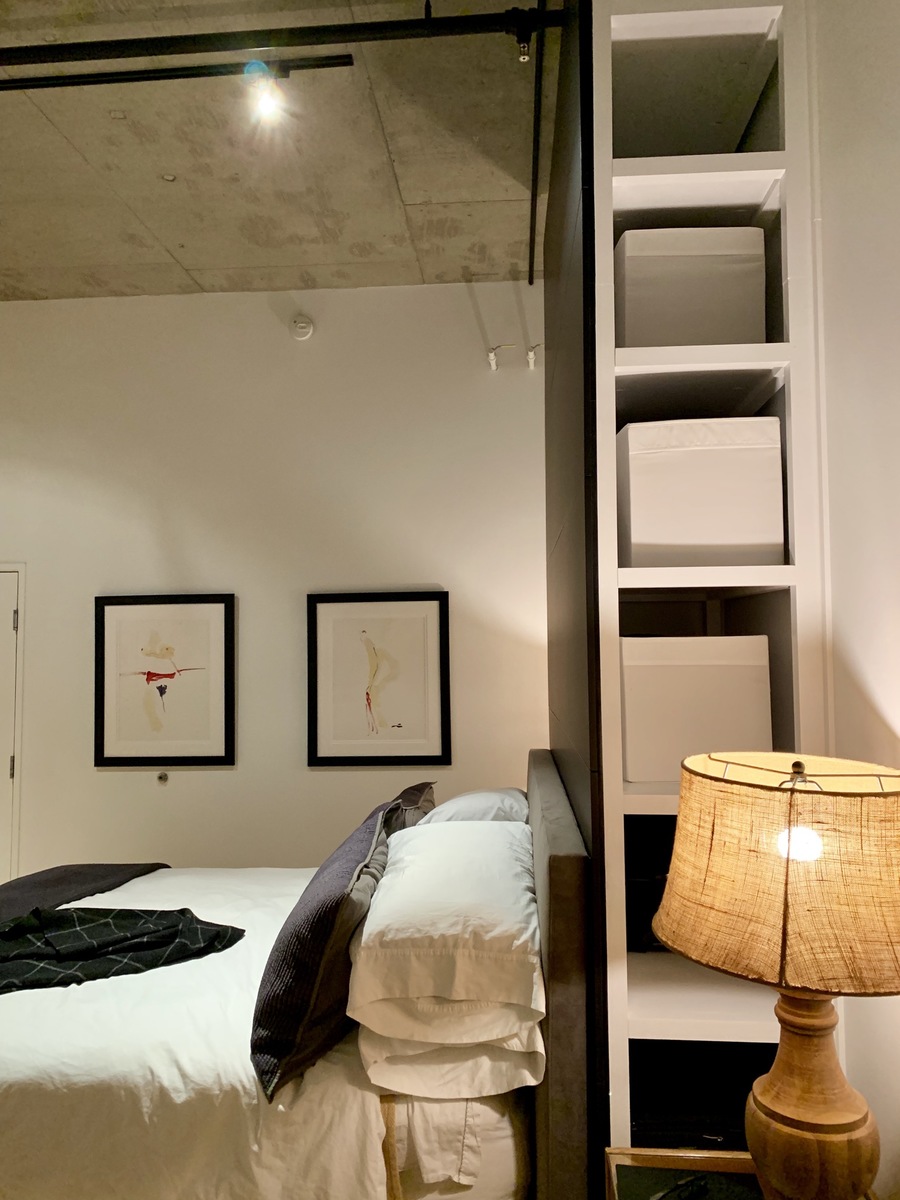
This was my first woodworking project, so it’s very easy to build. I made a huge Parsons bookcase, anchored to the wall, and affixed plywood and Ikea kitchen cover panels to the front to create a headboard with storage. Thanks, Ana, for the easy plans!
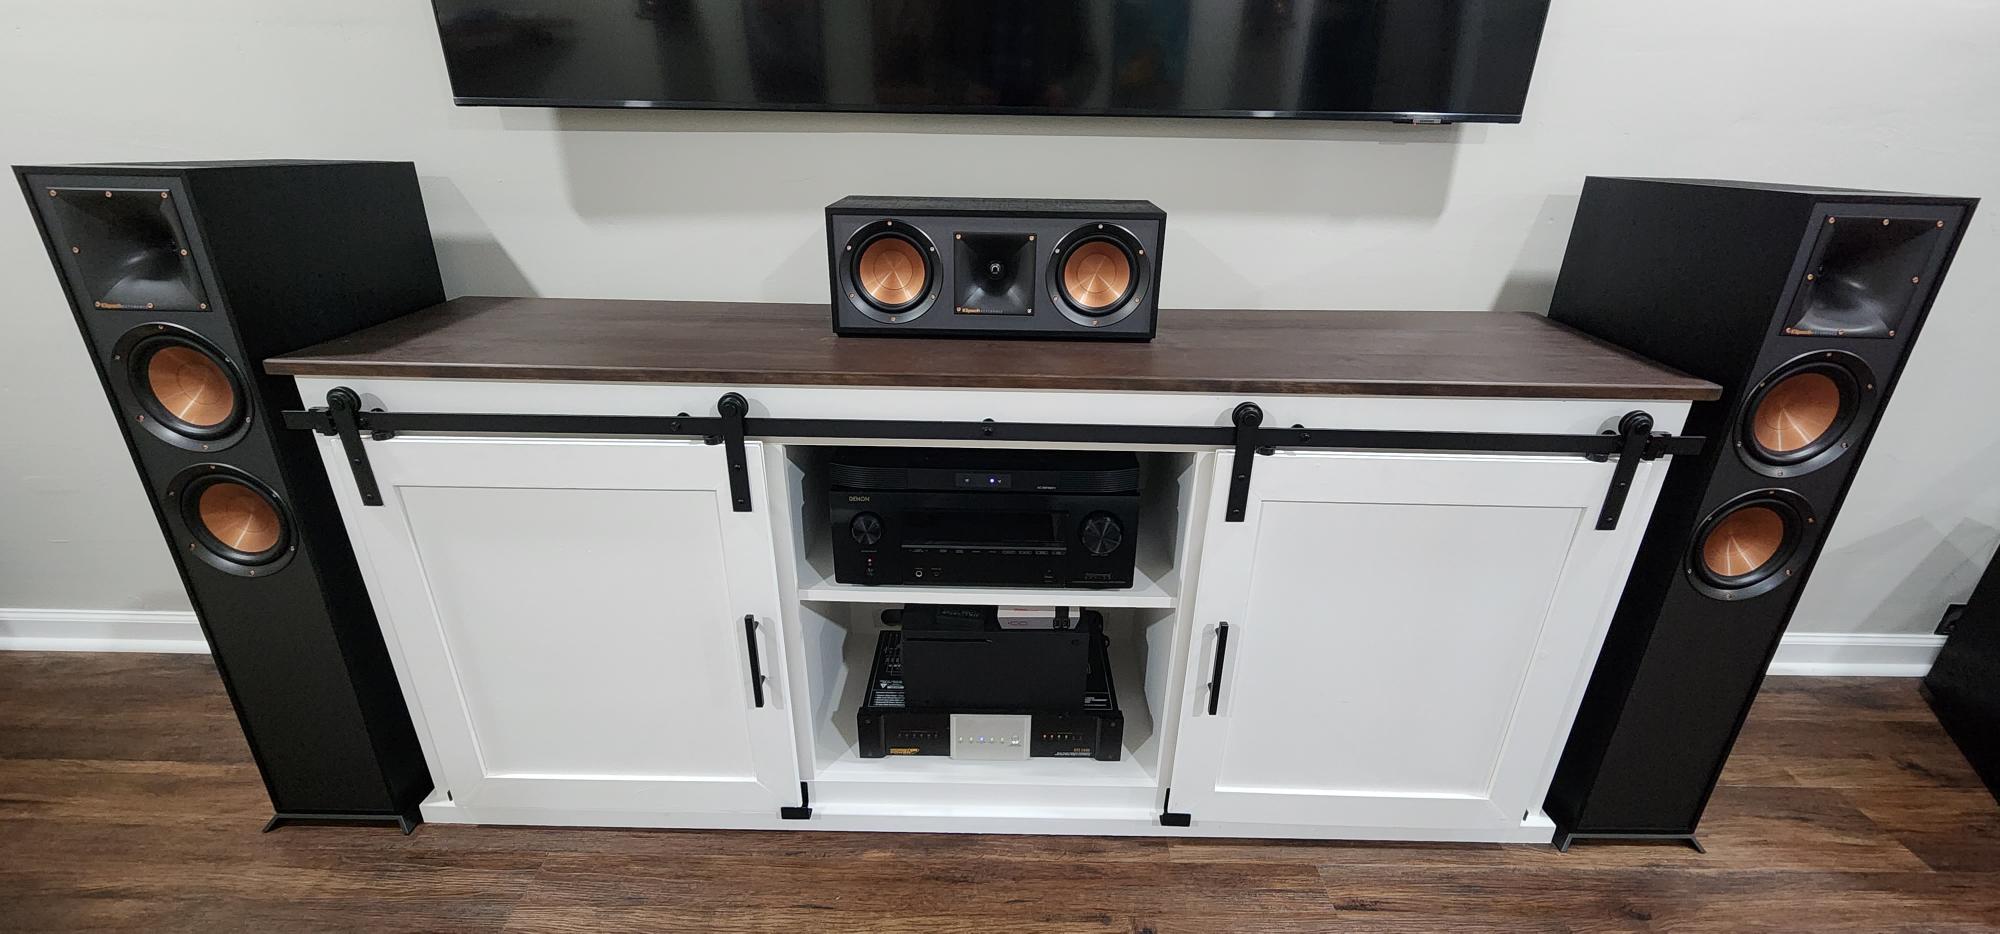
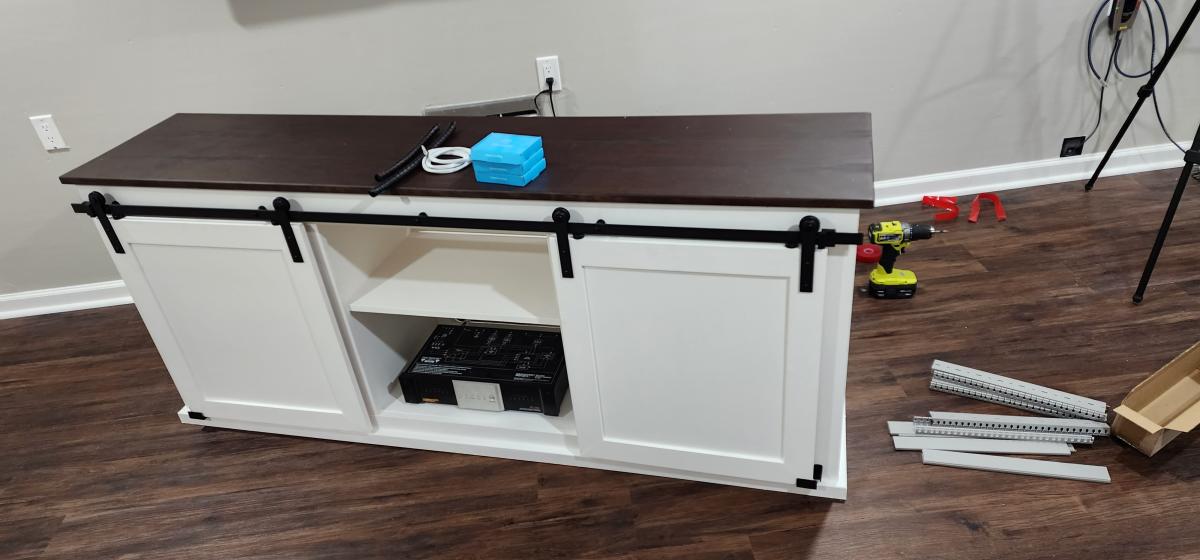
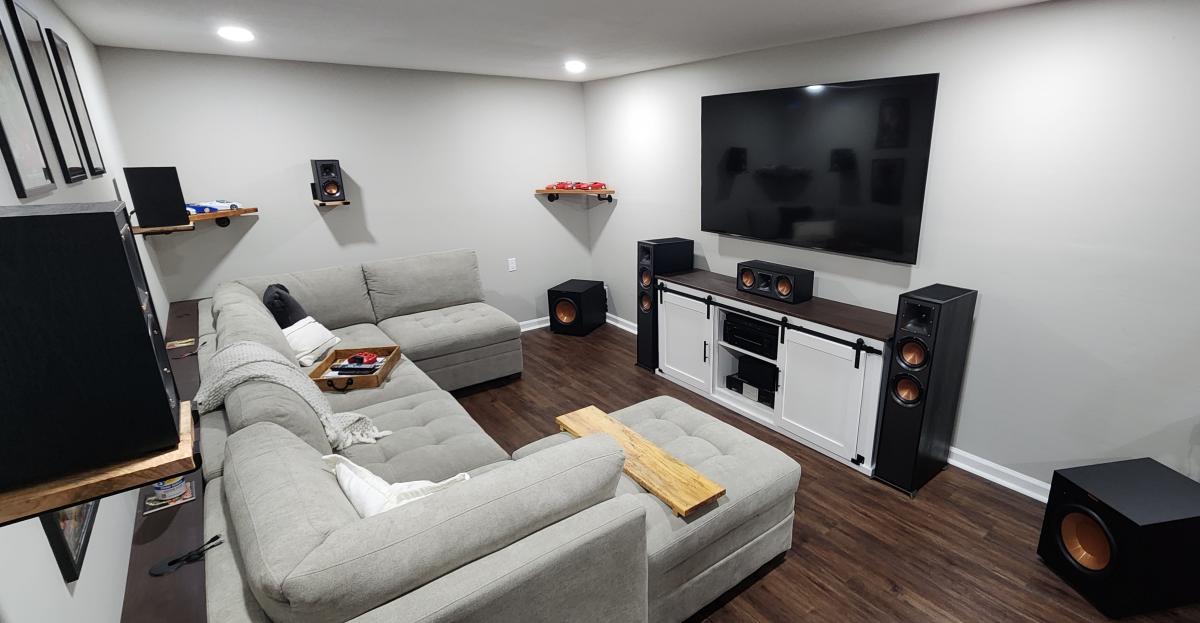
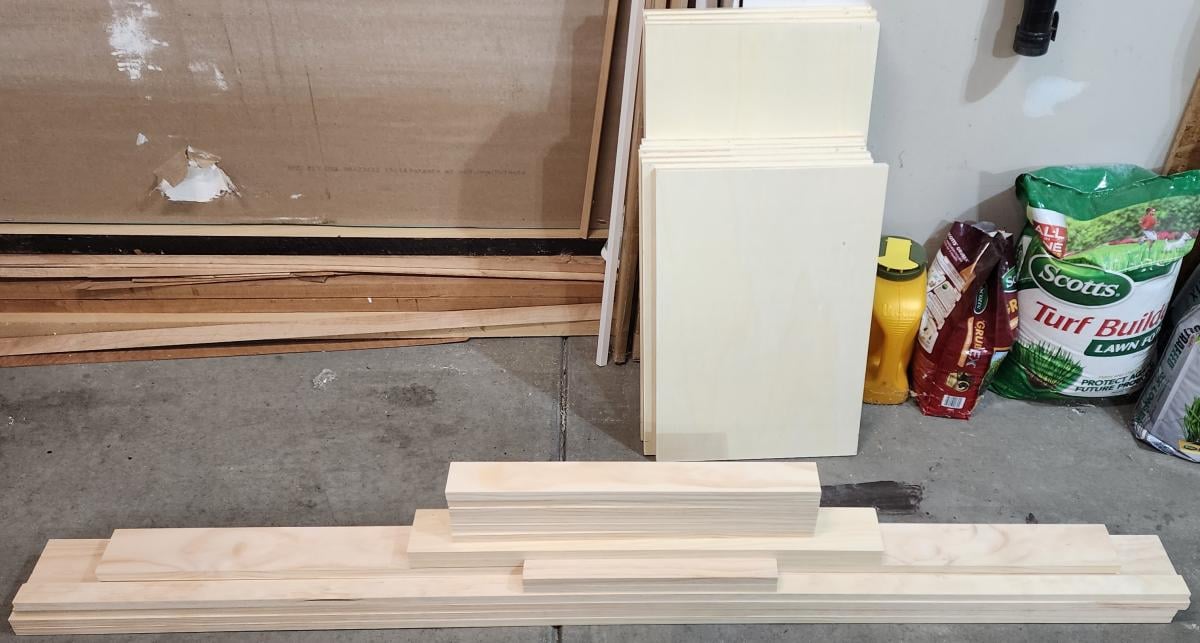
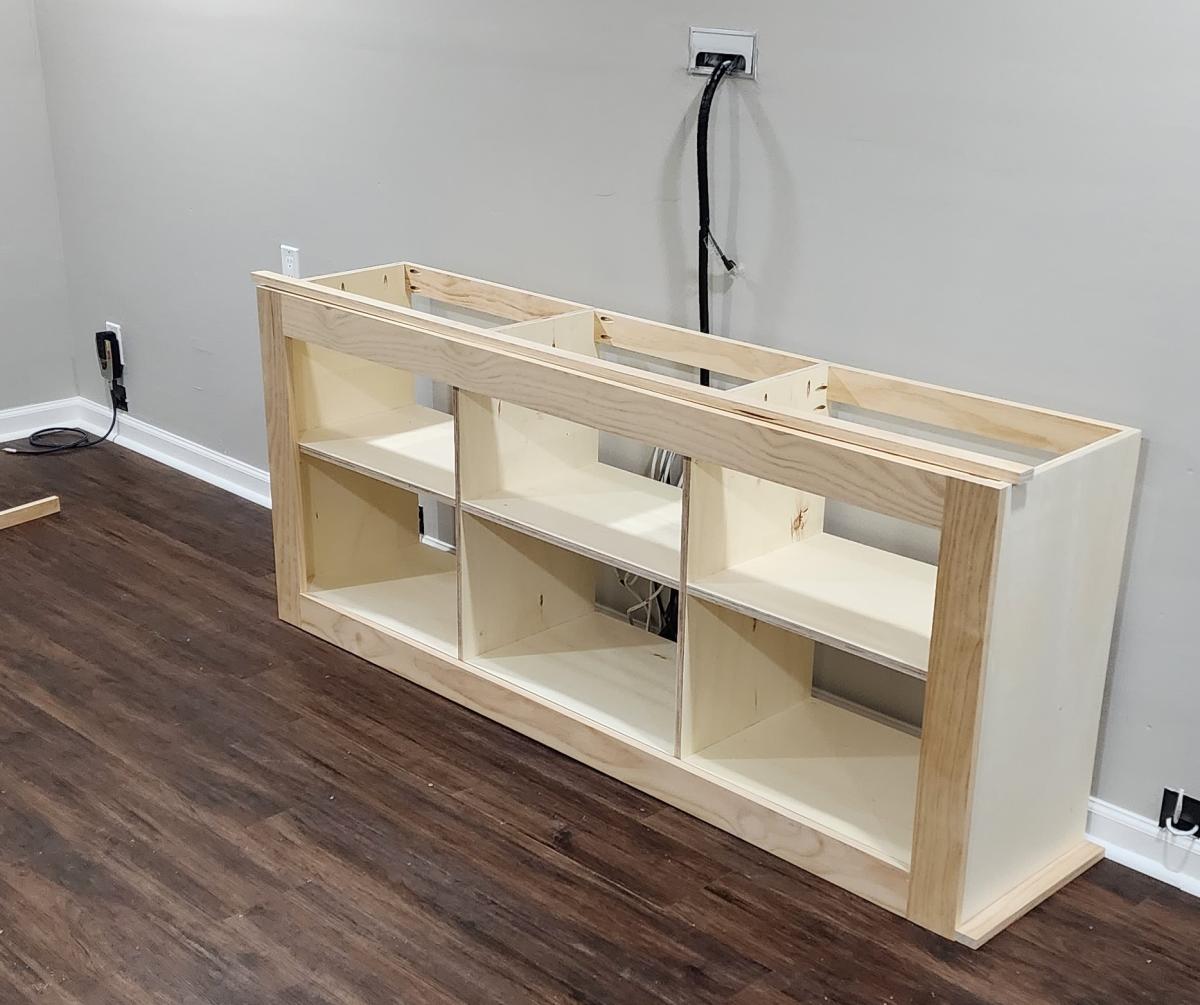
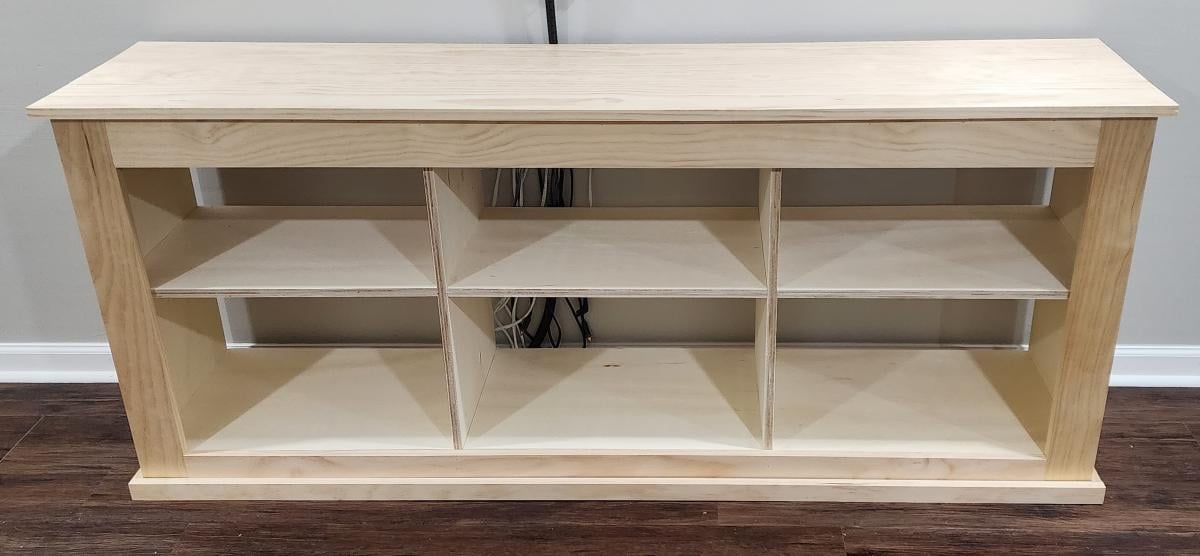
I didn't really like the modified 6' console plans, so I modified the 8' version. This gave me the center opening for my home theater equipment, power station, and gaming console. Besides reconfiguring the dimensions, the only other things changed were aesthetic. With the right tools, this console was pretty easy to build!
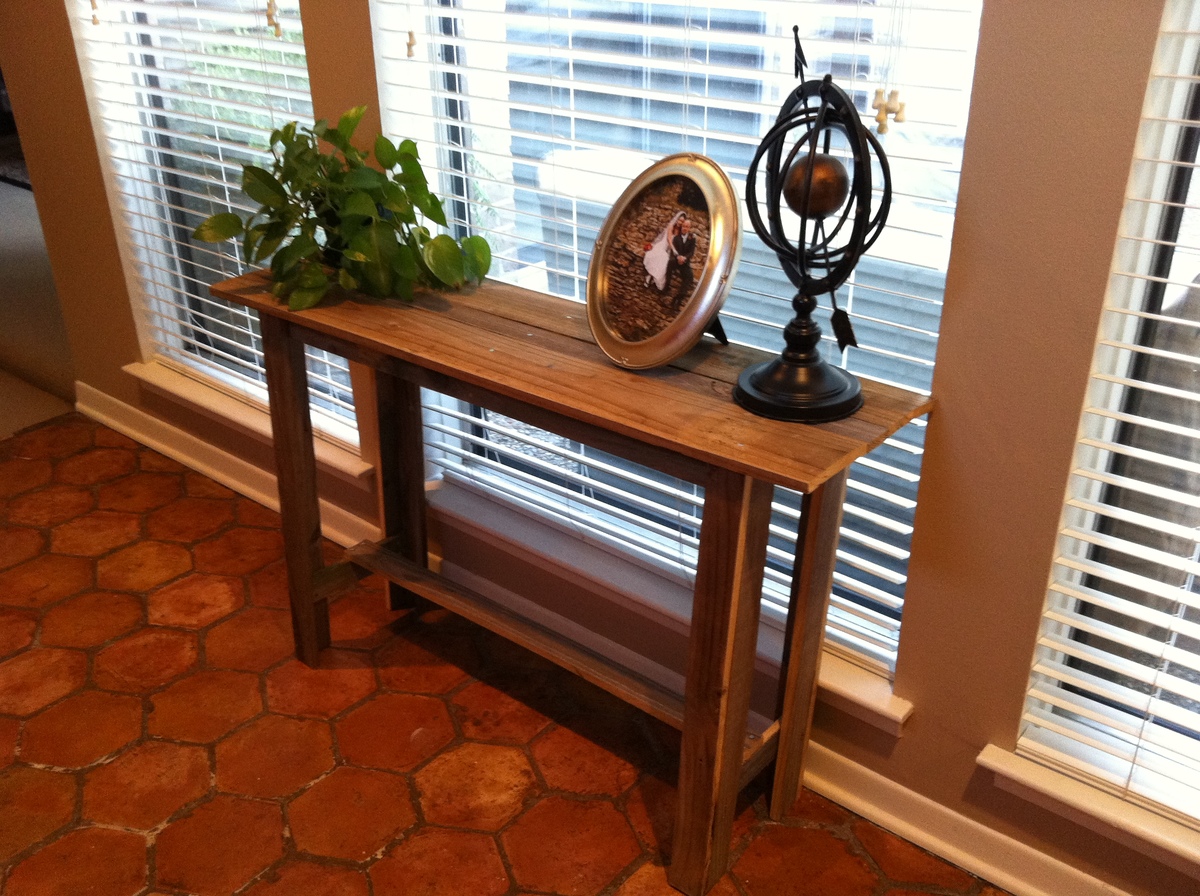
My husband and I wanted to try something relatively simple before attempting to make a dining room table.
We used some old fence boards that were very weathered, so we expected that the end result wouldn’t be perfect.
It is definitely rustic, but I think it is charming!
We modified the stretcher and the table top, but otherwise followed the plans.
It was easier than I expected... I think I am hooked!
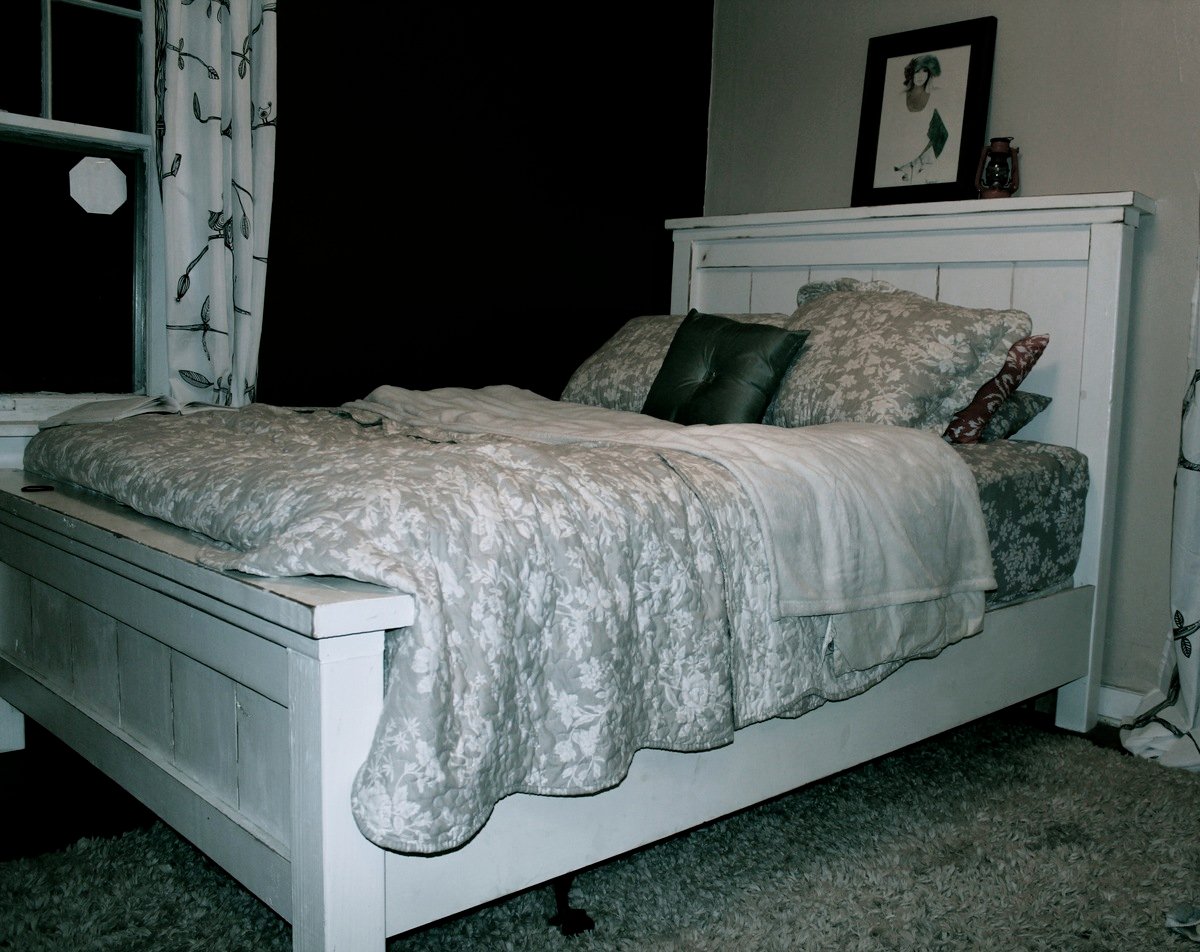
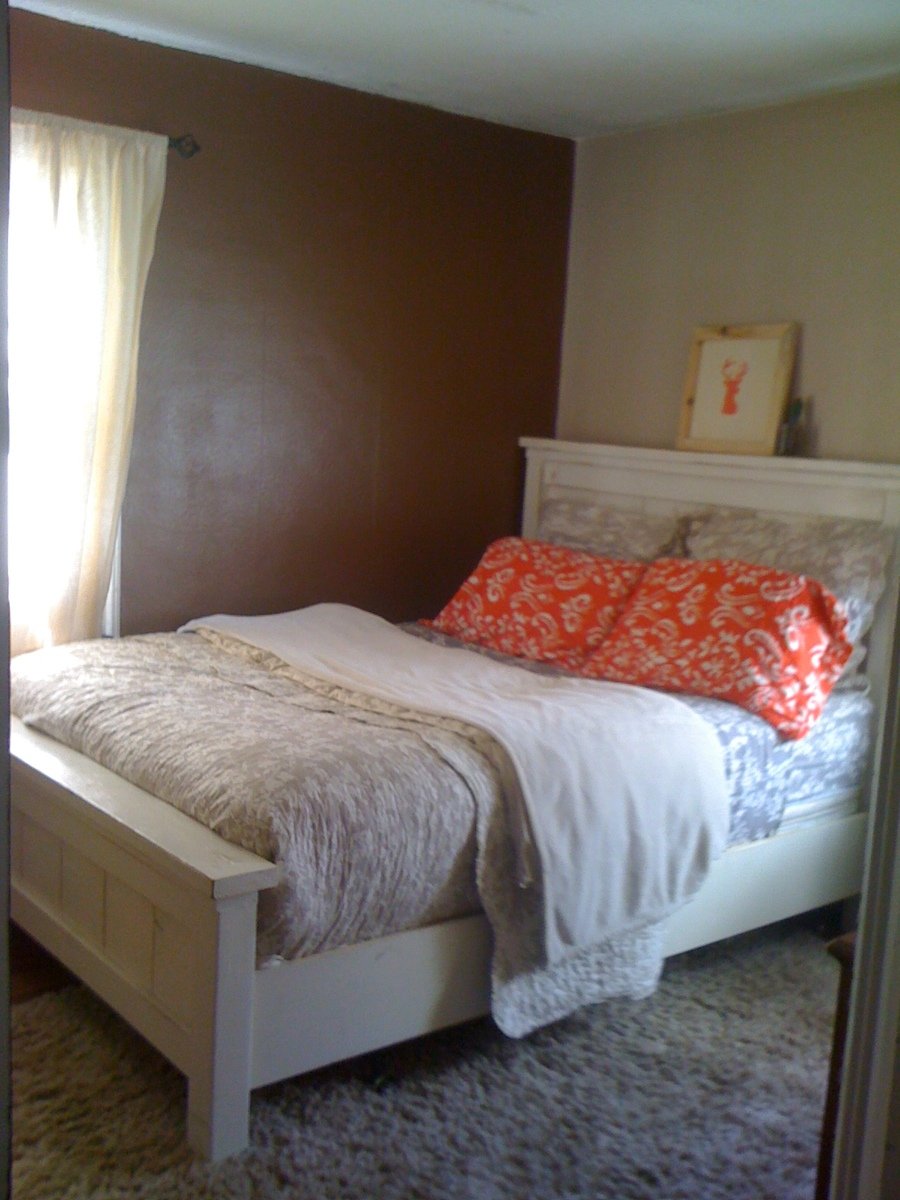
We built this bed way back in April for my birthday, but hadn't gotten the bedding quite right until now. We love this thing and it is sooo sturdy. I wish I would have taken more time on finish work to get the paint just right. I will probably repaint it in the future but for now it is a beautiful and necessary addition to our bedroom.
Thanks so much for the plans Ana, this was our first furniture project besides shelves and boxes. It definitely gave us the confidence to continue building and even to start creating our own plans and furniture designs.
** updated photos on 11/21
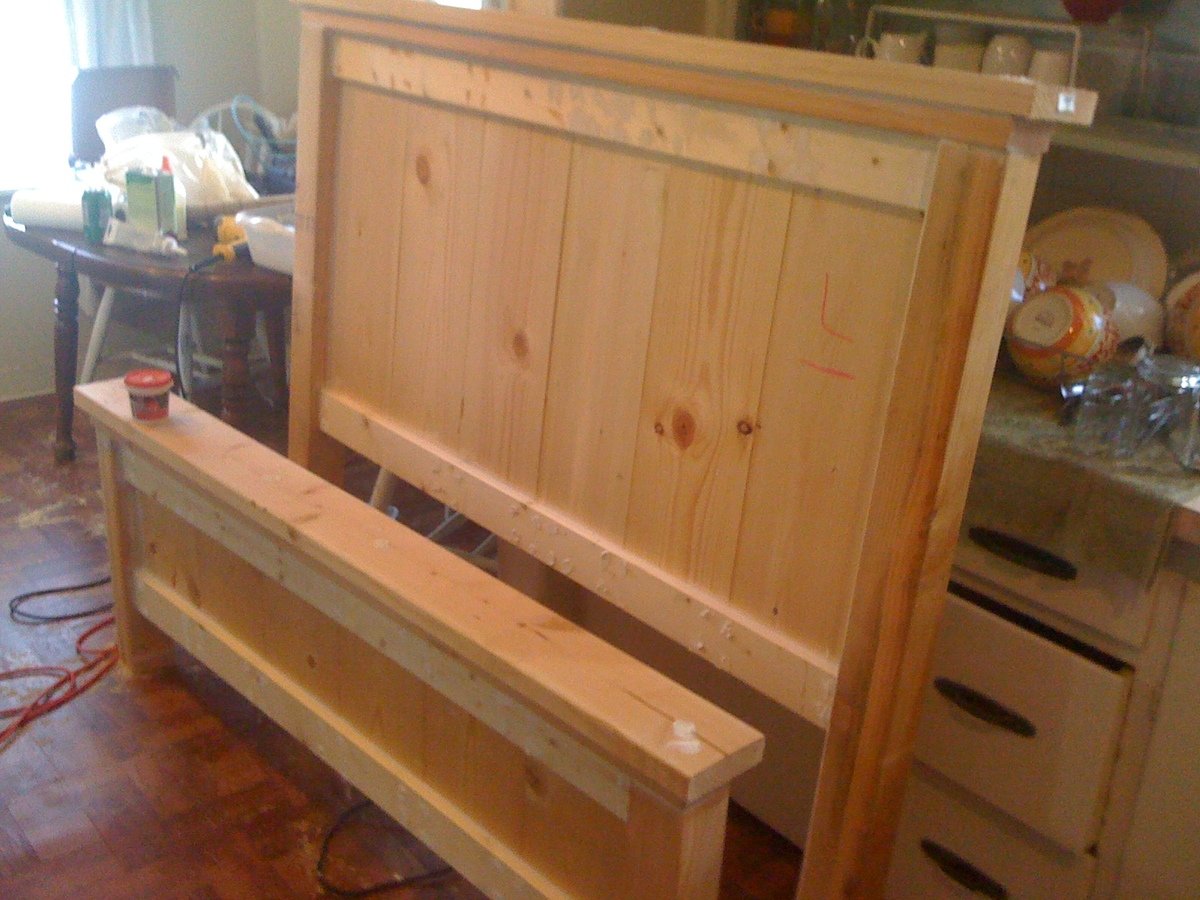
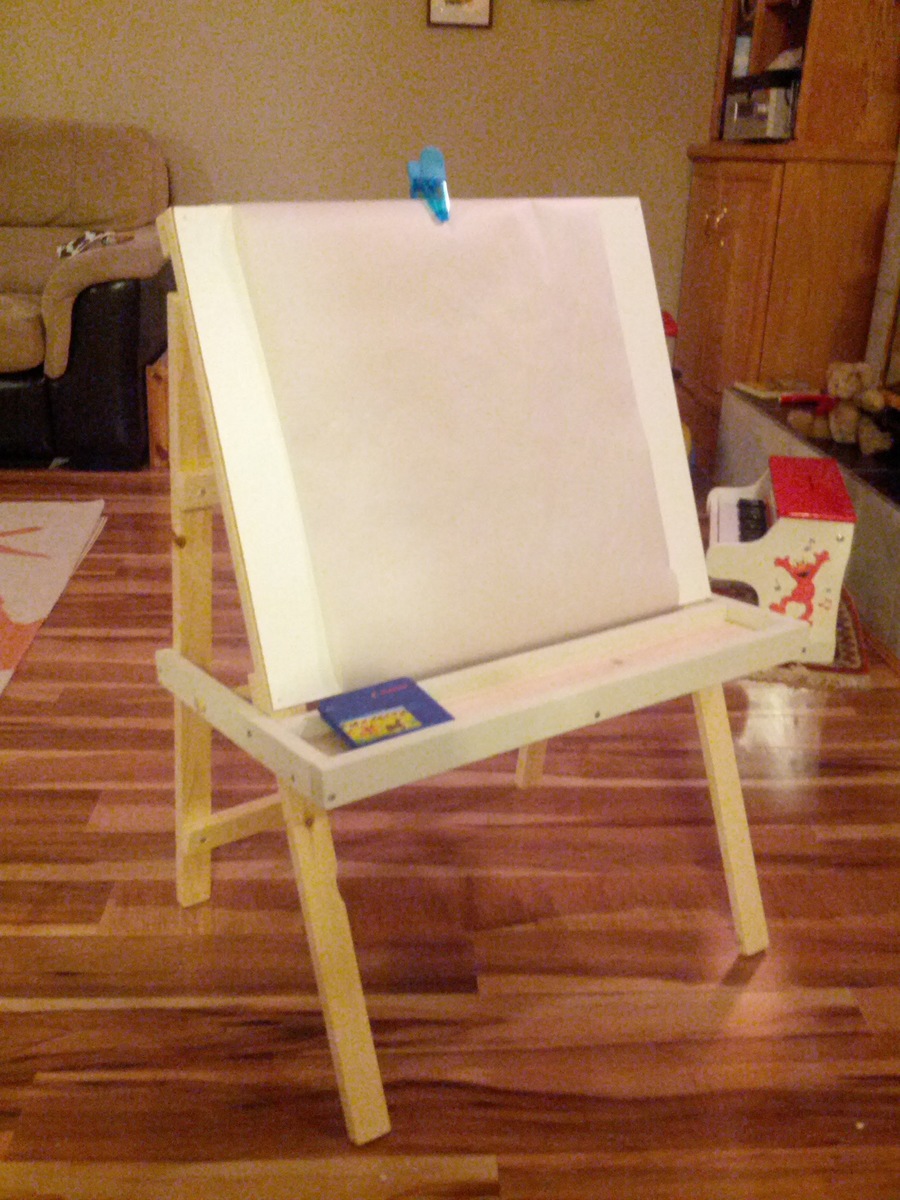
We opted to make this a regular easel (no chalkboard) and just used a sheet of paneling as the background. It's perfect, our toddler loves it. Thanks Ana!
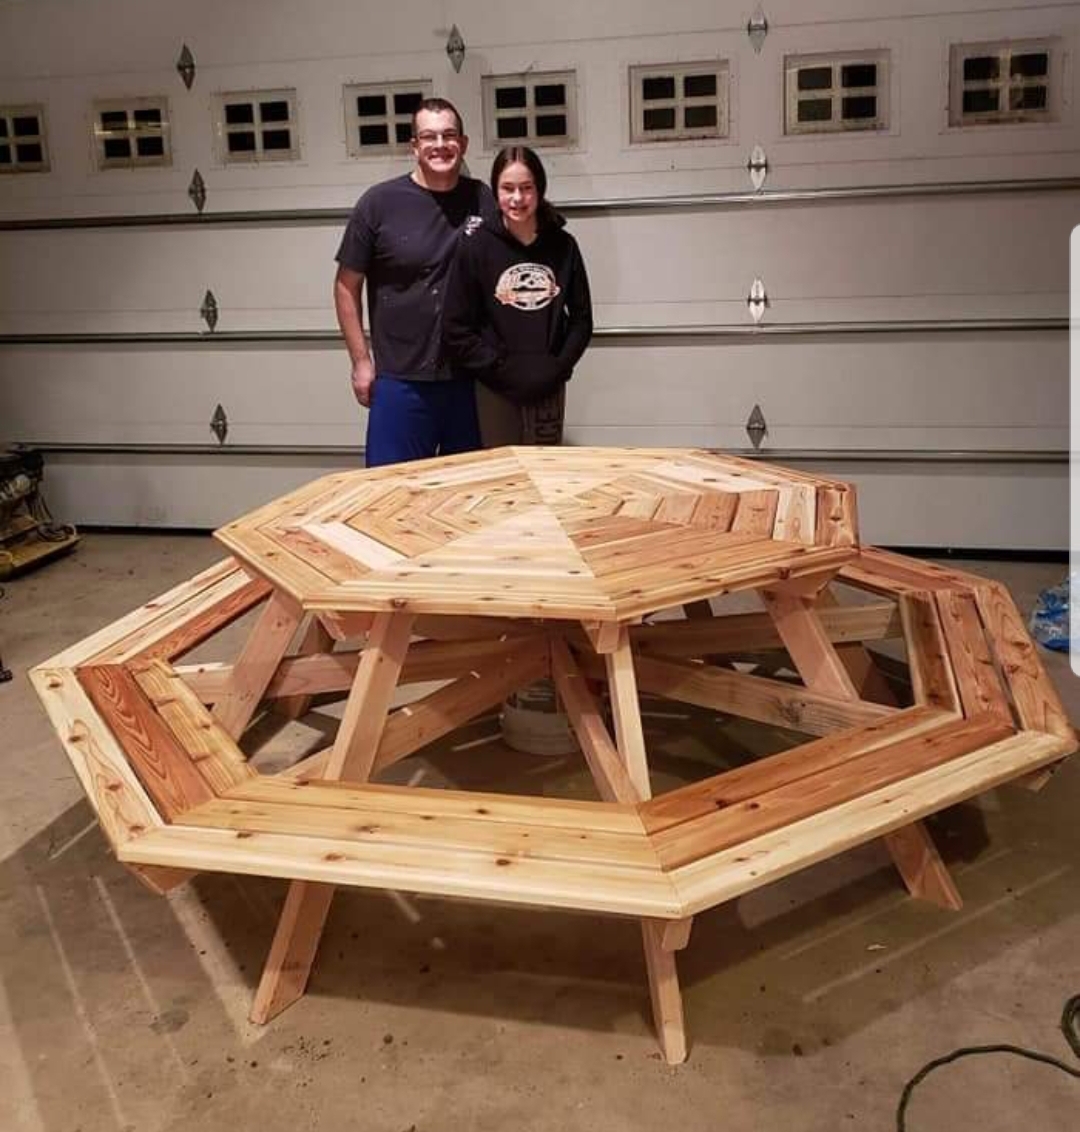
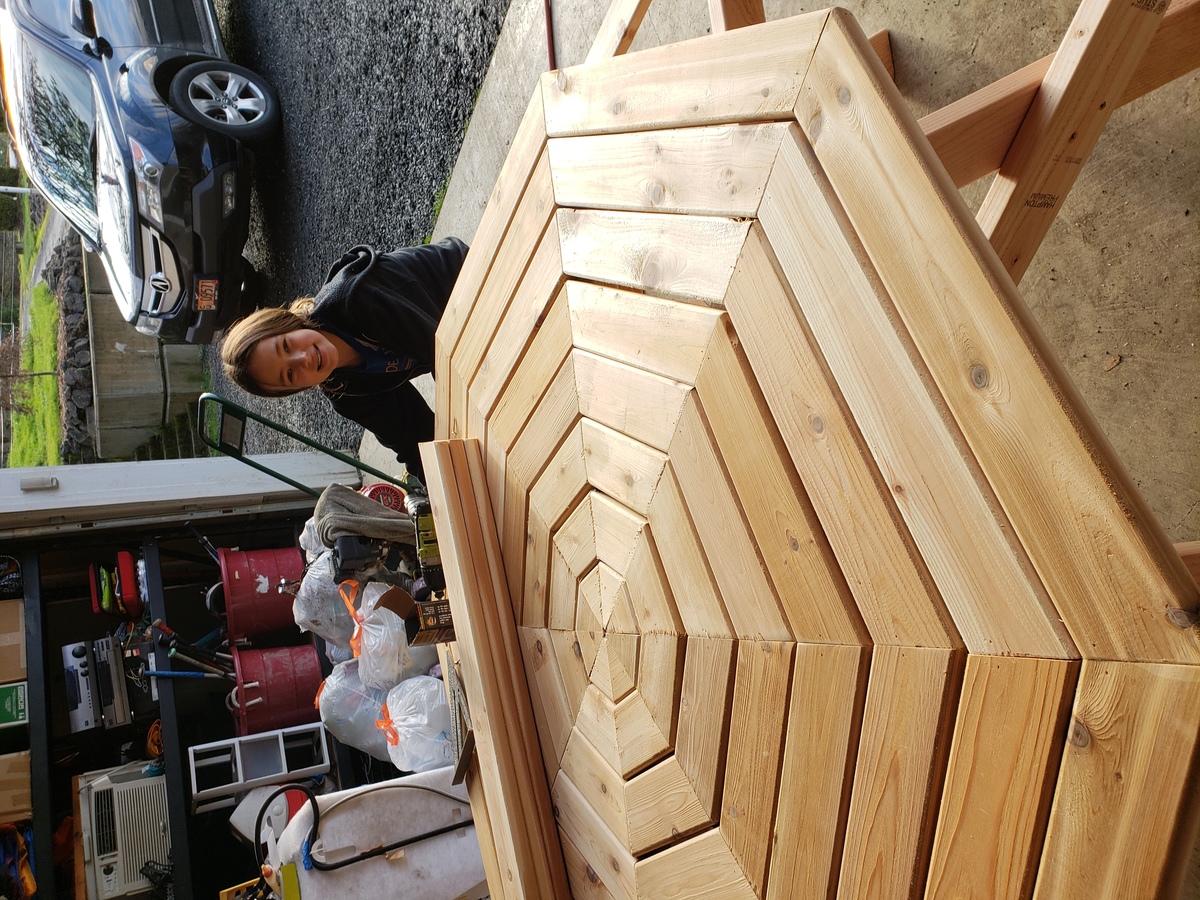
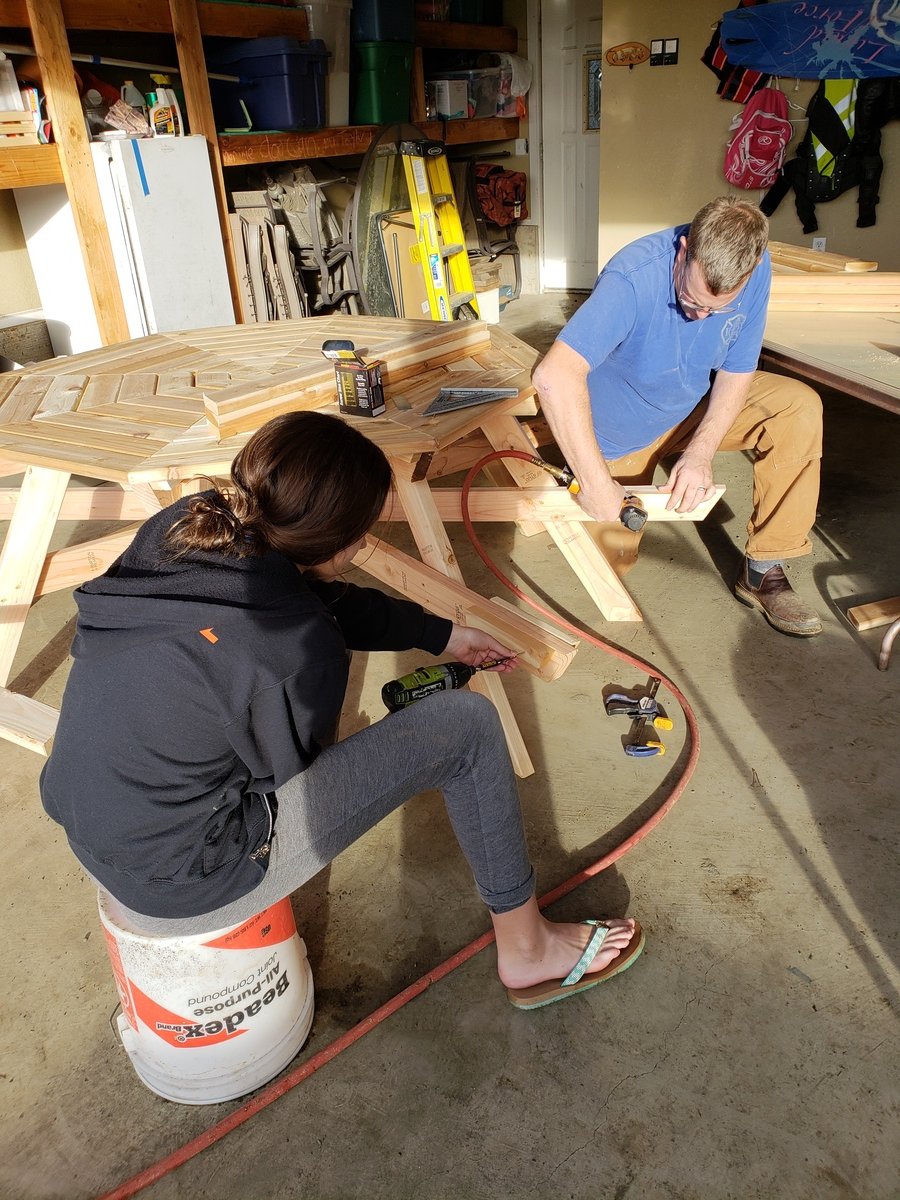
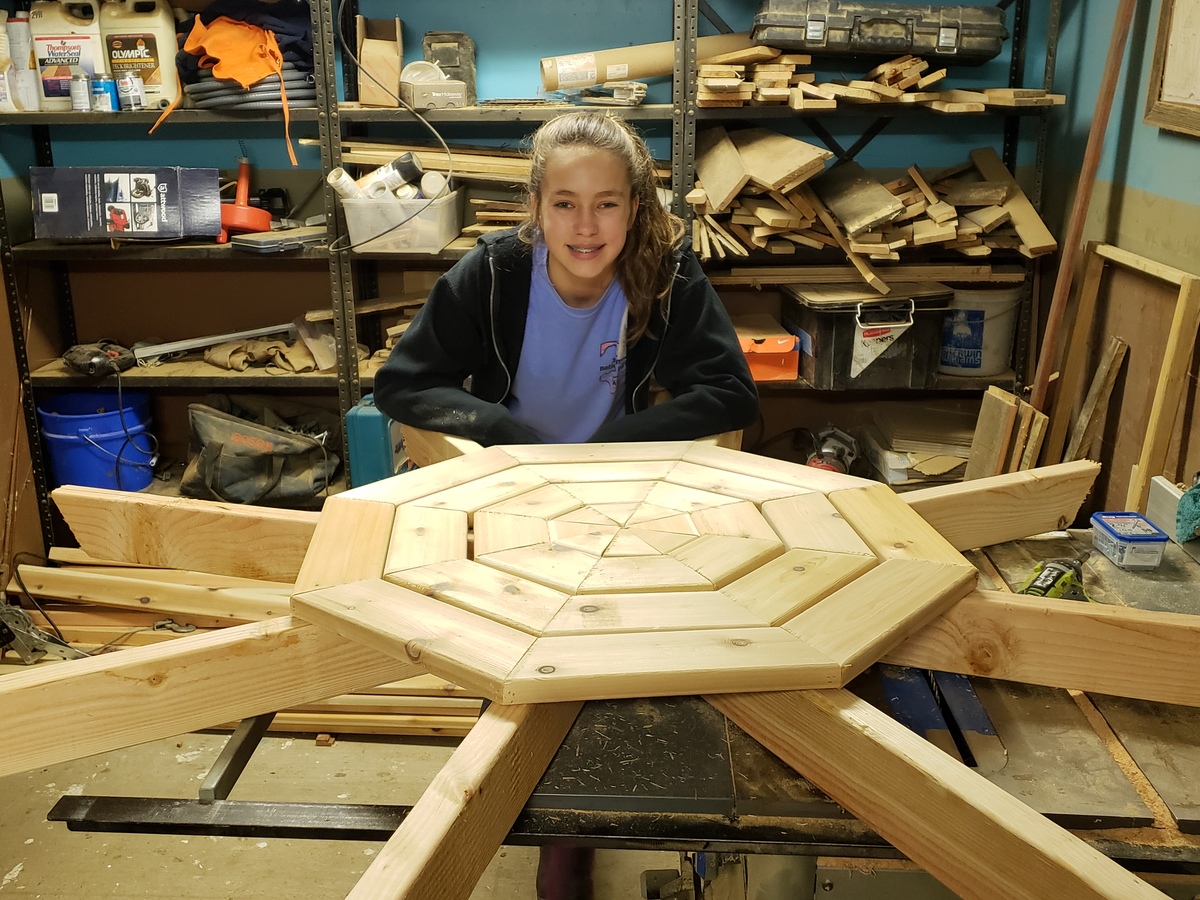
My 11 year old daughter and I built this table in a weekend for a fundraising auction for her school. We changed out 2x6 for 5/4x4 Cedar. We also fixed nailers on the underside so no screws show. The table was a fun project to work together on and for Taylar to learn to use power tools. BTW the table raised $700.00 for her school, I would say that is awesome. Thanks Anna for the plans!!
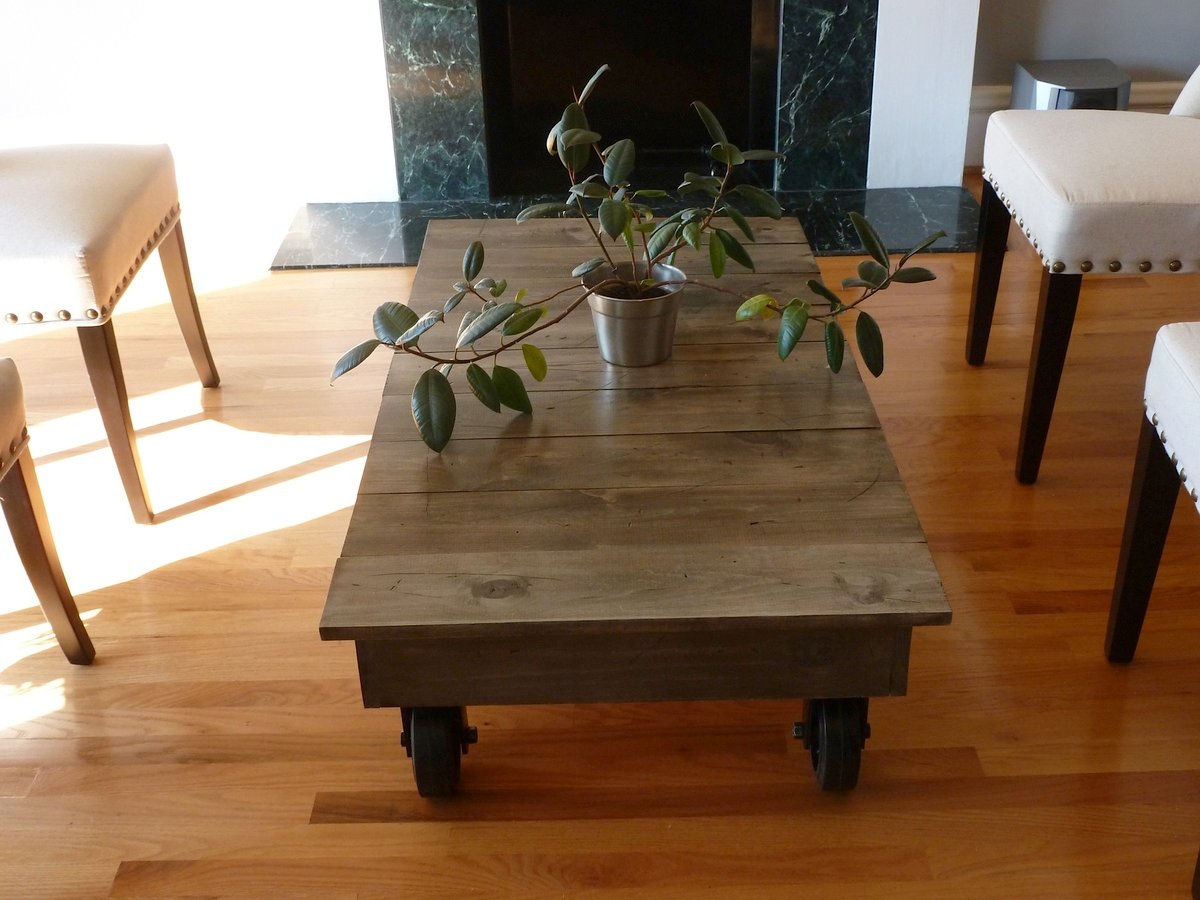
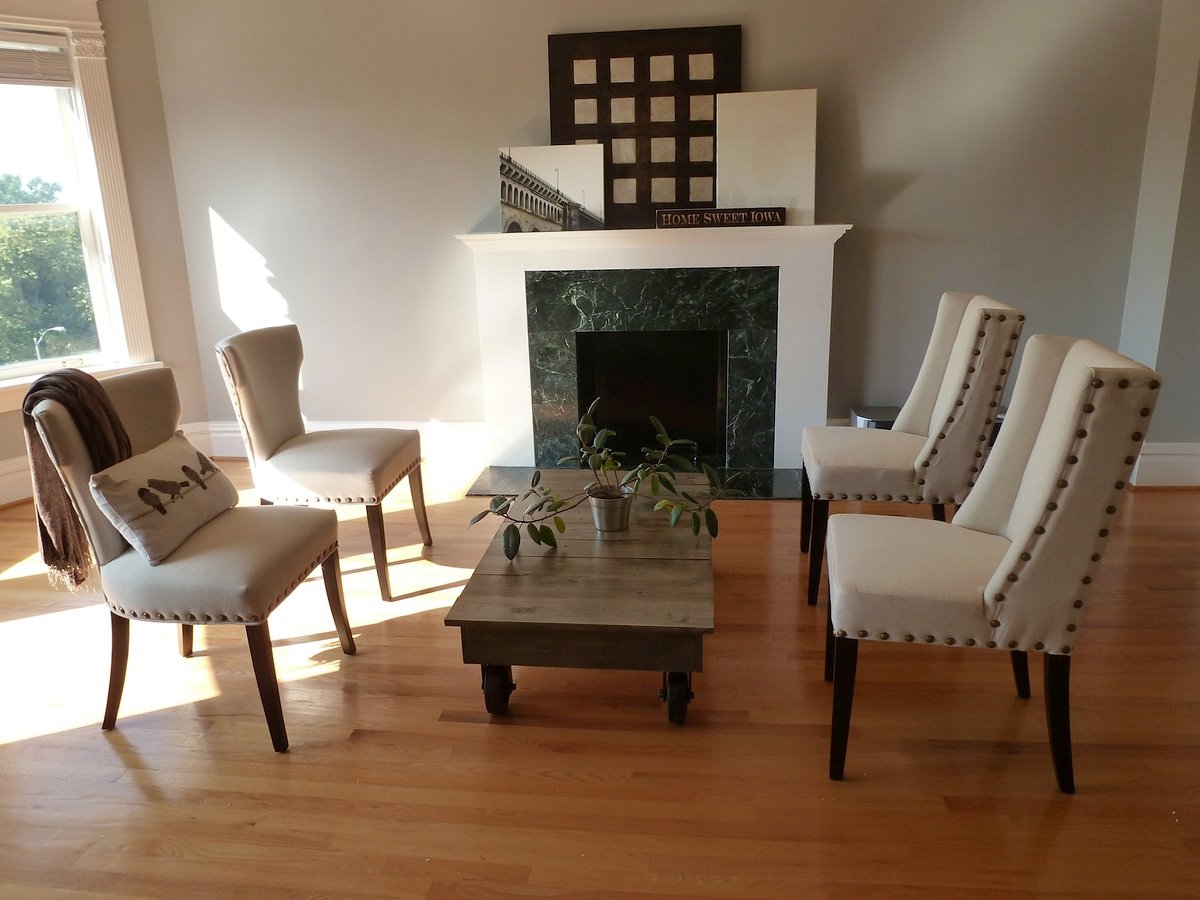
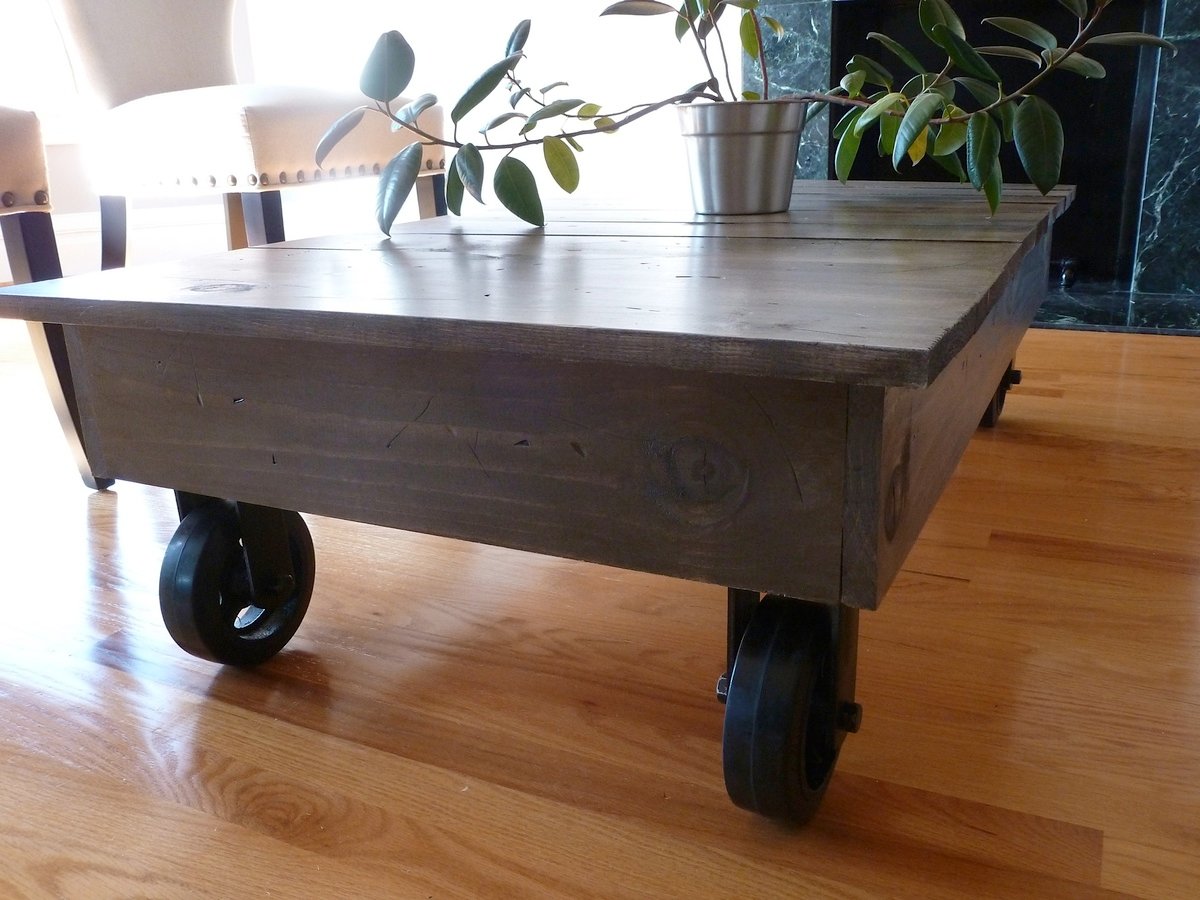
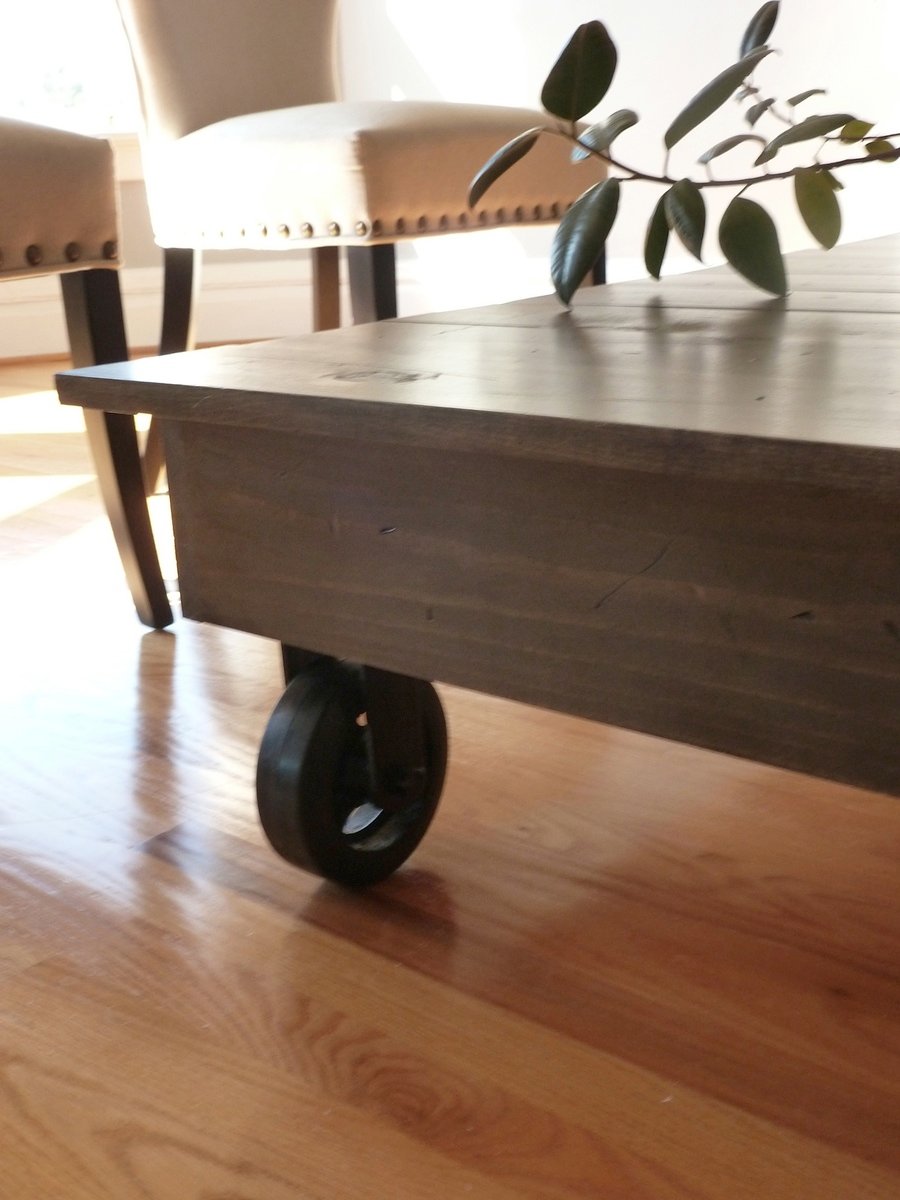
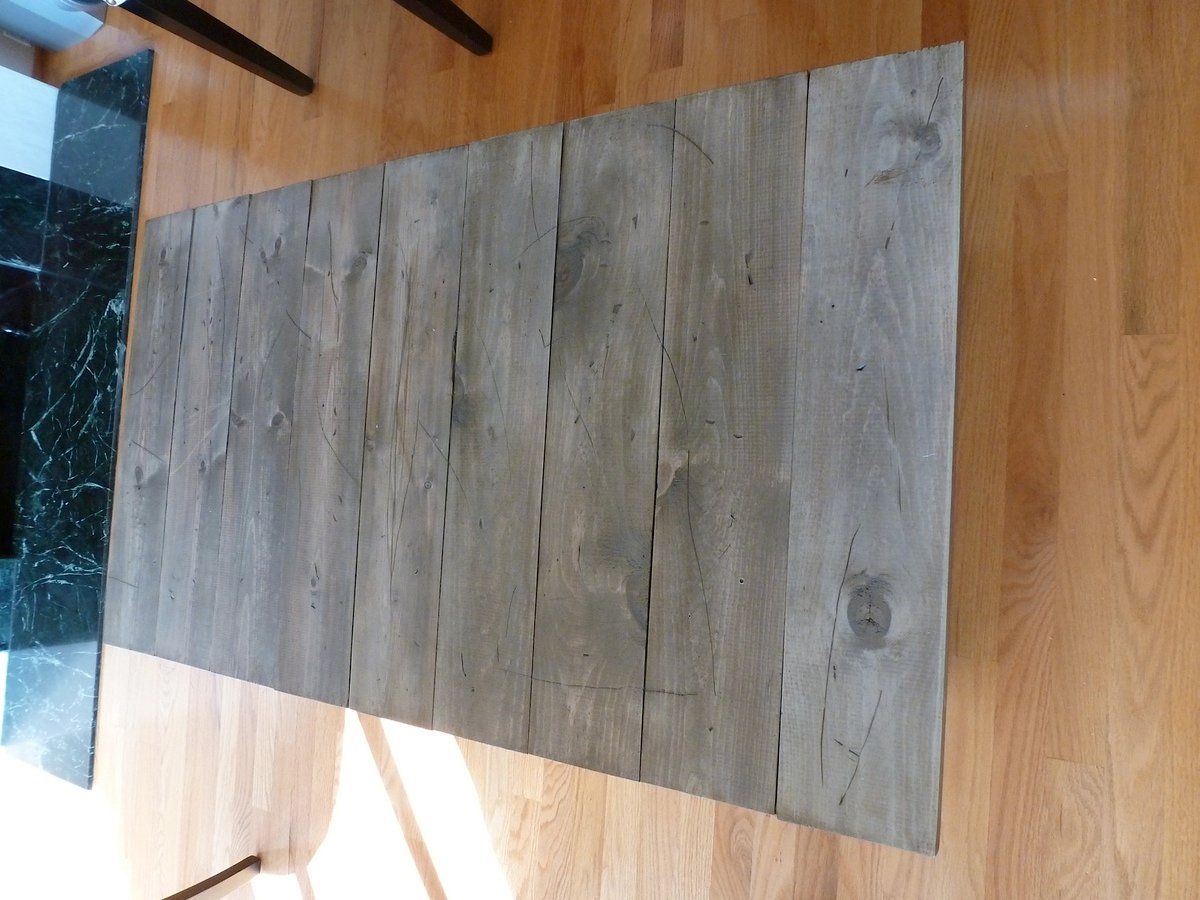
I was feeling like I needed a new project, so I called my sister. She was more than willing to give me ideas to build for her new condo and gave me a WHOLE wish list of furniture projects to choose from. After looking at her list, we decided on the factory cart coffee table. If you look elsewhere, this kind of table ranges from $600 - $1500 dollars! And our version costs right around $100!
Ana's version set the basis for the build and the only modification was adding three 1x2's under the slats on the top (rather than directly attached the slats) so that the compartment underneath can serve as a secret storage area (plywood lined and screwed into the lower supports). We absolutely love the table and it looks AWESOME in her living room!
Tue, 09/20/2011 - 11:22
I just wanted to say that your finish is gorgeous! Your table is beautiful too, but my goodness does that finish bring it over the top! Good job :)
Thu, 10/11/2012 - 12:48
How many of each color did you use? I'm looking for this driftwood look for my kitchen shelves.
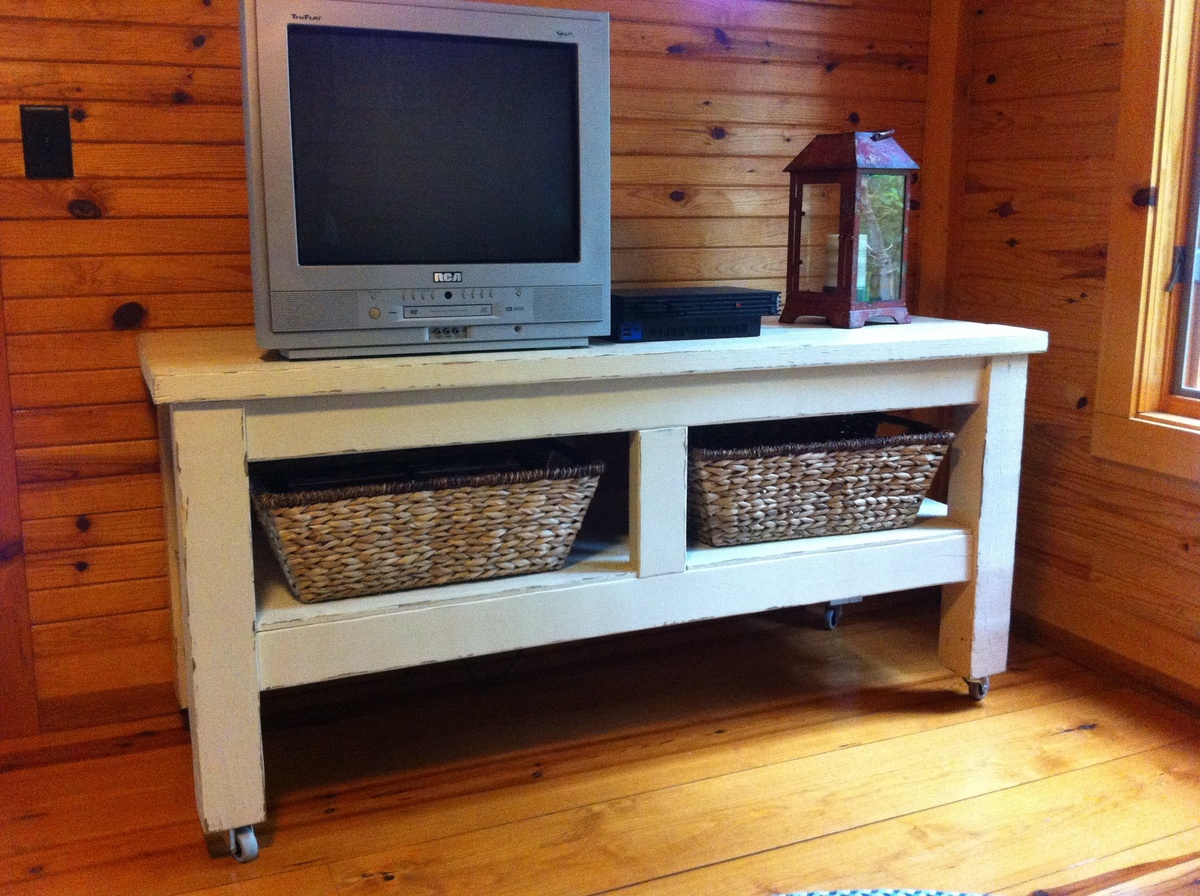
We needed TV and game system storage for our vacation cabin and didn't want to spend a lot. This is perfect!
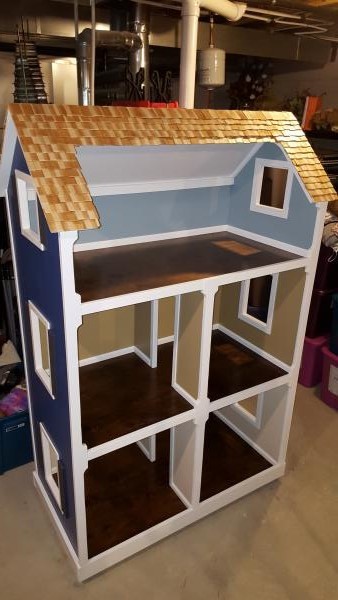
Built this from Ana's plan. Made a few small floor changes and added casing, baseboard, trim and cedar shake shingles.
Mon, 12/21/2015 - 15:22
I love all the attention to details here. It's a beautiful dollhouse.
Wed, 12/23/2015 - 15:07
Thank you for the kind comments. I really appreciate your work putting the plans out there for others to follow, Ana! My father is a high end custom homebuilder and made a house for my 3 sisters 20 years ago for Christmas. I thought if I'm going to do this, I might as well go all in and try to make something grandpa would be proud of. It is for my 2 girls, ages 8 and 11. The 11 year old still plays with dolls. I'm trying to hold onto her youth as long as I can! Again, many thanks. -Shane
Wed, 12/23/2015 - 15:12
Thank you for the kind comments. My father is a high end custom home builder and made a house for my 3 sisters 20 years ago for Christmas. I thought that if I was going to make a house I should go all in on something to make grandpa proud. I am very grateful, Ana, for your posting of the plans on the web for others to imitate! The house is for my 8 and 11 year old daughters. The 11 year old still plays with dolls and we are trying to hold on to her youth as long as we can. With thanks and gratitude, Shane

I got tired of sleeping on the floor like college kids, but I didn’t want to buy a junky particle board bedframe. My husband and I are novice woodworkers. Even still, we bought the lumber around noon and managed to finish the whole project in about 5-6 hours! We used a Kreg jig for the first time and it was pretty simple. I am really pleased with how this turned out, and I can’t wait to try more of Ana’s plans in the future.
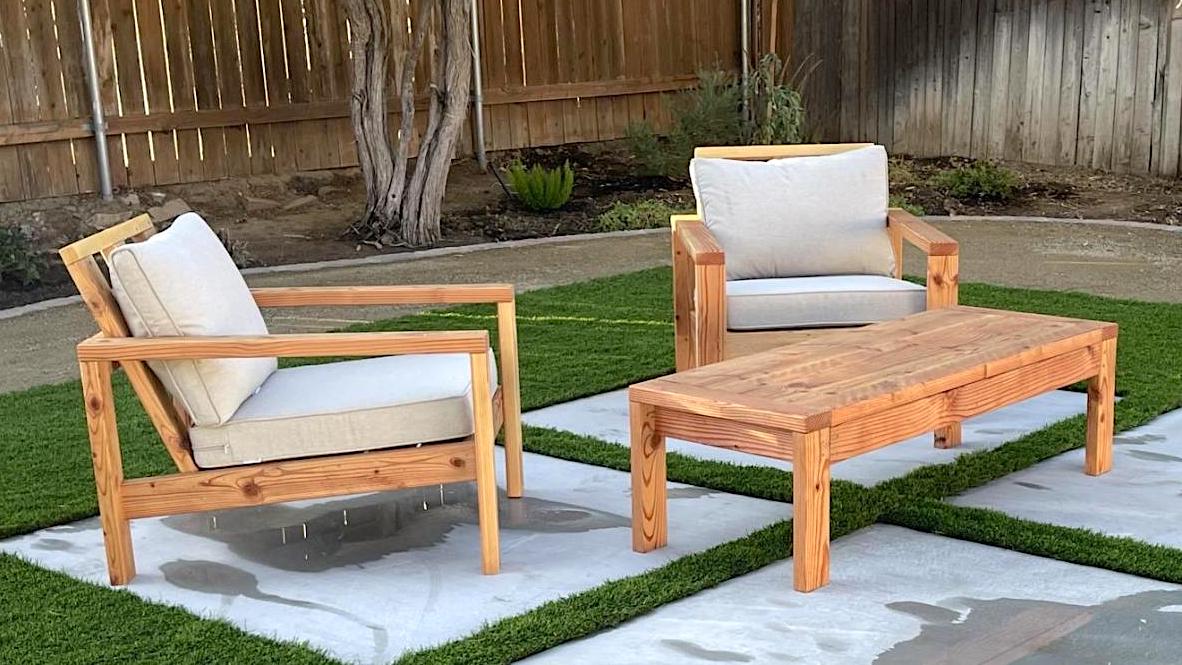
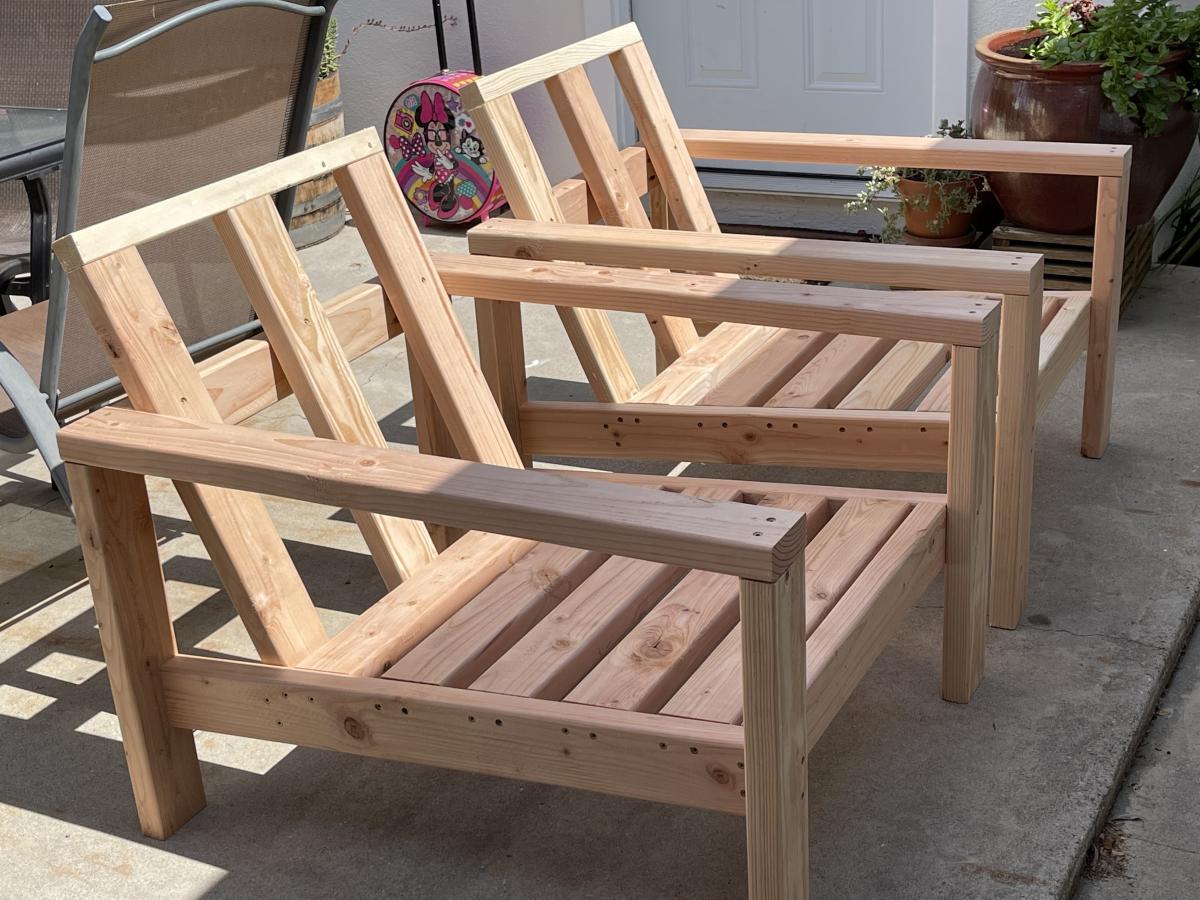
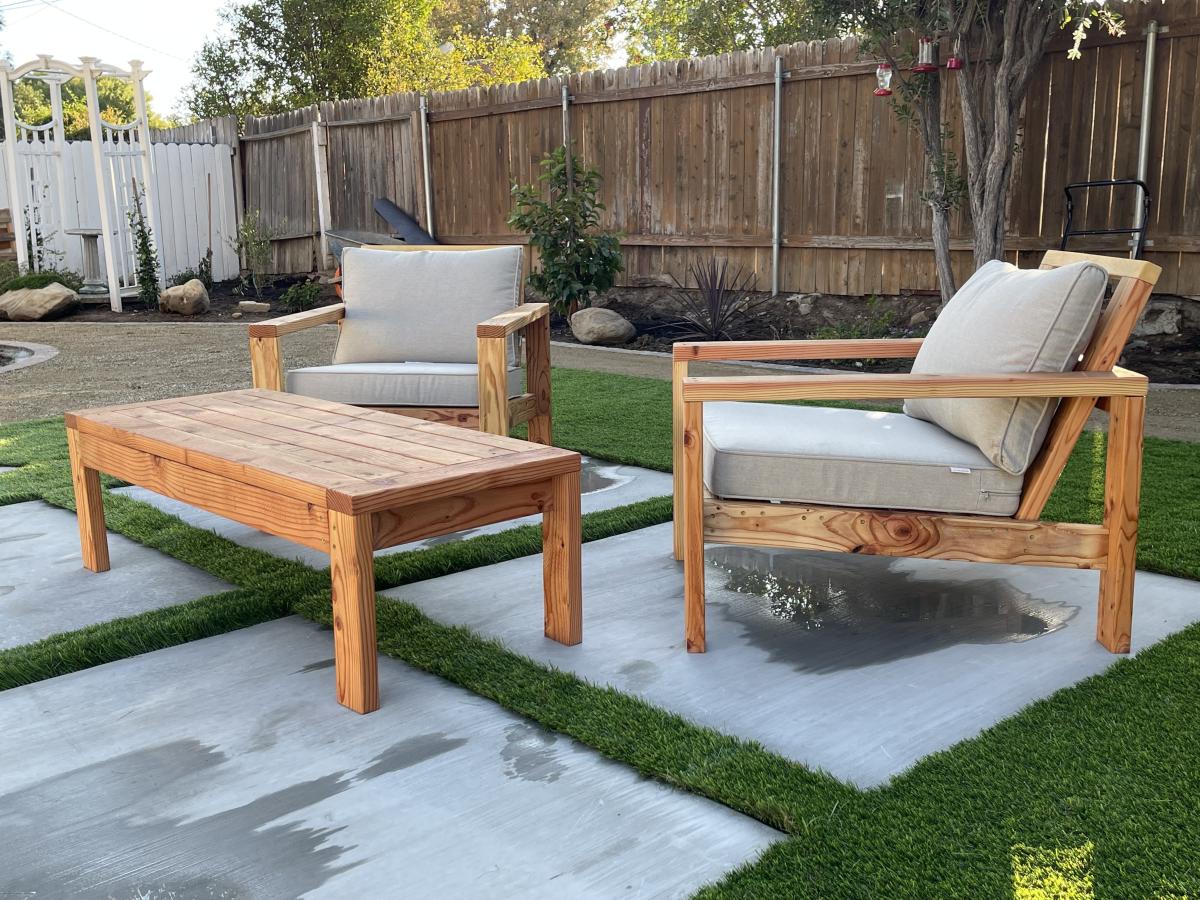
I built a set of chairs and a coffee table for our newly designed outdoor area. These look amazing and people love sitting on them and hanging out outside our house.


Just finished the American girl farmhouse bed for my sweet niece's birthday & she loved it! The best thing was that it was made totally from scraps and paint on hand - only had to spend $6 for the fabric!
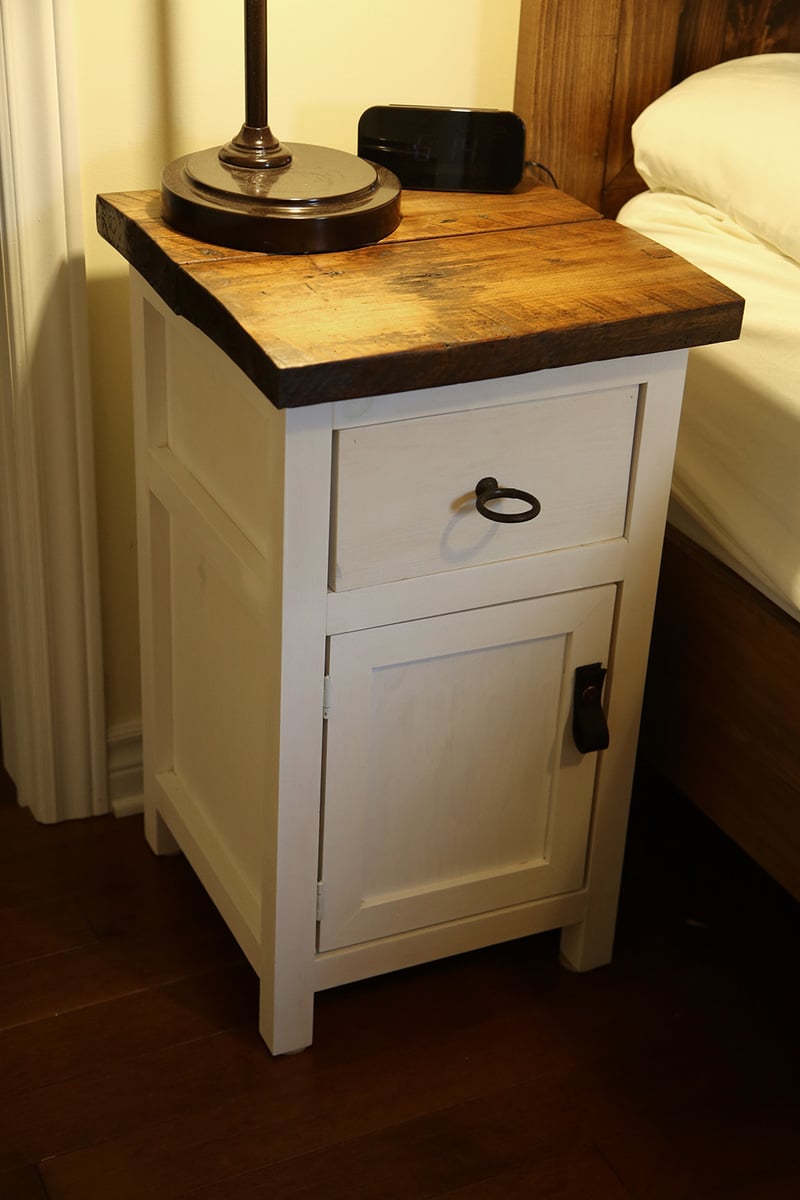
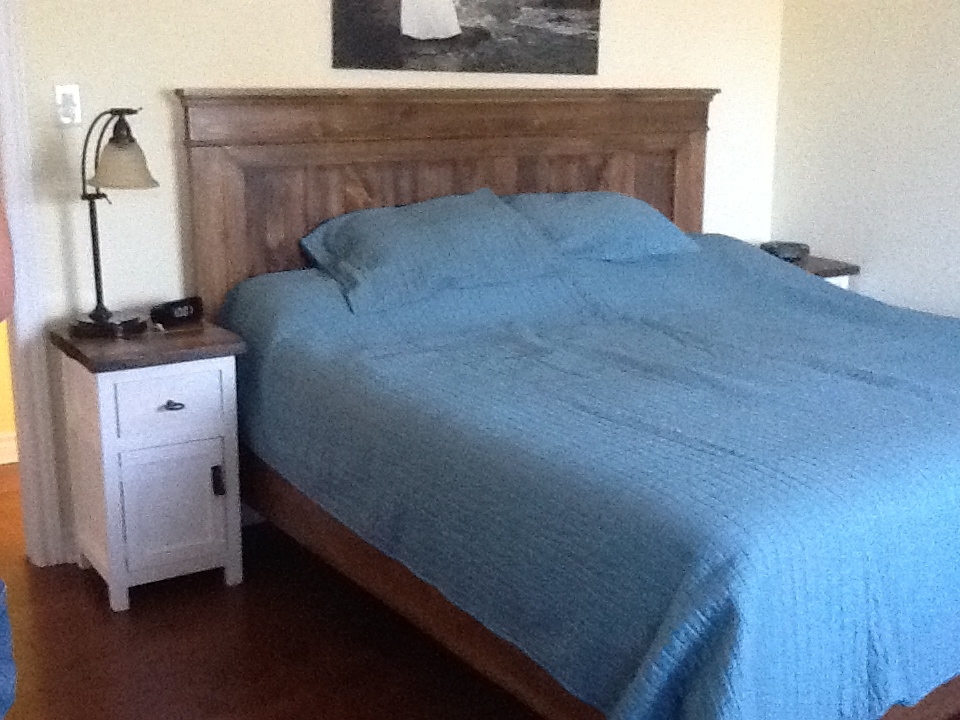
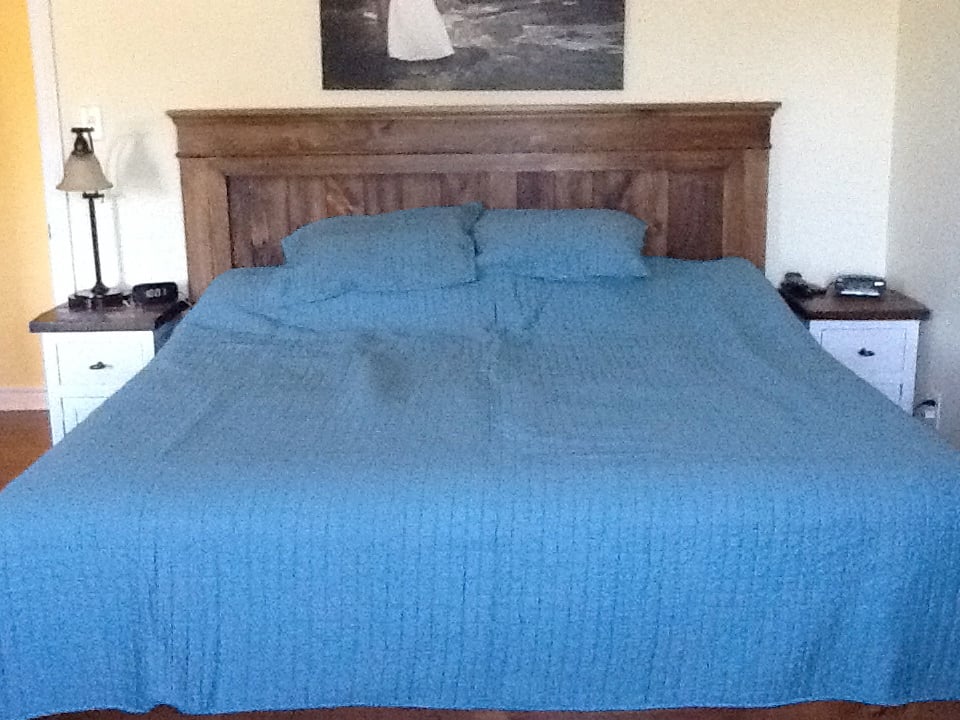
We love our farmhouse king bed, but that meant that our old side tables didn't fit anymore! (our old bed was a queen)
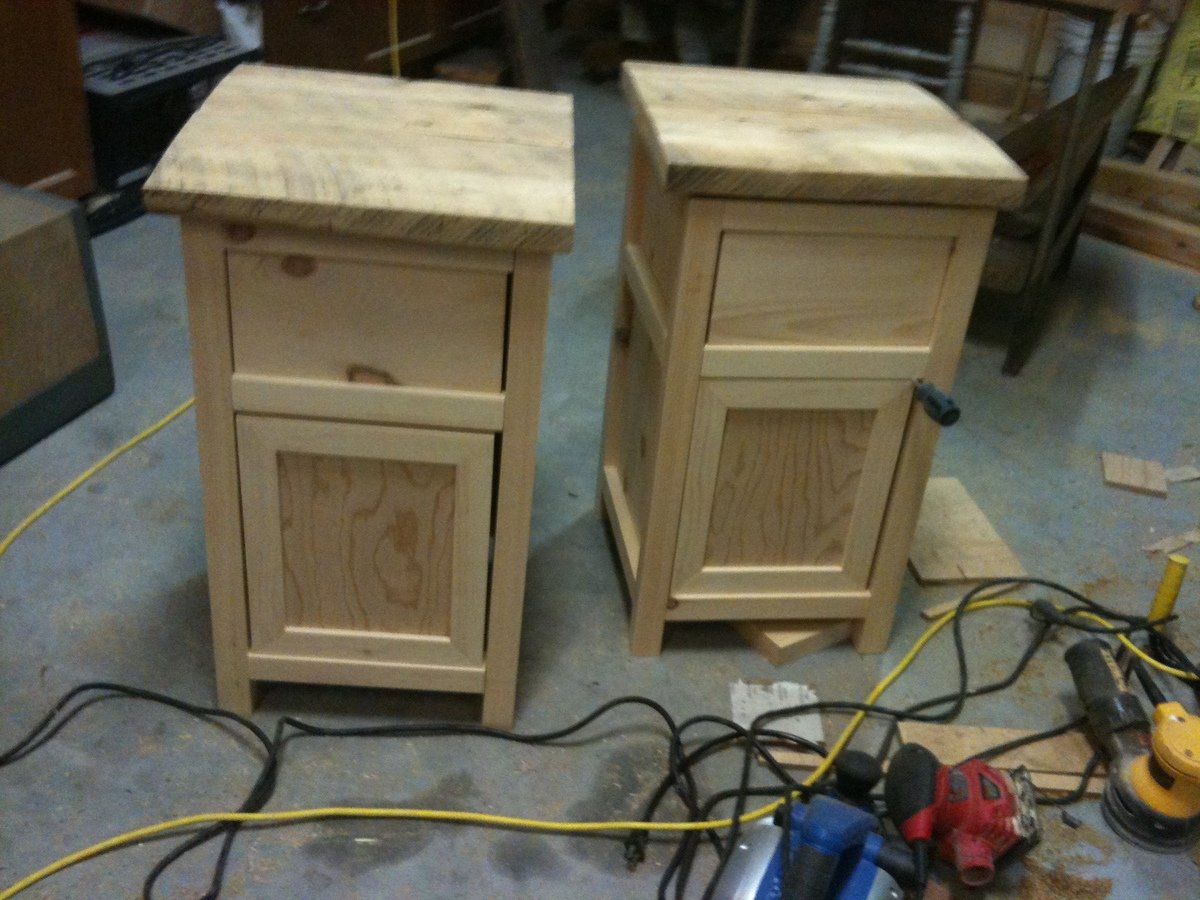
I really like the mini farmhouse bedside table, but the open storage would be problematic with the dog, so I added full length sides and a door.
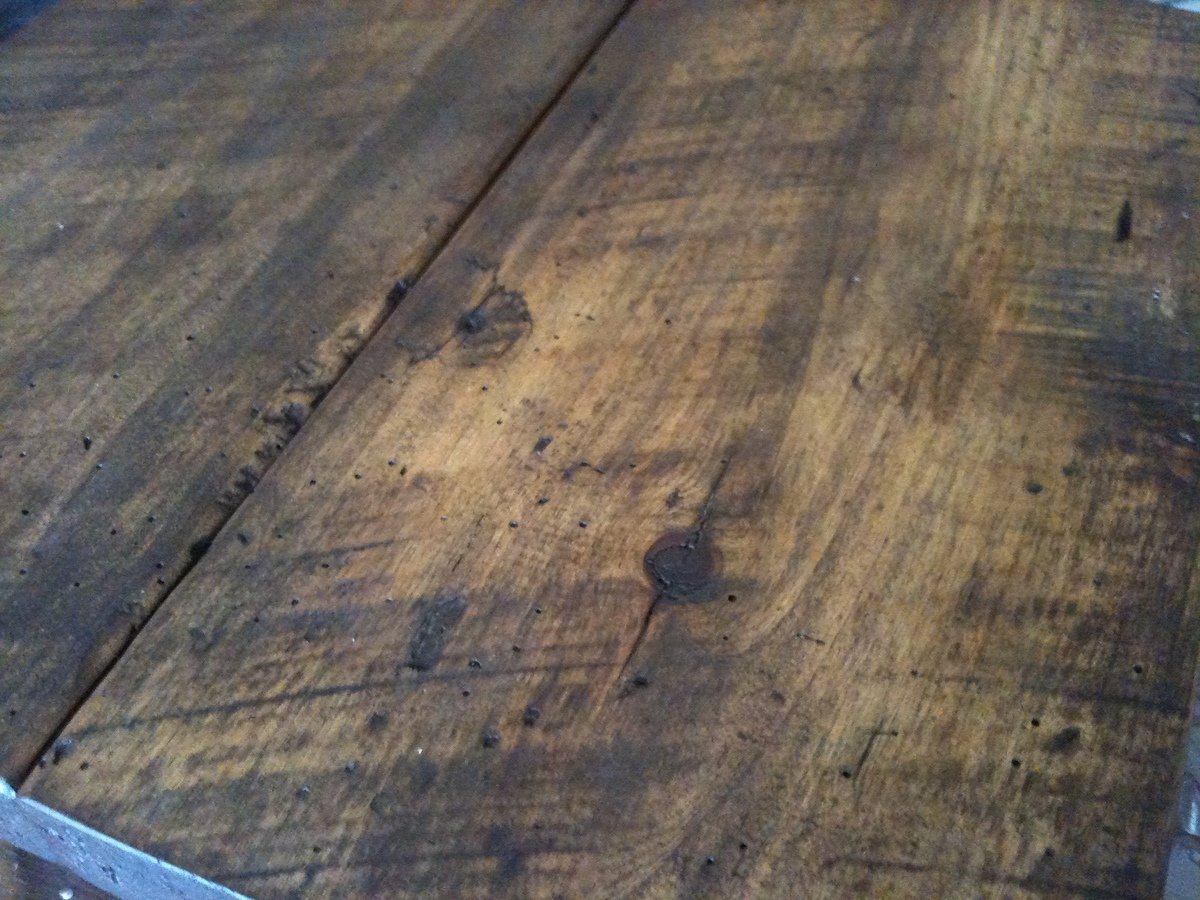
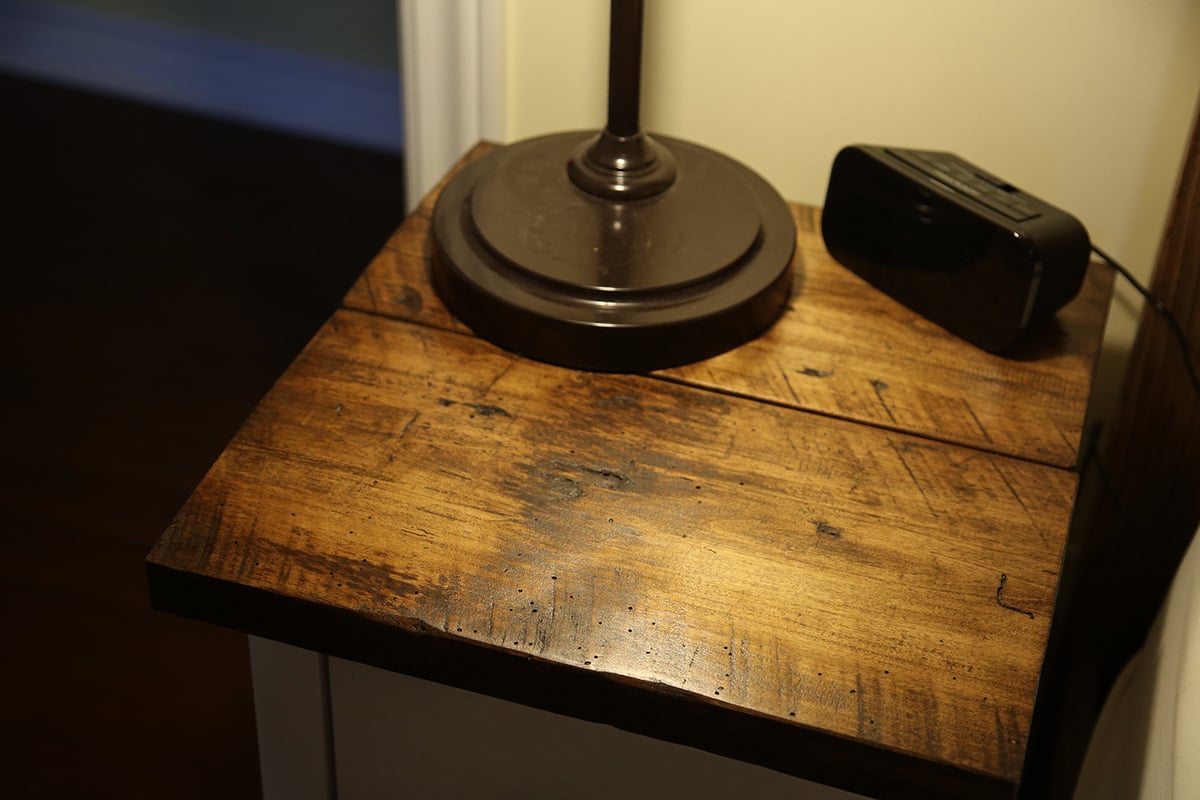
The top of the tables is a board we found at my husband's grandparents farm, and the pulls are from some old tack. The metal loops were on some old horse harness, and the leather was cleaned up from the same piece. I was able to drill a hole in the leather and then pre-dill the doors to accept post screws from home depot.
I love these tables!
Wed, 10/02/2013 - 19:11
Love these tables! The wood top is just gorgeous, and I love you you re-purposed other items to make the hardware. That is so creative! Great job!
I decided to build the art table and use it as a lego table instead. I had a piece of 3/4" maple plywood left over from a previous project, so the only thing that I had to buy were the 1x4's and lego plates.
Thu, 02/02/2017 - 10:42
This is an awesome build! Your little one is too cute!
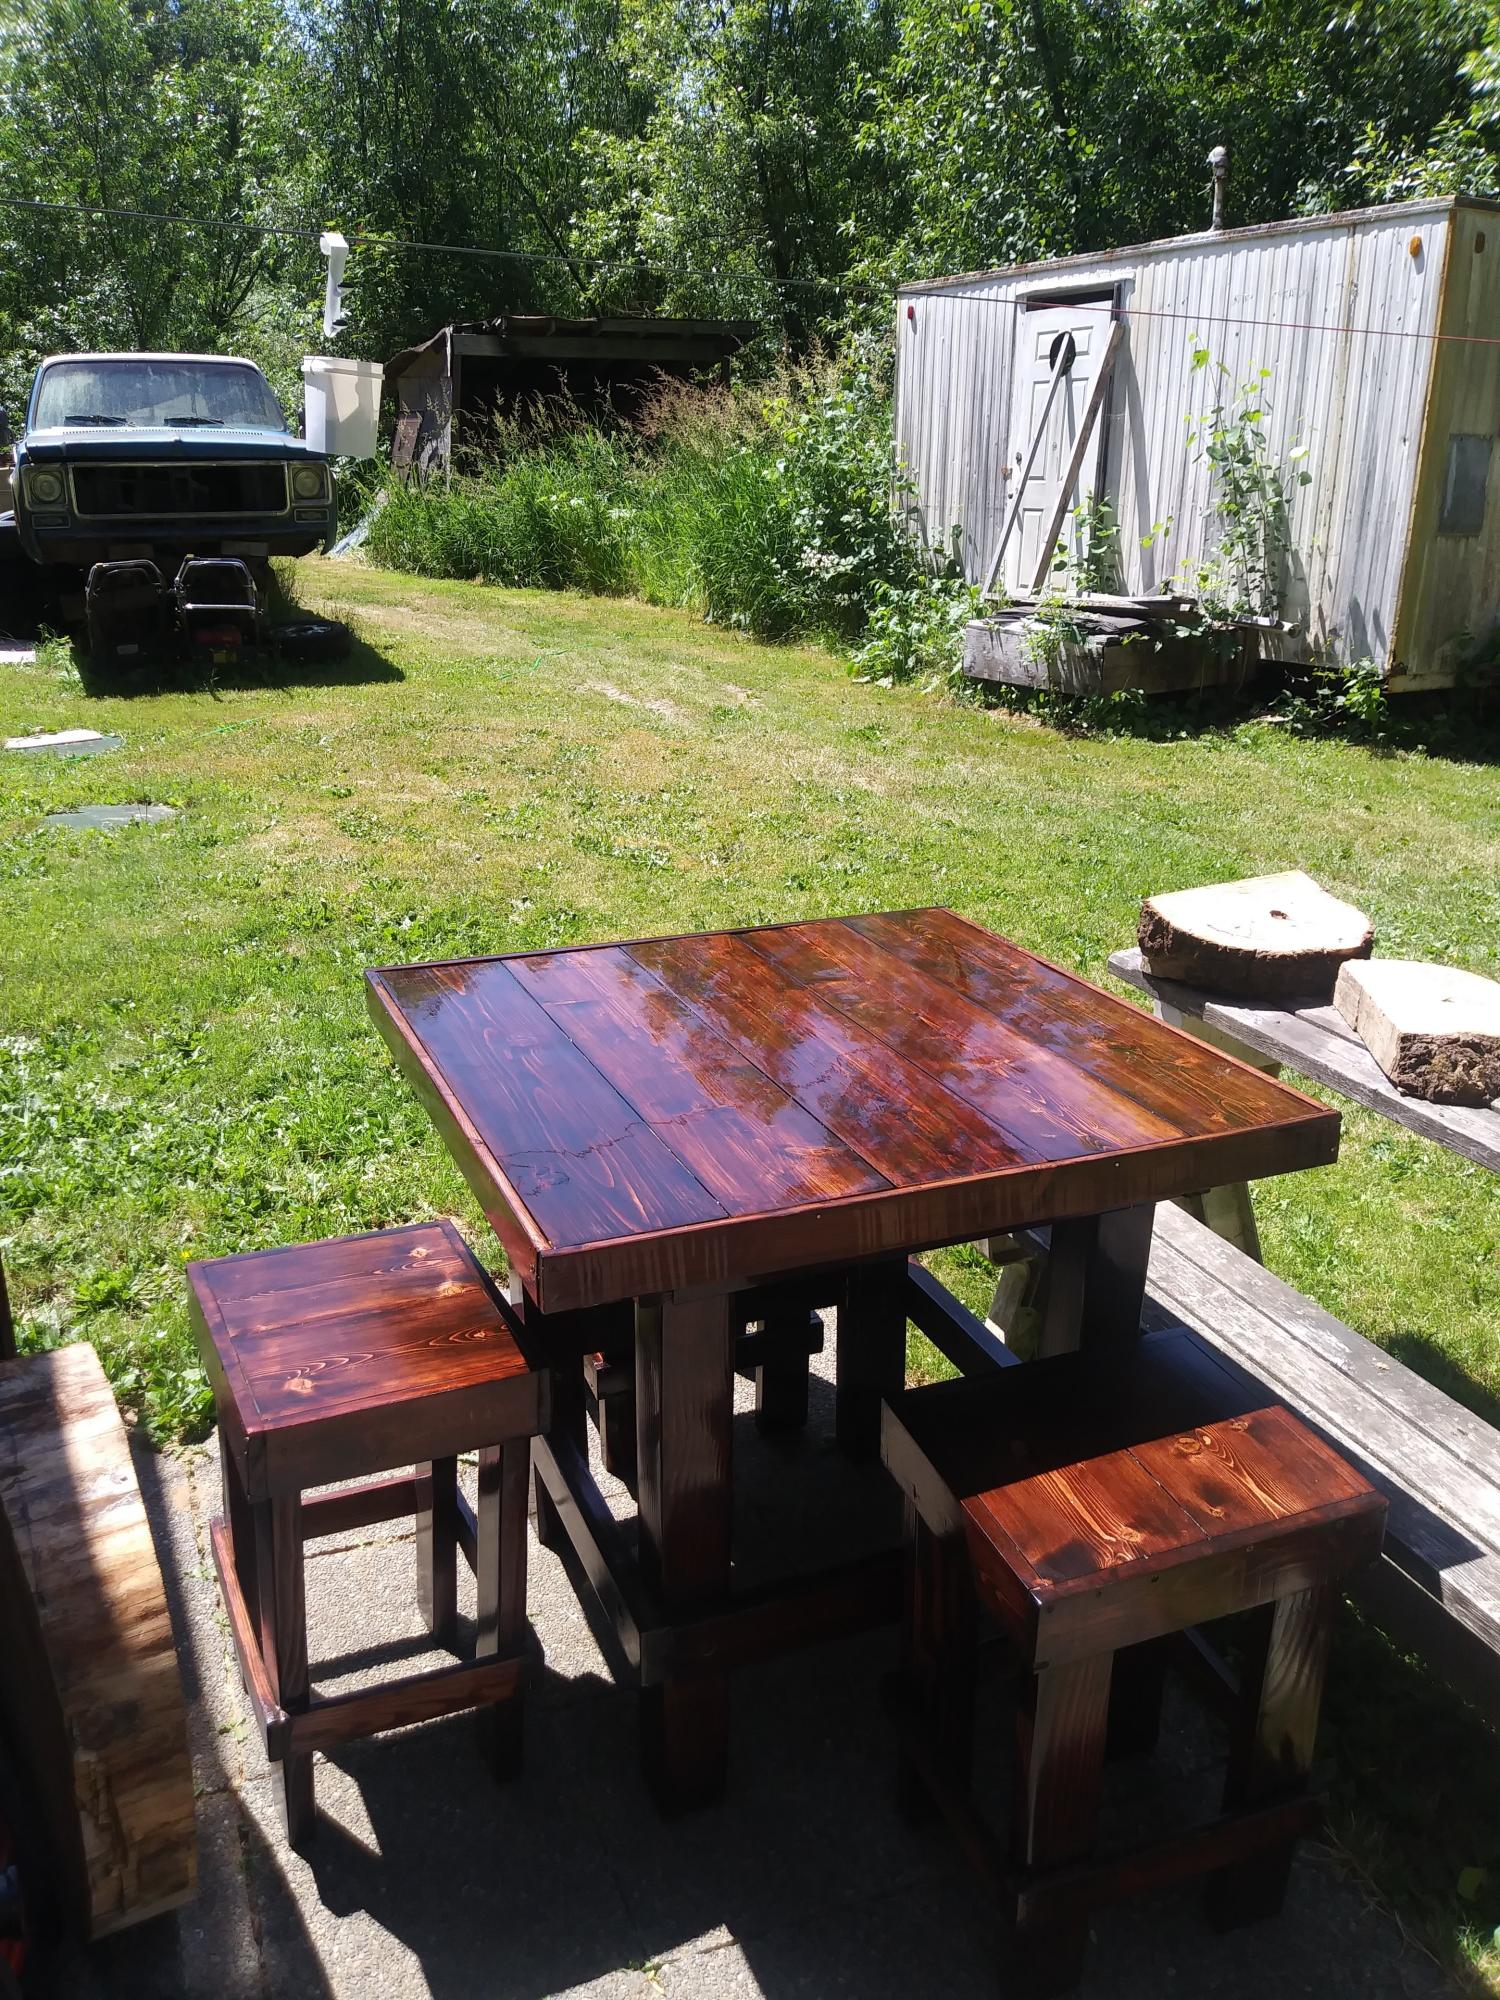
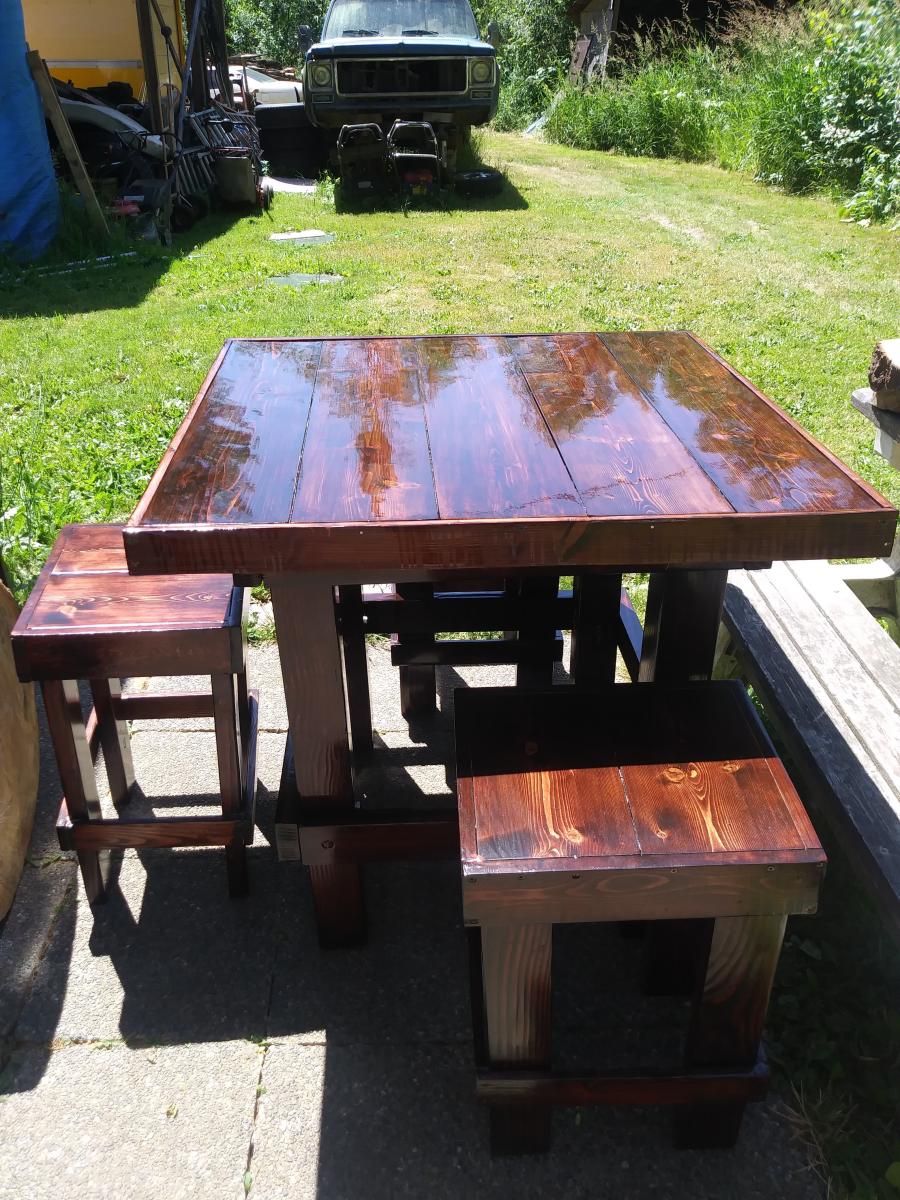
Made this for my daughters family spent hours upon hours on that finish!
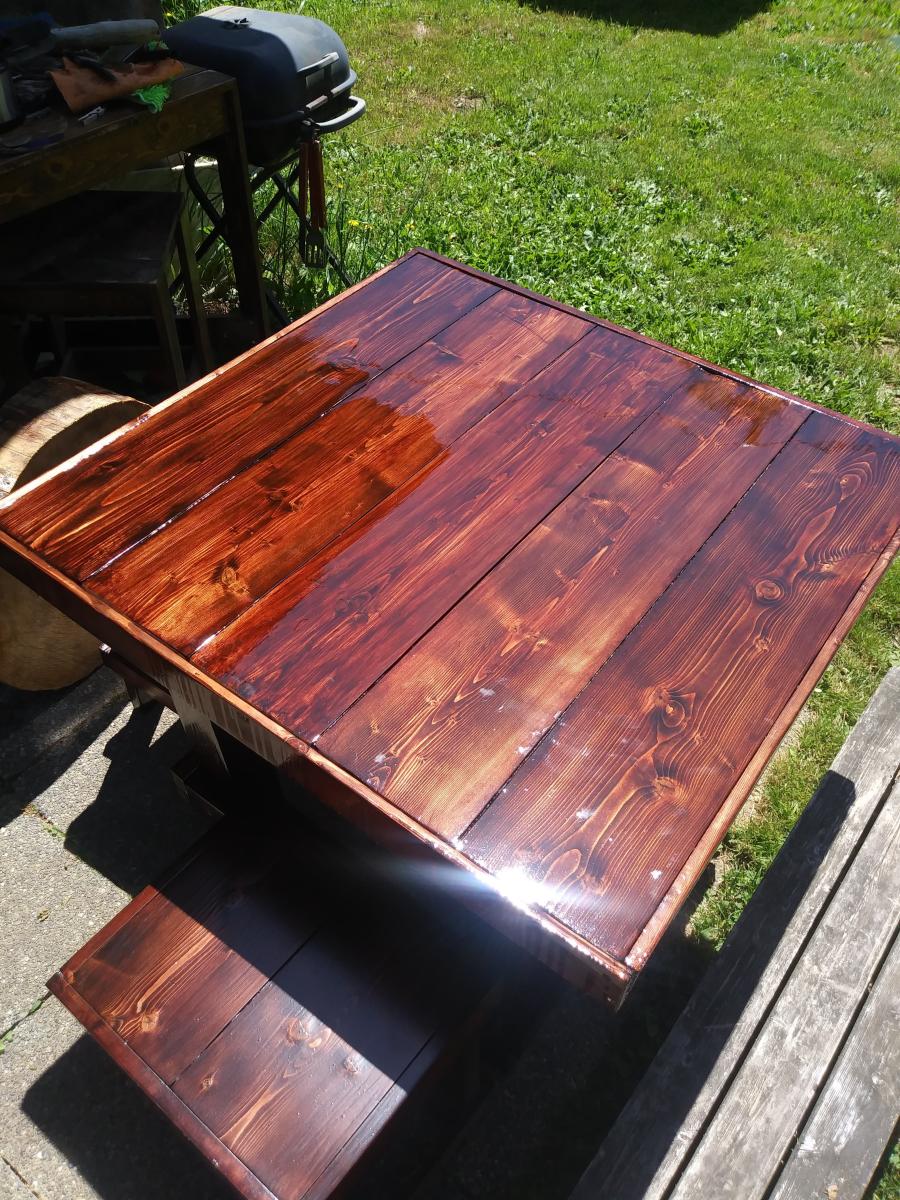
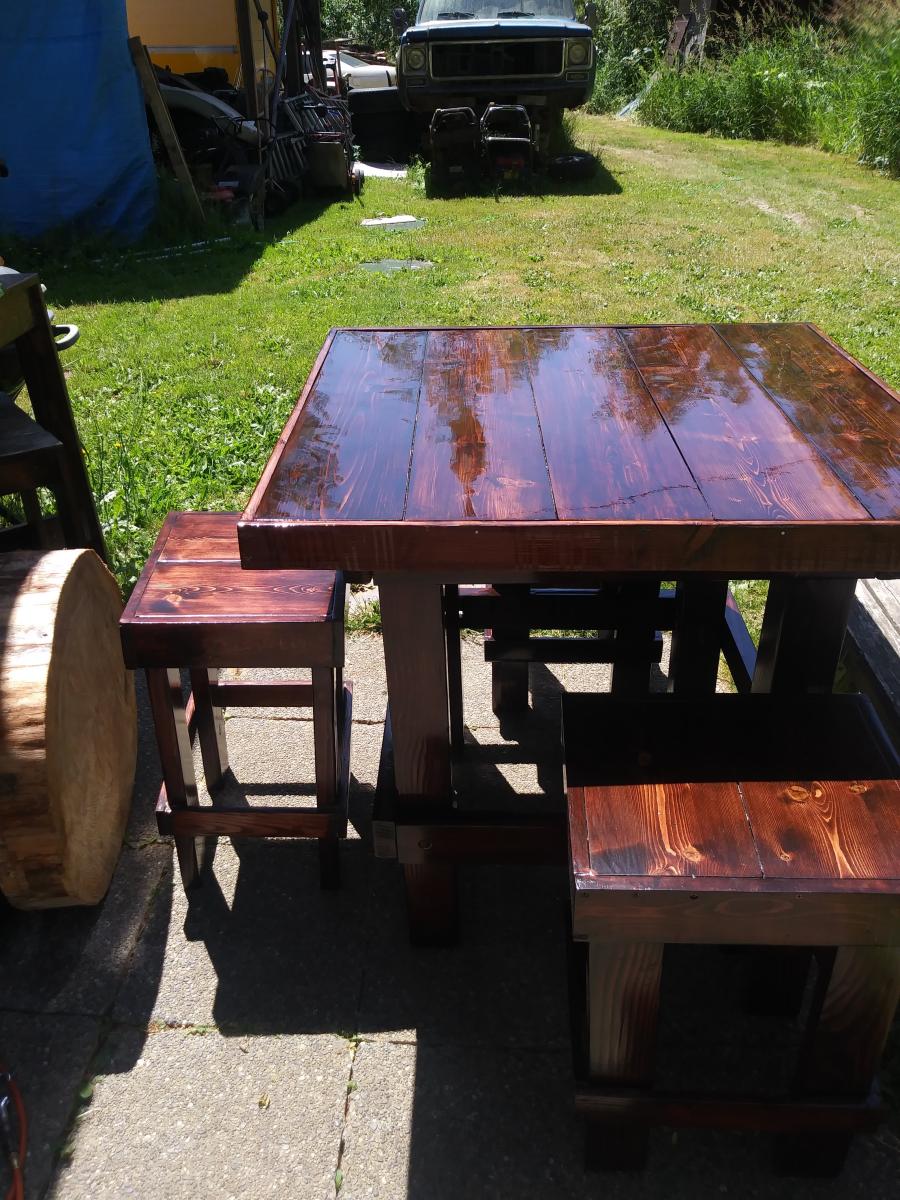
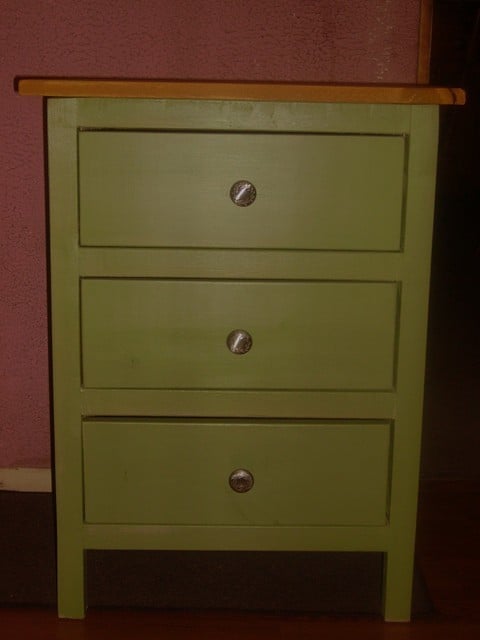
My husband and I built this table in an evening. We really like the finished table as it suits our needs perfectly. The plan was easy to follow. We followed the plan nearly as it was written with the exception of leaving out the drawer glides. The drawers are a little wonky because of this, but i think it adds to the charm and character of the farmhouse feel. I bought the drawer pulls from Lowes on clearance for $1.19 each. This table and the farmhouse bedside table match the farmhouse bed that we built back in January so very well. We love our new furniture and we love Ana White plans! Our plan is to have a whole house full of Ana White Farmhouse Furniture in due time. lol. Thank you so much Ana for your plans. You are truly amazing to design and put them online for others to build!
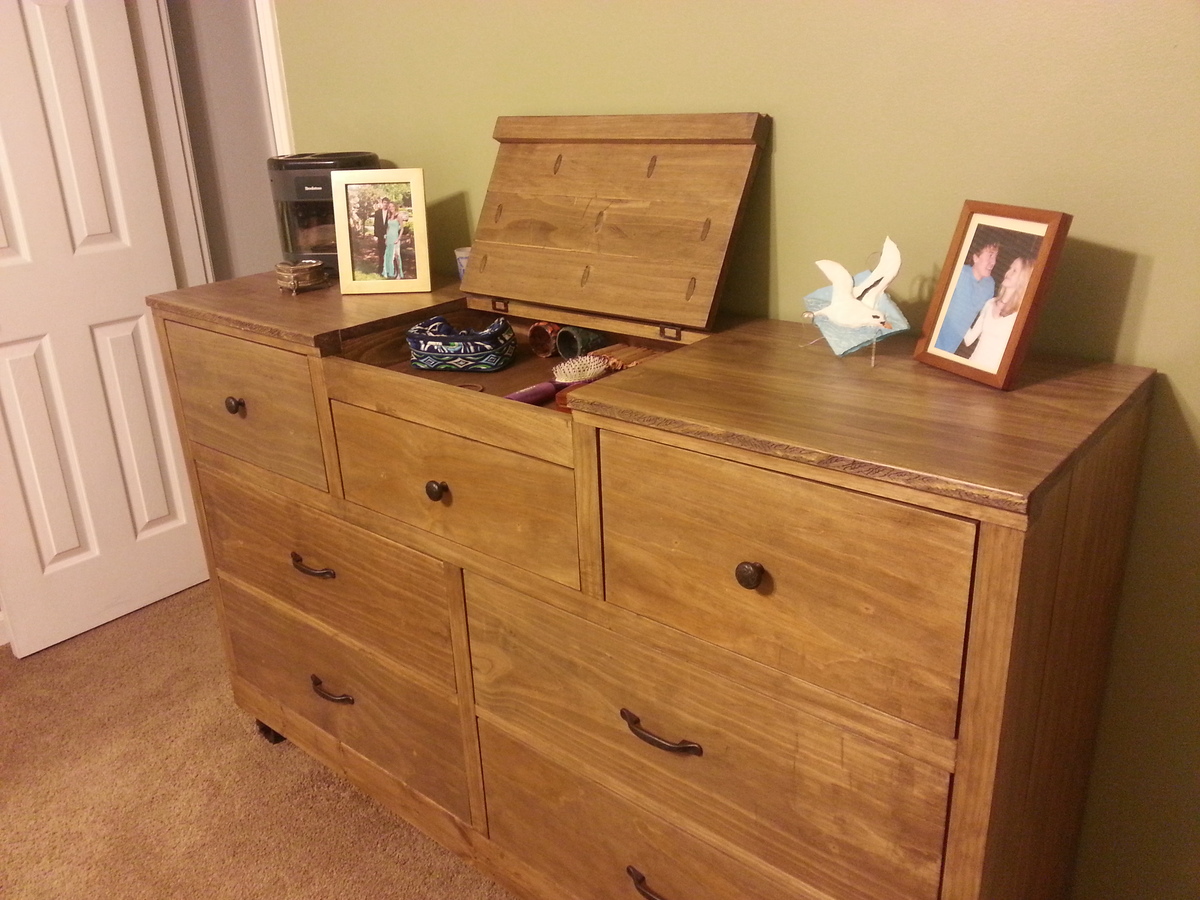
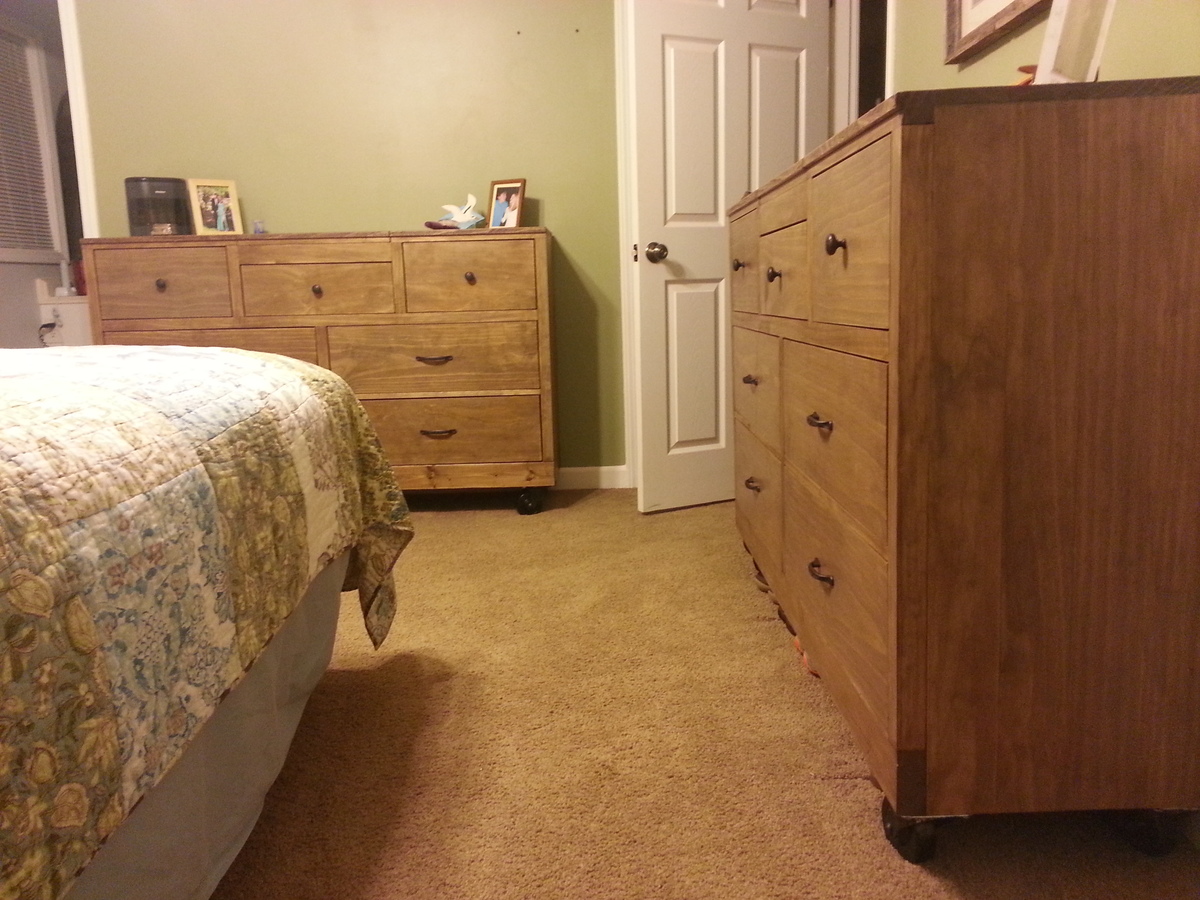
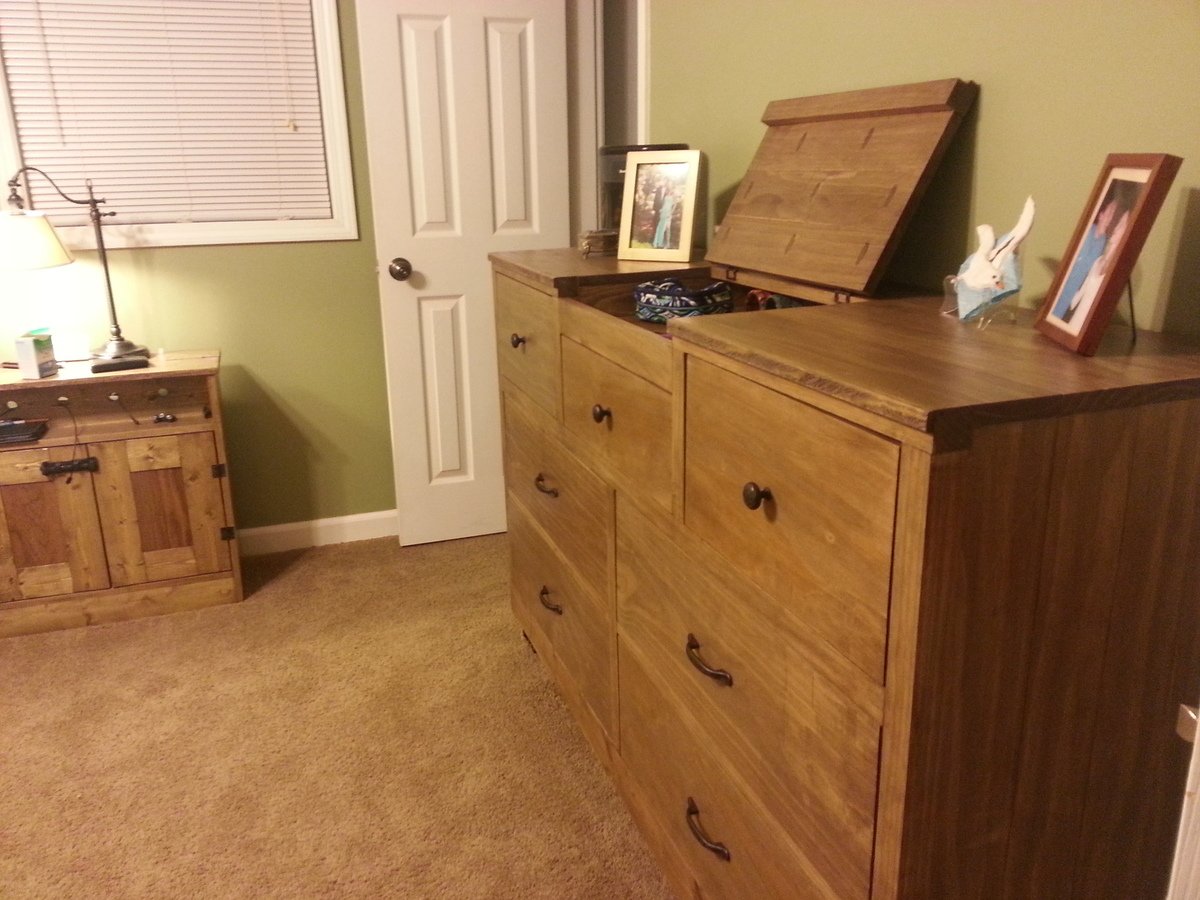
New dressers to match the nightstands. I modified the plans to make three smaller drawers up top and added a flip-up compartment for small stuff like jewelry, hair brushes and trinkets etc. It was fun to get more creative.
I made two at the same time so the wood and stain would be more consistent. However, in hindsight, I will never do any project that requires me to make 14 drawers at the same time again. I also used planked 1x4s instead of plywood for the sides and tops for looks. This made the dressers about an inch or so narrower. I used 2x4s instead of 2x2s for the bottoms of the frames to beef it up and reduce deflection, and also did not use braces in the back.
Wood -> $245/dresser
Hardware -> $ 150/dresser
Strain -> $20/dresser
Sat, 10/05/2013 - 18:59
They are stunning! Amazing job!! I love the charging nightstand in the background too, my dream bedroom!
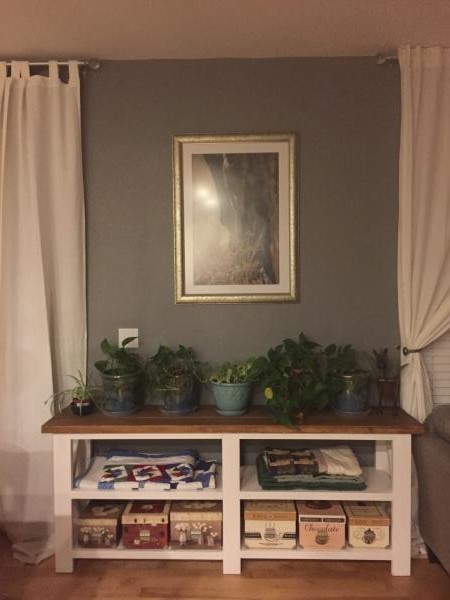
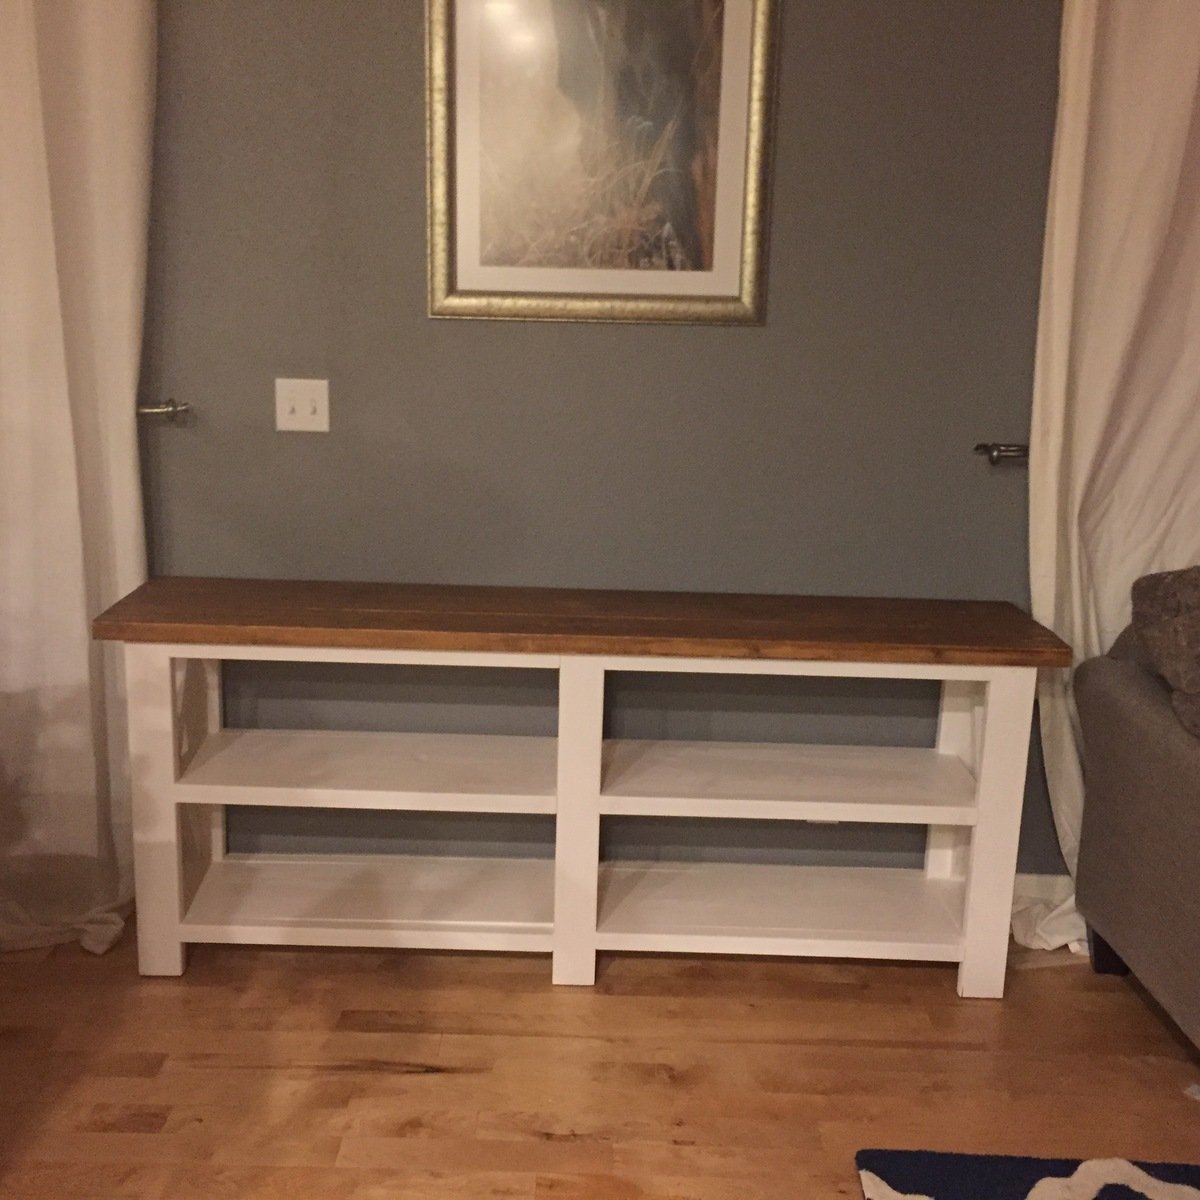
One of my first projects and I really felt like I had good cuts, however it was still a real challenge for me. I ended up doing the bottom in white to hide some of the errors. In the end I am happy with the resultes.
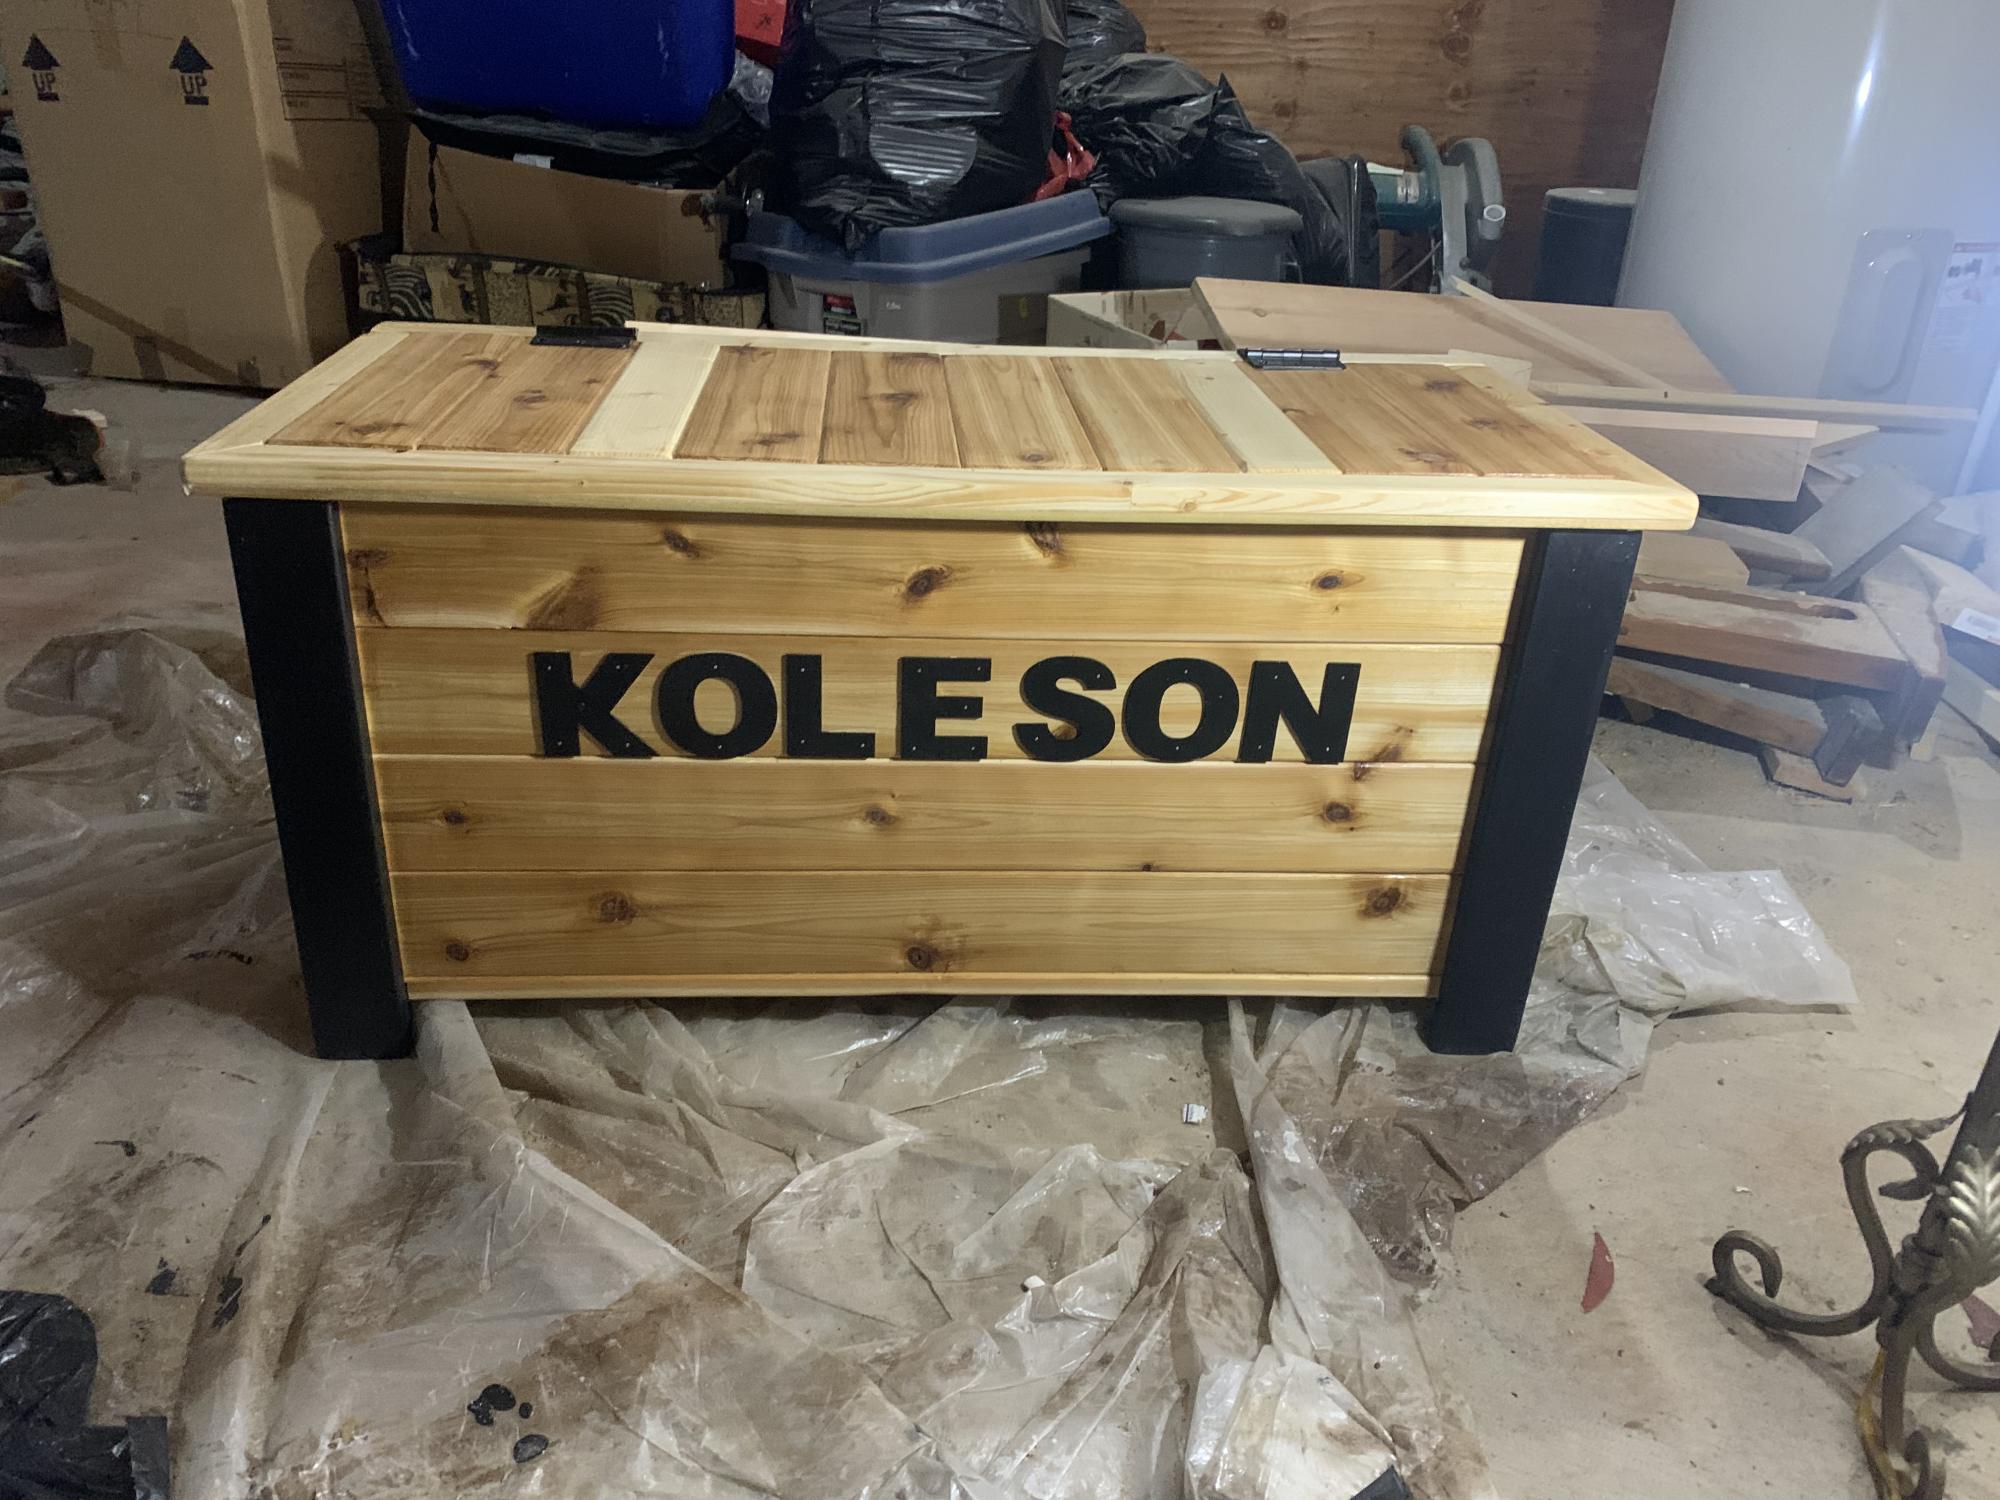
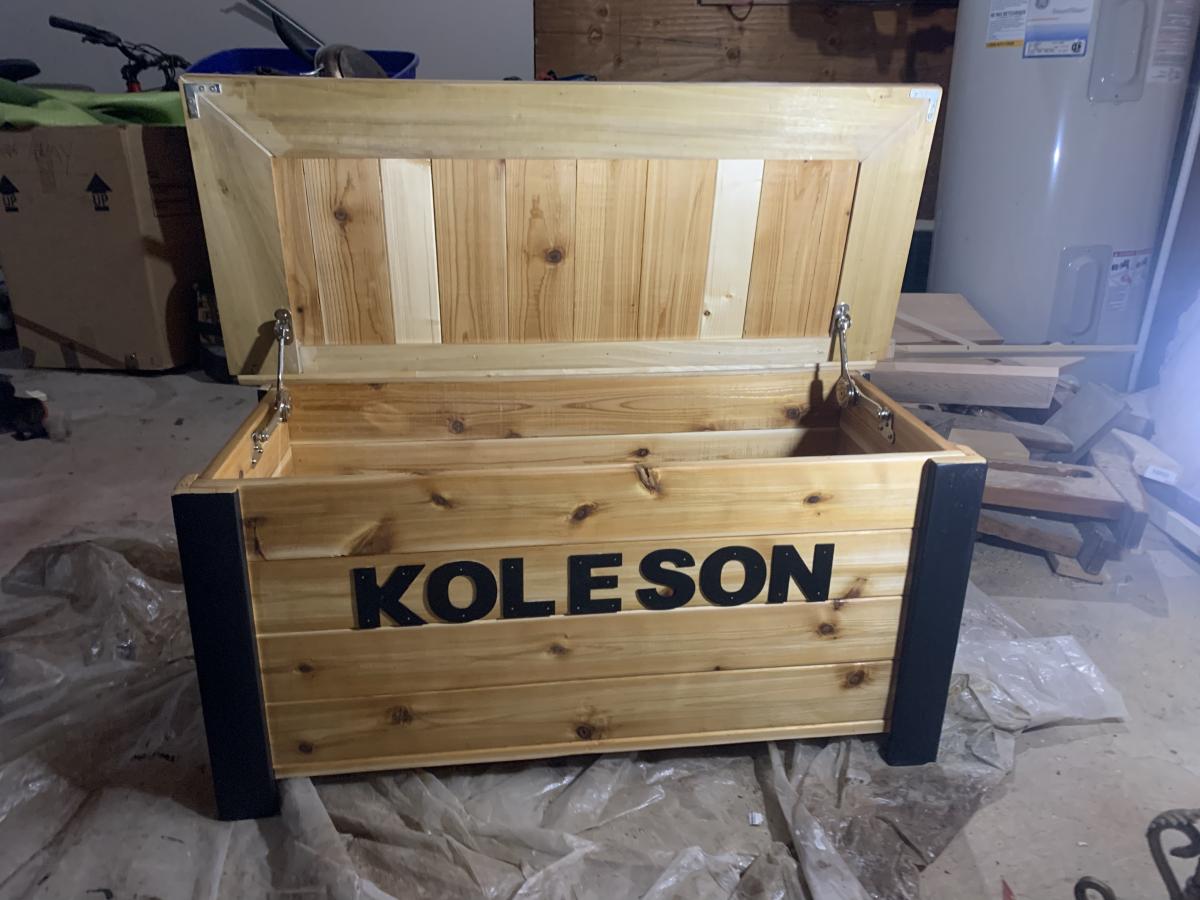
Mostly built from cedar plywood.
Had to reinvent the lid. Used panels instead of the recommended panel boards
Sun, 01/22/2023 - 08:22
Beautiful box and love the customization! Thanks for sharing.