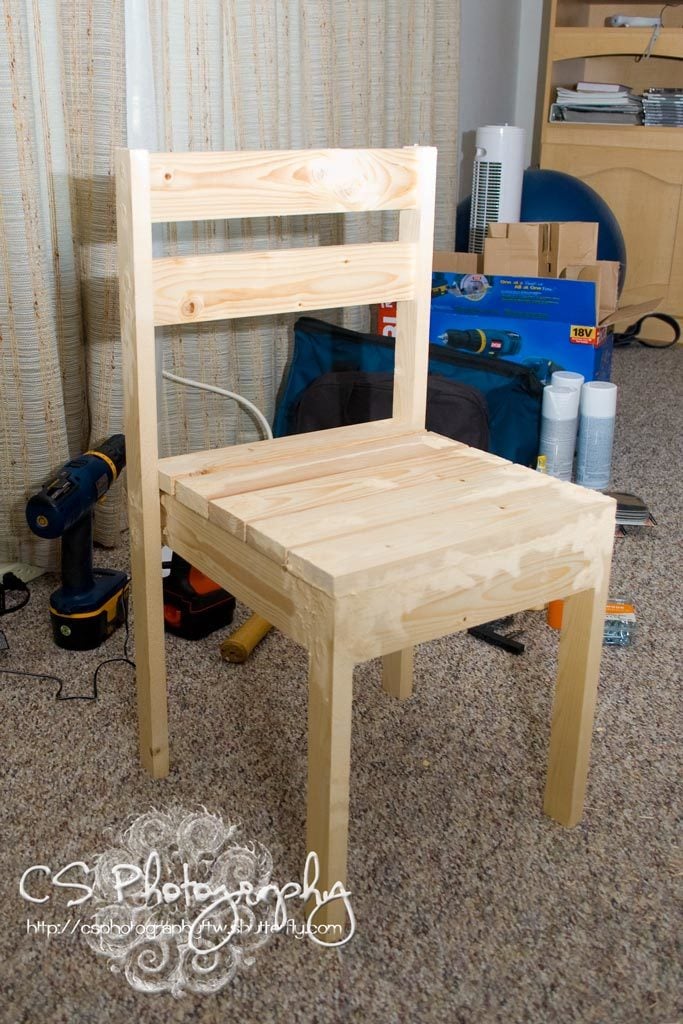
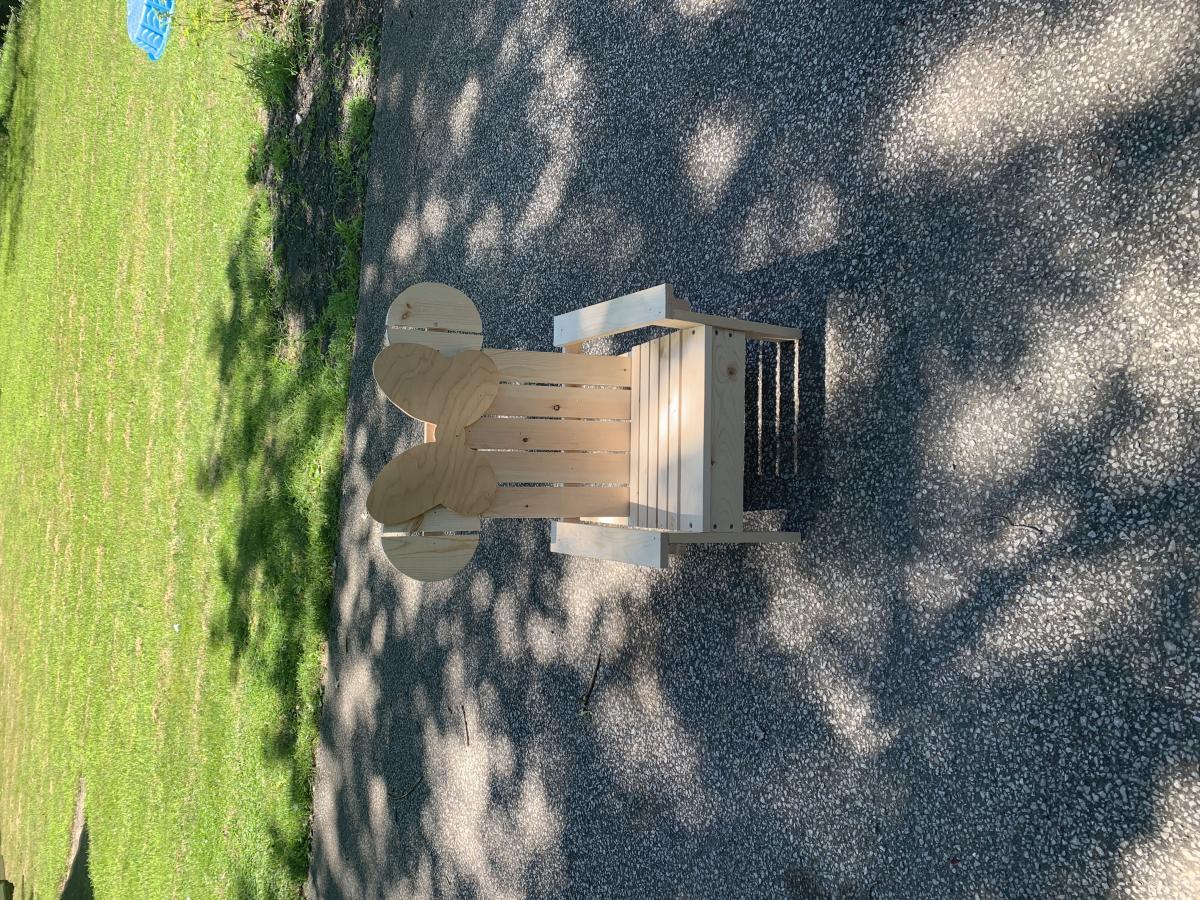
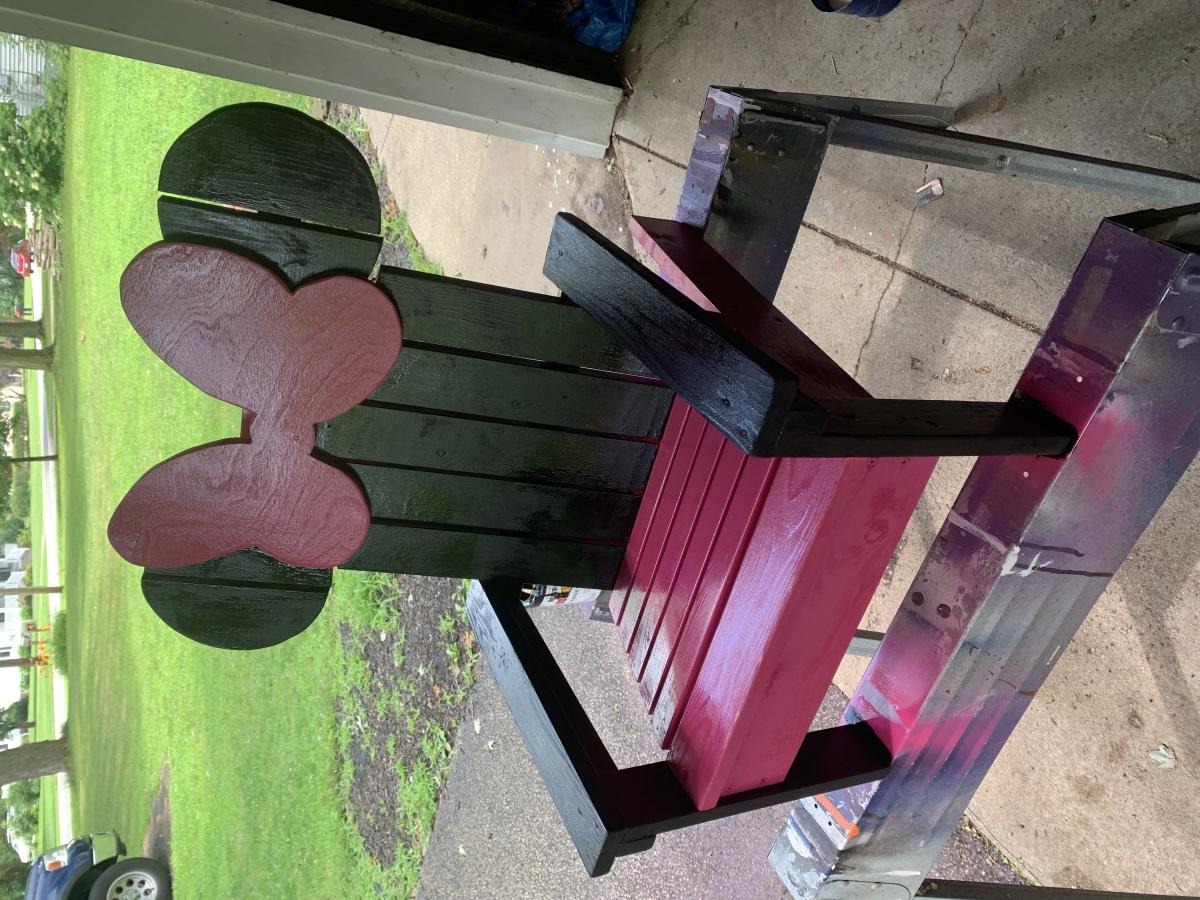
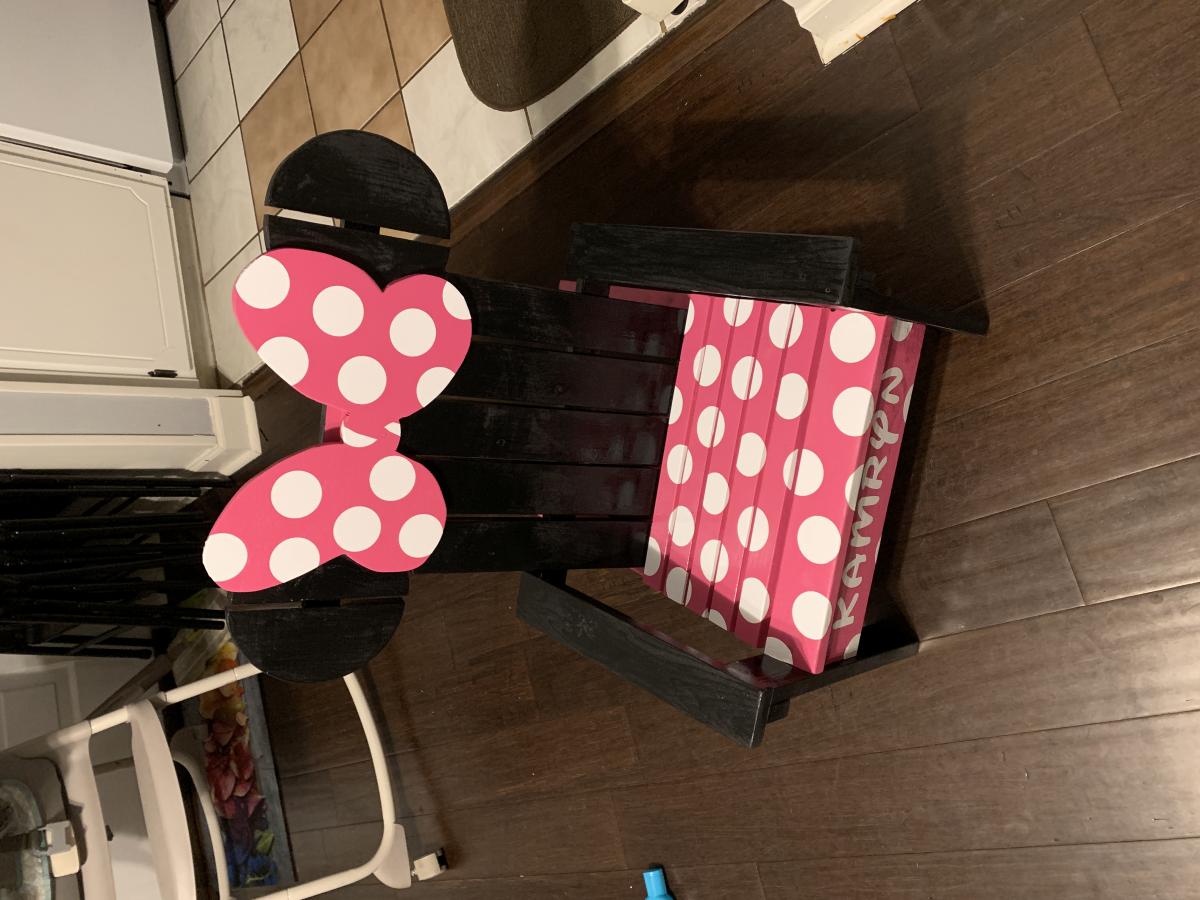
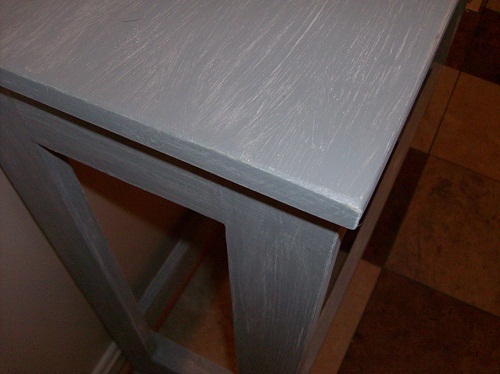
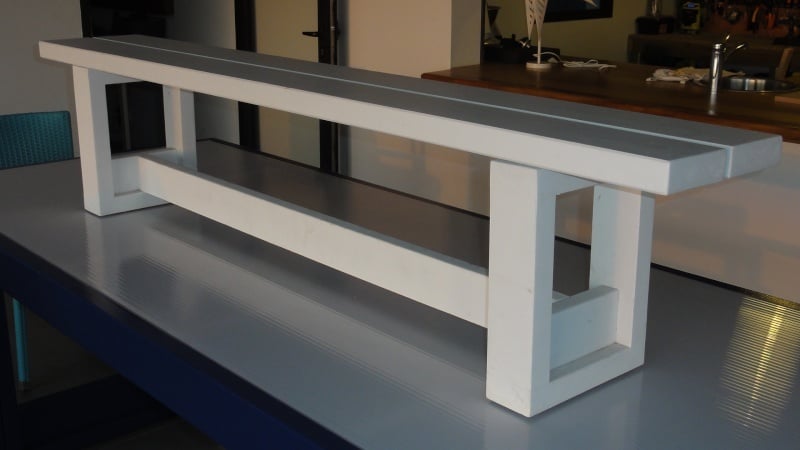
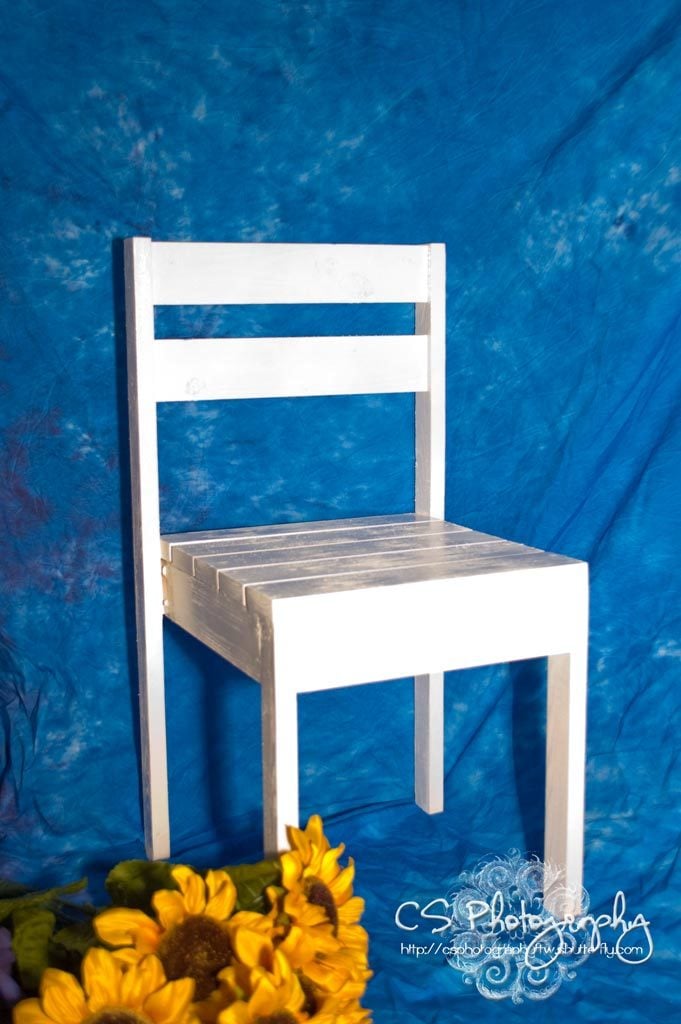
2 simple writing desks
I made these for kids since ordering online will take 2 - 3 weeks. I was able to do this in 3 afternoons. The only difference is that I didn't flush the drawer with the table edge.
Thank you Ms. White for the plans.
I made these for kids since ordering online will take 2 - 3 weeks. I was able to do this in 3 afternoons. The only difference is that I didn't flush the drawer with the table edge.
Thank you Ms. White for the plans.
Farmhouse table with matching floating shelves.
Judd H
I made these ledges with pine and white wood, 4' long. I wish I had used pocket hole screws to connect them, but instead I just counter-sank the screw holes and butt jointed the boards with wood screws. I filled the screw holes with 5/16" wood plugs and sanded them down flat. Then I sanded, stained, varnished, and sanded again.
Please see my process below on my blog.
Thanks, Ana!
I loved this coffee table plan. I found it on www.morelikehome.net and also linked on Ana White's page. My wife and I loved the size and also the number of drawers for storage. I would say that the plans were great and I had to only make minor adjustments due to my own errors.
It took me about four days to complete. I used the Kreg jig to complete most of the joining. I put it all together by the end of the second day. It is solid as a rock. The last two days were mostly staining all pieces and then restaining to get the right finish. It also took a couple more weeks to find pulls and get them installed. But now it's all done and we love it already!
I built two chairs for my wife and I and a little table (for beer or wine). I made the table out of scrap that I had left over. My favorite part is the paint color I chose. Thank you Anna!
This was a fun project spread out over 3 weeks to enjoy working on while quarantined at home. It was the first project I worked on featuring mitered corners. It took some practice and many "polishing" cuts to get everything to line up right, but in the end they looked great! I went with a Birch interior plywood instead of you typical (pine?) plywood because it looked a lot more furniture esque. I trick when using a circular saw to cut the plywood is to keep the desired side up when cutting in the direction with the grain and the desired side down when cutting across the grain. When cutting across the grain, the blade can fray the edge of the top ply. I also added braces attached to all 4 legs flush with the top of the legs using 1x2's. This allowed me to glue and screw (1" screws) the table top to the base from underneath so it was hidden rather than nail from the top. I didn't want to have nail holes on the table top because, even with wood filler, they would stand out from the rest of the wood.
I chose to go with the cheap pine that home depot sells instead of the Select Pine because the cheap pine has a lot more character and offers a more rustic look. The pine can be pretty beat up so it takes a while of digging to find the straight boards without any major defects or cracks. I just figure it's part of the experience. Once I have my straight boards I sand everything down so the boards are completely smooth and have softened edges. Clamps are a must and a HUGE help with getting everything lined up during the assembly. I neglected clamps in some of my first builds because I didn't have them and didn't want to invest. I had a real hard time getting things level and straight. Never again.
Other pieces I've build from Ana's plan include (in order of build):
Ana's Adirondack Chair (4x)
Reclaimed-Wood Look Headboard, King Size
Modern Outdoor Chair from 2x4s and 2x6s (2x)
Simple White Outdoor End Table
Rustic X End Table
I chose to adjust the great design to have a free standing tree with backing and a live bark base. Fun project.
Chip Brown
I love this antique workbench console b/c it's the perfect mix between my desire for beautiful and my husband's desire for rustic hunting lodge. (Southern girl meets Minnesota hunter - LOL). It's just a gorgeous antique look, but for far less money. I have haven't put the towel bar on the front yet b/c I keep forgetting to buy it (it's amazing how shopping with toddlers can do that to you). And in my area, mounted bottle openers are only available online, so we need to order one. I used standard stud grade 2x4's for the console, and 1x6's for the planked backing of the hutch. I also dropped the bottom shelf to the natural resting place at the bottom of the legs/top of the feet. It was so much easier for me that way as a beginner, and I really think it still looks great. This was my first Kreg Jig project - and it was so so easy. Ana is totally telling you the truth when she says it's completely worth the money to buy one. My father-in-law is a very well seasoned carpenter and wanted one after he saw some of the furniture I've built with it as a beginner! (We bought him one, of course, b/c he's awesome.)
Mon, 07/02/2012 - 12:10
This is an awesome project. I love the finish. I can just imagine how wonderful it looks with your dining table! Great job.
First furniture project with my Kreg Jig. Went smoothly. Loved the plans and how descriptive they were. This is a great beginner project. It only took me about 2 hours to complete.
Sun, 04/06/2014 - 06:33
Congrats on your first furniture project, great job! Your distressed finish and stained top are awesome. Love the Kona stain color, and I think it is the perfect amount of distressing on the paint. Beautiful!
Slight modification to the original plans. Used all 2x6's across the top and added capped ends. Used 2x3s instead of 1x3s. Cuts and assembly were not time consuming, sanding was!!
DIY Outdoor Console Table
This is the first Ana White plan I've used and my first project with a Kreg Jig. It was so easy! I used 6' long lumber. This ledge is 4' long and I have a 2' ledge in the living room.
I have wanted a swing bed for ages and got hubby on board with this. We built a full size bed (plenty of room for me and all 3 grandkids!) using poplar. I had the turned dowels from a major score at my Habitat Store several years ago. $2 per dowel! I wanted an old fashioned look and so added the corner brackets to all sides and the resin appliques on the back.
I primed with cream colored ceiling paint, an "Oops" paint from my neighborhood home improvement store. The baby blue was another "Oops" paint - another score- only $5 for a gallon of Valspar eggshell. After a very light distressing, I finished it with a paste wax.
I make the design and drawing and Hubby makes all the cuts. I joined all with biscuit joinery for a strong and solid piece.
We hung it from the ceiling joists with 1" manila ropes, added lots of pillows and plants and it is my happy place. A night blooming jasmine adds a heady fragrance that puts me right at peace ... A great refuge from a crazy work day!!!
I threw some plans together for this. Going to make another one and tweak it a little but overall I'm happy with the way it turned out. I used dark walnut stain and 4 coats of poly.
Fri, 12/25/2020 - 07:20
looks amazing i would love to see some plans for that
This was my first build. I've learned a lot since then!
Fireplace! Live in Florida and wife wanted a fireplace next to Christmas tree. Ana plans are the best.
This was my first attempt to use real power tools and make furniture. After being inspired by Ana, I purchased my Kreg Jig and got to work! I needed a coffee table so I tweaked this one to fit my needs. I ended up staining it with Minwax Gray, but it wasn't rich enough for me. So I took white, black and brown pain and dry brushed it to give it that old barn wood look.....OMG I LOVE IT! It came out perfect. So much better than in the photos even! Thank you for the inspiration Ana.....What will I make next???? Hmm......
I absolutely loved this project! My first advanced' leveled project! I was afraid it would be to big for my room so I went 10" smaller in the width only. It surprisingly turned out well proportioned! Thanks Ana! I feel like a women with power!!
Love love love this sofa!
Our daughter lives in a small attic apartment that doesn't have much counter space or cupboard space in the kitchen. So my husband and I designed and build her a kitchen island for more usable space and a place on the back she can put stools and she can use it as an eating bar as well. It took us almost 2 weeks because we were trying to build it in the garage below her apartment when she wasn't home. Her reaction was perfection! It turned out so great!!!
Rob and Jen Smith
We made this a bit taller then the plan. But everything worked out well. It was our first project. I would NOT recommend this as a first project. Also, wipe the stain off quickly. We let it sit way too long and it came out very dark. It took us a long time to build because we both work. And, Home Depot didn't cut miters so we had to get a neighbor to do it.... fyi
I love it though.