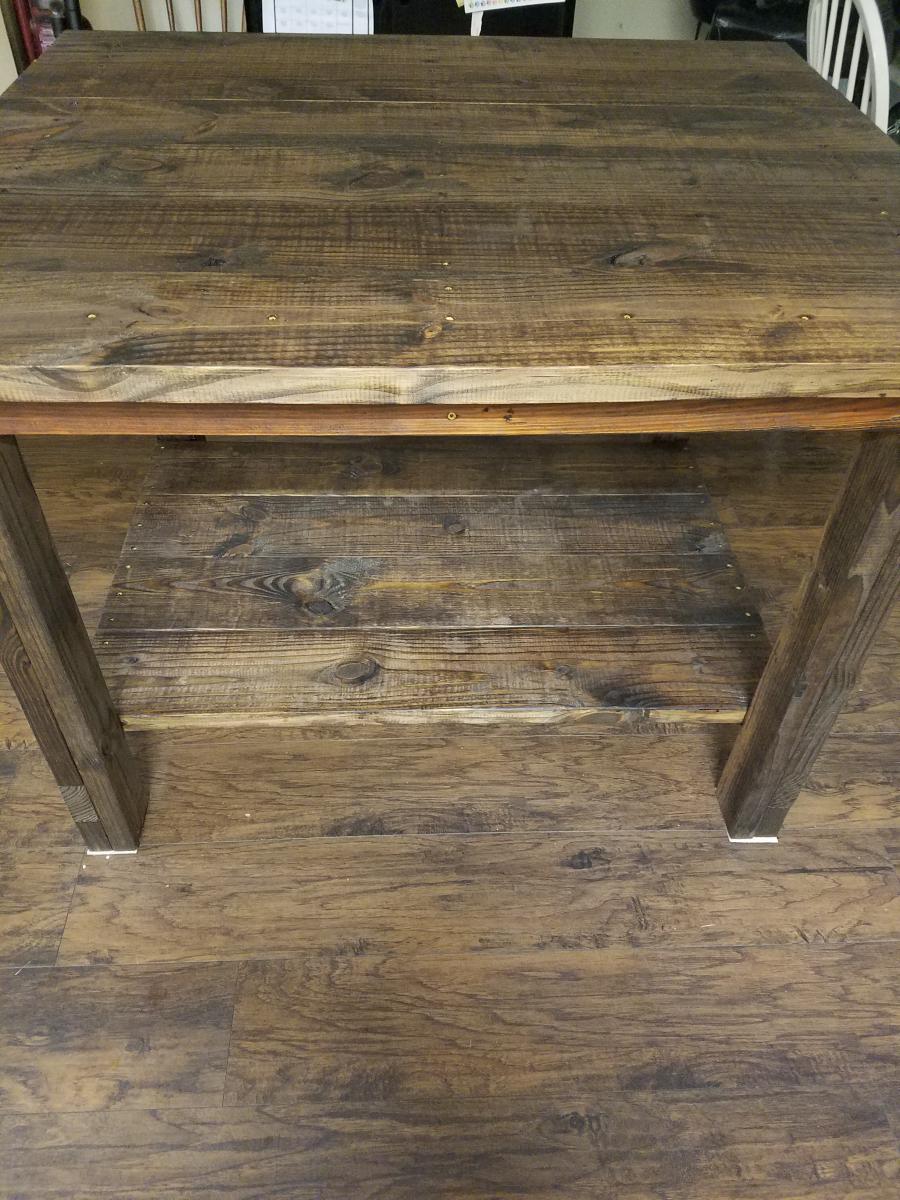
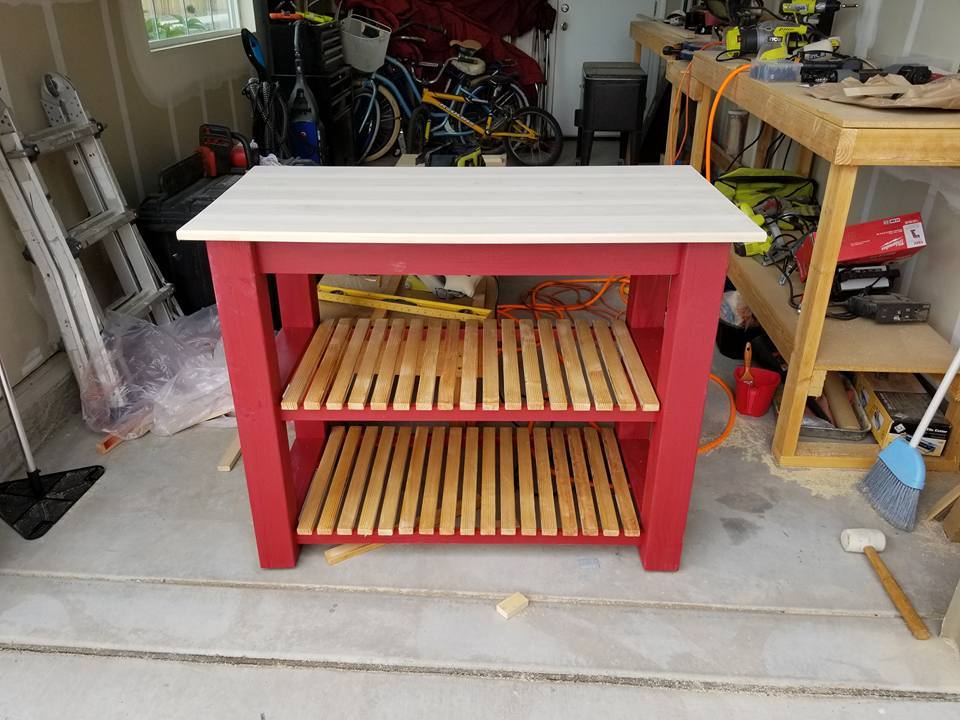
Kitchen Island
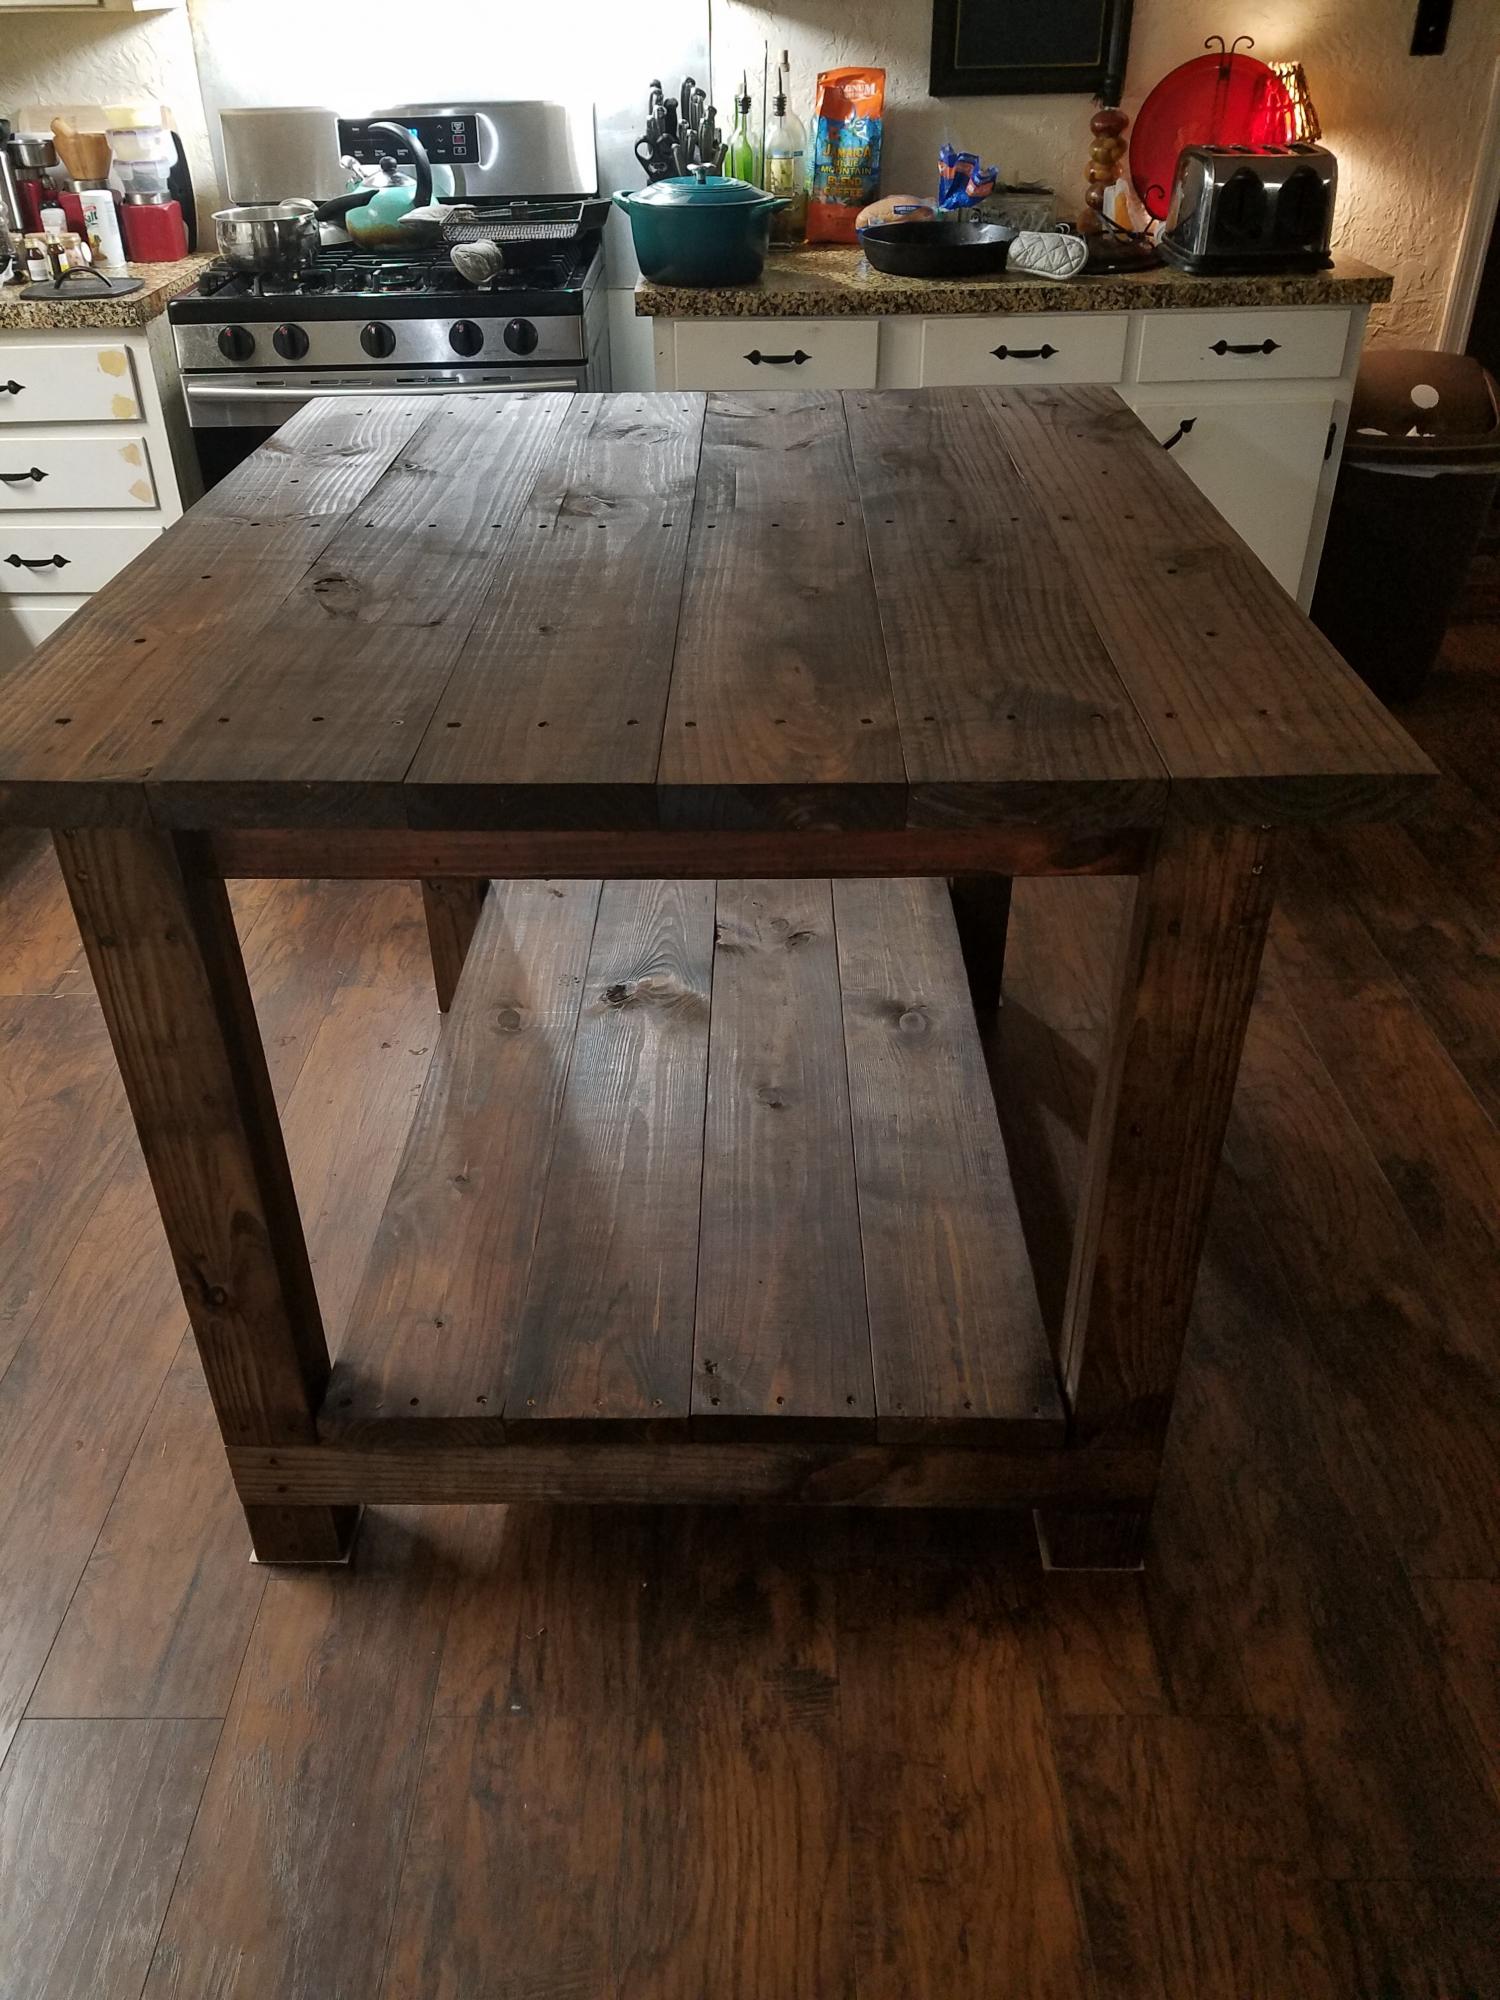
I wanted a kitchen island that would match my farmhouse table and would fit in my small kitchen.
Built from Plan(s)
I wanted a kitchen island that would match my farmhouse table and would fit in my small kitchen.
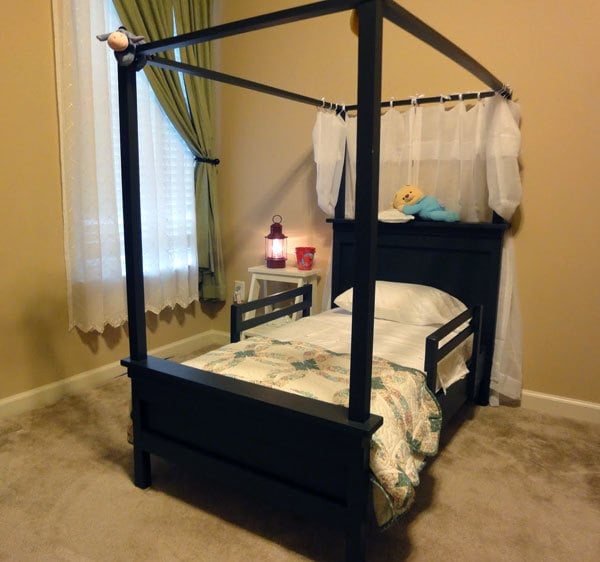
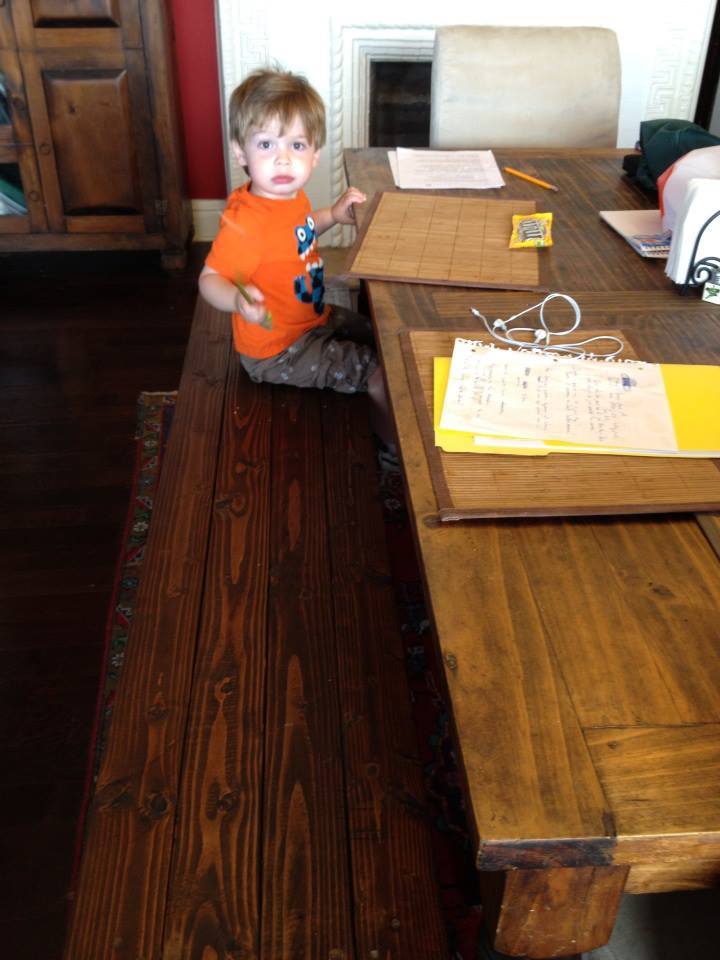
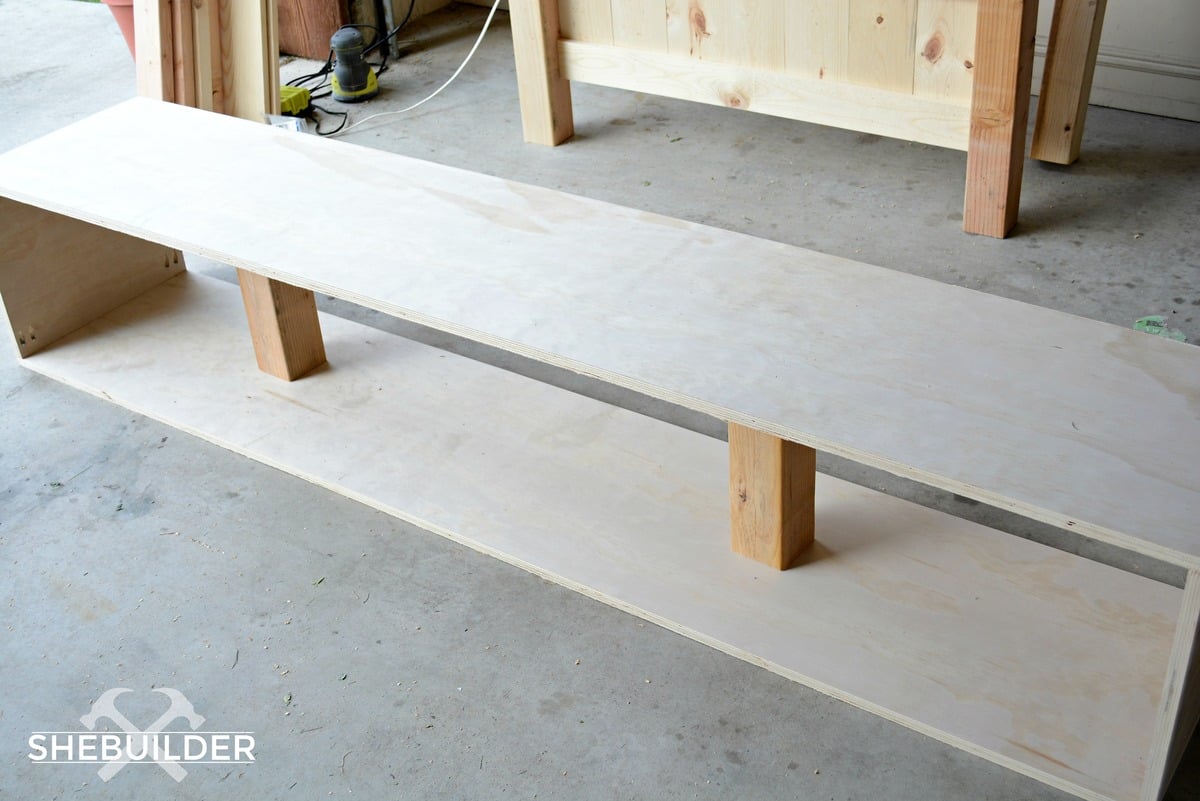
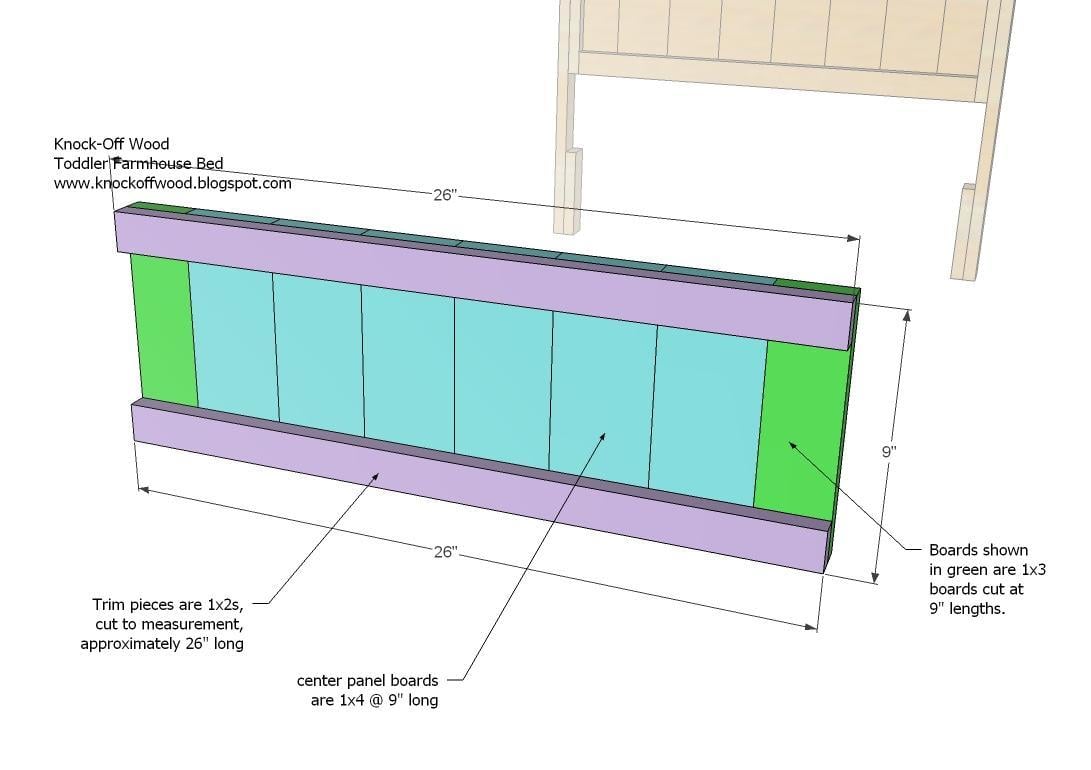
When I saw the farmhouse toddler bed plans on Ana’s site, I knew I had to build it for my daughter. I added siderails (modified from the bunk bed rail plans) and a canopy (modified from the adult size farmhouse bed canopy plans).
I can’t really give an estimate of how long this project took…I had to work on it while keeping my five year old and one year old entertained. If I’d had no distractions, it probably would have taken only 3 or 4 hours to build it (more for the painting).
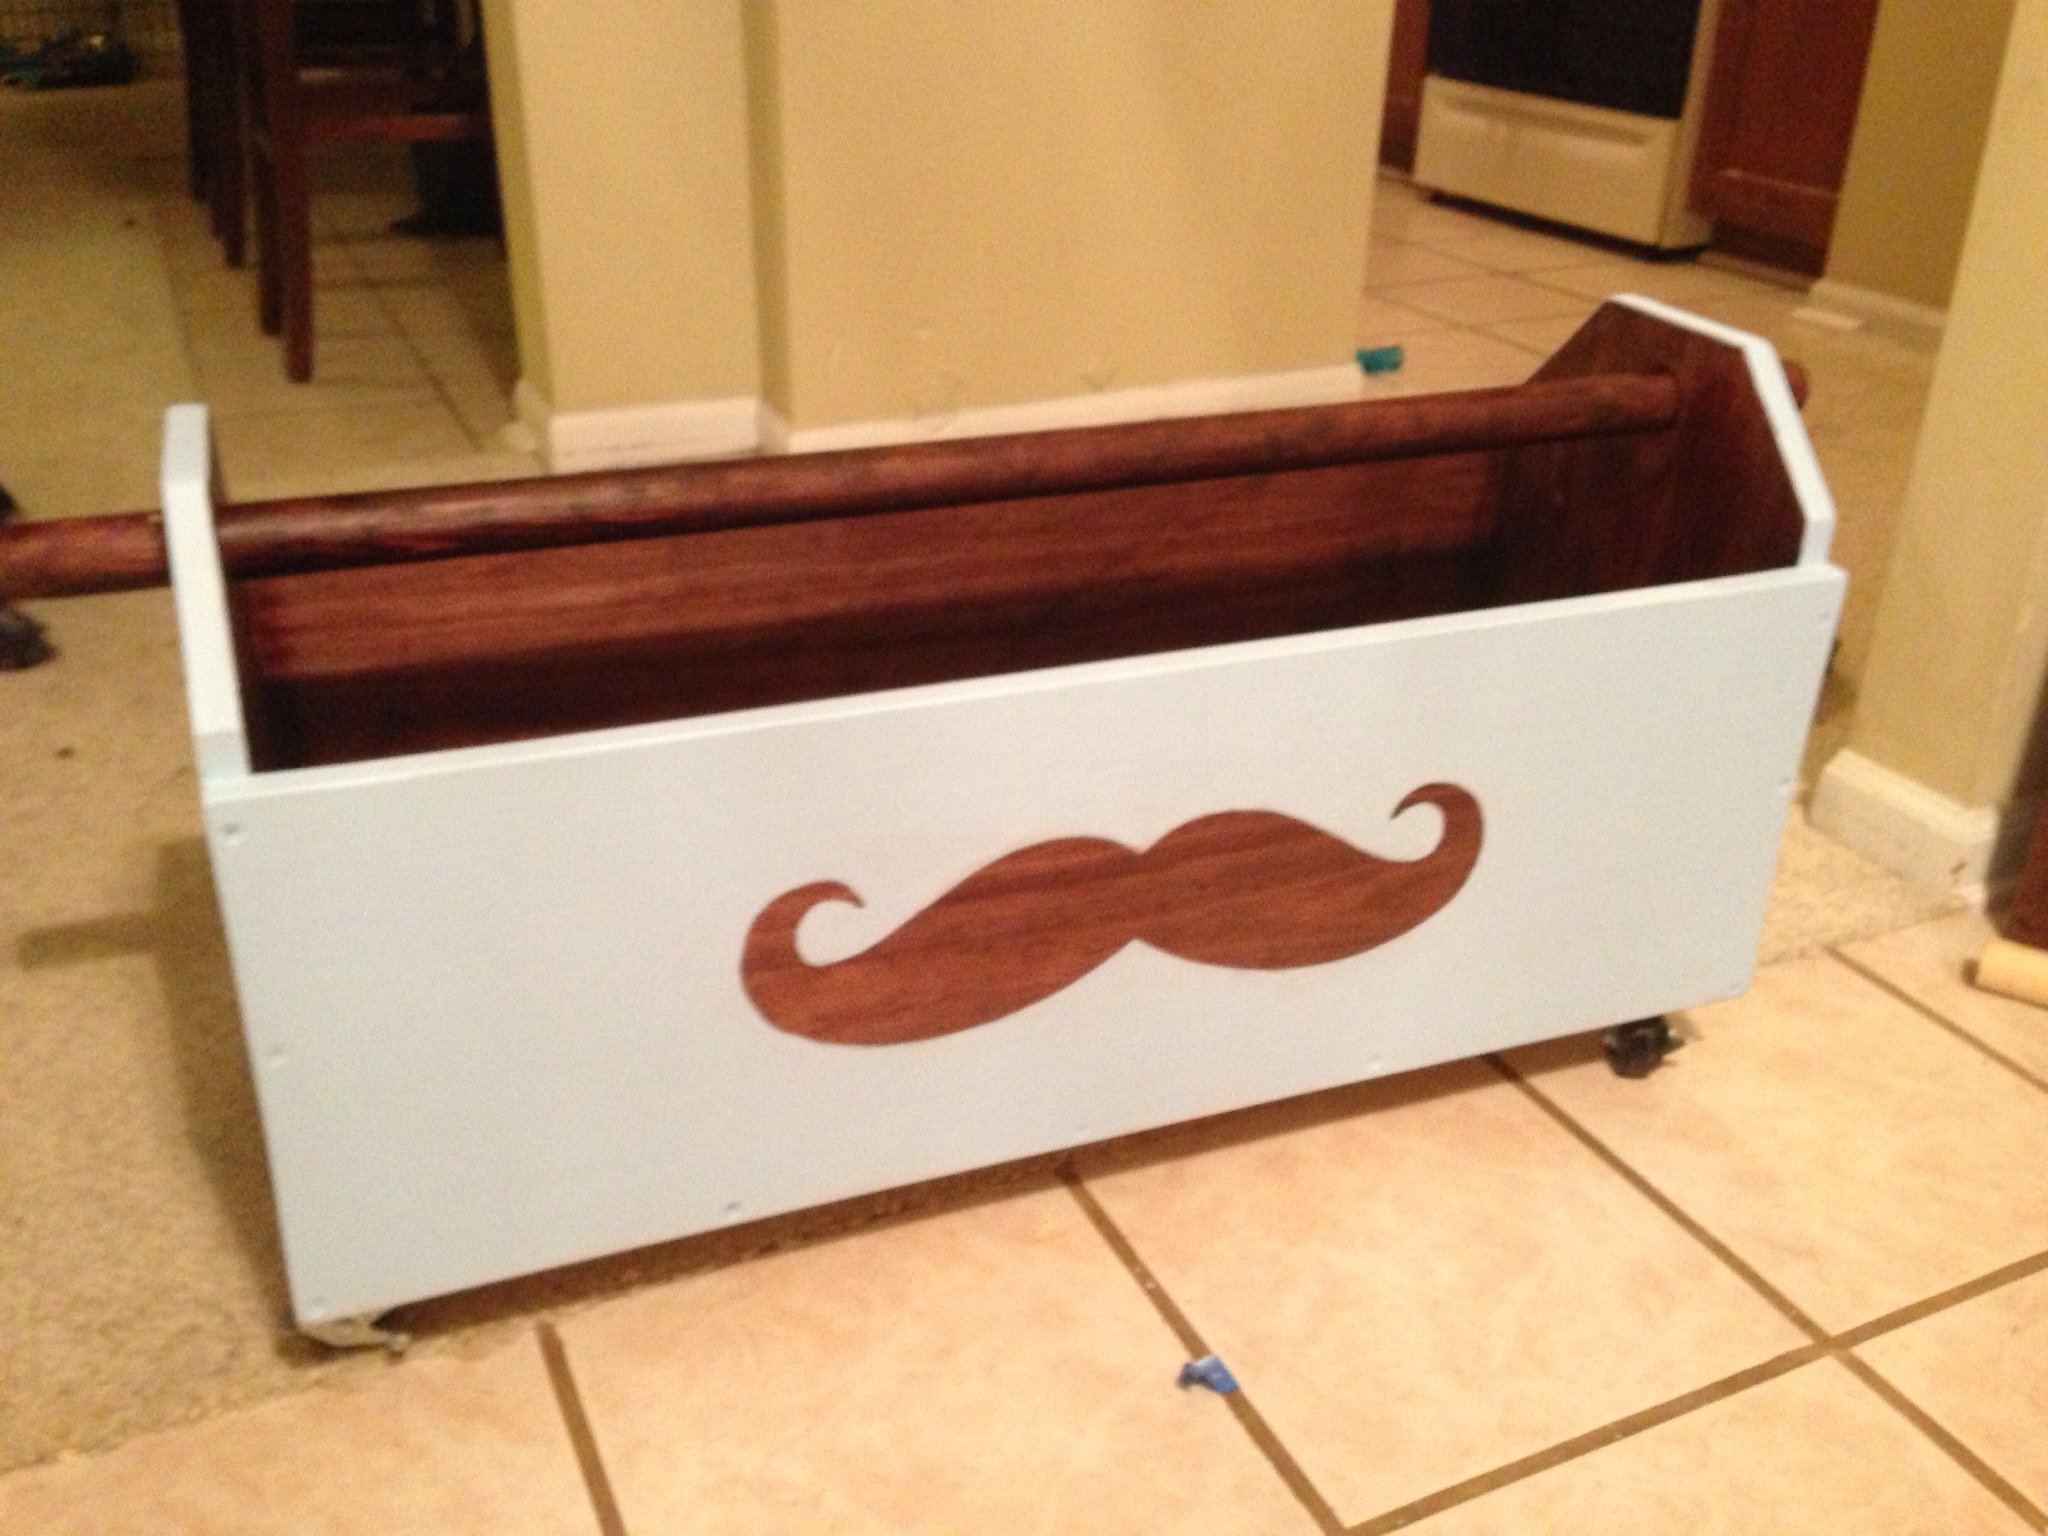
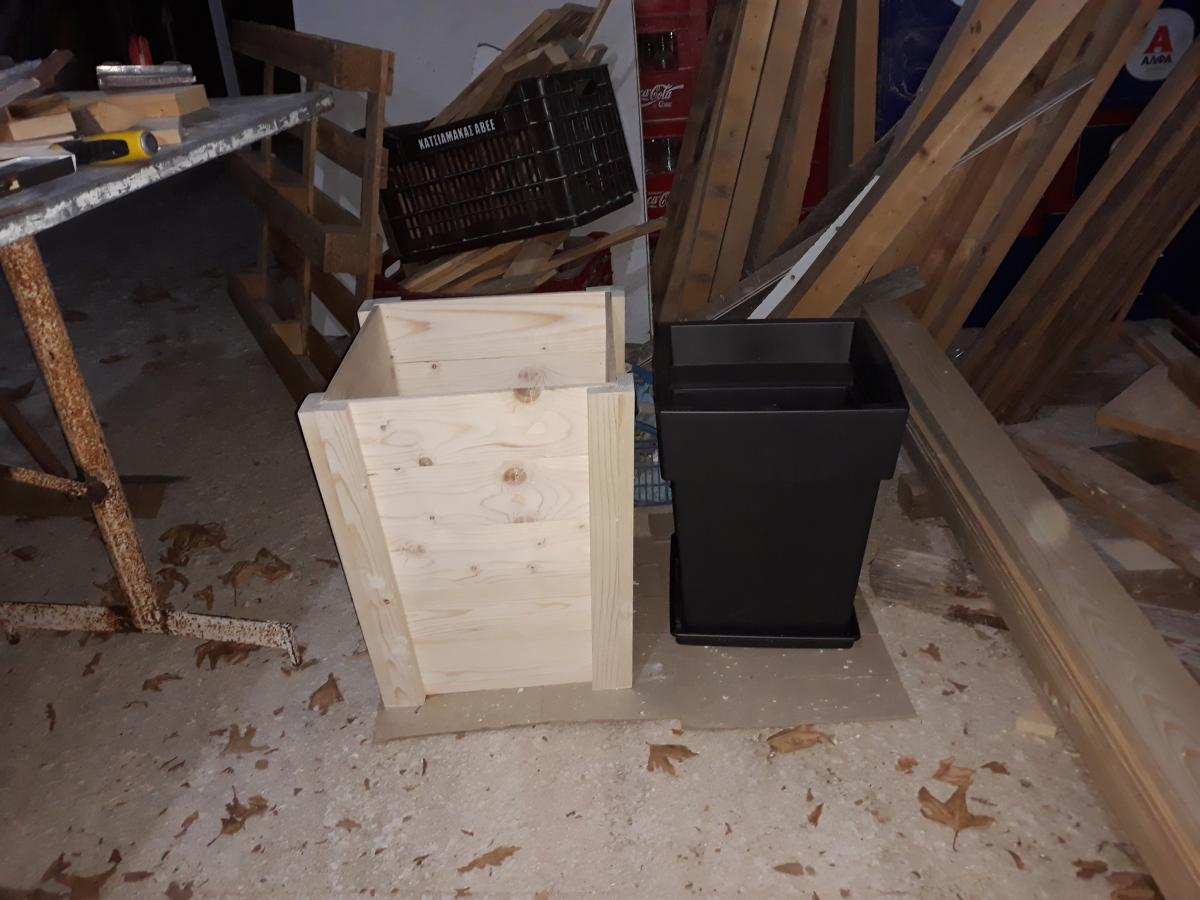
We went exactly as planned in the Build a Toybox outline, but bought 12x1 instead of 16x1. This caused a problem when we started putting it together. The two short sides were taller than the long sides. We decided to make lemons from lemonade and turn it into a toolbox/toybox, and in the end really liked the result. We added an additional cut with 1.5" holes on either side and a 1.5" diameter 36" long dowel rod for the handle. We added casters to the bottom and poof! done. Fun project! We made it for our soon to be nephew and filled with gifts for the baby shower.

Thu, 05/30/2013 - 10:29
Good things come from mistakes at times! Love the mustache touch!
Thu, 05/30/2013 - 10:30
Good things come from mistakes at times! Love the mustache touch!
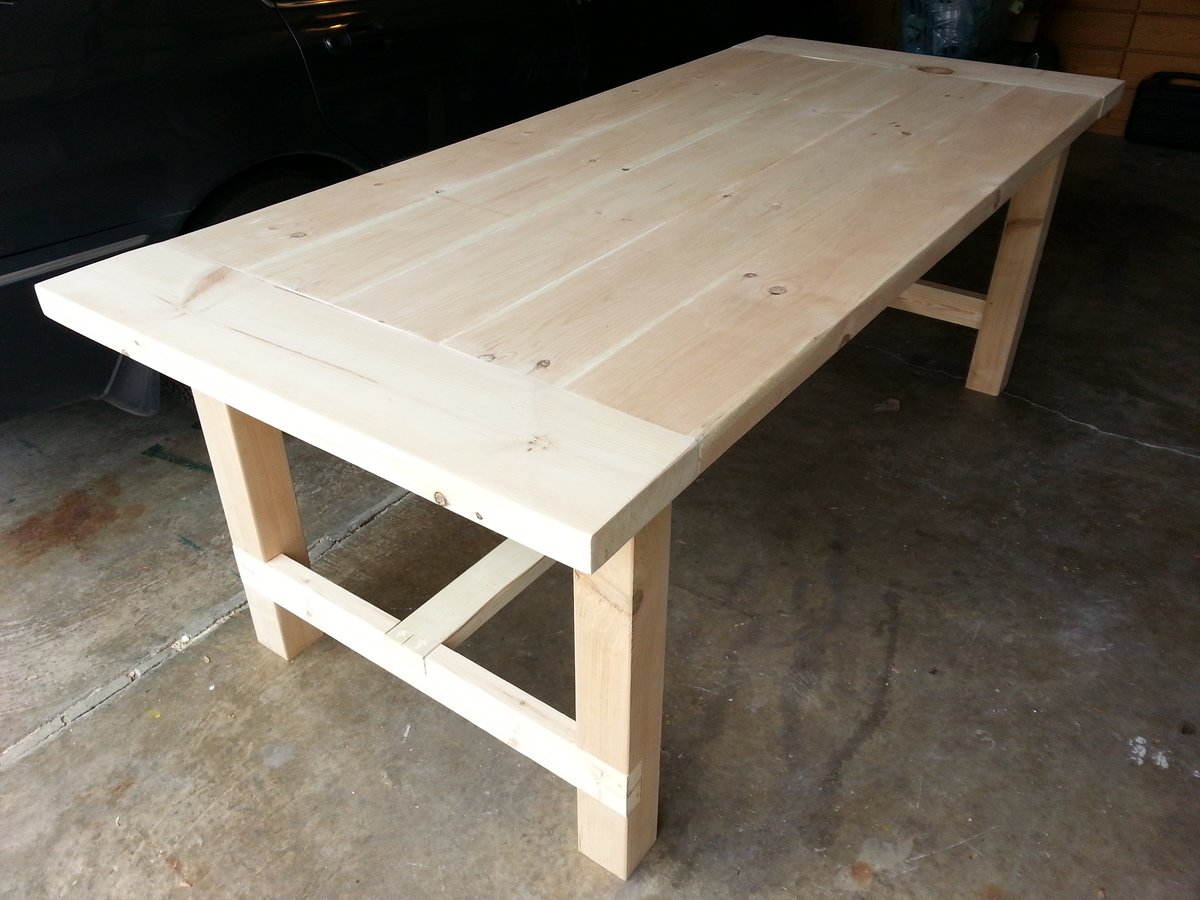
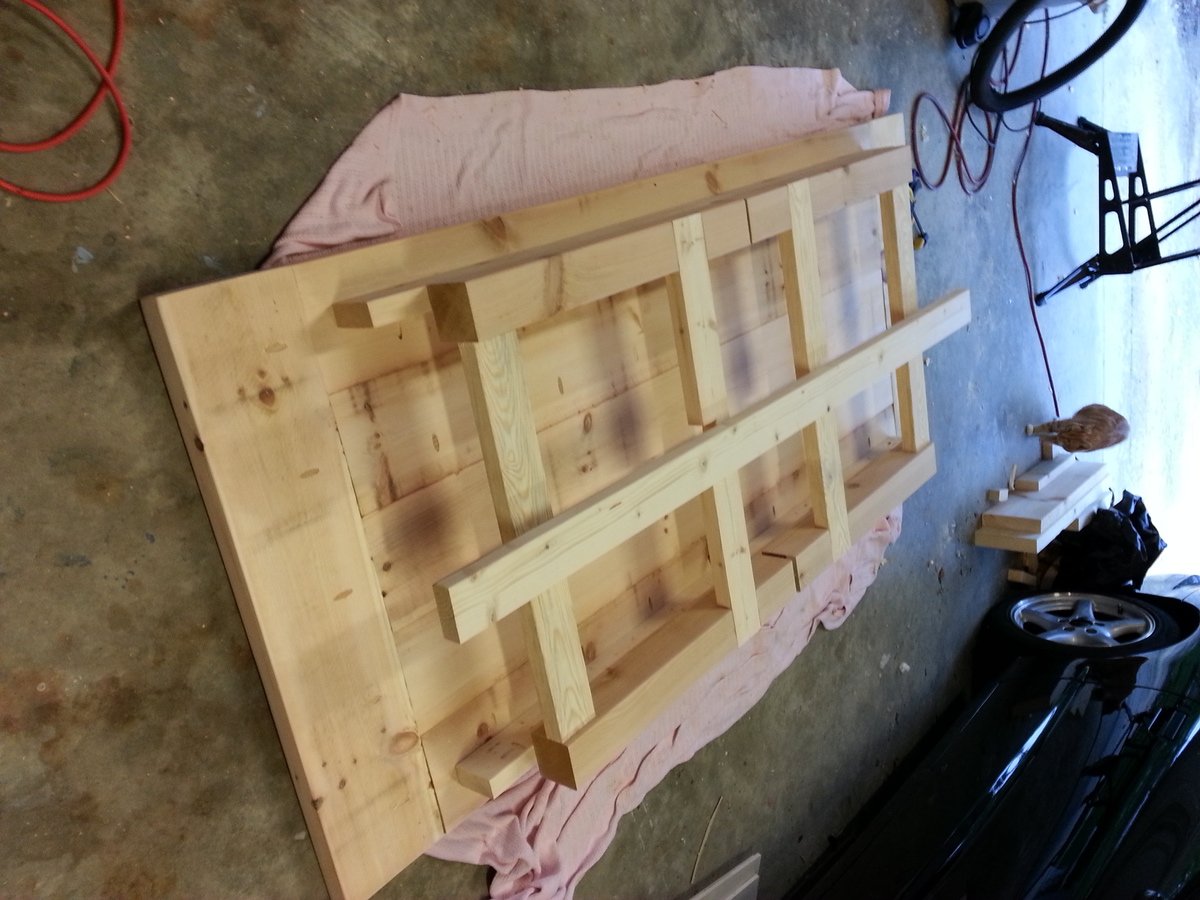
Farmhouse dining room table built for my mom. Unstained.
Table top is 2" White Pine Boards, legs are cedar, and everything else is whitewood studs. Left the leg assemblies and stretcher board unattached for the two hour transport to Charlotte. Attached them with screws and some glue upon arrival. Loved the plan and finished in two days!
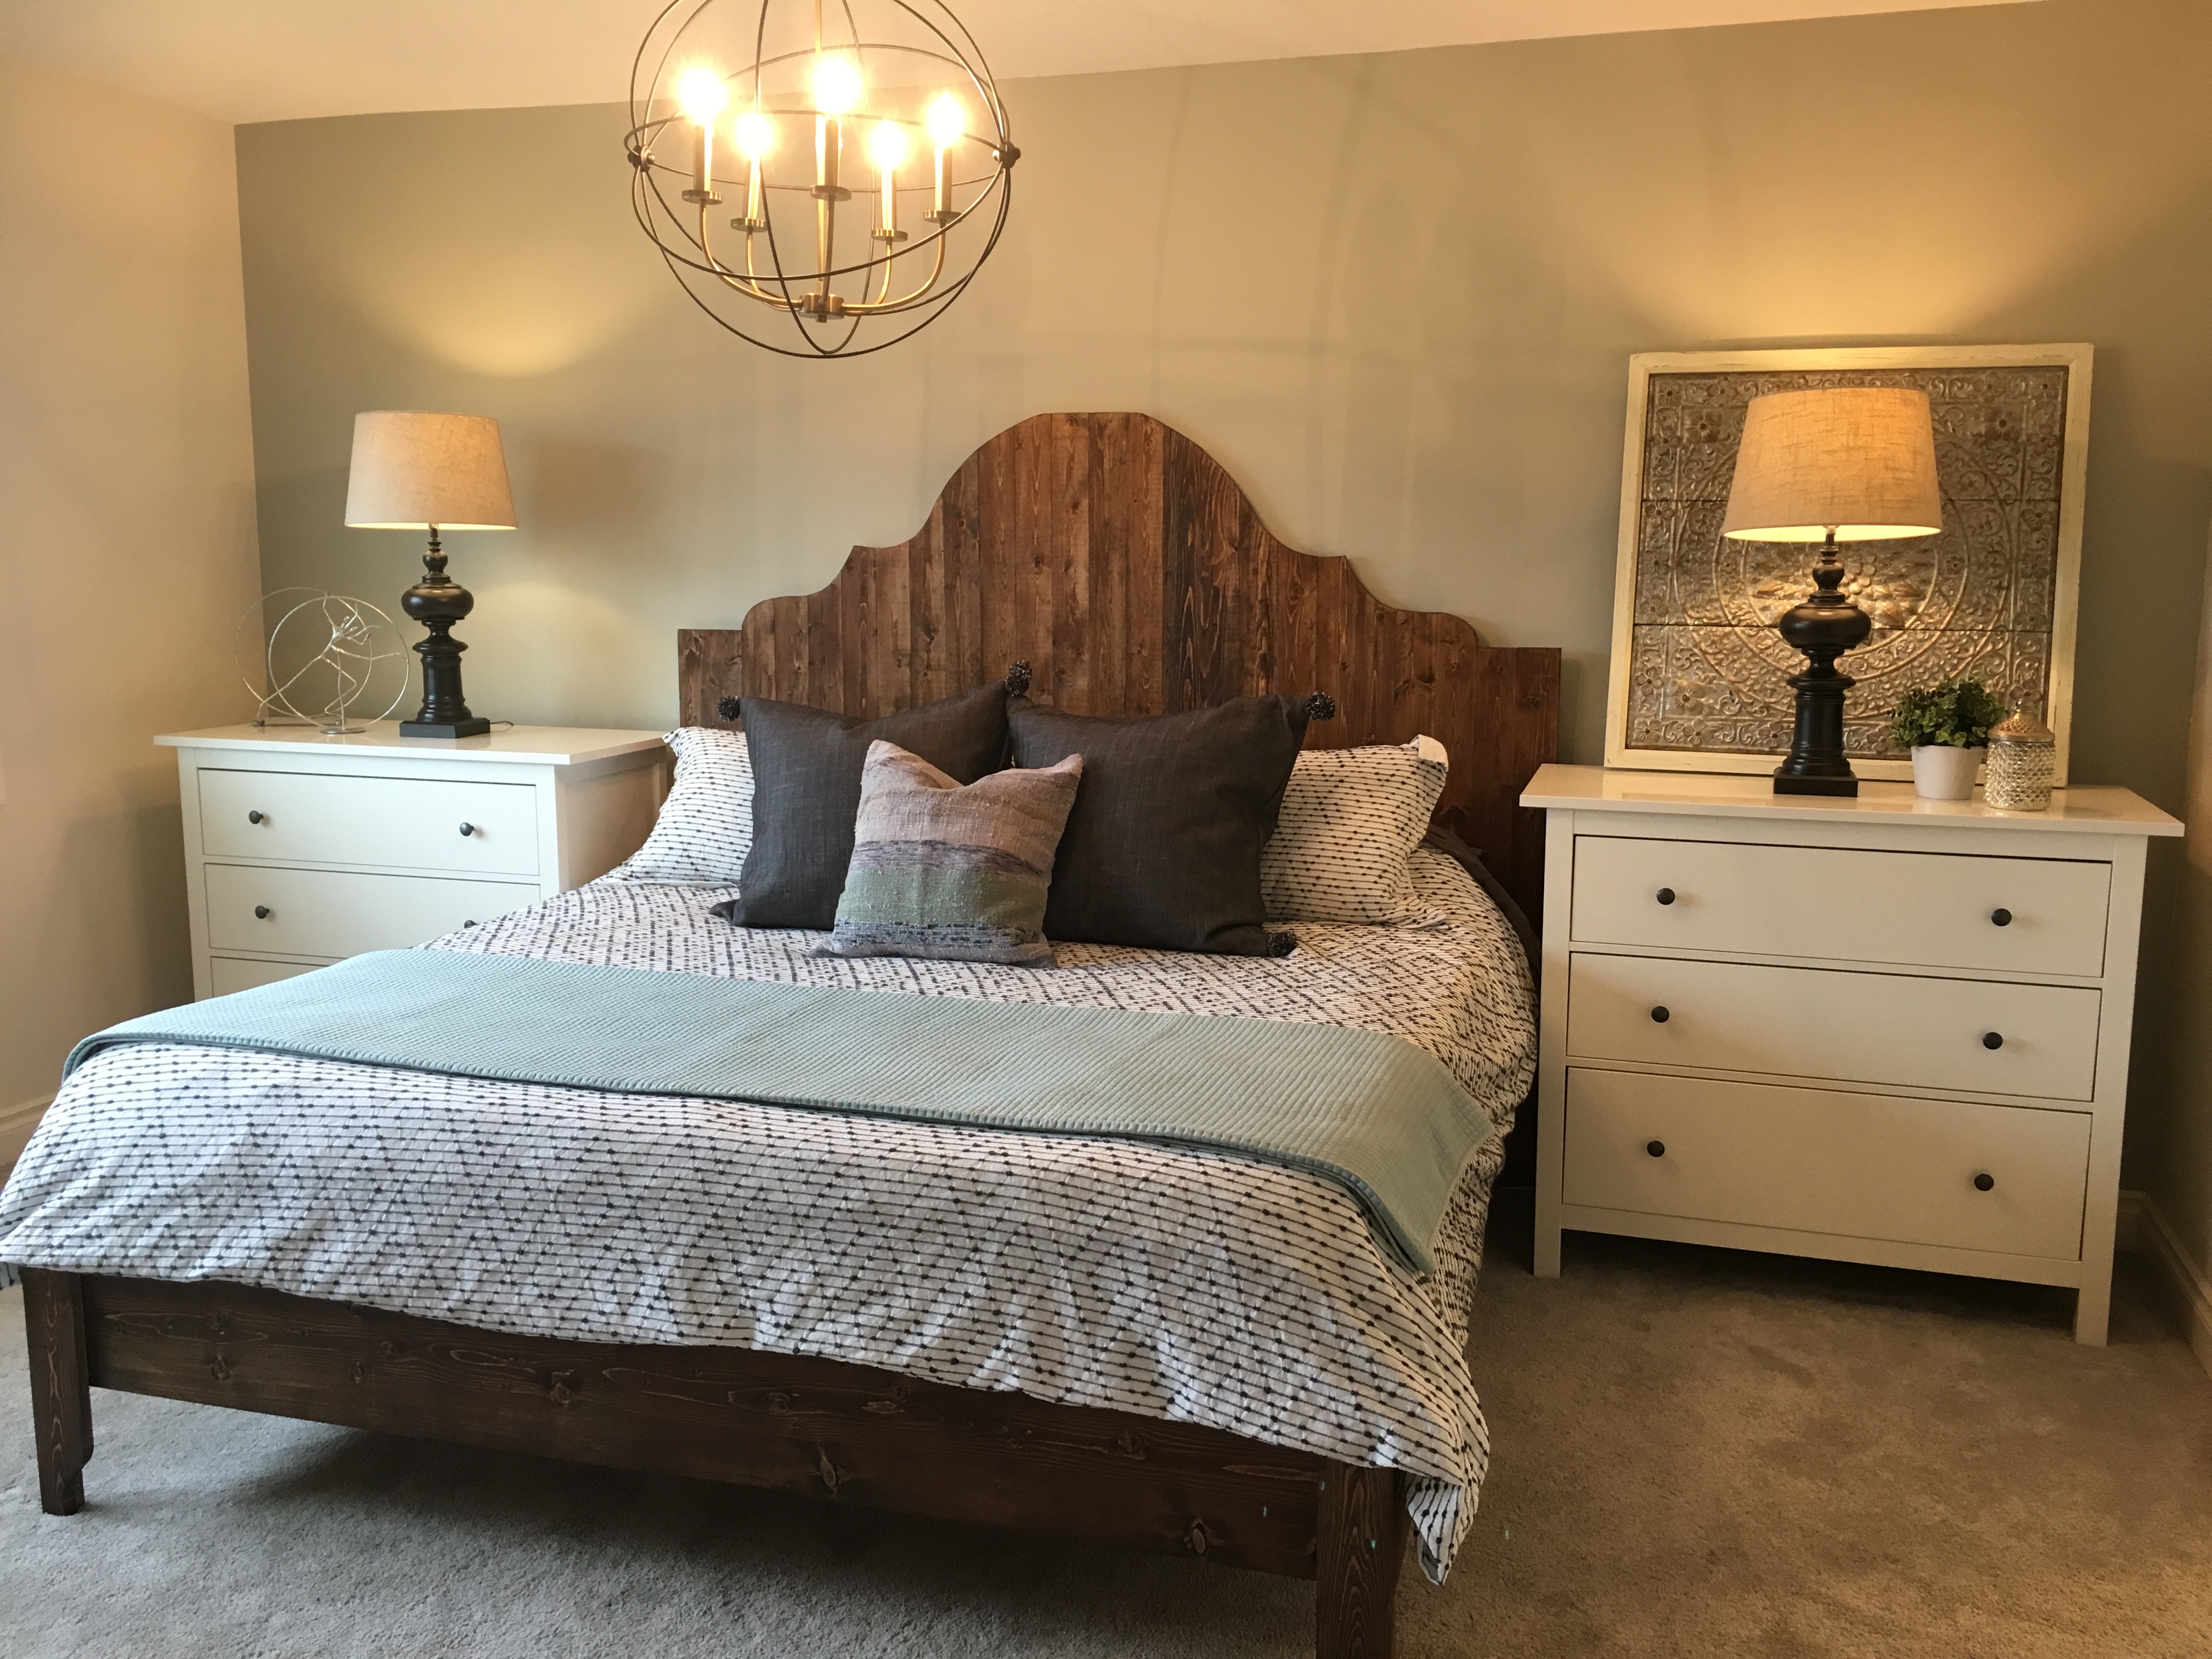
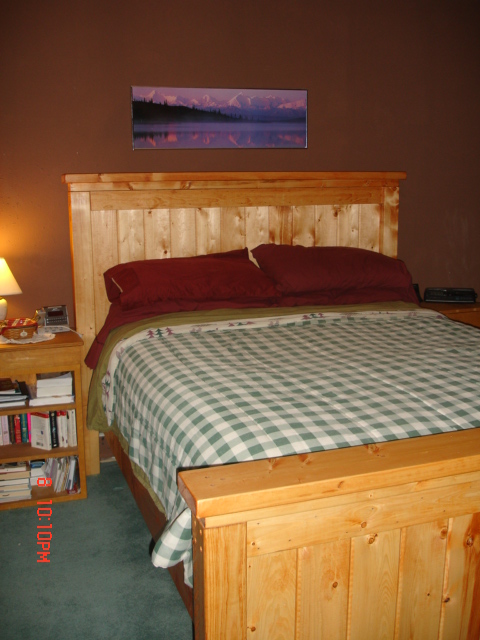
My husband calculated the dimensions to extend the plans from a queen to a king size bed. It was our first project together and we're both really excited about how it turned out!
Those are the first projects that I try to make. Thank you Anna White .
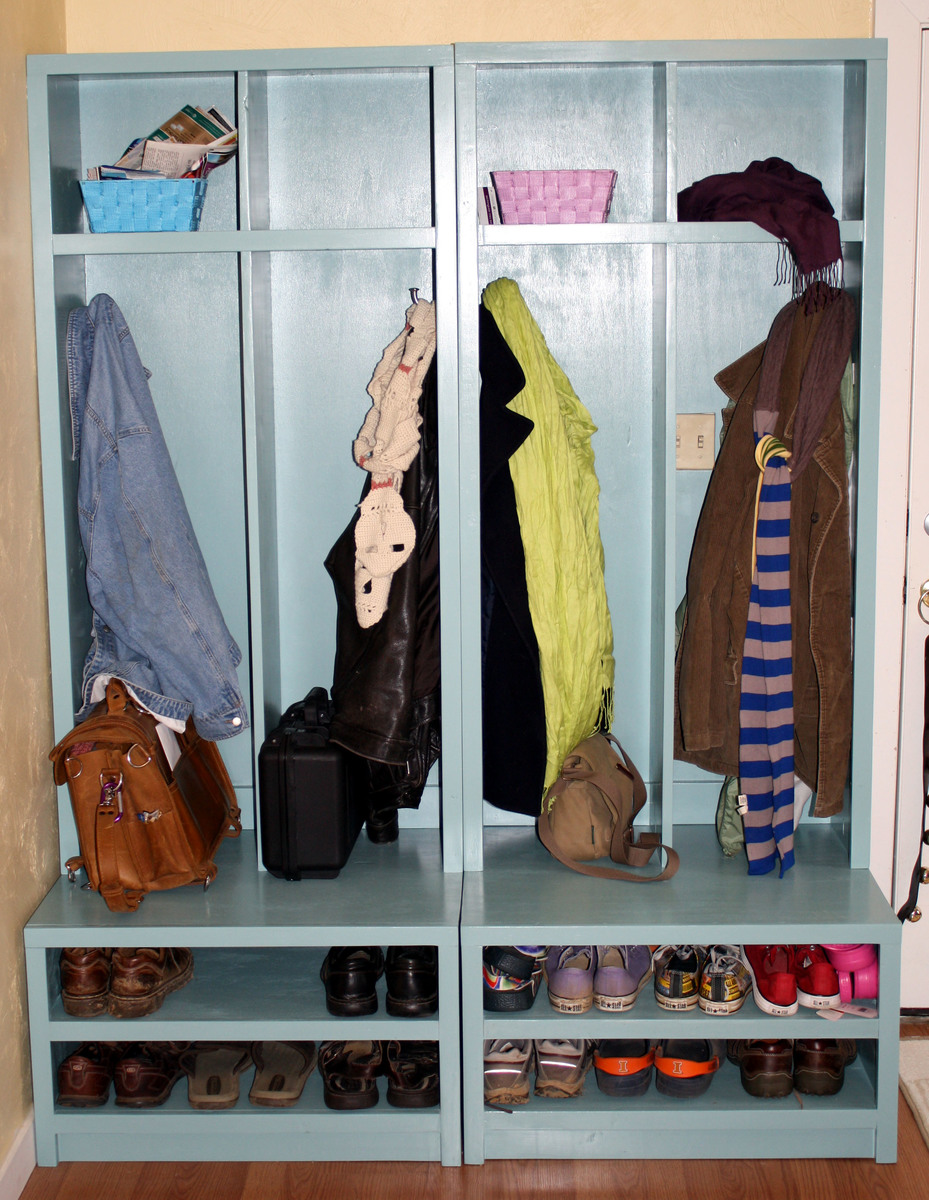
Always wanted lockers, now I have them! We built these in a couple of afternoons, but took forever to sand and finish (of course, the sudden onslaught of winter didn't help.) Added 10 inches to the height of the hutches to fit our adult coats better. We are absolutely in love with them!

This is the third project I've done from this site and the first that came out absolutely perfect. The others were GREAT but this one....it just soared.
Took me all of 1 afternoon to build and 3 days to stain and finish. I used Early American by Minwax to match the existing dining room table.
My goal is to build the table that goes with it.
But, for now, this is the perfect addition to the house.
One thing.
The plans for this bench call for 1x4s for the breadboards and that doesn't make sense. I think it's a typo.
You will need extra 2x4s to make the project really soar. But, heck, who can't use an extra 2x4 lying around?

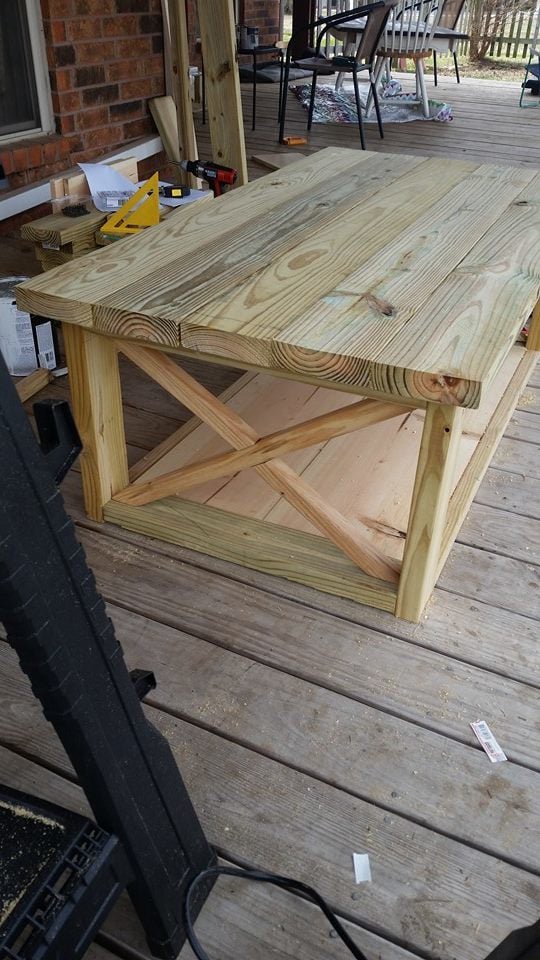
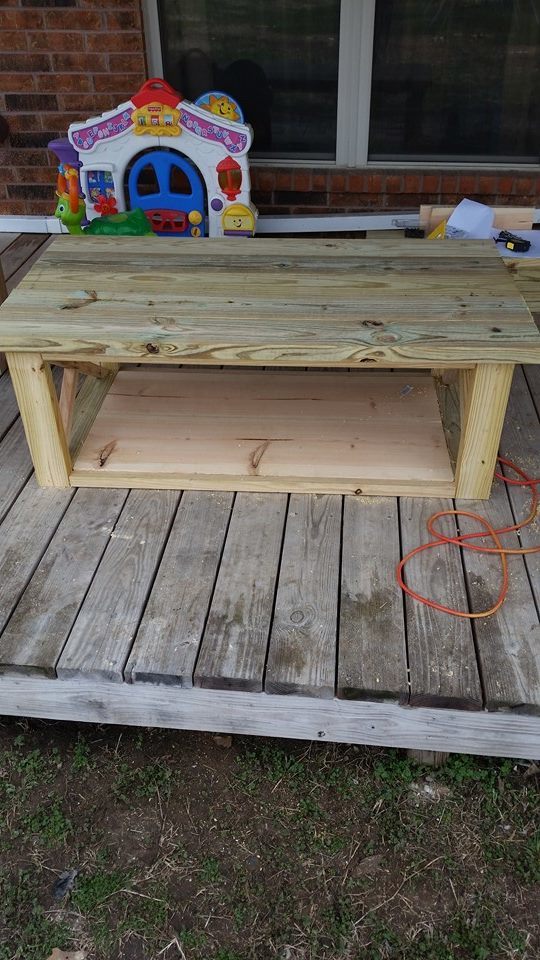
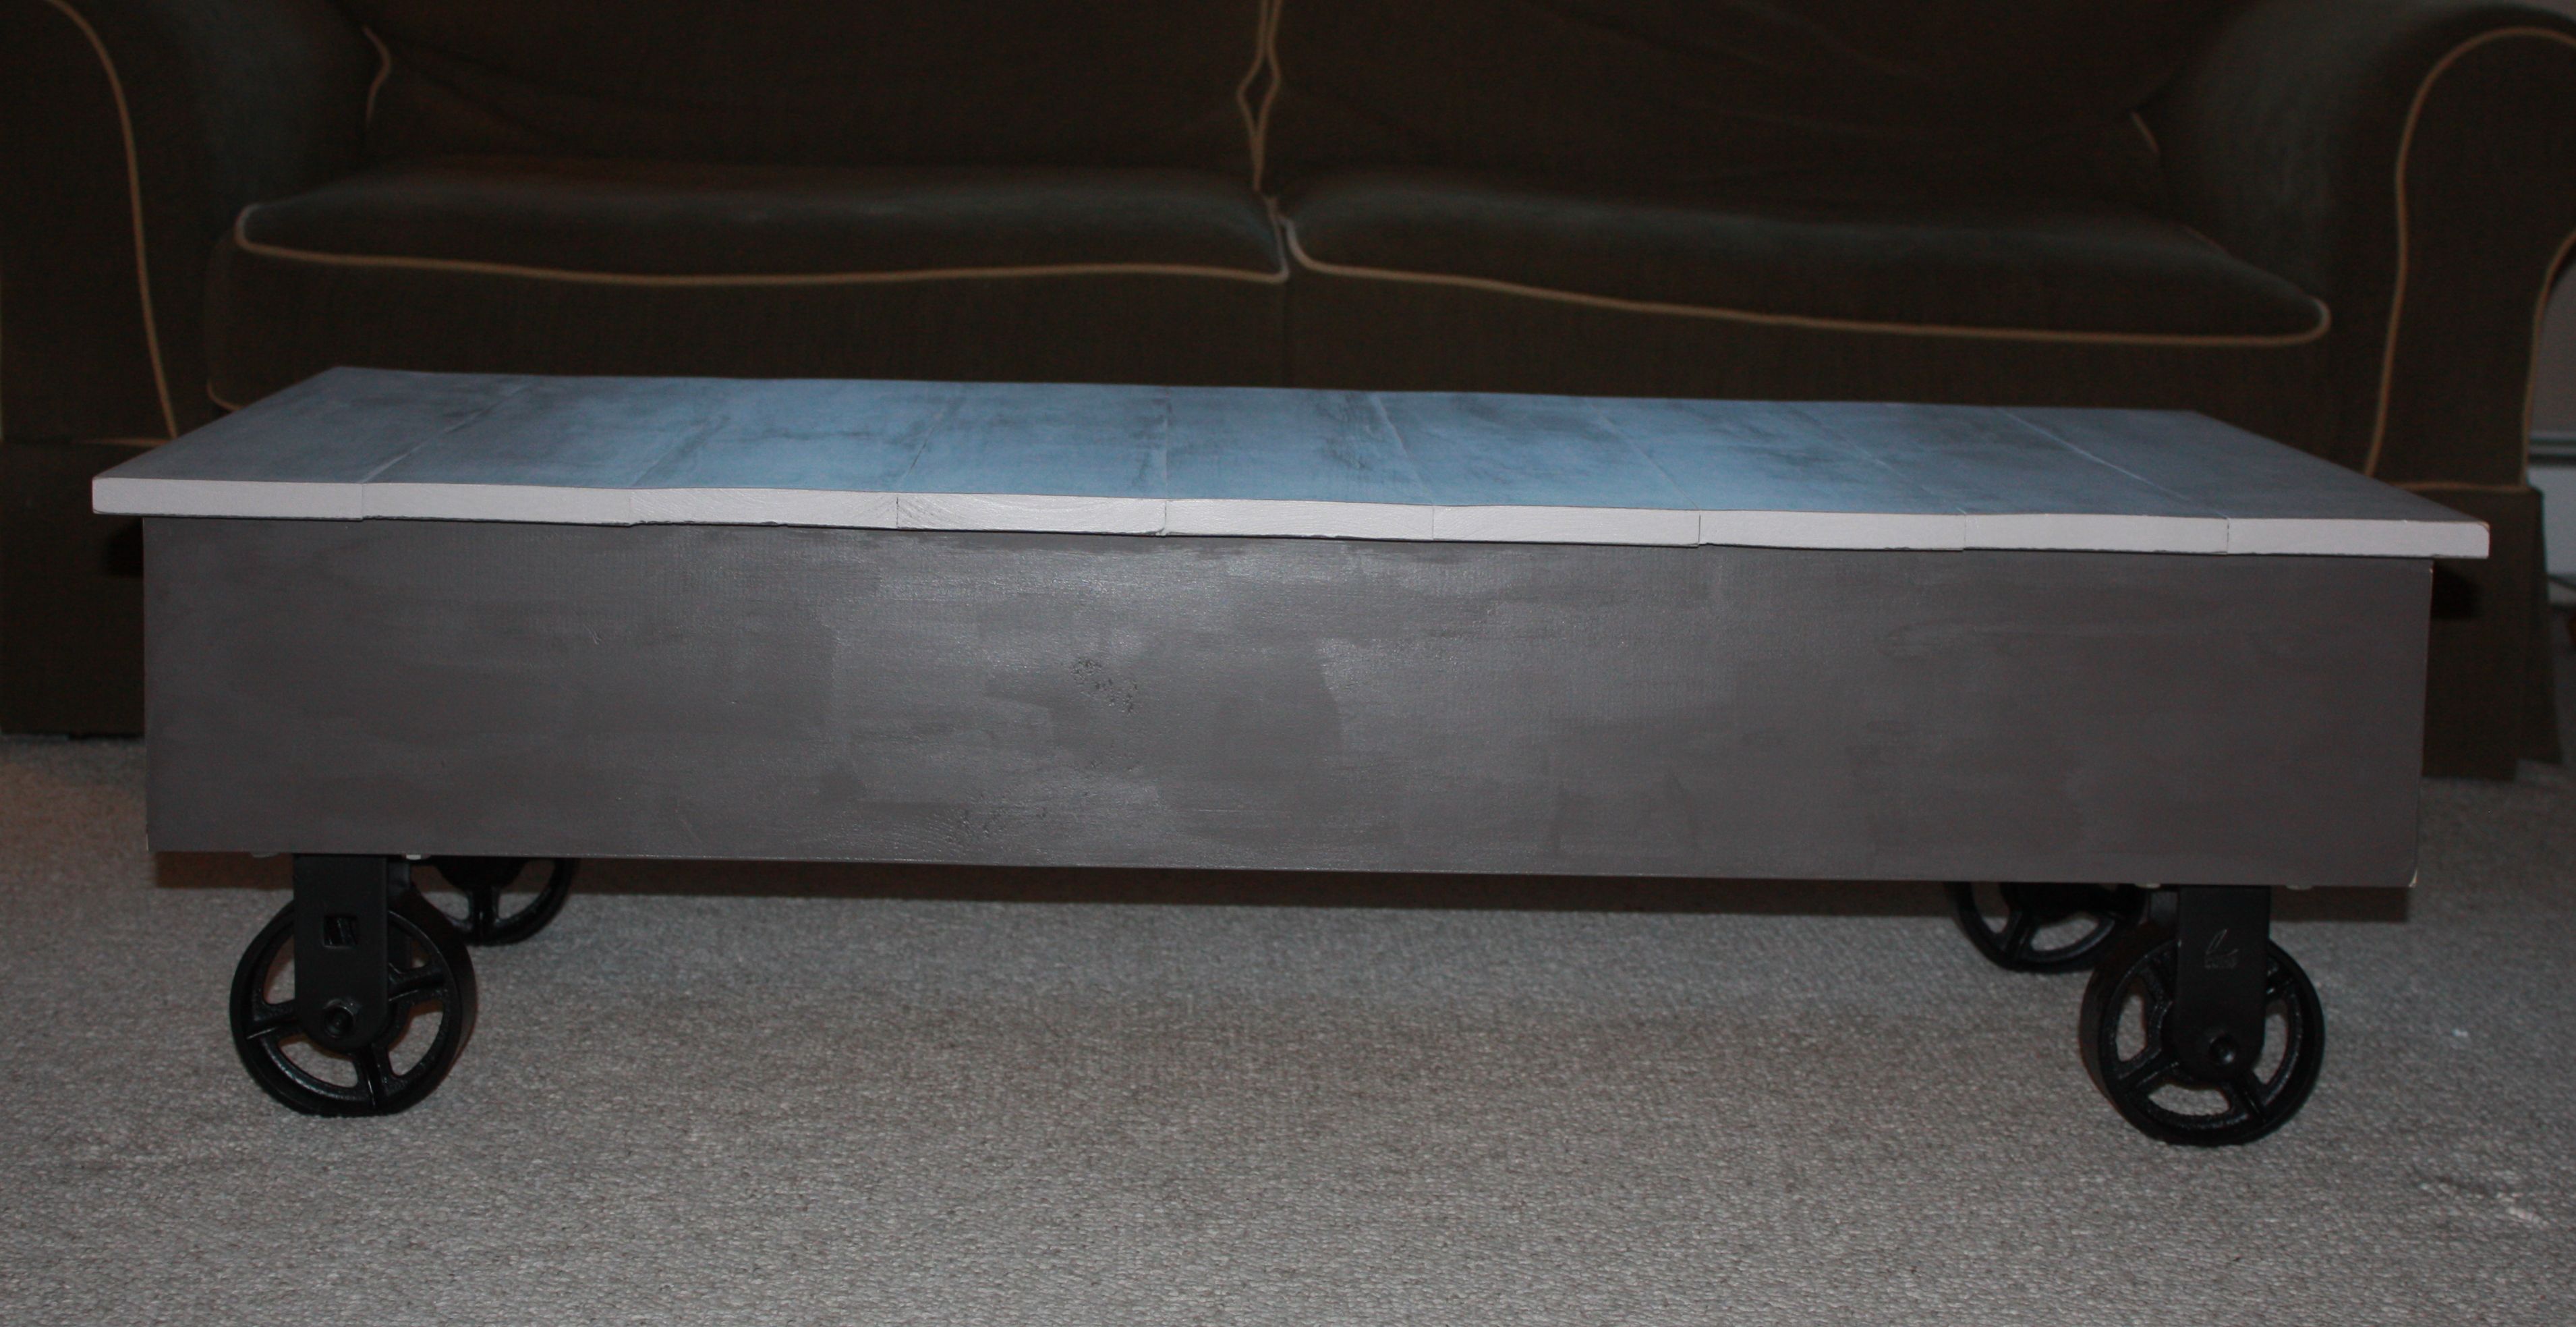
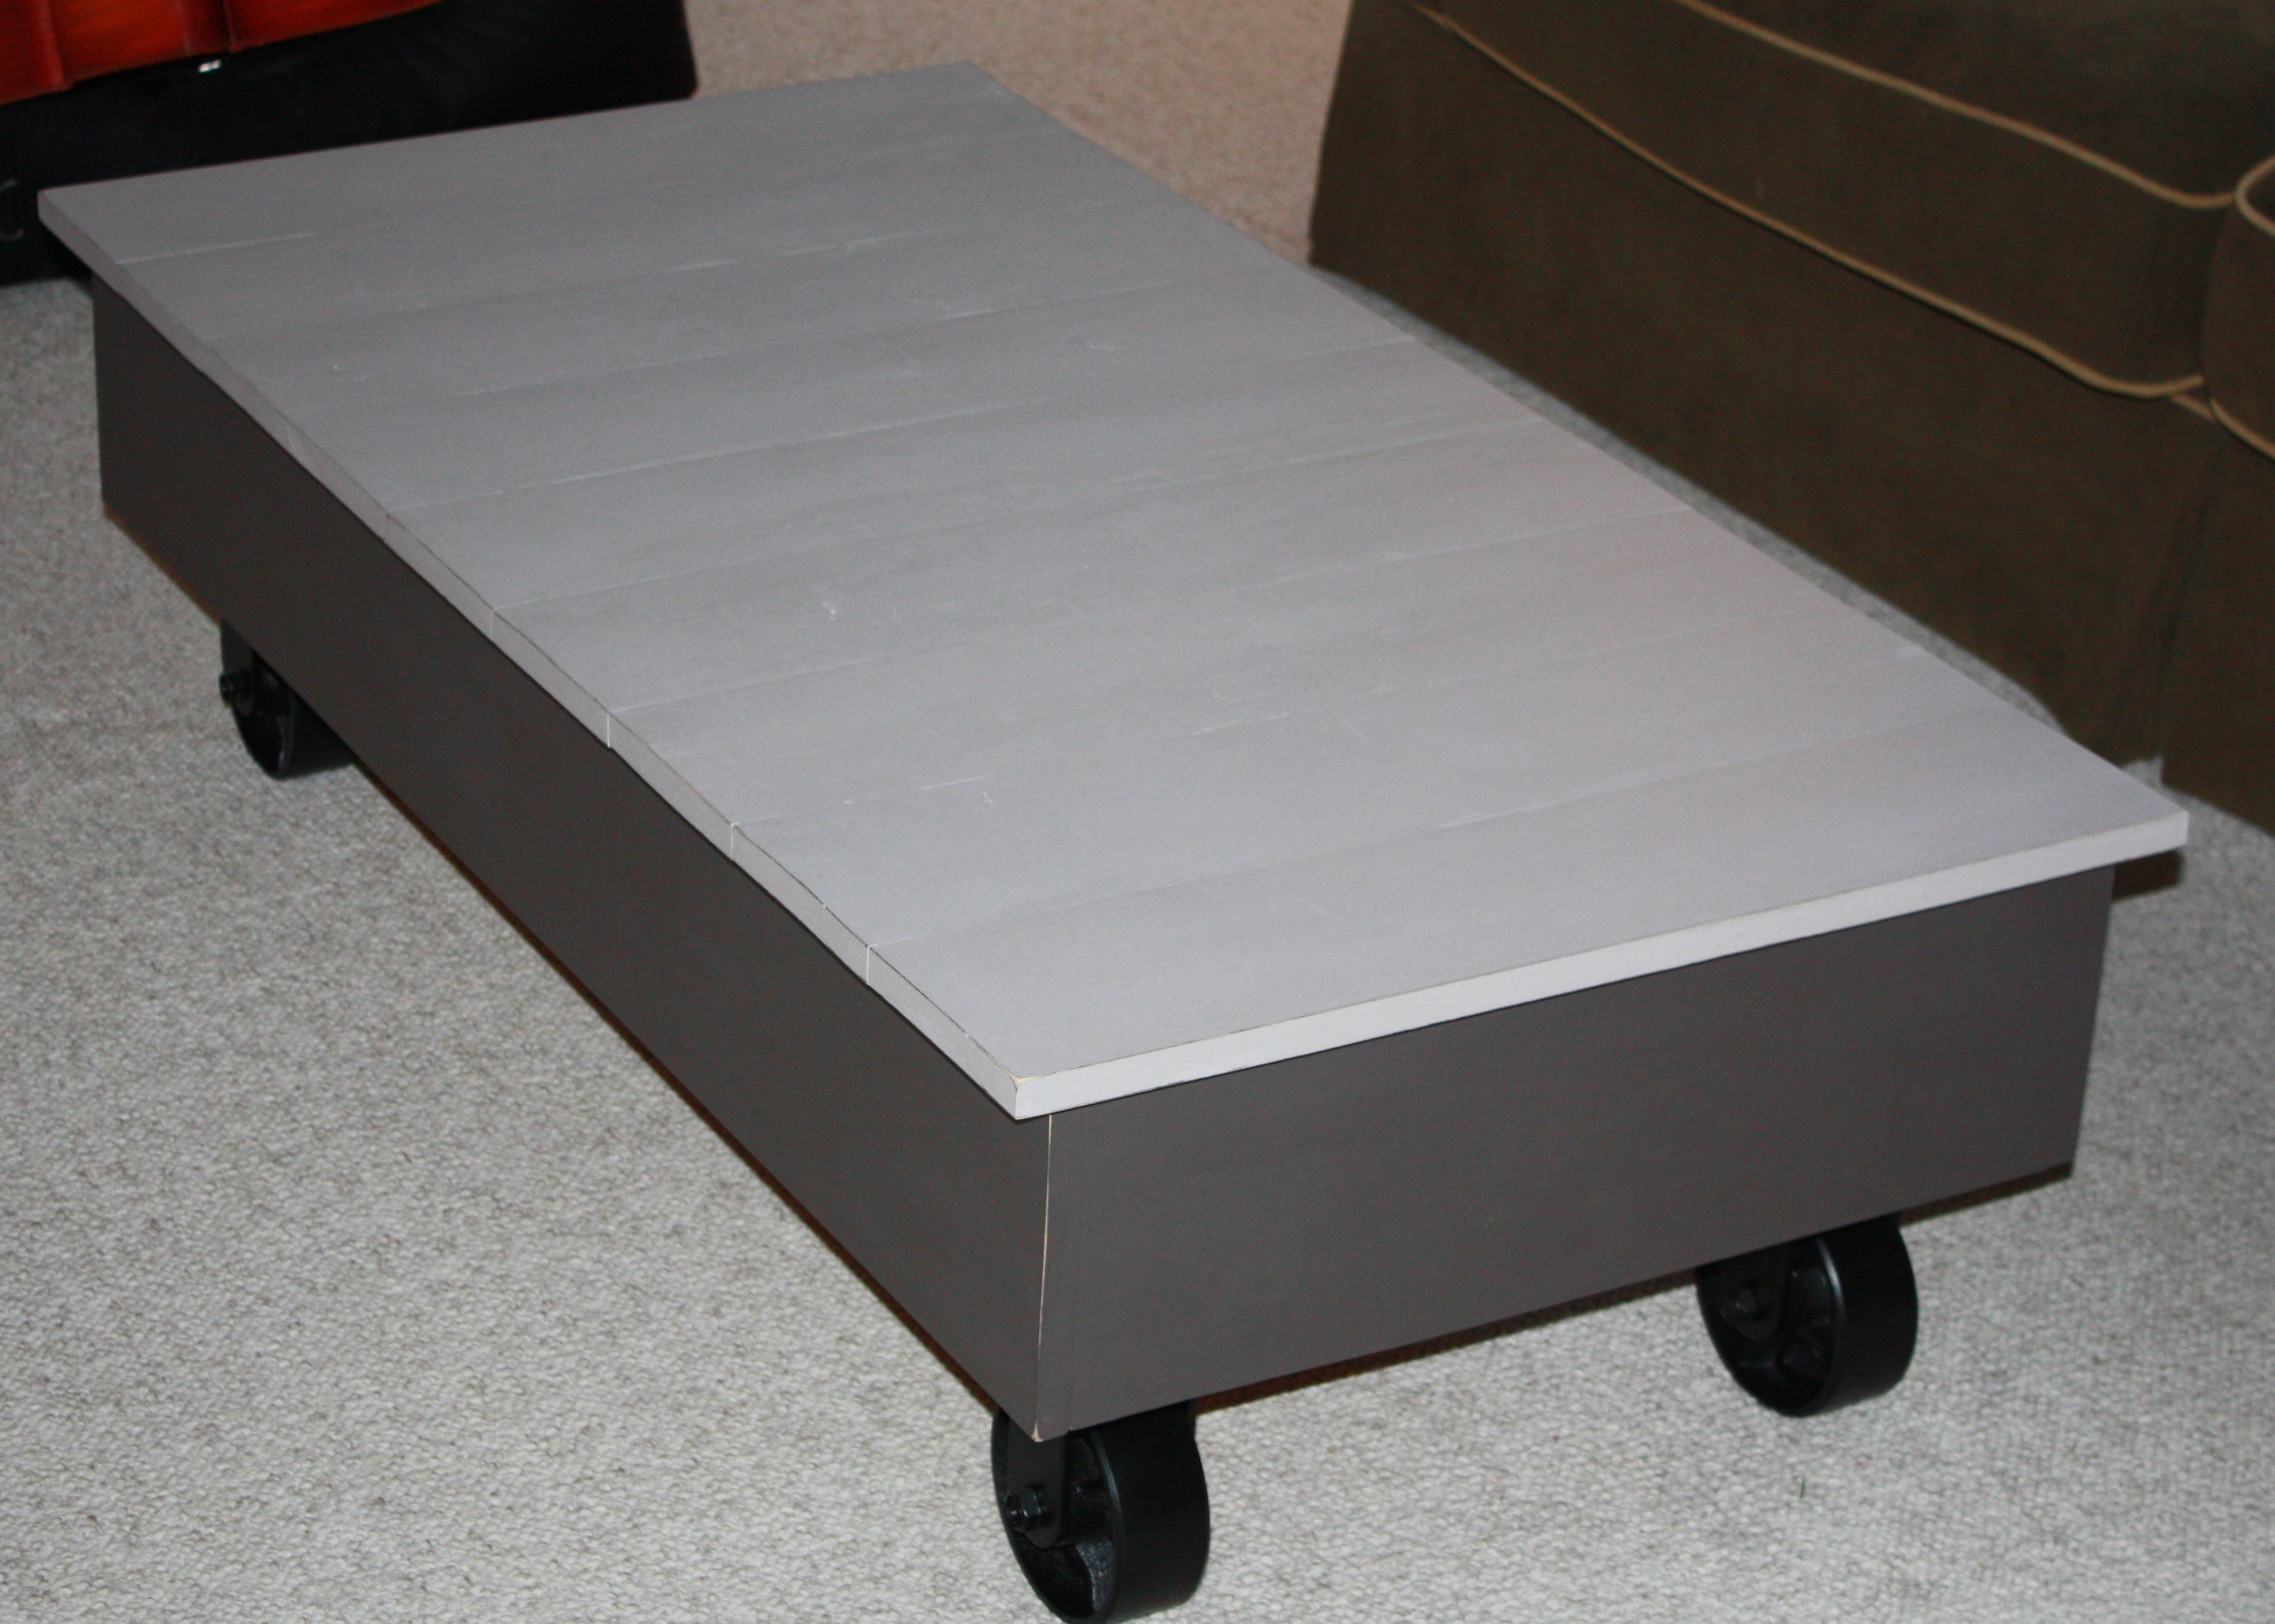
My wife was wanting a new coffee table so I decided to build one instead of goin and buying one. This being really the first somewhat hard wood working project that I had tried it turned out very good. My wife did her handy work on staining and making it look very old and rustic.
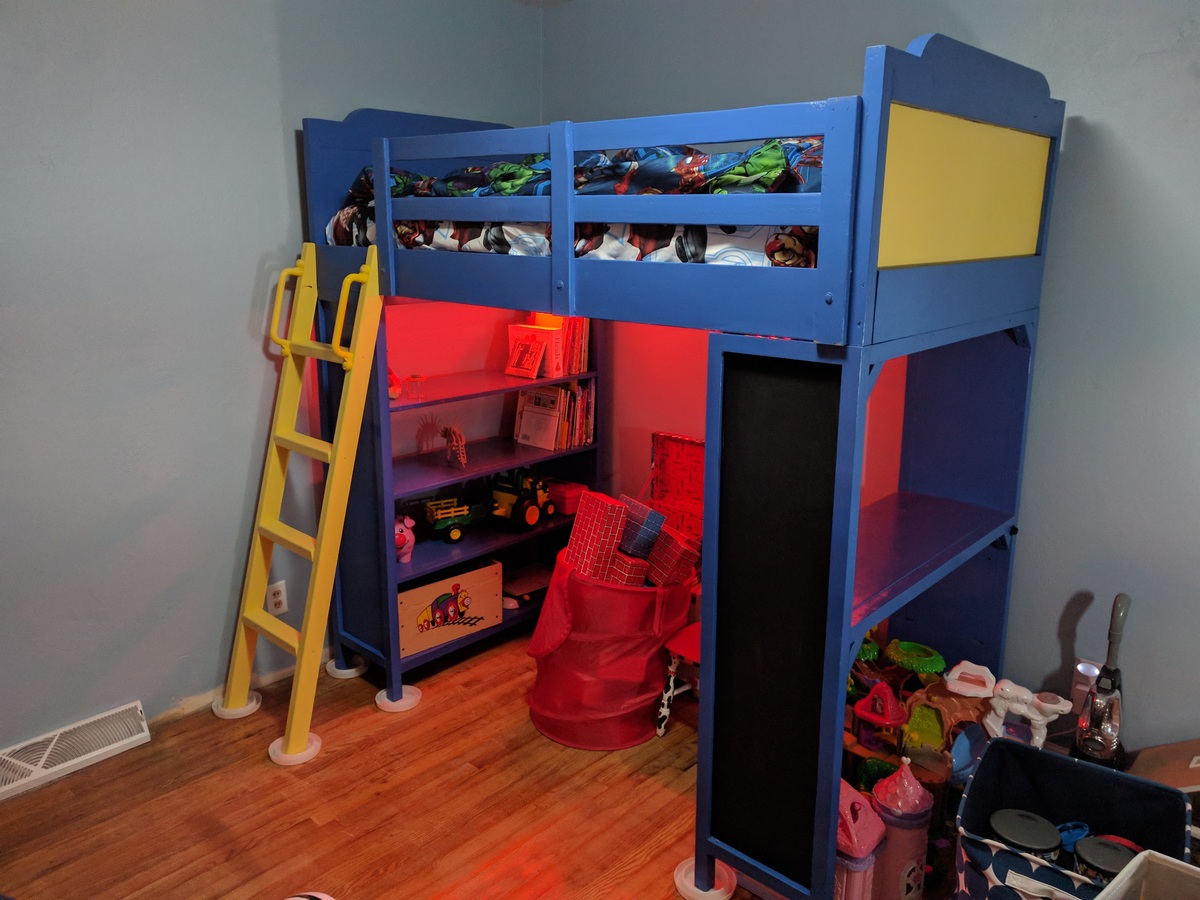
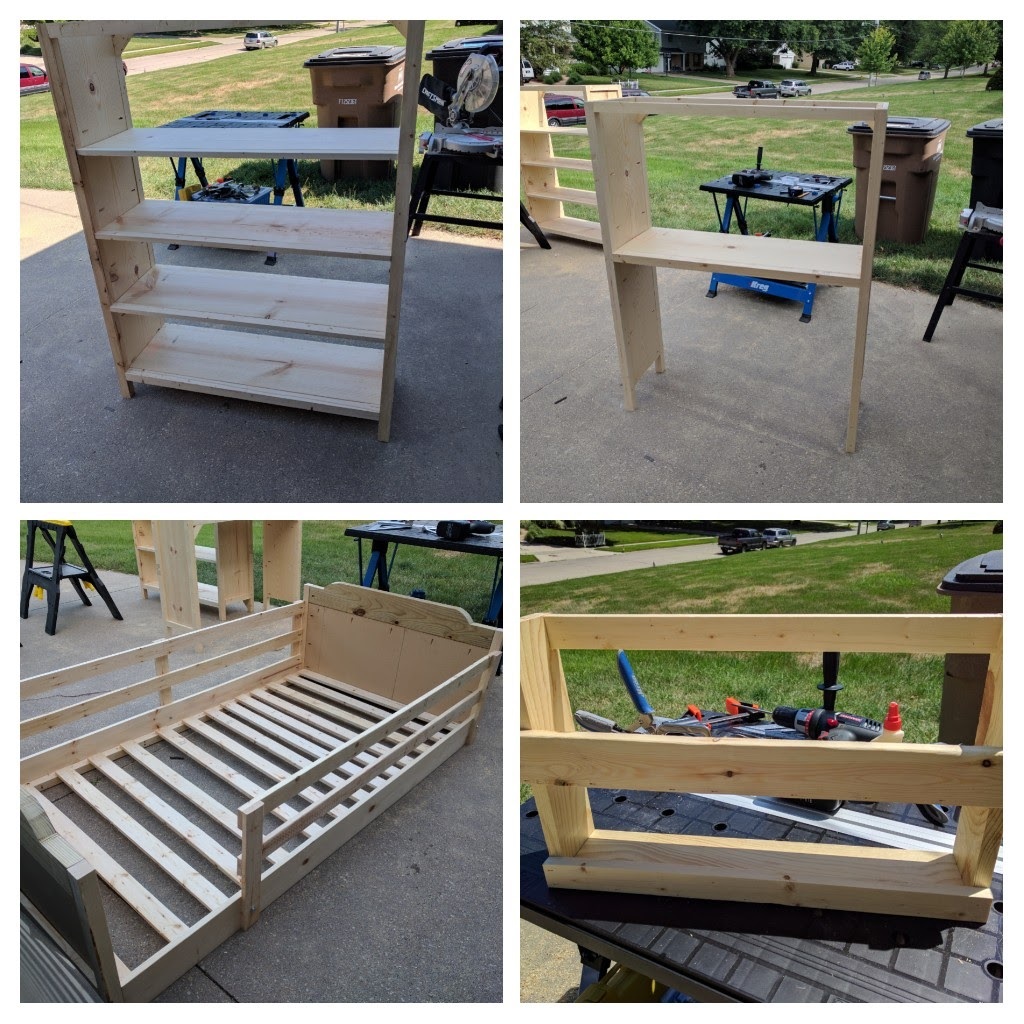
Wanted to make a loft bed for my 4-year-old son's room that could accommodate a toddler bed beneath it for when my 1-year-old daughter eventually starts sleeping on her own. I was torn between the Chelsea and Cabin bed plans, but eventually settled on the Chelsea because I liked the look of the headboard better.
I looked through all the brag posts to get modification ideas. I ended up mostly stealing ideas from "chadwickstafin", and like him took the great idea from "groovymom2000" to use chalkboard paint (though I only used it to paint the side of the desk end, since I knew the bookshelf end would be mostly blocked by a ladder). I decided to skip the decorative feet and just extend my 2x2s to the floor for extra strength, a mod that most people appear to be doing with this plan. I saw some people using 2x3s in place of 2x2s for added strength, but I can confirm that 2x2s are plenty strong enough on their own (2x2s are stronger than people give them credit for, and there's 8 of them here to distribute the load).
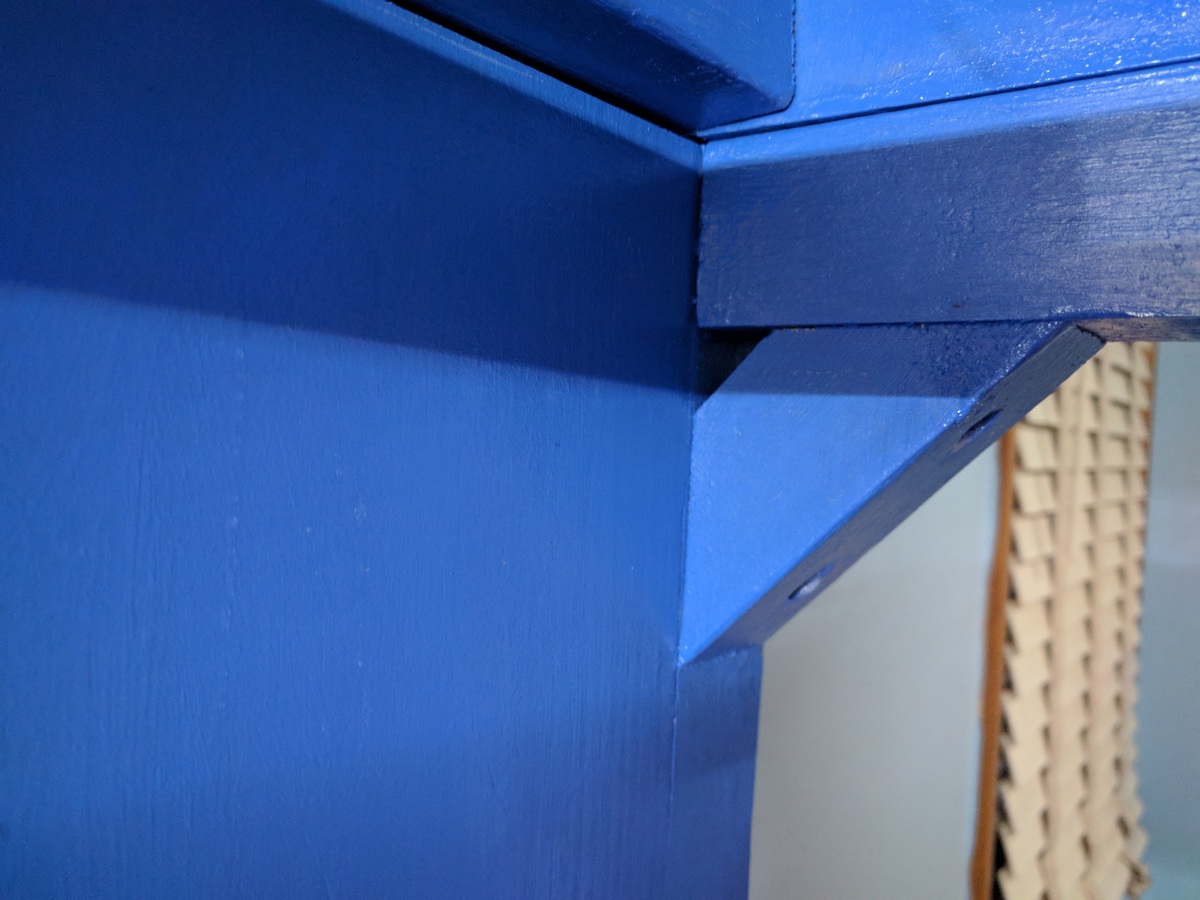
Like chadwickstafin, I cut my headboard a little differently, and I used short lengths of scrap 2x2s cut at 45-degrees to brace the top and bottom corners of both end units. There is no wiggle to the bed at all, it's stabilized so well. I also added a middle support to the short rail, just for a little extra safety, and secured the inside ends of the railings to the headboard/footer with pocket screws. I skipped the filler pieces for the railing, and just did a little extra sanding to make sure all exposed corners were smooth and splinter-free. I made the opening to the bed a bit wider than the plans, 15" instead of 13". I used 2x3s for the ladder, which gave me the sturdiness I wanted without the full bulk of using 2x4s, which looked especially chunky next to a loft unit made with mostly 1x boards. I played with some different angles, but eventually went with a 15-degree ladder. There were some leftover plastic handles sitting in my garage (originally from an outdoor playset ladder before I replaced it with a climbing wall), so I added those near the top of the ladder for some extra safety. I put some color-changing strip lighting under the bed, so there would be plenty of light for the desk and bookshelves (my little guy loves to just plop down on the ground beneath his bed and read).
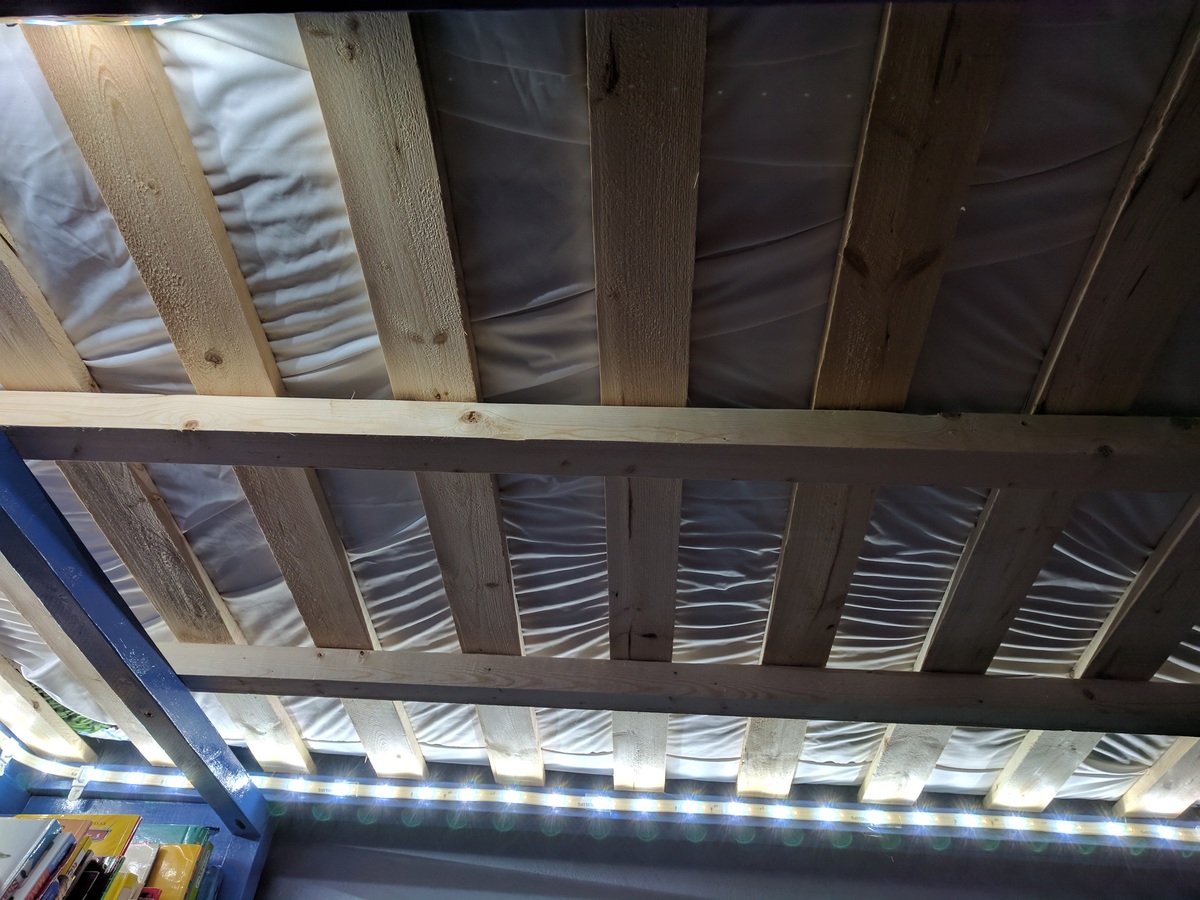
I spaced the 1x3 slats about 3.5" apart (used scrap 2x4 blocks as spacers). Because my wife or I will lay in bed and read to our son at night, I easily added a couple 2x2 support rails under the 1x3 slats for extra mattress support. I'm a big dude at 6'3 and 250 lbs, and the slats alone WERE strong enough to hold me when I did a test, but they bowed just enough in the center (unnoticeable to me up on the mattress, but I had my wife watching the slats for me below) that I felt I should add a bit more support. Now there's no bowing at all.
I also used Ana's Top Bunk Organizer plans to give my son a little extra storage up top (and a place to set a glass of water during the night), and painted it to match the bed's color scheme. Everything was sanded, painted, sanded again, repainted, and then given a couple coats of polycrylic (the painting process took longer than the cutting & assembly!).
Cost-wise I was extraordinarily lucky. We have a Habitat For Humanity ReStore near us, so I was able to get my paints and a 3x6 sheet of MDF for $15 total. I also had some rebate cards from Menards (regional hardware store, similar to Lowes or Home Depot), plus happened to go there on a week when pine wood was on sale, so I got all my lumber for less than $60.
I could not be happier with the end results, and my son absolutely loves his new bed.

This was my first big Build! Thank you Ana for the free and easy to read plans.

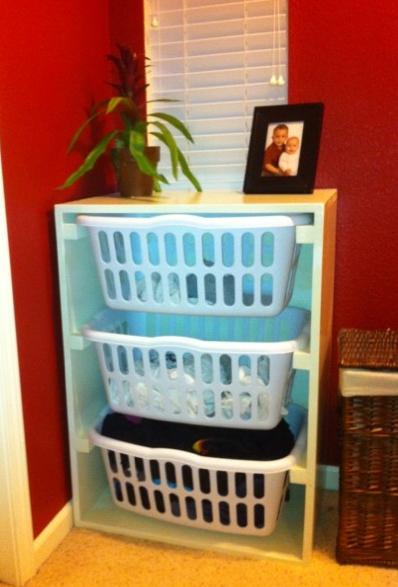
Anything to make Laundry easier and looks good I will build. This is a very simple project that is invaluable to anyone that does laundry. We have it in our master bath to help with separating our laundry.
It is sturdy, functional and is a nice looking piece. The only changes I made was to use 2x2's for the rails instead of the metal L-brackets.
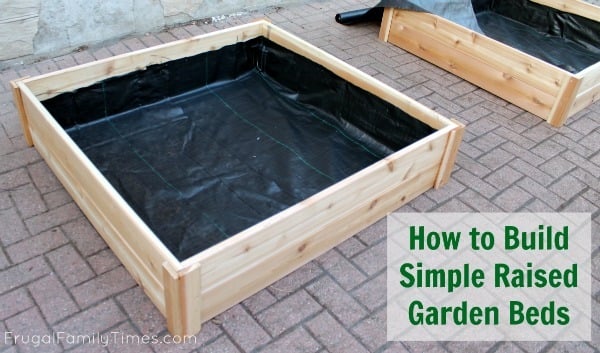
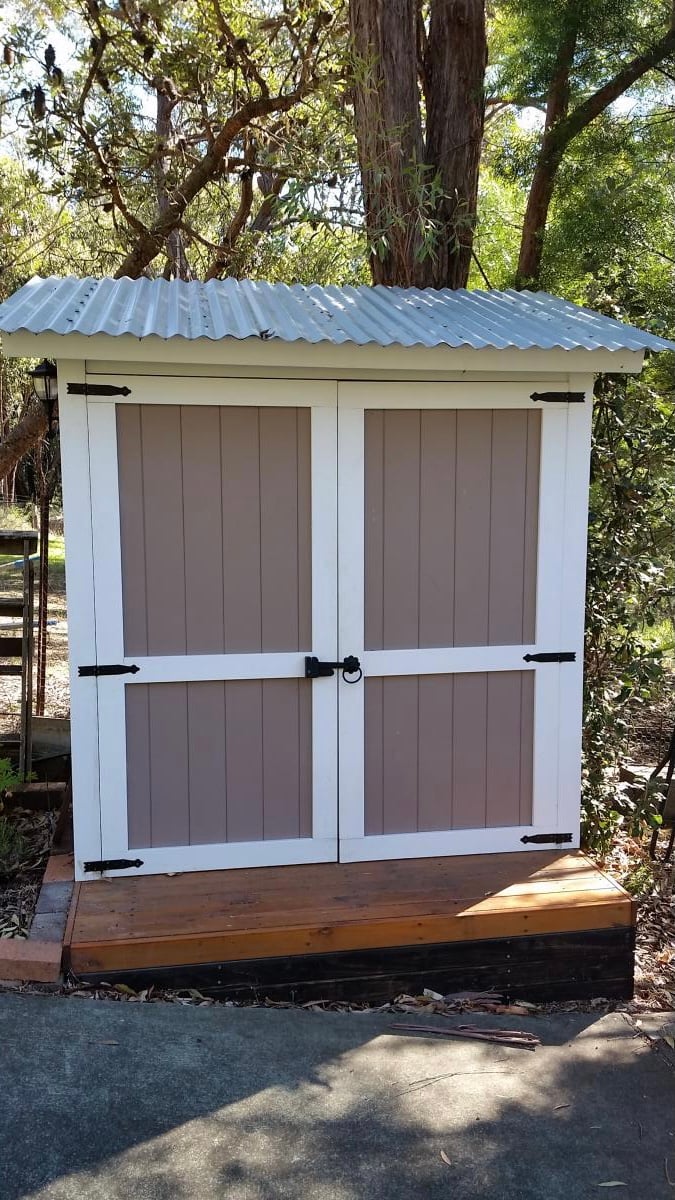
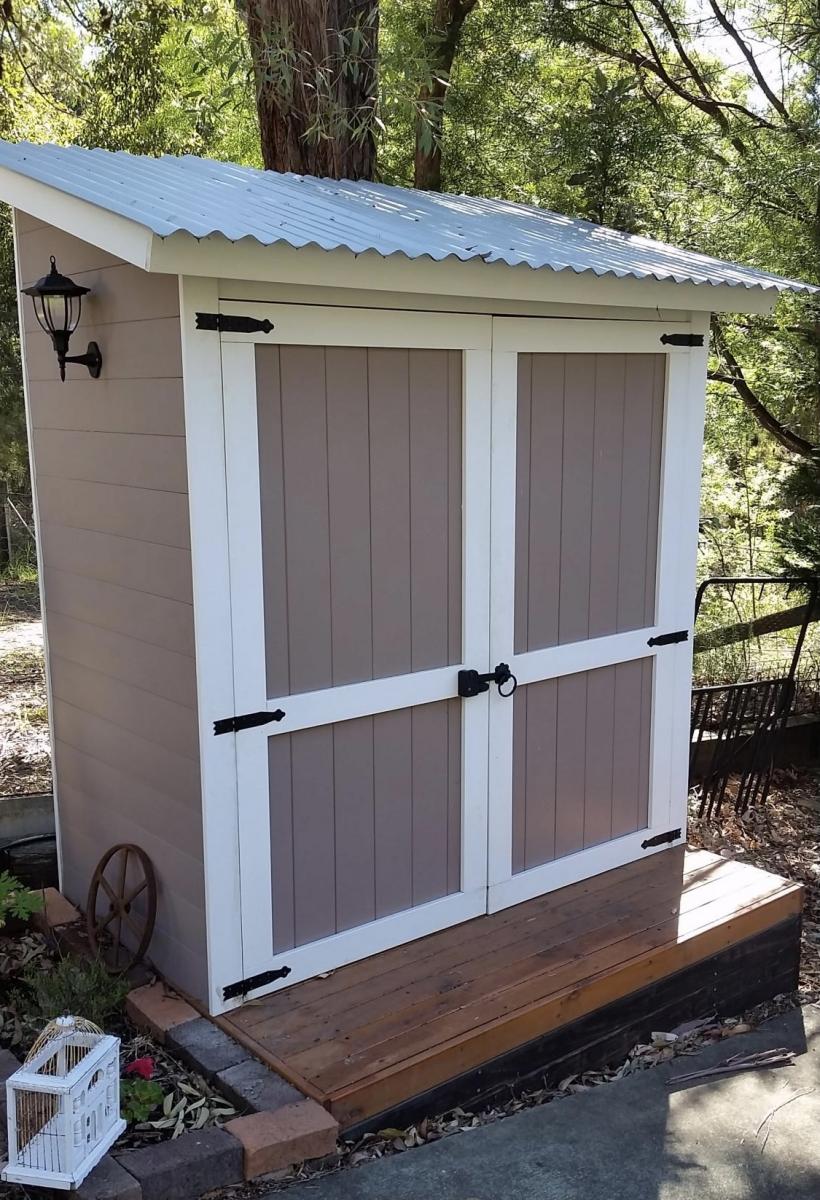
Starting with Ana's simple $10 raised garden plans, we built ours to be part of our experiment: Growing Vegetables in Our Driveway. Because our boxes are visible from the street, we made them a bit fancier and sturdier than we would have if they were hidden away in the backyard. An easy, afternoon project - with delicious results!

Steps:
1) Cut the boards to the specs below or adjust to your space
2) Kreg Jig the cut boards along each of the sides (length wise and on the ends) for attaching and making a box.
3) Make 3 separate boxes, don't assemble until you move to location. I used 4x4 cedar posts in the corners of the base box to add stability. I used 2x2 pine in the front corners of boxes 2 and 3 for stability. Install these after the dirt has been added so you can hammer in as a stake, attach with screws on front and sides. I created 2 stakes for boxes 2 and 3 and added to the front to prevent bowing when the dirt is added.
Box Dimensions:
1) (base) 70.5" L x 46 W x 4 cedar boards high
2) 70.5" L x 32 W x 2 cedar boards high
3) 70.5" L x 16 W x 2 cedar boards high


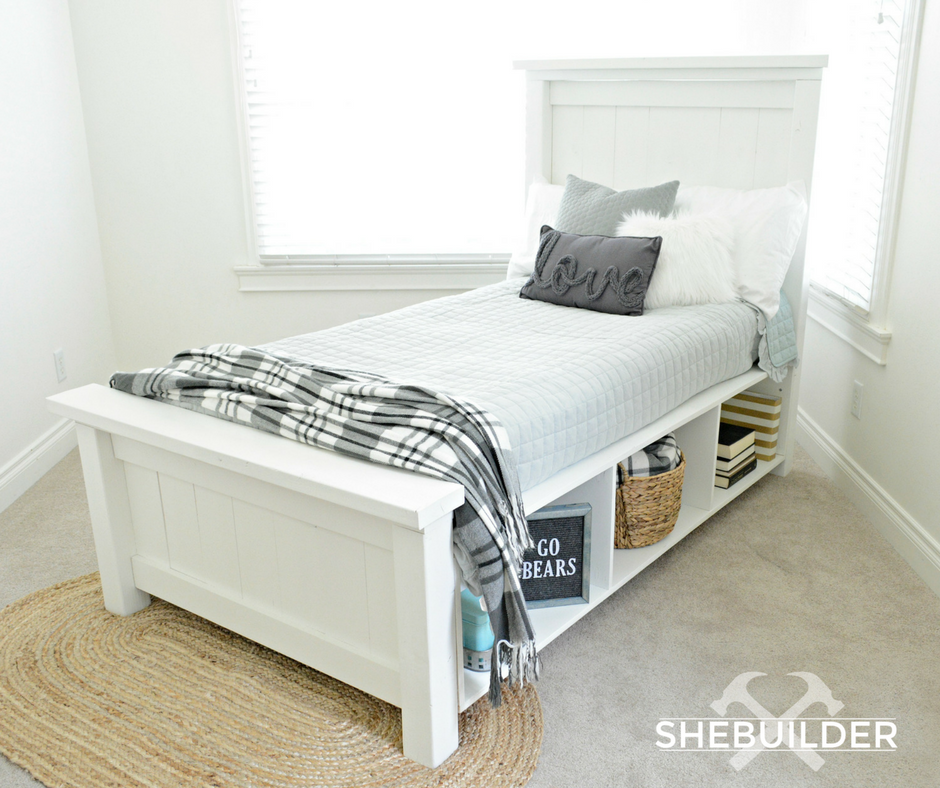
Hello, fellow makers!
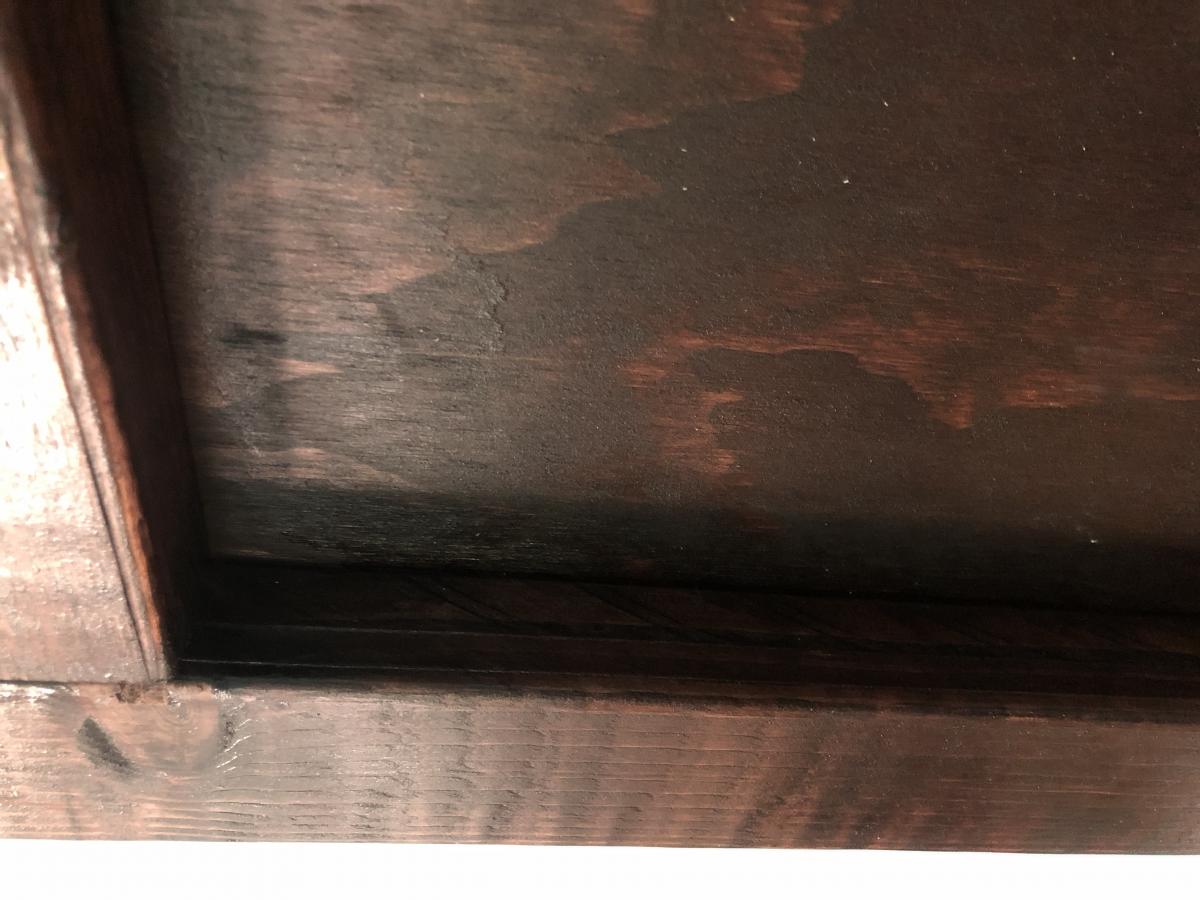
I really enjoyed this build - it was a challenge for me, but in the end, I'm thrilled with the results!
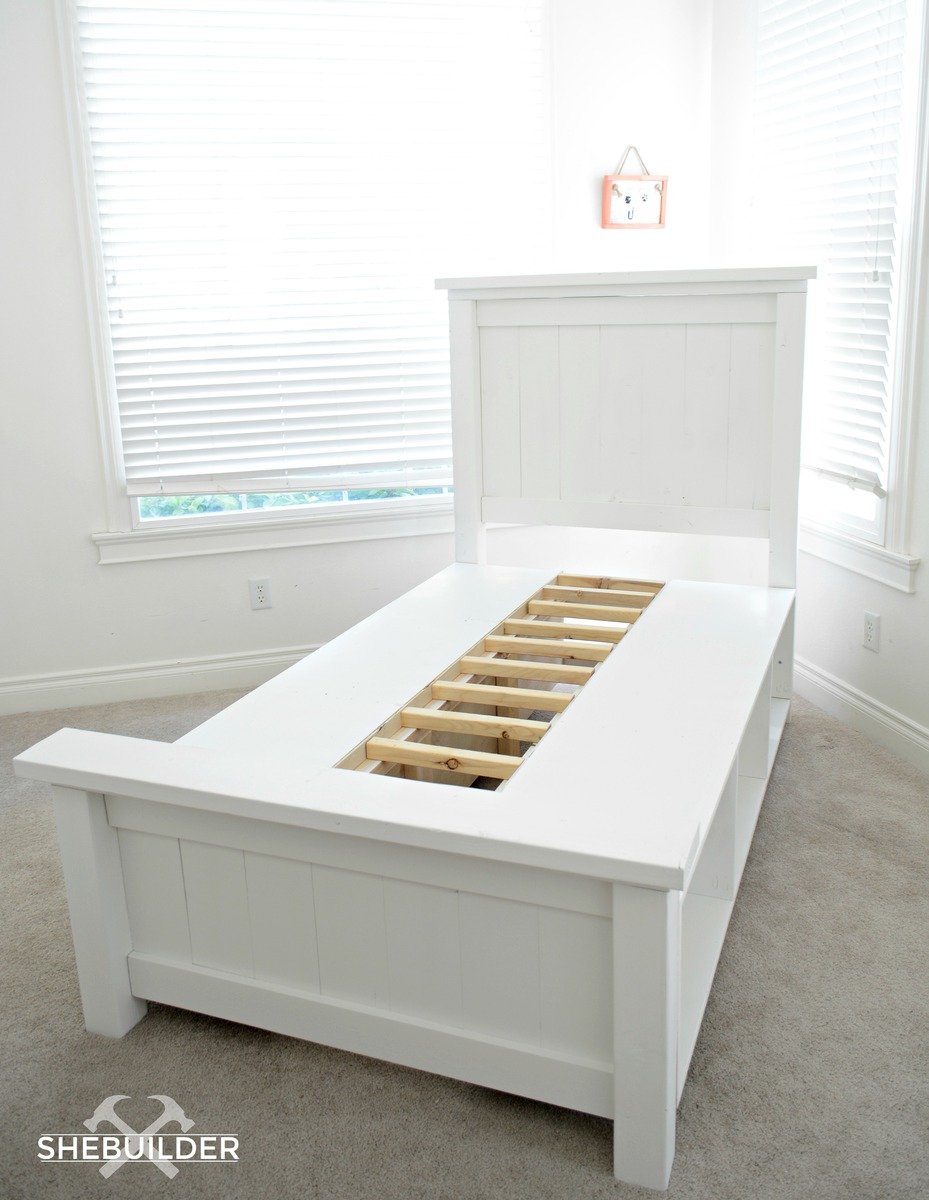
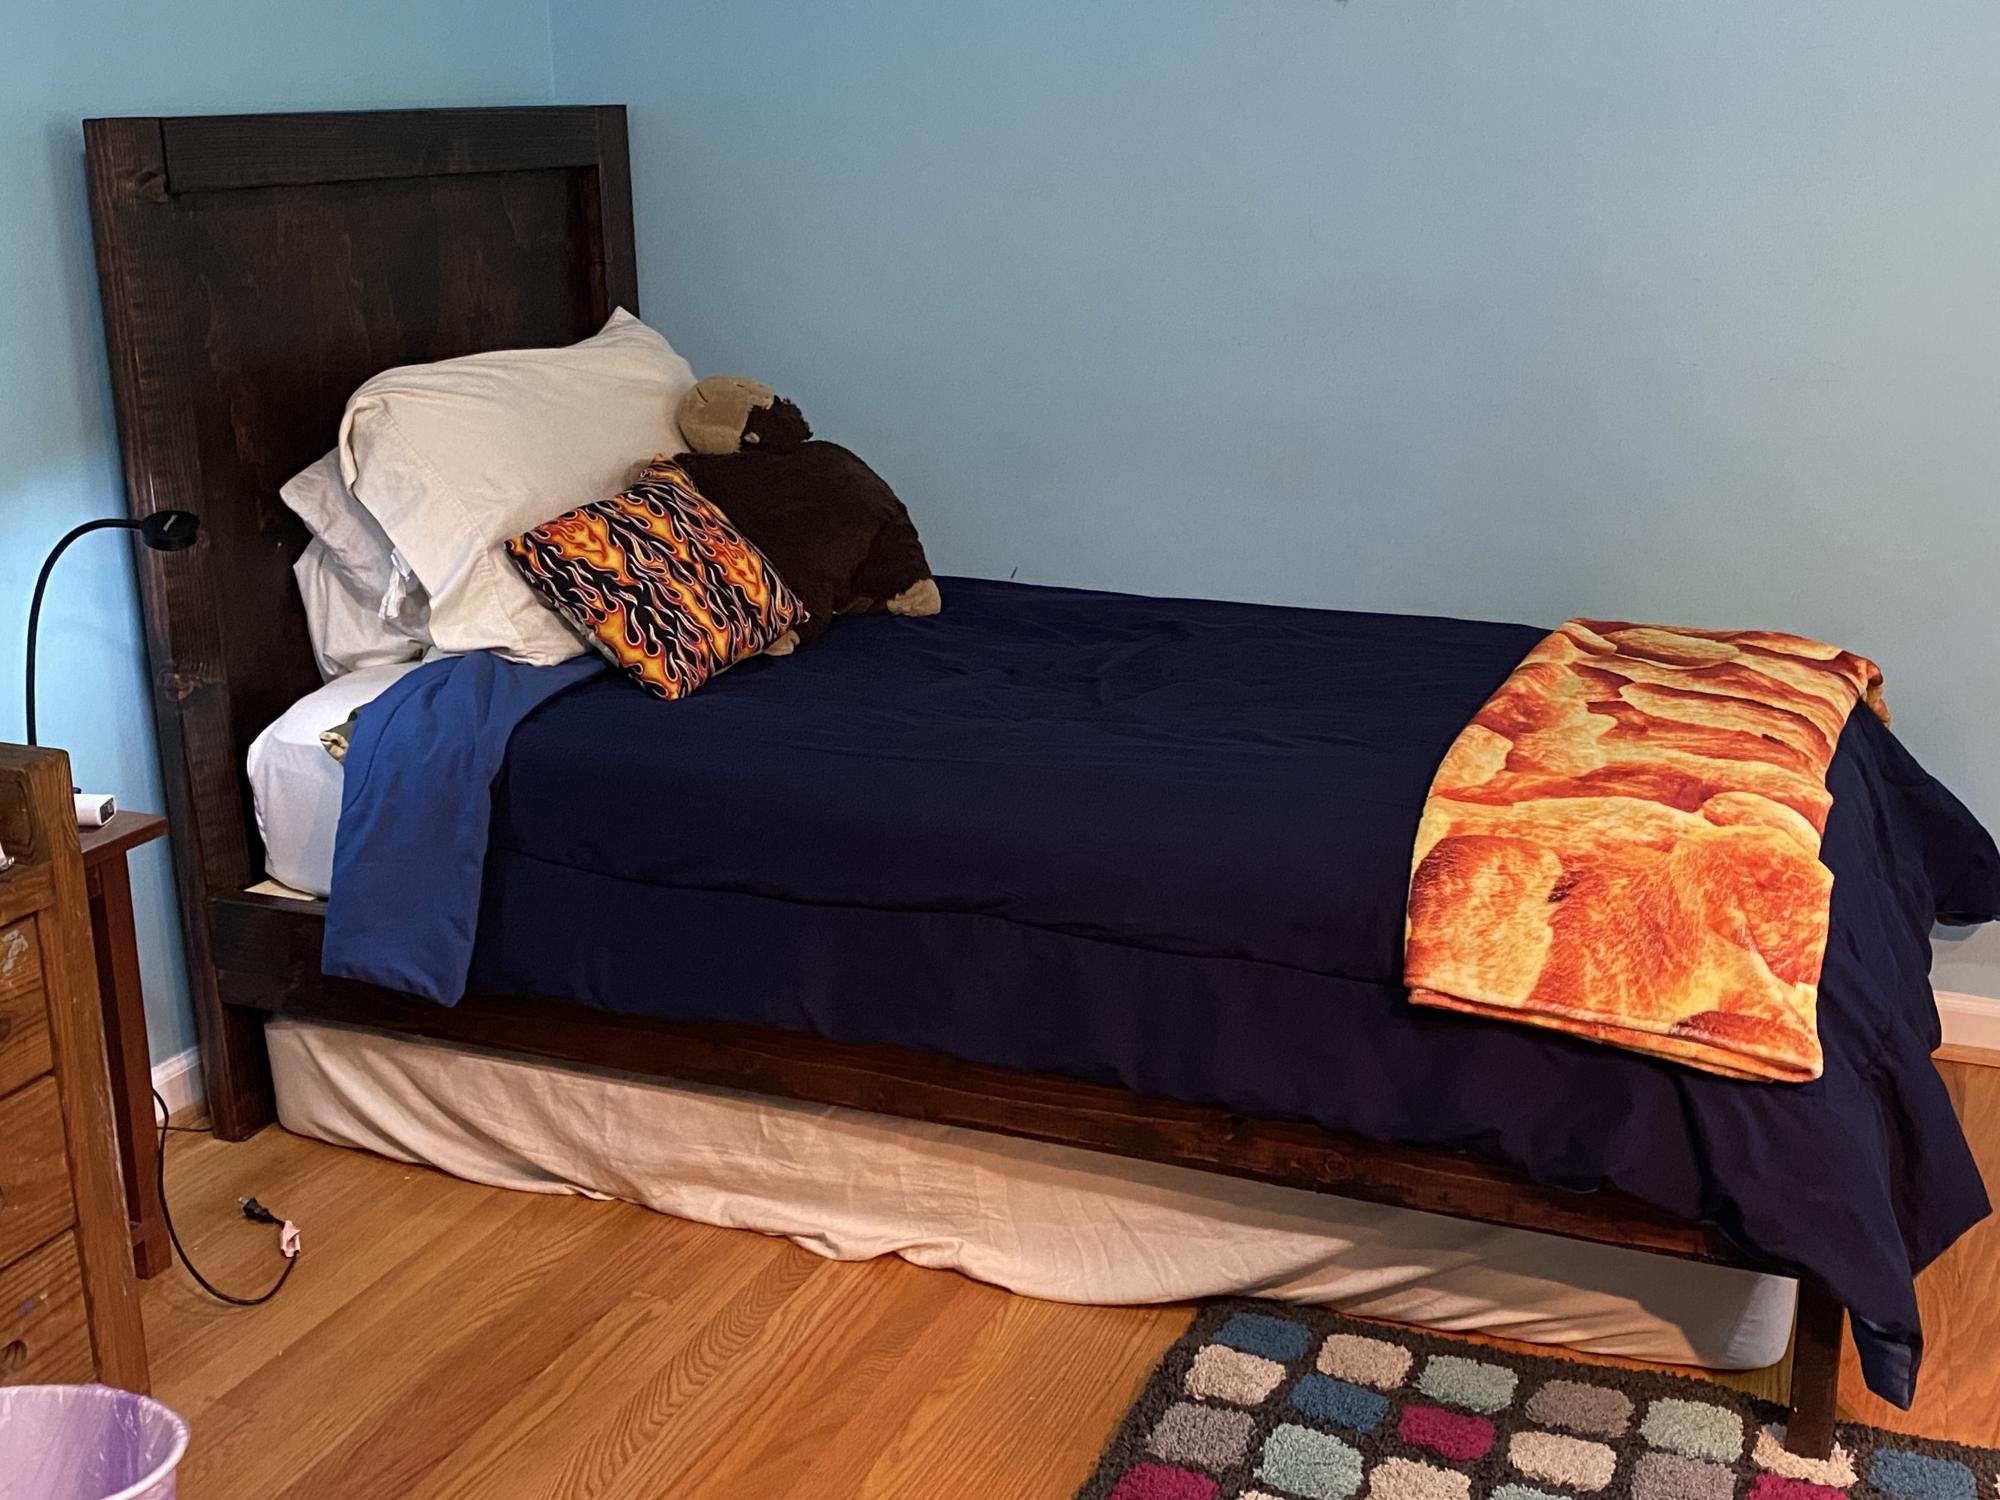
I modified two of Ana's plans to come up with this storage bed and I share more pictures of the process and how I finished this project over on my blog Tinsel + Wheat.
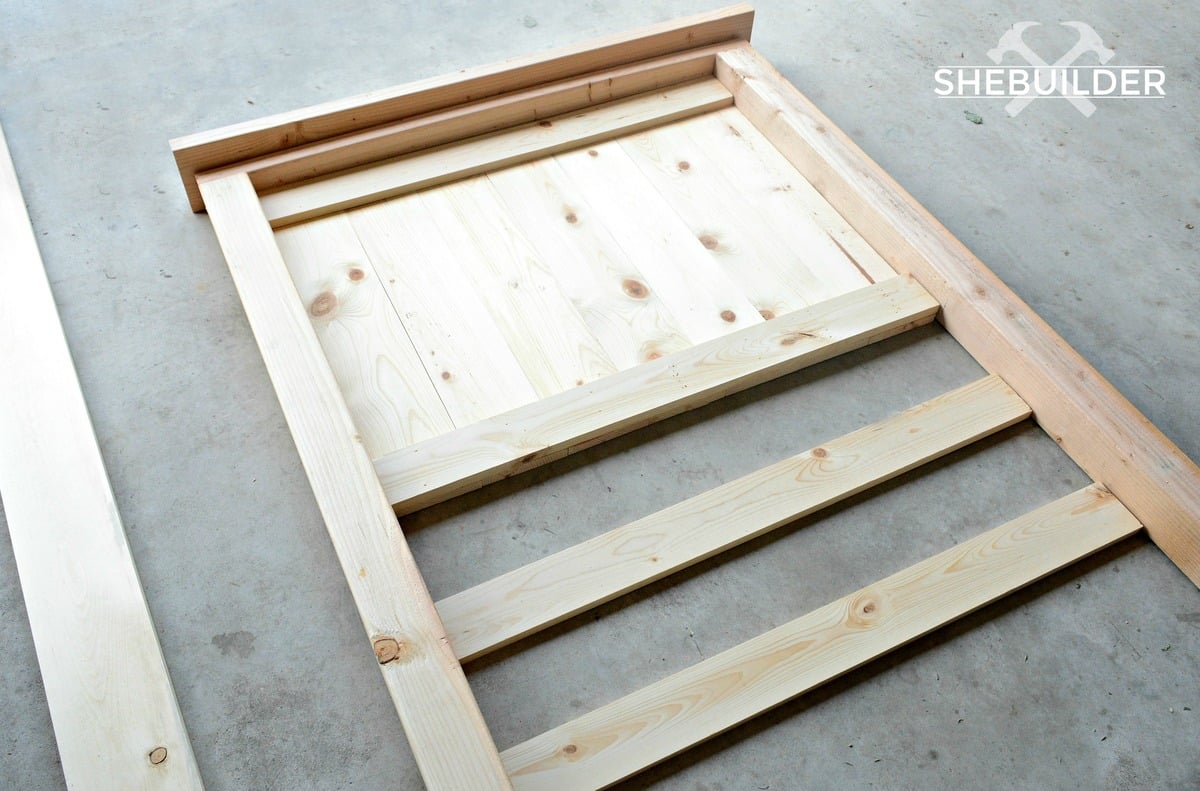
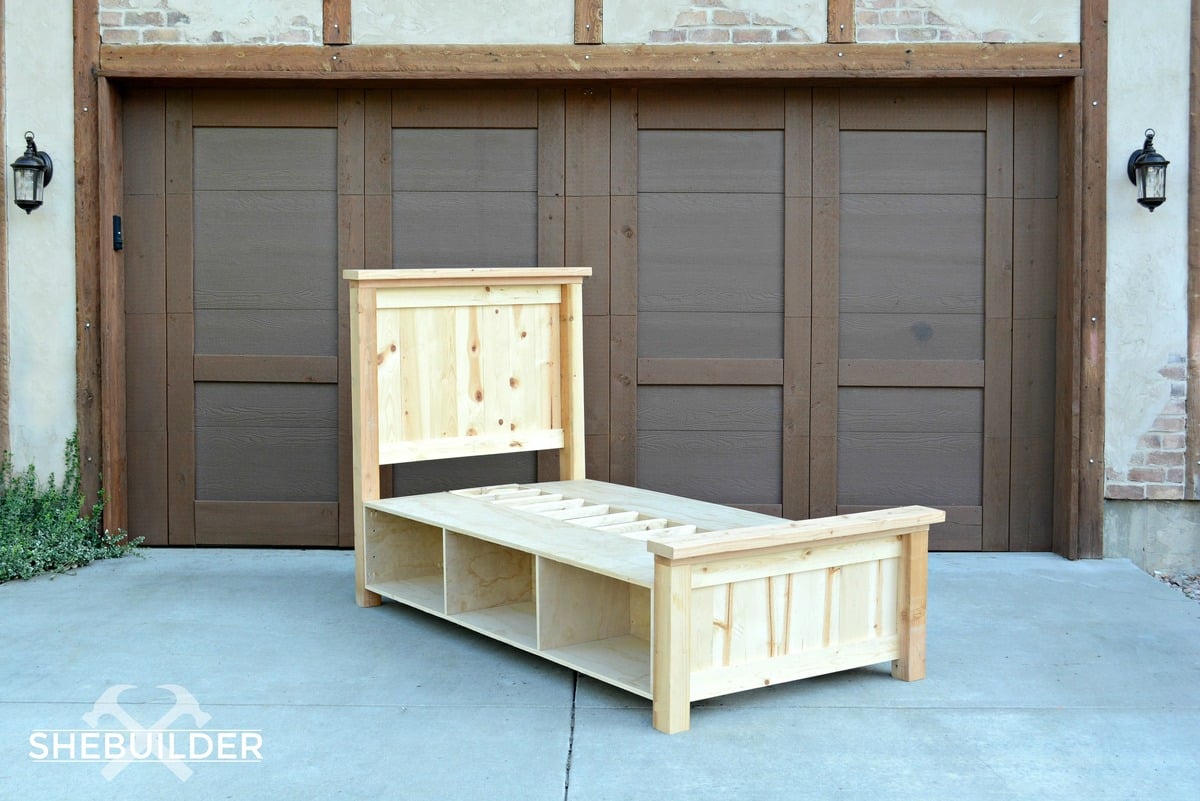
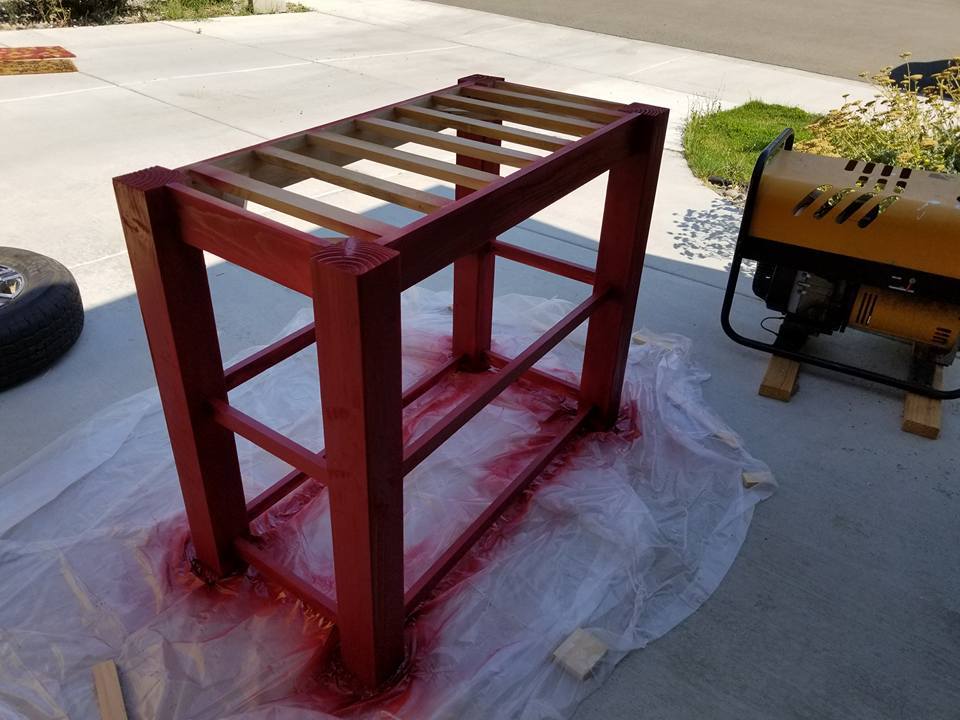
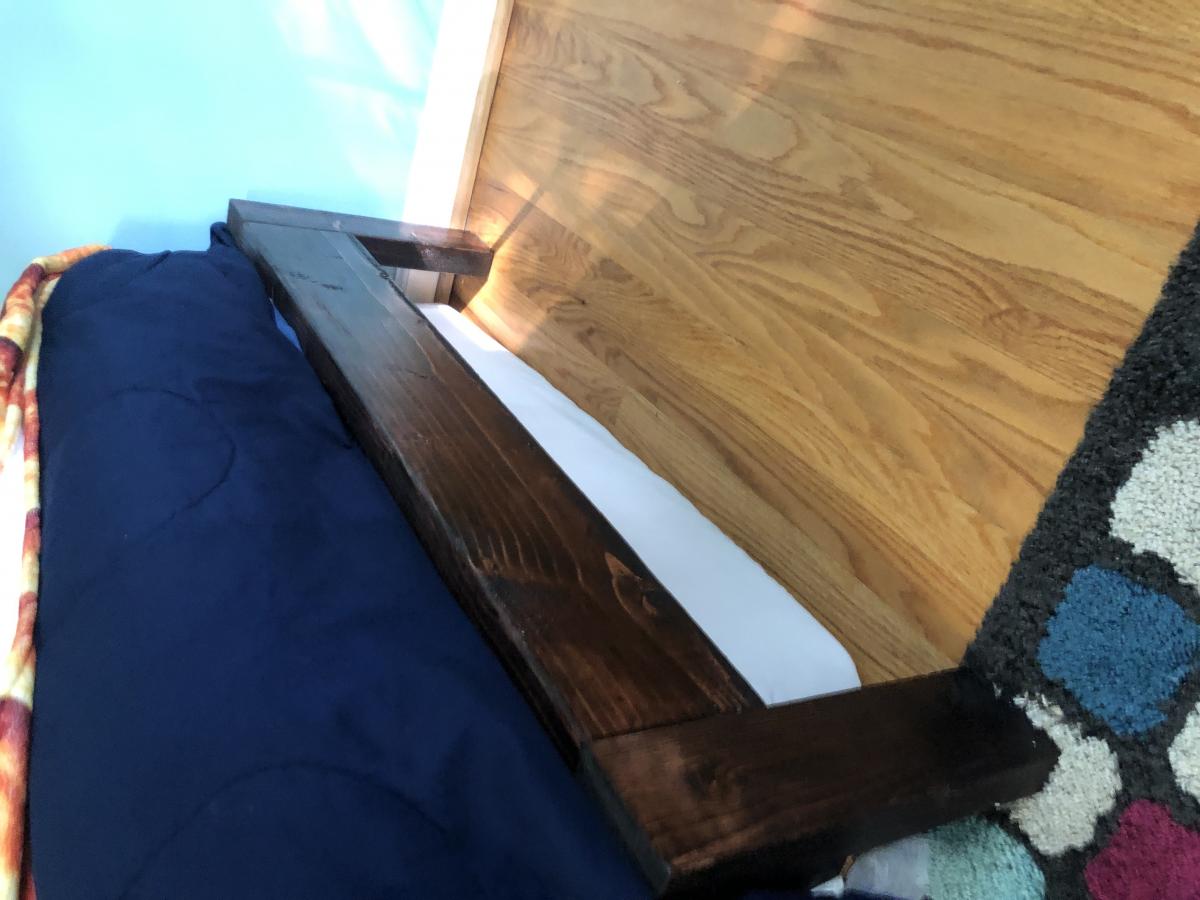
I used the Twin Bed Farmhouse plans to create the headboard and footboard, which turned out beautifully, but because of the storage base needing to be installed flush with the edges of the 4x4 posts - this made the bed a little wide for a standard twin size mattress. I don't mind the extra 2.5" of base on each side of the mattress but if you decide you would rather have the mattress edges match right up to the bed you will need to subtract one of your center 1x6 panels from both the headboard and footboard. This will give you the perfect size headboard and footboard for this build.
So grateful to Ana for these plans!
Happy building!
Miranda

Sat, 03/02/2019 - 10:02
Might you have the lumber shopping list for the storage boxes to go with this modified Twin Farmhouse with storage bed? I looked at you personal website but you just have the cut list for them not lumber list. Desperate need to purchase my wood Monday.Thank you so very much!
This was our first "Big" build.... Our bed. I modified the footboard as I like taller footboards and it keeps the mattress in super snug!!!! Love this bed with light stain!!!! Also we used tongue and groove boards for the head and footboard!!! Went together so nice!!!
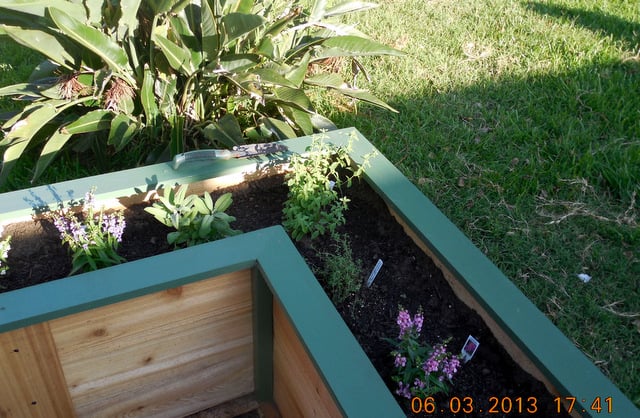
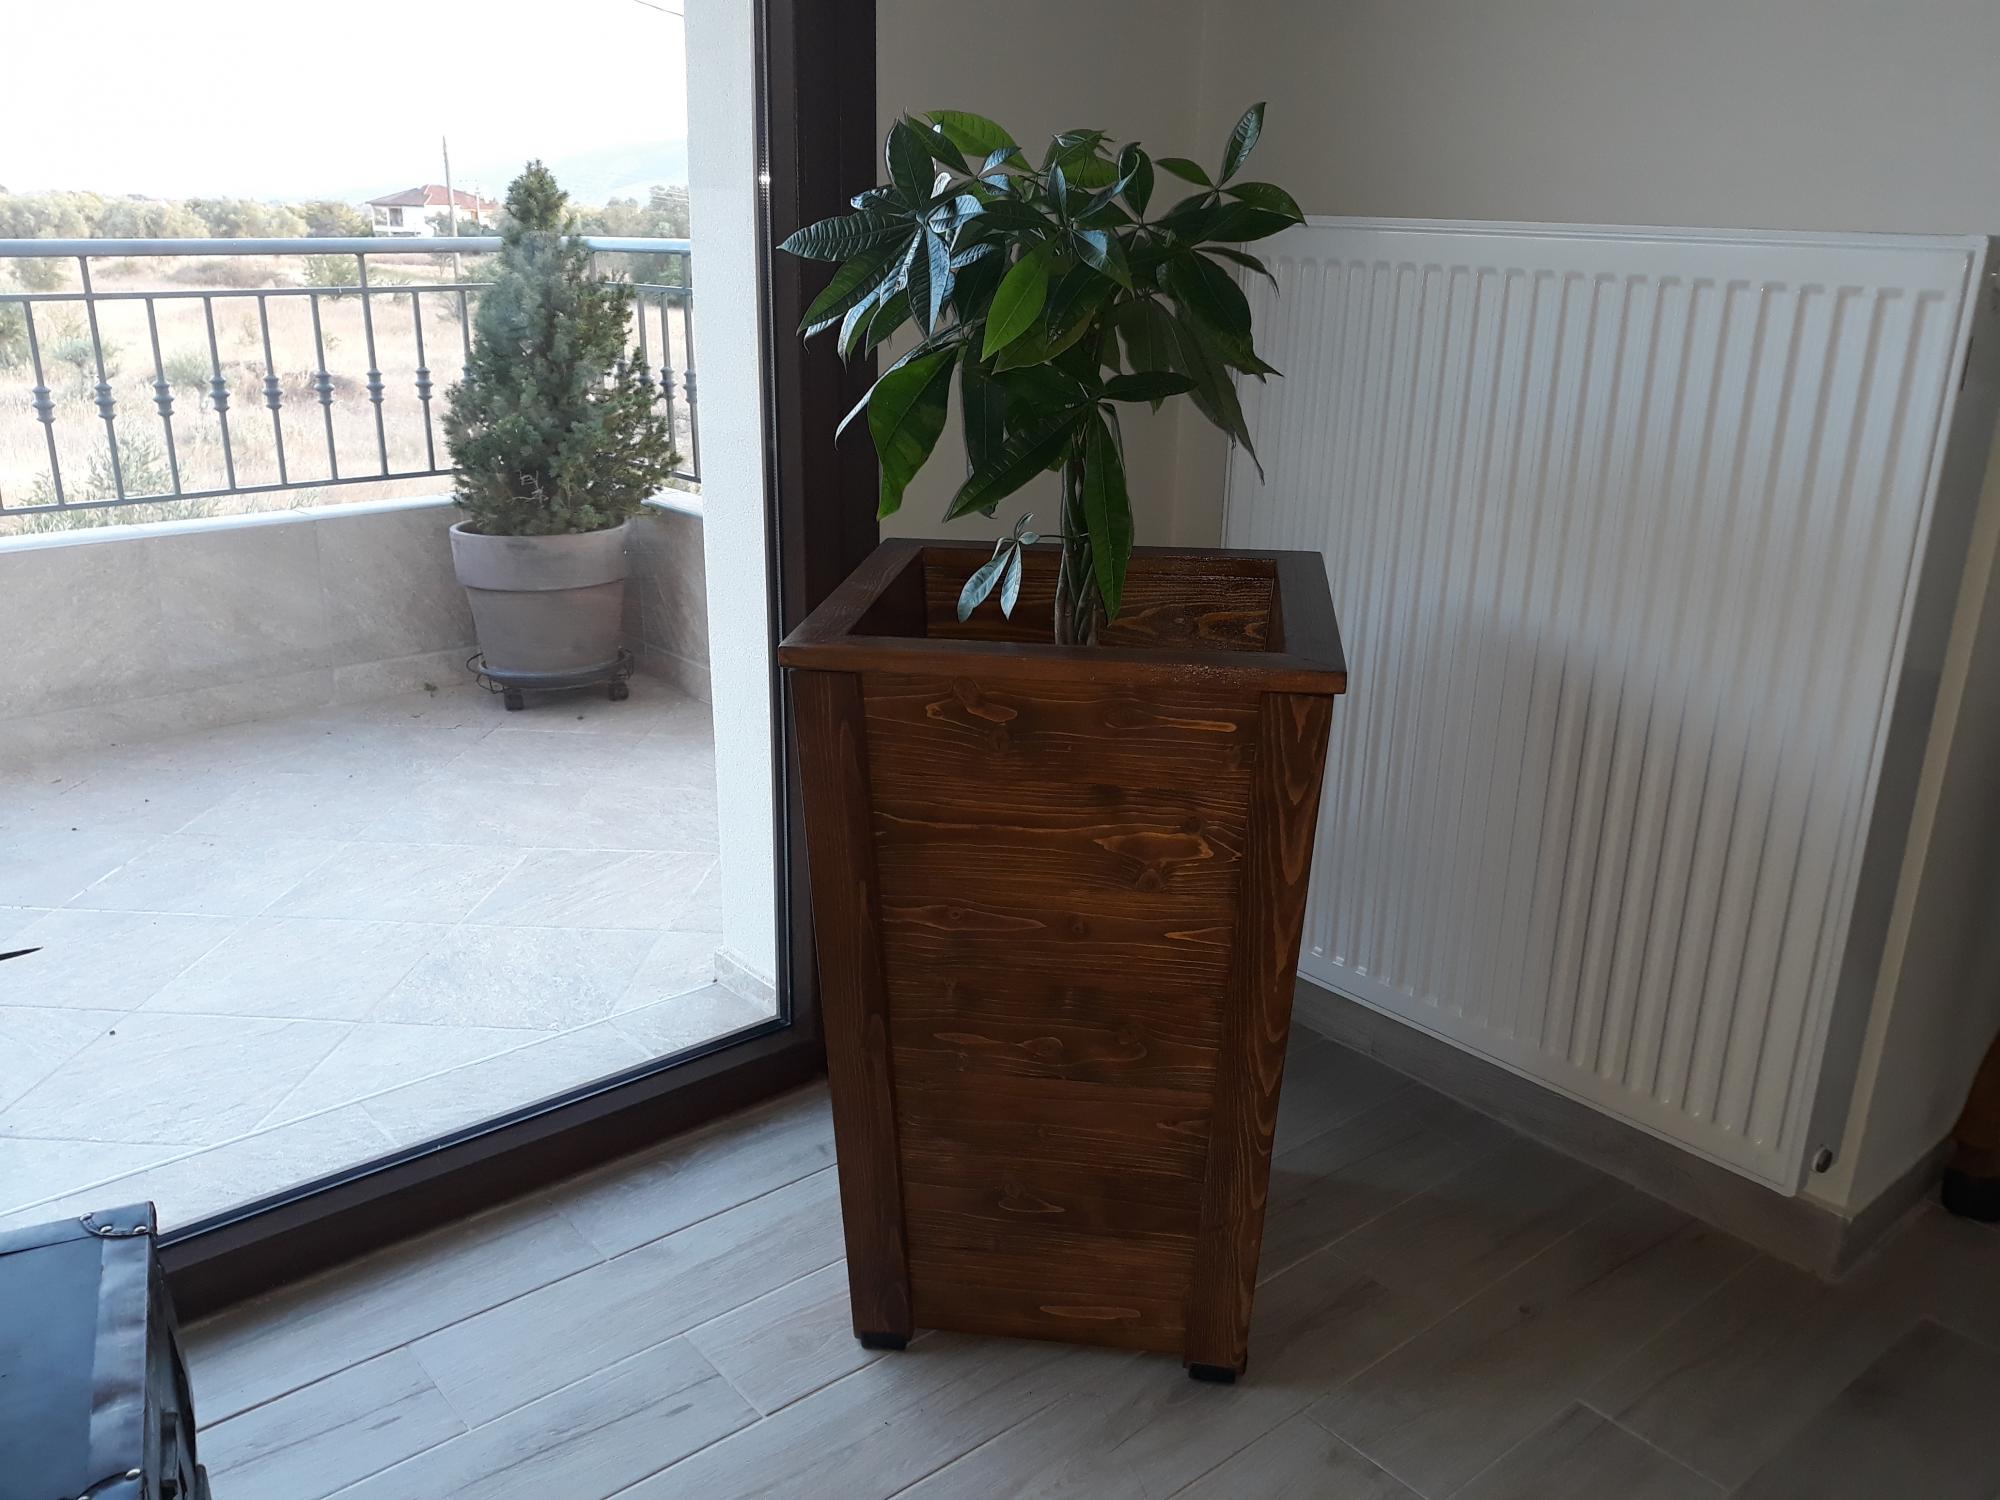
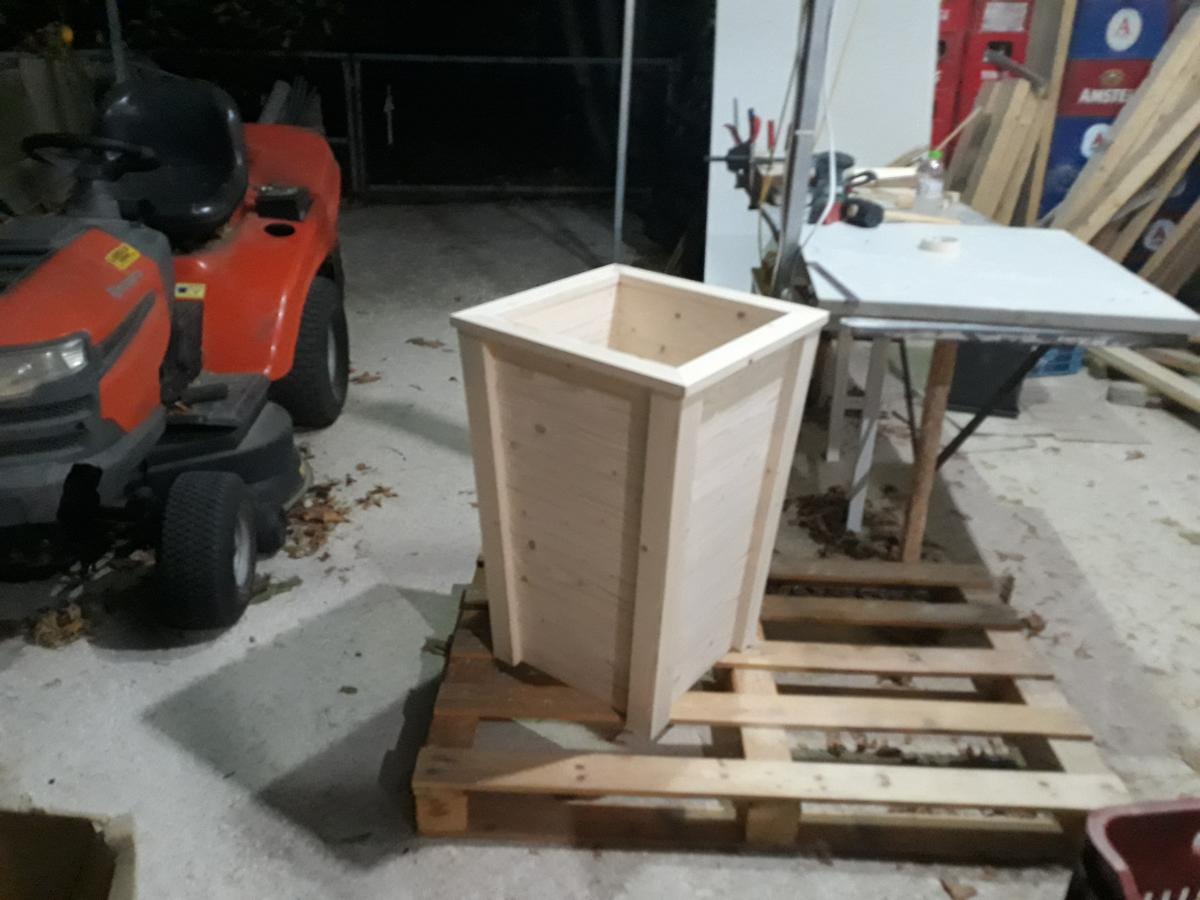
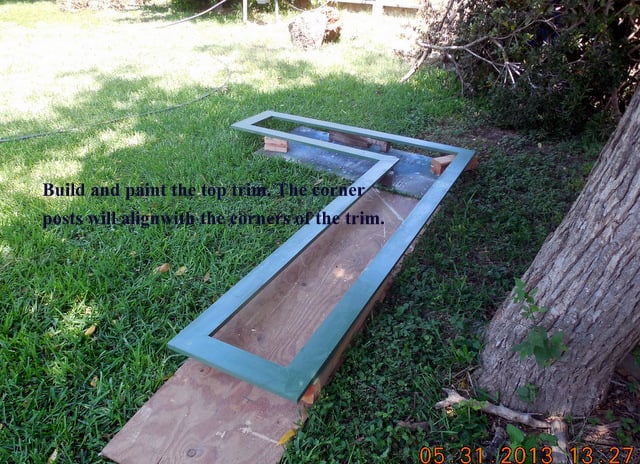
I have a really boring backyard patio so I thought I would spice it up with flowers but I could not find a plan for a large right angle planter. So I made up my own.
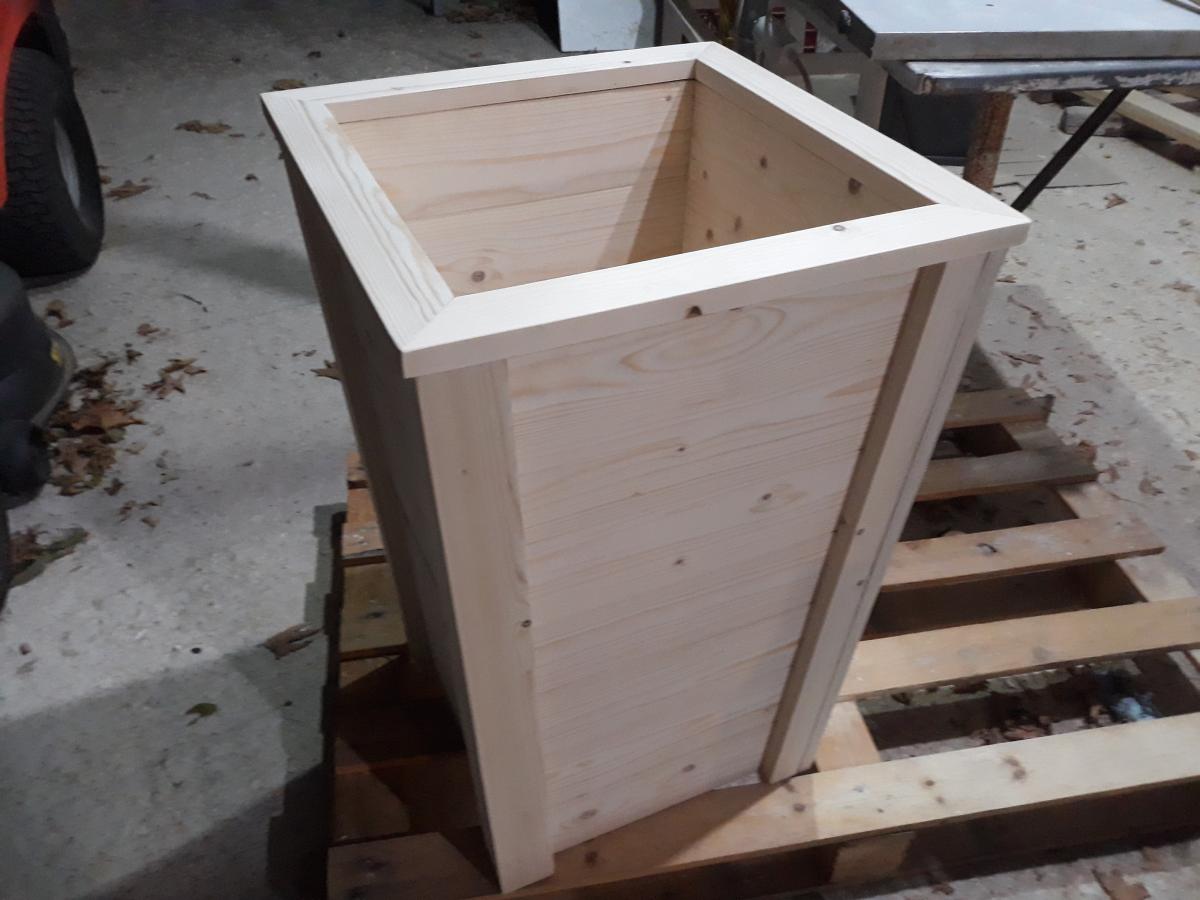
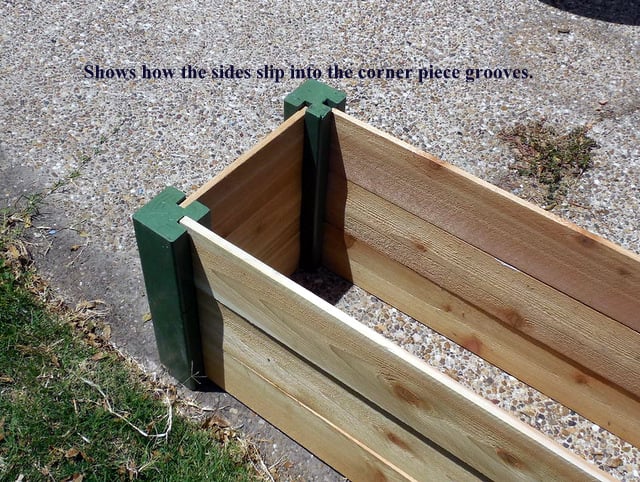
The planter is made from cedar fencing but pine for the top trim and the corner legs. The legs have grooves that the sides slide into and are not screwed or glued in place. That is so you can remove the top trim and then just pull the sides out to replace them as needed or to even change the size of the planter.
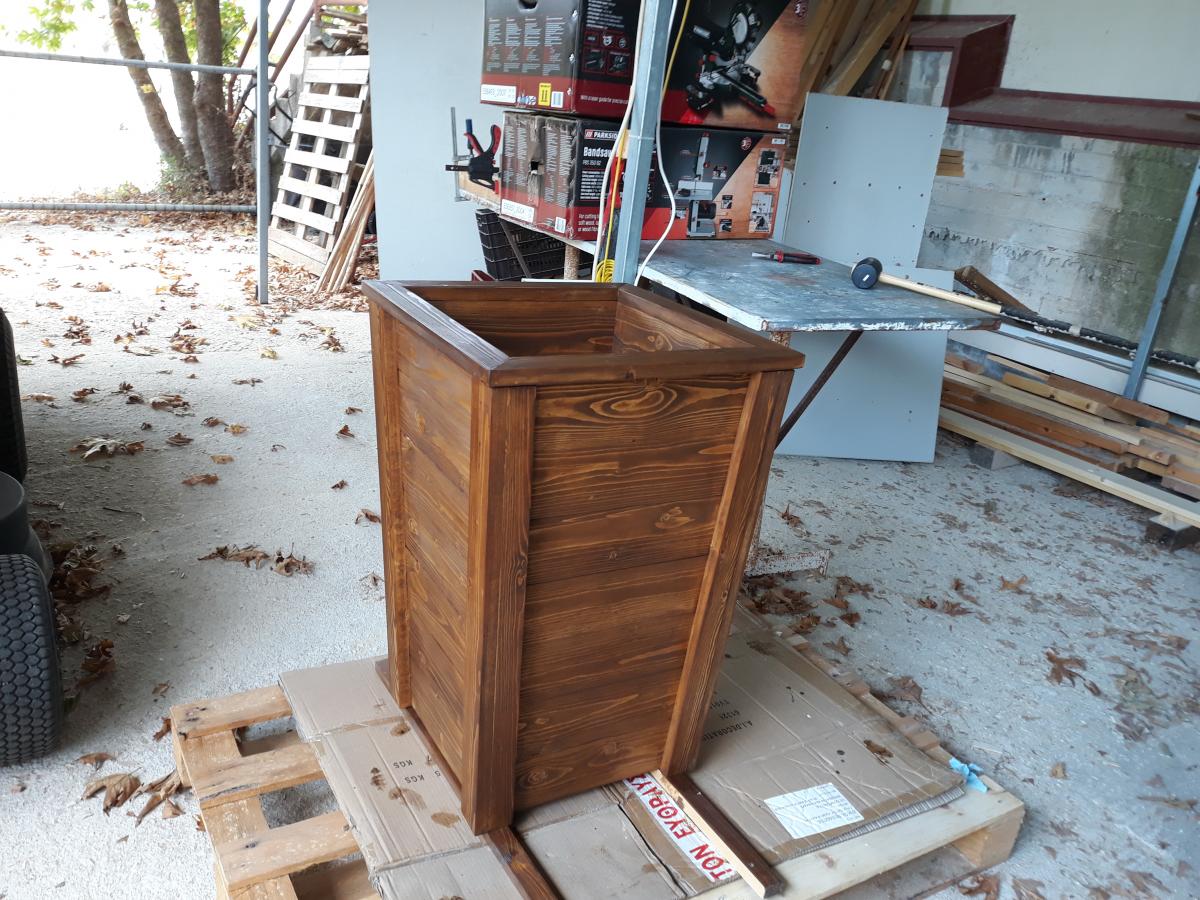
This planter is 18" high so it is comfortable to sit on but that also means you will need a lot of soil to fill it up. Mine took 26 40lb bags which is over 1/2 ton of soil. Add water and that planter is here to stay. But it also means that there is a large tendency for the sides to bulge along the bottom so I placed stop blocks along the bottom base and screwed into the base.
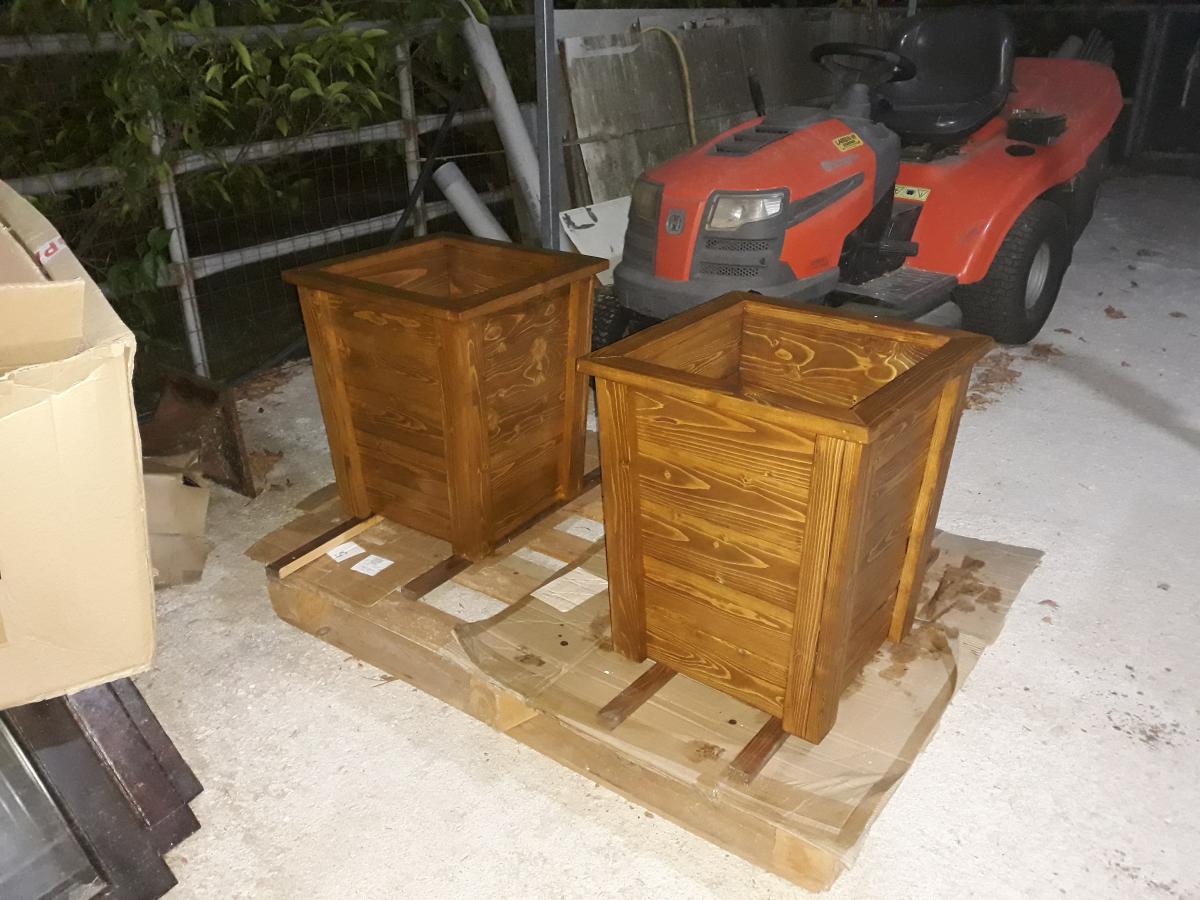
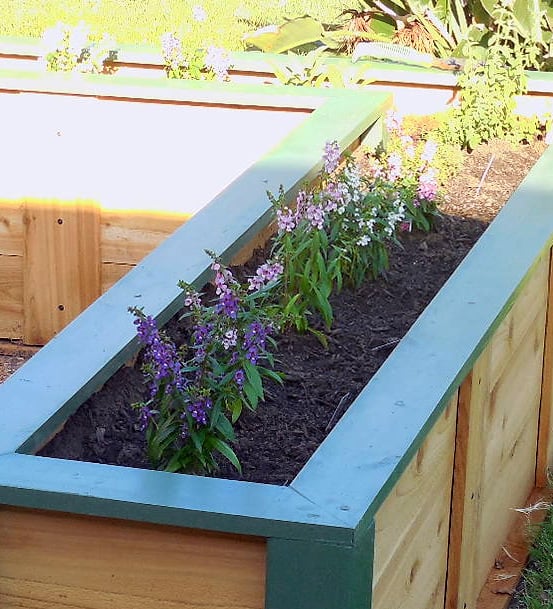
I planted Angelonia for color and sage, oregano, and thyme for spice. It was fun to build and came out well but it was expensive as the soil along was nearly $60. Add another $50 for lumber and screws and you have exceeded the magic $100 mark. Still a good deal, however.


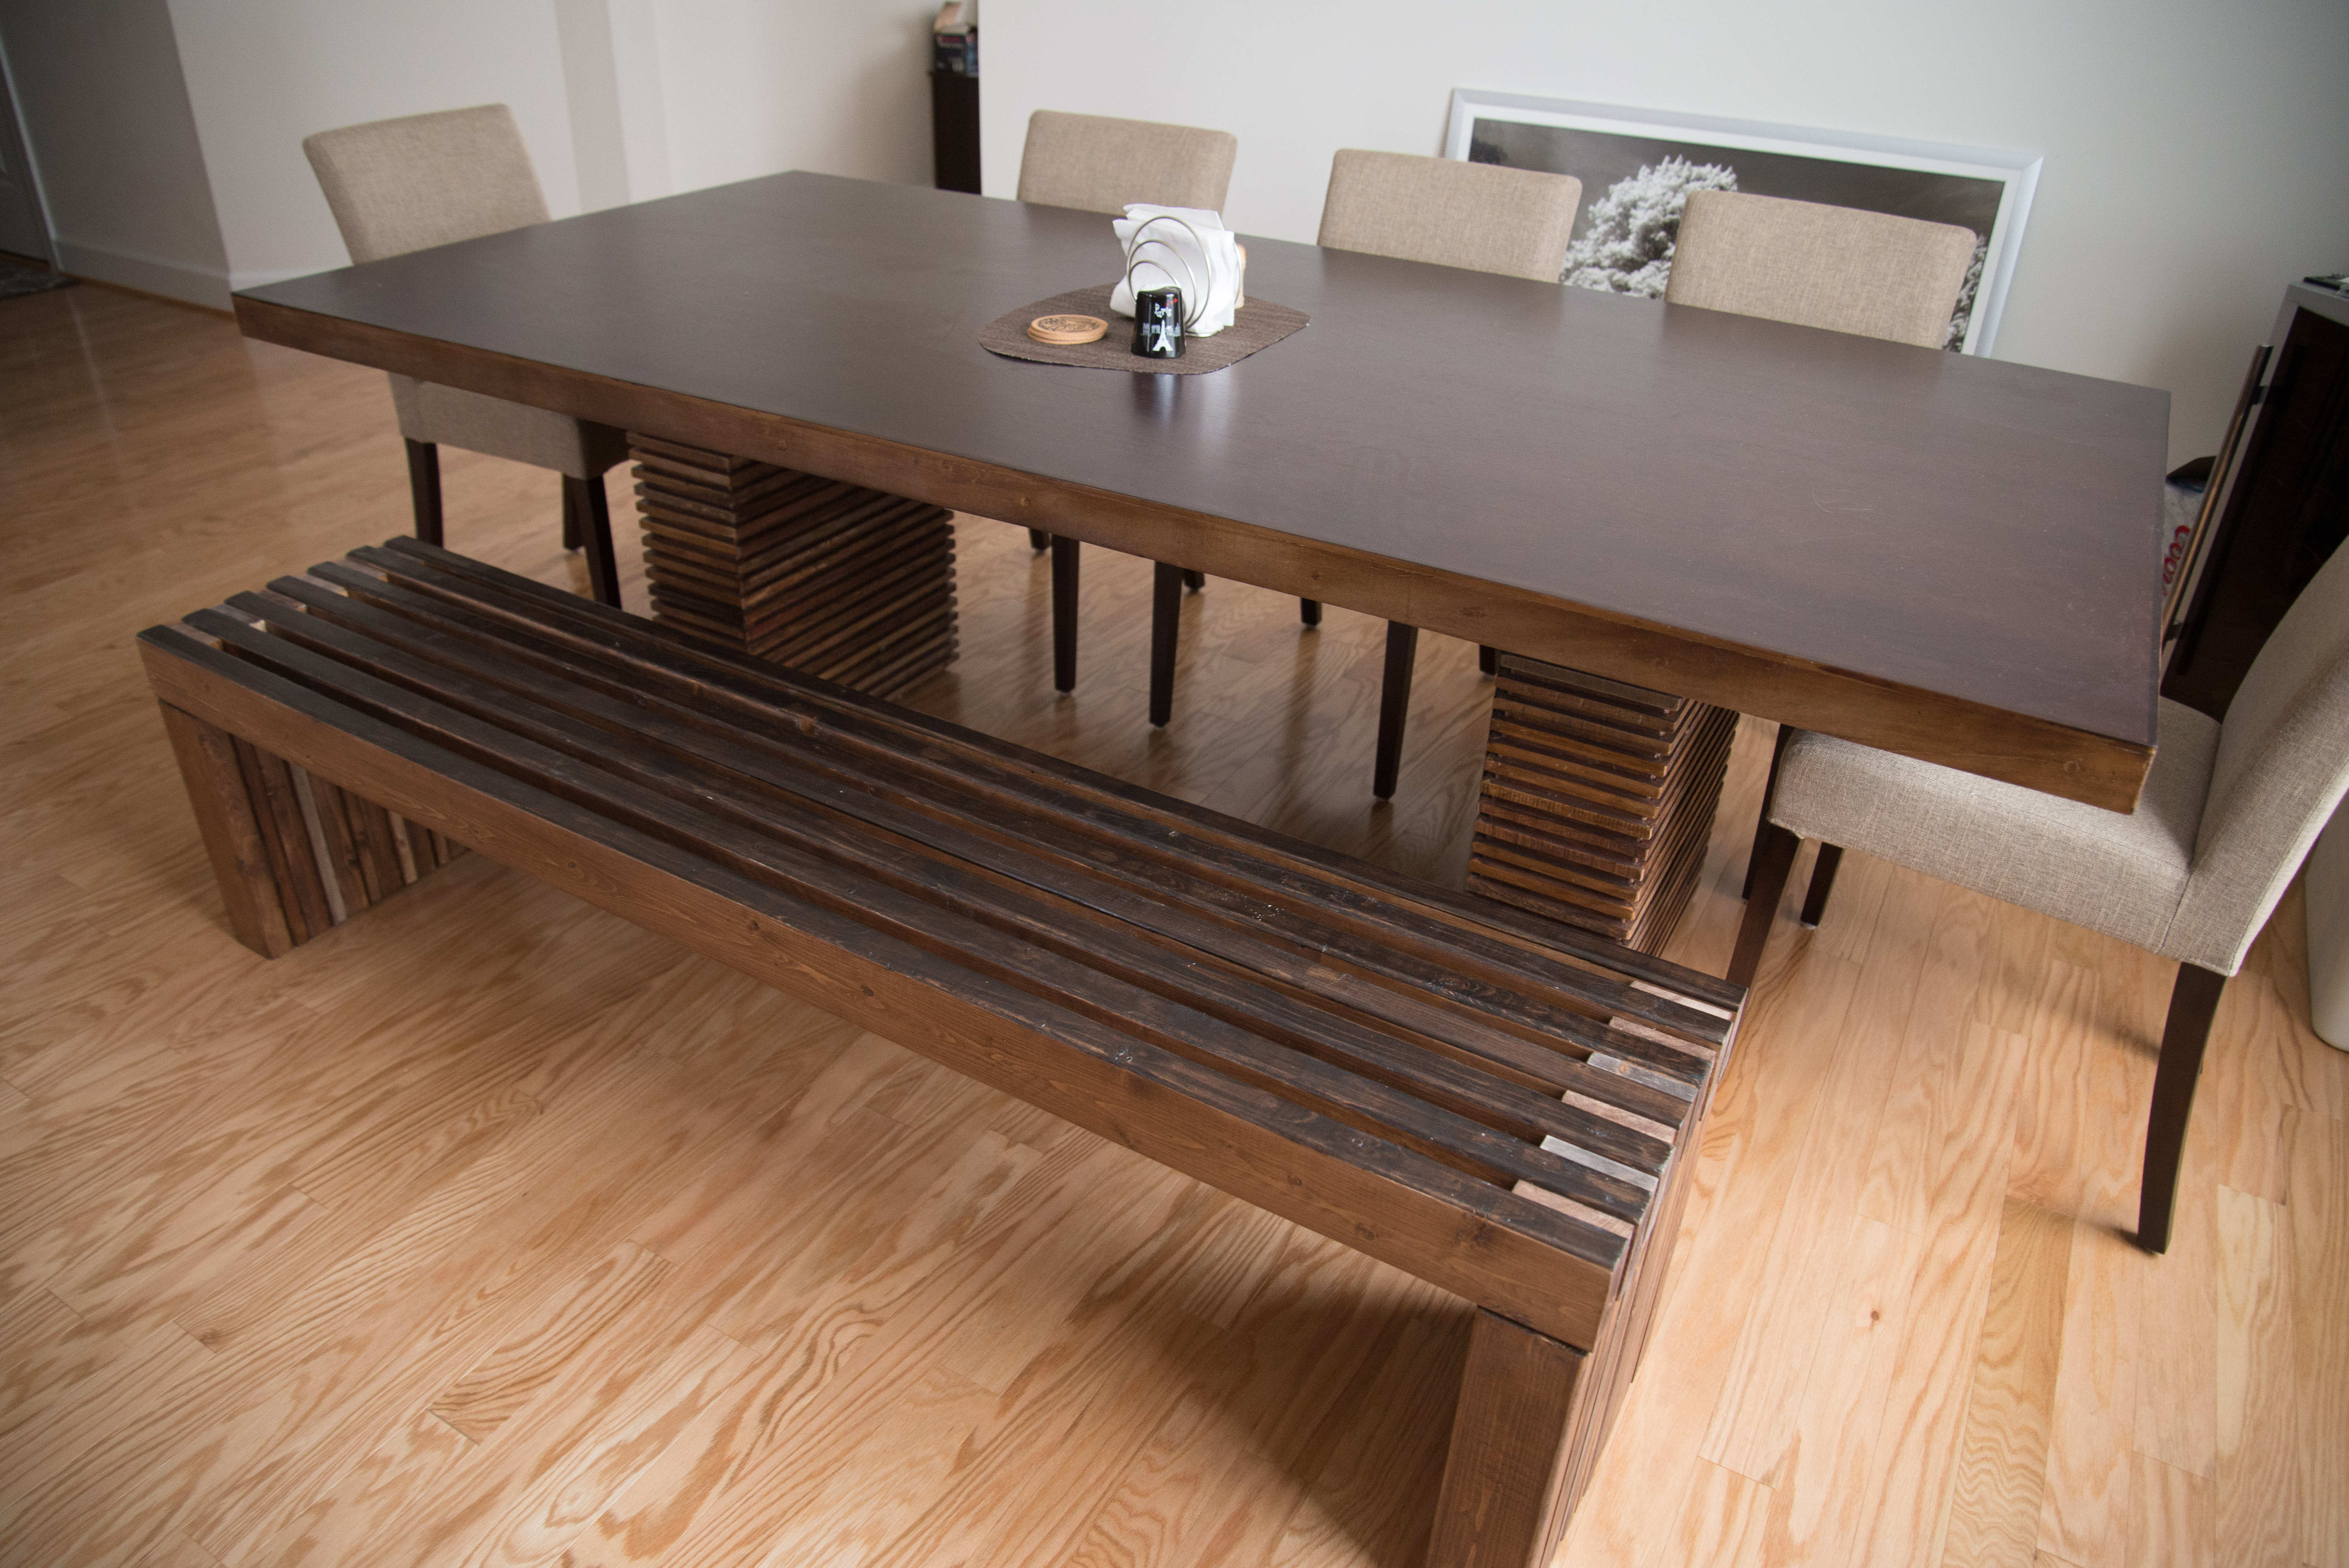
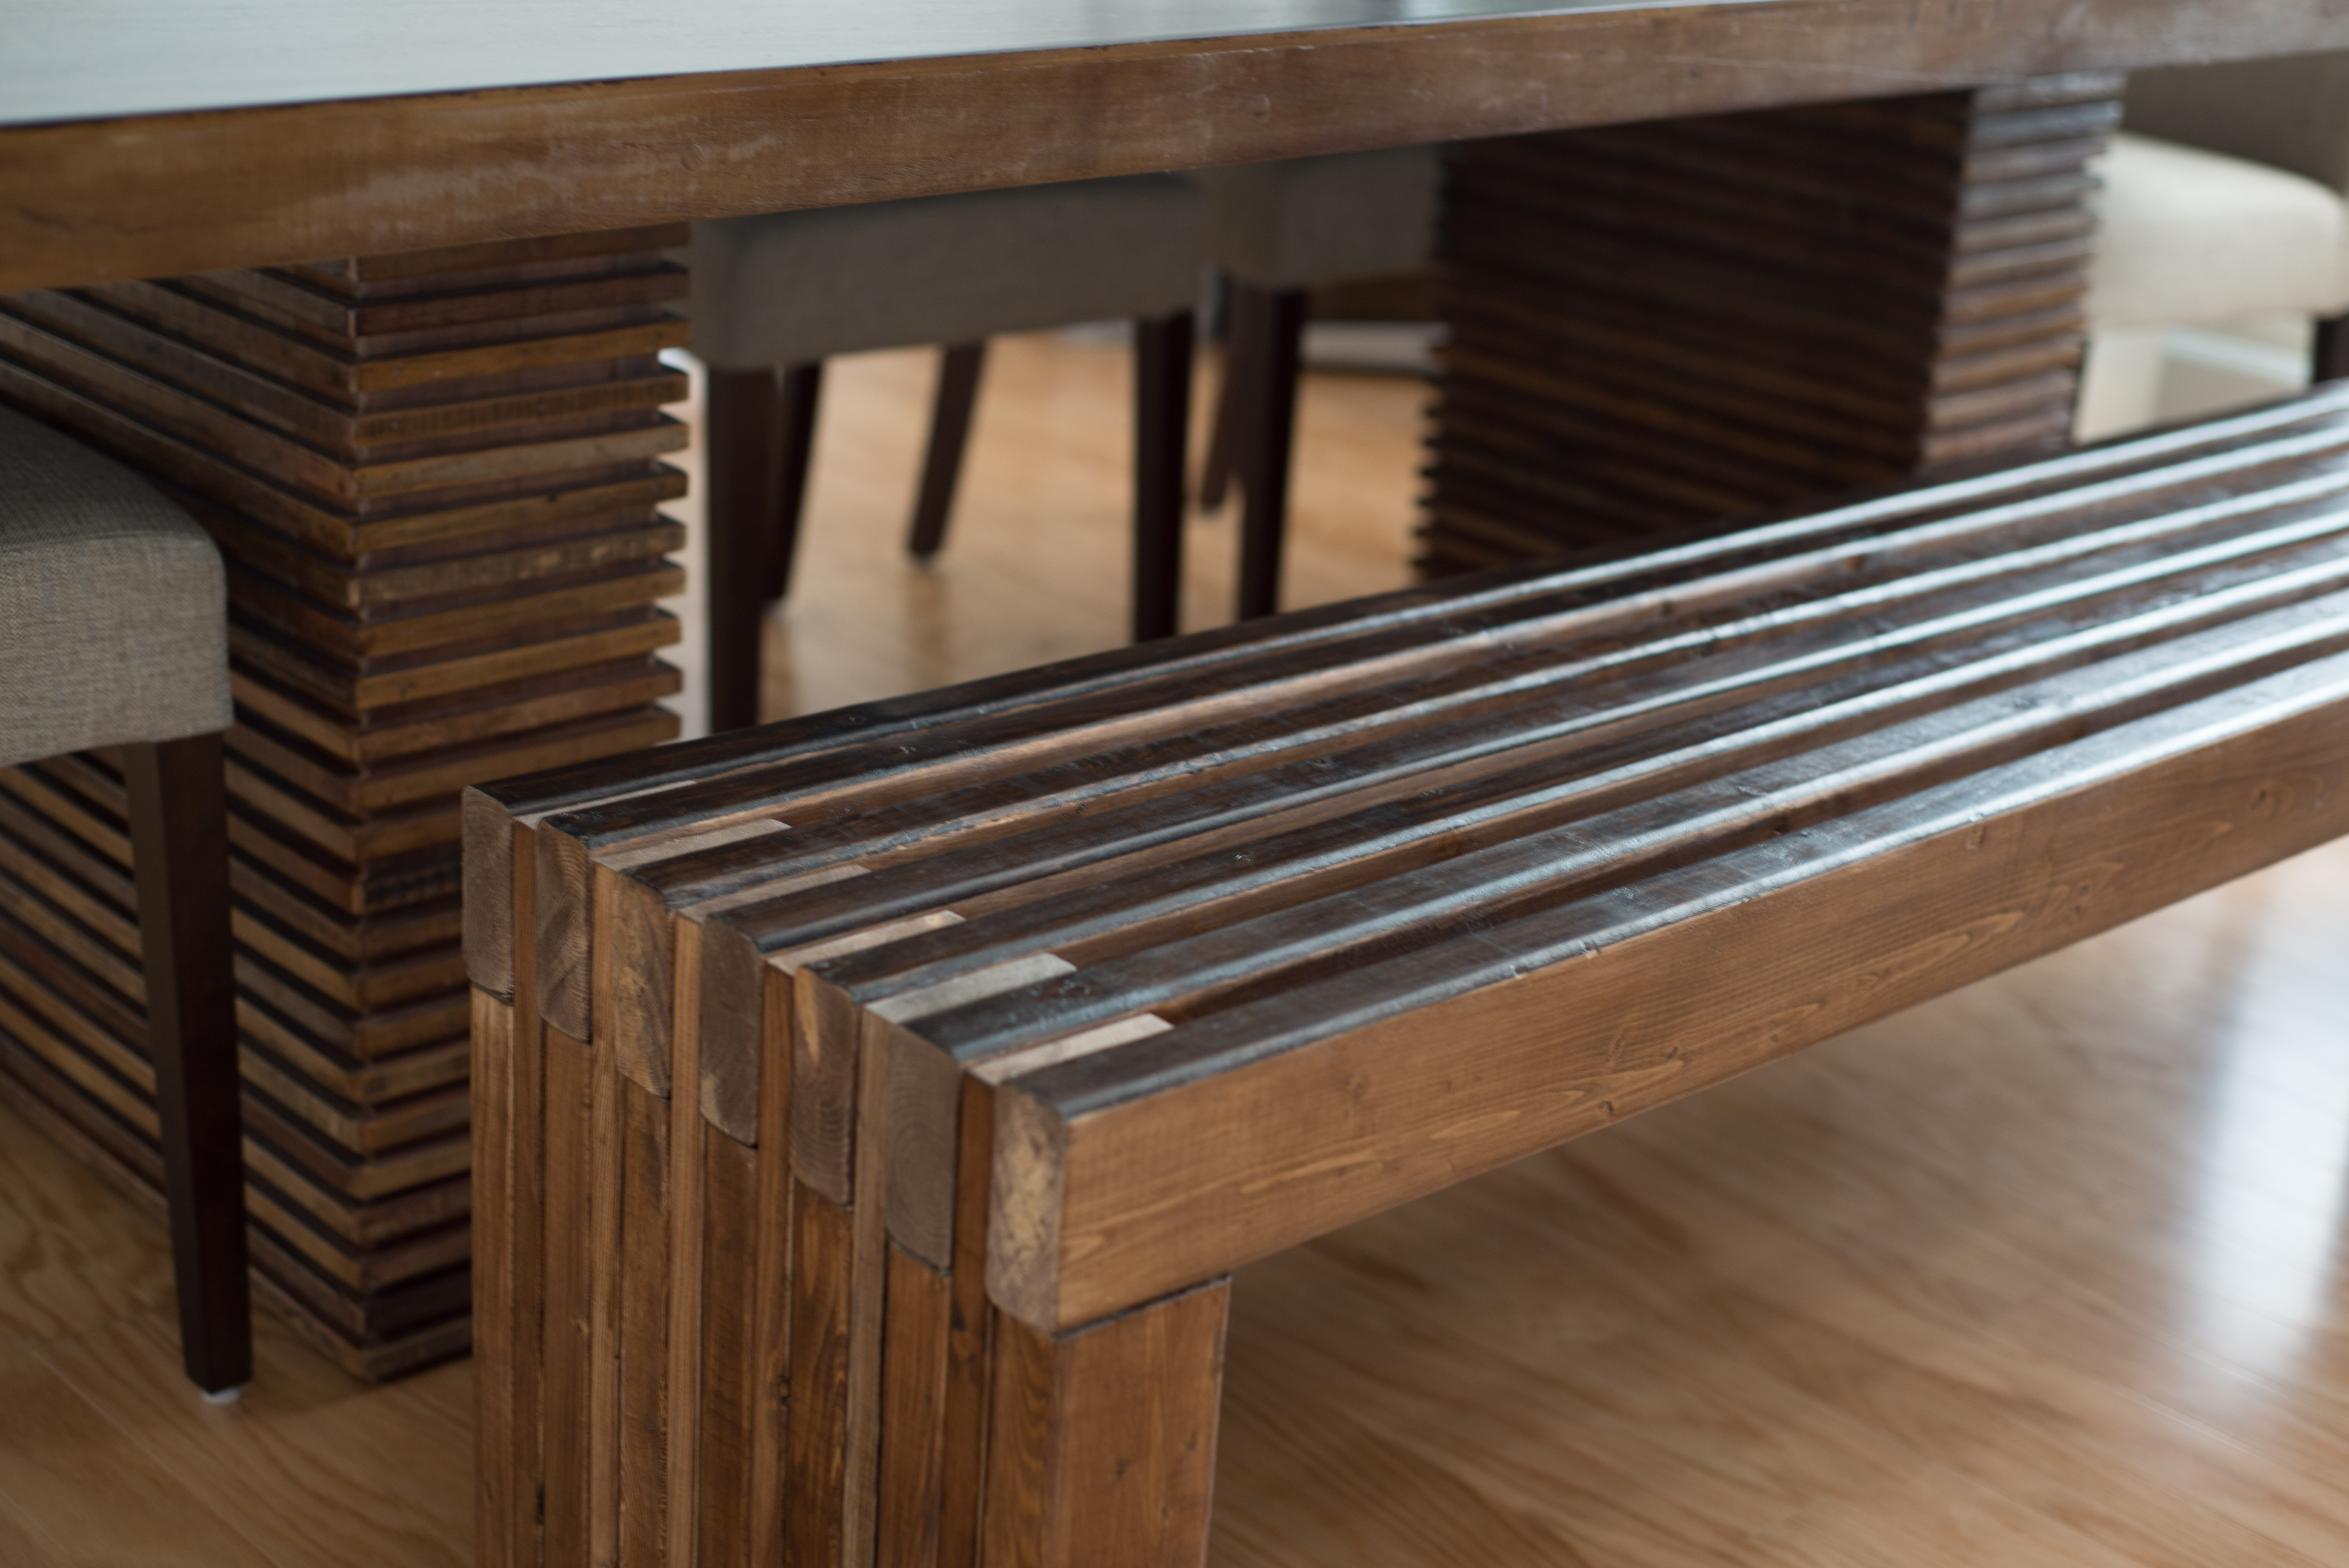
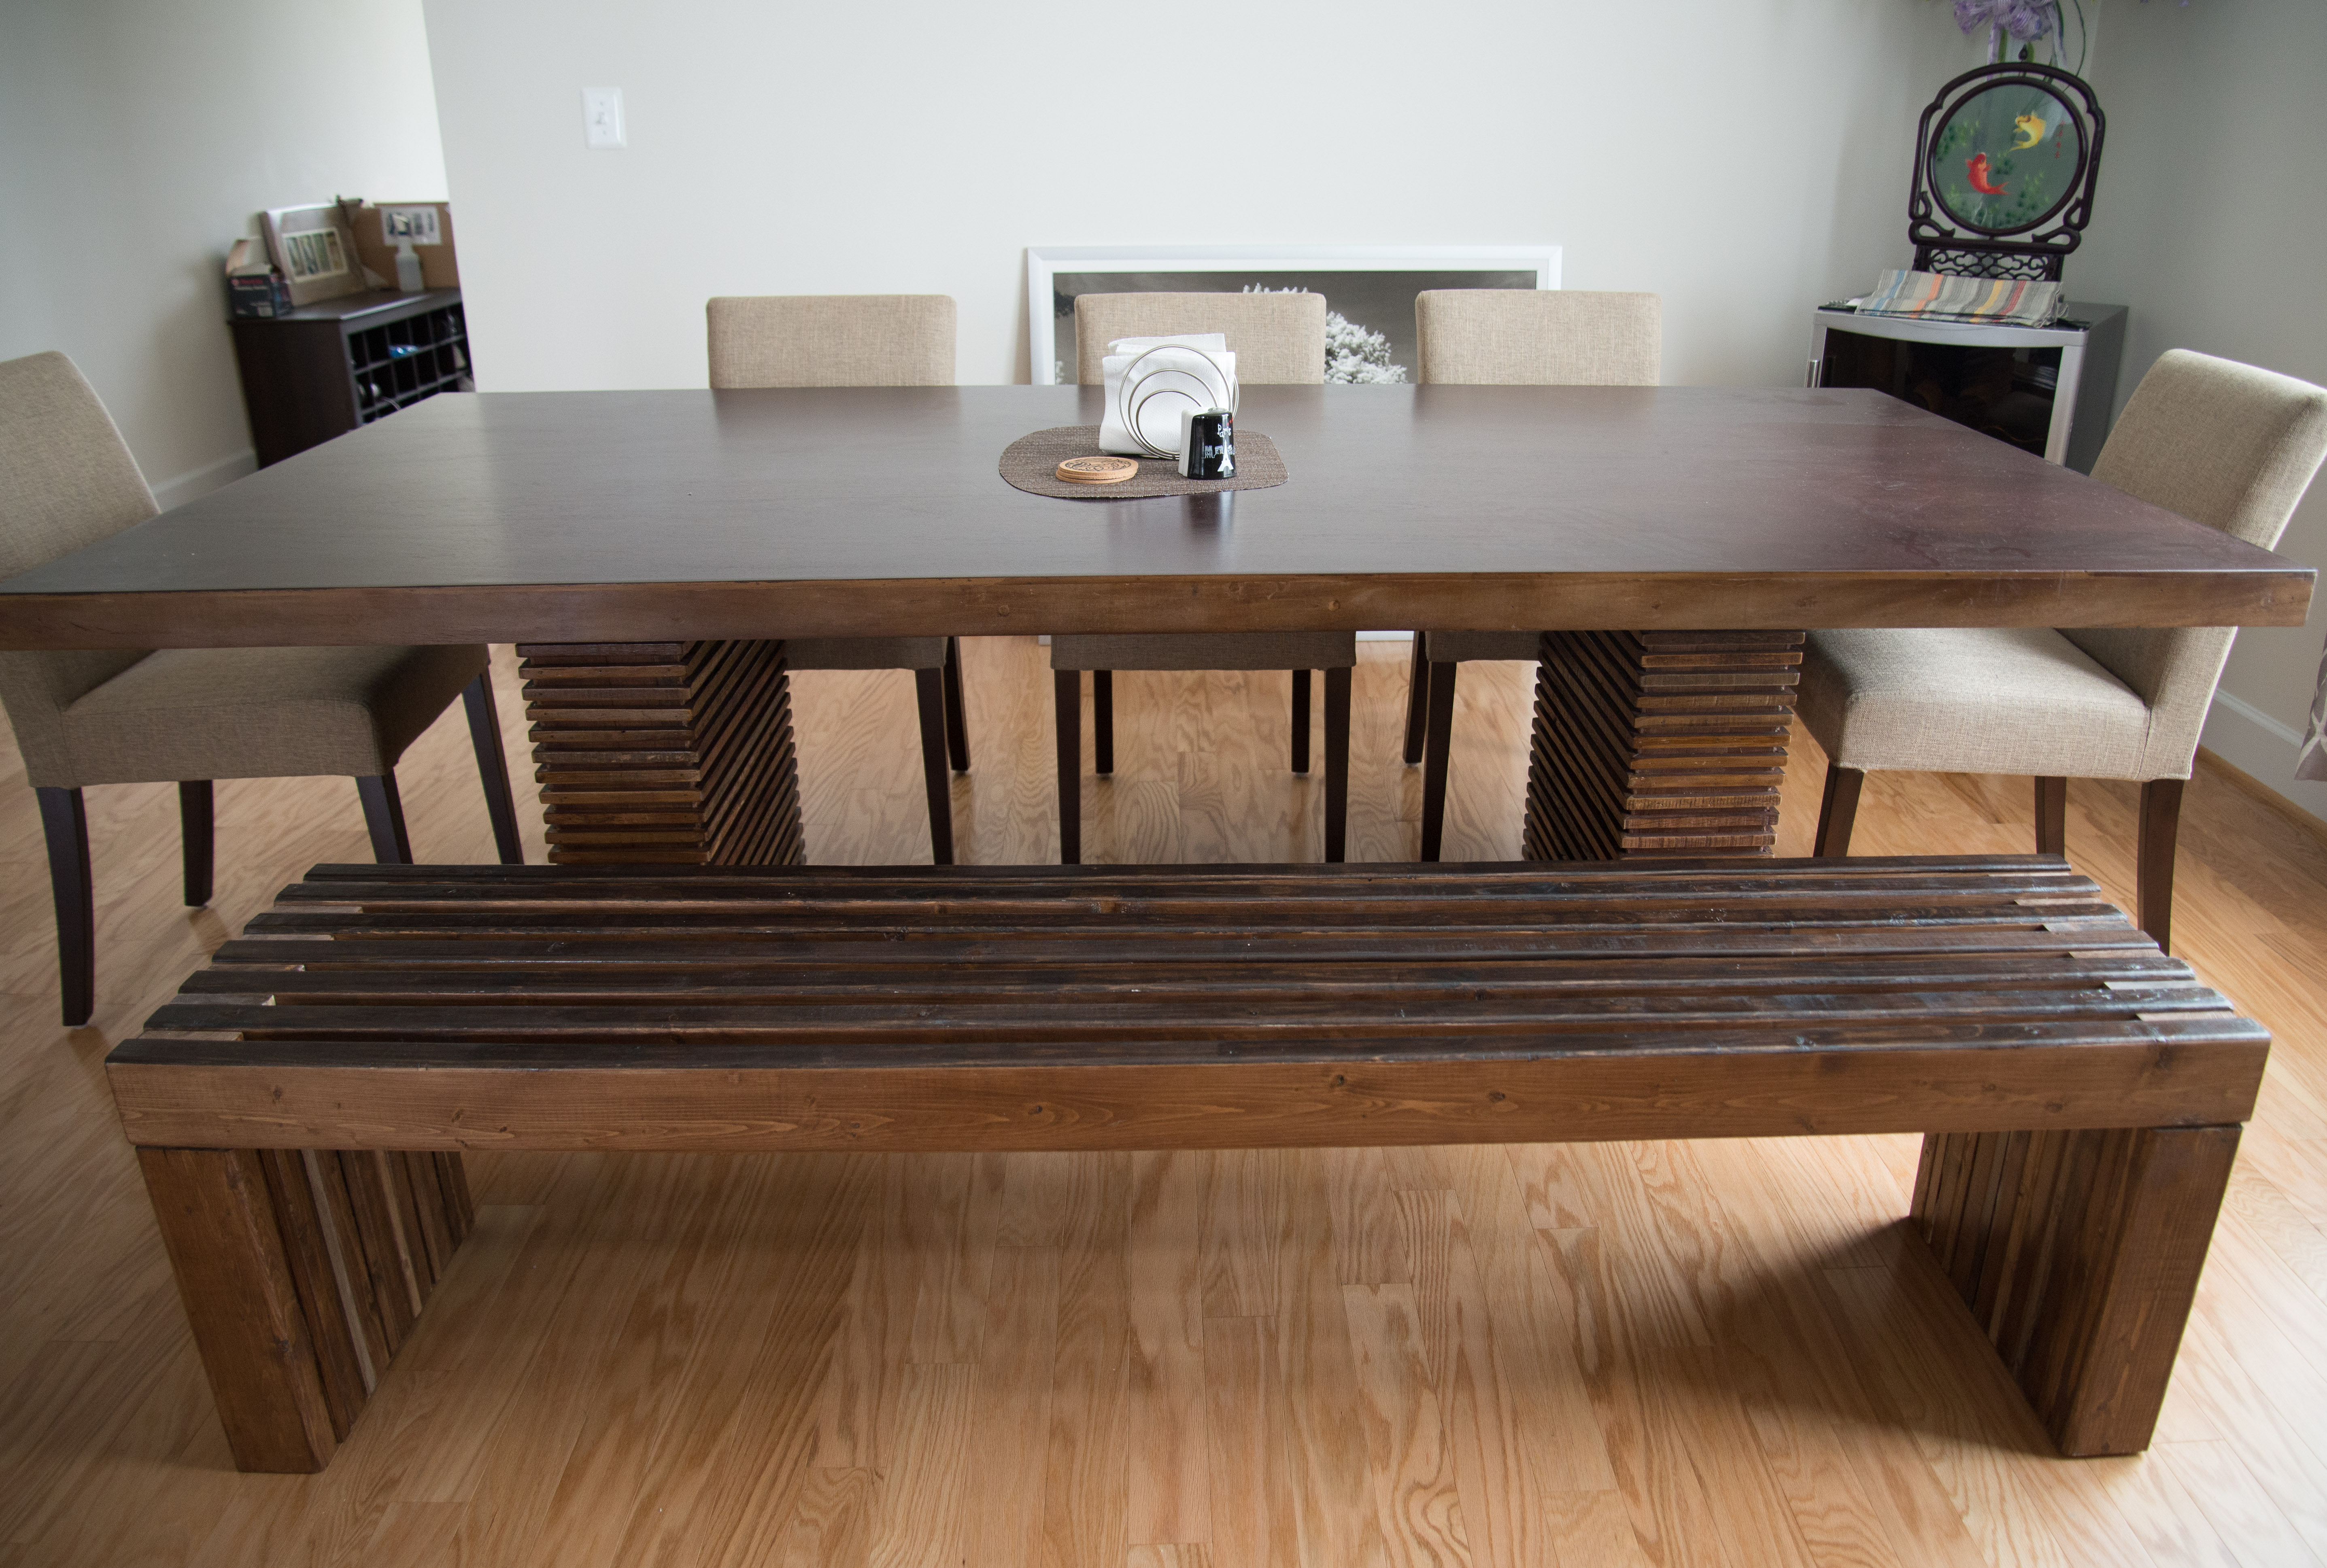
This was my second project after creating a custom bookcase for underneath our kitchen island. When I saw this bench, I knew it would go well with my dining table. It was pretty easy to do. I sanded and stained each piece before putting it all together and I stained it to try to match my dining table.
Thu, 05/07/2015 - 13:51
I love how you were able to match the bench to the table. By the way, what is the name of your table? I really like it! I wonder if Ana has time to draw up this plan, pretty please Ana.
Fri, 05/08/2015 - 10:19
It's the Paloma I from Crate and Barrel: http://www.crateandbarrel.com/furniture/dining-tables/paloma-i-dining-t…
Fri, 05/08/2015 - 10:35
It's the Paloma I from Crate and Barrel: http://www.crateandbarrel.com/furniture/dining-tables/paloma-i-dining-t…
First project in a quite a while for me so wanted to go with something simple. Was able to complete on a Saturday. Only thing I wanted to do different was 2" thickness on the top.

This was my first project and I’m beyond proud. Thank you for the instructions!!!
Comments
Ana White Admin
Wed, 10/06/2021 - 10:15
Rustic beauty!
Looks like the perfect fit, thank you for sharing!