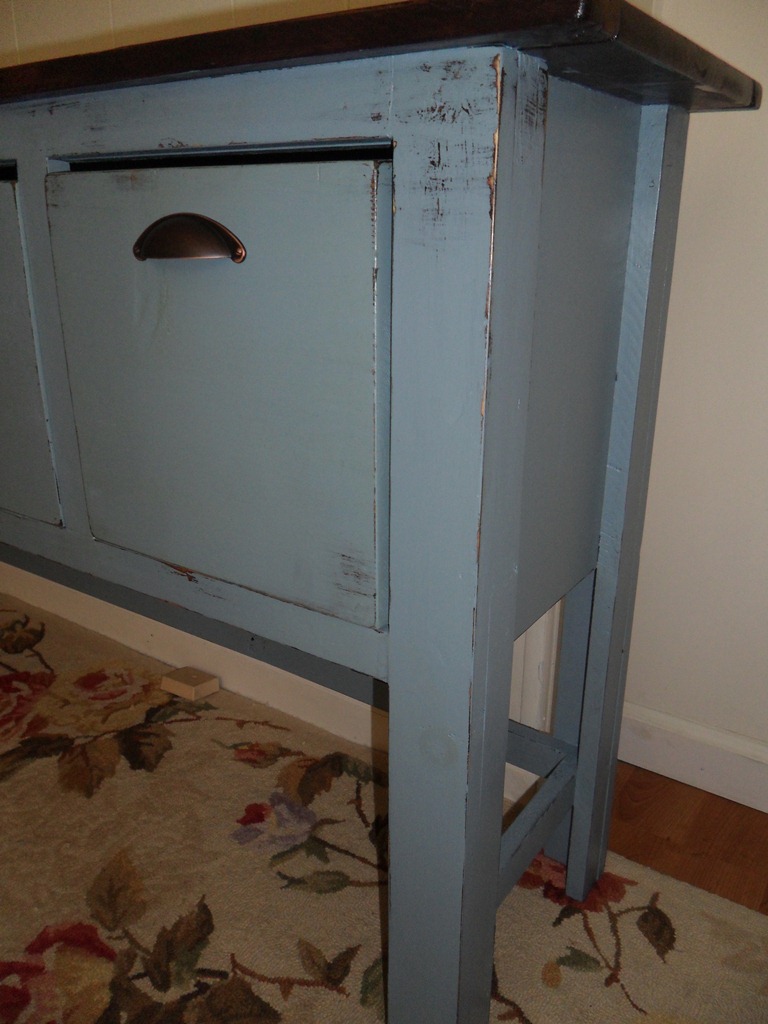
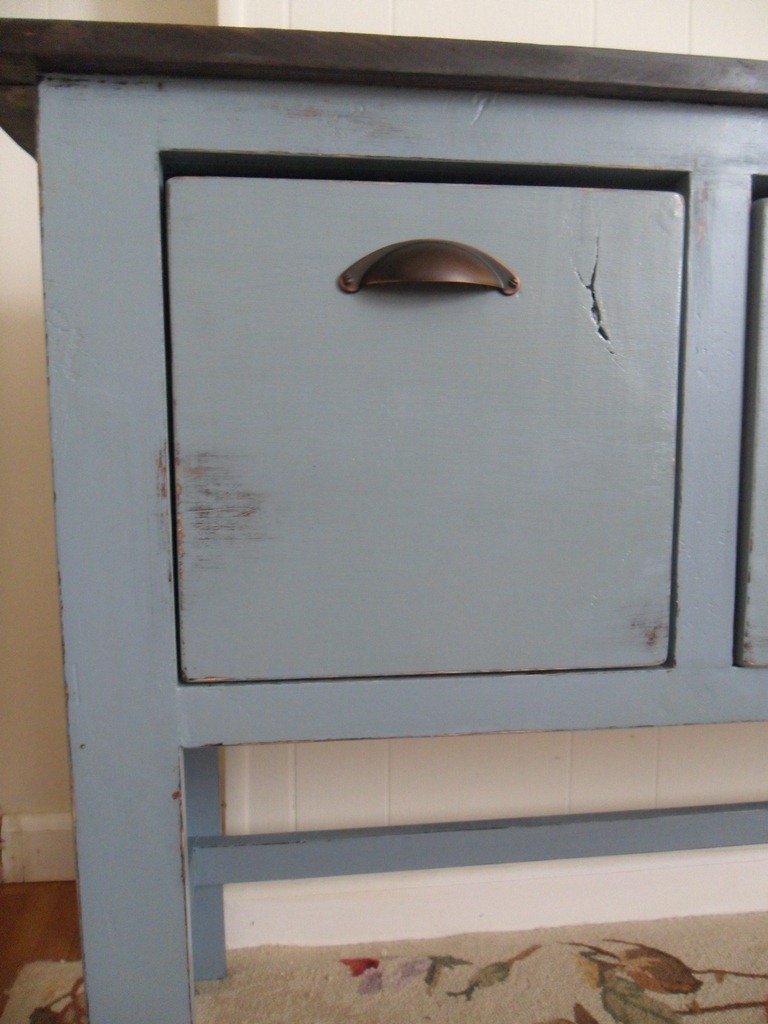
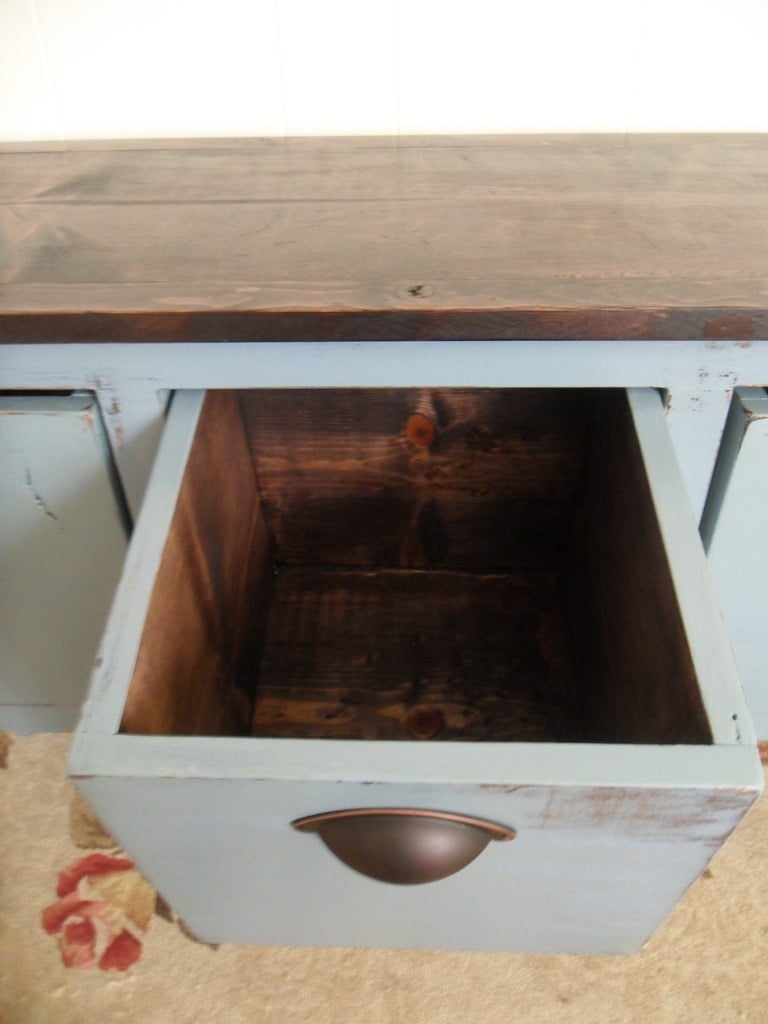
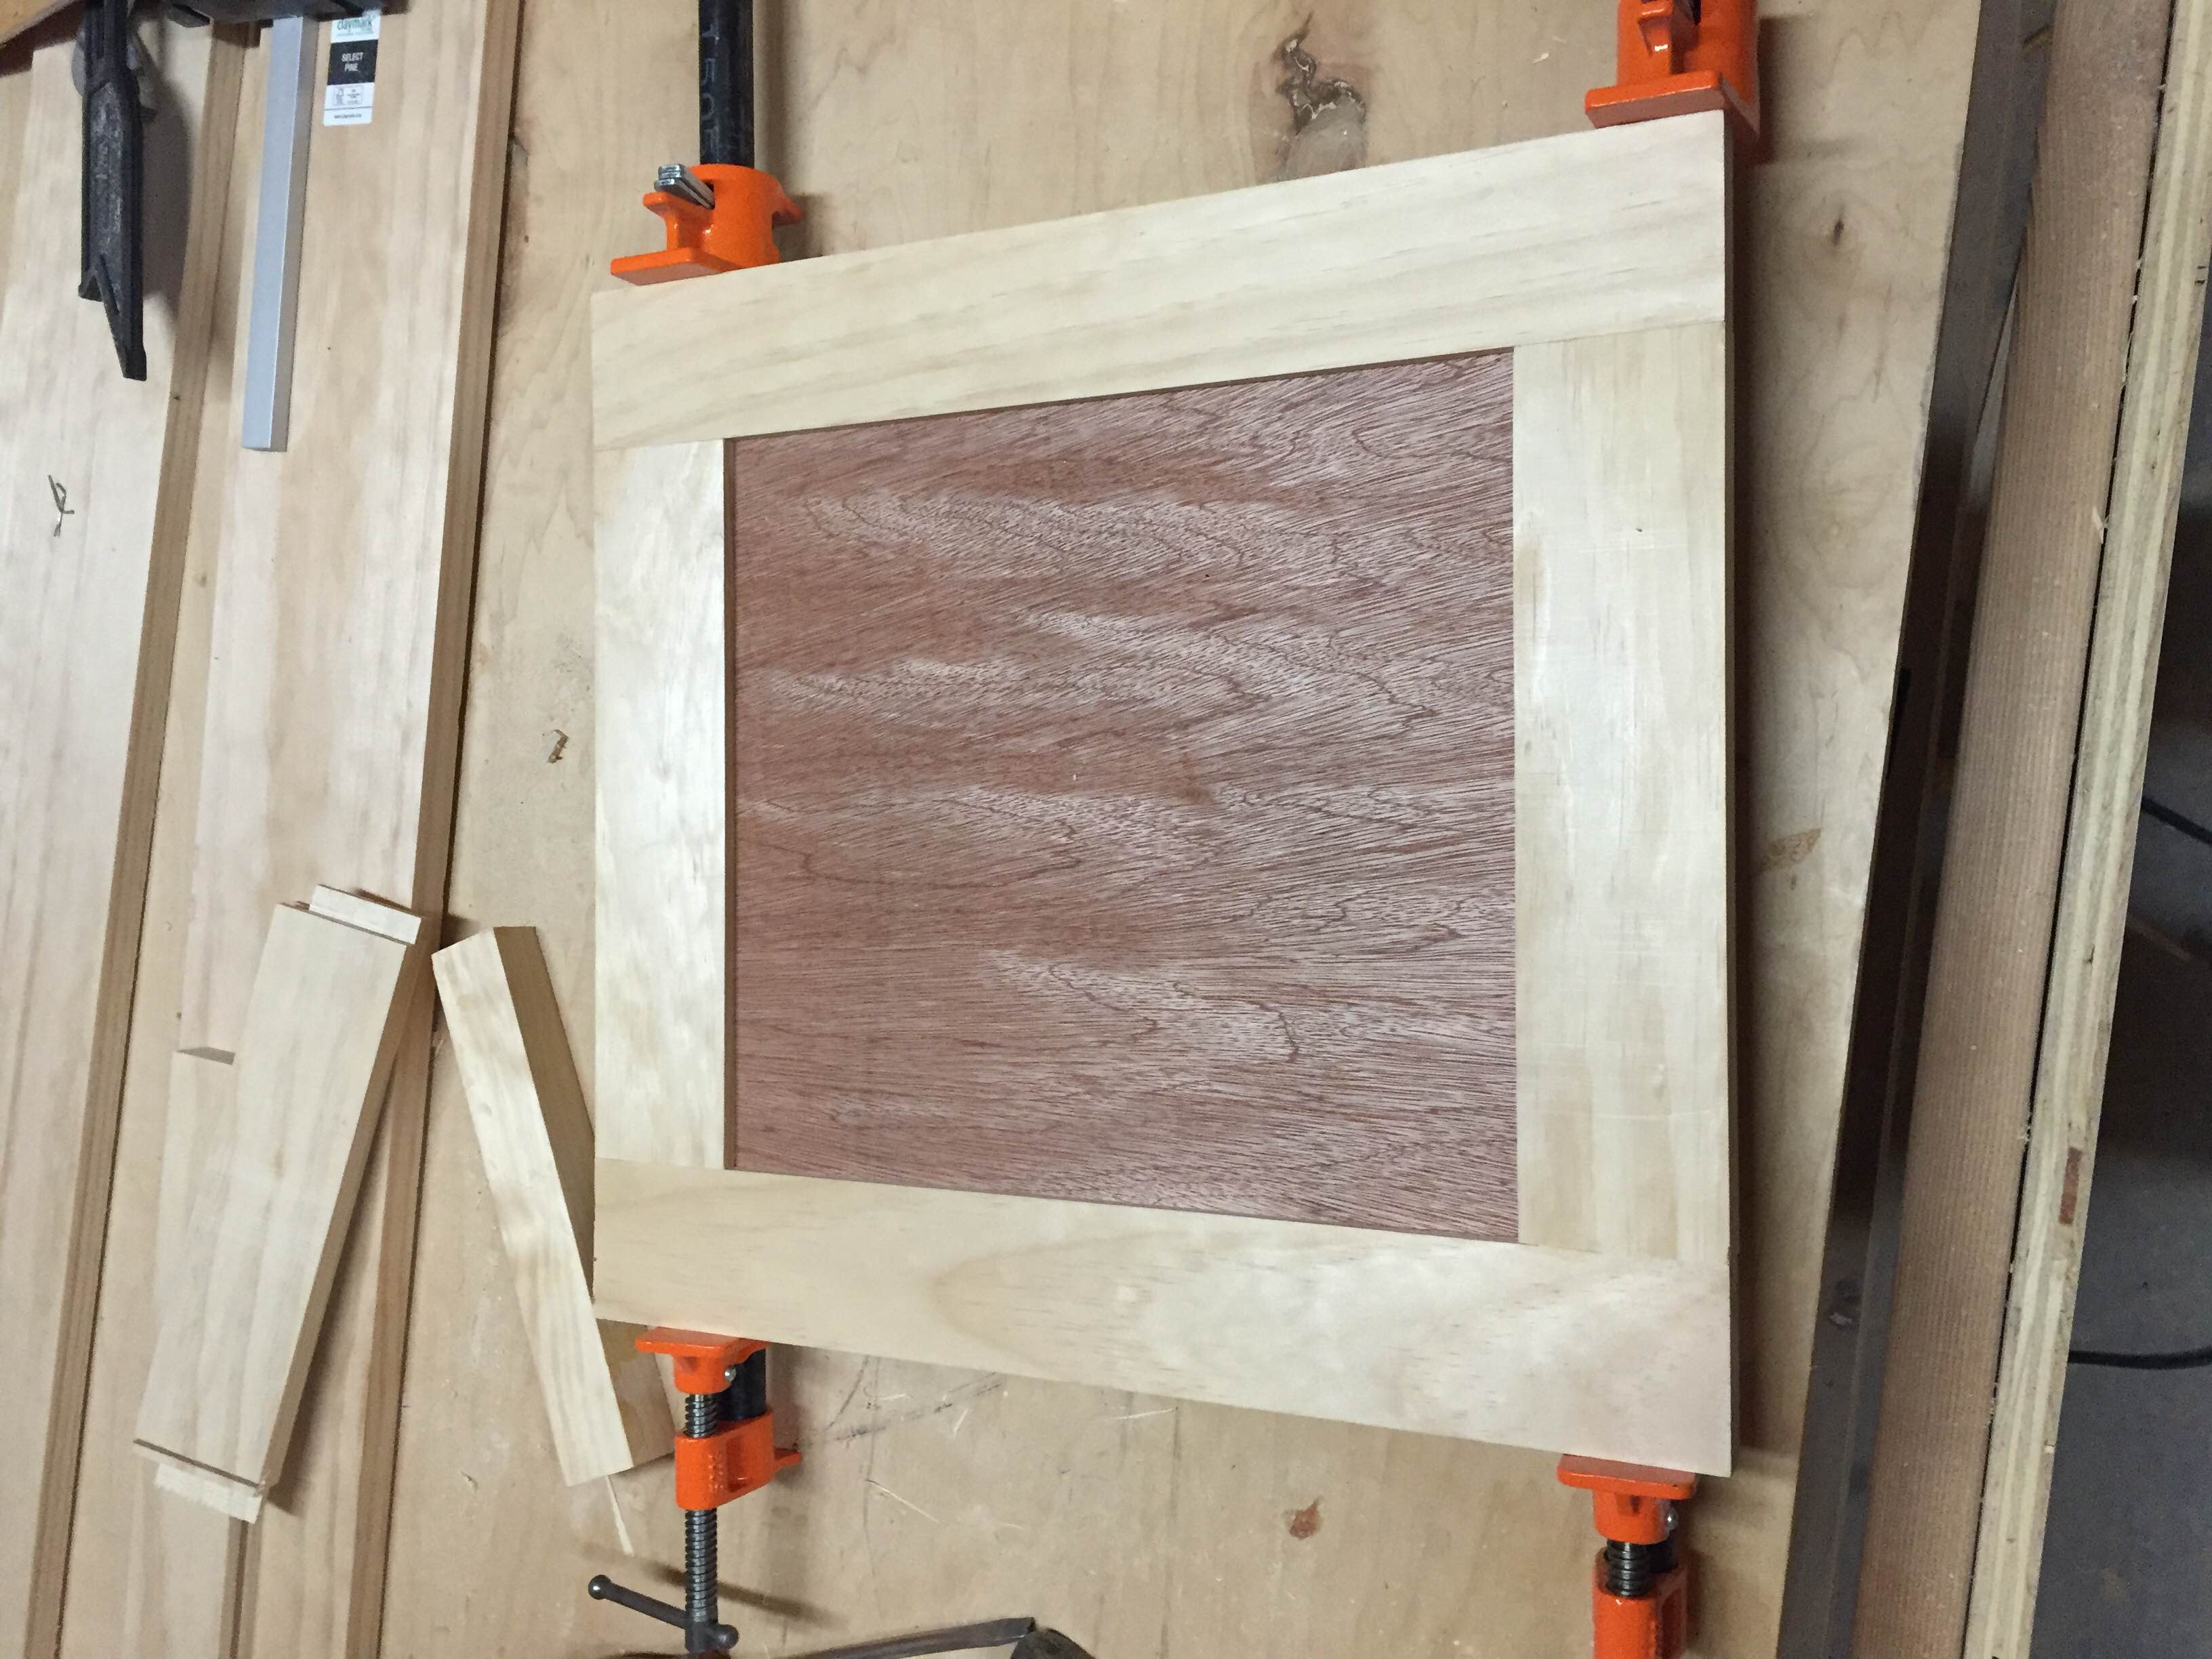
Wood Crate Coffee Table
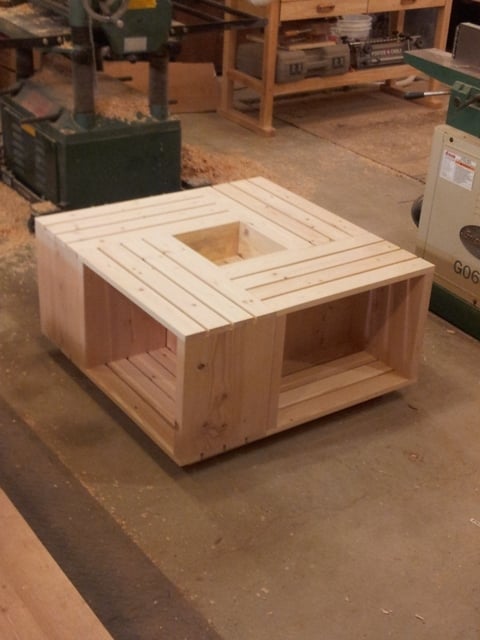
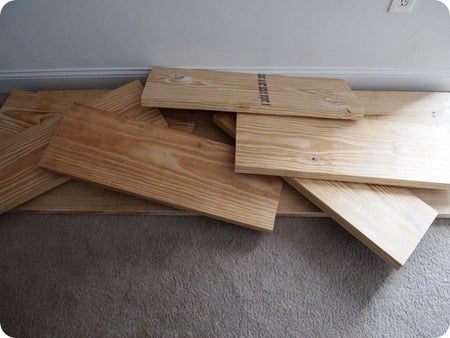
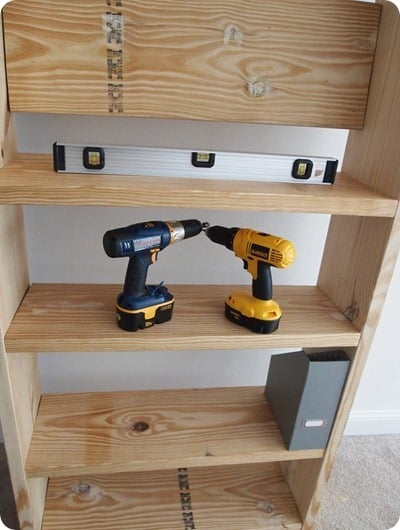
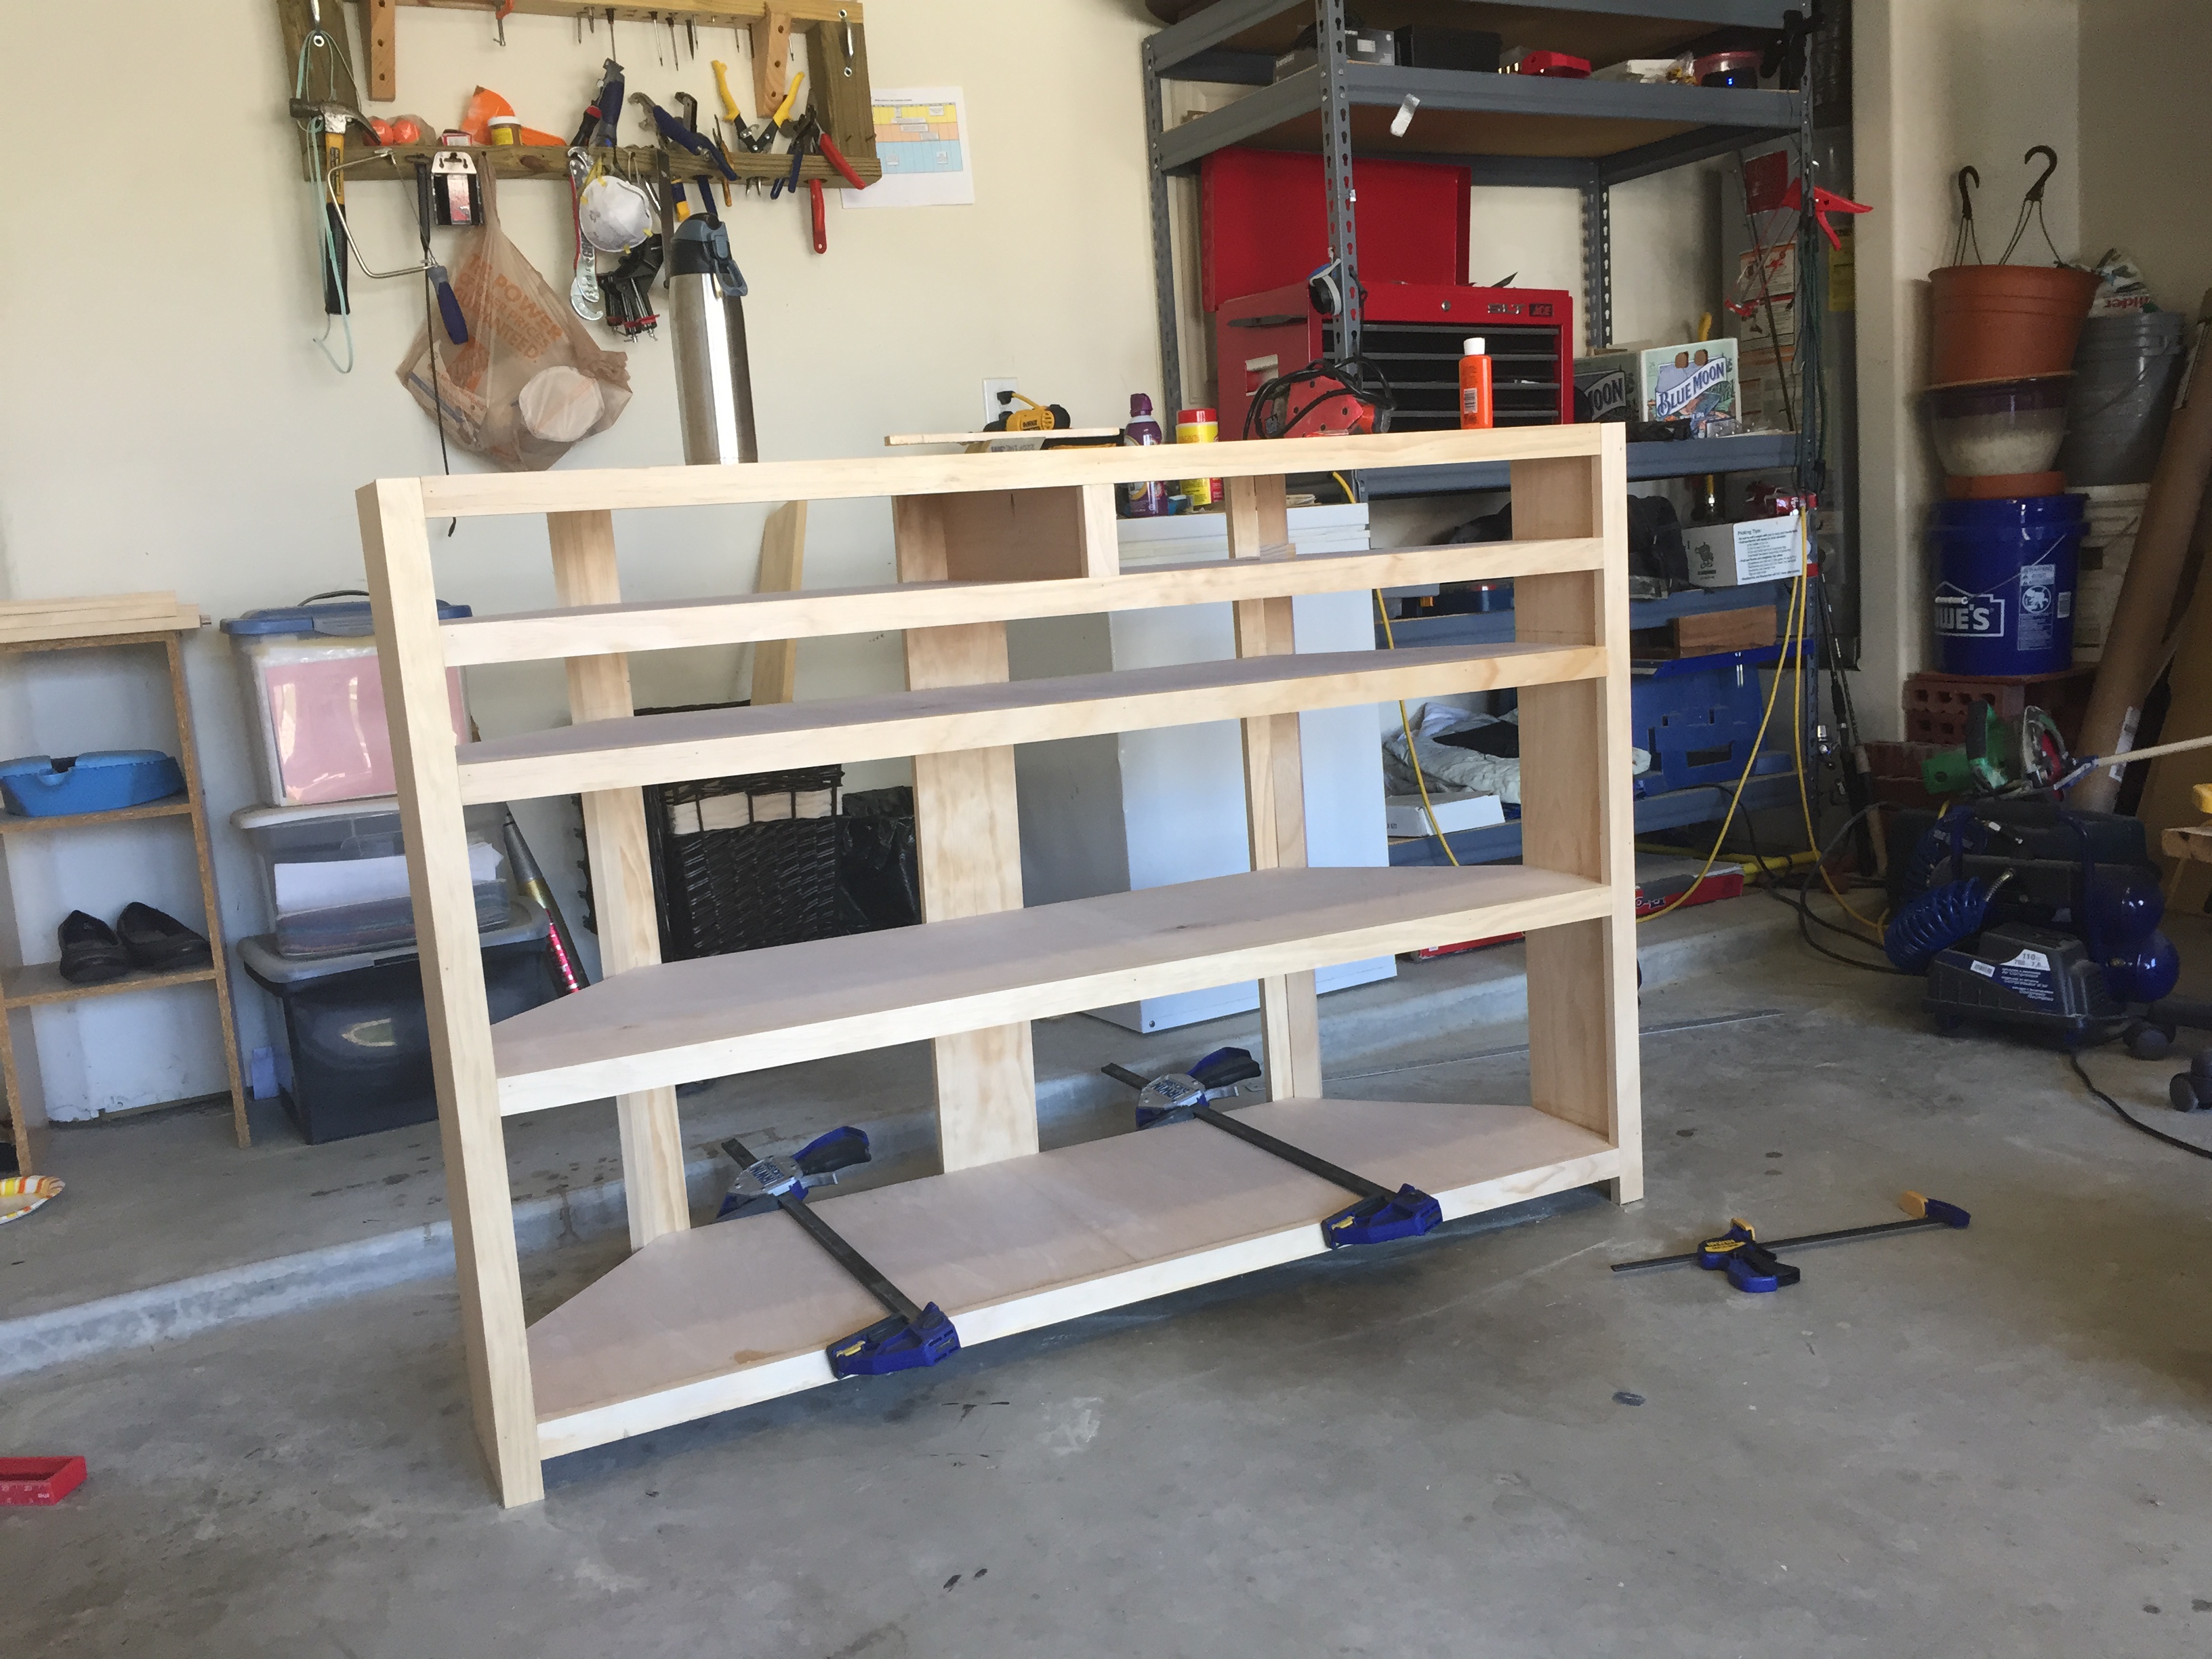
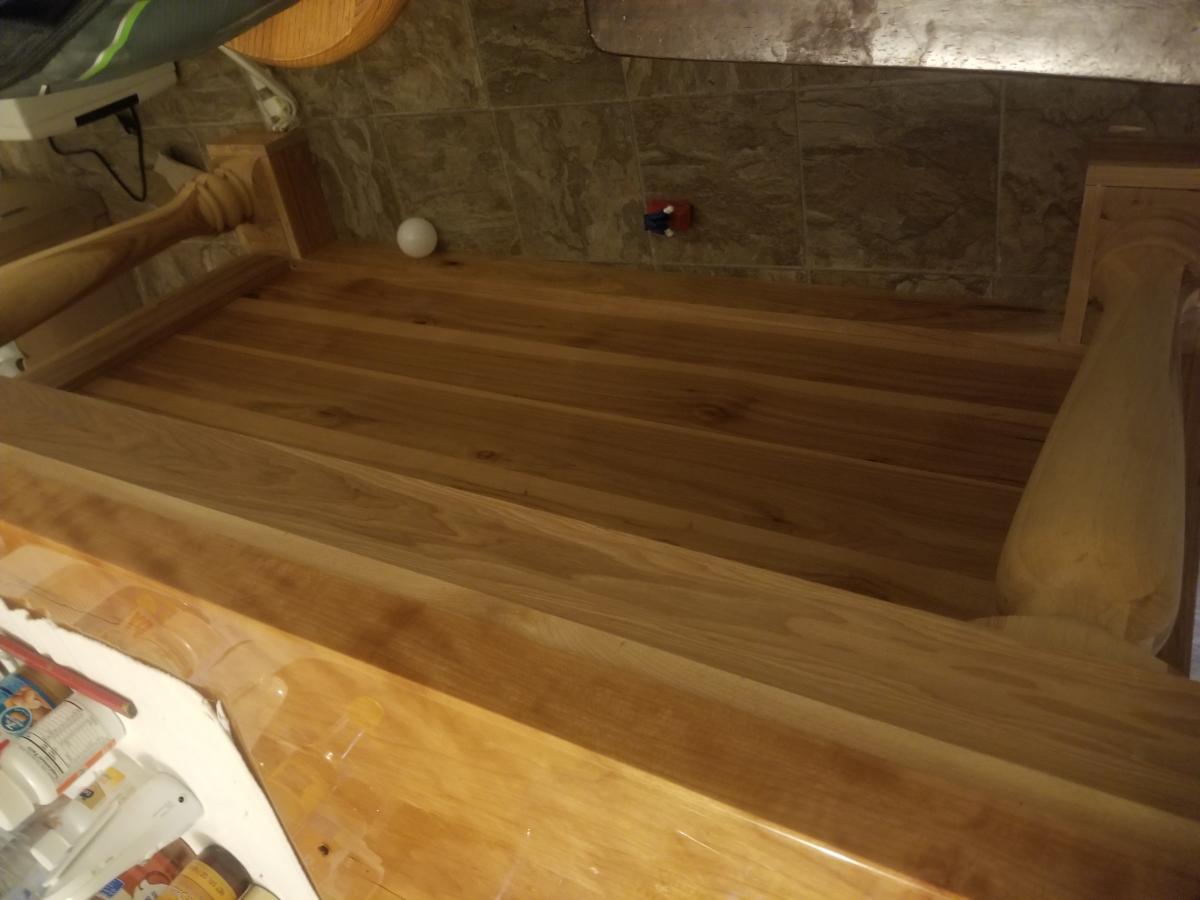
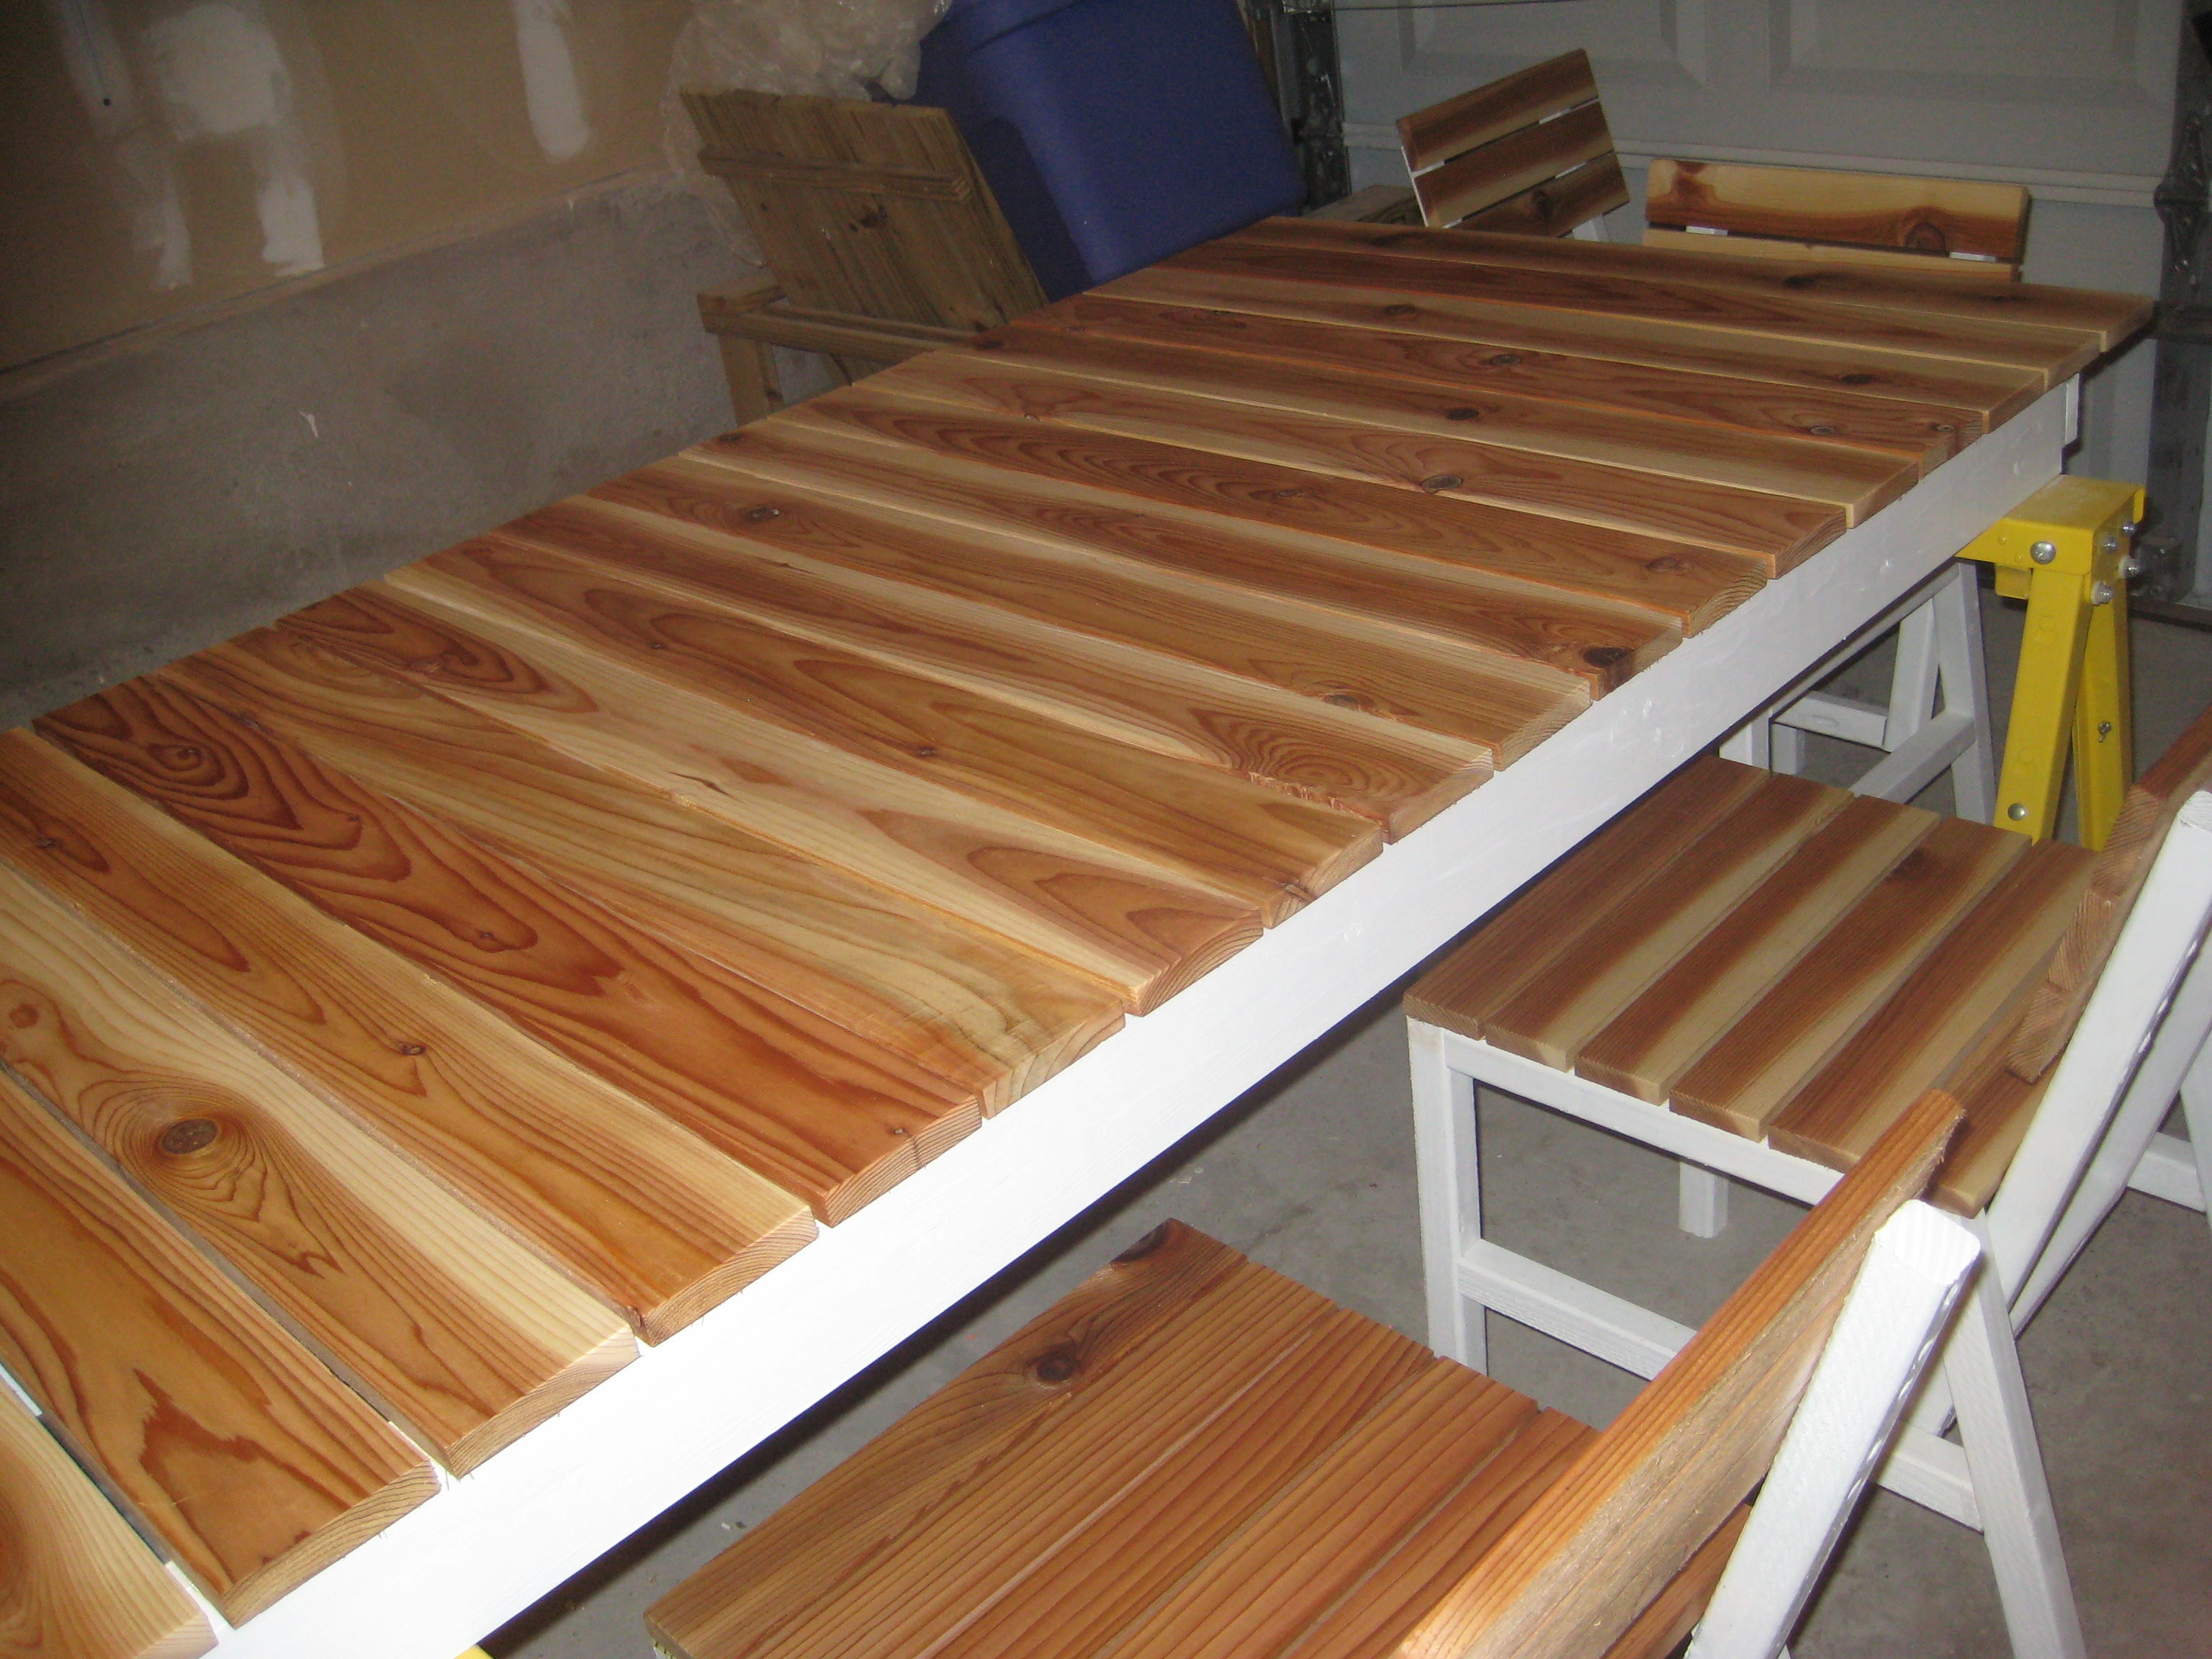
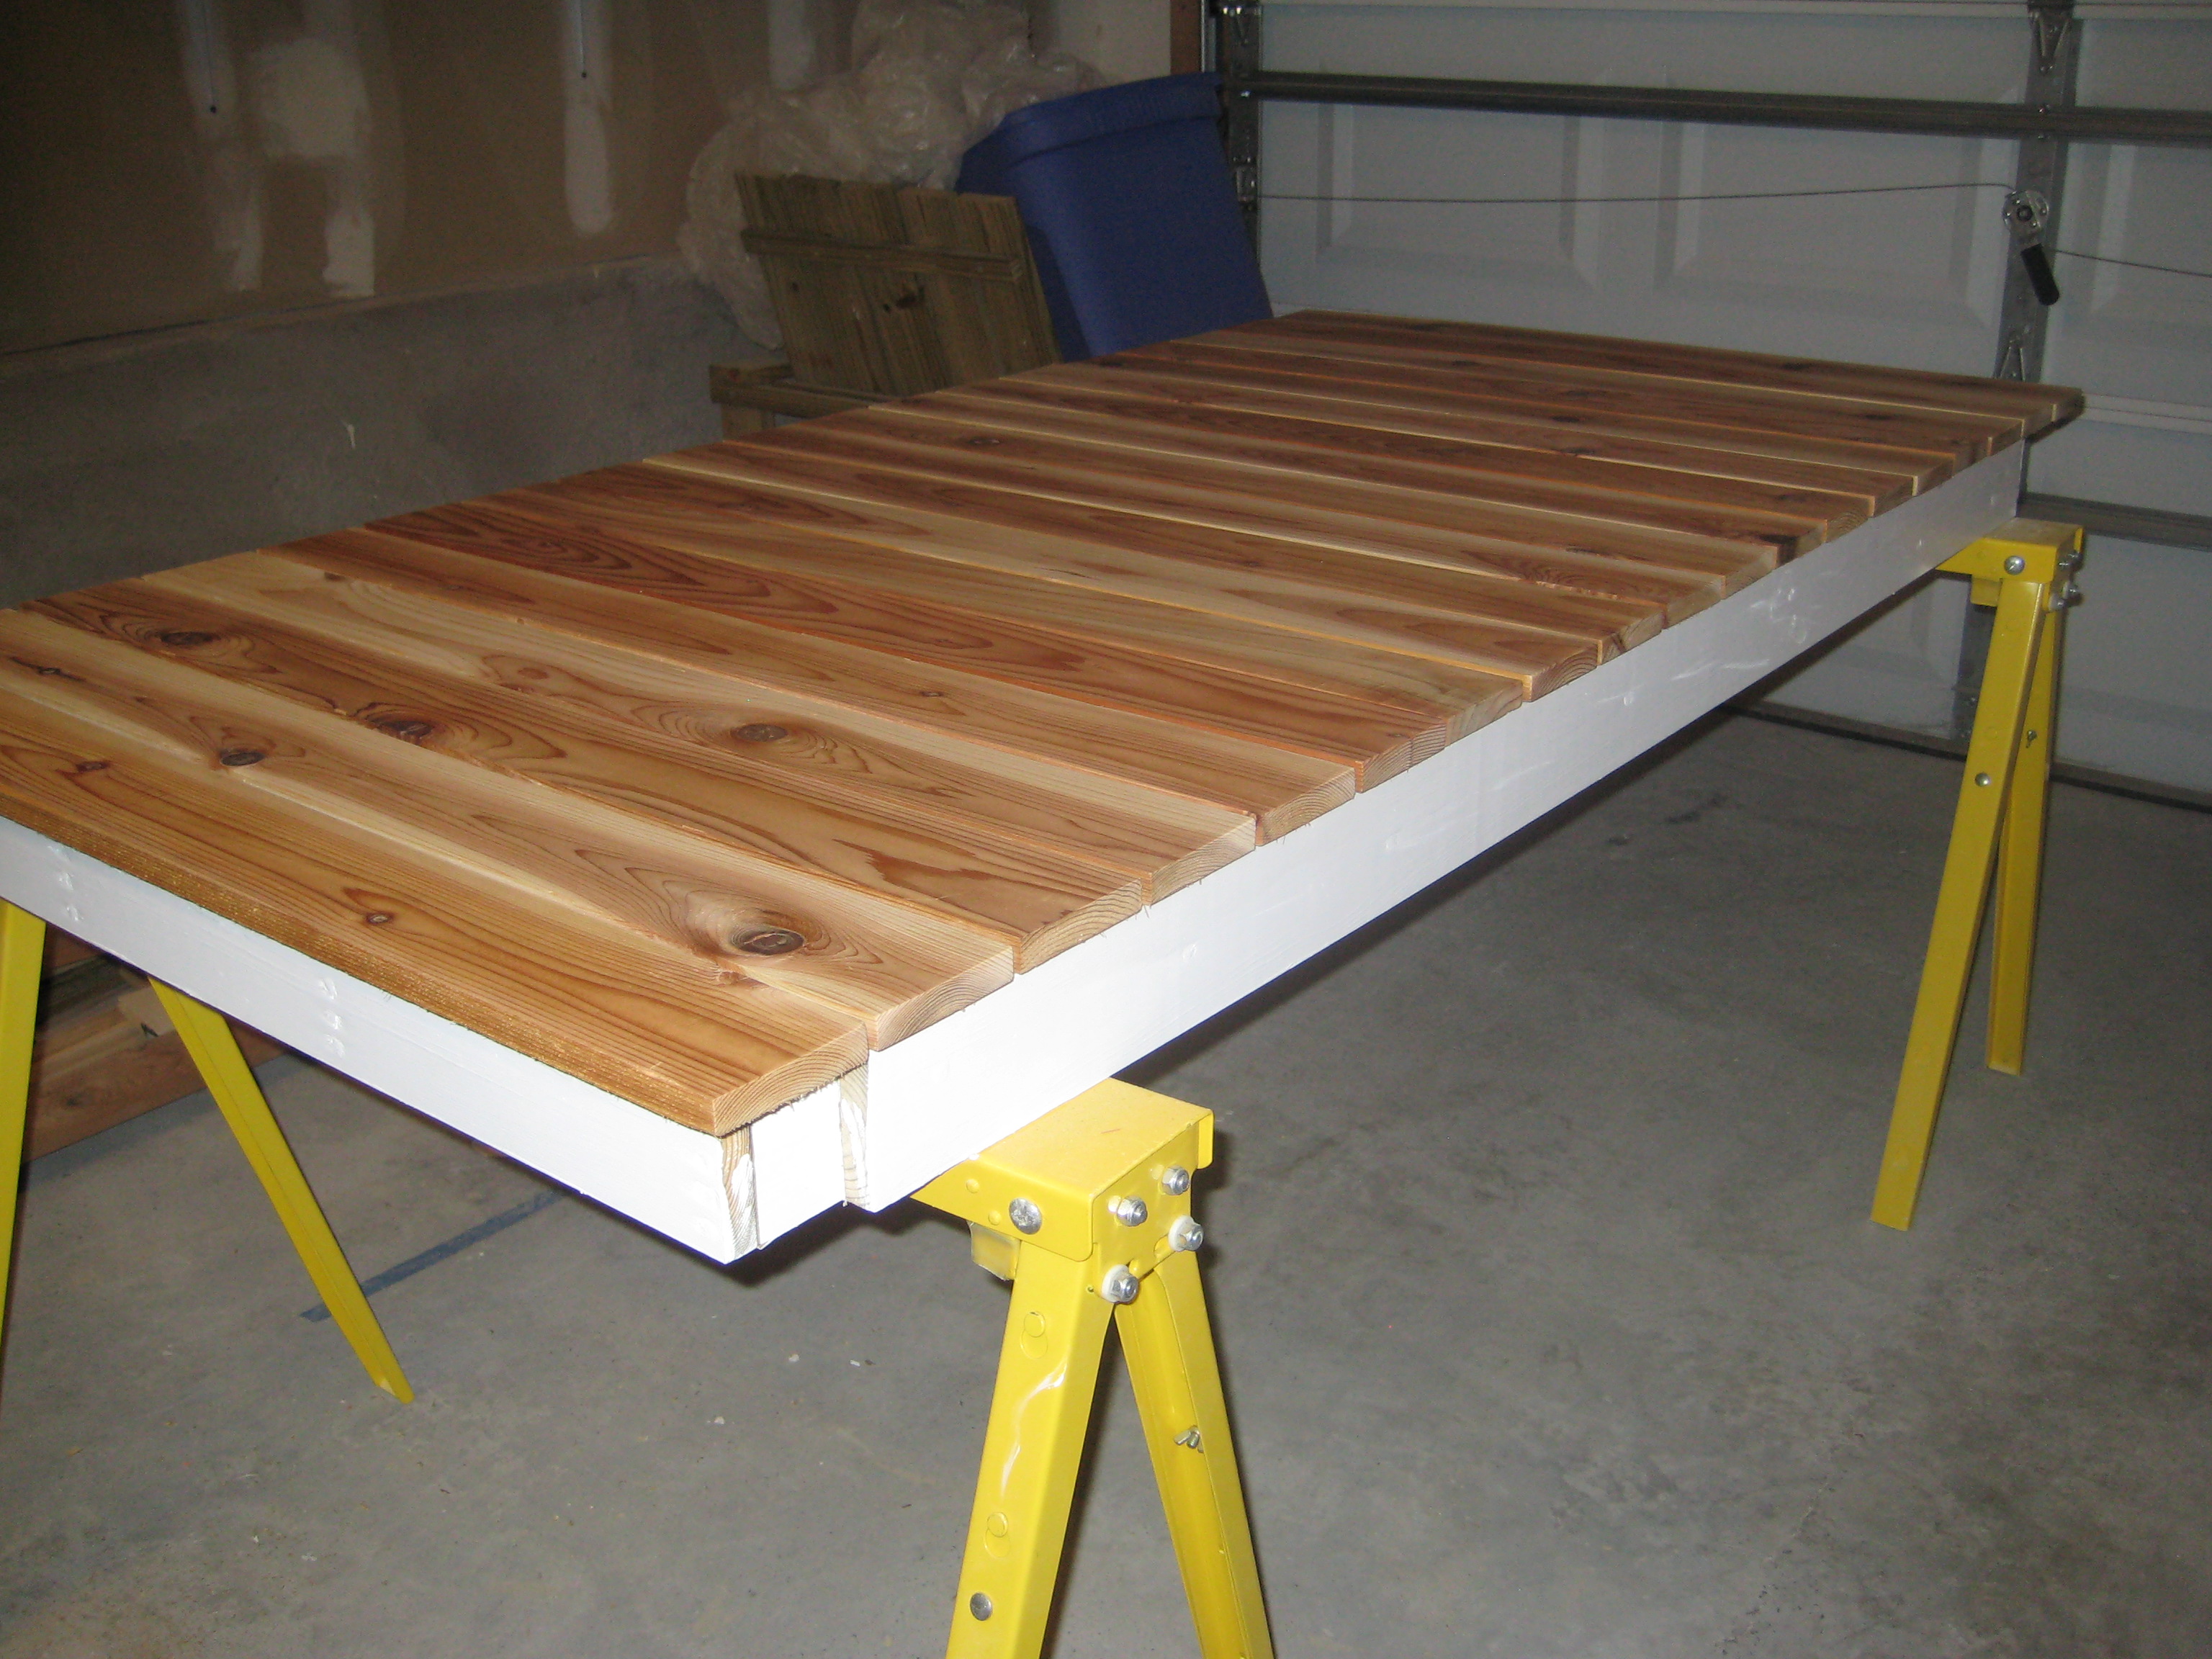
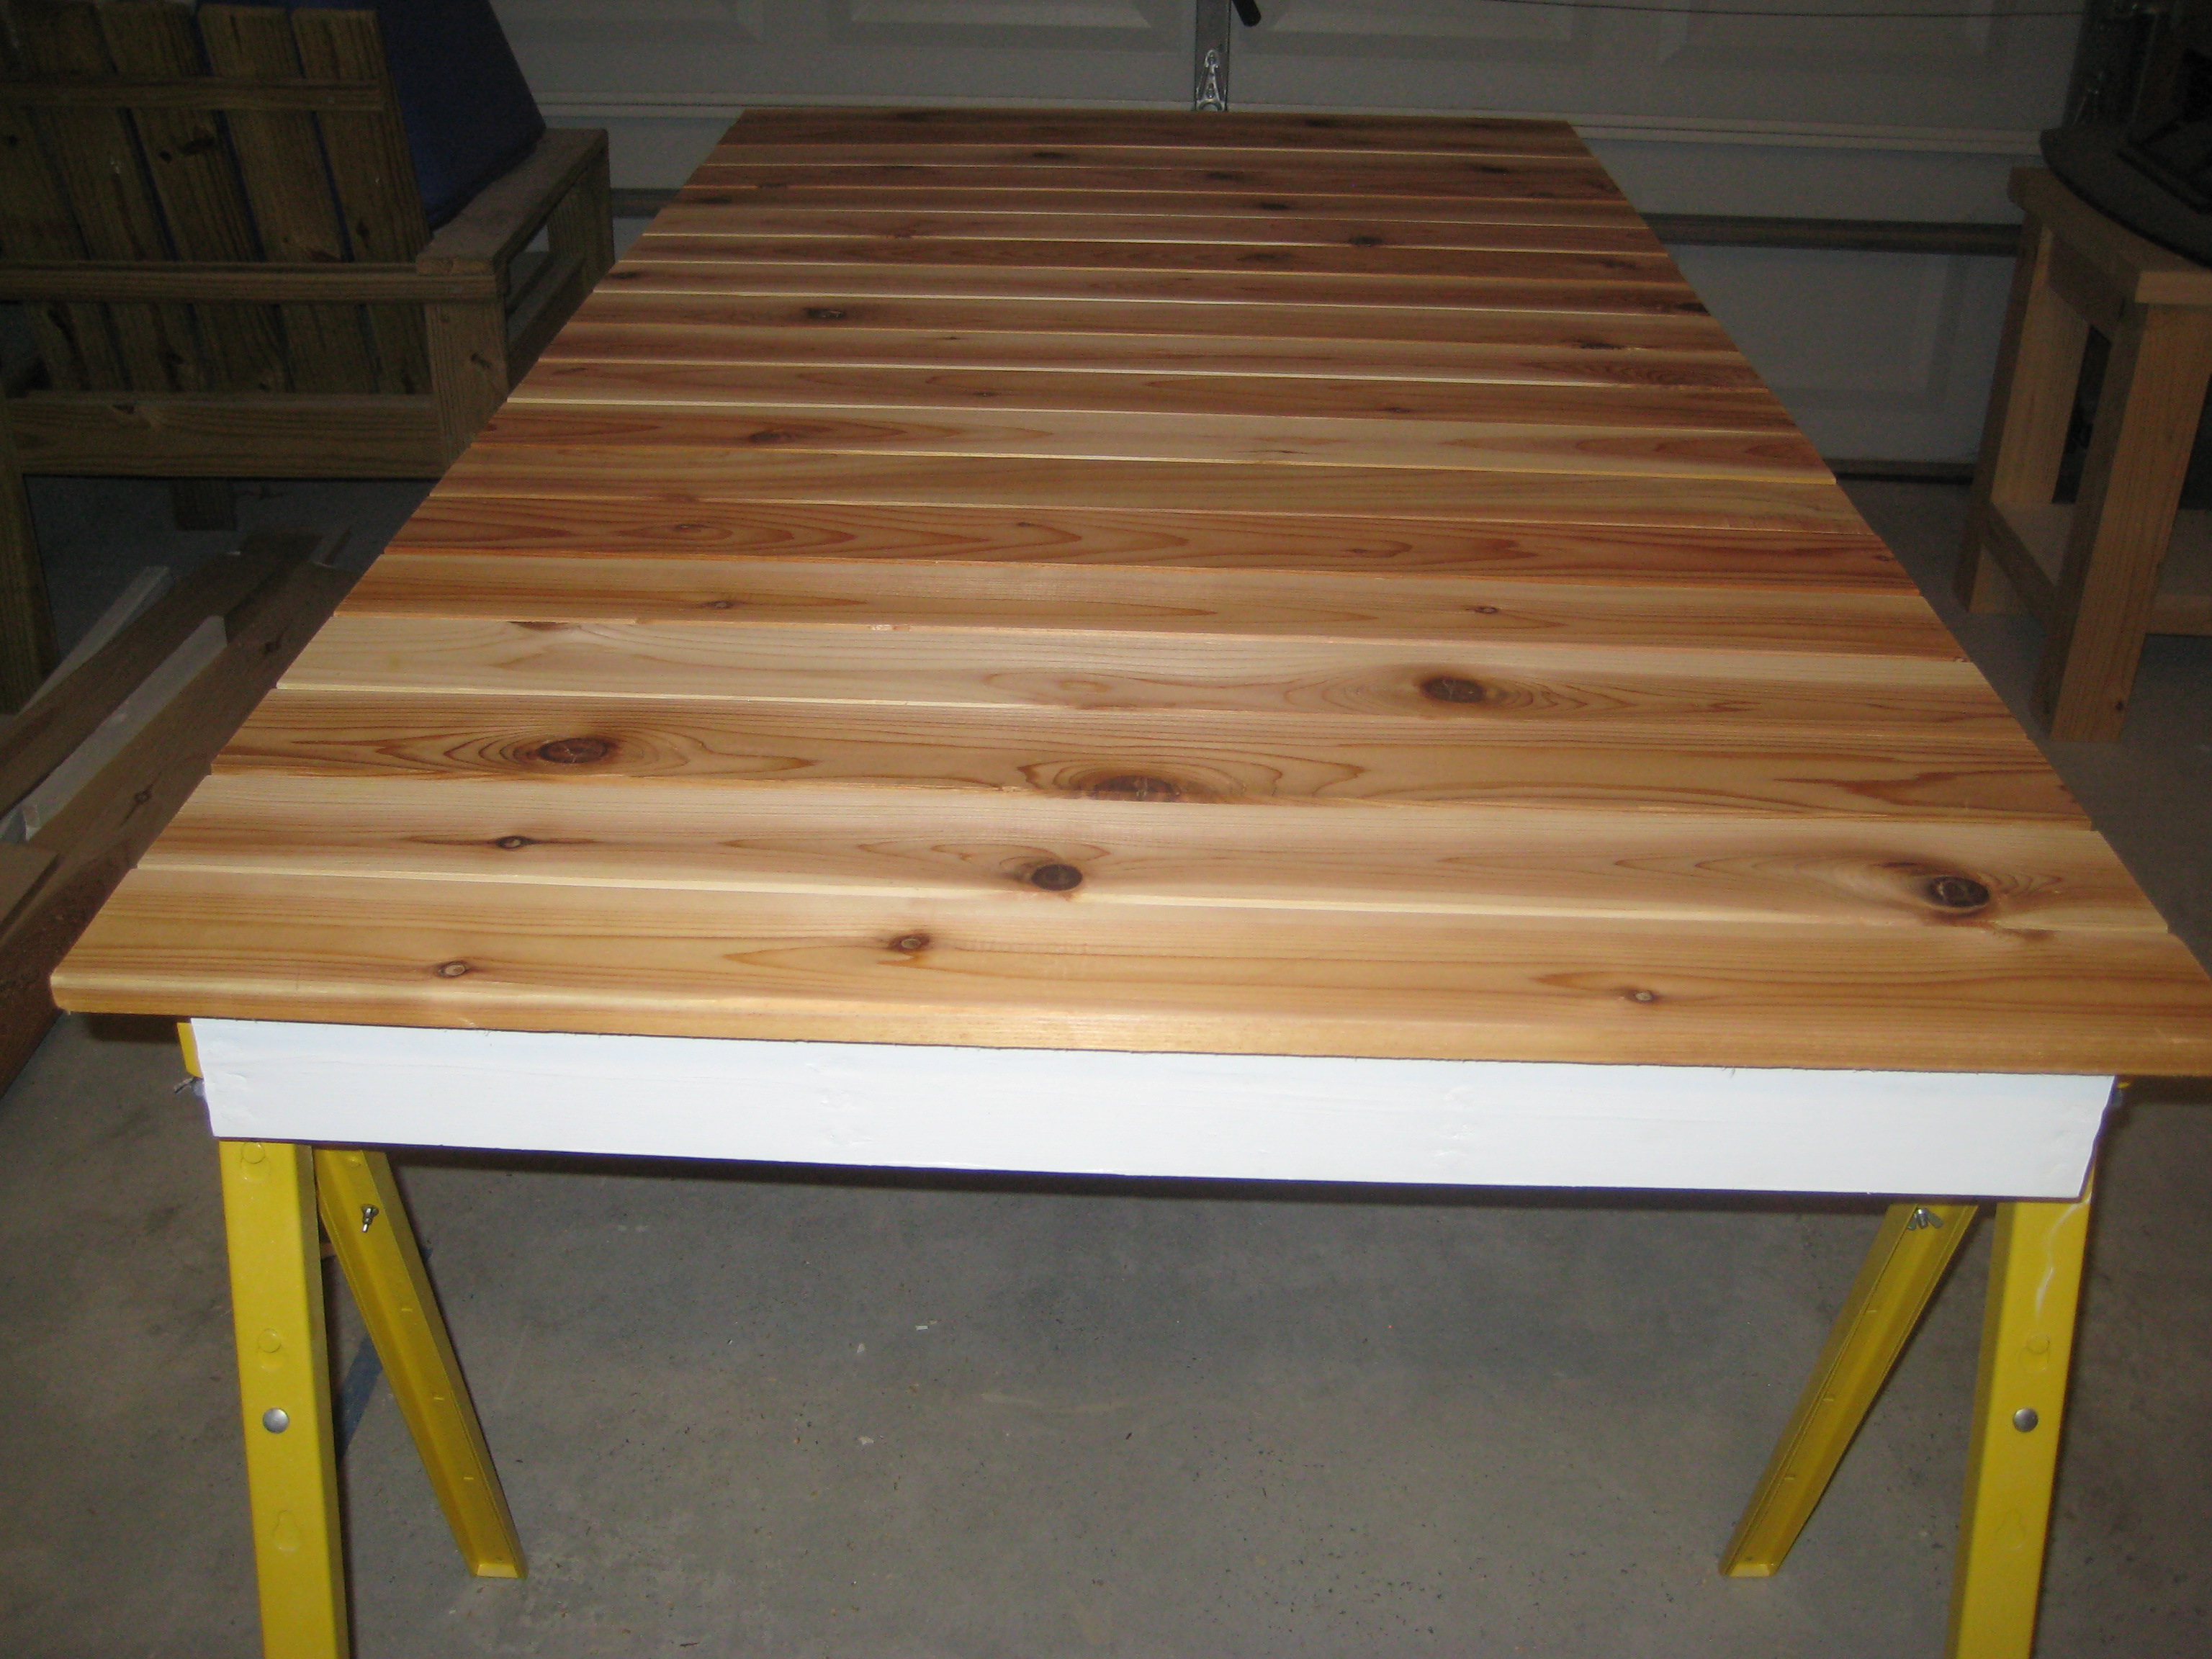
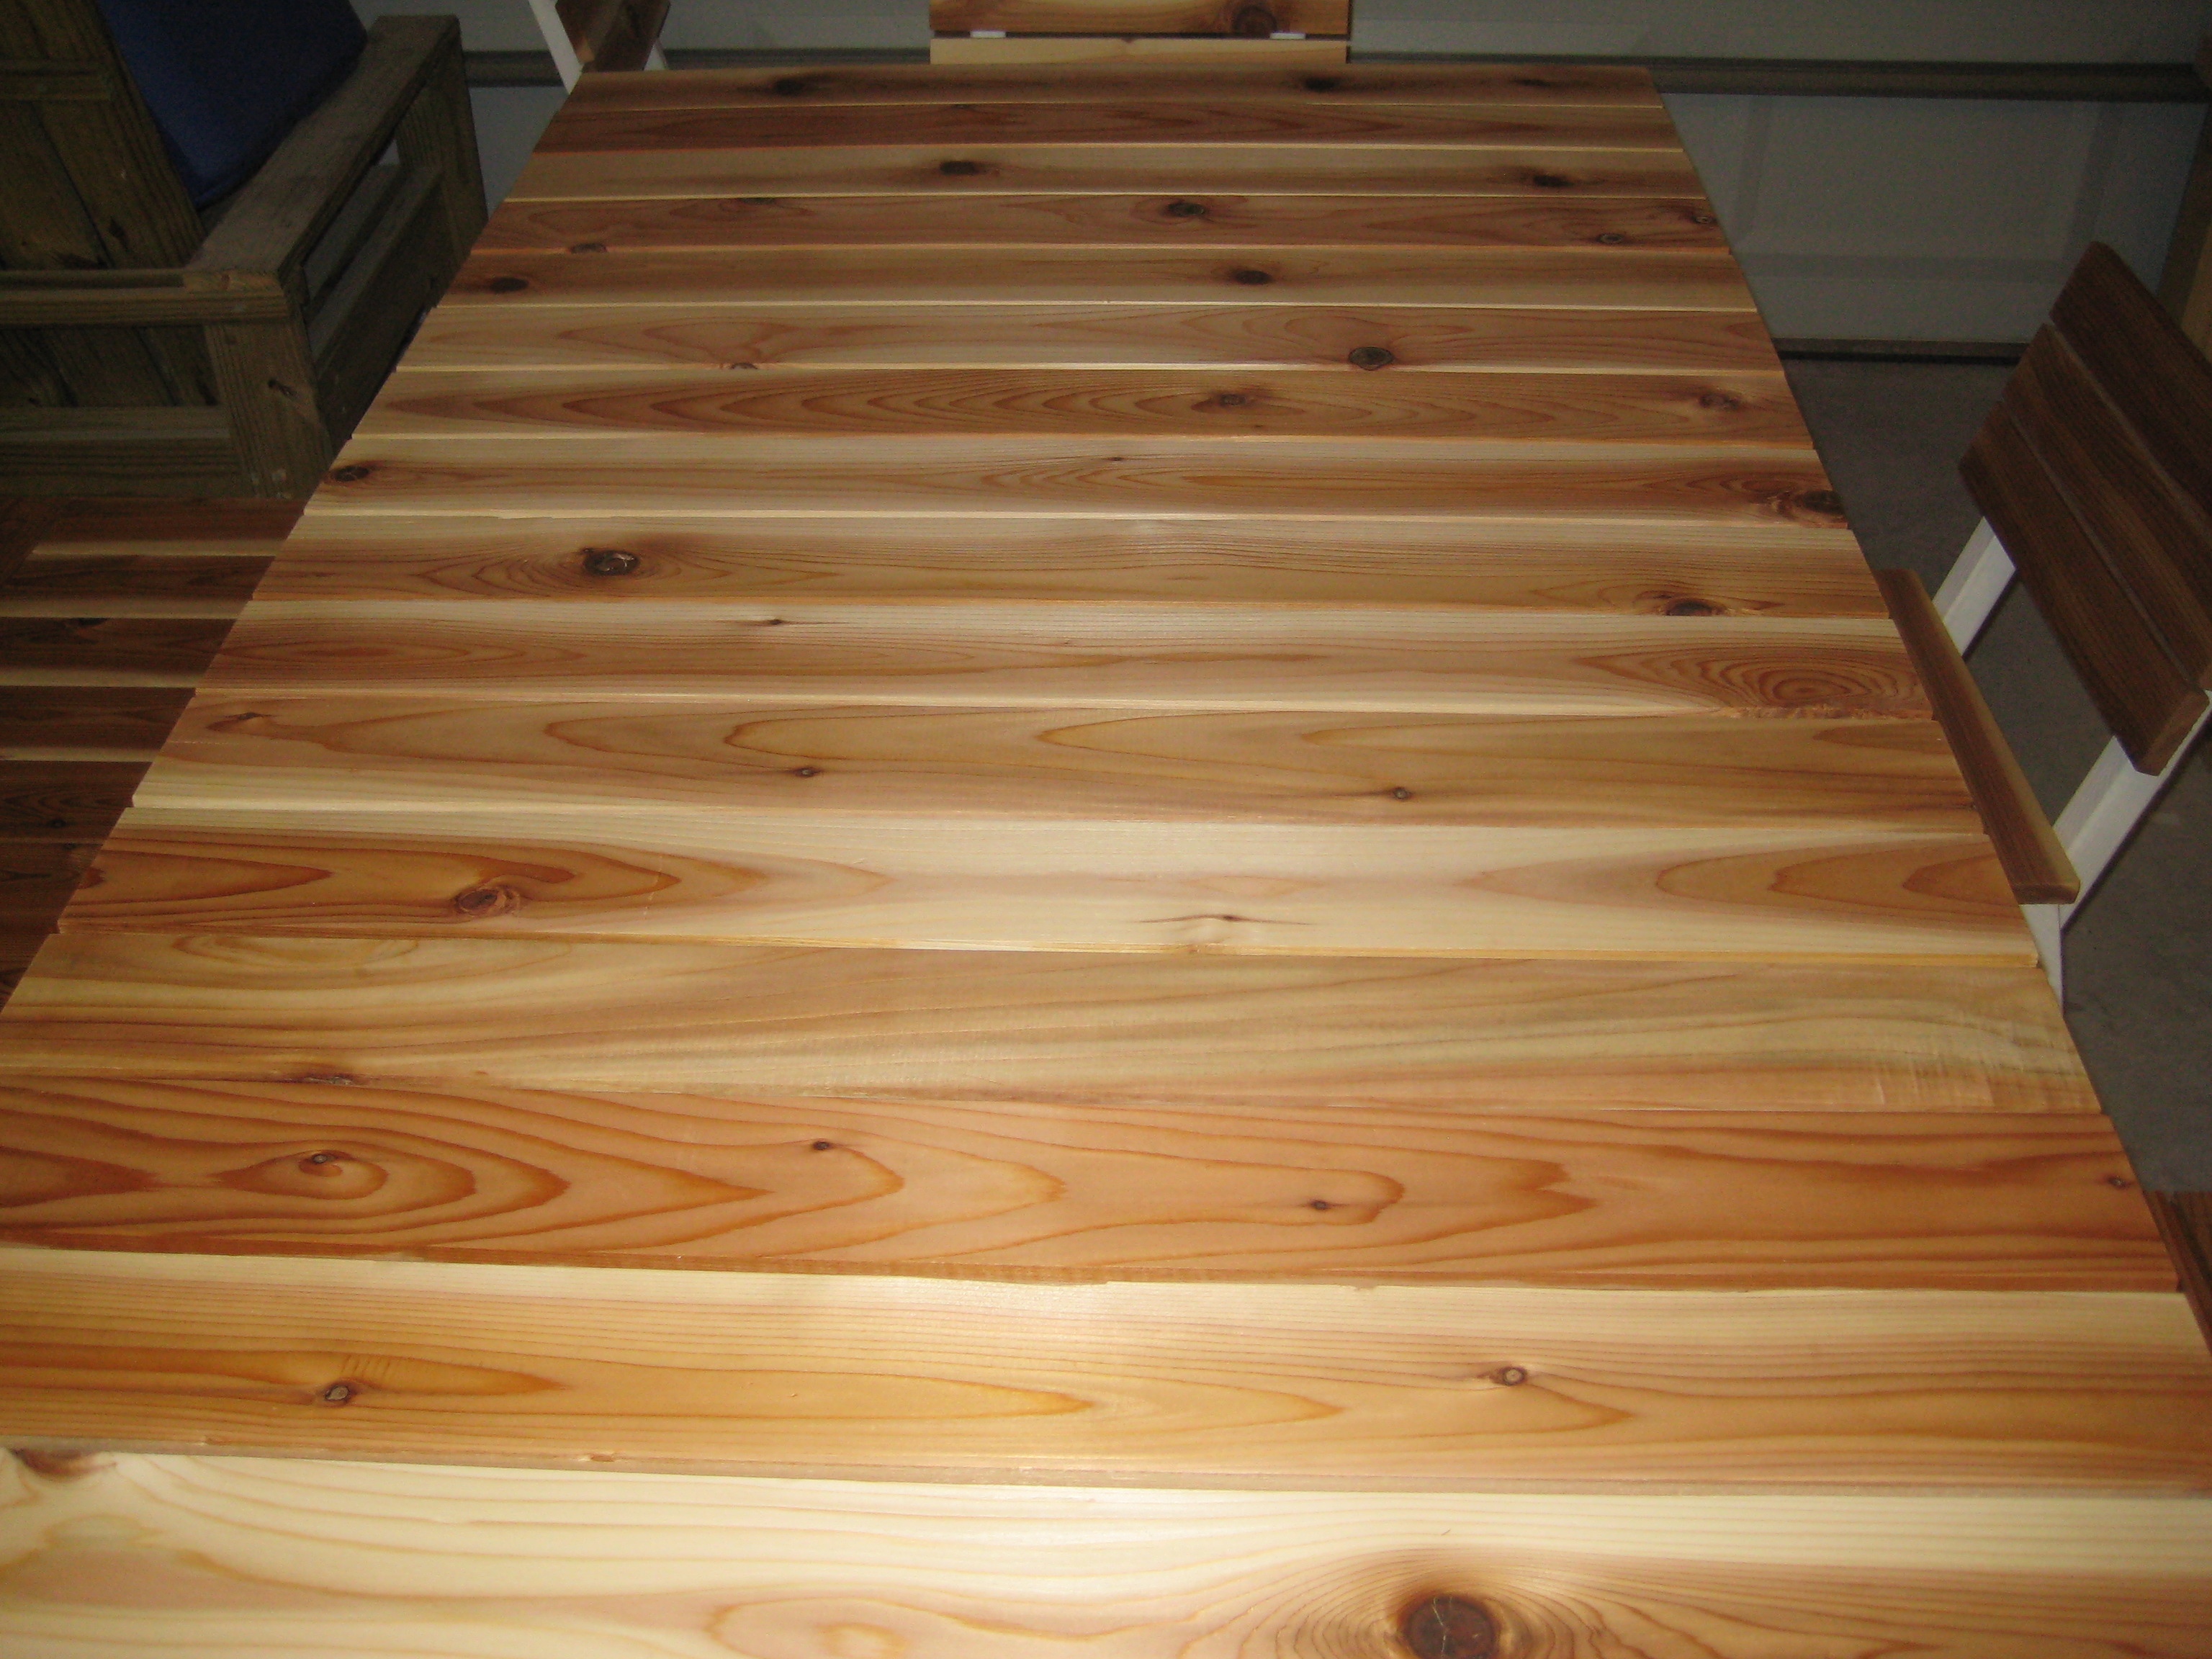
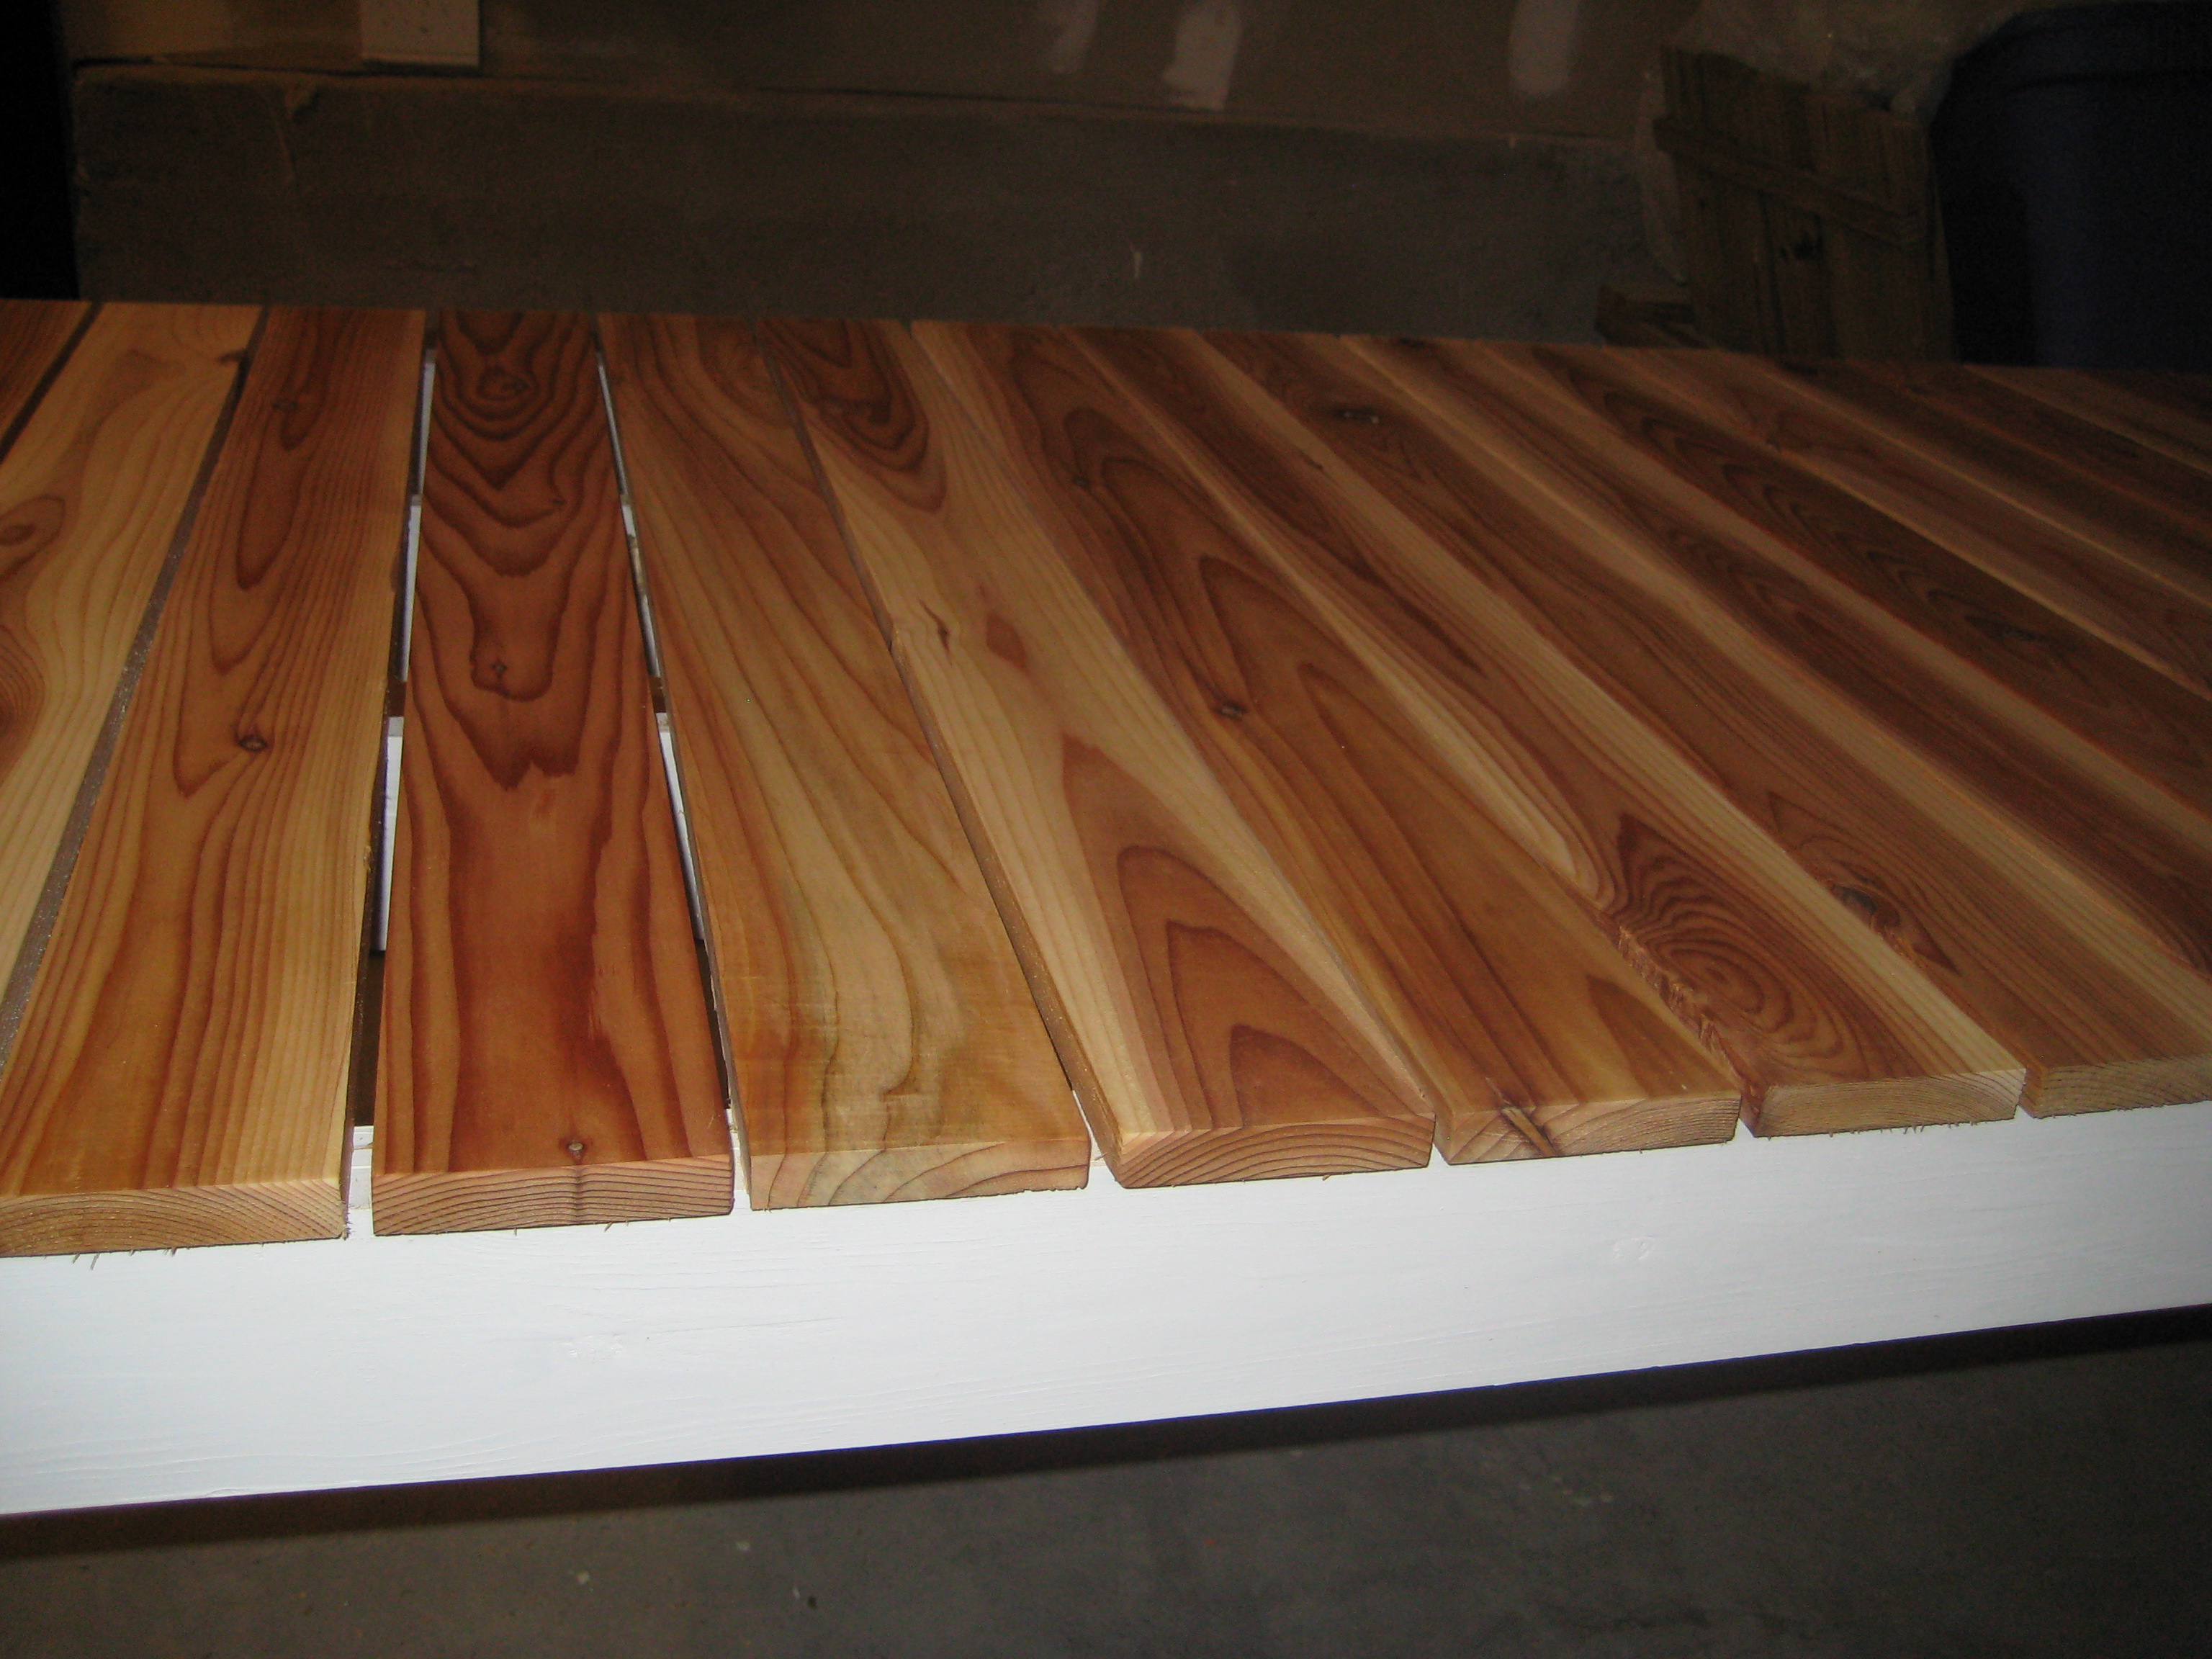
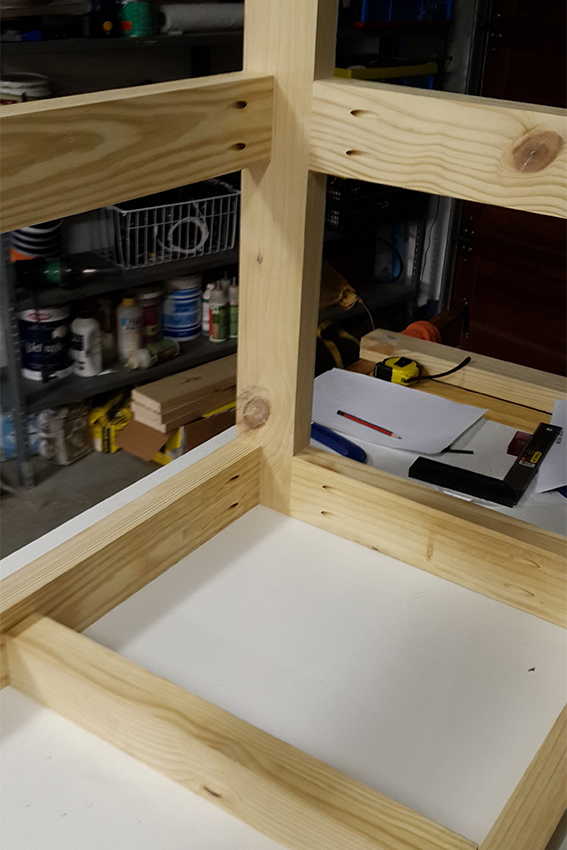
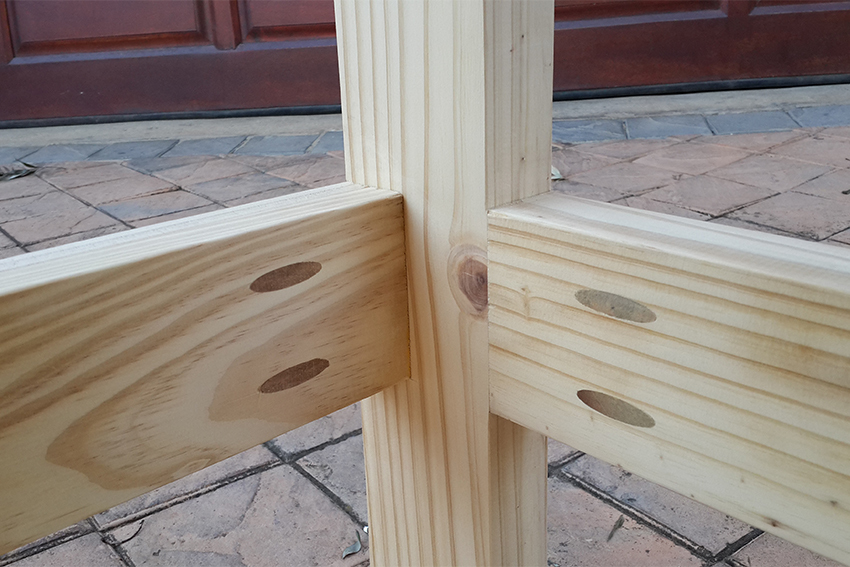
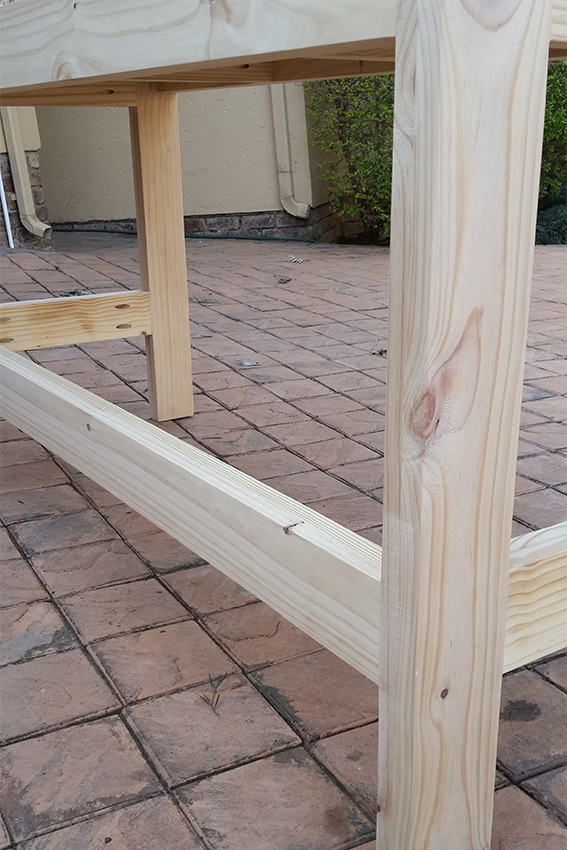
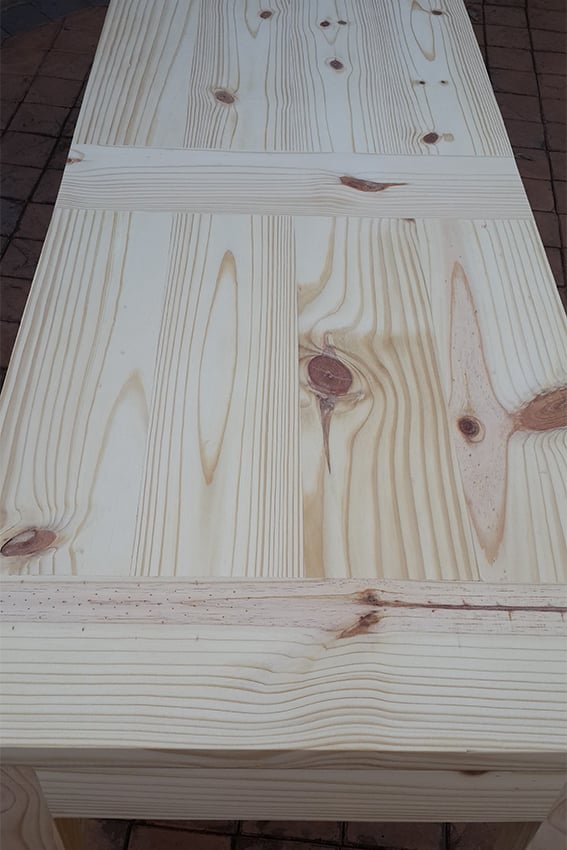
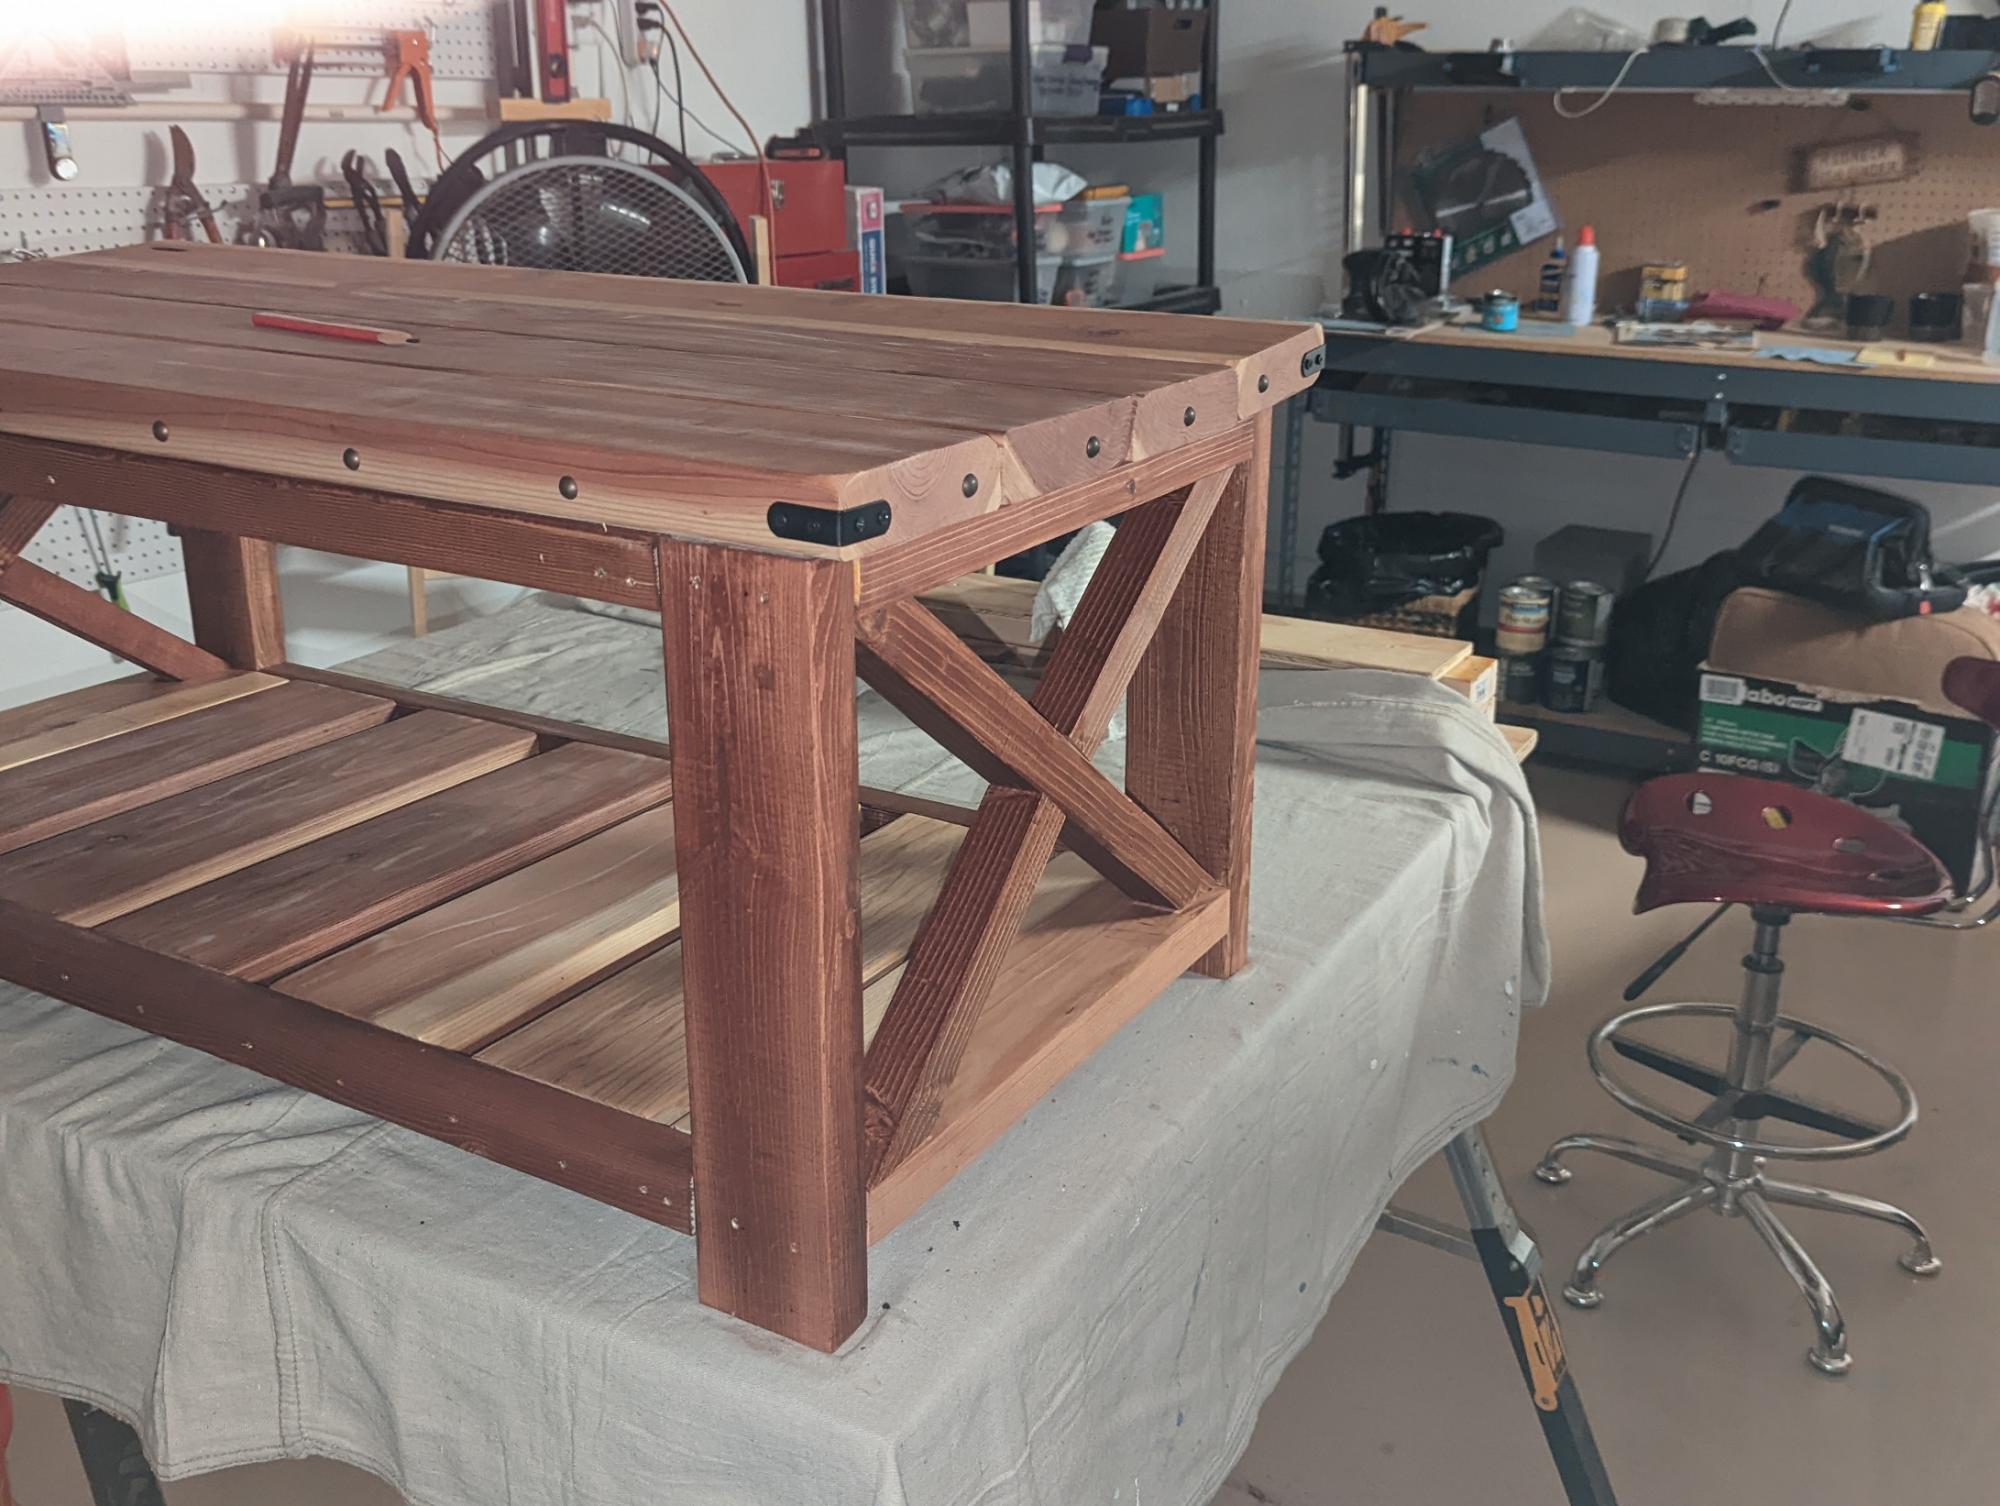
A buddy of mine showed me a picture of a coffee table his wife wanted that he found online. It appeared to be several crates attached together. I came up with this design. I added a base to raise it off the floor a few inches to make cleaning around it easier. Was made using all scrap. It was a very easy project and took about 2hrs. This picture was taken before any finish was applied.
Estimated Cost
$25
Estimated Time Investment
An Hour or Two (0-2 Hours)
Recommended Skill Level
Beginner


Comments
Ana White Admin
Thu, 10/08/2015 - 11:59
Love it!
Great job on your design and build! Thanks for sharing!
Audrey Wright
Thu, 10/22/2015 - 05:06
Awesome !
I glanced at the picture for two minutes straight, wondering how the heck you designed this layout, before I realised it was premade crates.. Silly me.. Great job !
TMW
Wed, 11/11/2015 - 07:24
thanks for the compliments.
thanks for the compliments. Actually, I made the crates from scrap lumber No need to have crates on hand.
kasimpkins
Thu, 11/12/2015 - 15:06
Awesome!
Good job! I love it! How big is it?