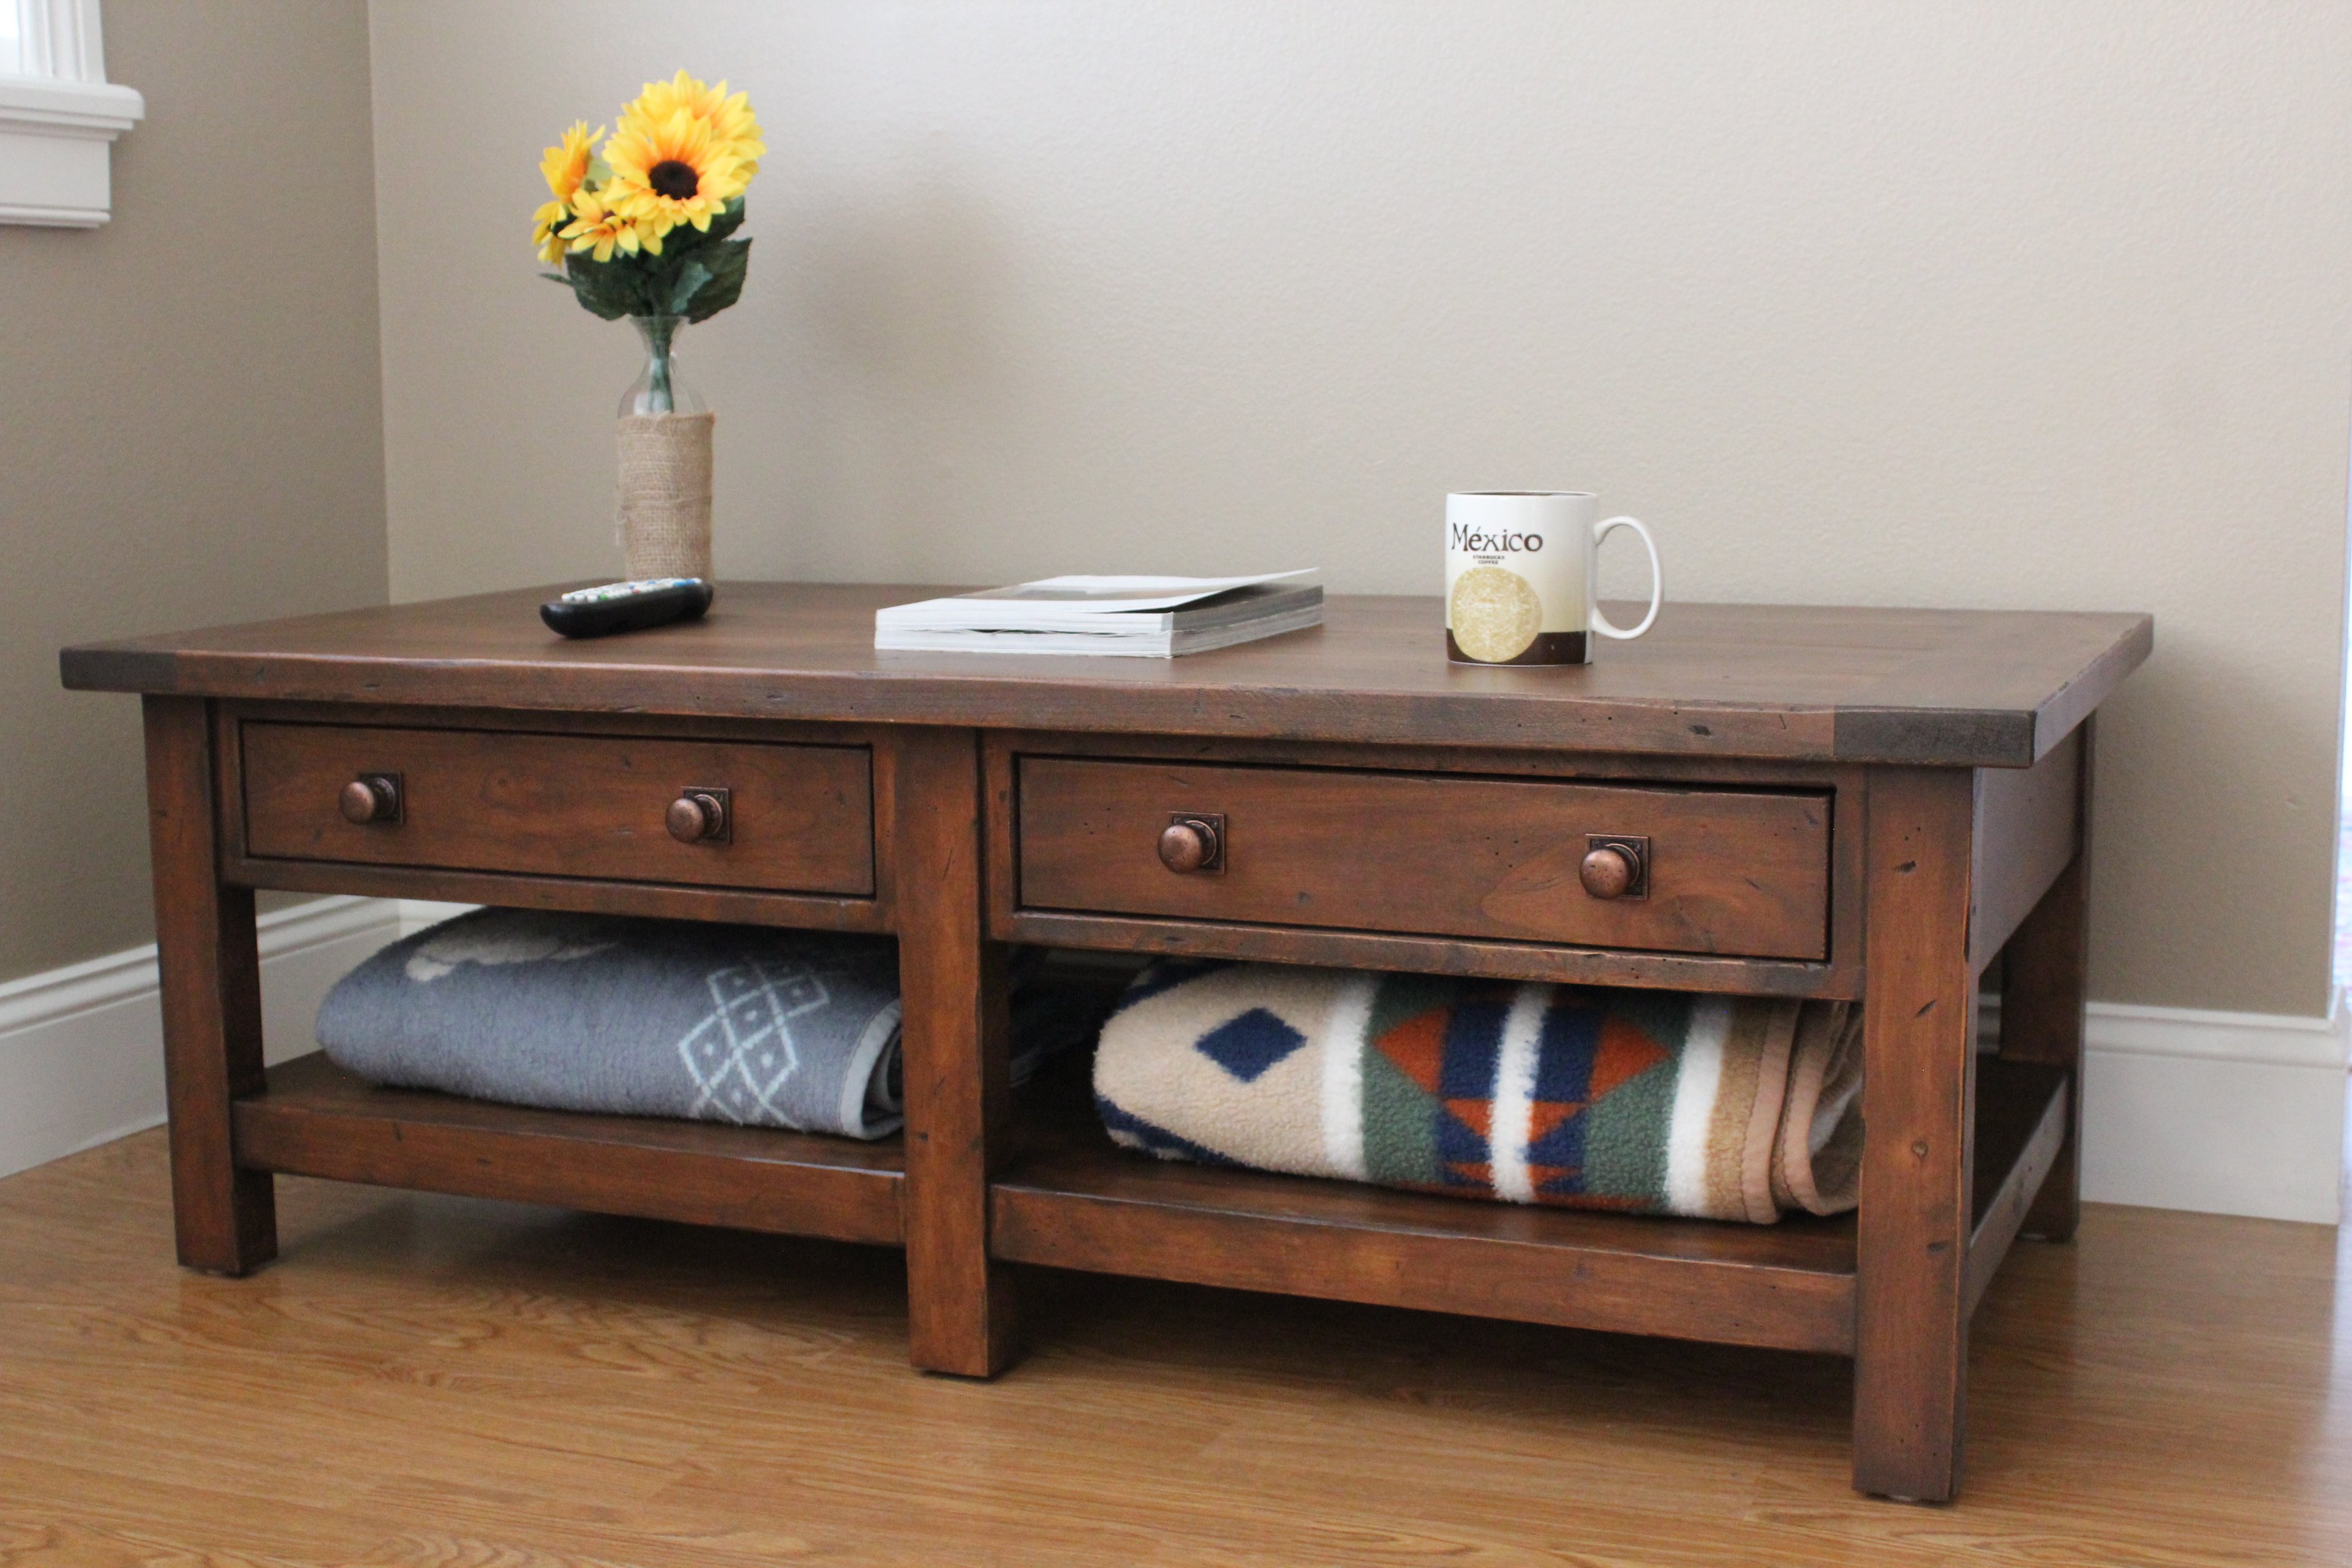
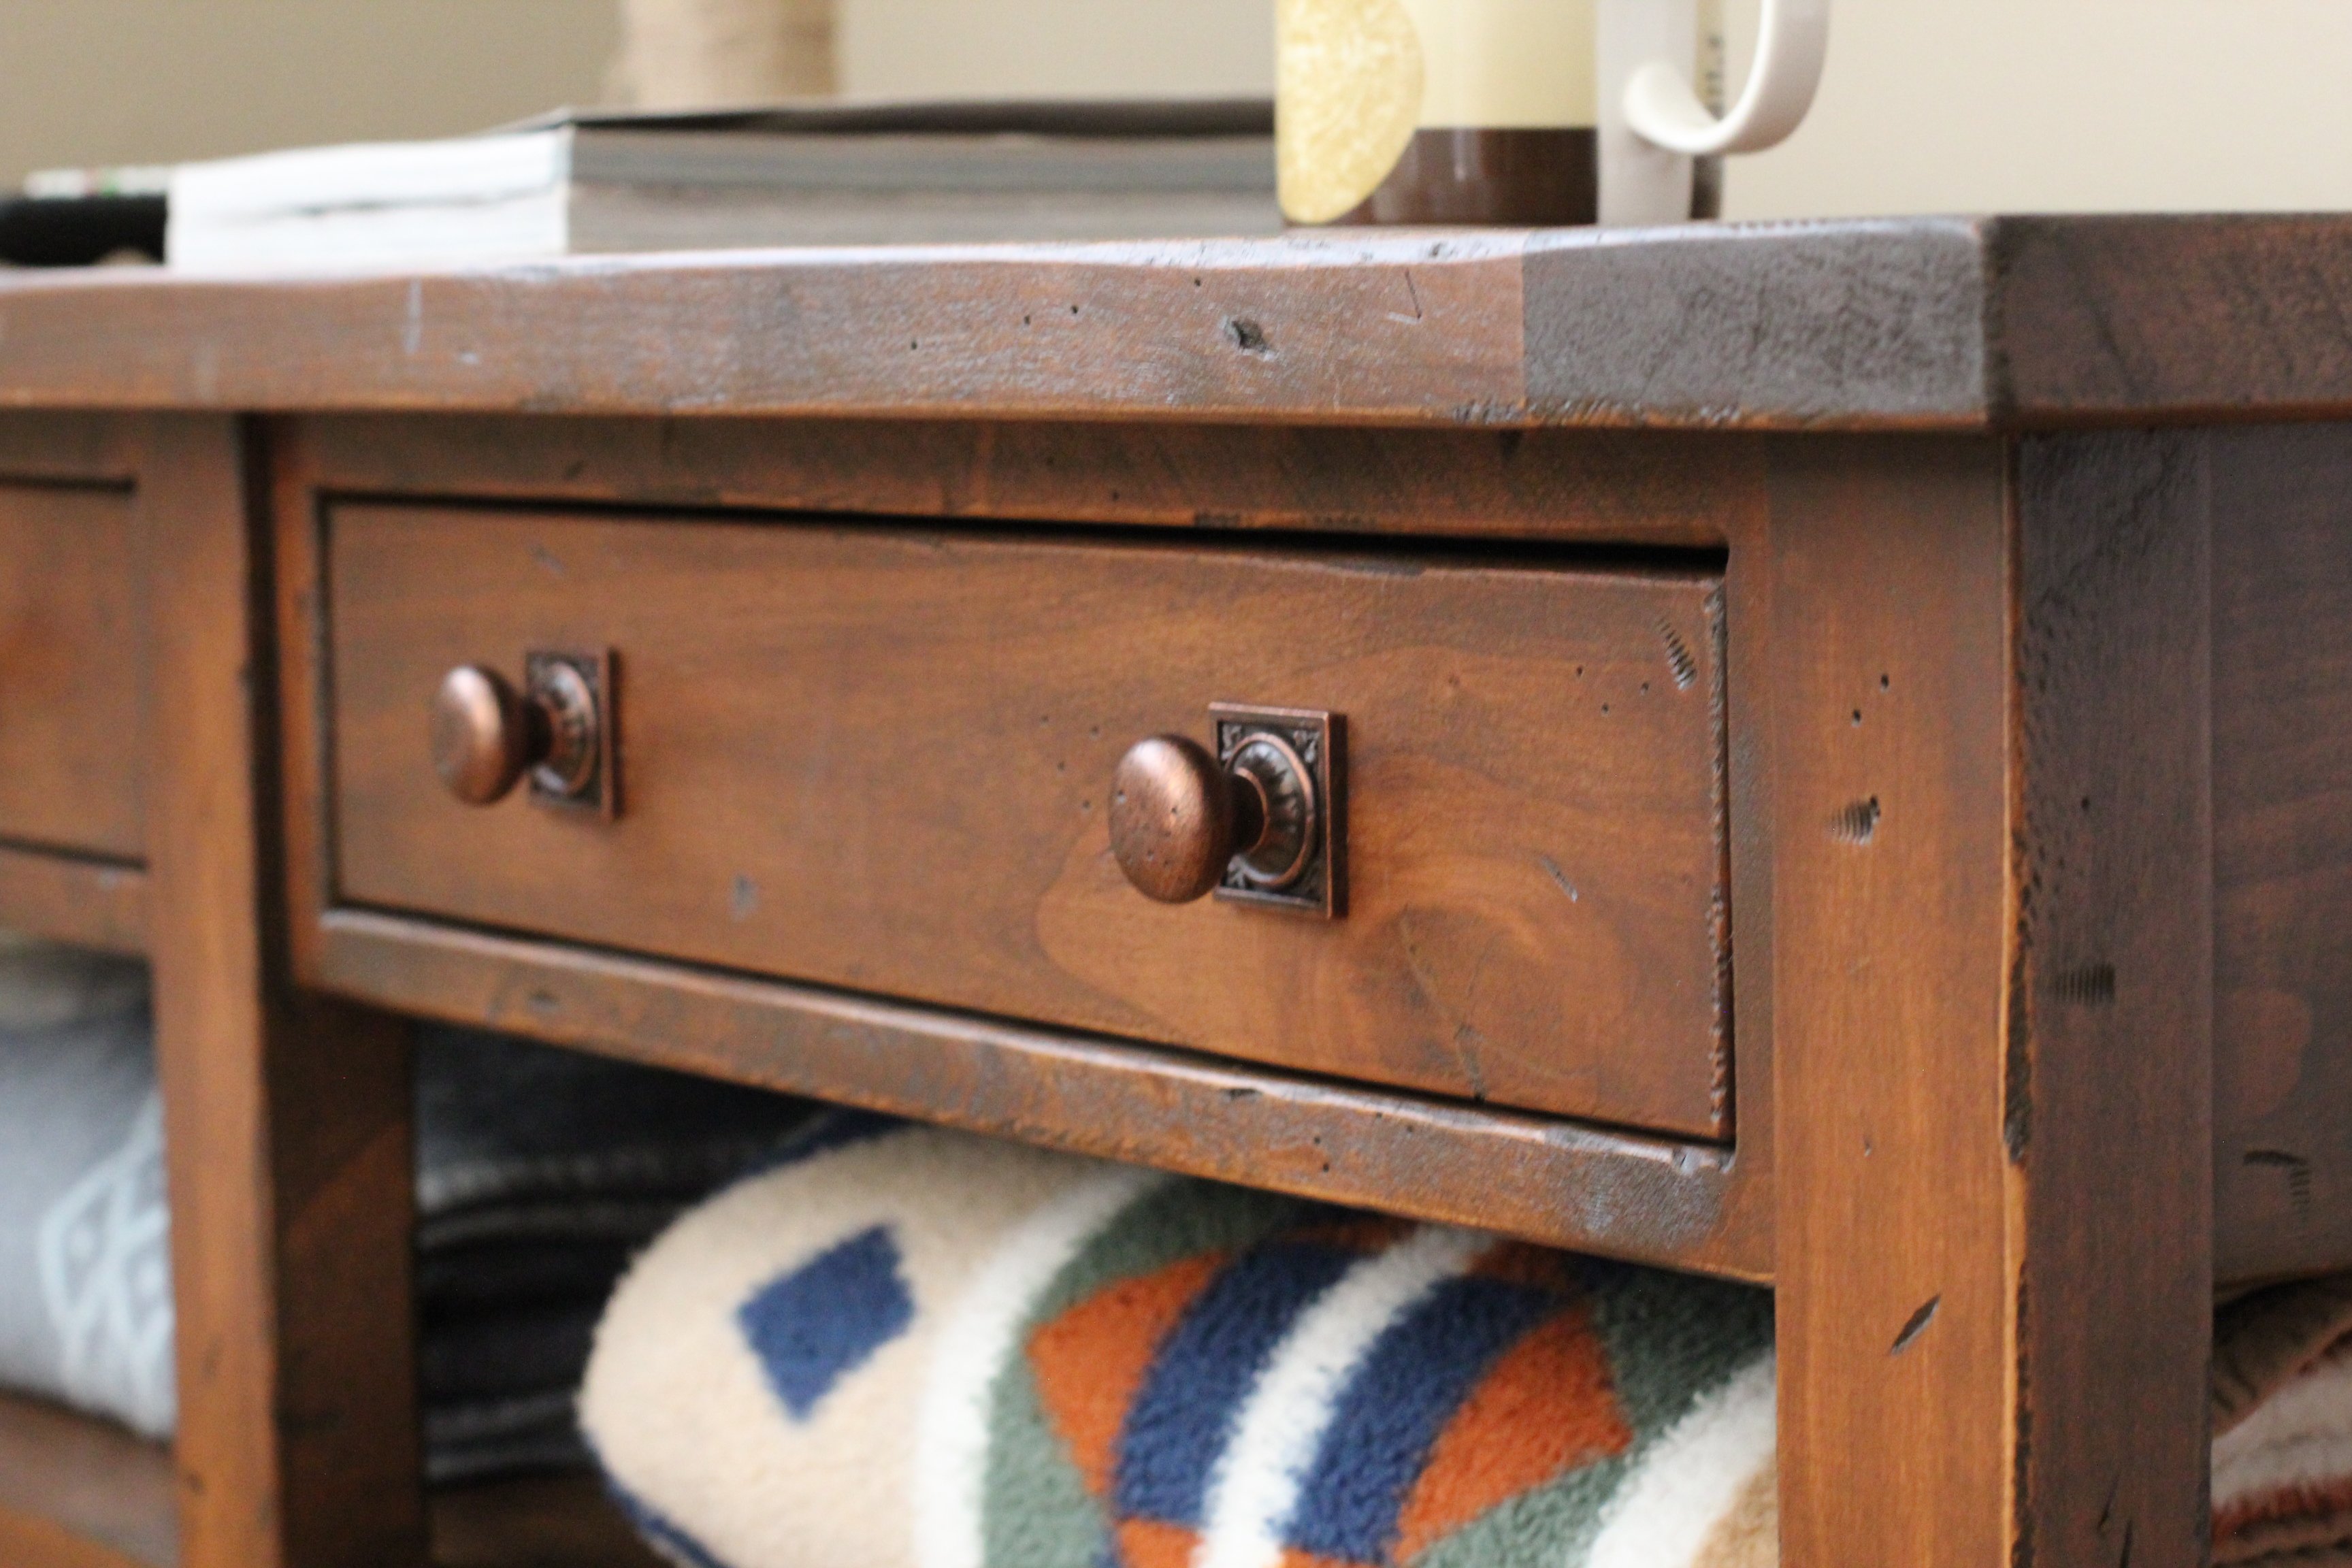
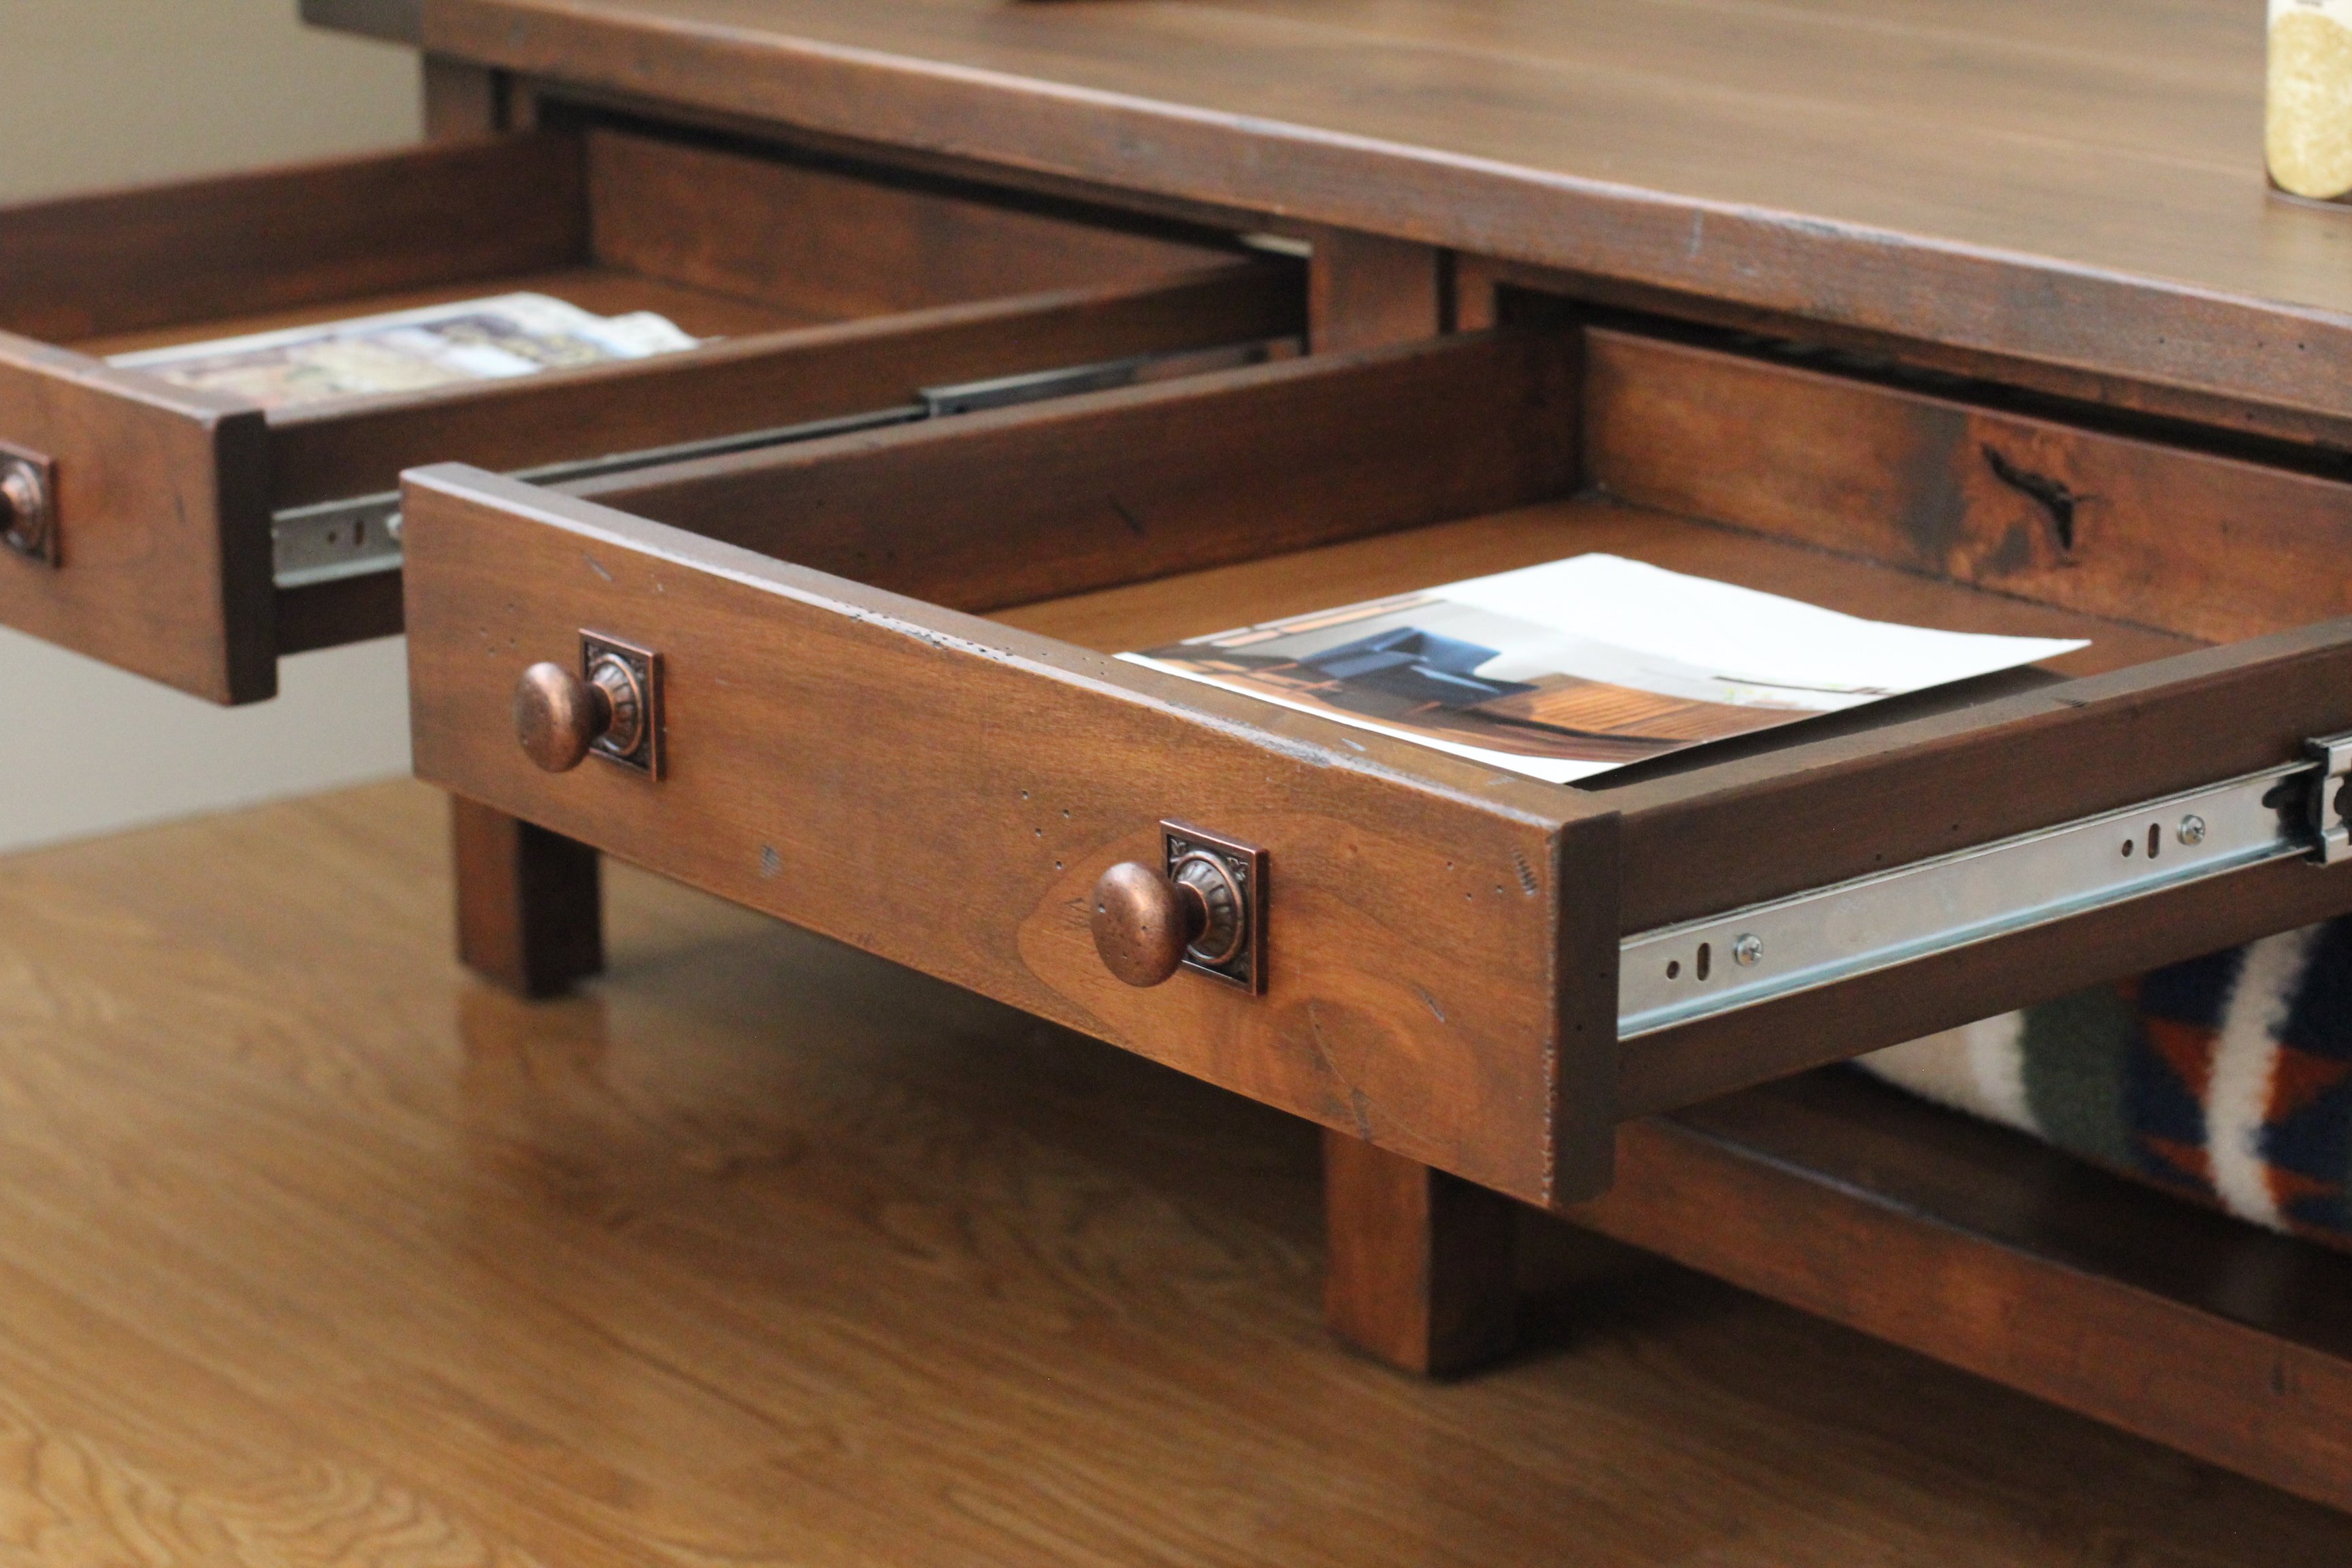
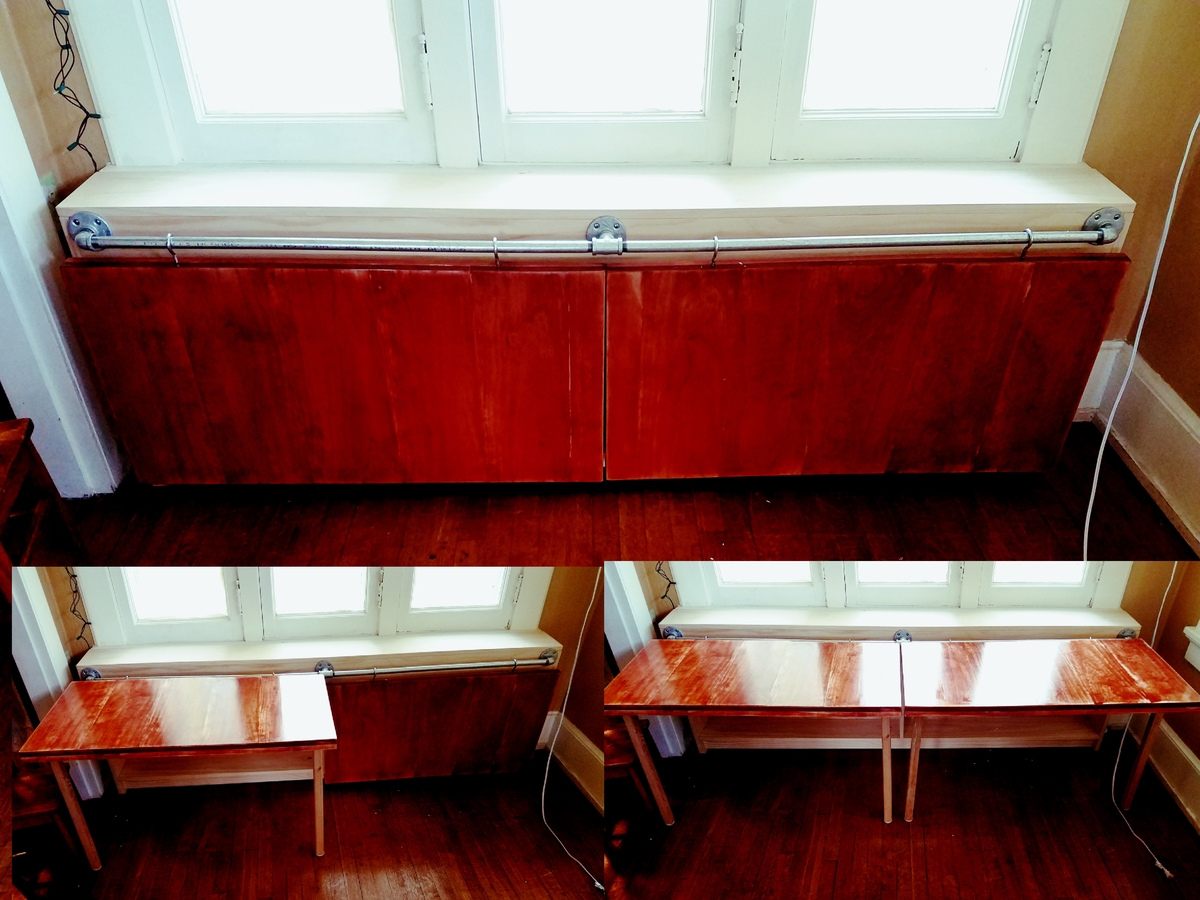
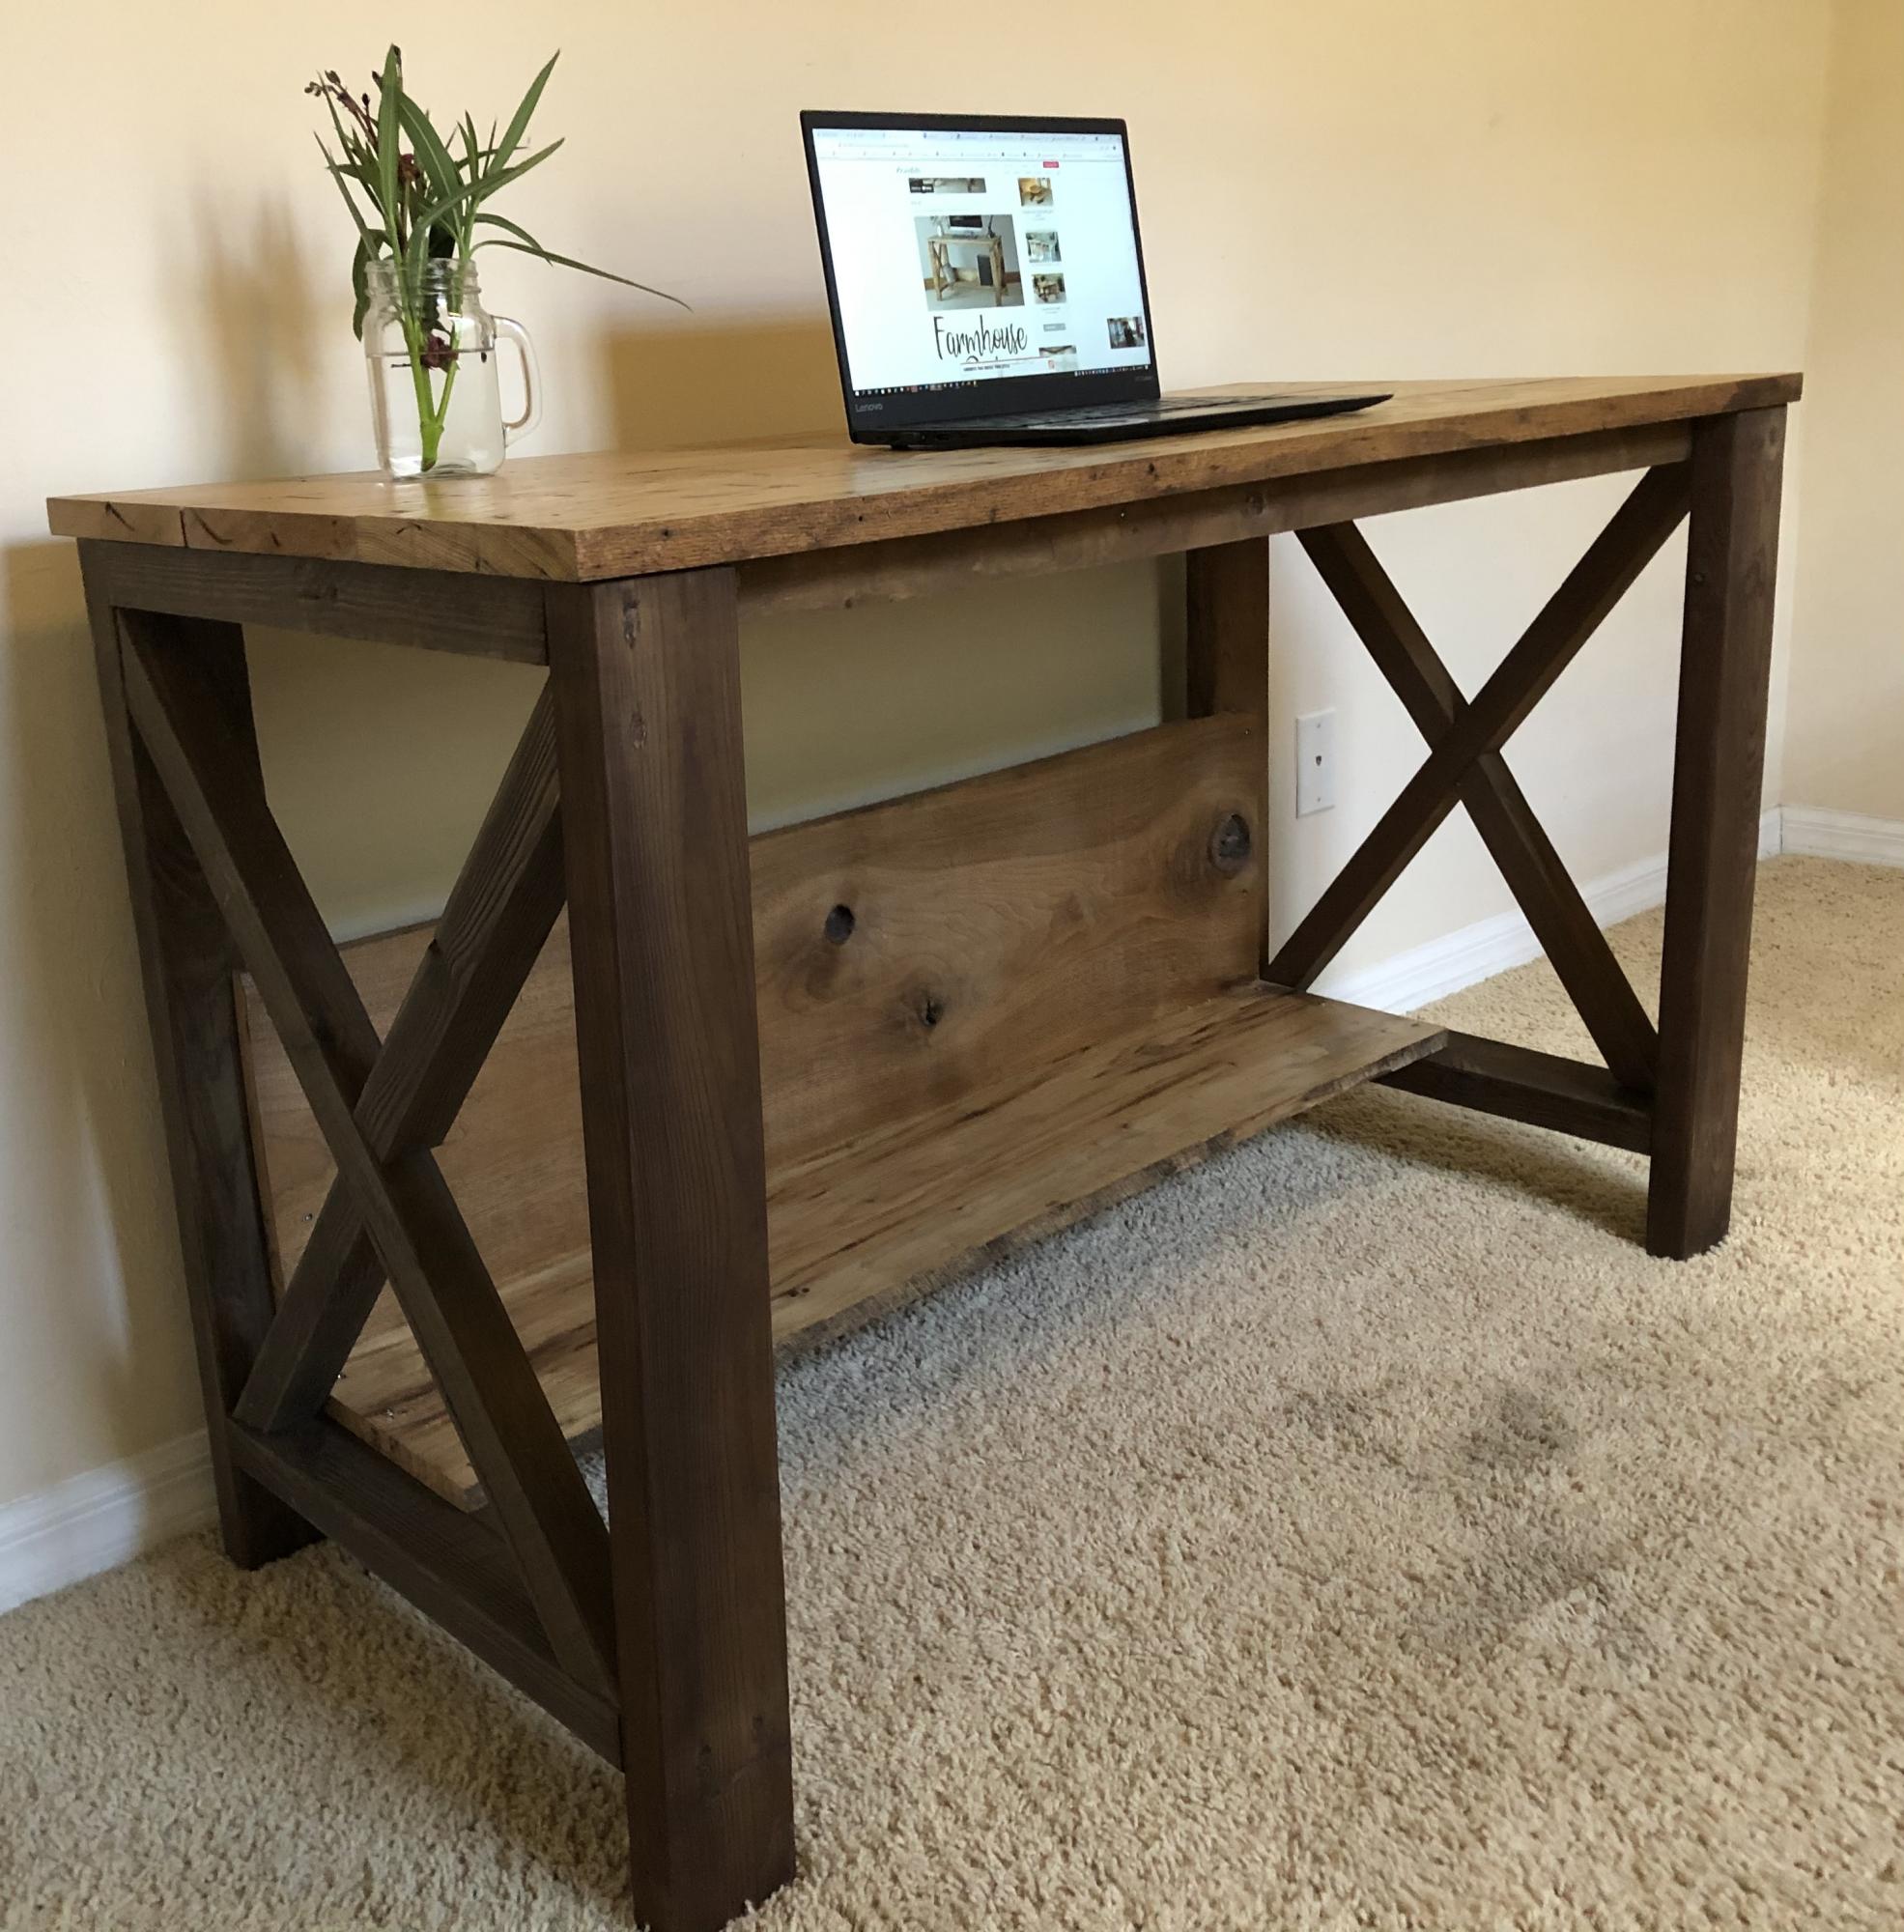
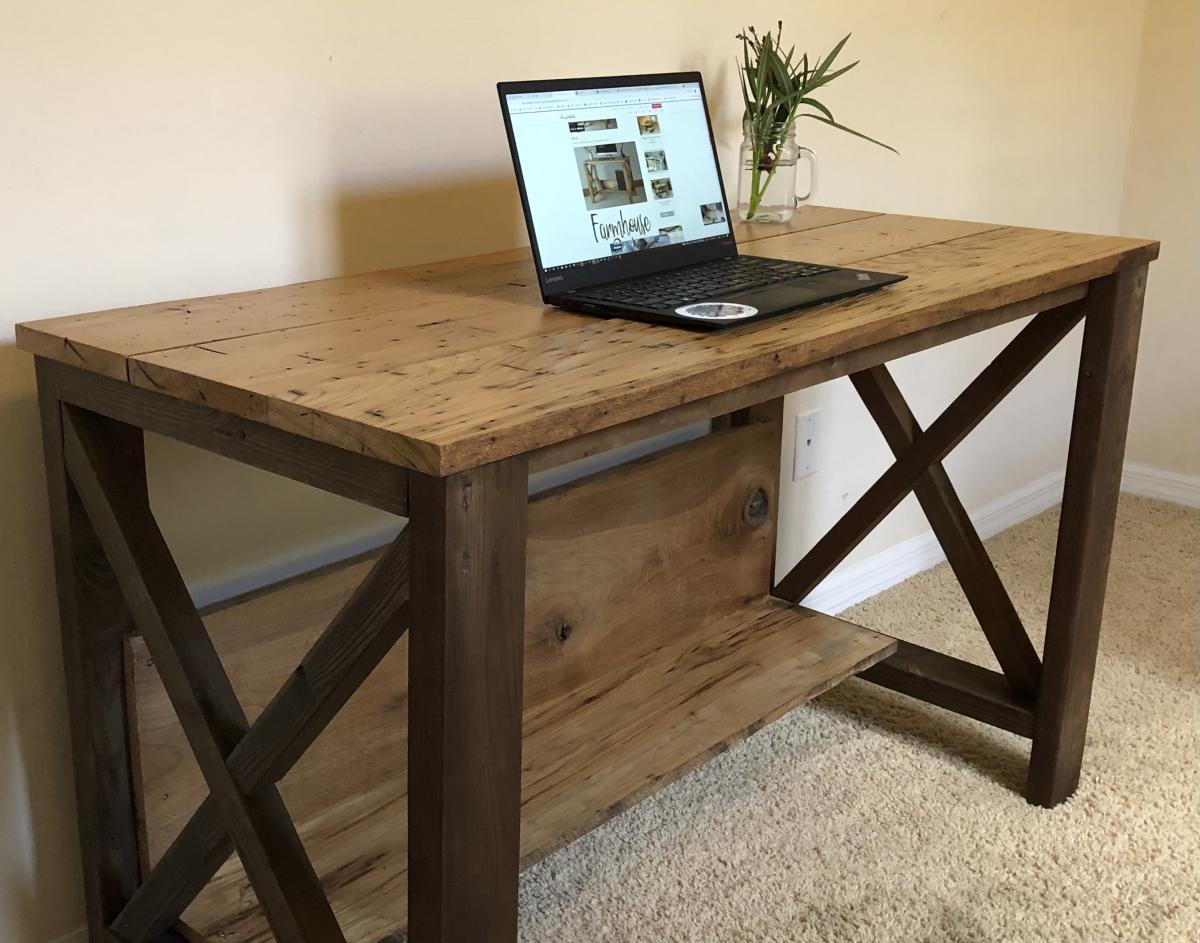
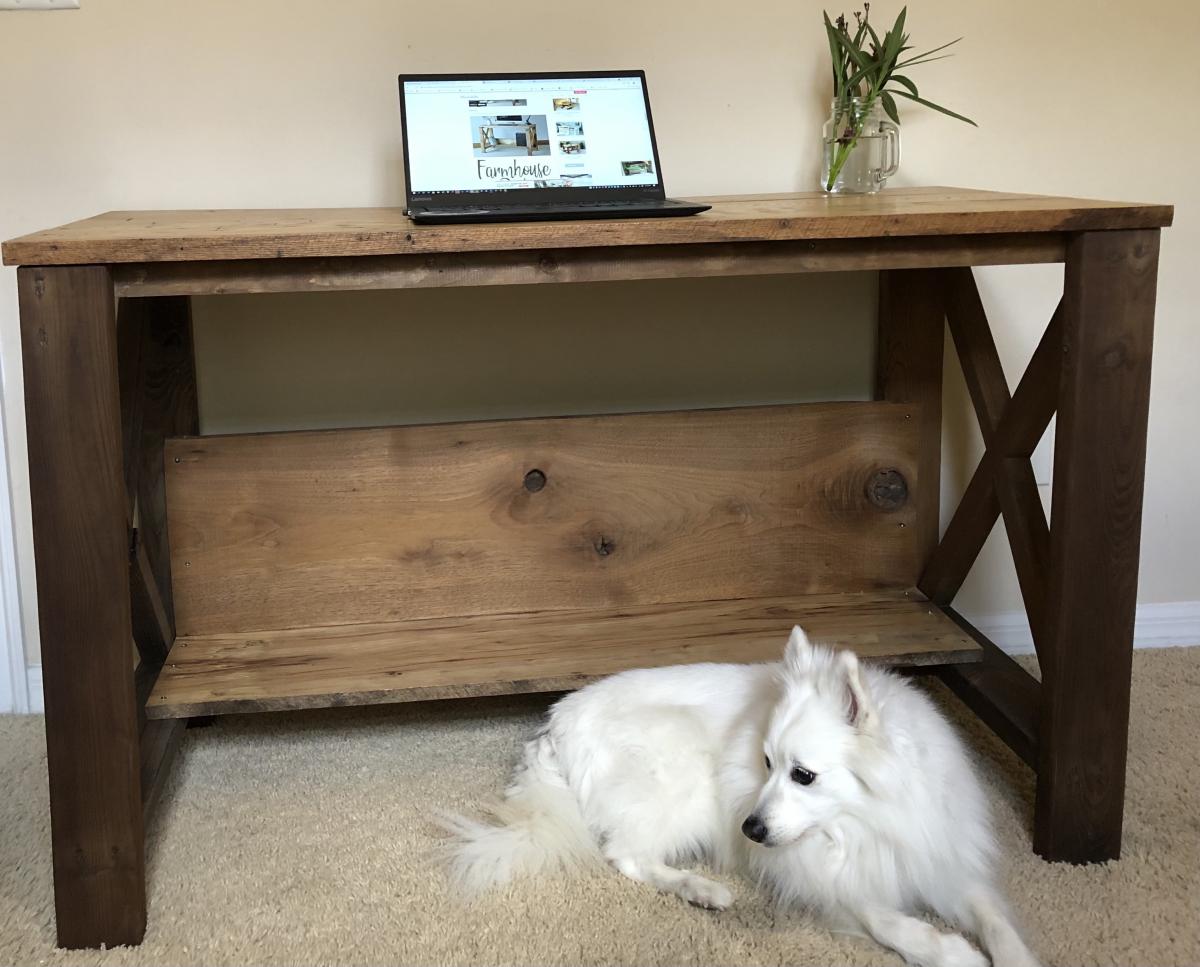
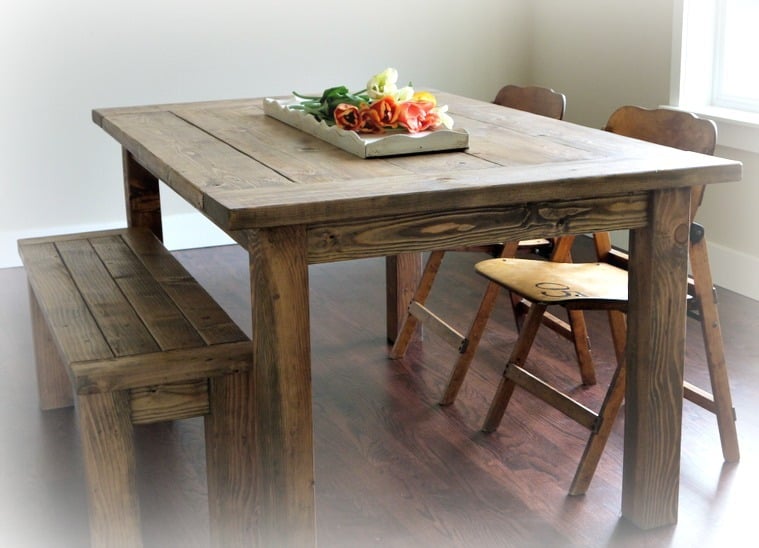
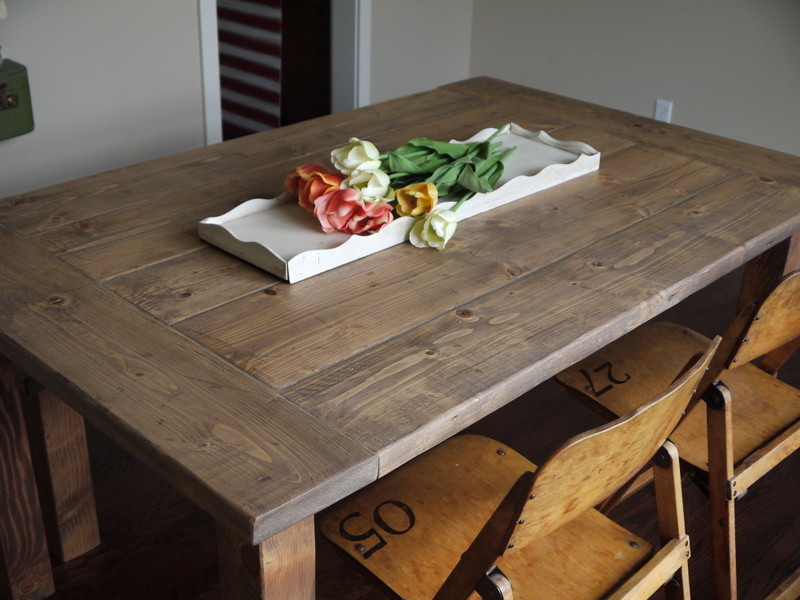
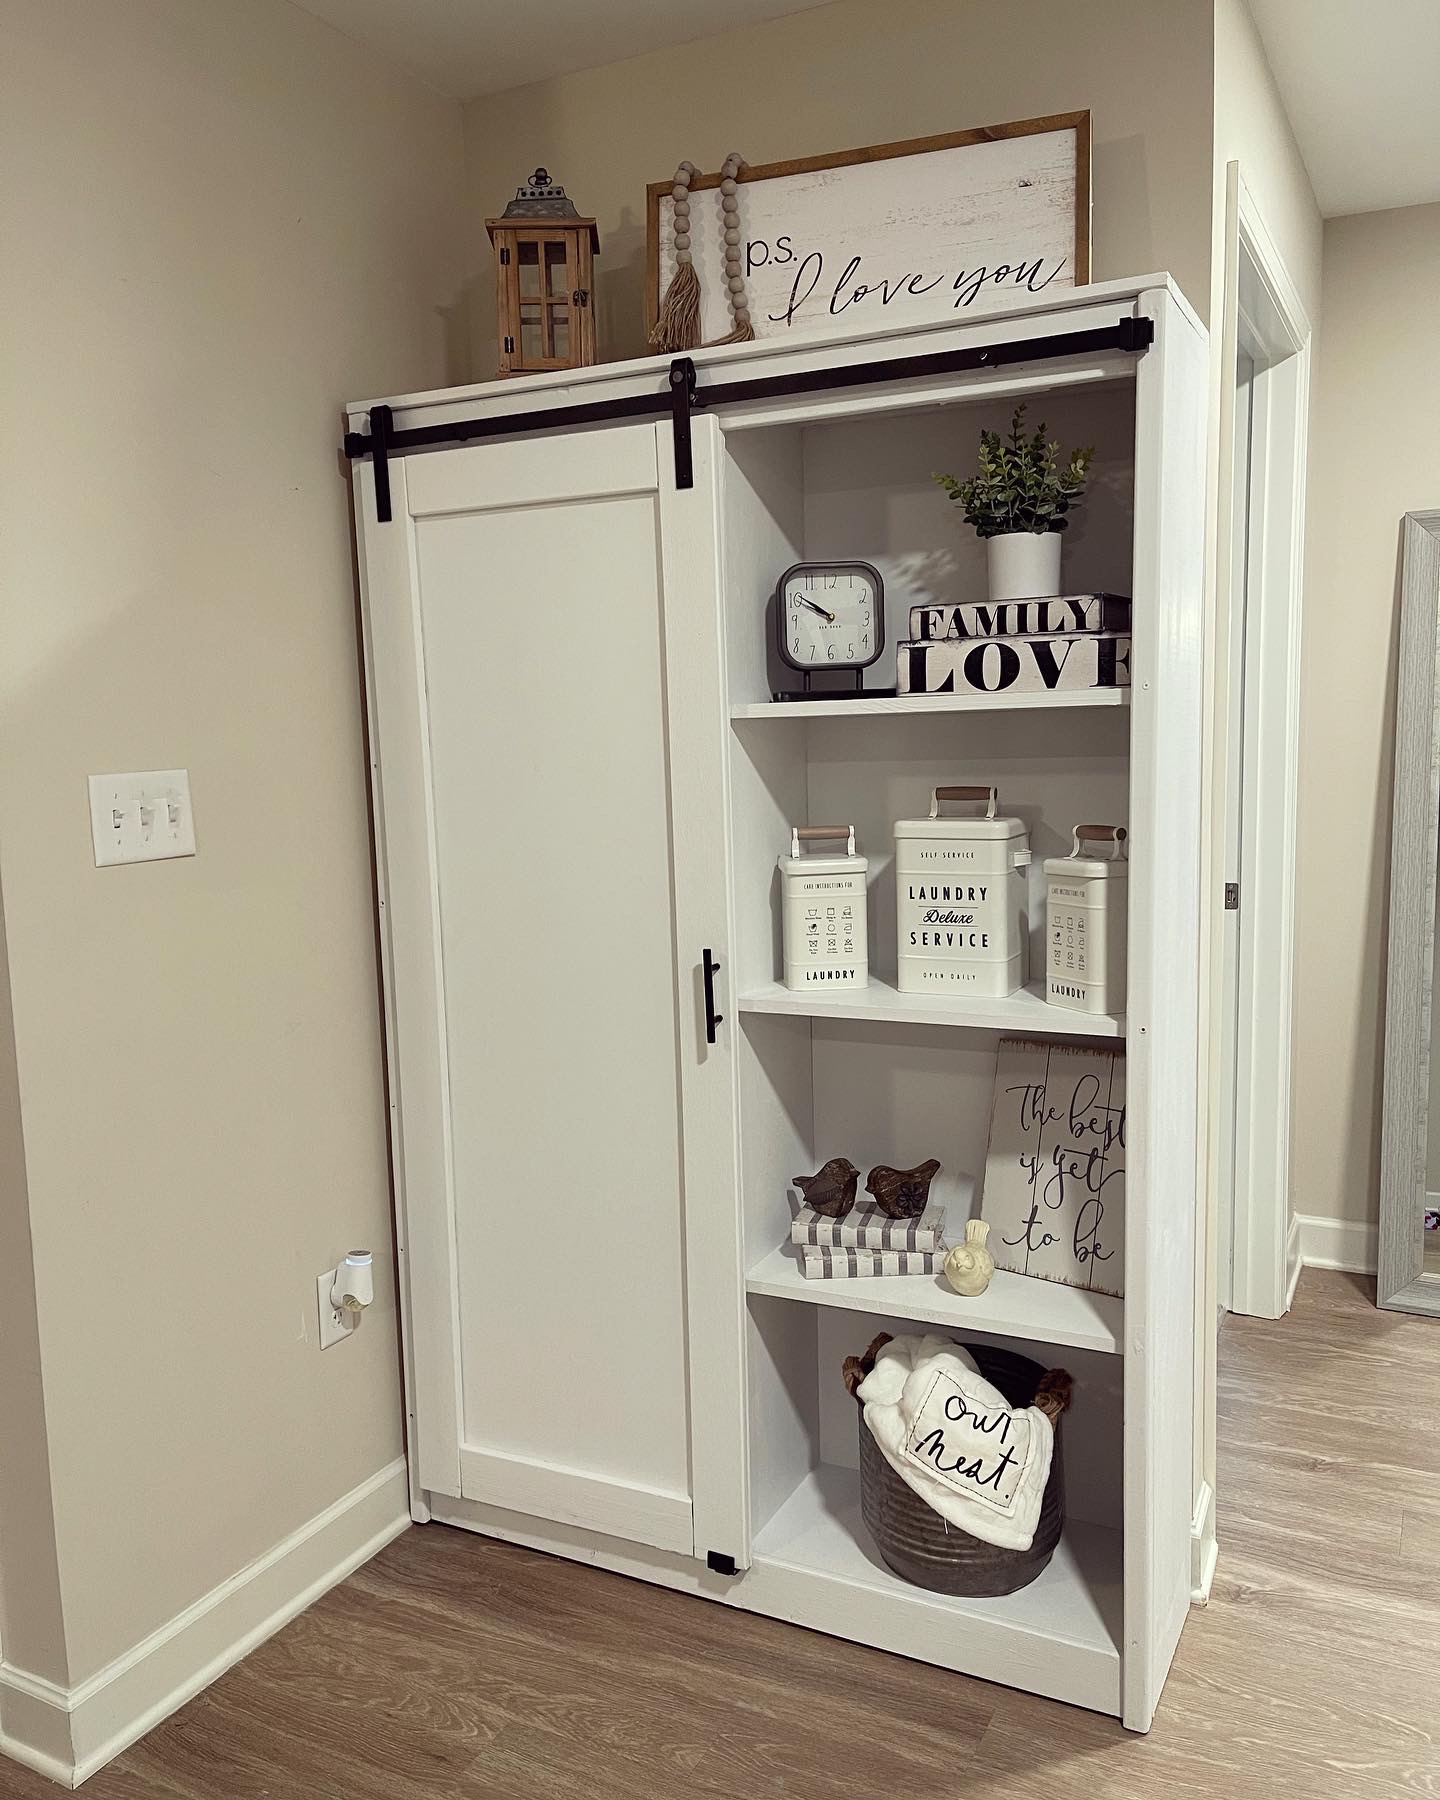
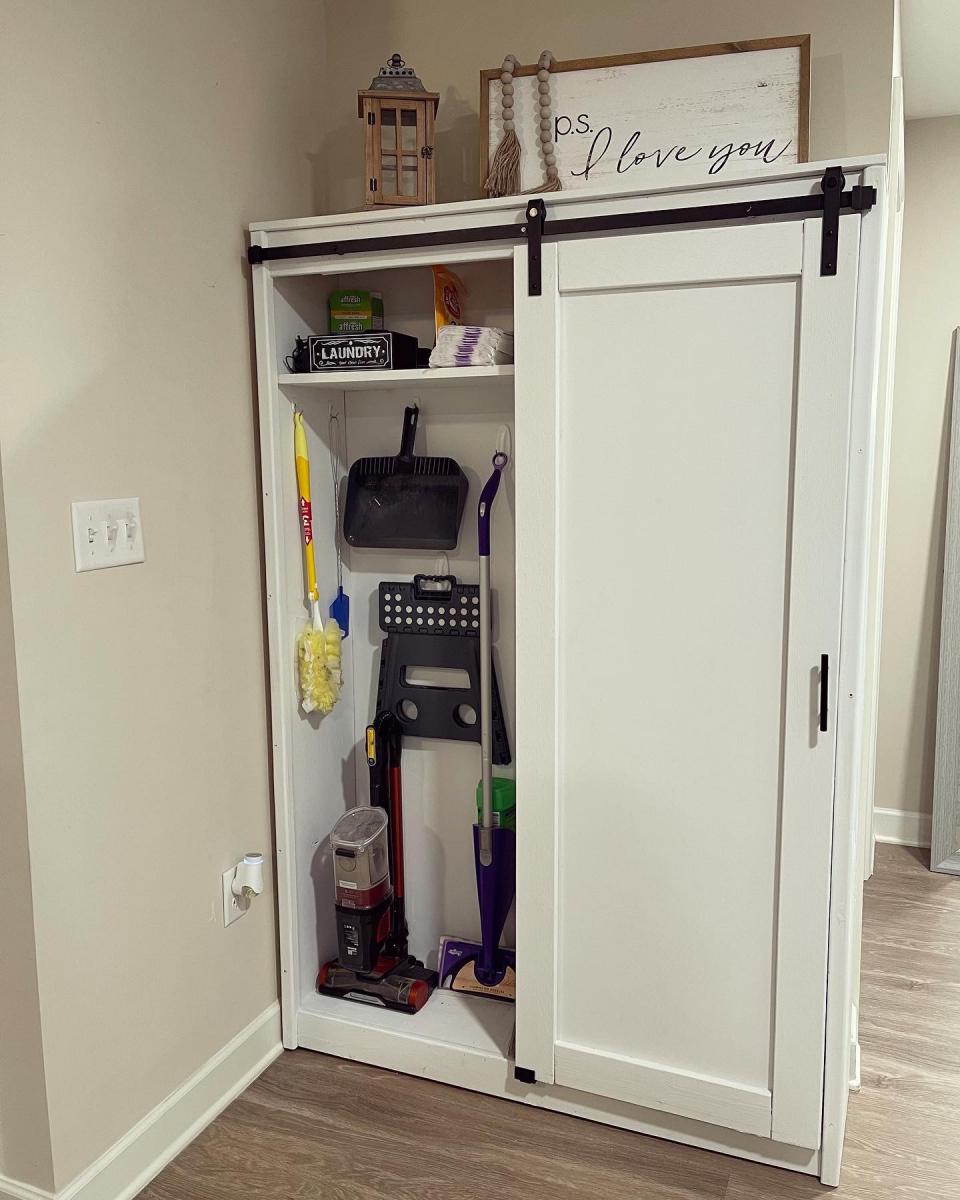
Rustic hall tree-bench
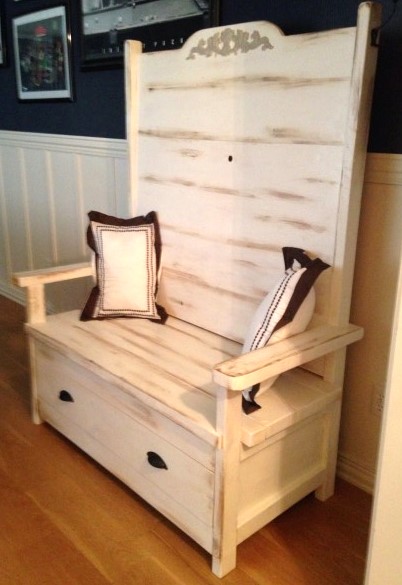
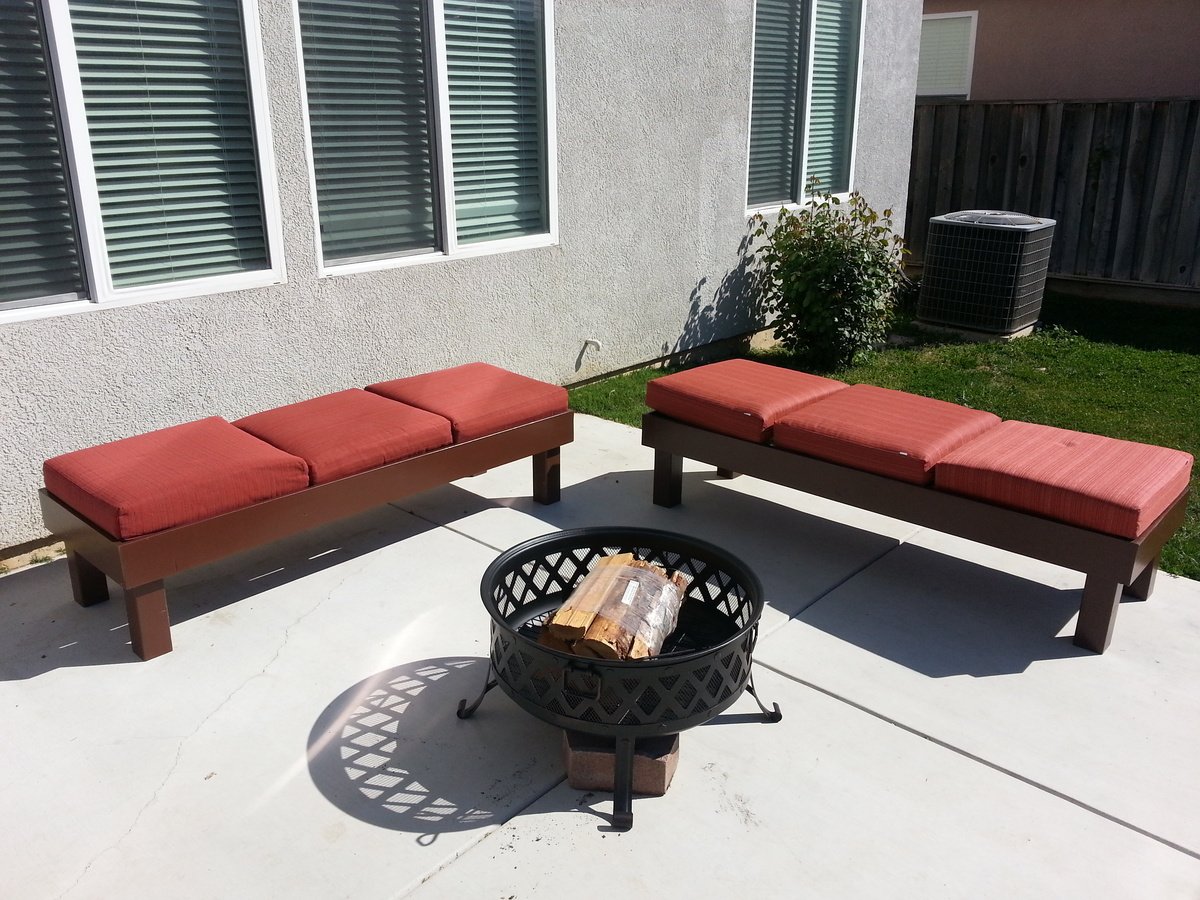
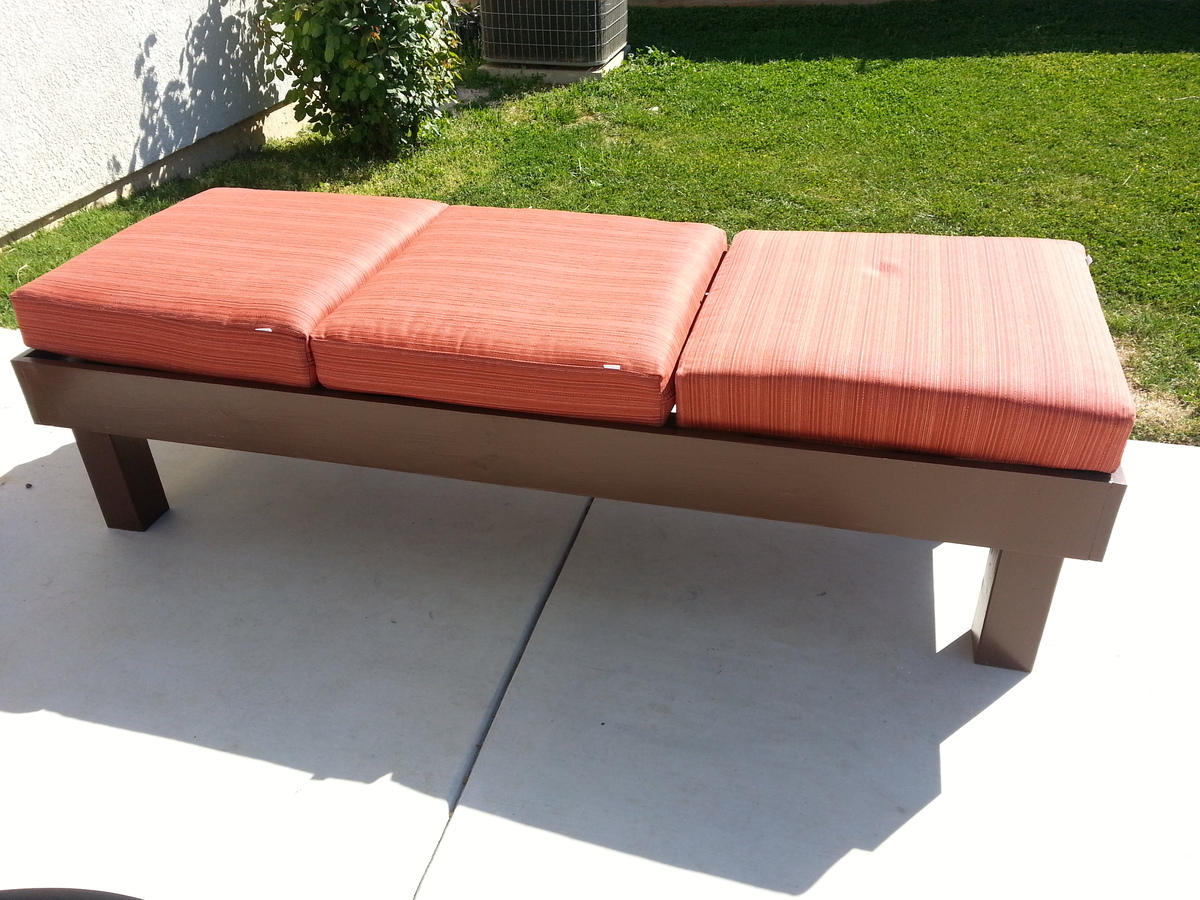
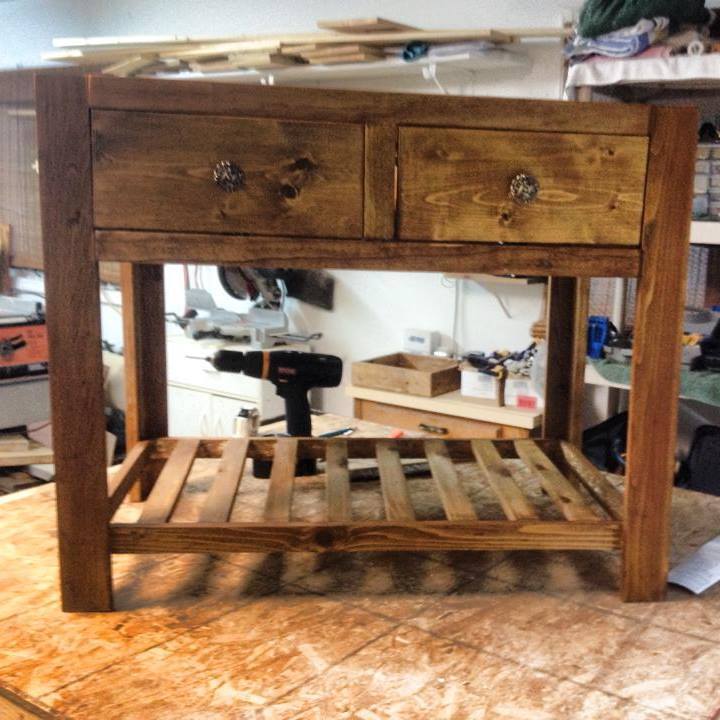
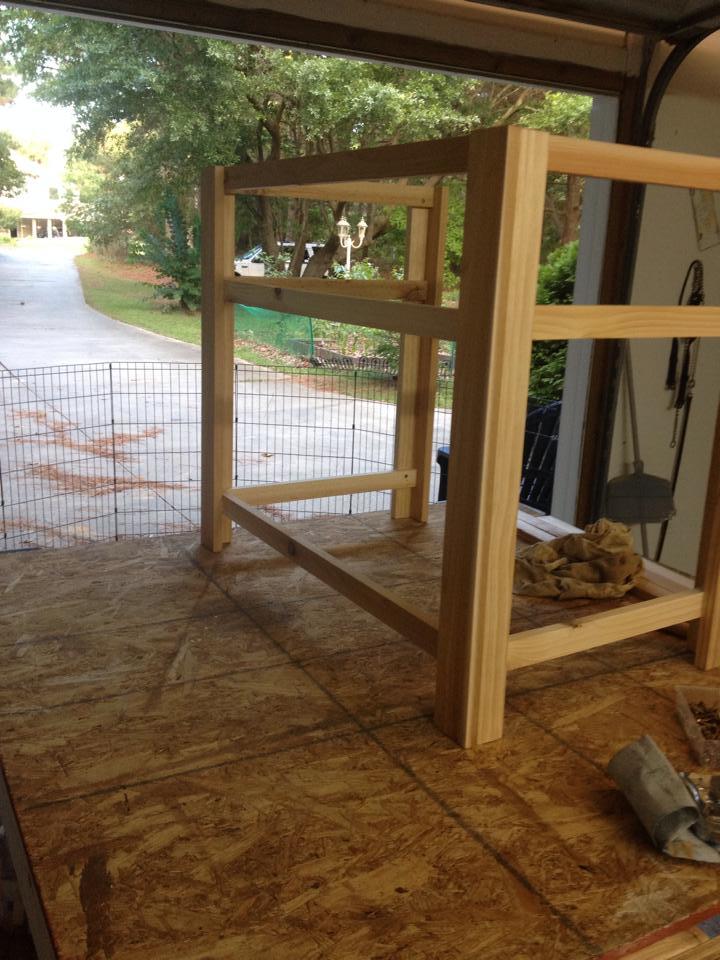
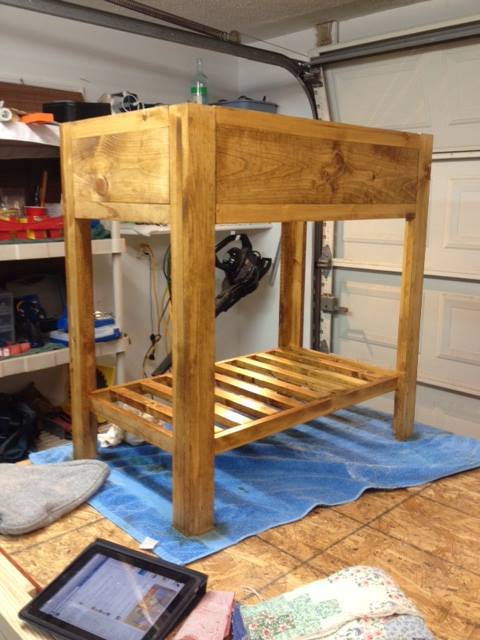
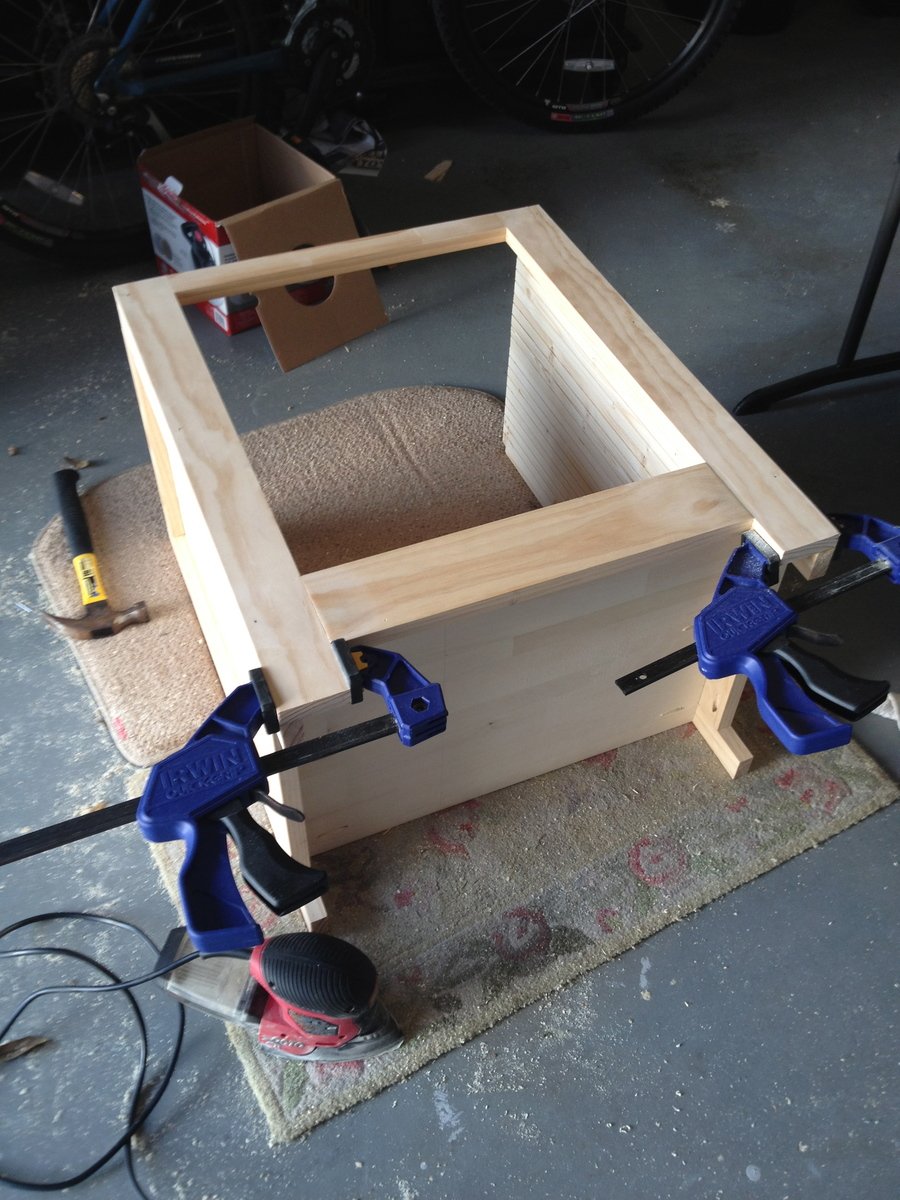
I built this in a weekend. I used the Kreg pocket hole jig to build frame and also secure back panels to side rails. The bench is 4' wide and almost 6' tall. I put the coat hooks on either side of the top rails.
Estimated Cost
$140.
Estimated Time Investment
Weekend Project (10-20 Hours)
Finish Used
Flat white covered w/ semi gloss urethane
Recommended Skill Level
Beginner


Comments
Spadeddmommy
Fri, 02/06/2015 - 22:34
I know it should seem pretty obvious
I'm a beginner but would like to know more of the measurements and shopping list you had to build this for myself, with just a few modifications. Lol! Looks great! Thanks for sharing!