Garage Shelving by using 4 by 2s
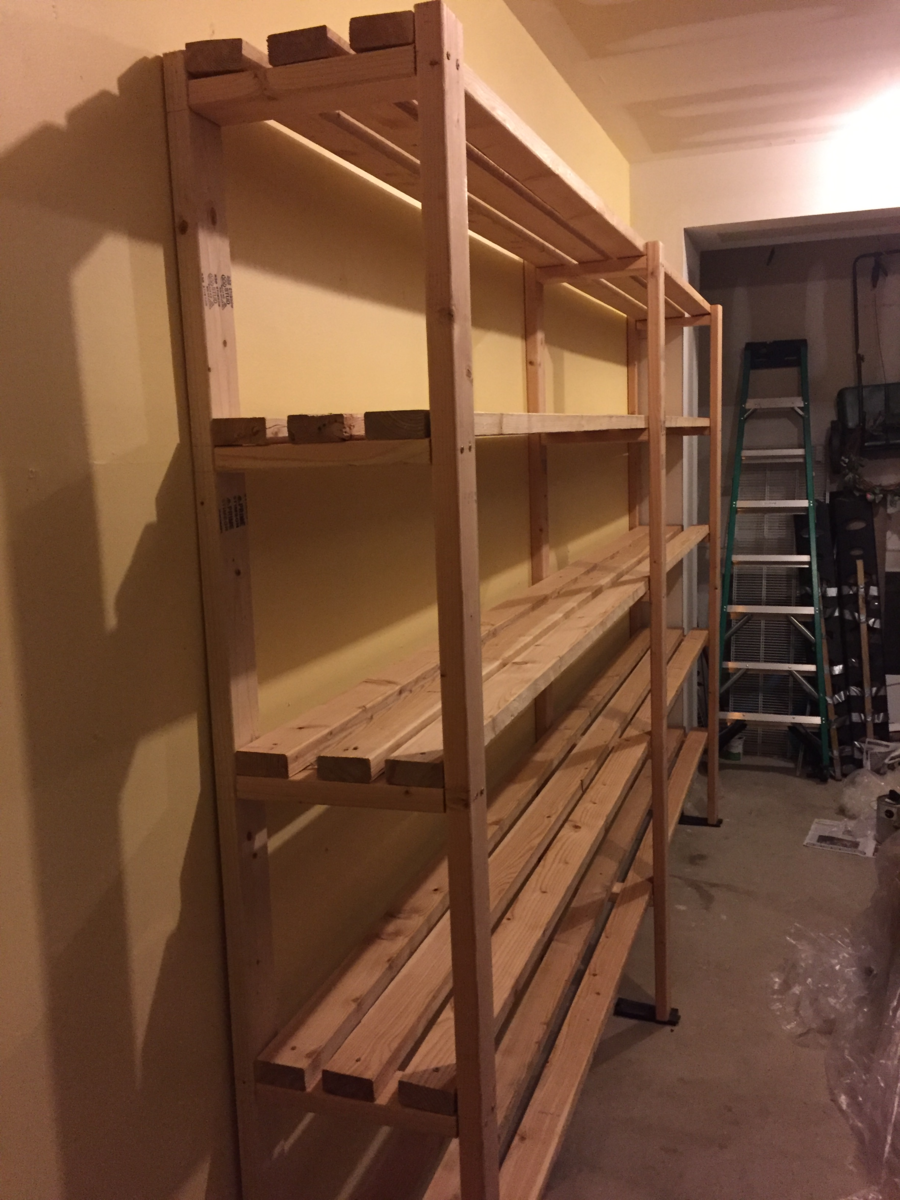
Simply inspired by Ana's Garage Shelving project using 2 By 4s. Thank you Ana. Below are my project details.
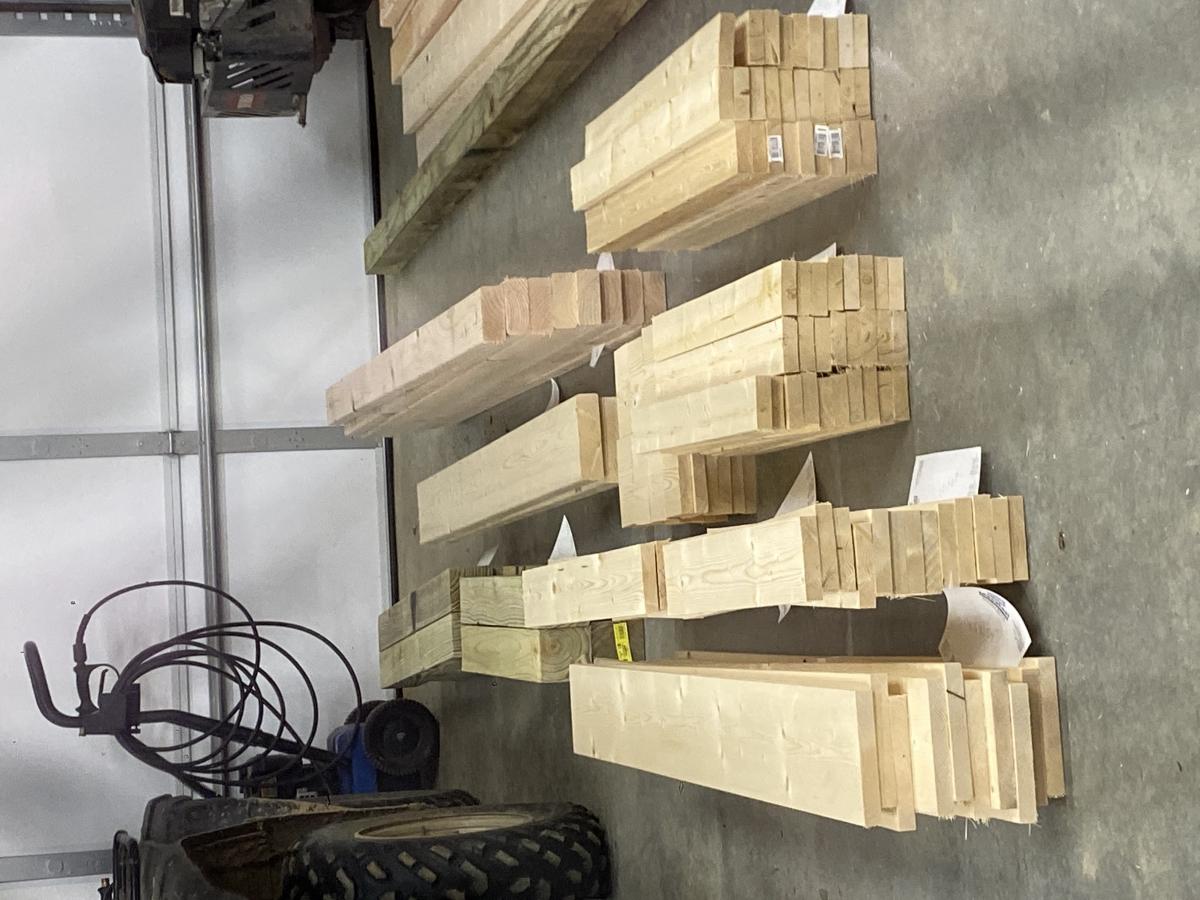
1. Shelving Height = 8 Ft, Width = 12 Ft, Depth = 13 inches (Each shelve having 3 pieces of 2 by 4s). All 8 Ft and 12 Ft lumber available in this standard size. Only cutting required (done at Home Depot) was for the 13 inch pieces to build the shelving legs (which in Ana's original plan is 17 inches, and has 4 pieces of 2 by 4s). Able to carry all lumber (multiple trips) in minivan after folding seats.
2. Garage Floor was a bit uneven - so I used Shims (plastic) as suggested by HomeDepot associate.
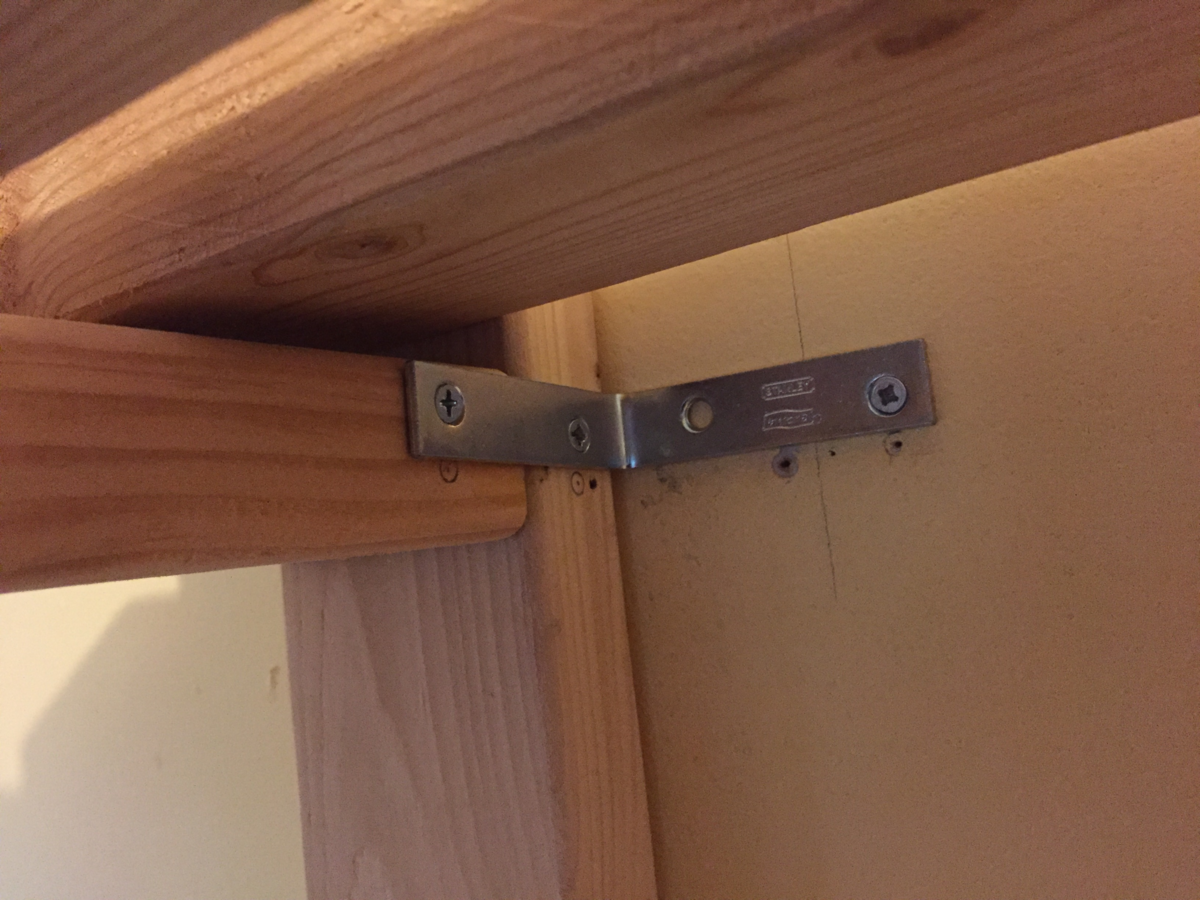
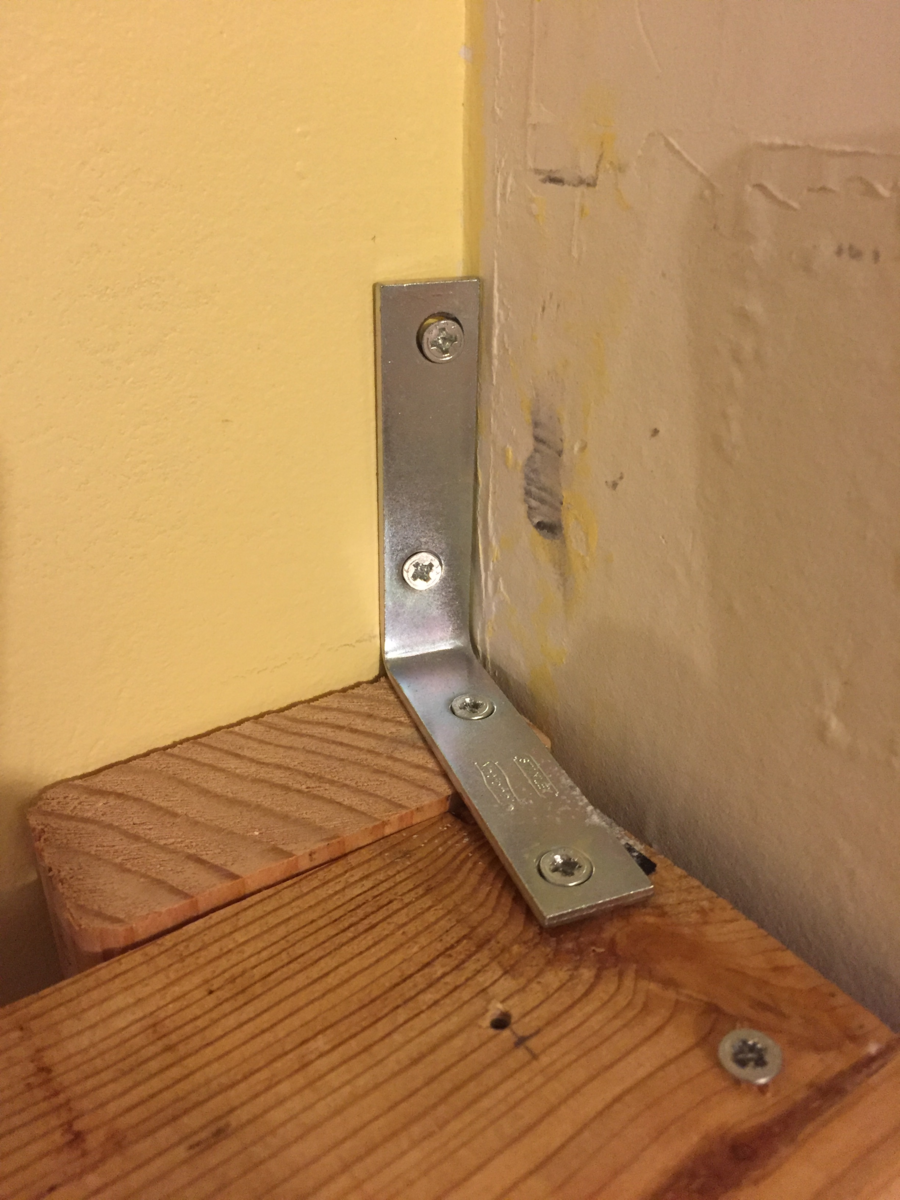
3. To secure the shelves from the top of the wall, I used corner L brackets, 3 inch by 3 inch. I used 1-1/2 inch screws to mount the bracket on the 2 by 4s, and then to mount the other side of the bracket to wall studs, I used the 2-1/2 inch screws (which I used throughout the project as Ana suggested). I mounted two brackets sideways, and one on the top (because the stud was around the corner). Used a thin nail to find the stud as studfinder results were not reliable
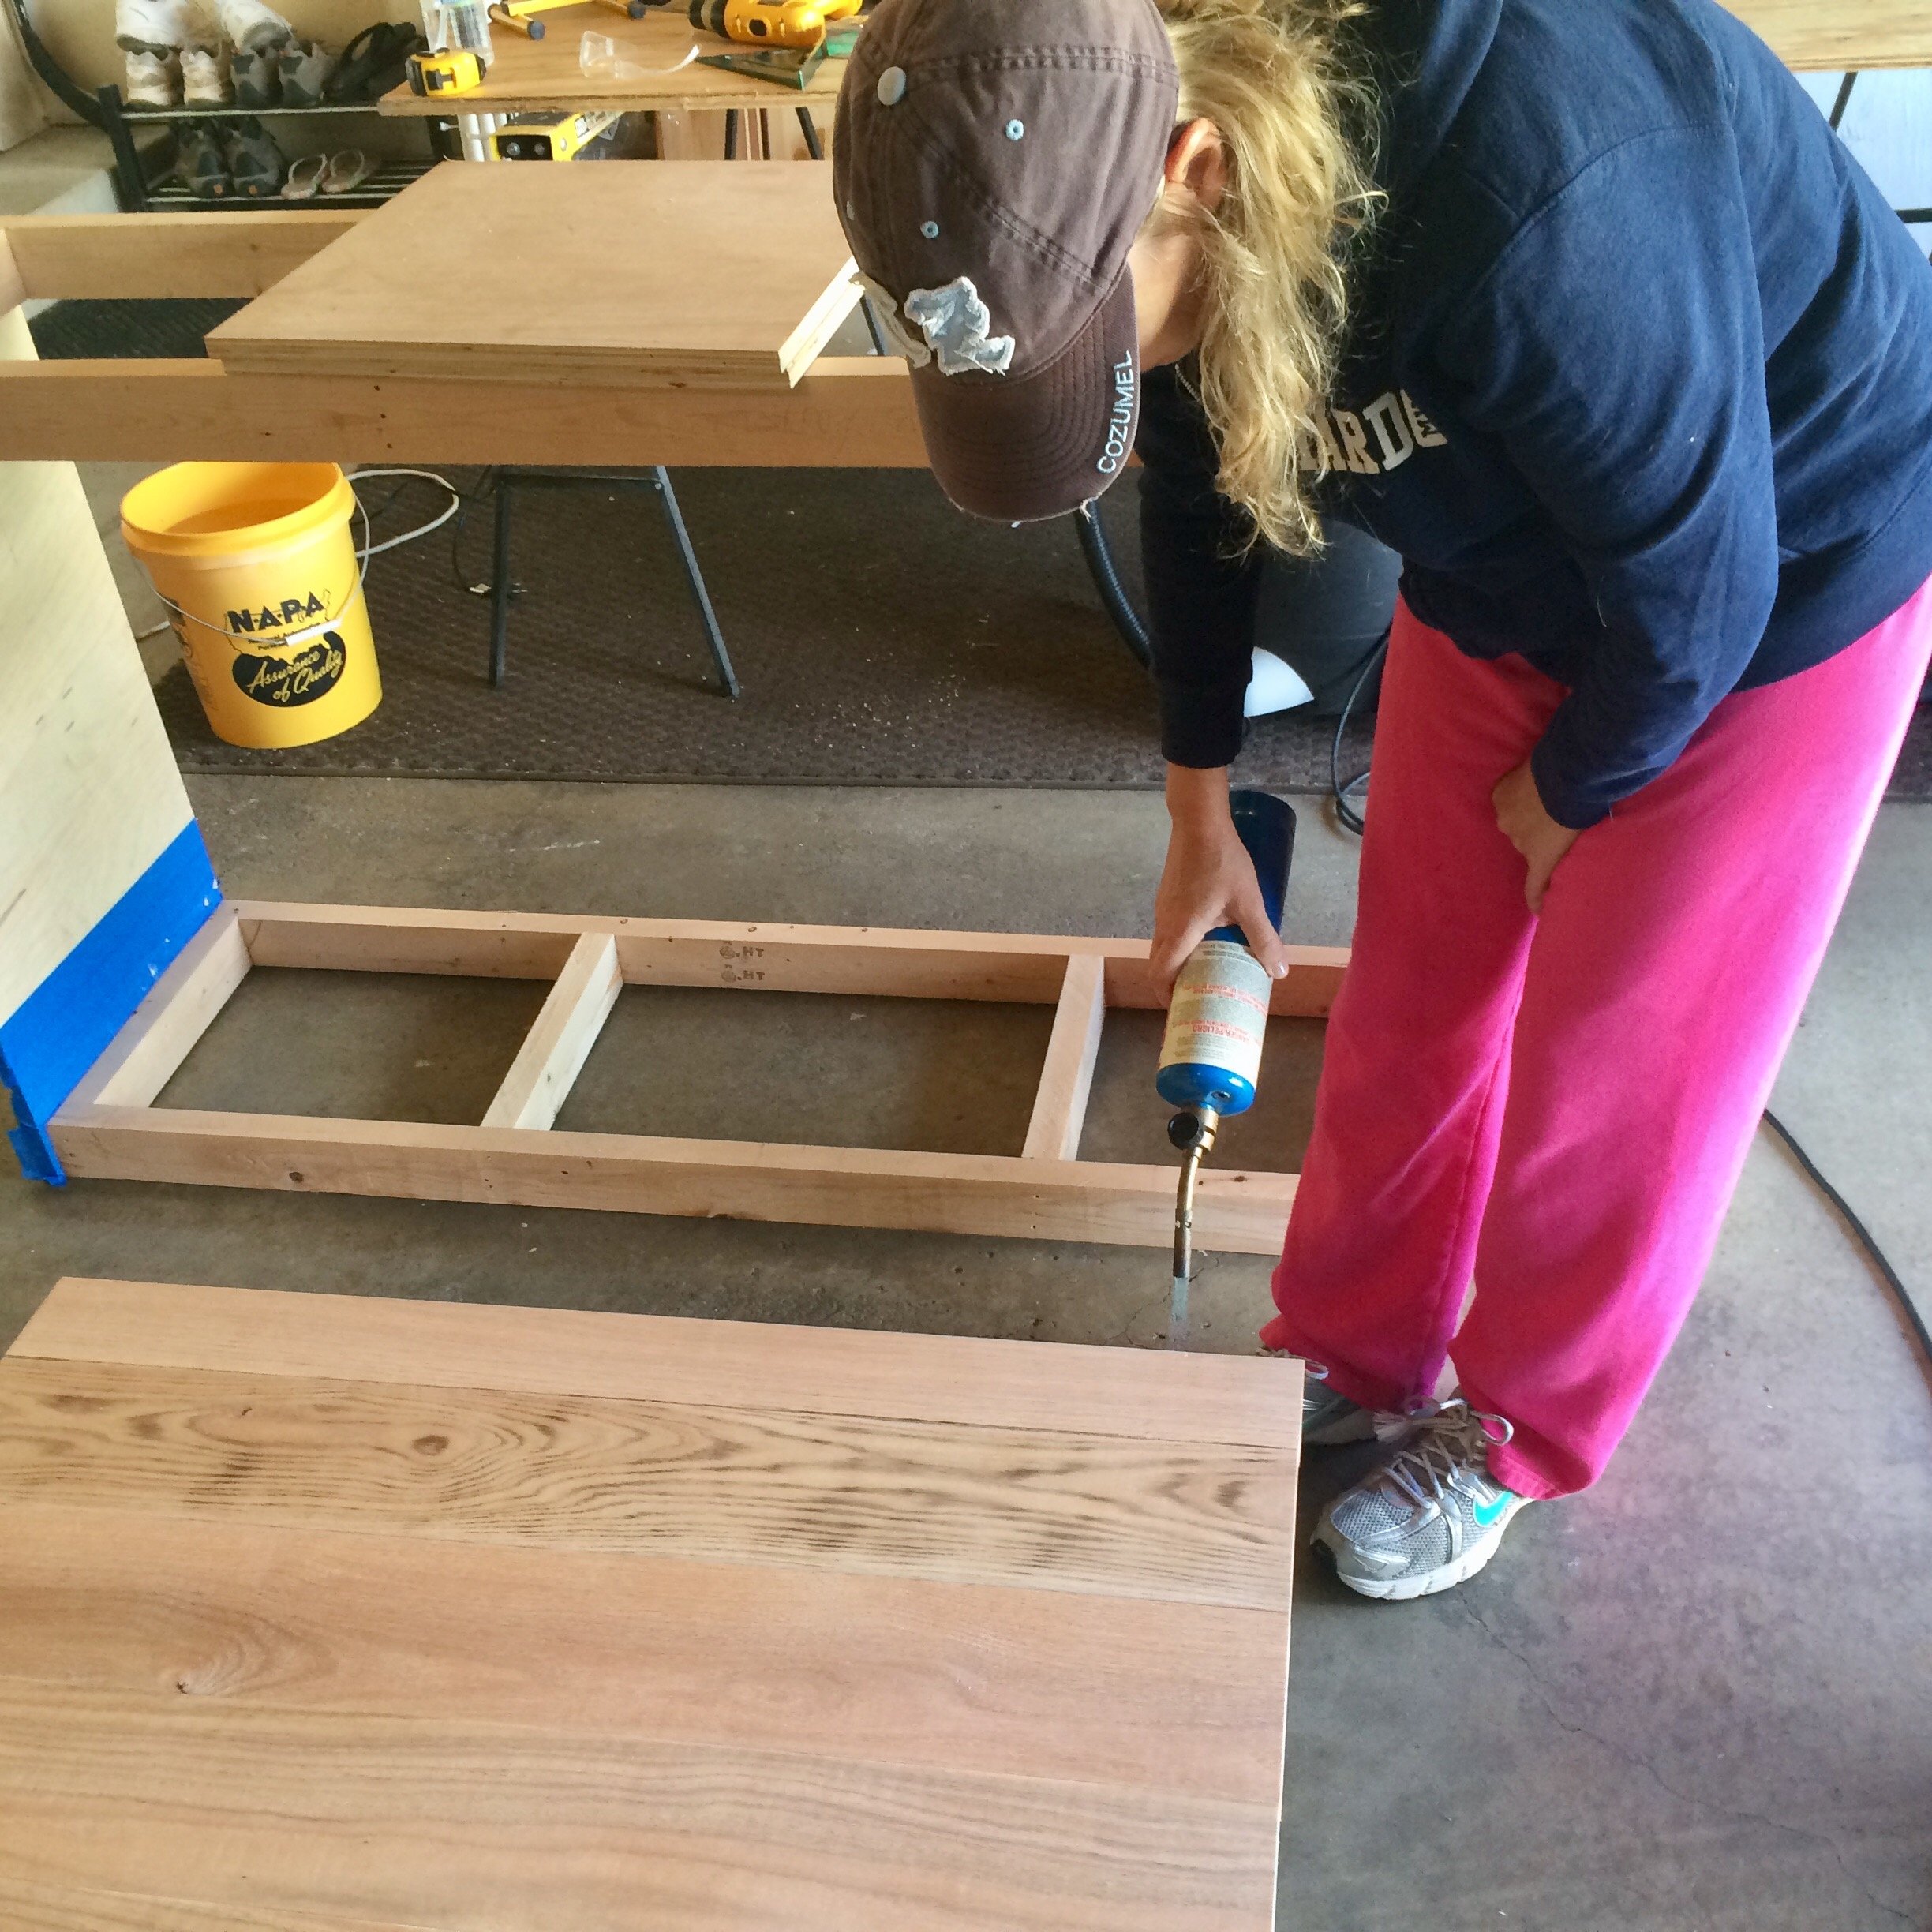
4. After making shelving legs, we made them stand next to the wall, and then mounted the shelves (3 pcs each on each shelve) and then put screws. My wife, her uncle, aunt, and cousin helped to mount finally, and it was great fun.