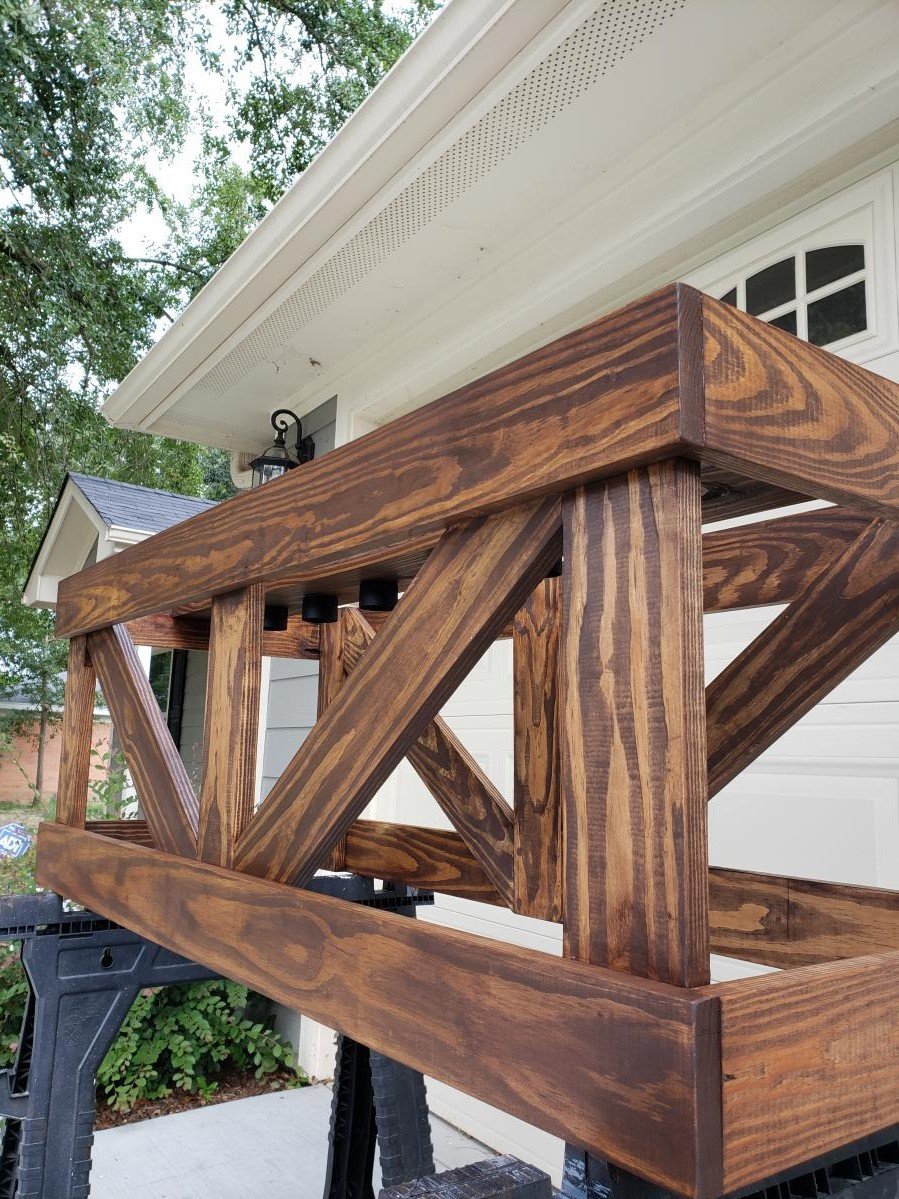
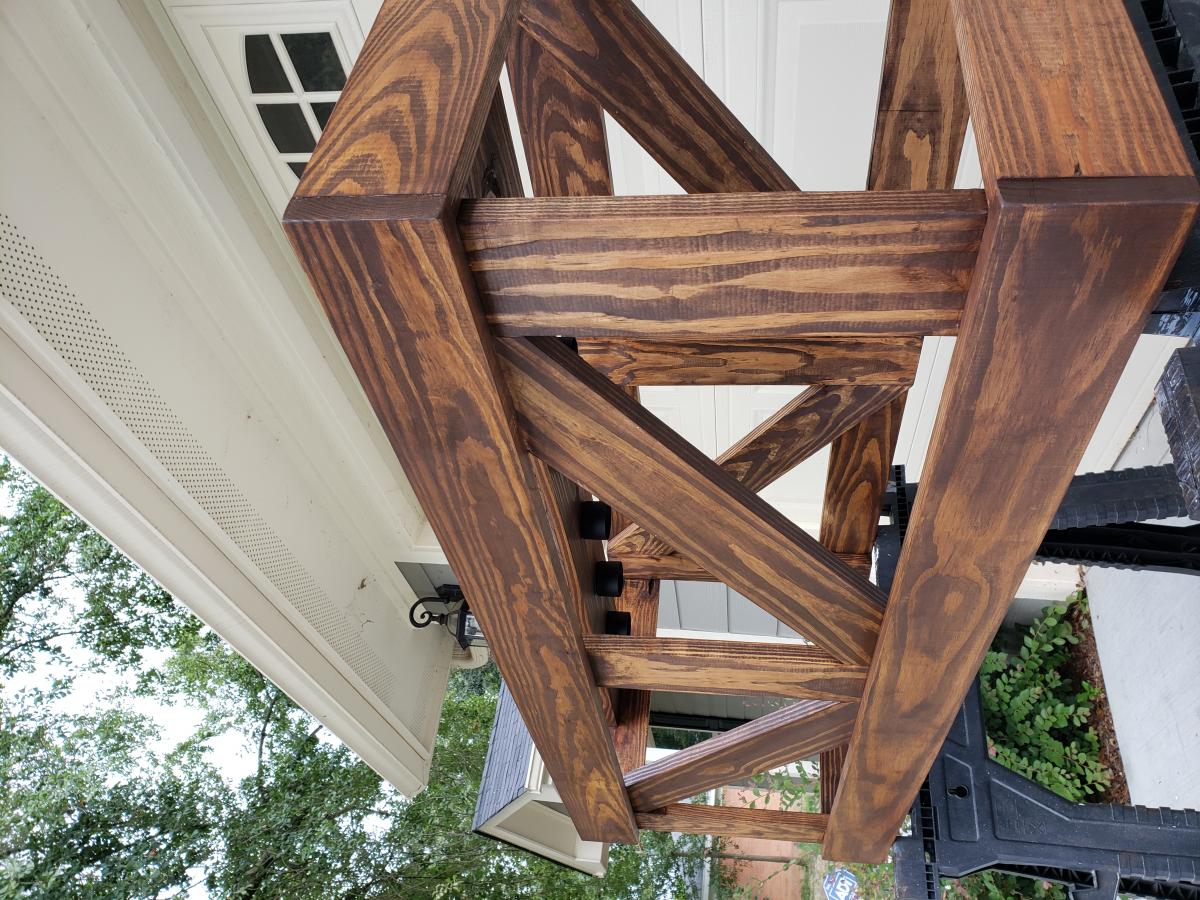
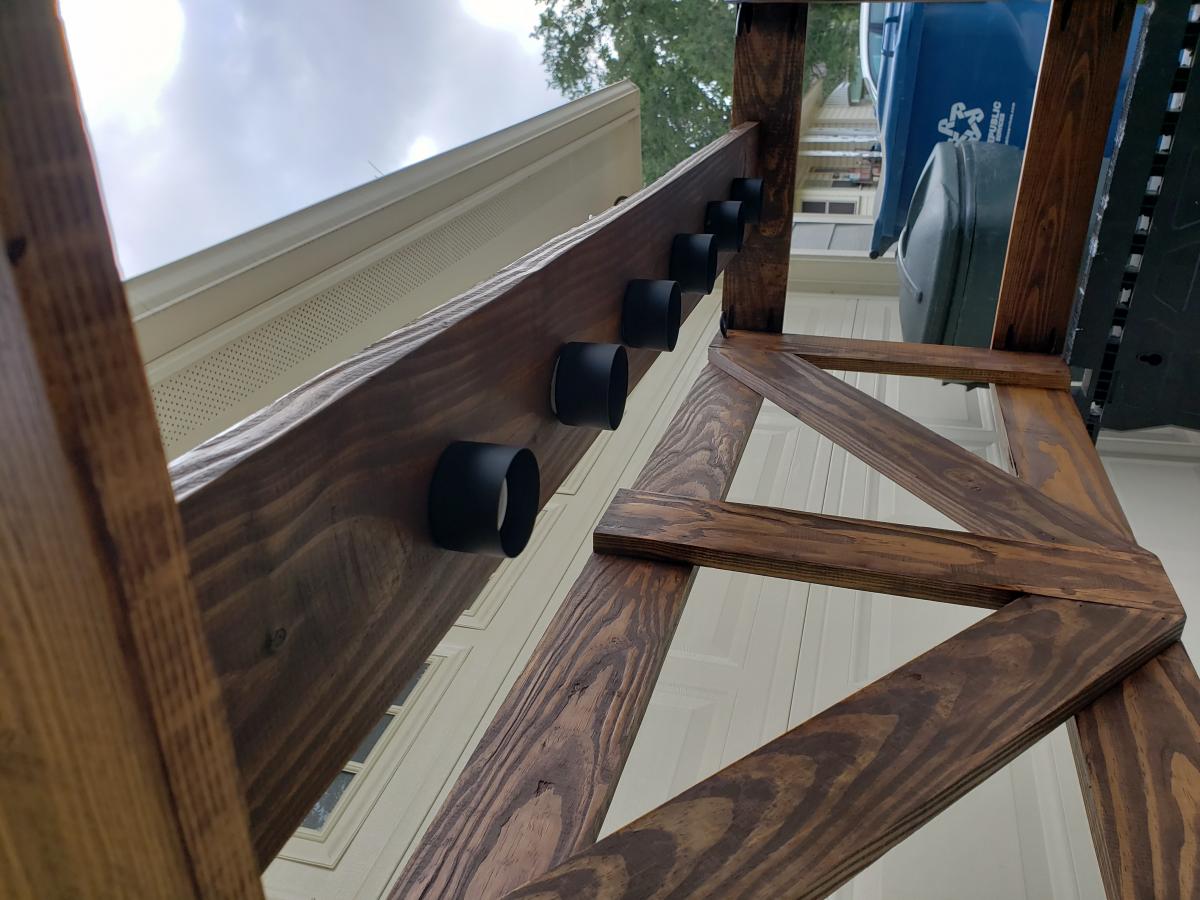
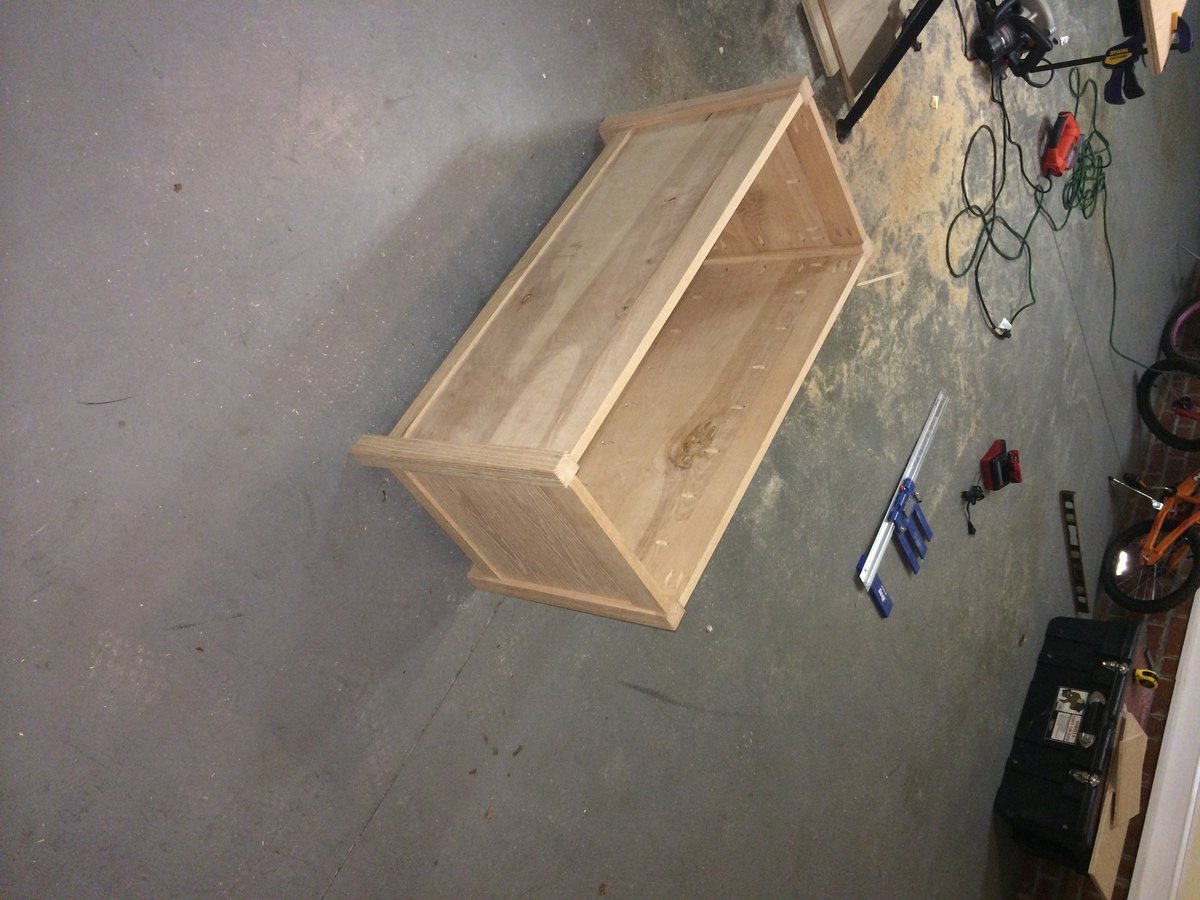
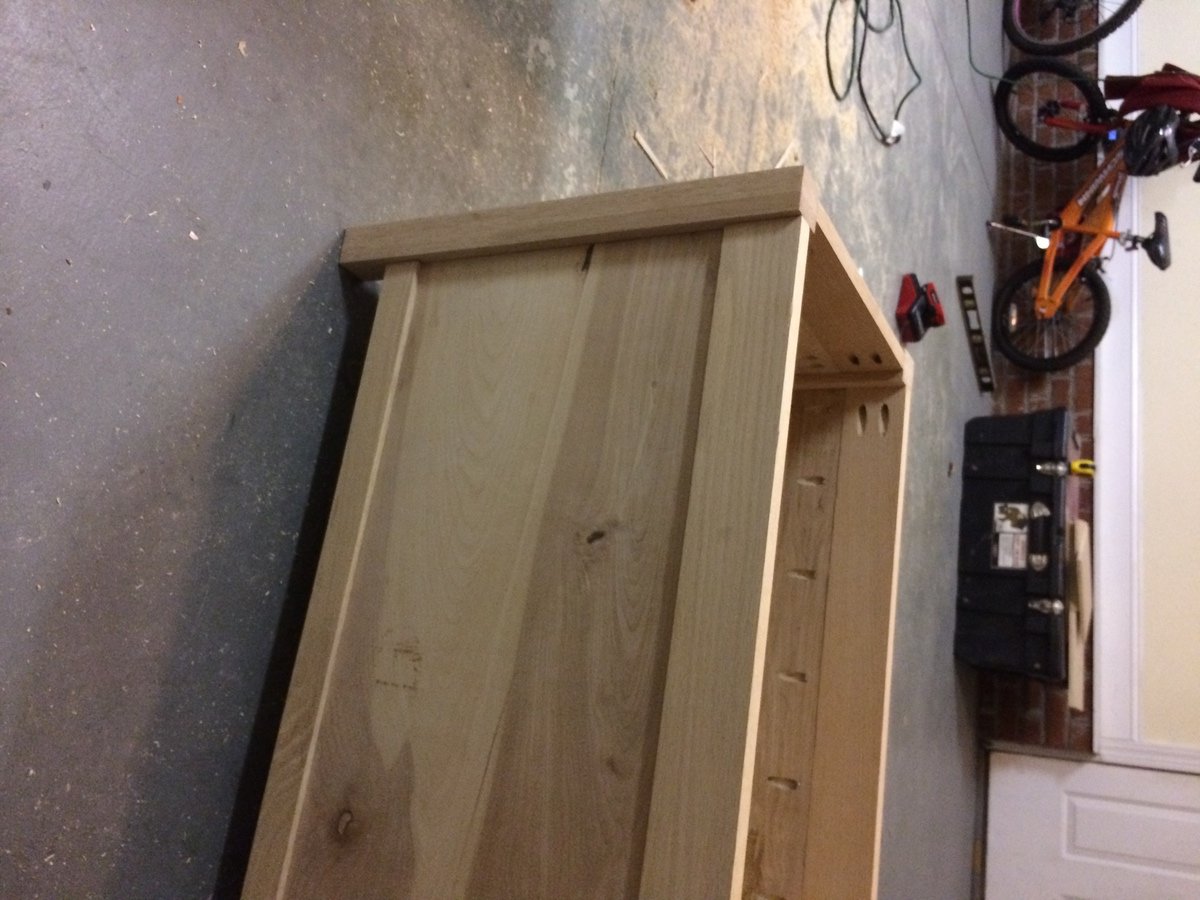
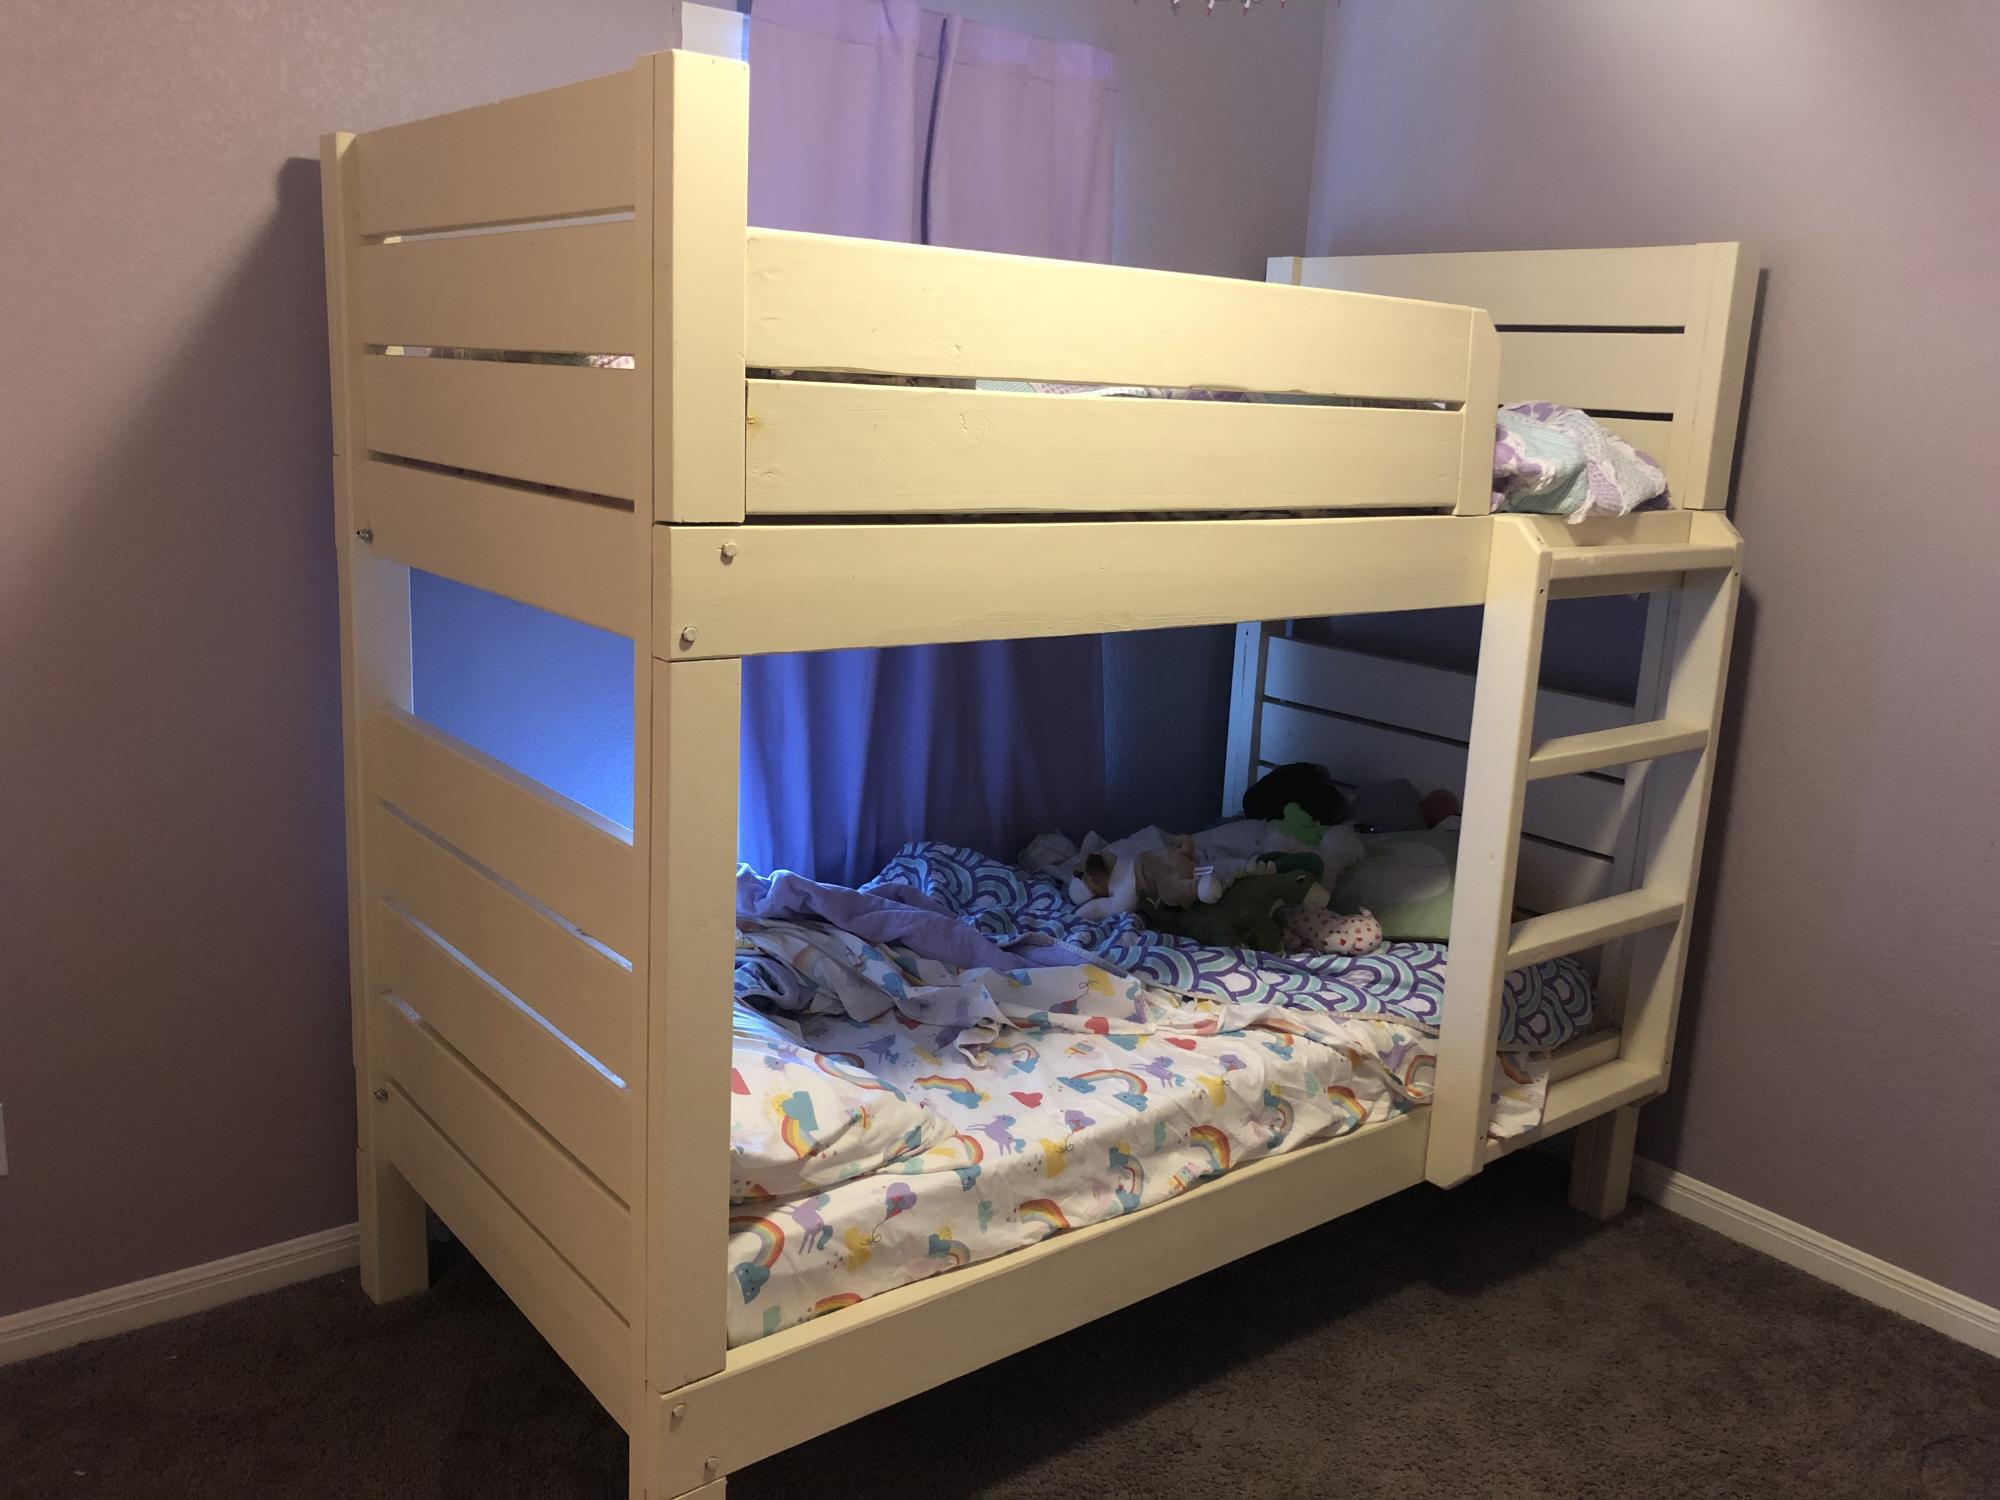
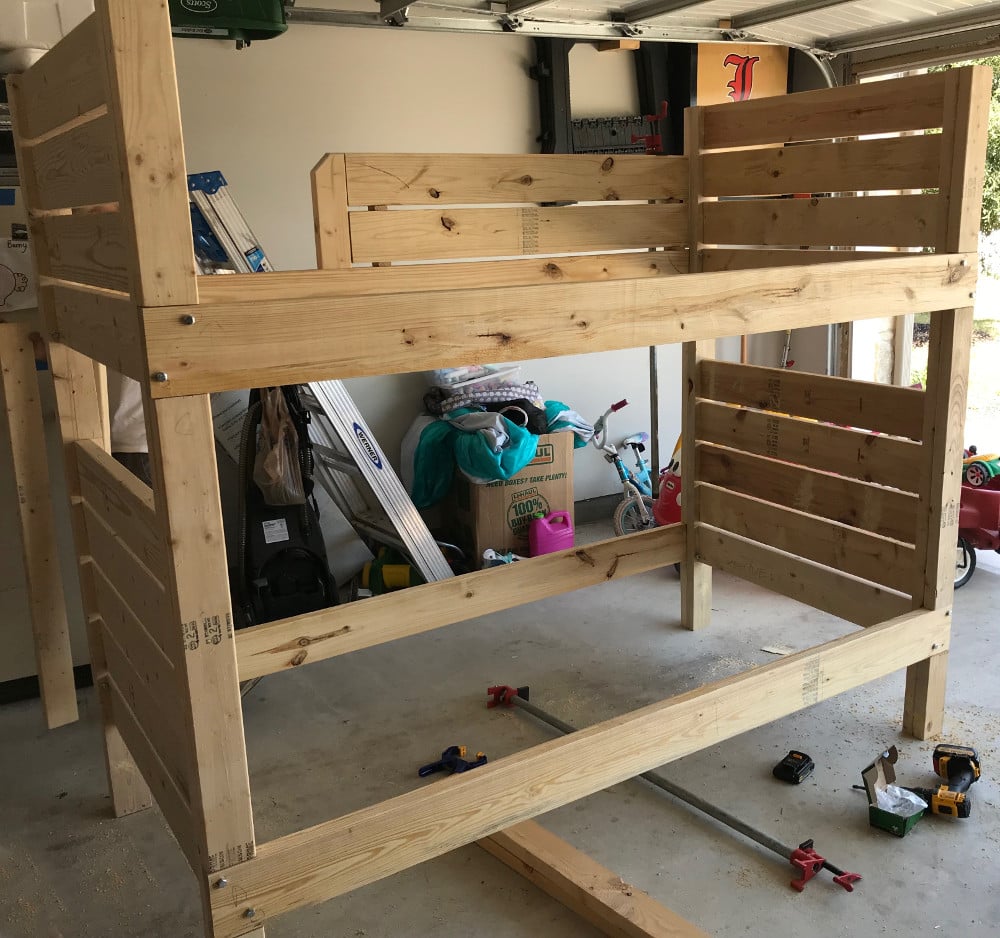
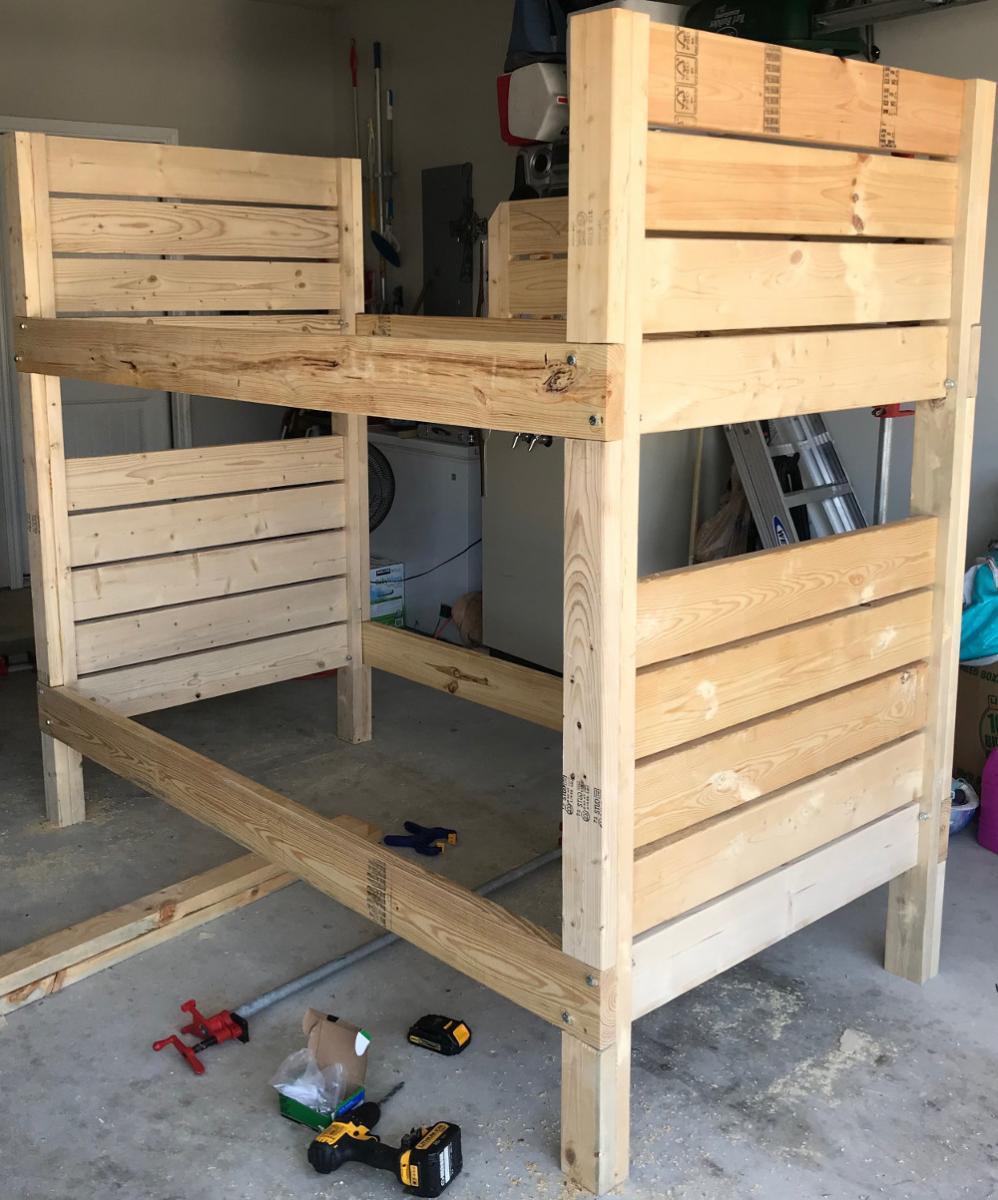
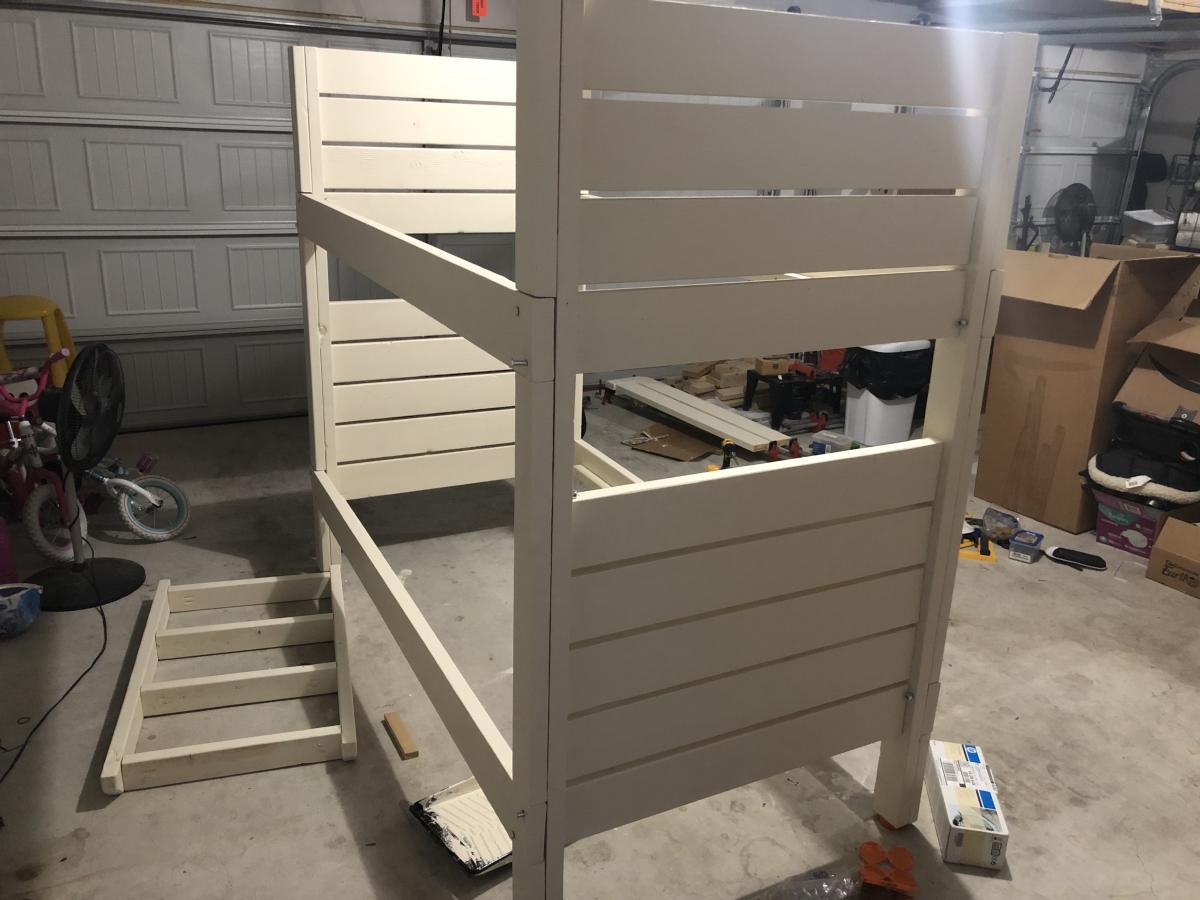
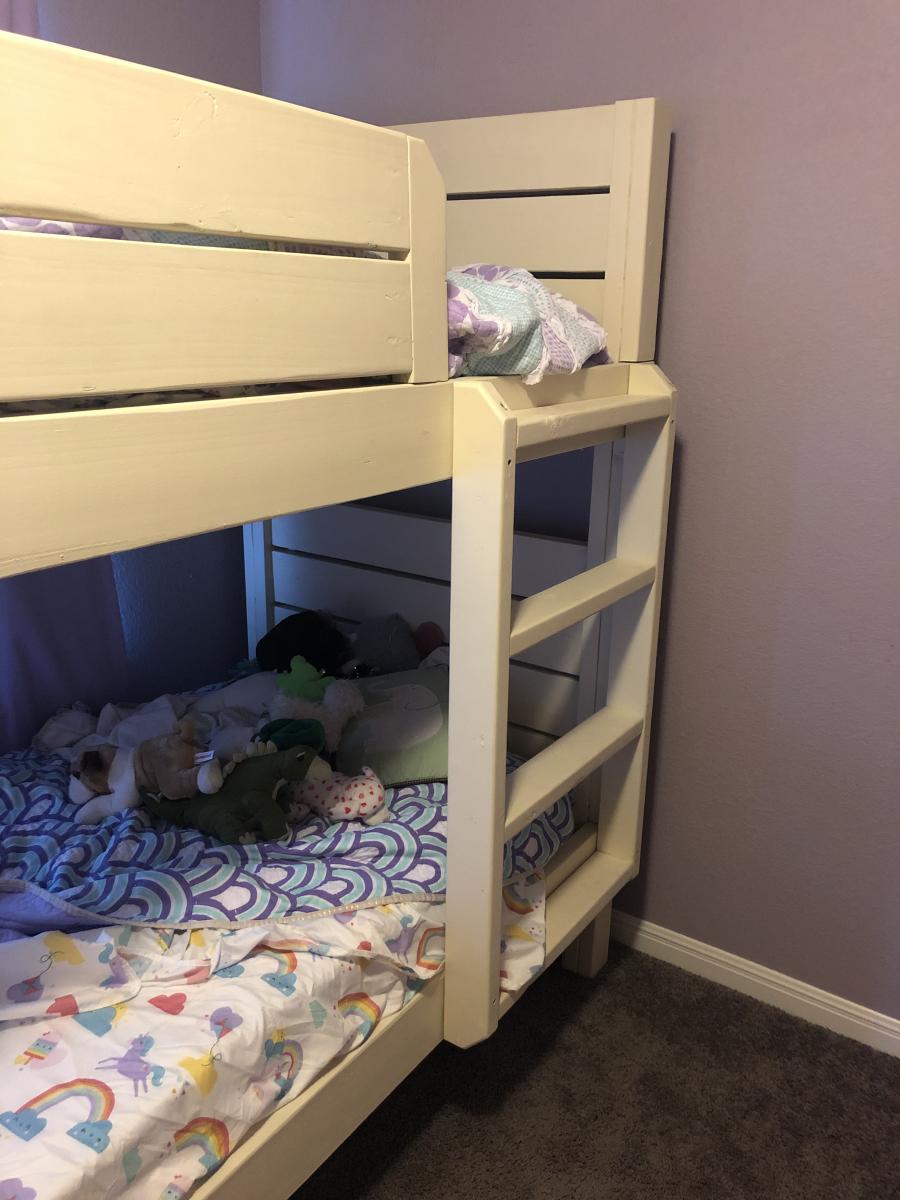
Two bunk beds for my girls...
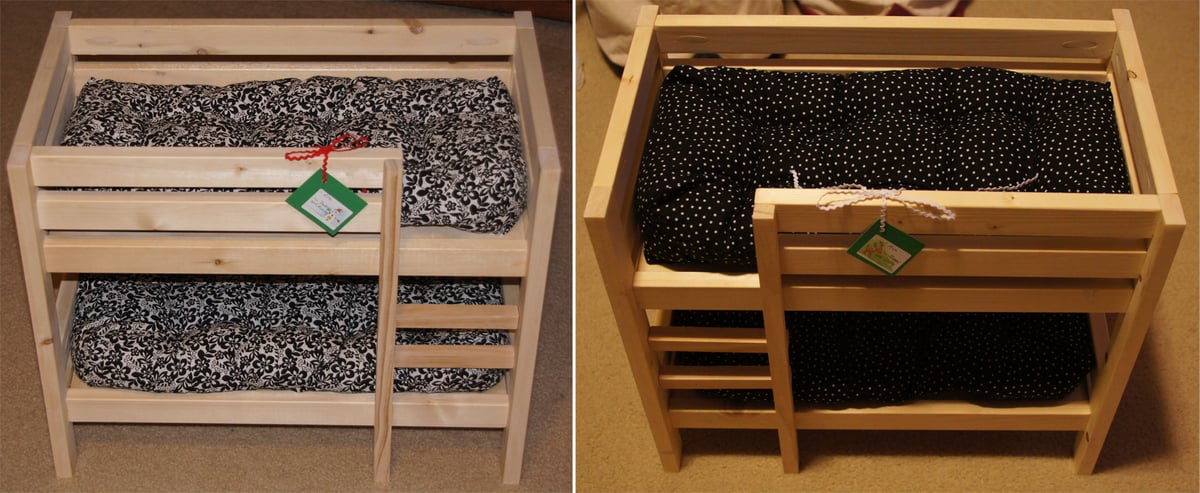
I made two different versions and reversed side the ladders were on. I learned from the mistakes I made on the first bed and the second one came together a little easier.
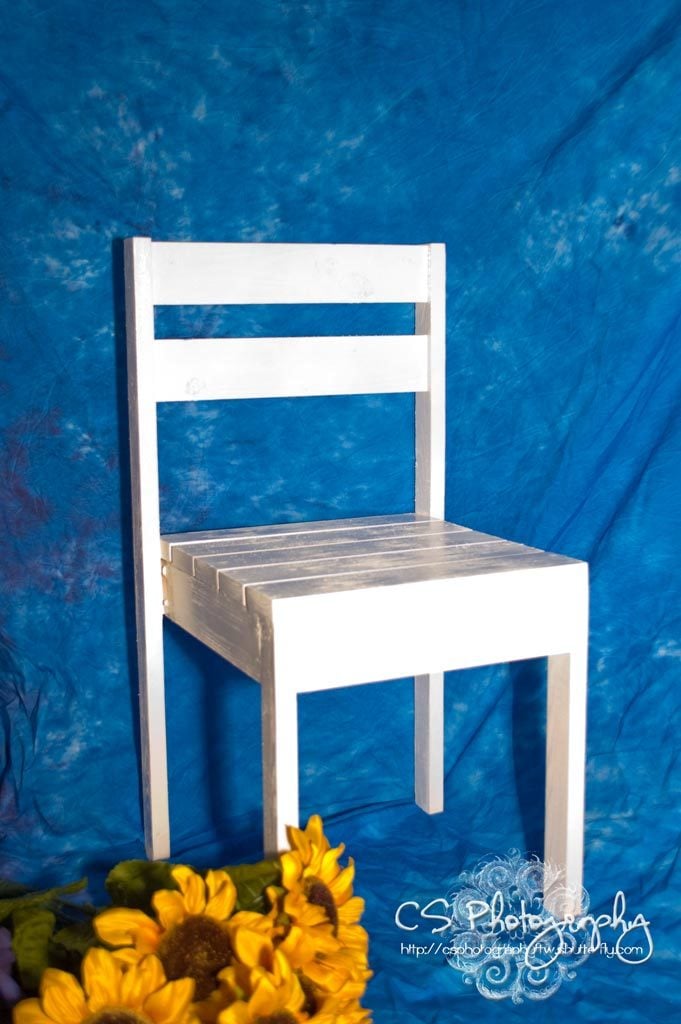
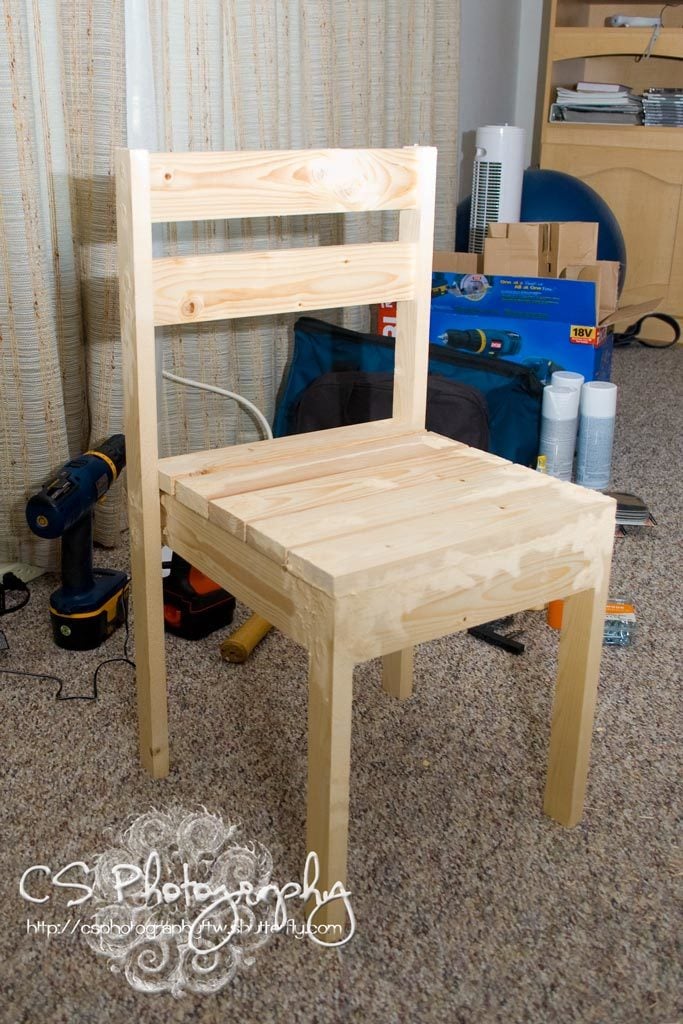
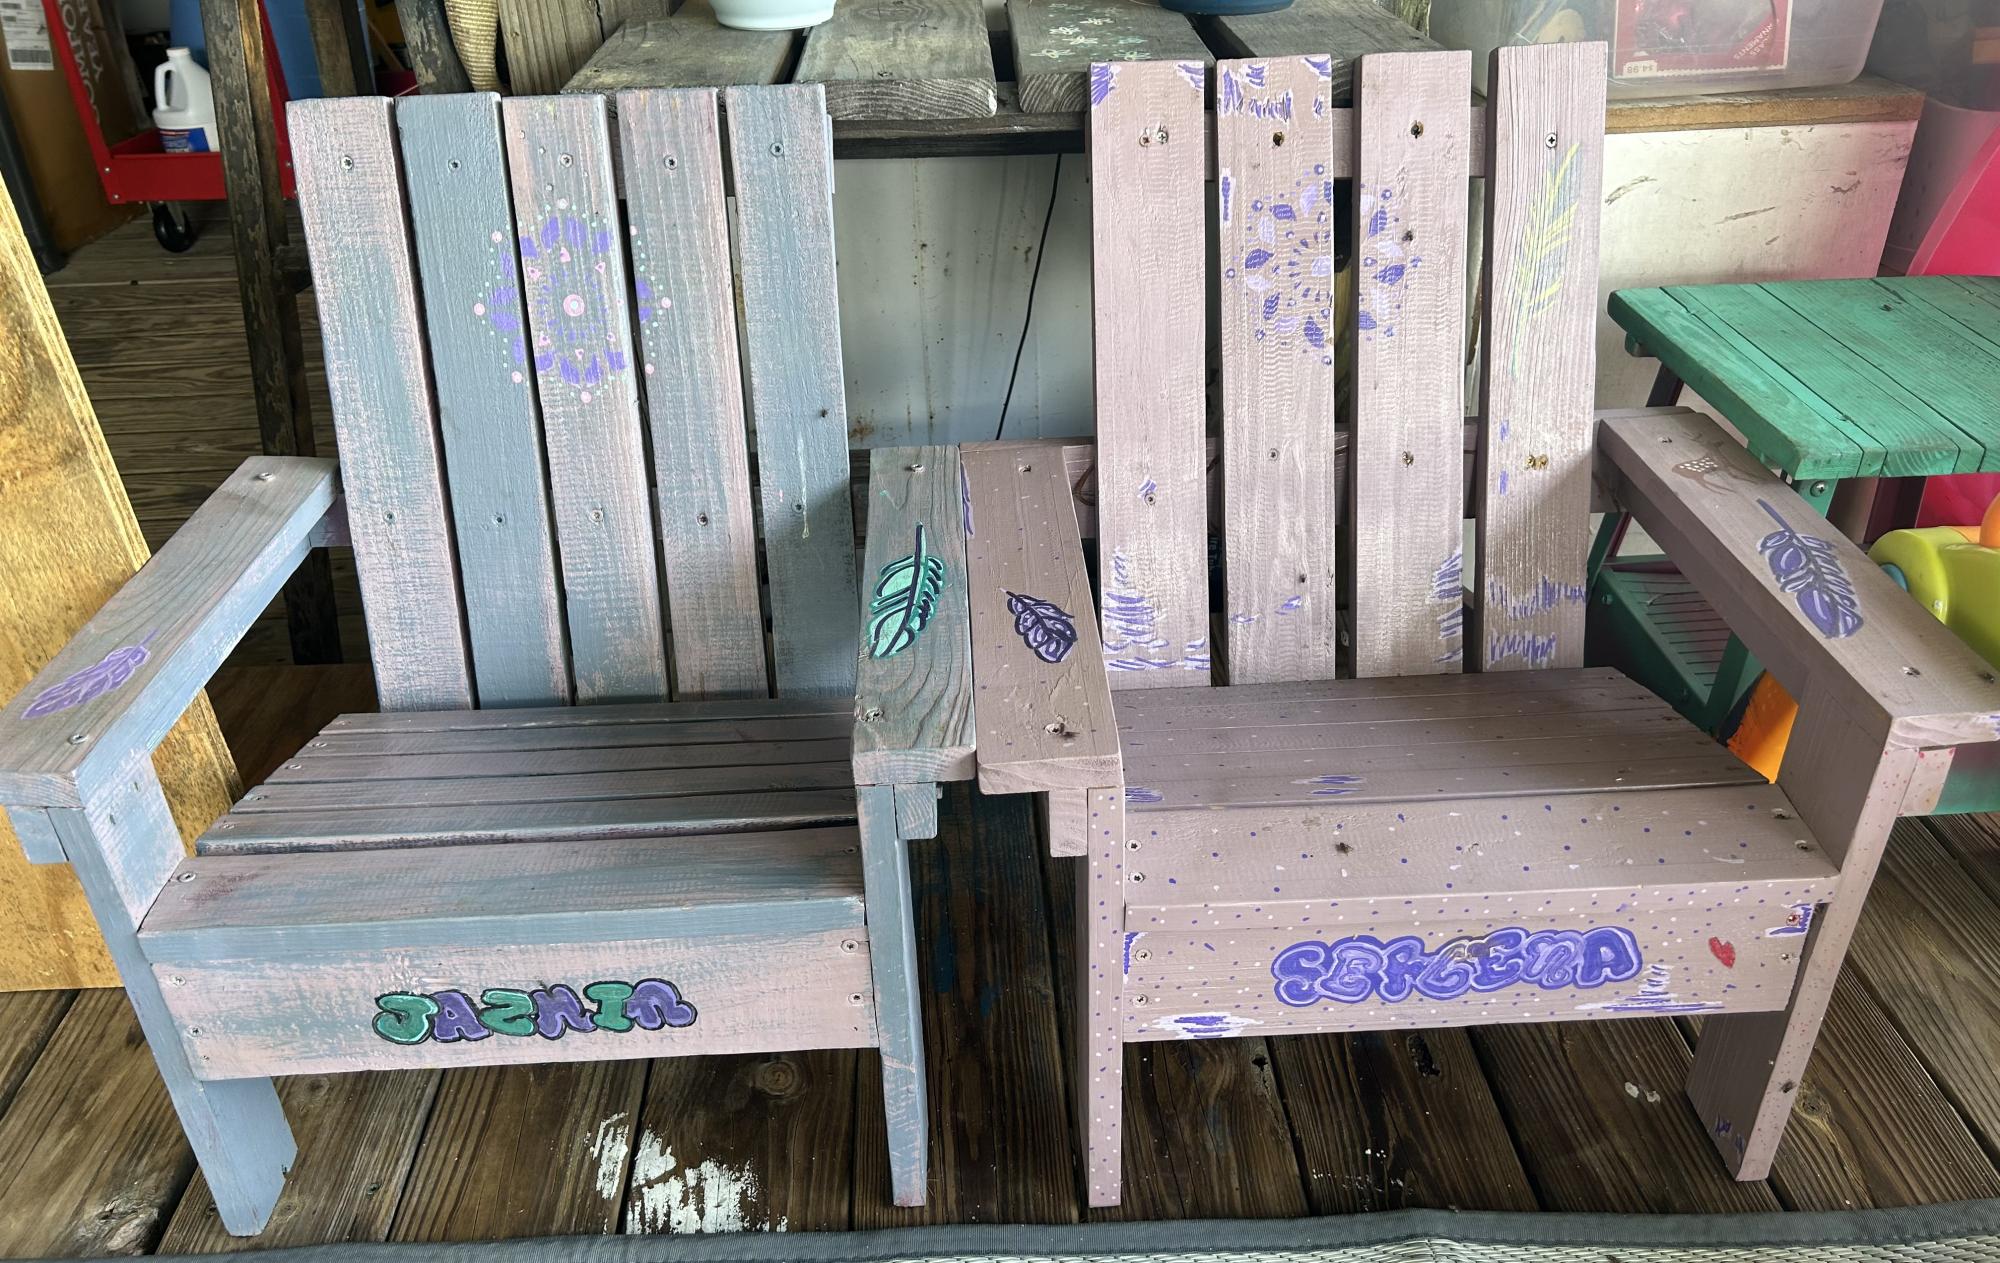
I left them natural and the girls will pick a paint color in the spring.
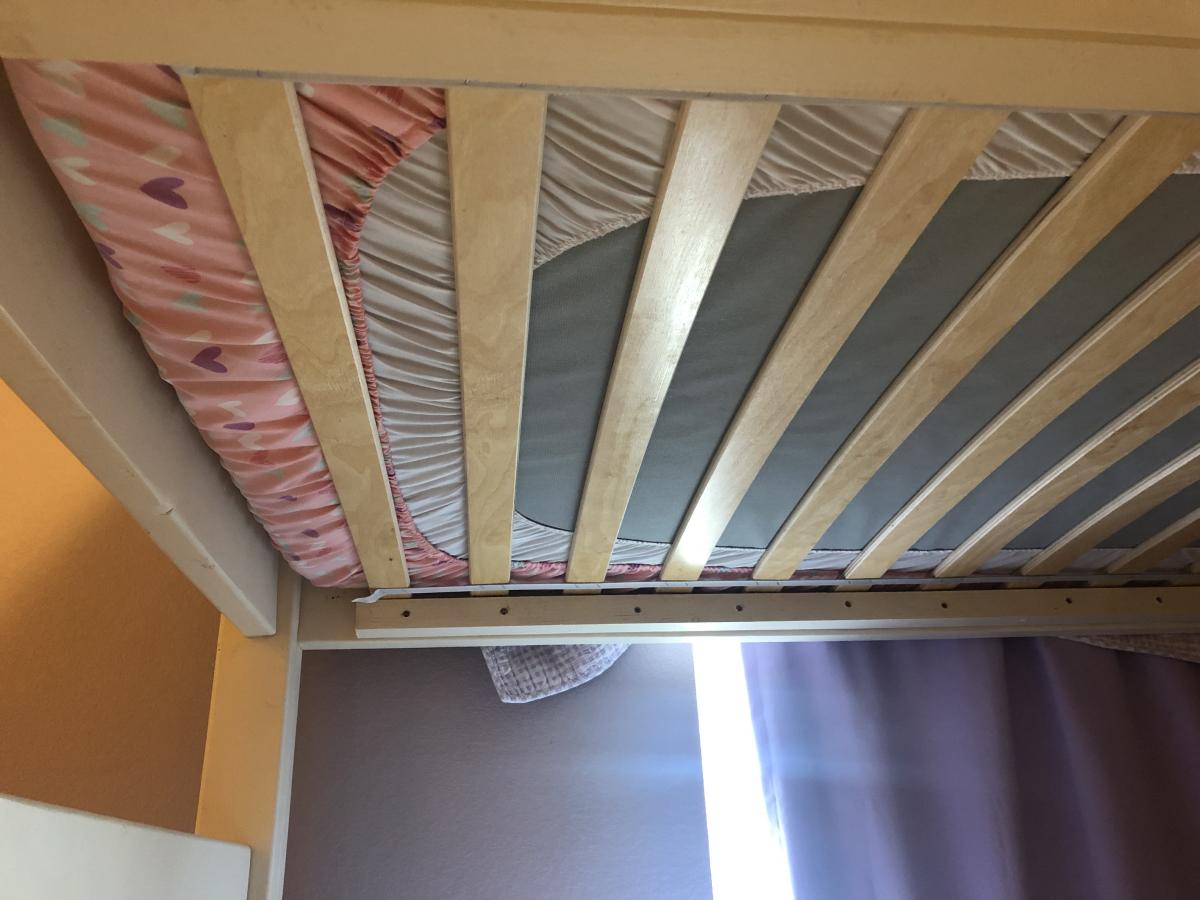
Although I can sew, my wife made both sets of mattresses along with a bunch of doll clothes.
Built from Plan(s)
Estimated Time Investment
Week Long Project (20 Hours or More)
Recommended Skill Level
Beginner