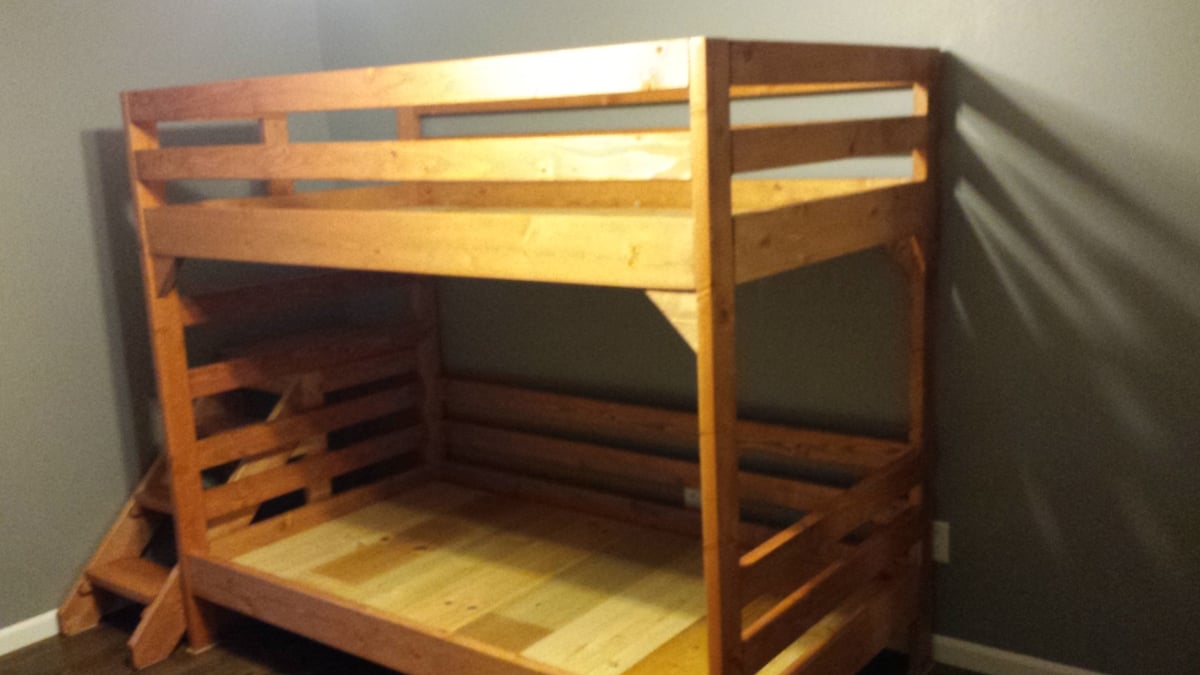
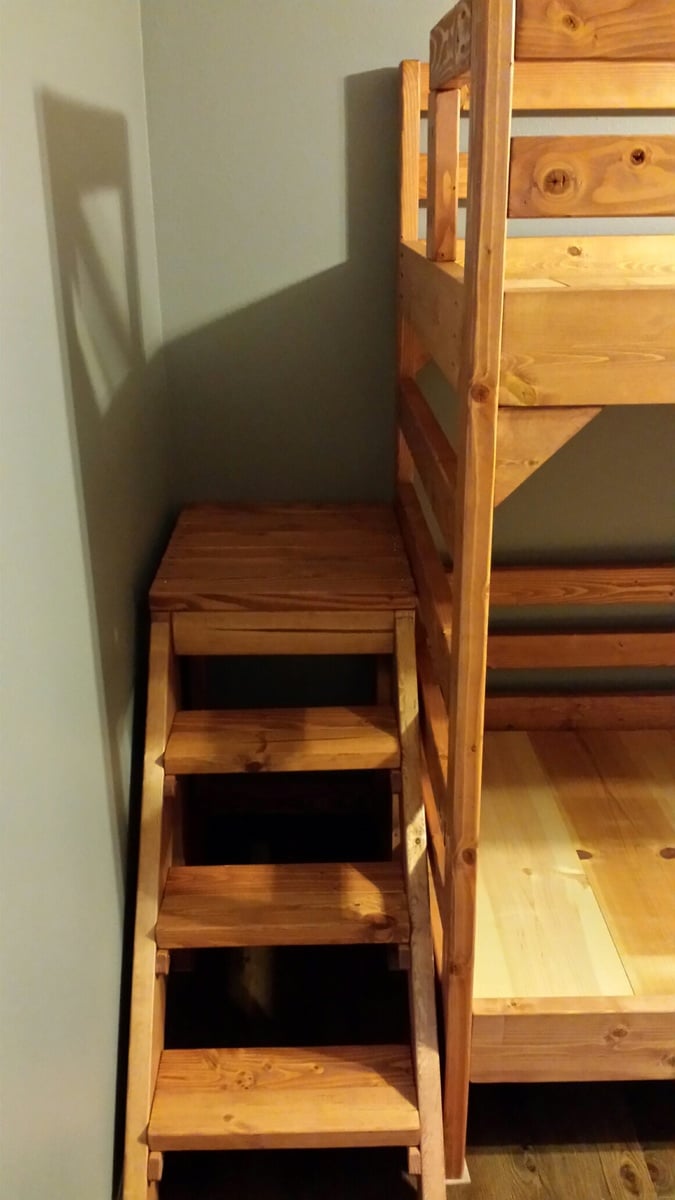
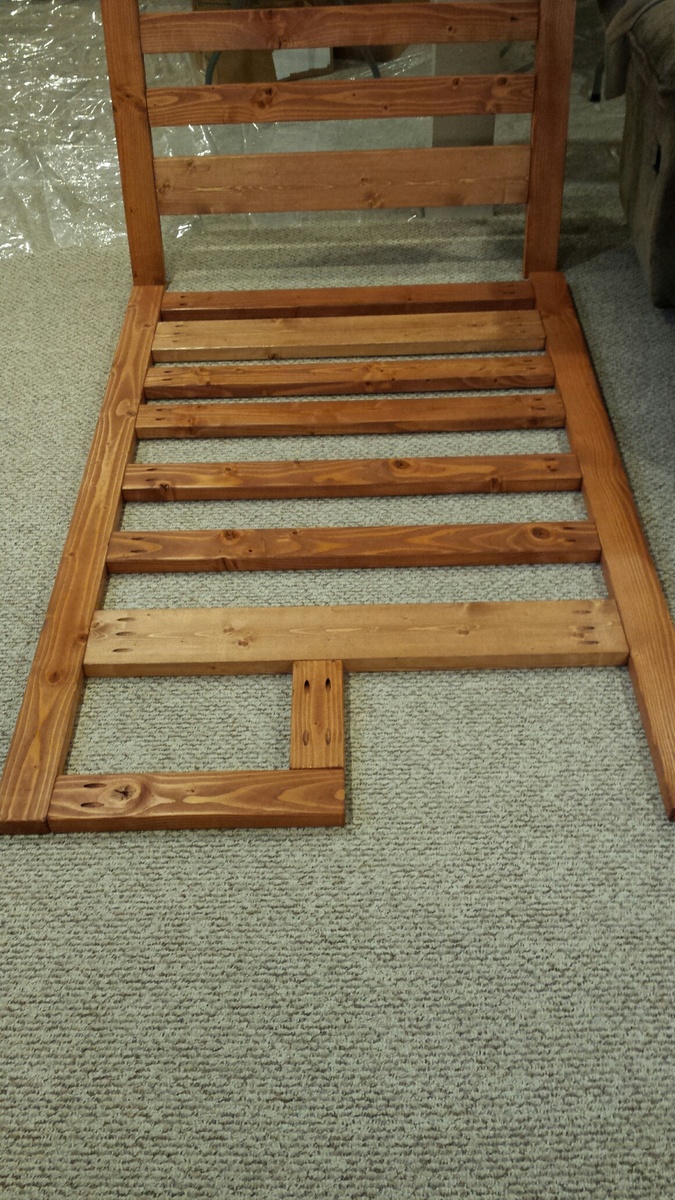
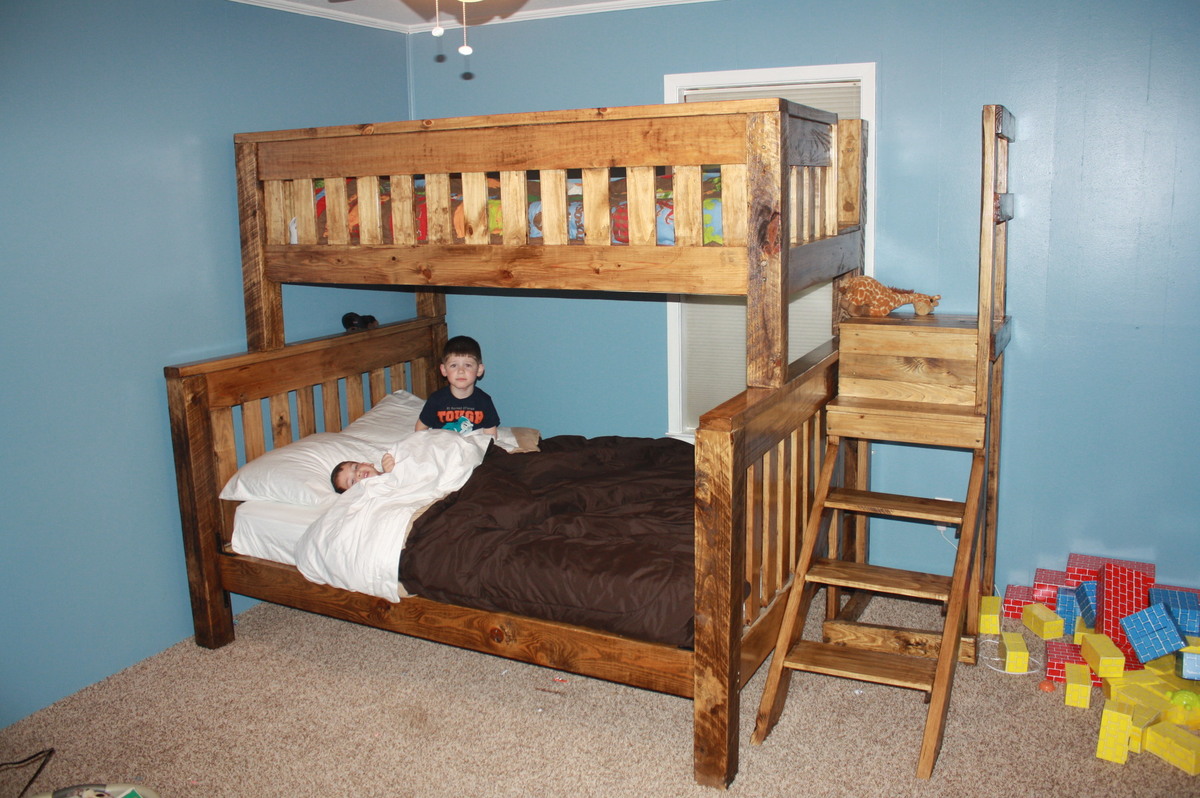
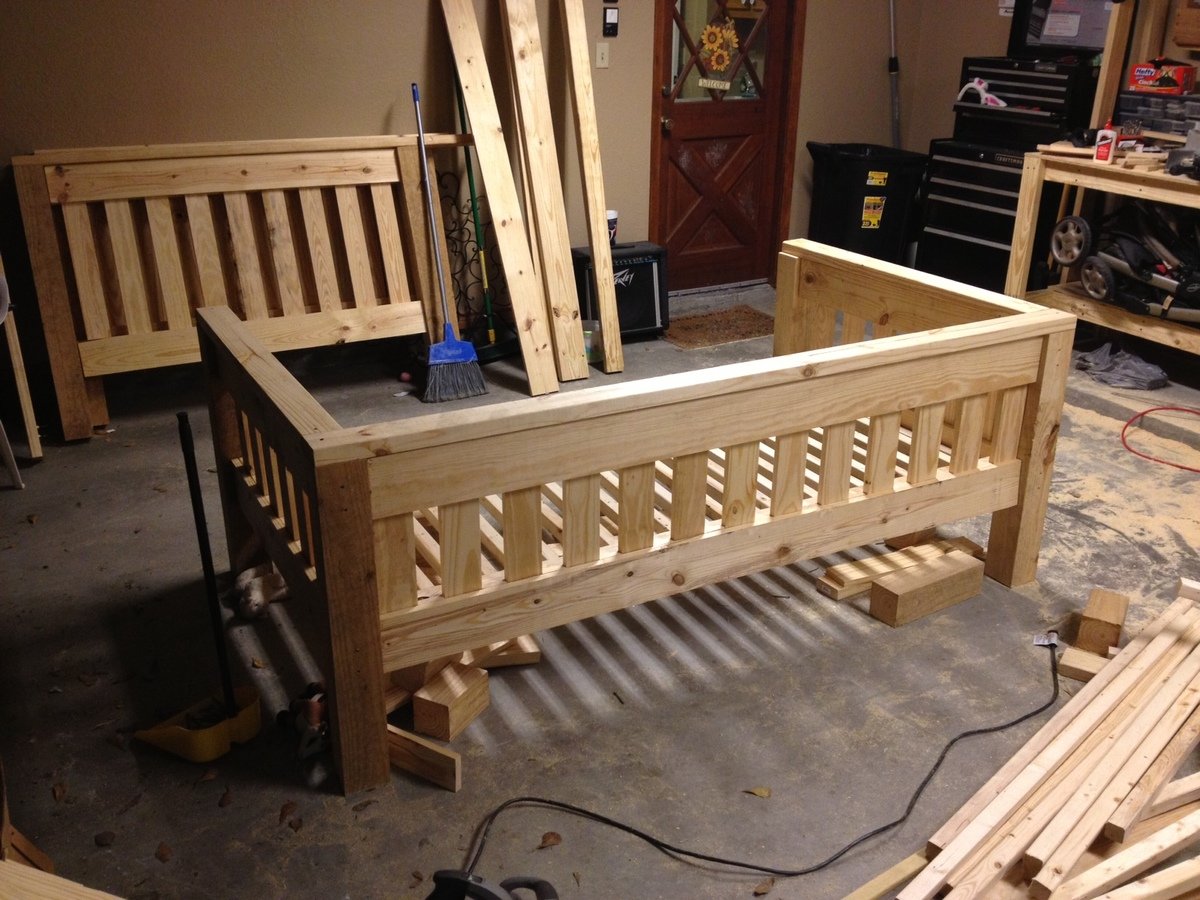
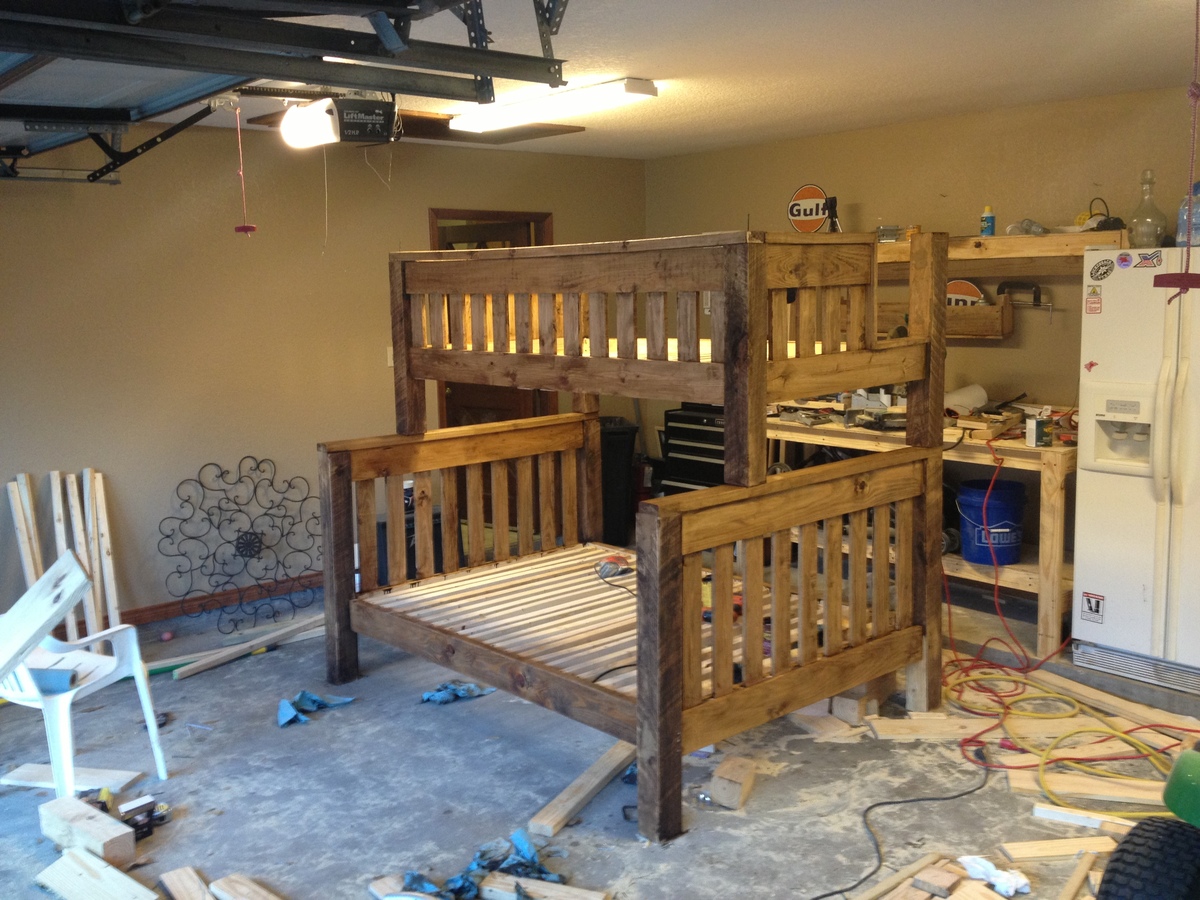
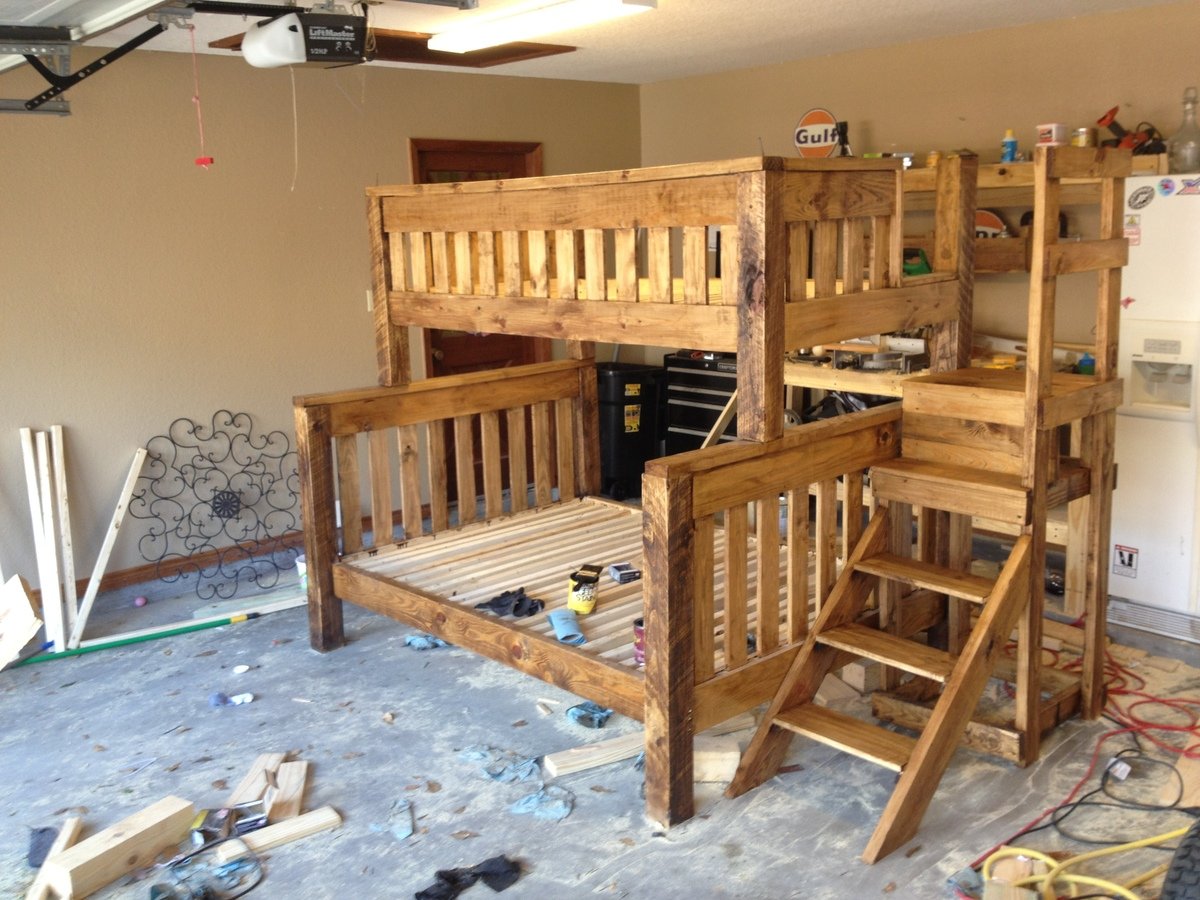
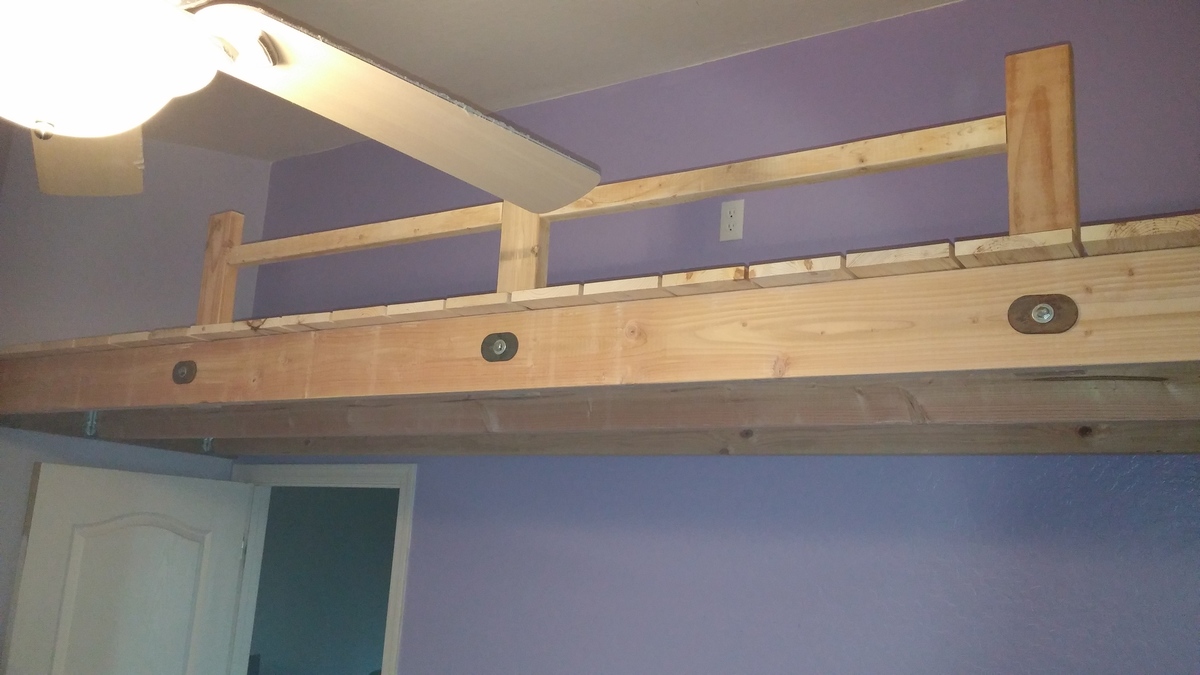
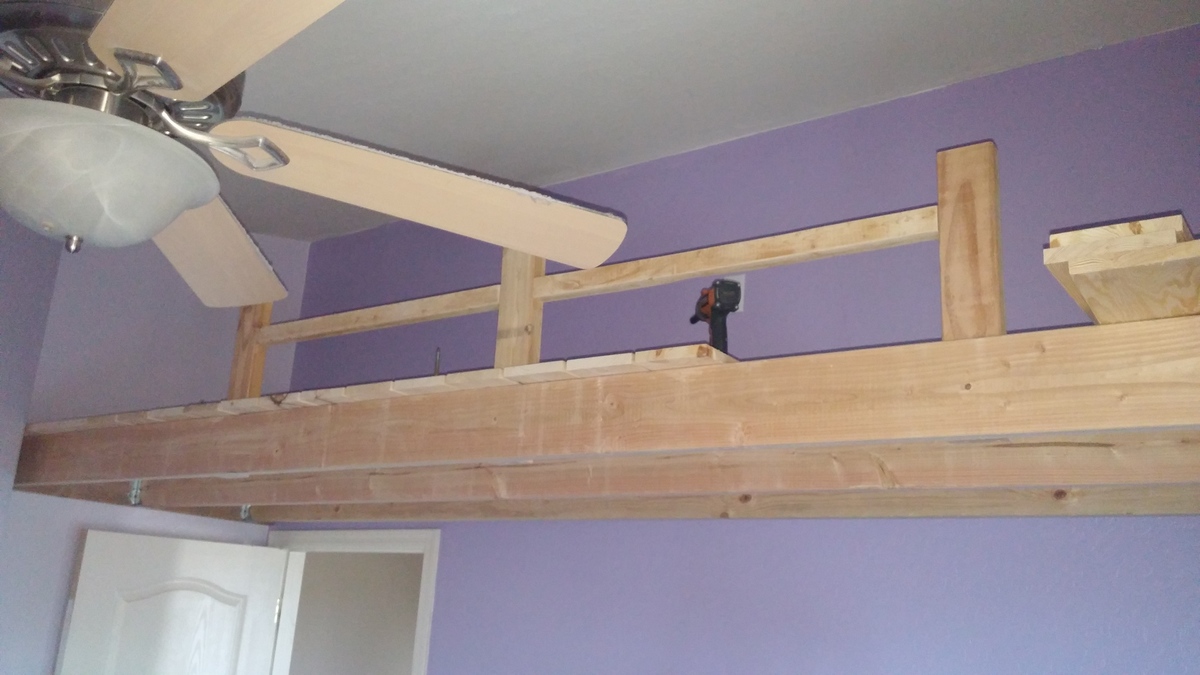
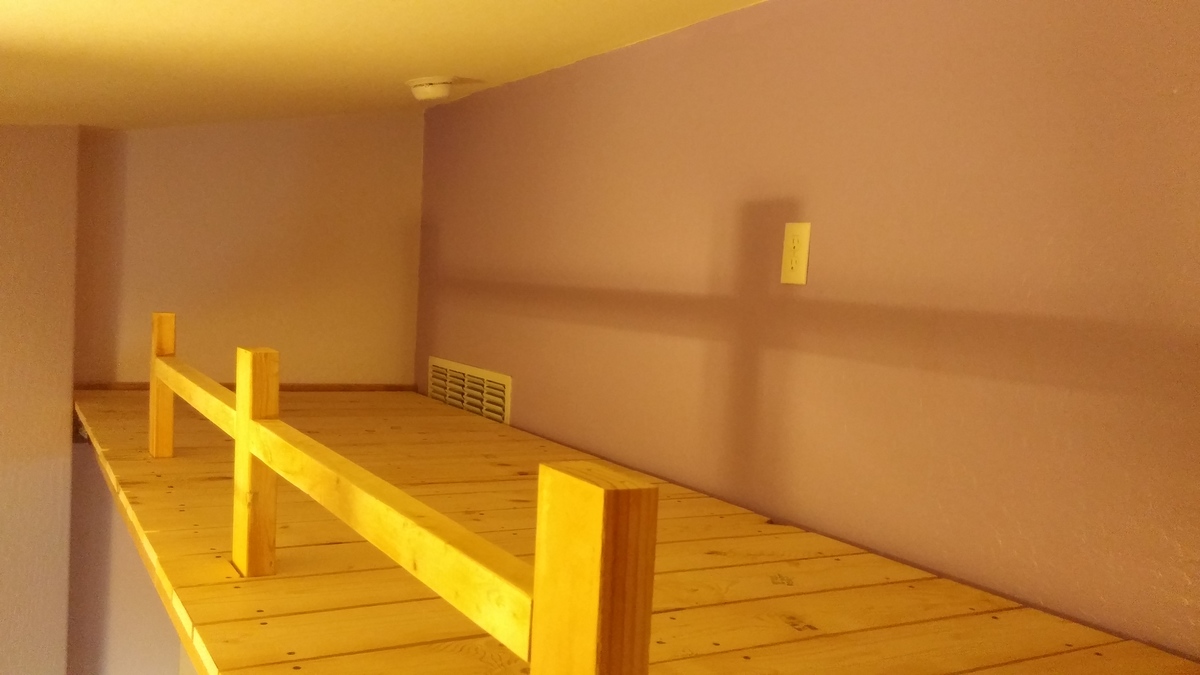
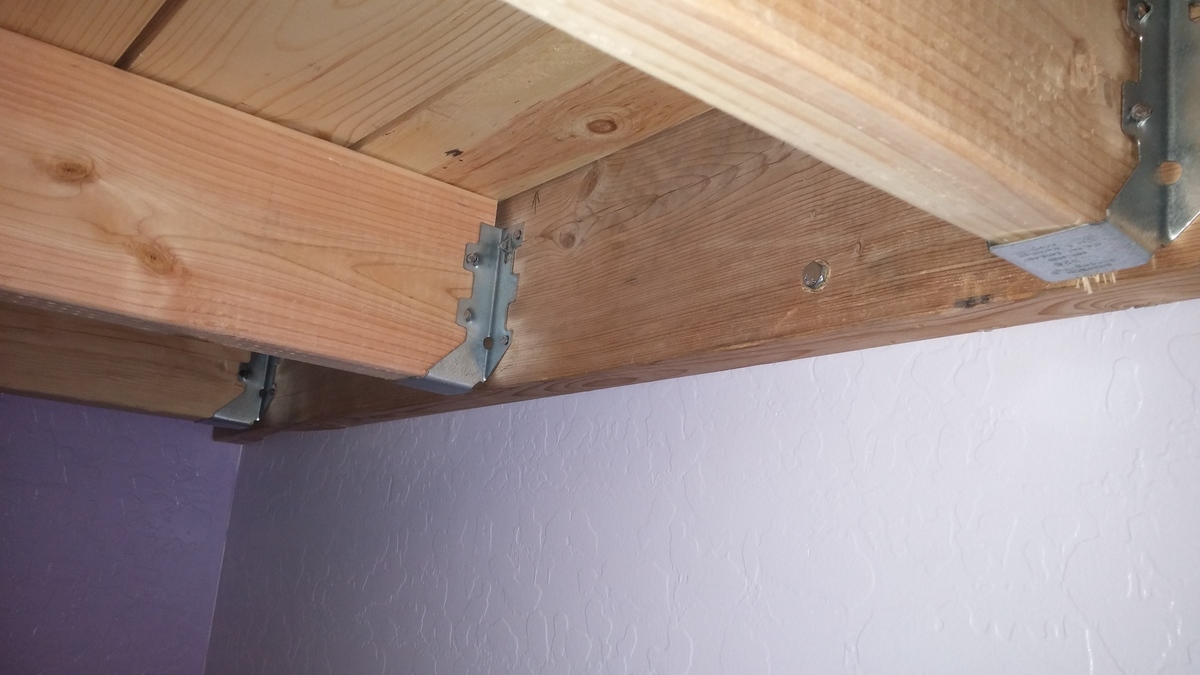
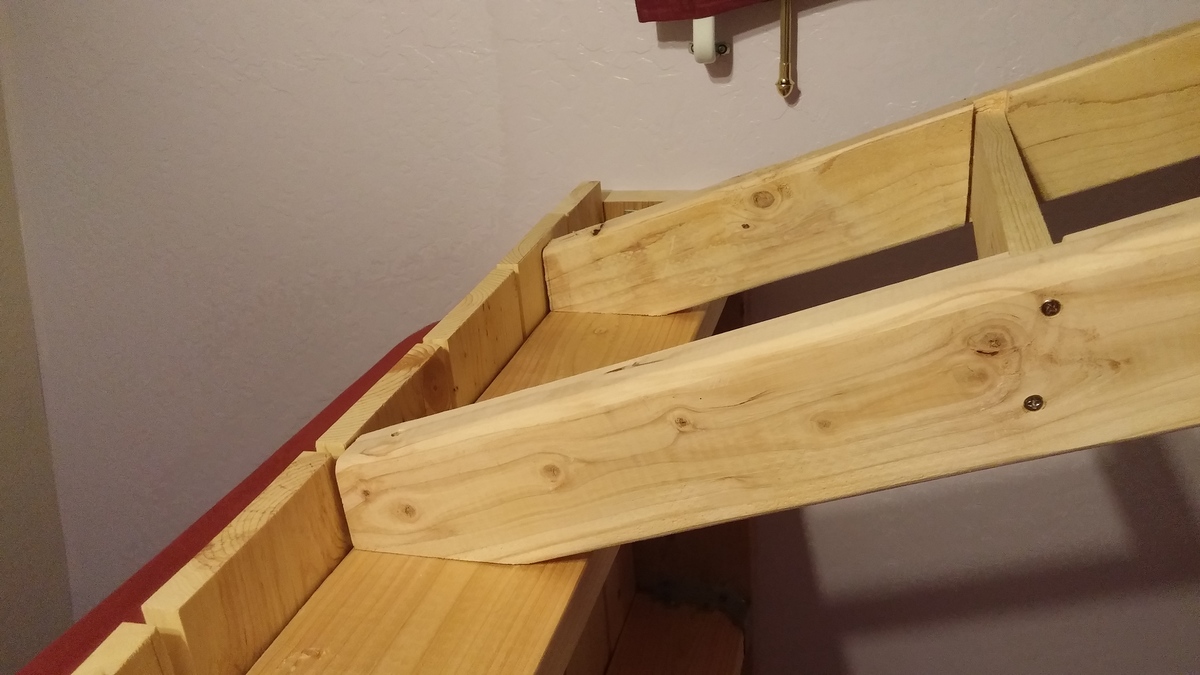
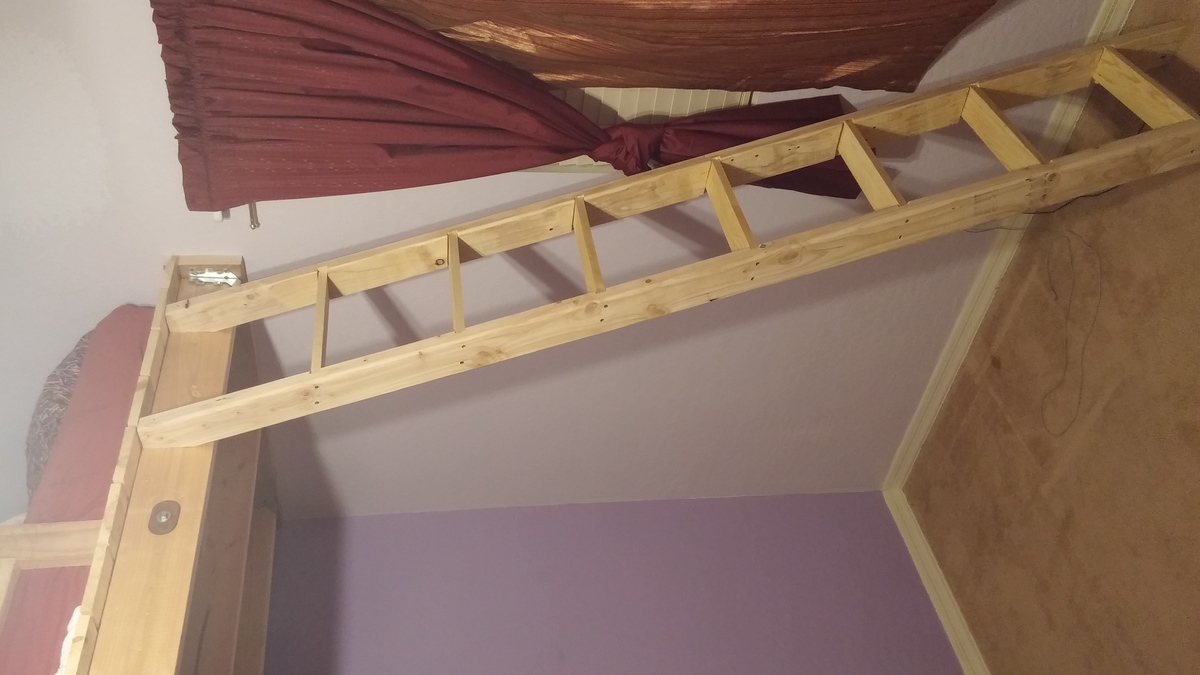
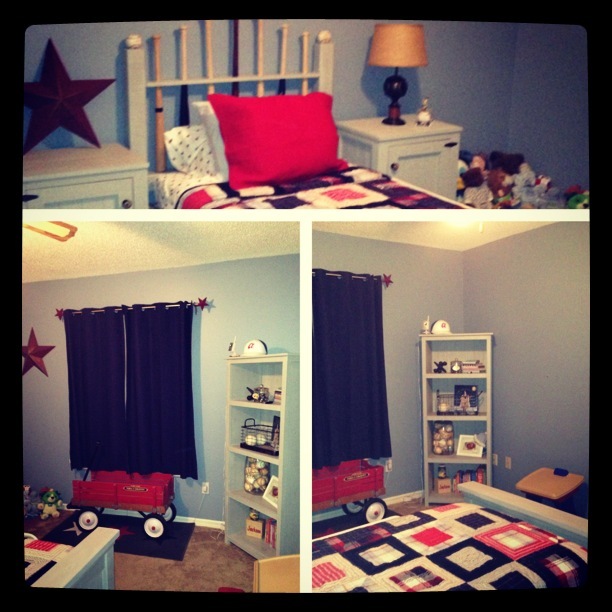
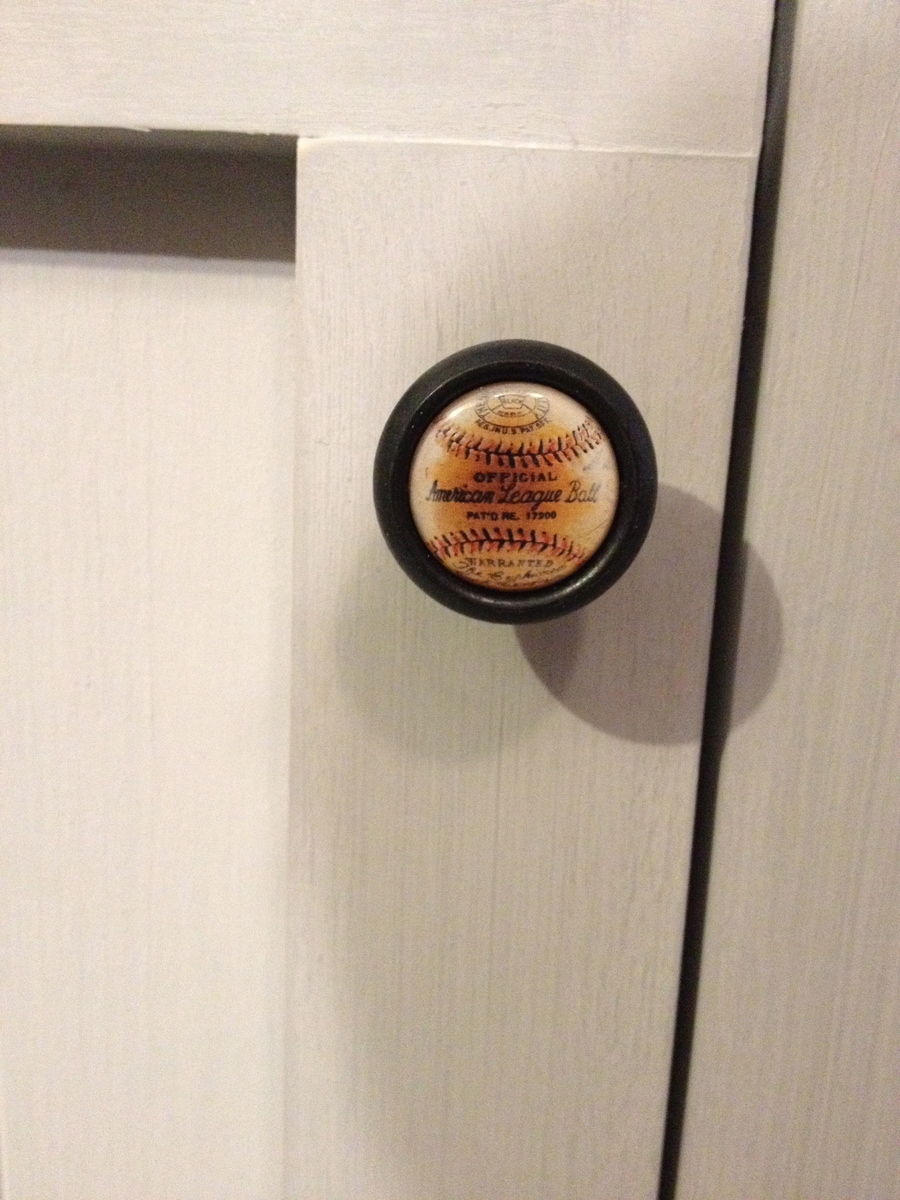
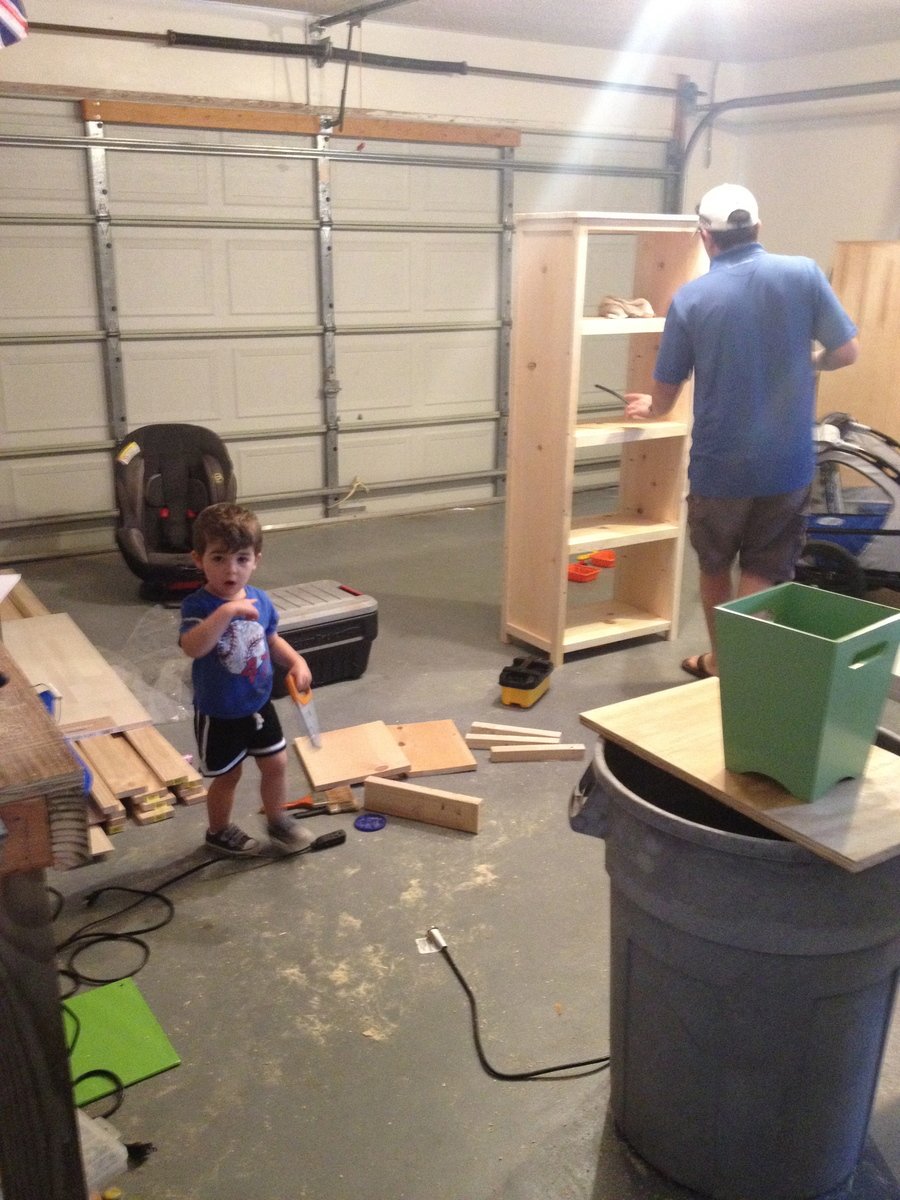
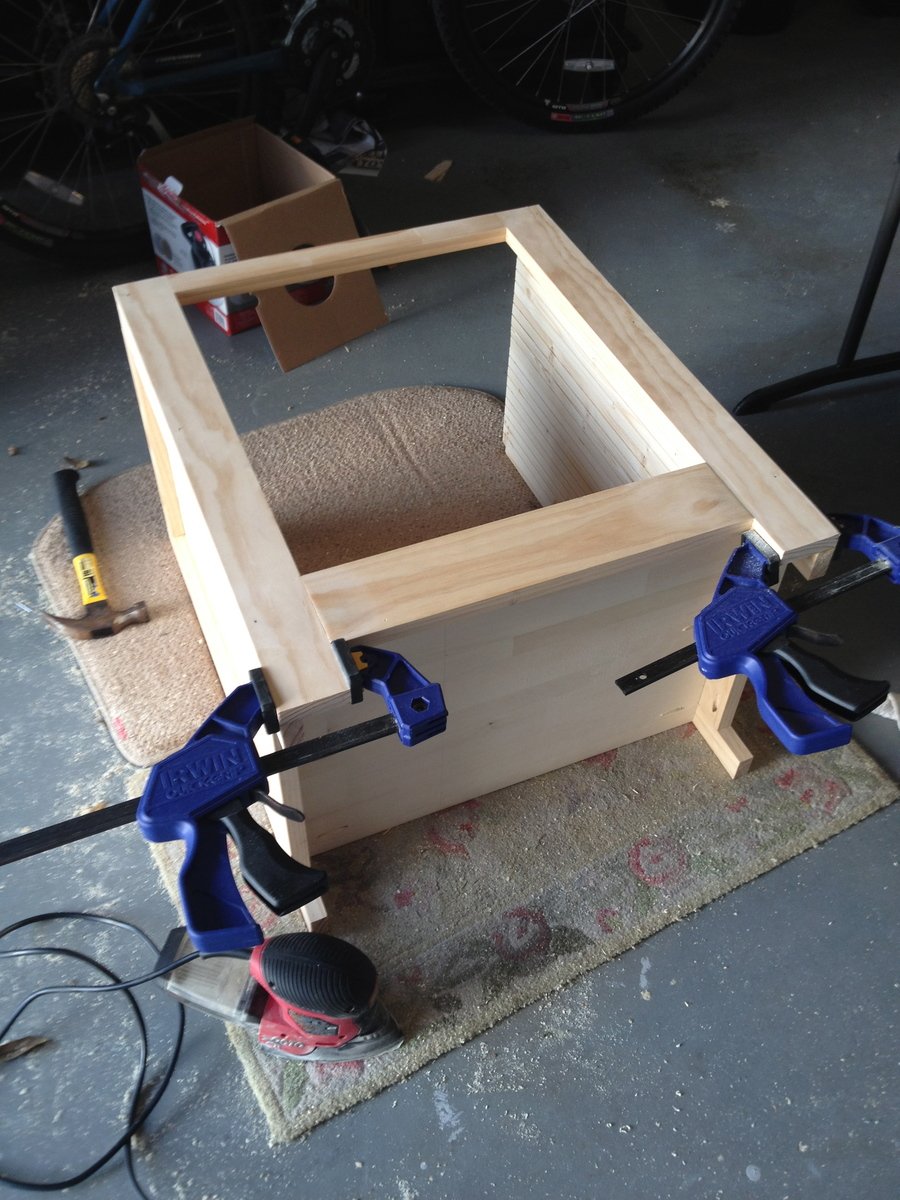
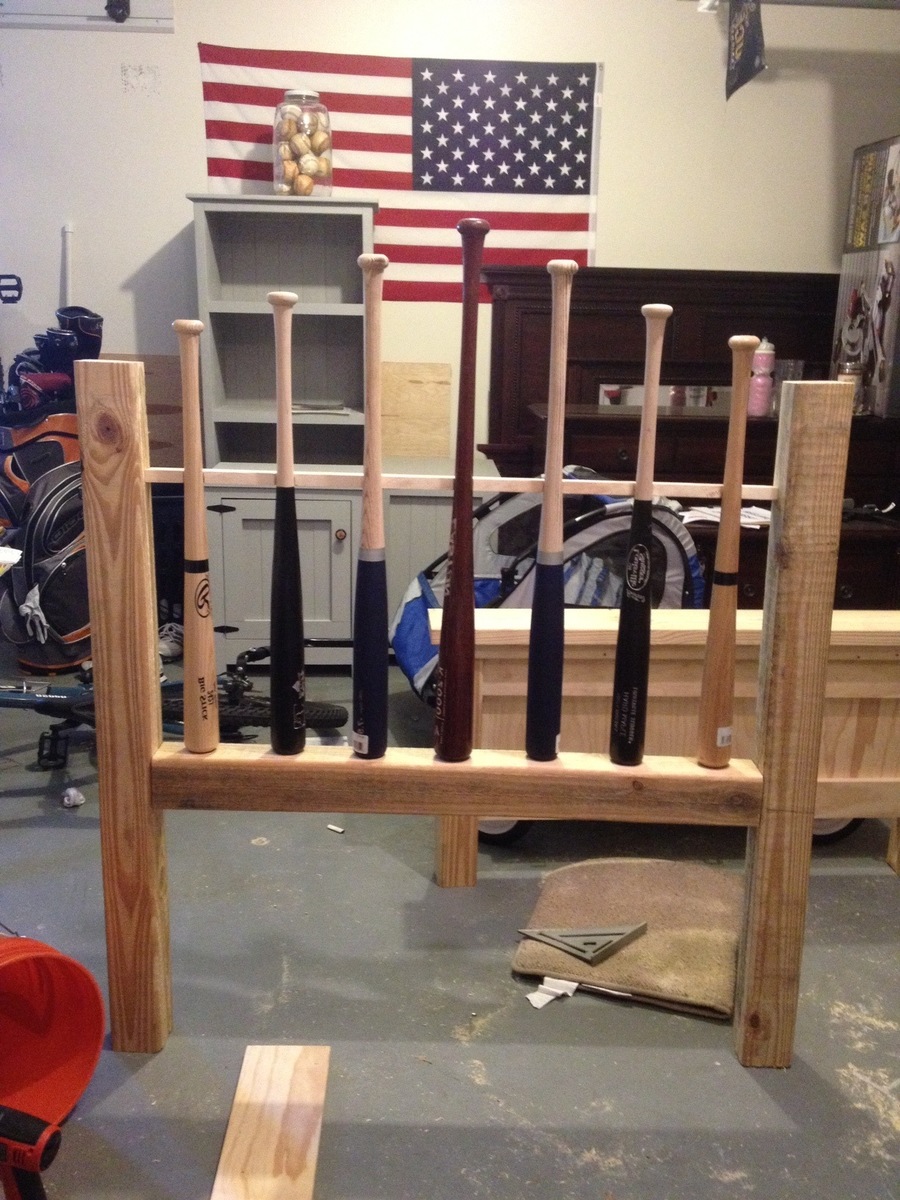
My 4 year old kept asking for a bunk bed, so my wife and I went to the furniture store and saw we would be paying close to $1000 for a junkie bunk bed. We told him it cost too much and left it at that. Then he started bringing us pennies, dimes and all the change he could find to pay for the bed. So I found this website and decided to attempt to build him one. I started building it after work on Monday, continued for a few hours every evening and finished Saturday morning. It turned out amazing, and both the boys love it. It is extremely sturdy, and will last beyond my lifetime. It's just a good quality design. Total Cost was about $300. Not bad for what we would have been paying for a lesser quality bed. Changes I made: I added the railing on the front of the upper bed to match the headboards and railing on the back side because my wife is a worrier. I also designed and built the stairway and bolted it to the lower bed. I am no professional carpenter, a novice at best. Most people with a little carpentry knowledge can build this. Thanks Ana, we all love it!







Comments
katiemakes
Sat, 03/30/2013 - 01:36
beautiful
I'm very jealous of this desk, looks amazing, is there a tutorial on here for the finish you mentioned? Tea and vinegar sound like fun!
In reply to beautiful by katiemakes
khanson17
Fri, 04/05/2013 - 22:20
Tea and vinegar finish
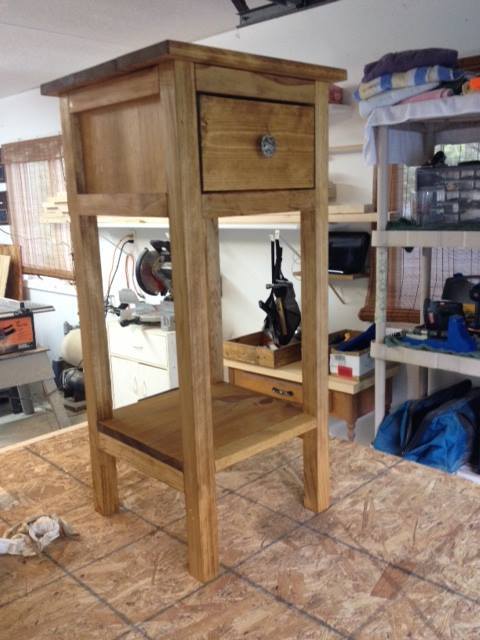
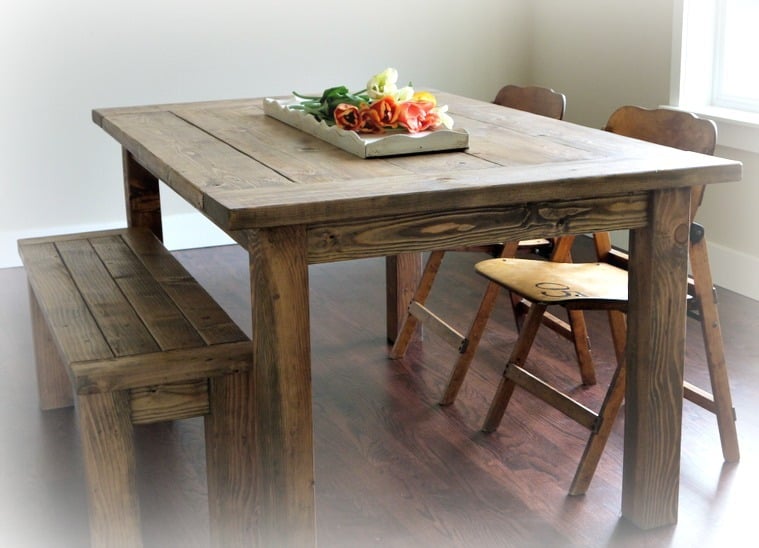
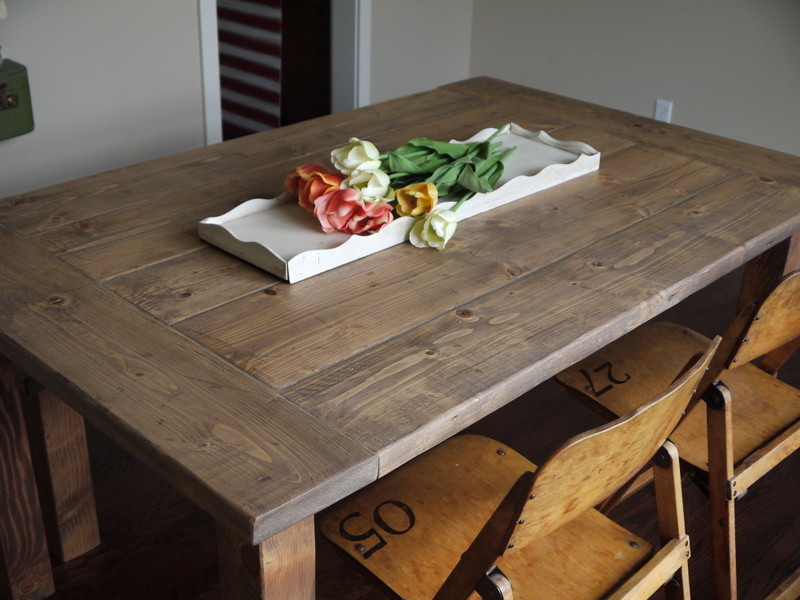
I can't remember where I stumbled across the technique but basically you take some steel wool (0000), tear it up, put it in a big glass jar, fill it with stinky white vinegar and let it sit for a few days to dissolve the wool. Shake the jar every day or two and don't cap it tight. In about three days the wool will have dissolved and you will have a murky liquid.
I then brewed some black tea I bought at Walmart and painted the entire piece with the tea. After it dried I painted over it with the vinegar, and wallah! it totally changed colors...not sure why it does...something to do with oxidization and tannin and chemical reactions.
Then I went over the entire piece with furniture wax.
There are plenty of online tutorials which go into more detail. My suggestions is make sure your surface is completely clean and as smooth as possible. Let your tea layer completely dry before applying the vinegar and then let your vinegar layer dry outside. We rushed the table into our house mere moments after it was dry to the touch, so our home smelled like stinky, rusty vinegar for a few days. I can't stand the smell of vinegar....I loathe salt and vinegar chips....blah.
Anyway, glad you liked it.
spiceylg
Tue, 04/07/2015 - 06:05
Nice!
Love this mod. Might copy but will cut into the desk portion so the sewing machine surface is flush. I have a desk in which it sits on top now and have thought of cutting into it, but it's Amish made and the thought of ruining work gives me the willies, ha! Anyway, great job!
In reply to Nice! by spiceylg
spiceylg
Tue, 04/07/2015 - 06:05
*ruining THEIR work
*ruining THEIR work
chariesse4
Wed, 04/08/2015 - 08:52
Love this! Do you have the plans you used?
Love this! Would like to build for a make up/get ready table! Do you have the plans you used or how did you modify this?!