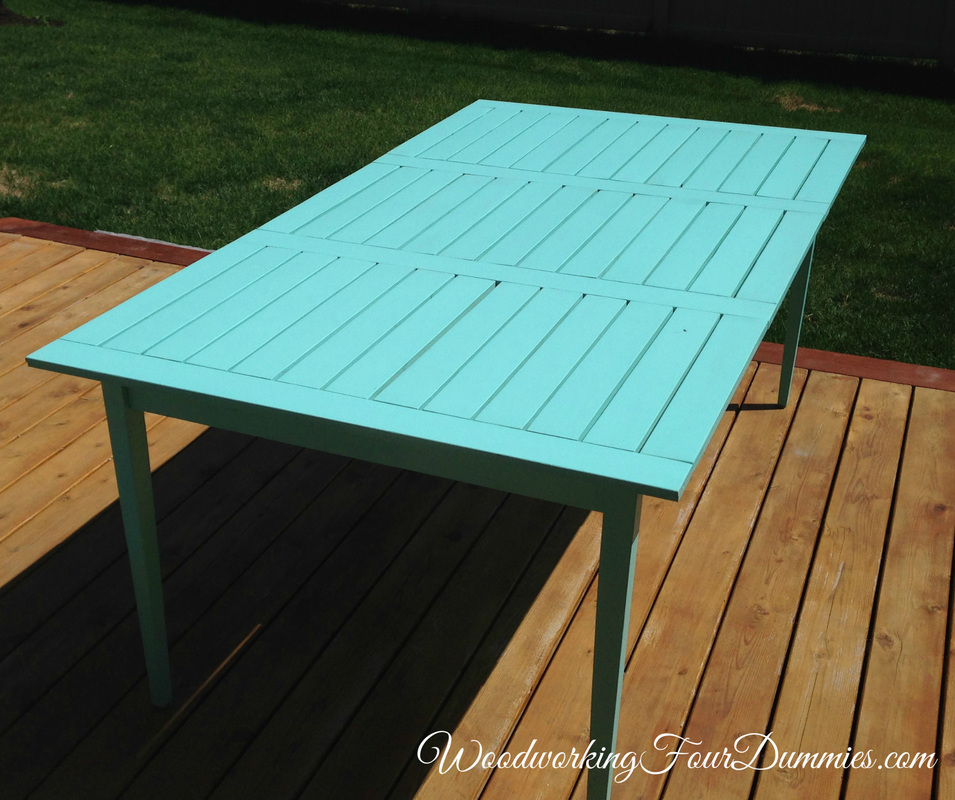
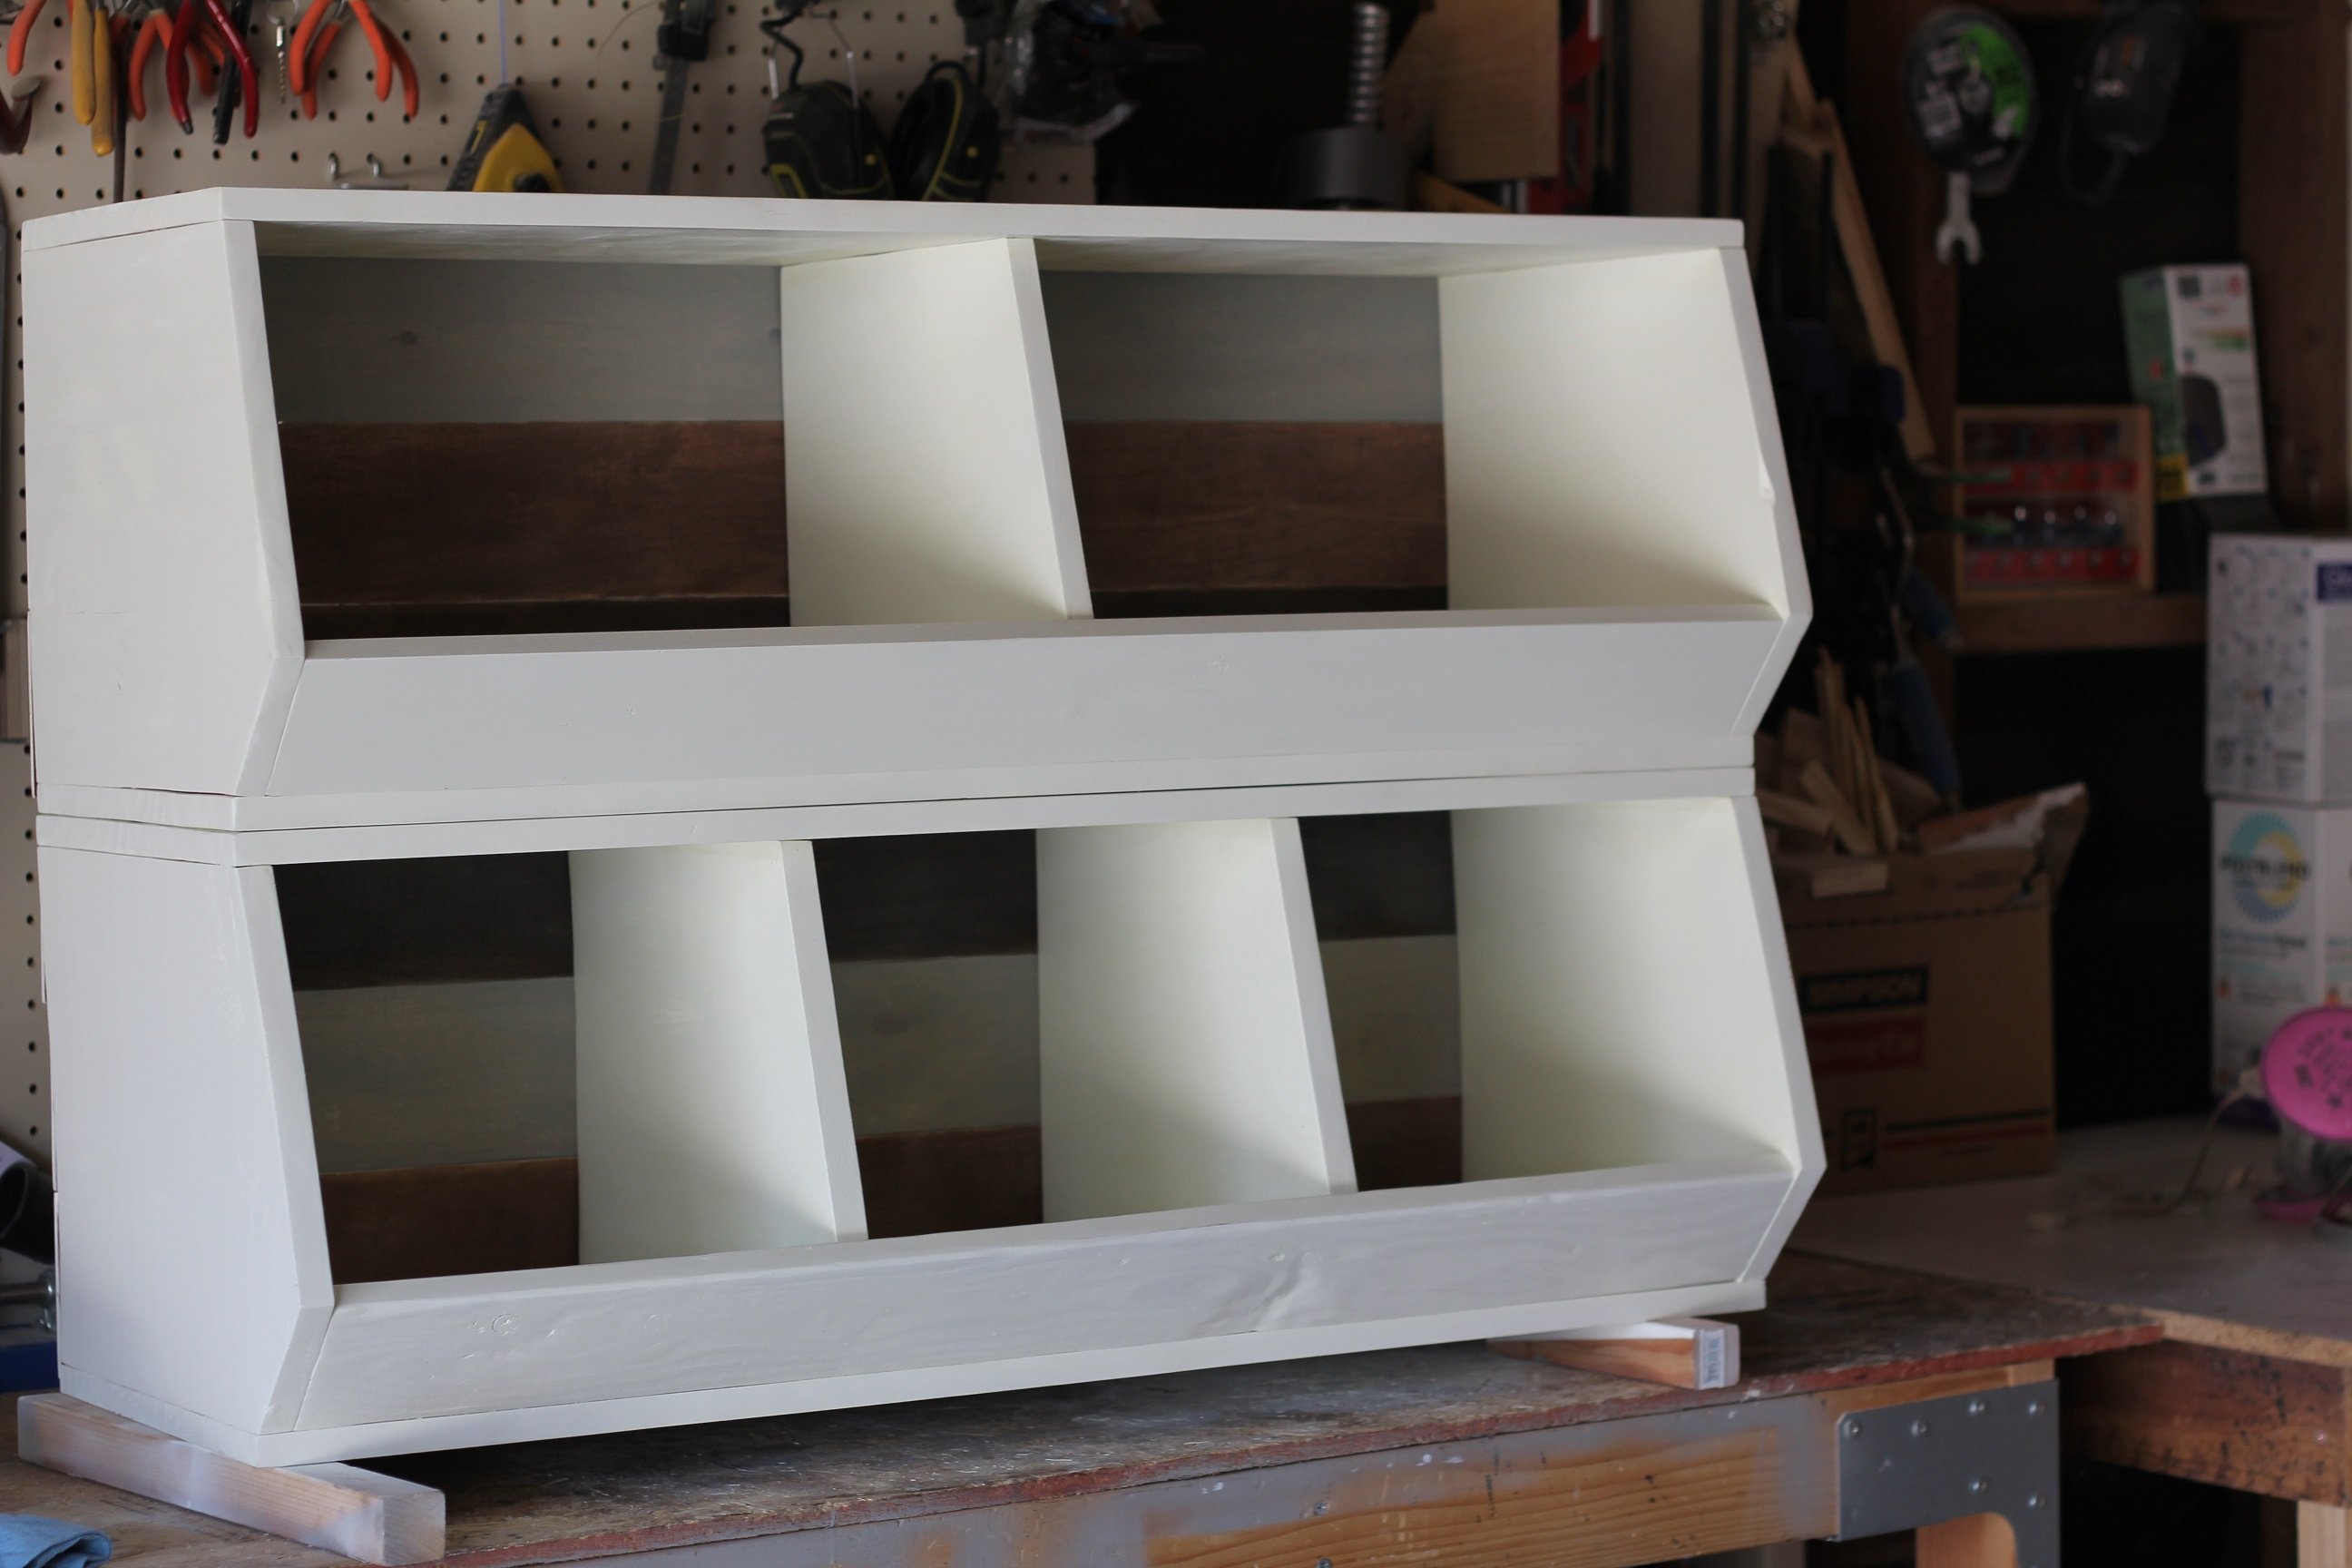
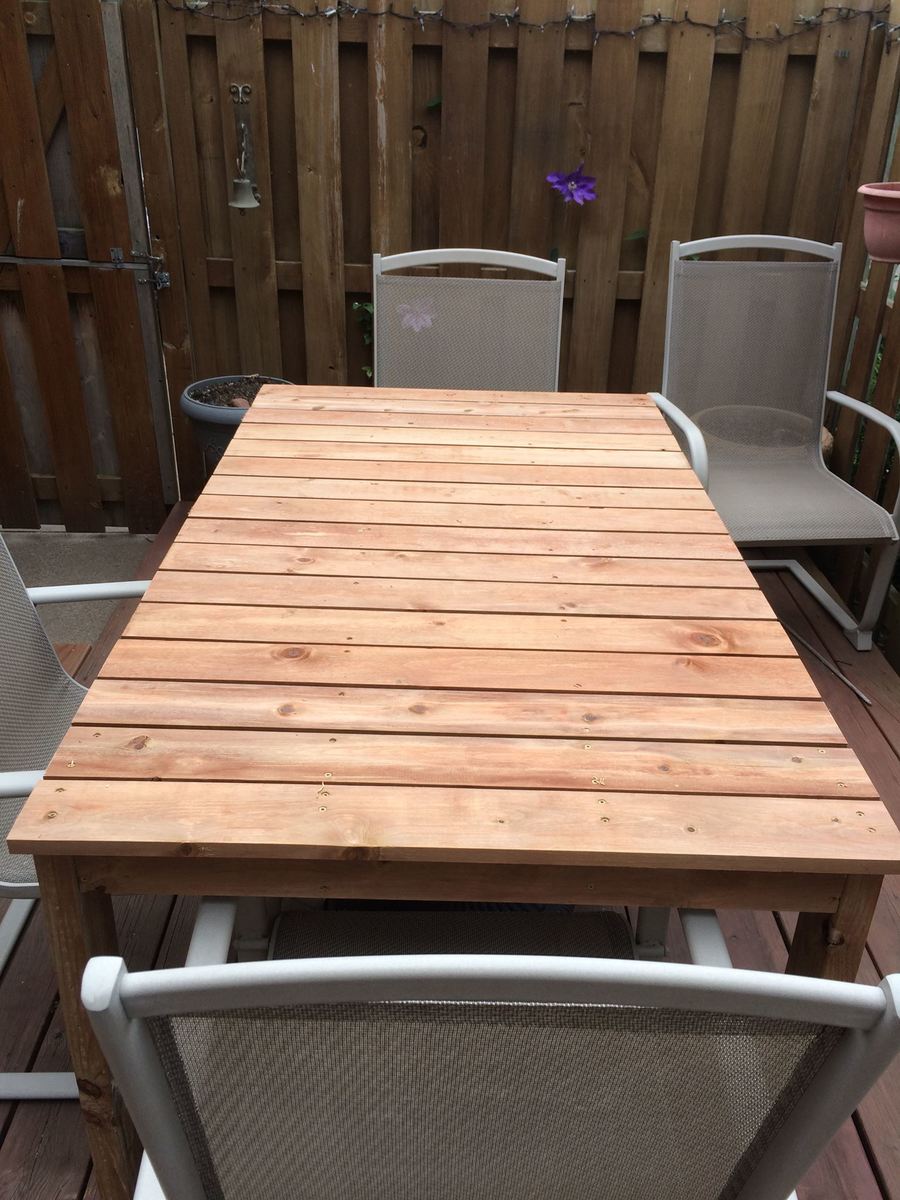
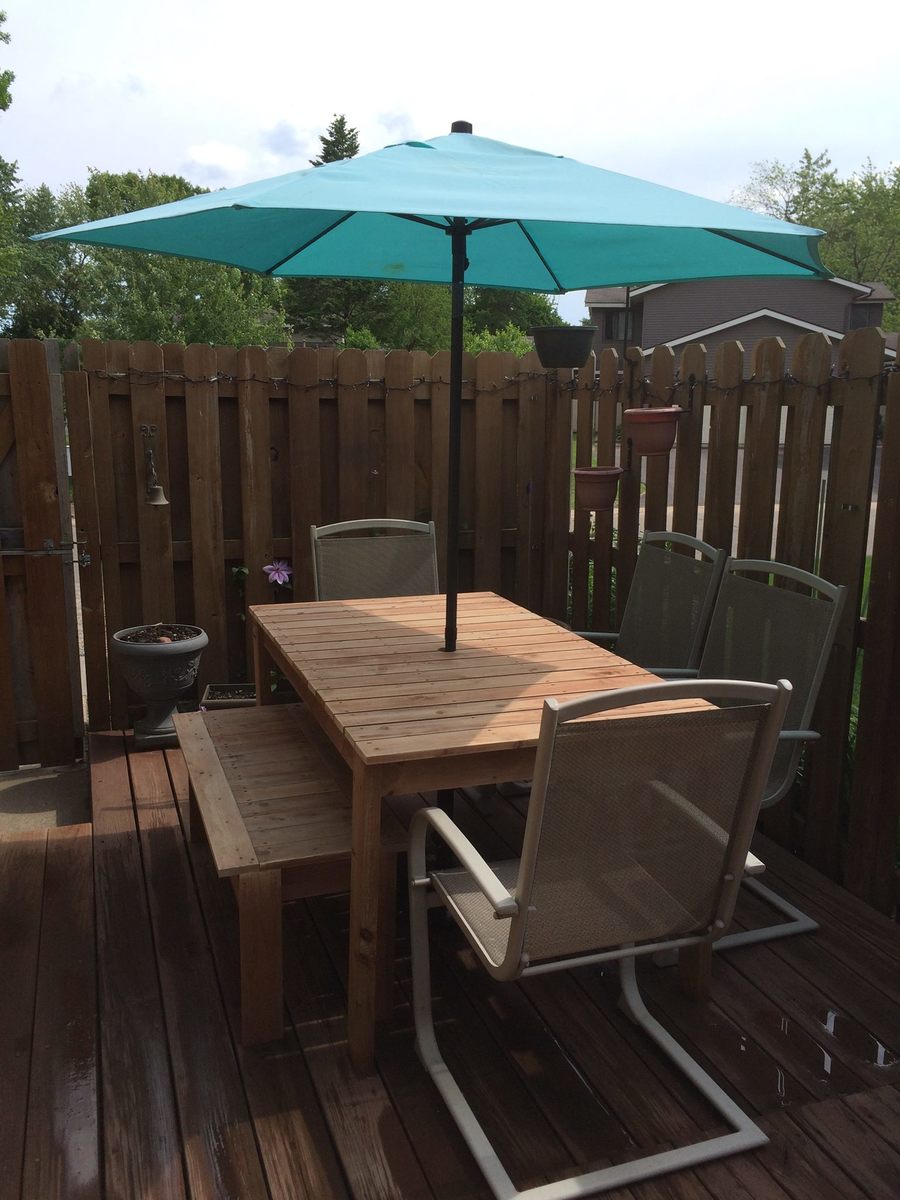
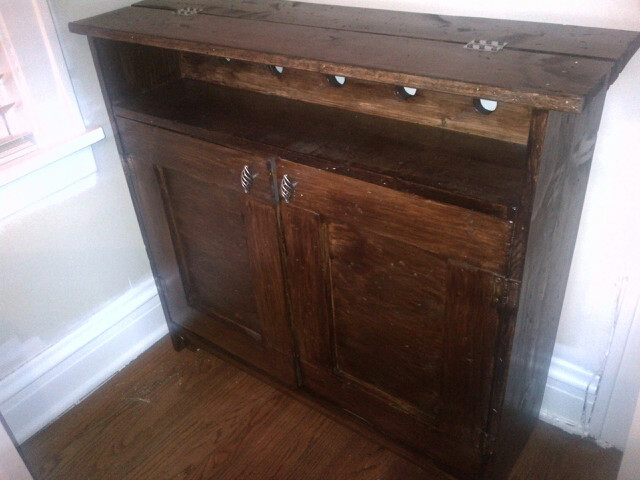
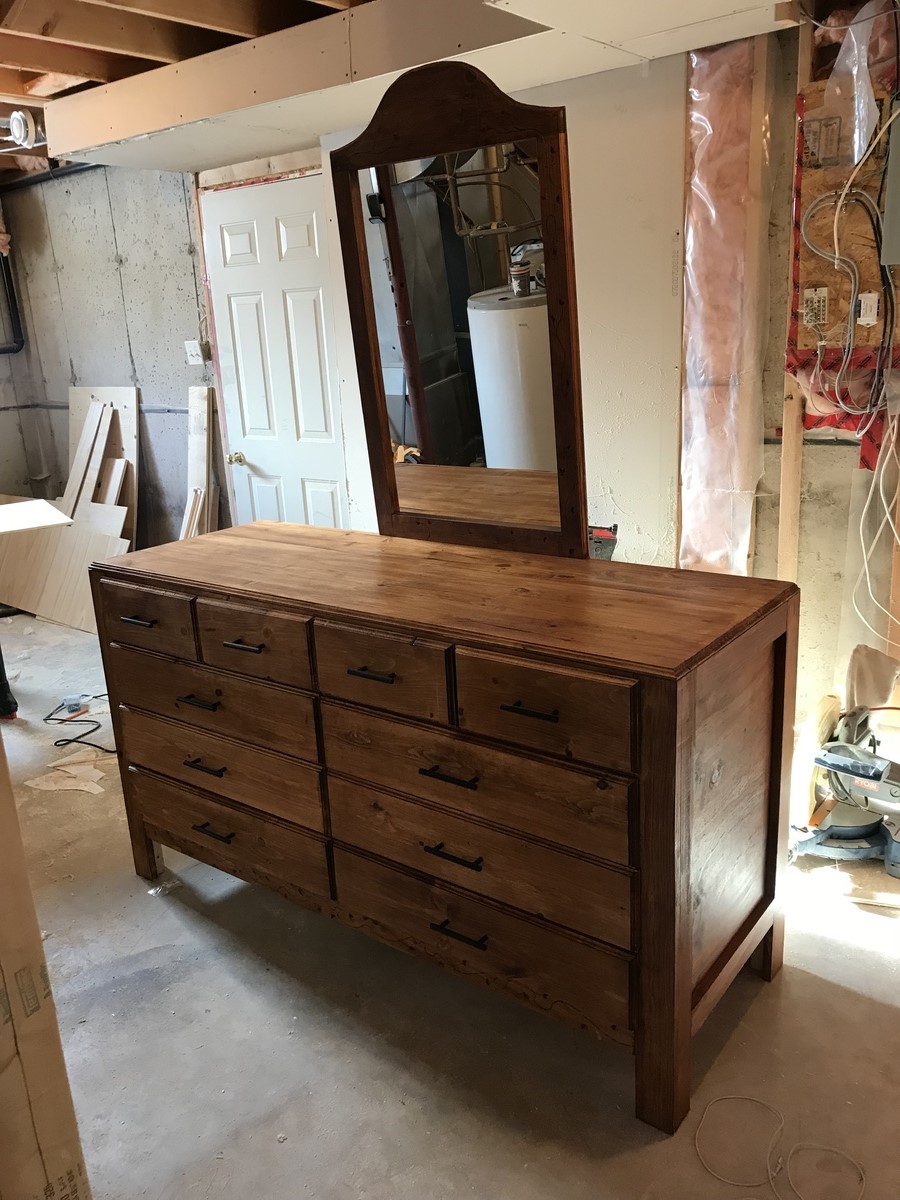
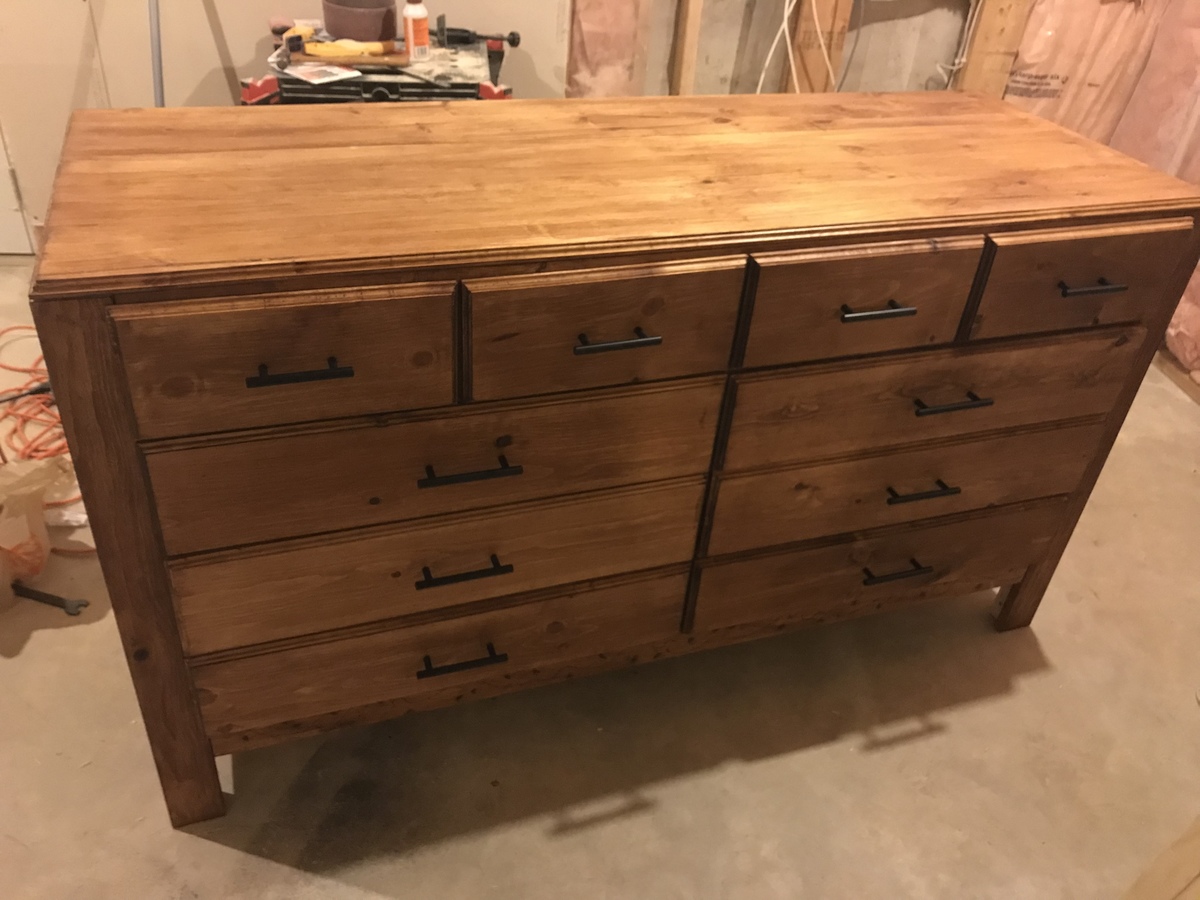
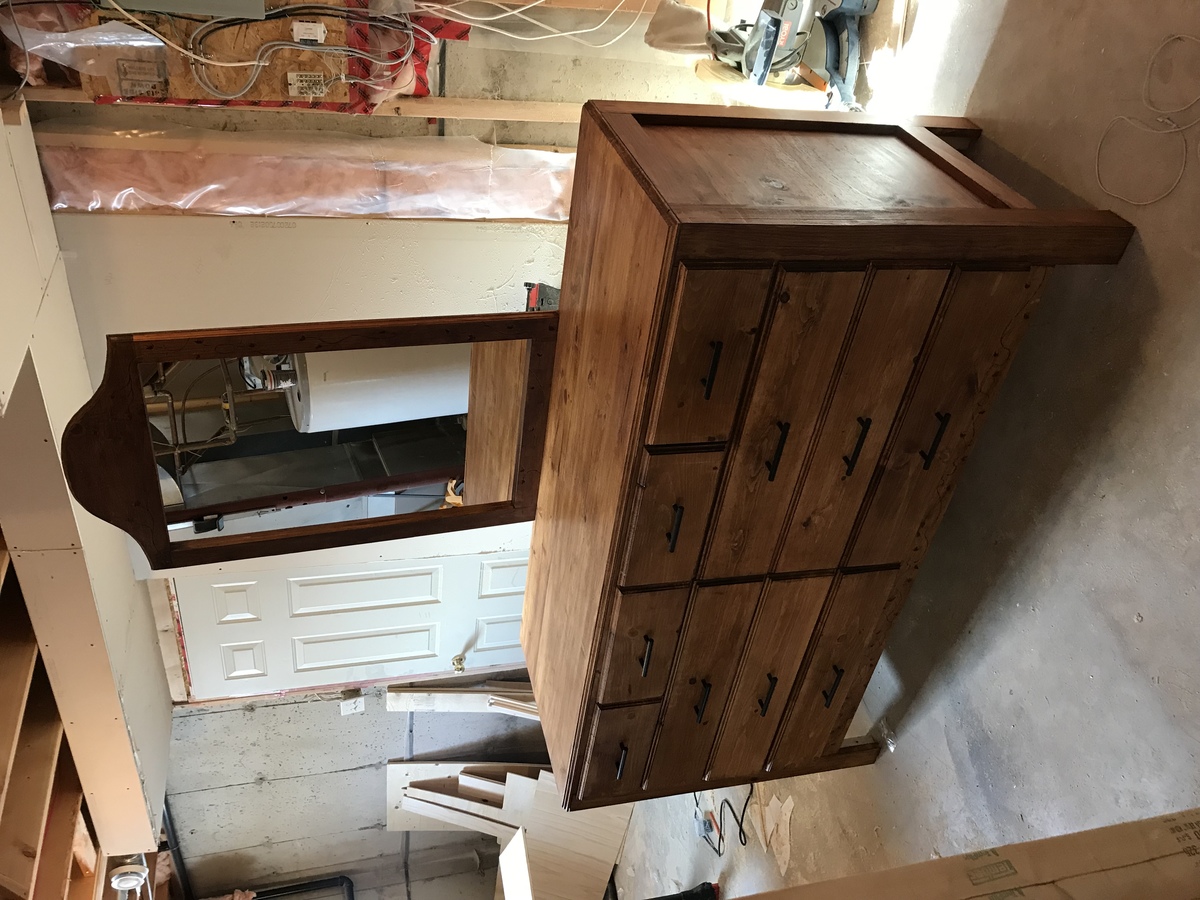
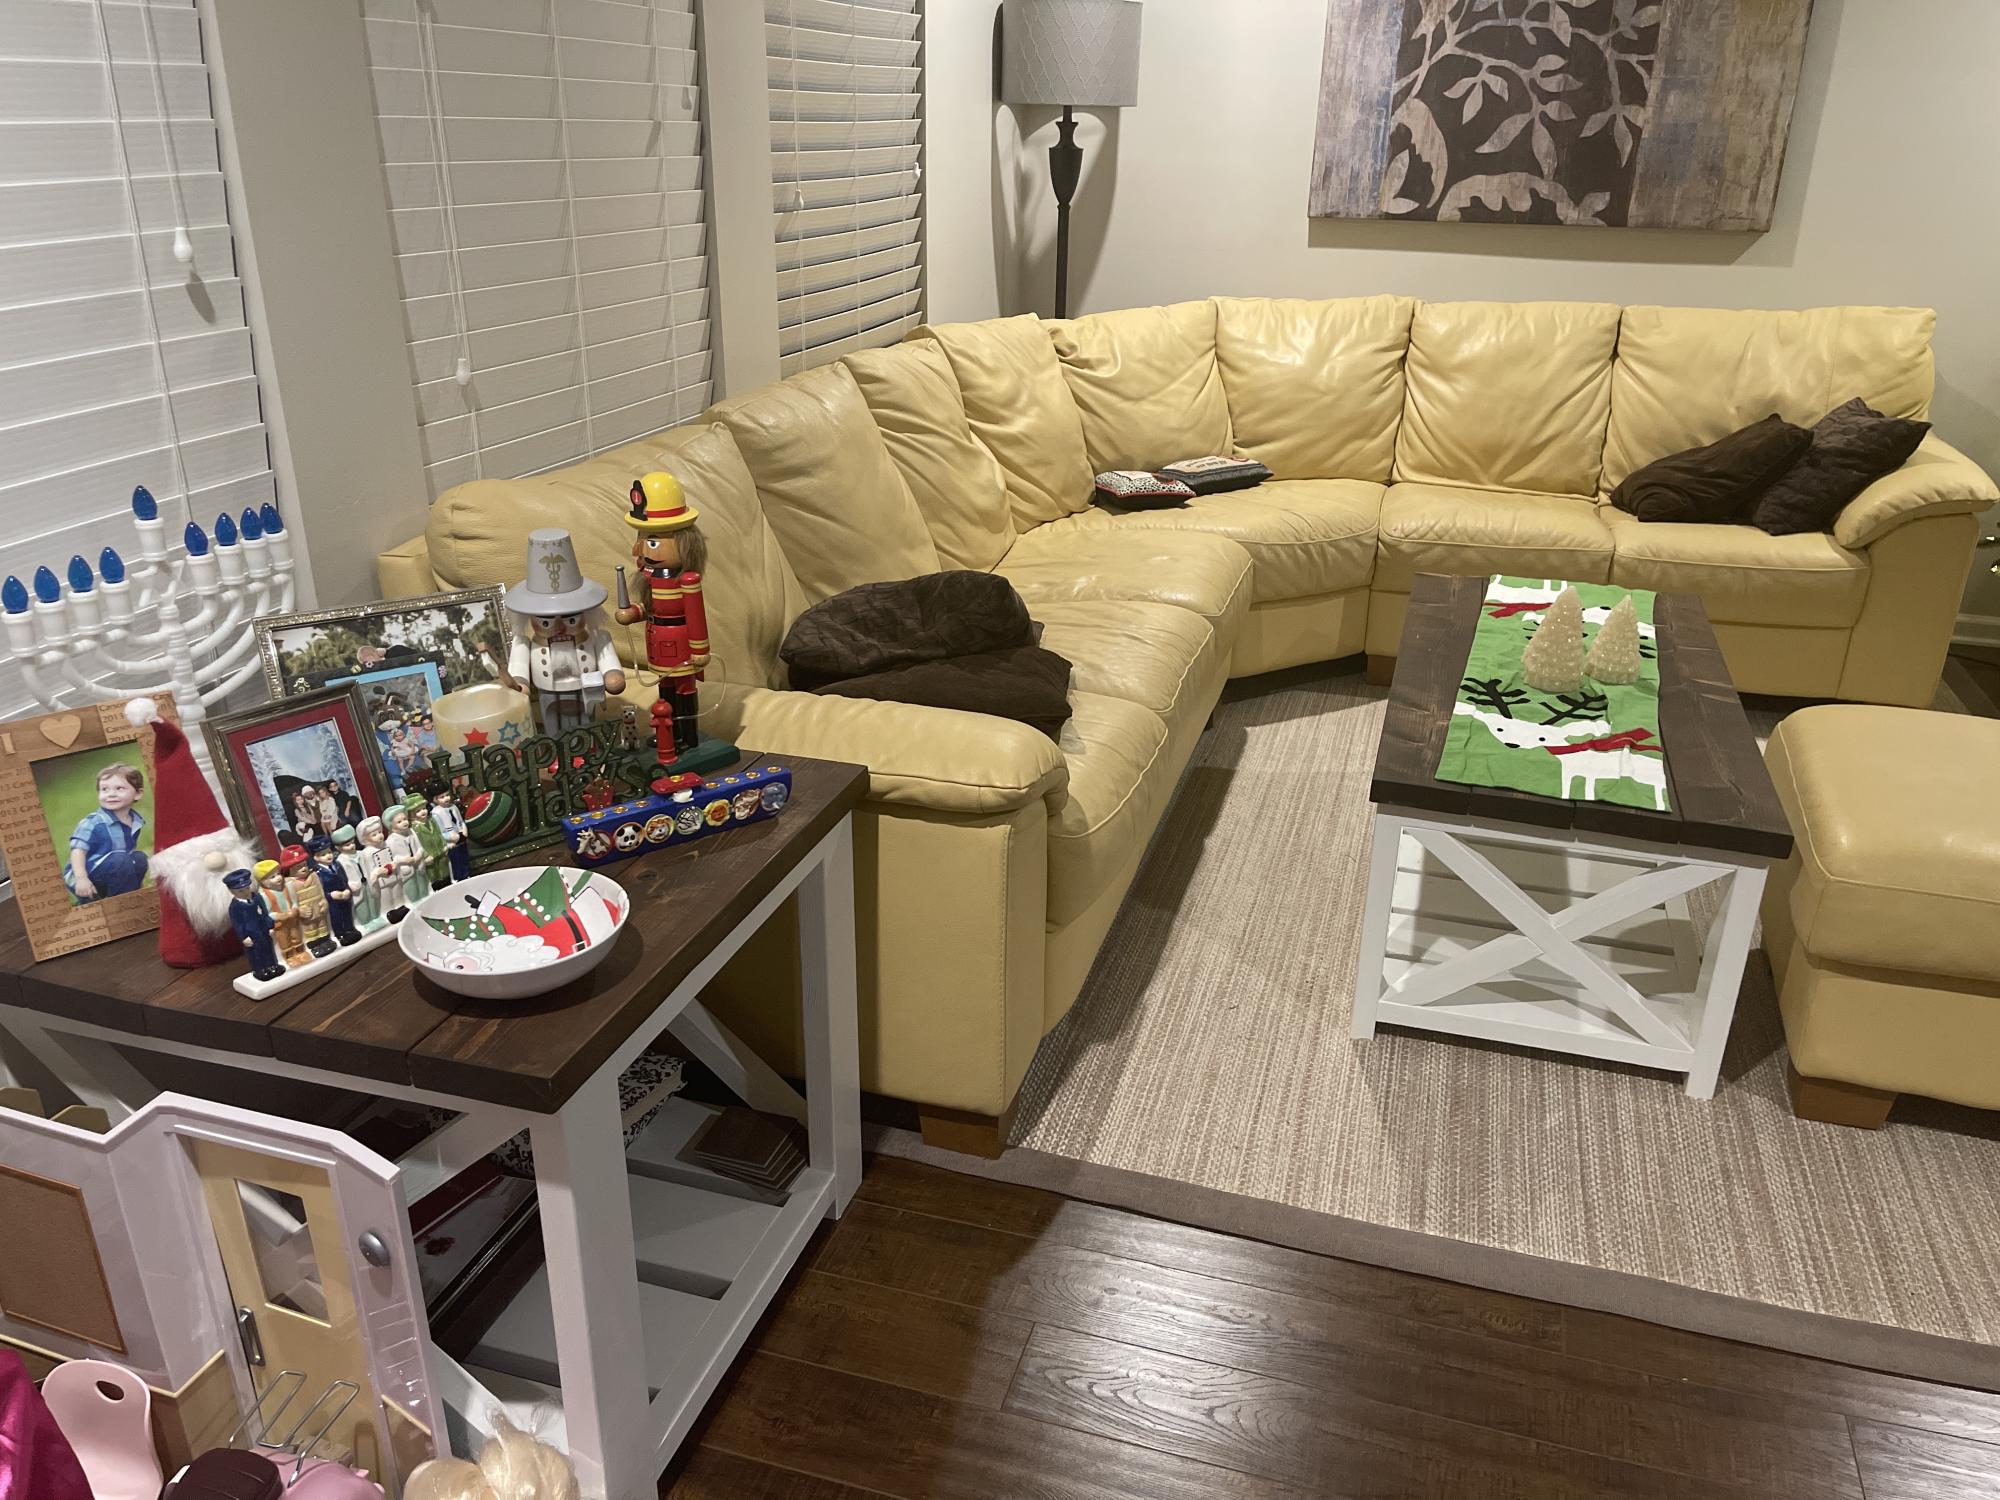
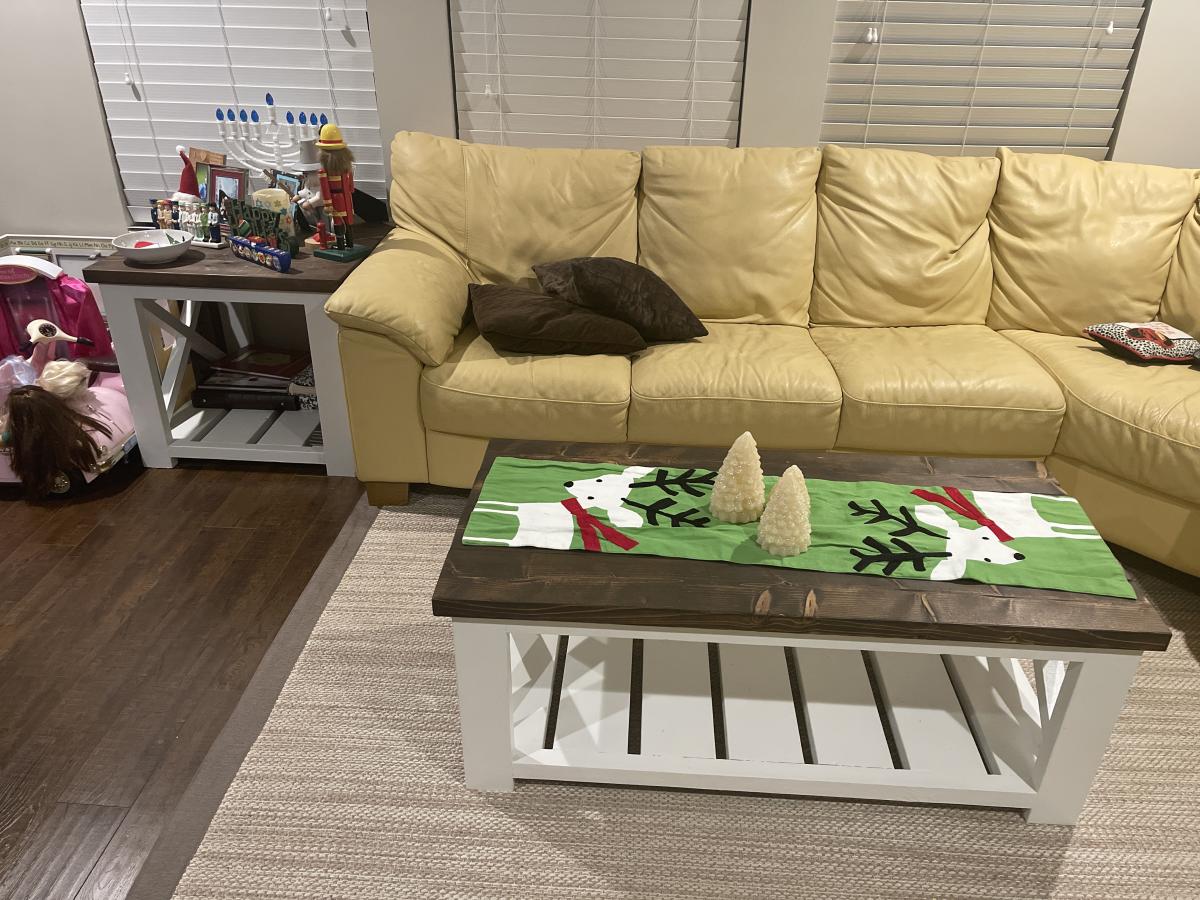
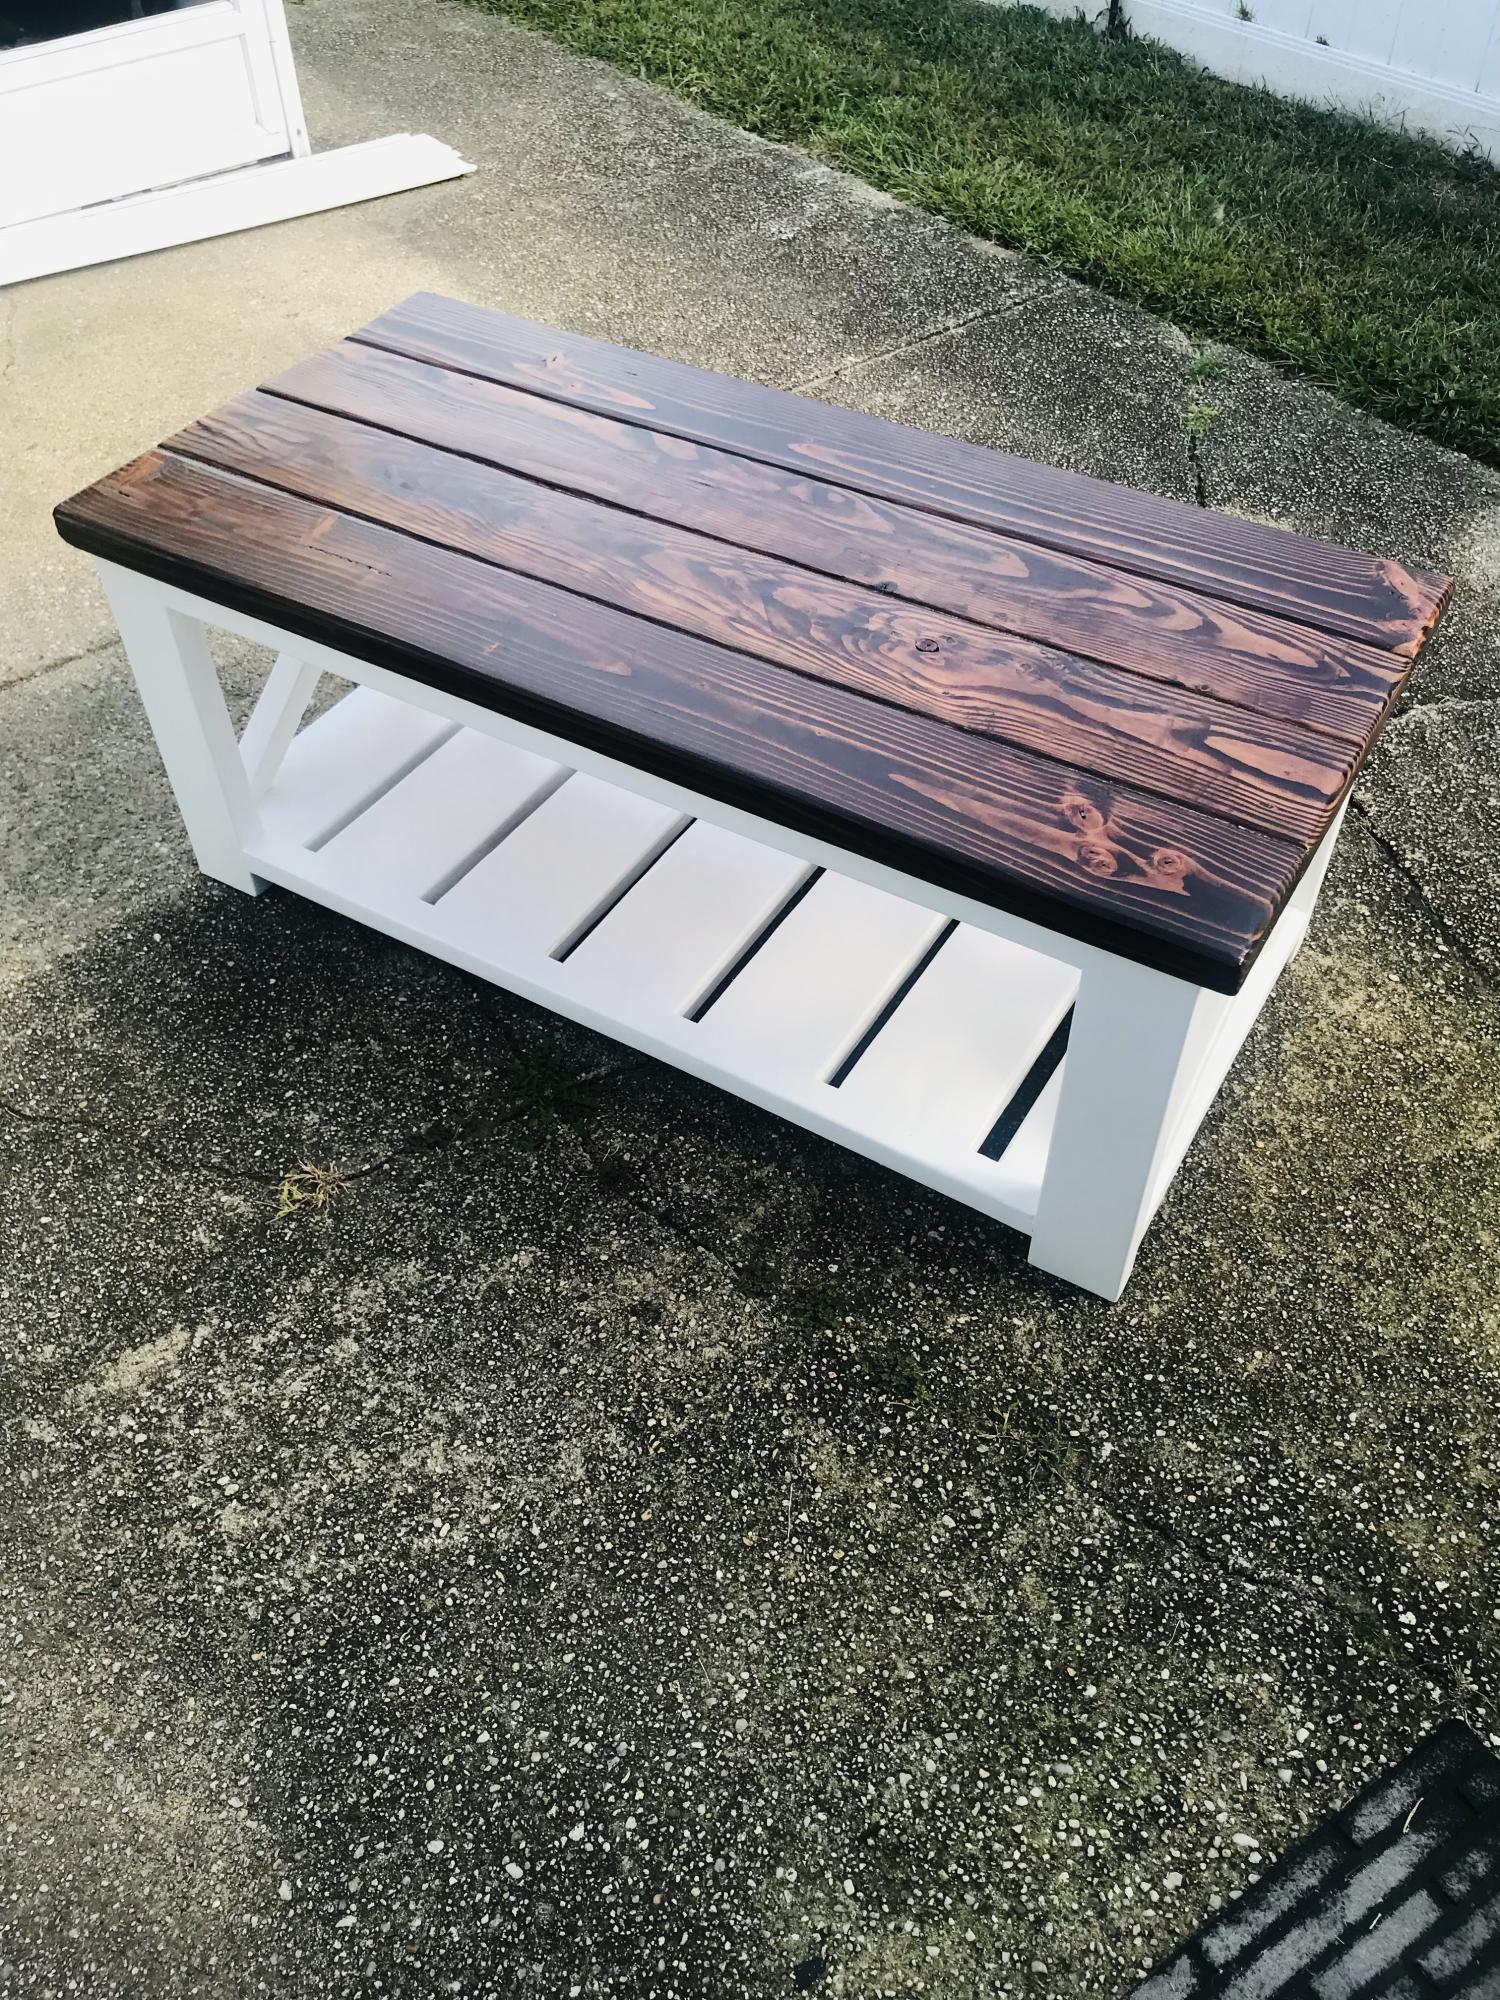
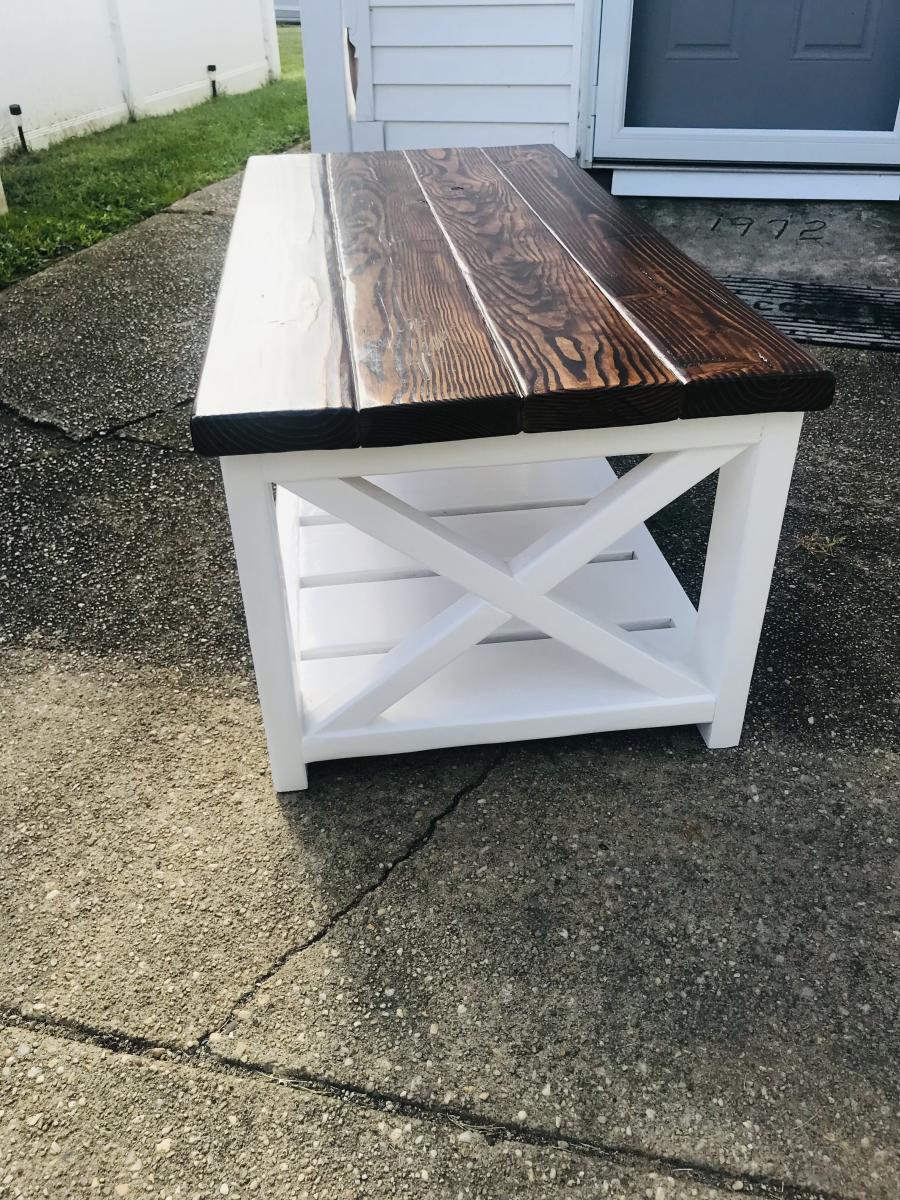
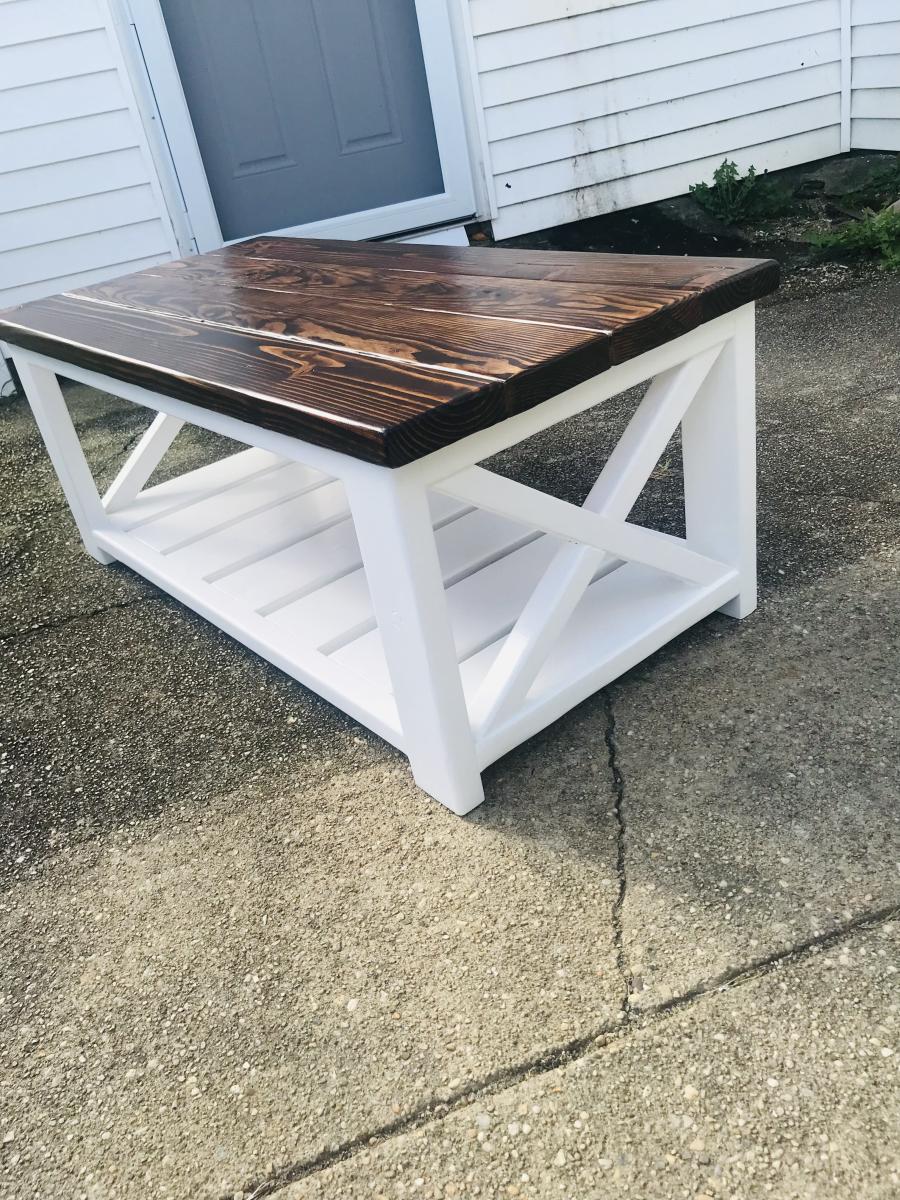
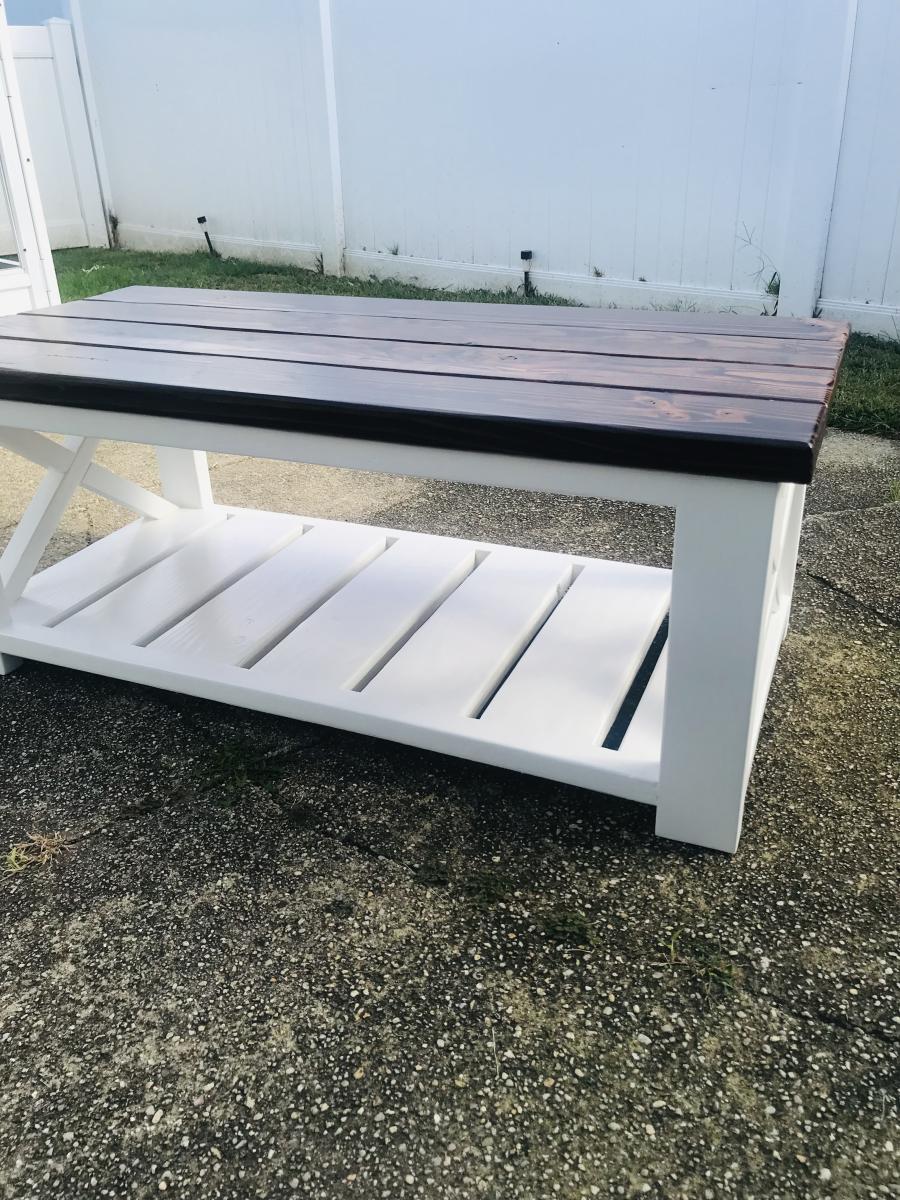
Side Table with Pallet Top
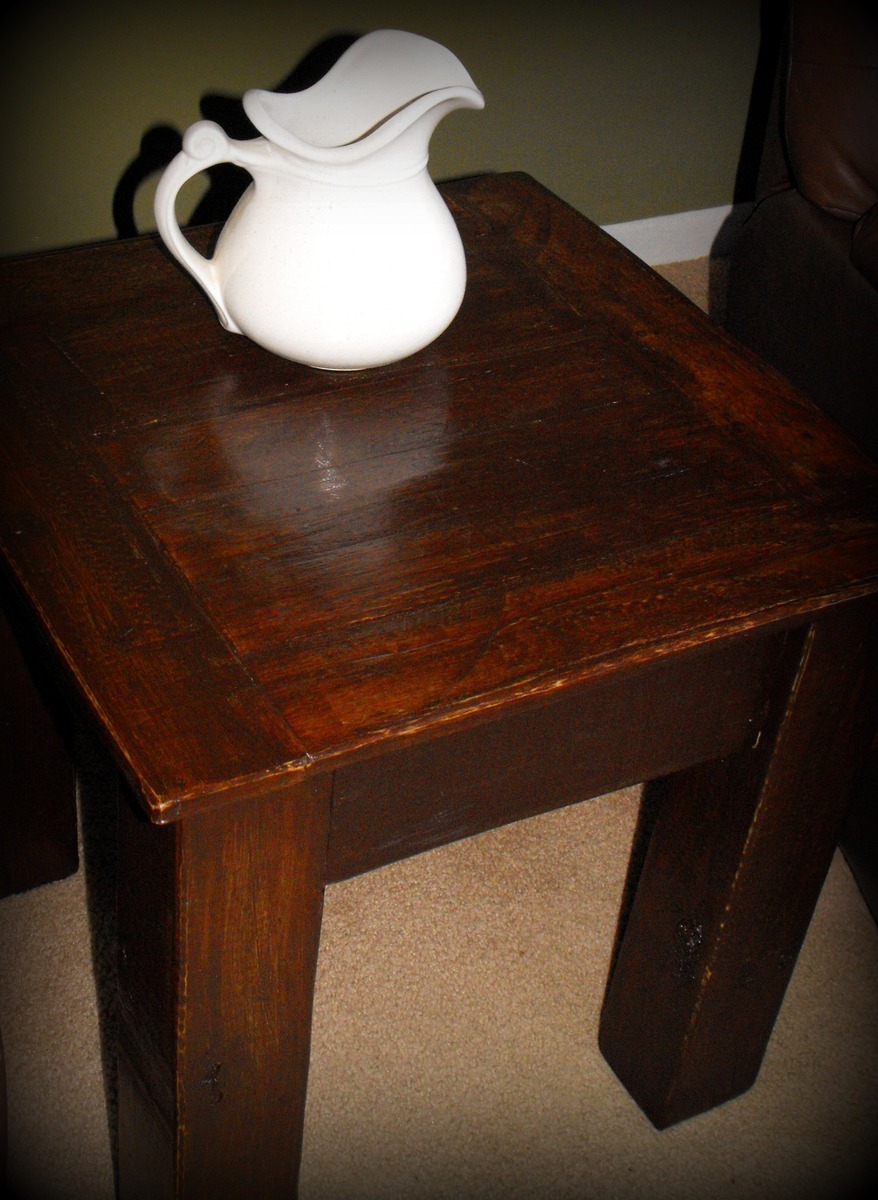
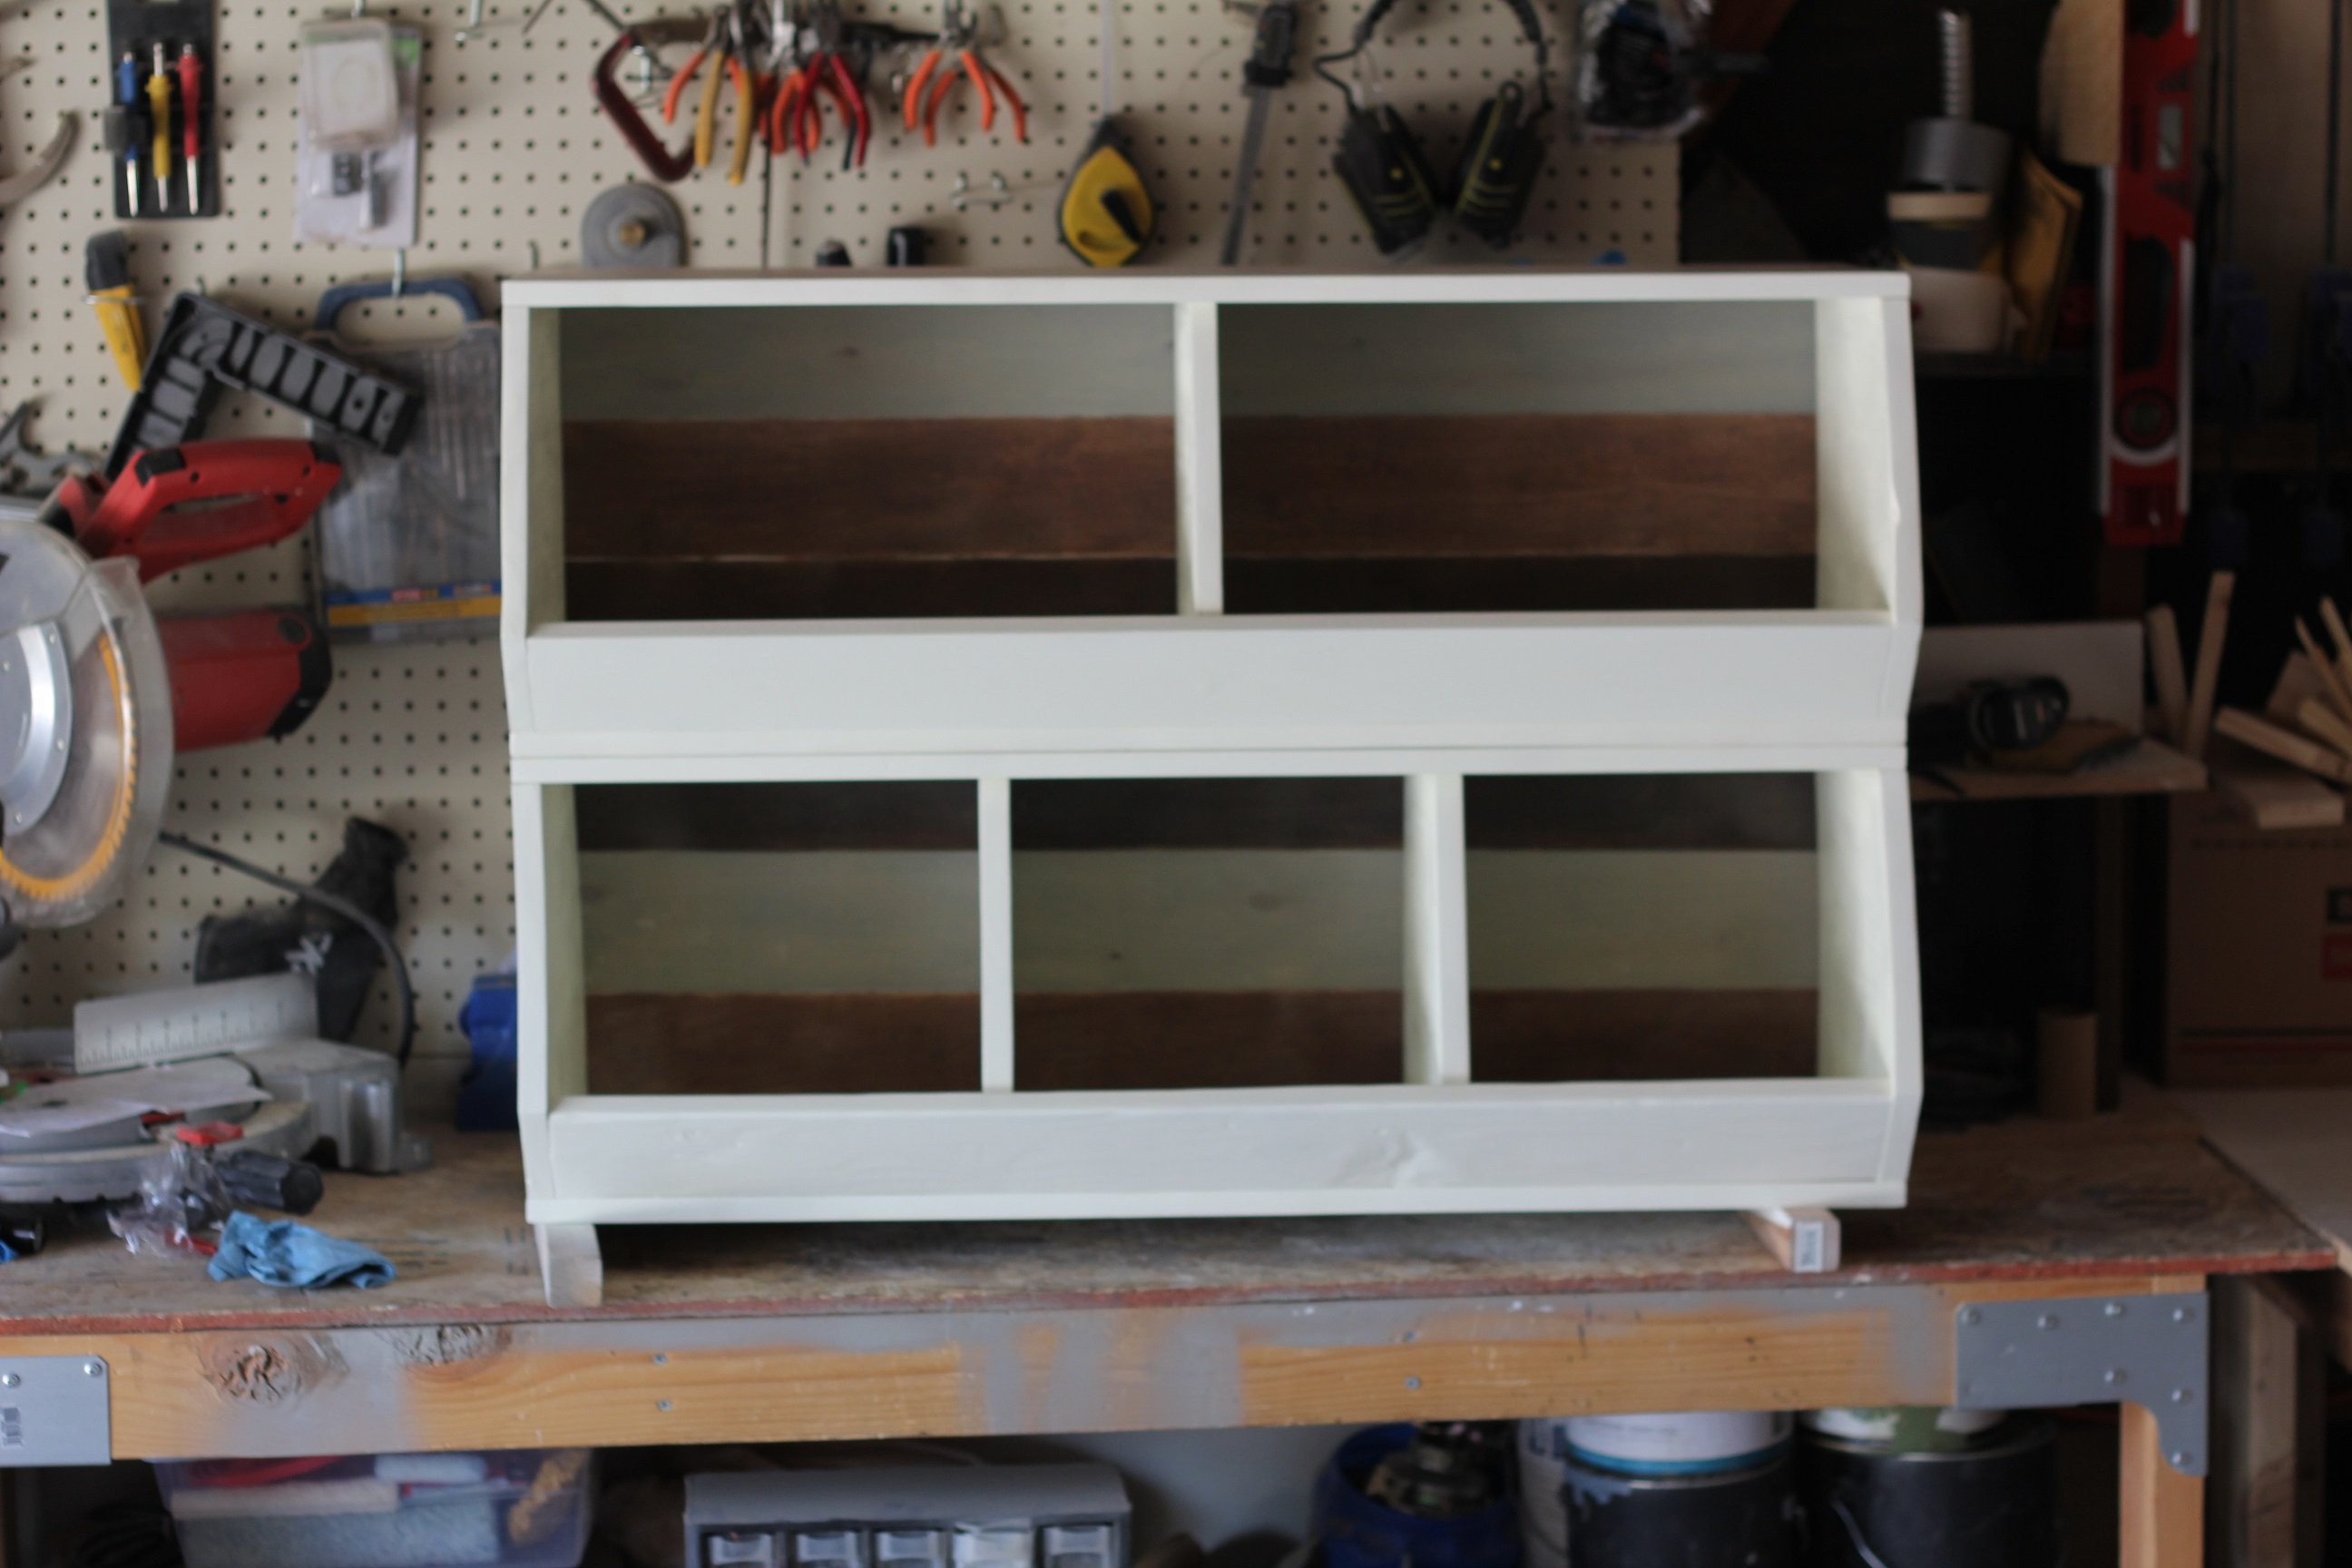
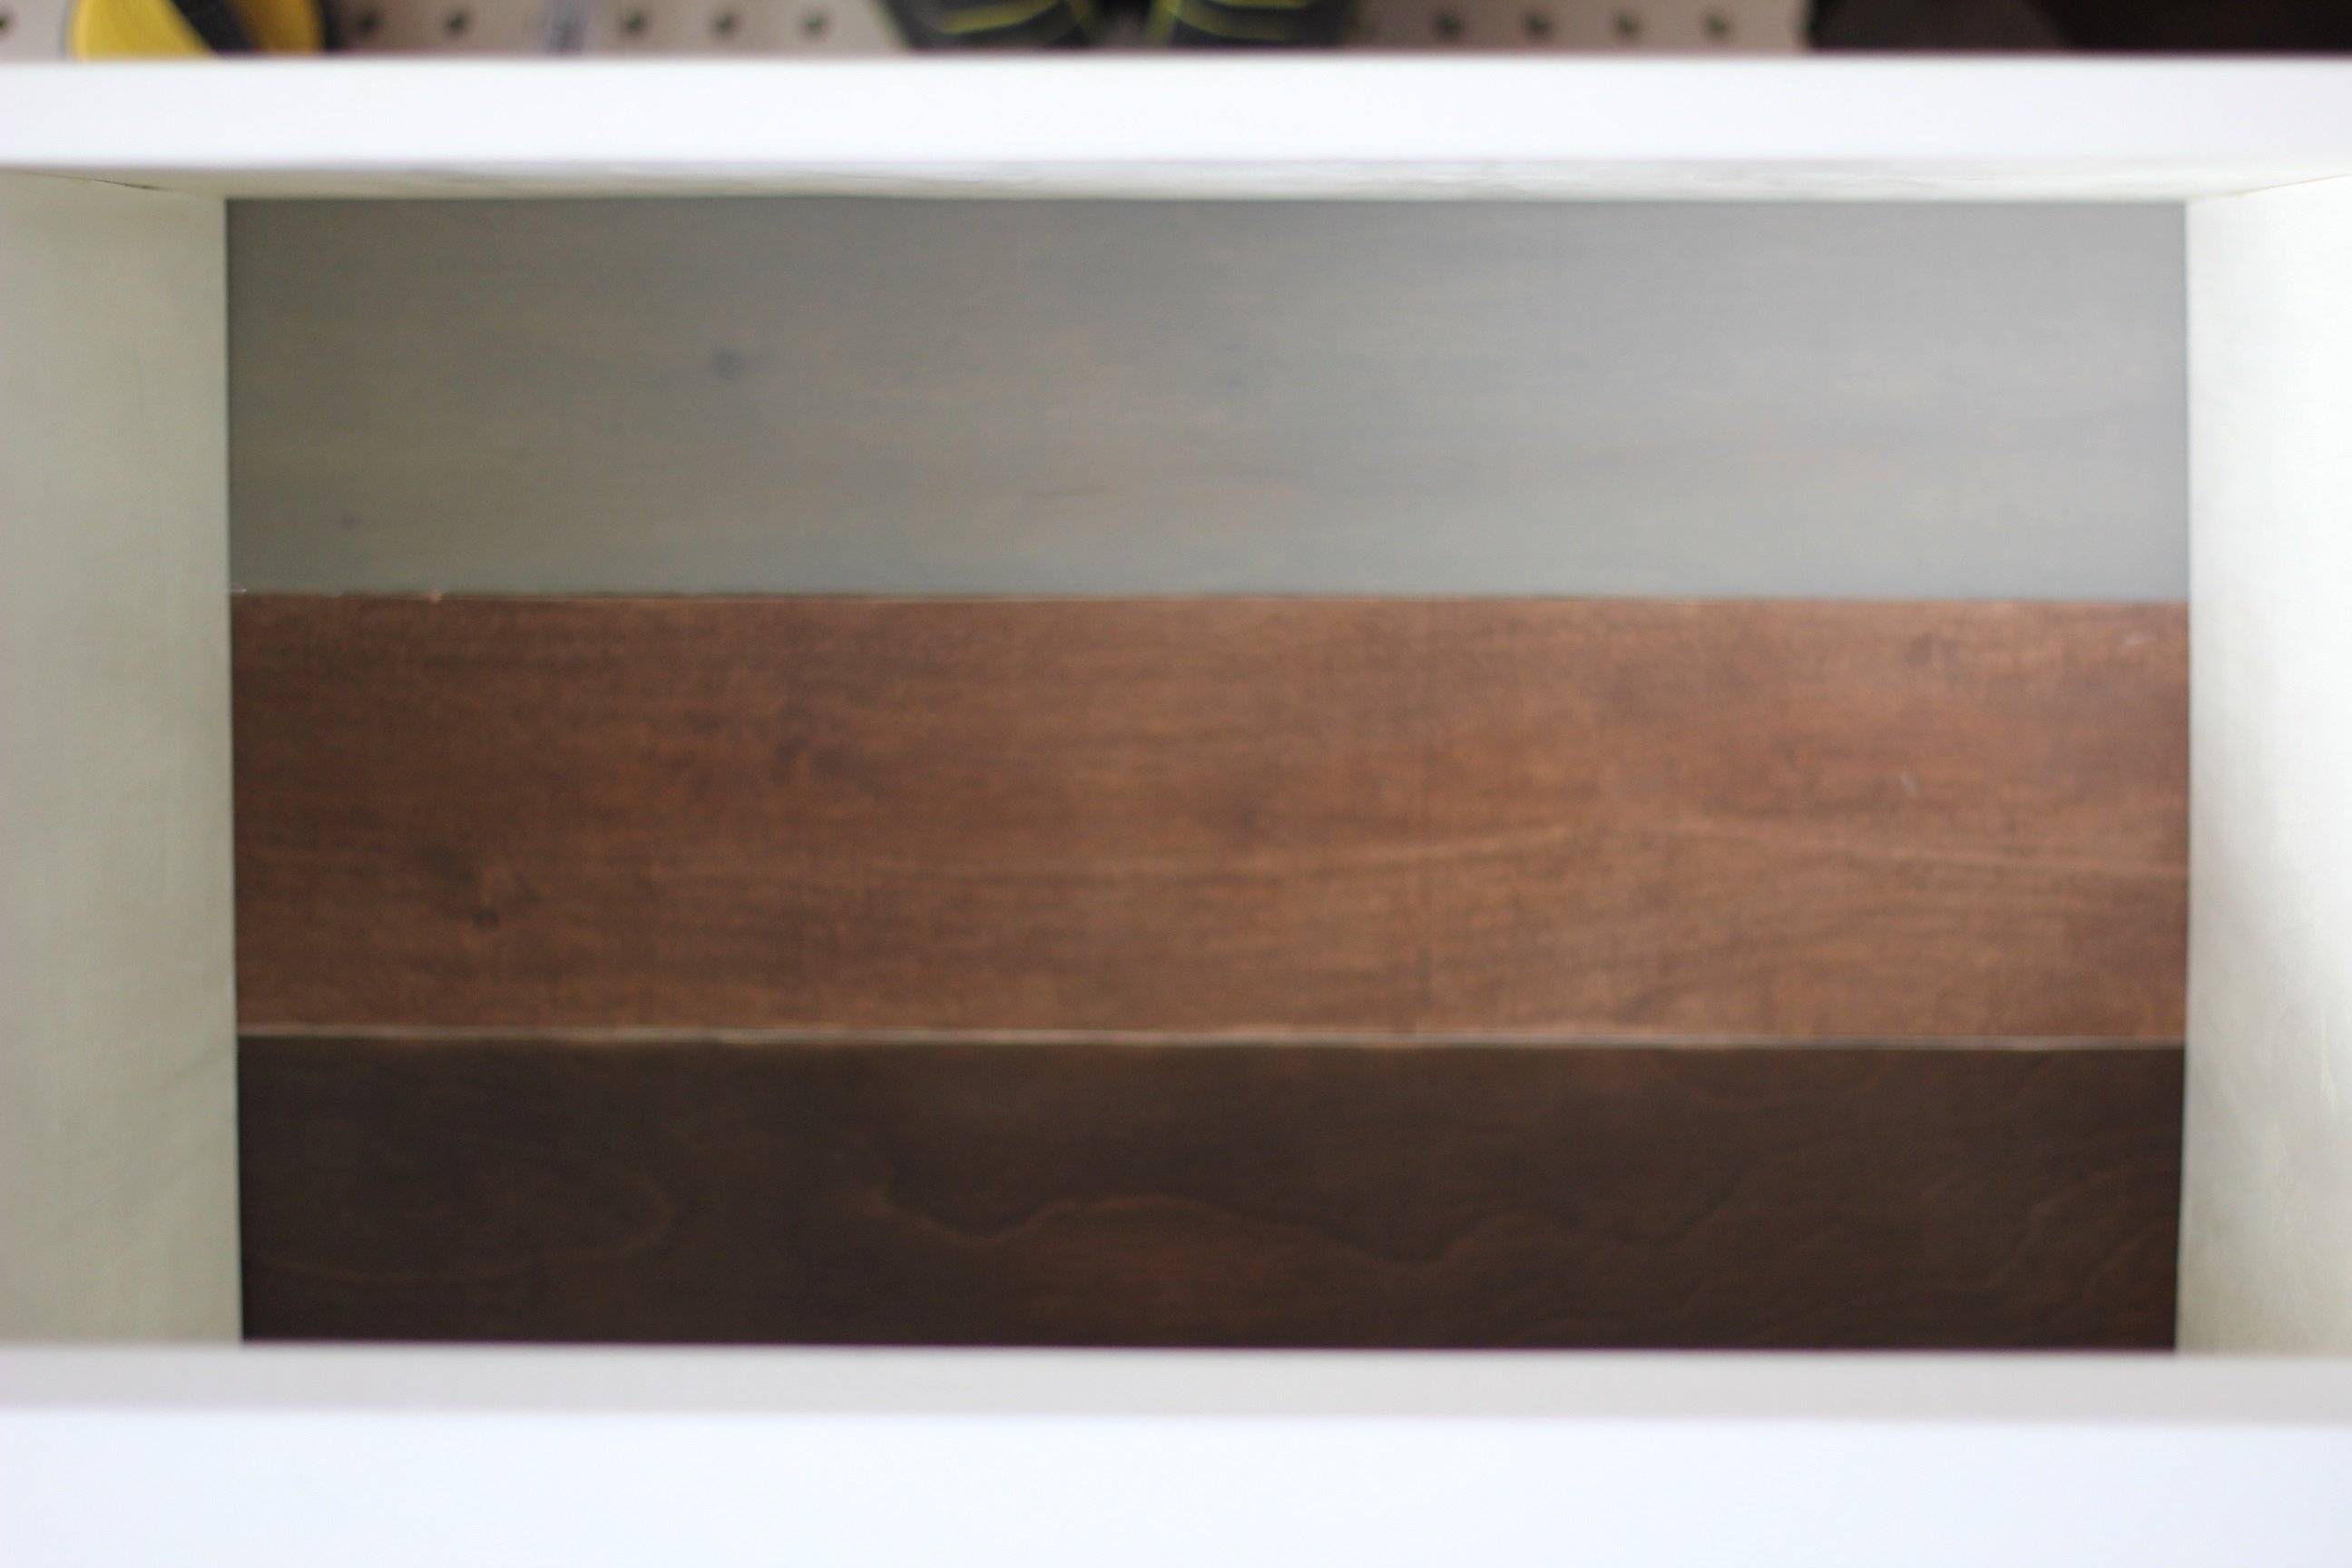
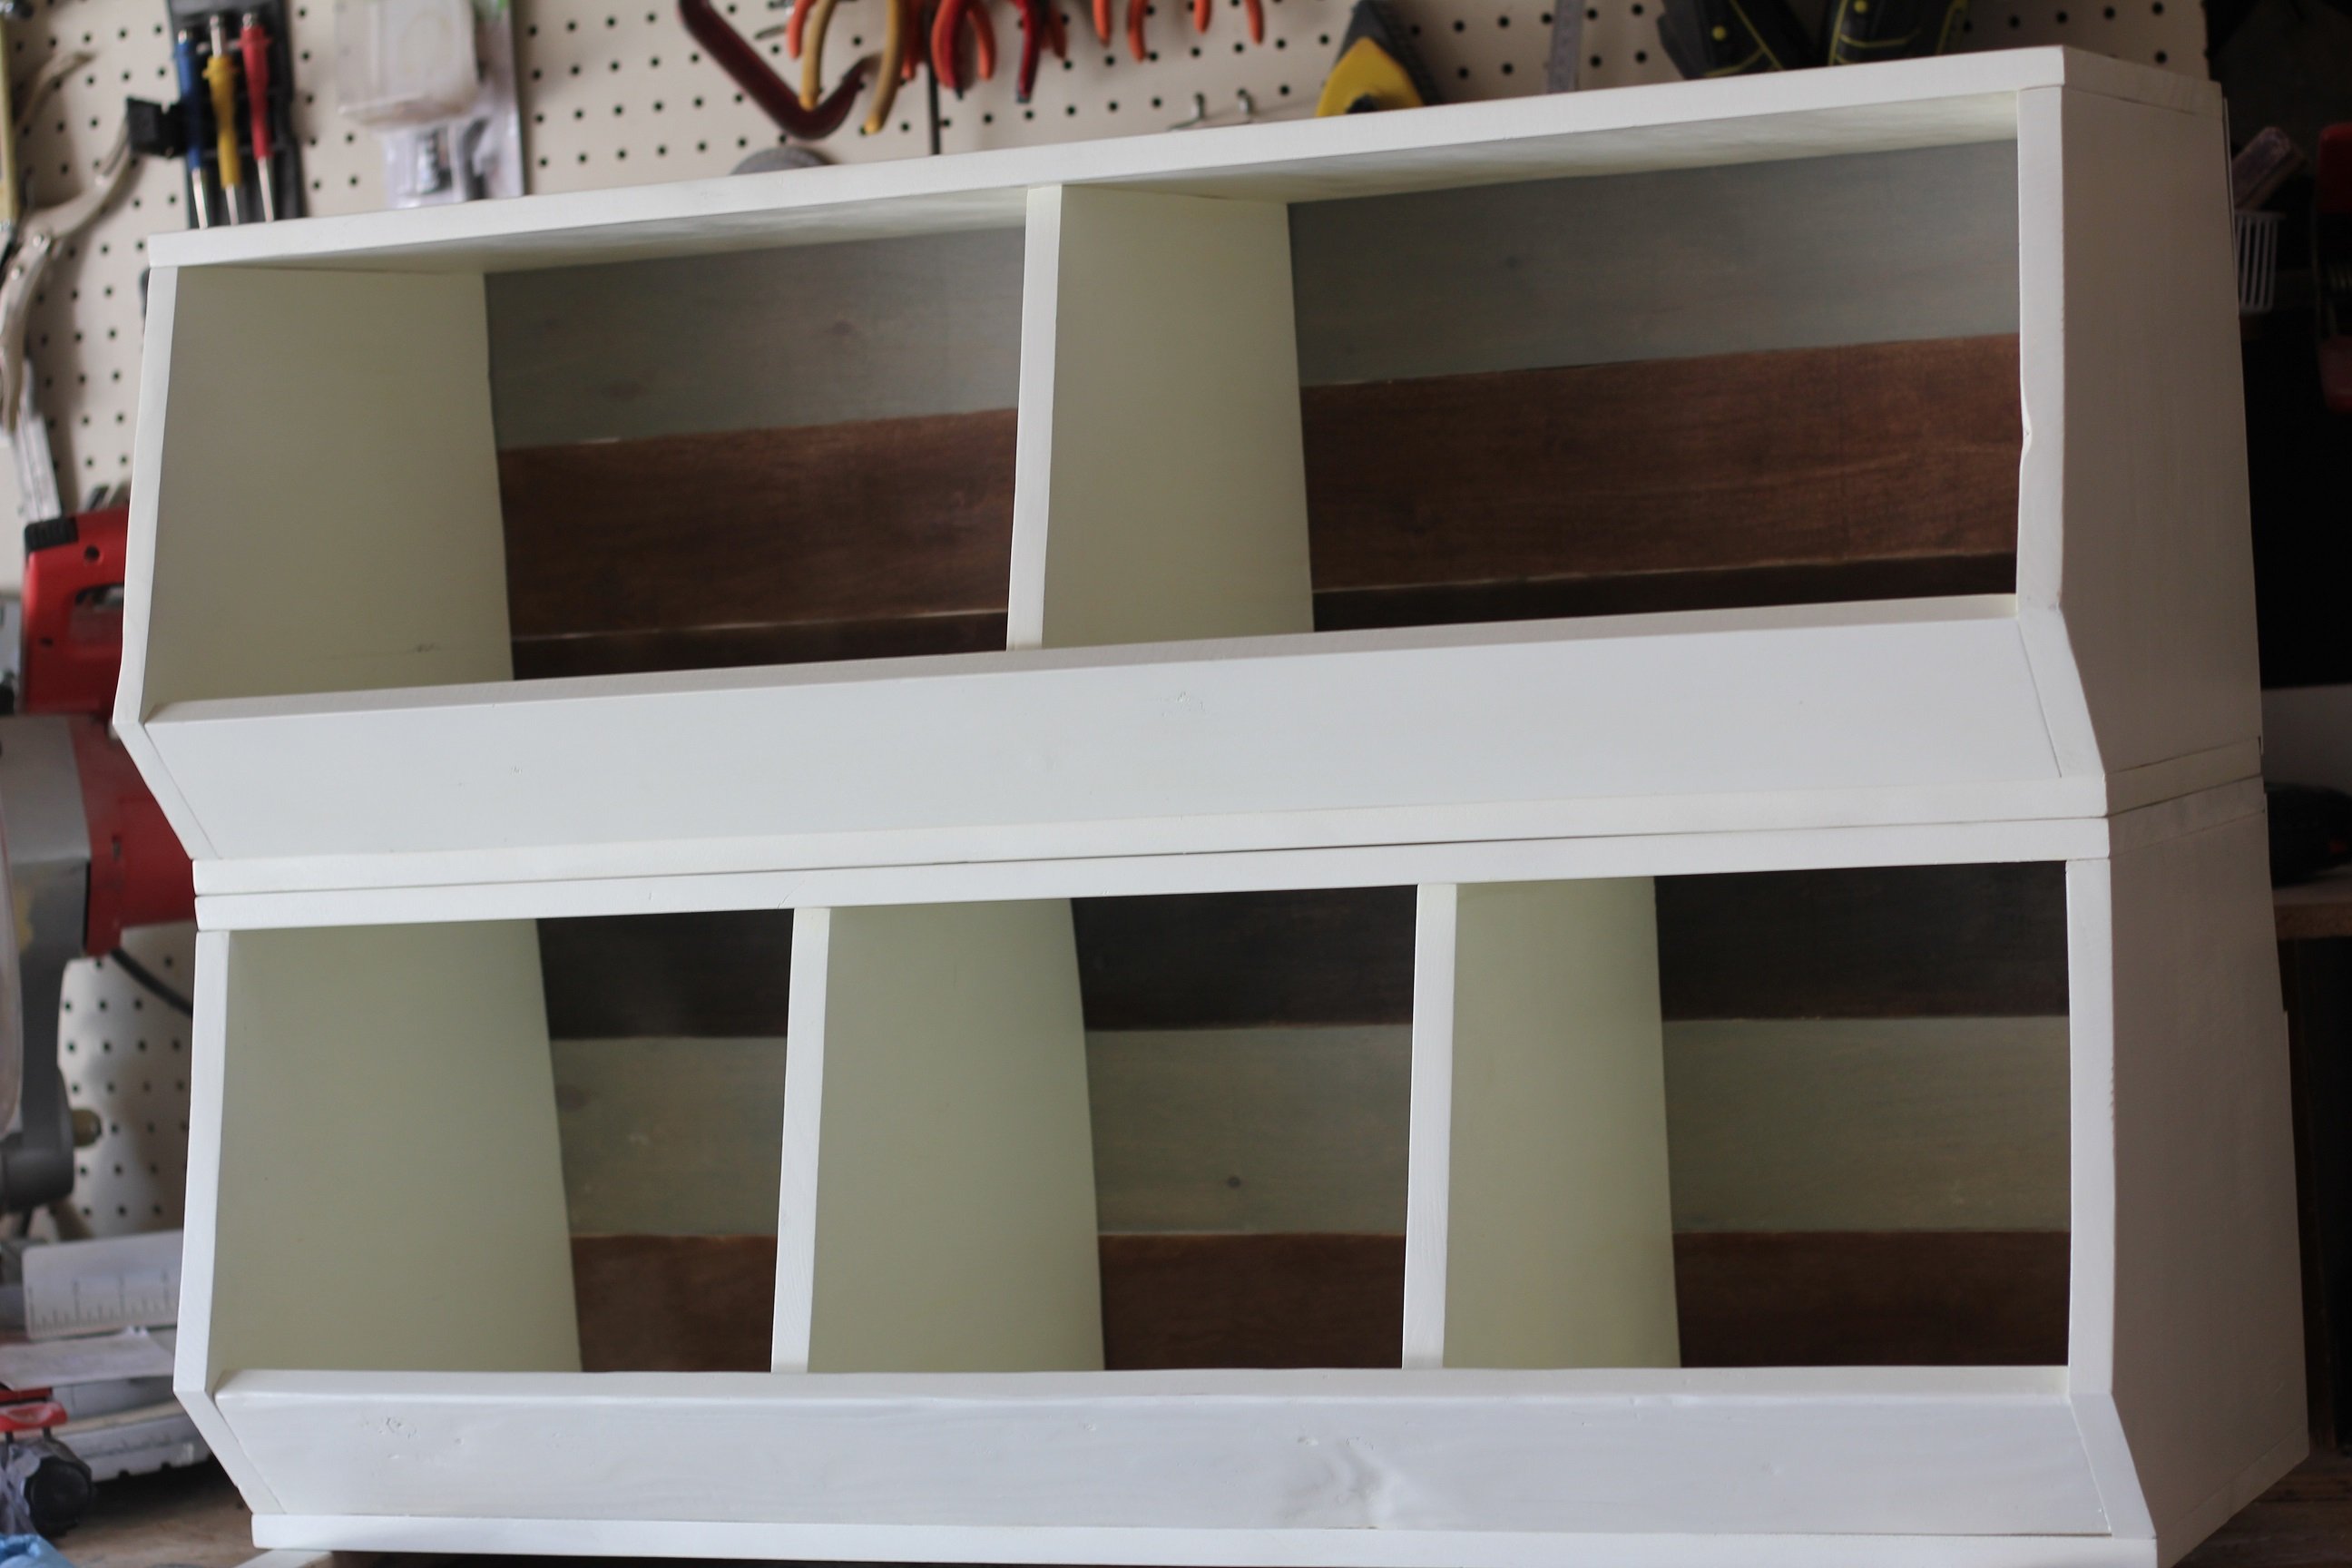
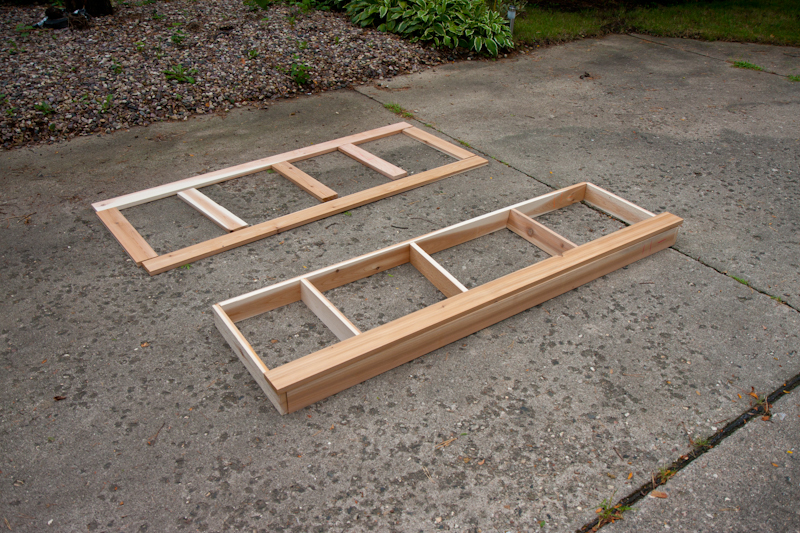
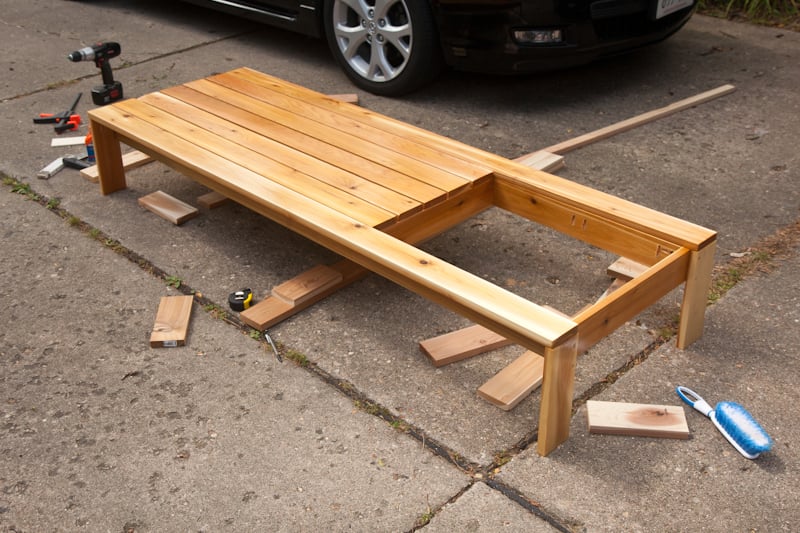
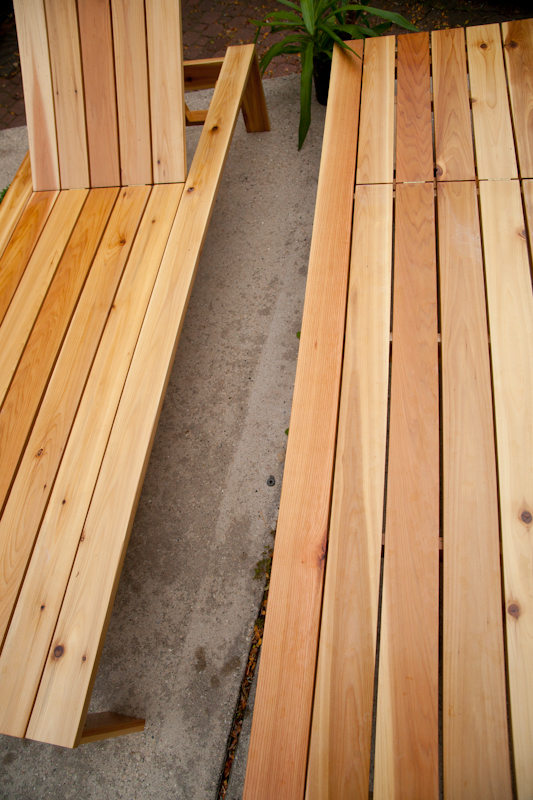
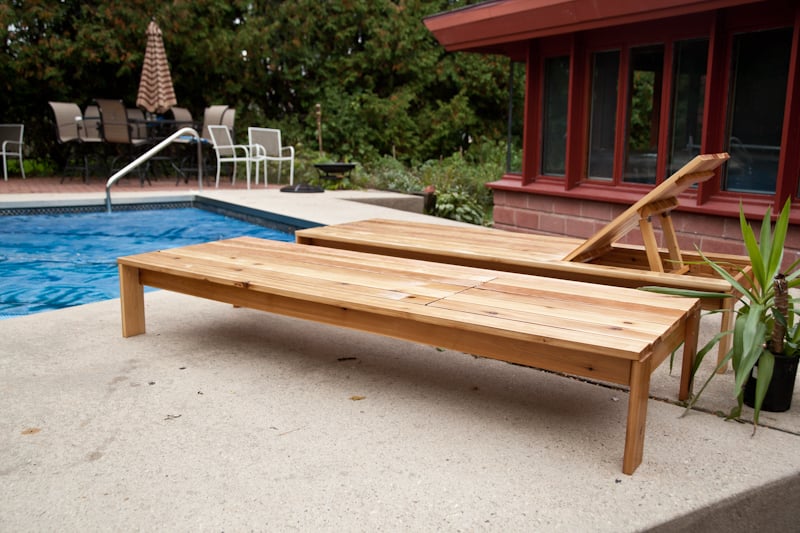
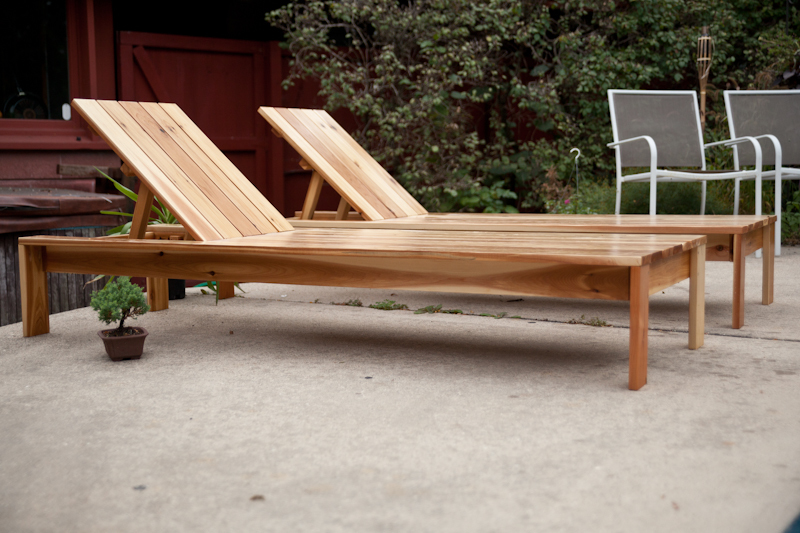
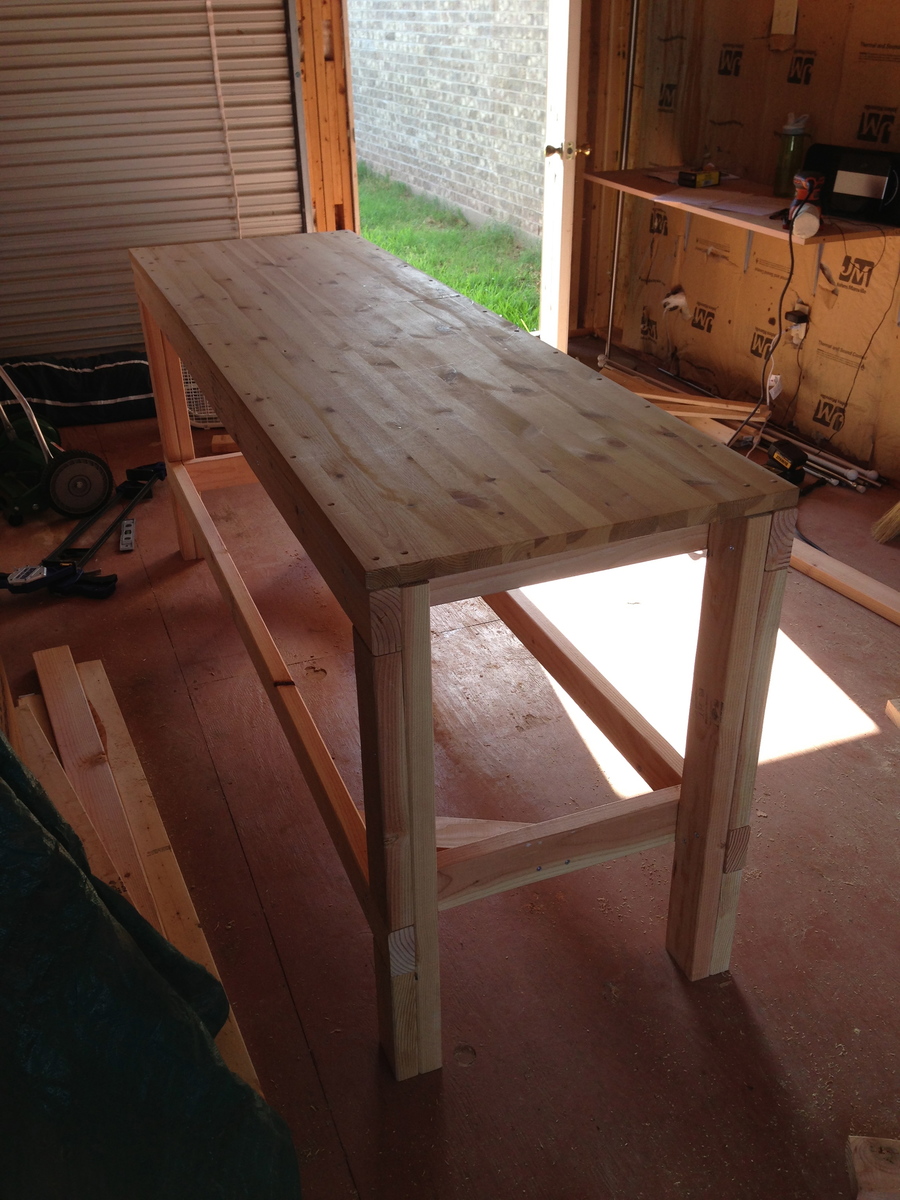
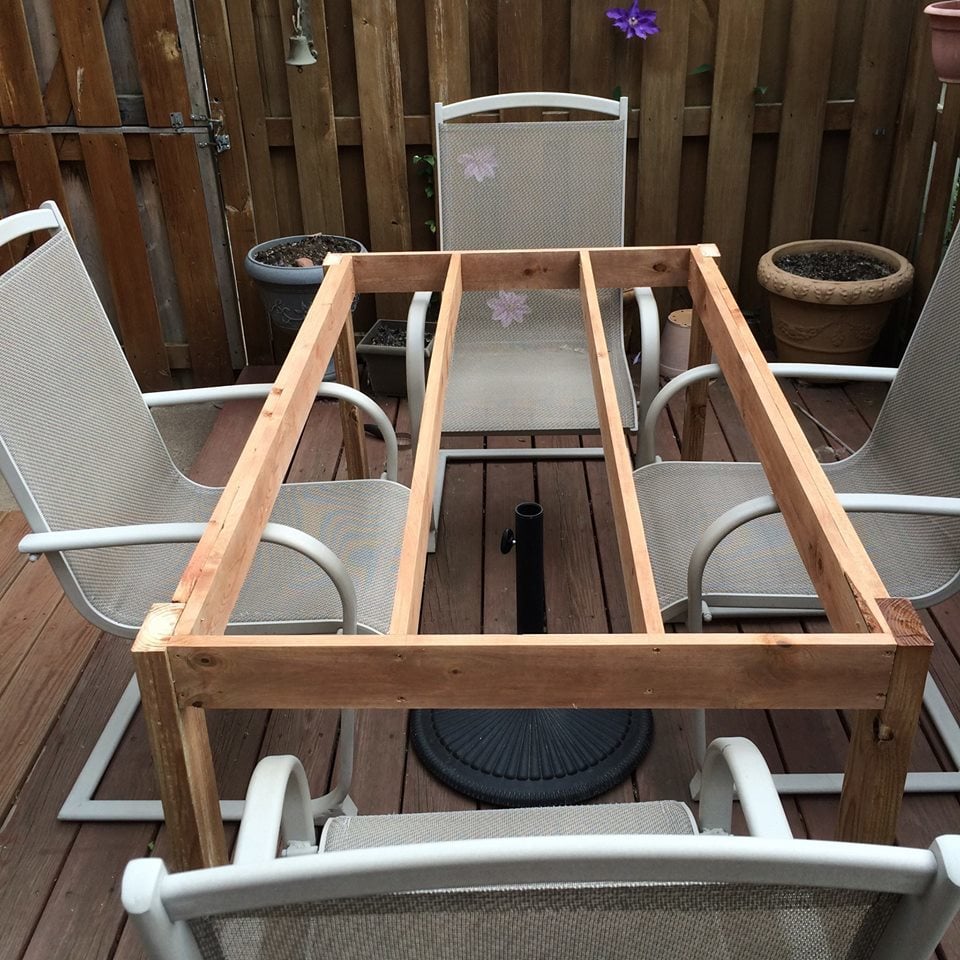
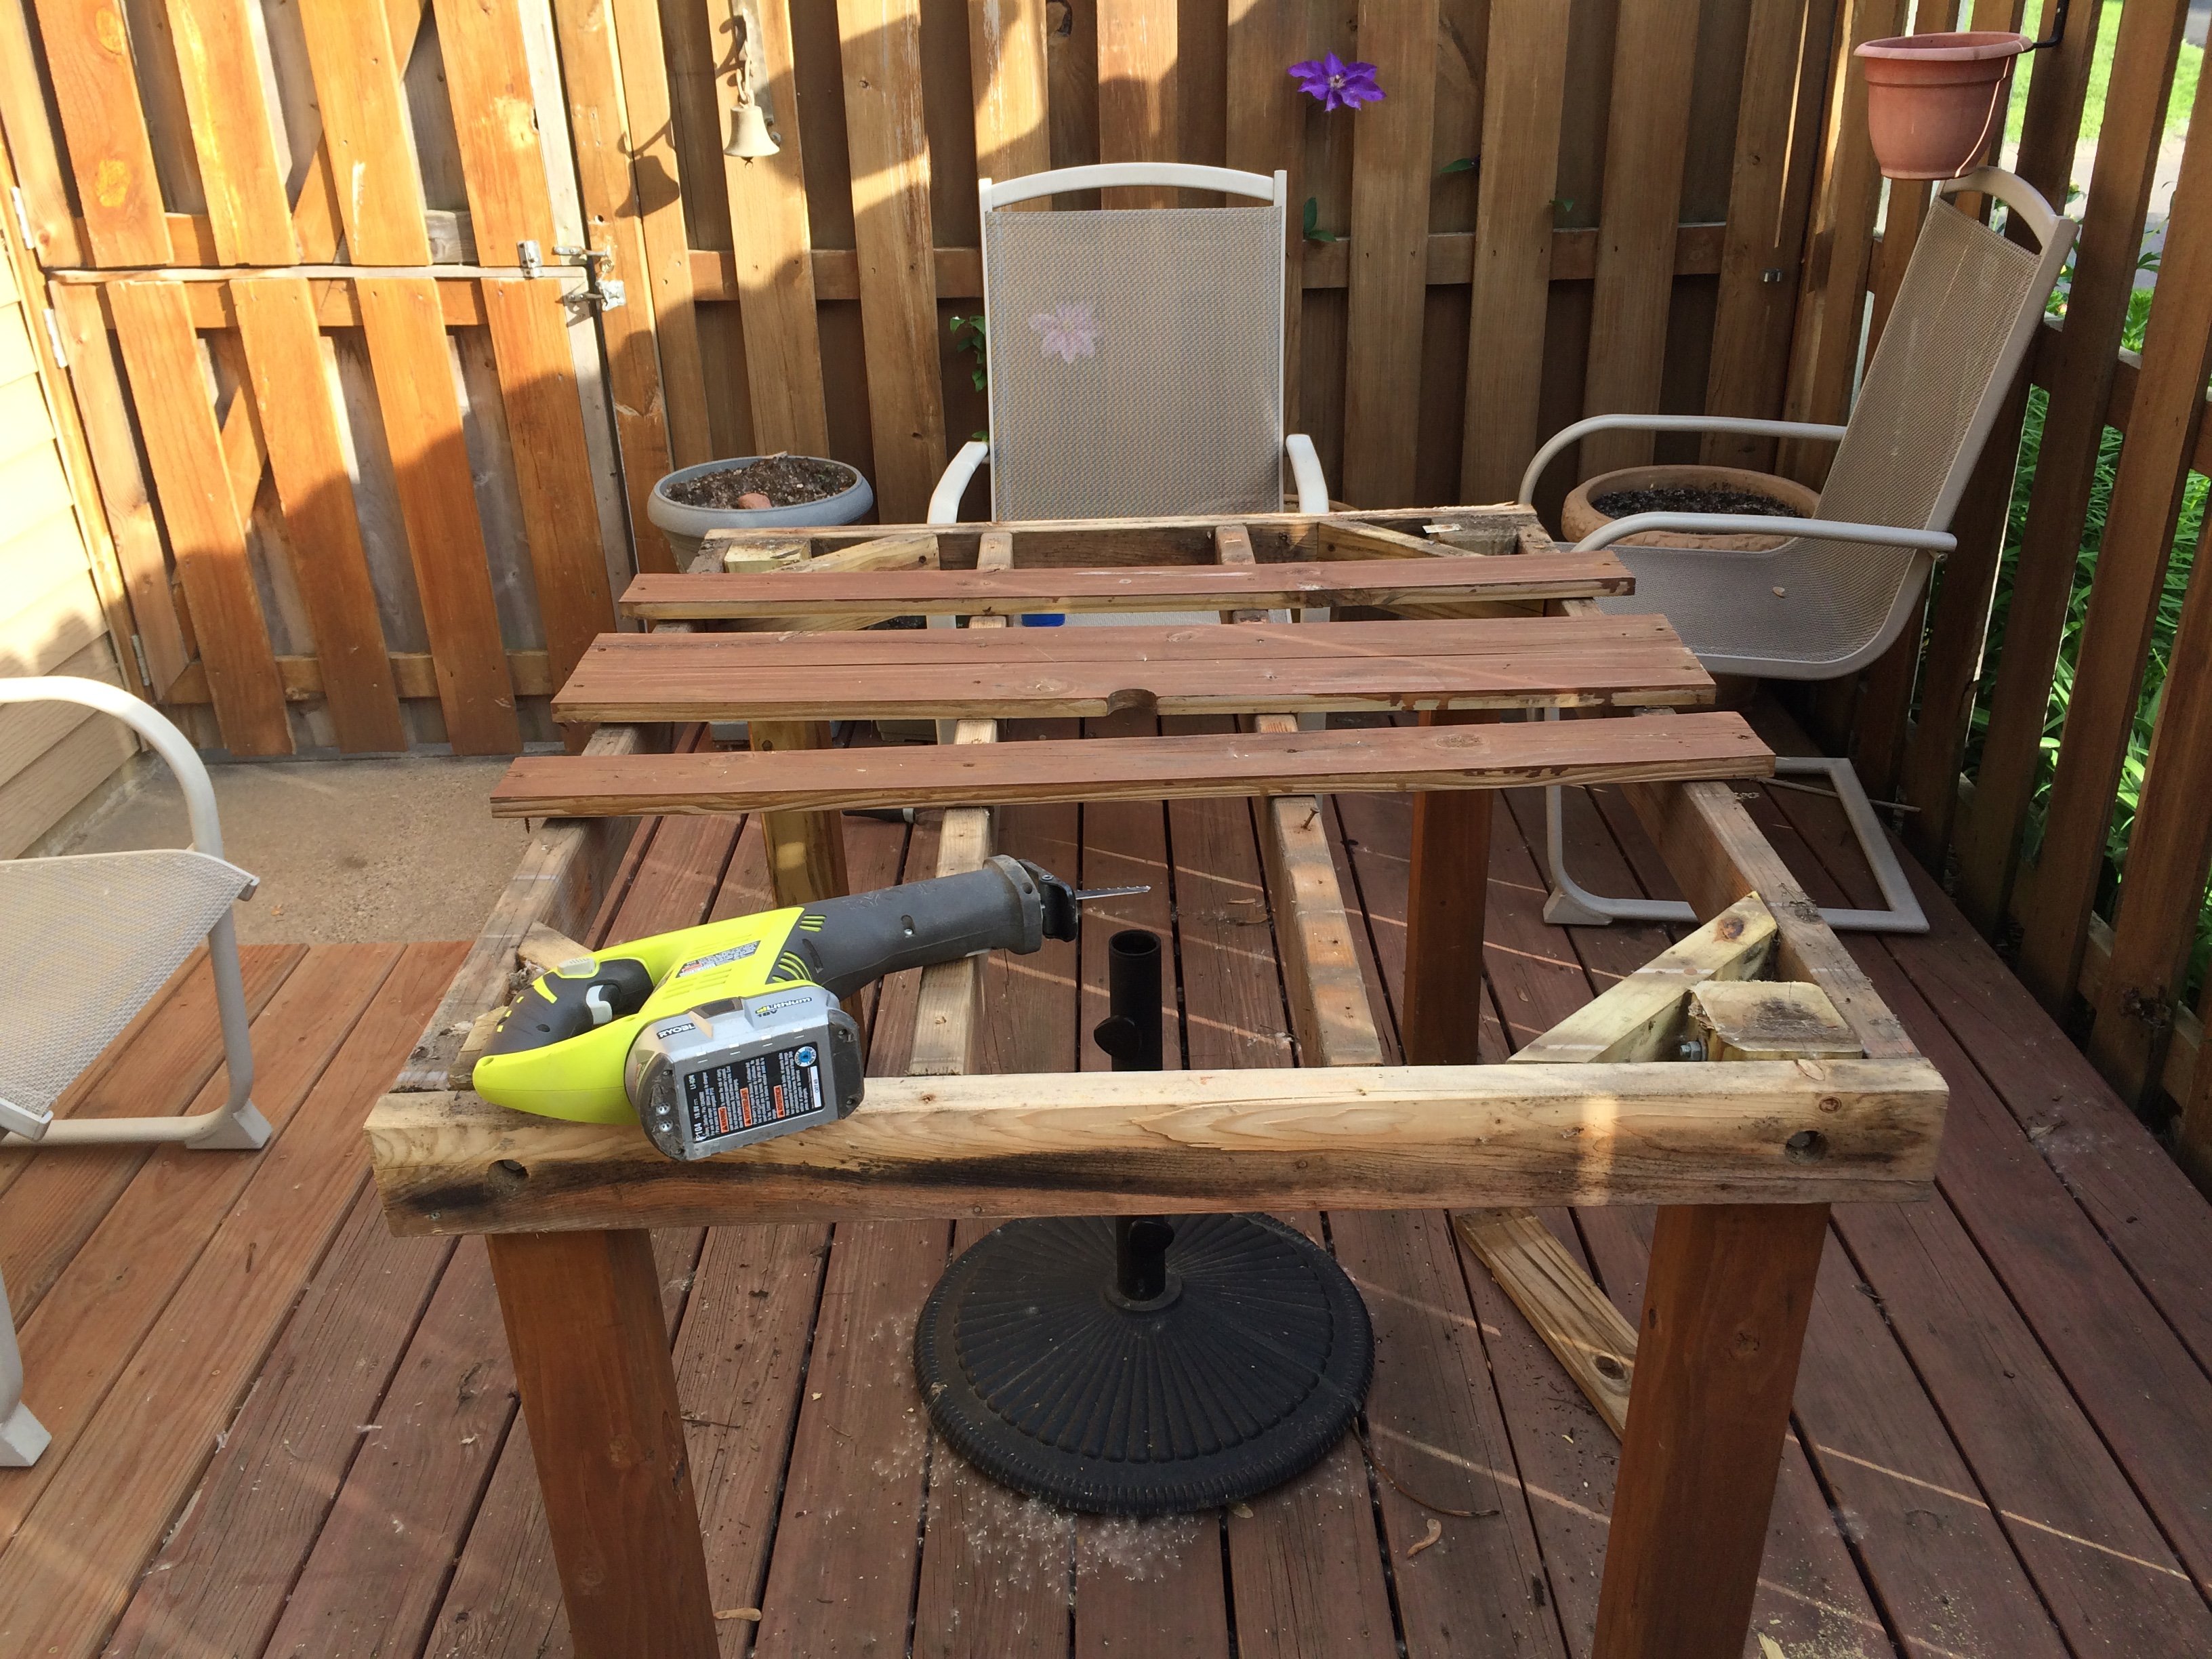
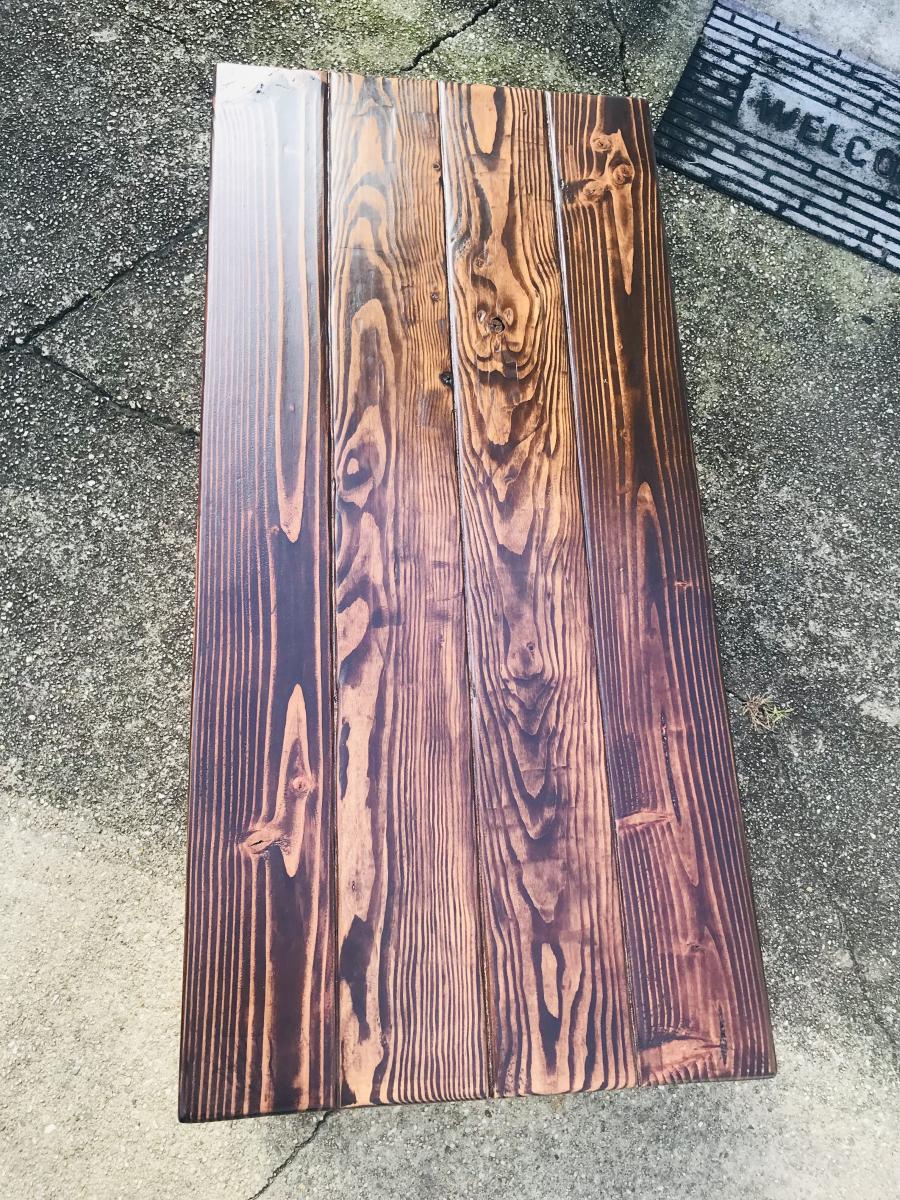
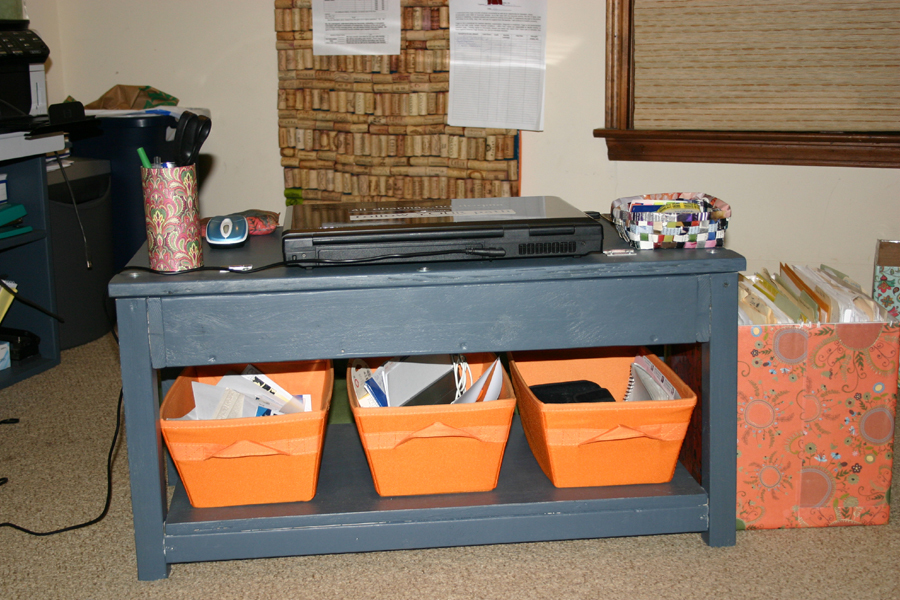
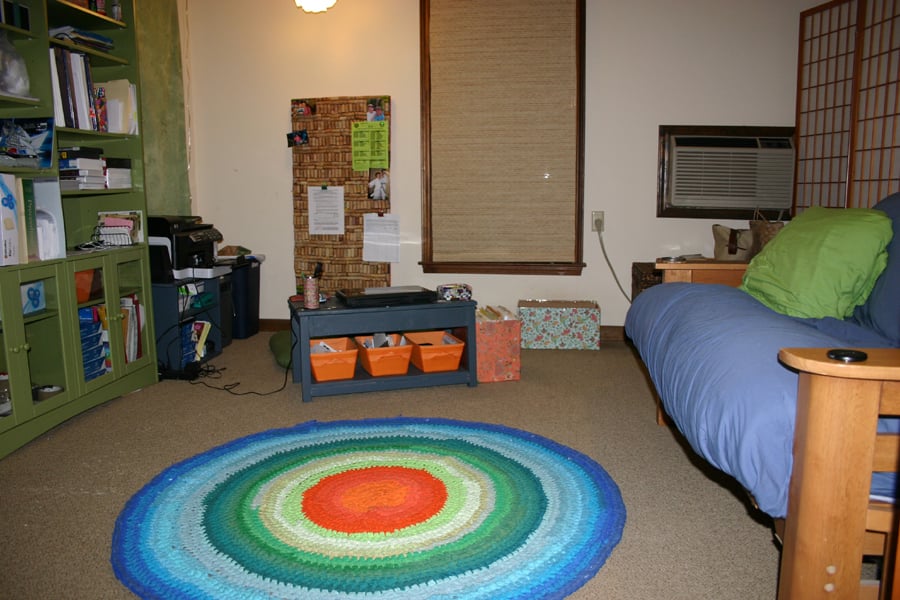
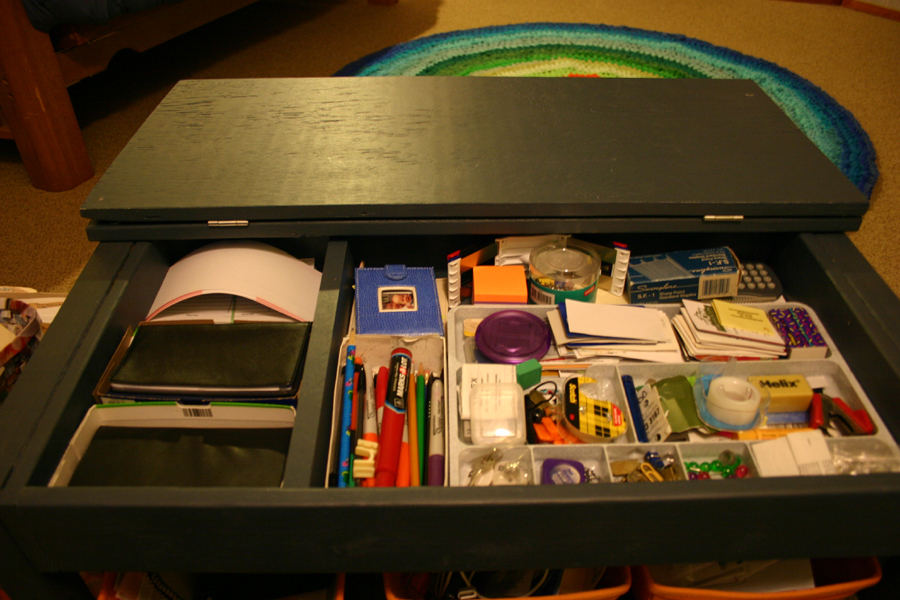
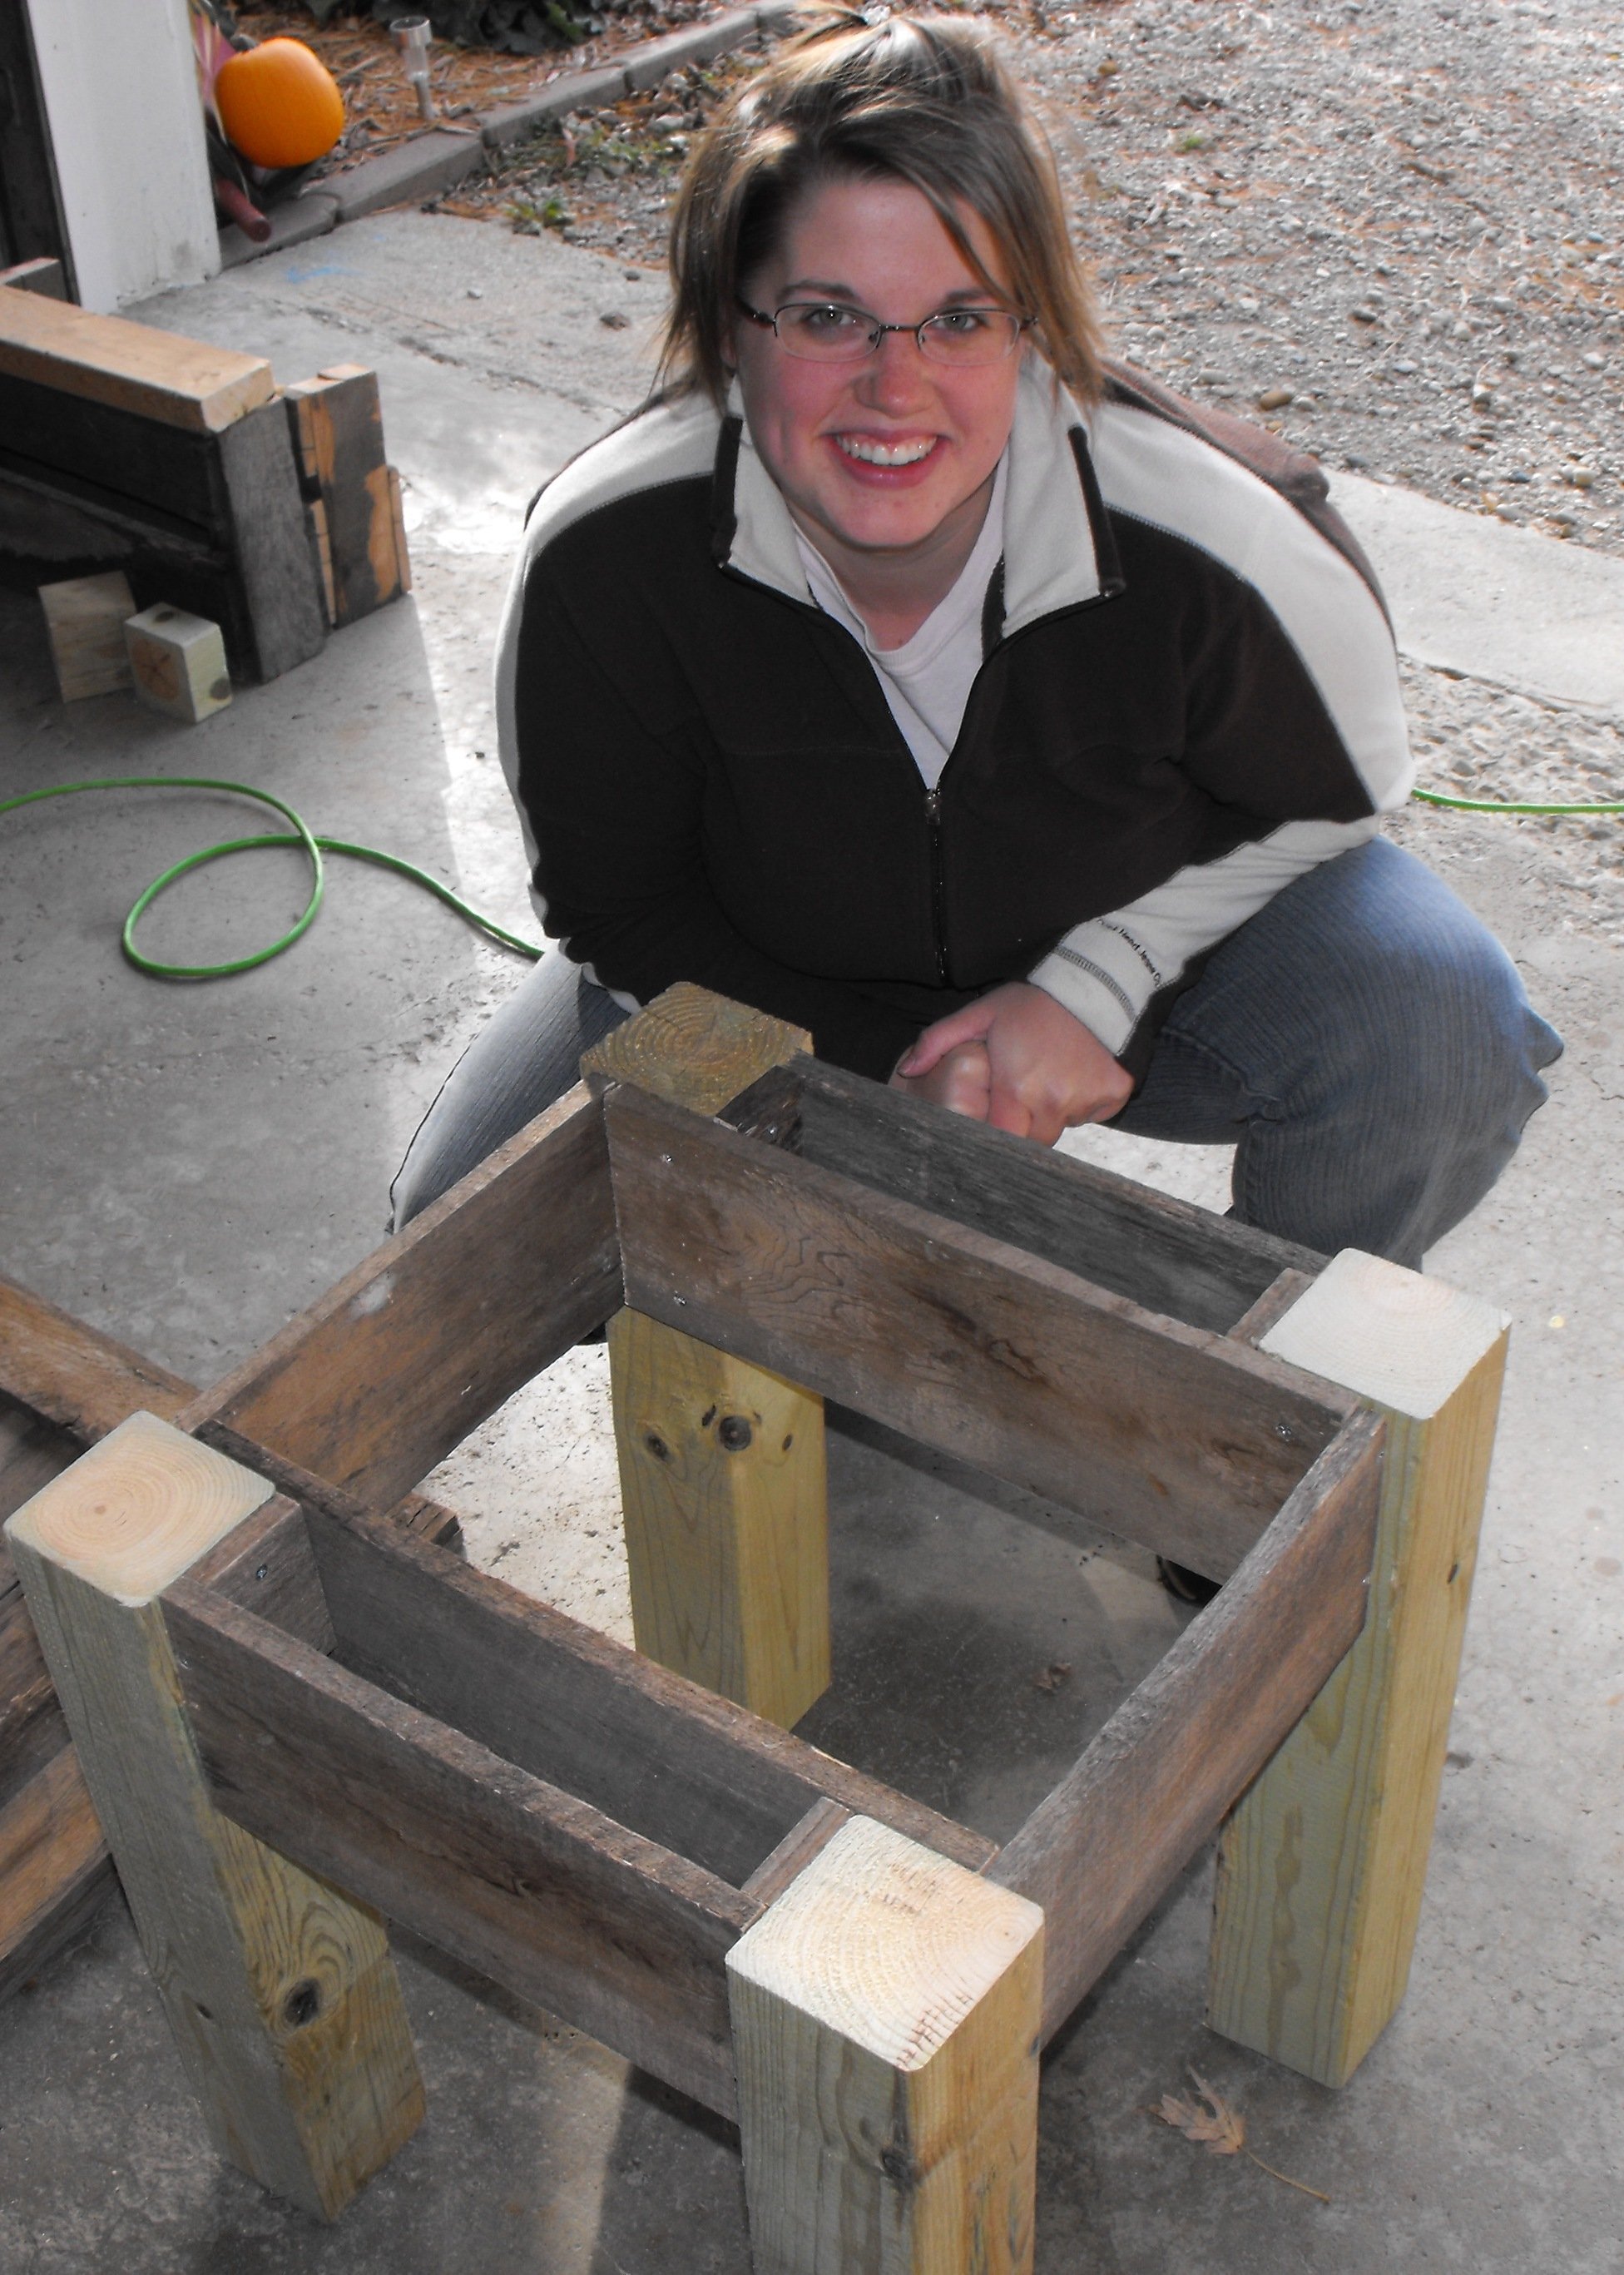
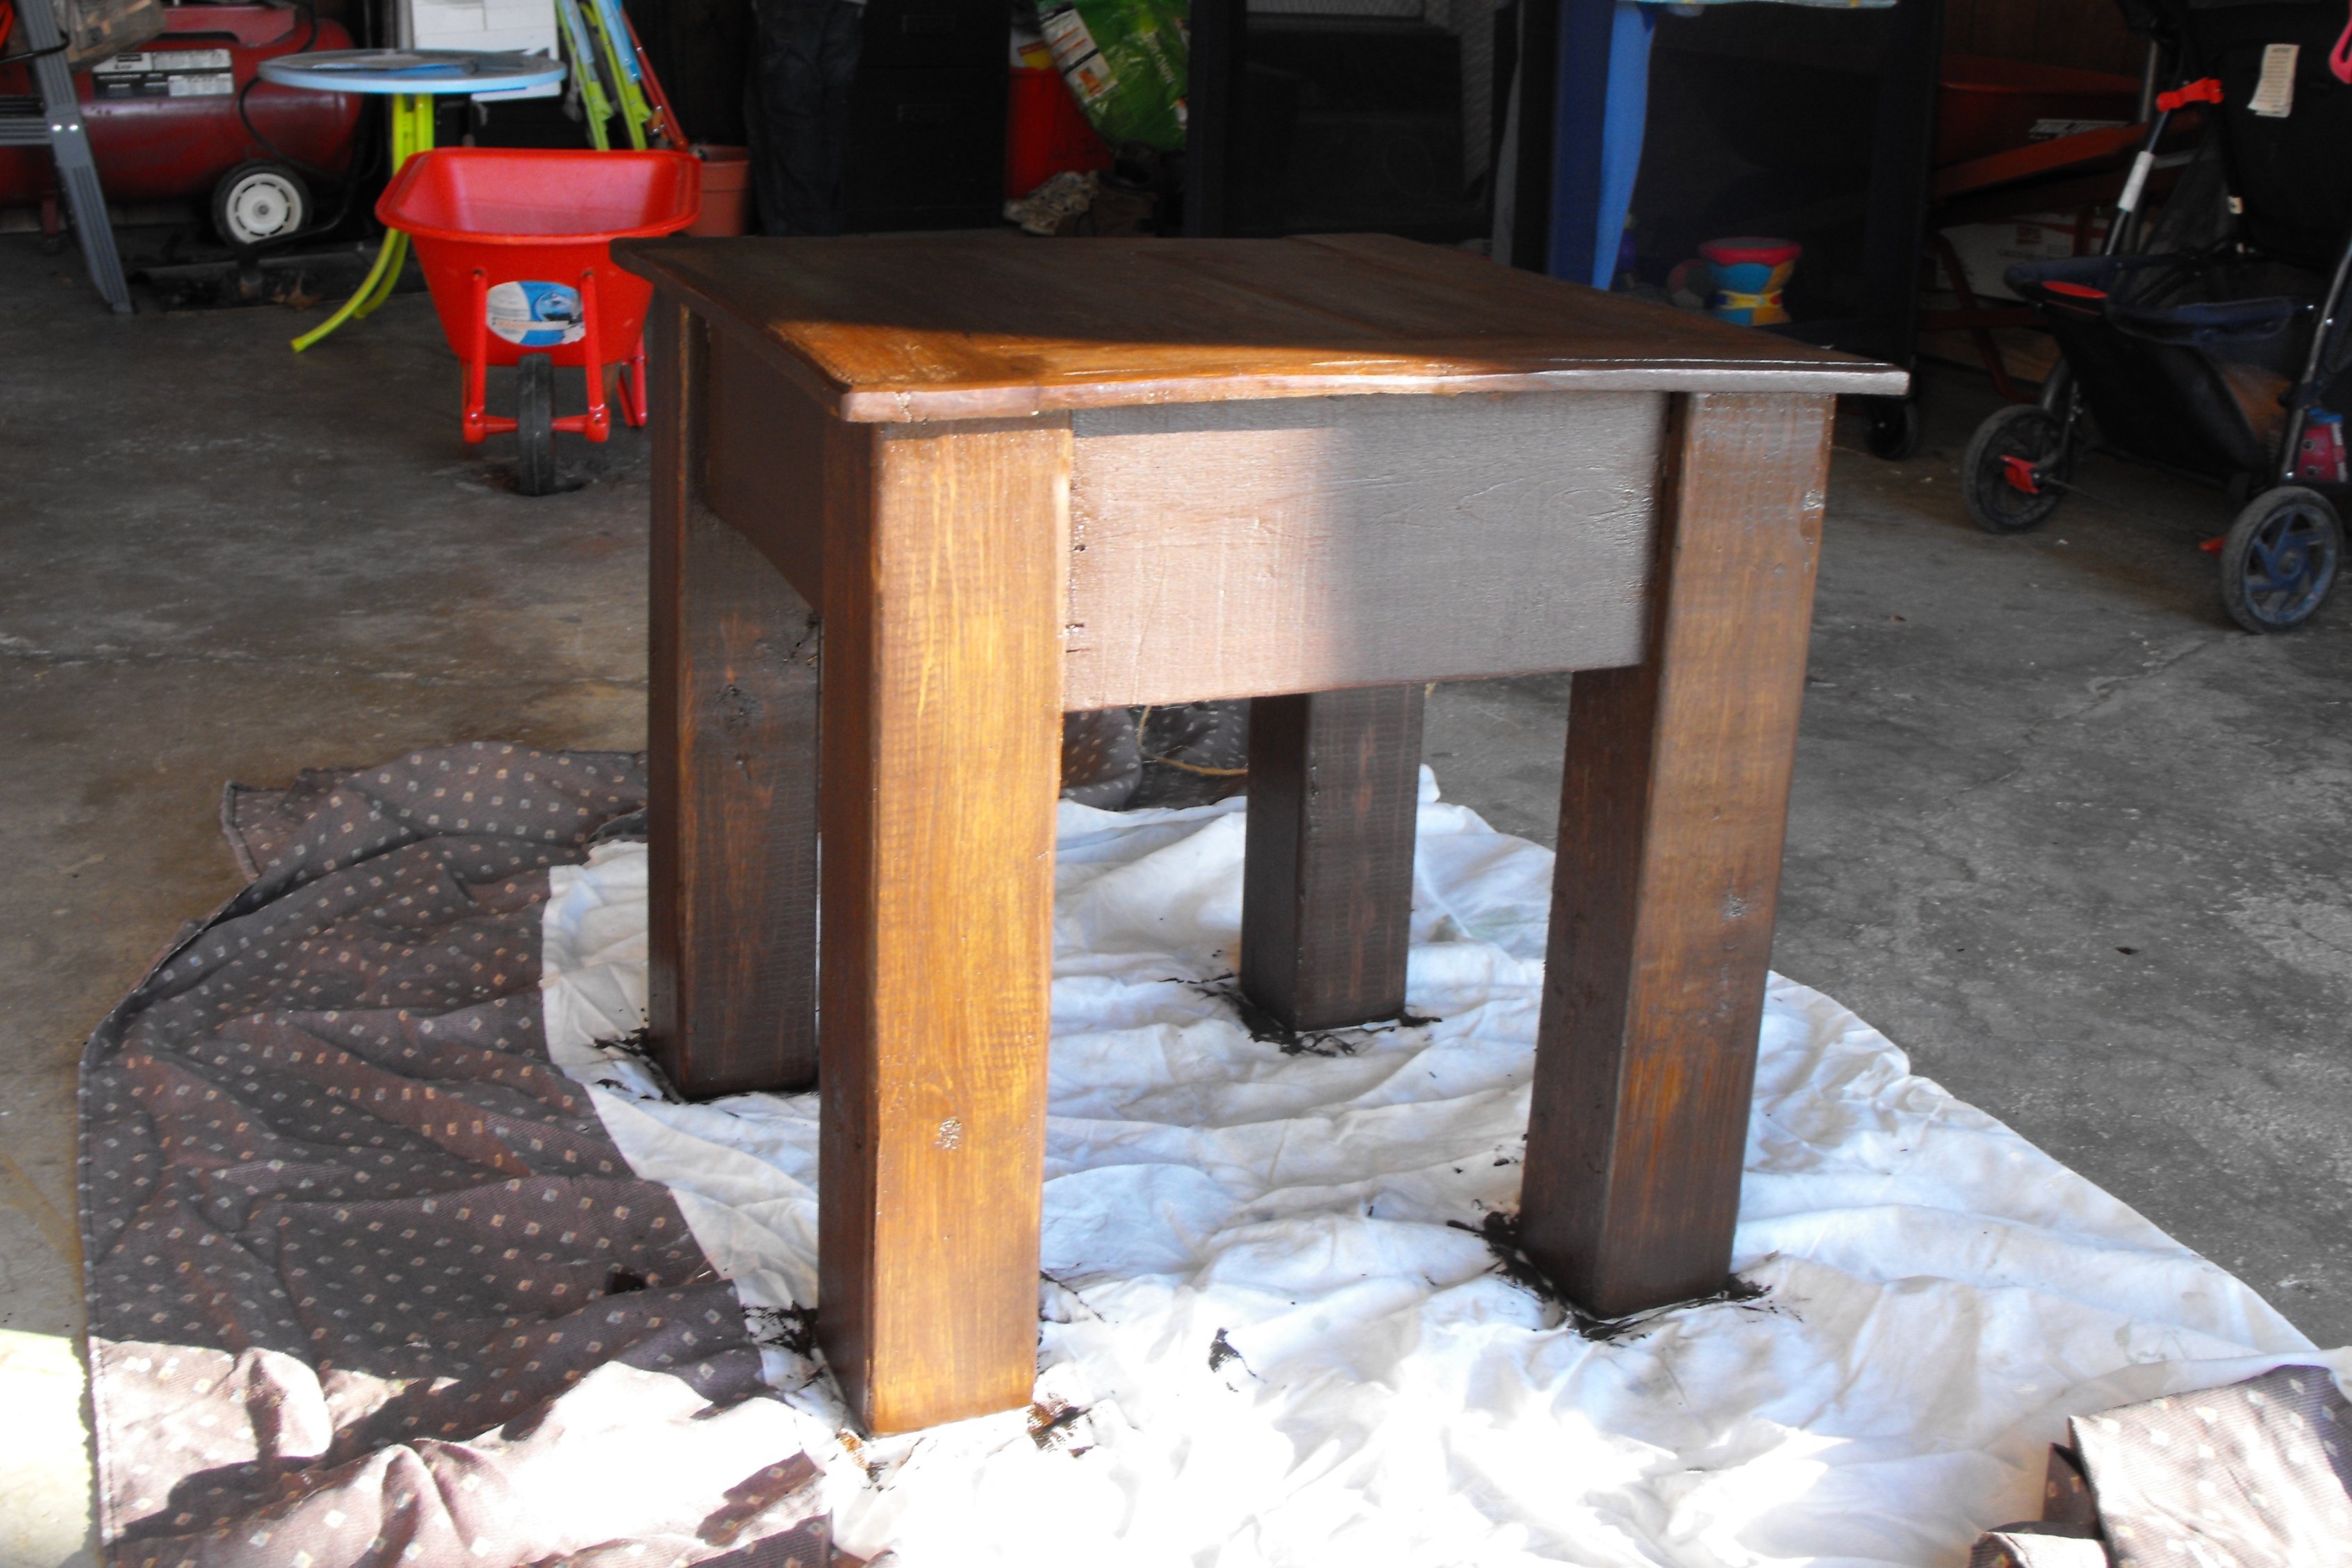
I wanted to make a custom sized side table to fit just right between our two recliners. And I really wanted to make use of some pallet scraps. So I built this frame the same as Ana's plan (adjusting for my size), and then came up with a layout for the top to make use of my small 15 inch pieces of pallet wood.
Built from Plan(s)
Estimated Time Investment
Afternoon Project (3-6 Hours)
Finish Used
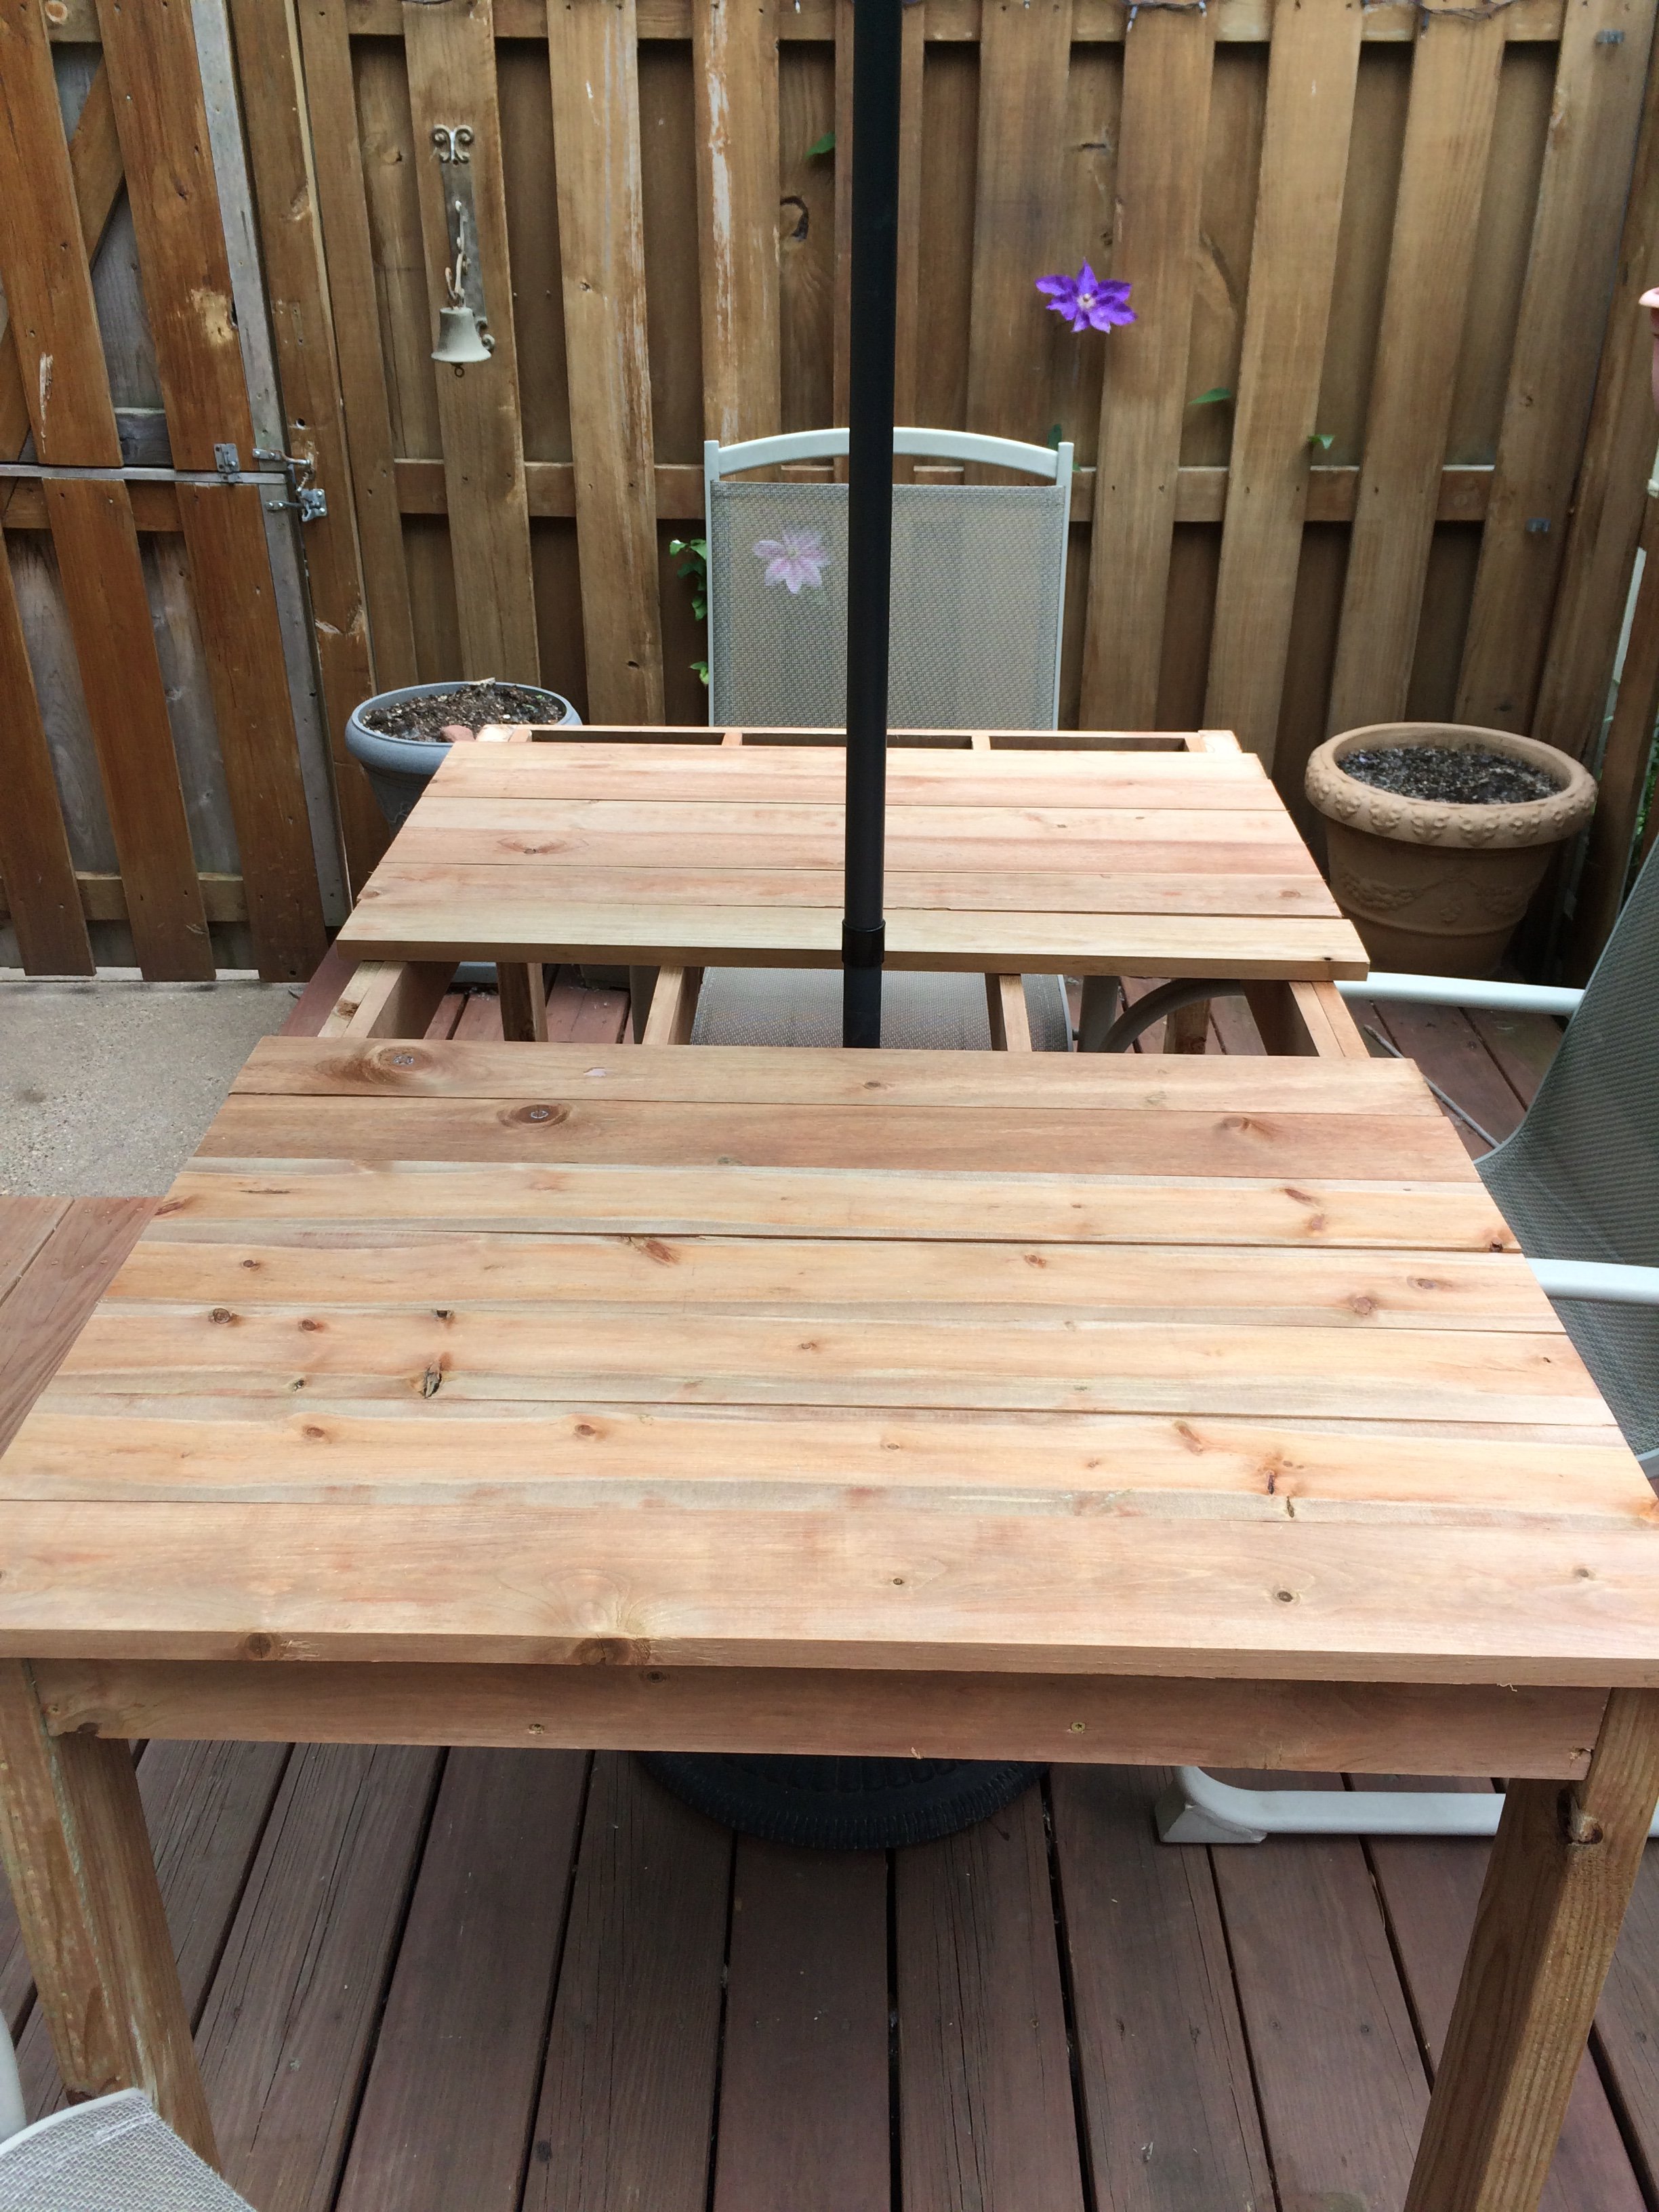
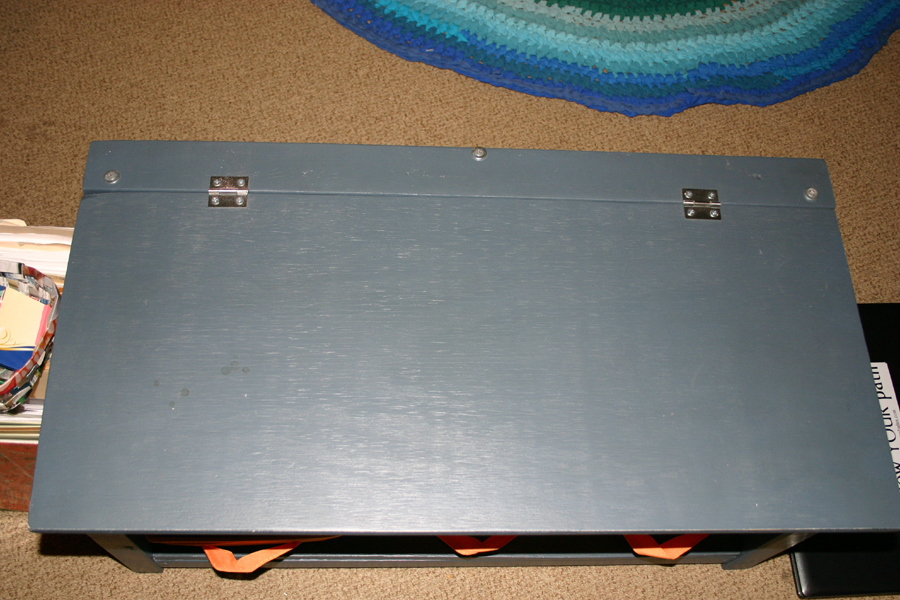
I screwed the top on, filled the holes, sanded like a mad woman, and stained with a gel stain. I then applied two coats of shellac. It accidentally purchased the shellac but I really like the way that it turned out and it has held up quite well so far!
Recommended Skill Level
Beginner