I stumbled across the Cabana design and just fell in love.
Once I decided I was making in tough, I needed to customize it a bit to meet our needs.
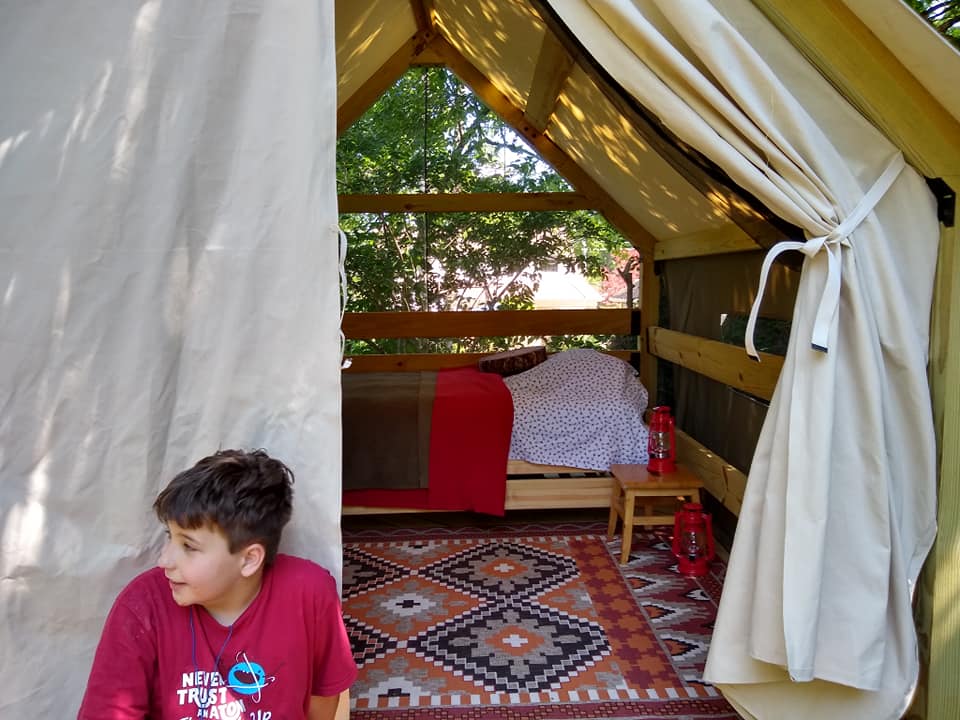
1. Needed to be able to sleep in it (so Mosquito proof)
2. If I am sleeping in it I want
a. Privacy
b. Possible rain protection ( I like a dry bed)
3.Need to be able to have a guest
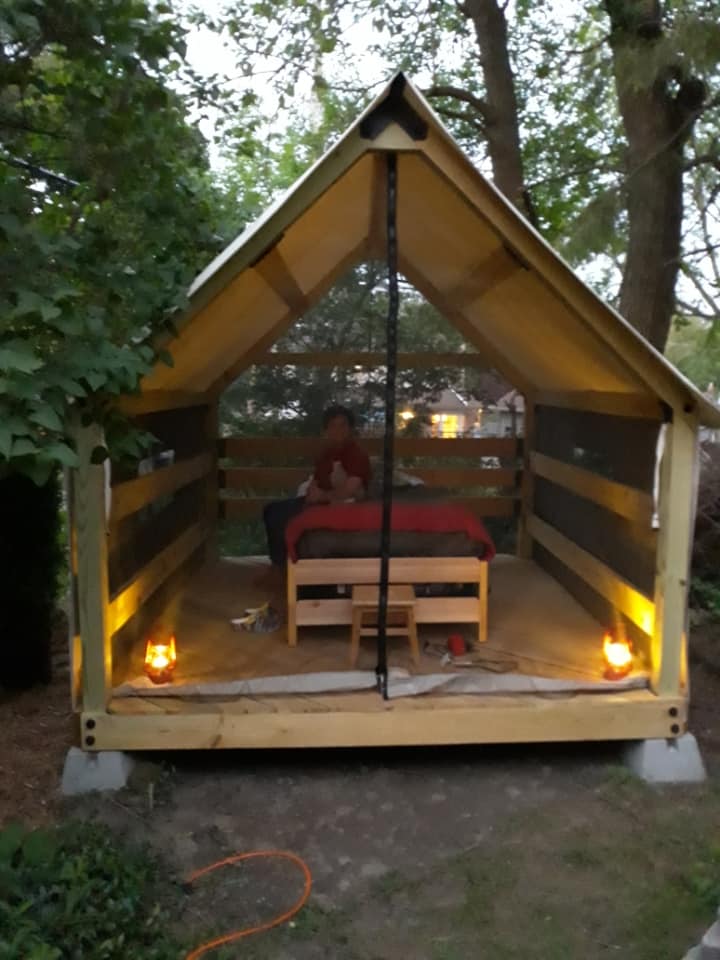
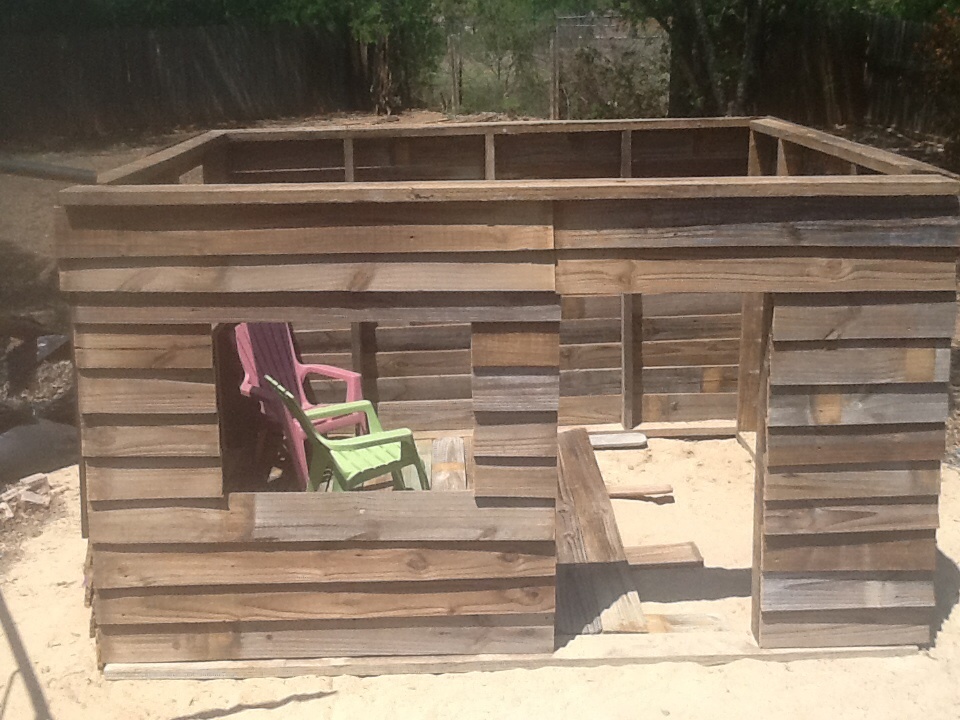
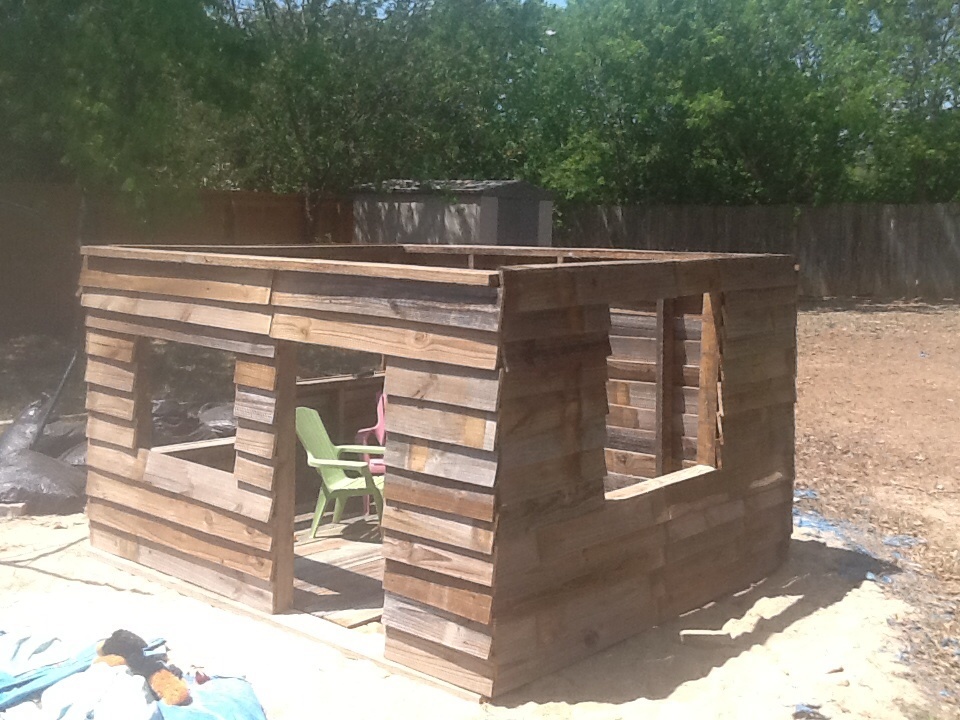
So, We made it a bit larger 9x10
Added screens all around and under floor boards, Zipper entrance in front.
Made Canvas side panels (attach with velcro)
Made front and back canvas panels/doorways.
Chose two stacking twin beds that can be snapped together for a couple or left apart for two guests.
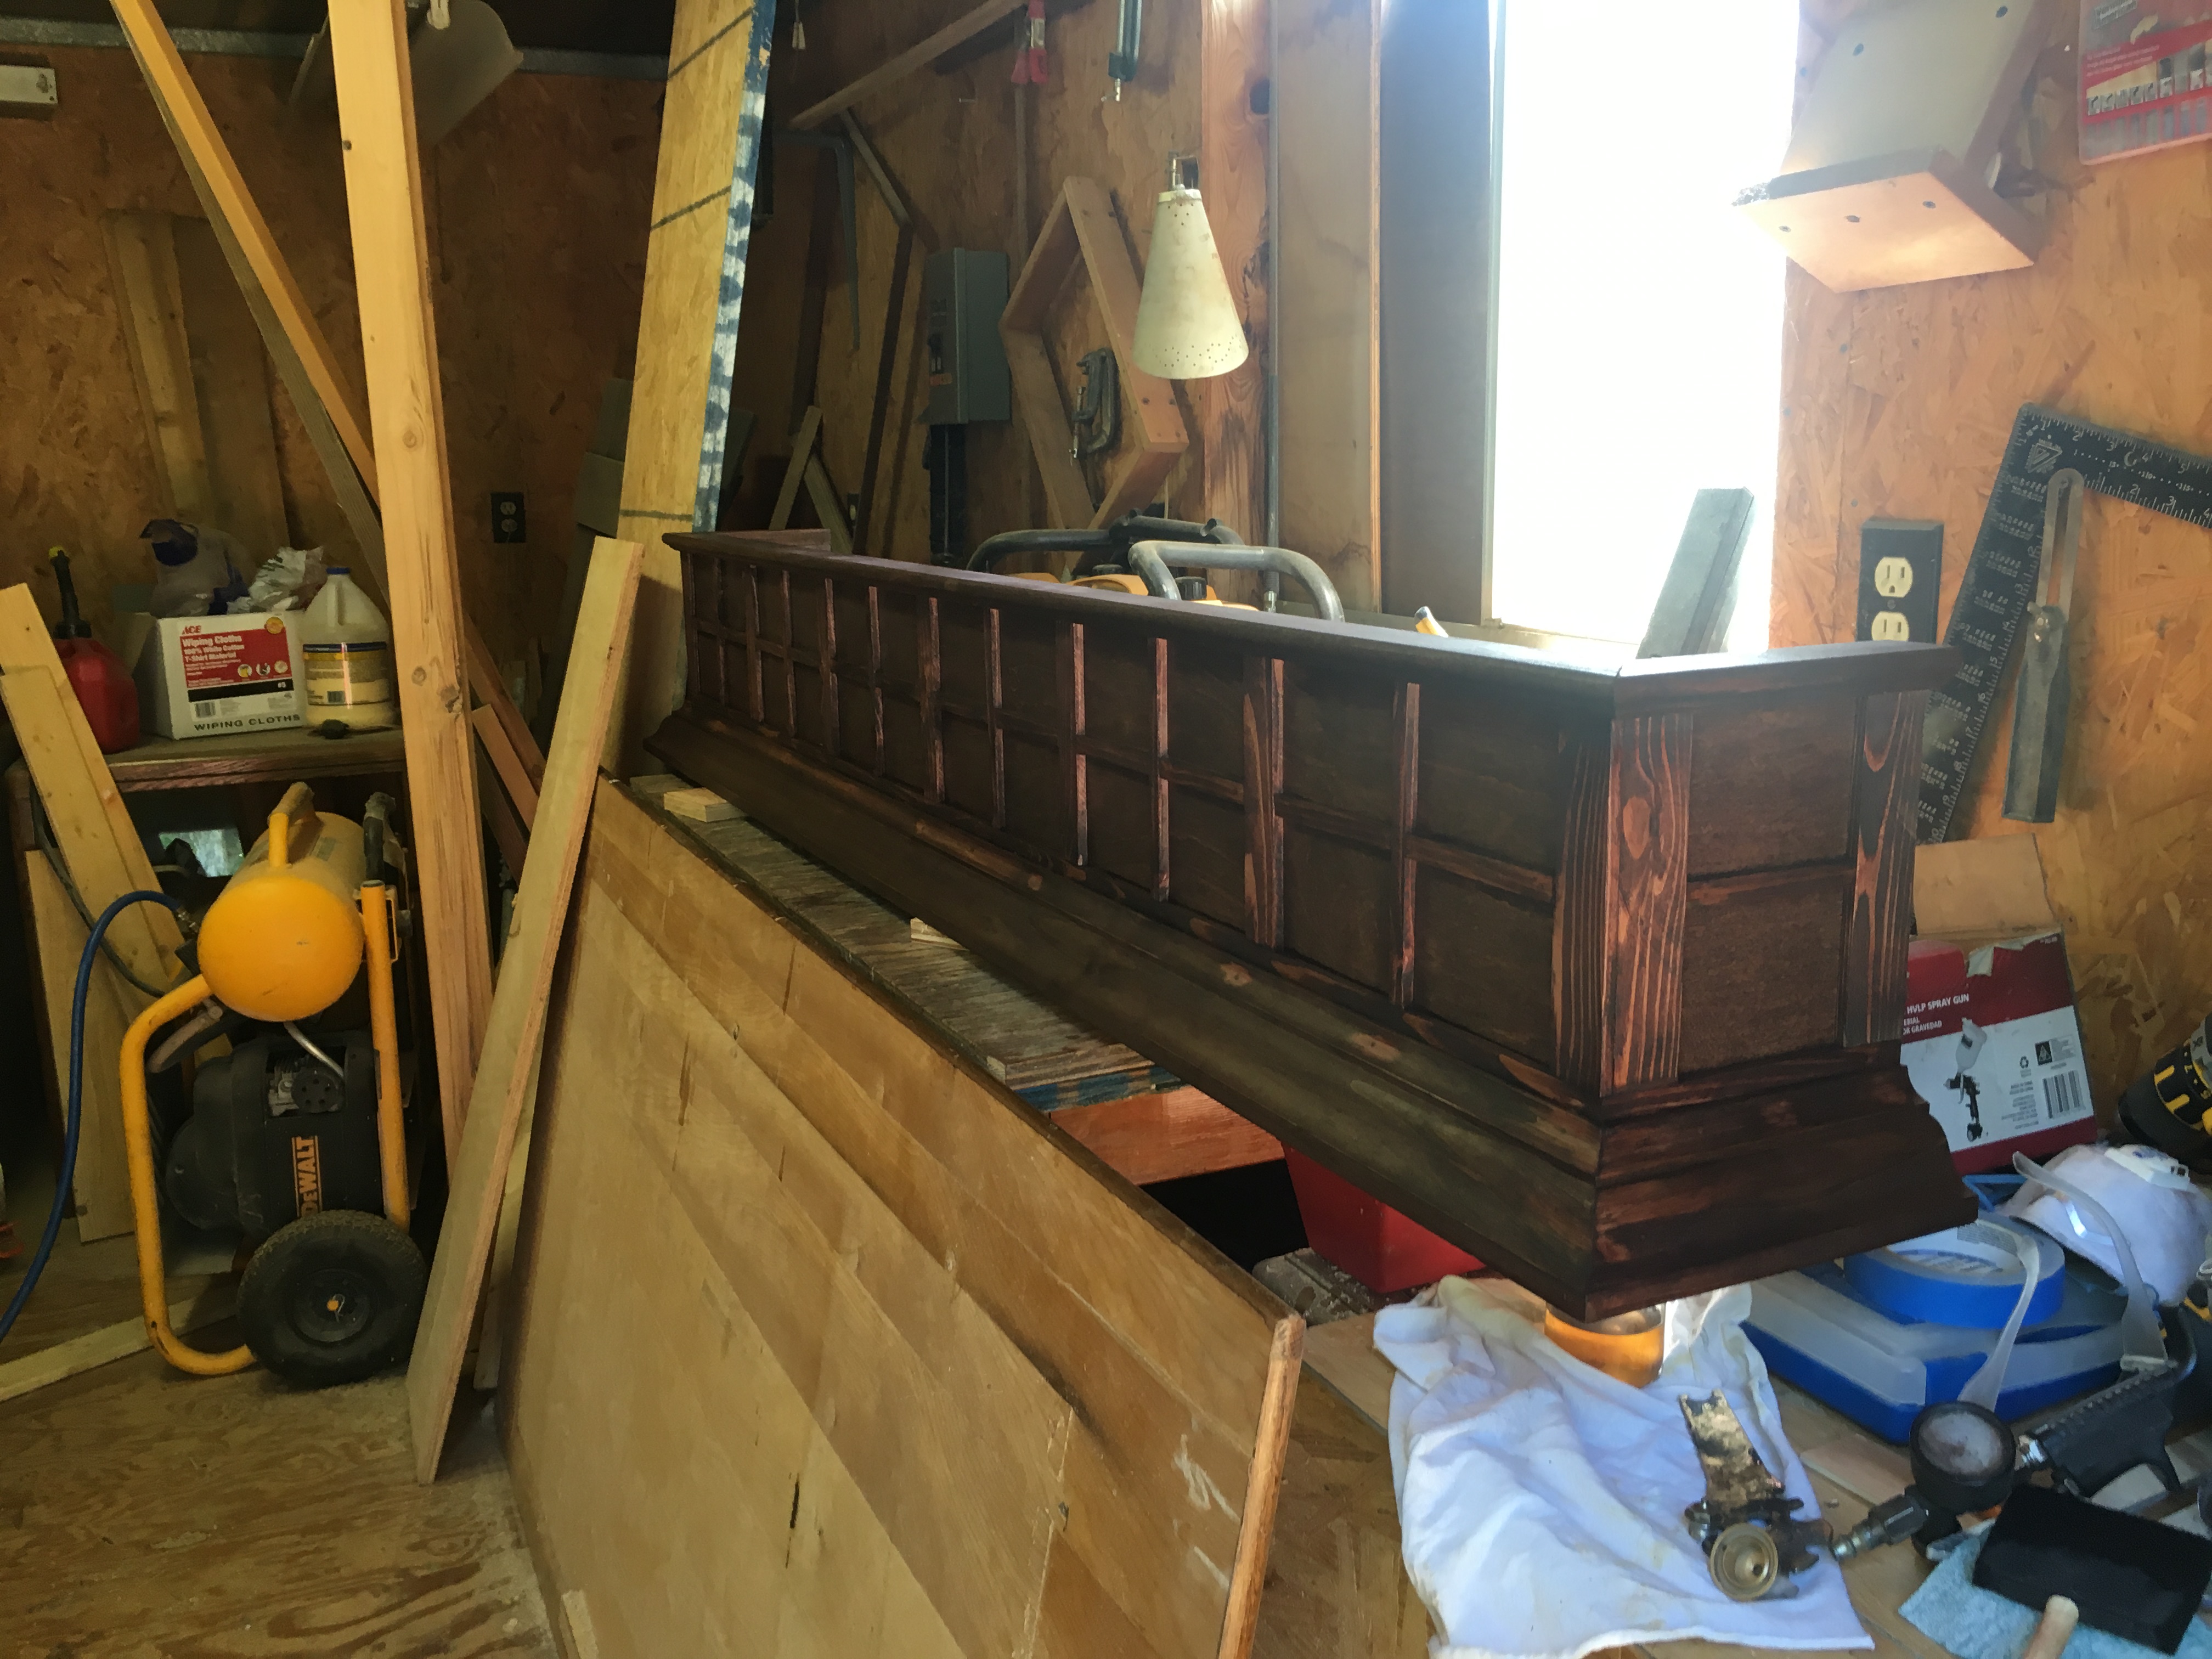
Just for fun, we used timber framing ties (Simpson Strong) instead of the joist hangers and end caps...this gives is big beefy bolt heads and black metal straps across the beams. They do the same thing but give it a more rugged look.
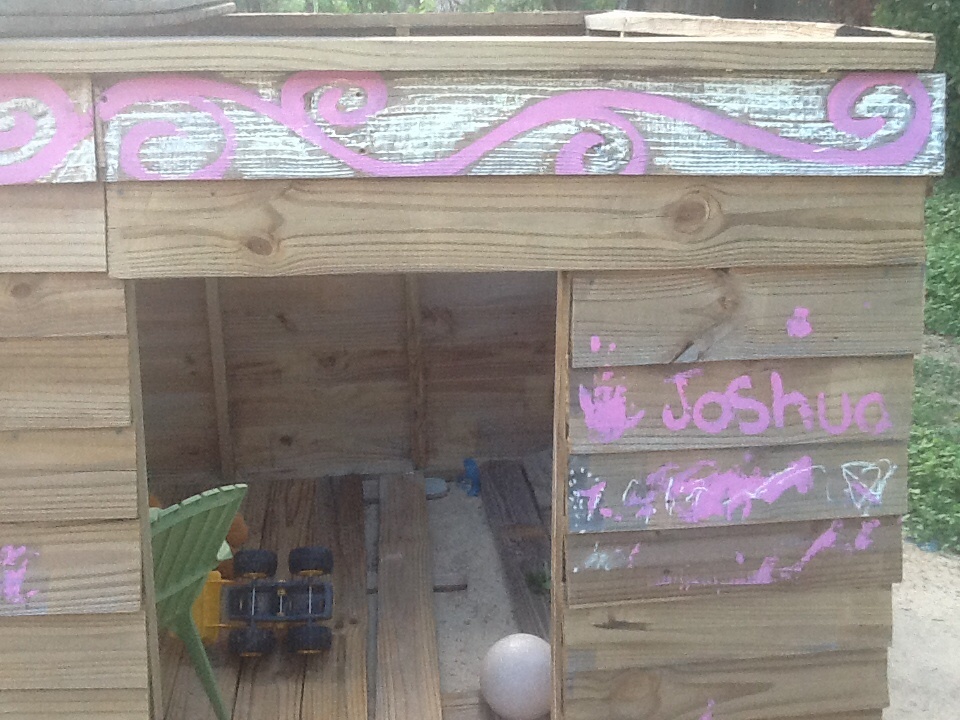
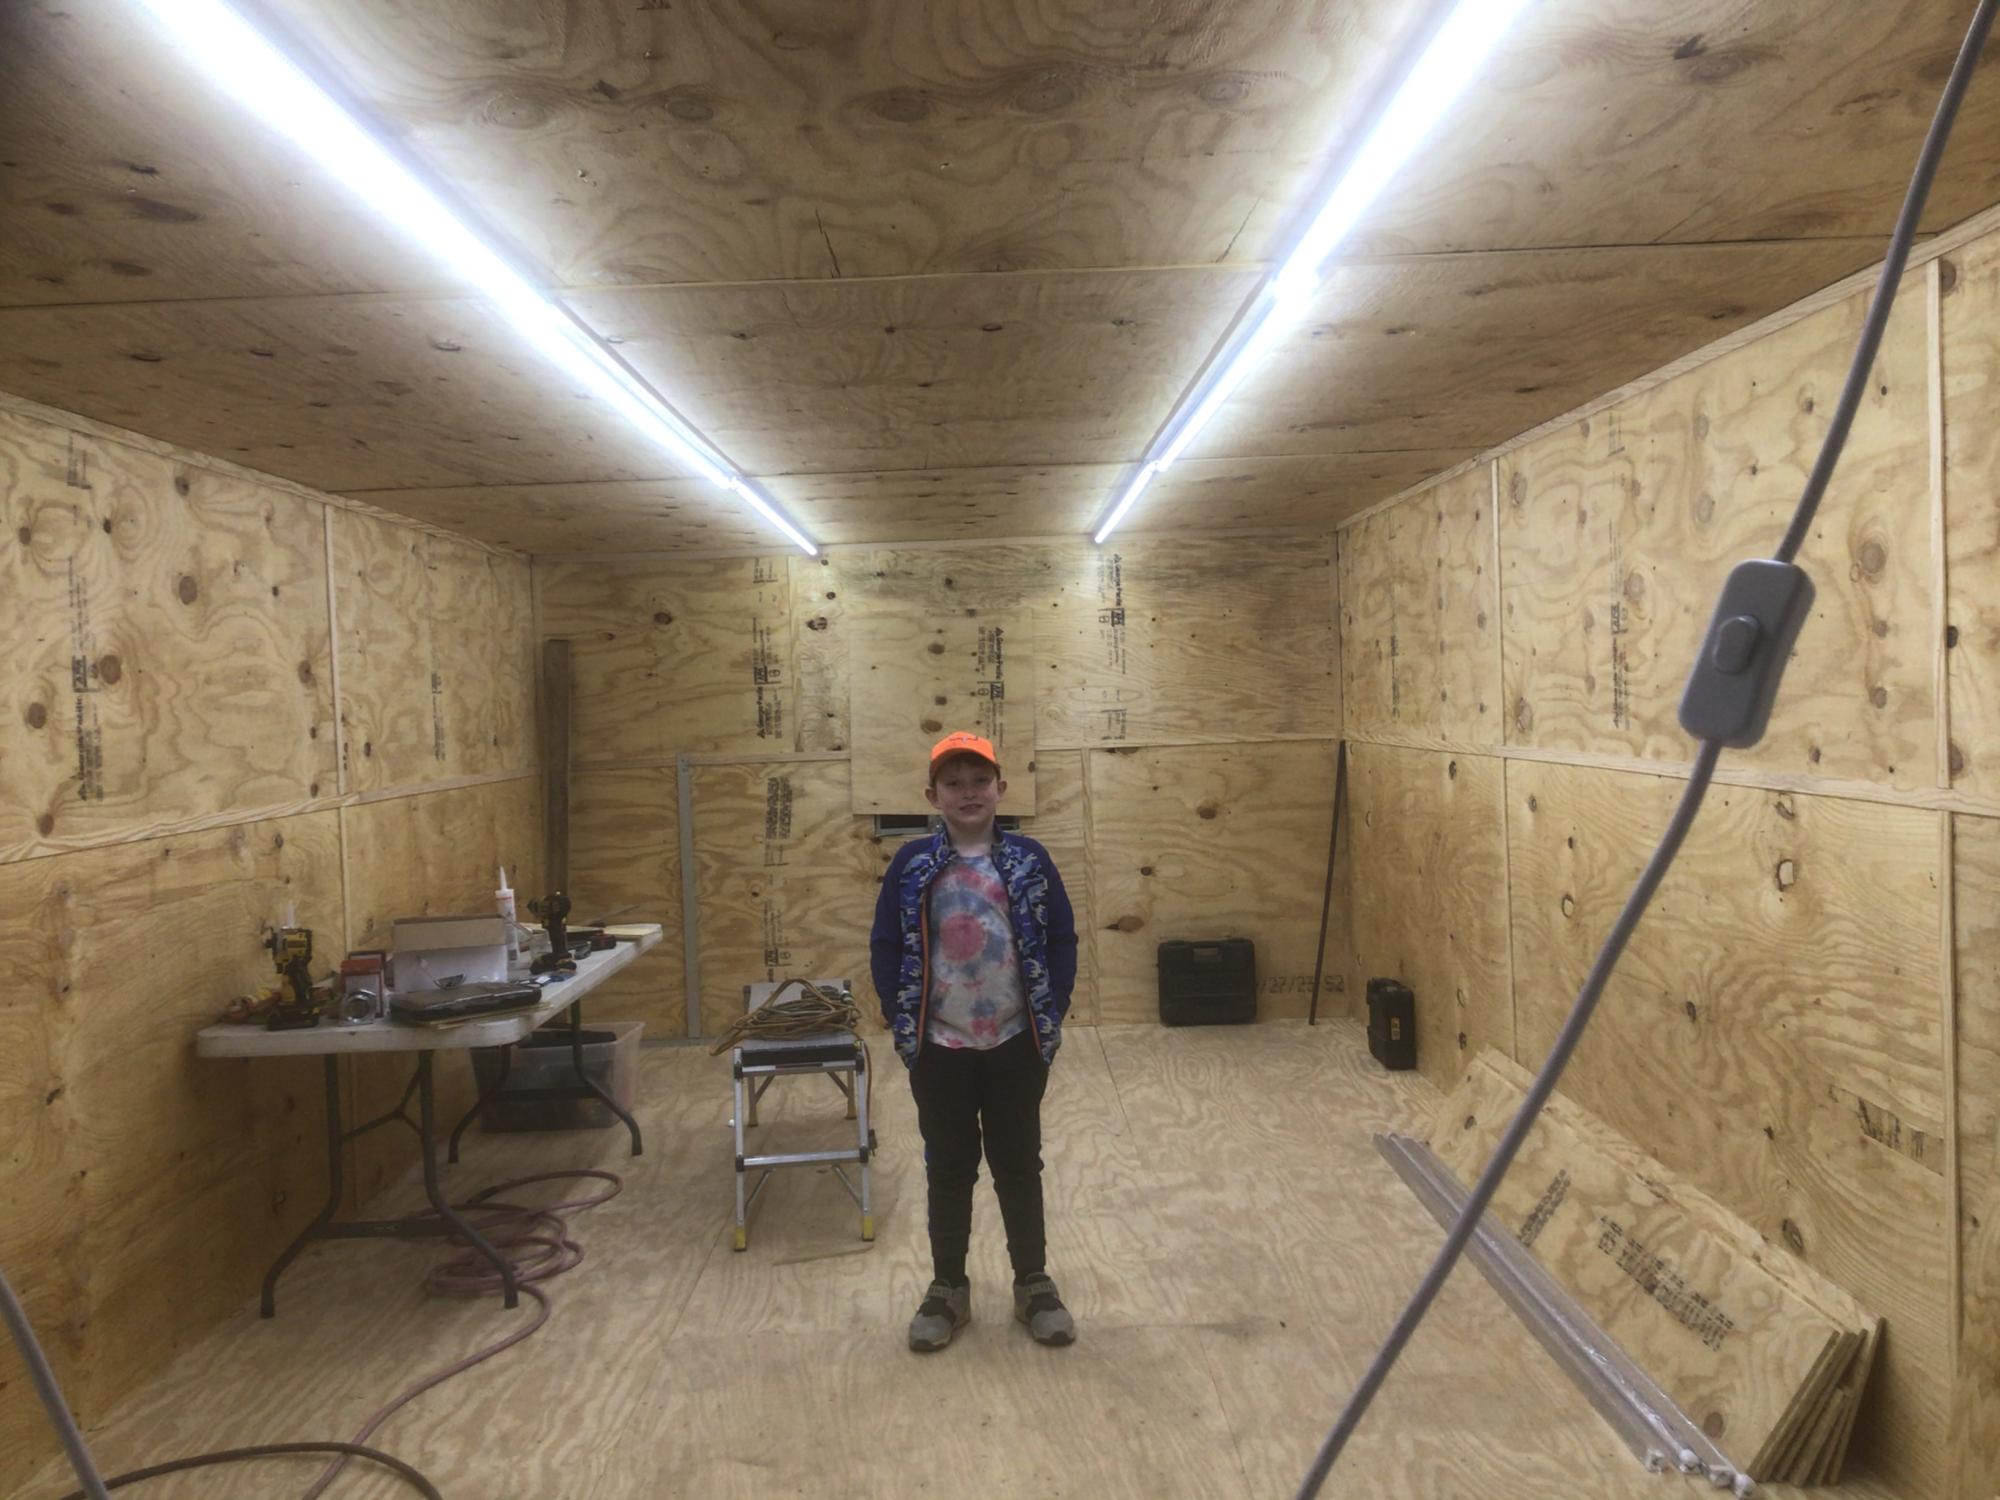
My 12 year old has slept in it for two weeks already and plans to not come in until the snows come this winter!
Thanks so much for the great inspiration and general plan to get us started.