Raised Planter / Jardiniere
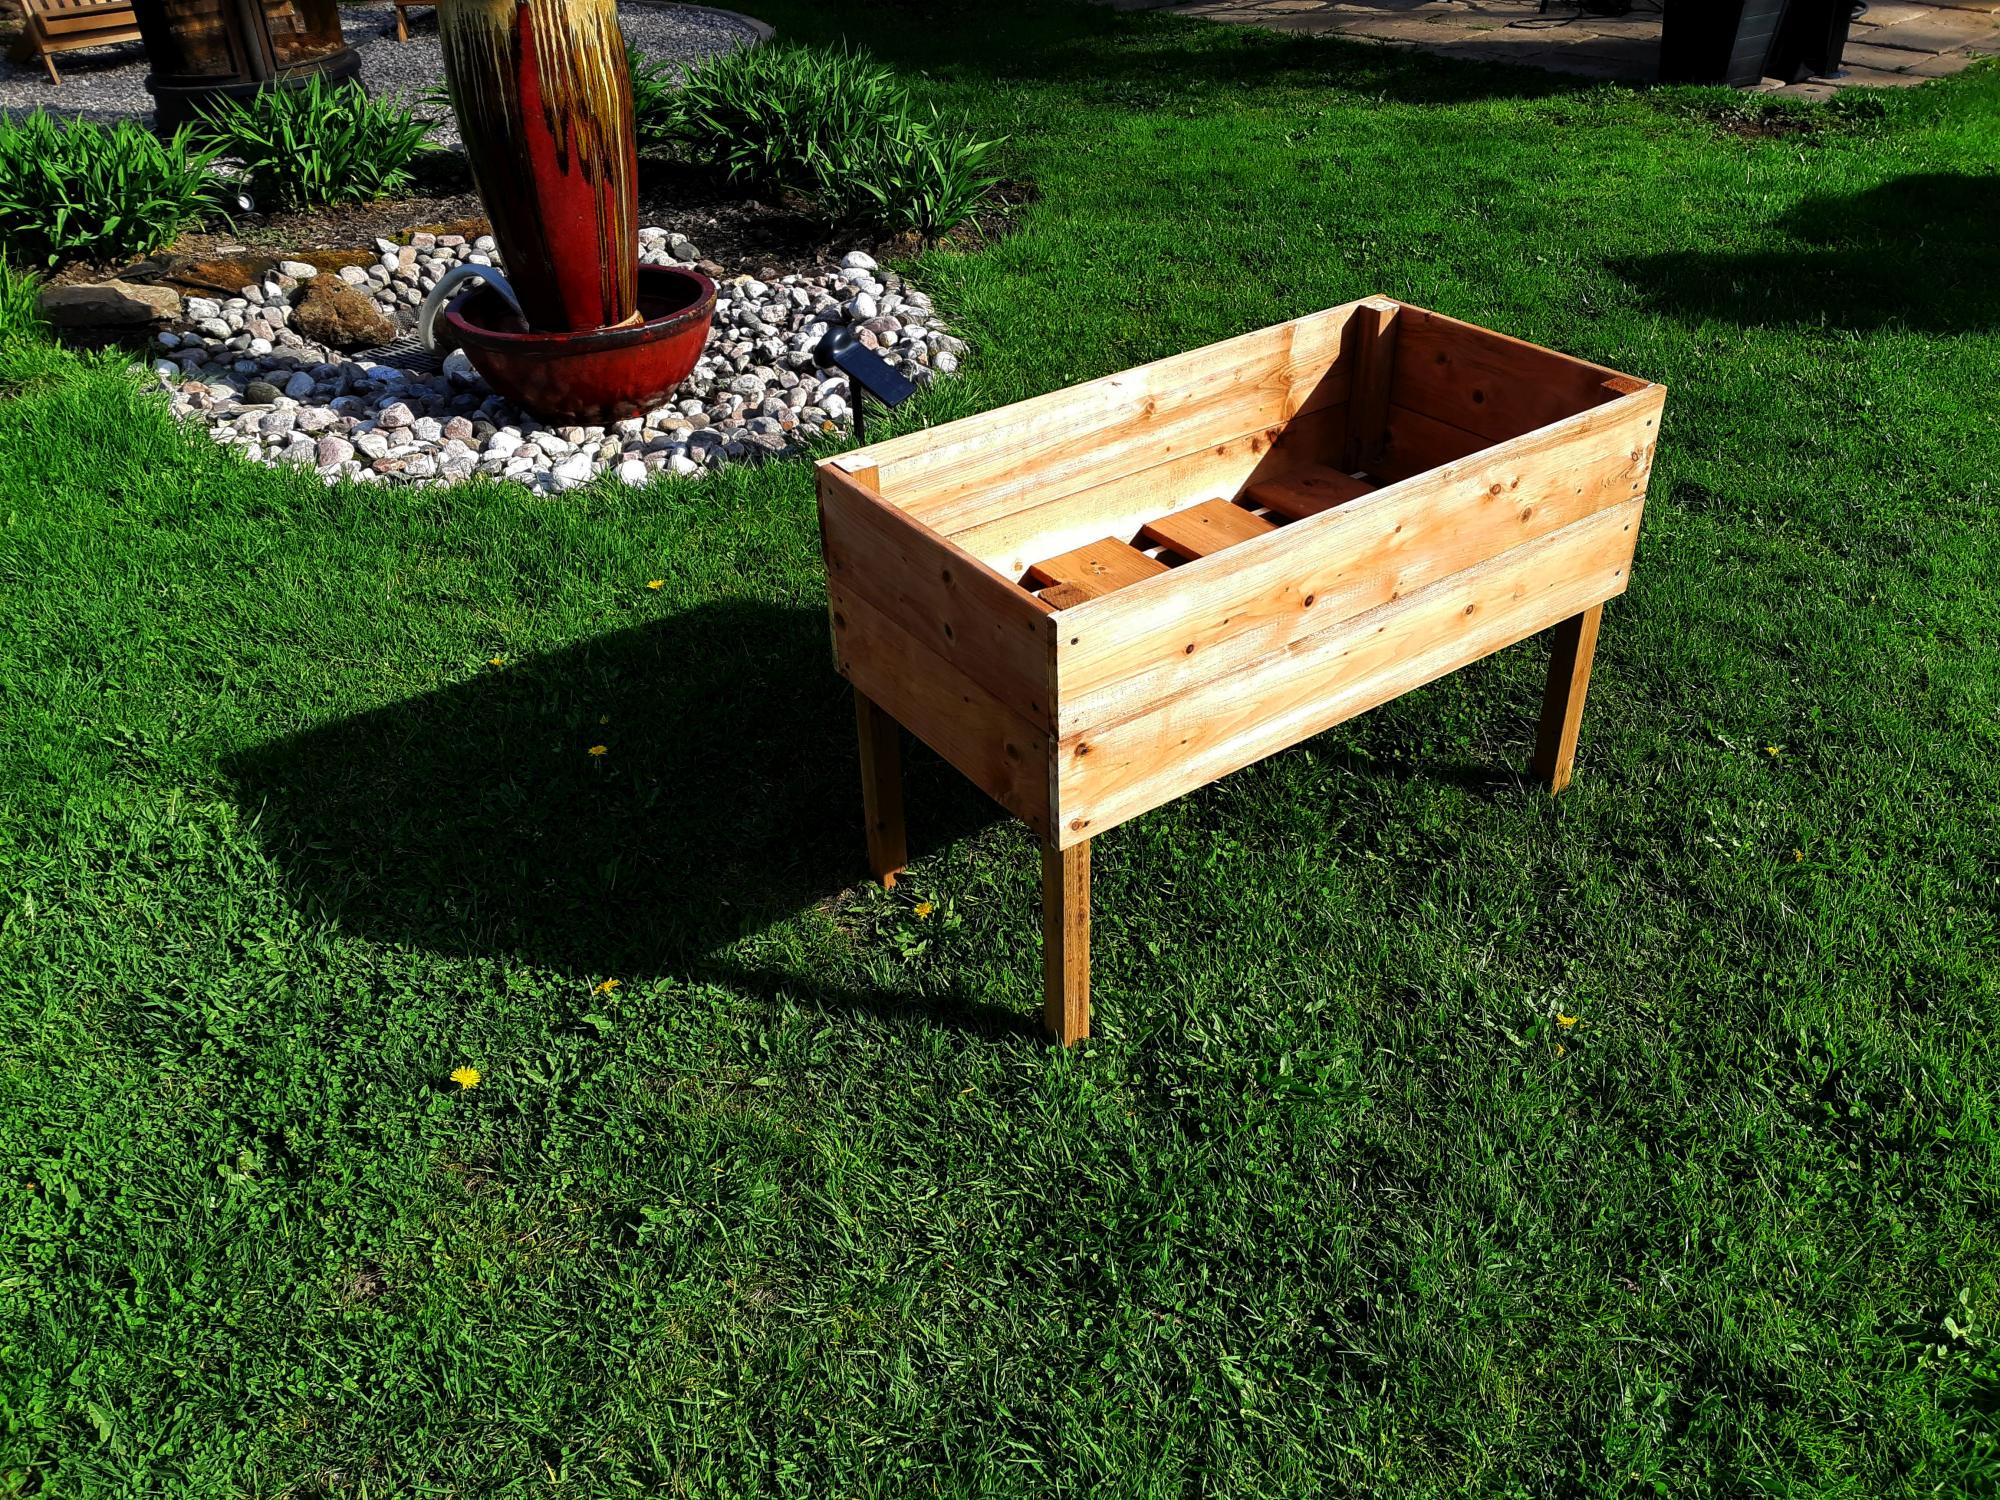
Not much to say apart that some internal measures were different (!?) and that I used treated wood and covered everything with recyclable plastic.
Oh yeah, of course.... Thank you Ana!!
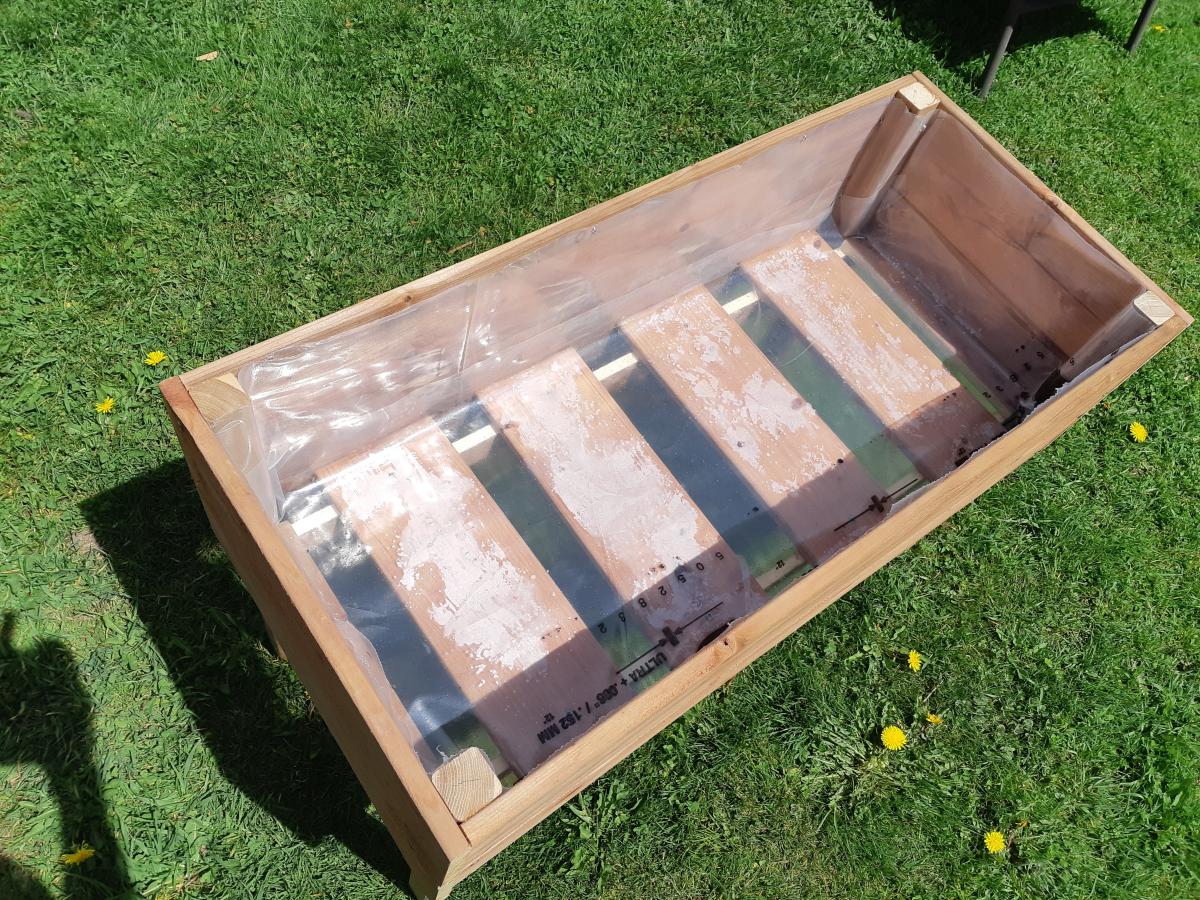
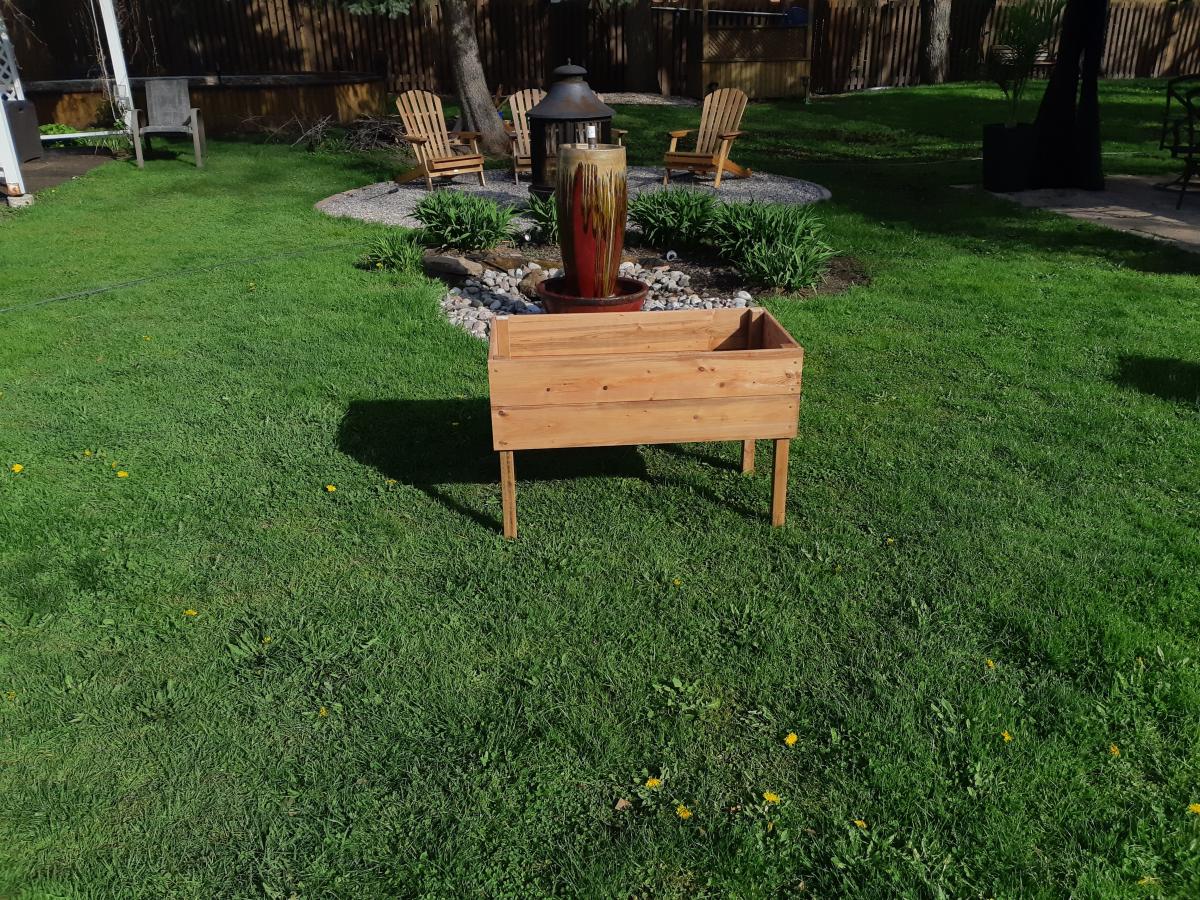
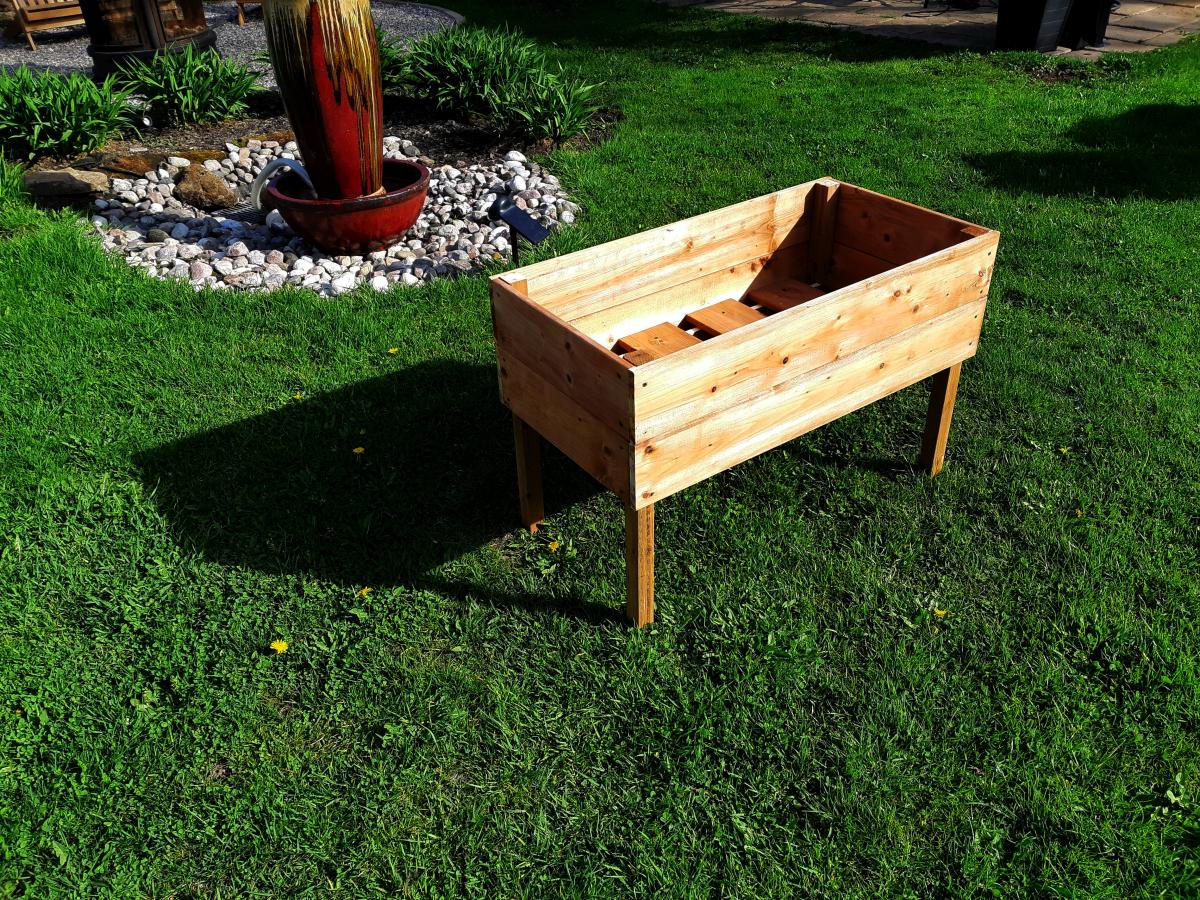
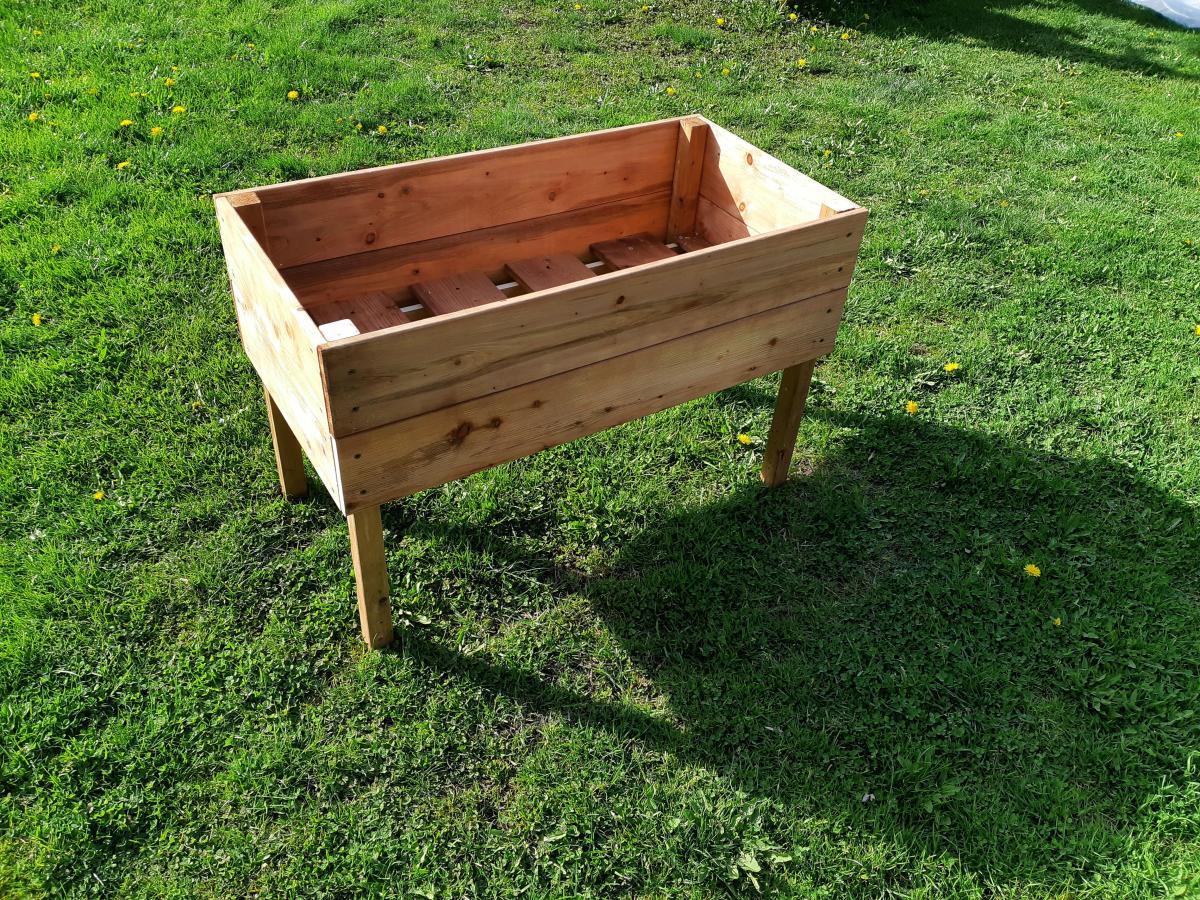
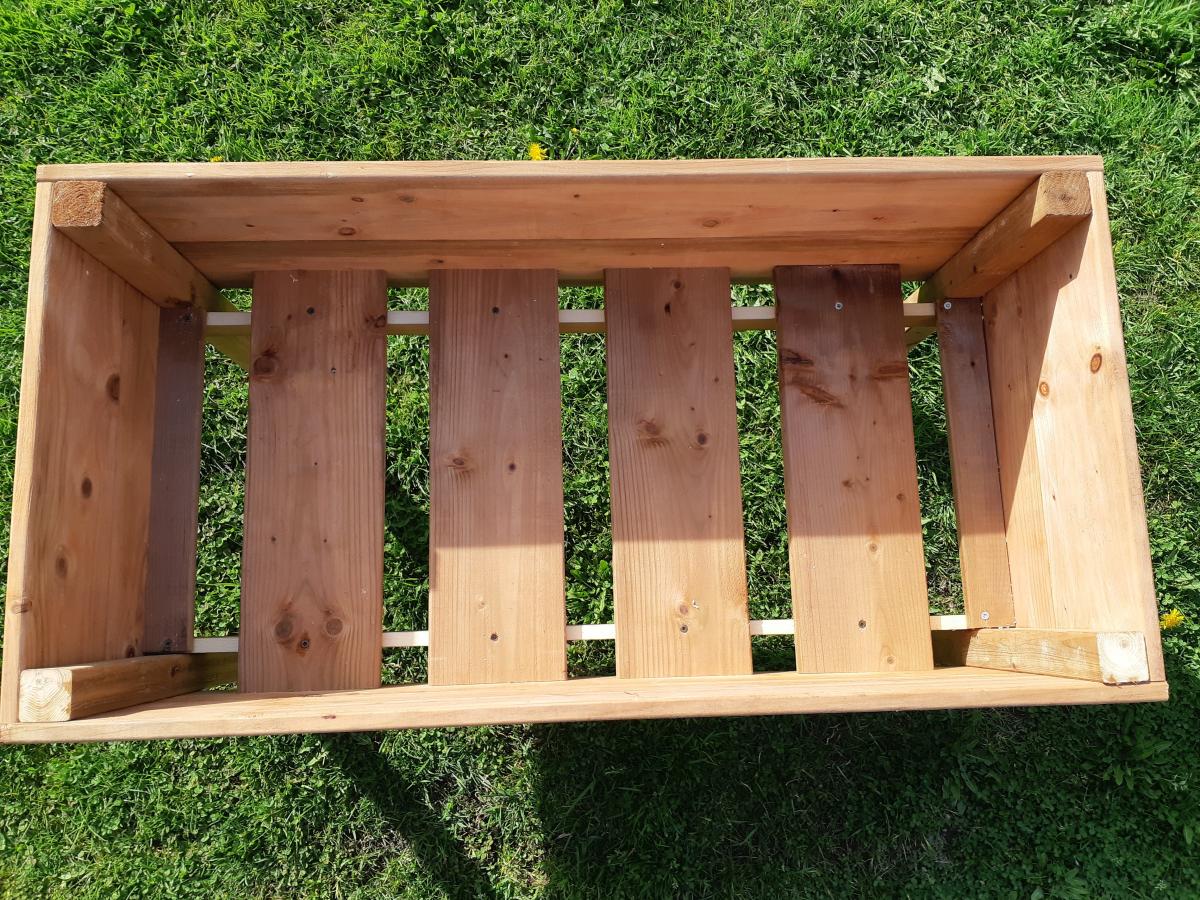

Not much to say apart that some internal measures were different (!?) and that I used treated wood and covered everything with recyclable plastic.
Oh yeah, of course.... Thank you Ana!!


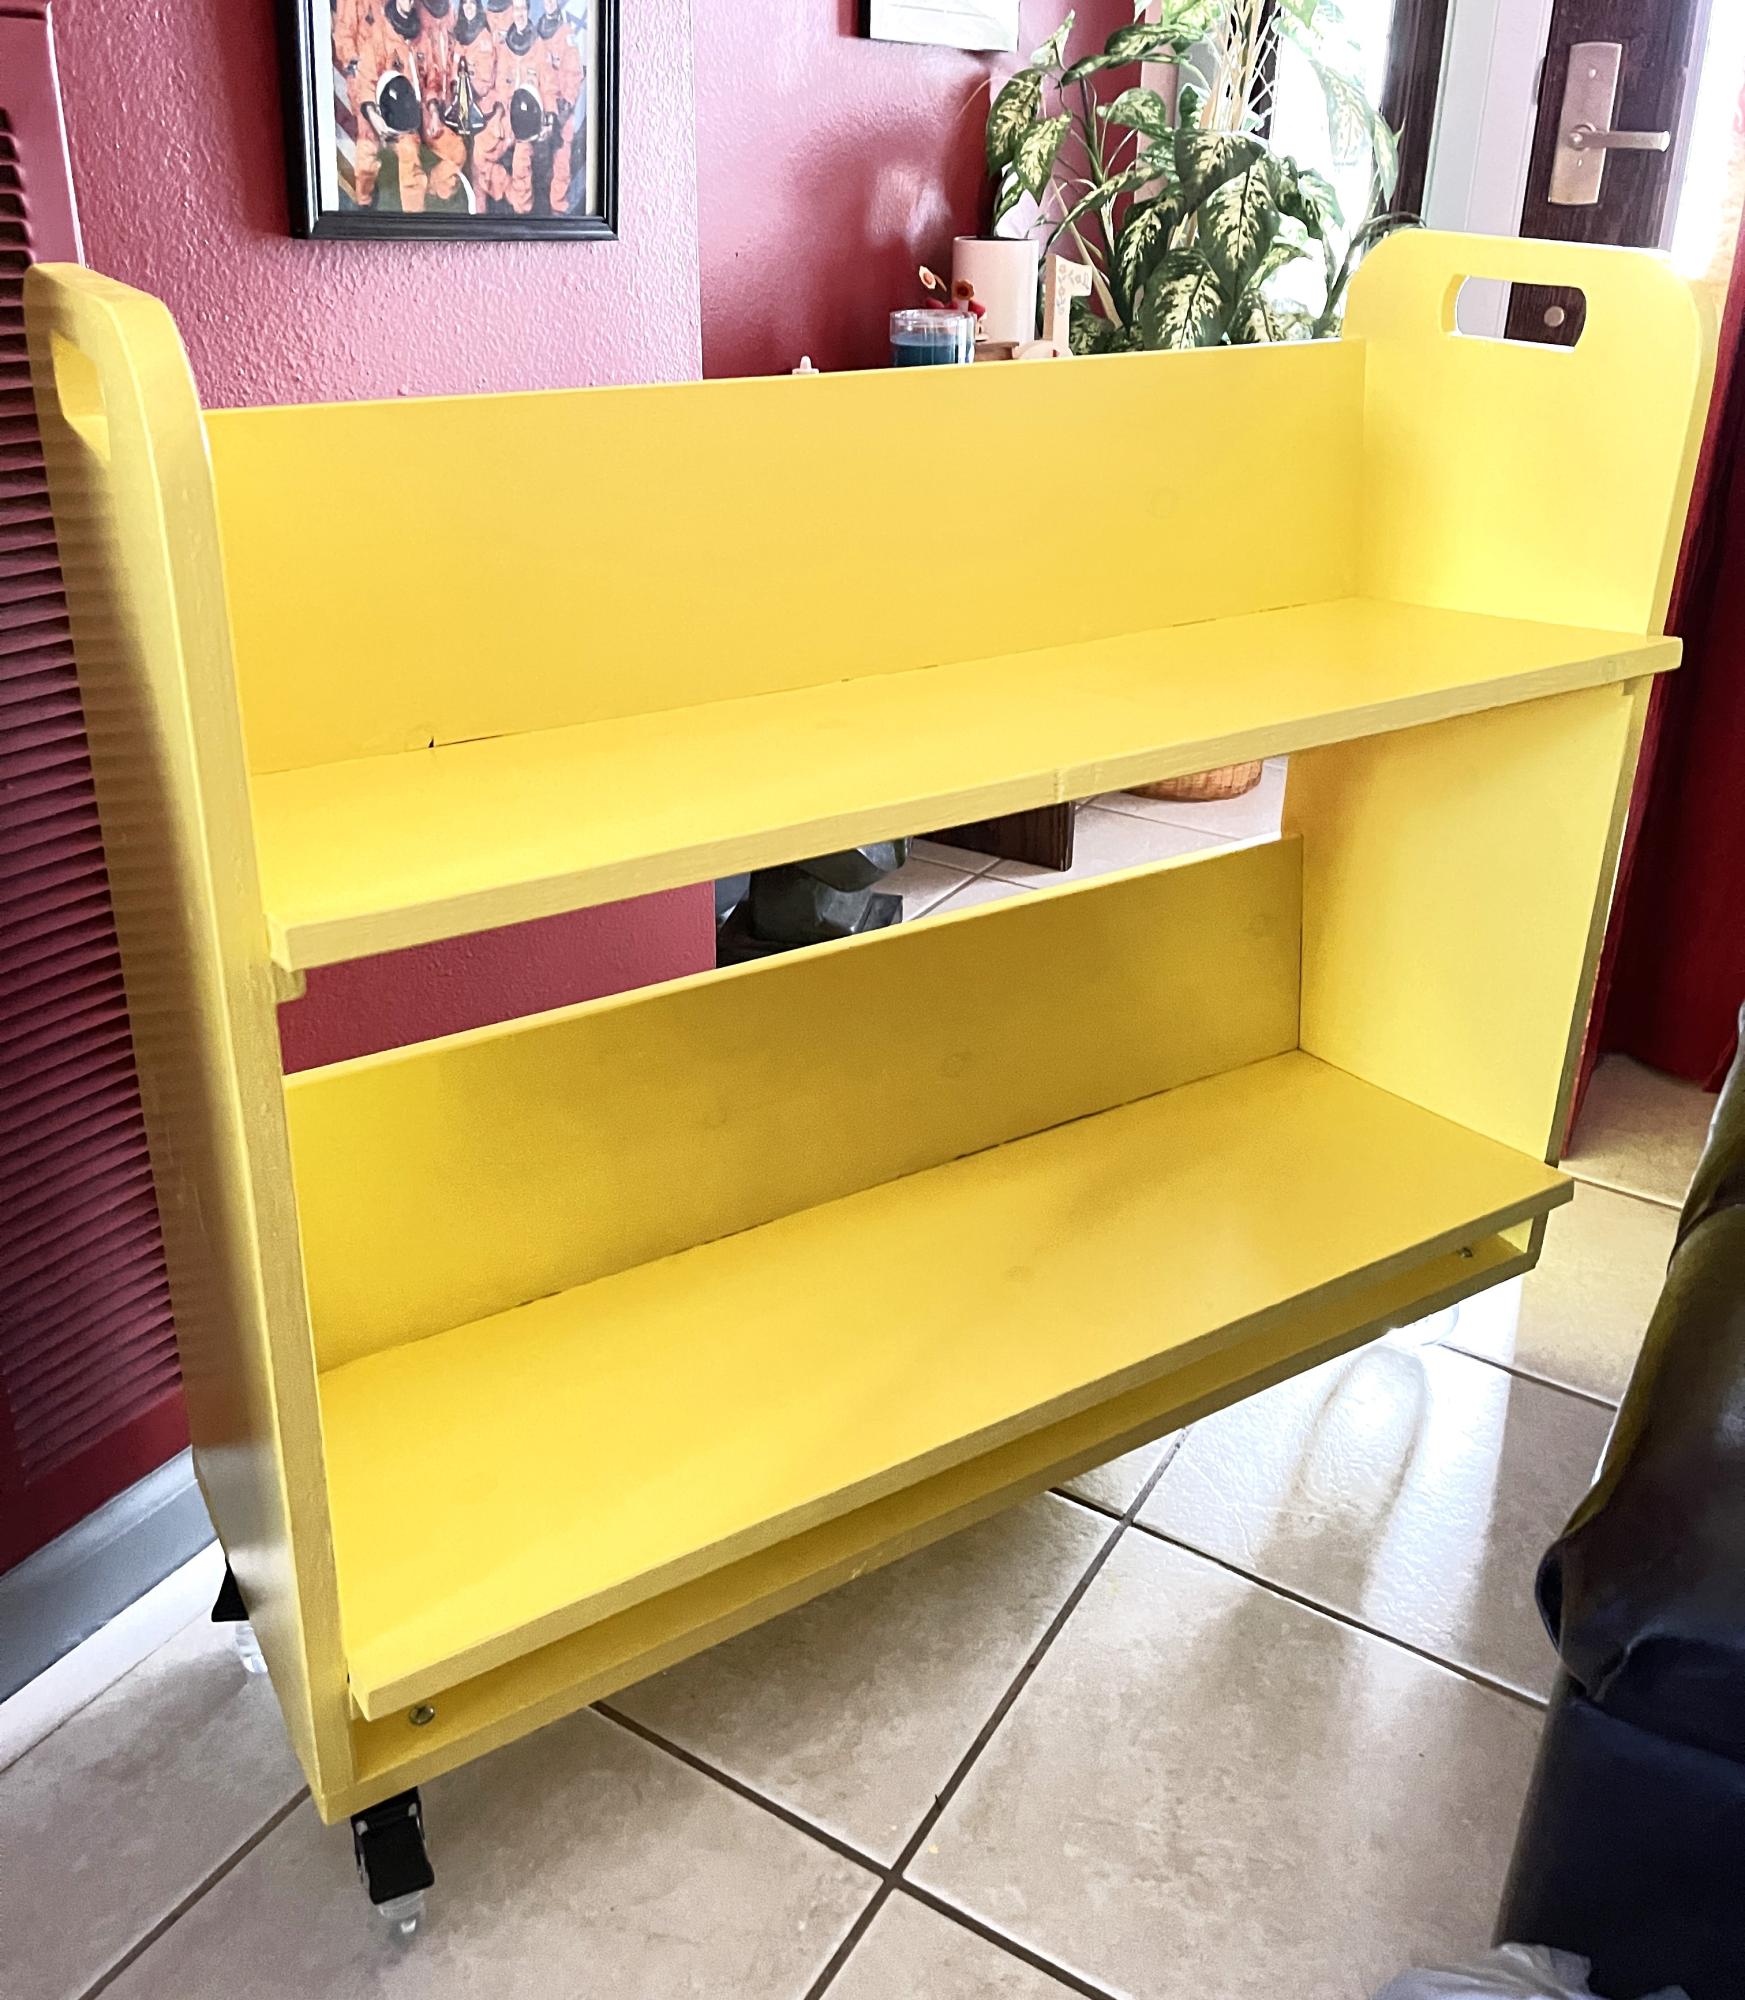
I wanted both shelves to slant. Cutting the hand holes didn’t go well for me. I used 3” wheels to better maneuver on carpet. I originally tried two fixed casters and two swivel casters but that was too difficult to maneuver so now all four swivel.
HC in TX
I actually got the idea from Shanty 2 Chic and I thought I would share my take on it here. It was super simply...I just kreg jig'd the boards together and built a frame to the size I wanted. I bought the aluminum from Lowe's and cut it down. I actually built 6 of these so I could give 5 away as thank you gifts. The price for all 6 was under $50 and I think only about $30 of that was the materials to make the boards. The rest was spend on the stuff I made for the boards.
Here is a link for their post! http://www.shanty-2-chic.com/2012/05/diy-12-magnetic-memo-board.html
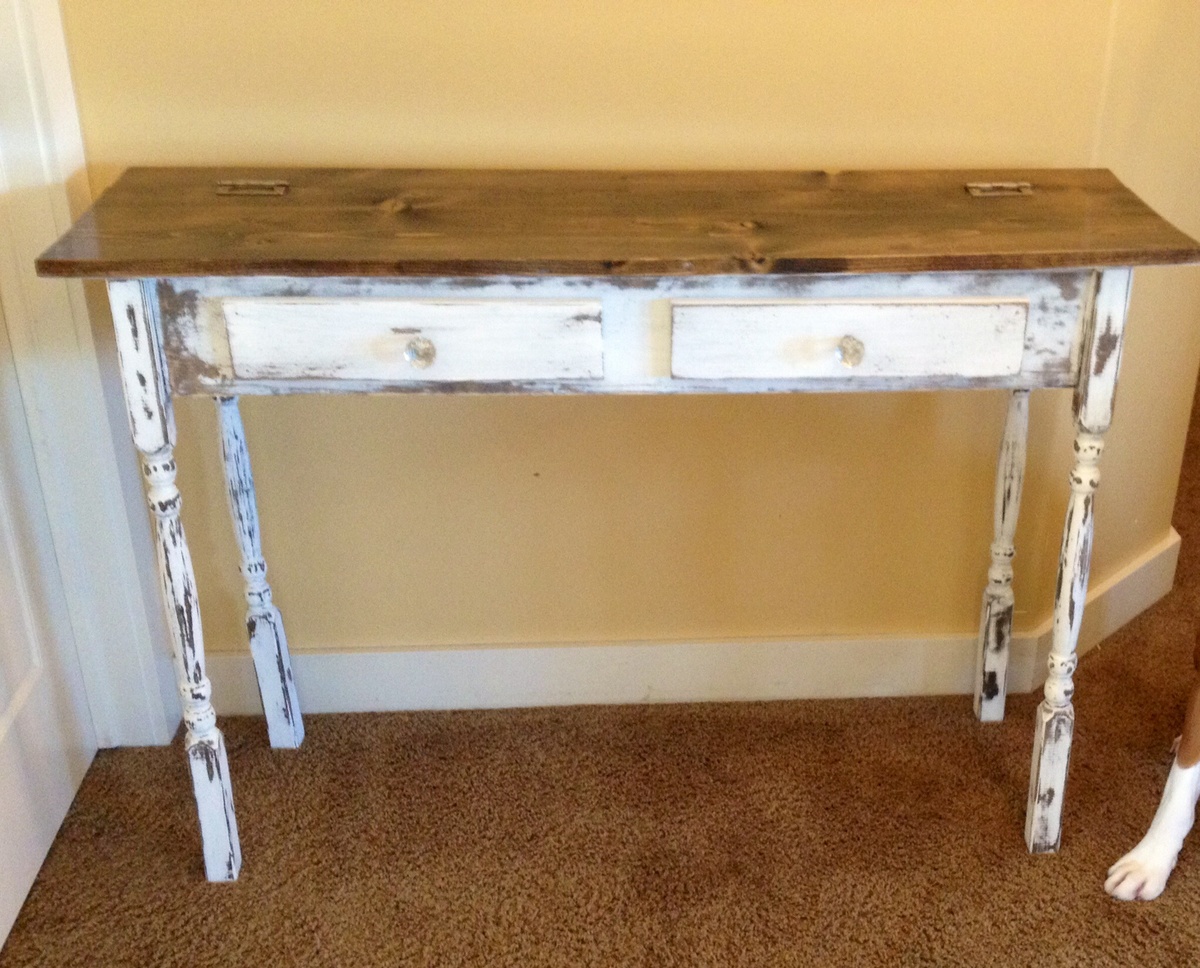
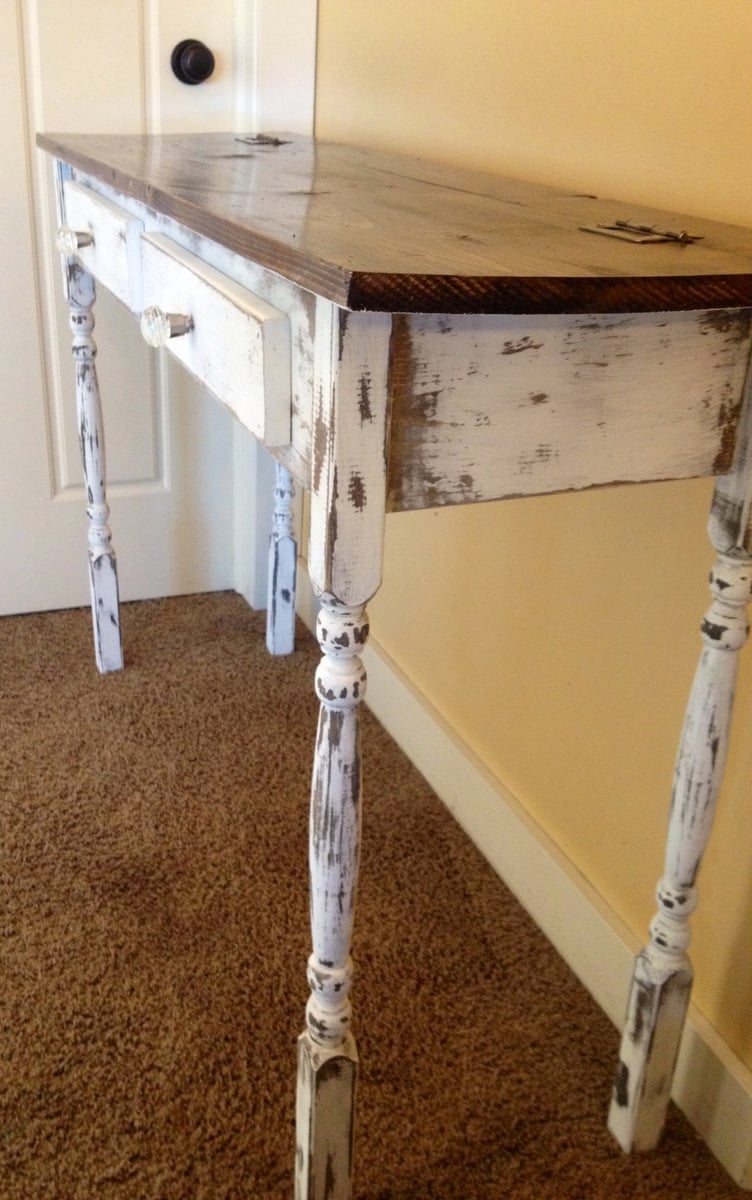
This build was quite easy. I didn't run into any issues. I went with stair balusters for the legs instead of the 2x2's that the design calls for, but the balusters ended up being 2x2 anyways so I didn't need to make any changes. My building costs were a bit pricier as I find there's a slight price difference for lumber here in Canada. The construction of the table itself took about an hour or so, however the finishing took much longer due to the painting, staining and then lacquering and waxing!
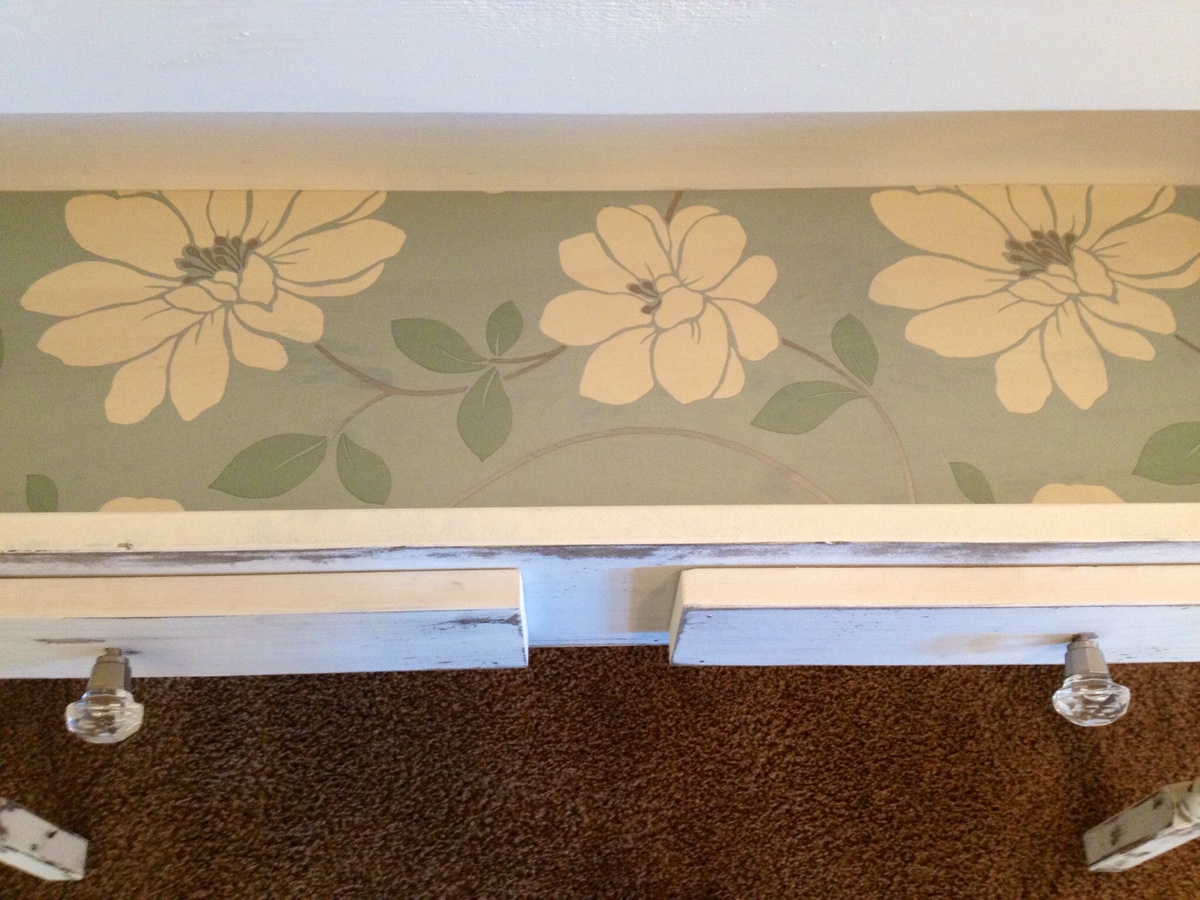
I decided to go with a more distressed/aged look for my finish, and I thought the glass knobs would look gorgeous. I also decided to line the inside storage area because it just looked a little bland to me! All-in-all I'm very happy with the outcome!
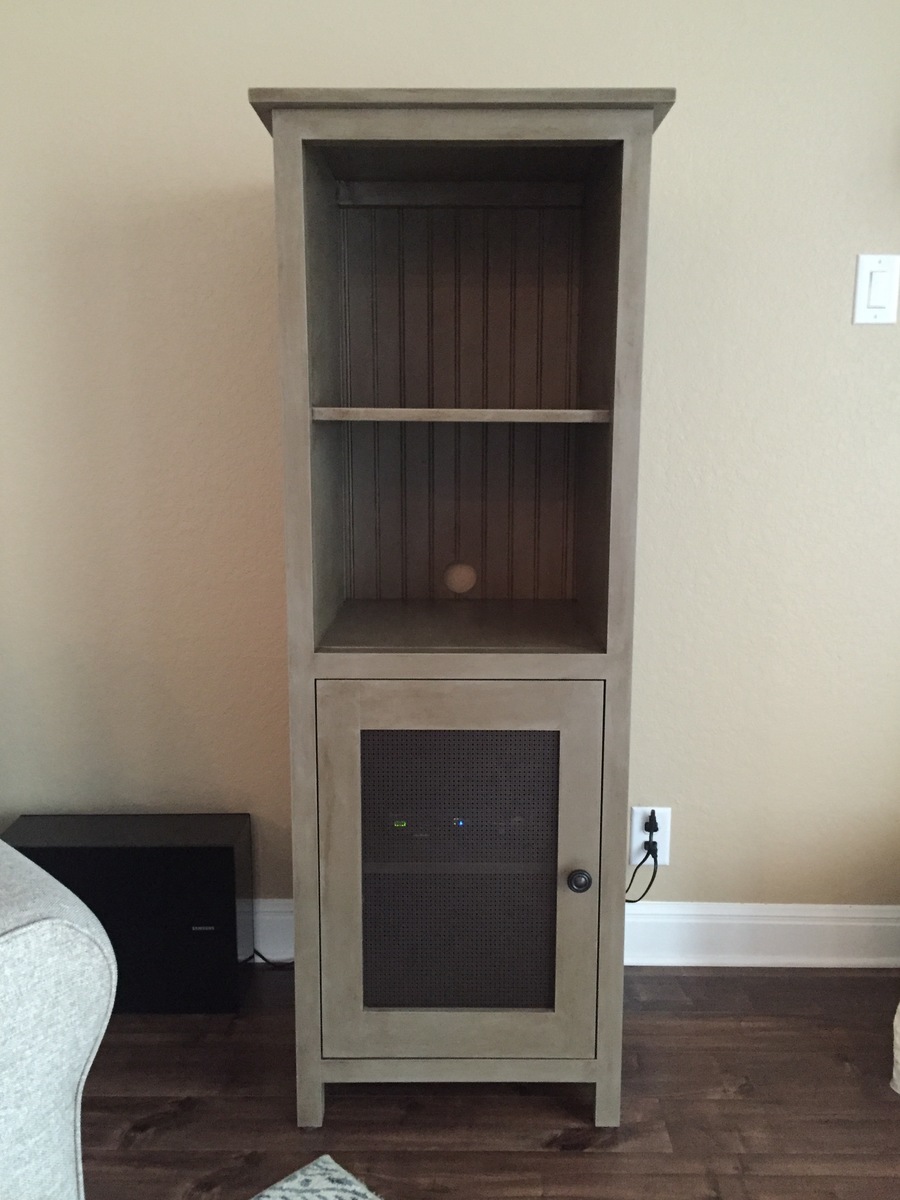
Built this media tower based off the plans inspired by the Pottery Barn Benchwright Towers. I used Annie Sloan's French Linen chalk paint followed by a clear then dark wax. The door panel was made using a decrotive bronze aluminum sheet cut to size. It makes a nice addition to my living room.
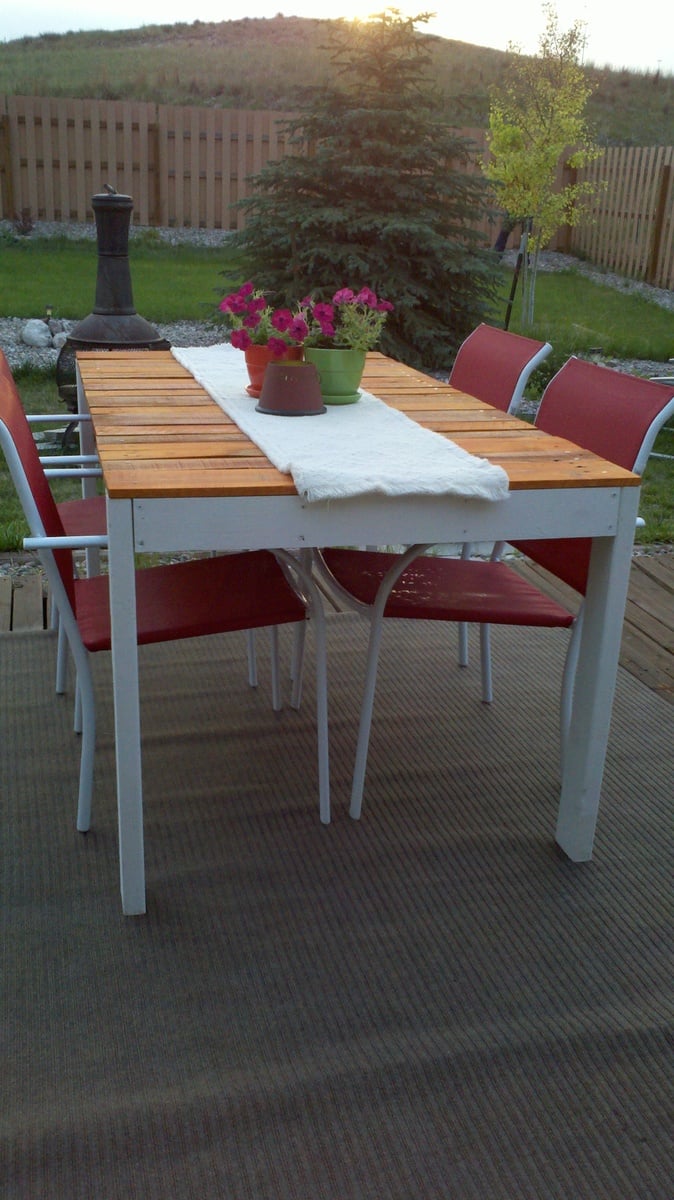
We built this table using Ana White's patio table plan. We modified it slightly only to use pallet wood for the top. With the pallet wood varying by width, we had to adjust the quantity of slats needed for the top. Using the pallet wood for the top also reduced the cost a bit. We think it turned out great! The plan was VERY easy!
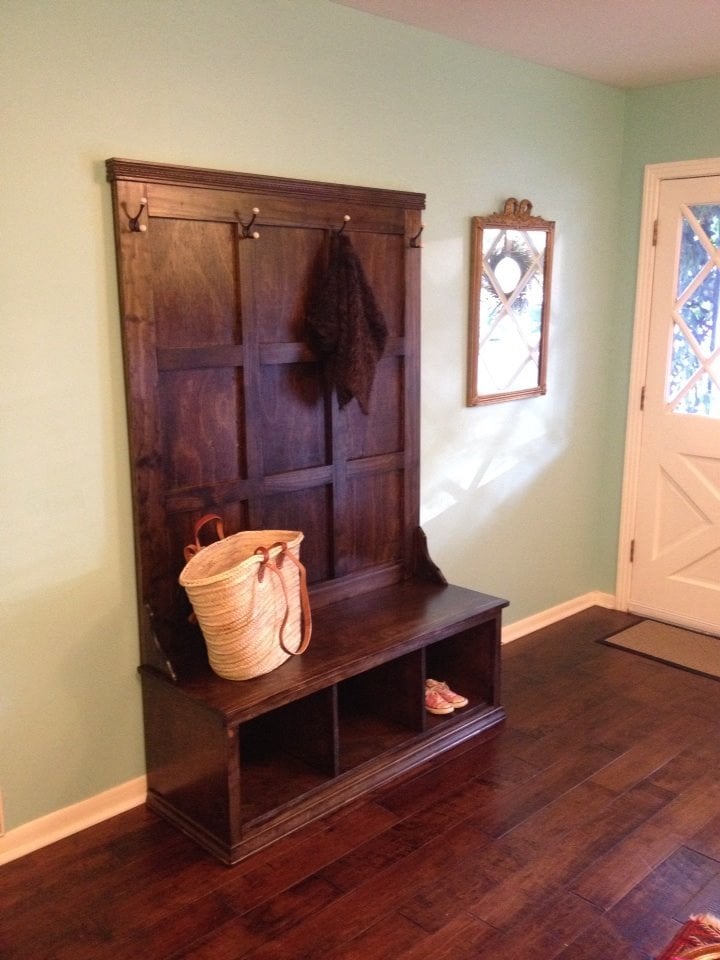
This was my first major woodworking project, and I am so pleased with it! I have been looking for a piece of furniture like this and couldn't find something that I liked and could afford. I spent about $180 in lumber, and also took Ana's advice and invested in a Kreg Jig. I HIGHLY recommend this! It is expensive ($100) but so worth it. I had to learn a few things along the way, and had encountered some obstacles, but in the end I am very pleased with the project. A few things I learned on my first project:
1. Exact cuts are SO important. Every 1/8" matters. It was helpful to do as many cuts as possible at the lumber store.
2. Ana mentions this in her beginners section, but it bears repeating: wood glue will repel stain. Be sure to wipe away ALL residue of wood glue before staining, and be sure to give extra sanding attention to areas that had wood glue. Otherwise you will have a white spot in the midst of your stain.
3. On this plan in particular there is one change that I recommend. Do not add the wrap around trip on the top and bottom until AFTER you have put the plywood backing on in the last step. The reason is that the plywood adds another 3/4 inch, and so there was a gap between the edge of the trip and the back on the furniture. I redid it on the top because it was so noticeable.
Wed, 04/30/2014 - 11:14
This is gorgeous! You did a great job! I want to make this but I have no place to put it in my tiny apartment. Someday…
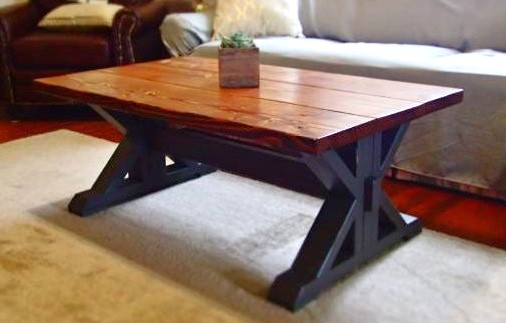
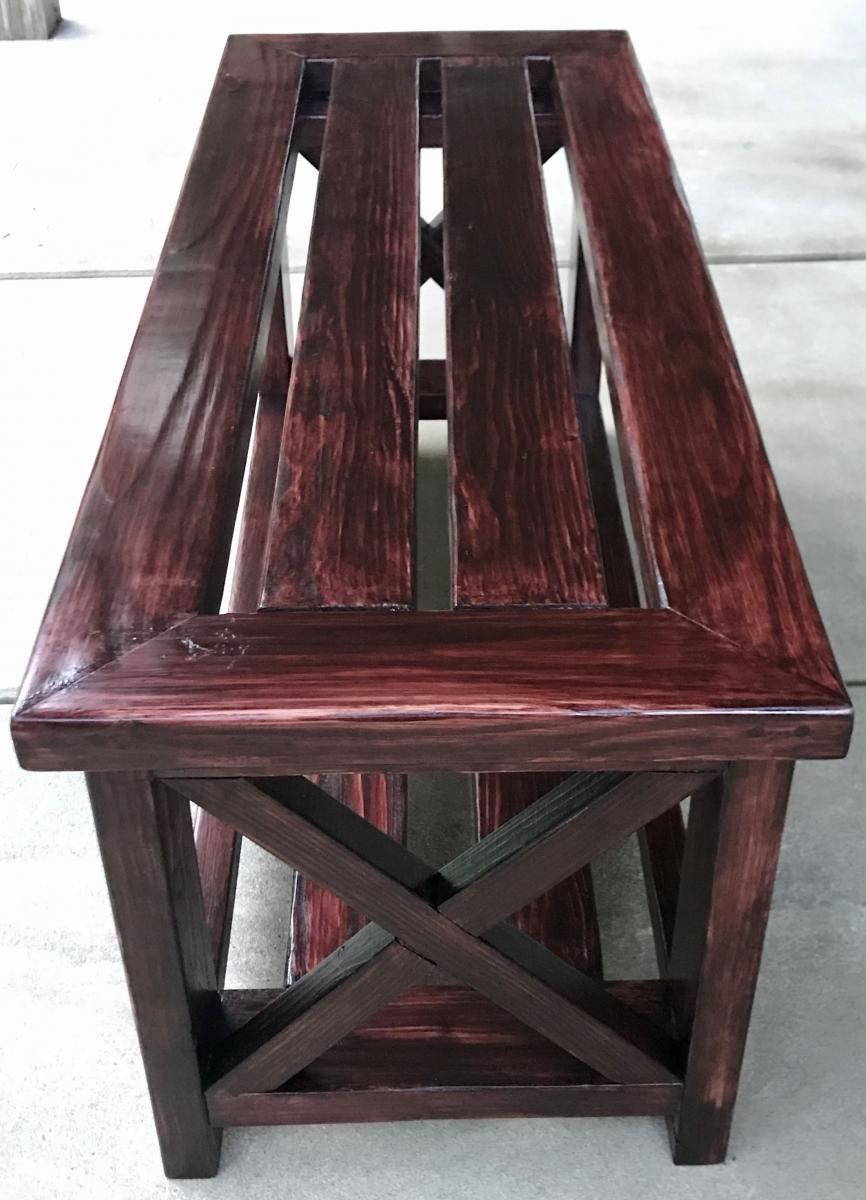
Trestle coffee table
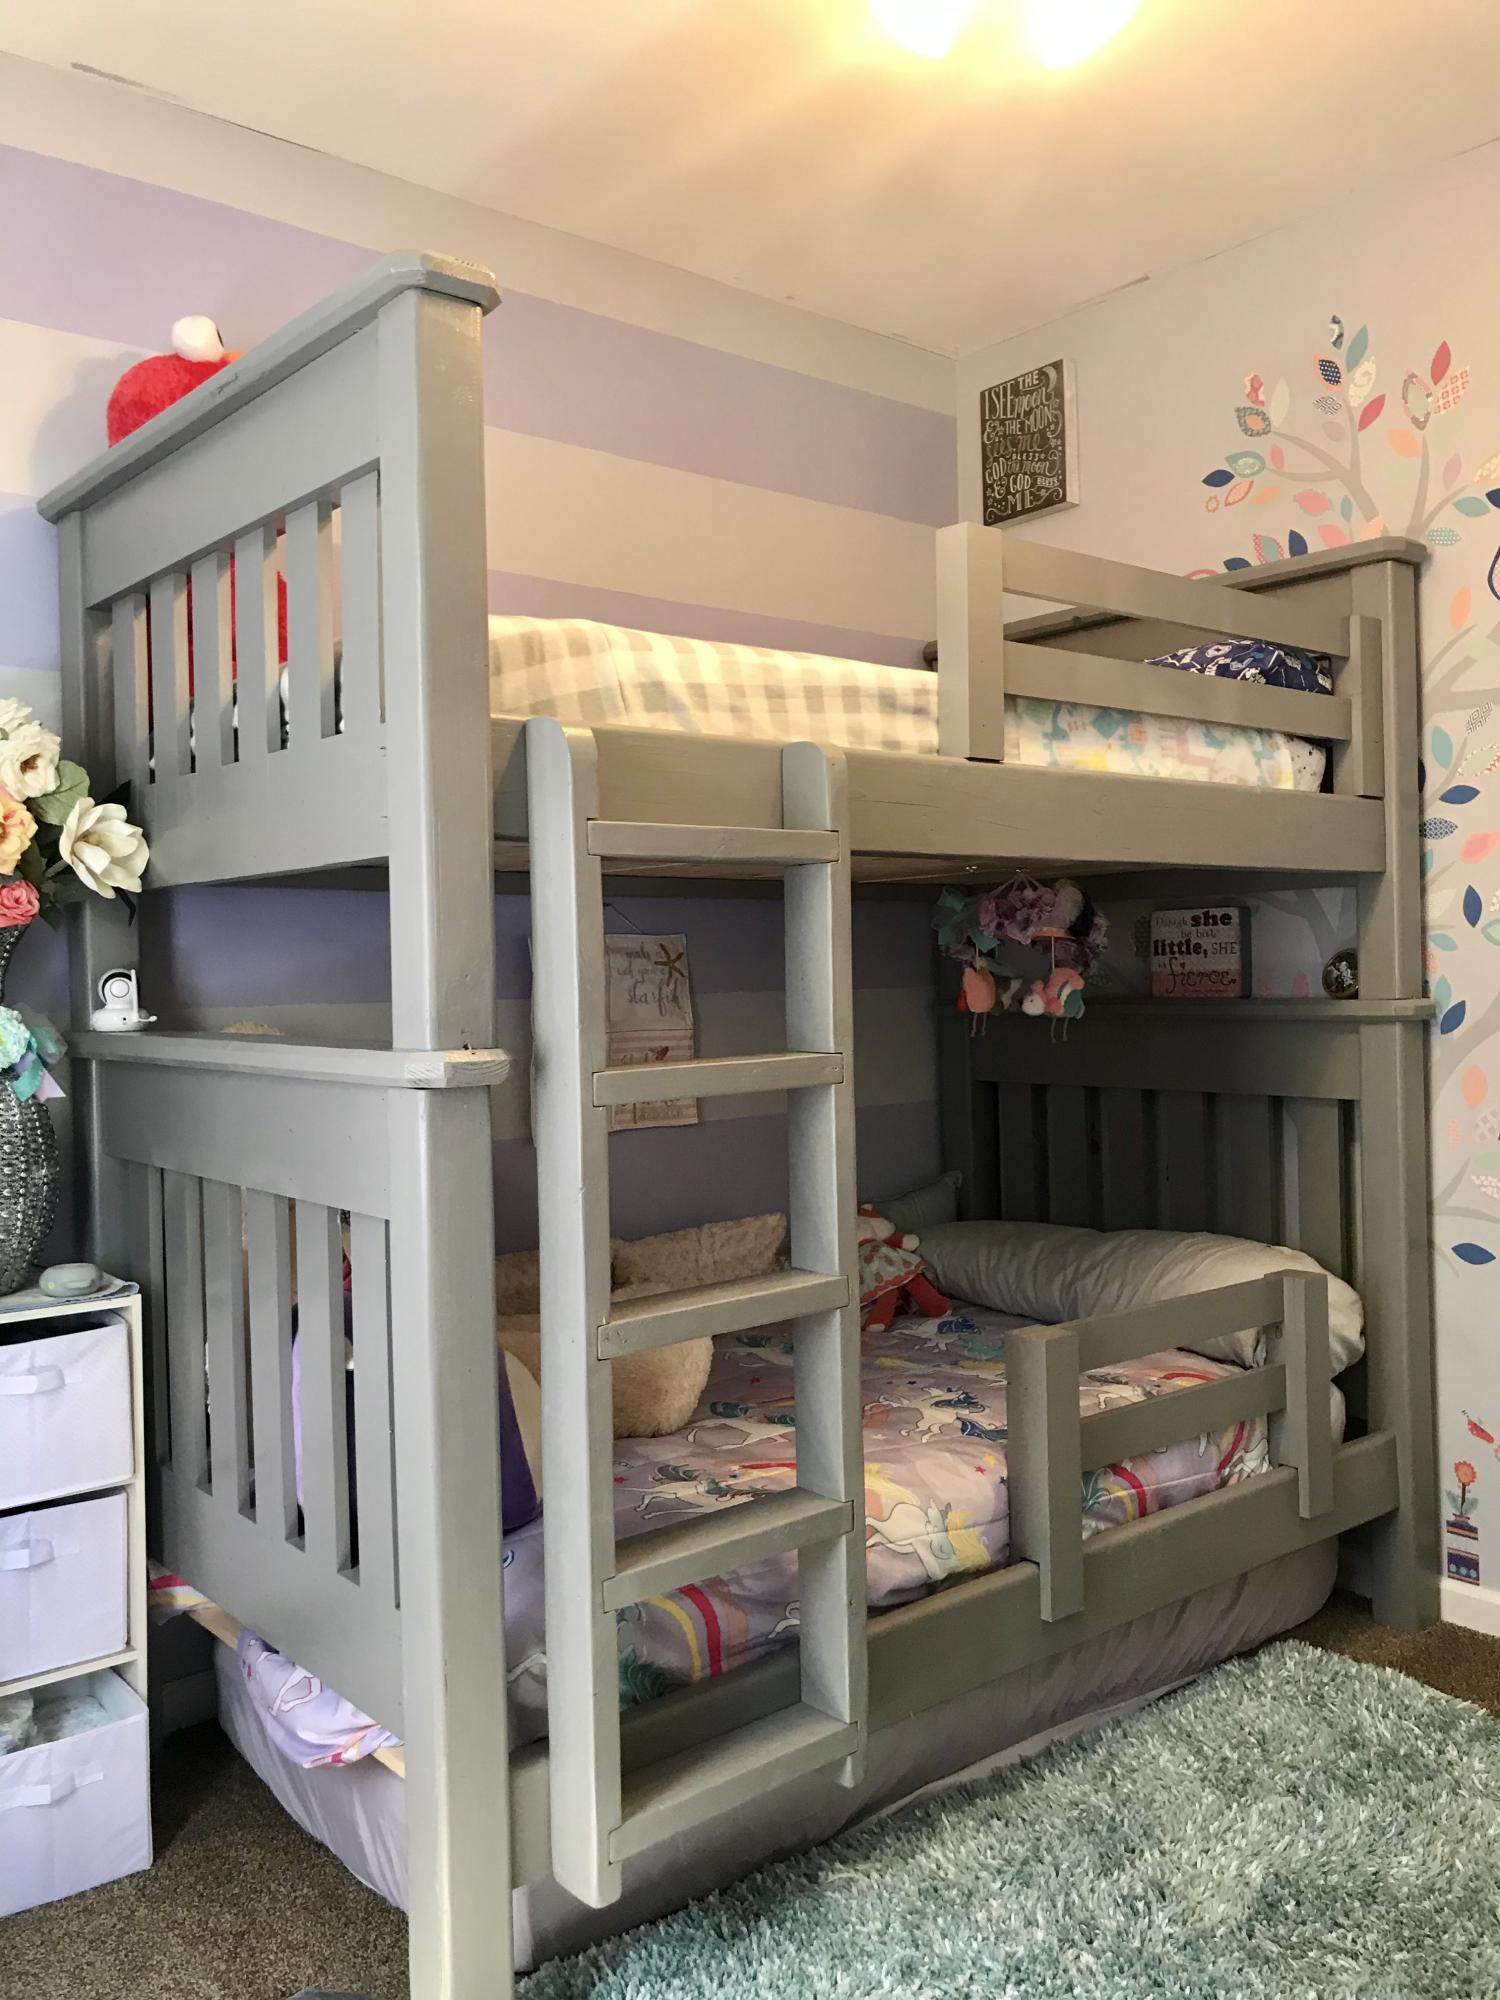
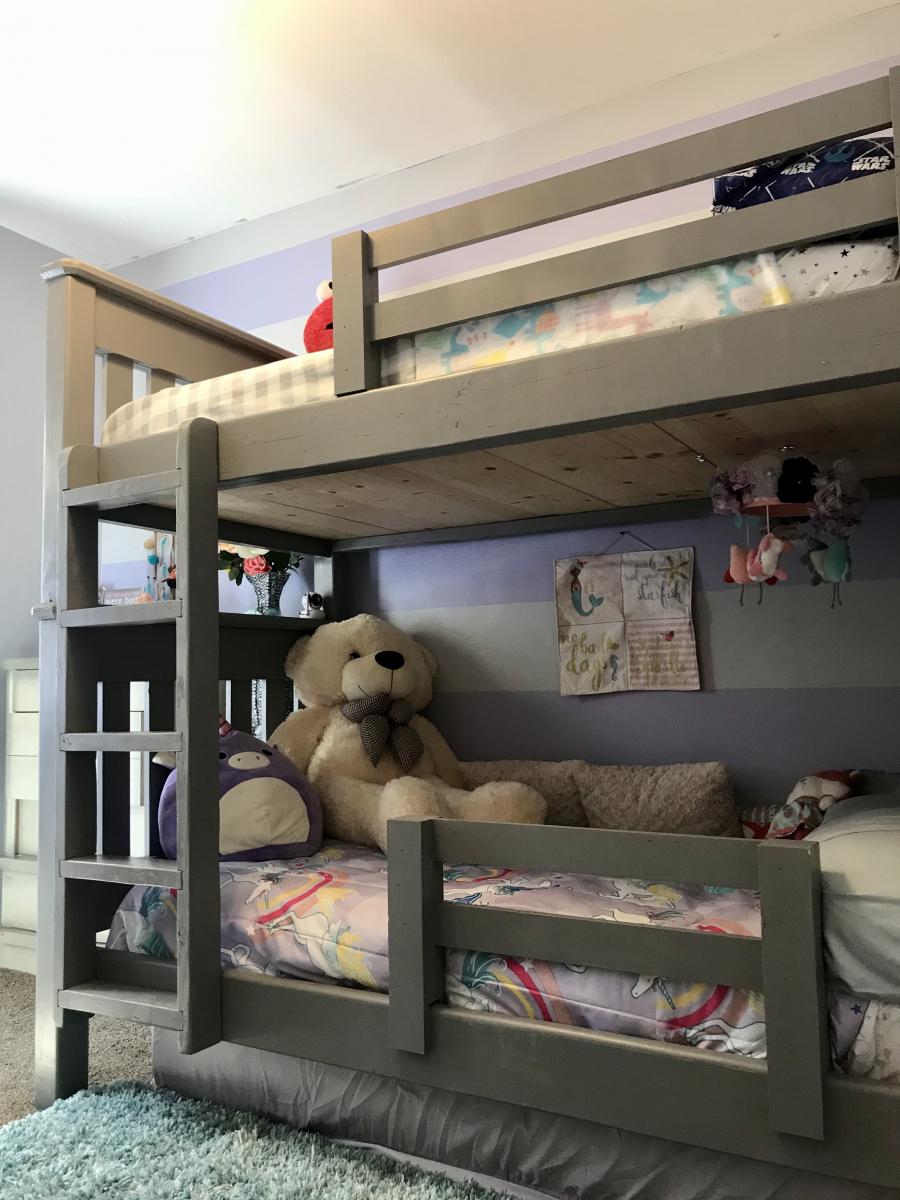
Built mostly from the Simple Bunk Bed plans on this site with a couple of modifications. Namely: made a vertical ladder, used Rockler Bed rail fasteners, increased bed height to fit 3rd twin mattress underneath for when my moms visits, and made a removable bottom safety rail that slides on when my daughter goes to sleep. Overall it was a fun project to do and they kids are really enjoying it.
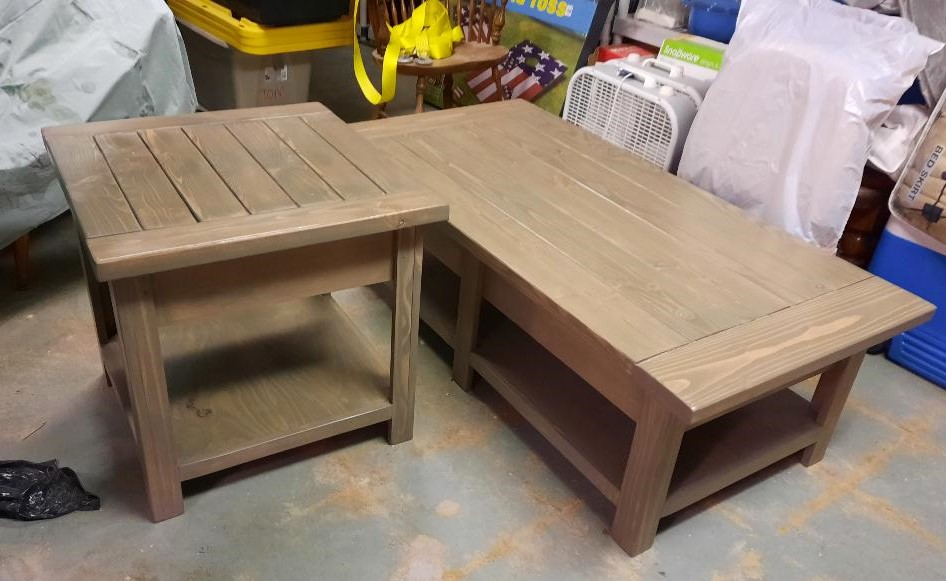
This is the coffee table again with the matching end table.
Jim Carr
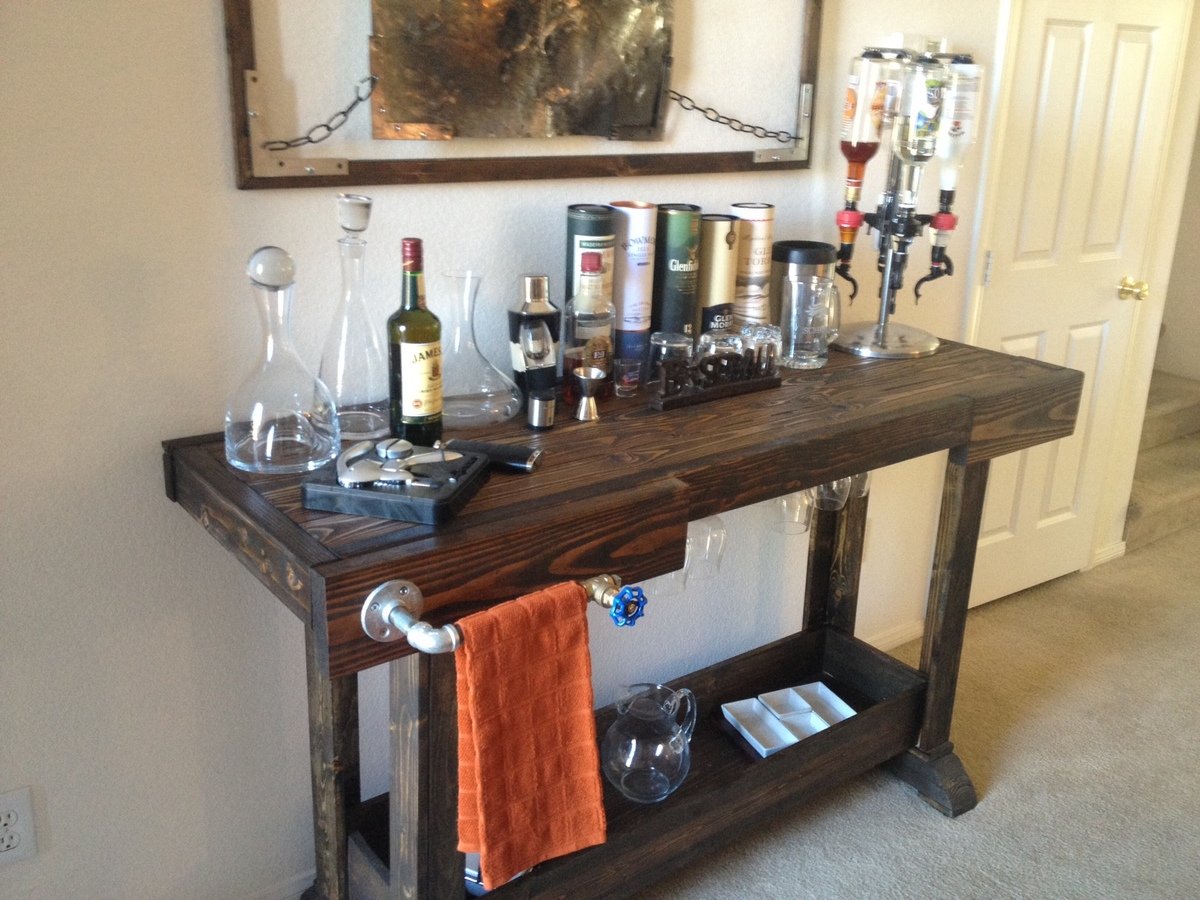
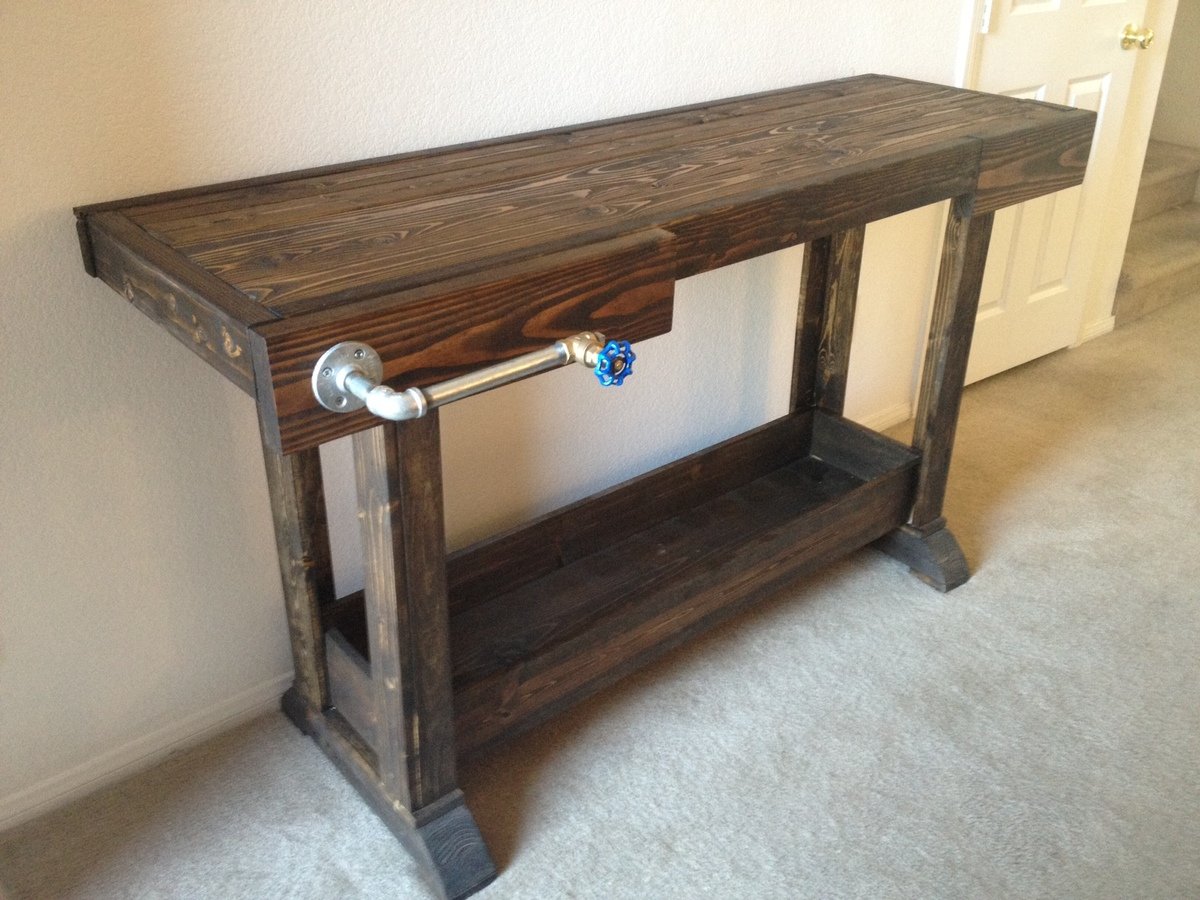
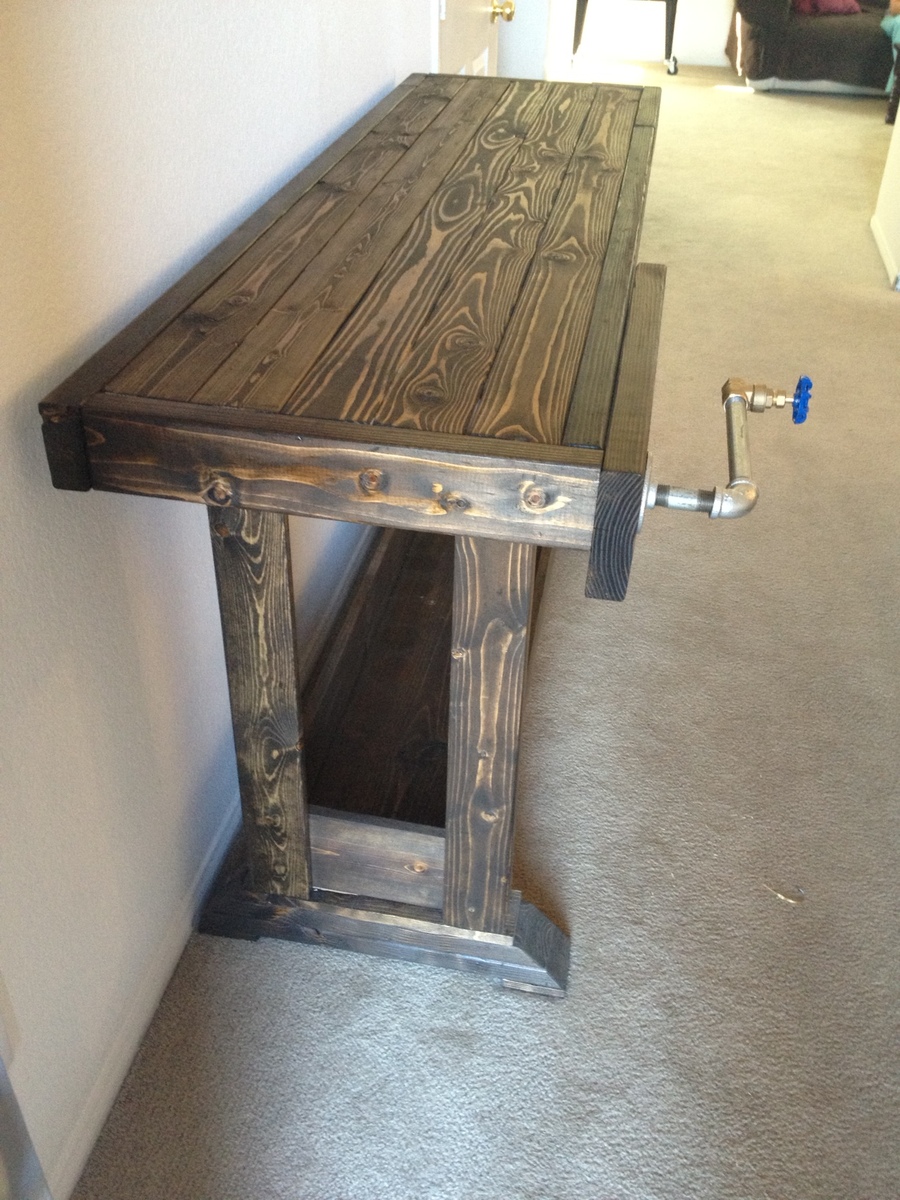
This is my version of the workbench console table. The plans were very easy to follow. I used studs for the top of the table, but at least one of them was warped. This left me with a warped top. Therefore, I had to redo the top, ensuring that I had straight studs the second time. I actually laid them all out in the aisle of the hardware store to make sure they were straight. I wish I did this the first time.
The towel rack is just piping and a valve from the hardware store. There's also a bottle opener on the right side.
I was going for a more rustic/industrial feel, so I didn't use a polyurethane.
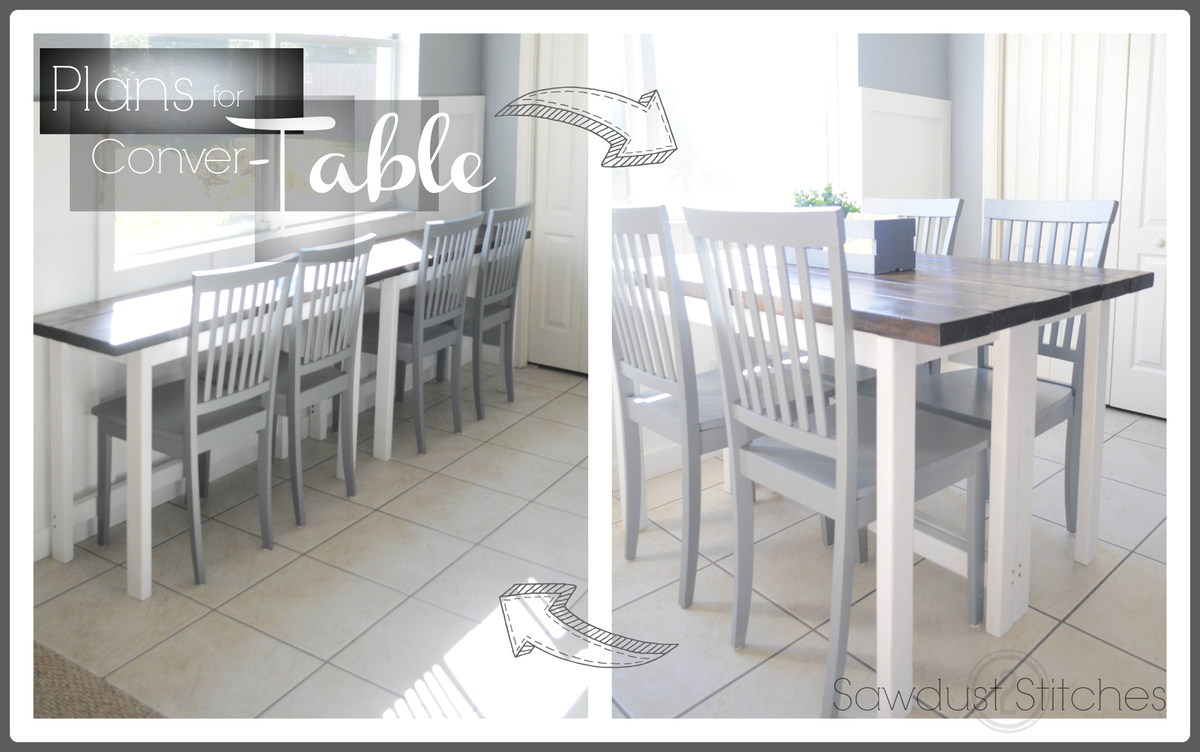
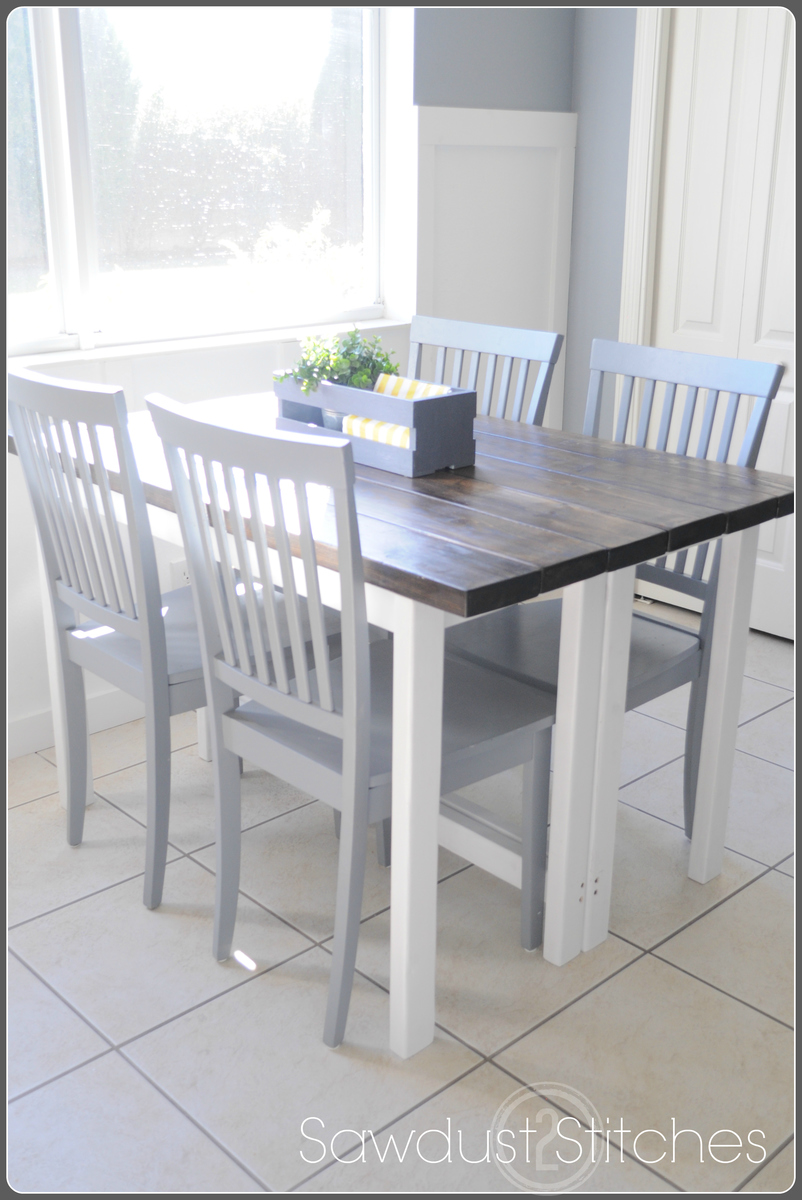
A table of my own design, that can can be pulled apart in order to save floor space, and create work space.
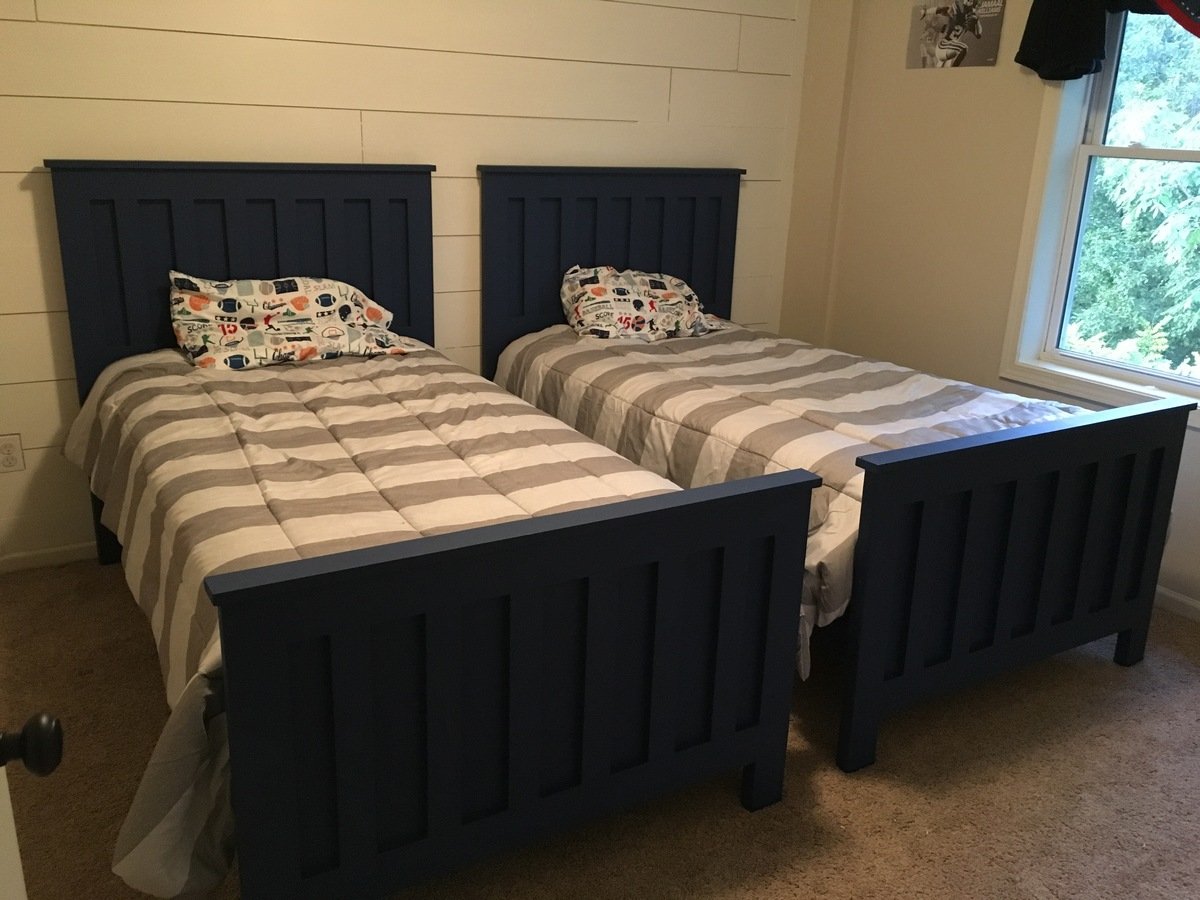
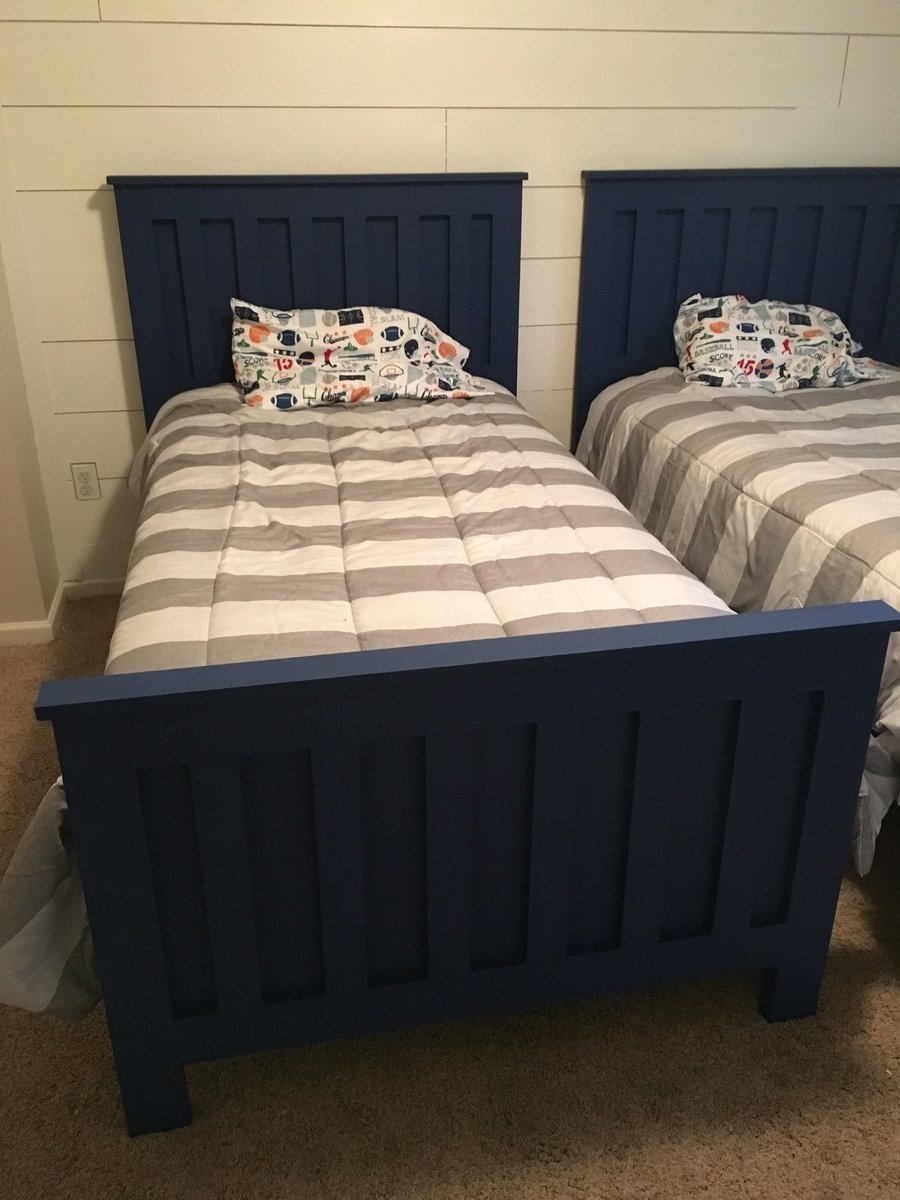
I made twin beds for my boys. It was the first time making furniture. It was a pretty easy plan to follow. Lowes did all my cuts for me so I didn't even need to find a saw.
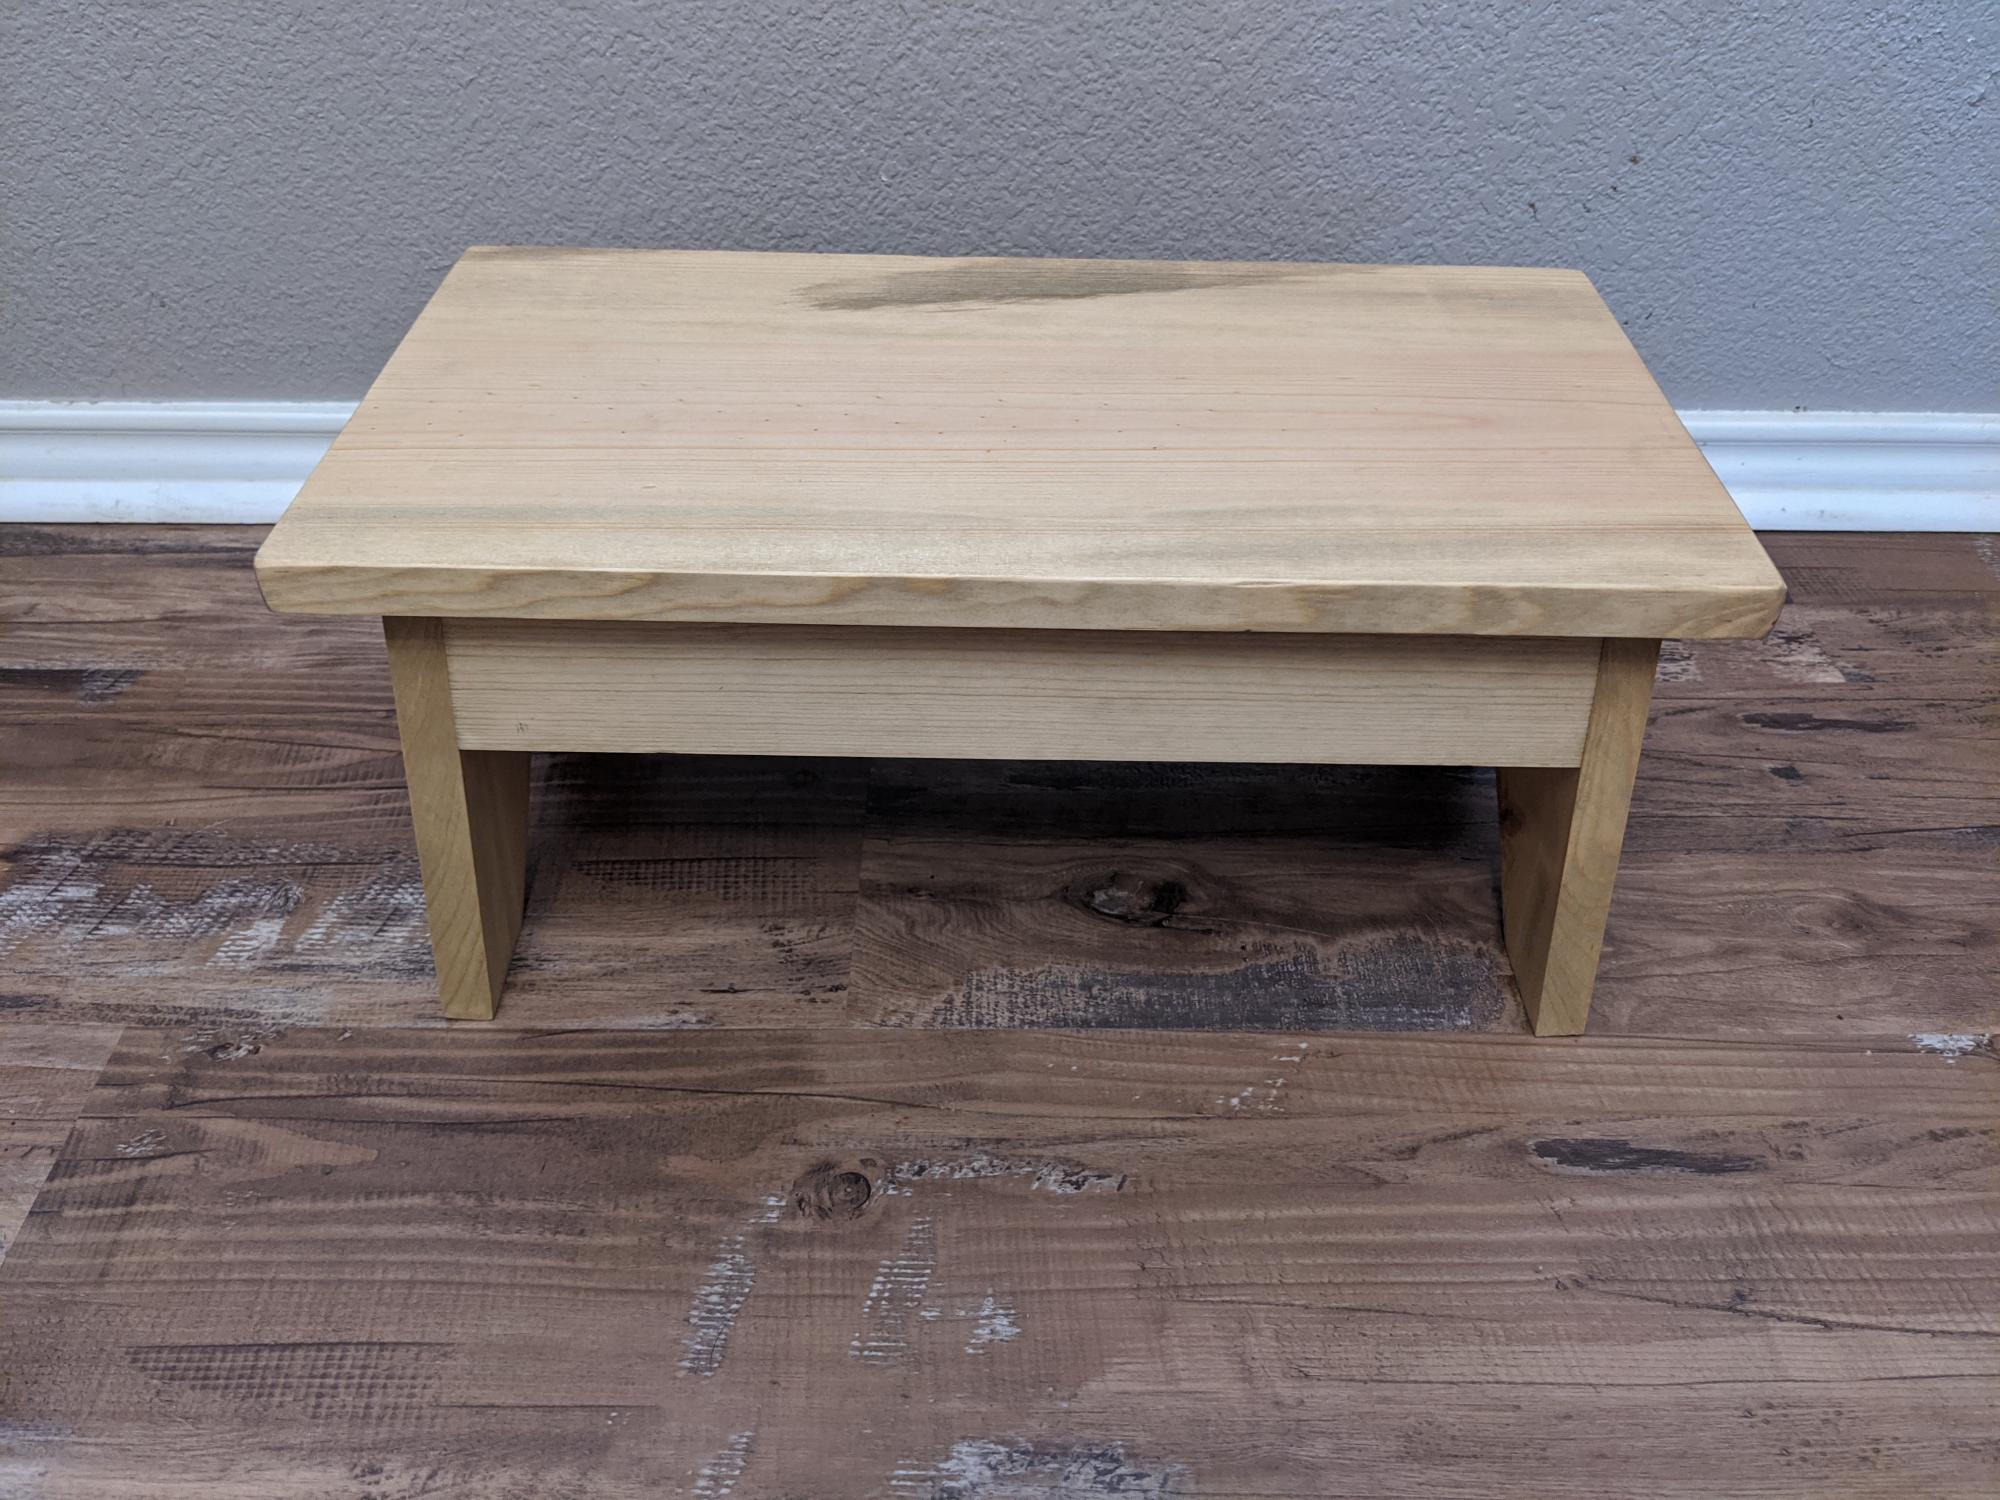
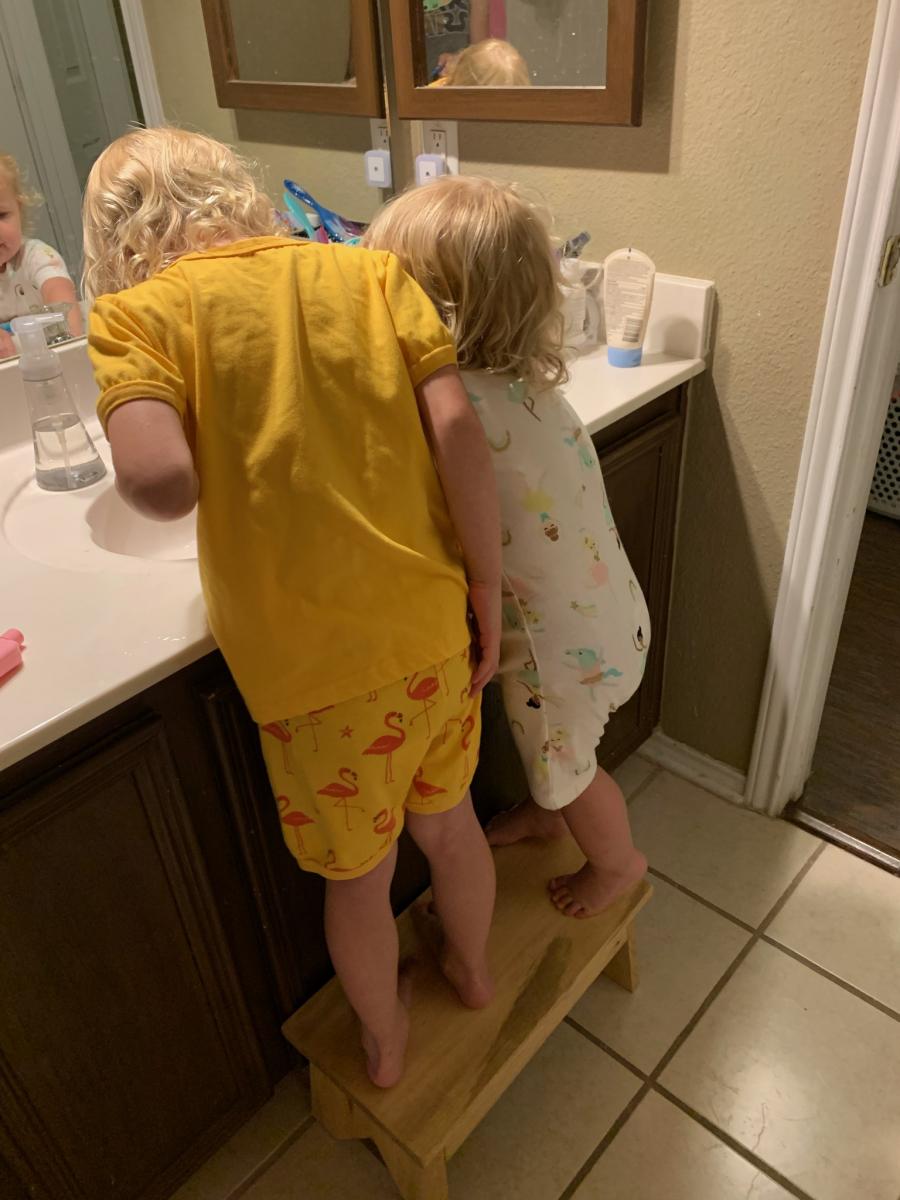
One of my coworkers asked me to build a new stool for her girls. I used the simple stool plans and she loves it.
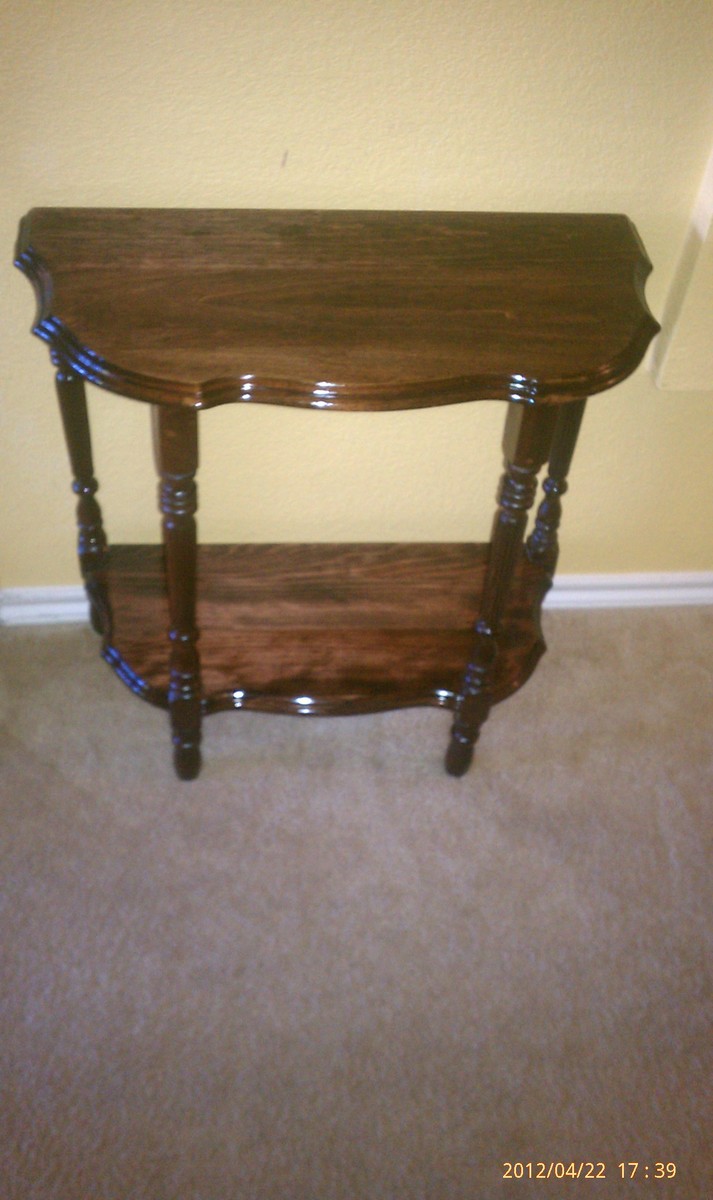
My mother found this old end table in her mother's basement in the mid 90's and brought it home with her to refinish. The table was very flimsy and Mom just didn't know how to fix it, so it sat in her garage since then. I saw it back in March when helping clean out the garage. I asked if I could restore it for her. I think it turned out really nice. Thanks to this site, I have been given the confidence to tackle projects like this. Just wanted to share the project and say thanks to everyone here for making this site a great resource.
I fixed the table legs, sanded the table, used red mahogany stain, and about 15 coats of Poly to give the table a high gloss finish.
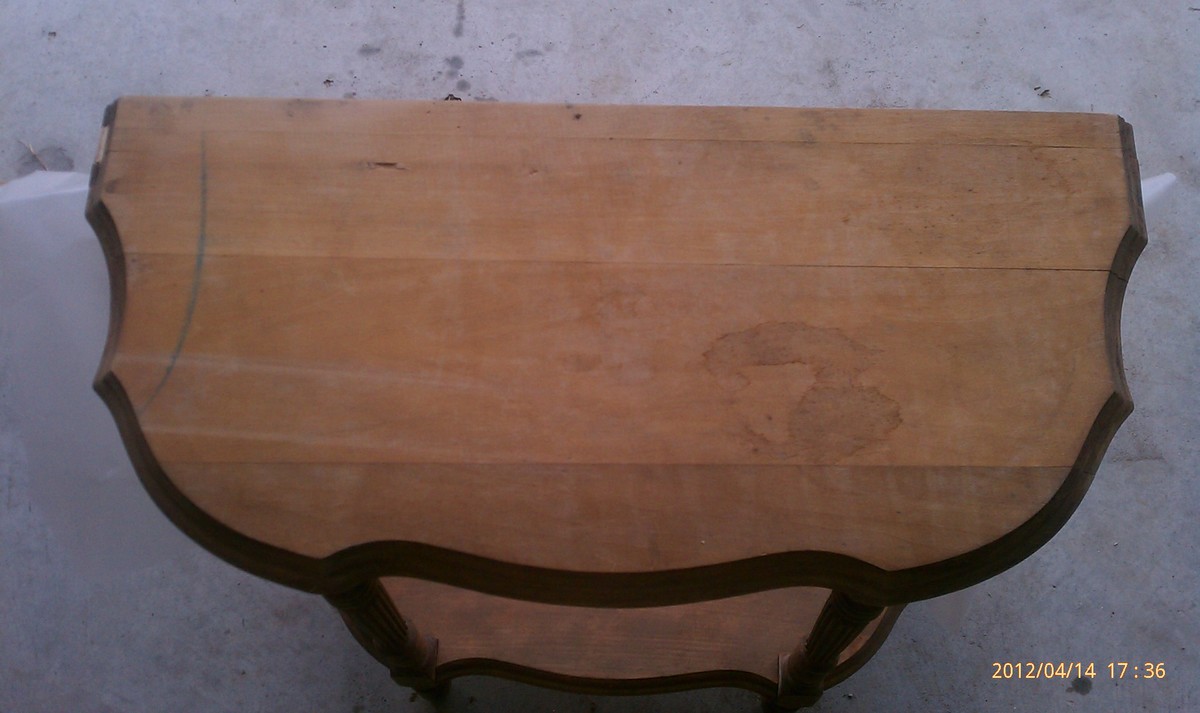
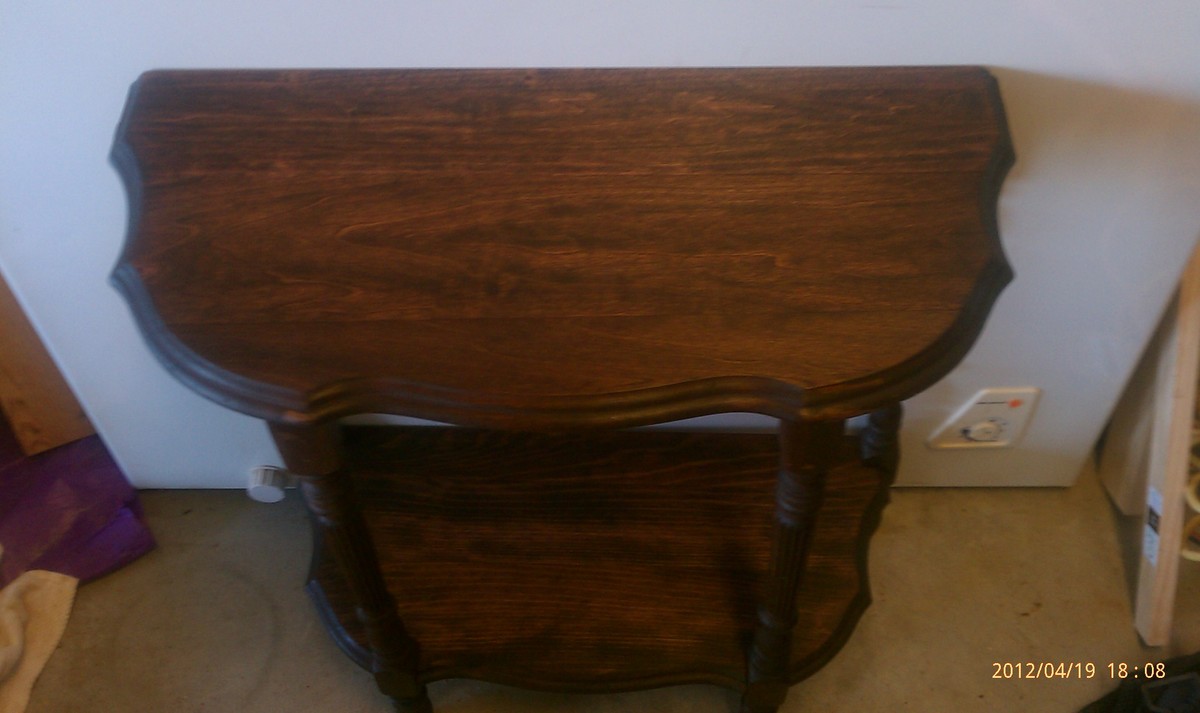
The additional photos are 1 of the original table and 1 of the table after staining and no Poly applied.
Mom was shocked with the finished project. Nothing more pleasing then see Mom smile!
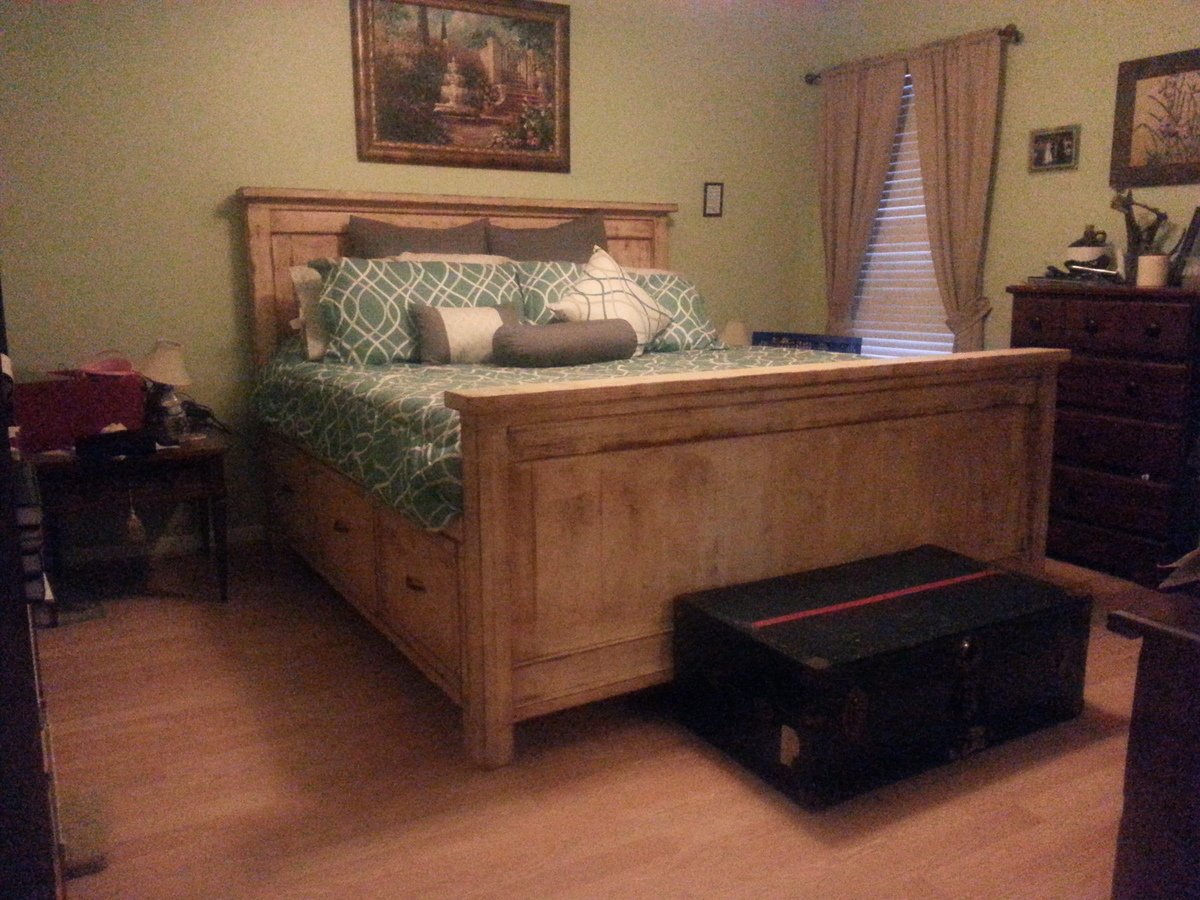
This is my biggest project to date; I put it together with a few modifications to the plans on this website (as I'm sure everyone does!) It will be my wife and my bed for quite some time and hopefully I can pass it along in the future. Seems sturdy as a rock and the additional storage will benefit us as our home has minimal closet space. The finish is a waxed-stained-sanded painted surface.
I broke this project into 3 phases: headboard, benches, and footboard. Juggling two kids and a wife, its hard to be able focus completely on a project without some (often welcome) interruptions.
One final note: this website introduced me to and this project confirmed that my favorite tool in my tool shed is the Kreg Pocket hole Jig; bought it thinking I would use it on a buffett table I built and have used it on every project since!
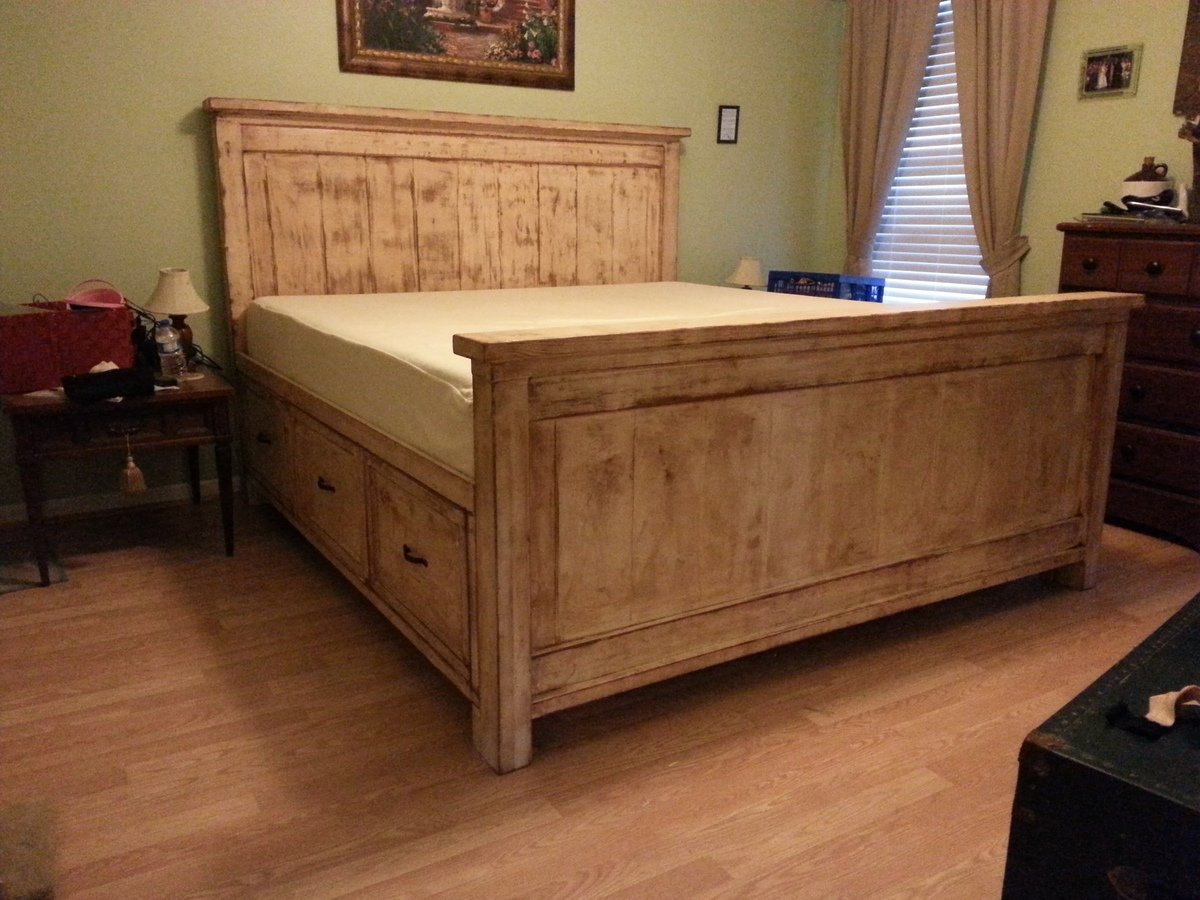
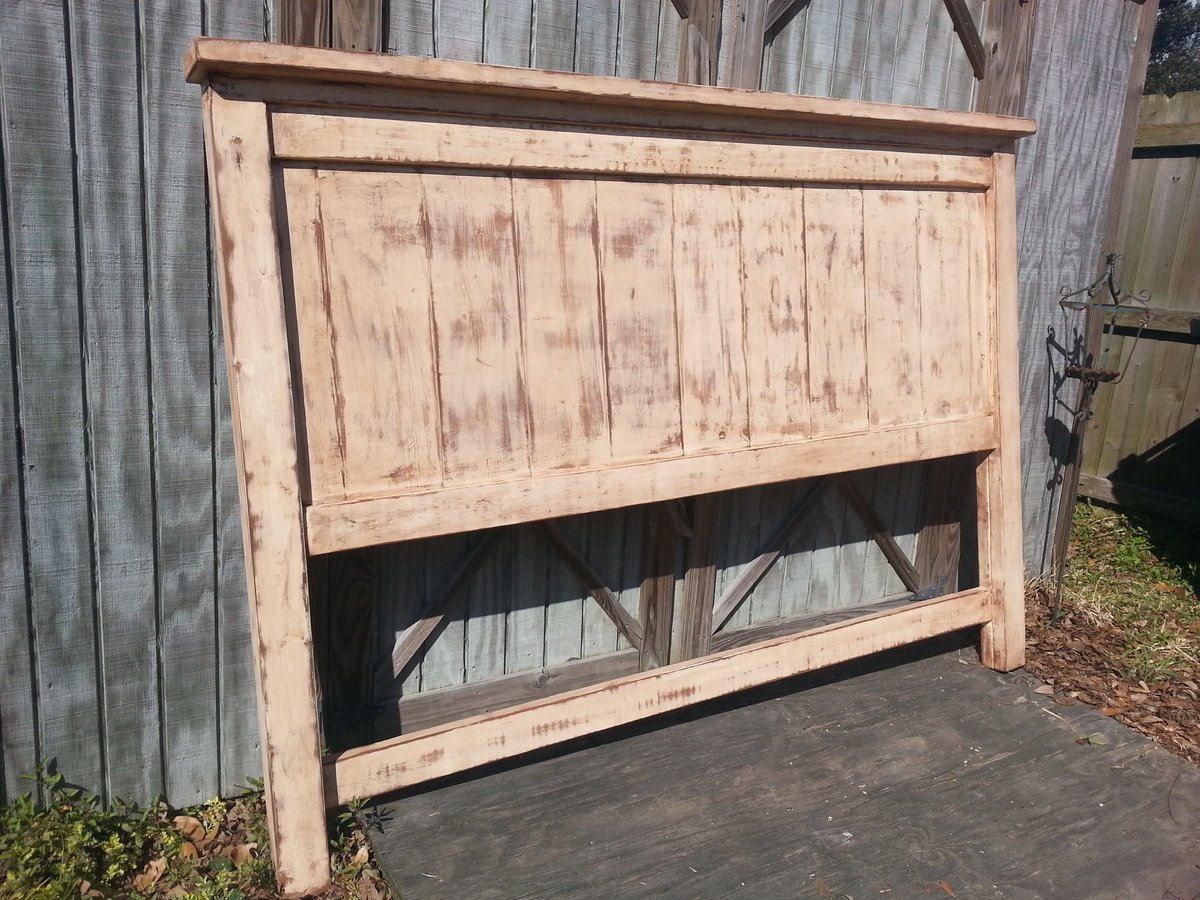
Wed, 12/24/2014 - 07:17
Could you tell me what modifications you made to the original plans?
Tue, 12/10/2019 - 21:03
I'm also interested in the modifications! I wanted to make the footboard taller, like yours is.
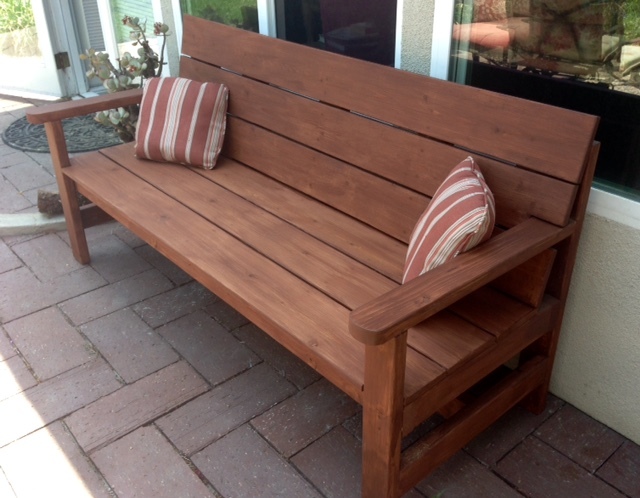
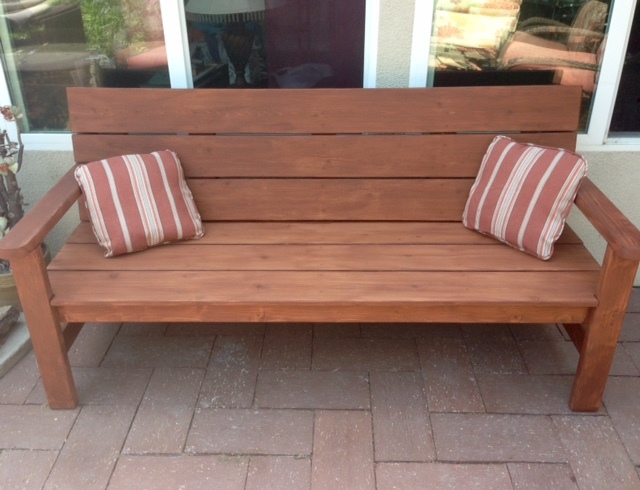
Great plans! I modified the bench by adding a slanted back (which enabled me to put the slats closer together), extending and curving the front of the arms and extended the seat to the outside of the legs.
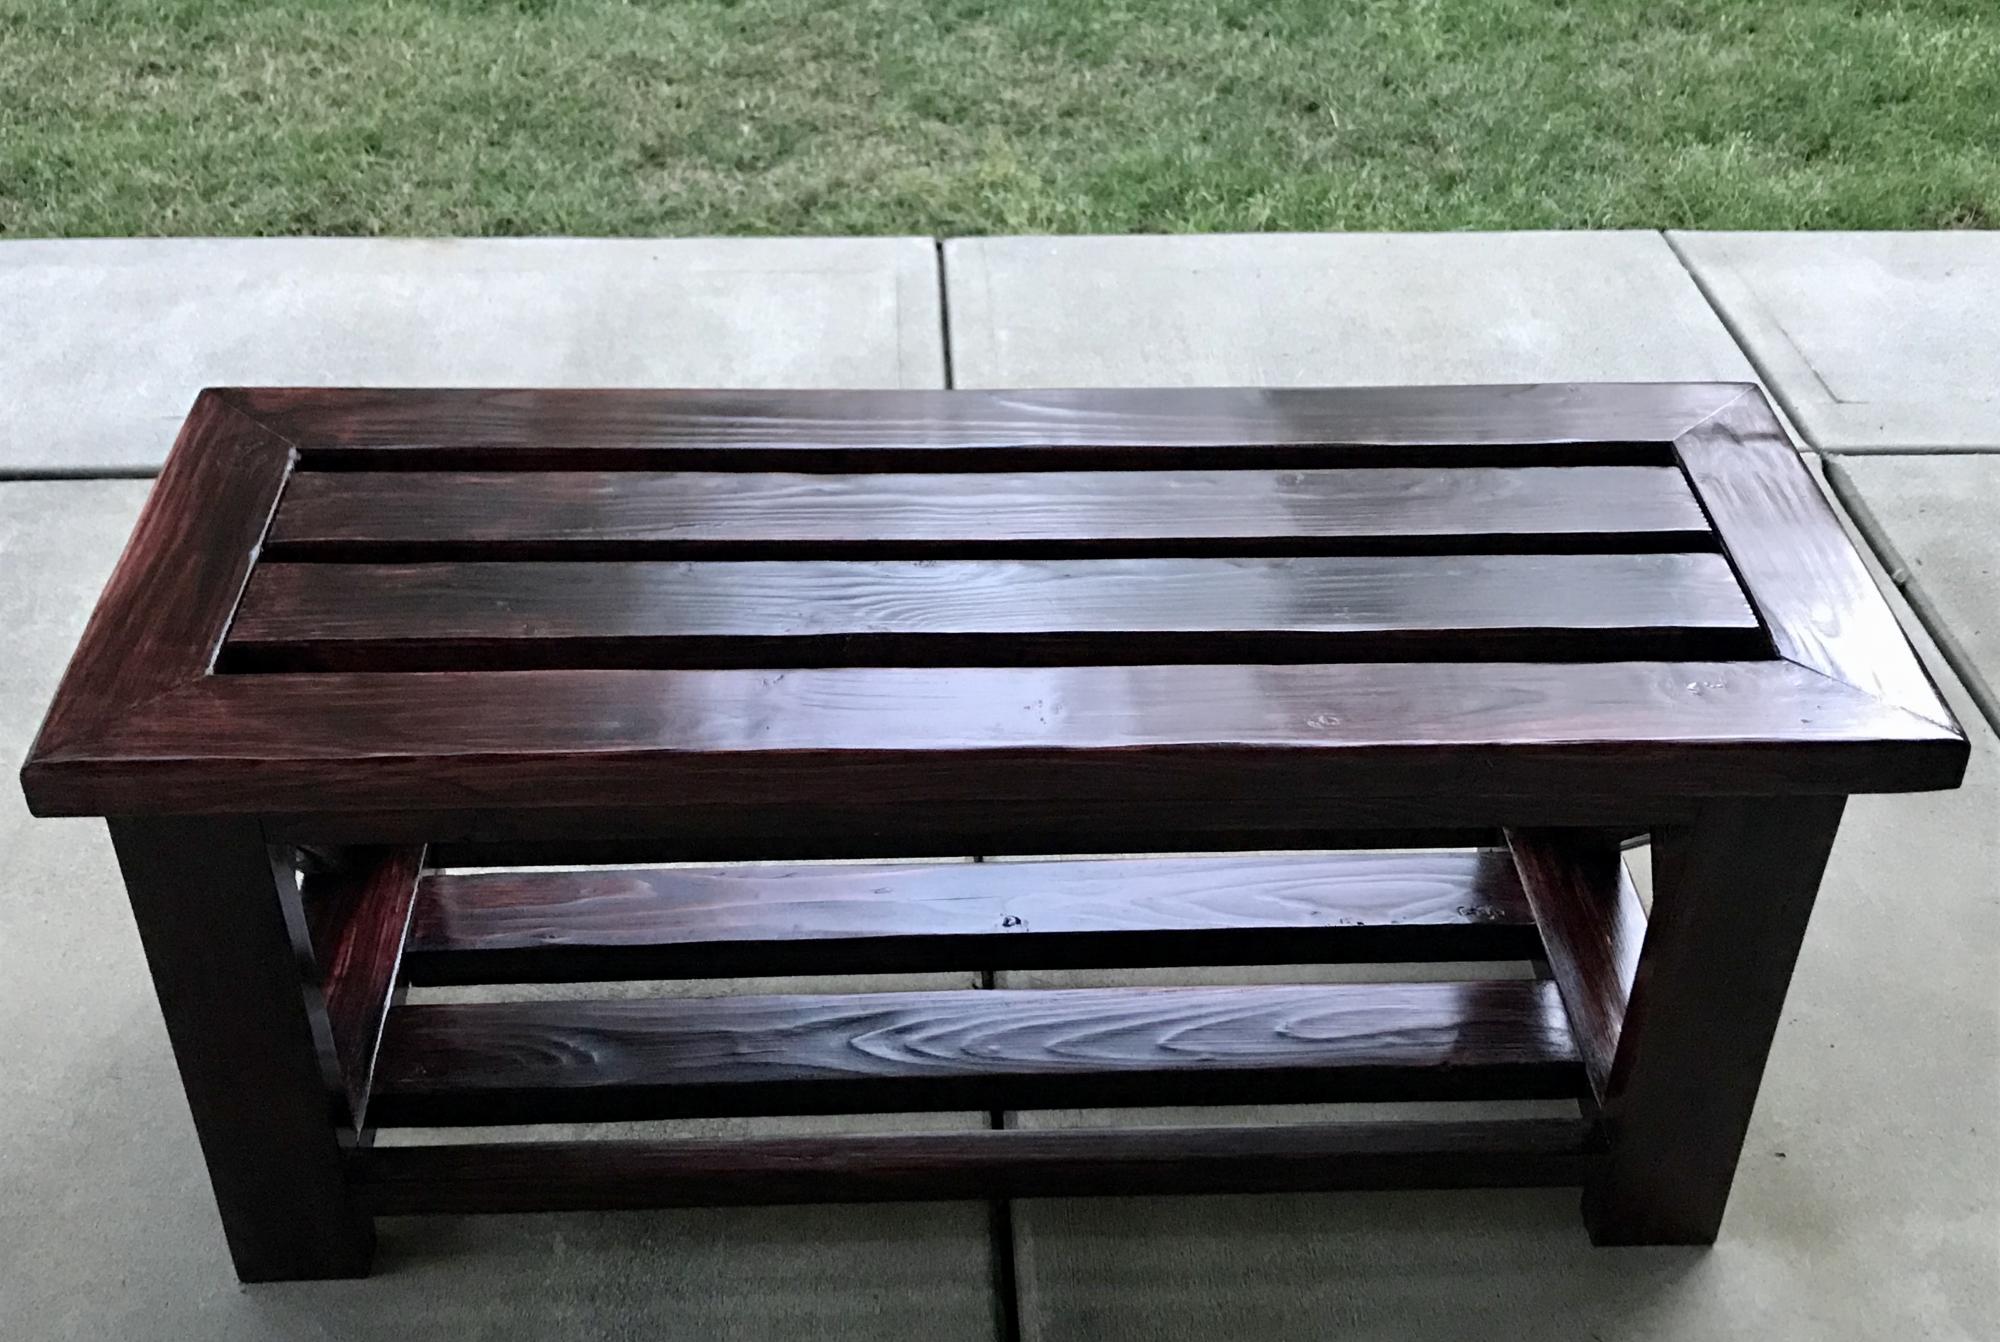
My first piece of furniture using the plans as guidance. Needed something to organize the shoes that accumulated at the front door.
