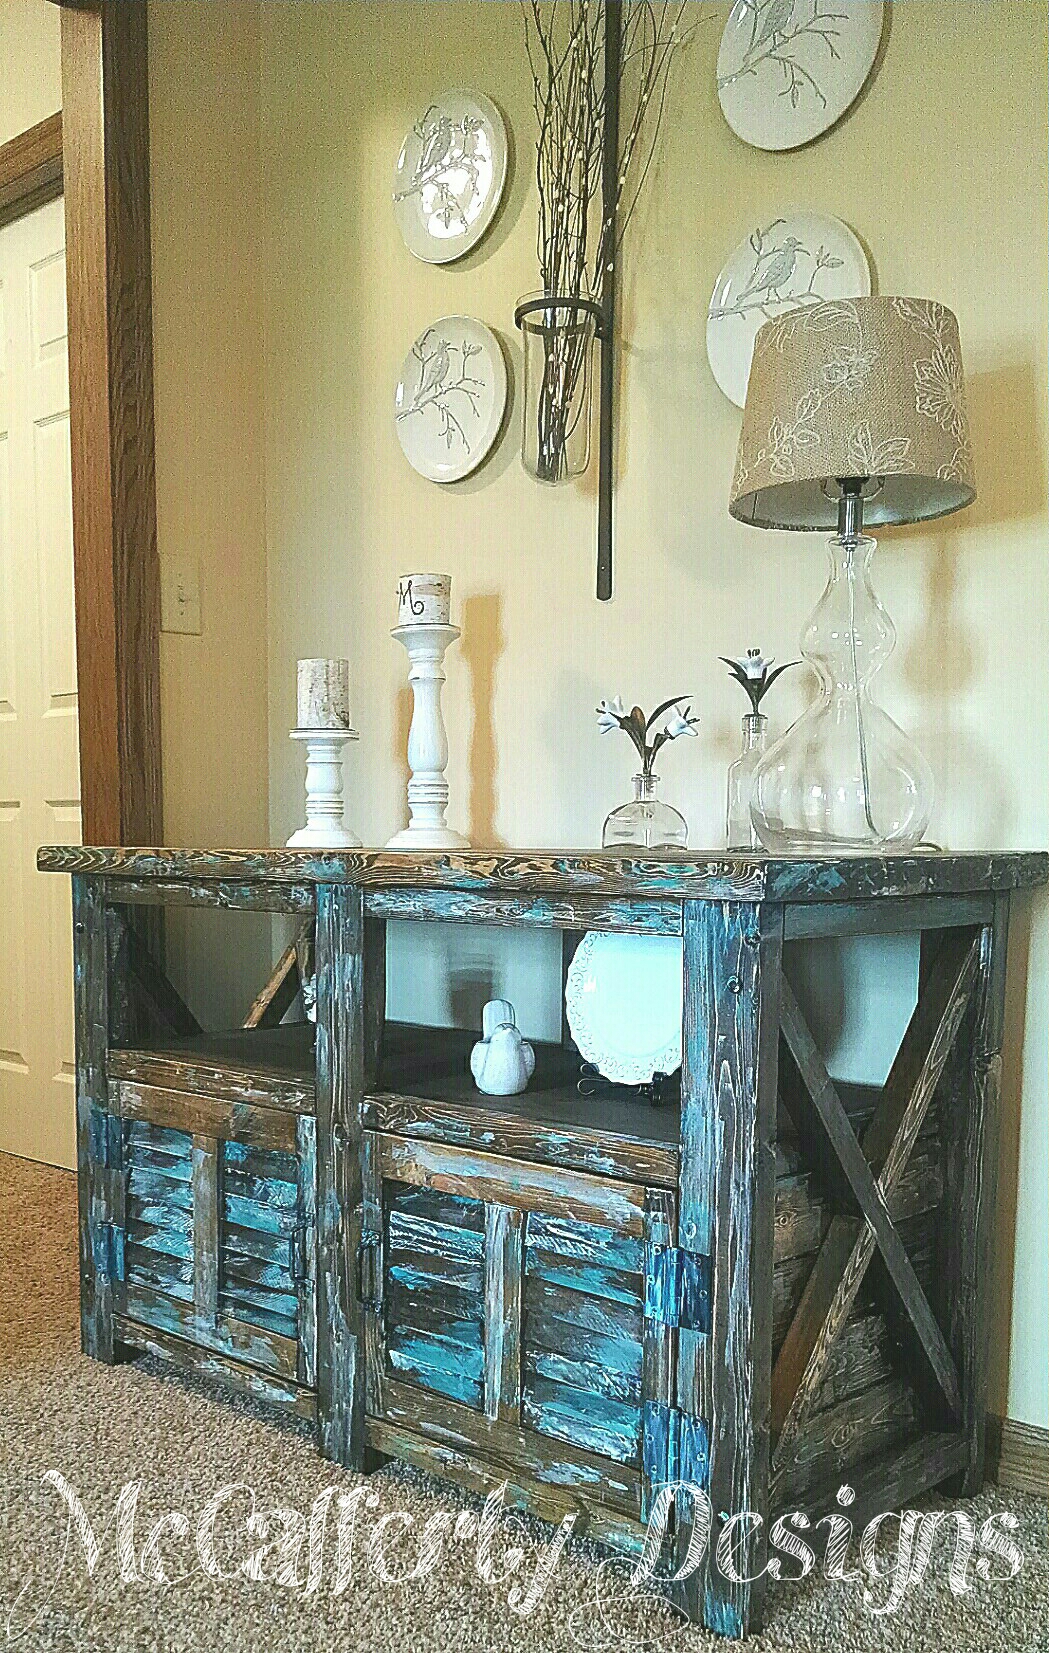
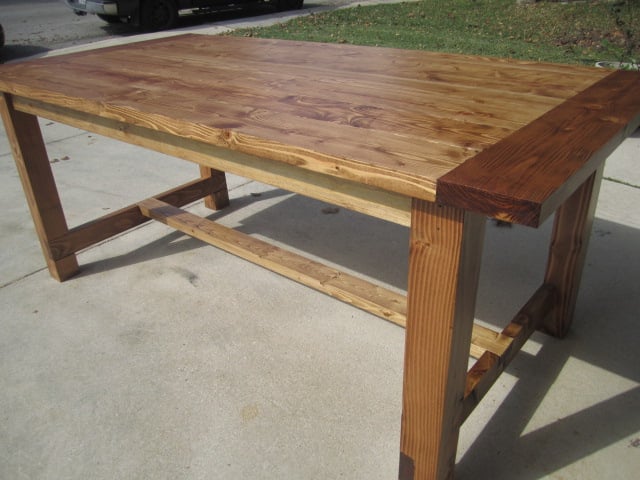
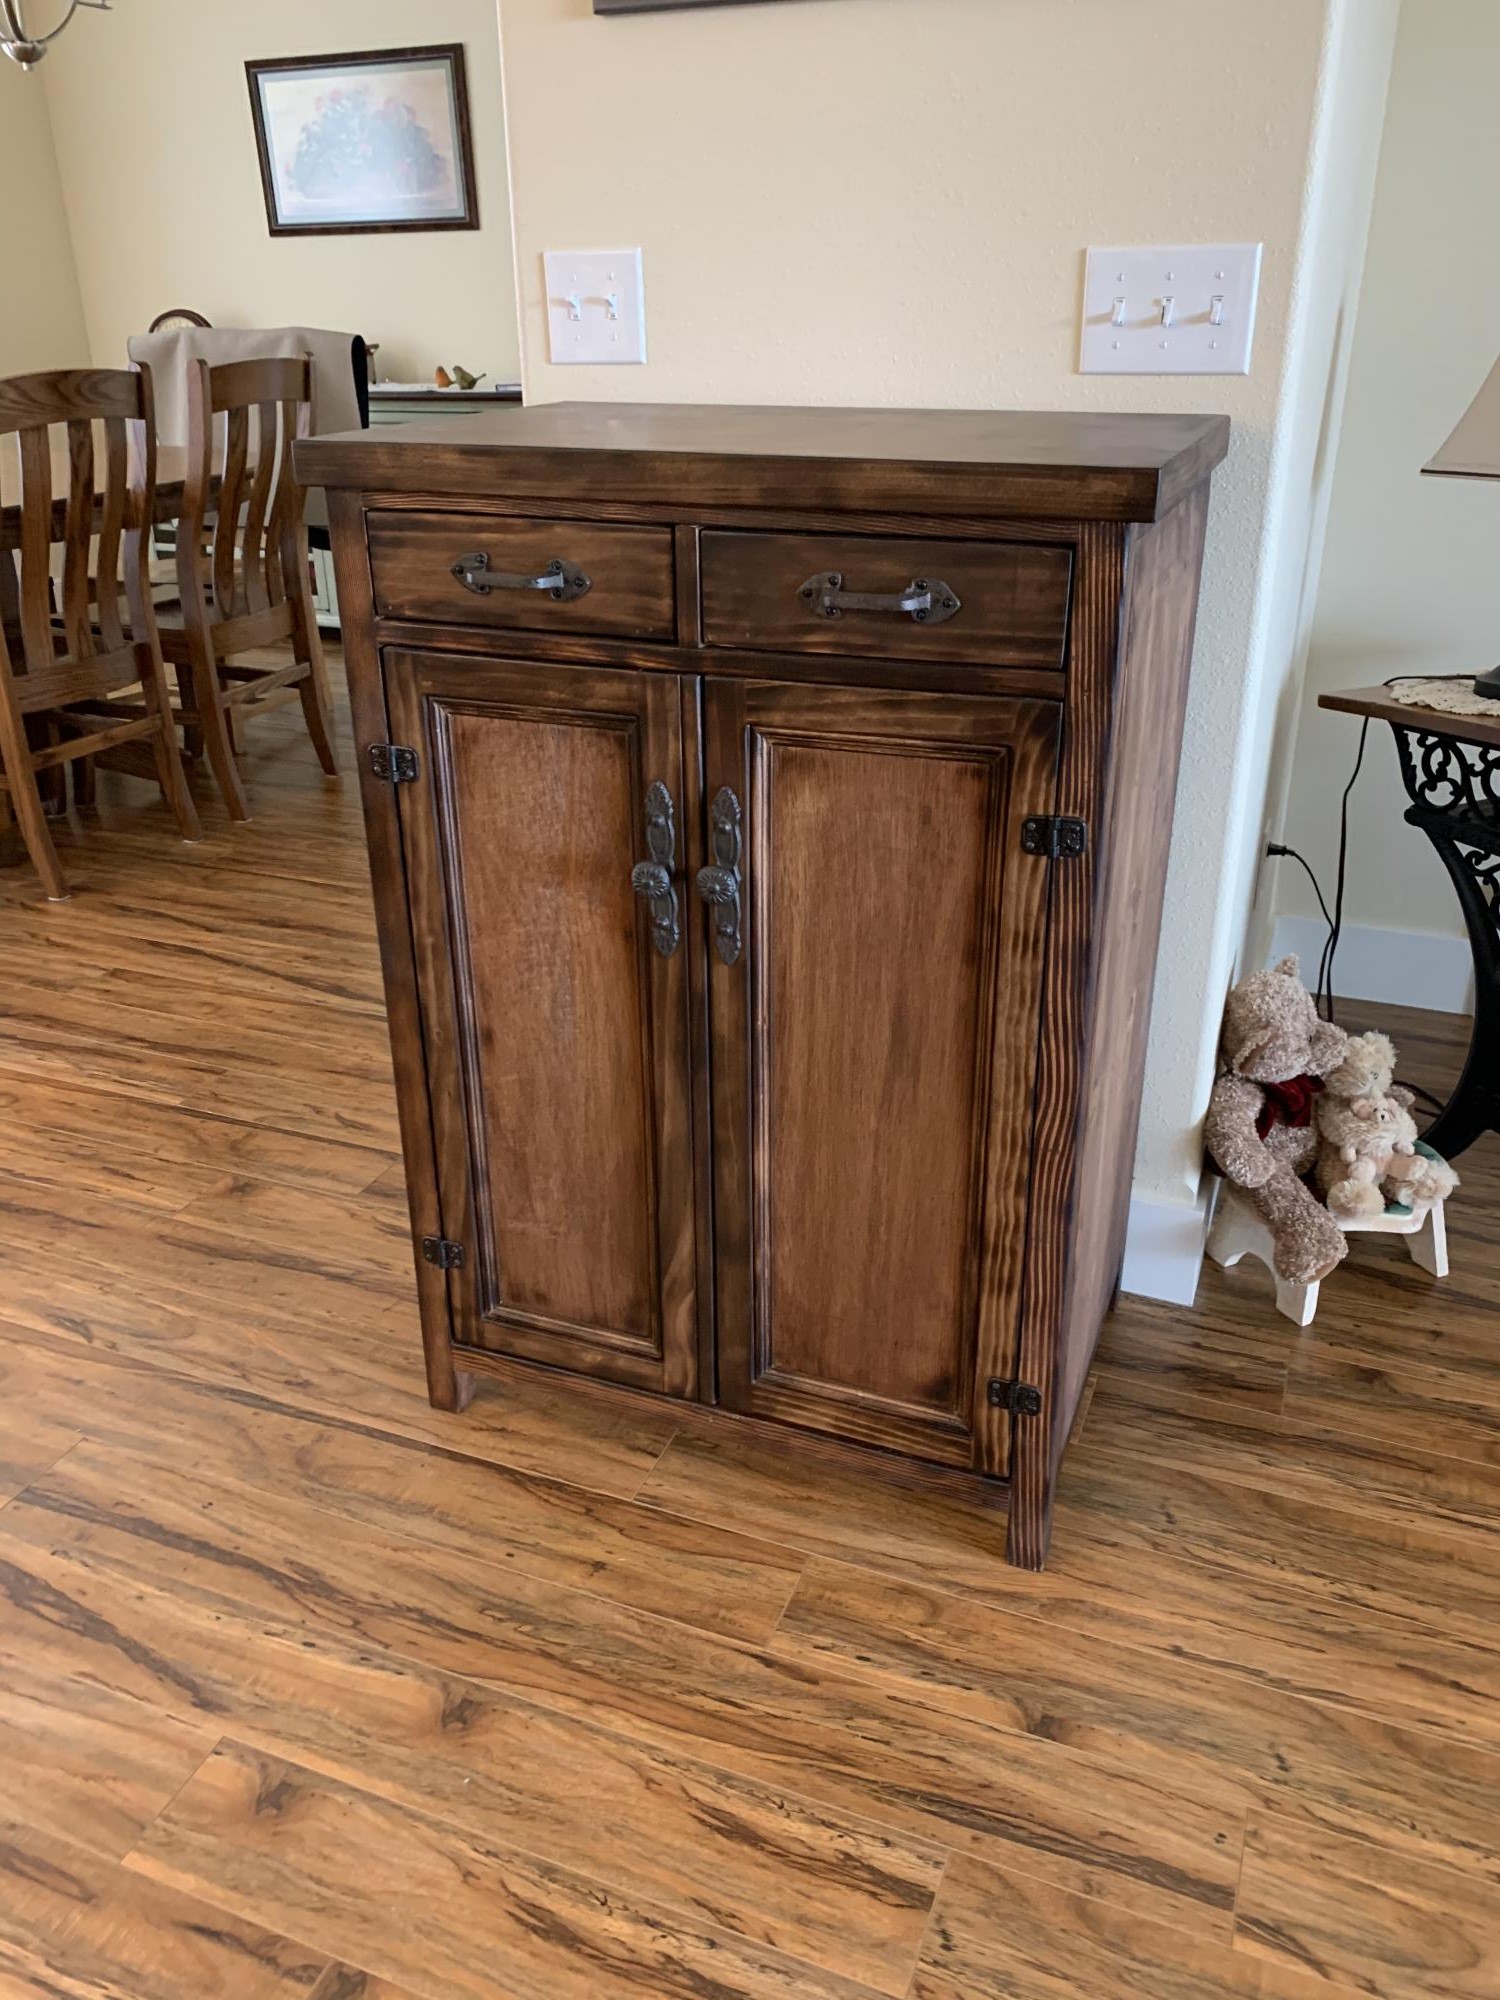
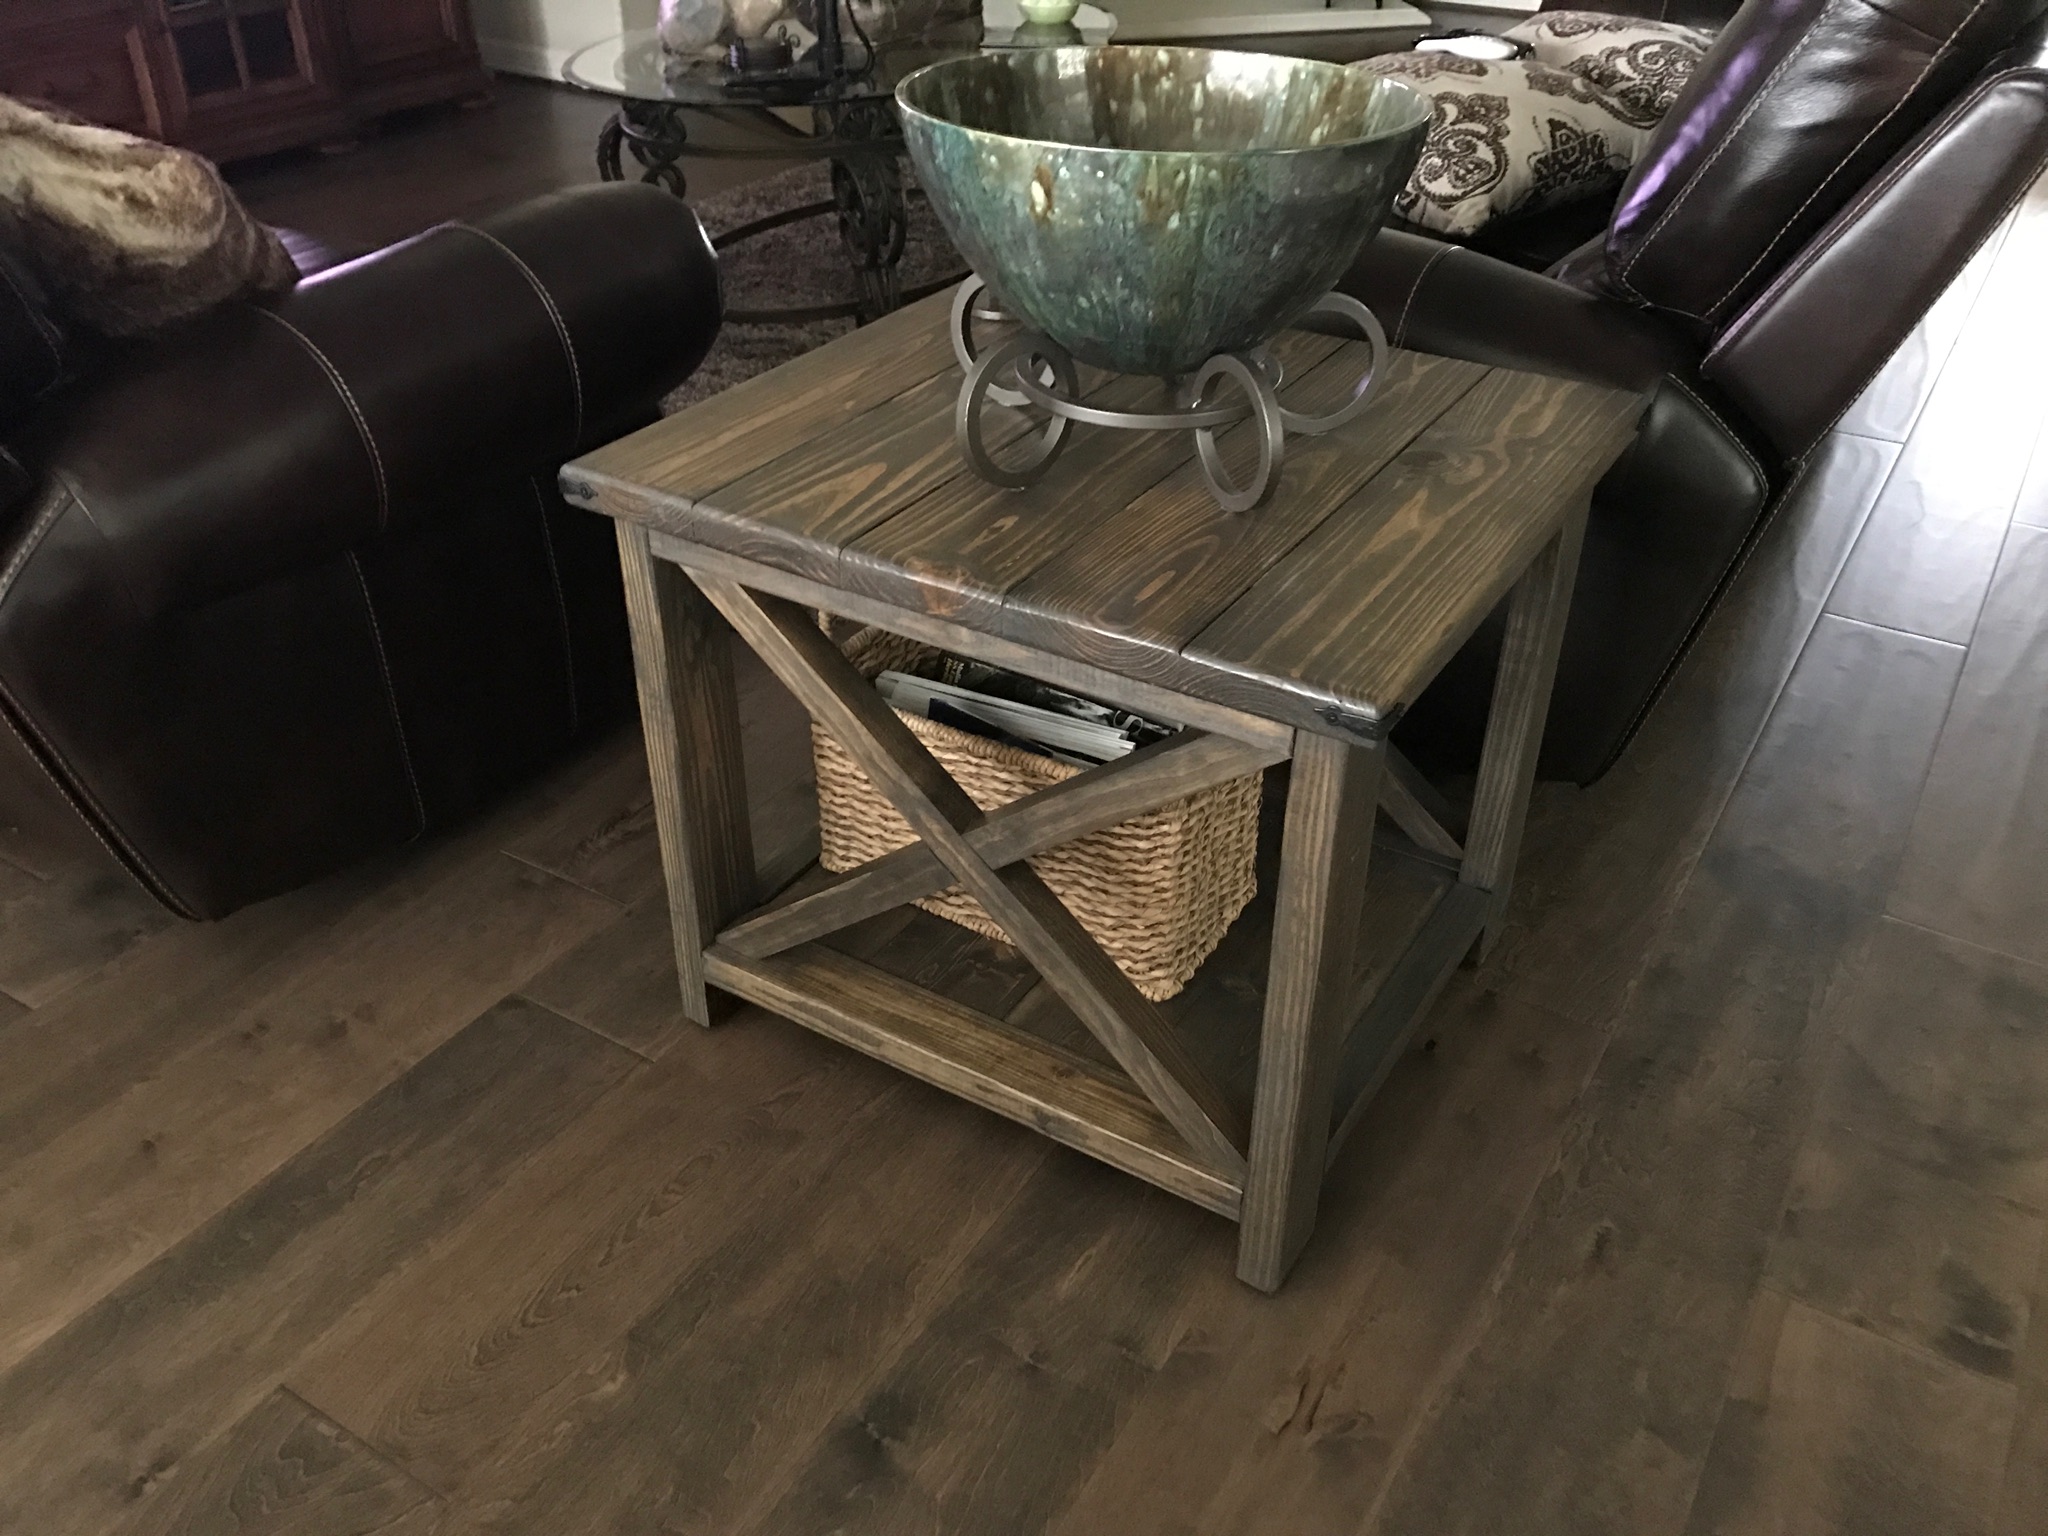
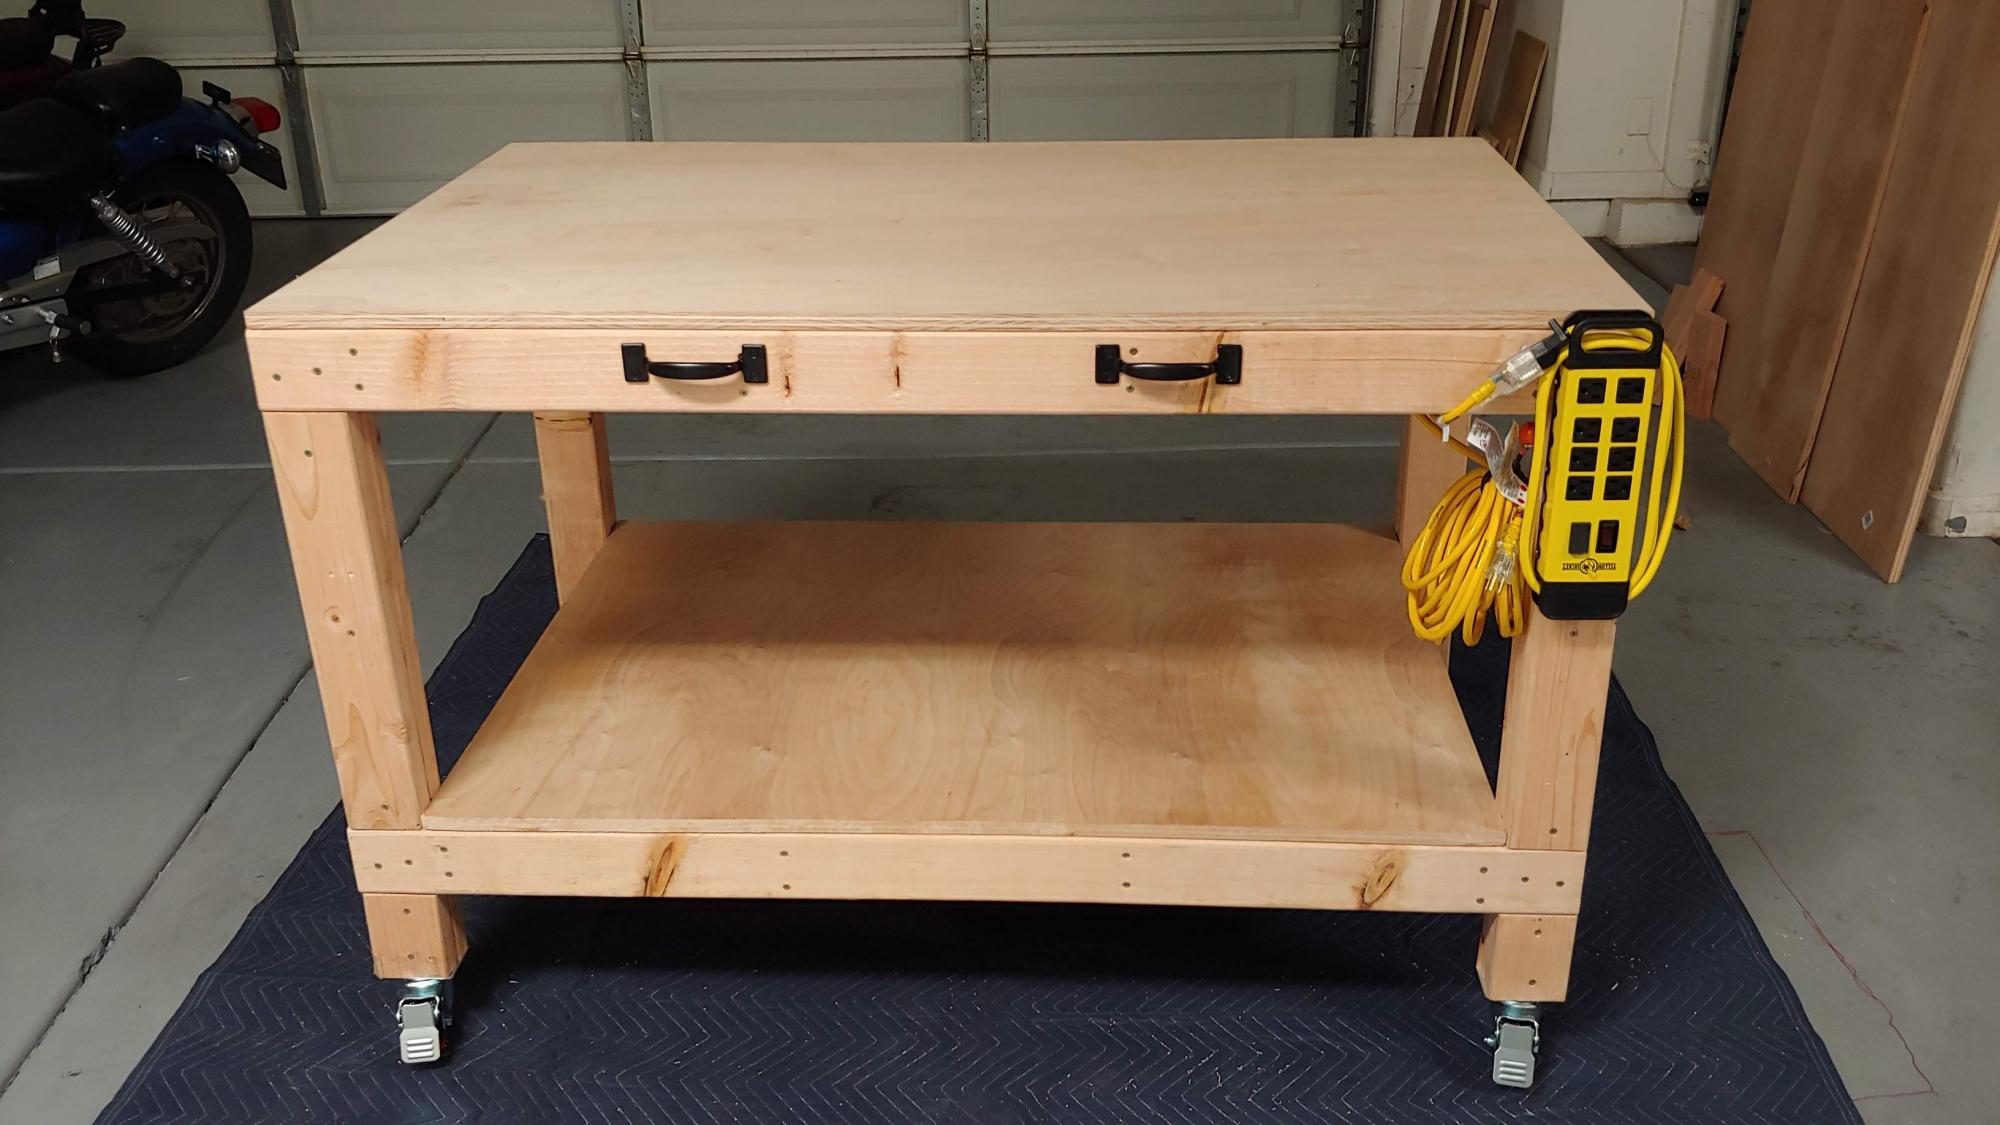
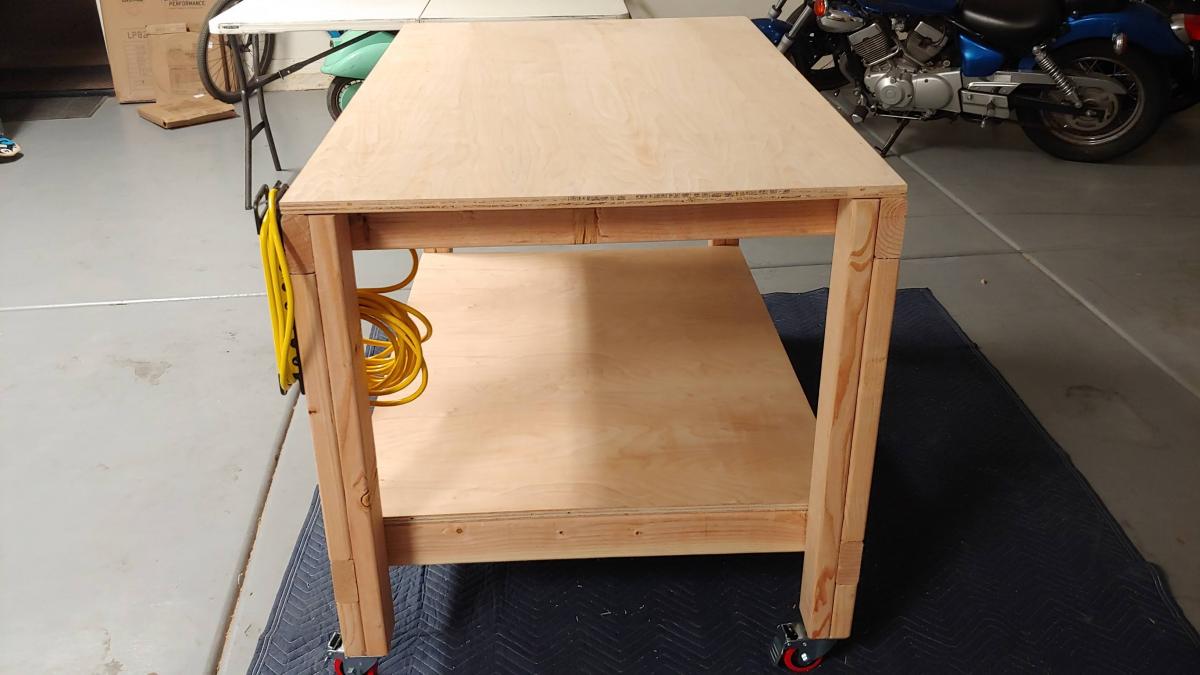
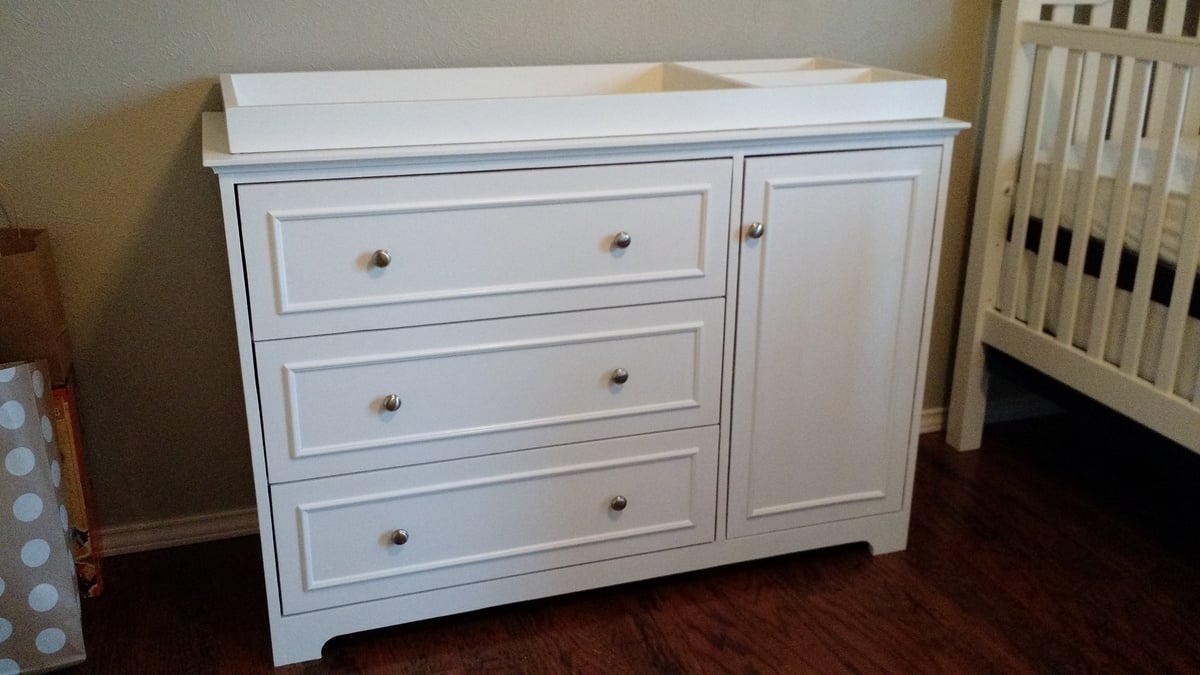
My first build
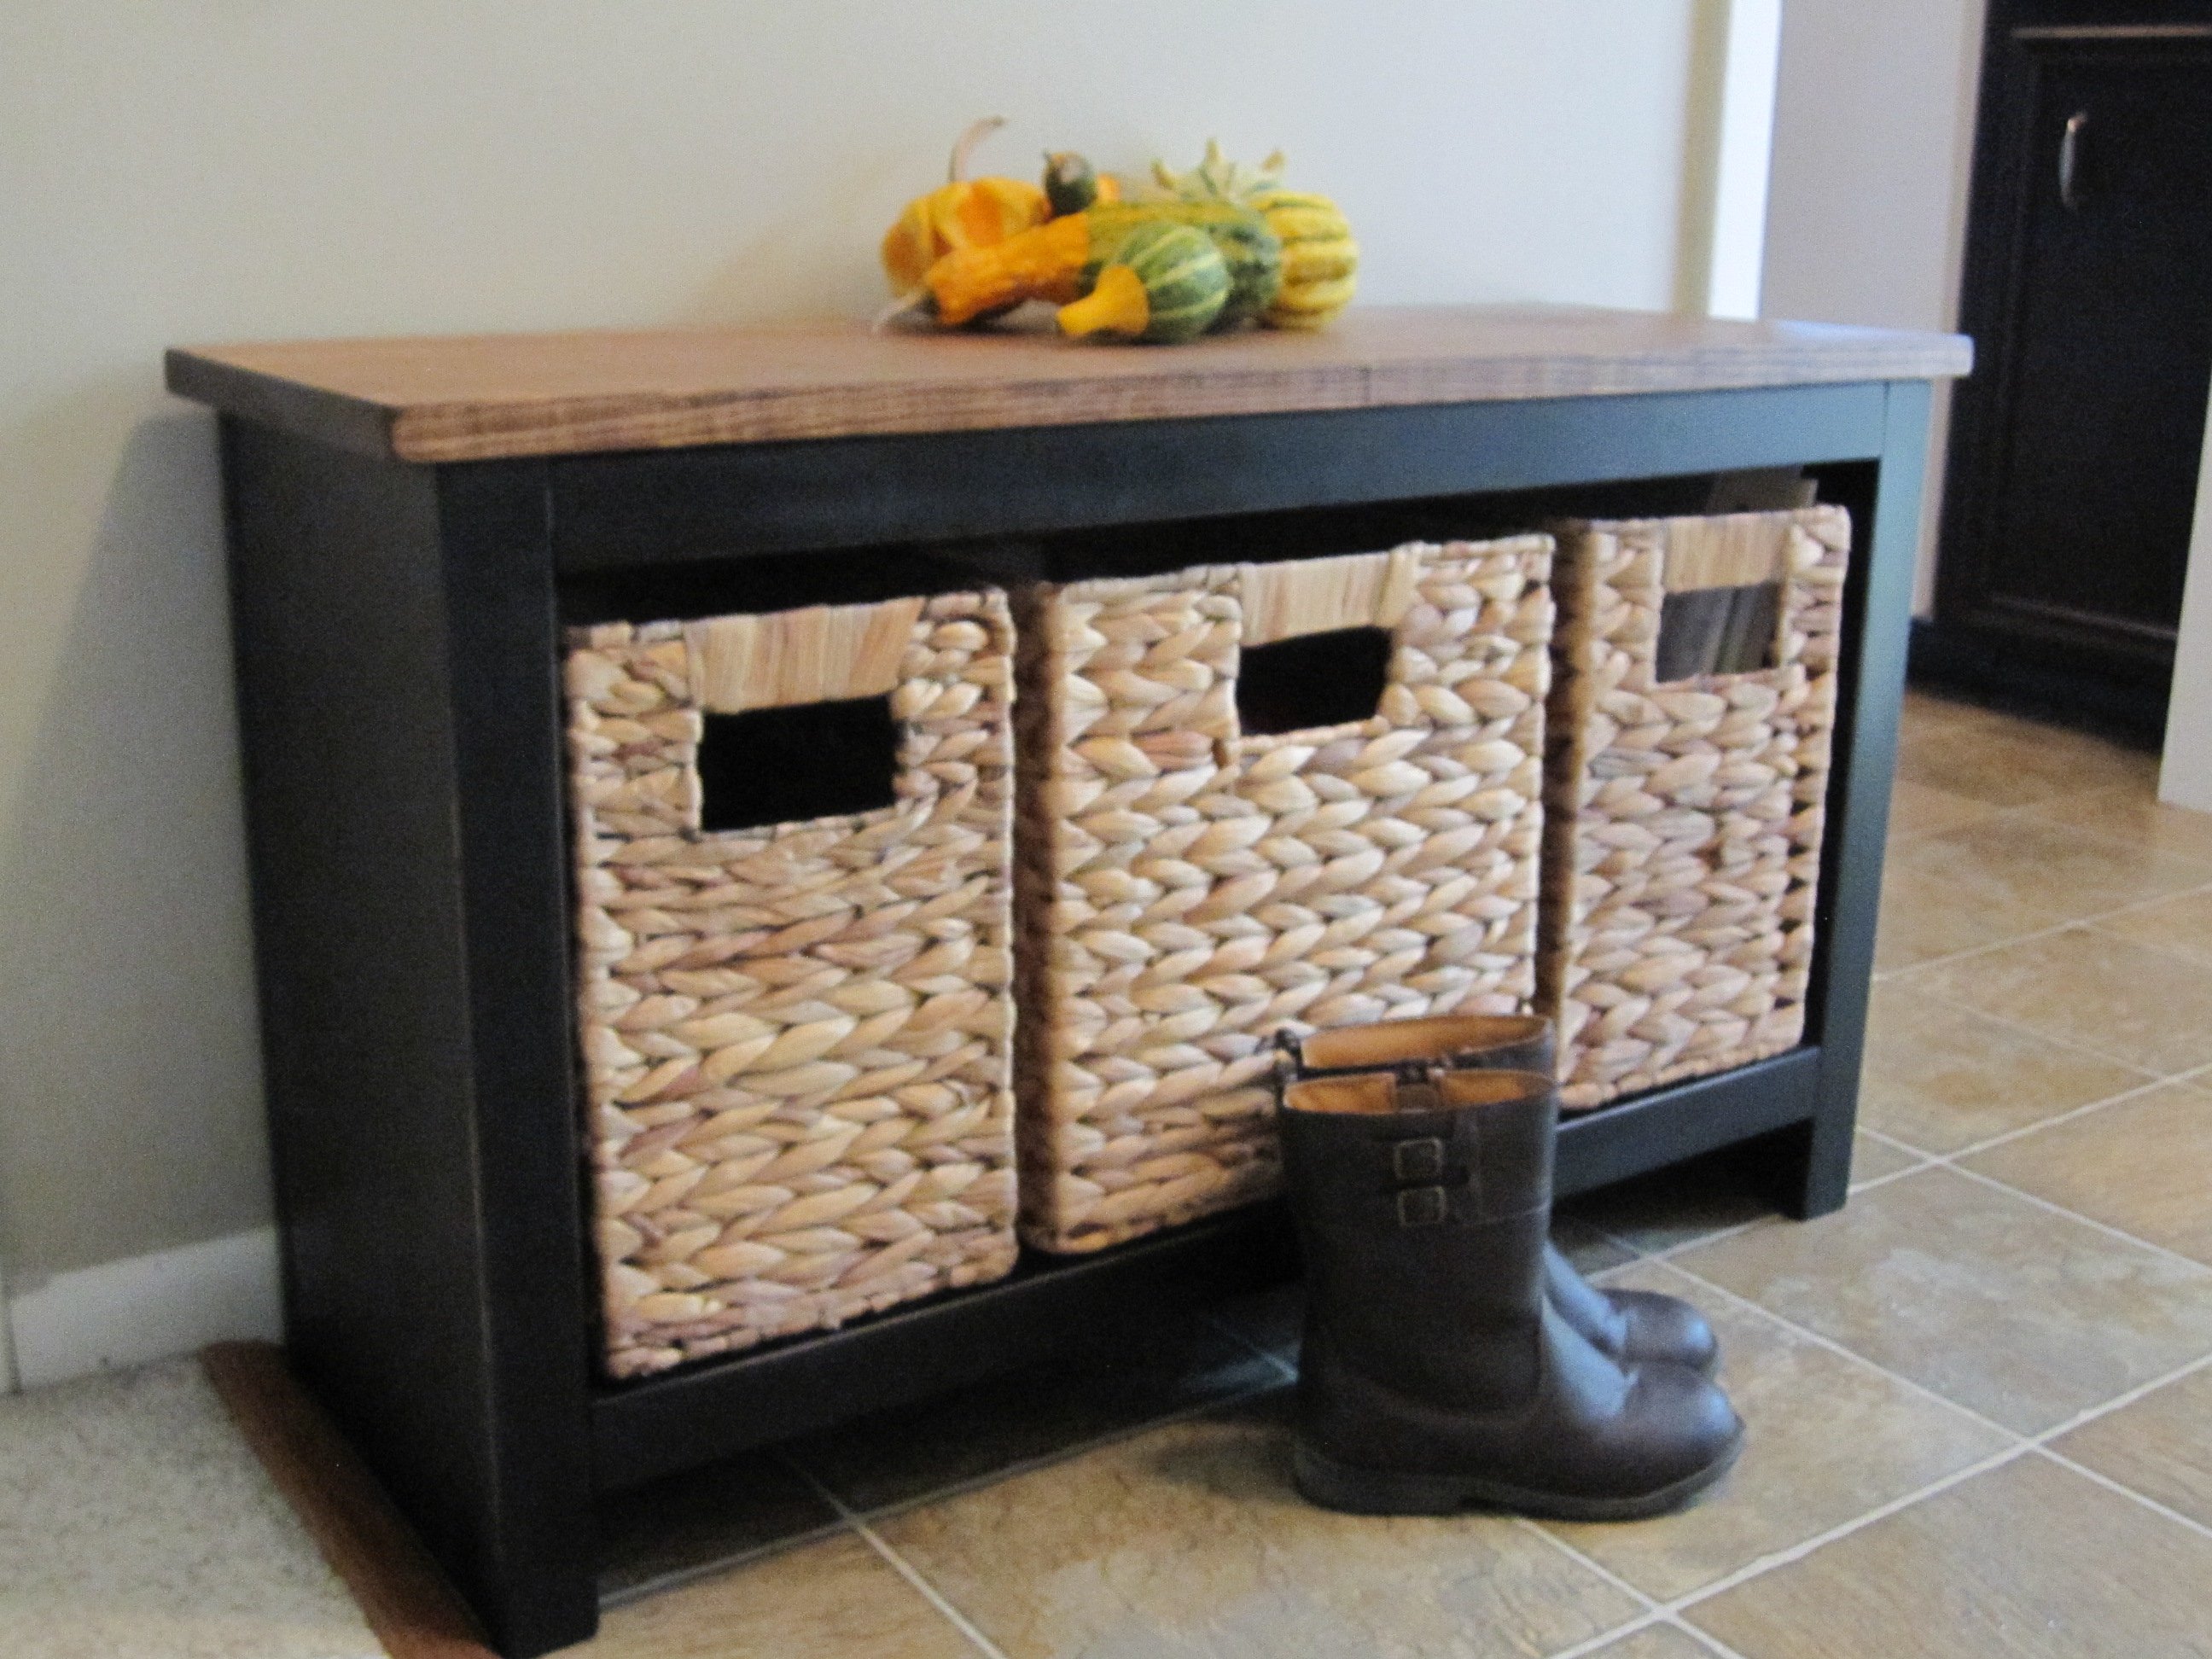
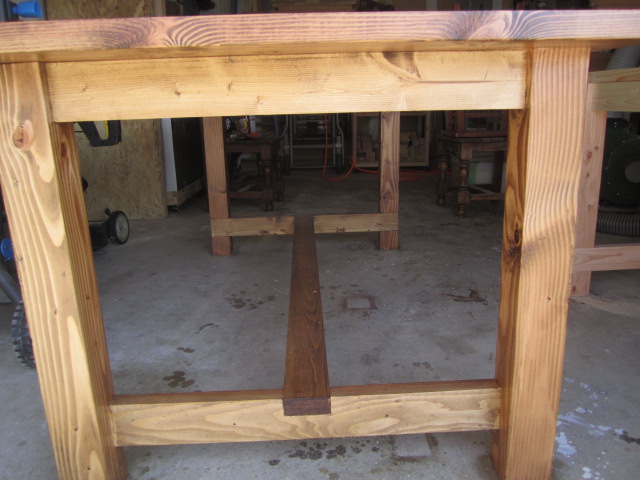
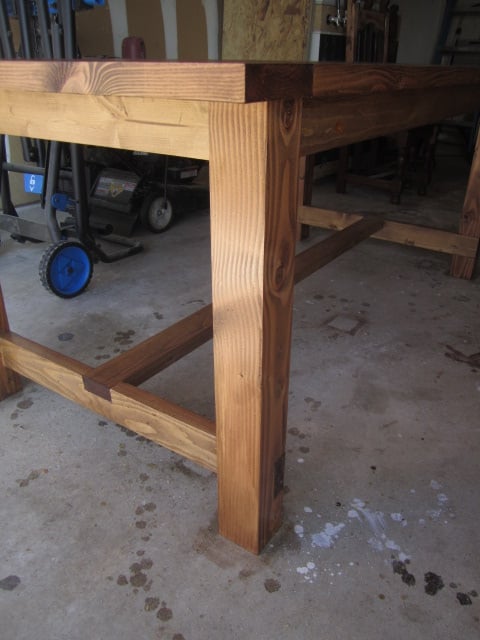
After following Ana and a couple other talented ladies I decided to get a Kreg and take some action! I made a few adjustments to the size and I used pocket screws to put this together. It is solid! Found the baskets at Lowes and fell in love. It was super easy and my husband couldn't believe I put it together so fast. I has added much needed storage to the front door and we just love it.
Built from Plan(s)
Estimated Cost
$70 total
Baskets were $45!
Baskets were $45!
Estimated Time Investment
An Hour or Two (0-2 Hours)
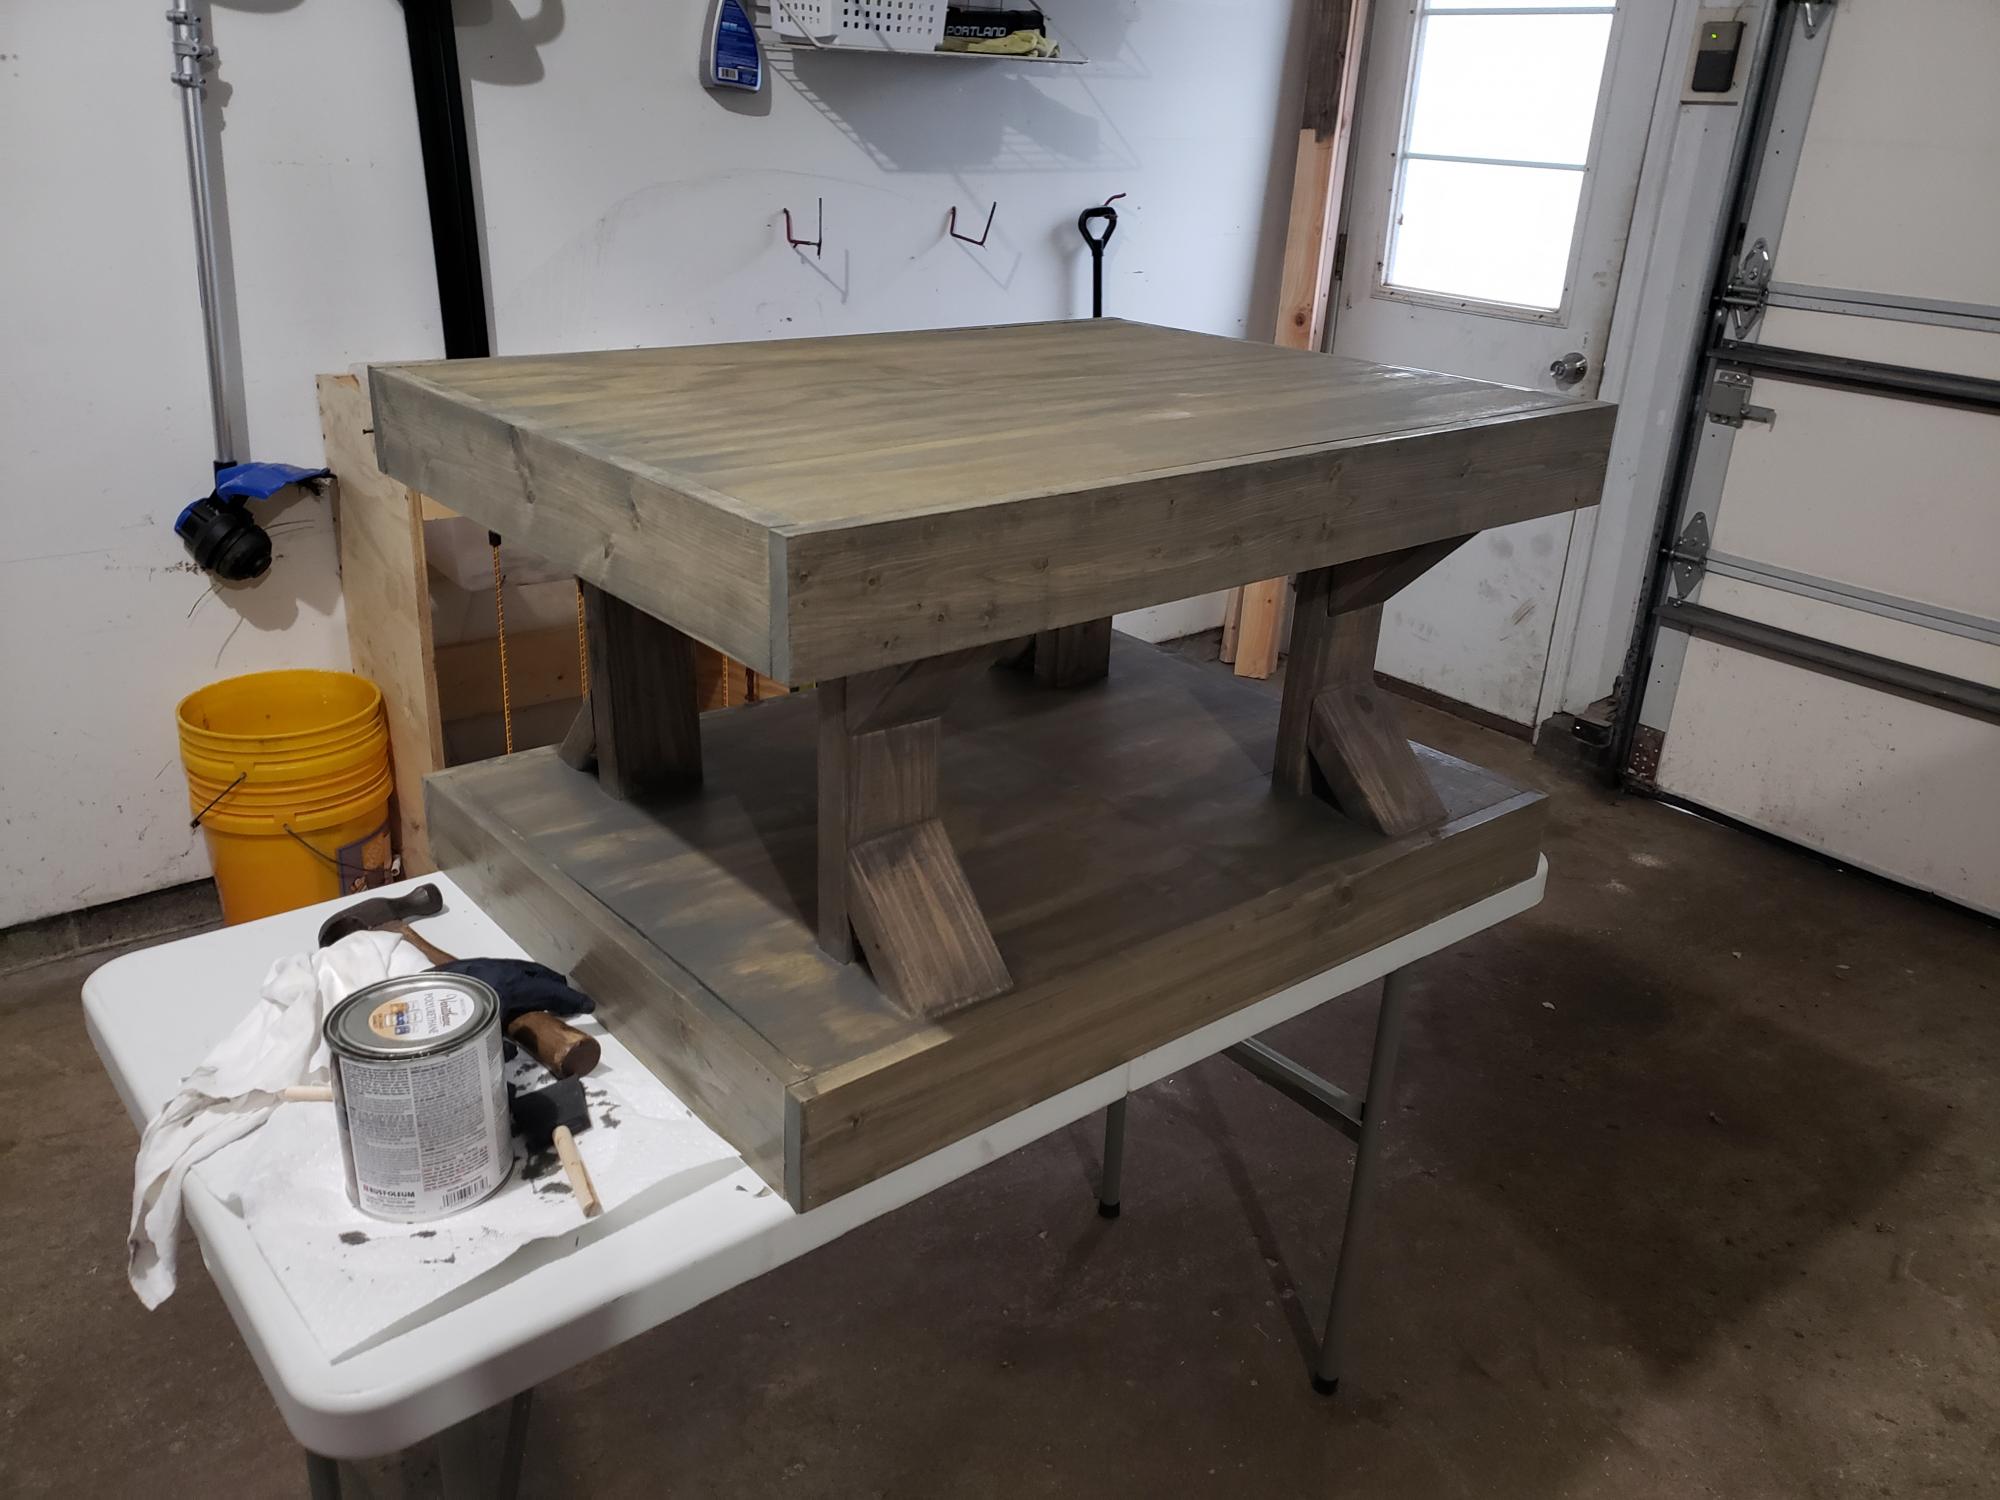
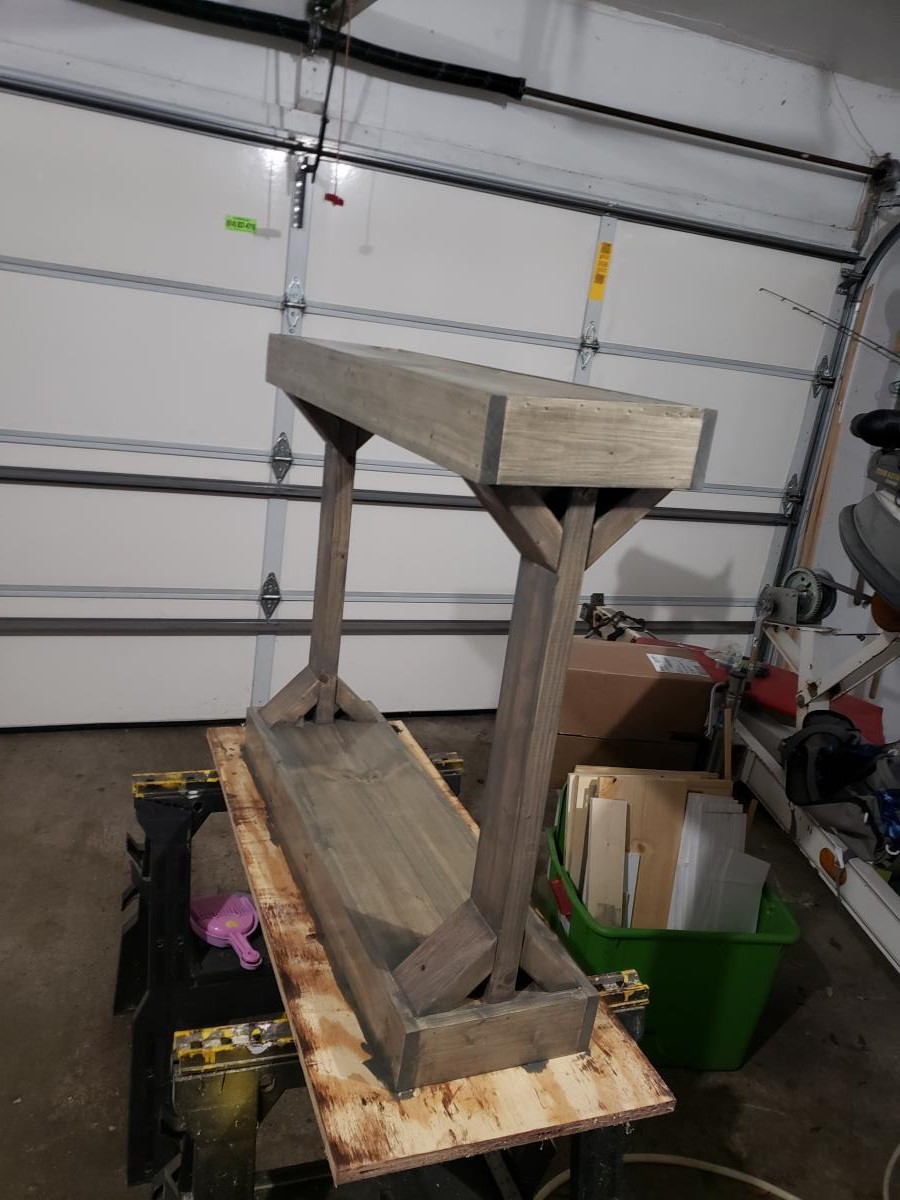
Finish Used
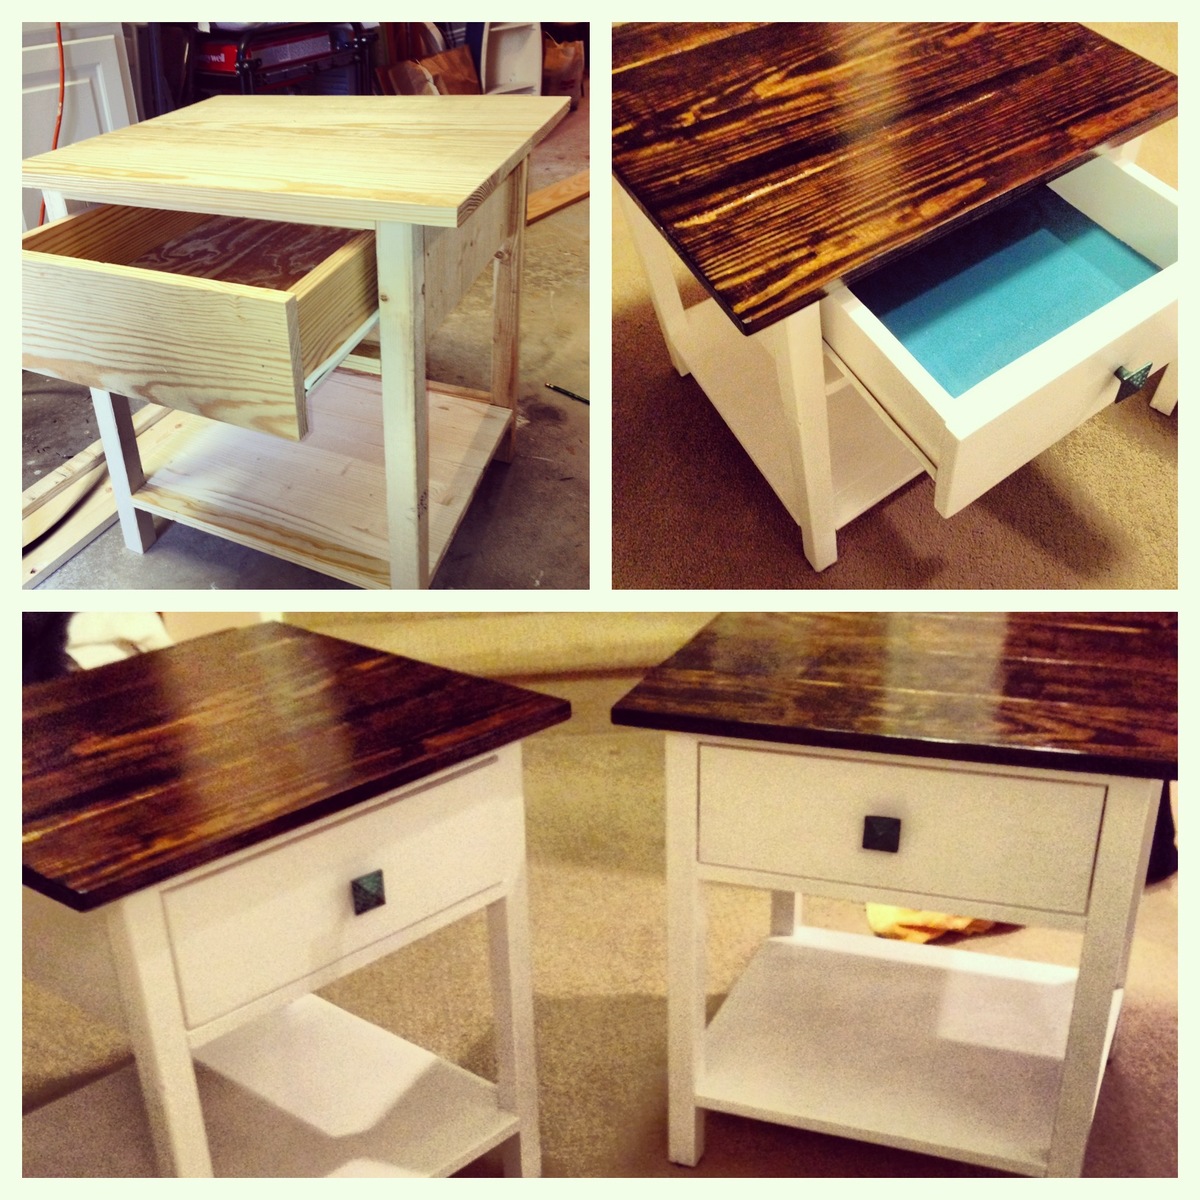
Flat black spray paint
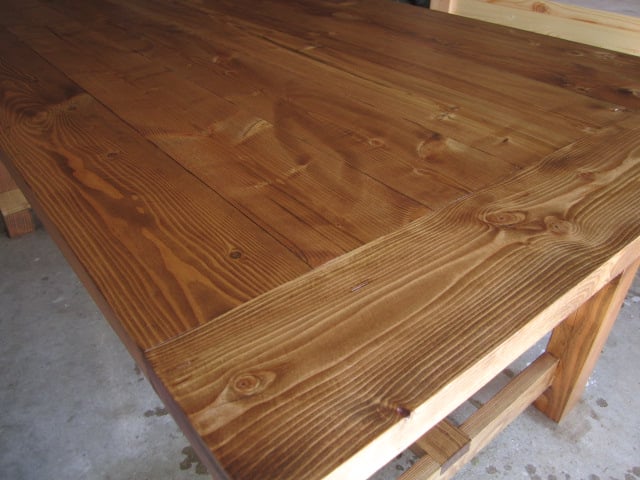
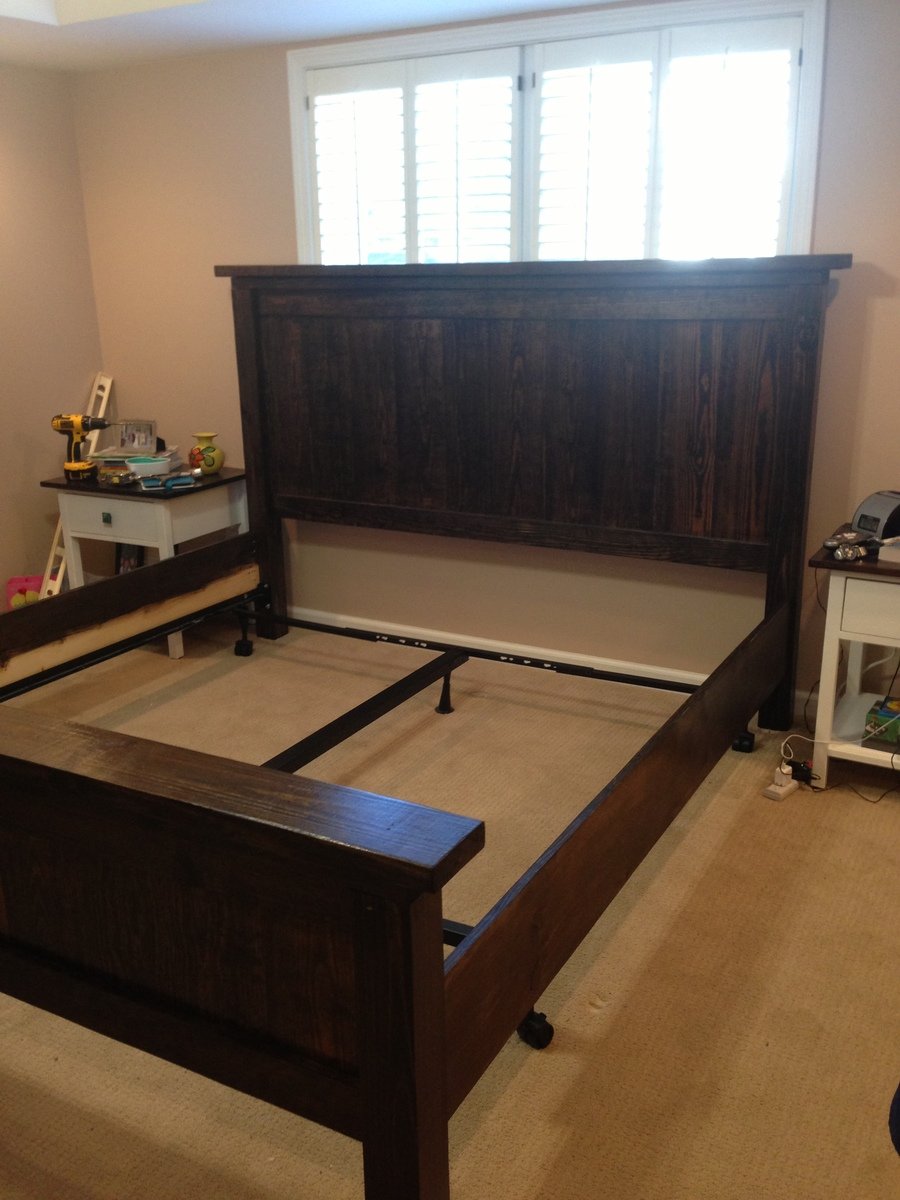
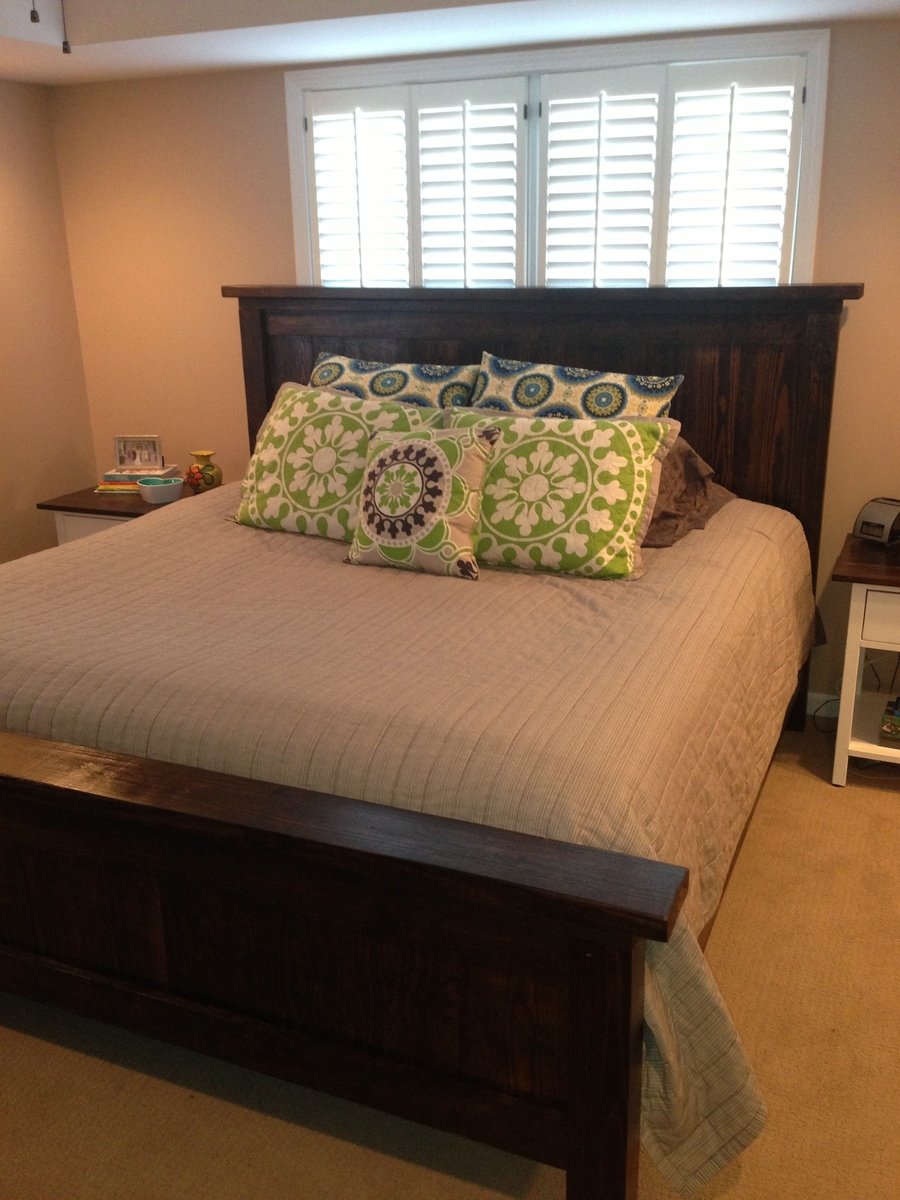
Minwax dark walnut stain
Wood conditioner to seal
Minwax dark walnut stain
Wood conditioner to seal
Recommended Skill Level
Starter Project


Comments
JoanneS
Sun, 12/07/2014 - 17:48
Awesome build!
This looks super! You did a great job and it looks beautifully constructed. Congrats! The finish is lovely. :)
Ana White
Mon, 12/08/2014 - 13:09
Beautiful build!! Baskets
Beautiful build!! Baskets look great too!
Veronica P
Tue, 12/09/2014 - 06:57
Beautiful Piece!
It looks like something right out of a trendy (and expensive) home store! Love the baskets and color choice.
squincey
Tue, 12/09/2014 - 07:03
Very nice. Looks professional
Very nice. Looks professional. Contemporary, yet minimalistic.