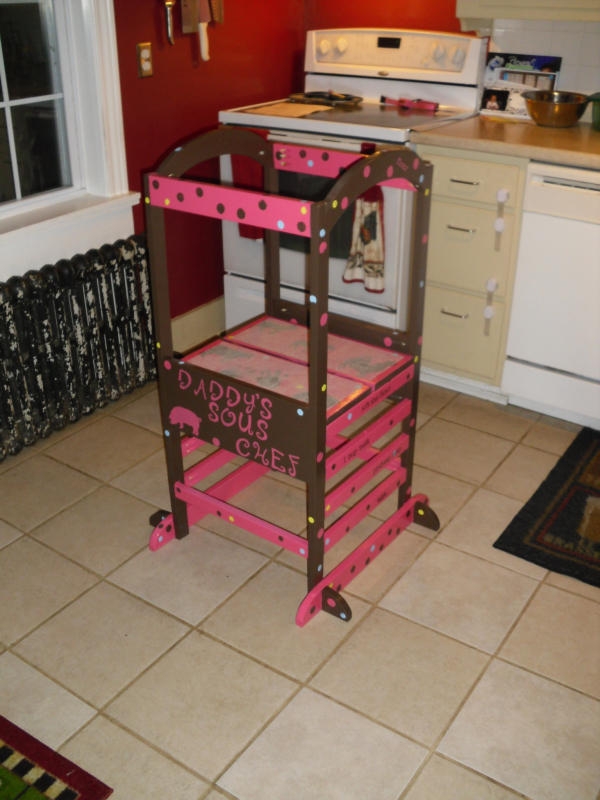
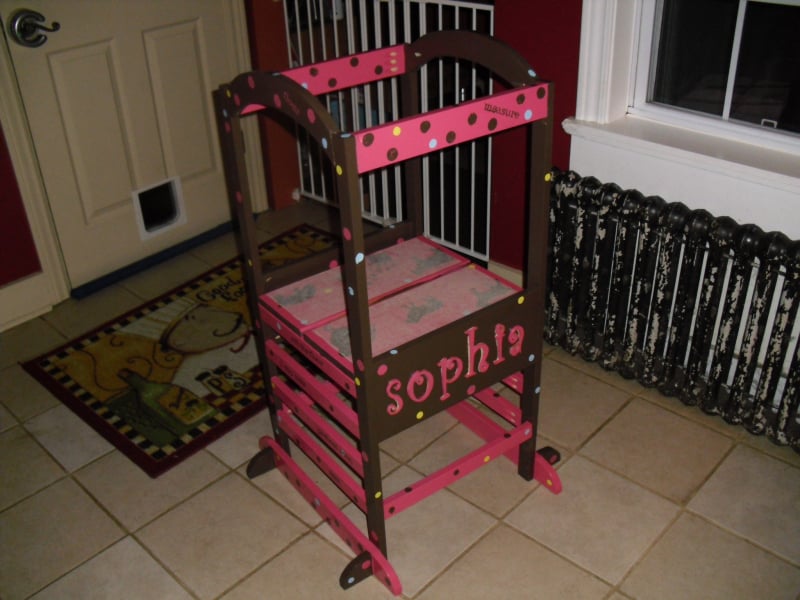
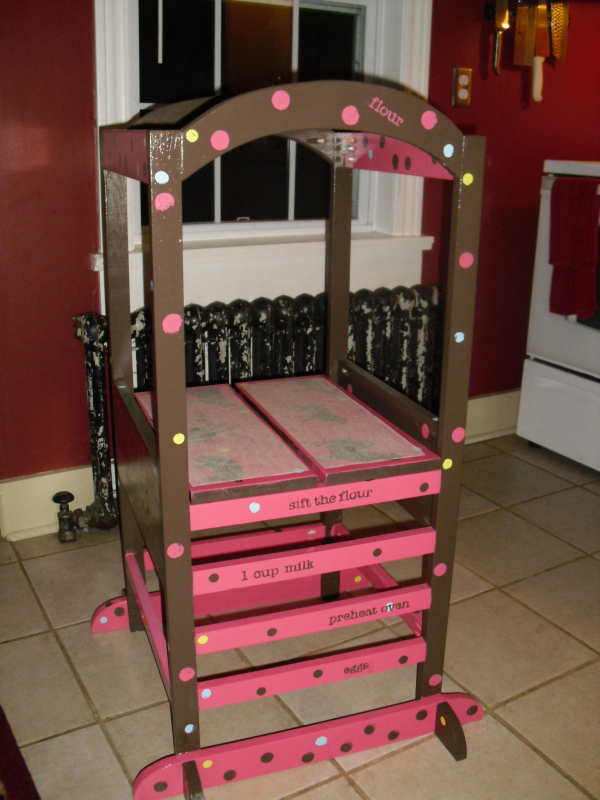
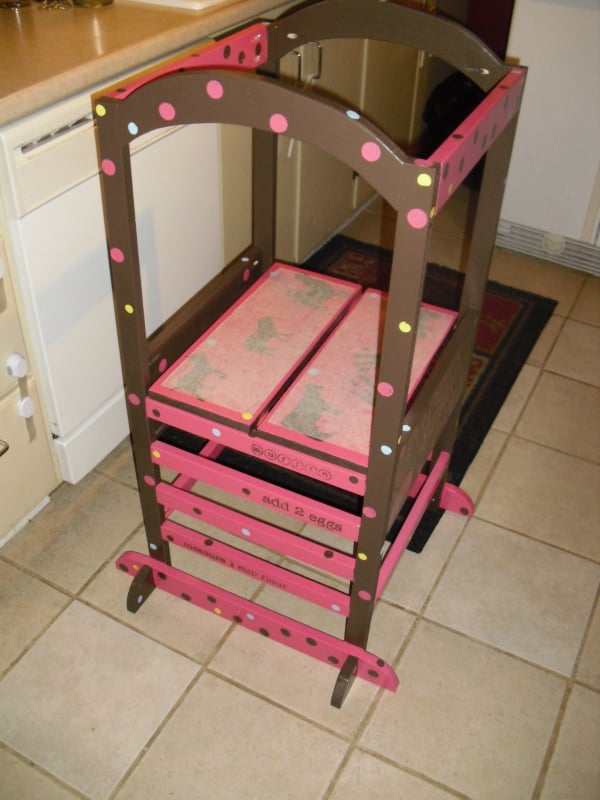
Learning Tower
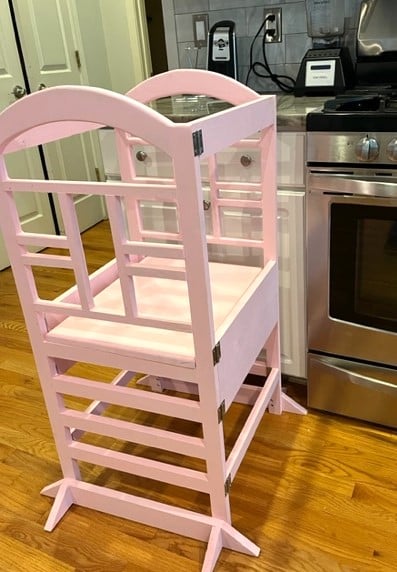
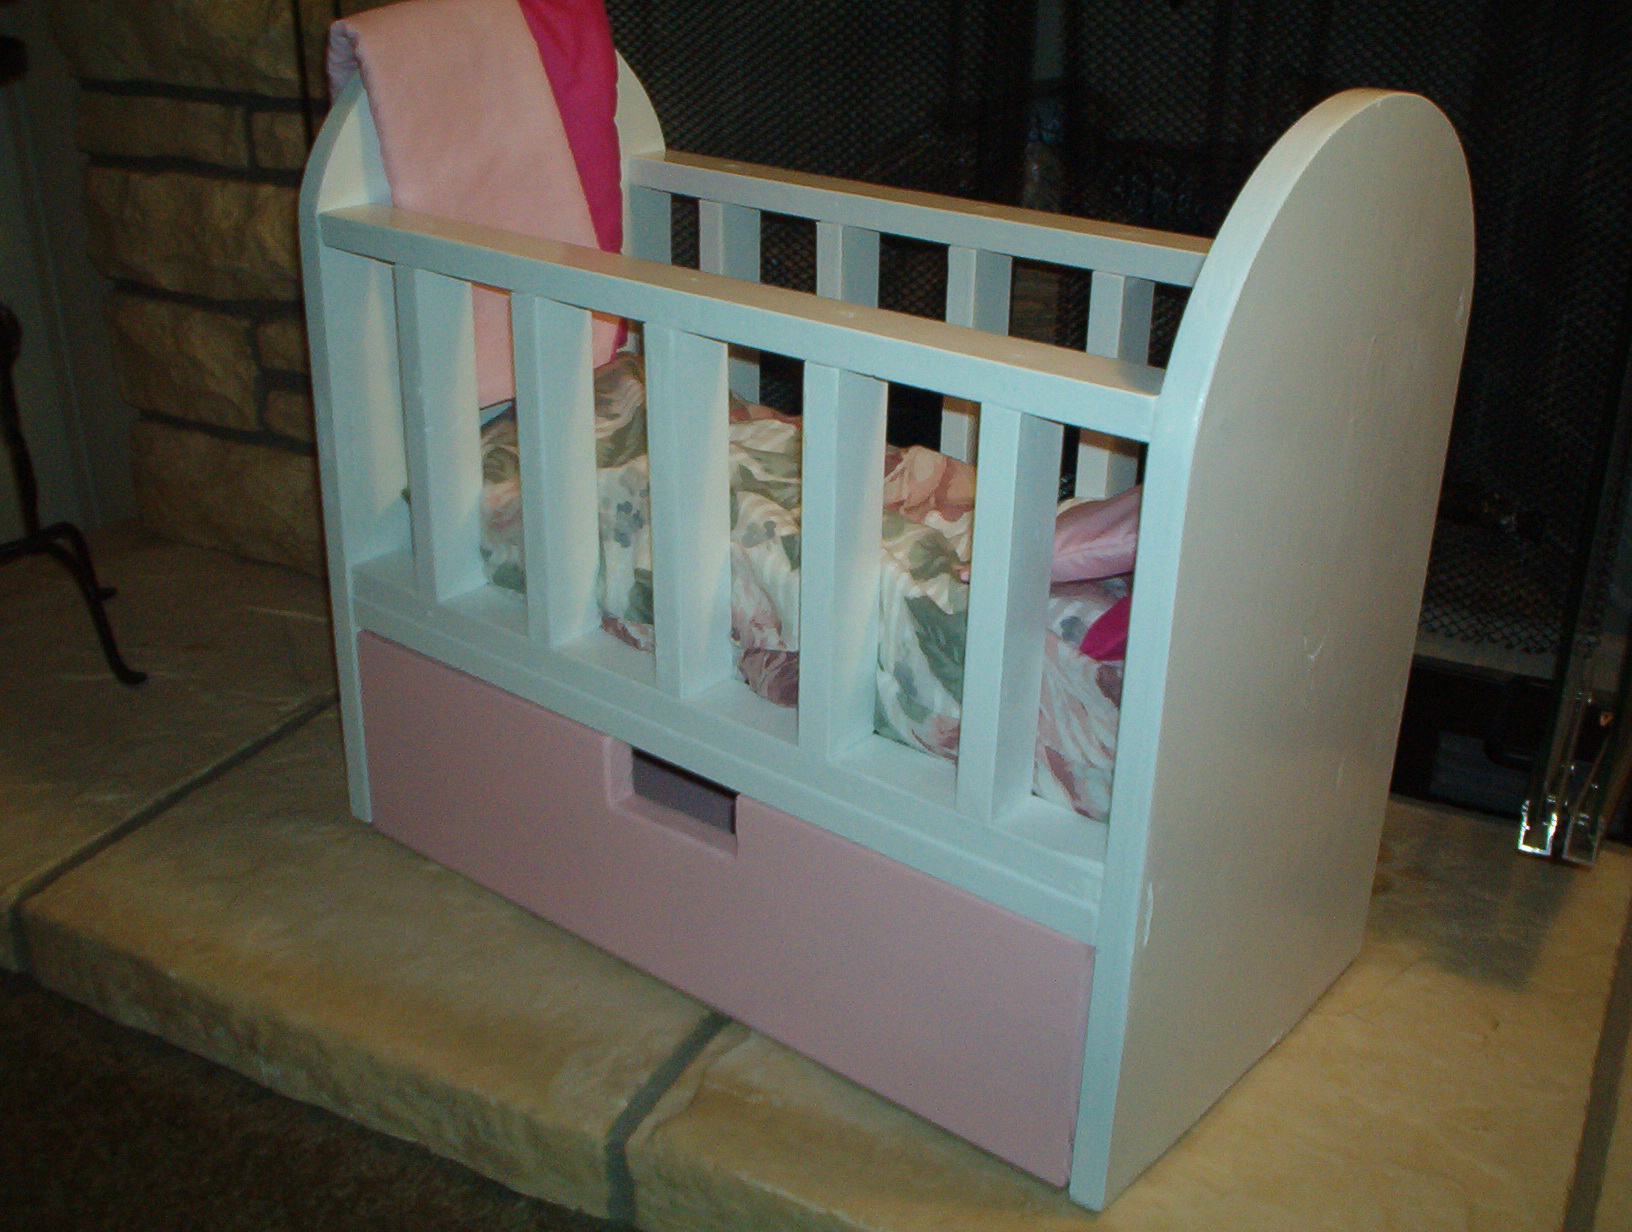
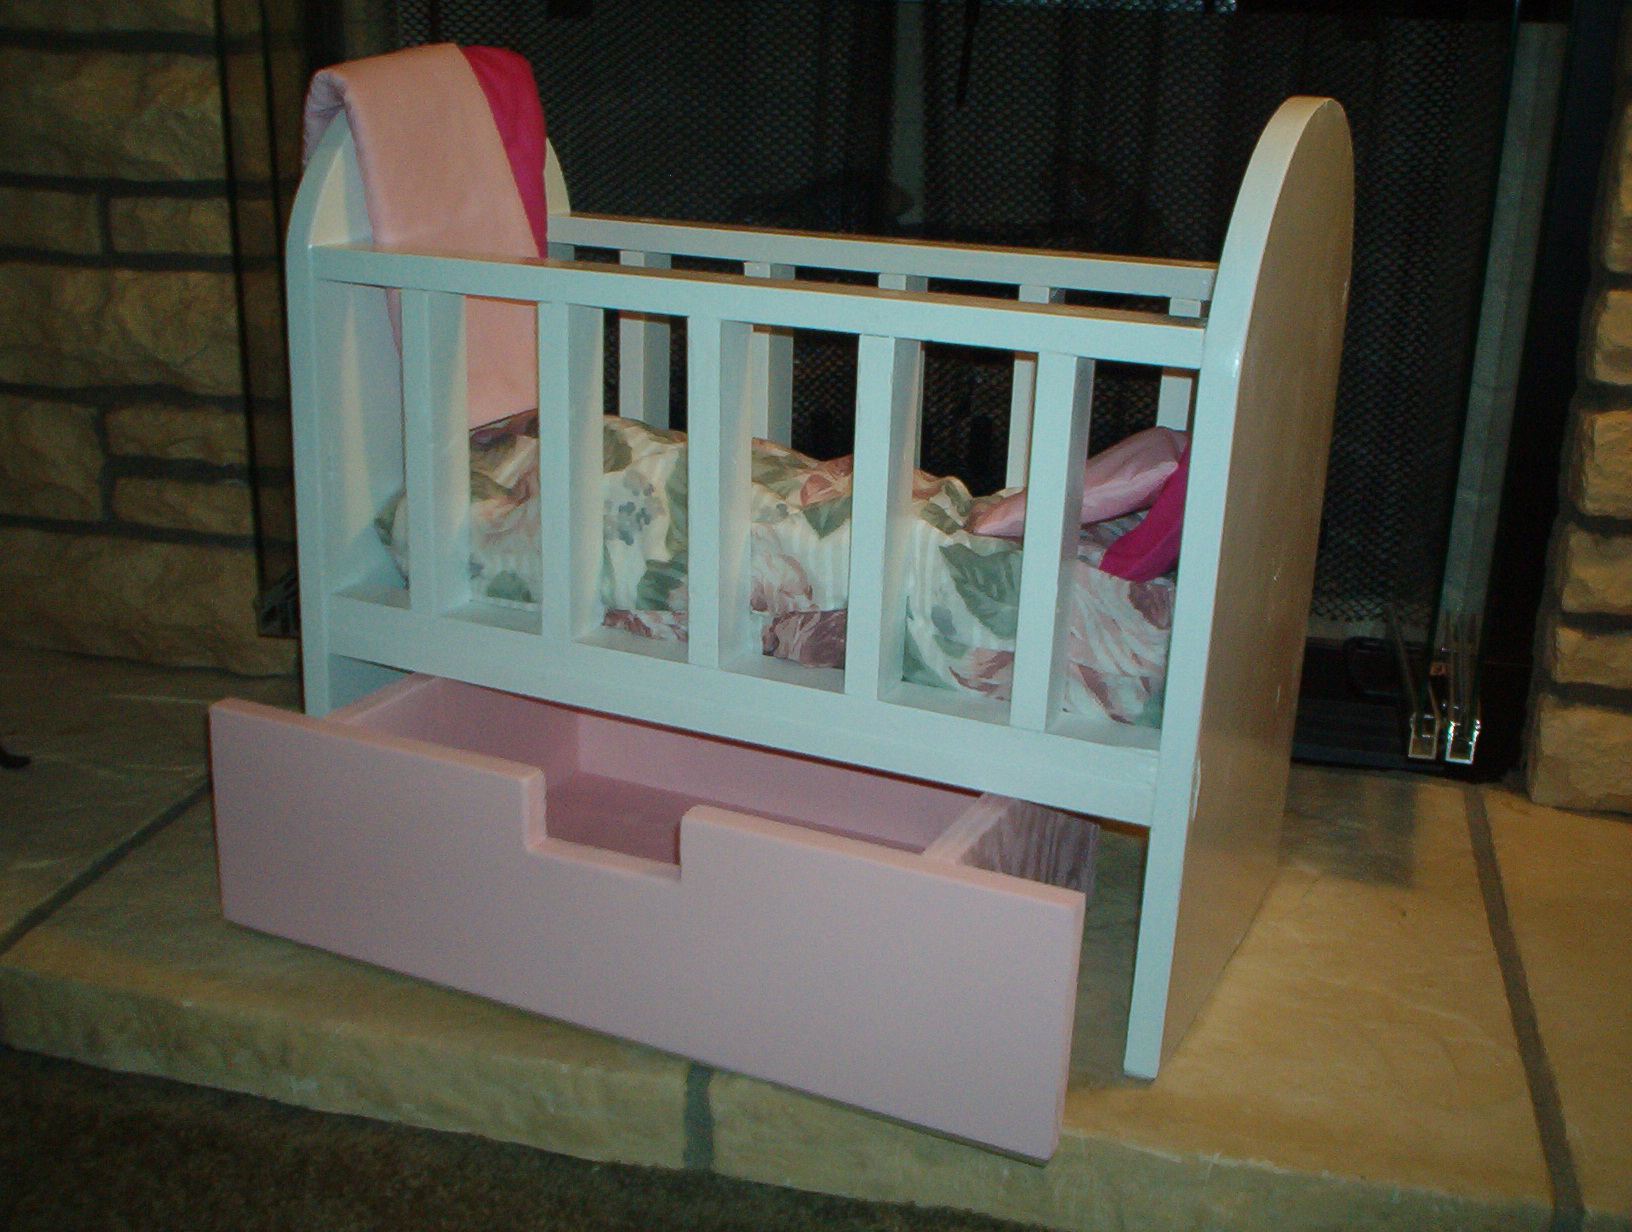
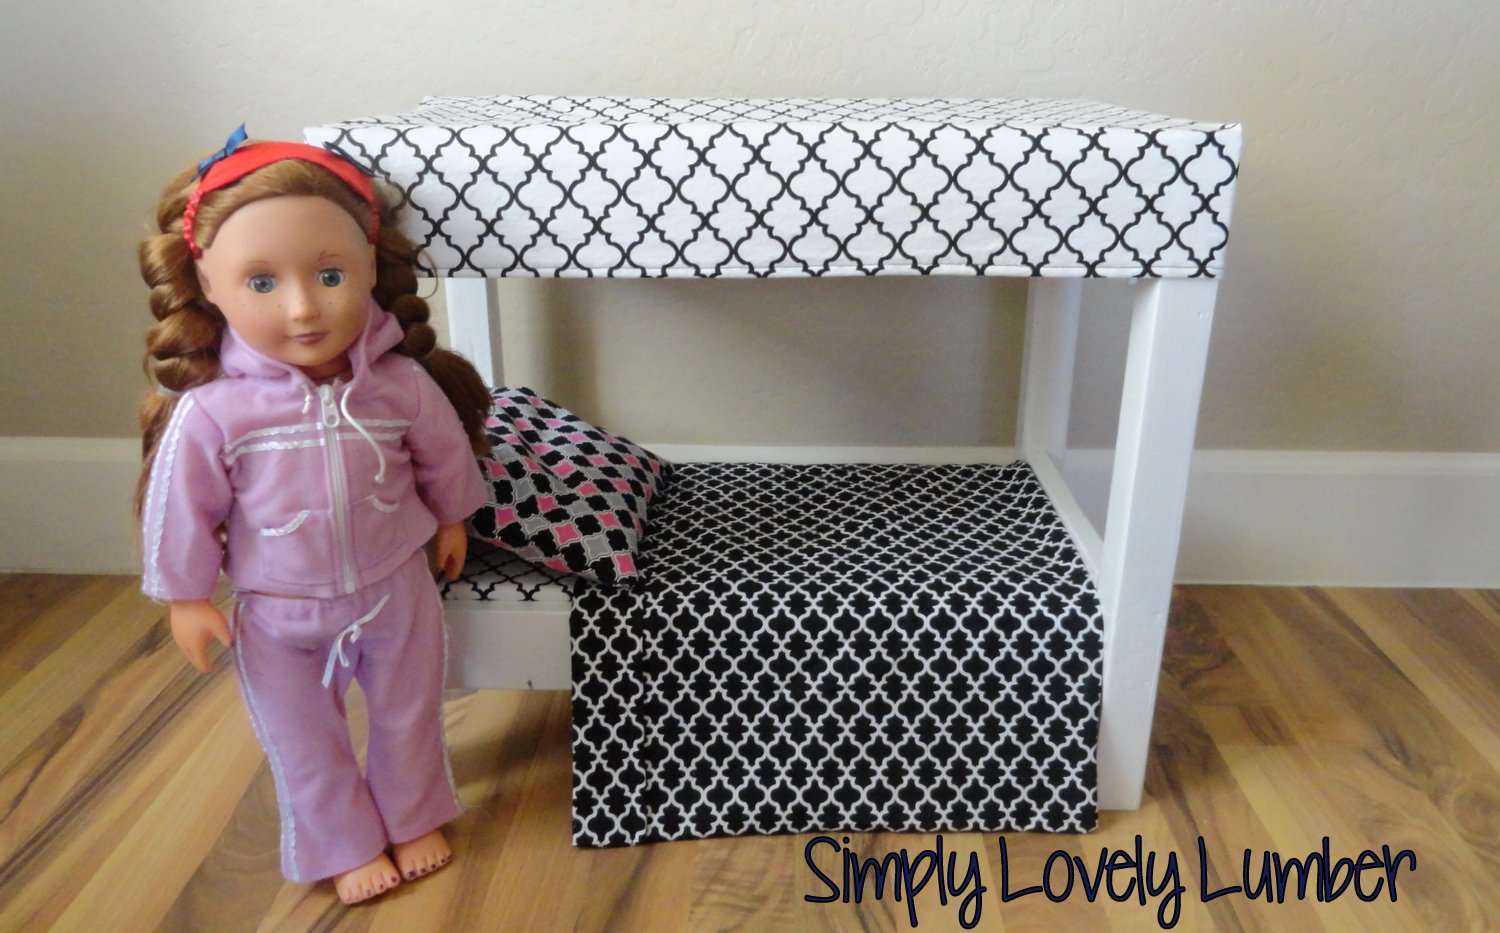
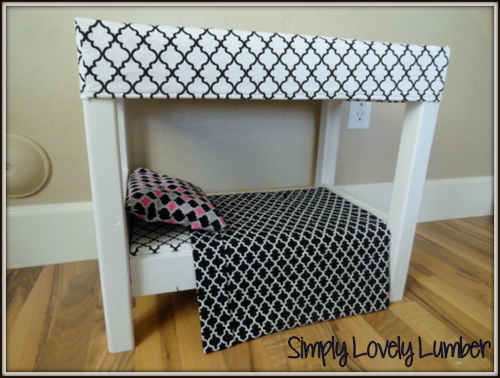
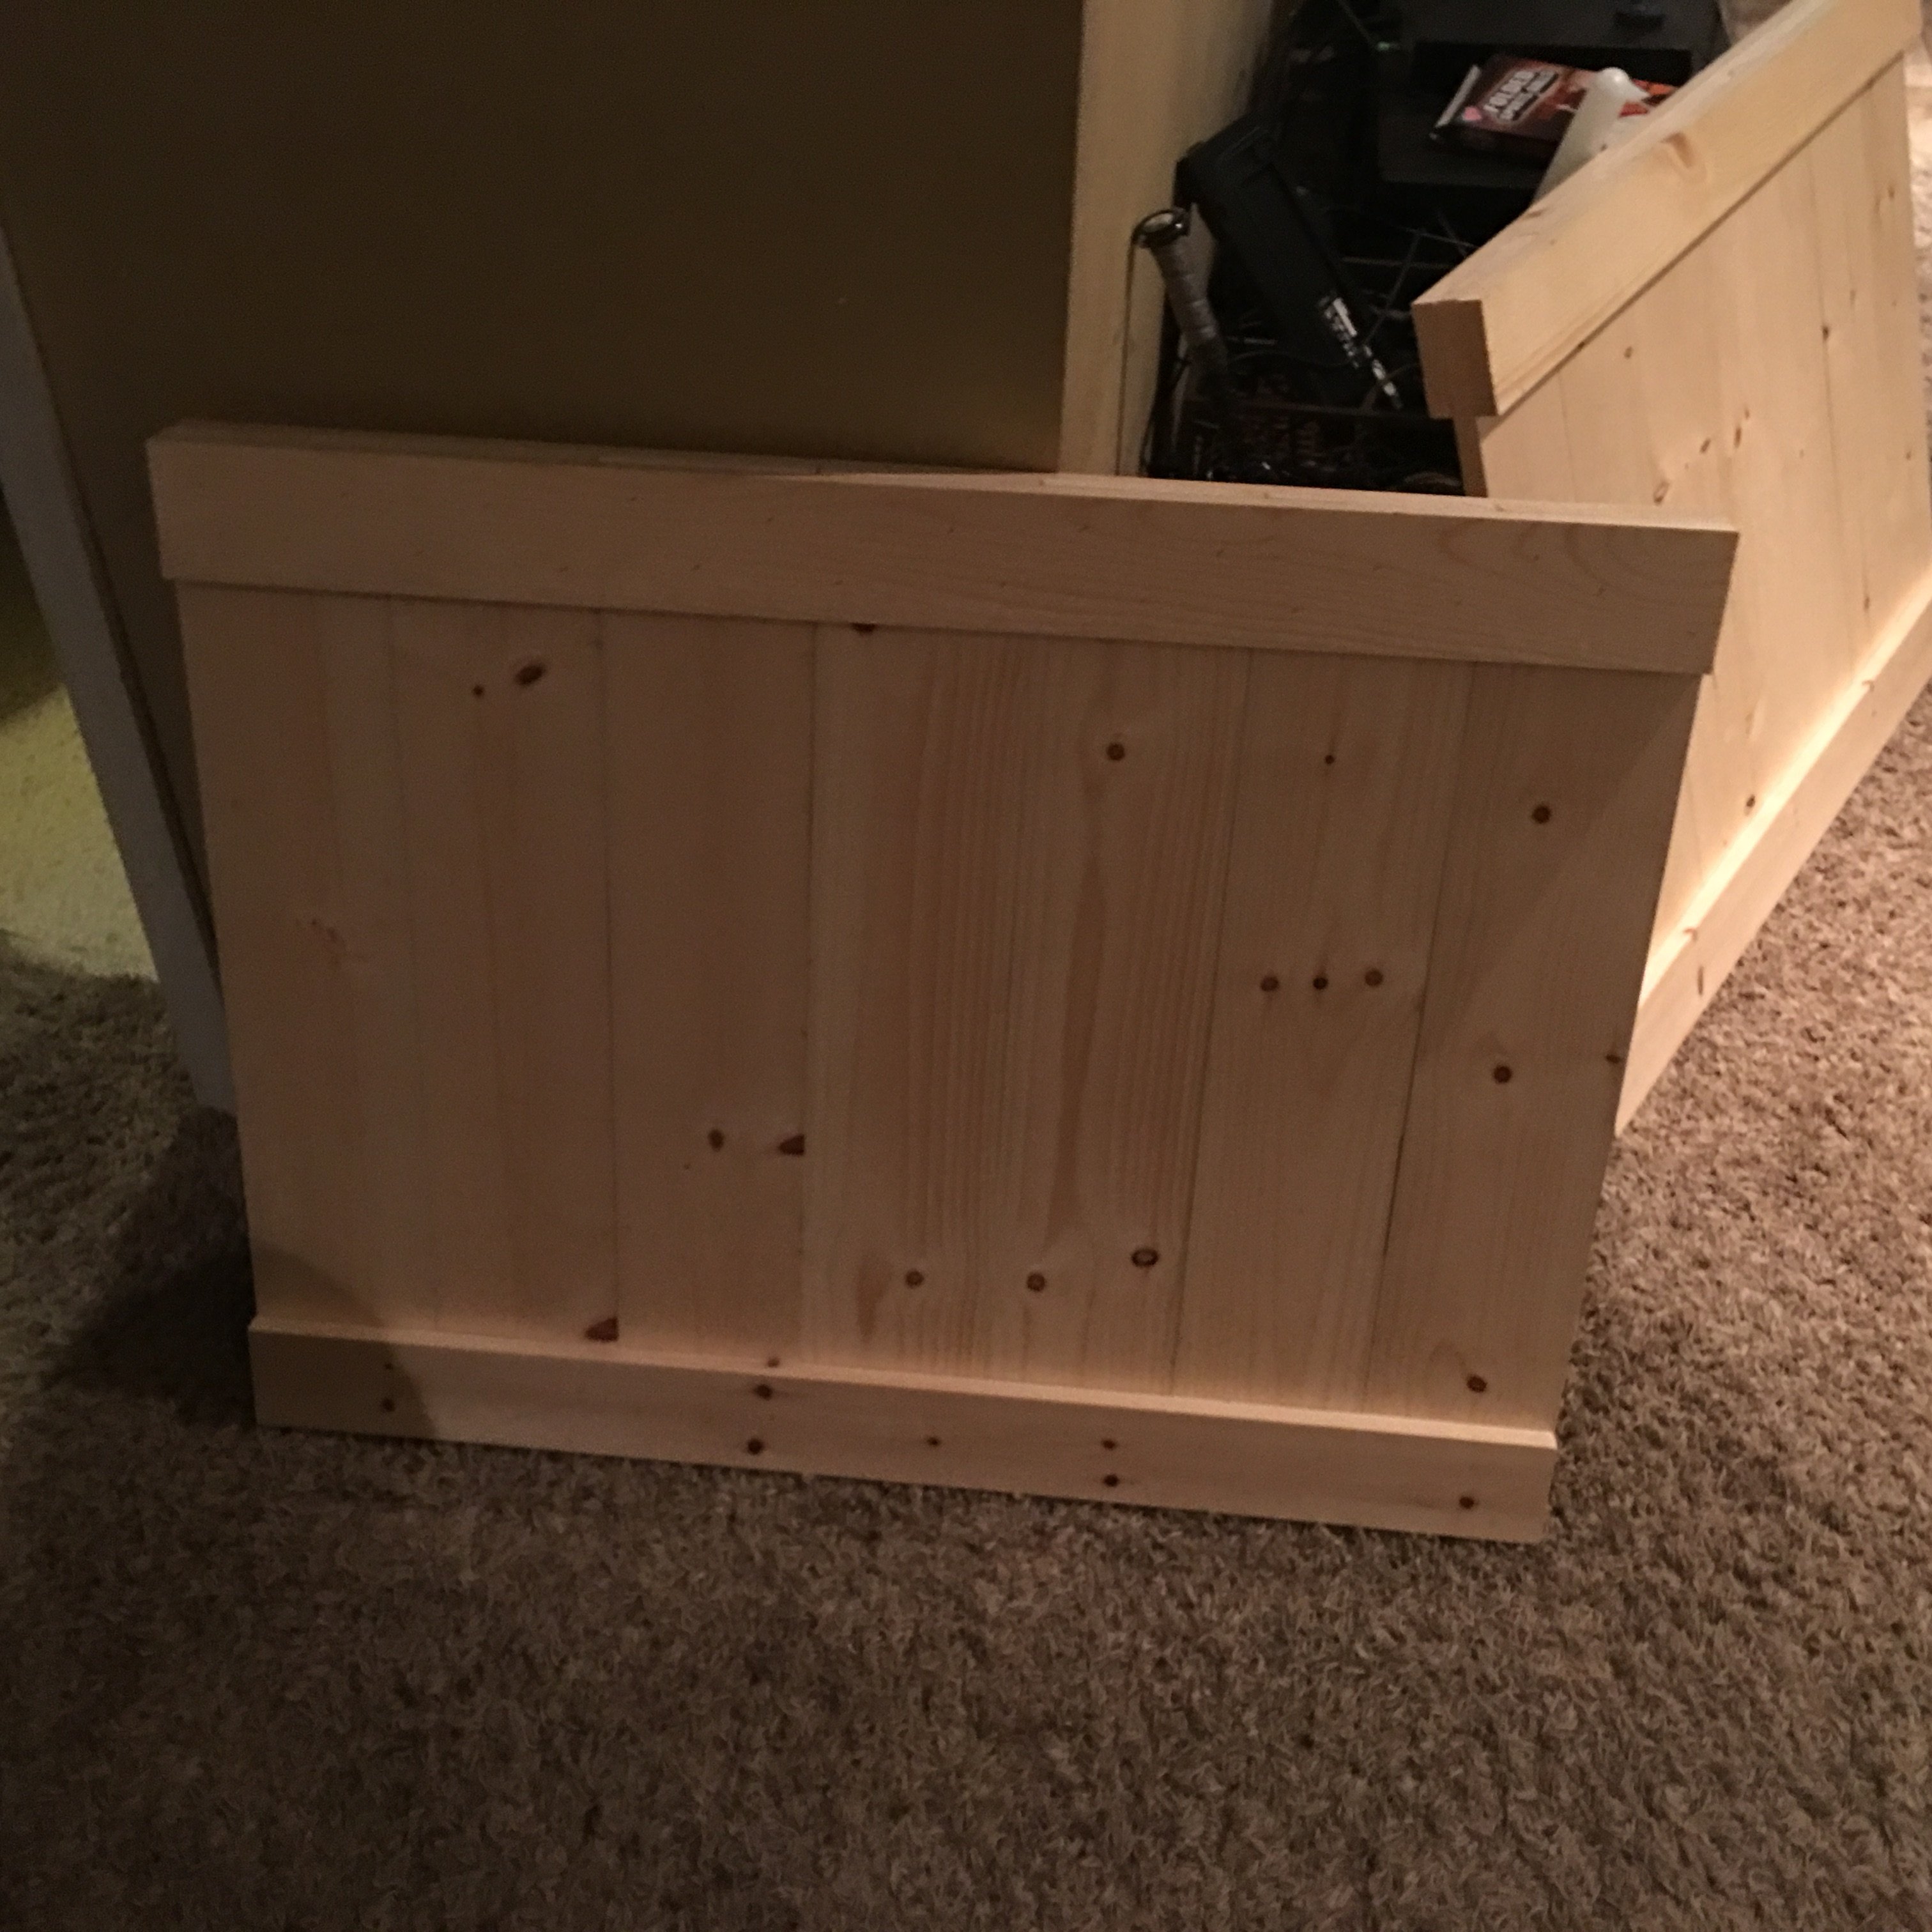
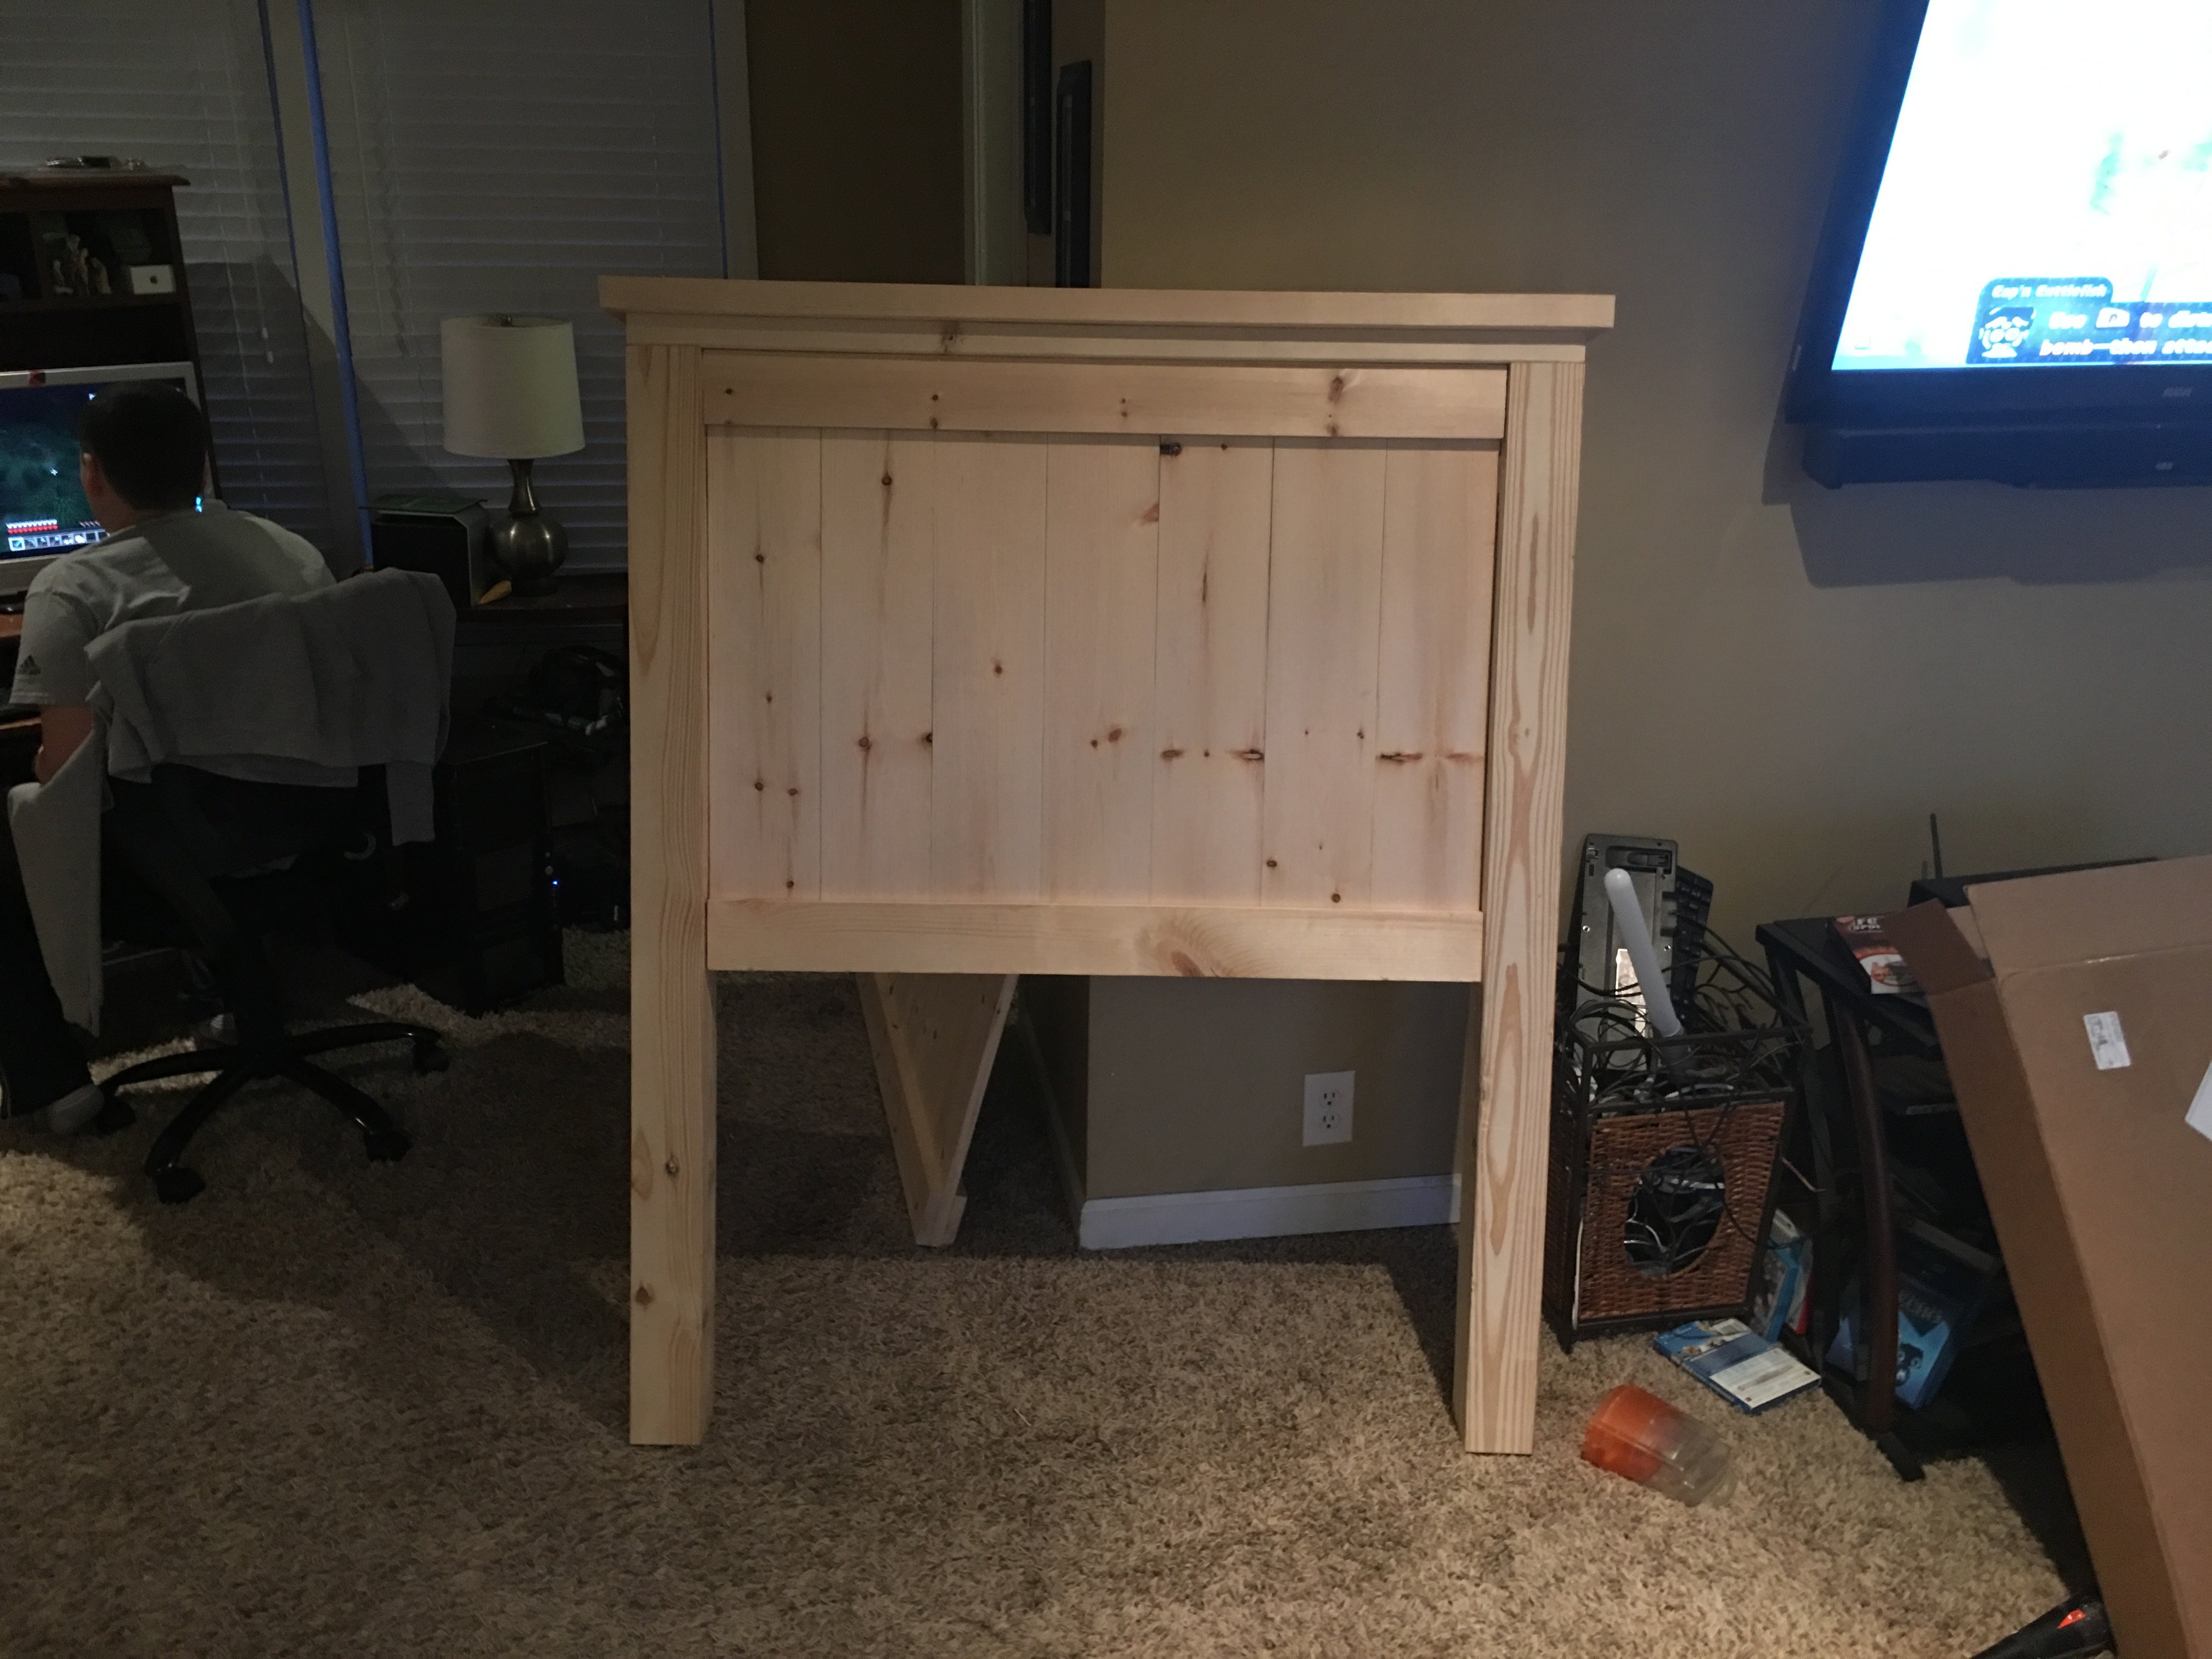
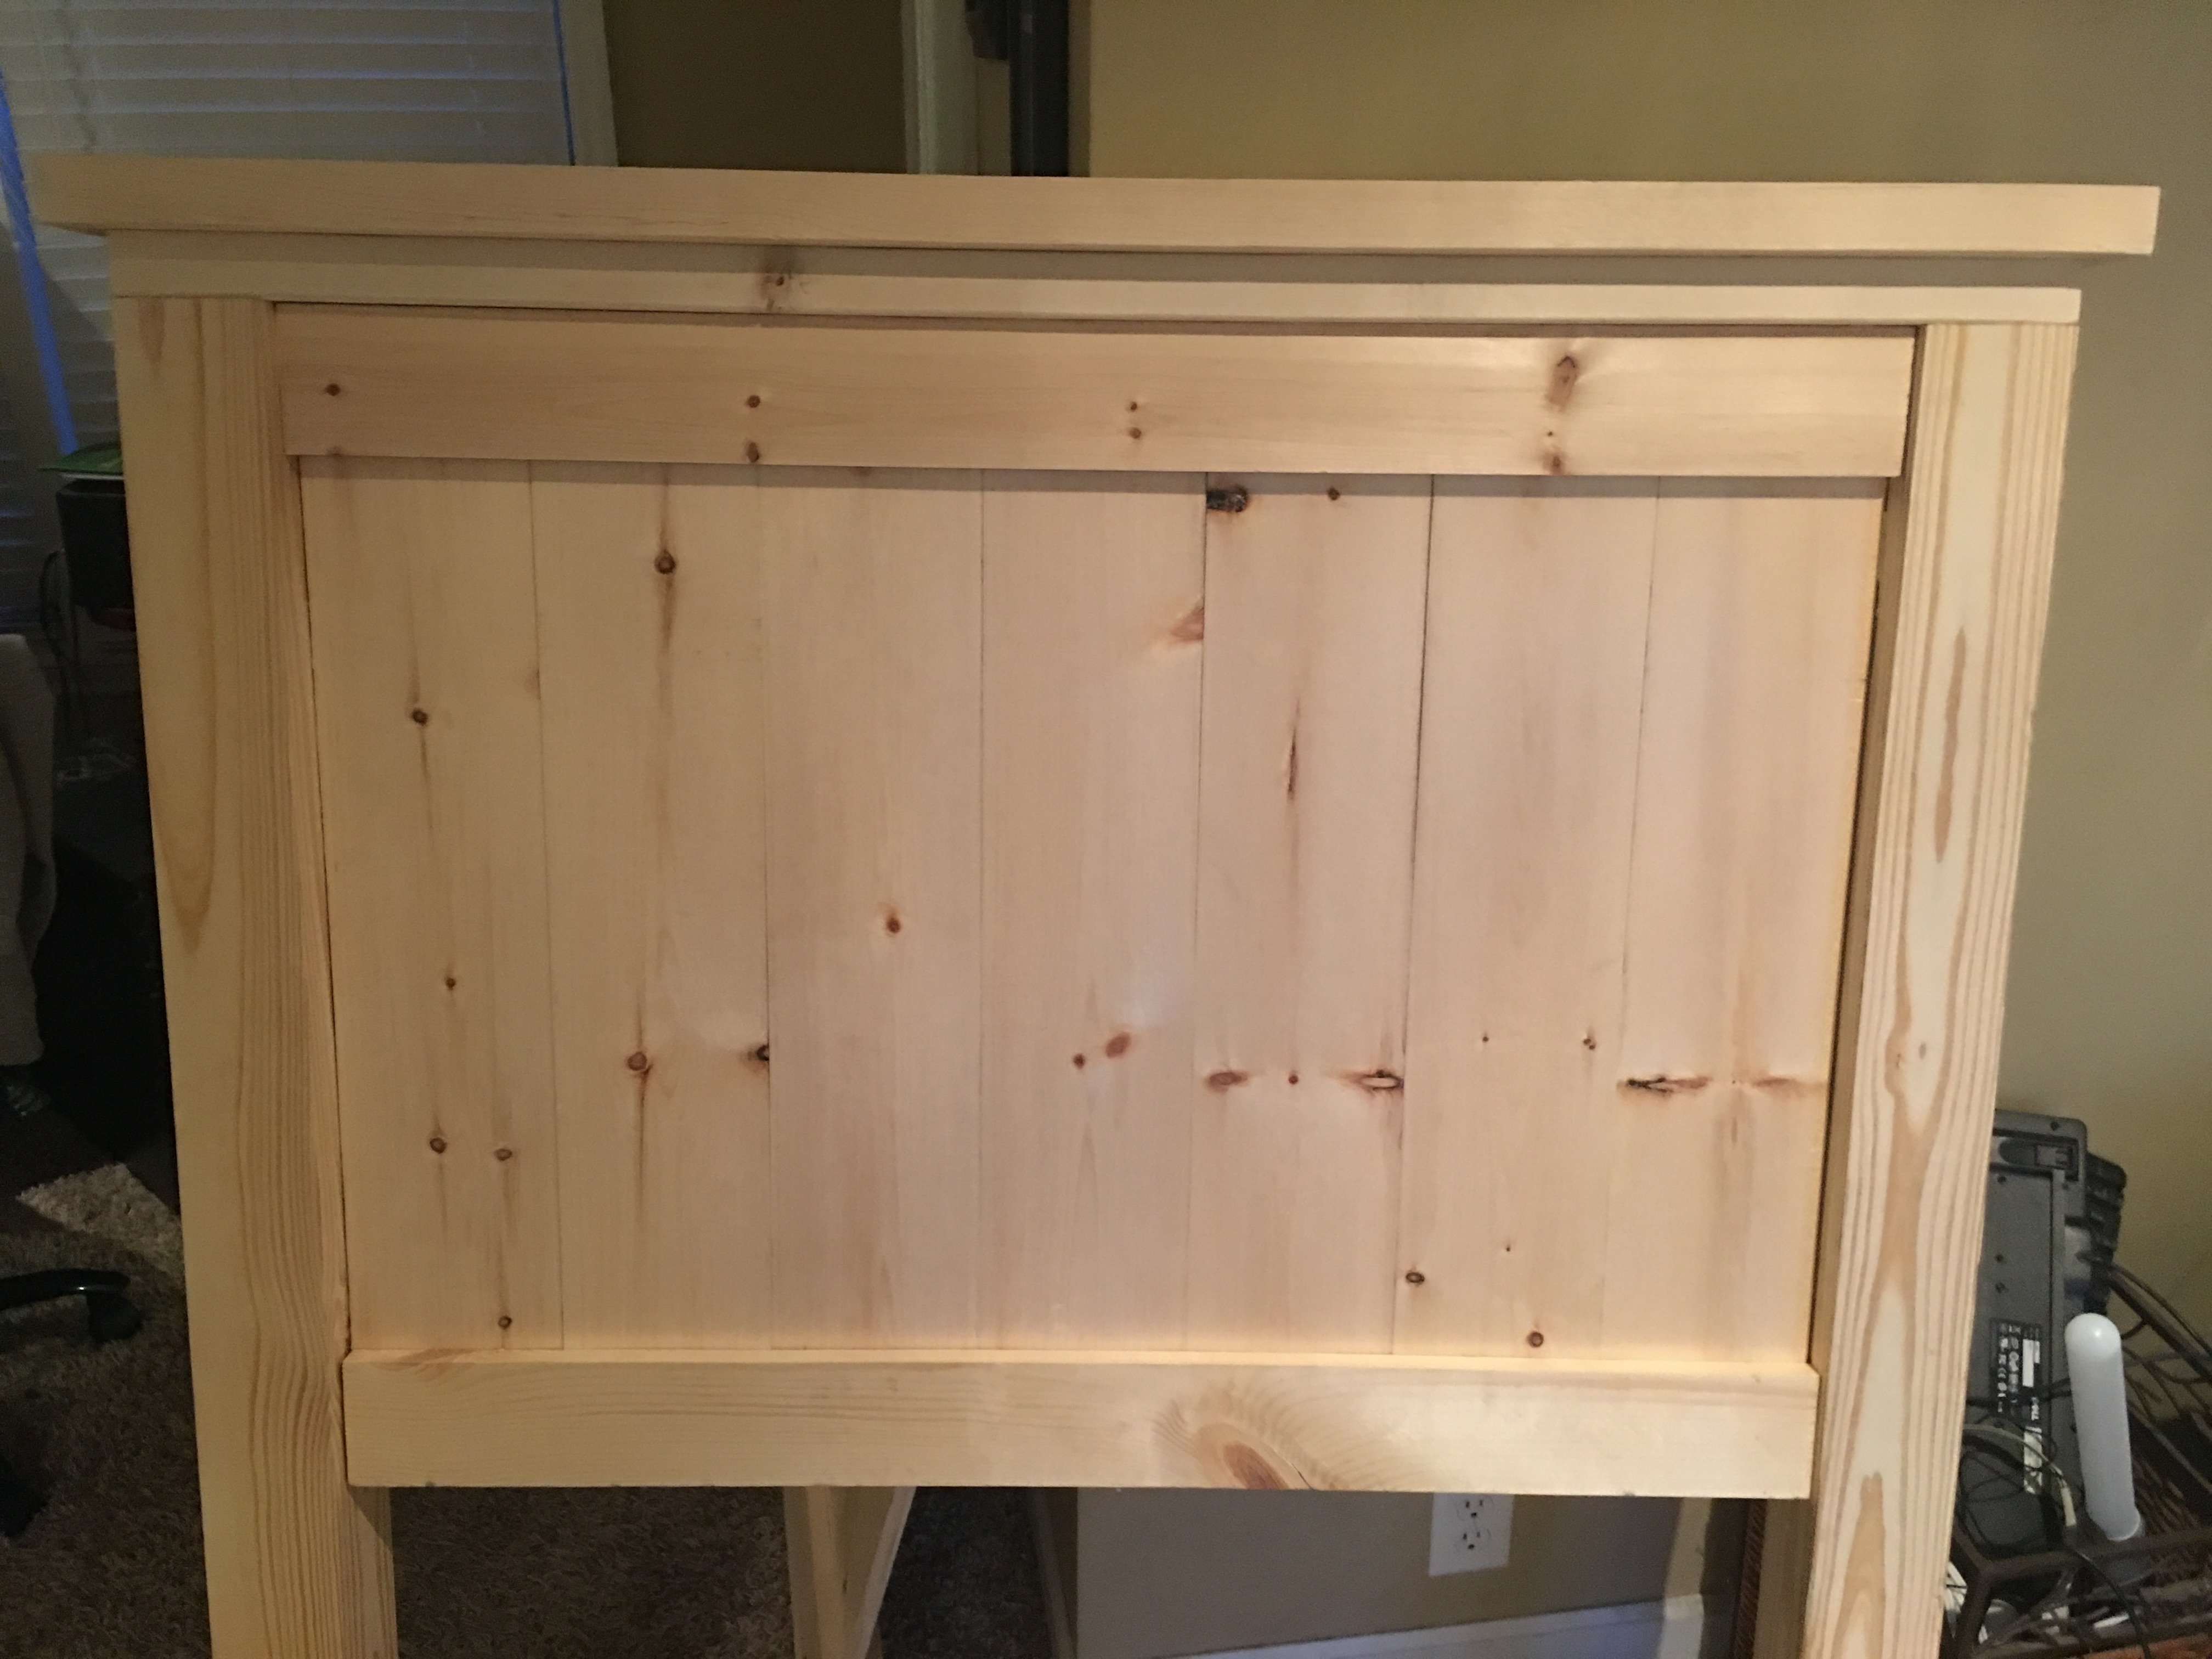
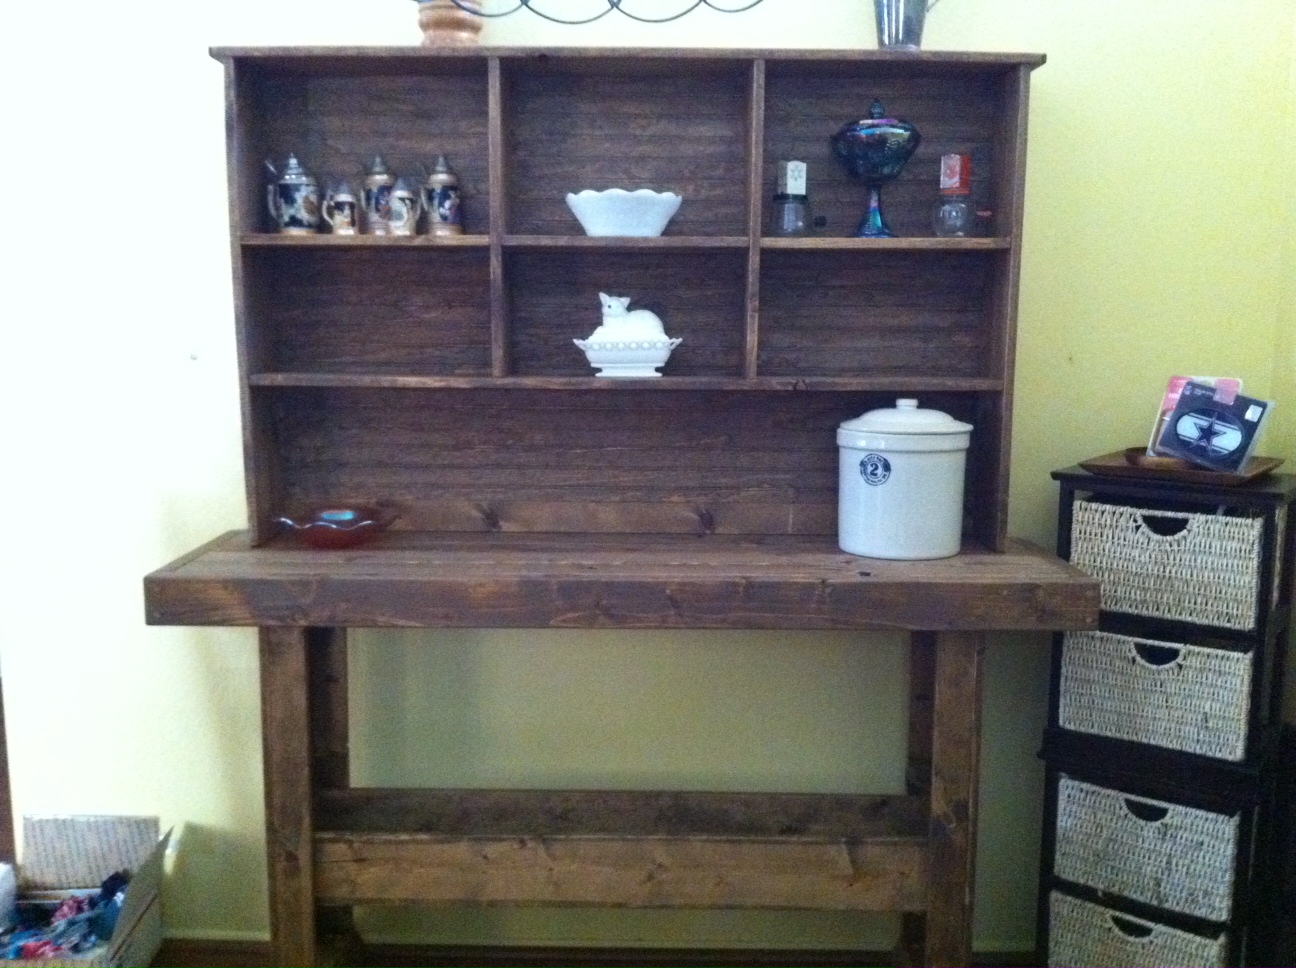
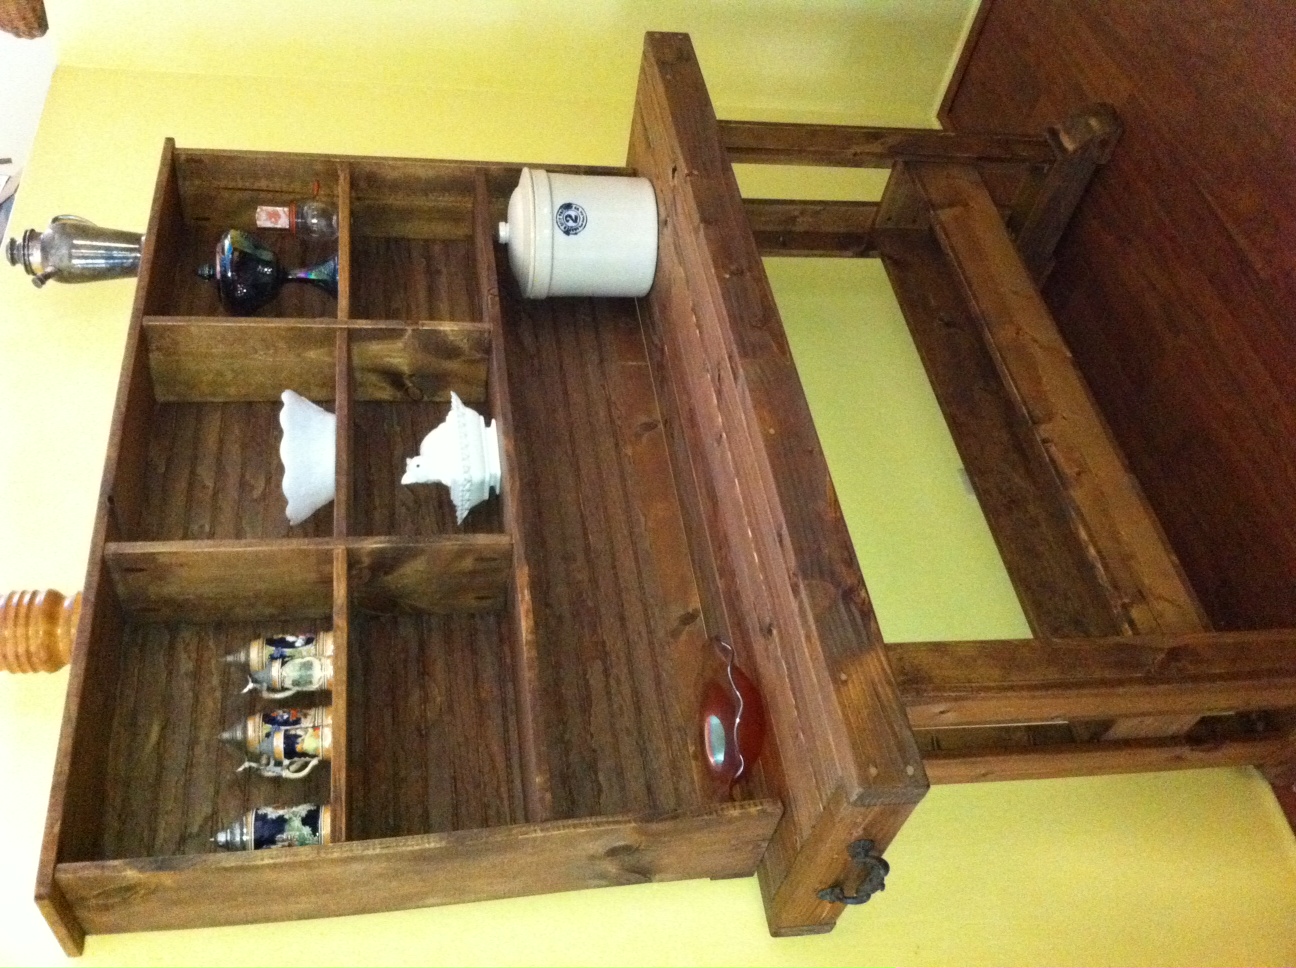
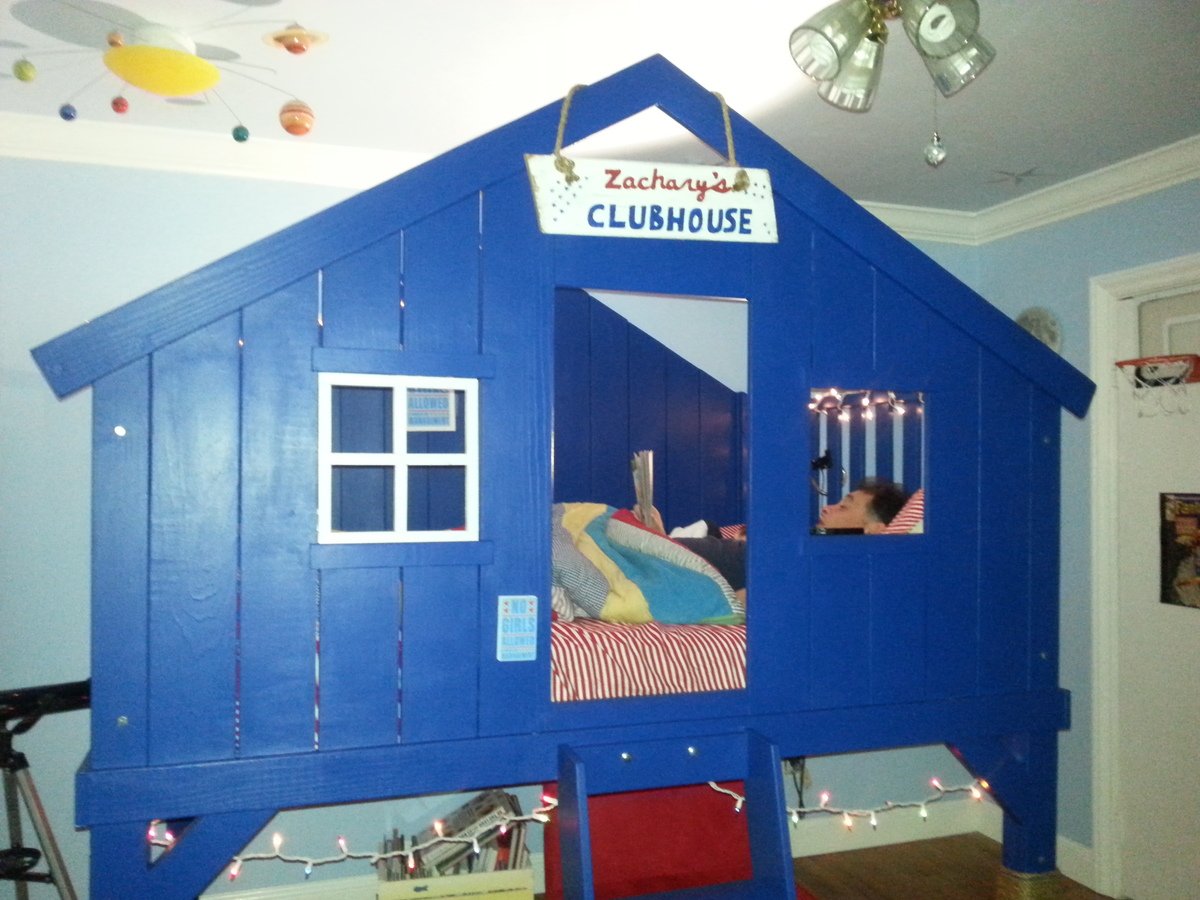
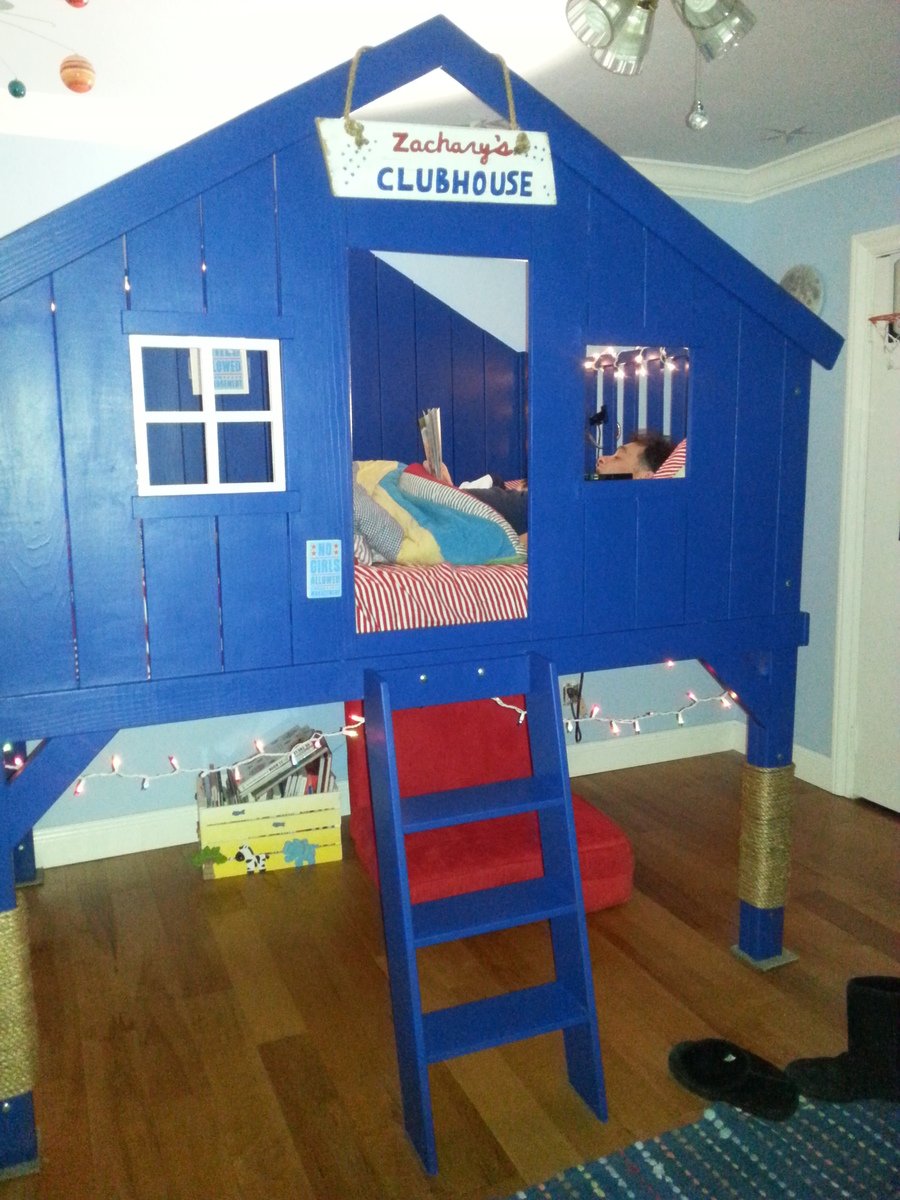
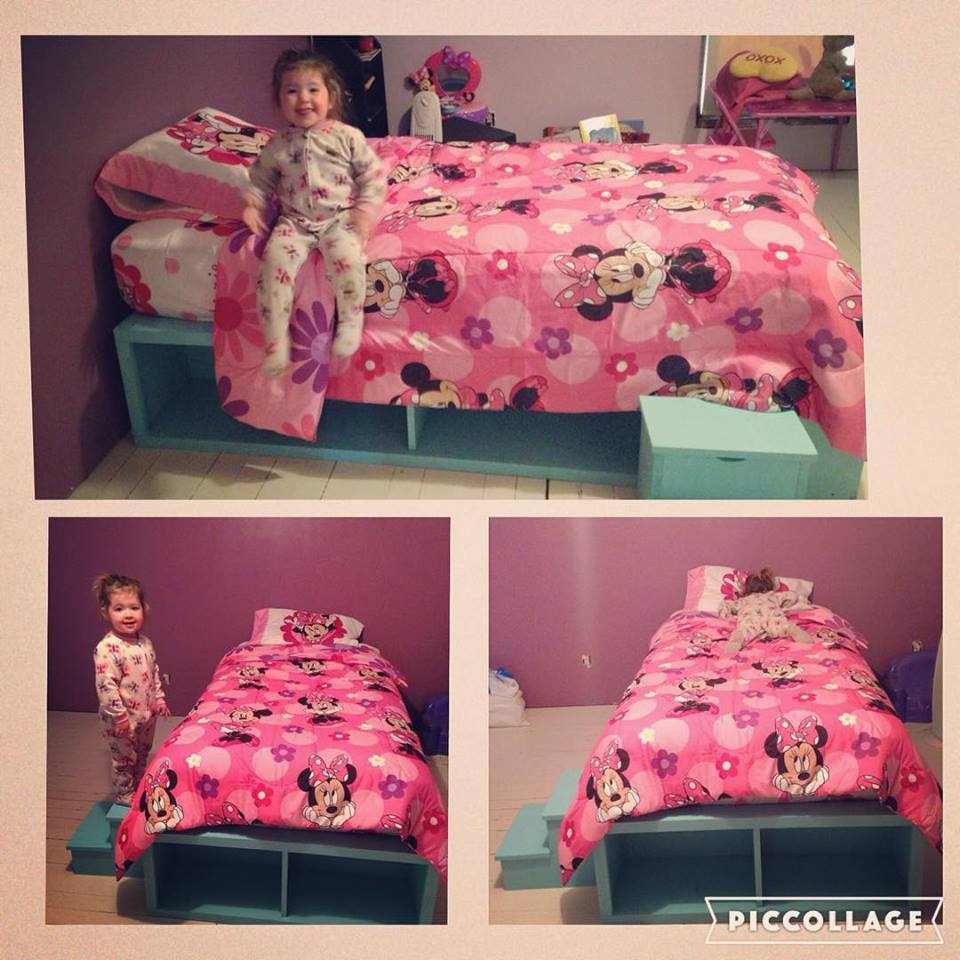
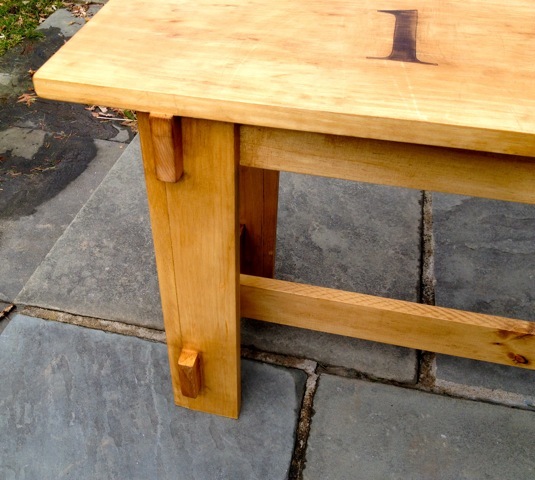
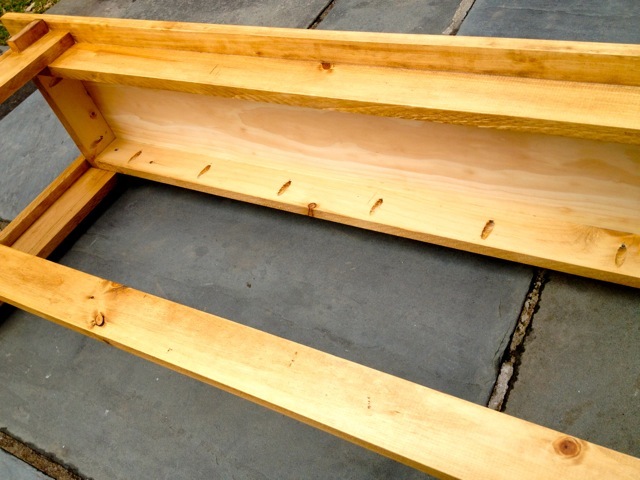
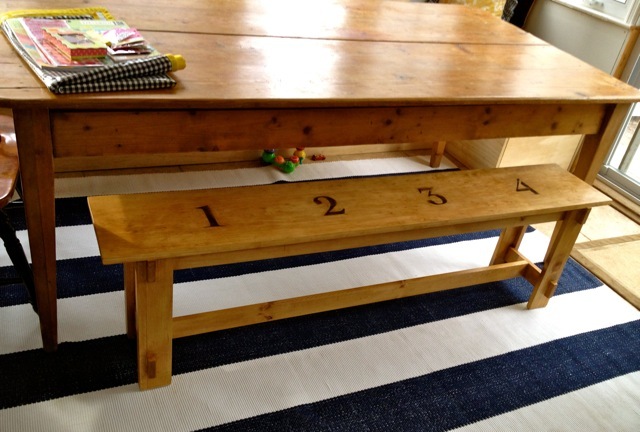
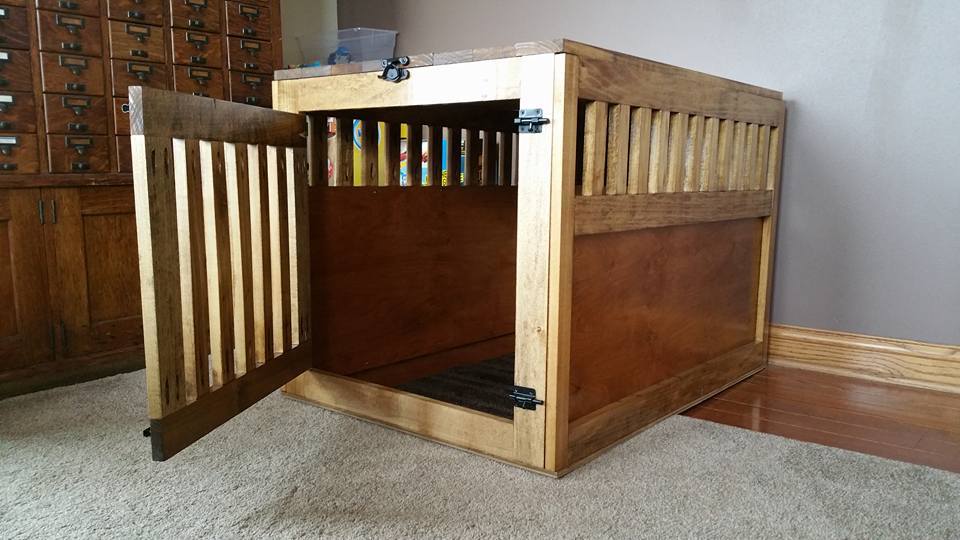
I loved doing this project. Having the space so open on the top half made me a bit nervous, so I used some extra pieces to fill in the sides. It took me longer than 6h to complete; but I had fun while putting it together, so things worked out well. Now I can't stop thinking about what to do next!
Built from Plan(s)


Comments
Ana White Admin
Mon, 05/22/2023 - 19:47
YES!
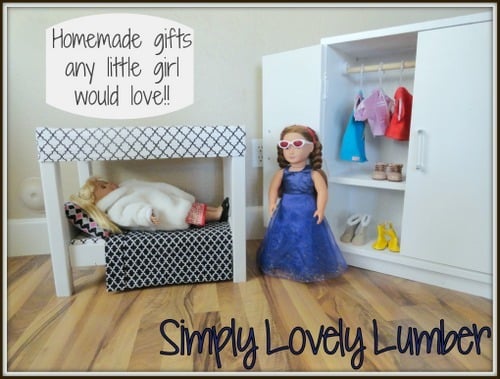
Love the pink and love that you can't wait for your next project, it looks so great!