Community Brag Posts

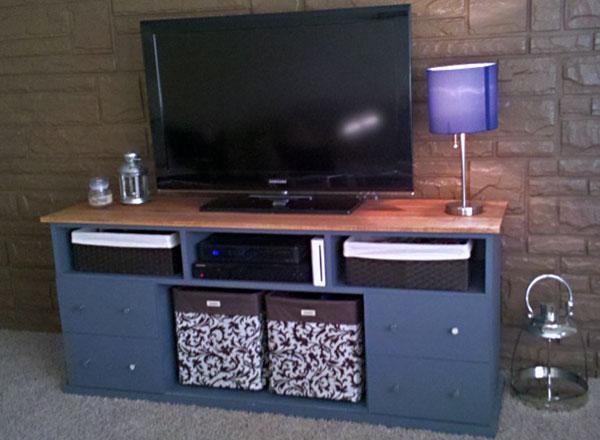
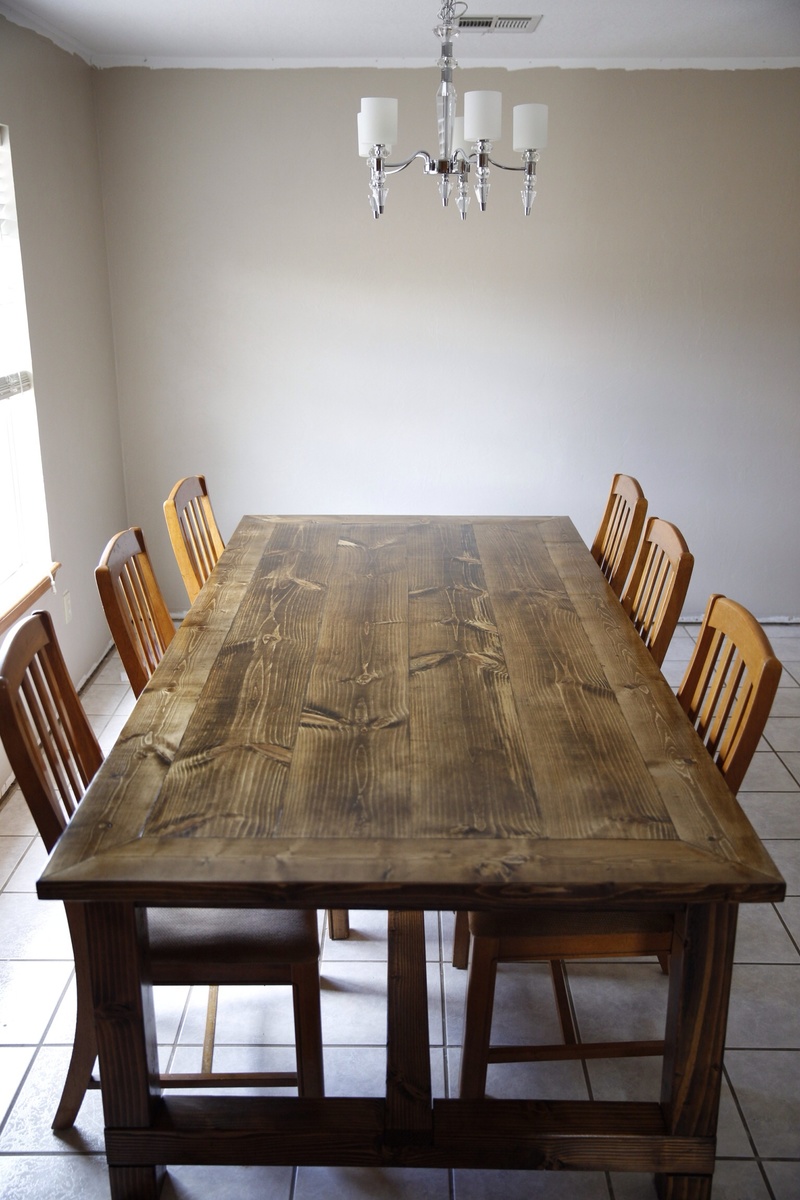
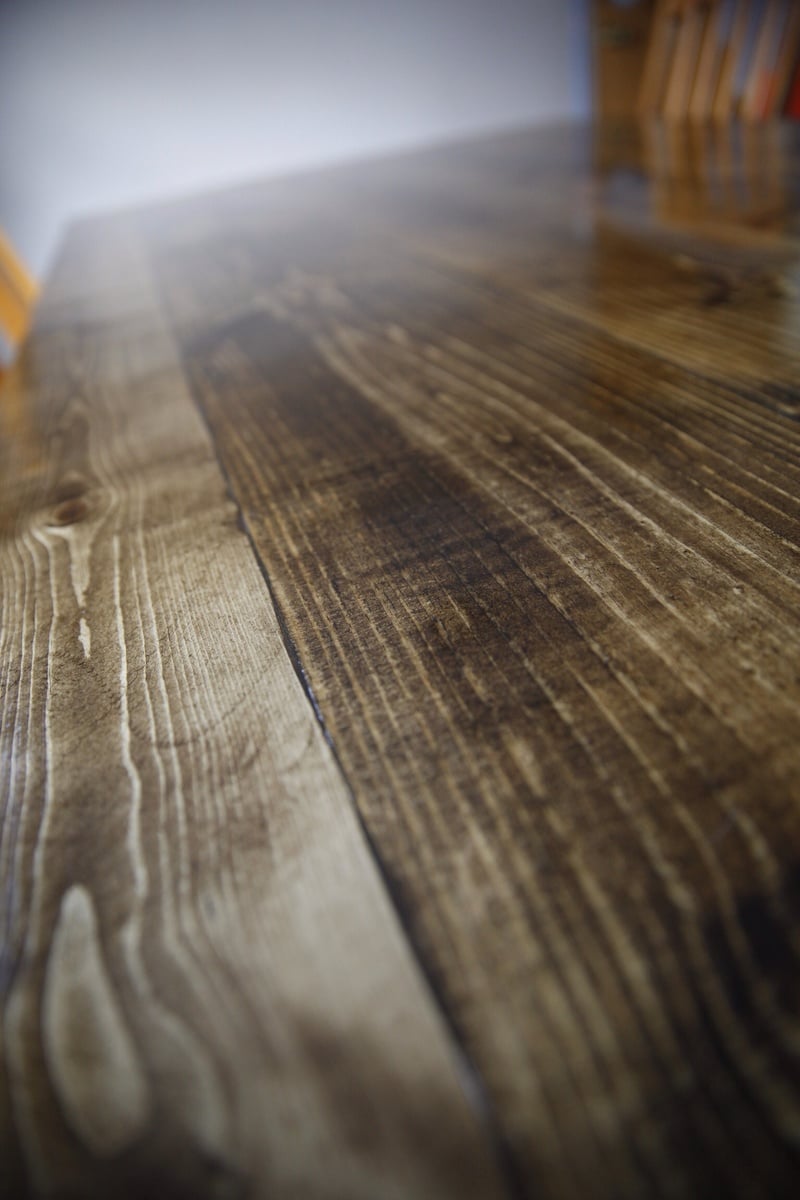
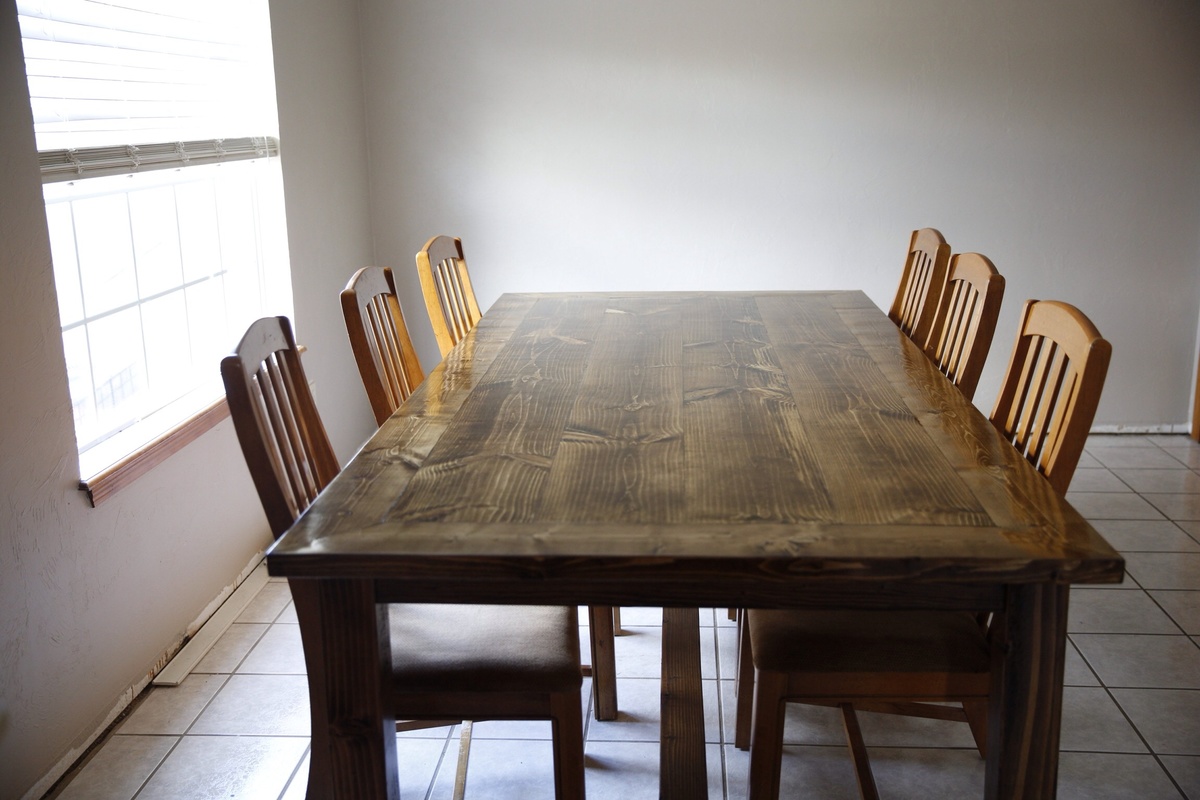
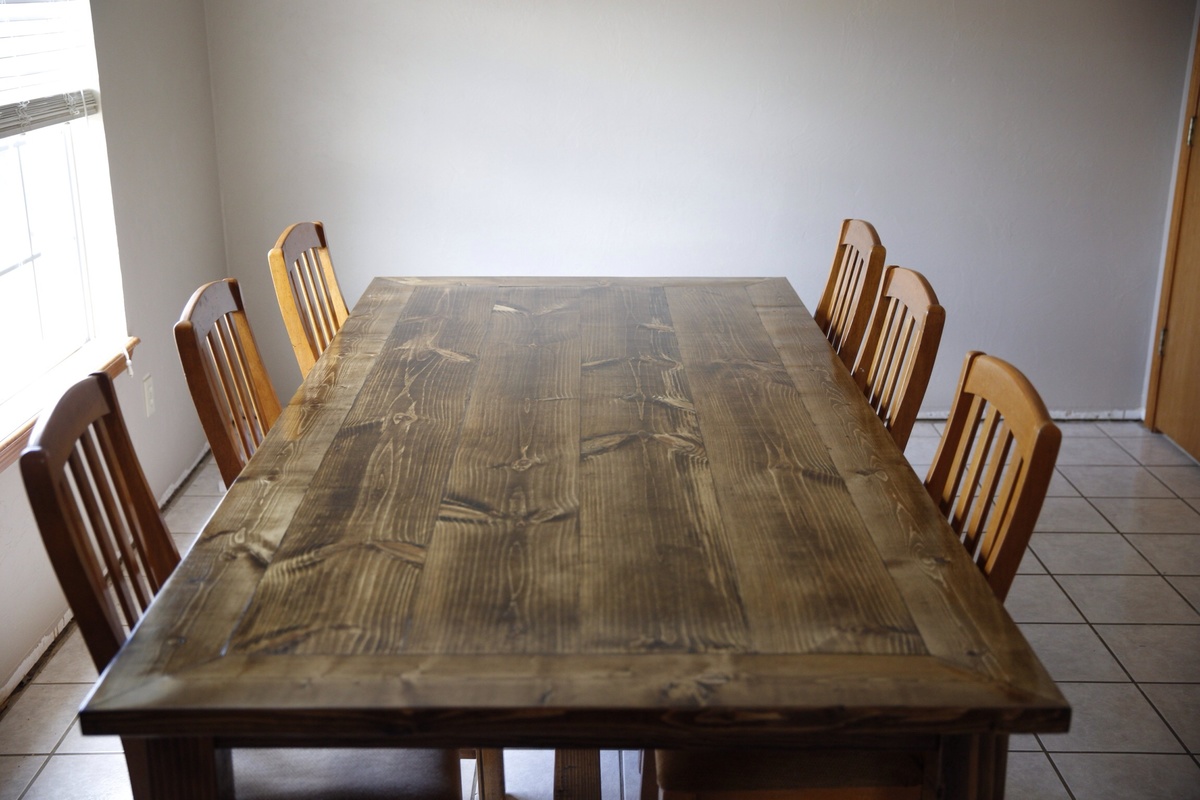
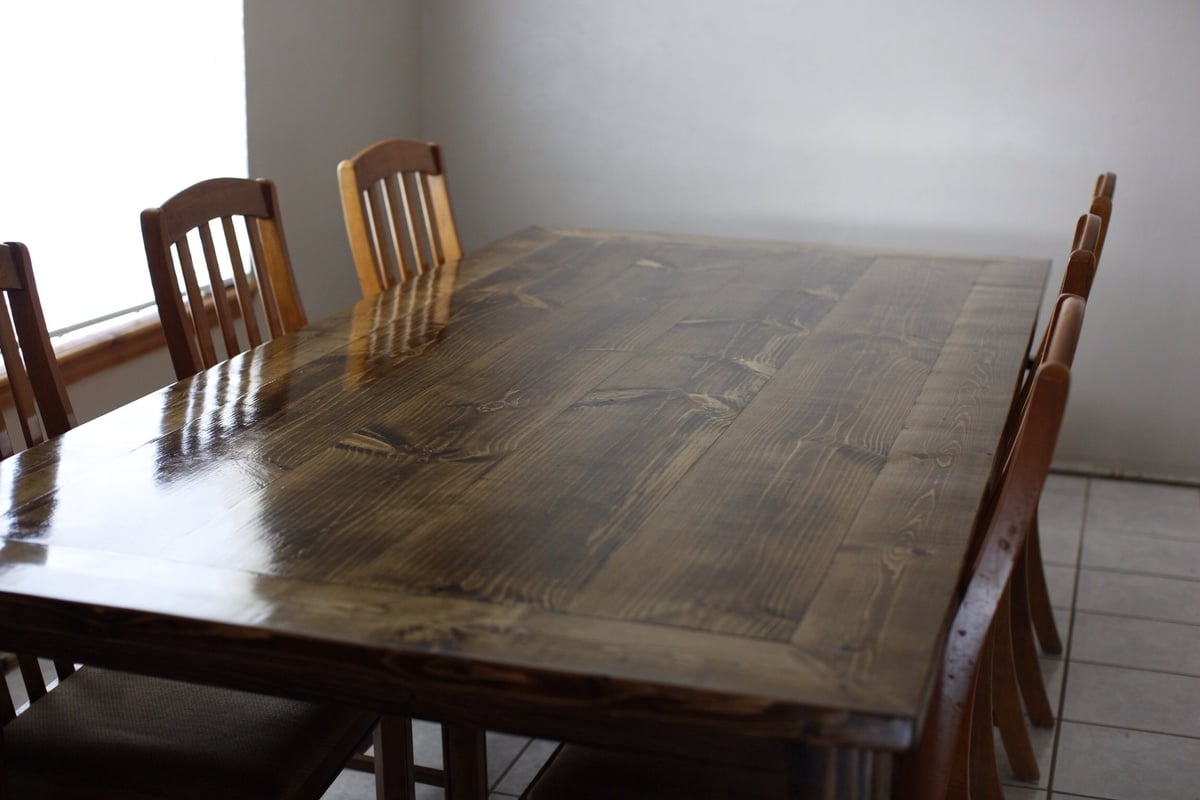
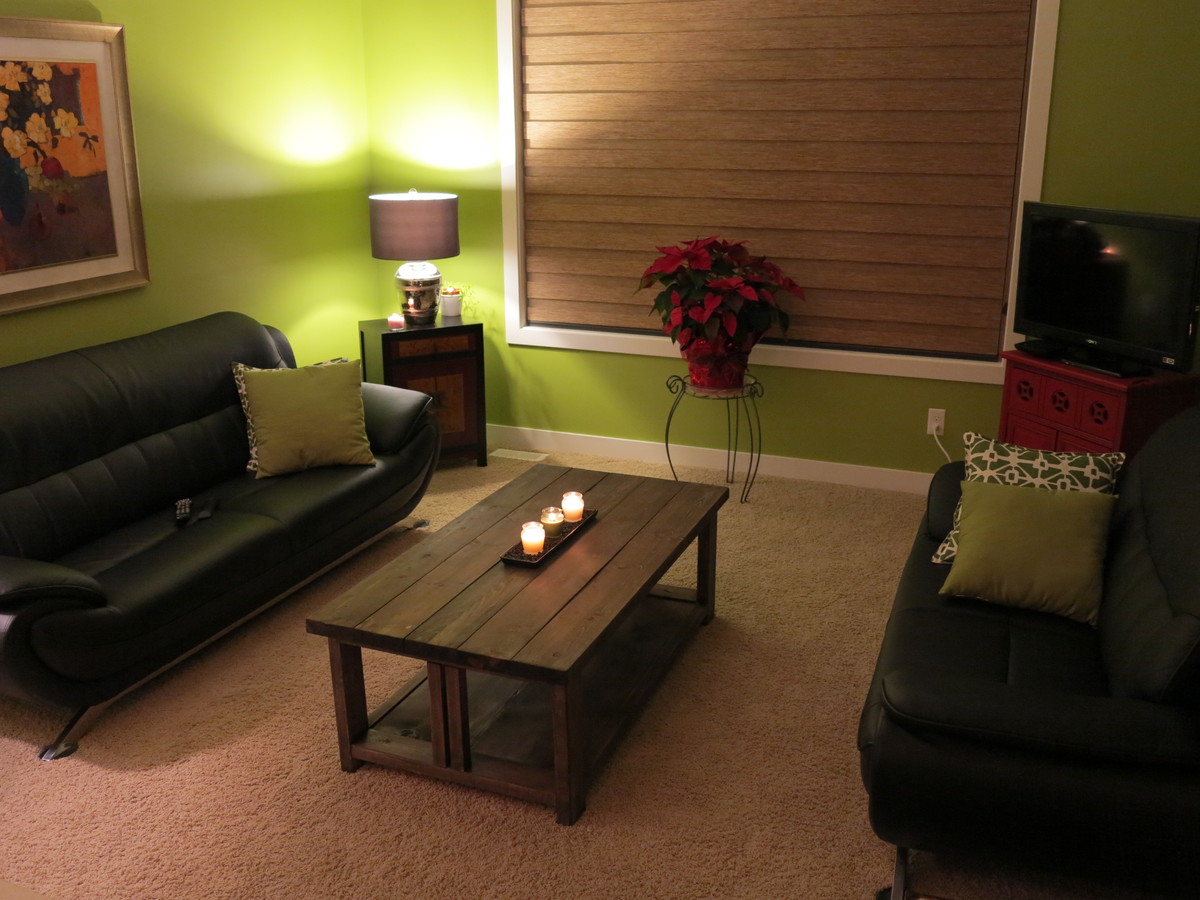
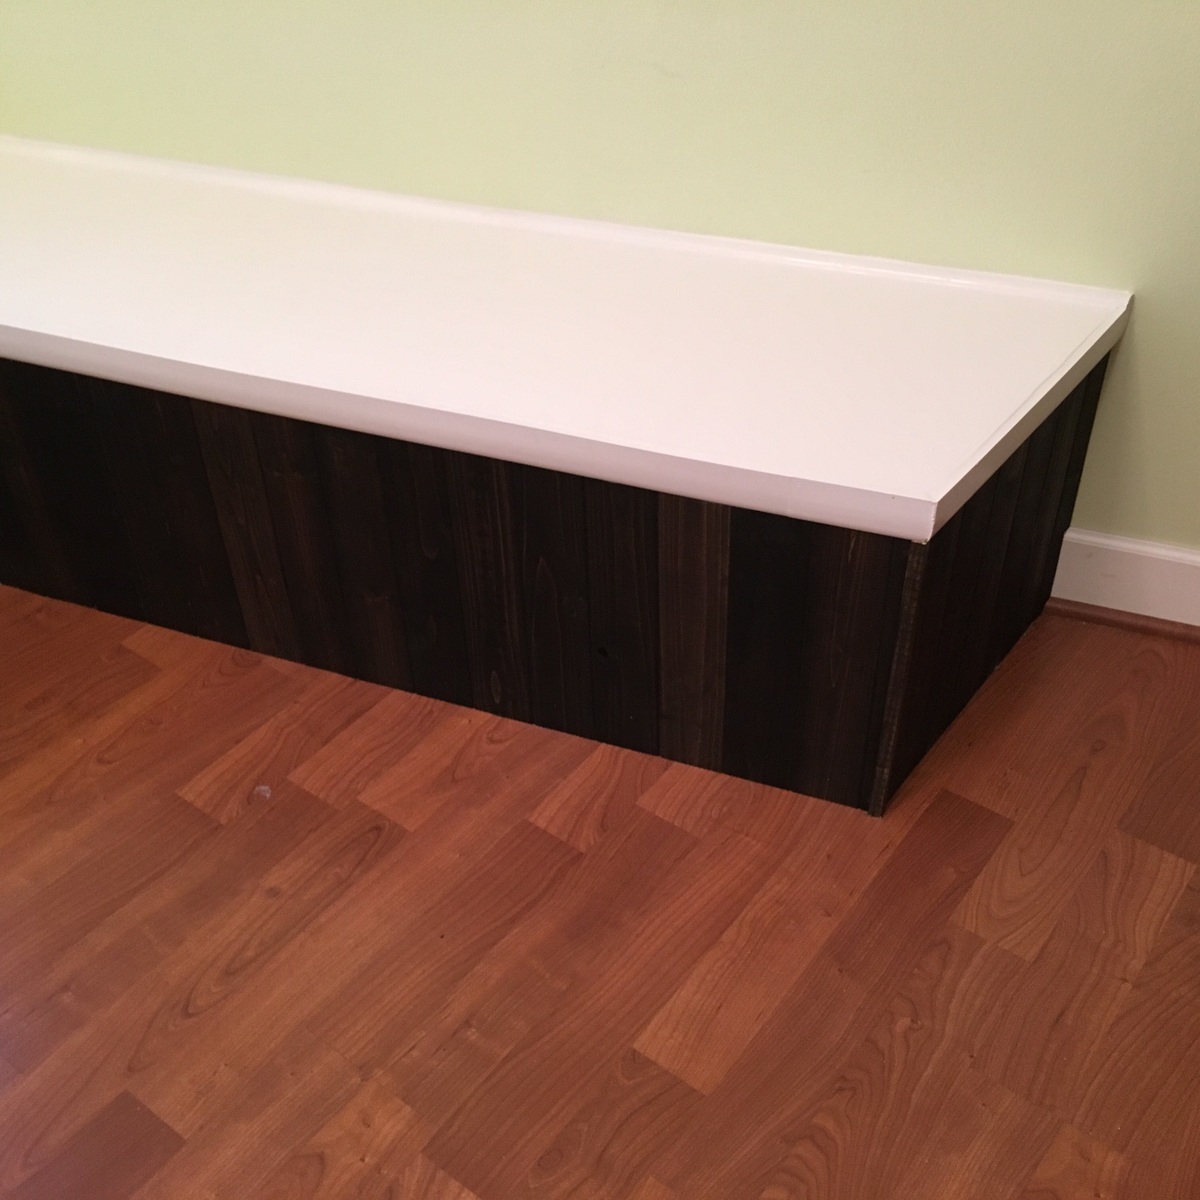
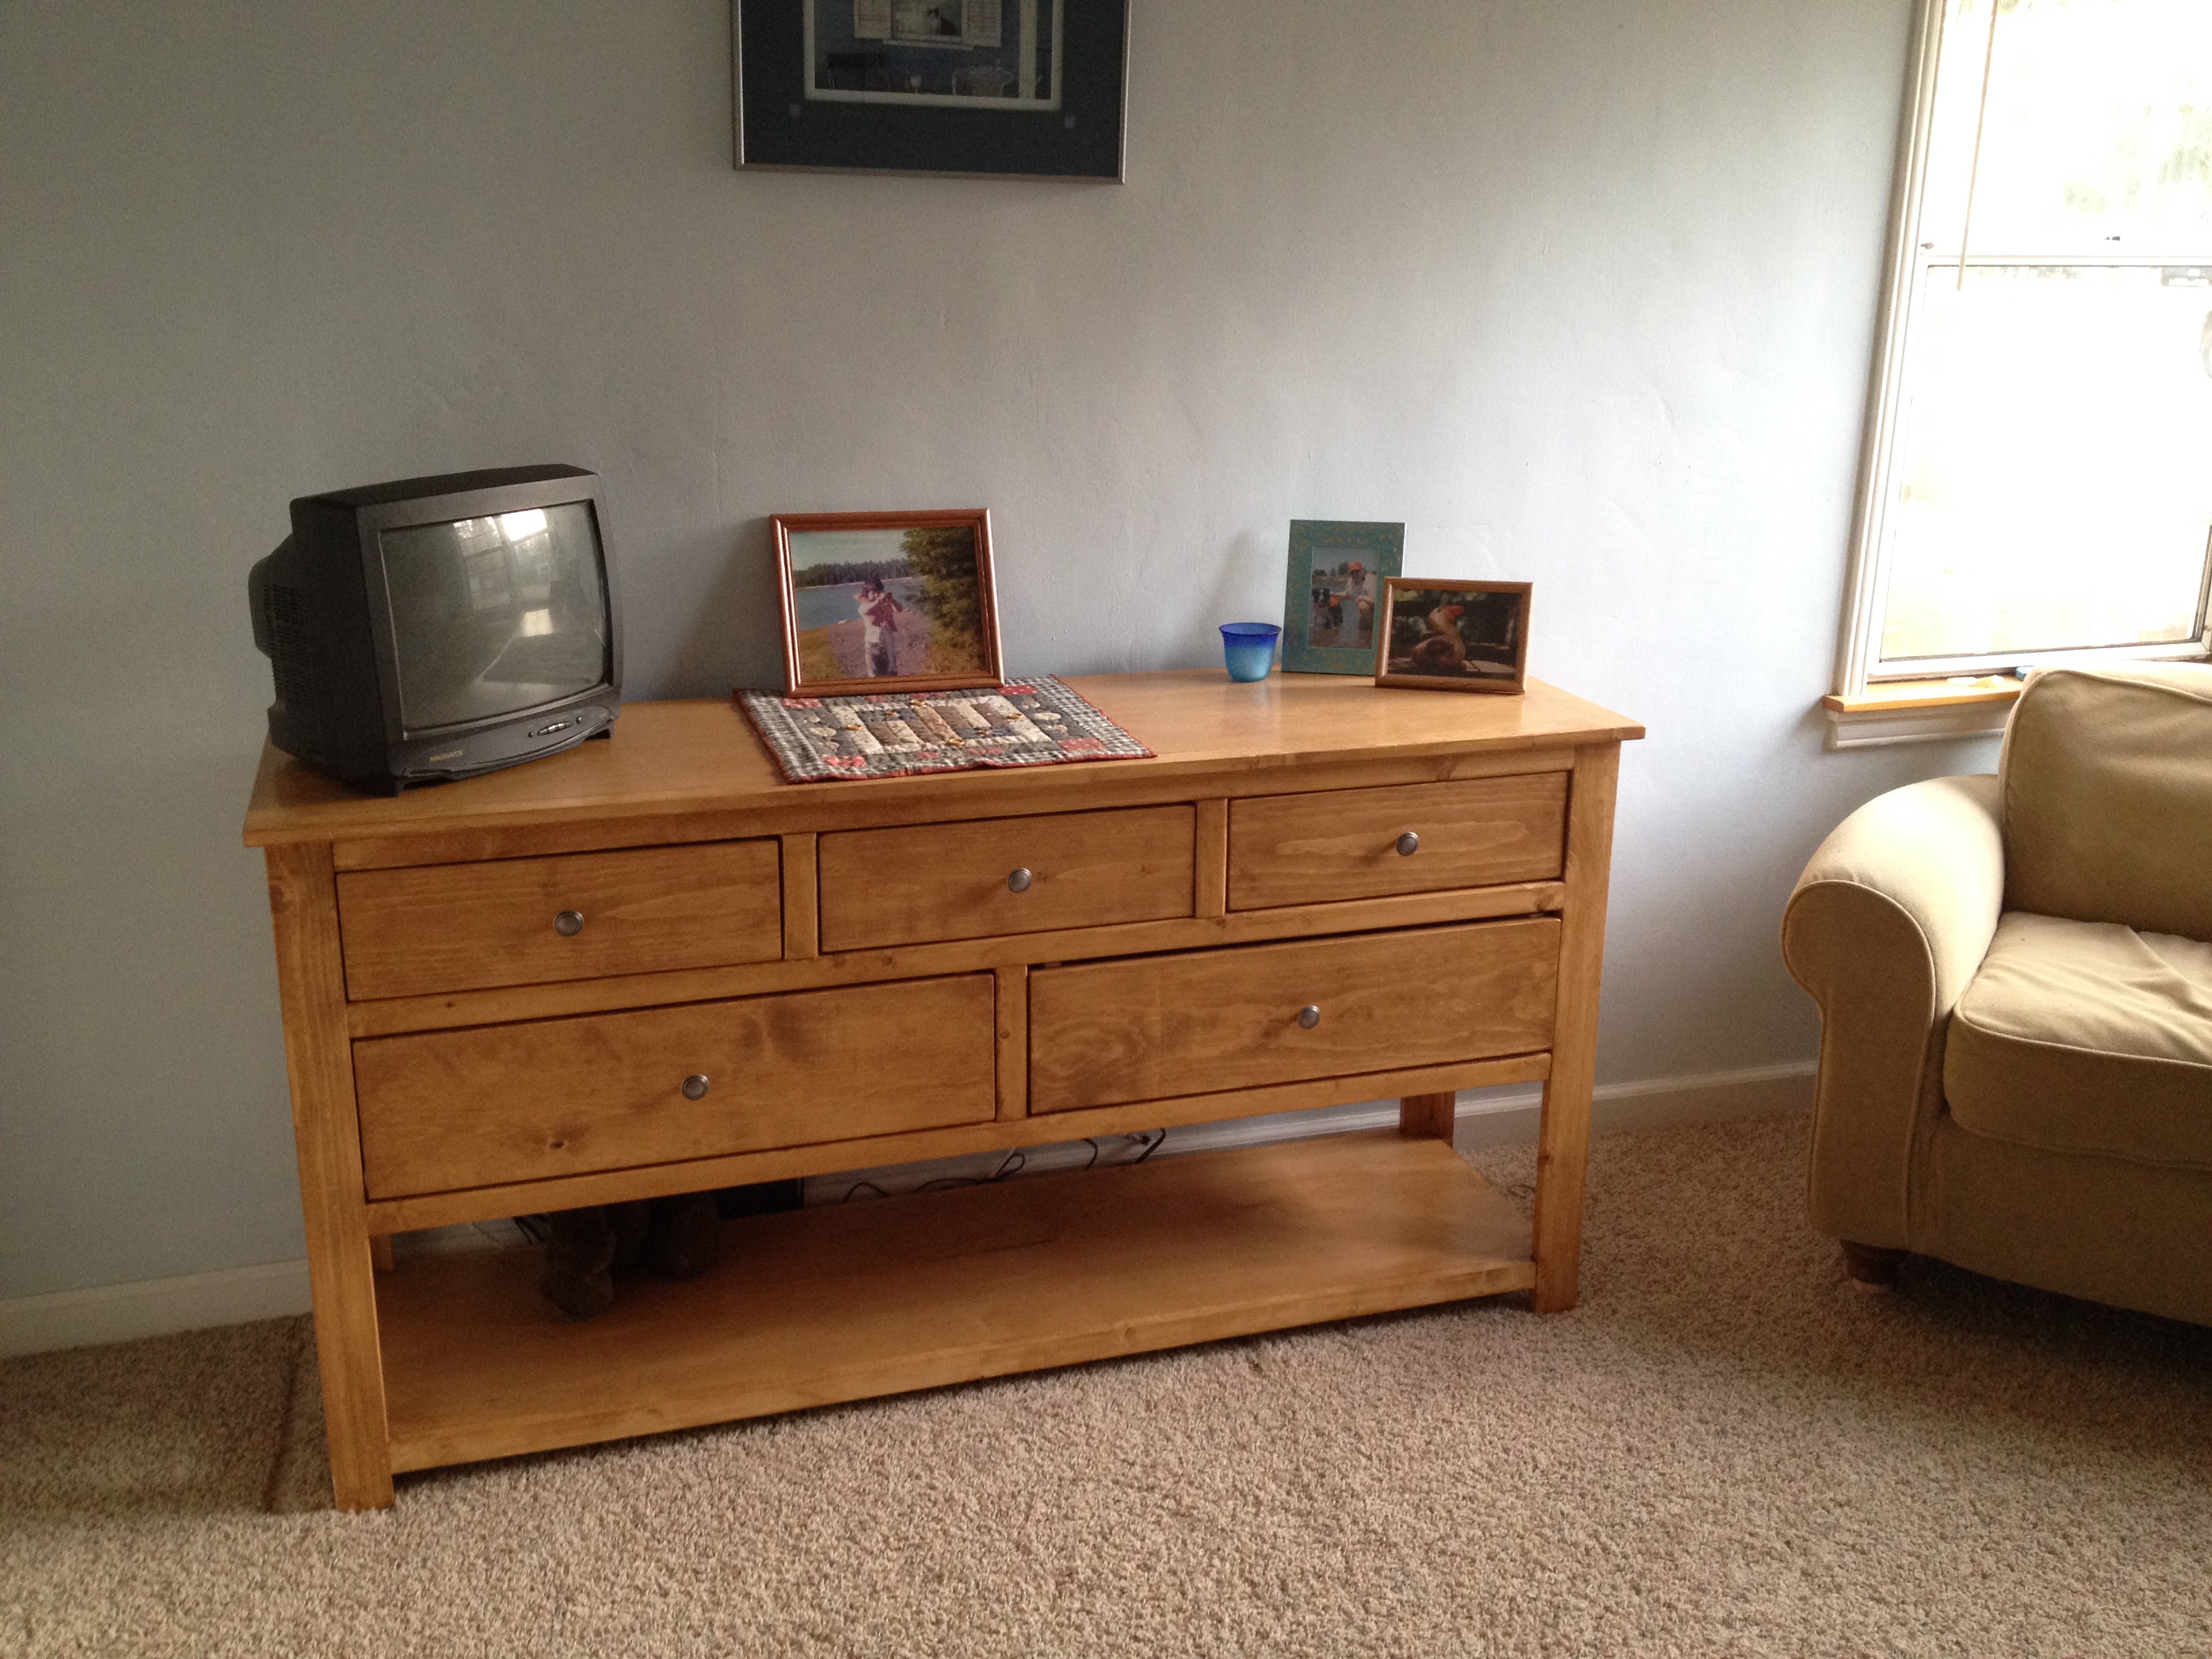
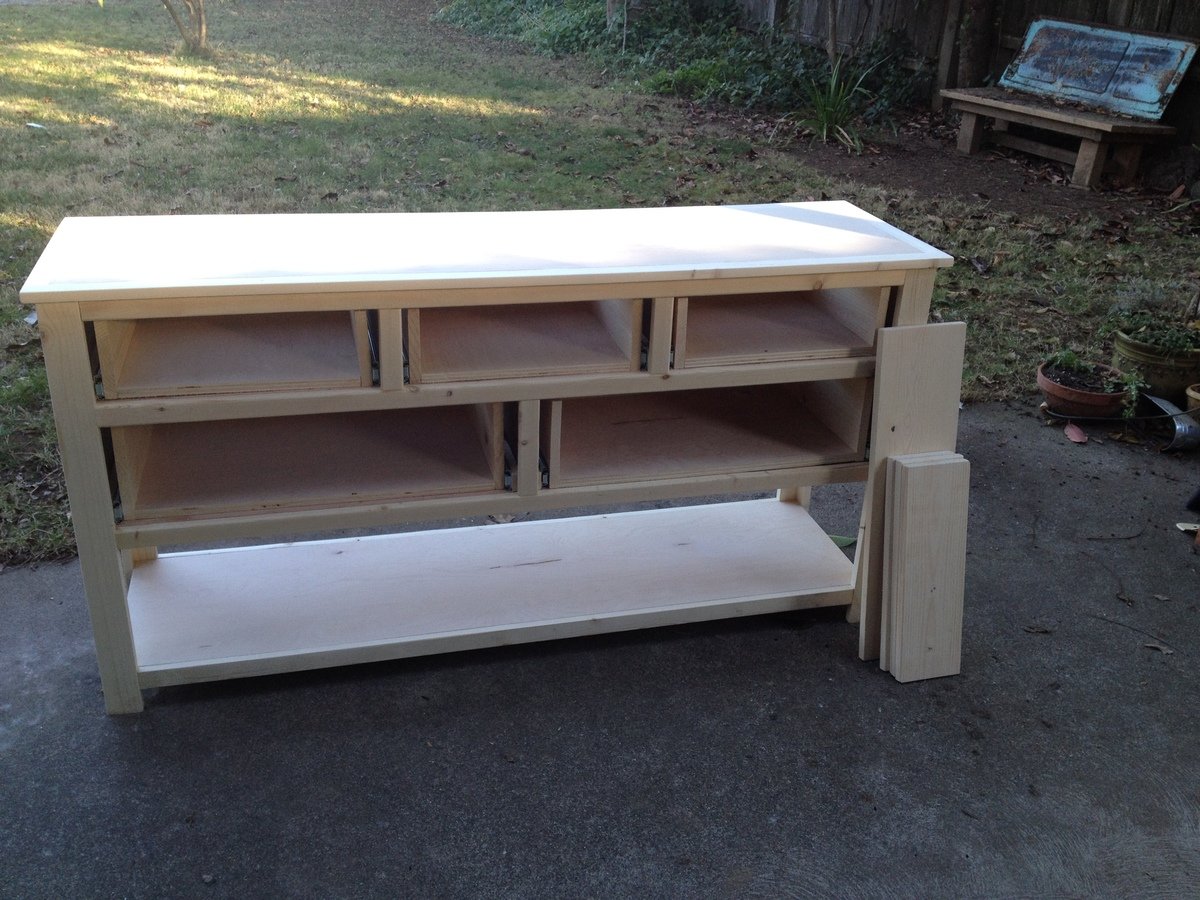
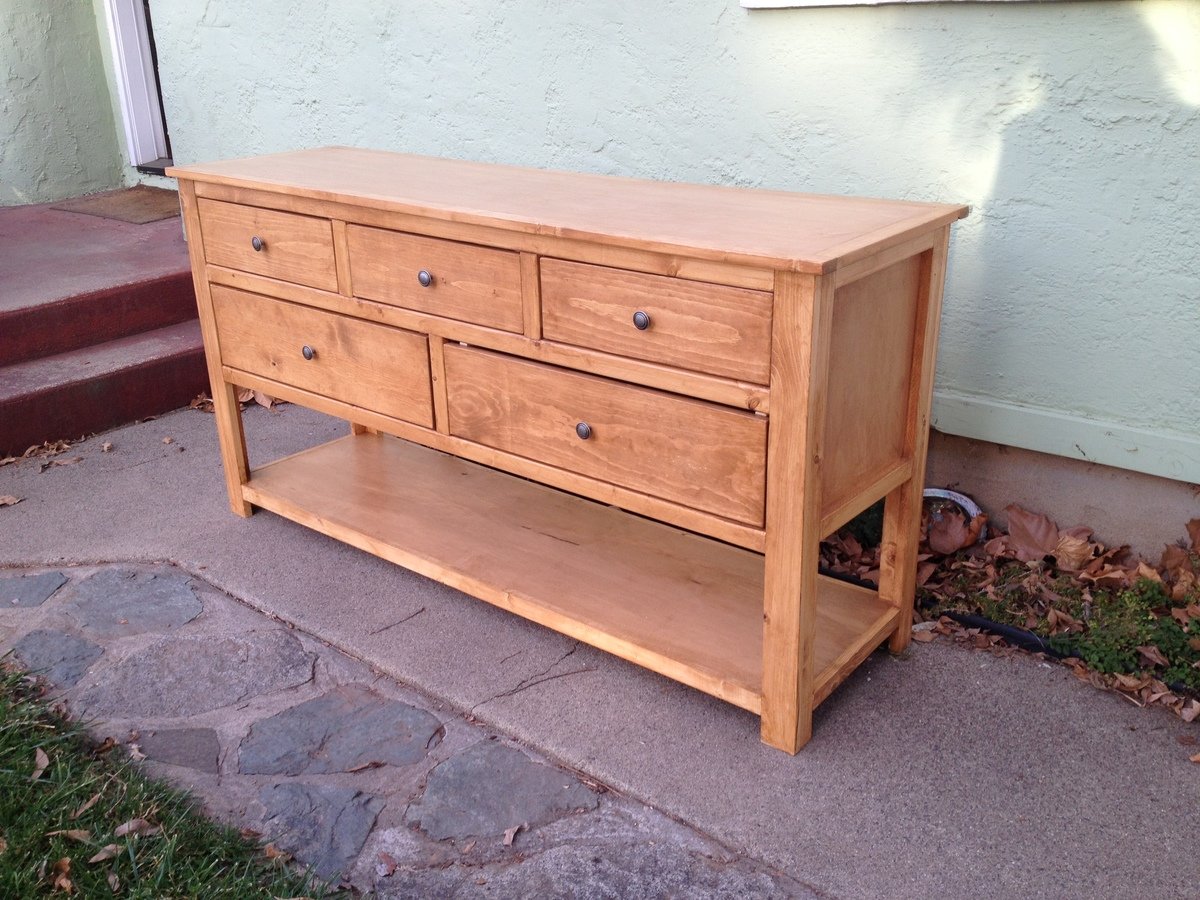
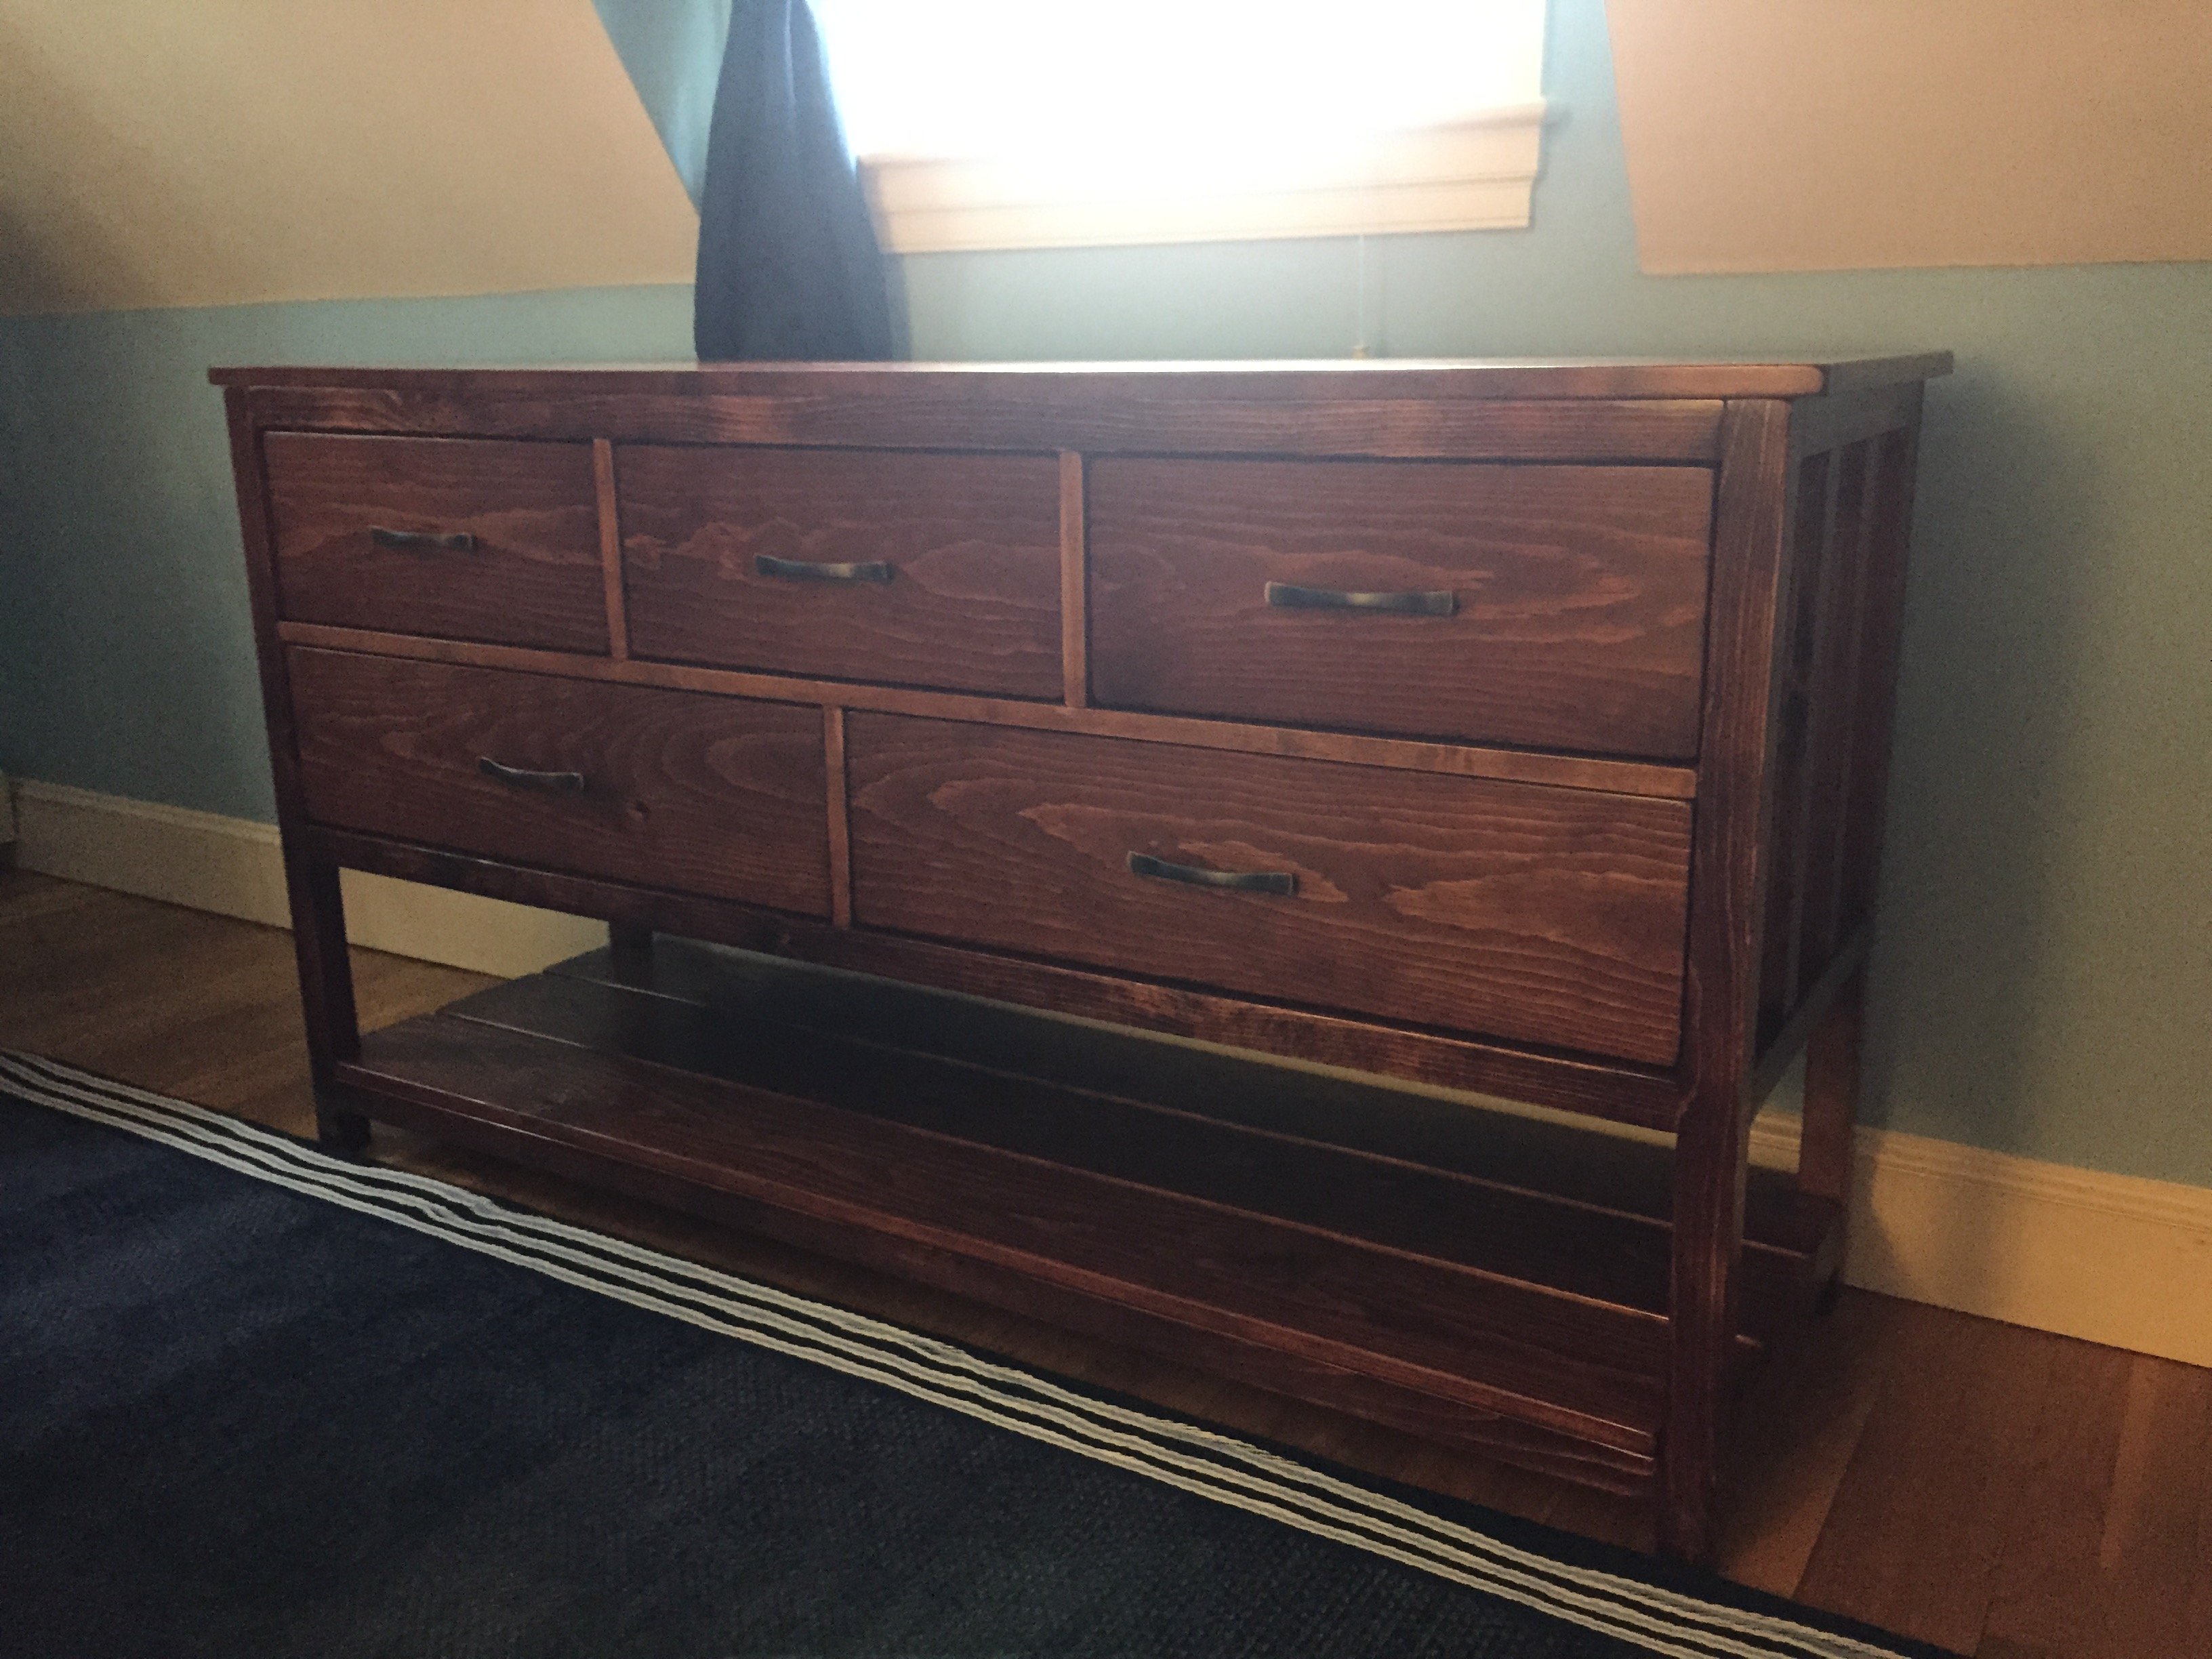
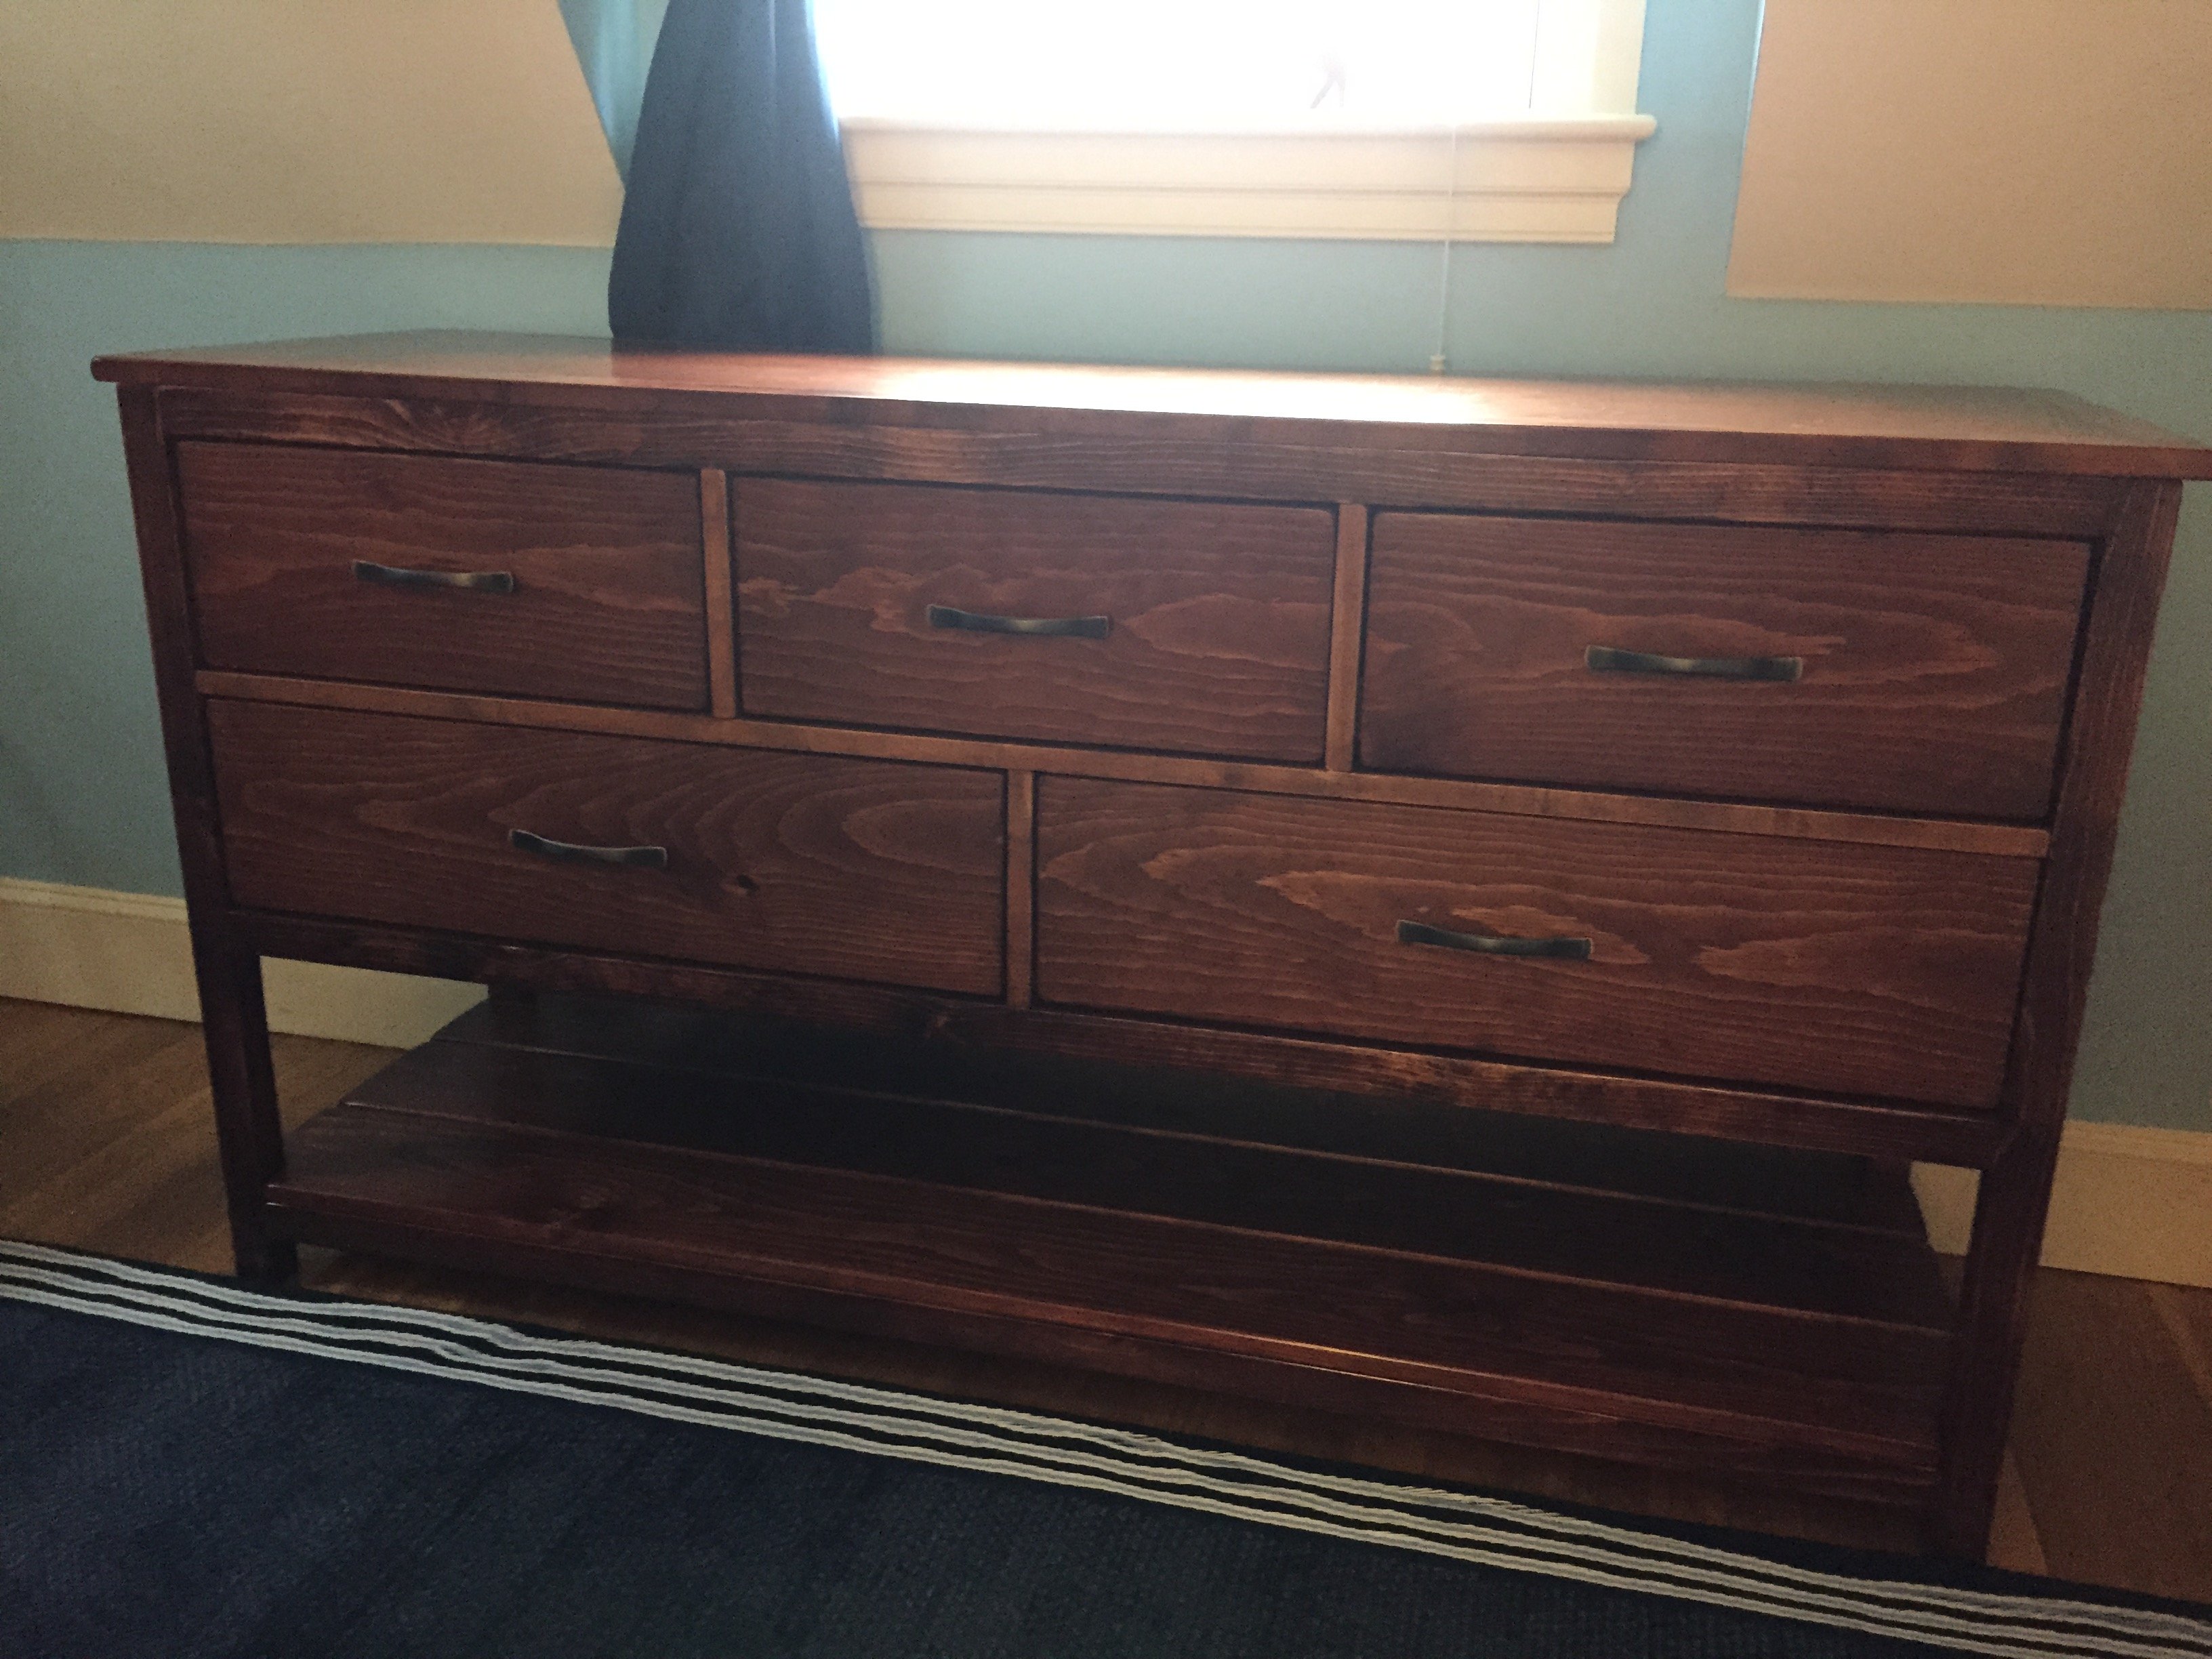
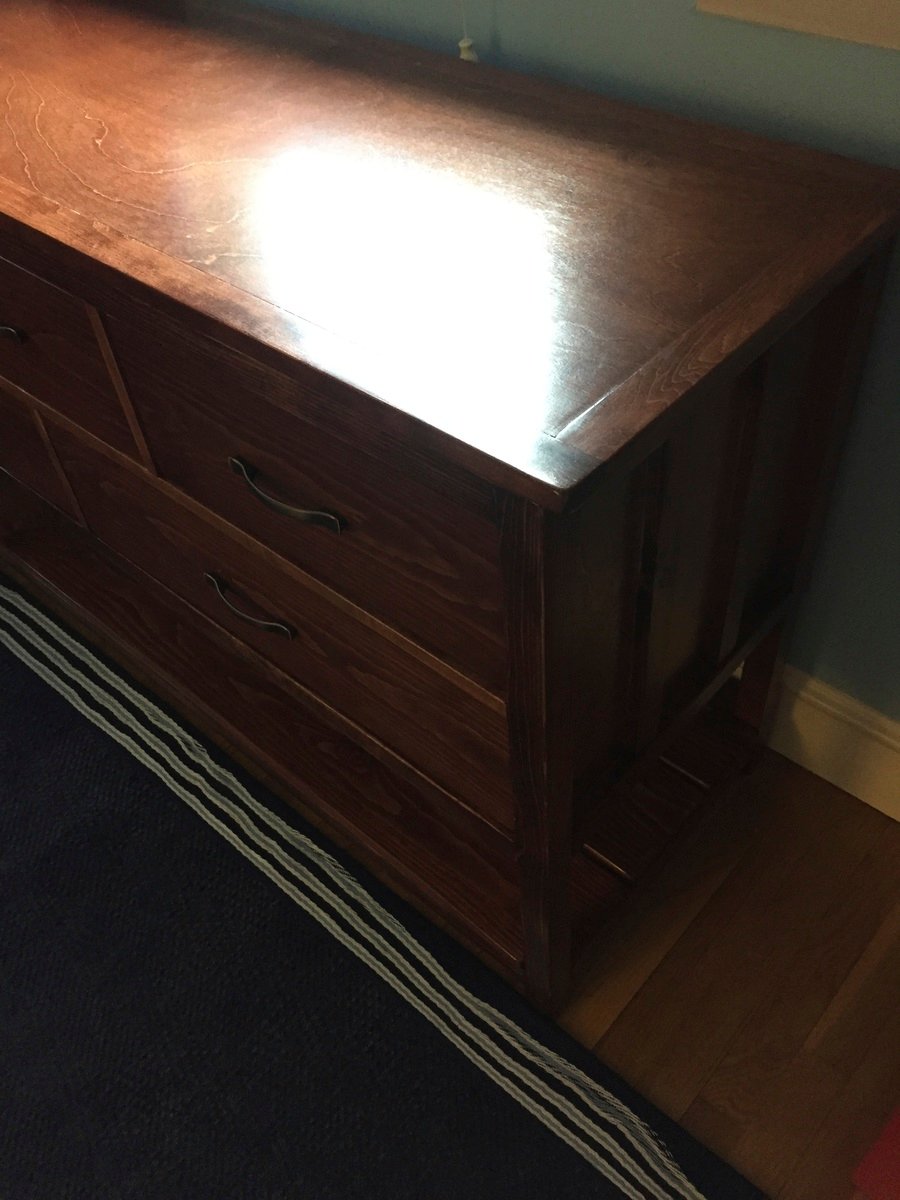
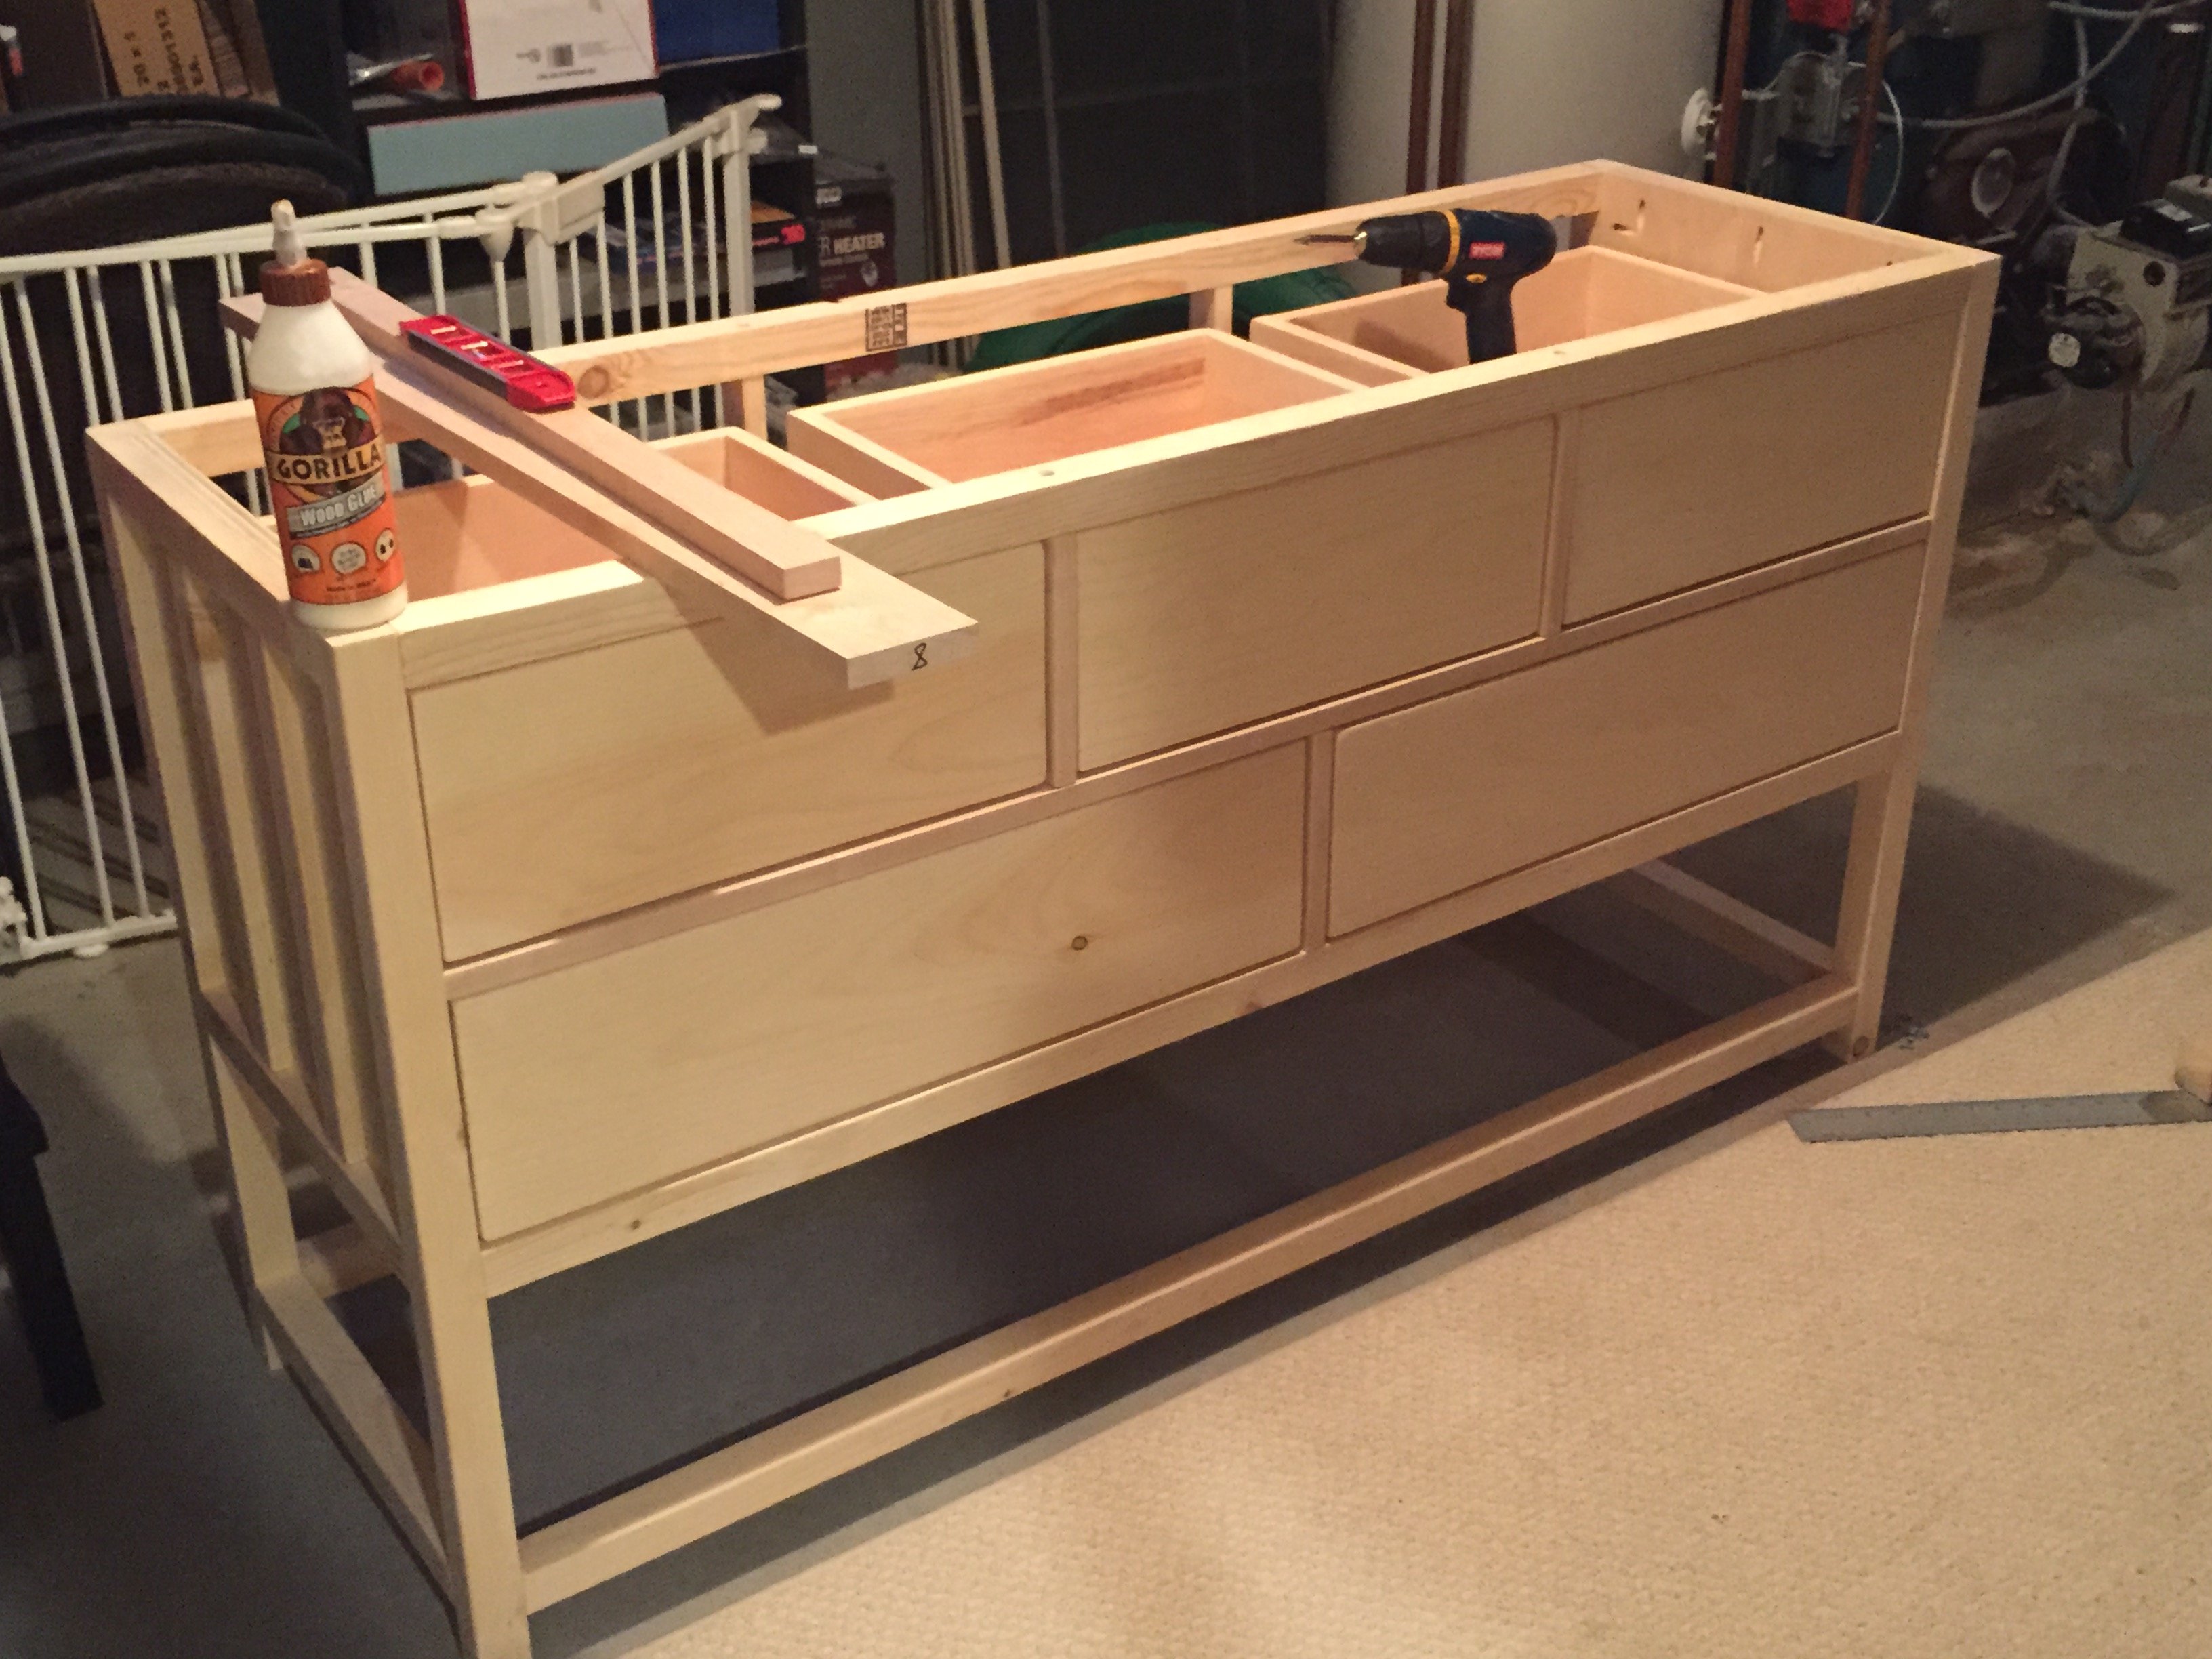
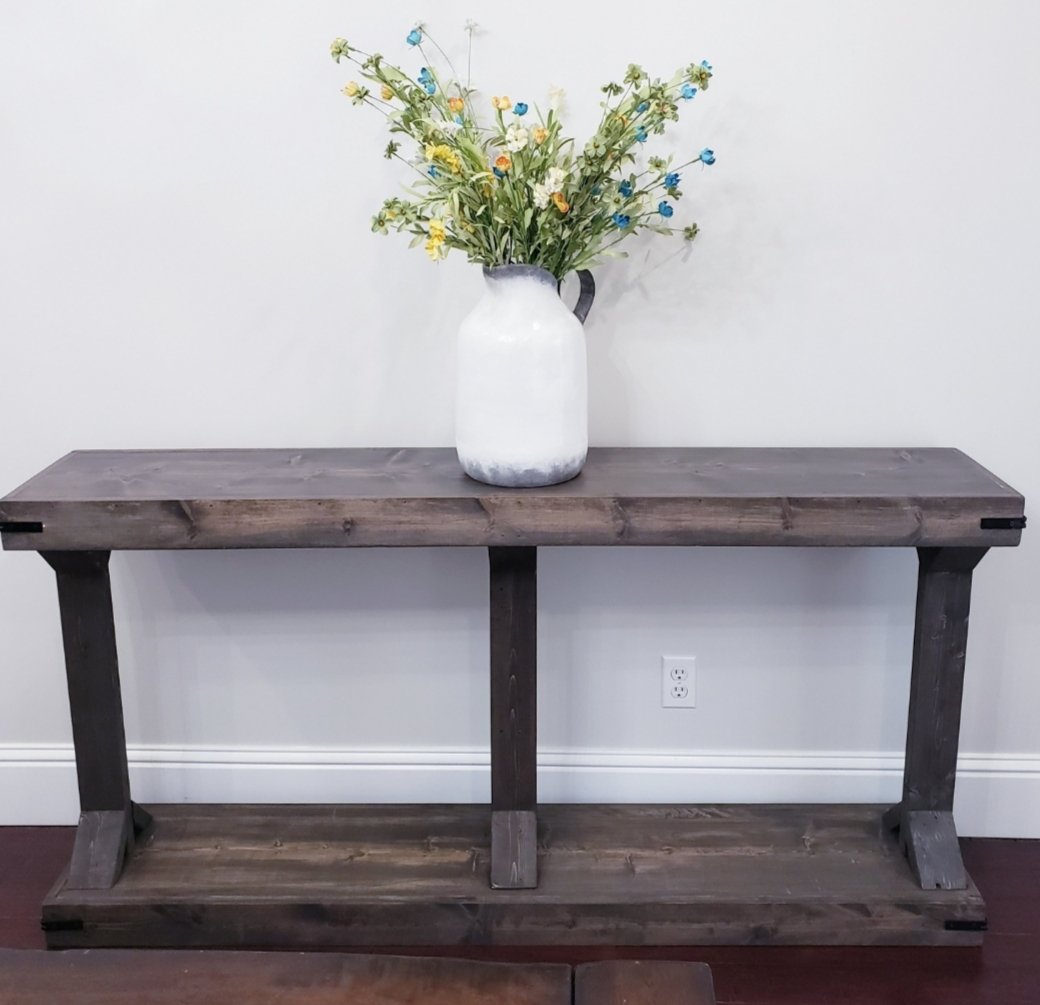
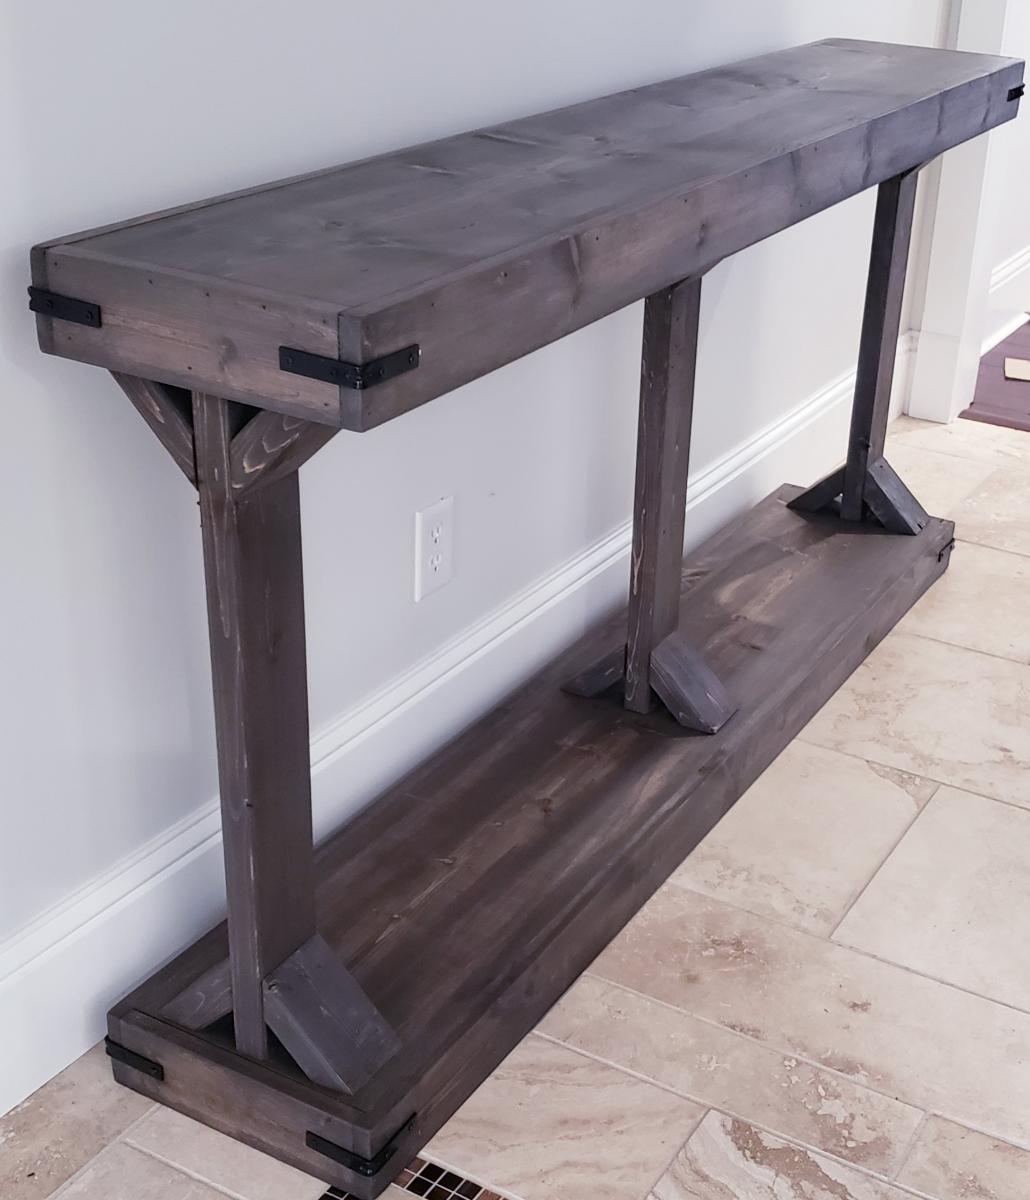
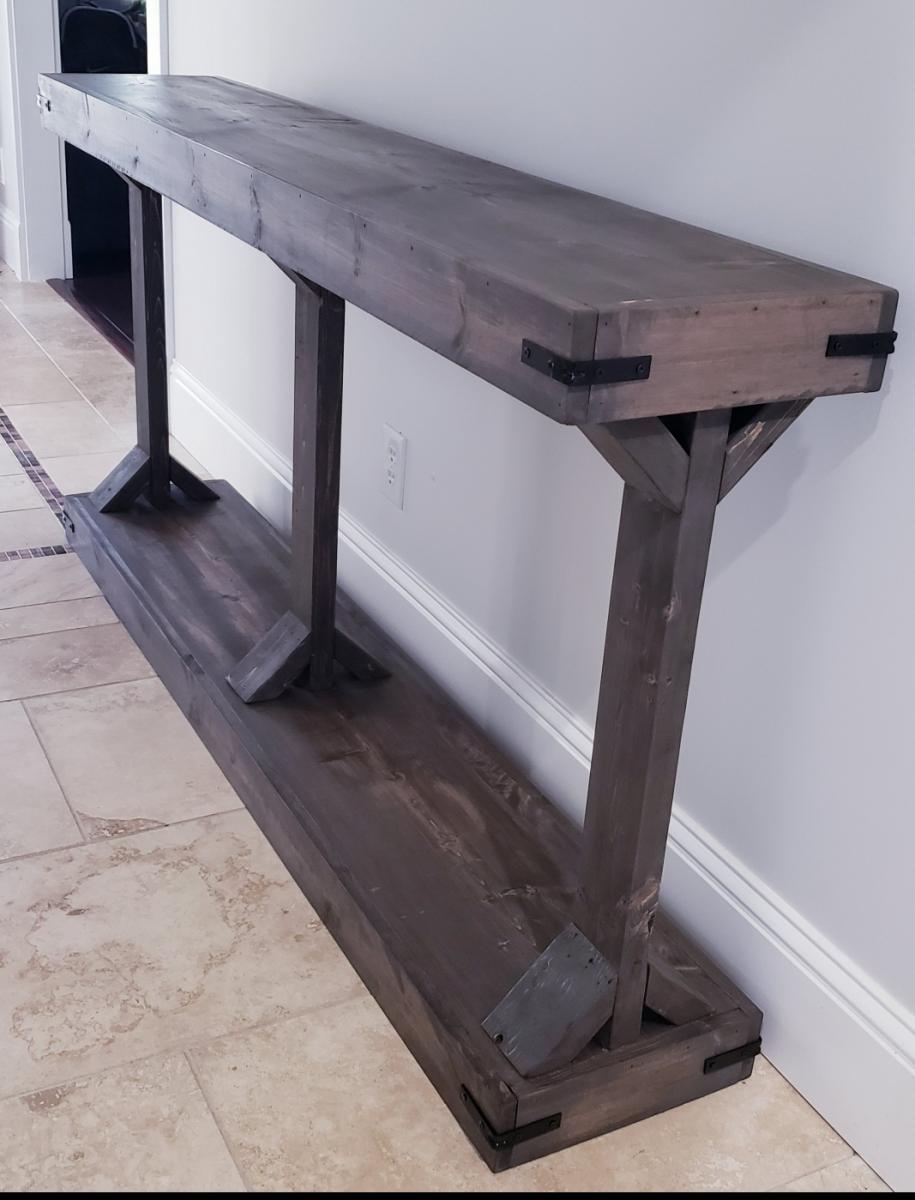
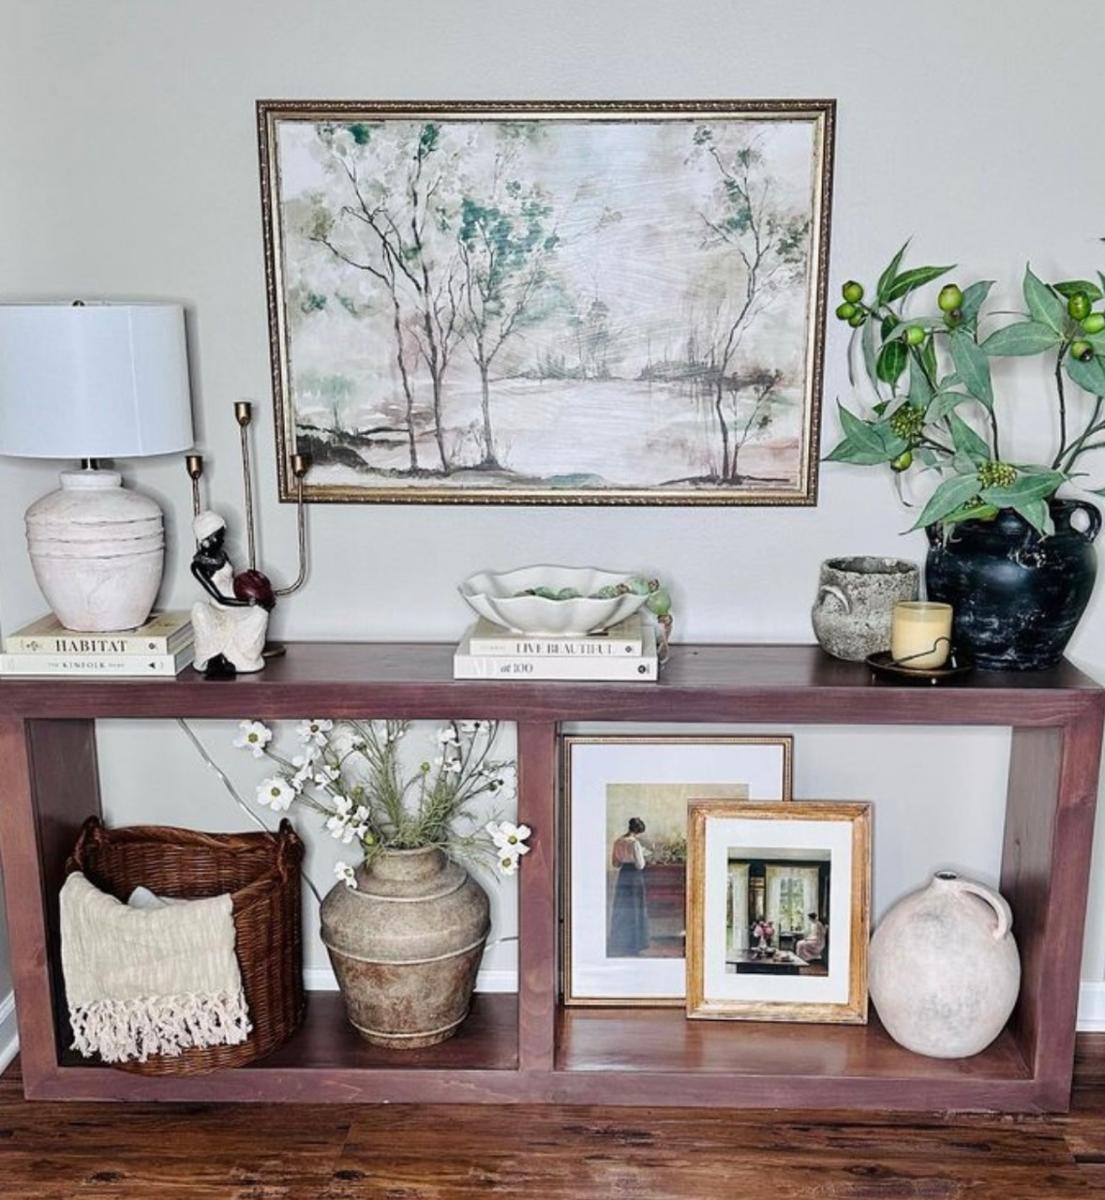
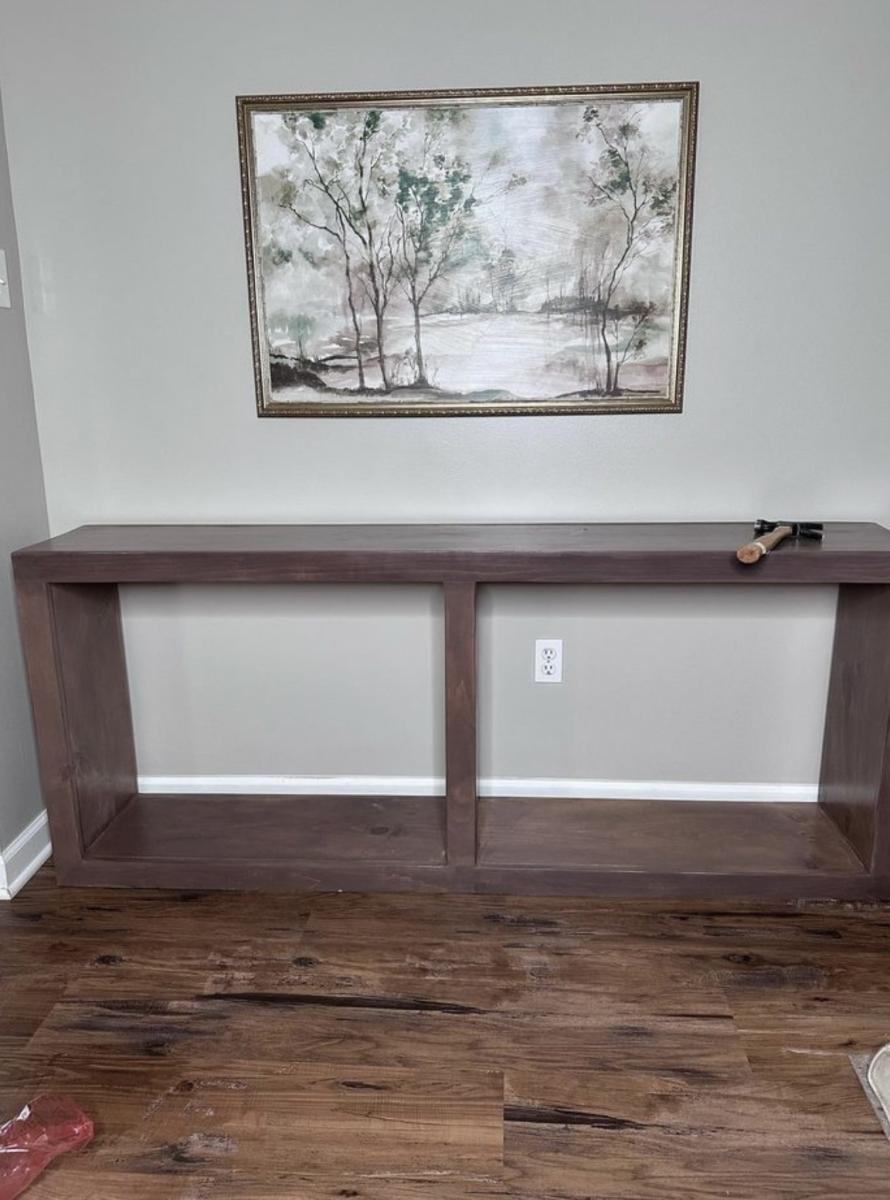
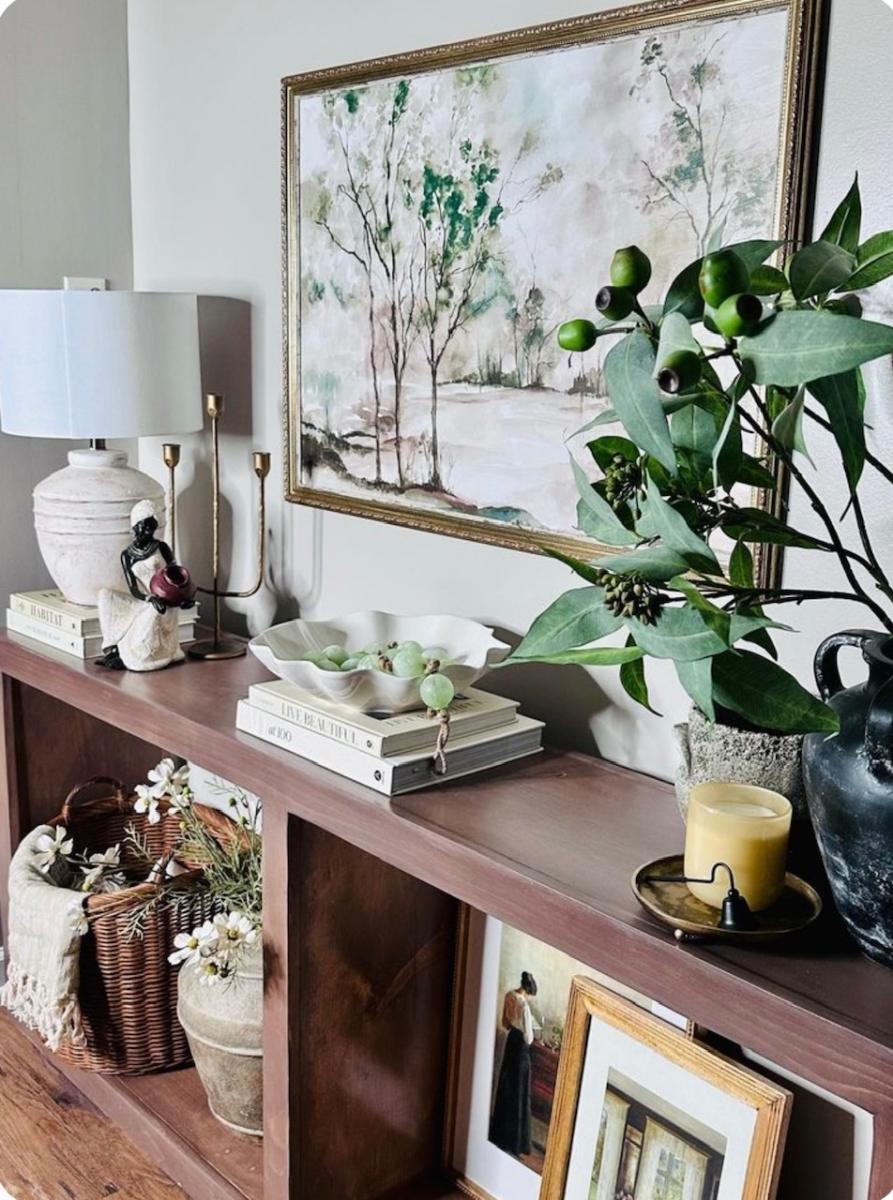
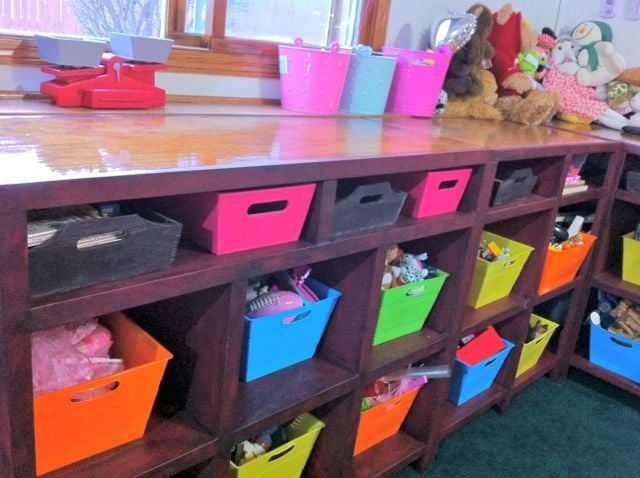
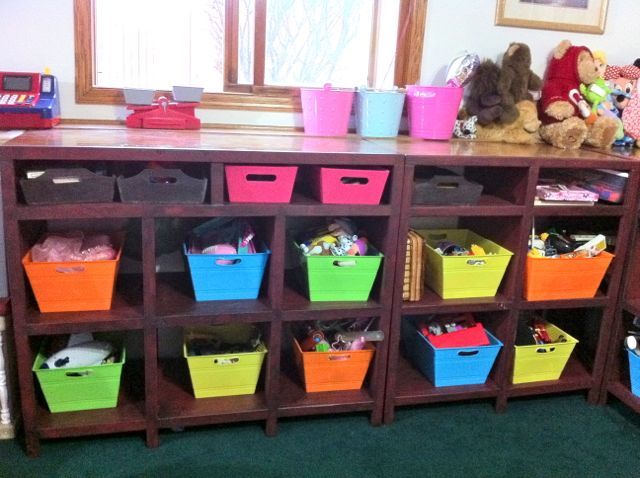
Grandy Sliding Door Console Table

Submitted by Anonymous (not verified) on Tue, 03/22/2016 - 08:29

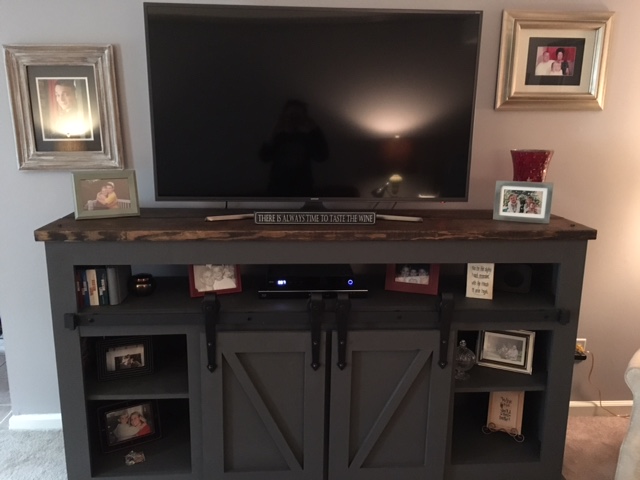
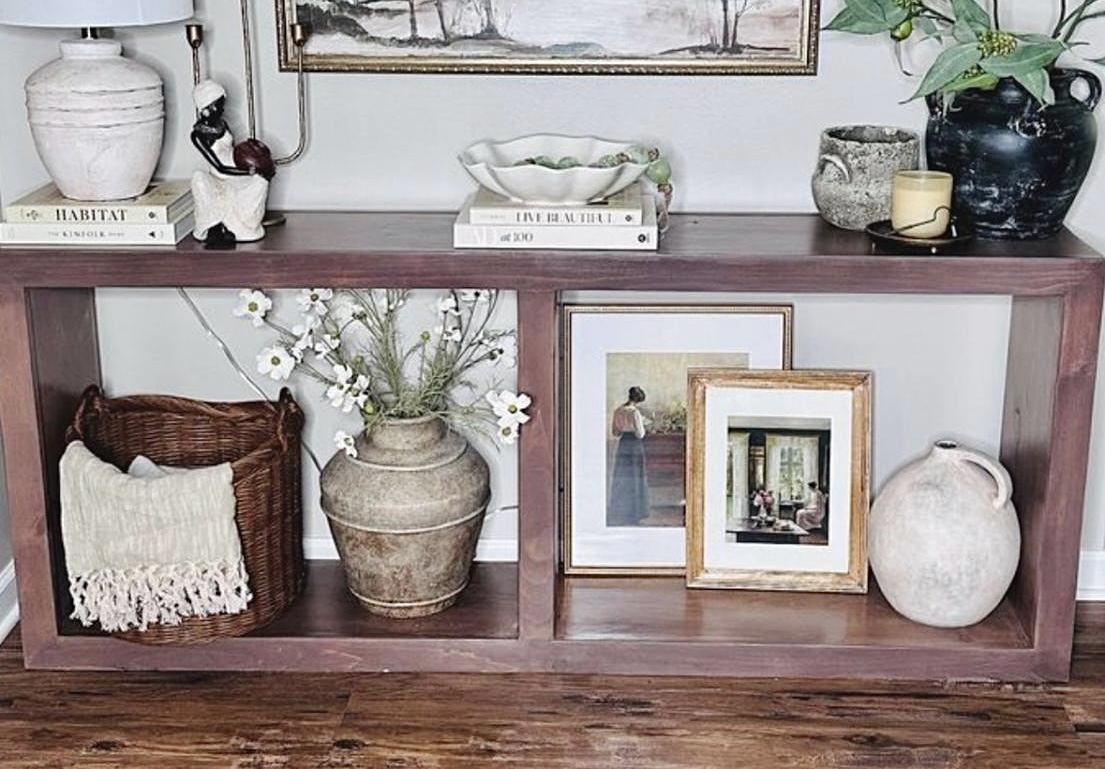
this is modified slightly from the original plan to accomodate some basic electronics for the TV

Built from Plan(s)
Estimated Cost
200
Estimated Time Investment
Week Long Project (20 Hours or More)
Recommended Skill Level
Intermediate

Comments

deannaw08

Mon, 03/28/2016 - 06:58

i like the modifications that you made.  I plan on making this in a couple weeks (too many projects going on right now), how many inches did you add to the top for the electronics/pictures?  what you have seems like it'd be a good height for what i'm trying to do.  Thank you!

jstewart

Mon, 02/26/2018 - 08:15

I would like to build this and i am trying to find the plans for this console. please

Libbytiny

Tue, 02/27/2018 - 11:36

HELLO ANYBODY?  Love love love this.  I want to list my house and buy, build and live in this instead!!!  I want to know where everybody is going to be putting their new tiny house what kind of property and environment also does anybody know if you can park a tiny home in an RV resort that have the big dog class a types any information about how to build this and to purchase the plans. thank you!!!!

RoninsDad

Fri, 03/16/2018 - 18:30

I was wondering if you had the plans to the changes you made to this. I would love to you build this one.

20 sec tidy up coffee table with trundle toy box/storage

This is a project we built this weekend. My husband and I desperately needed some sophisticated storage space in the living room that is kid friendly, so we accepted the challenge. We together built a coffee table with trundle storage inspired by a plan on ana-white. We are truly inspired by her designs and plans help a LOT! Check out our work!

Estimated Cost
$100
Estimated Time Investment
Day Project (6-9 Hours)
Finish Used
We used one coat of red oak minwax stain with a layer of red mahogony stain over top. We finished with clear polyurethane.
Recommended Skill Level
Beginner

Comments

Bunnie1978

Tue, 03/13/2012 - 07:11

That looks very nice. This is the next project on my list I think.
It's really great to see the project with a different kind of finish also. How do feel about the functionality of it now that you have it "up and running" in your living room?
And... how do your kids feel about it?
Any drawbacks to this design for your needs, or tips that you can give me for building it over the next couple weeks?

In reply to by Bunnie1978

Windycrocodille

Tue, 03/13/2012 - 07:53

Thank you for the compliments! So far we absolutely LOVE the functionality! It really is made for easy clean up, slides back and forth nicely (we used wheels that only go one way, not swivels.) and our one year old seems to enjoy it. The table and storage compartment are just short and sturdy enough that she can pull herself up on them and because the storage compartment is not on swivels it doesn't move when she does. She is the first grand-baby on both sides of the family so she has approximately 175 toys that we have to find a place for and they all fit very nicely. With the large storage we have noticed that she is pulling out and playing with different toys that she could never get to or find before. As far as design is concerned we did have to modify it a little bit to work with the tools that were available to us. We wish the side legs were sturdier, even with 6 screws in each side they are still a bit wobbly. With the storage box underneath it helps to support it from swaying but we are still talking about ways to make it better. A possible support beam on the bottom of the back side? All in all we love the piece it fits perfectly into our space and offers a LOT of storage that we didn't have before. My husband and I had tossed around the idea, before we started, of making the piece smaller but we are glad that we didn't.

Suggestions: if you are going to buy based off of the shopping list provided make sure you also buy 2" screws. They forget to include that in the shopping list but include that in the directions. If you have any other questions feel free to ask. It was a really really fun project for us.

brookifer86

Tue, 03/13/2012 - 09:10

I just finished my Tidy Up Table too (brag post coming!) and I decided to add one L-bracket to each corner because of the wobble. I've also got a baby (7 months) and it's nice to have that added stability just in case. Now the sides are solid as a rock!

Bunnie1978

Tue, 03/13/2012 - 13:08

A little bit of medal support would probably be really good... I was actually thinking of modifying the design a little bit already, which will probably serve the end result to provide better stability. I think I'm going to make the storage trundle a little shallower, and put a row of small square drawers above it on each side. That is of course, much more complex, and then detail the trundle with the small squares so it looks like a cabinet of drawers all the way down...
What do you think of that idea? I mentioned that on the plan post too... still kicking it around a bit.

Farmhouse table

Farmhouse style table, 4 2x10 with 2X6 border. All Doweled and glued. Seems most plans are with square "breadboard" ends, i thought this style was a bit cleaner with no raw ends. 4X4 legs with 4X4 cross stretchers. Table ended up 4'X8' matching bench to follow.

You really need a dowel-jig, Kreg-jig, and bar clamps to do this project. You can also use a biscuit cutter instead of dowel jig, but I think it lines up better with dowels.

Close up shot shows swirl marks from 80 grit sandpaper used on an orbital sander... Even using 180 grit final sand it left them there, actually a nice distress look.

Estimated Cost
150.00
Estimated Time Investment
Week Long Project (20 Hours or More)
Finish Used
Min-wax dark walnut, min wax wood conditioner, 5 coats satin poly.
Recommended Skill Level
Intermediate

Farmhouse bed

Submitted by Anonymous (not verified) on Sat, 03/26/2016 - 07:33

Plans were perfect. This was my first build.

Estimated Cost
Under 400.00
Estimated Time Investment
Week Long Project (20 Hours or More)
Finish Used
Plans were the perfect size. Thanks Ana
Recommended Skill Level
Beginner

Wood shelving and hanging space for guest wardrobe

Submitted by Anonymous (not verified) on Wed, 11/13/2019 - 01:01

Ana's wood shelving plans are easily adaptable for whatever requirements you may have.
Apart from some of the cutting done on a table saw I was able to do this project on my own and assemble.
I'm a beginner and managed it OK. It's not perfect but my husband was over the moon to finally have hanging space and shelving in our new house.
Would look great painted or stained.

Built from Plan(s)
Estimated Time Investment
Afternoon Project (3-6 Hours)
Recommended Skill Level
Beginner

Porch Planters

Submitted by Anonymous (not verified) on Mon, 07/24/2023 - 13:40

This build was a lot of fun! Thanks ANA!

David Marks

Comments

First Project

Submitted by amy2789 on Fri, 03/16/2012 - 13:48

When I saw the plans for this bench I knew I had to make it. I had been looking for something to put on my porch, but hadn't found anything I liked.
I, or should I say, my husband had all the tools just sitting in the garage.

It was a great starter project. I definitely felt the learning curve. Thank goodness for wood filler and paint!

Estimated Cost
$30
Estimated Time Investment
Afternoon Project (3-6 Hours)
Finish Used
Cheap red spray paint from Wal-Mart. I had it on-hand from another project.
Recommended Skill Level
Beginner

Comments

Olivia's Doll Crib

Submitted by ellie_pete on Tue, 01/07/2014 - 12:51

The moment I saw these plans I knew it would be the perfect Christmas gift for my daughter. We followed the plans fairly exactly, only using knobs instead of a notch in the drawer and adding some small furniture slides on the bottom. I had some left over fabric from the linens I sewed for my daughter's room and used these to create a mattress cover, pillow, and small quilt. She loves it. The drawer underneath is great for extra doll clothes, bottles, diapers, etc.

Built from Plan(s)
Estimated Cost
$50
Estimated Time Investment
Weekend Project (10-20 Hours)
Finish Used
Rustoleum satin paint and primer in white and pink. Victorian faux-crystal cabinet knobs for the drawer.
Recommended Skill Level
Beginner

Queen Storage Bed

Submitted by Anonymous (not verified) on Tue, 03/29/2016 - 07:18

This bed was my biggest project so far and it was very time consuming. I love it though, and it looks great in my son's room!

Estimated Cost
$500
Estimated Time Investment
Week Long Project (20 Hours or More)
Recommended Skill Level
Intermediate

First project - Play Kitchen

Submitted by trotter on Mon, 03/19/2012 - 07:33

After my wife commented how much our son enjoyed playing with a pretend kitchen during play group, I began thinking about building one of our own. Searching online I found all of the amazing work that had been posted here and drew inspiration from all of the examples already shared.

Yesterday was the grand unveiling and I'm happy to report it was well received. Our son had to be dragged away from it for his bath and bed after hours of opening and closing all of the door and restacking his dishes. Thanks to all of you for the great ideas and the confidence to build on my own!

PS: The Kreg jig is the greatest DIY invention of all time.

Estimated Cost
$230
Estimated Time Investment
Week Long Project (20 Hours or More)
Finish Used
Minwax Spar Polyurethane (spray can) followed by sanding with 400 grit sandpaper after drying for 24 hours
Recommended Skill Level
Beginner

Comments

TIffonie

Fri, 08/31/2012 - 19:15

Im in love with this. It's perfect for a boy. Your alterations are very nice. What did you use to do the countertop and stainless steel appliances?

Tanner (not verified)

Sat, 09/01/2012 - 16:05

The countertop and appliances were both done with just plain old Contact Paper. I found both at Lowe's. Good luck!

My first ever woodworking experience!

My primitive mitre plastic template didn't allow me to get a 60 degree angle so I went with the very simply upright thingies instead! The vinegar, wire wool and tea oxidisation worked a treat and was far easier to apply than stain.

Estimated Time Investment
Afternoon Project (3-6 Hours)
Finish Used
Vinegar and wire wool applied 24hrs after dark tea application.
Recommended Skill Level
Starter Project

Breakfast Nook

Submitted by BERobinson on Thu, 03/31/2016 - 11:54

U-shaped breakfast nook custom built for client.

For the bones - I just laid the 2x4's out like studs all the way around.  Odd corner in back R, 106 degrees, made for some fun mitreing on molding and plywood.

For the decorative finish, used single-piece paneling, not the wainscoting sheet-panels, to give a fuller look.

Estimated Cost
$250
Estimated Time Investment
Weekend Project (10-20 Hours)
Finish Used
Minwax ebony stain on wood planking, and semi-gloss white on seat and molding.
Recommended Skill Level
Intermediate

First Ever Furniture Build - Outdoor Sofa

Submitted by Anonymous (not verified) on Wed, 08/02/2023 - 10:30

This was my first ever piece of furniture that I made and it was so much fun! I’ve got the furniture making bug now!

Melissa Pilcher

Built from Plan(s)

Comments

Chalkboard Shelf

Submitted by saracrow on Wed, 03/21/2012 - 11:43

I wanted to make my girlfriend a gift for her birthday and came across this shelf. It turned out wonderful and I can't wait to make one for myself now!

Estimated Cost
$3 (for the chalk)
Estimated Time Investment
An Hour or Two (0-2 Hours)
Finish Used
Chalkboard spray paint
Recommended Skill Level
Starter Project

Dresser With Open Bottom Shelf

Submitted by stacynabby on Fri, 01/10/2014 - 22:15

I needed a dresser to match the two farmhouse sidetables I built for the room and this design fit the bill. I really had to take the time to figure out where to place the pocket holes. Finishing is my least favorite part of the process, but I'm glad to have really taken my time. This was a really challenging project and I'm so pleased with the end product. By far, my favorite build yet!

Estimated Cost
$225 - $250
Estimated Time Investment
Weekend Project (10-20 Hours)
Finish Used
Cabot Fruitwood stain and four coats of polyurethane satin finish. Last sanding was with 600 grit.
Recommended Skill Level
Intermediate

Wide Cabin Dresser

Submitted by Anonymous (not verified) on Sat, 04/02/2016 - 09:05

Built from the Wide Cabin Dresser w/ metal slides plans.  I used soft-close ball bearing drawer slides instead of the European style ones suggested.  The other departure from the plans: I liked the way the three separate boards in the open (bottom) row looked in the Pottery Barn model, hence used that instead of the flat board shown in the plans (and many of the other brag posts).

I don't know how people manage to get this done in a single digit number of hours.  It took me a single digit number of hours just to get the drawers right and I would still say they're not 100% perfect.  Having said this, I rated this project "intermediate" since I'm sure people with more wood-working experience than me (this was my first) would avoid some careless mistakes that I made and which required a few redo's here and there.

Recommended Skill Level
Intermediate

Narrow Console Table (Modern Farmhouse)

Submitted by kwildman on Tue, 12/03/2019 - 18:03

This is a beautiful console table built using the Narrow Console Table (Modern Farmhouse) plan.  This is modified to be slightly wider, longer, and taller than the original plan.  The dimensions are 68" long, 34" high, and 12.75" wide.   The plan was very easy to follow and it was simple to adjust the measurements.

I used Varathane Dark Walnut Stain and once that was dry, I went over that lightly with Varathane Classic Gray stain.   The final finish is Minwax Dark Wax and buffed.   

More photos available on my facebook wood shop page at the link below.

Estimated Cost
75
Estimated Time Investment
Day Project (6-9 Hours)
Finish Used
Varathane dark walnut fast drying stain with Varathane gray classic wiped lightly over the dark walnut after it dried. A final coat of Minwax dark wax and buffed.
Recommended Skill Level
Beginner

Comments

ladybug'13

Thu, 12/05/2019 - 12:06

Beautiful! I really like the finish you did on this table, thanks for sharing the details. I may need to try this myself. 

Waterfall Framed Grand Console Table

Submitted by Anonymous (not verified) on Sun, 08/06/2023 - 14:00

Stunning Waterfall Console Table Build by lipsticksandsawdust on Instagram

Comments

Toy Storage

Submitted by camcginty on Fri, 03/23/2012 - 20:49

In our basement we have an 8 inch oak ledge on the outside walls. I love the oak finished ledge, but it makes it hard to place furniture up against it. The furniture is either shorter or taller than the ledge and looks awkward. So, I built several storage pieces to fit our area and ledge. I modified a couple of different plans to create our toy storage area. It's so useful and looks great.

Estimated Time Investment
Weekend Project (10-20 Hours)
Finish Used
I used the paint and finishing ideas from the plan "Our new pantry". She used Valspar Cabin Red paint and Valspar Antiquing glaze. They no longer have Cabin Red, but I just used a similar color. I love the Antiquing glaze and have used it for numerous projects.
Recommended Skill Level
Beginner
Back