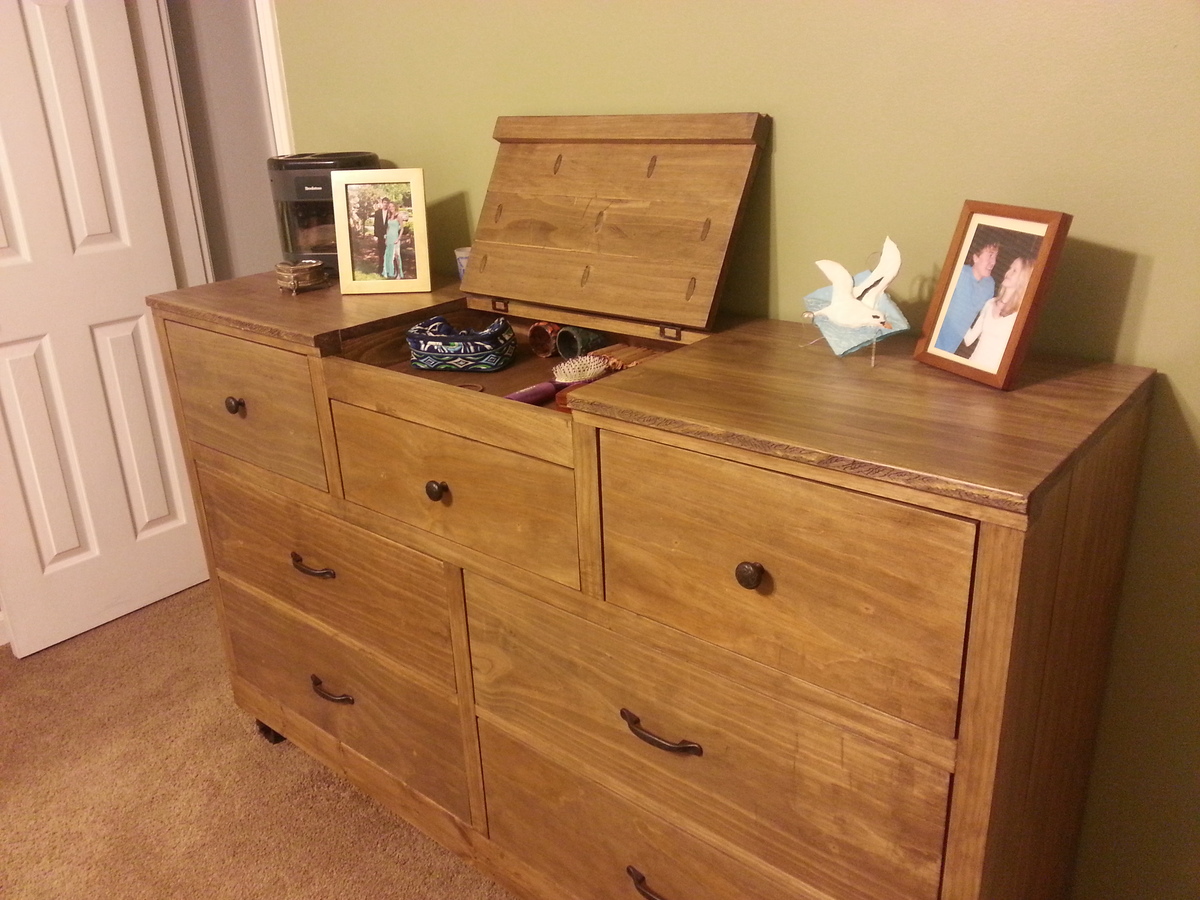
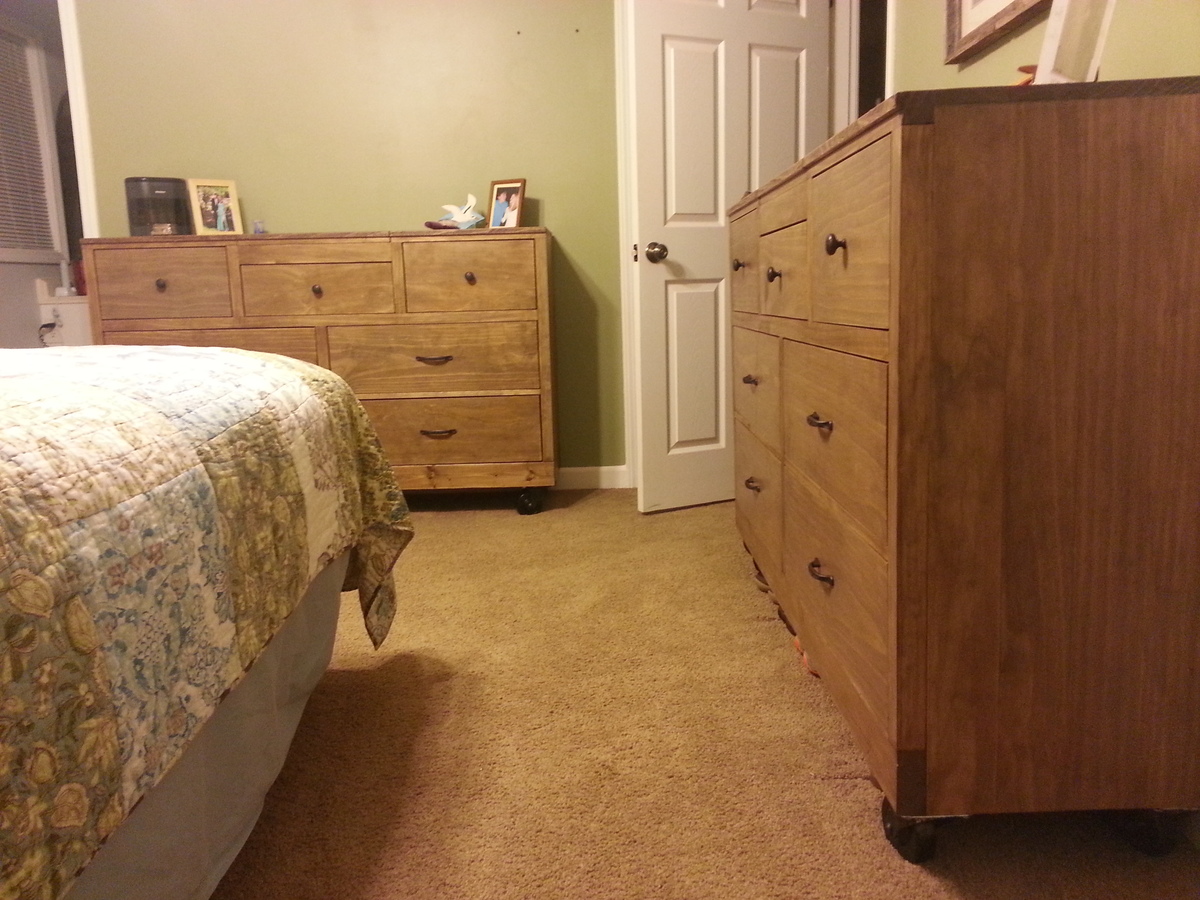
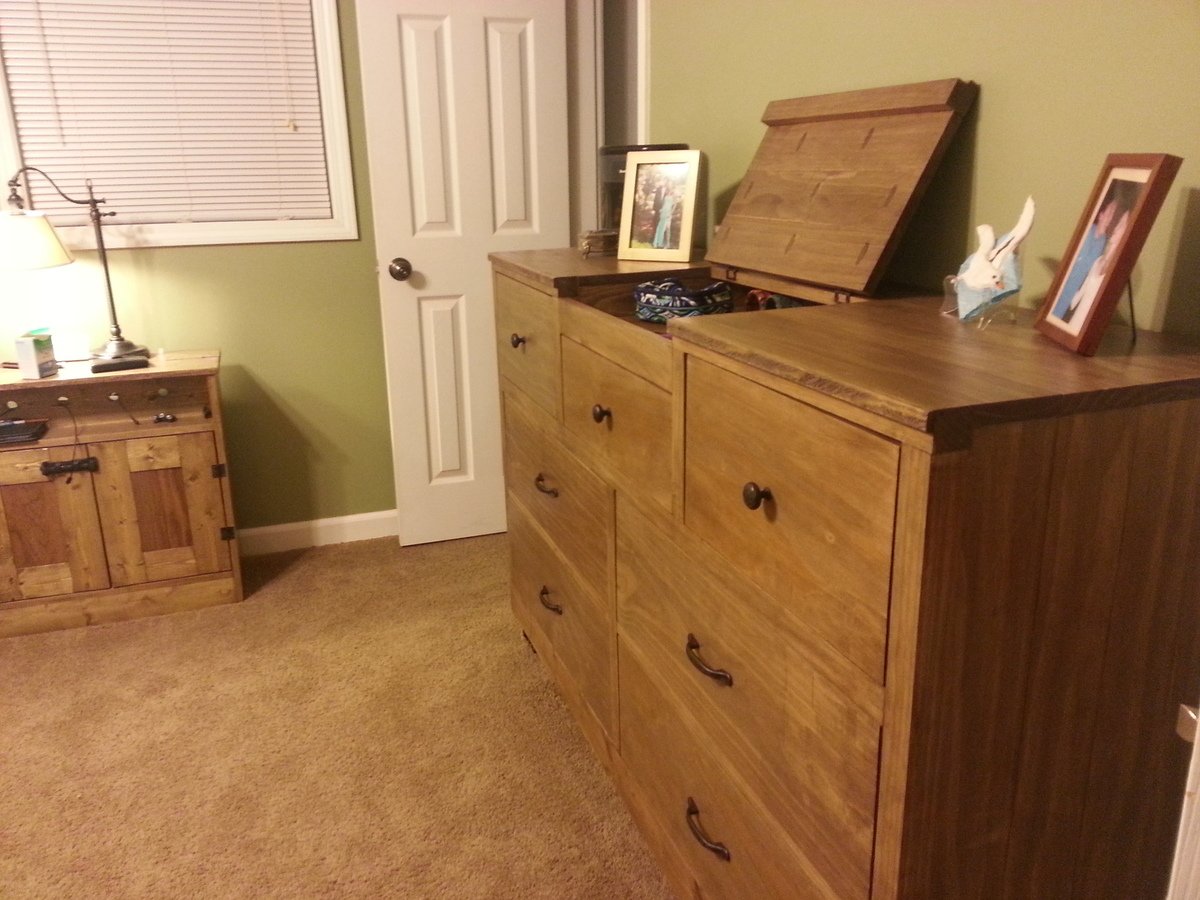
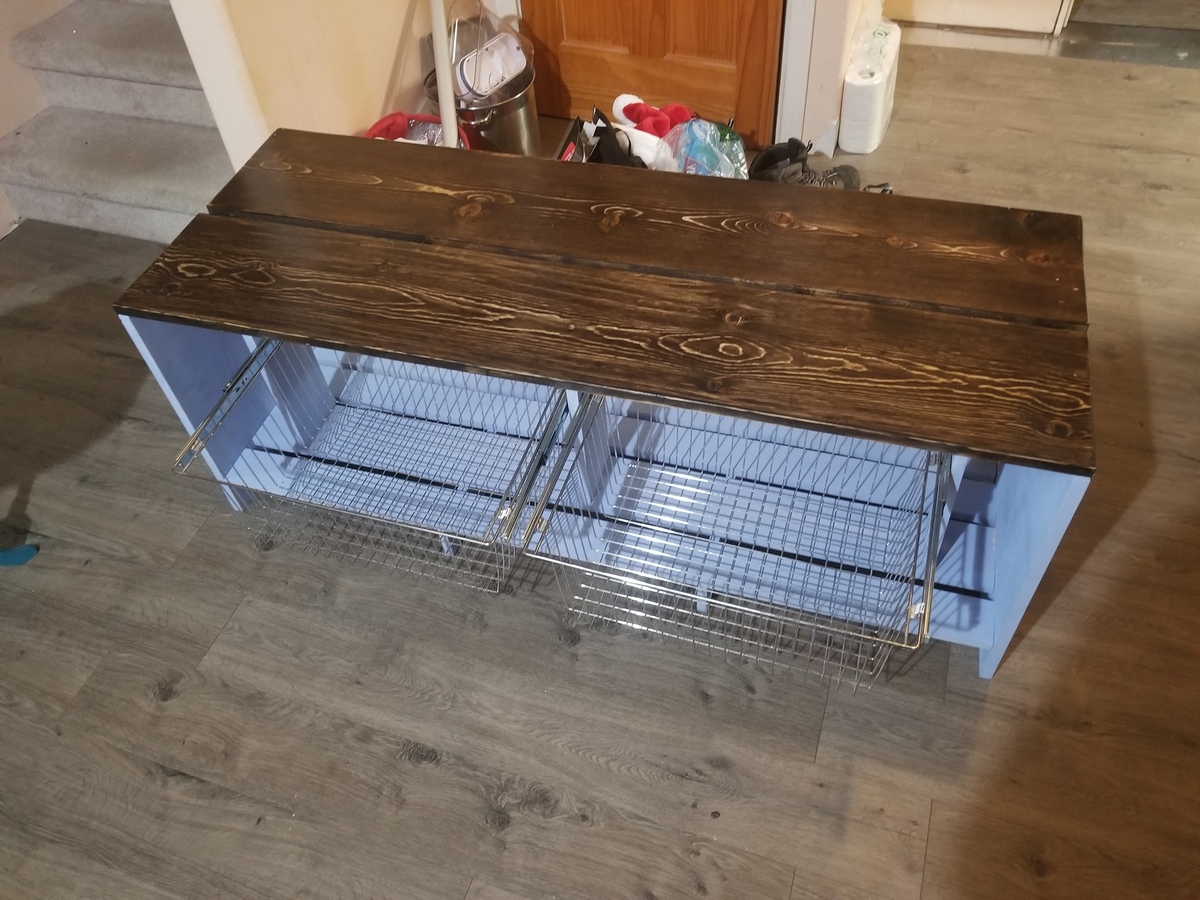
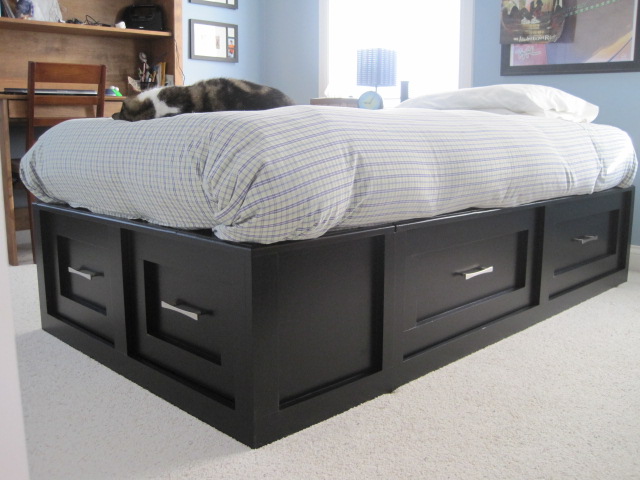
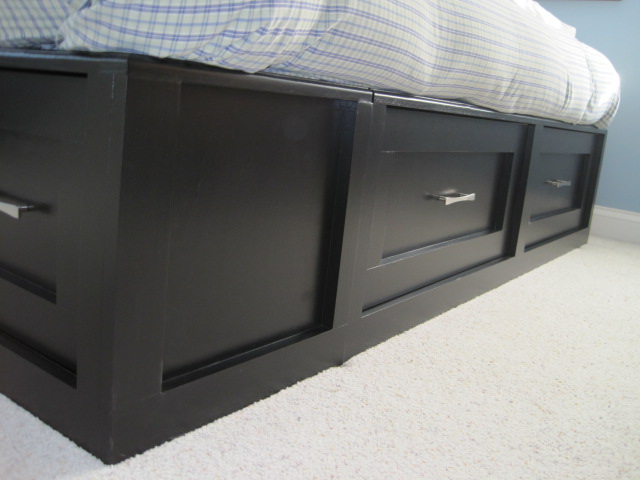
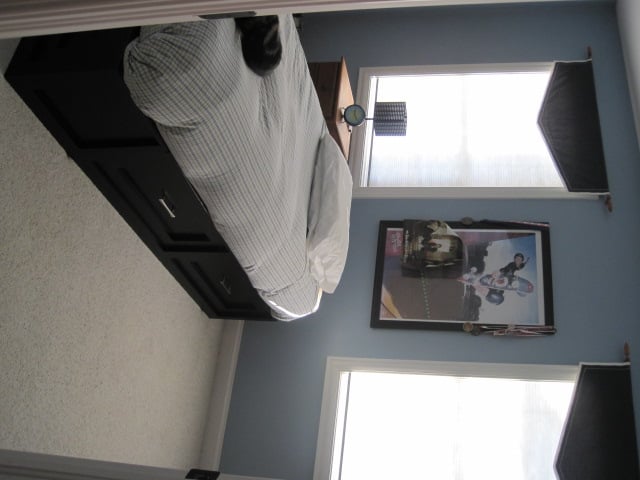
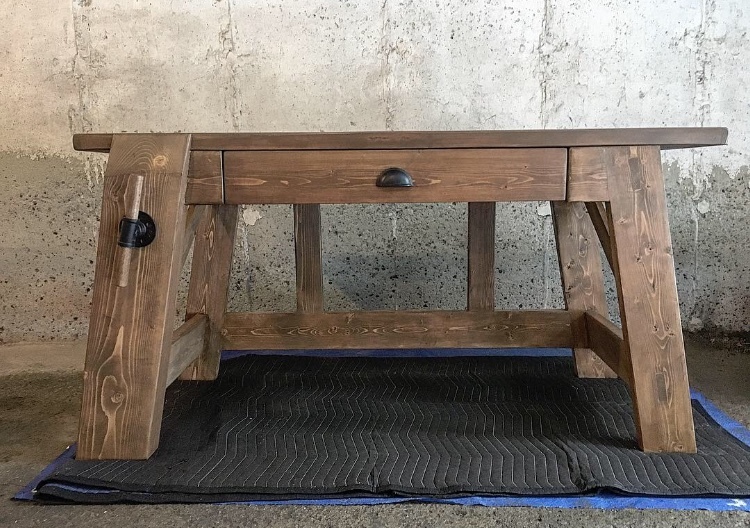
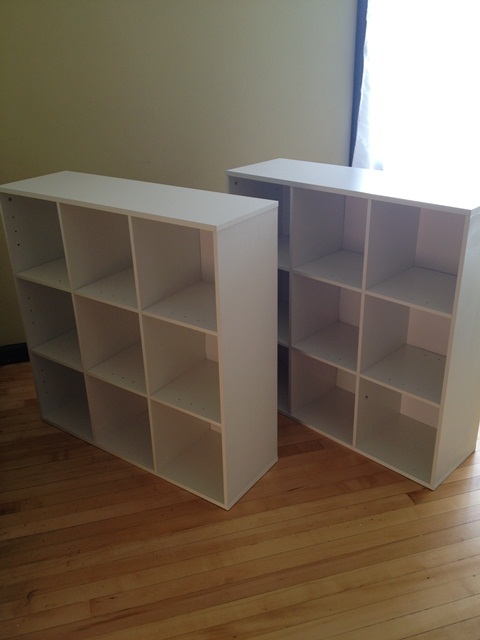
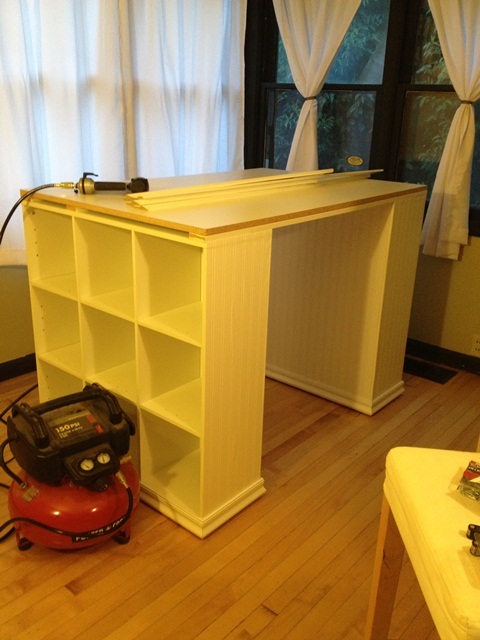
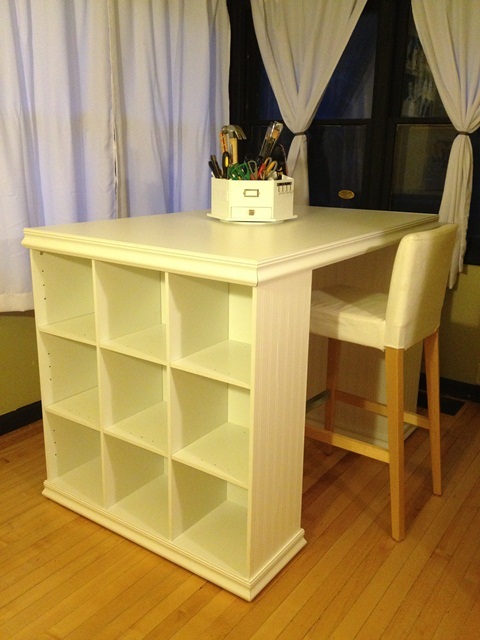
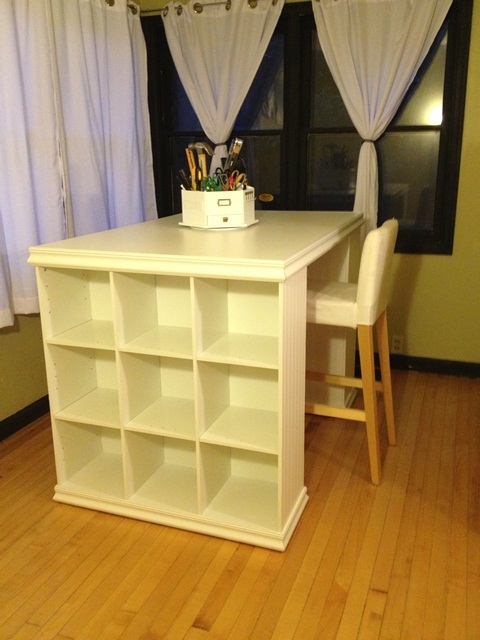
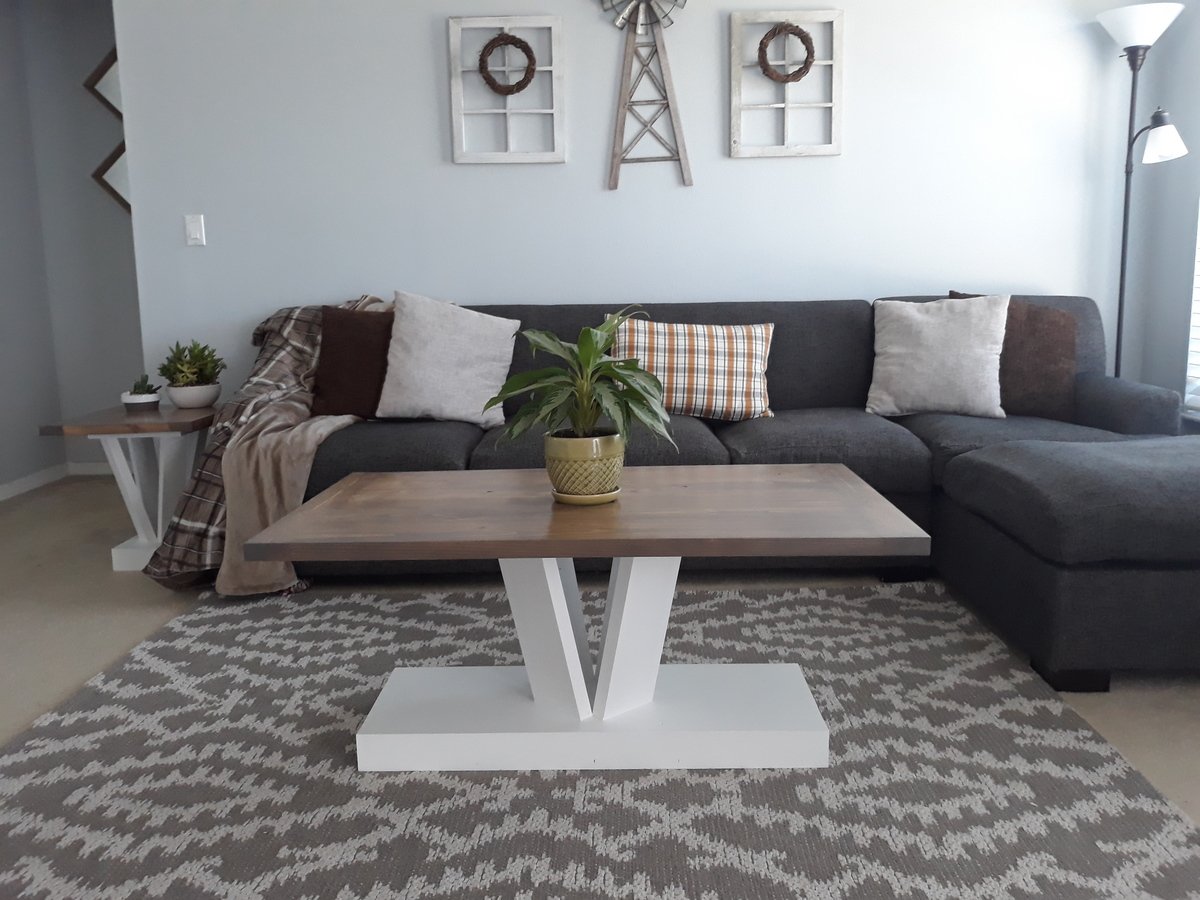
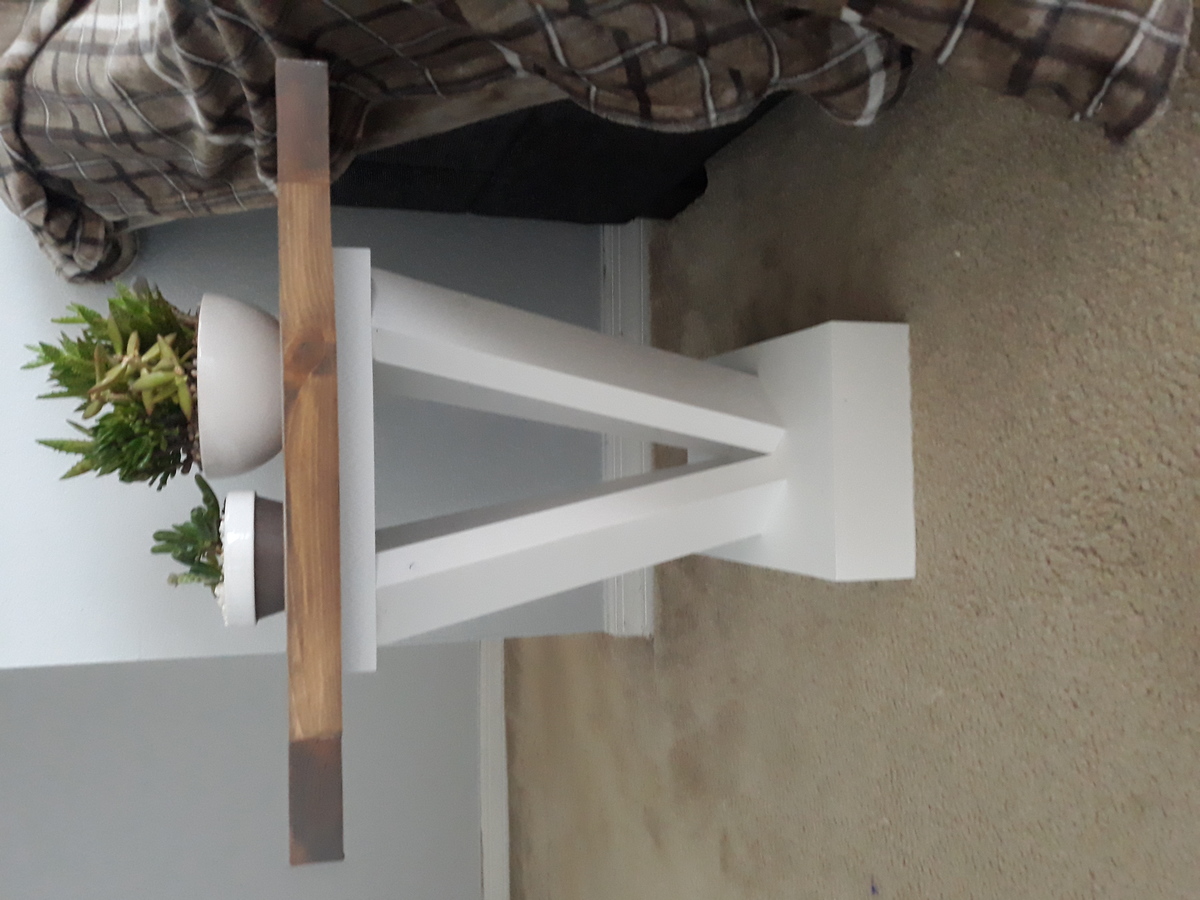
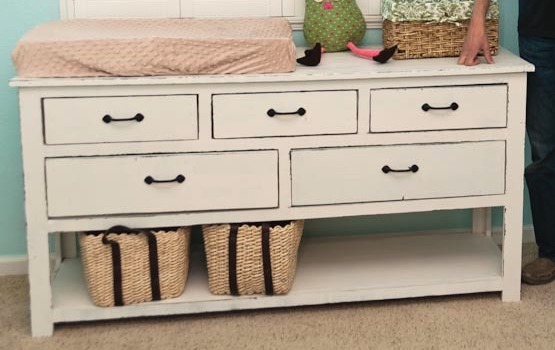
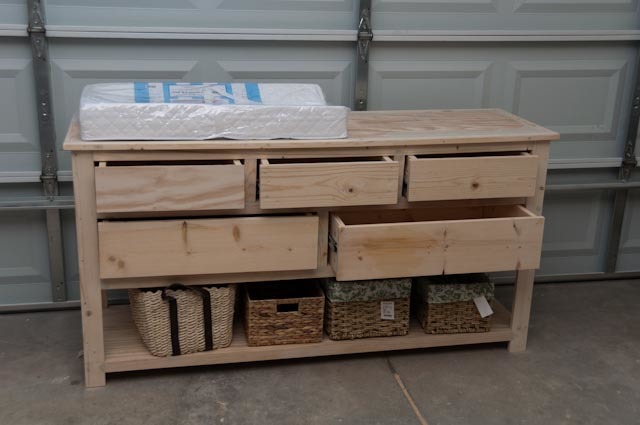
Reclaimed Wood Look Bedside Table
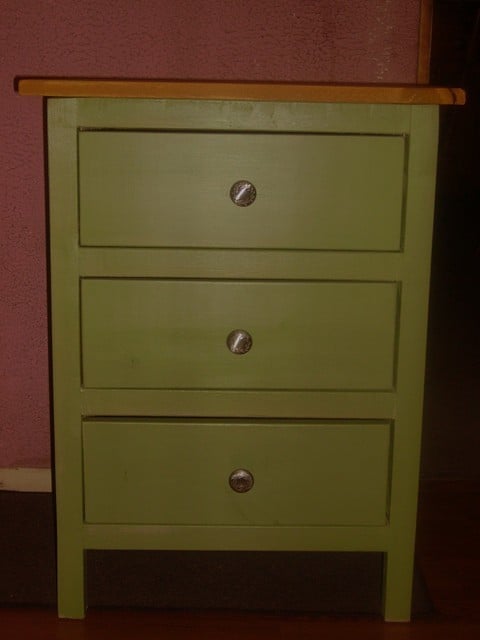
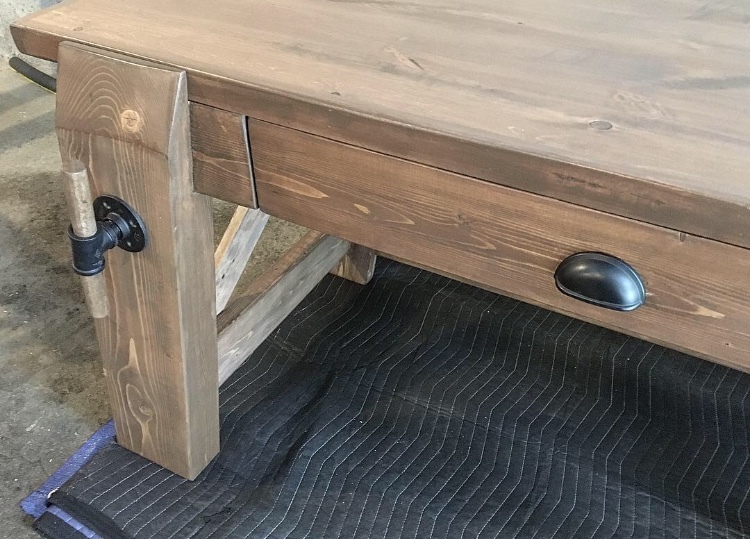
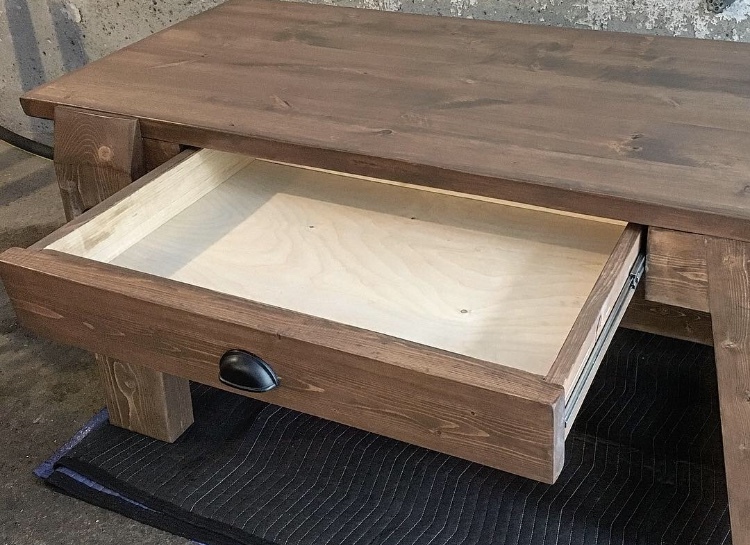
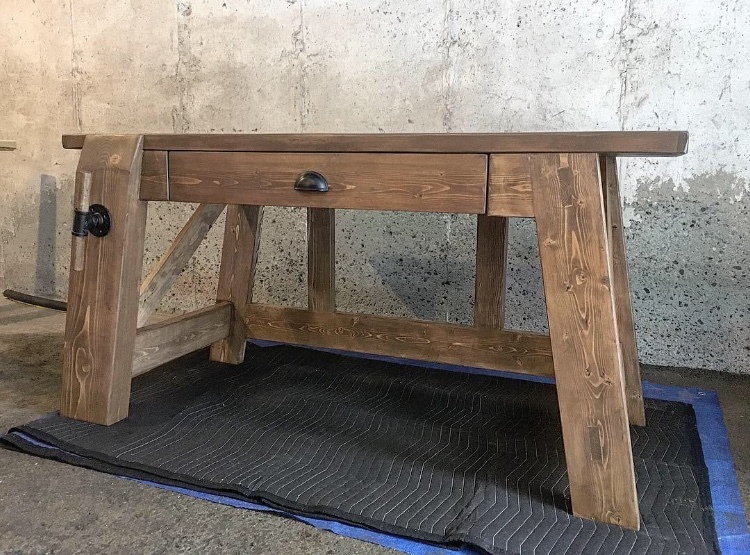
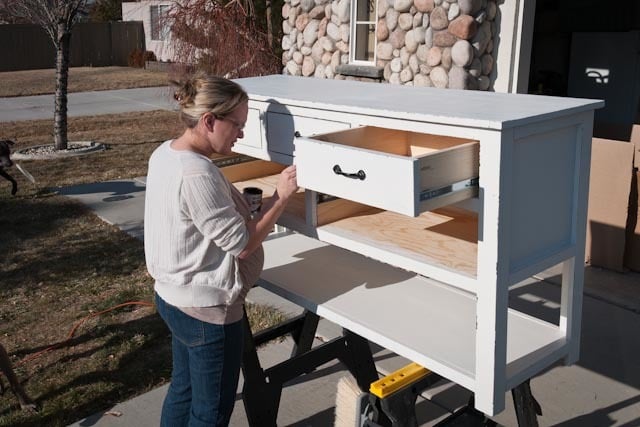
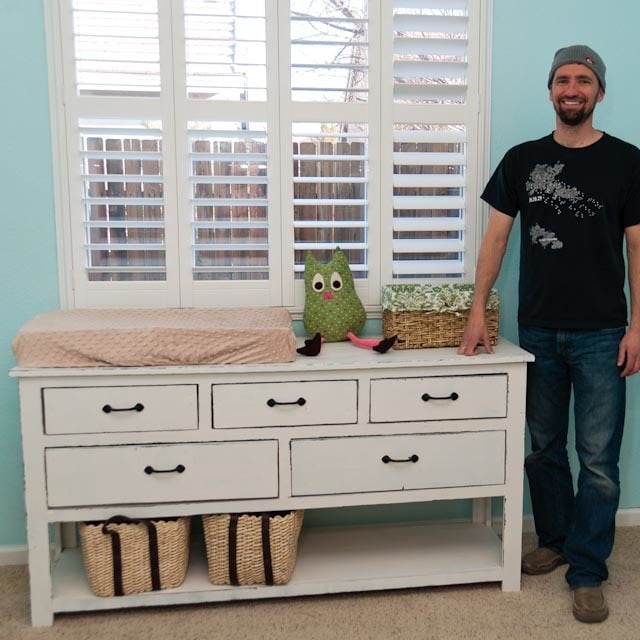
My husband and I built this table in an evening. We really like the finished table as it suits our needs perfectly. The plan was easy to follow. We followed the plan nearly as it was written with the exception of leaving out the drawer glides. The drawers are a little wonky because of this, but i think it adds to the charm and character of the farmhouse feel. I bought the drawer pulls from Lowes on clearance for $1.19 each. This table and the farmhouse bedside table match the farmhouse bed that we built back in January so very well. We love our new furniture and we love Ana White plans! Our plan is to have a whole house full of Ana White Farmhouse Furniture in due time. lol. Thank you so much Ana for your plans. You are truly amazing to design and put them online for others to build!
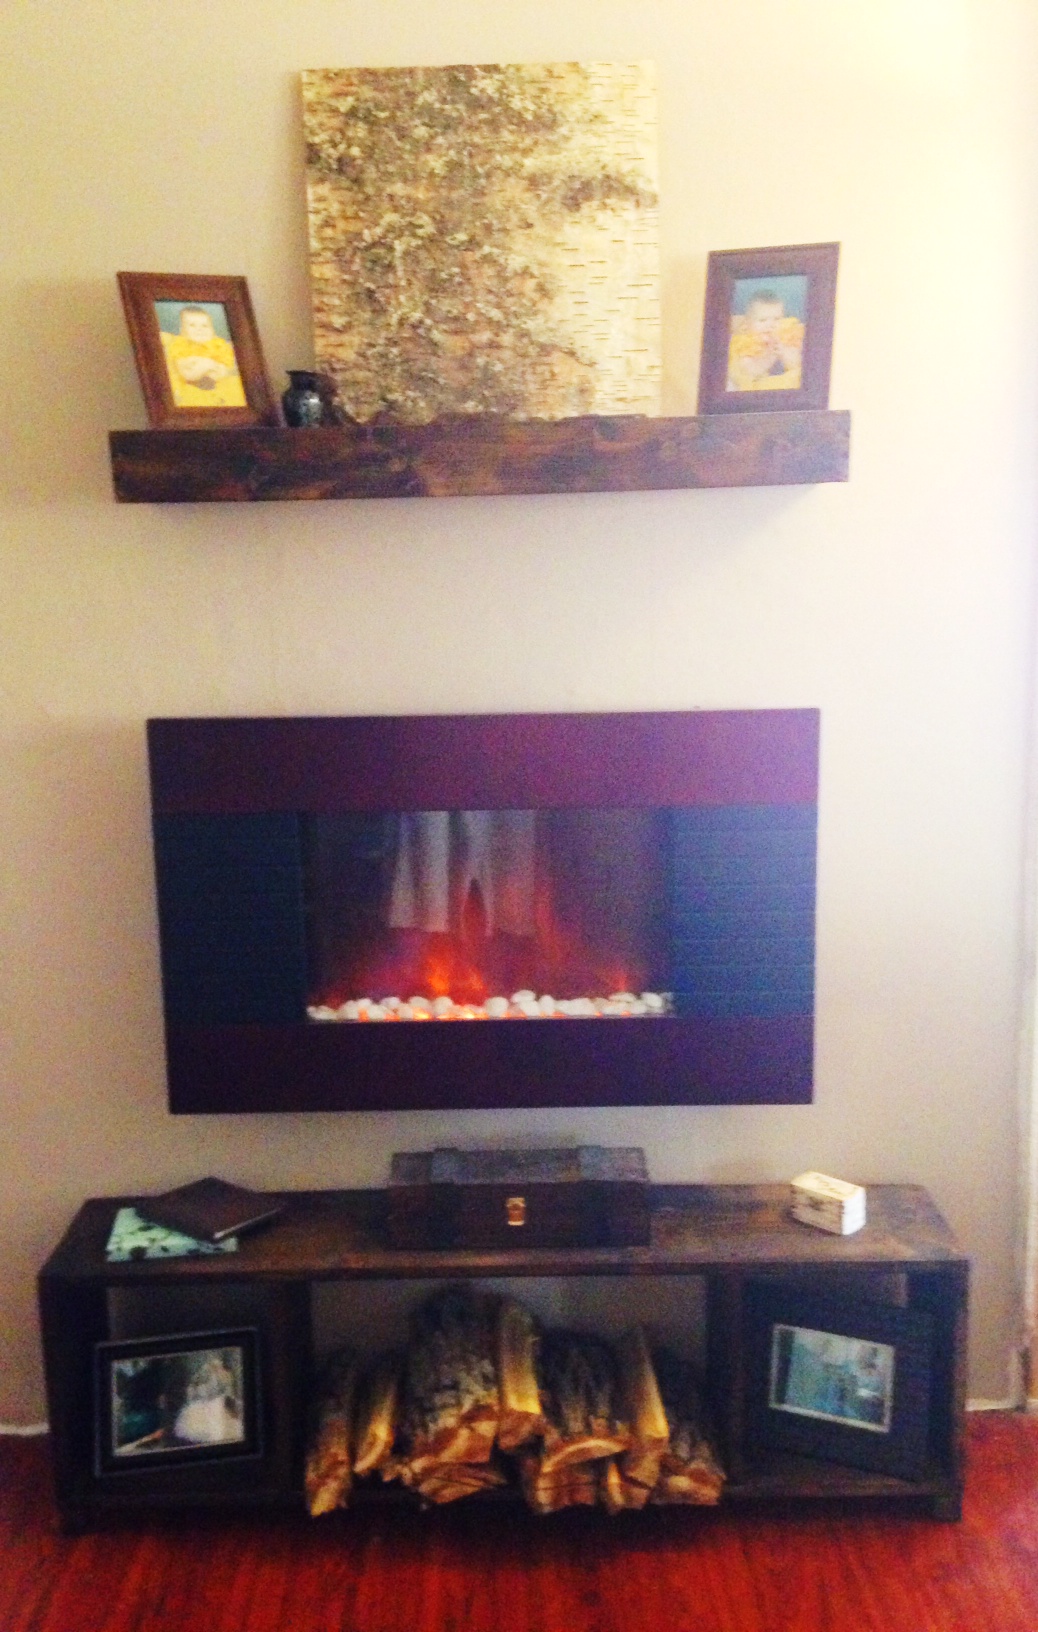
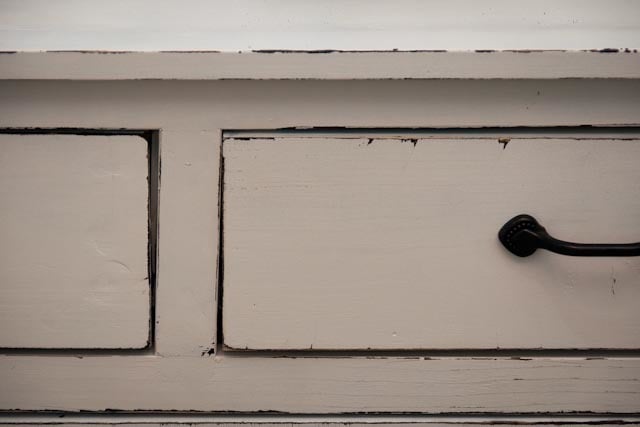
Stain is Rust-oleum in the Summer Oak shade.
I have not put polyurethane over the paint or stain as of yet.