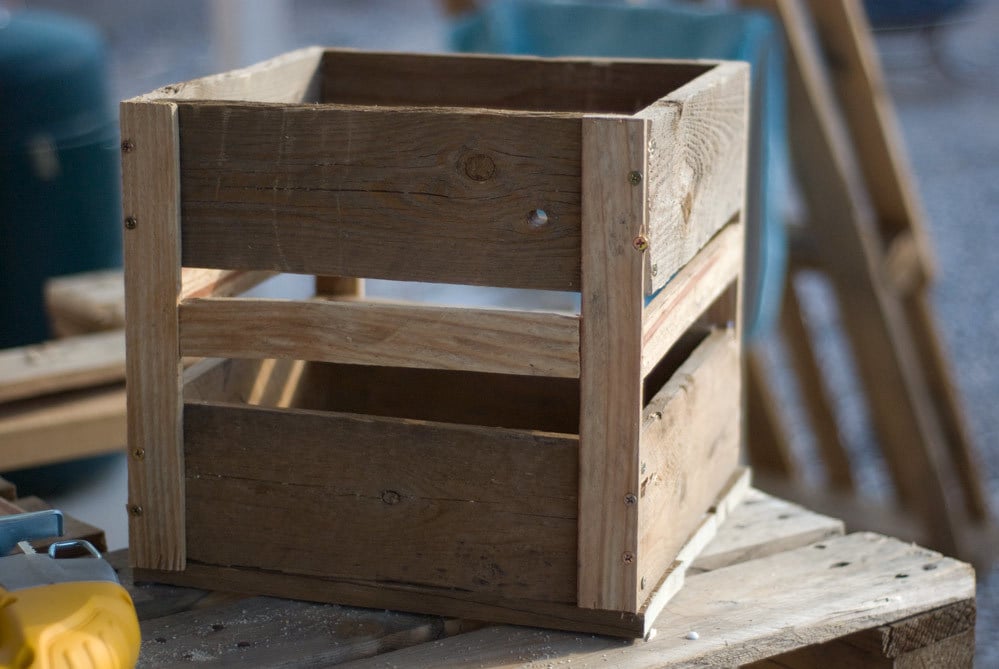
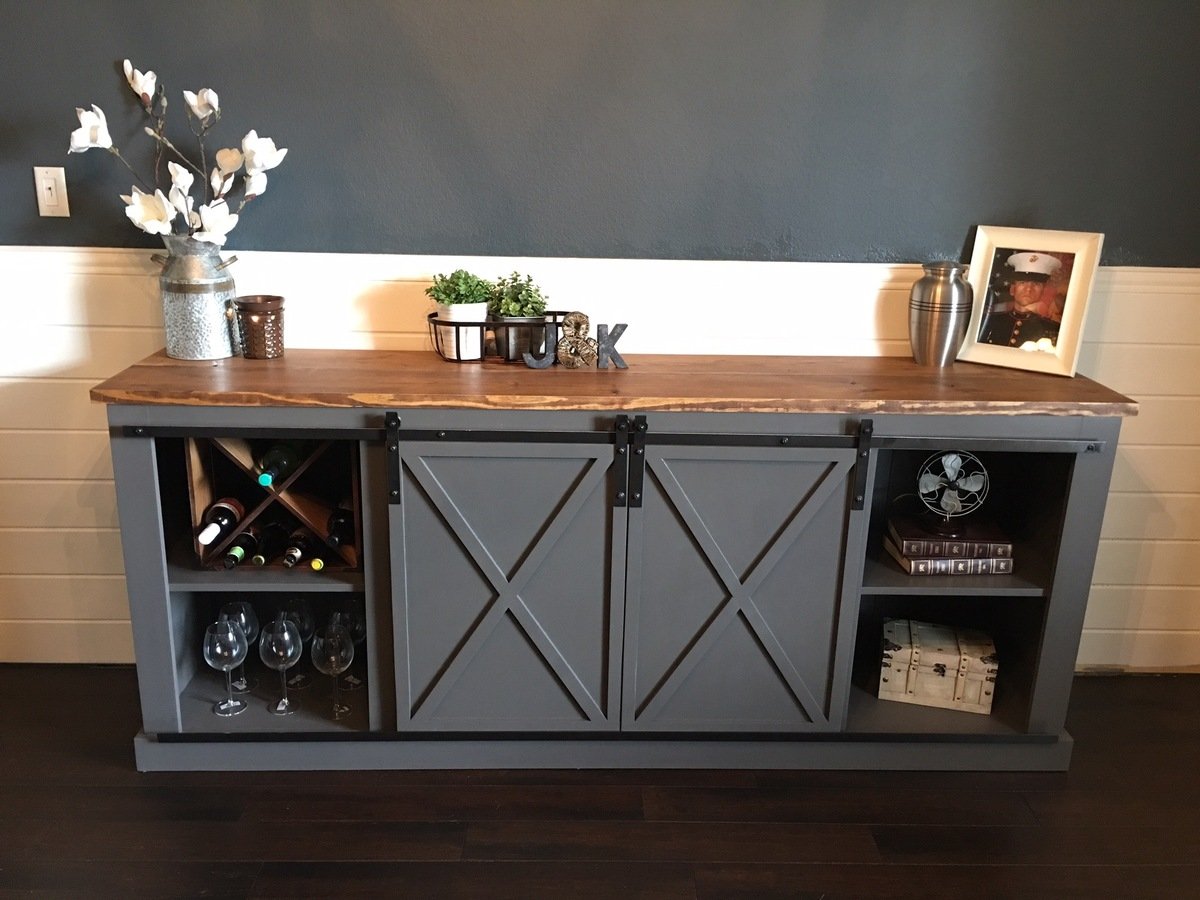
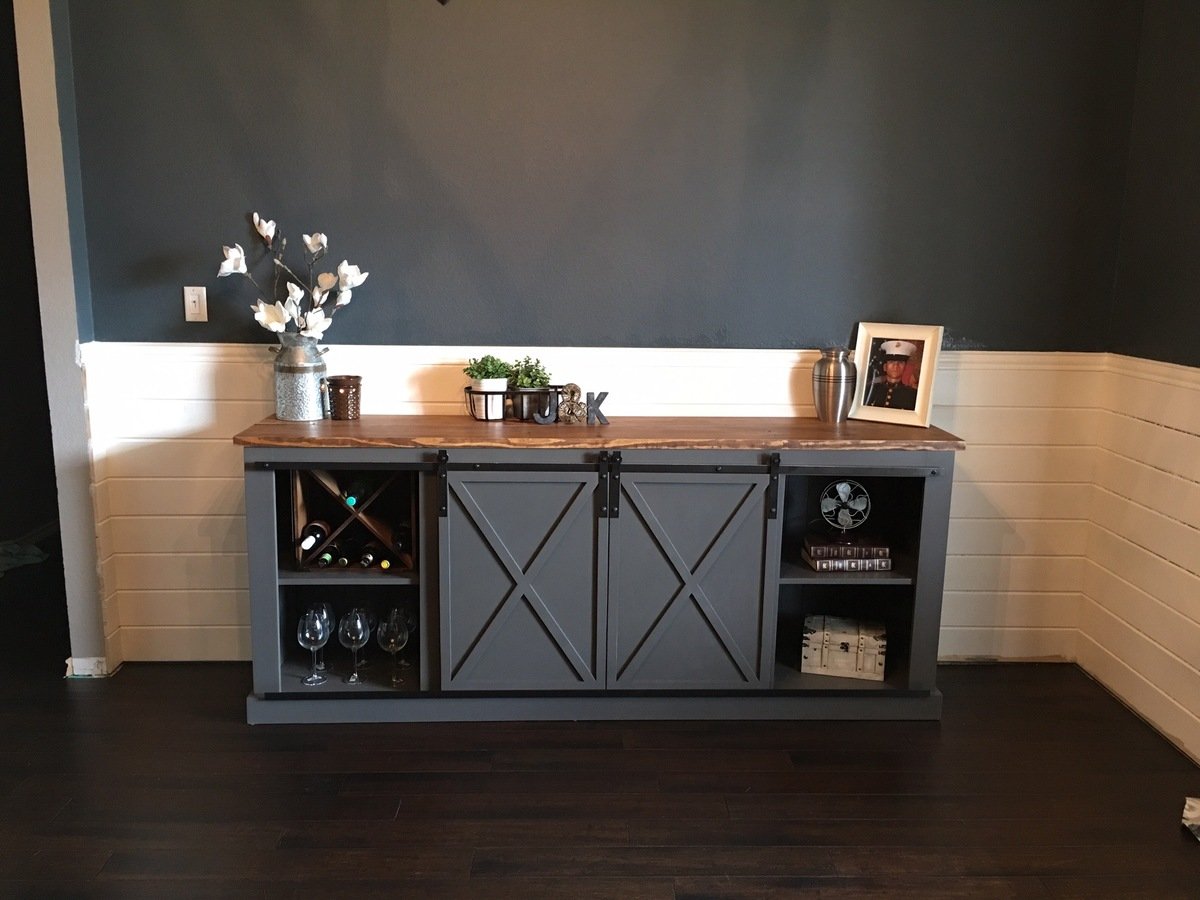
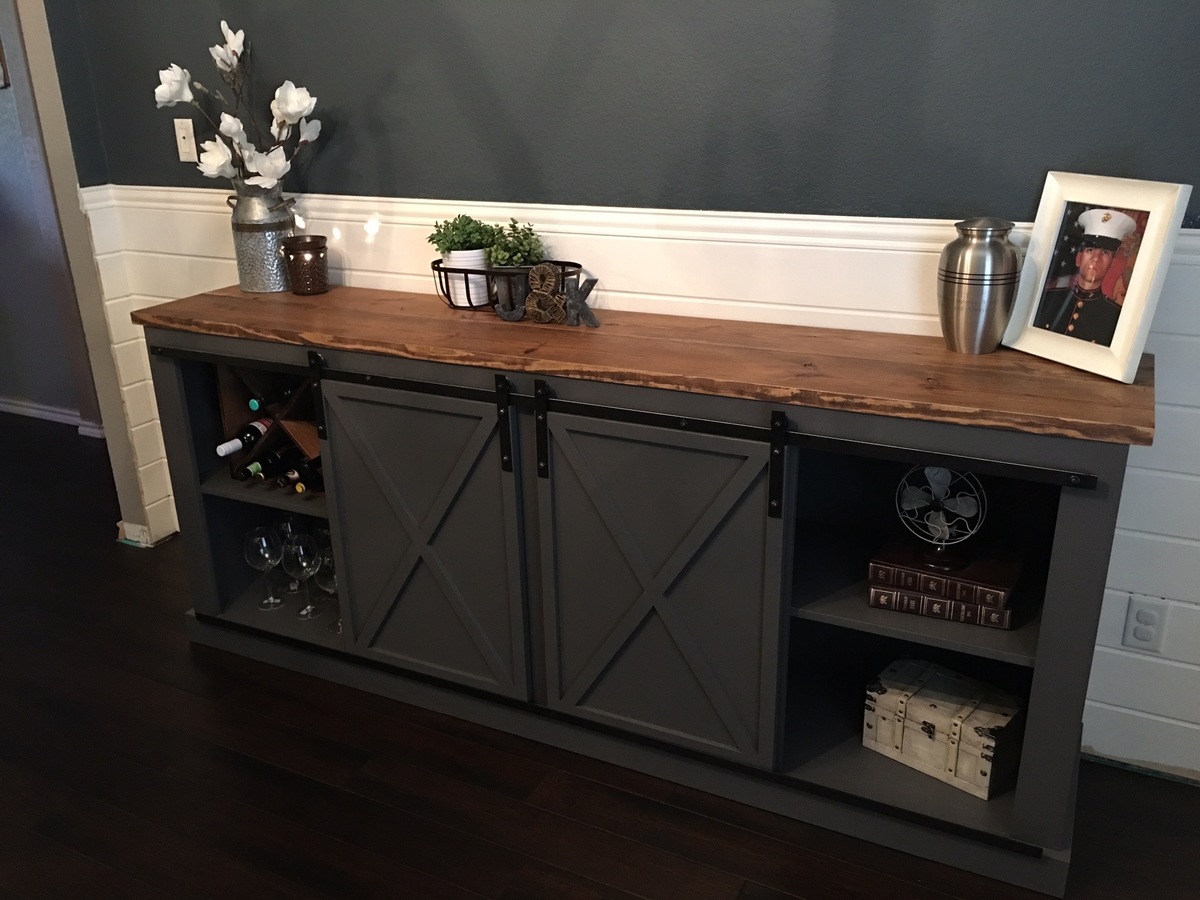
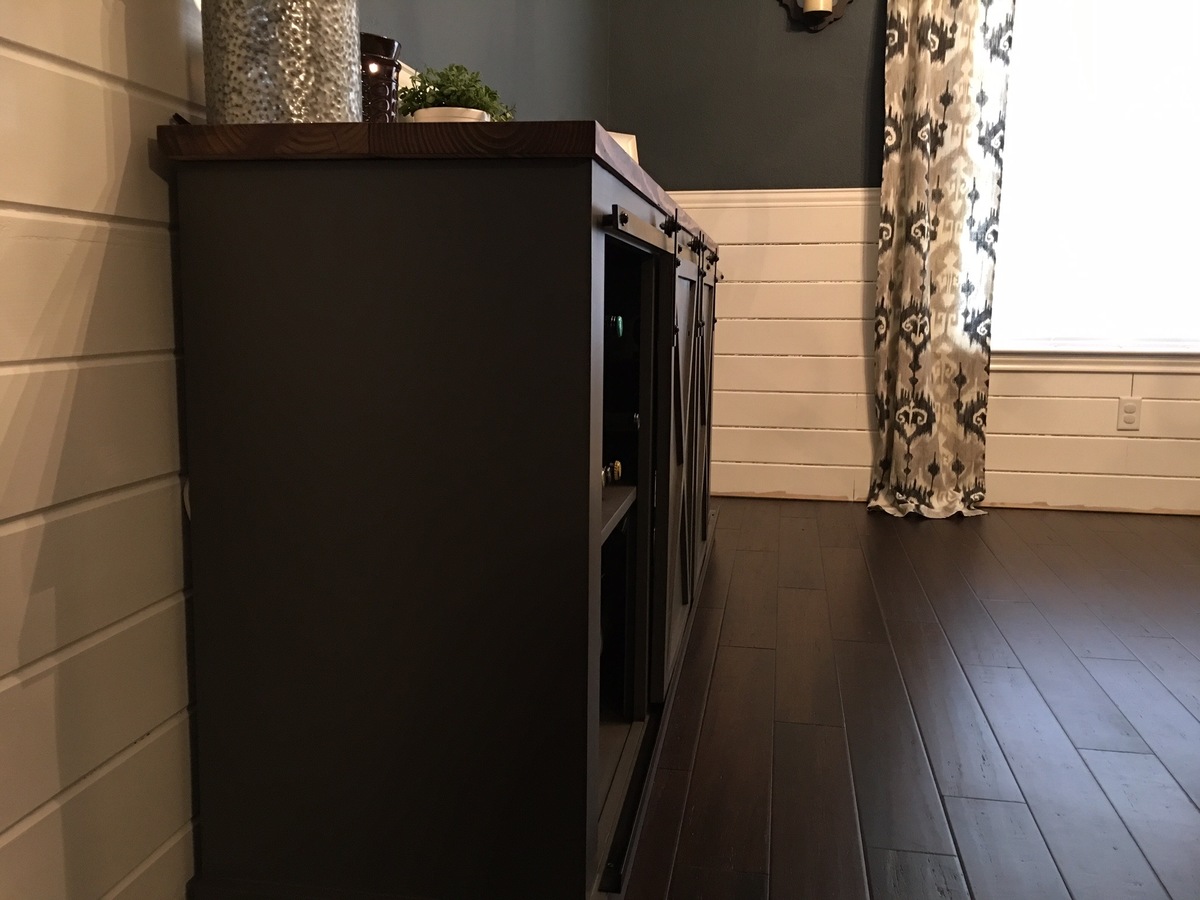
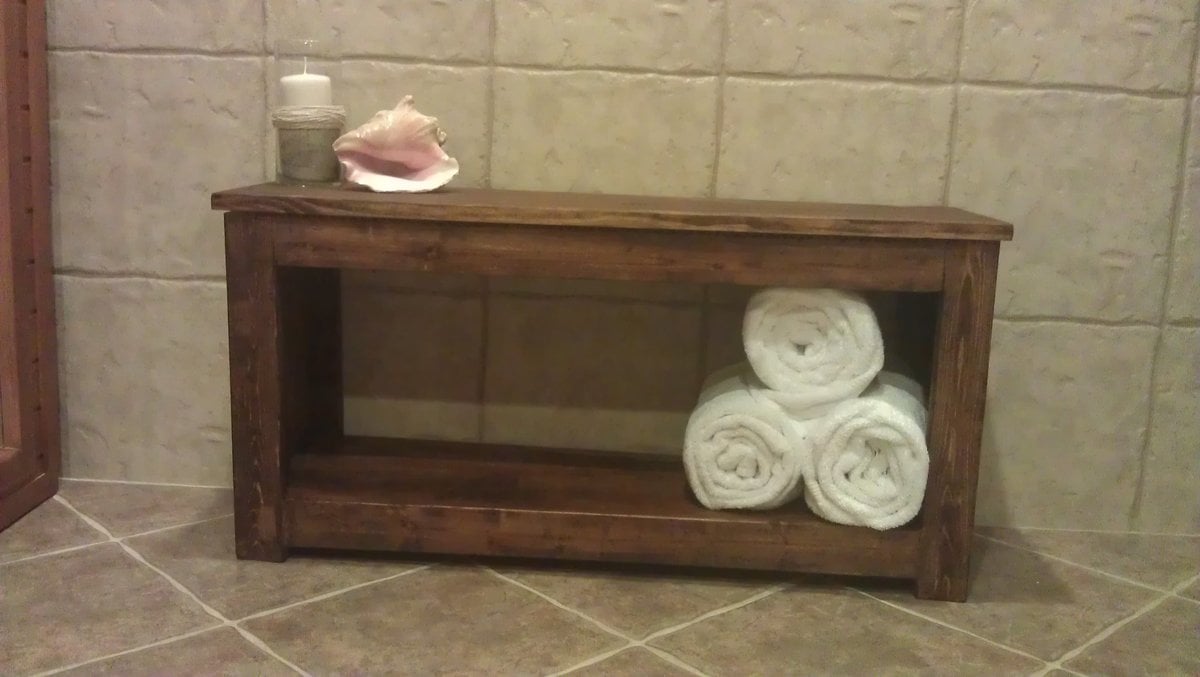
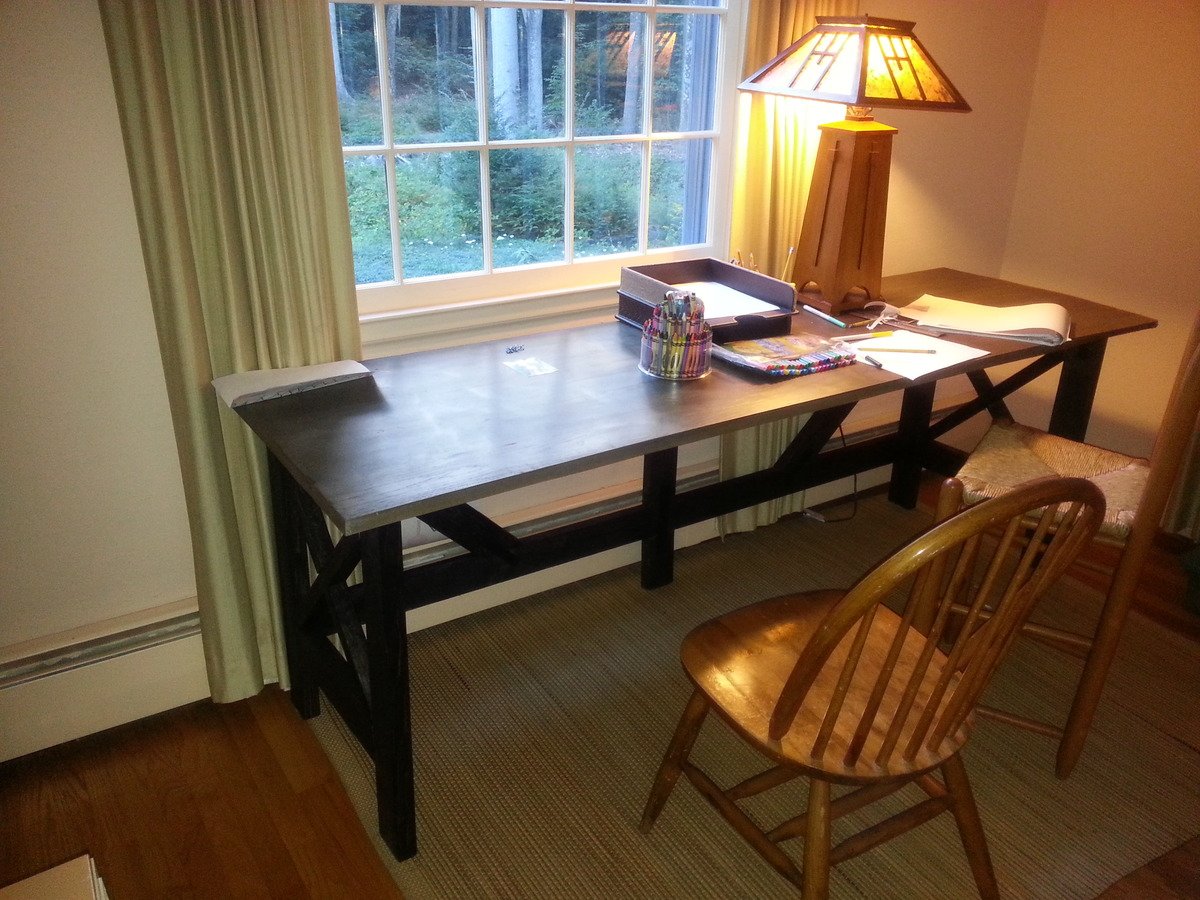
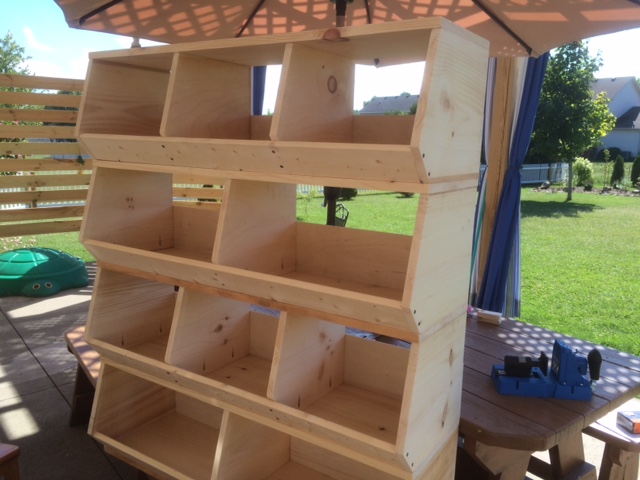
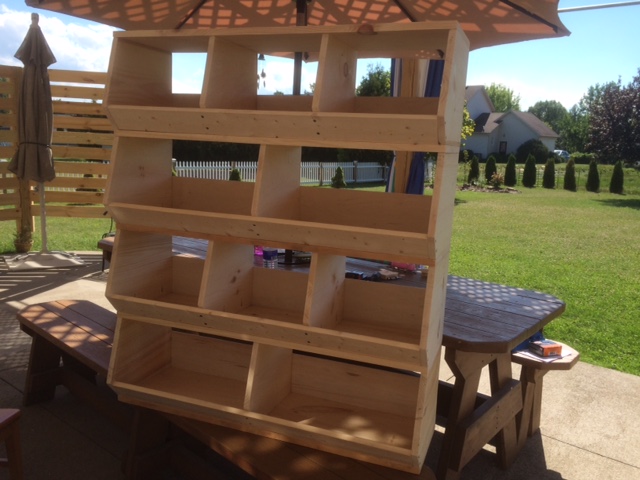
Toy storage bin

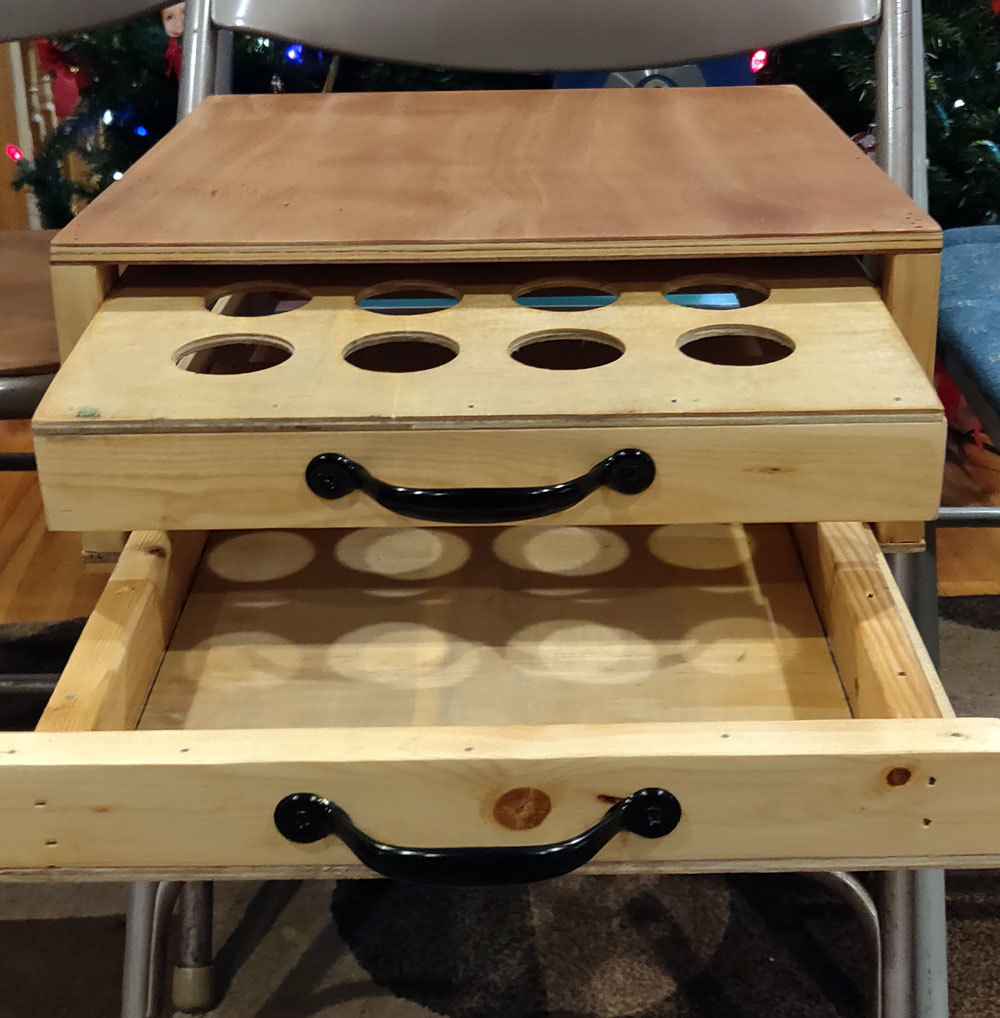
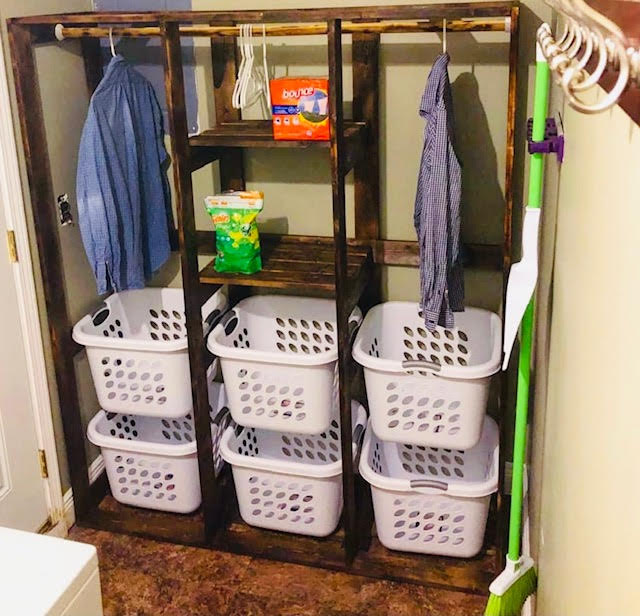
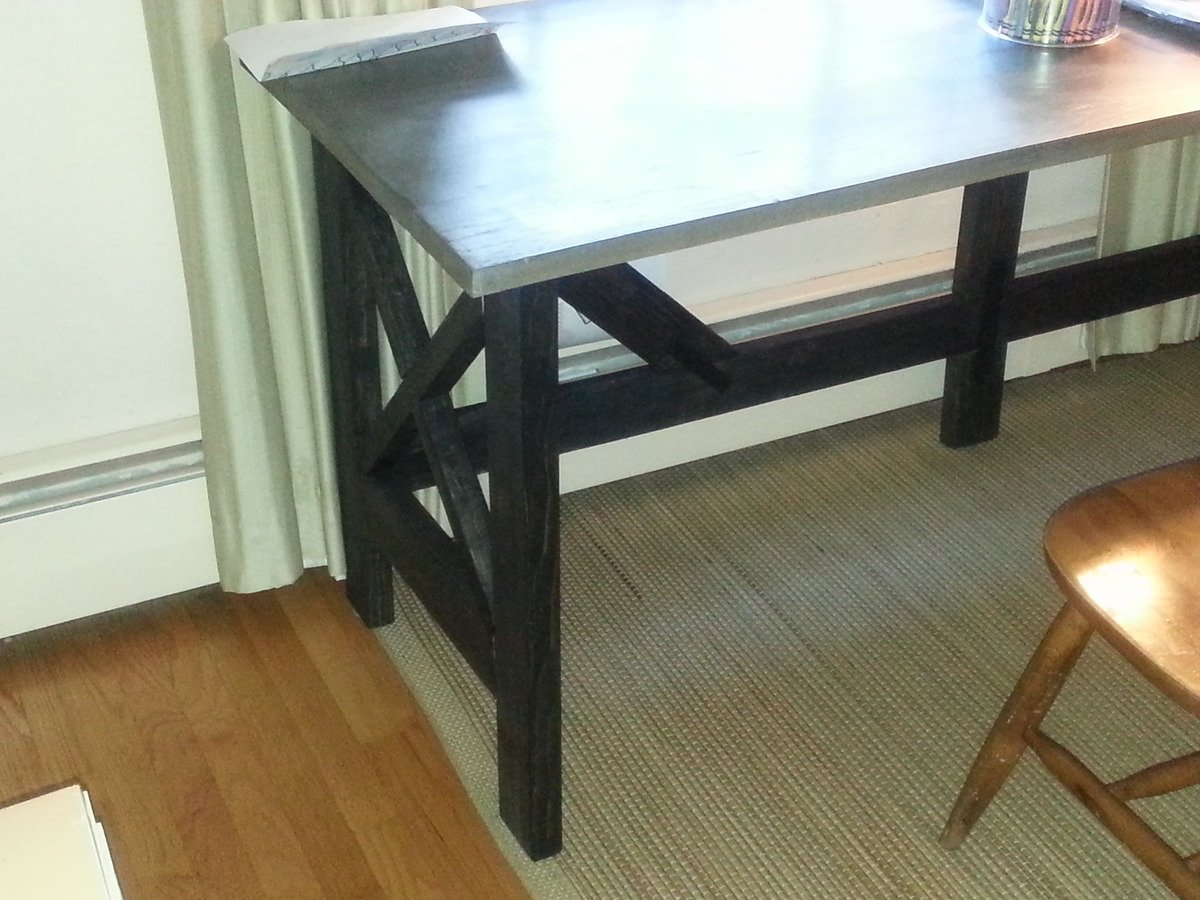
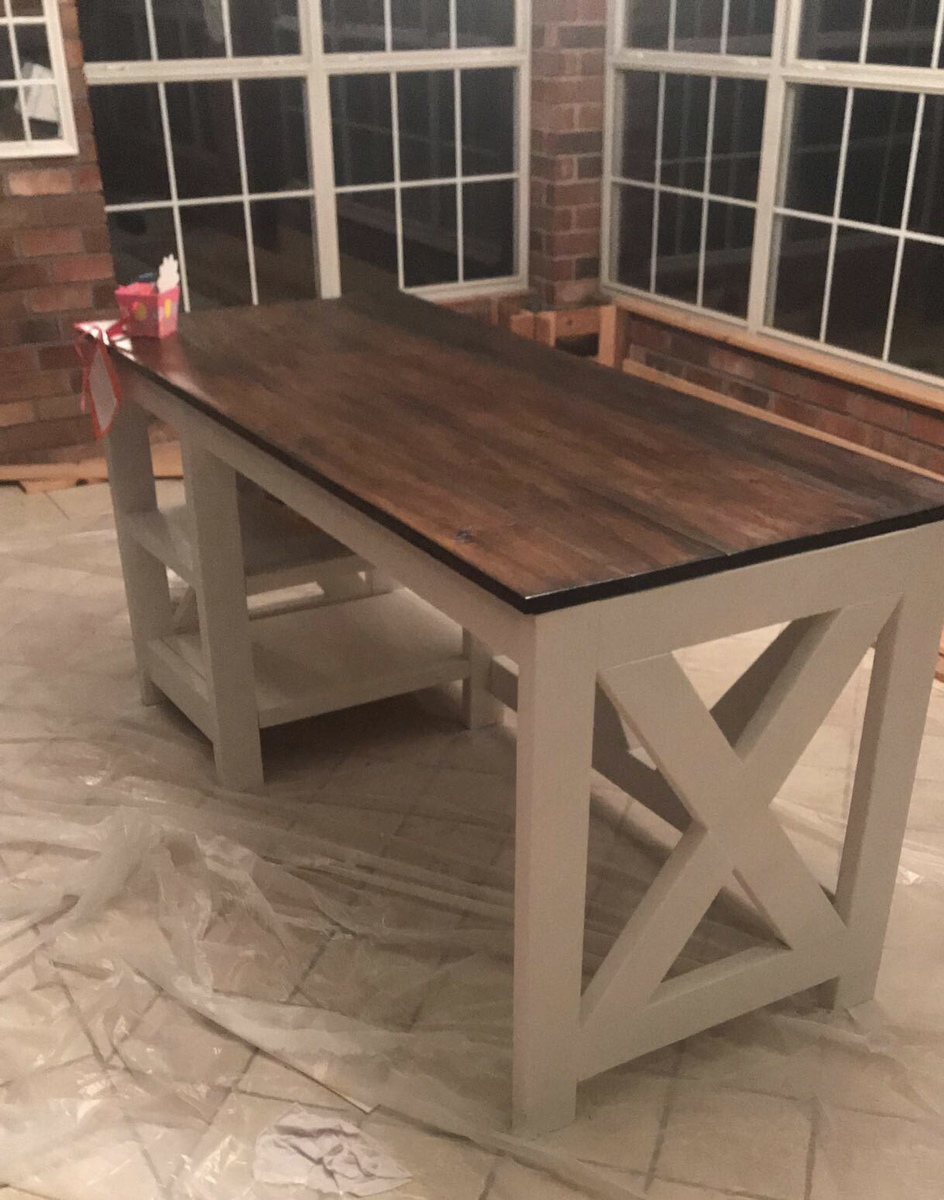
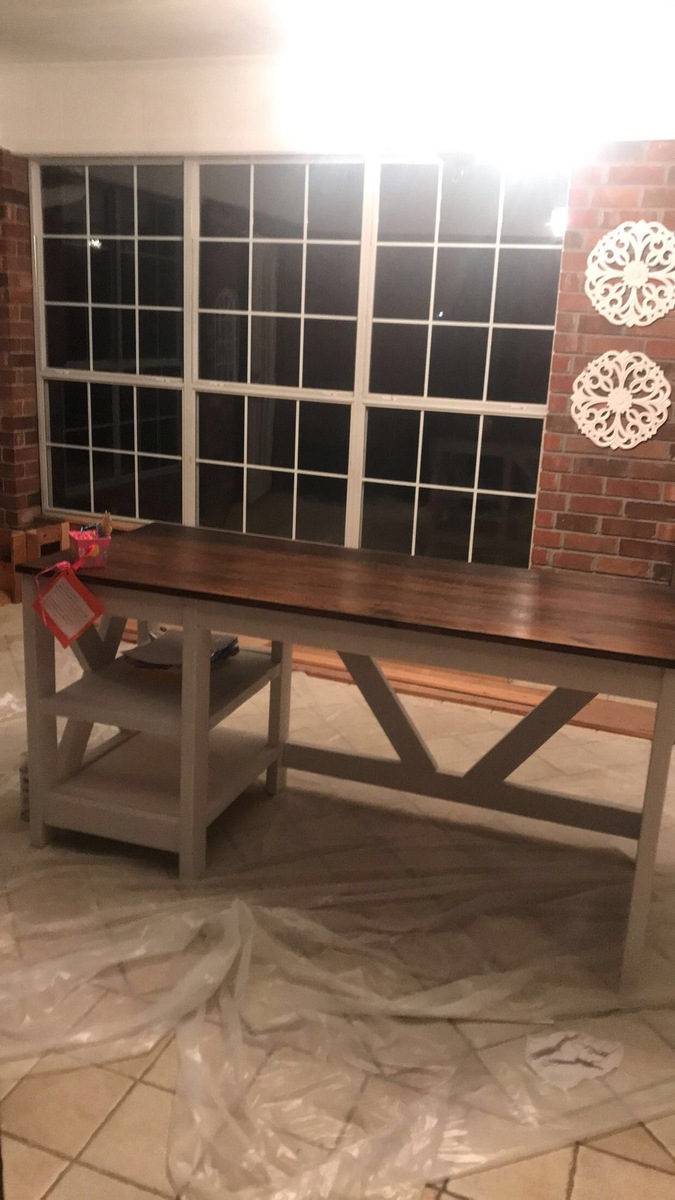
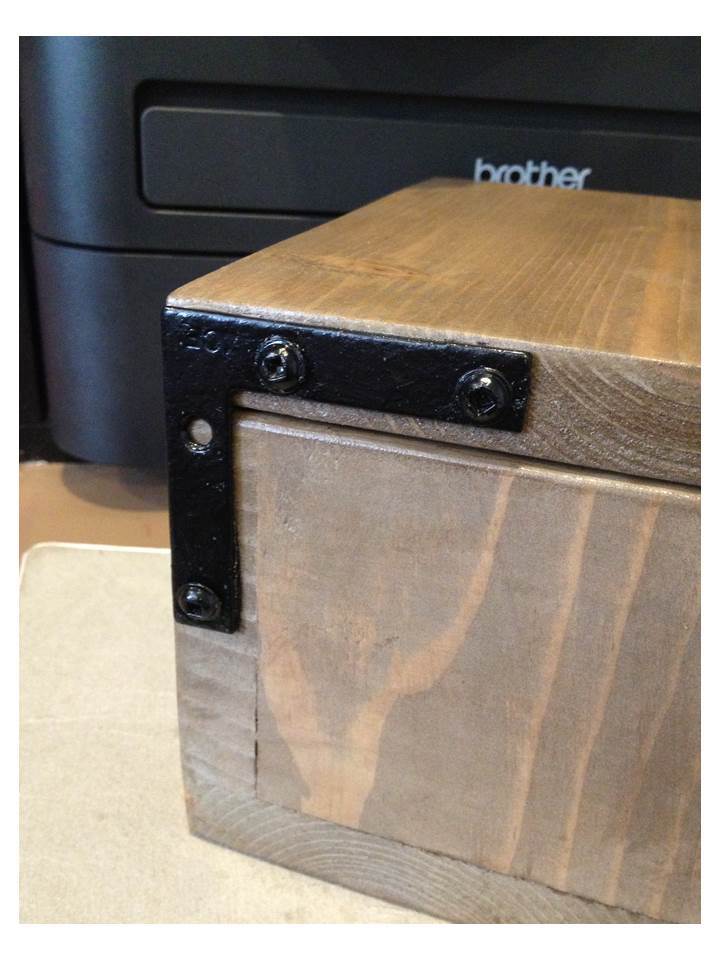
This was my first Ana White project and the first time using my new Kreg jig that my wife bought for me as a birthday gift. I modified the plans to build this as one complete unit and not as separate bins to be stacked. I used my Kreg jig on the dividers and ends to attach each section to the next. This saved on material and made it a bit lighter since I was building it 4 units high. I added small 2x3 feet to the bottom to clear an outlet behind the toy bin. Two L brackets were used to anchor the unit to the wall.
Built from Plan(s)
Estimated Cost
Cost was about $80 for materials. The stain was a mix from what I already had.
Estimated Time Investment
Afternoon Project (3-6 Hours)
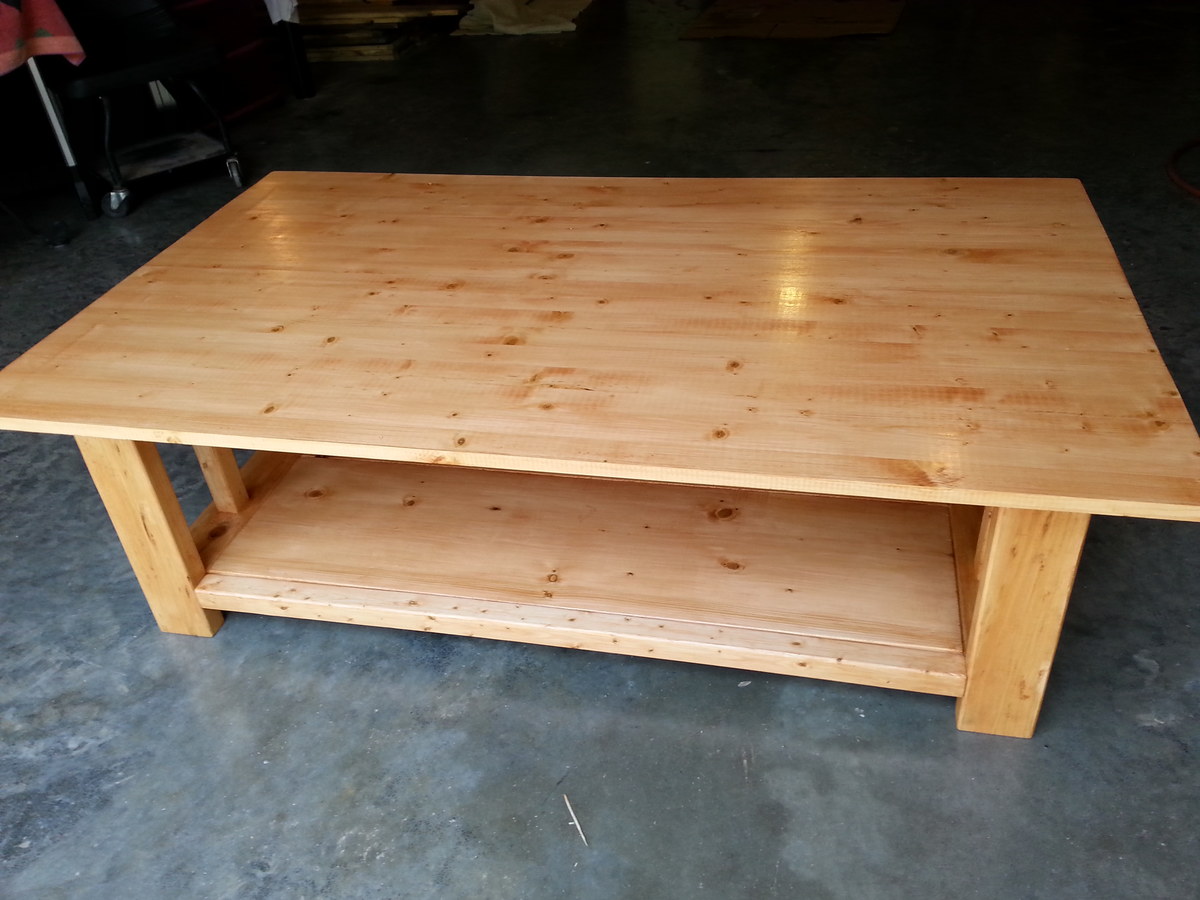
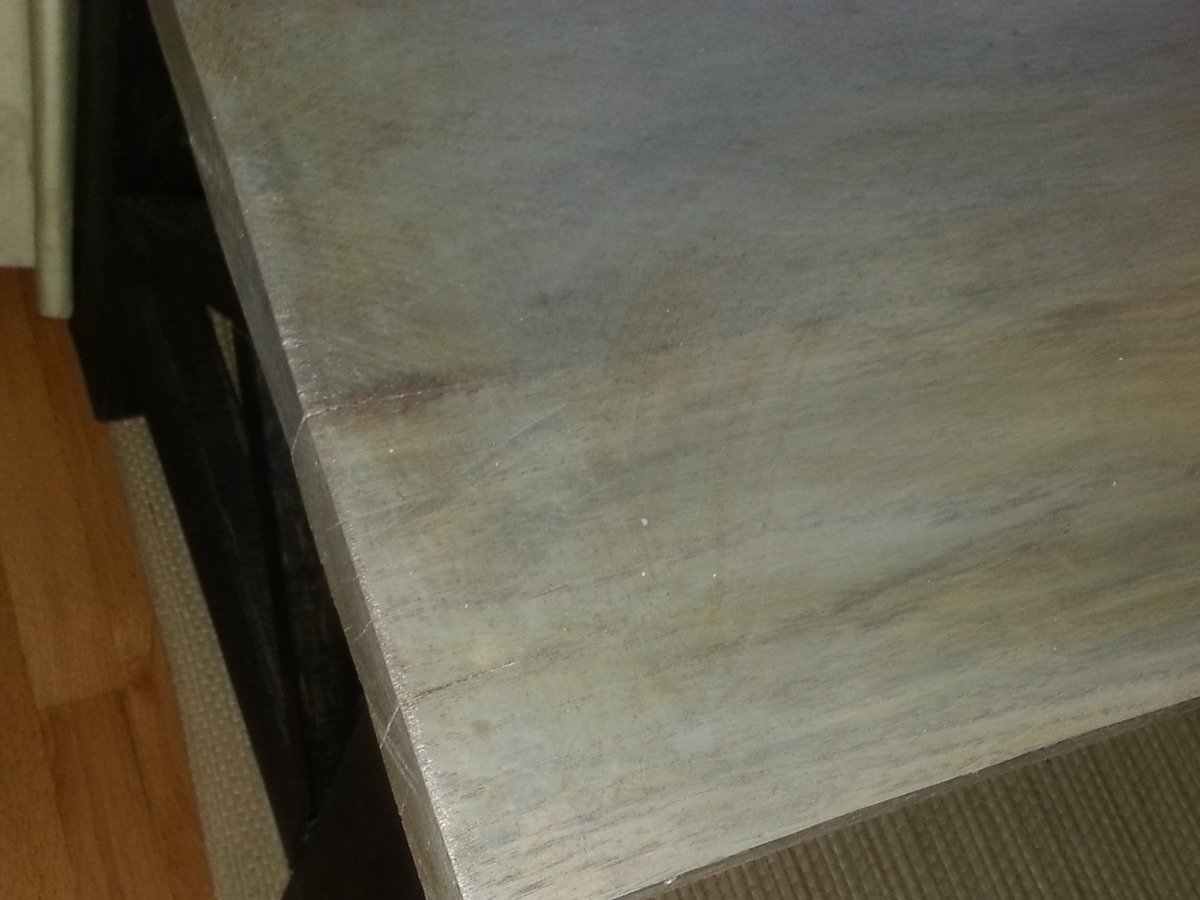
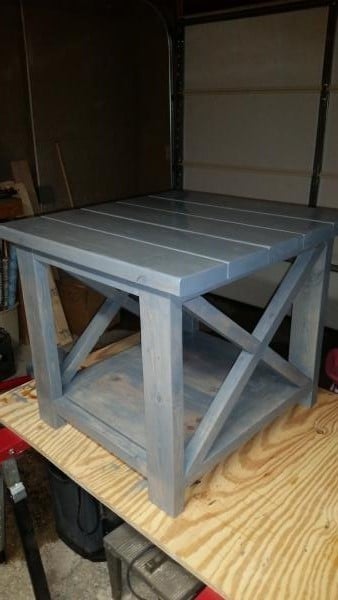
Finish Used
Minwax polyshades. This was a mix of a couple stains I had left over.
Recommended Skill Level
Beginner