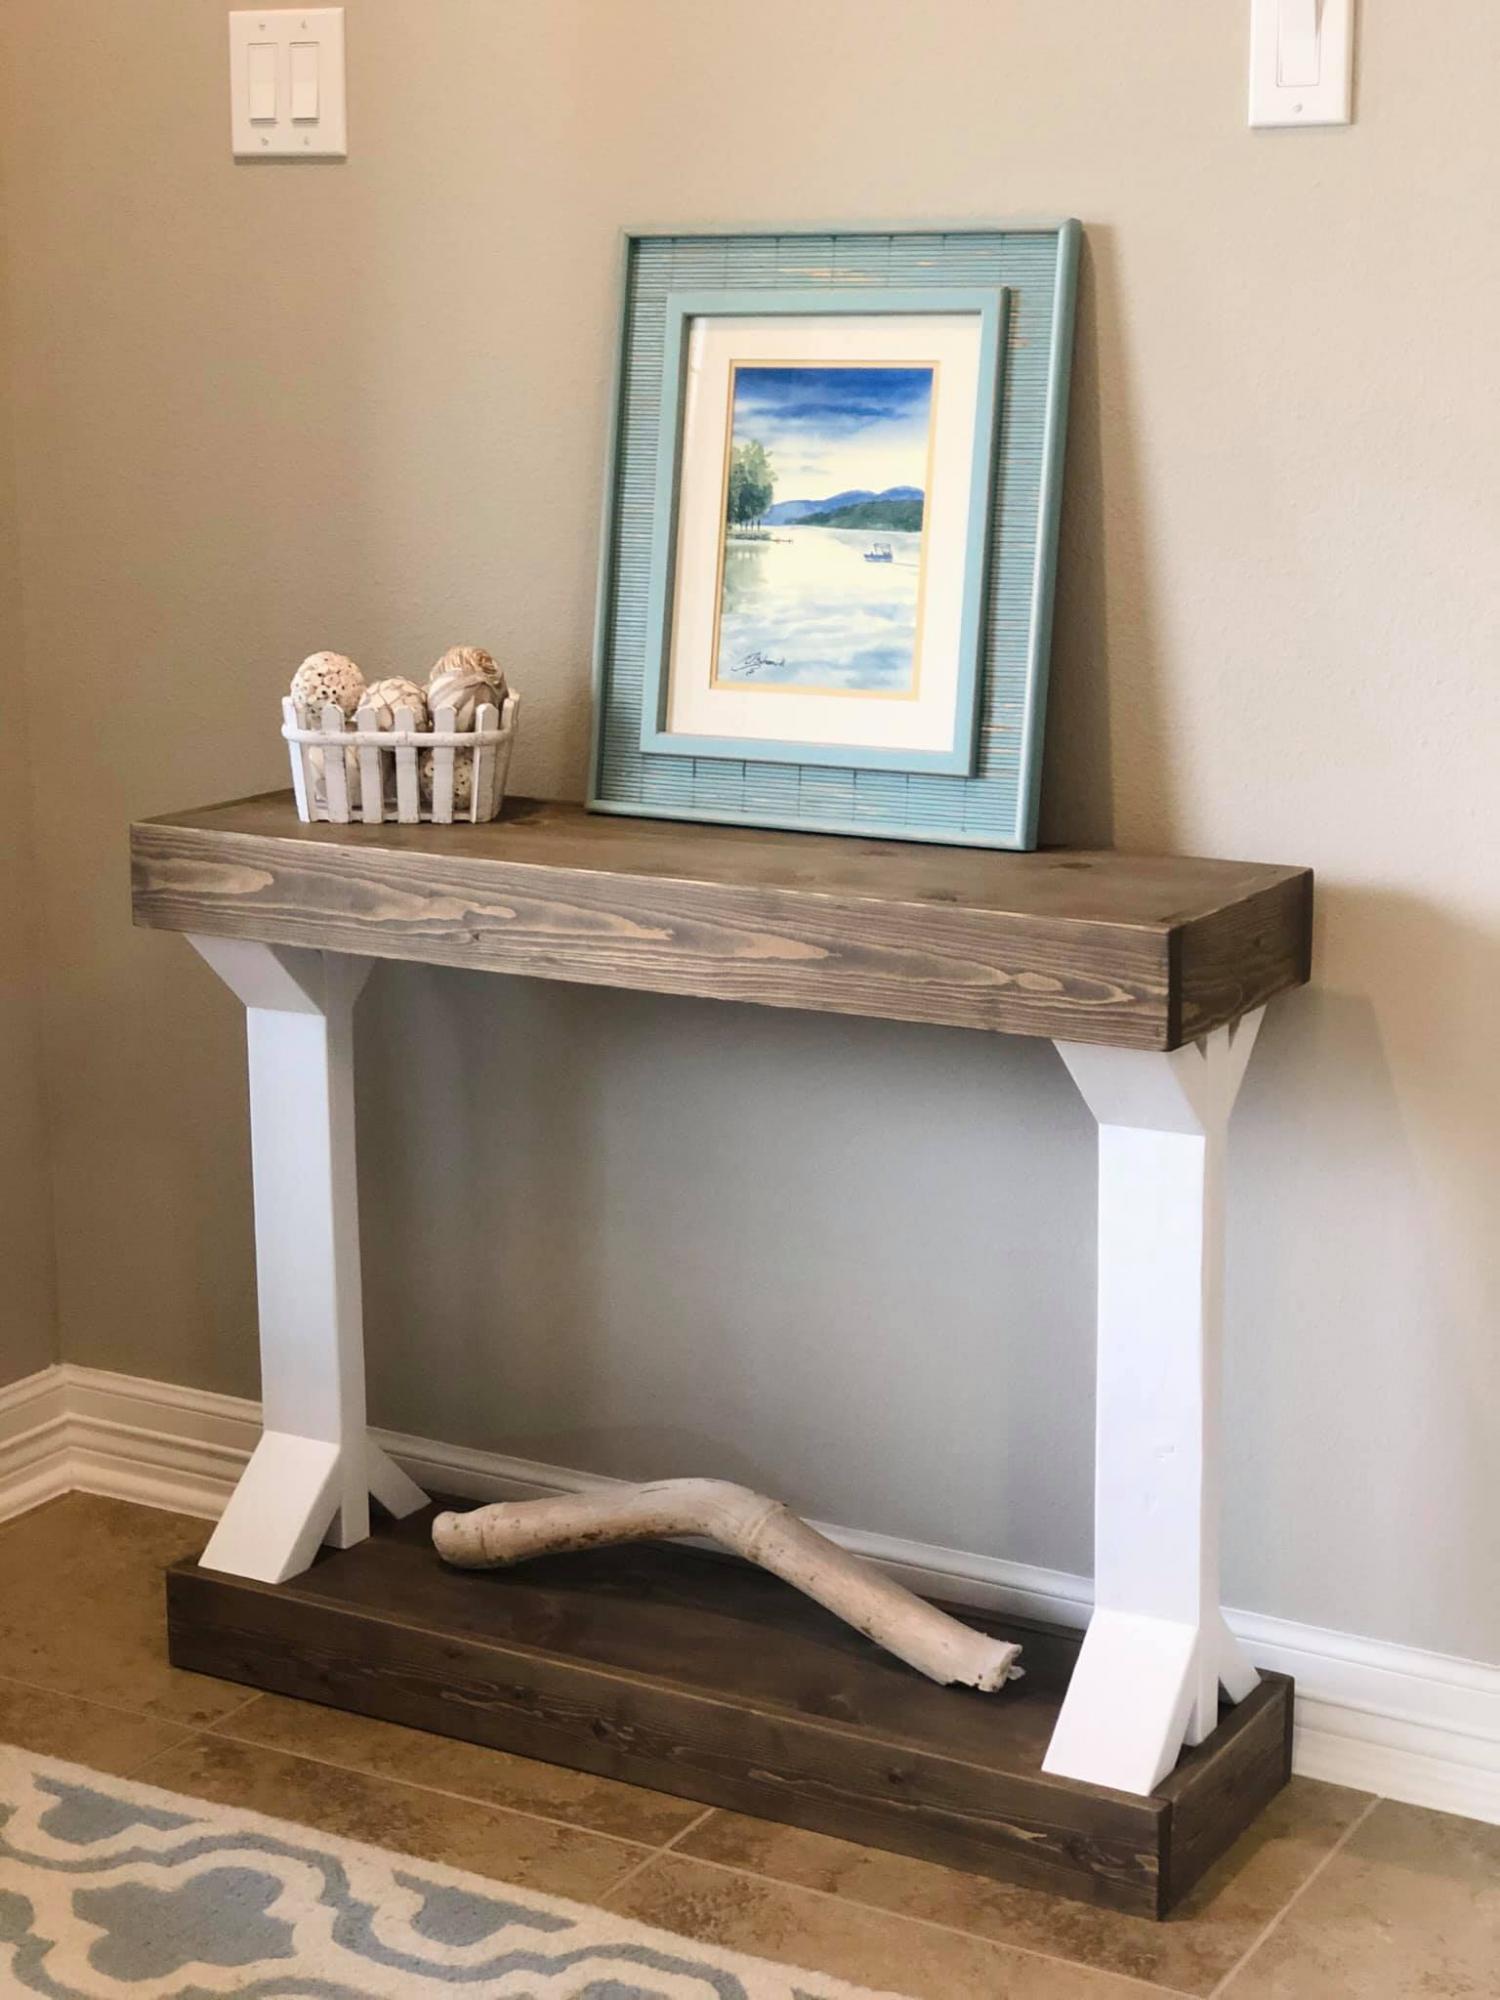
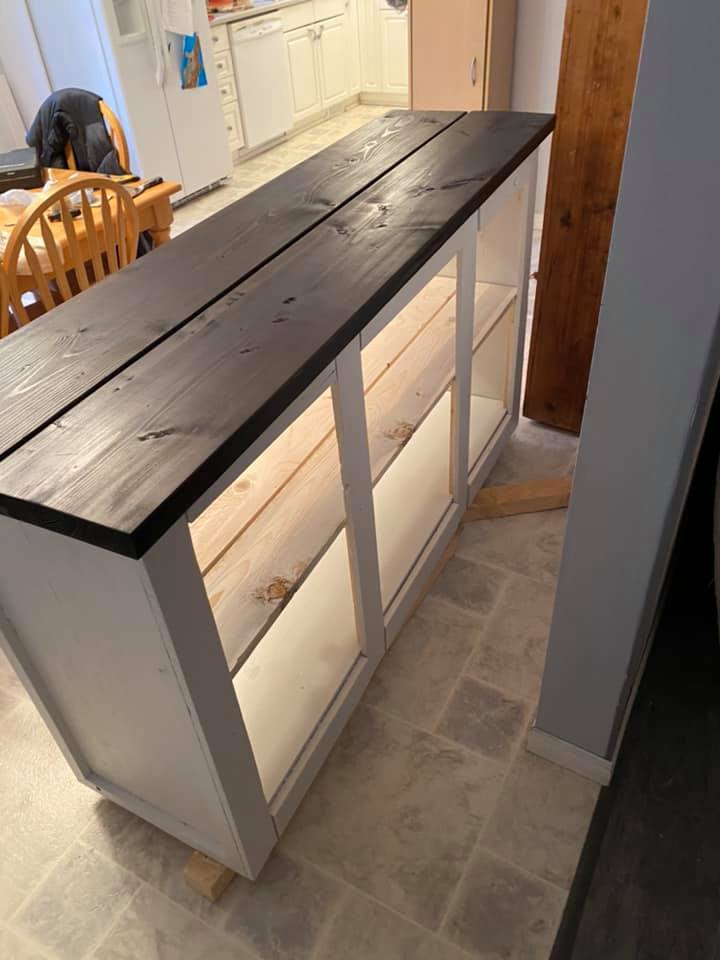
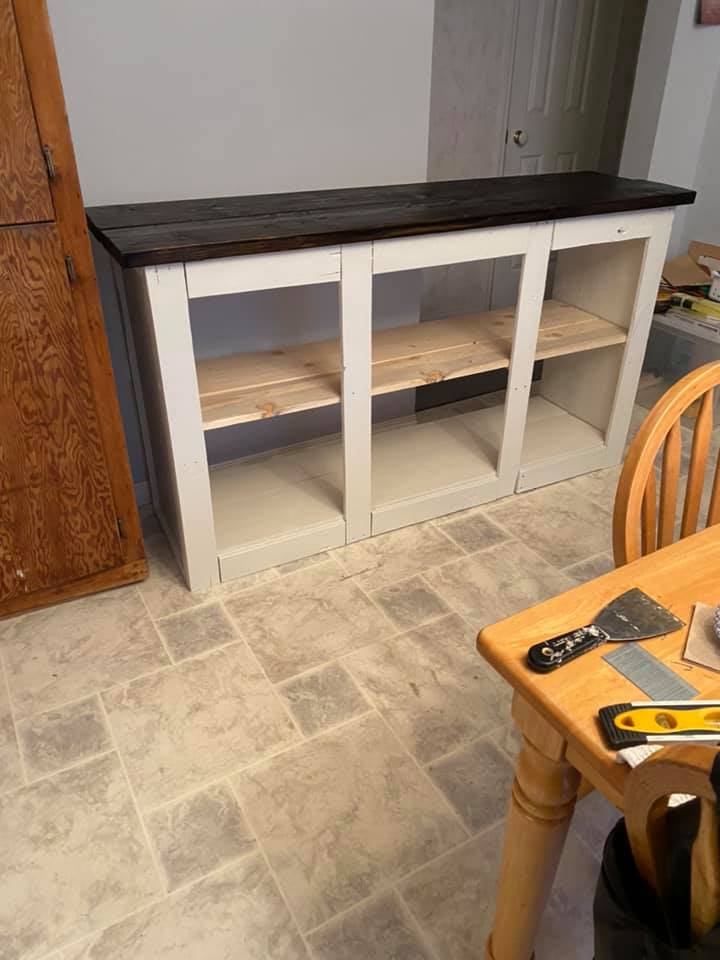
Narrow Console Table
New table for my entryway!
Built from Plan(s)
New table for my entryway!
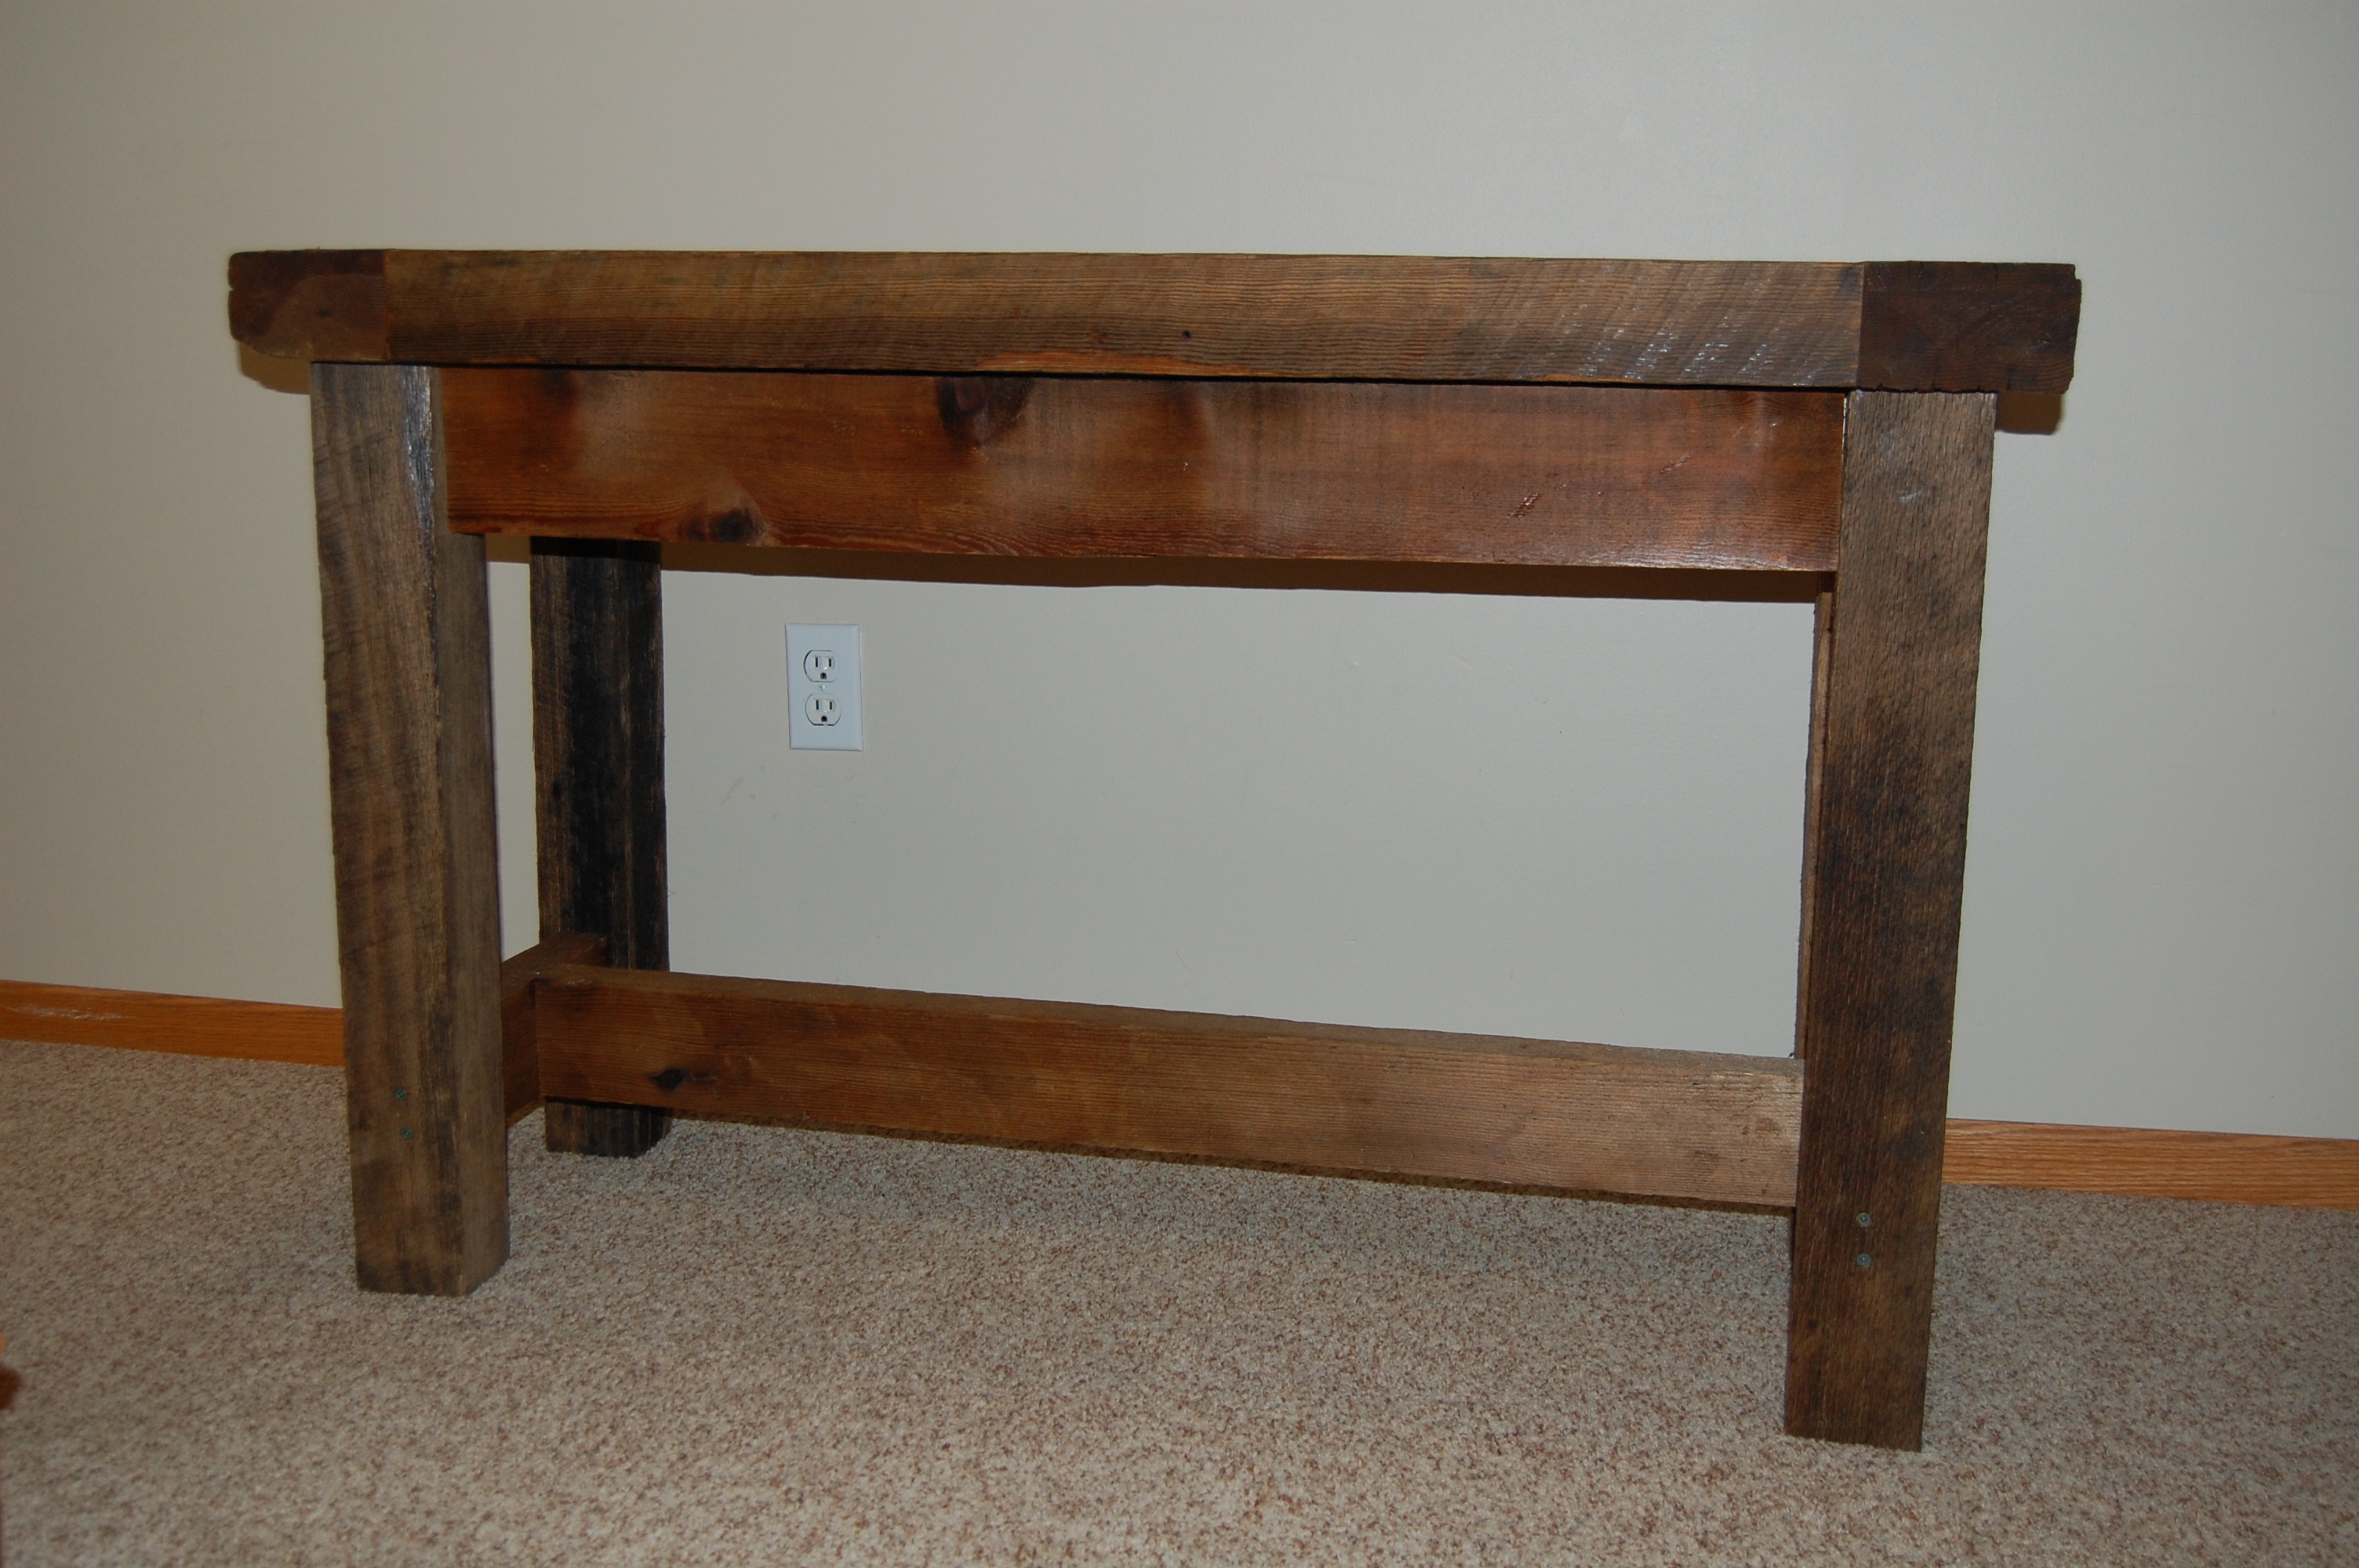
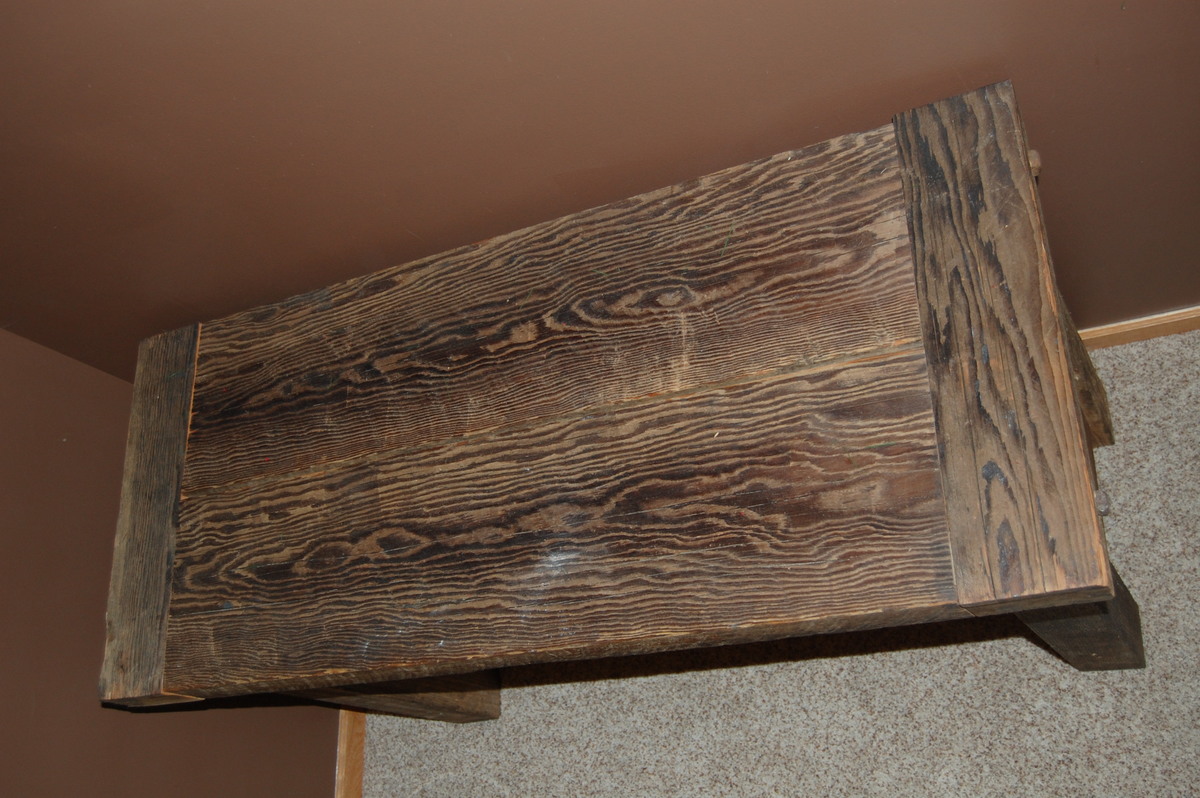
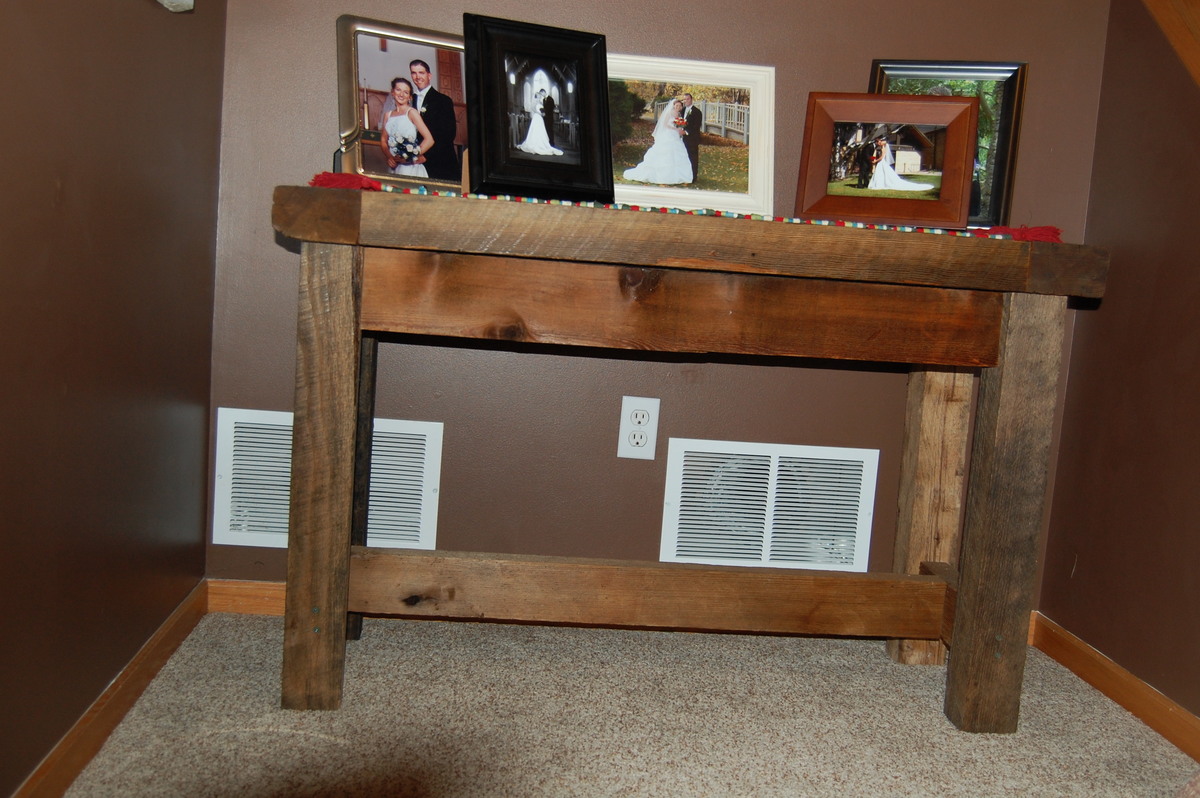
I needed to do something with the empty space at the bottom of our stairs. I was browsing Ana's site and the Tryde Console Table caught my eye. The next trip down to the farm, I scavenged for the wood I would need to build it. I found some beautiful old brigde timbers that were 9 inches wide so we modified the plans a bit to use 2 of the 9" boards instead of the 4 smaller ones the plans call for. The dimensions were close but we needed to tweak the rest of the project a bit as well to make it all work. For the finish, I just rubbed it with Tung Oil as to not cover up the beauty of the old wood.
Tue, 02/12/2013 - 02:51
Perfectly done...Made in small period and very cheap price. Good work.
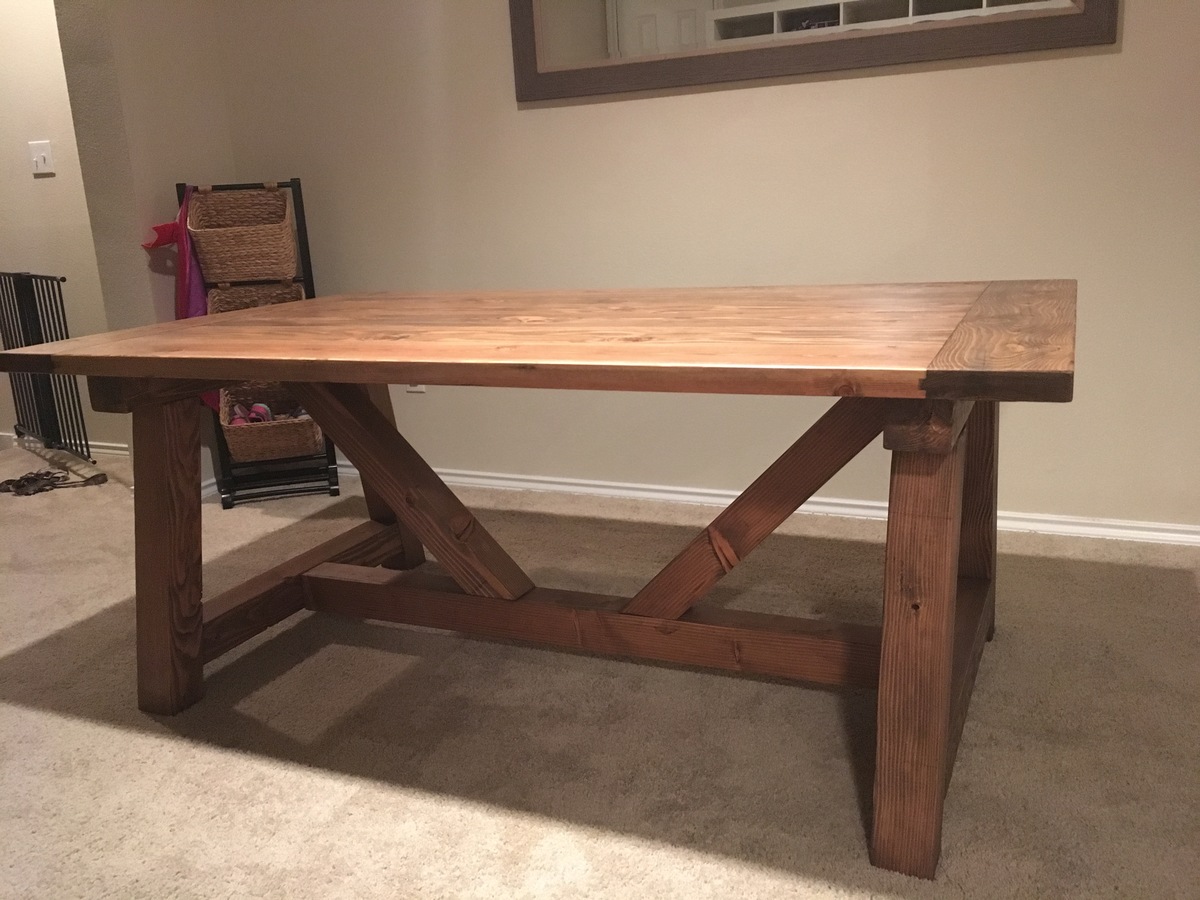
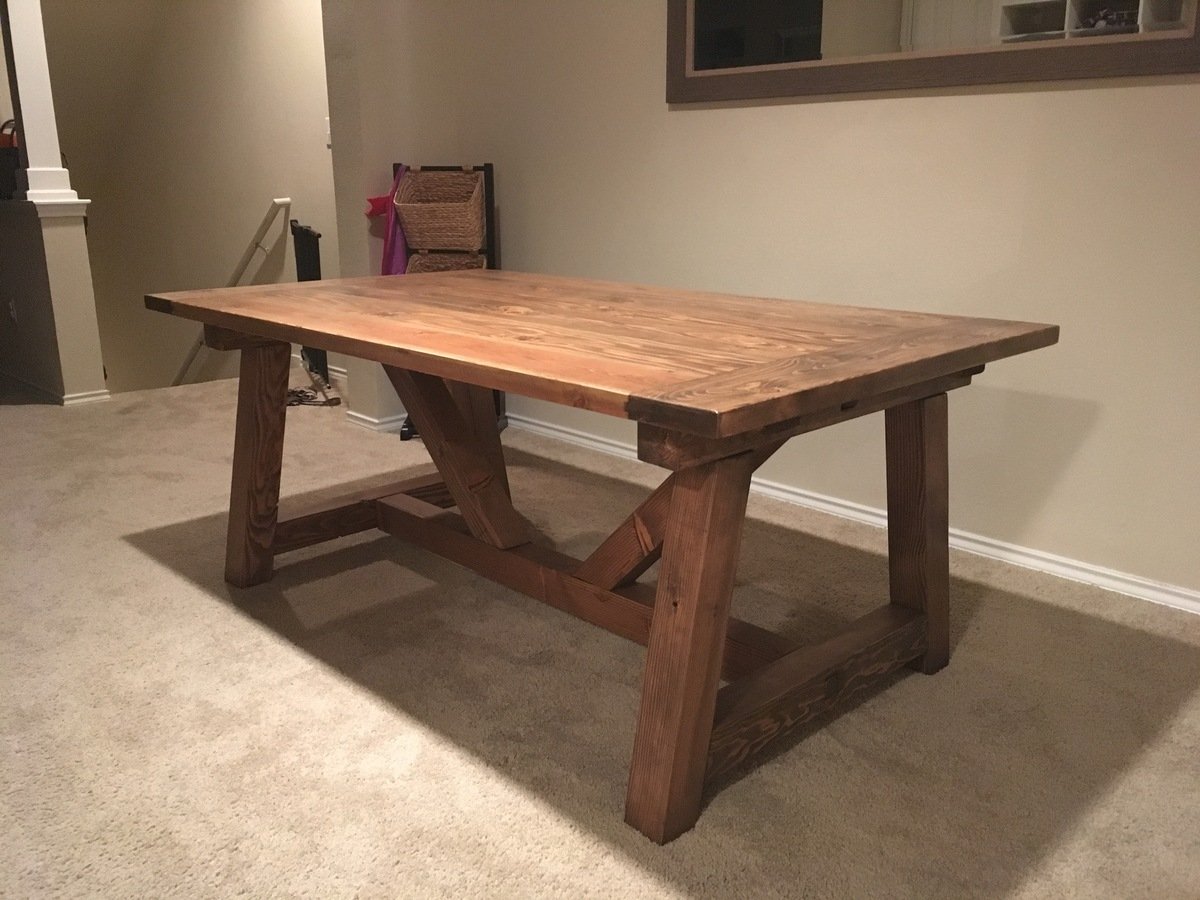
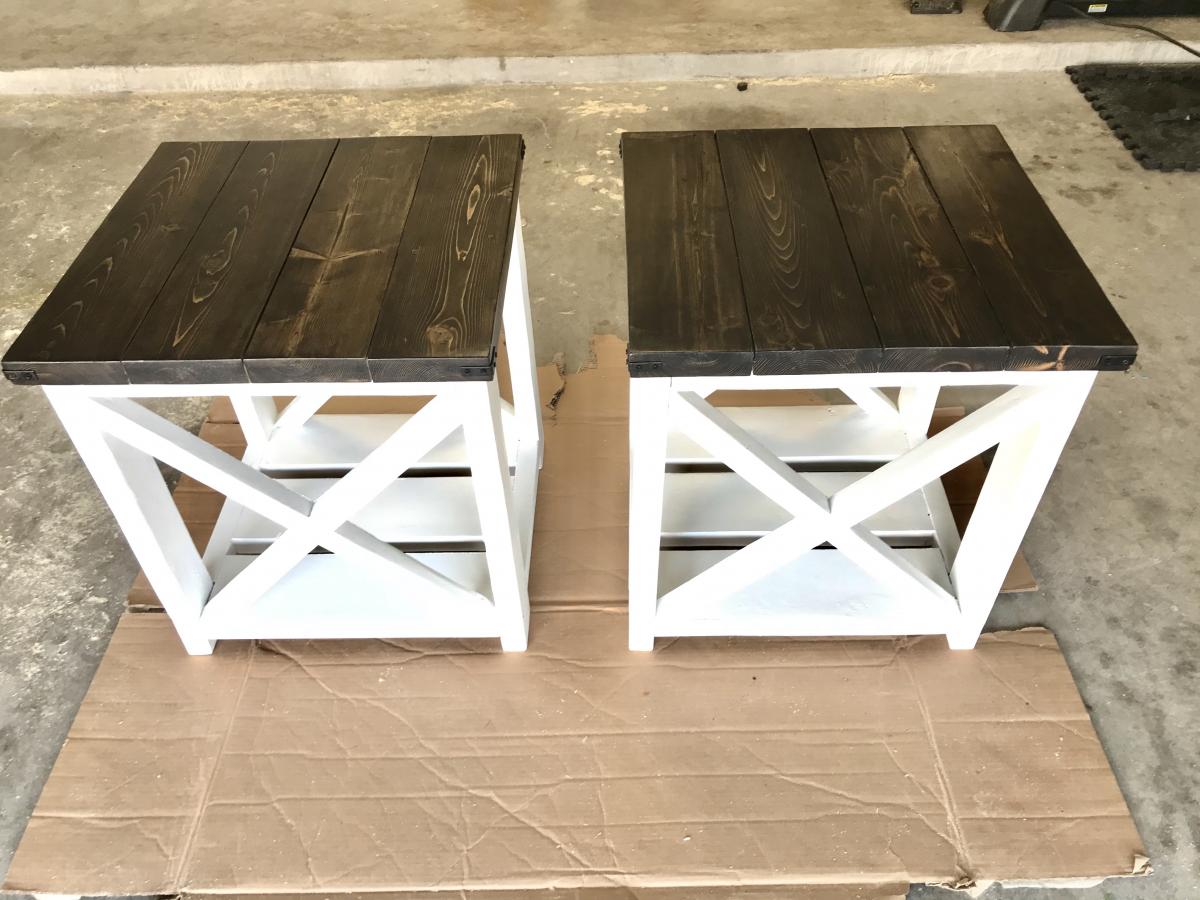
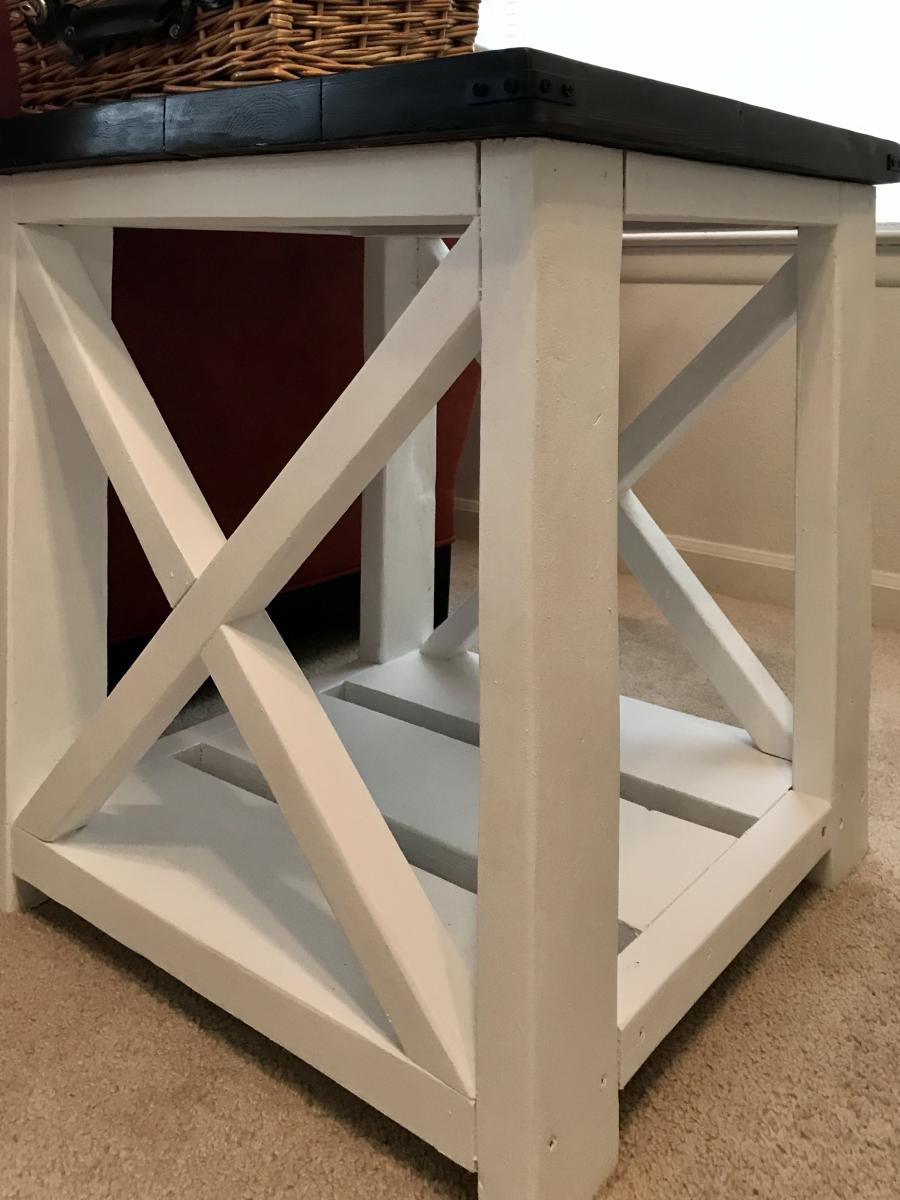
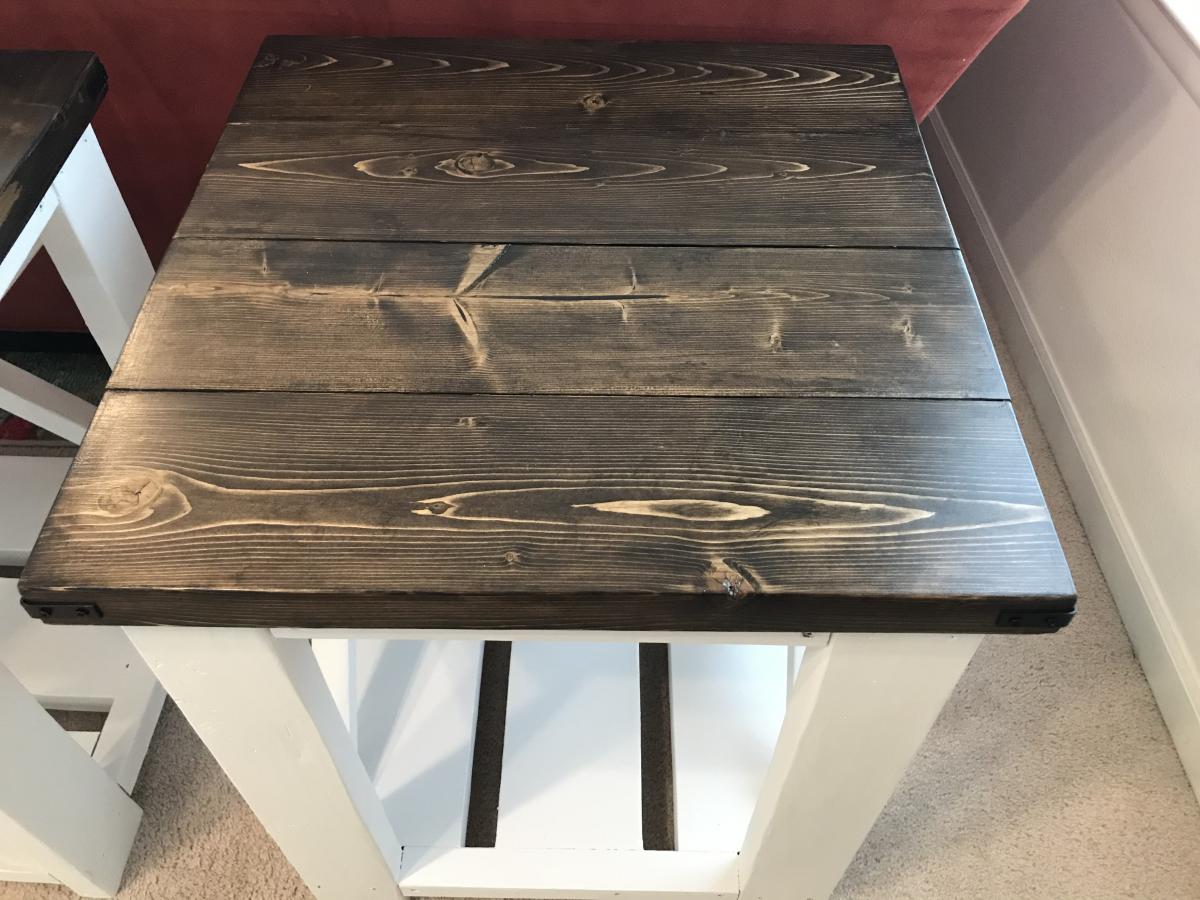
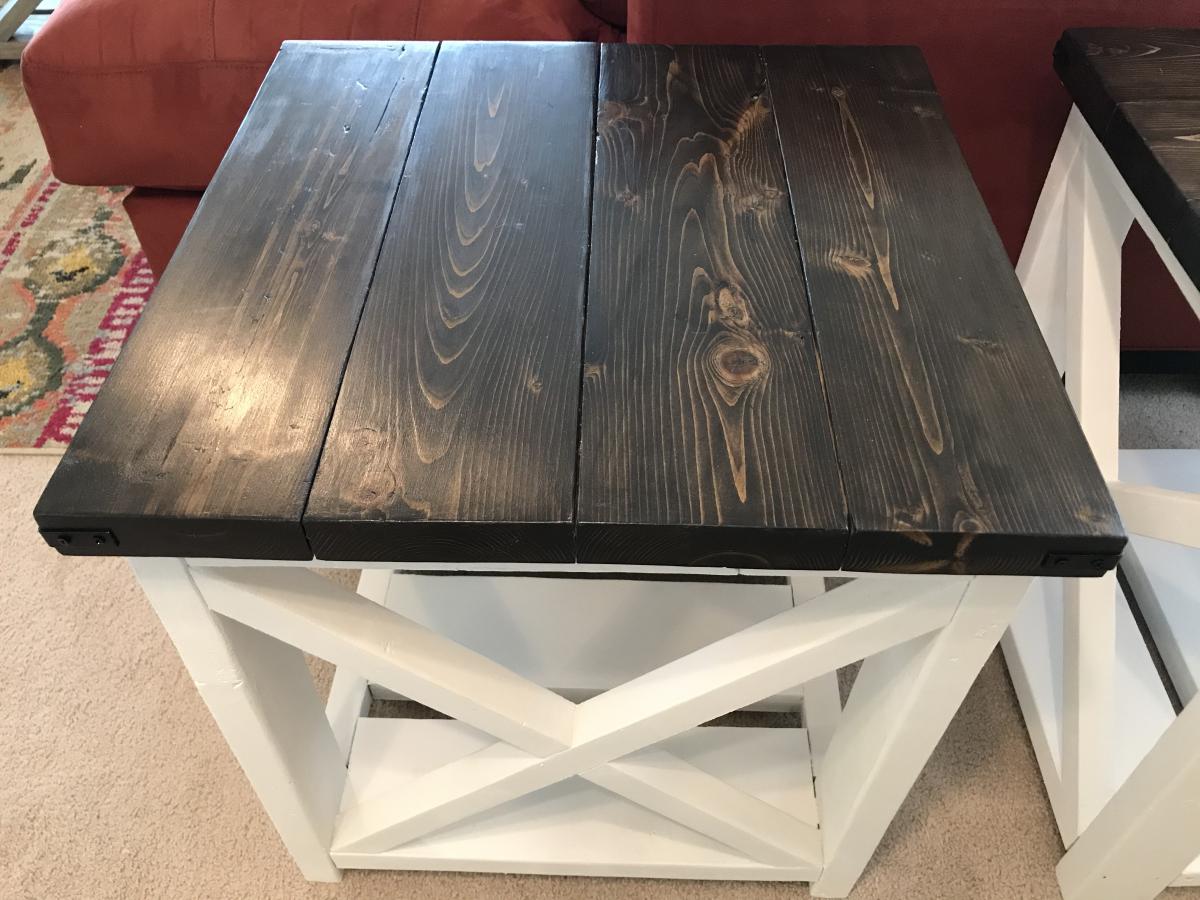
This was a weekend project , lots of fun !
mortise and tenon joints with dado for breadboards

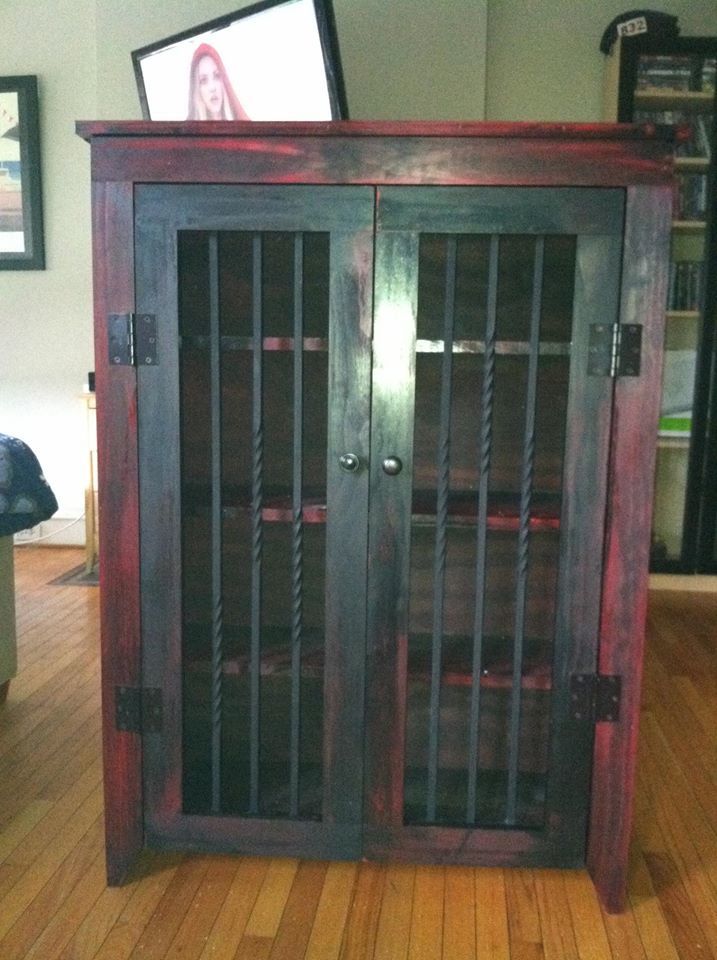
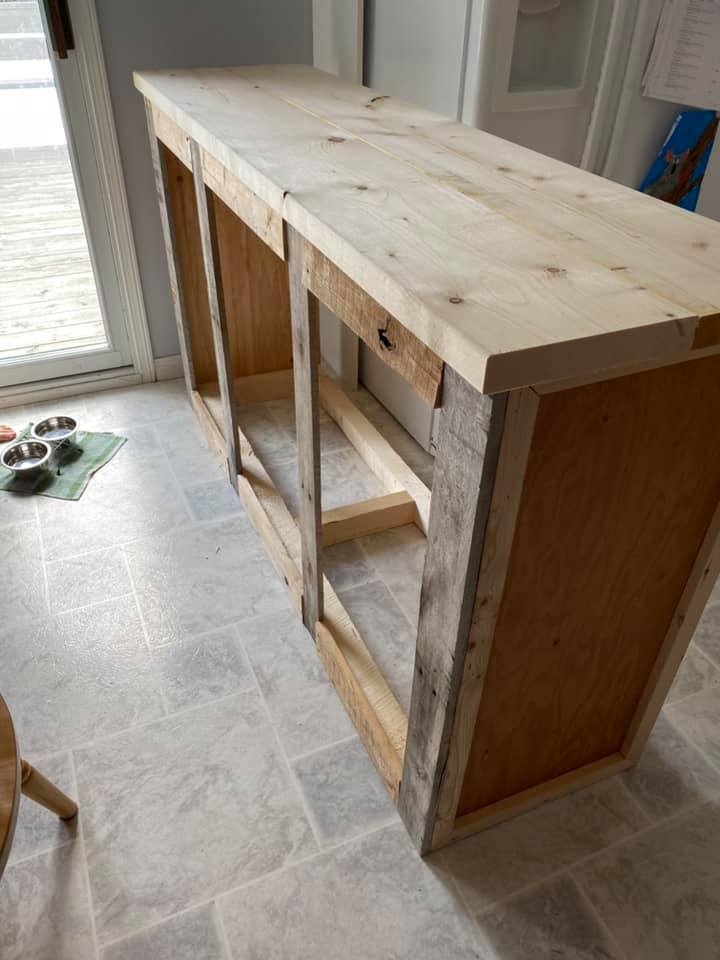
Love this barn door console cabinet made from rough lumber and some old pallet wood. Sanded and painted for about $160 Canadian dollars. Modified plans to fit a specific spot. Thanks for the plans!

Wed, 09/23/2020 - 11:39
Thank you for sharing all of your great projects!
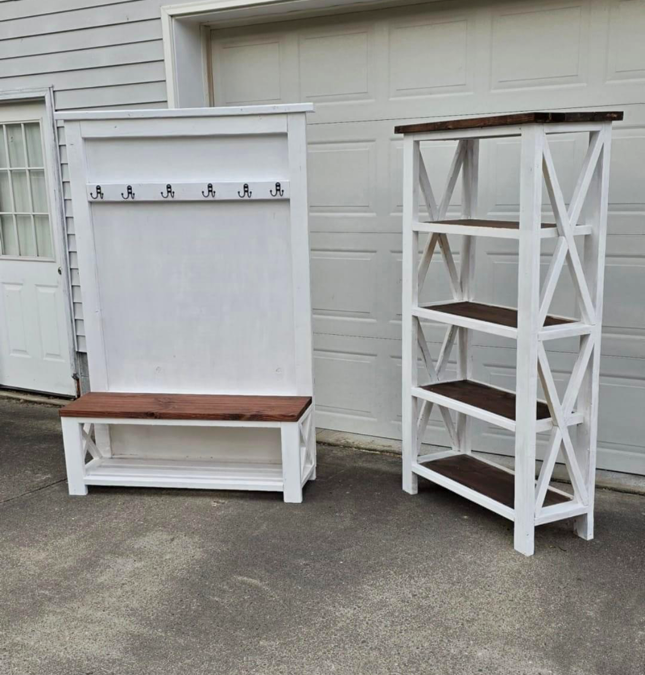
My mother in law wanted a hall tree so I built this for her, my wife wanted a shelf to put some stuff on in our dining room so I knocked that out as well. - Chris Frey on Facebook
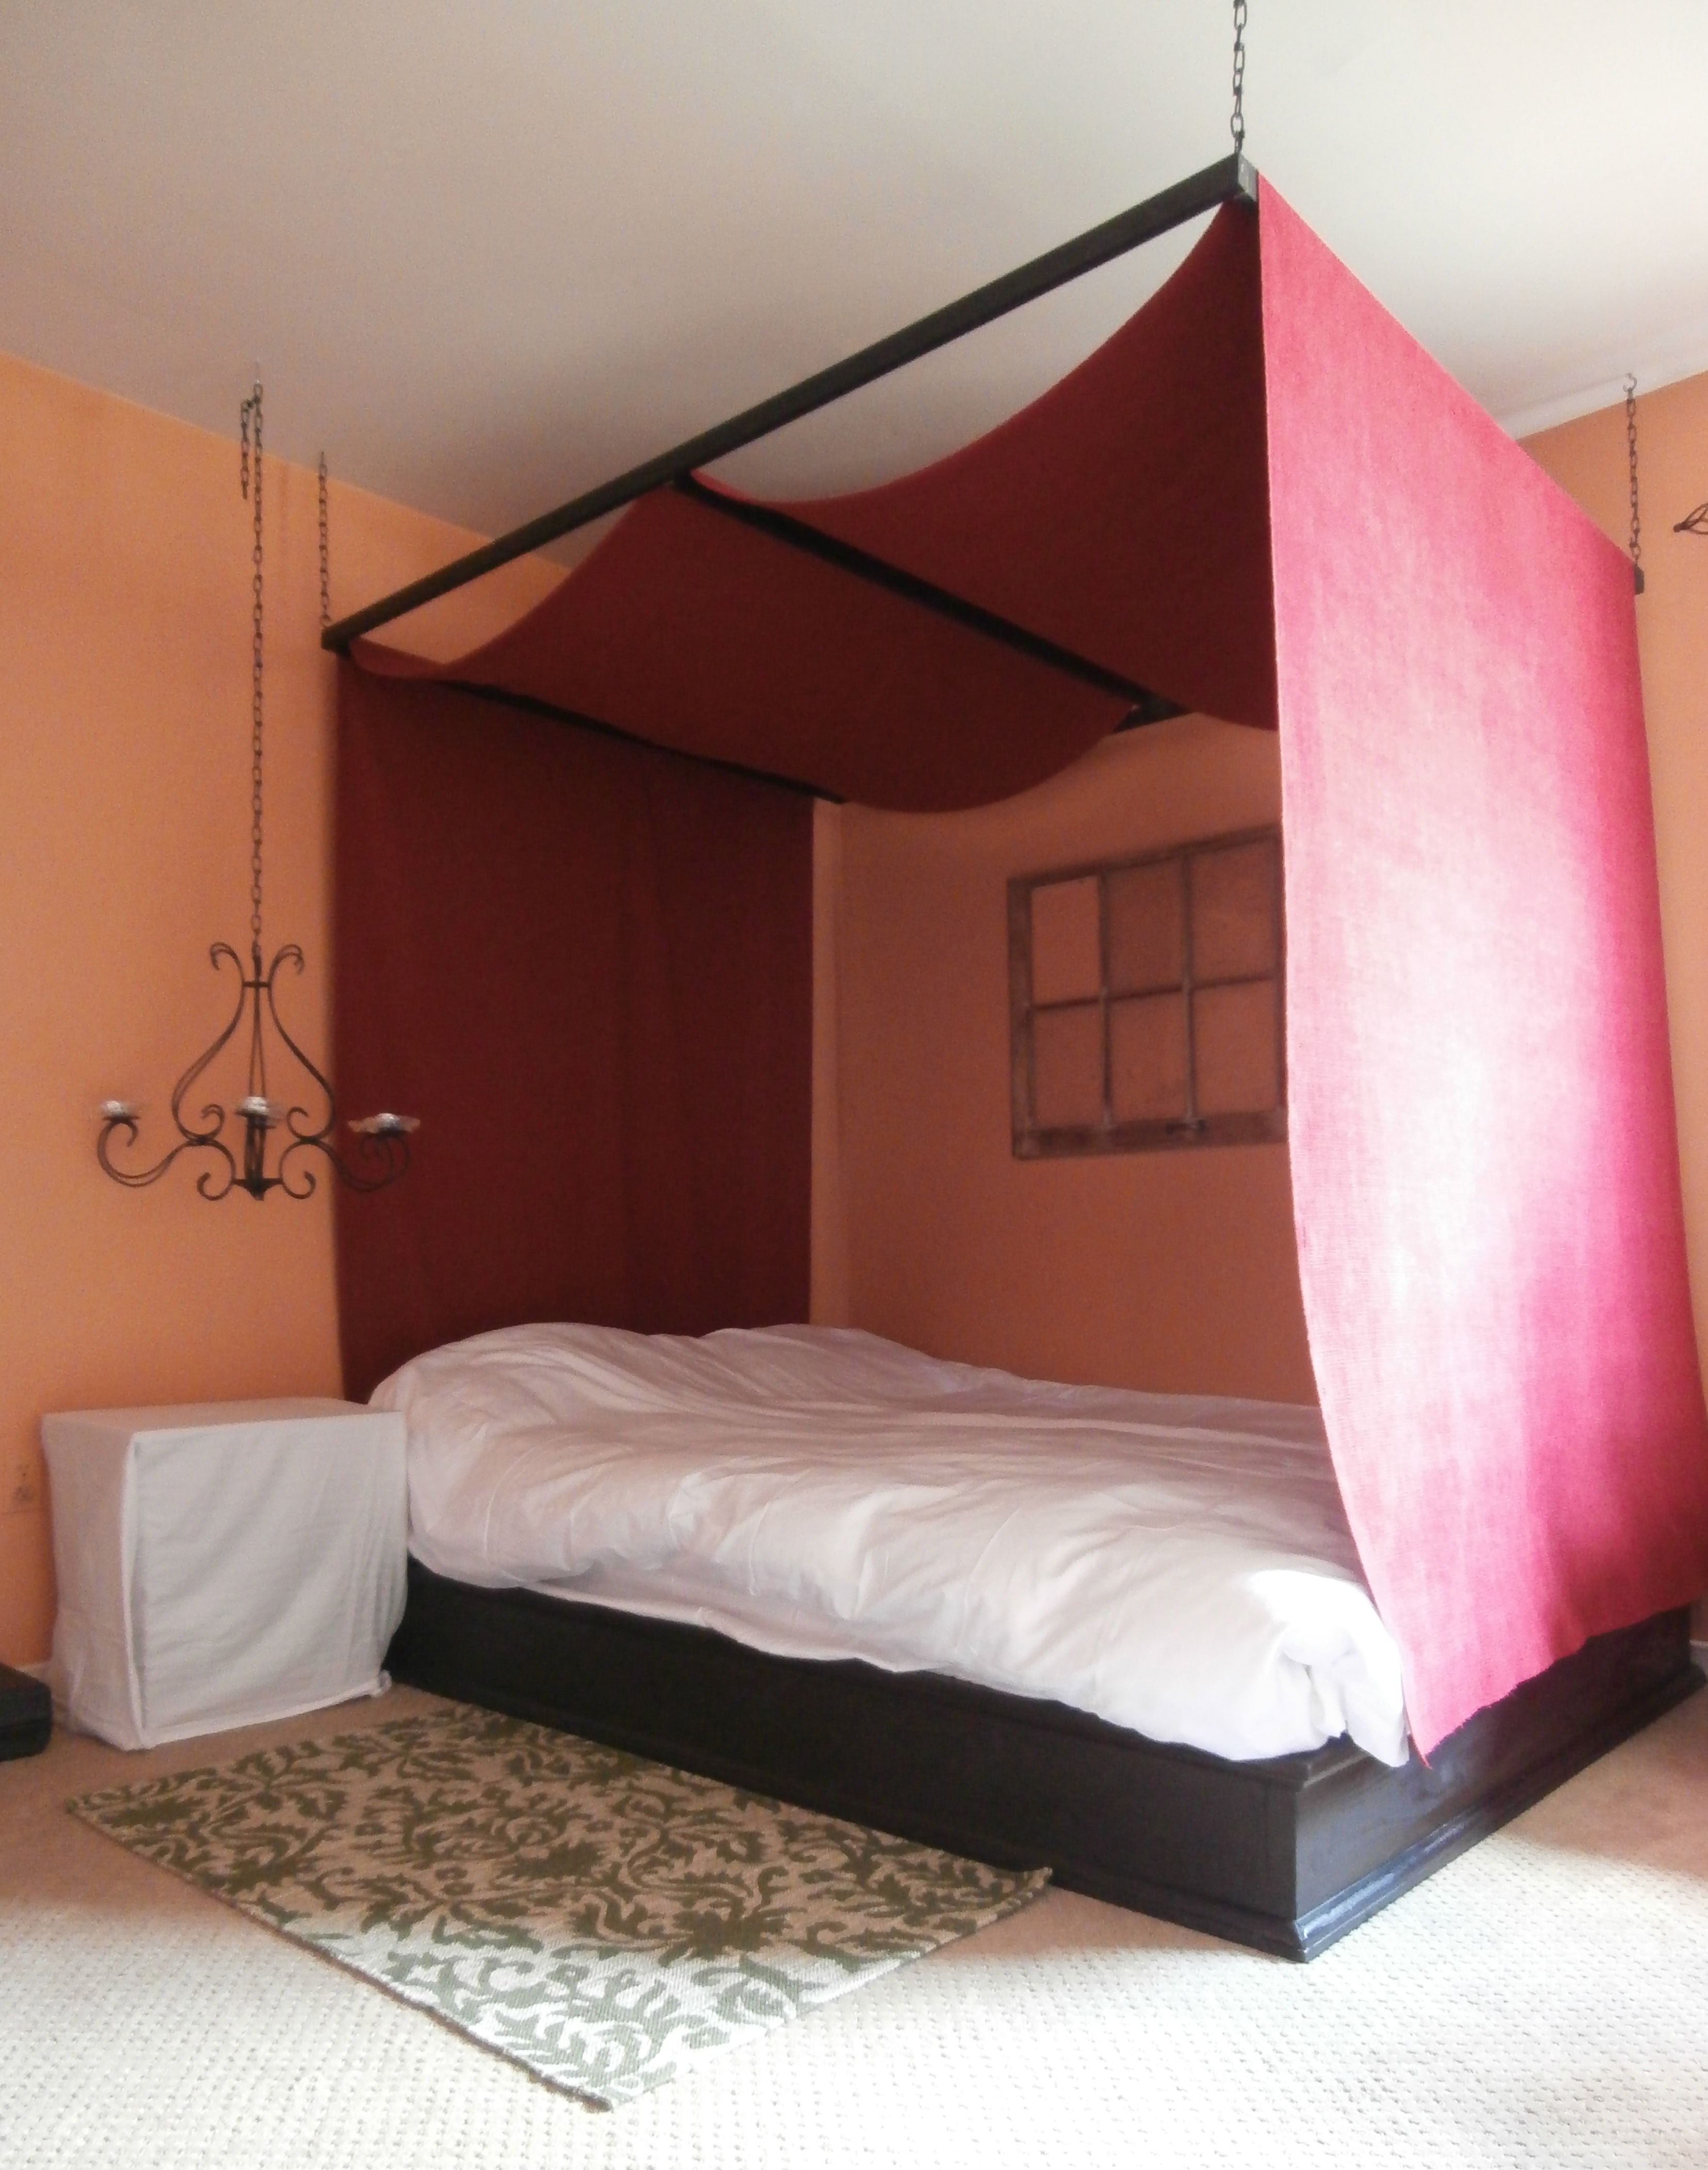
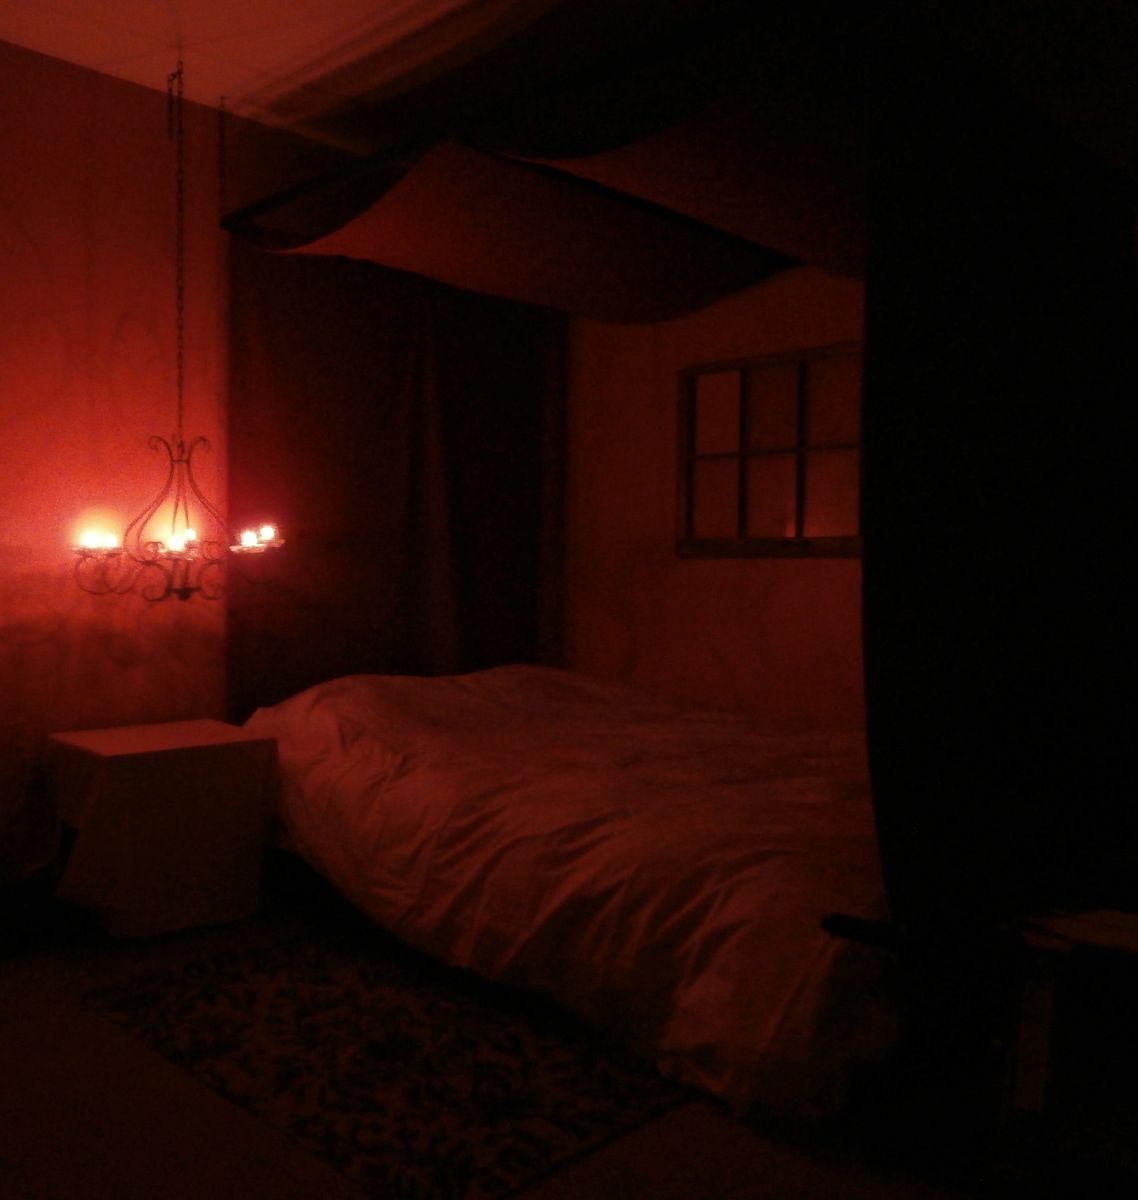
Chestwick queen platform bed! My first building project ever! Altered slightly from original plans in that I left the feet off so it sits on the ground. Added a canopy that hangs from the ceiling. The chandelier is an antique from Great Barrington, MA that I found at an antique shop while hiking the Appalachian Trail. Took the wiring out and sprayed it black. Now it's rigged to use with candles for a super-romantic look. :)

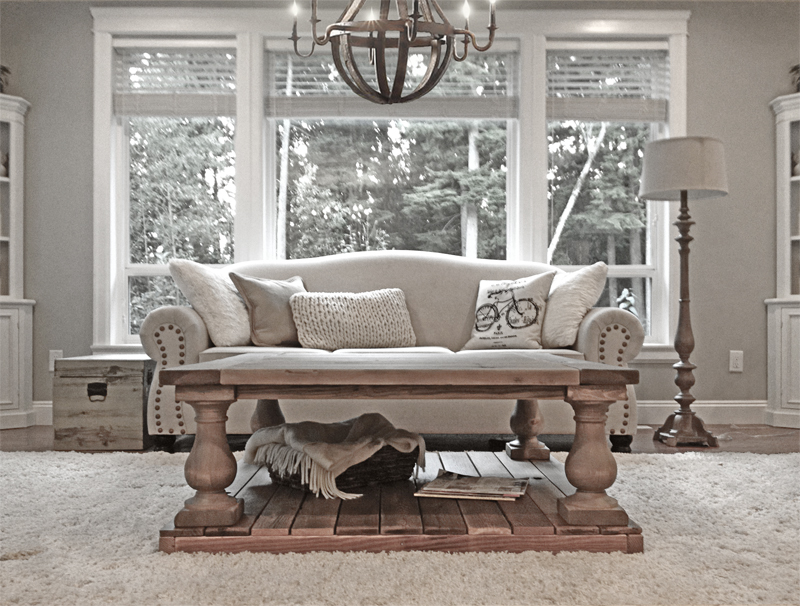
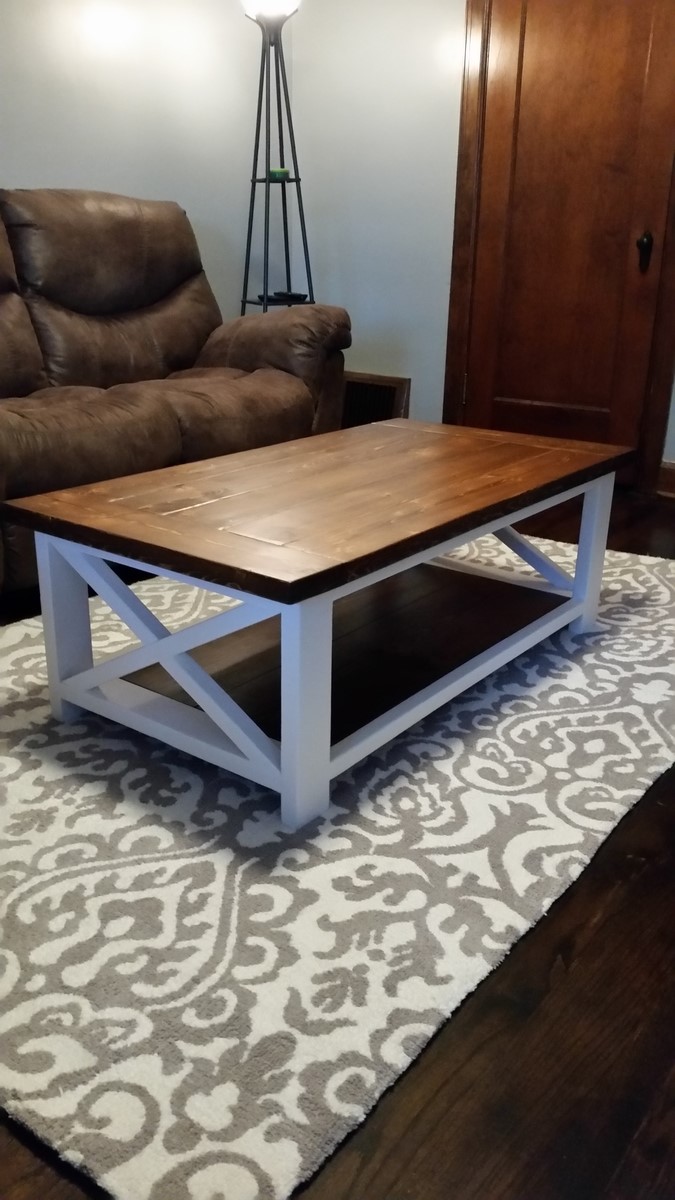
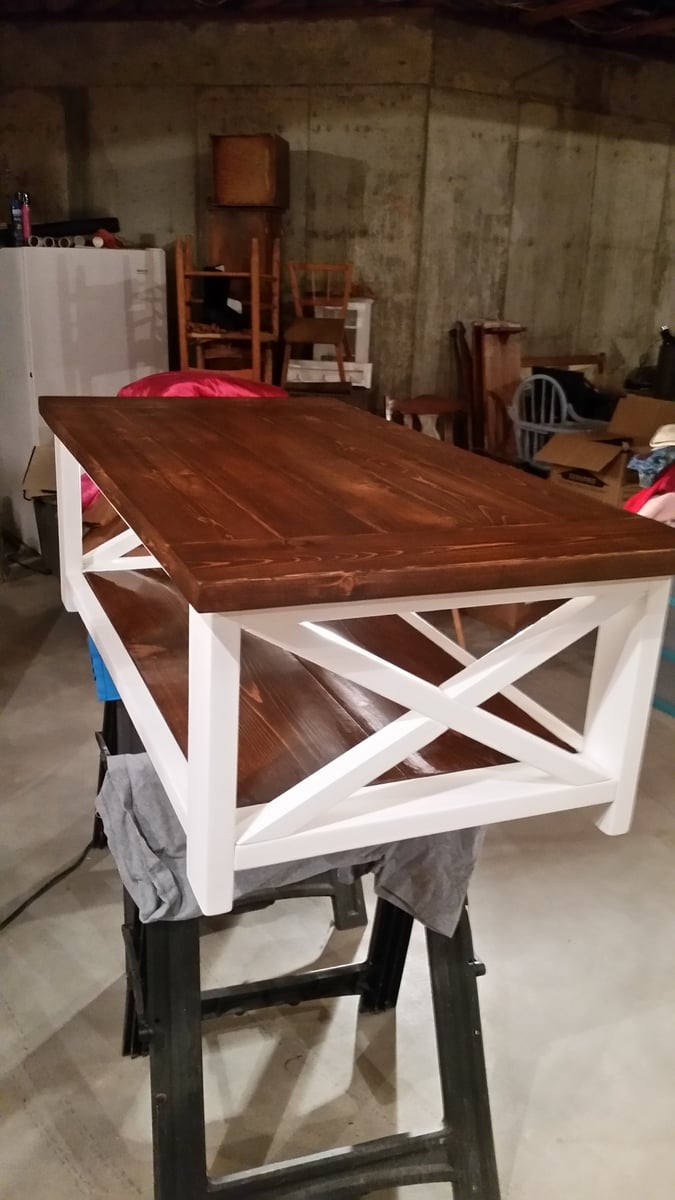
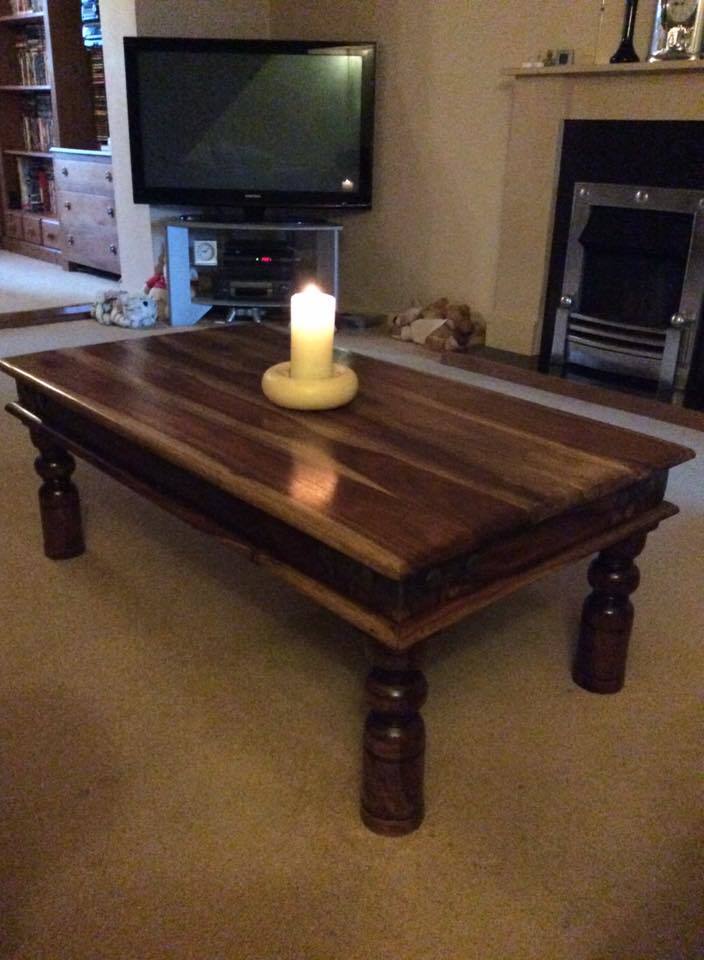
Loved this coffee table ever since I saw it at Restoration Hardware. Thank you Ana & Jen.
In reply to So Perfect! by Ana White Admin
Mon, 09/29/2014 - 15:59
I loved building it! the funnest thing I have made so far. Thanks again for the comment Ana. =)
Cheers,
Justin

Tue, 10/07/2014 - 20:59
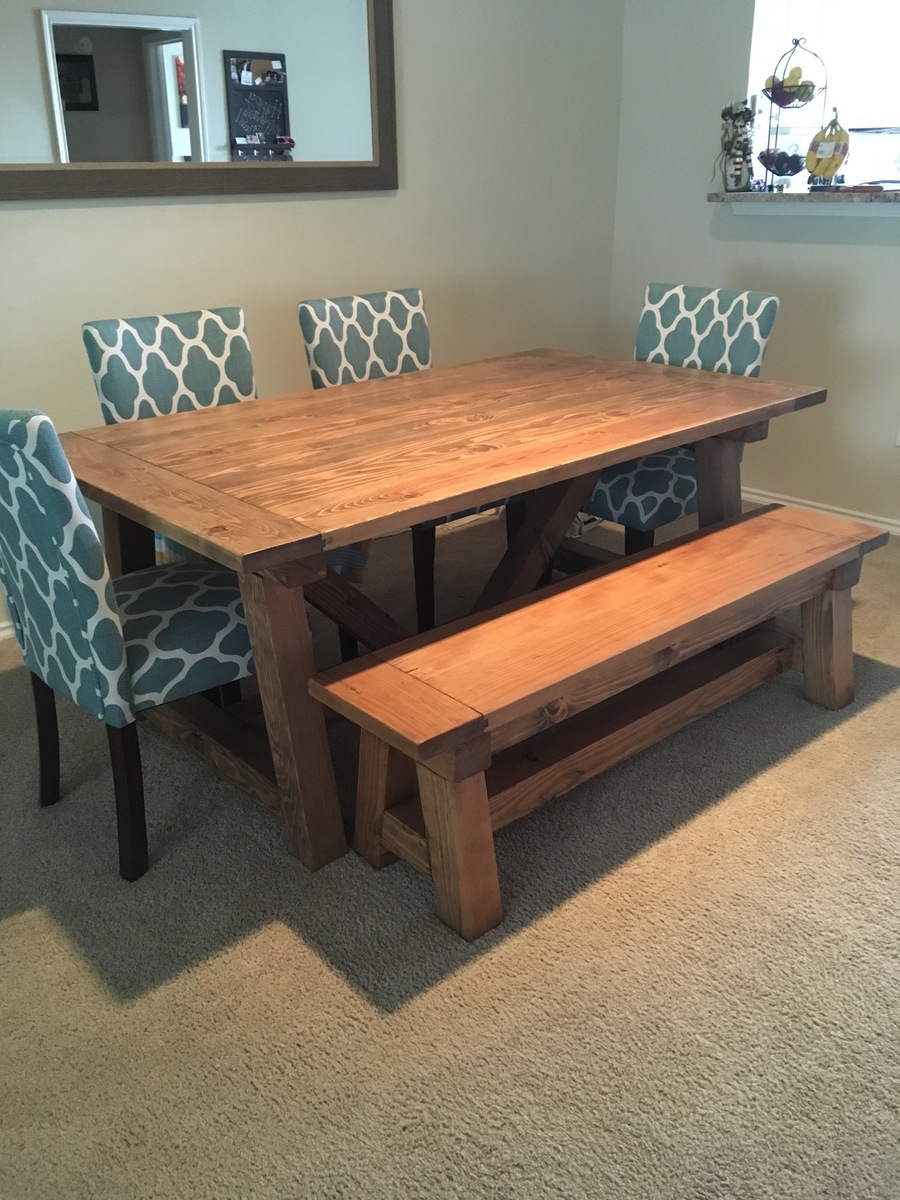
I love how your table turned out! Fabulous job! Did you use the knotty pine legs? I also love your couch! Do you mind sharing where you purchased it?
Thanks!
In reply to Beautiful! by Mrsfinefettle
Tue, 10/14/2014 - 10:08
Sorry for the delayed reply.
For the legs I did use the Knotty Pine. Cheapest and still look great.
As for our couch set, we had them custom made from a local Furniture store called Canadian Furniture Manufacturing. If your ever in the lower mainland of BC, Canada, be sure to stop by there!
Cheers,
Justin
Sat, 01/24/2015 - 13:10
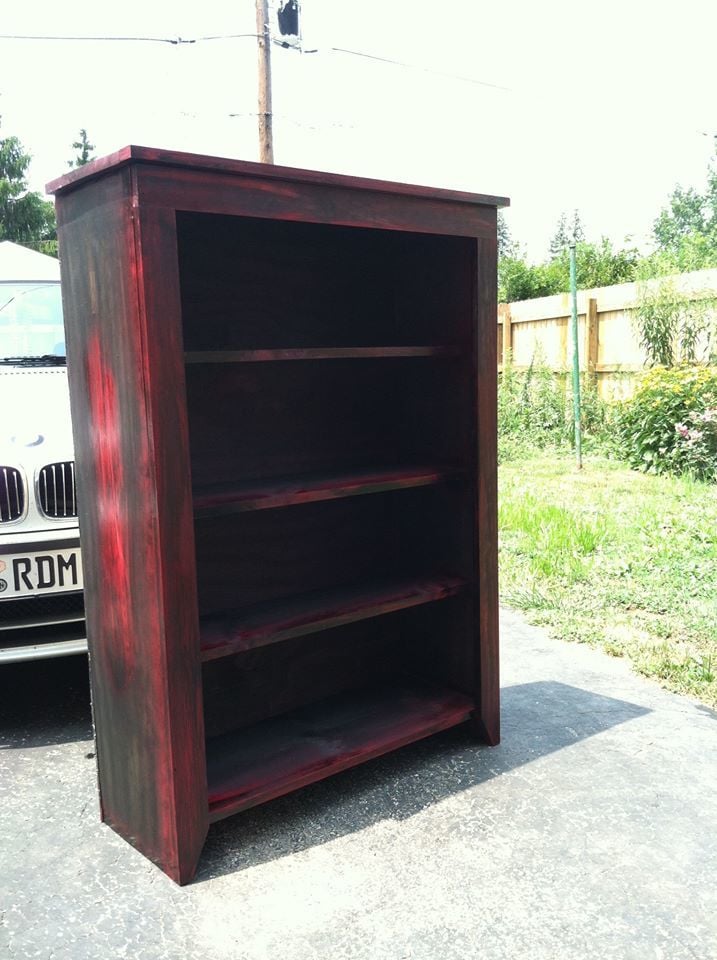
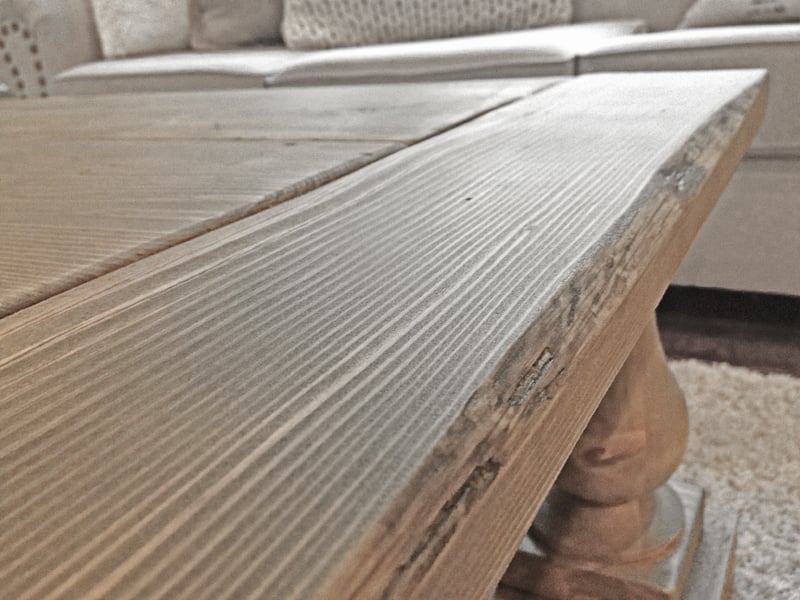
A BUTT load of sanding.. no planeing necessary. I used a mix of weathered oak and special walnut stains to balance out all the mixmatched wood as 1 colour. For example the cedar planks for the bottom shelf i didnt stain at all, while the legs are pine and had to make them gray/brown to match the cedar planks.
Cheers,
Justin
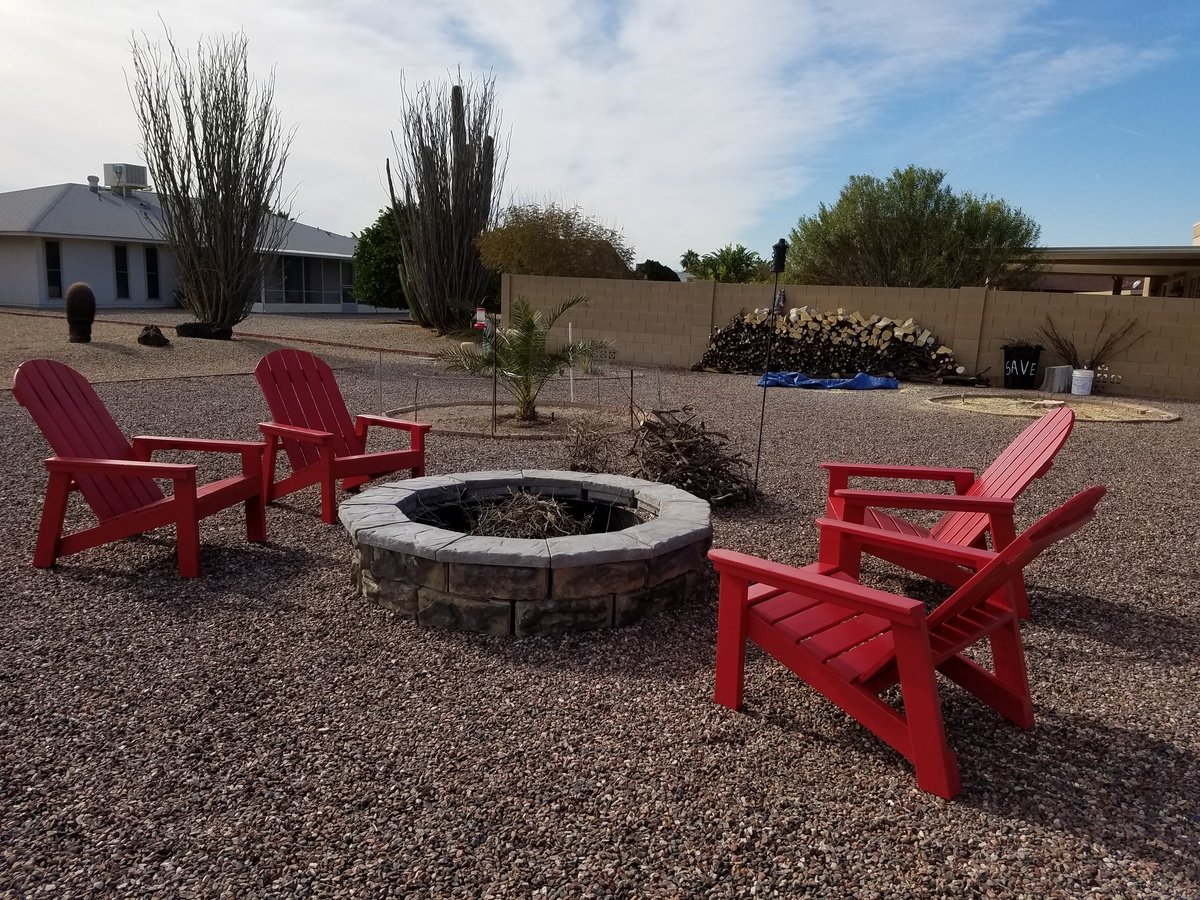
Made the chairs to sit around our firepit .Live in AZ.
This was my first project in this style and thanks to this website they turned out great!

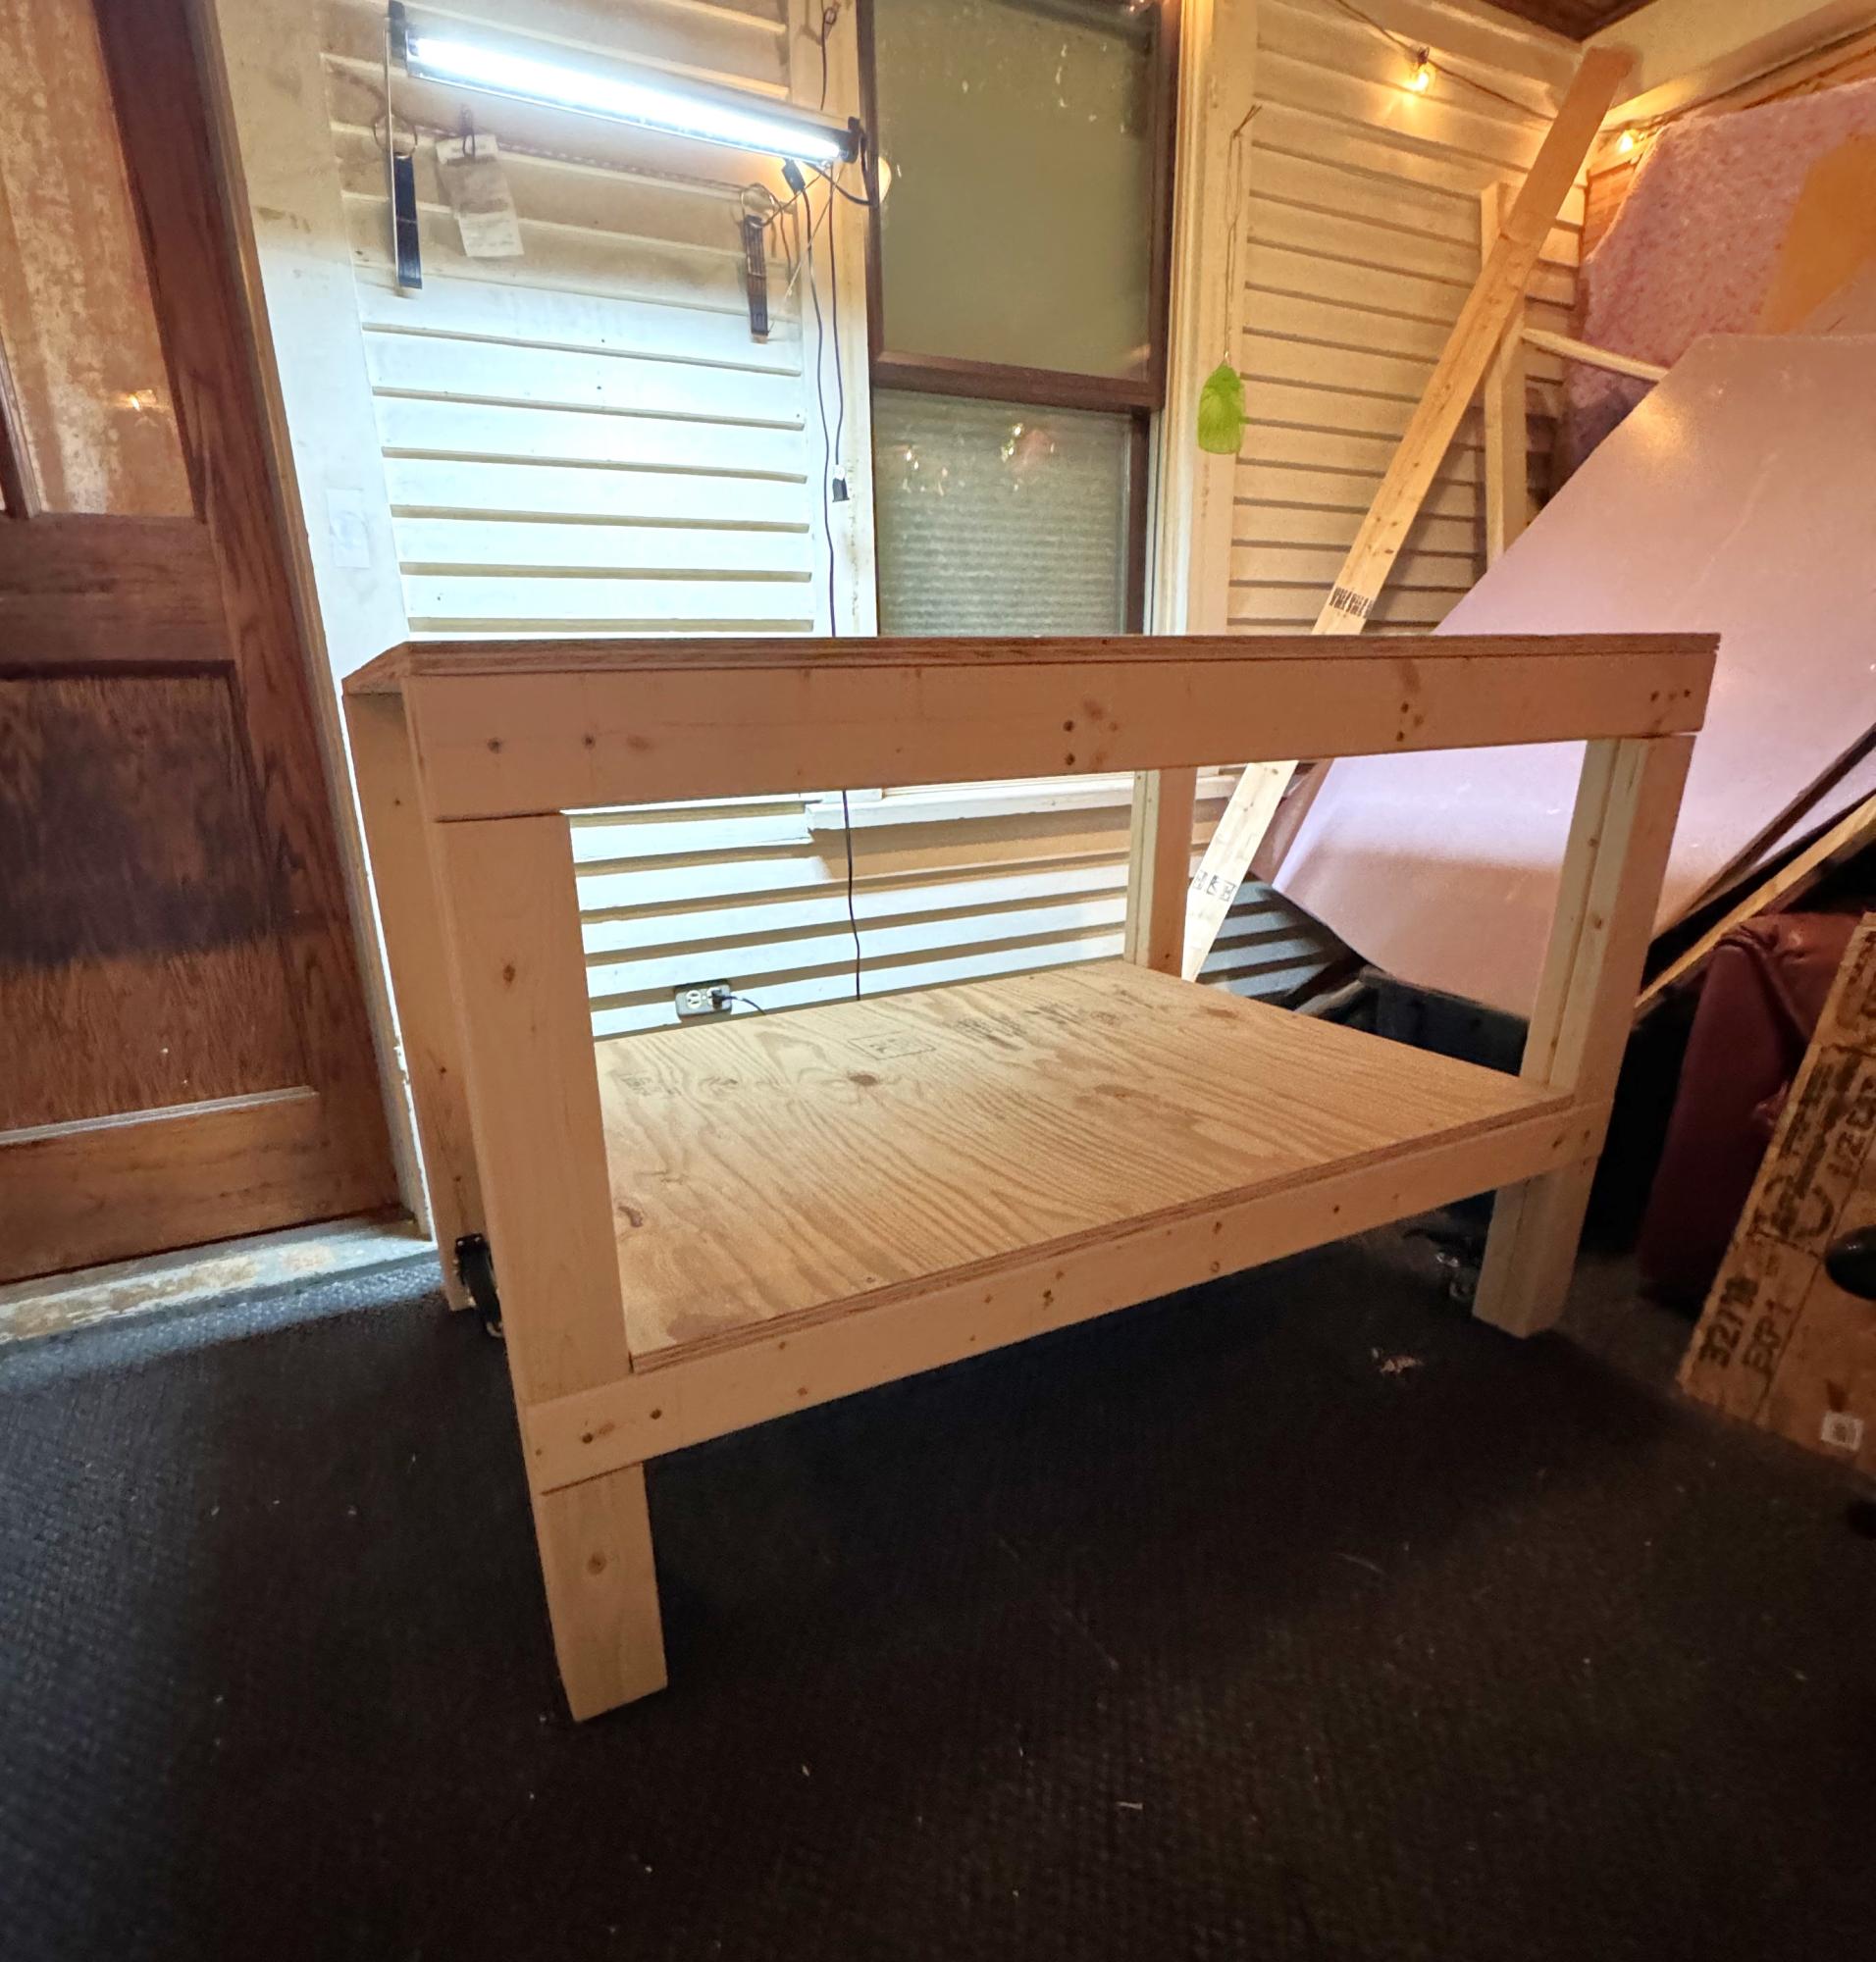
Easy DIY Garage Workbench—My first ever project! I learned how to use a sliding miter saw and circular saw, how to choose wood, how to make a circular saw guide, and how to sand properly! Thank you so much for these plans! I learned from Ana’s website, the beginner woodworking subreddit and, as my mom likes to call it, the University of YouTube :)
If I can do it, you can too!
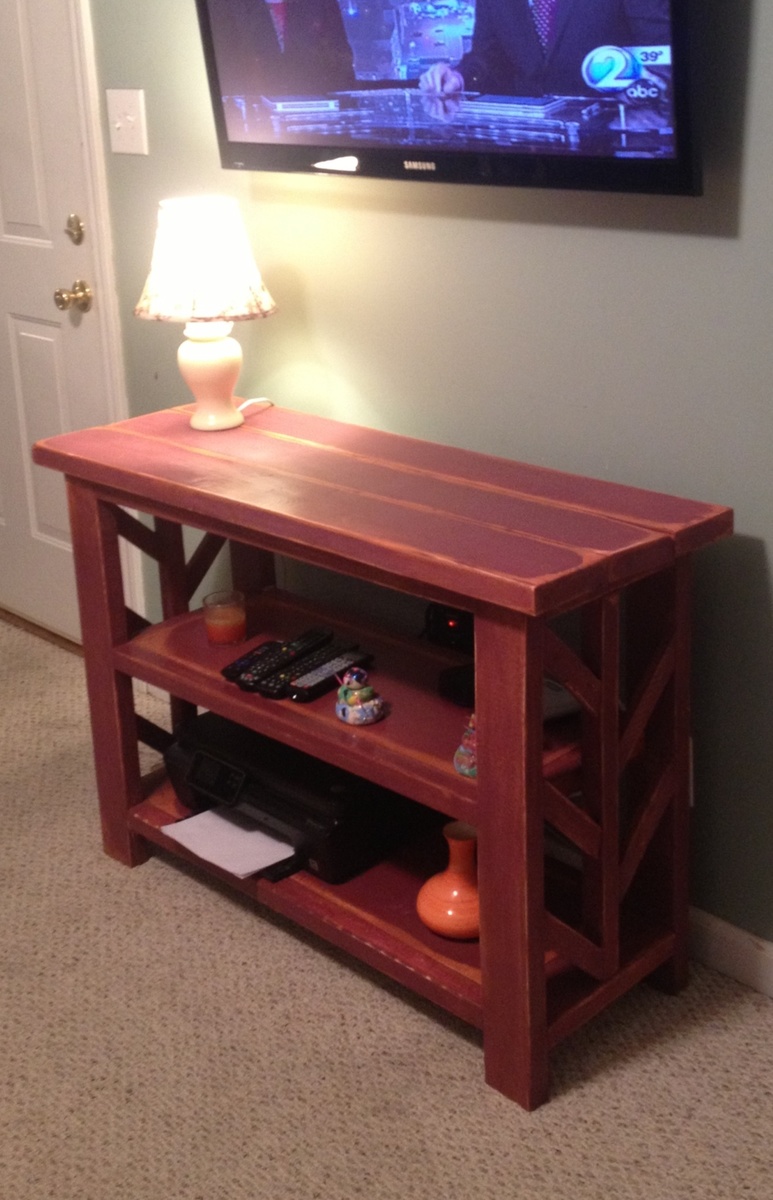
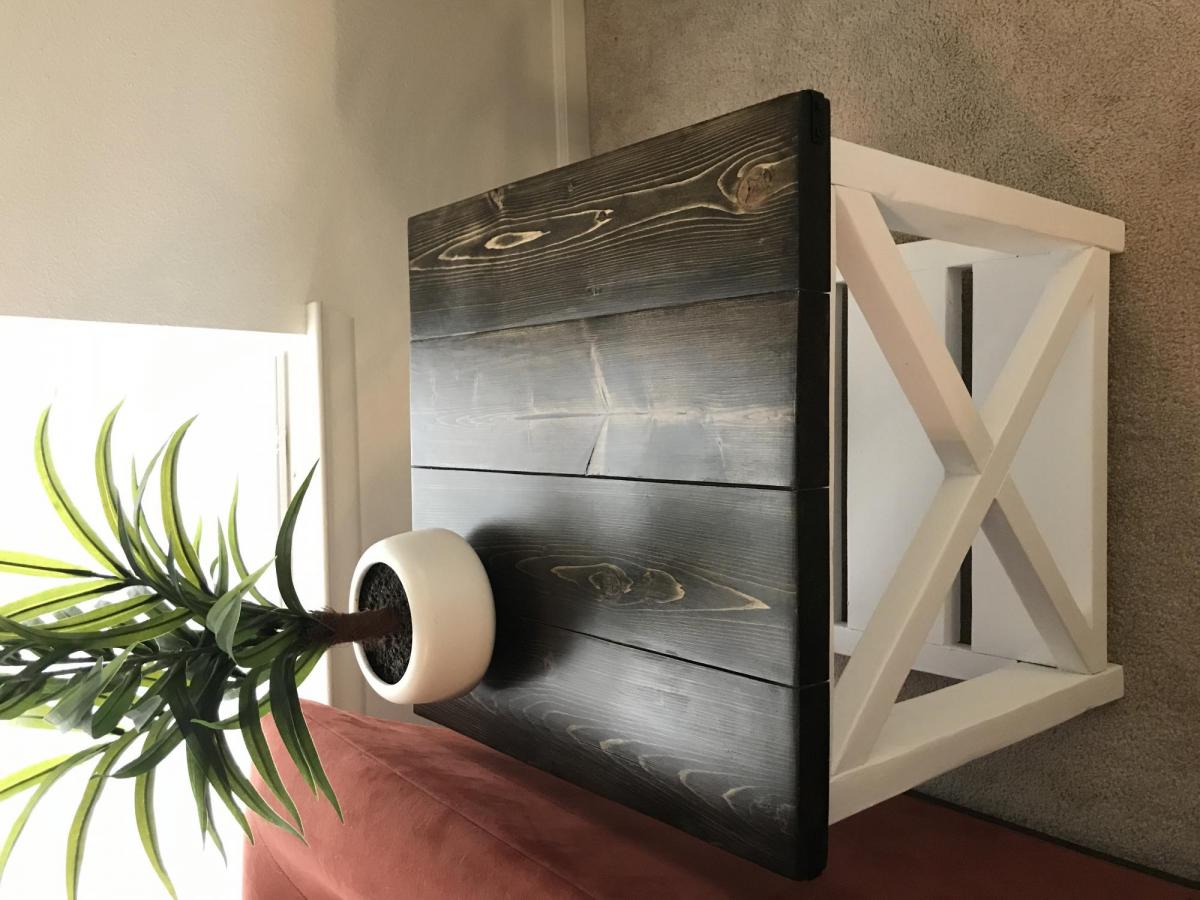
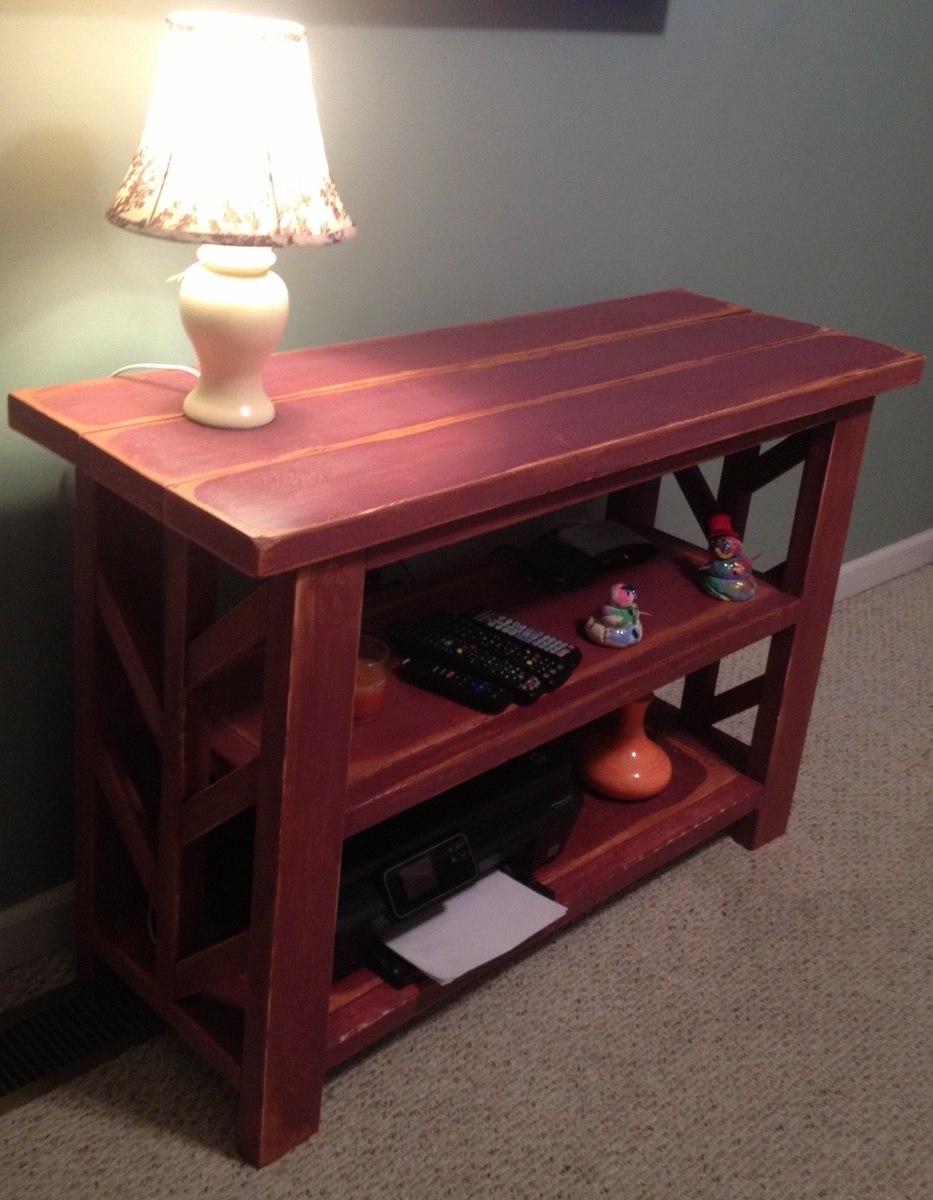
This was a fan and easy project to build. I wanted the sides a little bit more decorative so I added a tree branch effect instead of the x's. I used a paint samples from lowes and did the under coat of paint in a rusty orange color. I put Vaseline on the parts I wanted to look weathered when the paint was dry. Then I found a diy chalk paint recipe online and did the outer coat again with a lowes paint sample in a reddish color that I mixed to make the chalk paint. When it was dry I sanded the parts tht had Vaseline to let the orange come out. Then I took minwax finishing paste wax and polished the whole thing. I reduced the size of the console to half and added 3 inches to fit perfectly under my tv.
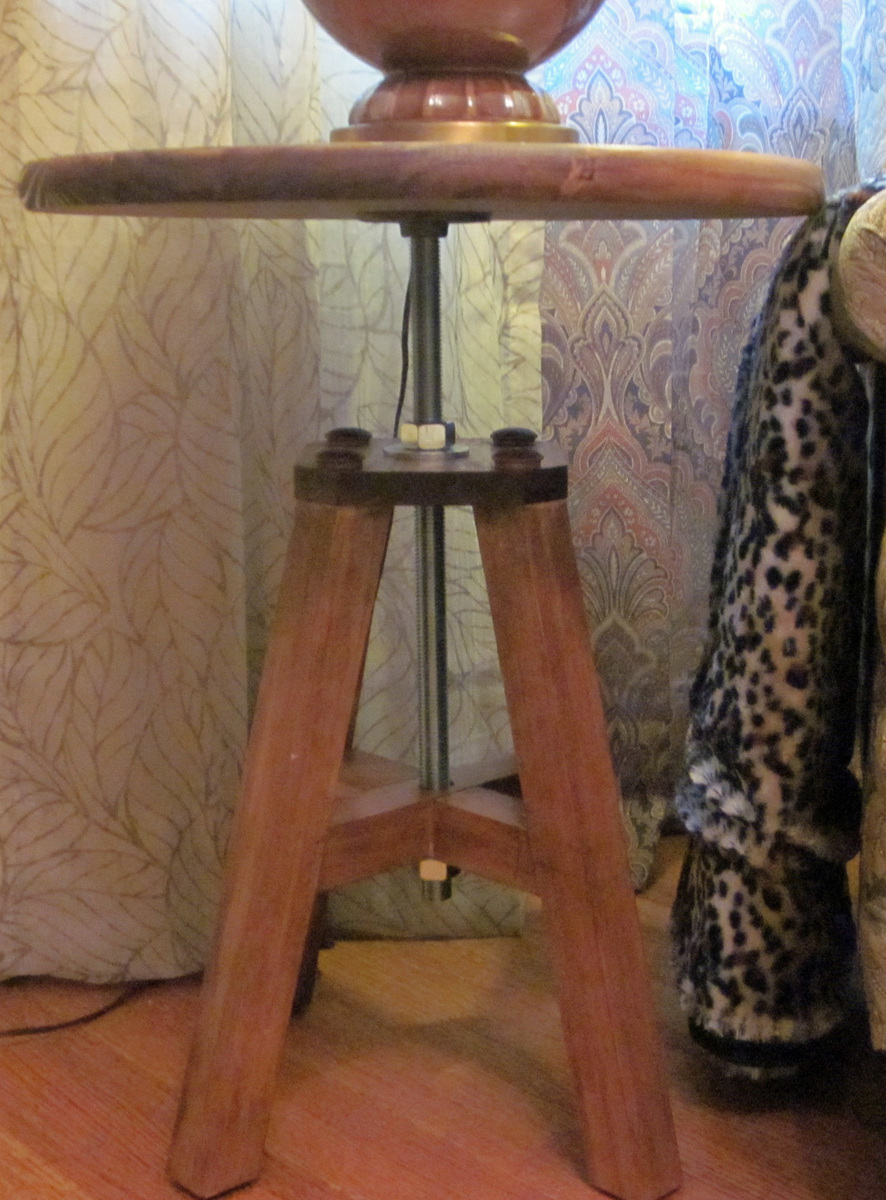
I used a larger, premade top from Home Depot to turn the stool into a side table.
Thanks for the plans
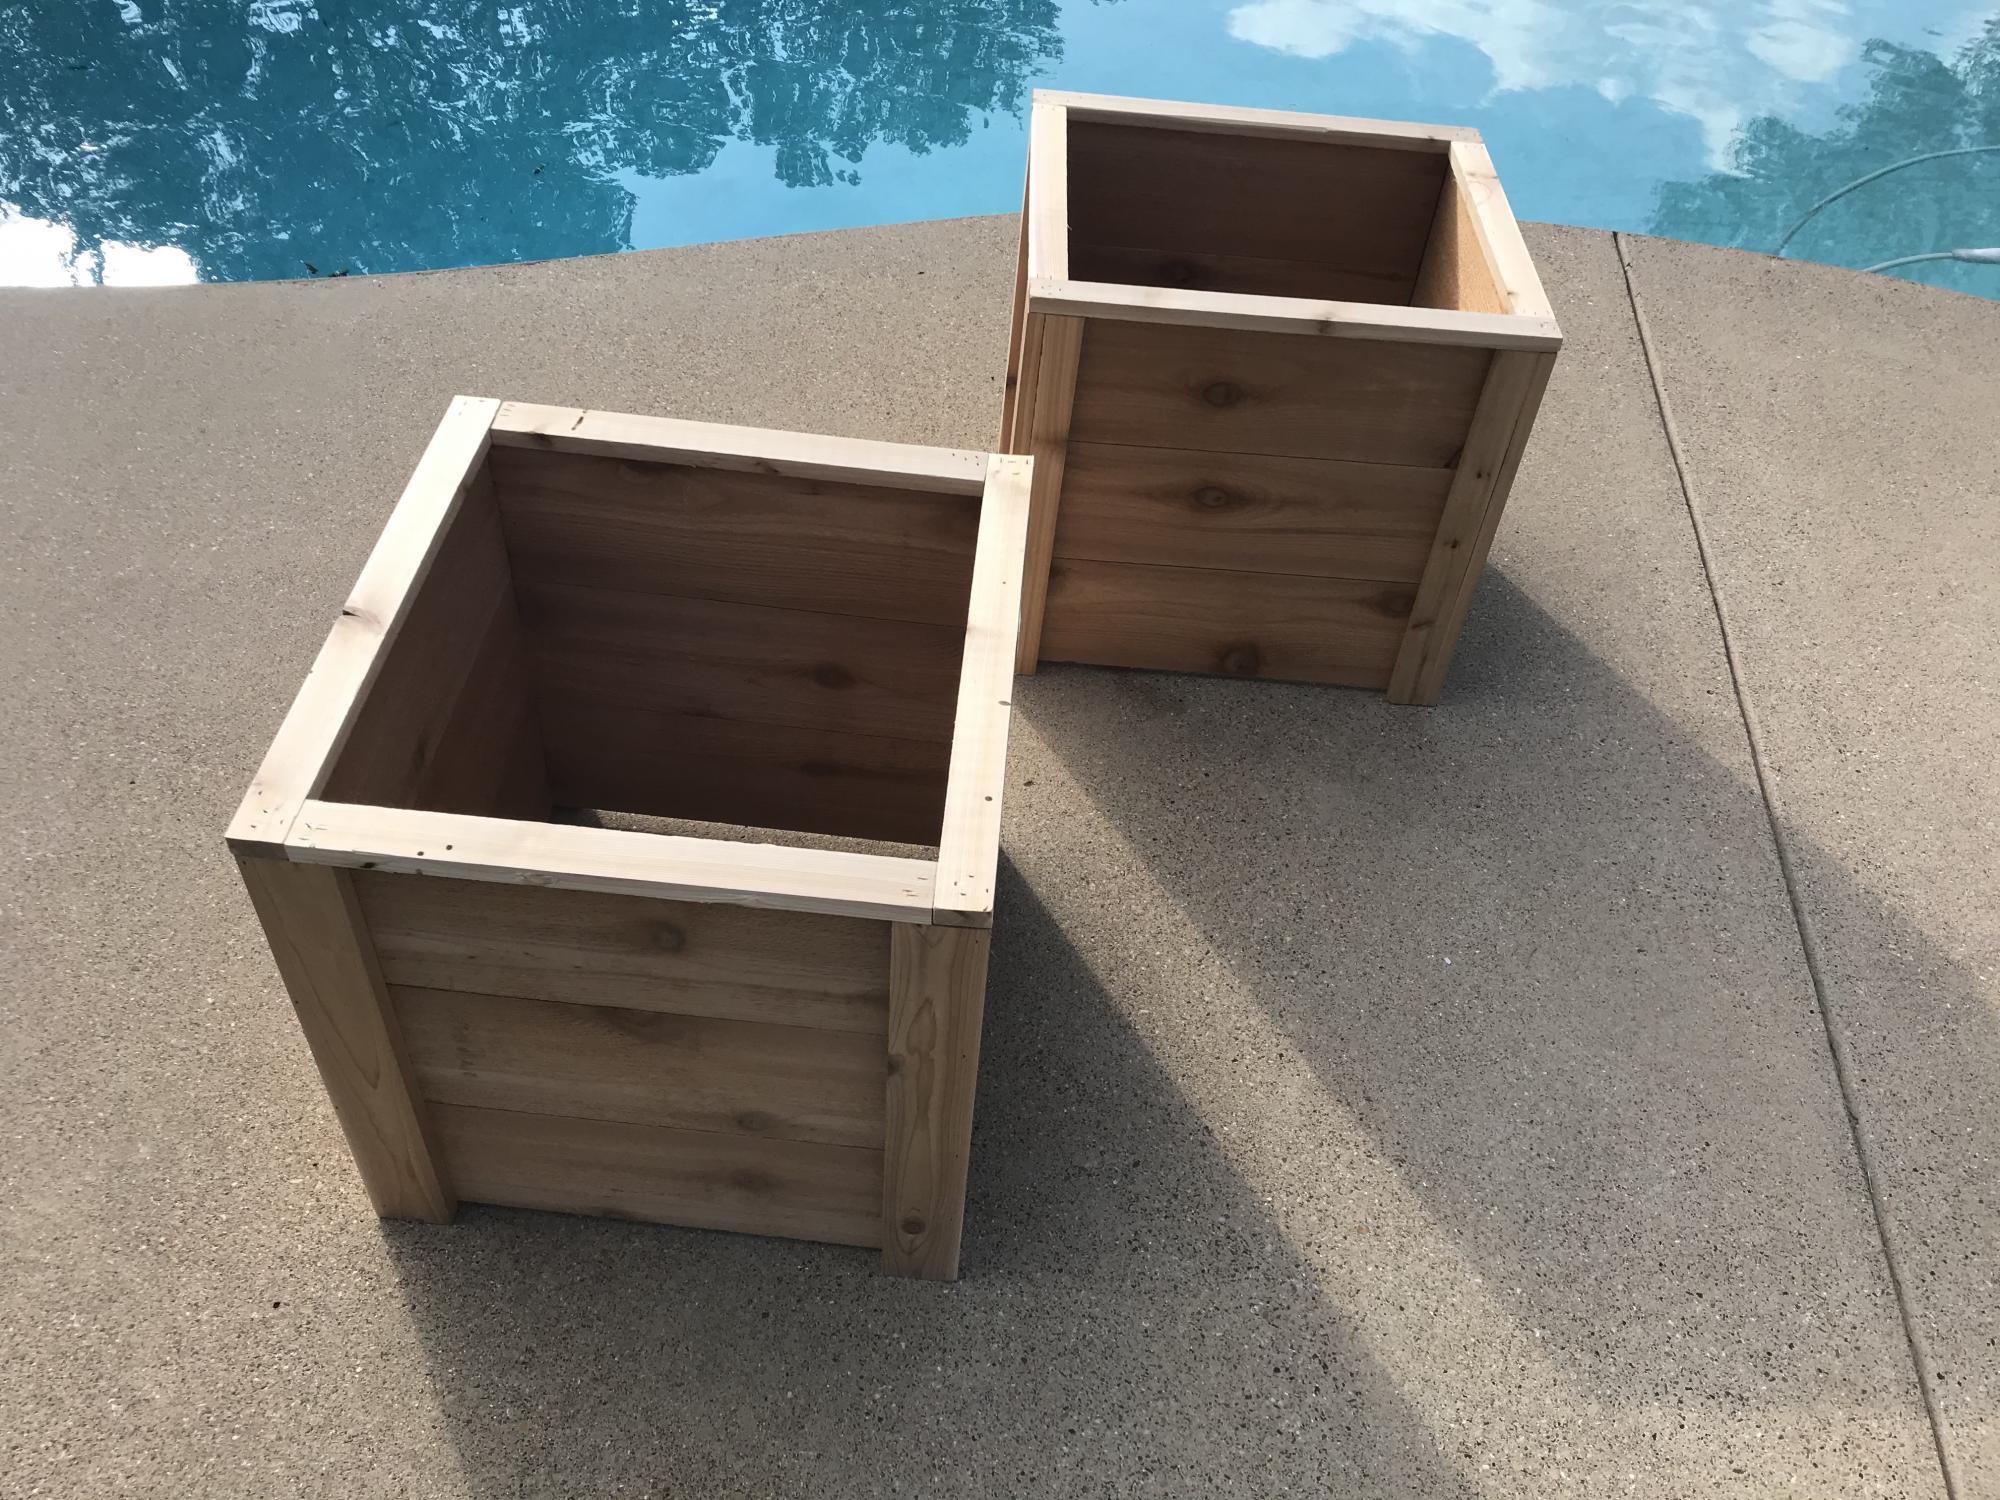
I final got around to building the beautiful cedar planters! I couldn’t be happier with them. Thanks, Ana!

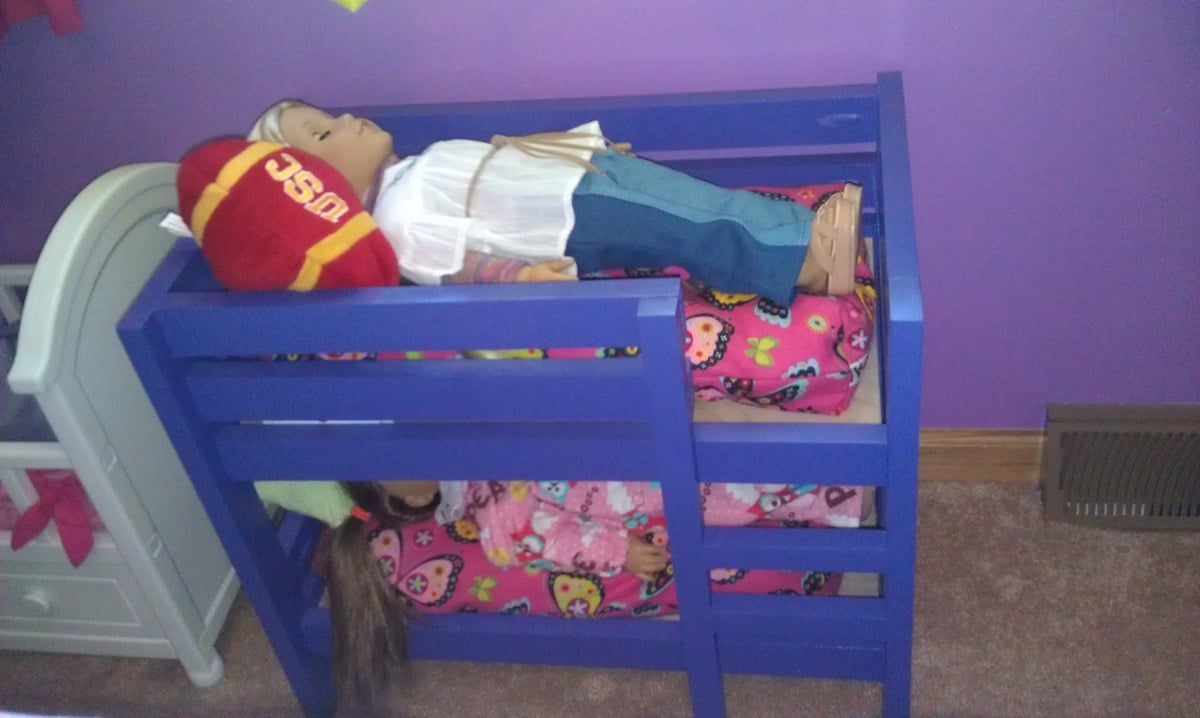
We made this for our daughter for Christmas. We used purple spray paint and I made the mattresses and pillows from Ana's plans, too. Our son sanded it and we presented it to a very happy little girl!
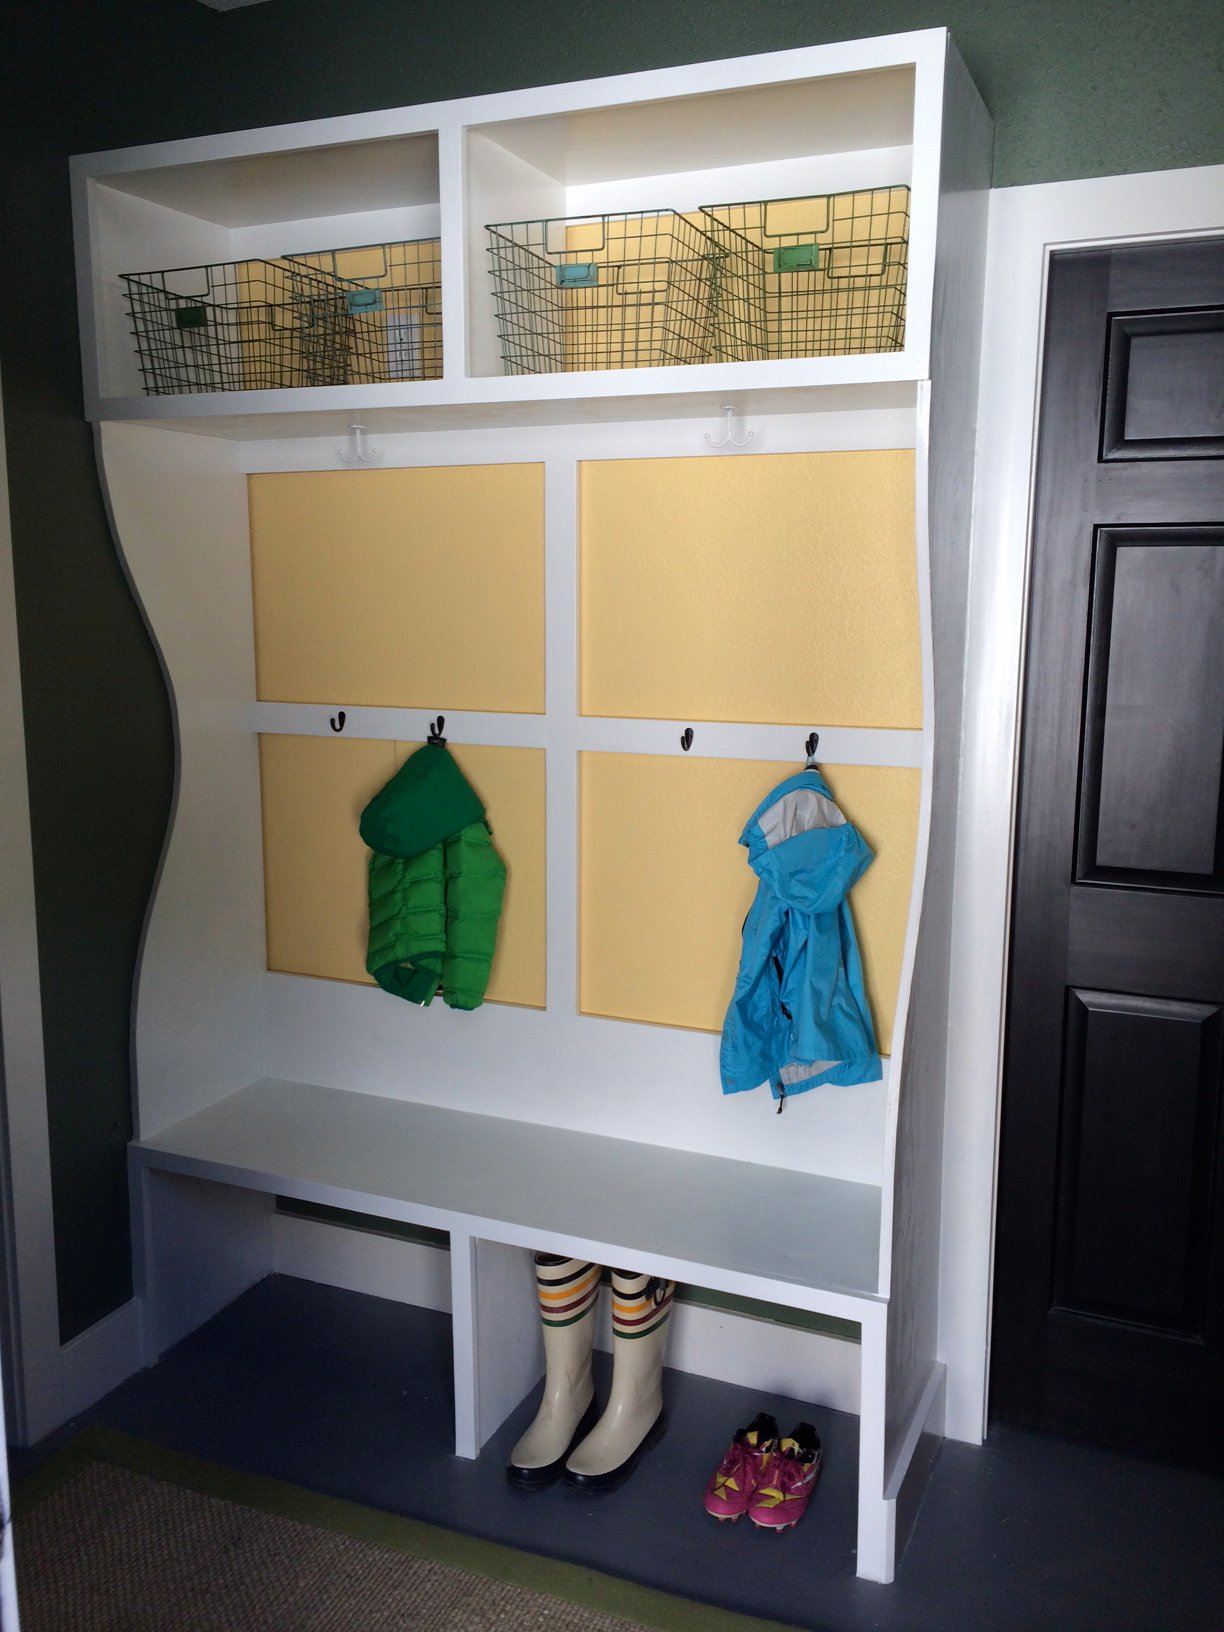
I used the Smiling Mudroom as a starting point, but had to make some modifications for size and to accomodate the fact that I couldn't secure much to the wall behind the bench because there is a pocket door in that wall.
The main difference in my plans is that the sides of the cubby/bench are continuous instead of broken into Cubby, Divider, and Bench. I think it would have been easier to keep things square (which I didn't, really) and certainly could have moved it all by myself without any husband help (but he needed to feel useful, right?) if I had built it as separate pieces. But, it was worth a shot.
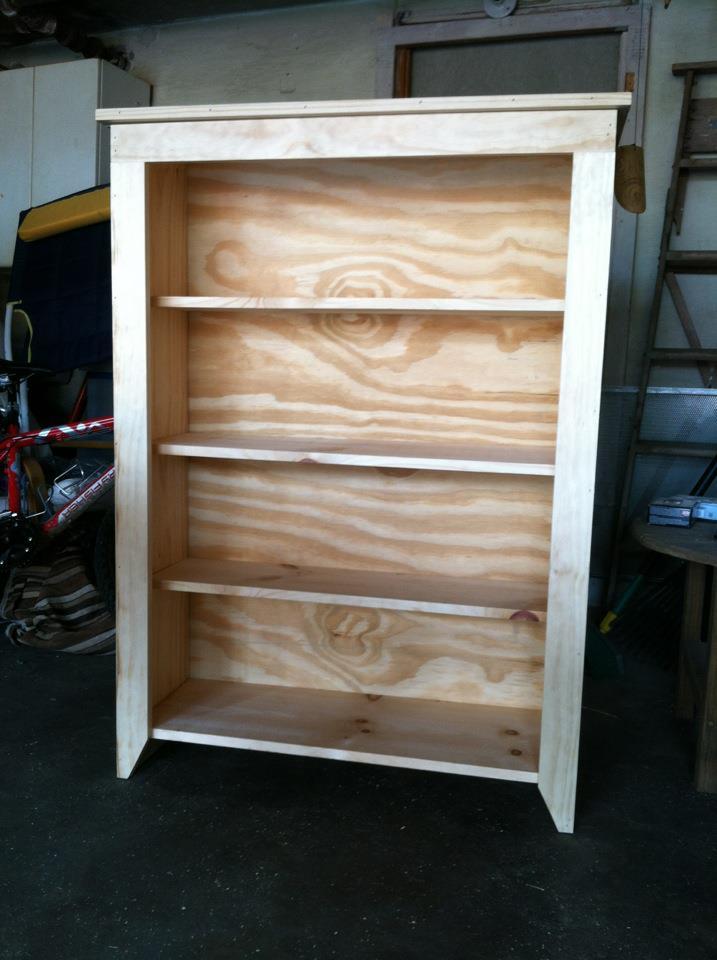
Up close it's a bit rough looking here and there because I got the plywood that is only sanded on one side (Home Depot guy was less than helpful when I asked to find the furniture plywood). So I had to do a lot of extra sanding and filling myself and at some point I just threw up my hands and said "RUSTIC! It's done."
Minor errors aside, I am really happy with this. It was my first big project, and first one with the Kreg jig, and I had fun.
Wed, 10/08/2014 - 20:40
If there are any "minor errors" on your build, they're not visible in the picture! It looks gorgeous to me! :)
please sample my other work at the adress provided below.
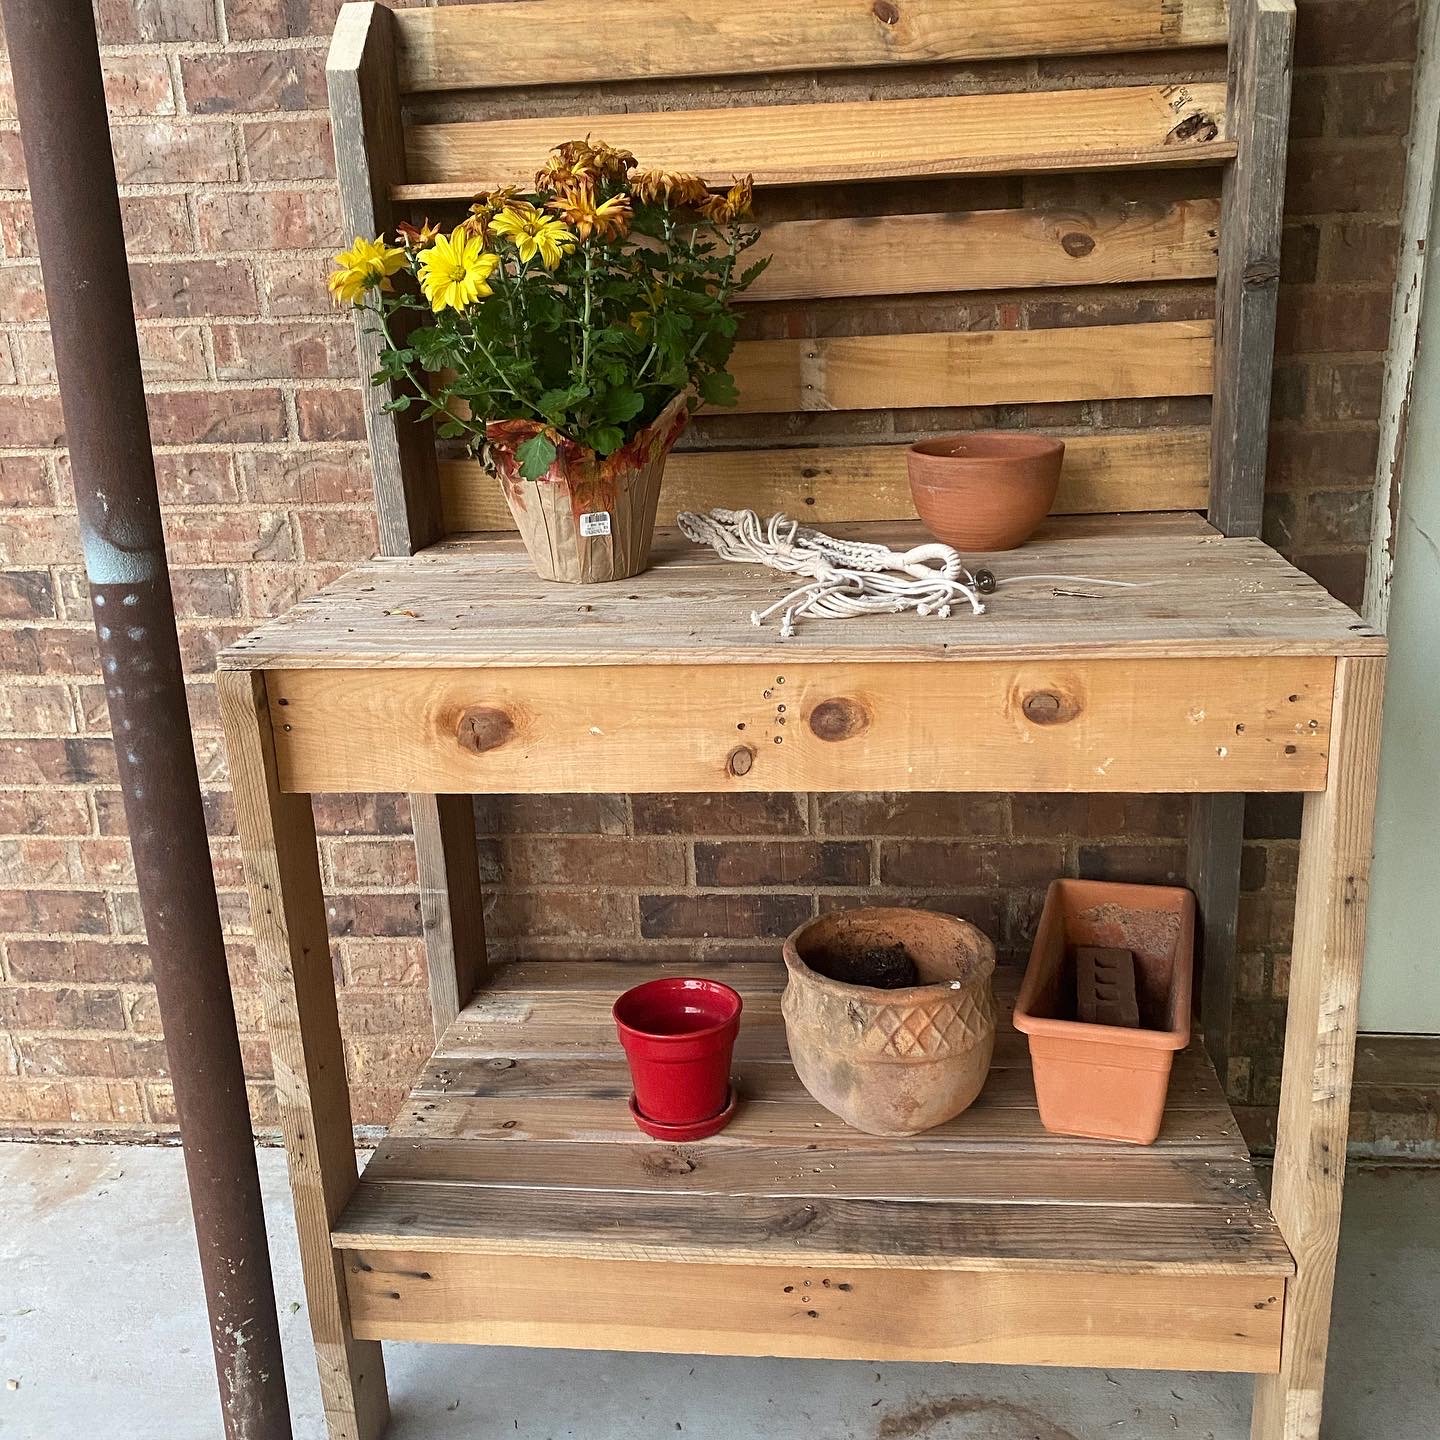
Thank you Ana for the great plans! We adapted the project for wood we had on hand. It is only 40 inches wide instead of 42”. Our widest pallet board was only 40”.
Thank you for continuing to inspire us! We made two couches a couple of months ago. Great plans!

Went with the hinge option. For as little as I will probably fold it up, I would next time skip the hinges and spend the time plugging the pocket holes :-)
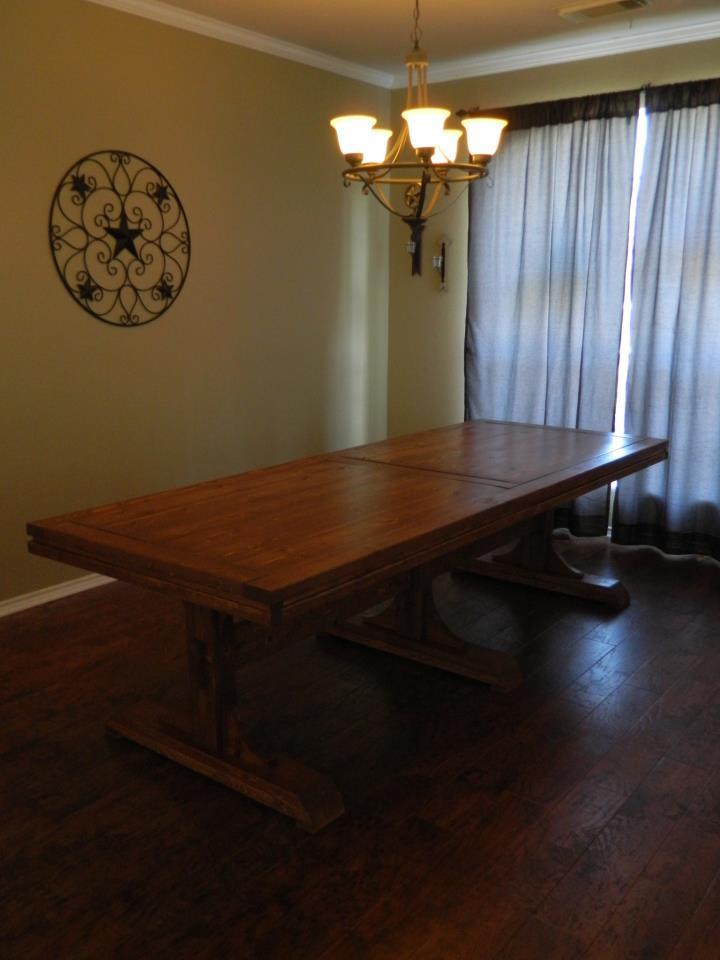
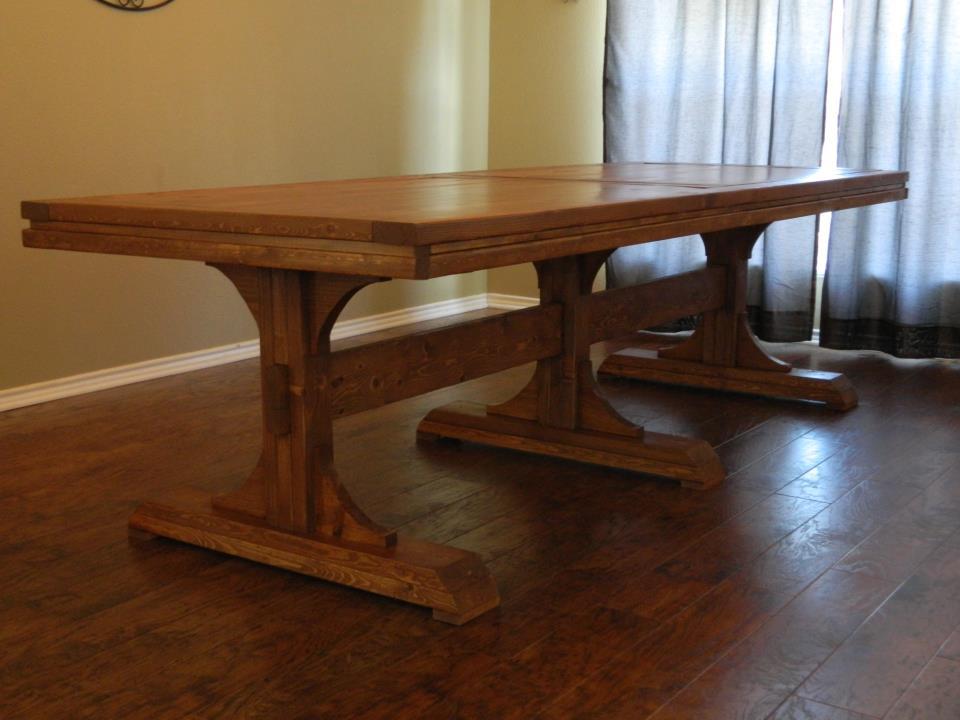
Great Plans, I had a blast making this table for my wife! It turned out great. Thank you for sharing the plans for this beautiful piece!
-Mike

Thu, 12/27/2012 - 09:21
Your table turned out fantastic! I'm glad to see that because I am considering this table for a project in the near future :)

Thu, 12/27/2012 - 12:30
Your table turned out just beautiful!! Great job and I love the finish!!
Sun, 09/14/2014 - 13:45
Love your table!! How did you attach the 1x6s to the frame? I am stuck at that step! Thank you for your help!


Comments
Ana White Admin
Mon, 09/21/2020 - 12:39
Love the beachy feel!
Thank you for sharing, it looks fantastic!