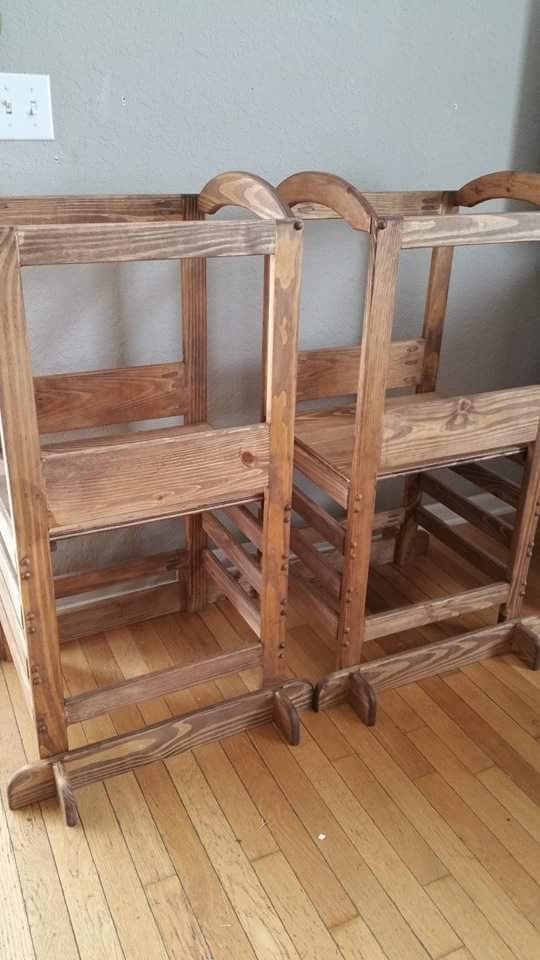
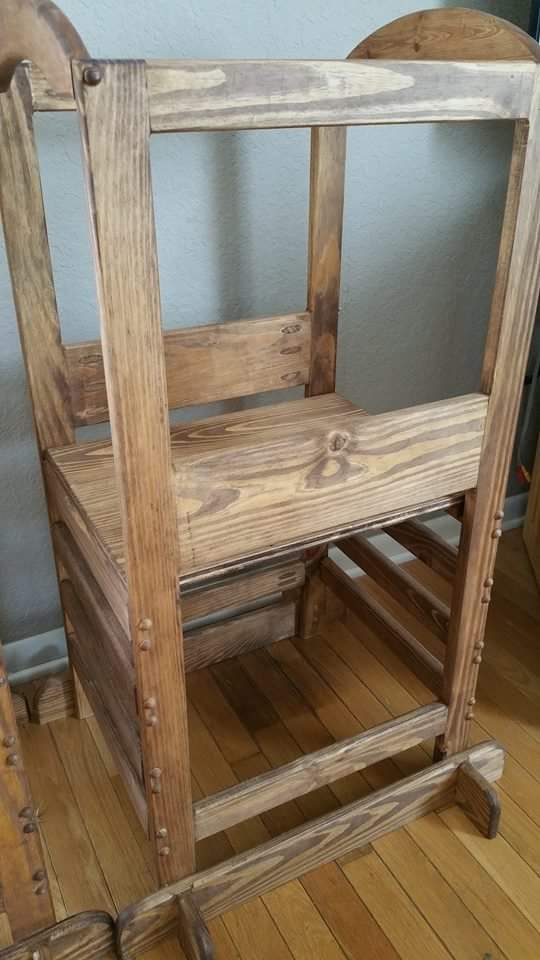
Little Helper Learning Tower
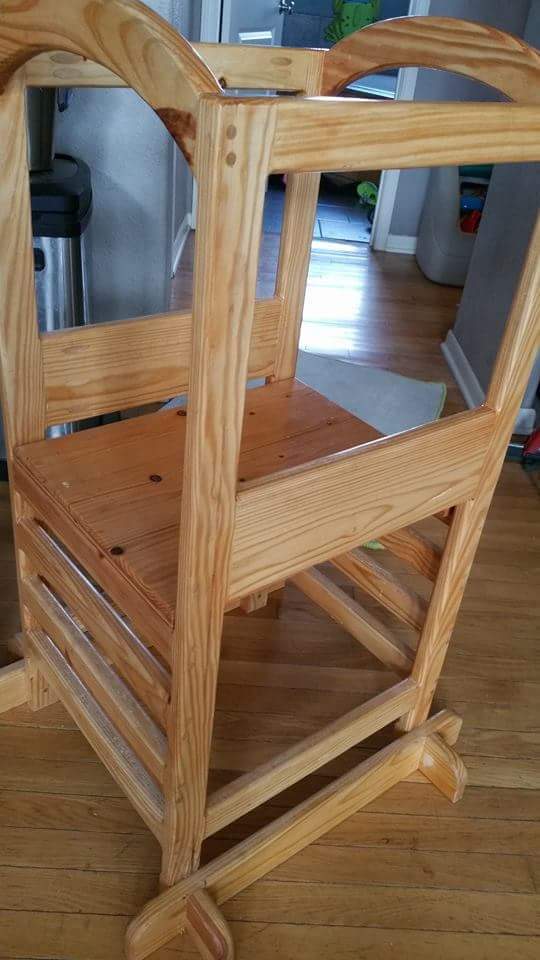
This is a slightly modified version of the little helper tower, very sturdy design, i weigh 184lbs and use it to climb up to high places as if it were scaffolding. The modifications include making the sides the ladder and the ladder the sides, this allows for smaller hands to grip easier when climbing. It helps to mimic more a ladder design than climbing up the side. It also made for easier install of rungs for ladder. Screws go through the wood face into tge end of the rungs, then pocket homes were used for side supports which were larger woods pieces than the rungs and pocket screws went from face of supports to the edge of the legs therefore no split out when doing pocket screws! All made from recycled wood from crates, dried and seasoned of course, if you use recycled wood it must be fully cured or it will warp and split over time.