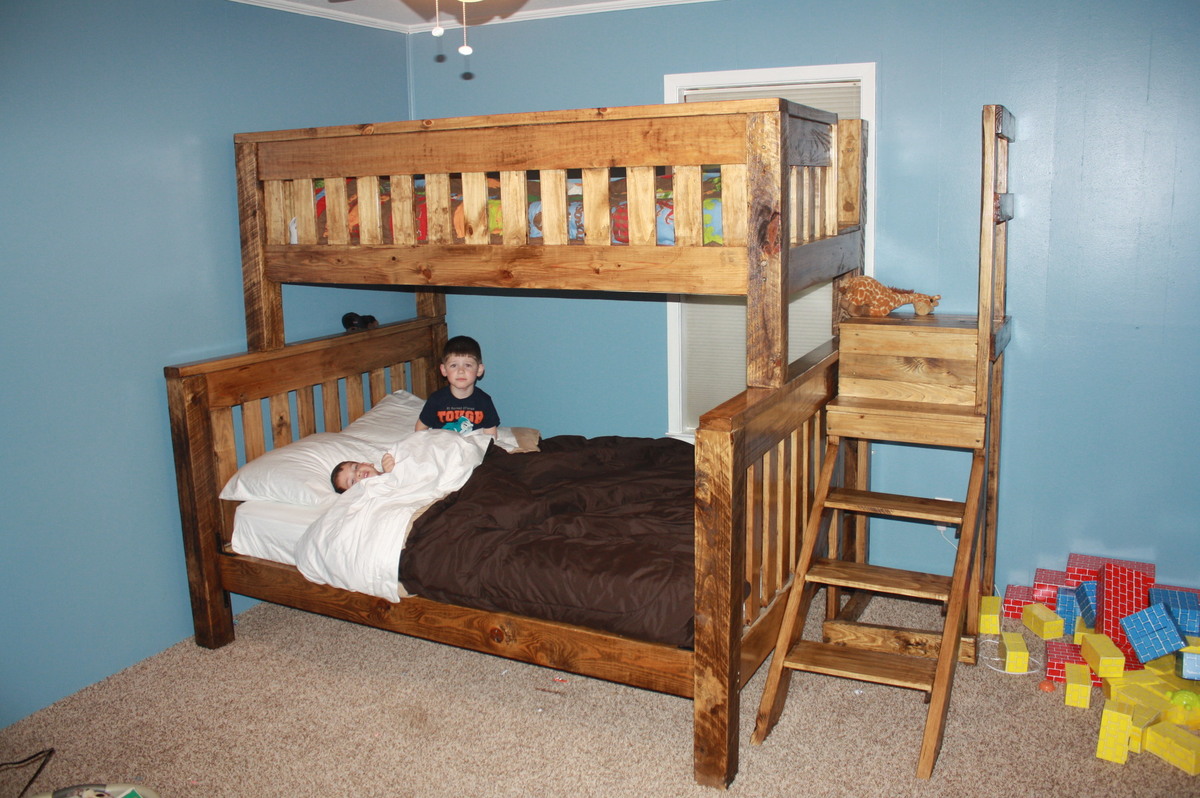
Modified Camp Loft Bed with Stairs into Bunk Beds
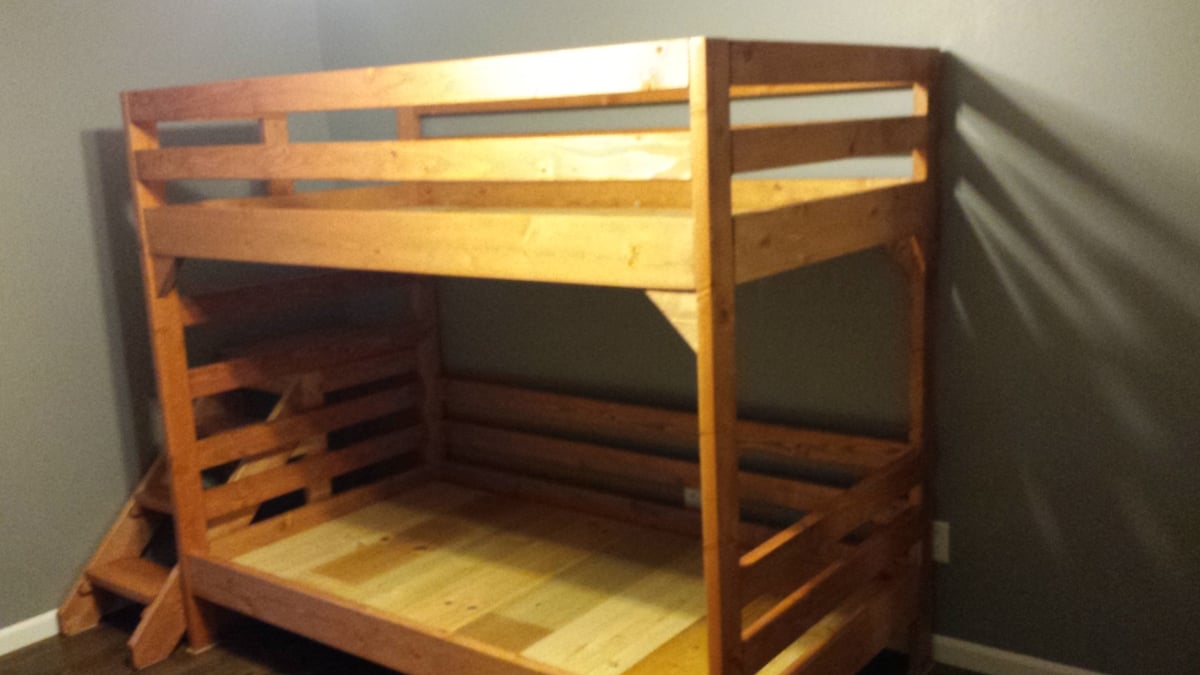
Using the Junior Height Camp Loft Bed plans...
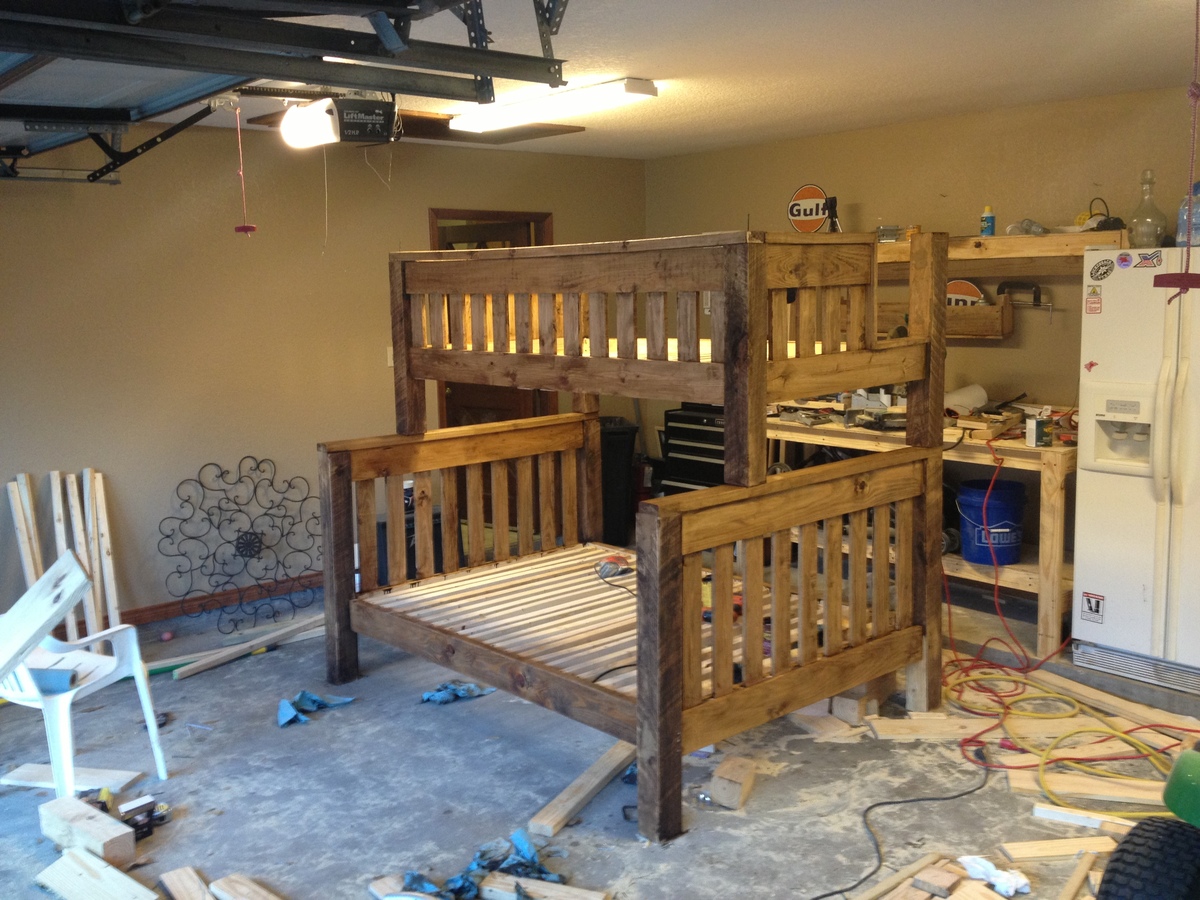
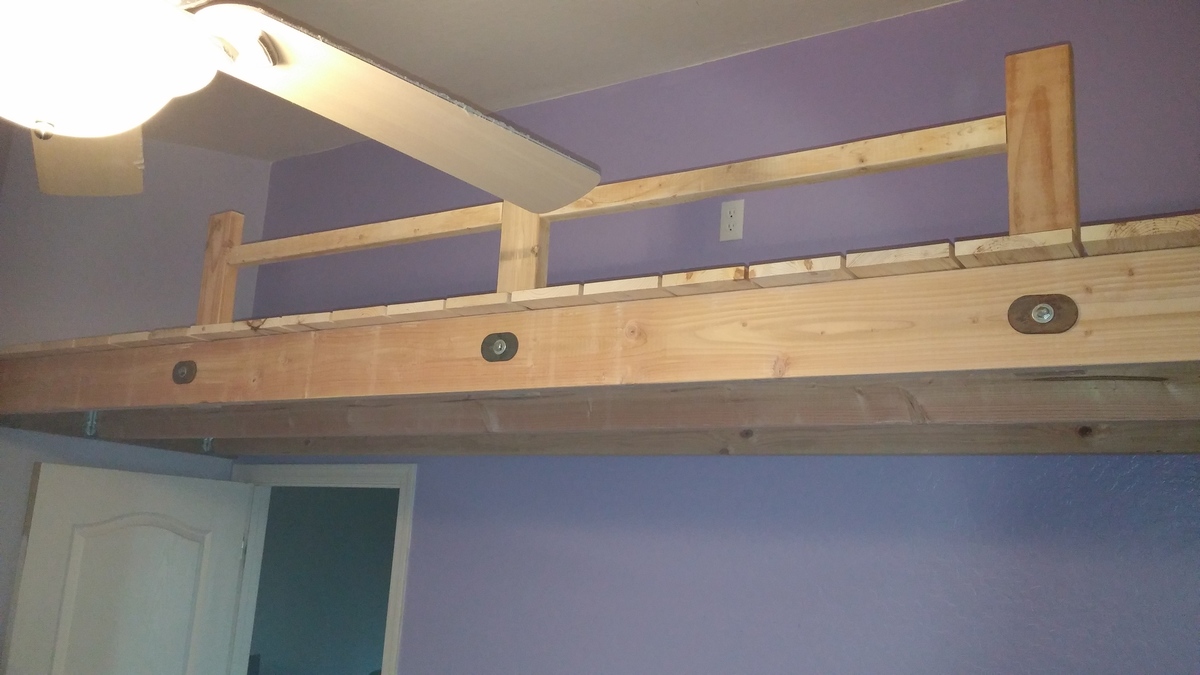
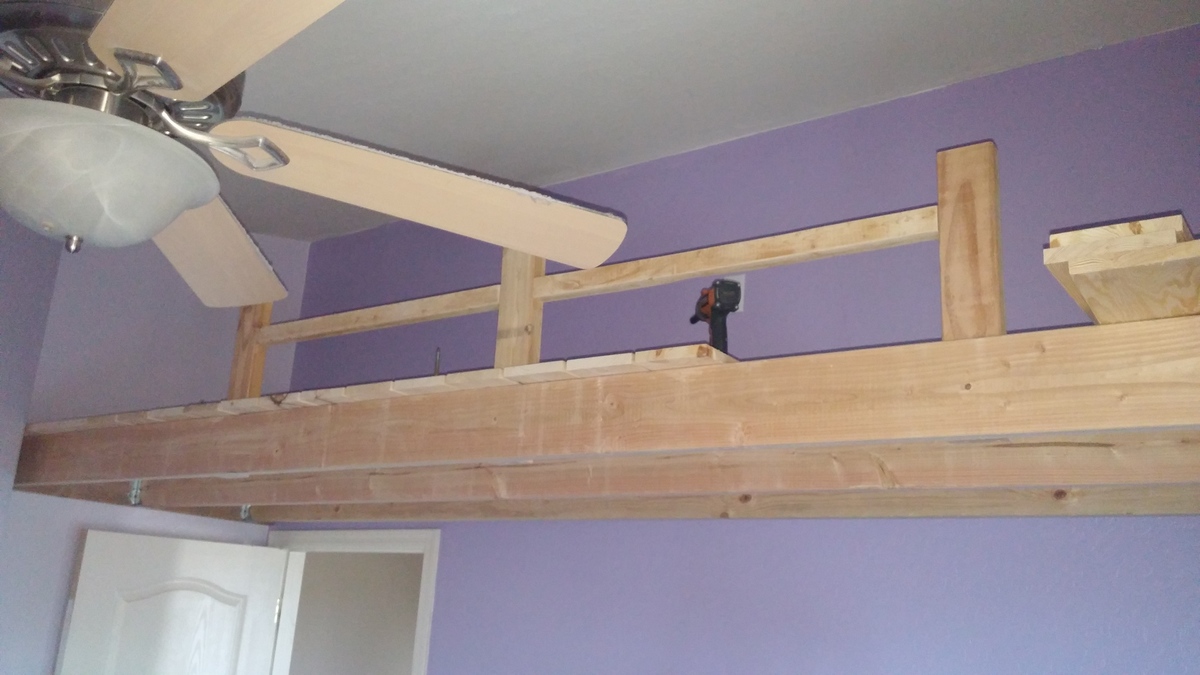
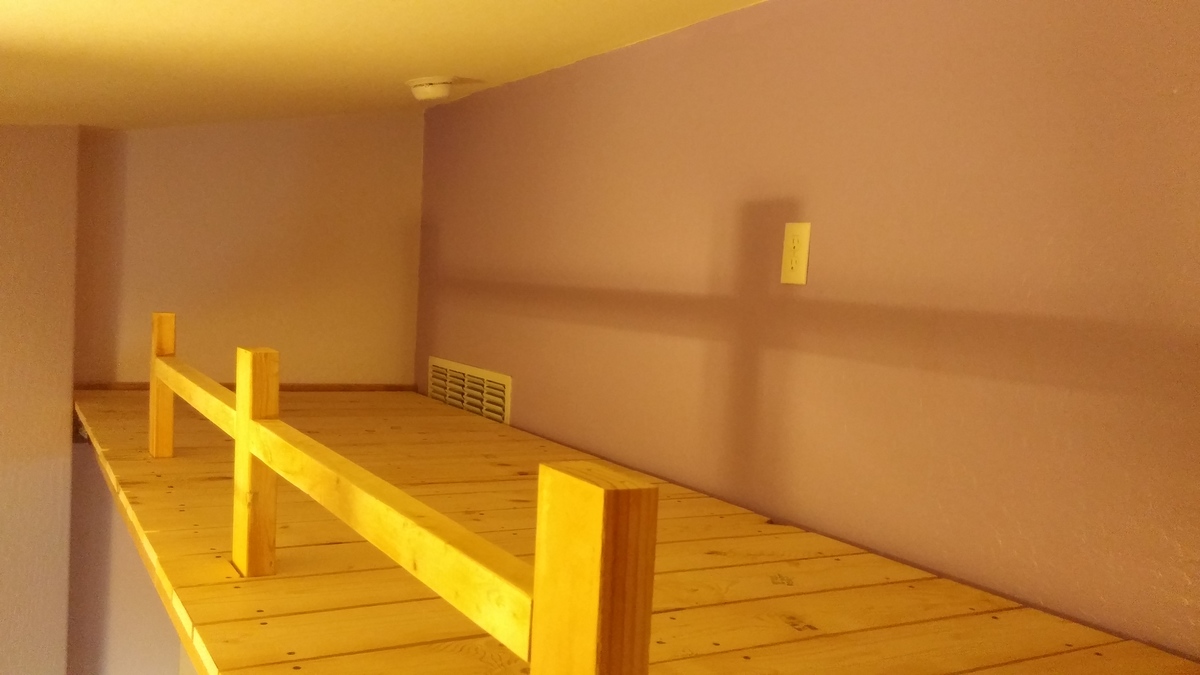
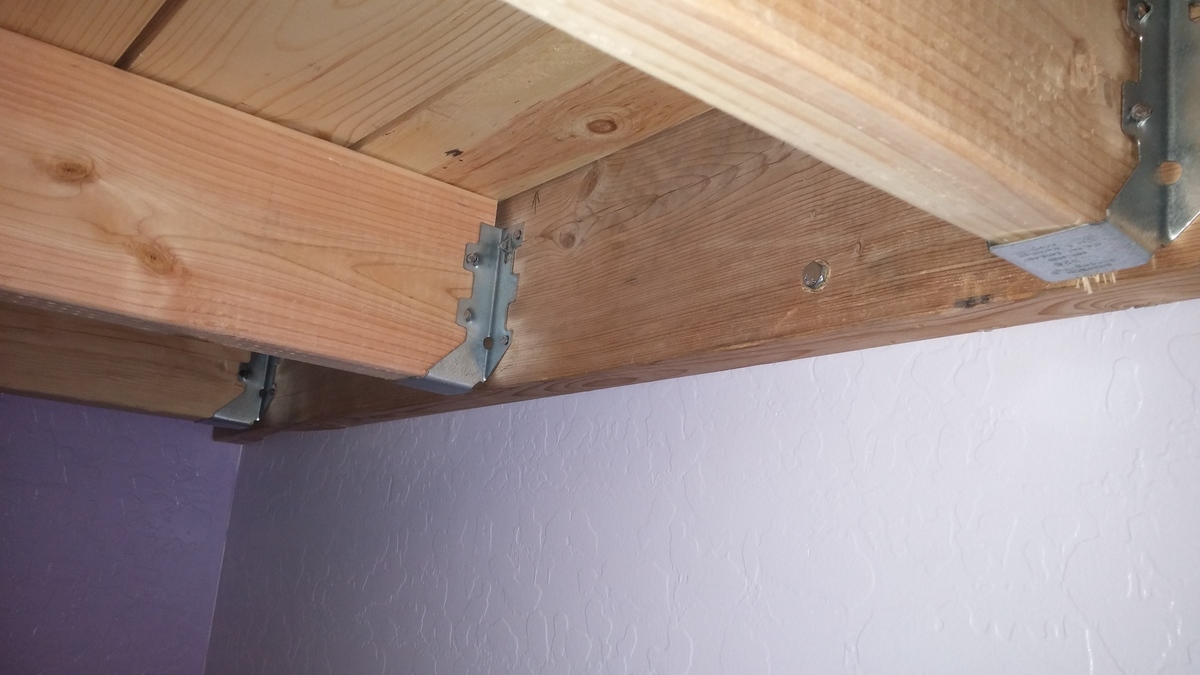
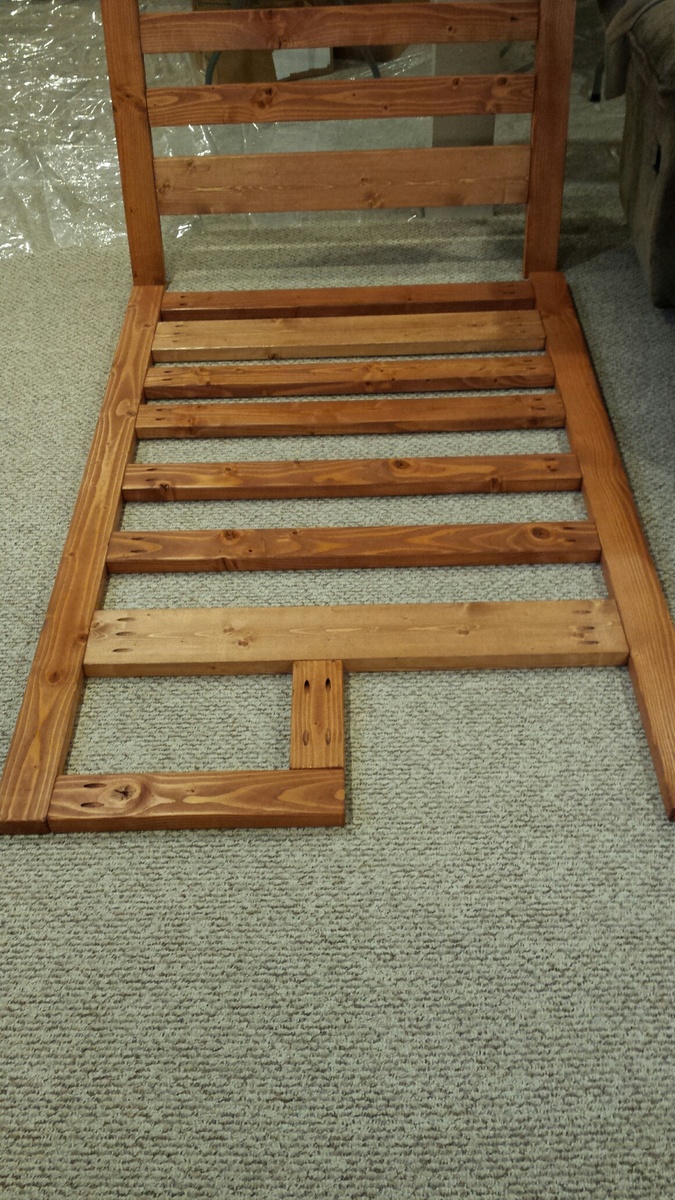
I raised the height from 65 to 67 inches to better accomodate a bottom bunk. Added bottom rails and extra 2X4s for the head board.
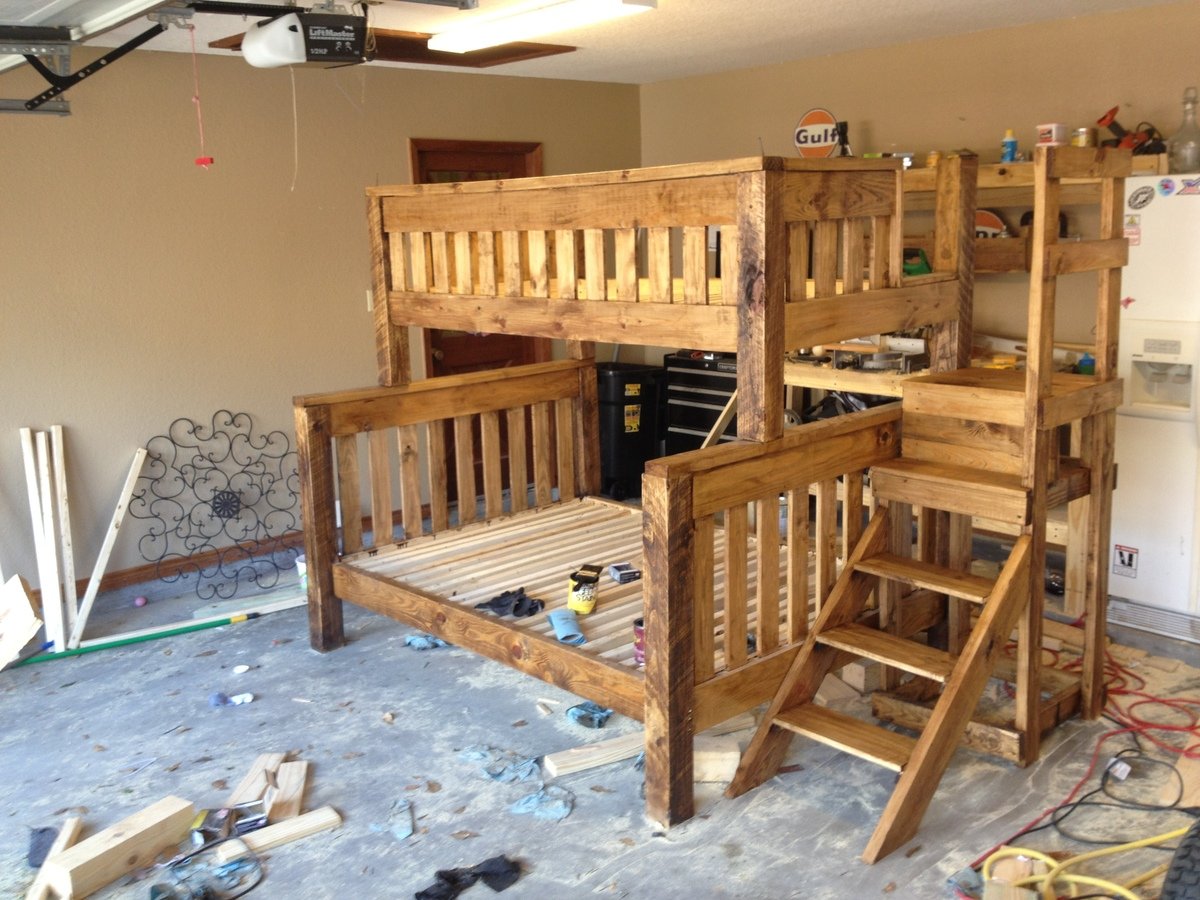
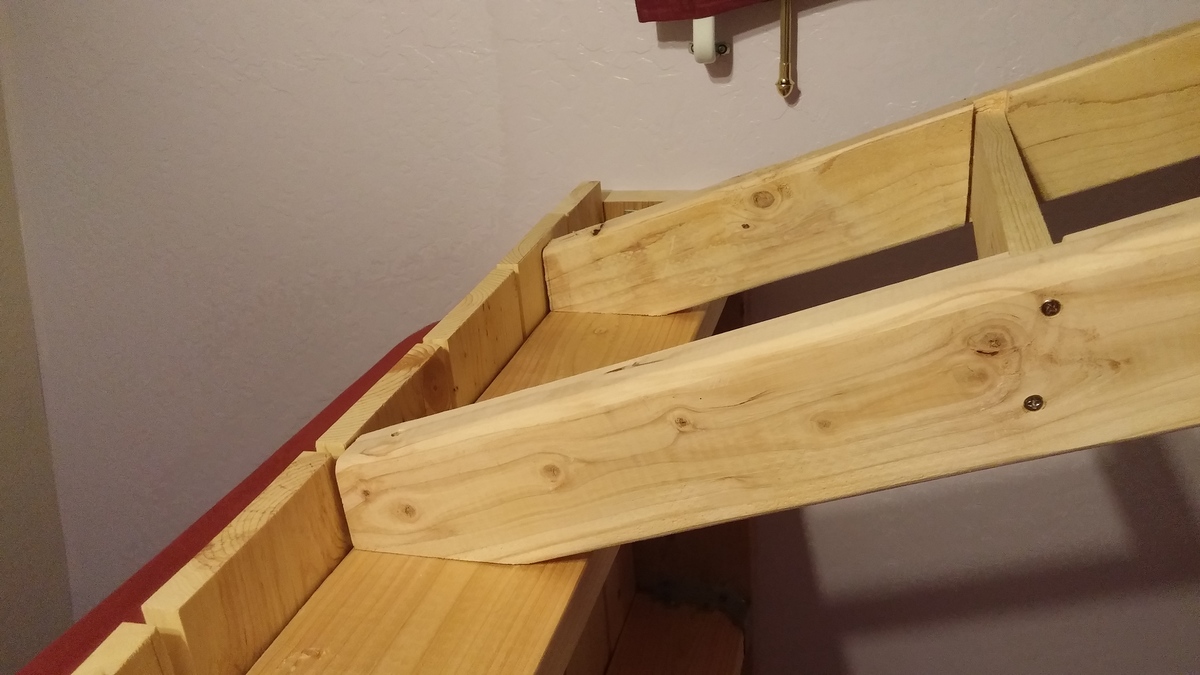
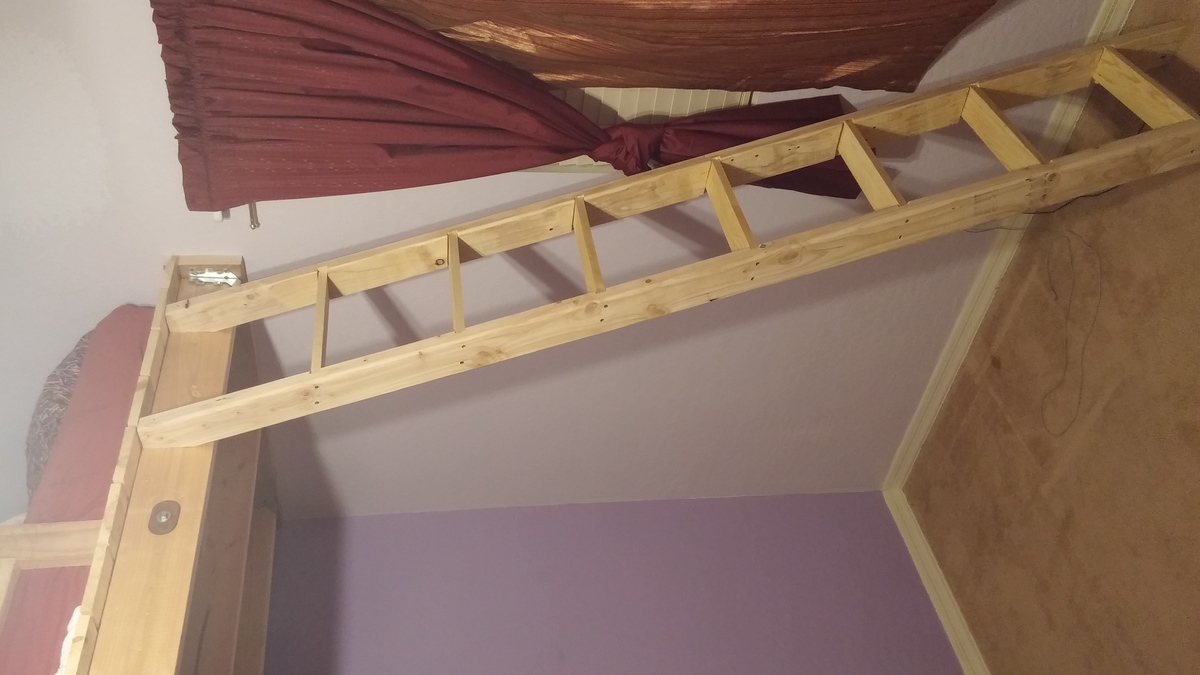
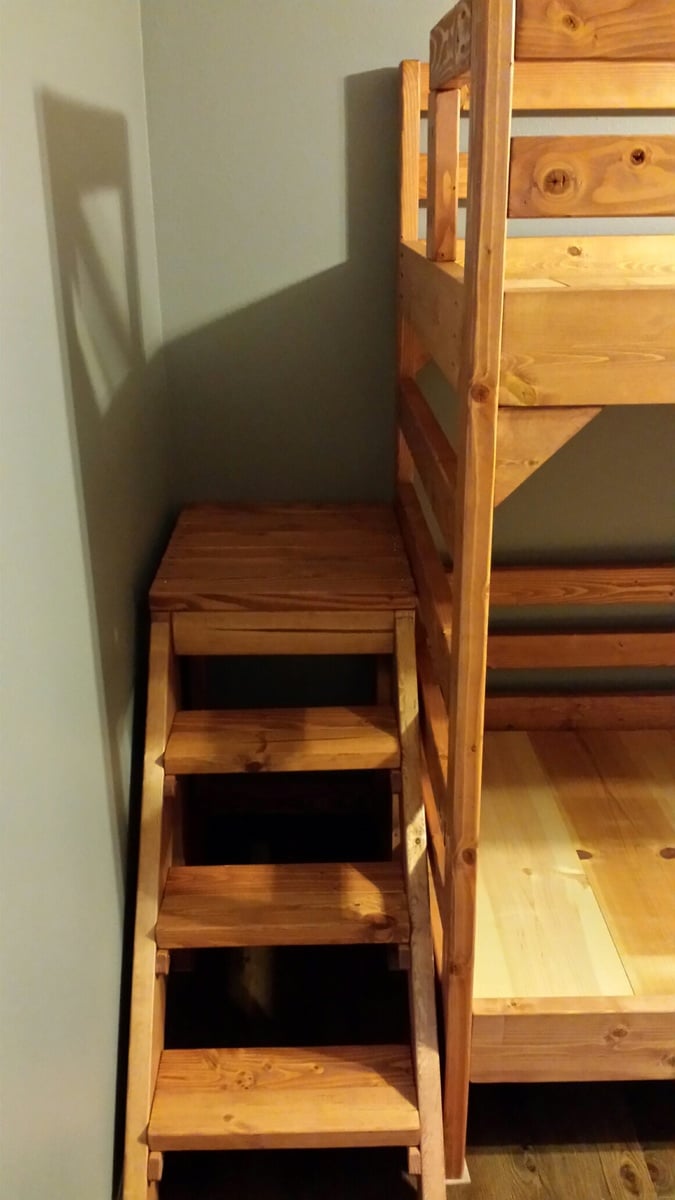
I shortened the width and length of the stairs to better fit in the room, and in doing so, made a small mod to the post by the stairs to prevent the boys from falling down the stairs.
Kids Love them
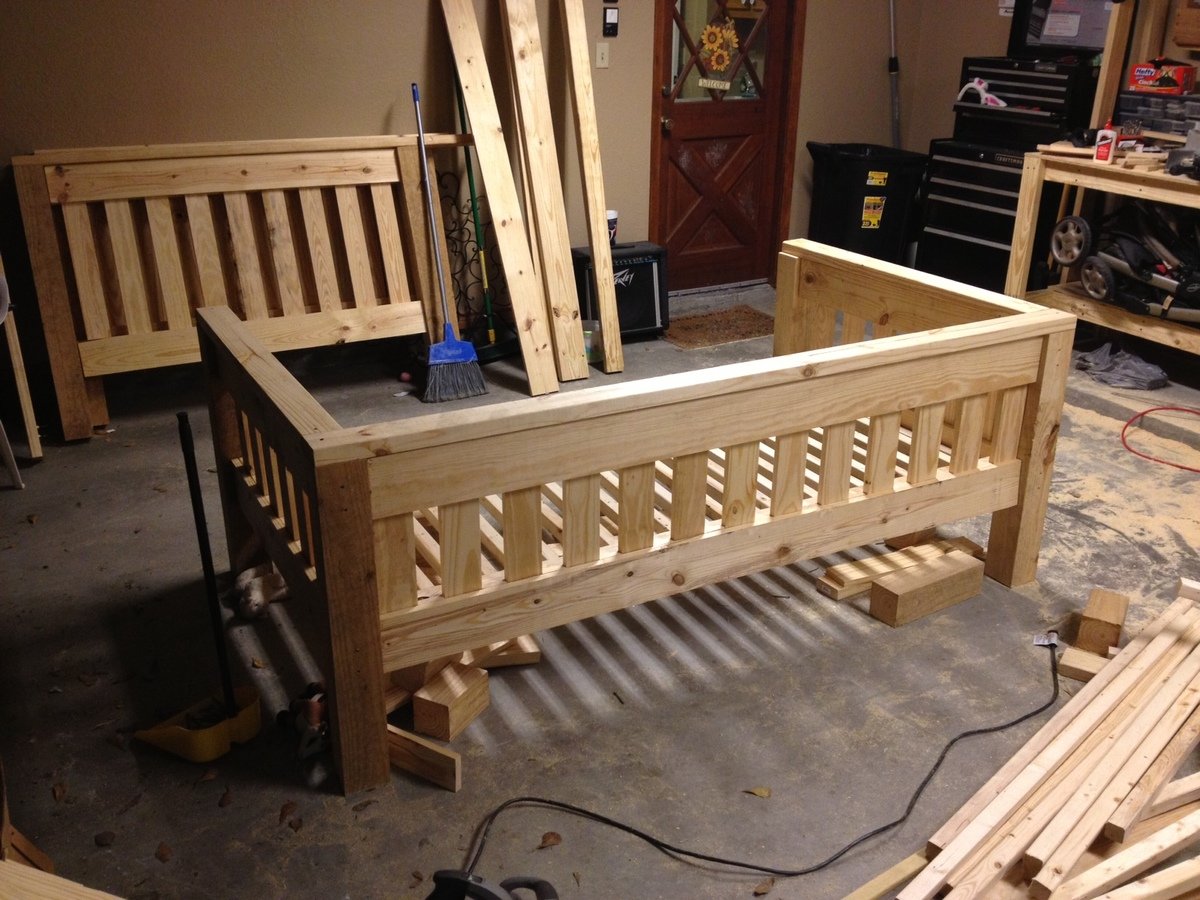
Built from Plan(s)
Estimated Time Investment
Week Long Project (20 Hours or More)
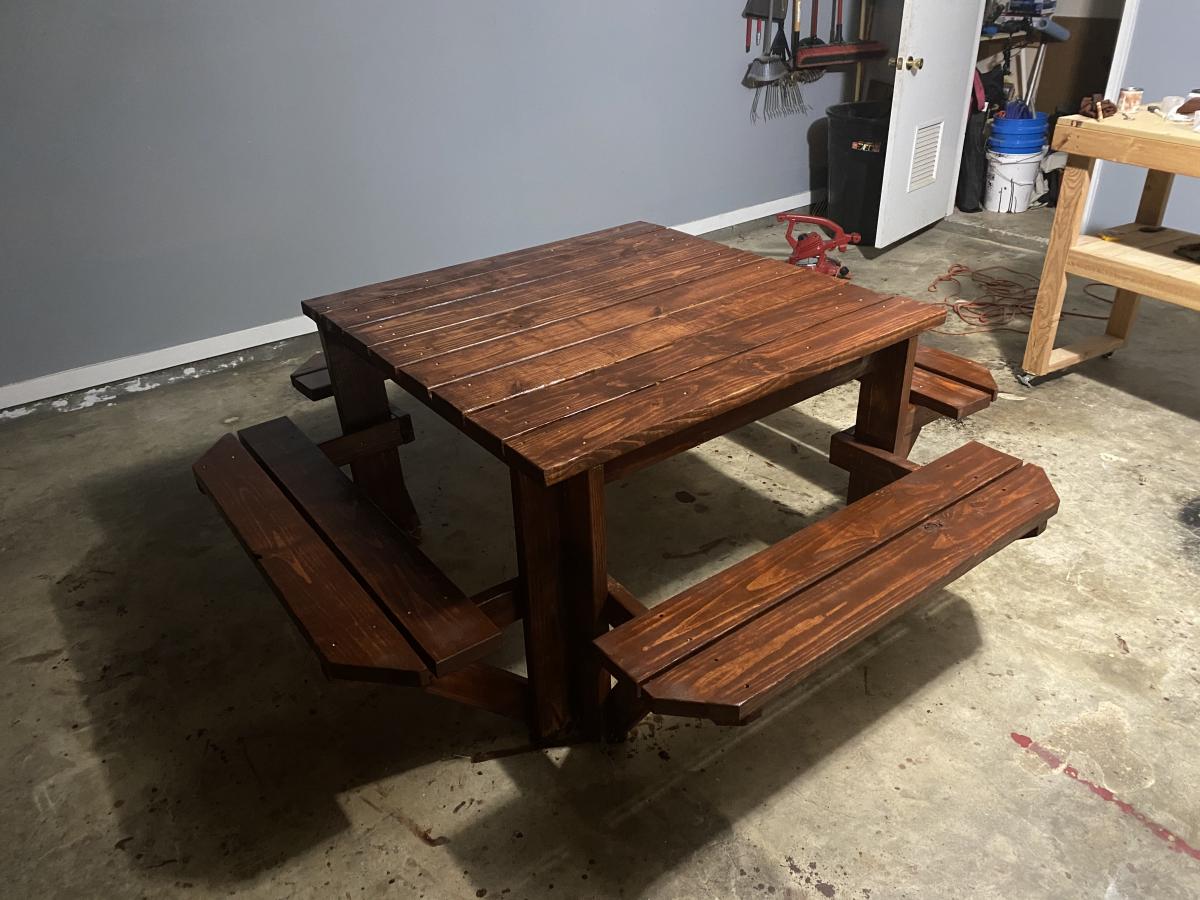
Finish Used
Minwax Cherry Wood and Satin Poly
Recommended Skill Level
Intermediate