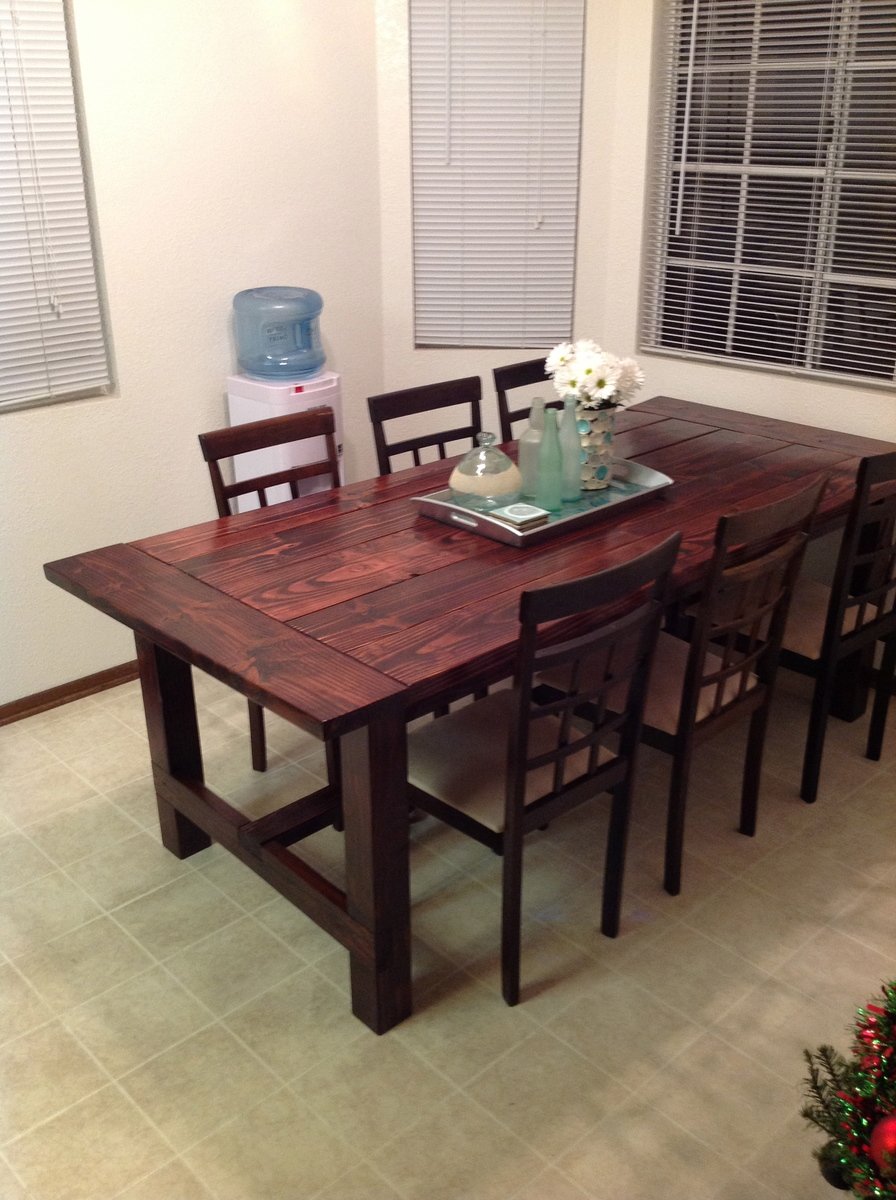
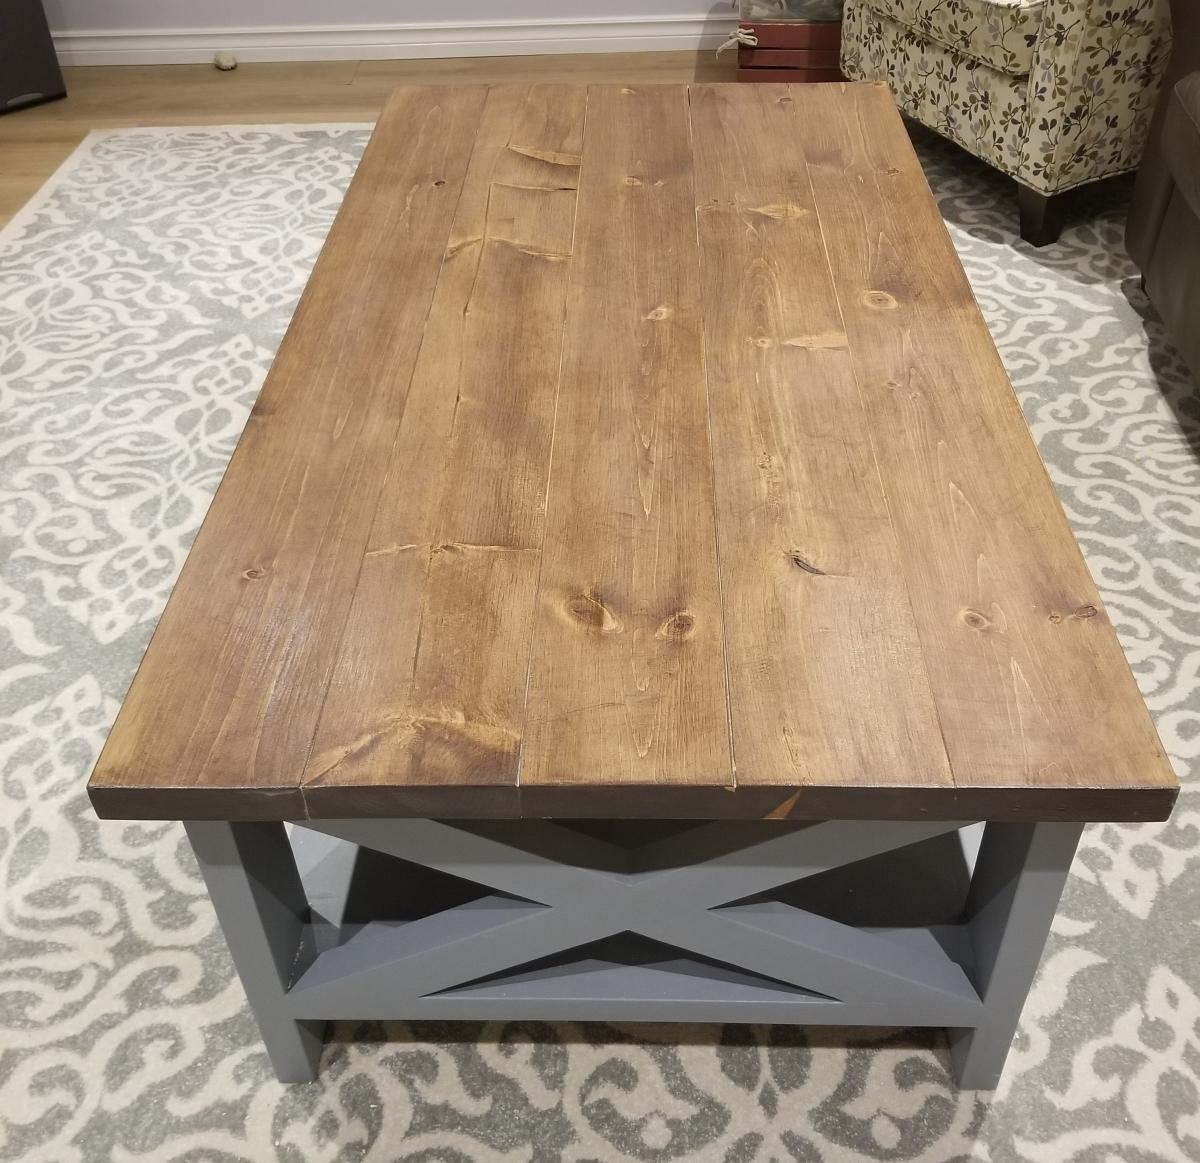
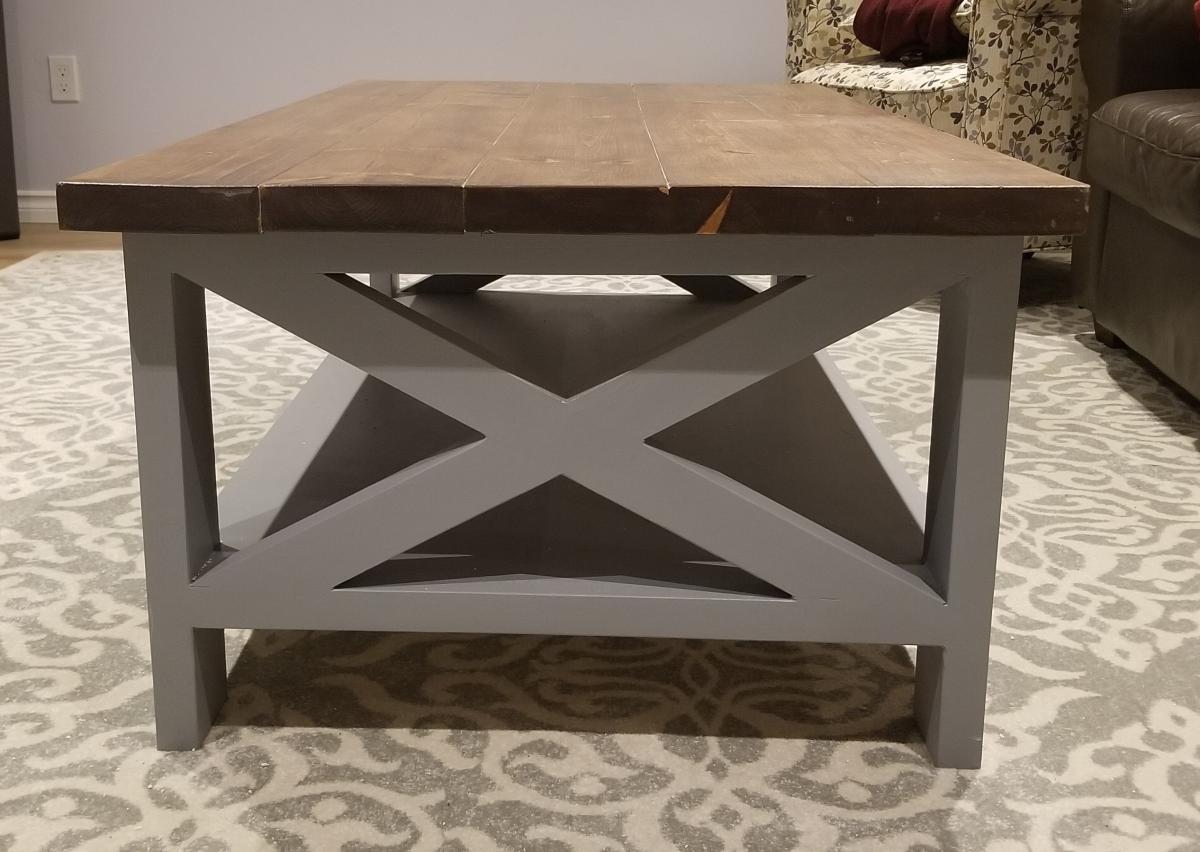
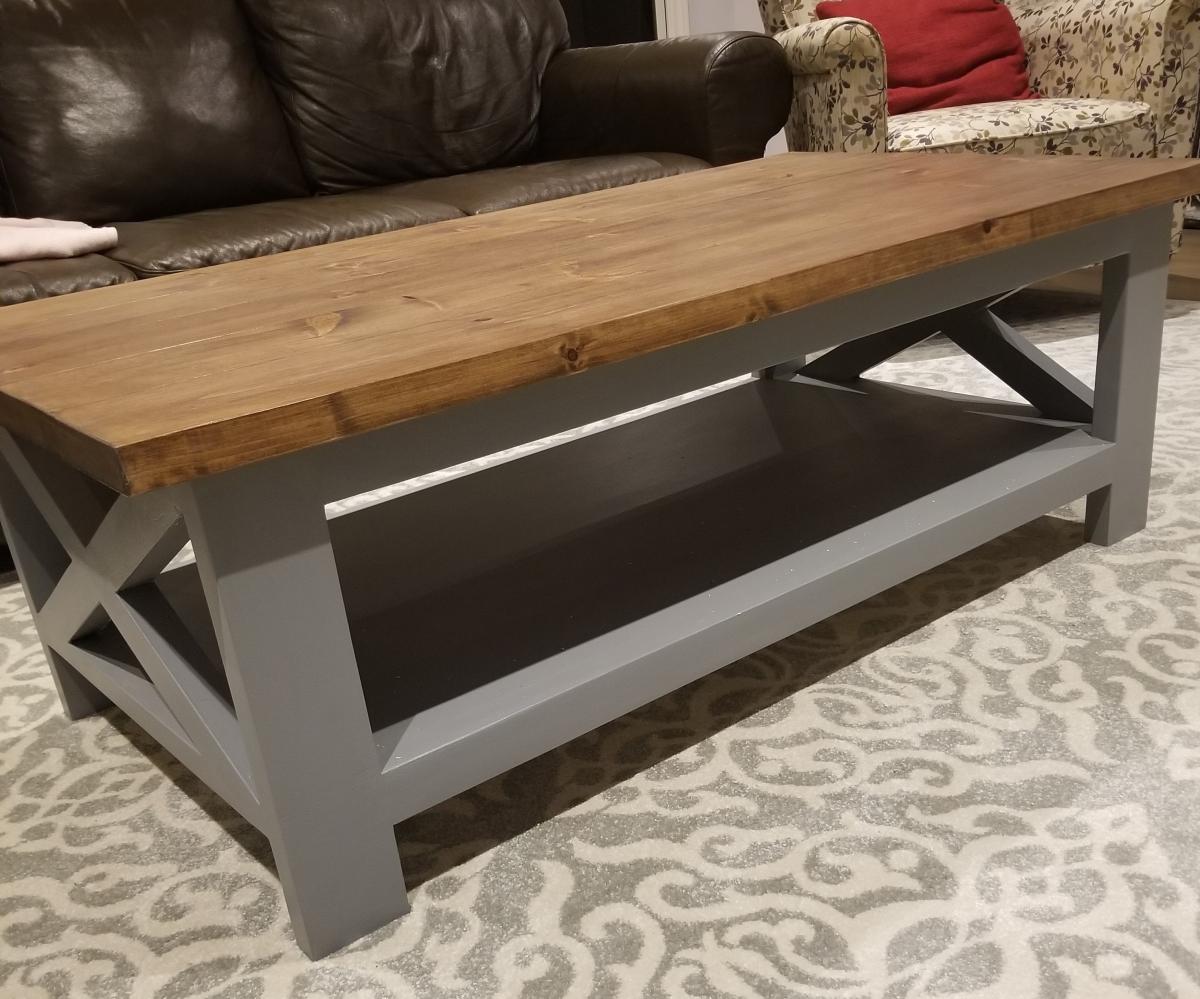
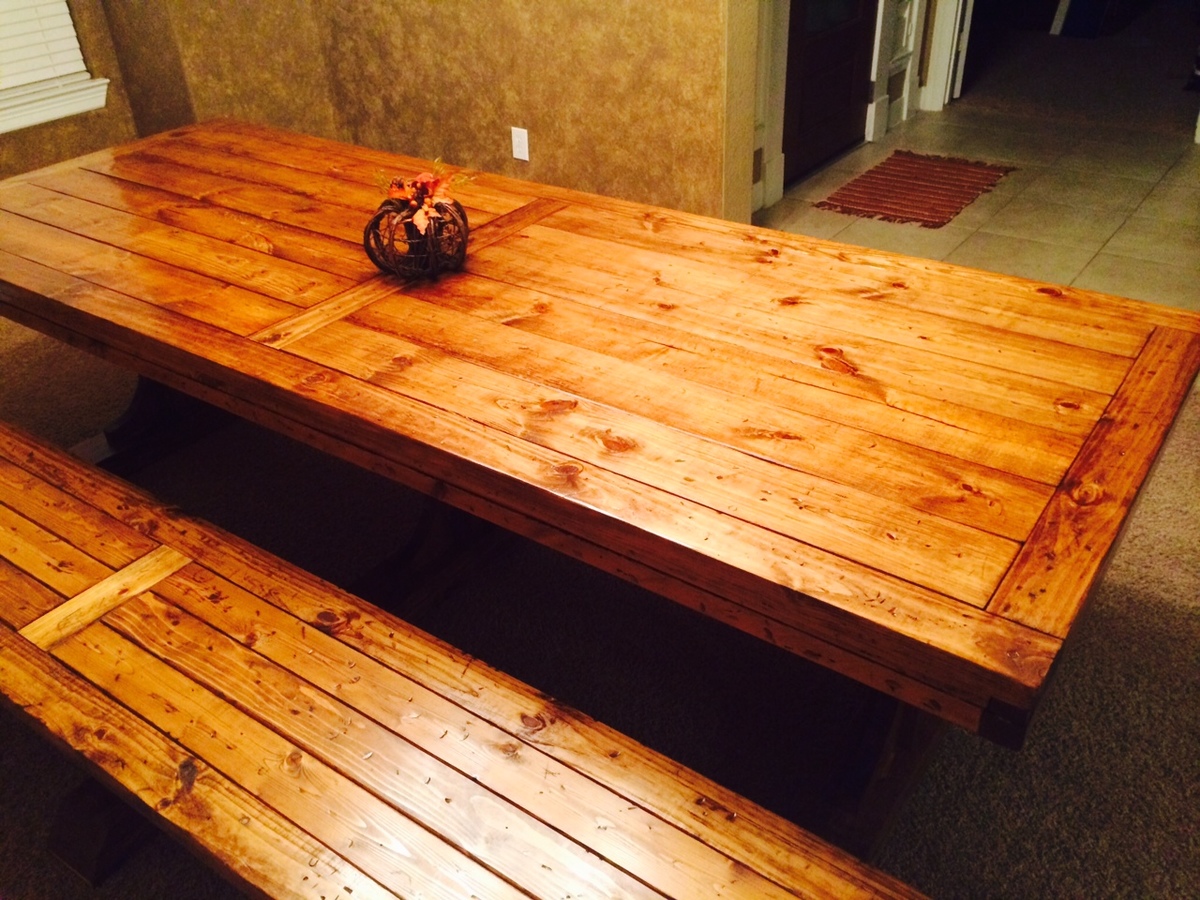
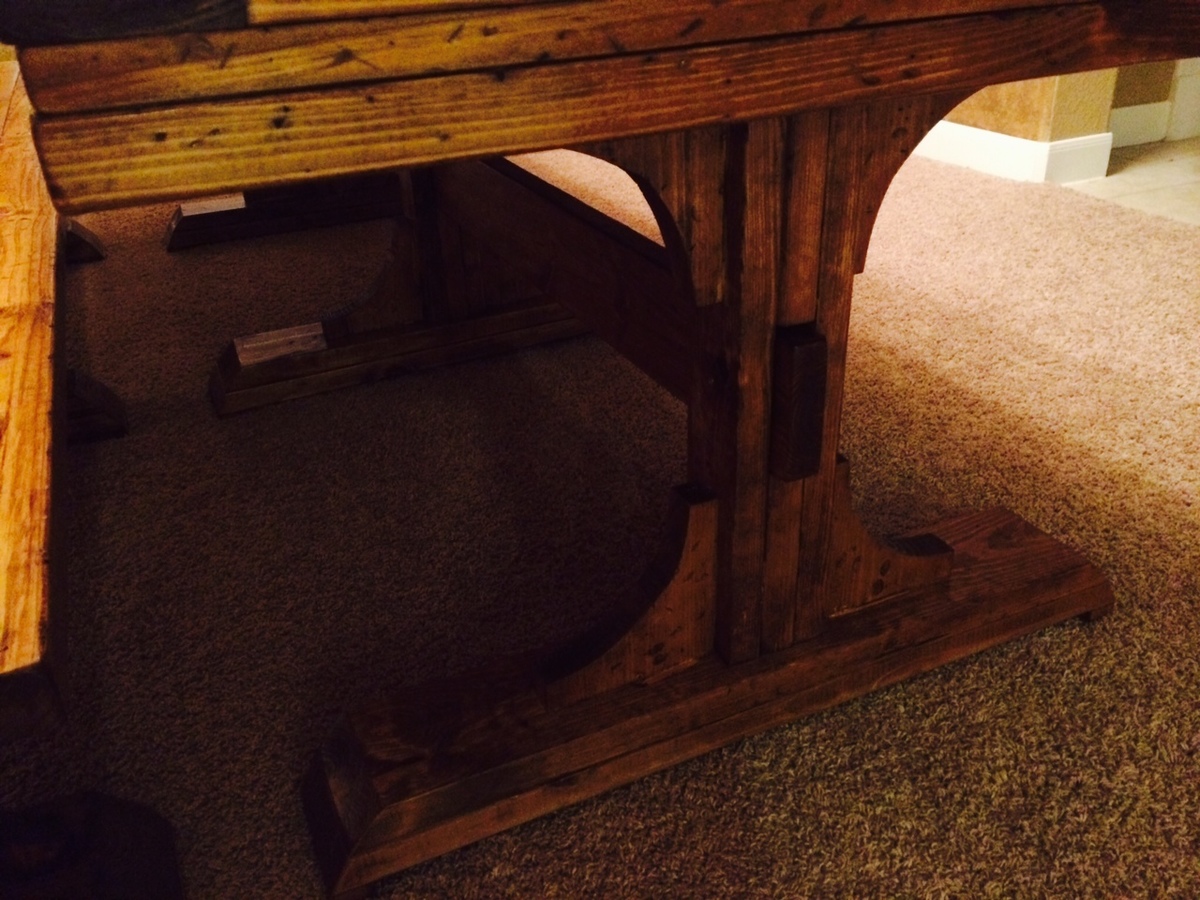
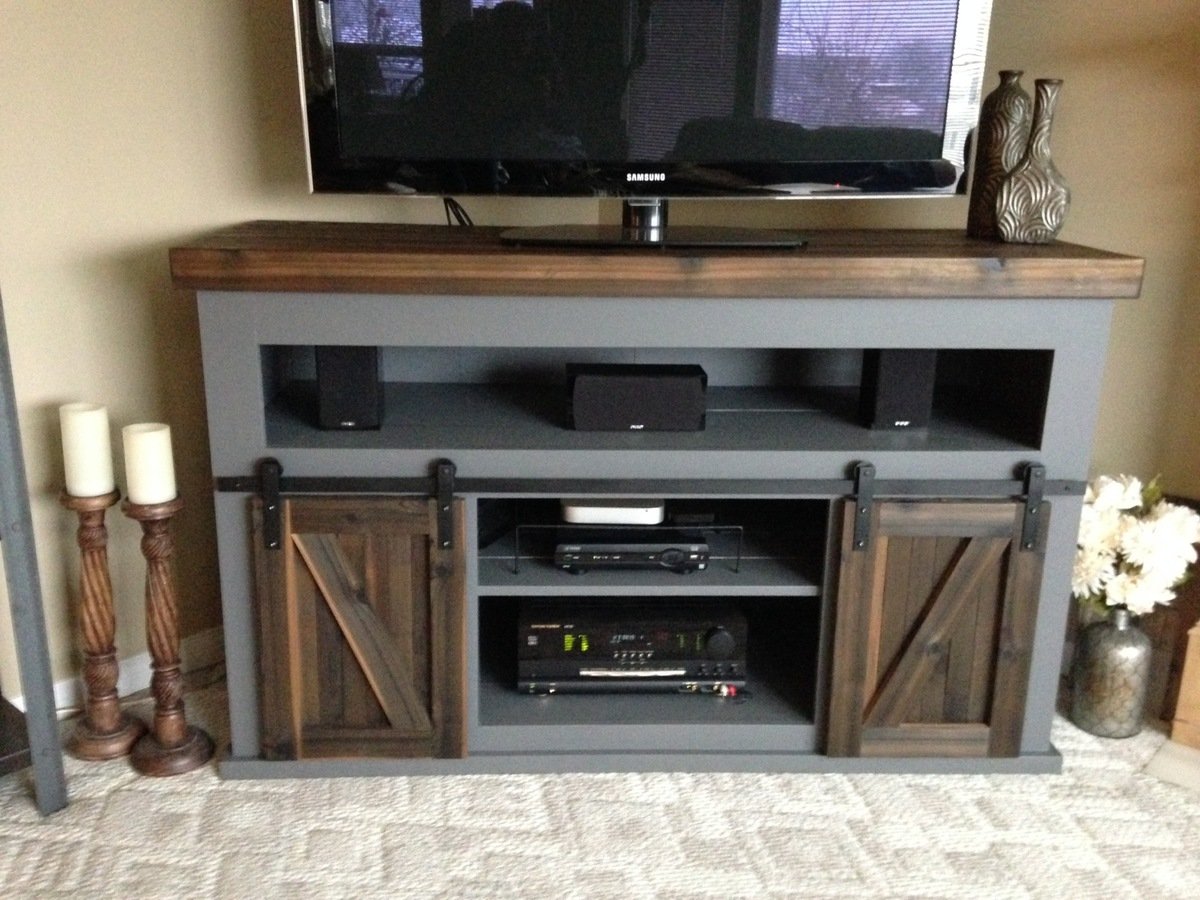
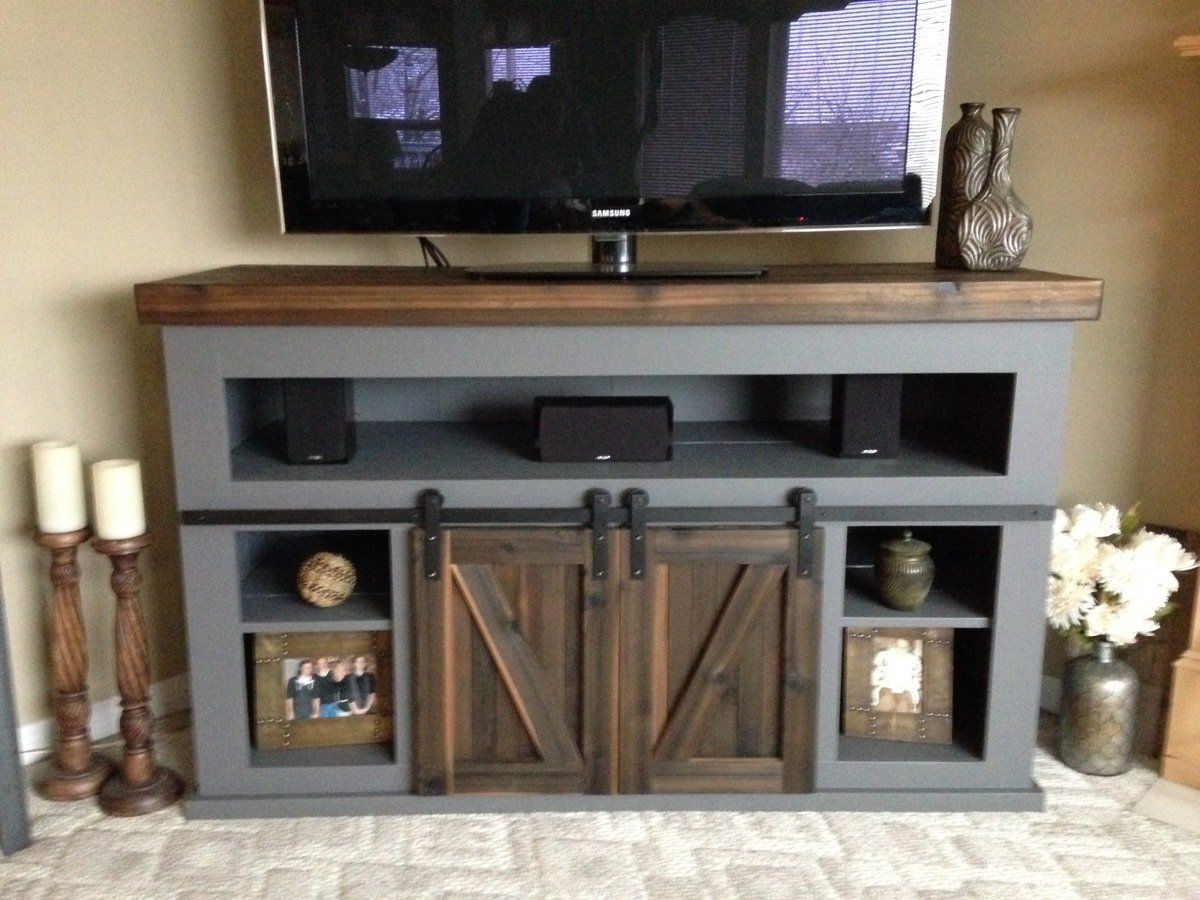
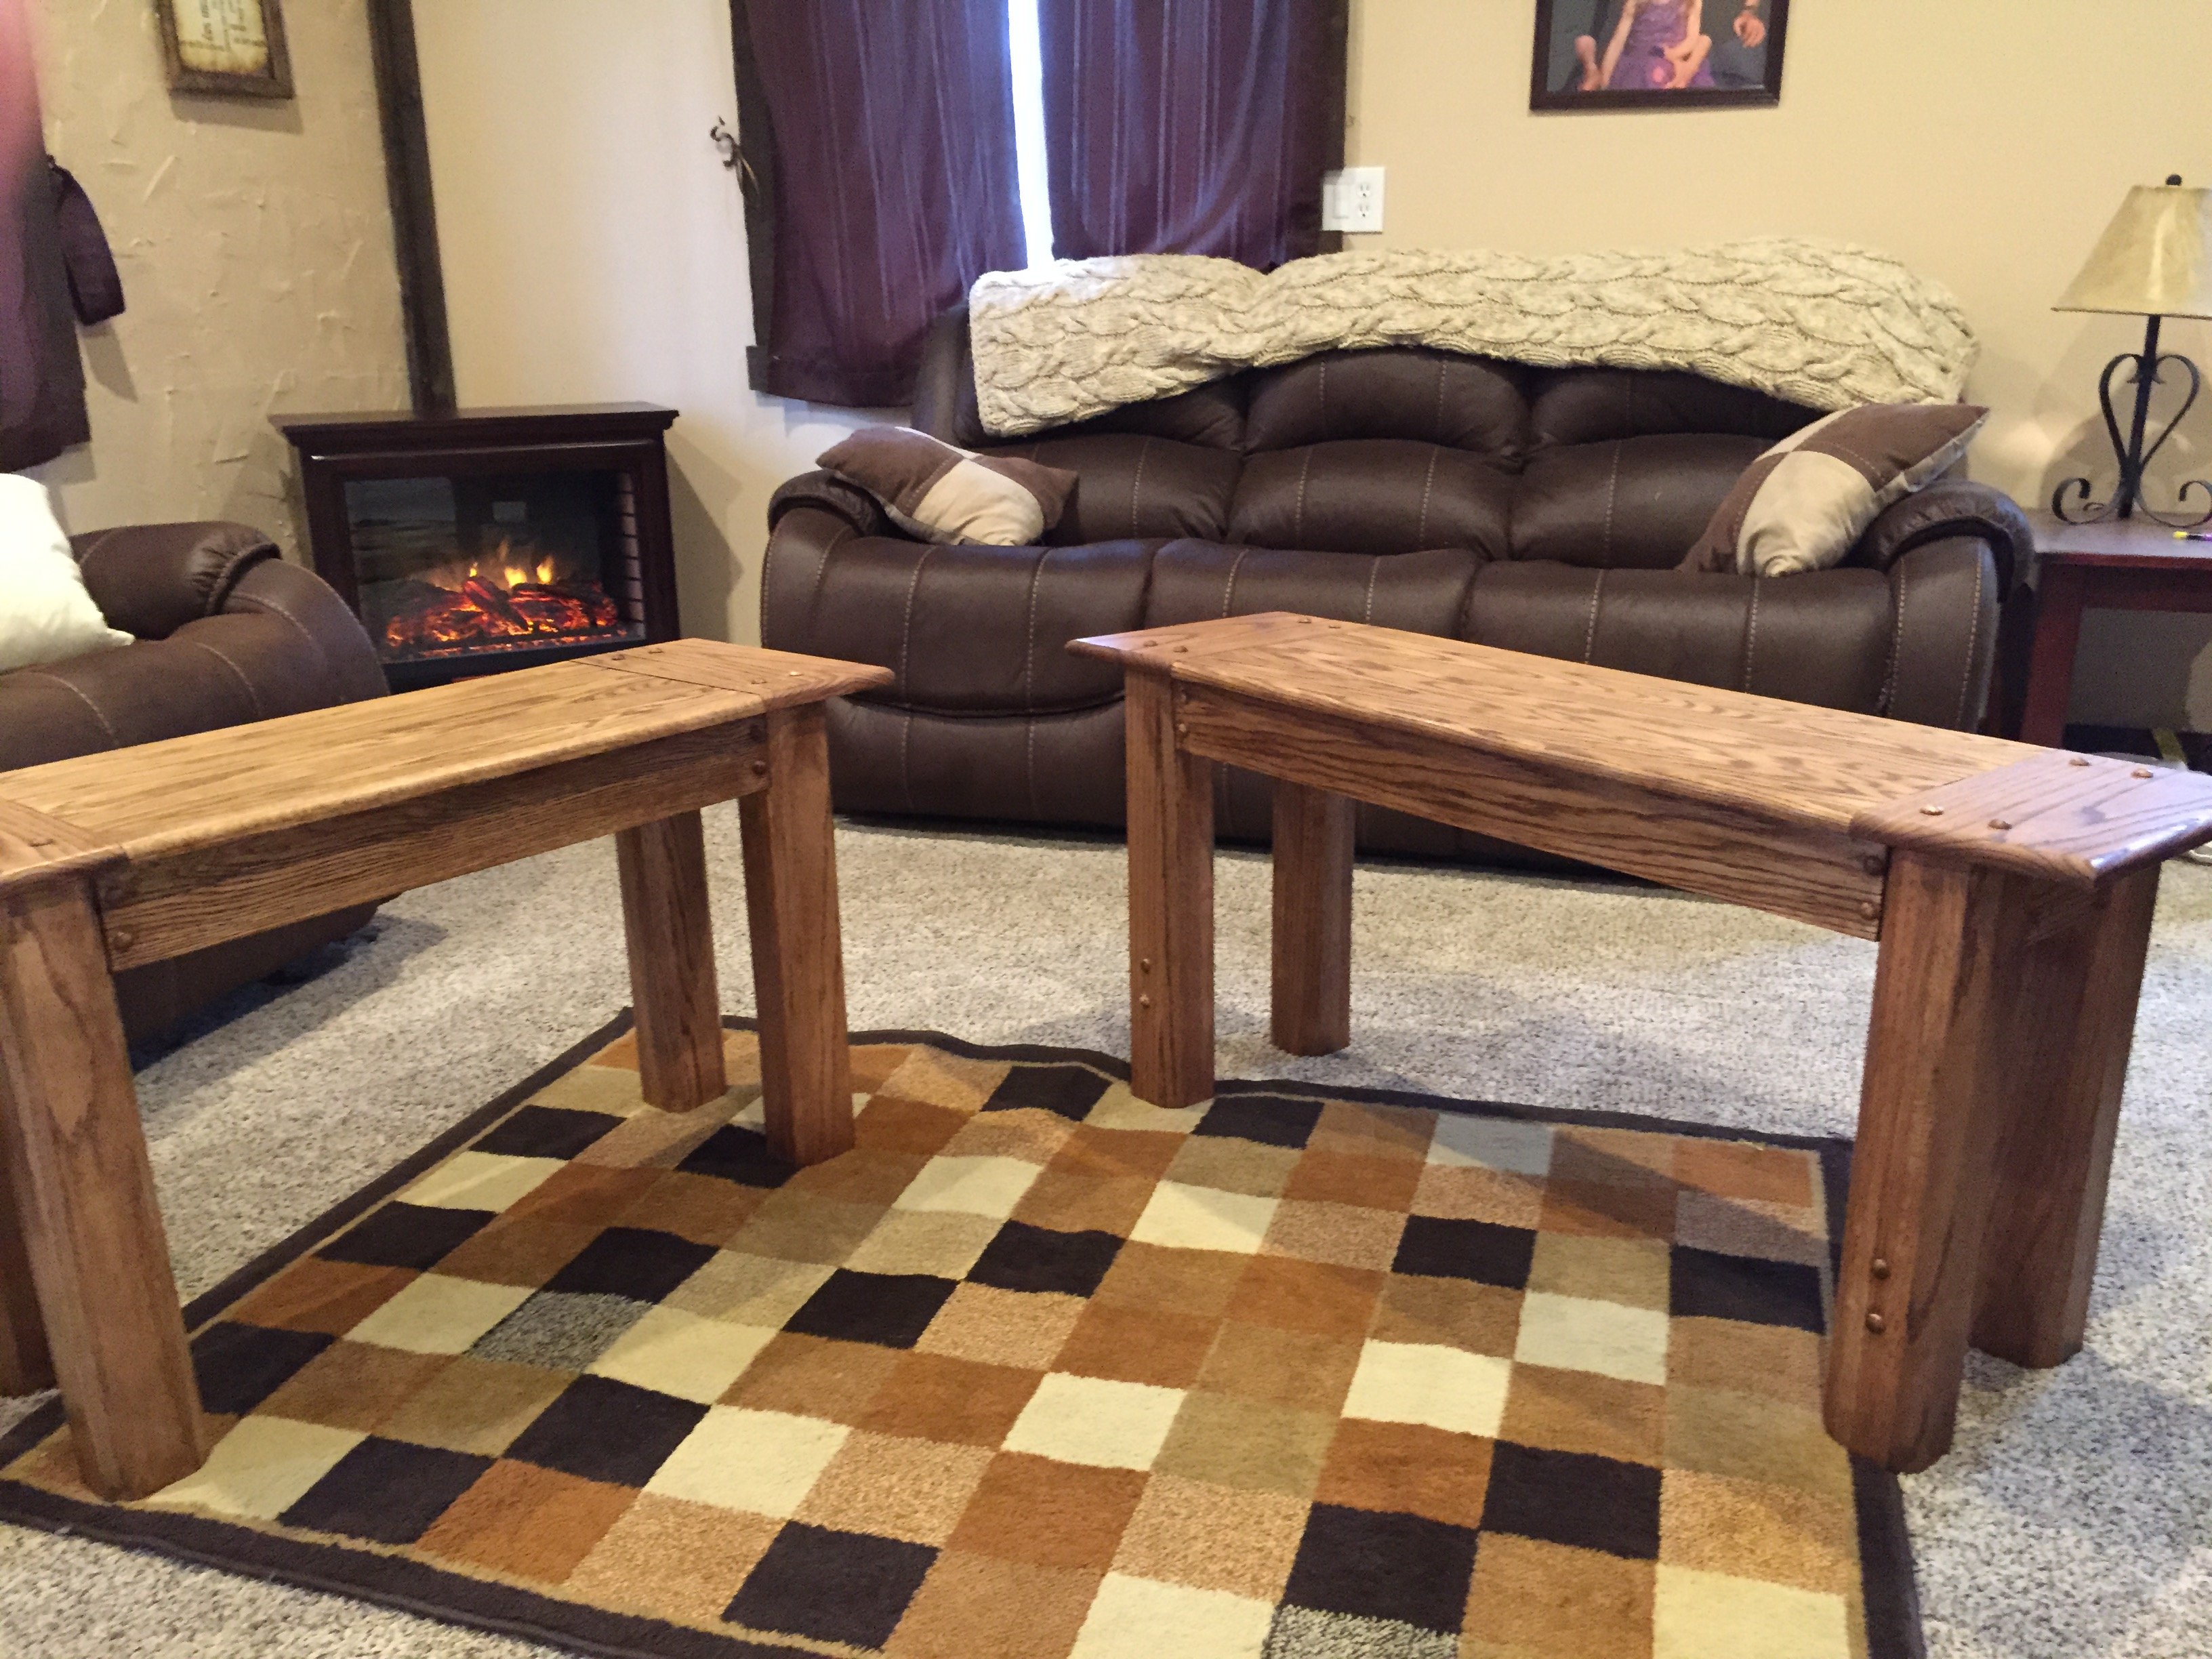
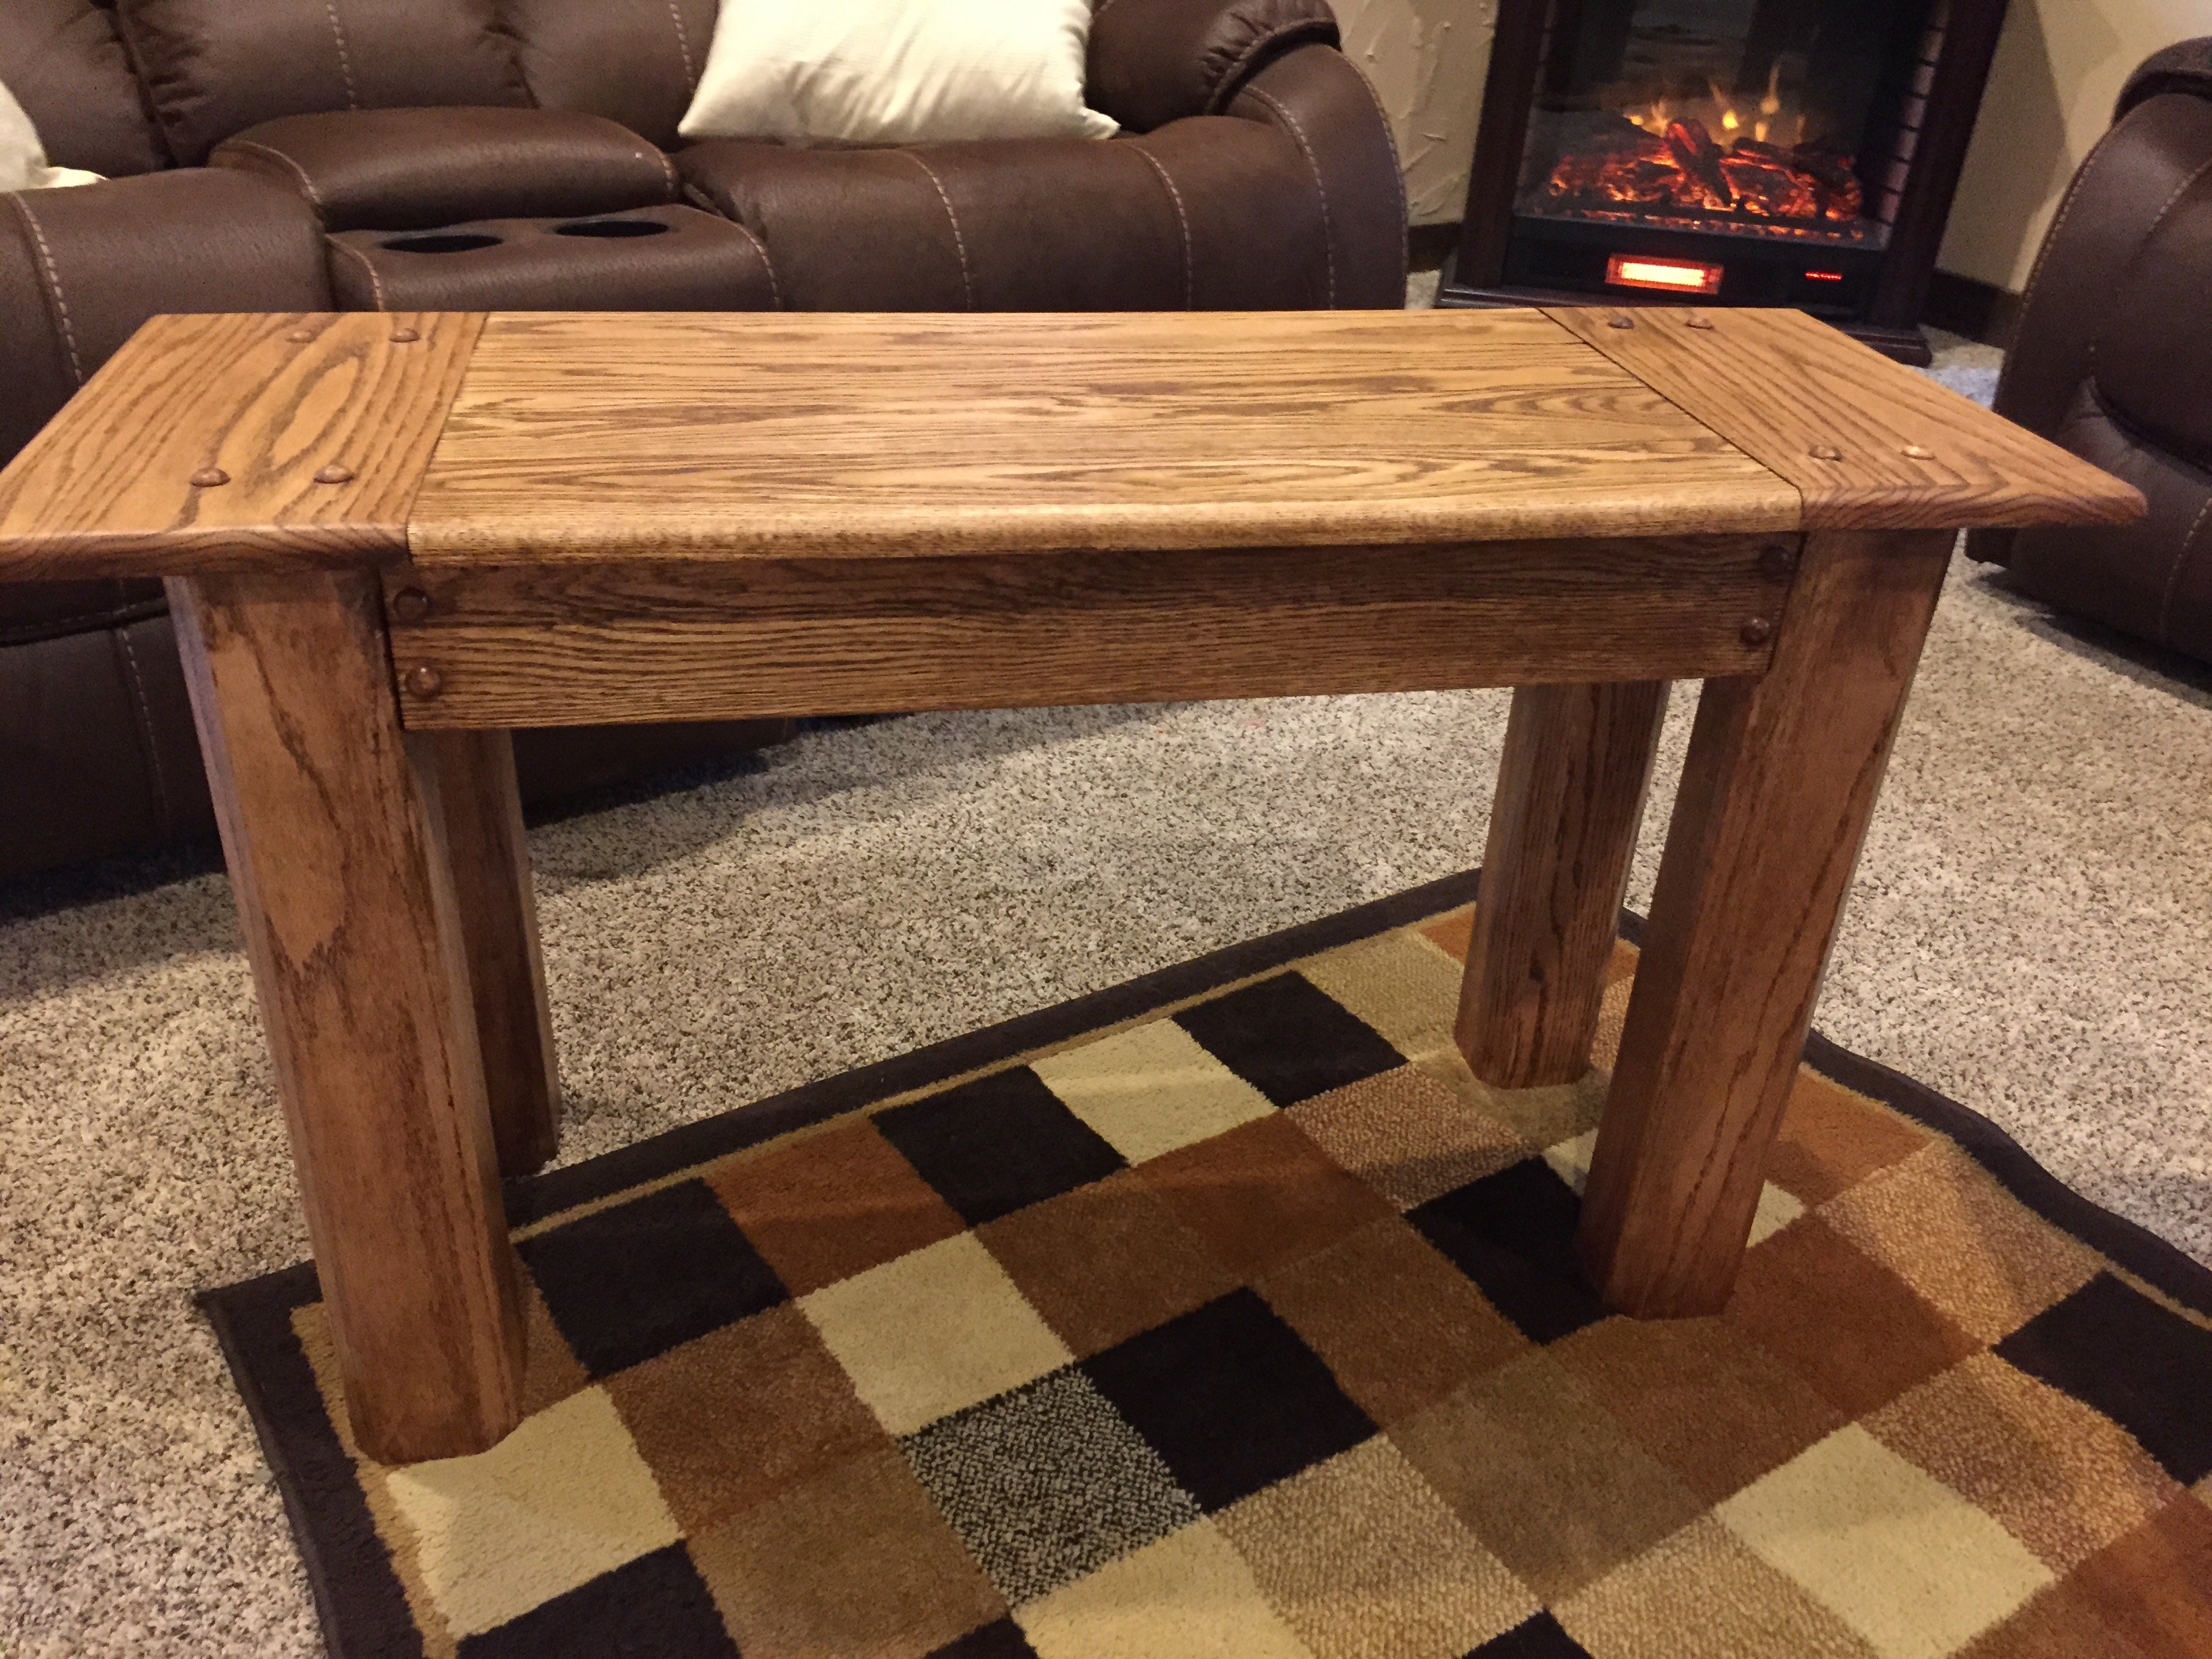
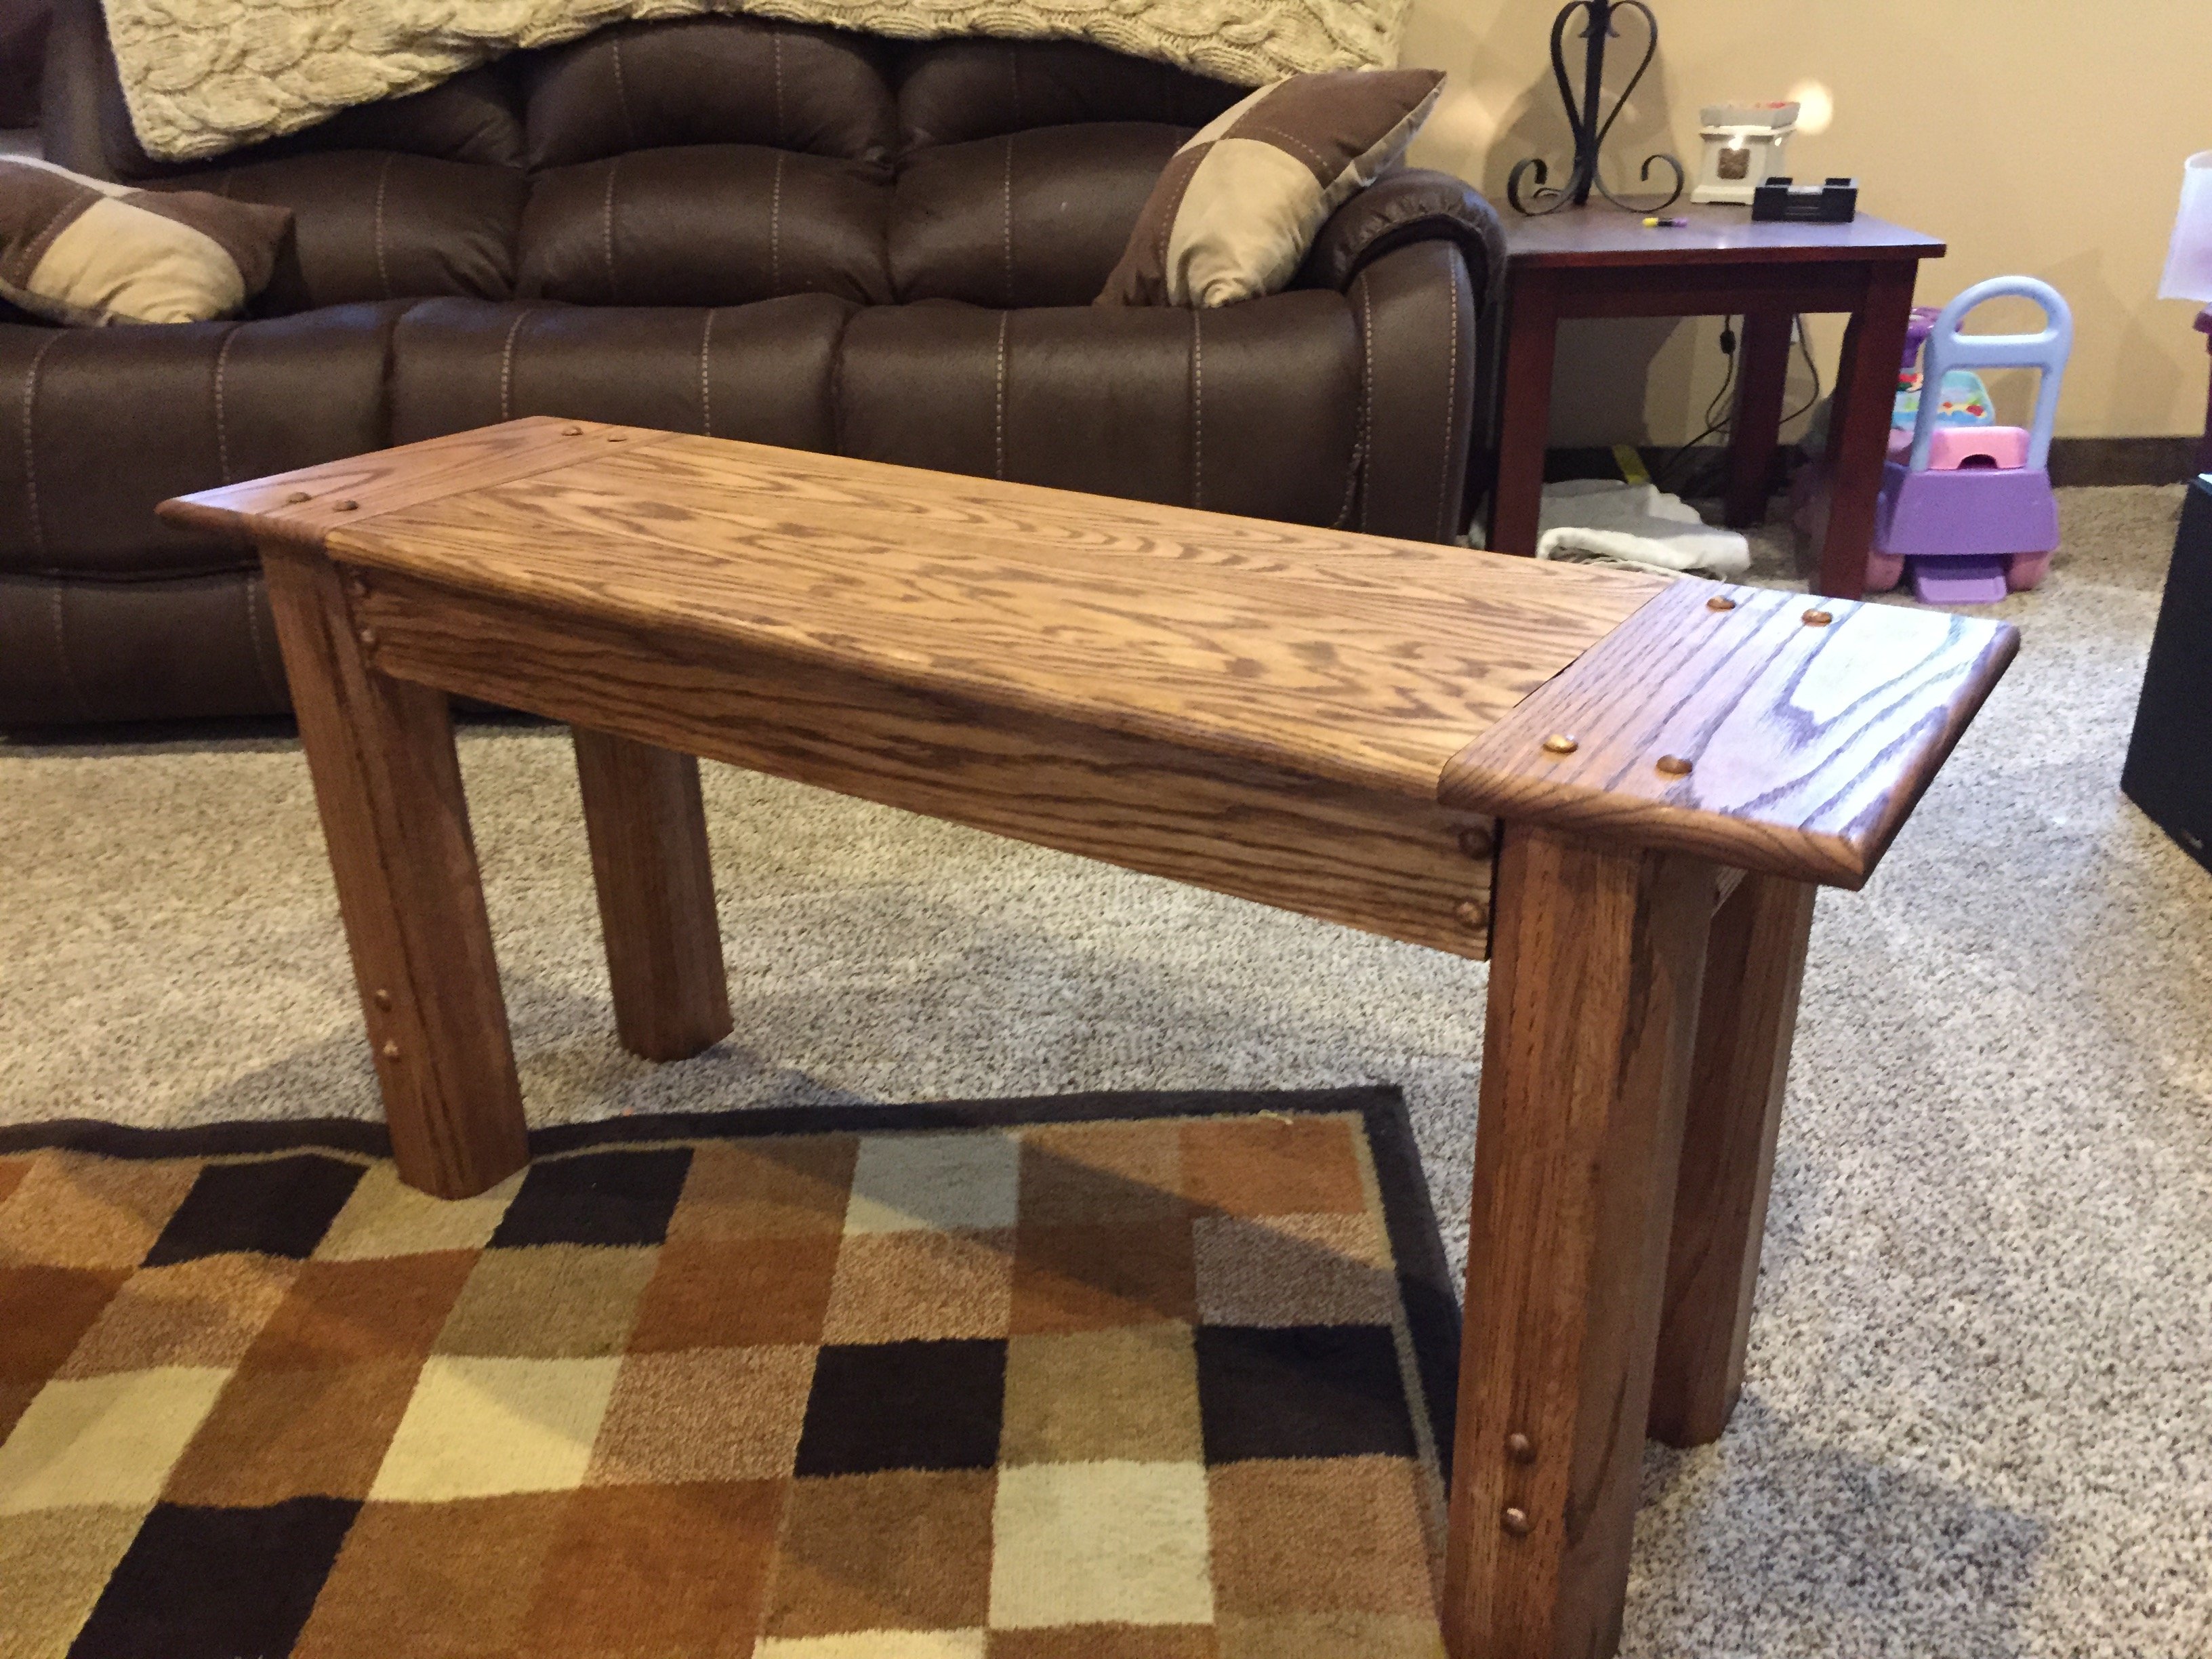
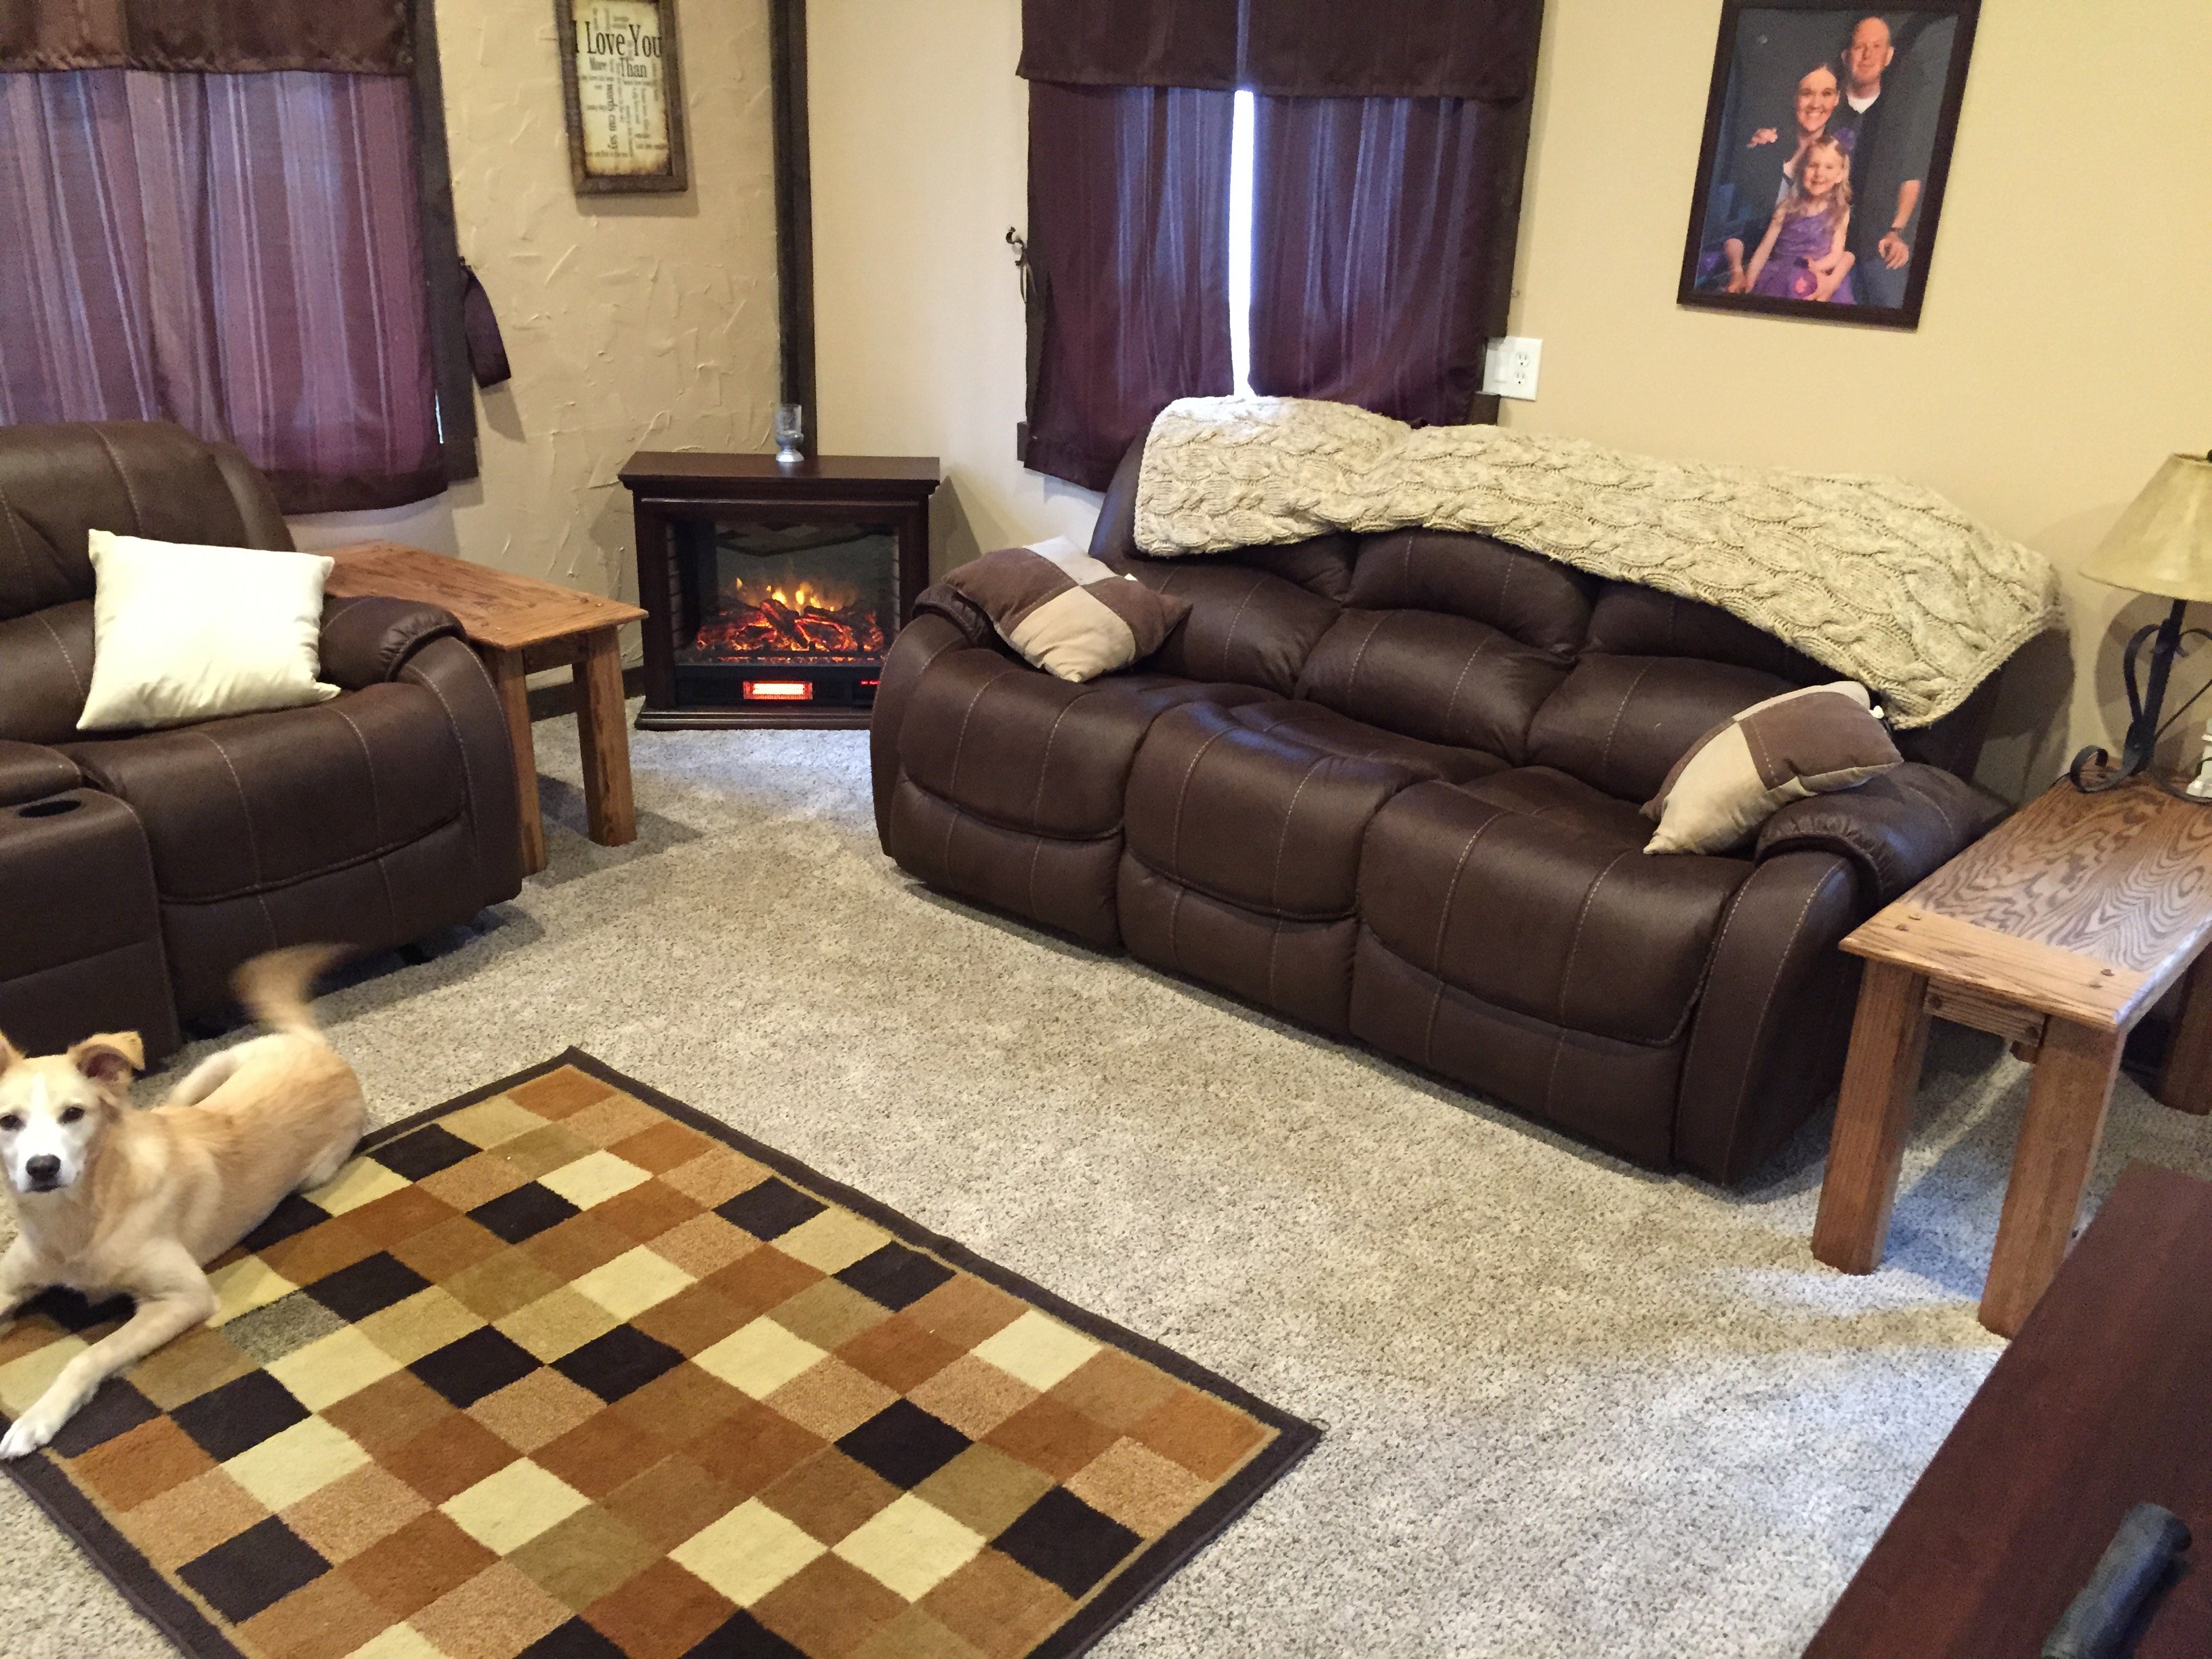
Nick's Farmhouse Table
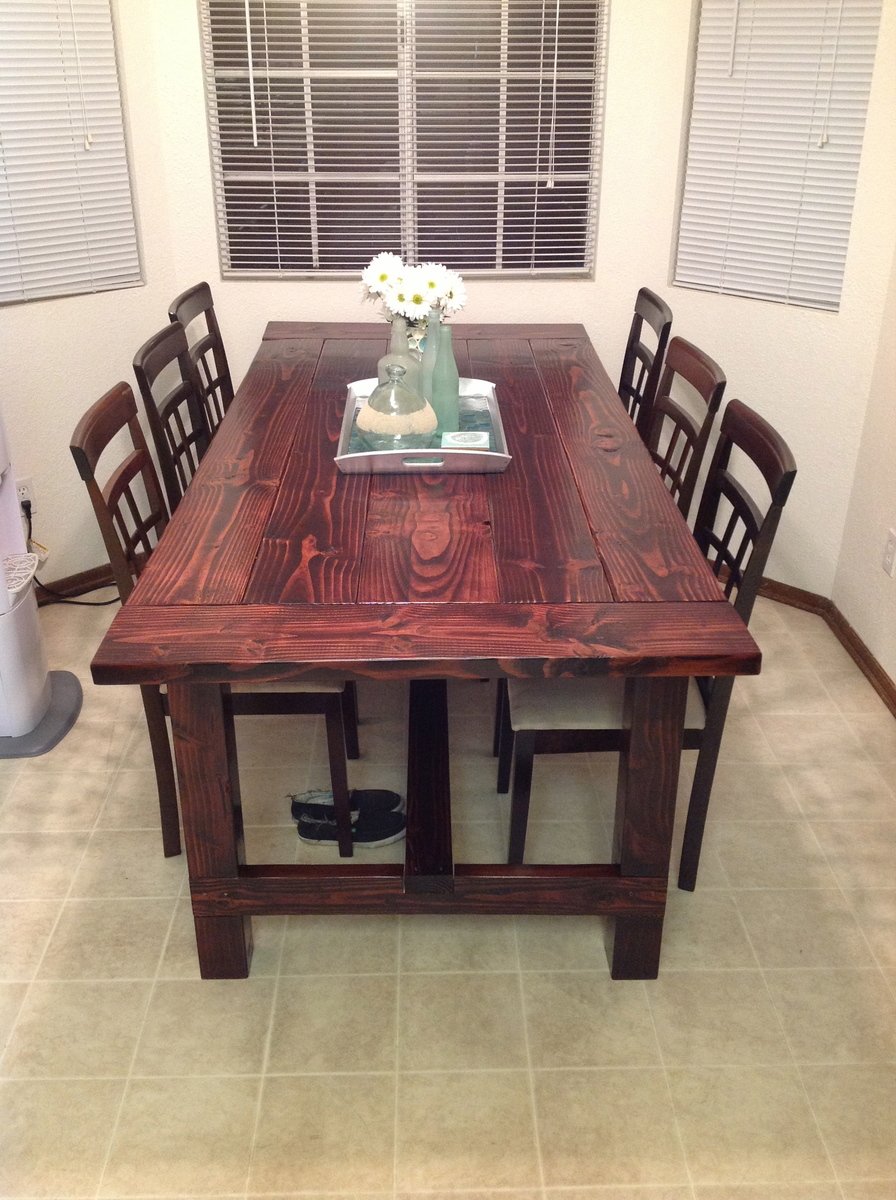
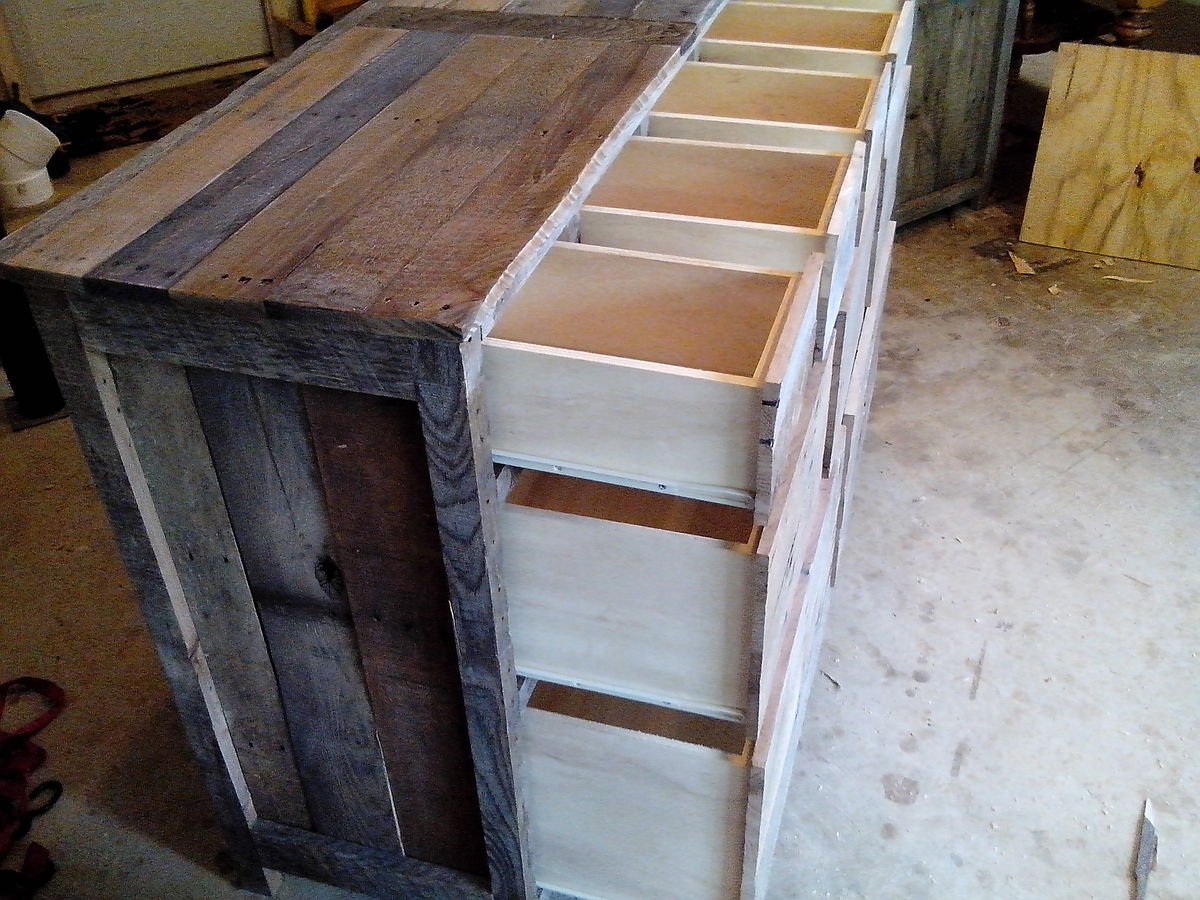
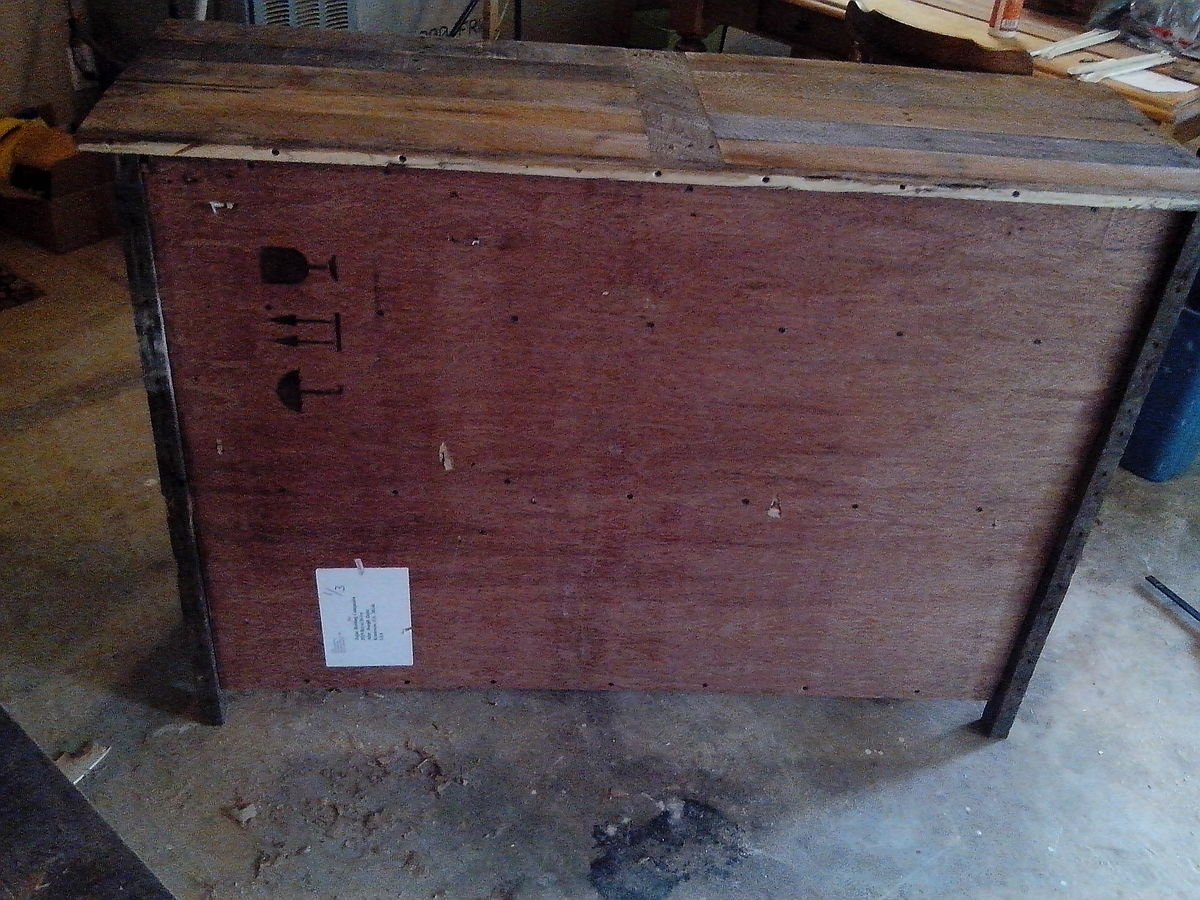
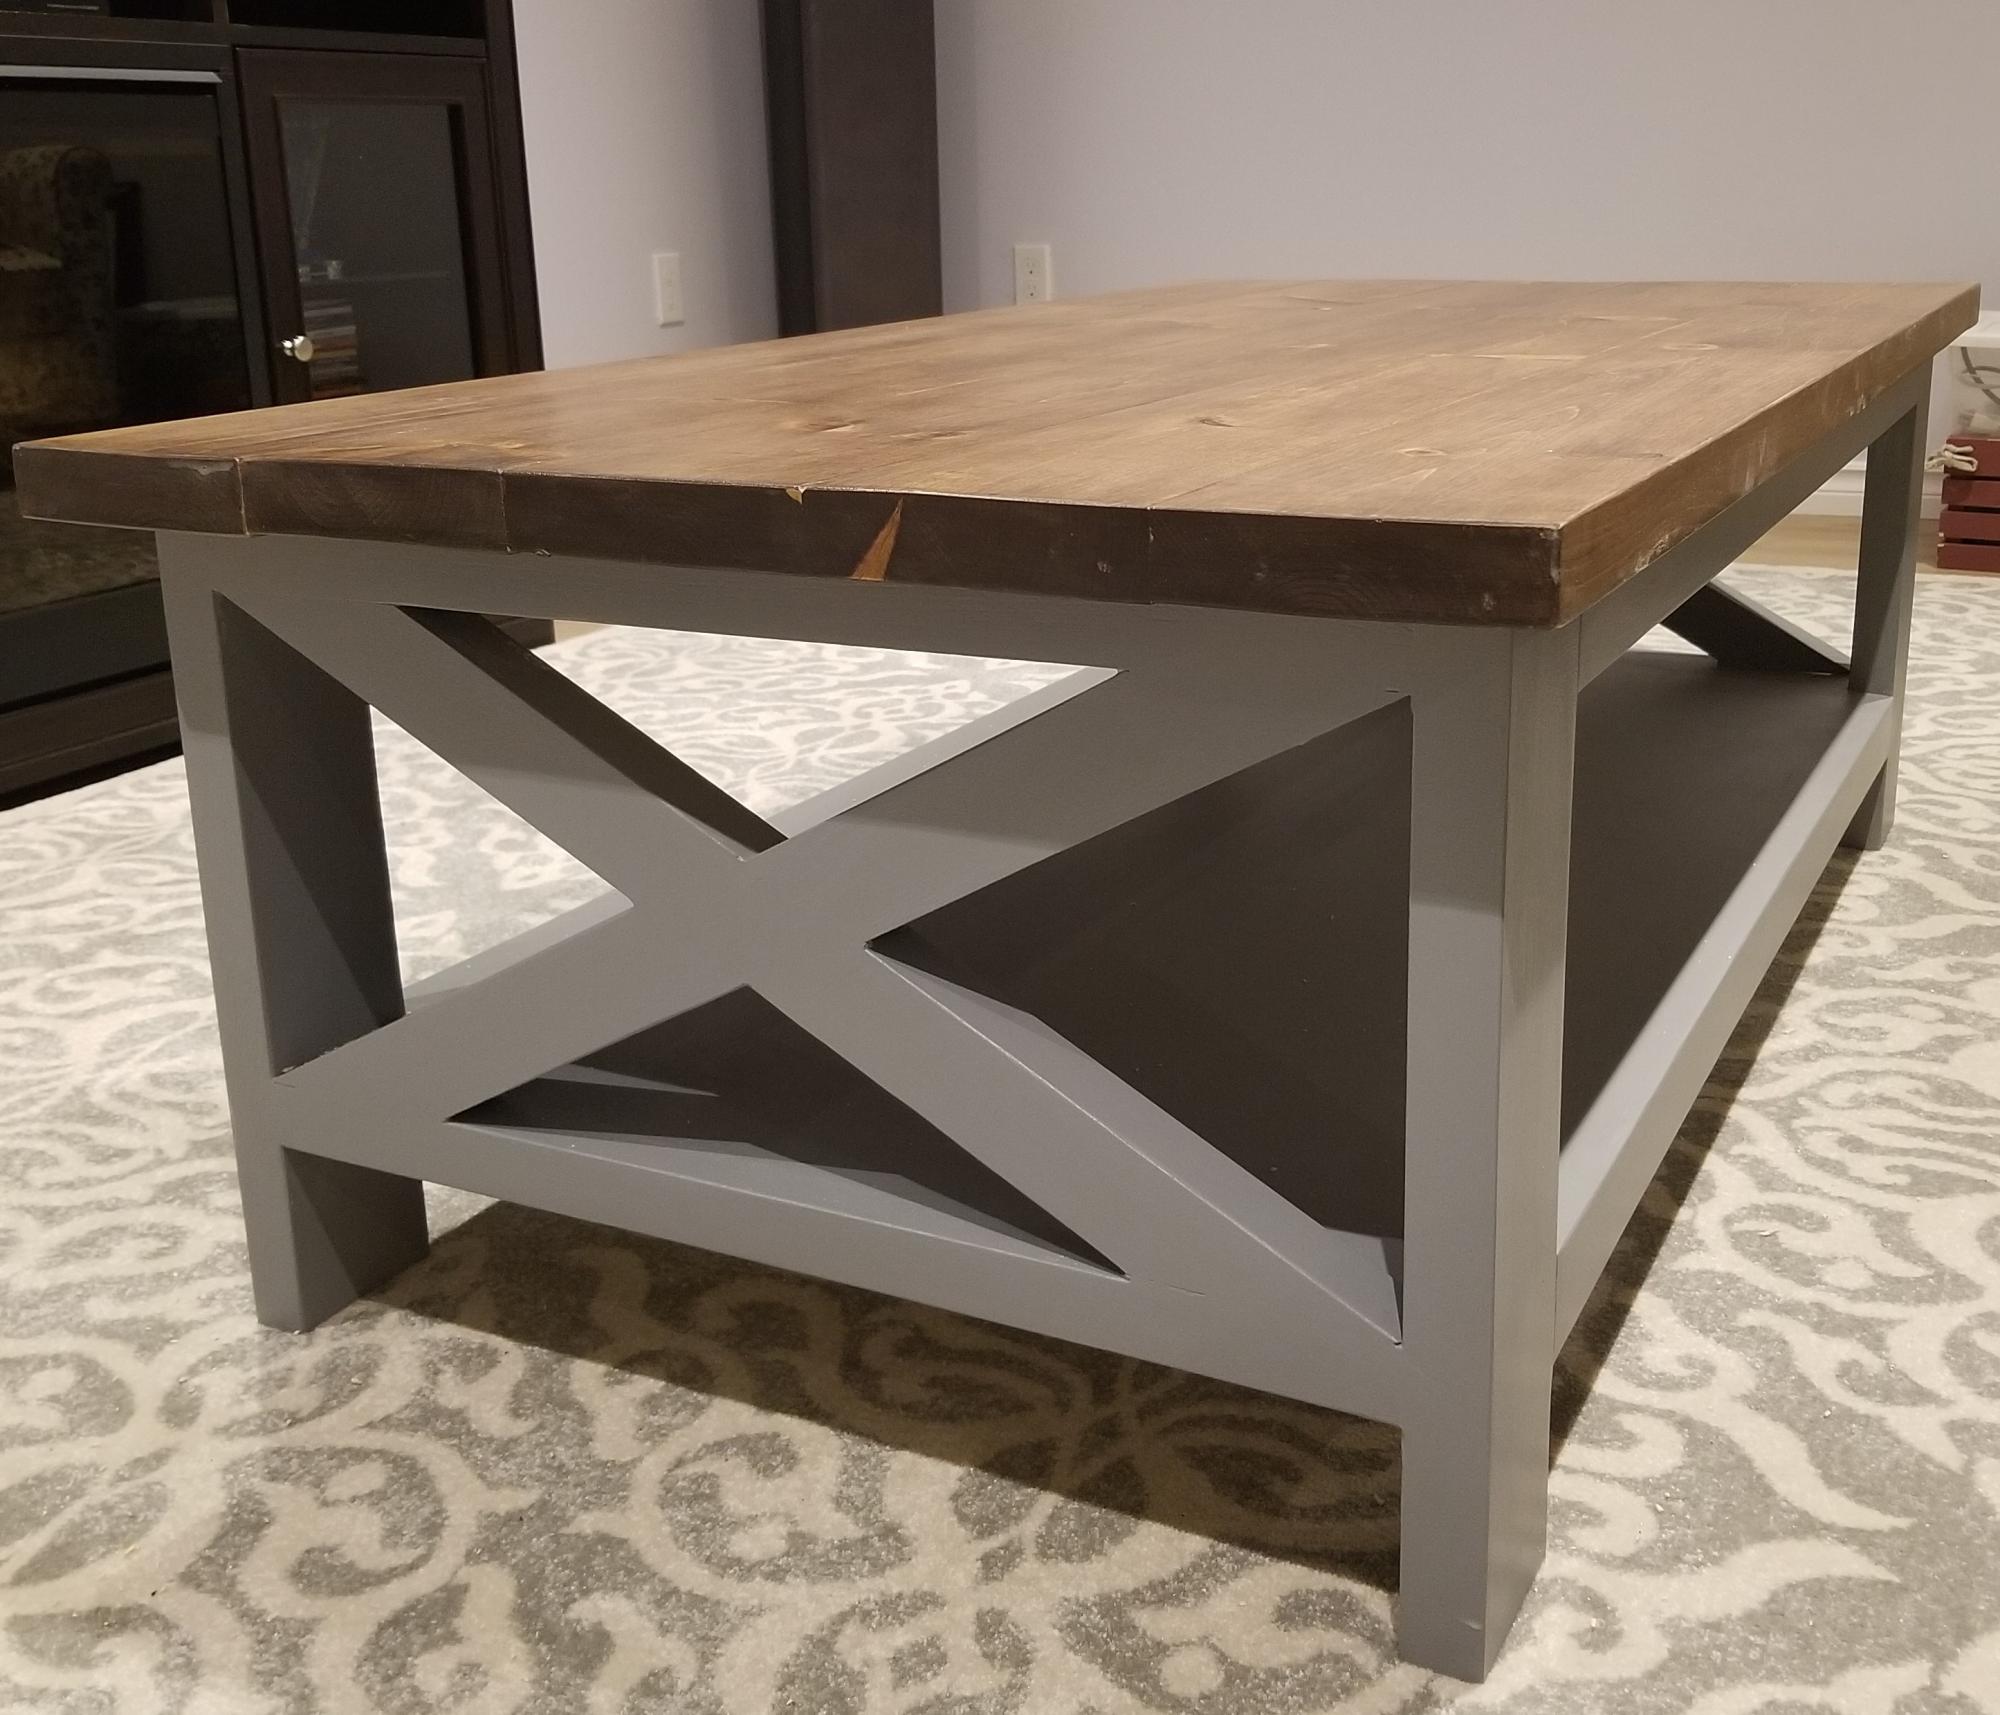
I built this farmhouse table for my beautiful wife for christmas using the update pocket hole plans. It was a lot of work but well worth it.
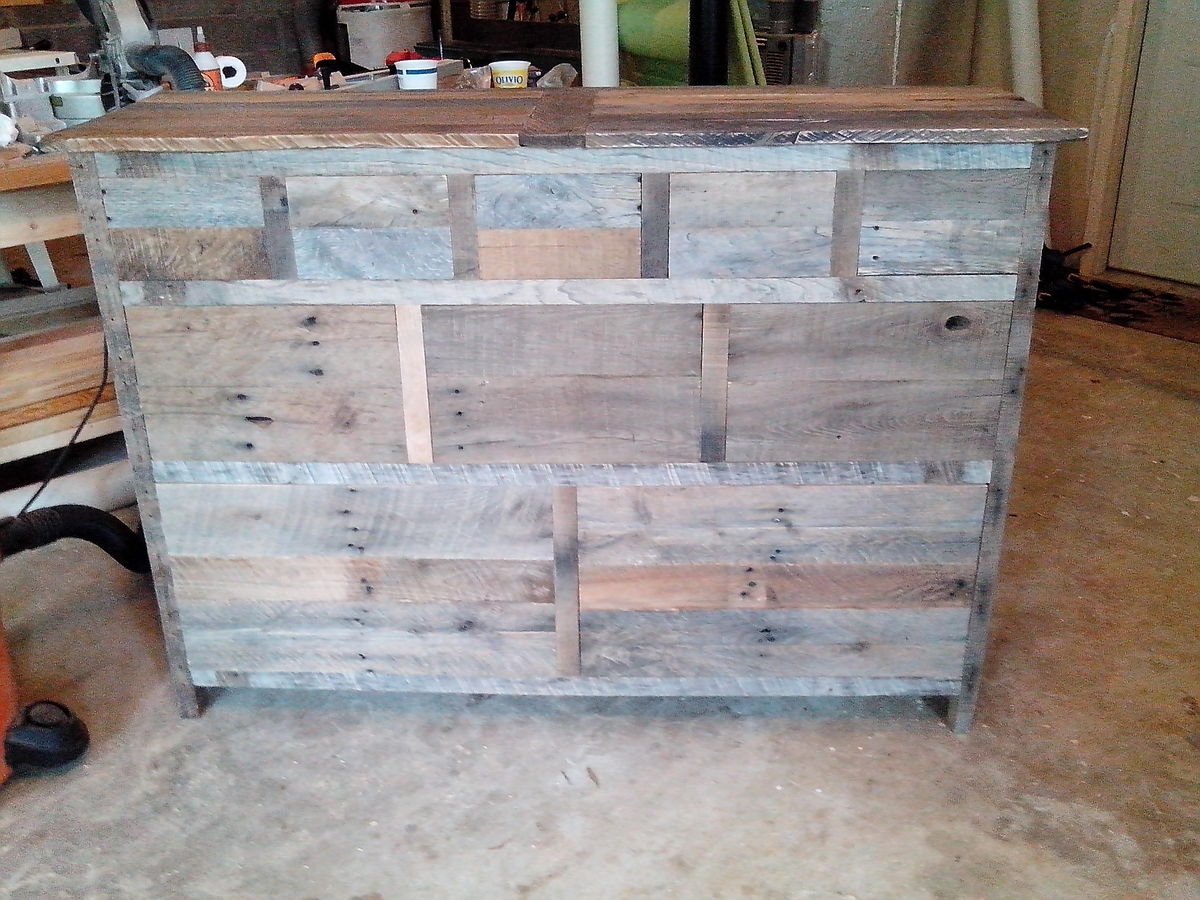
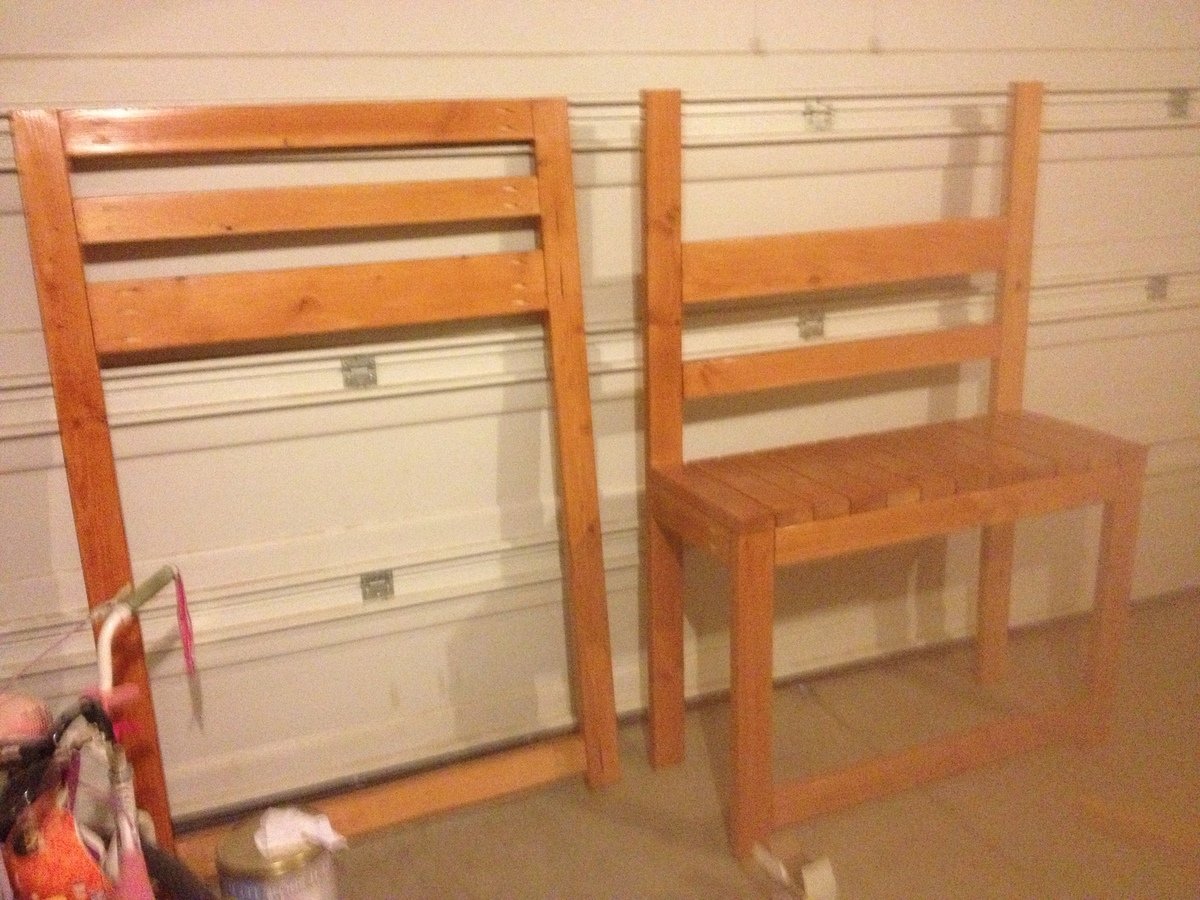
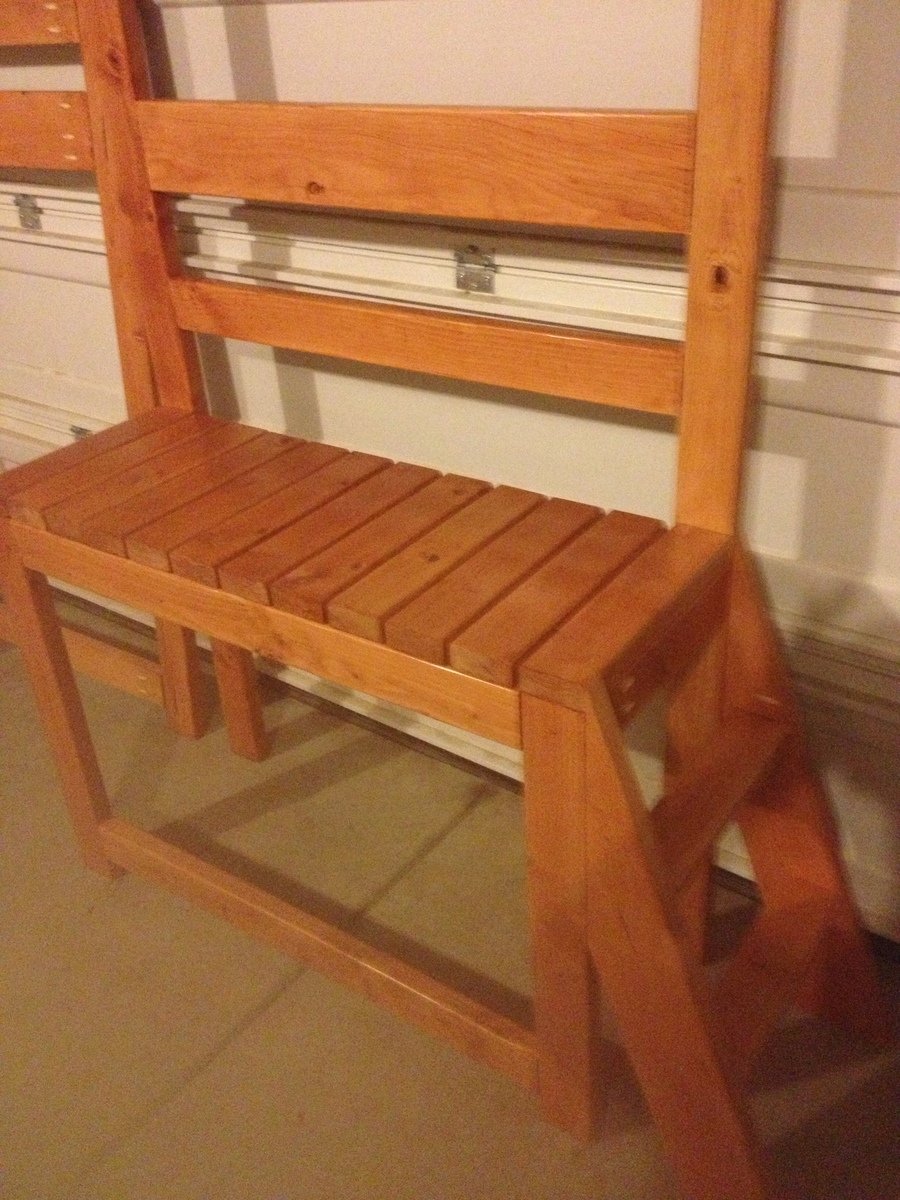
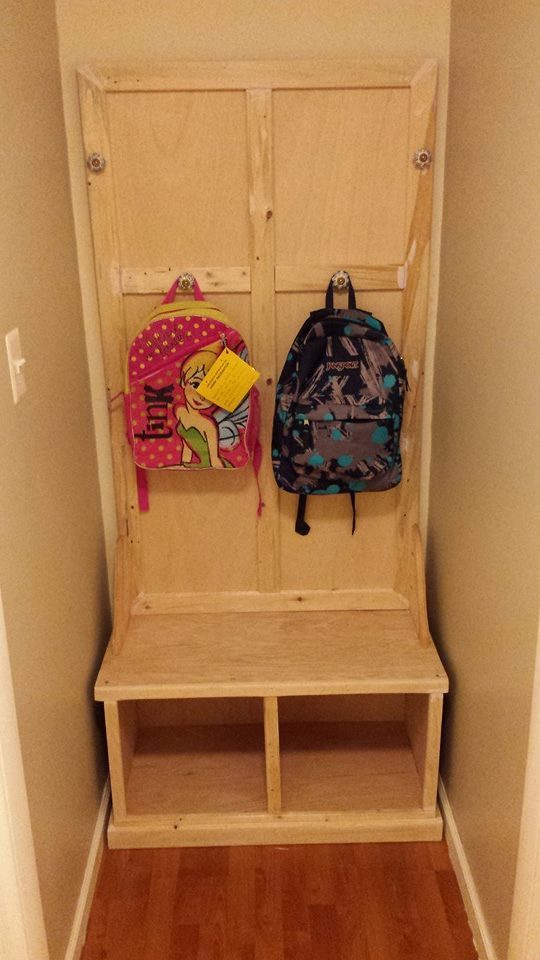
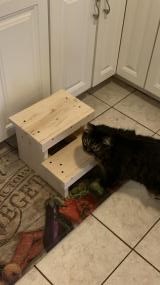
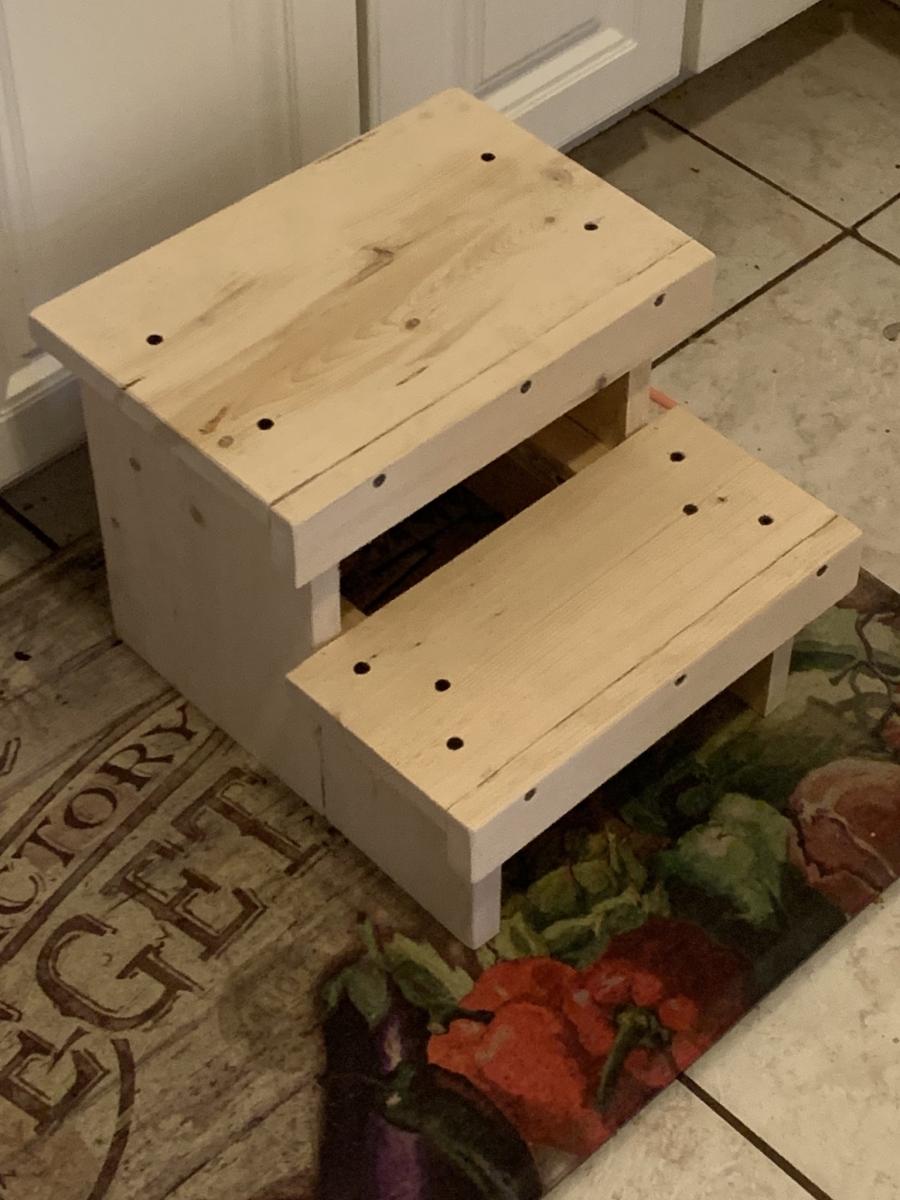
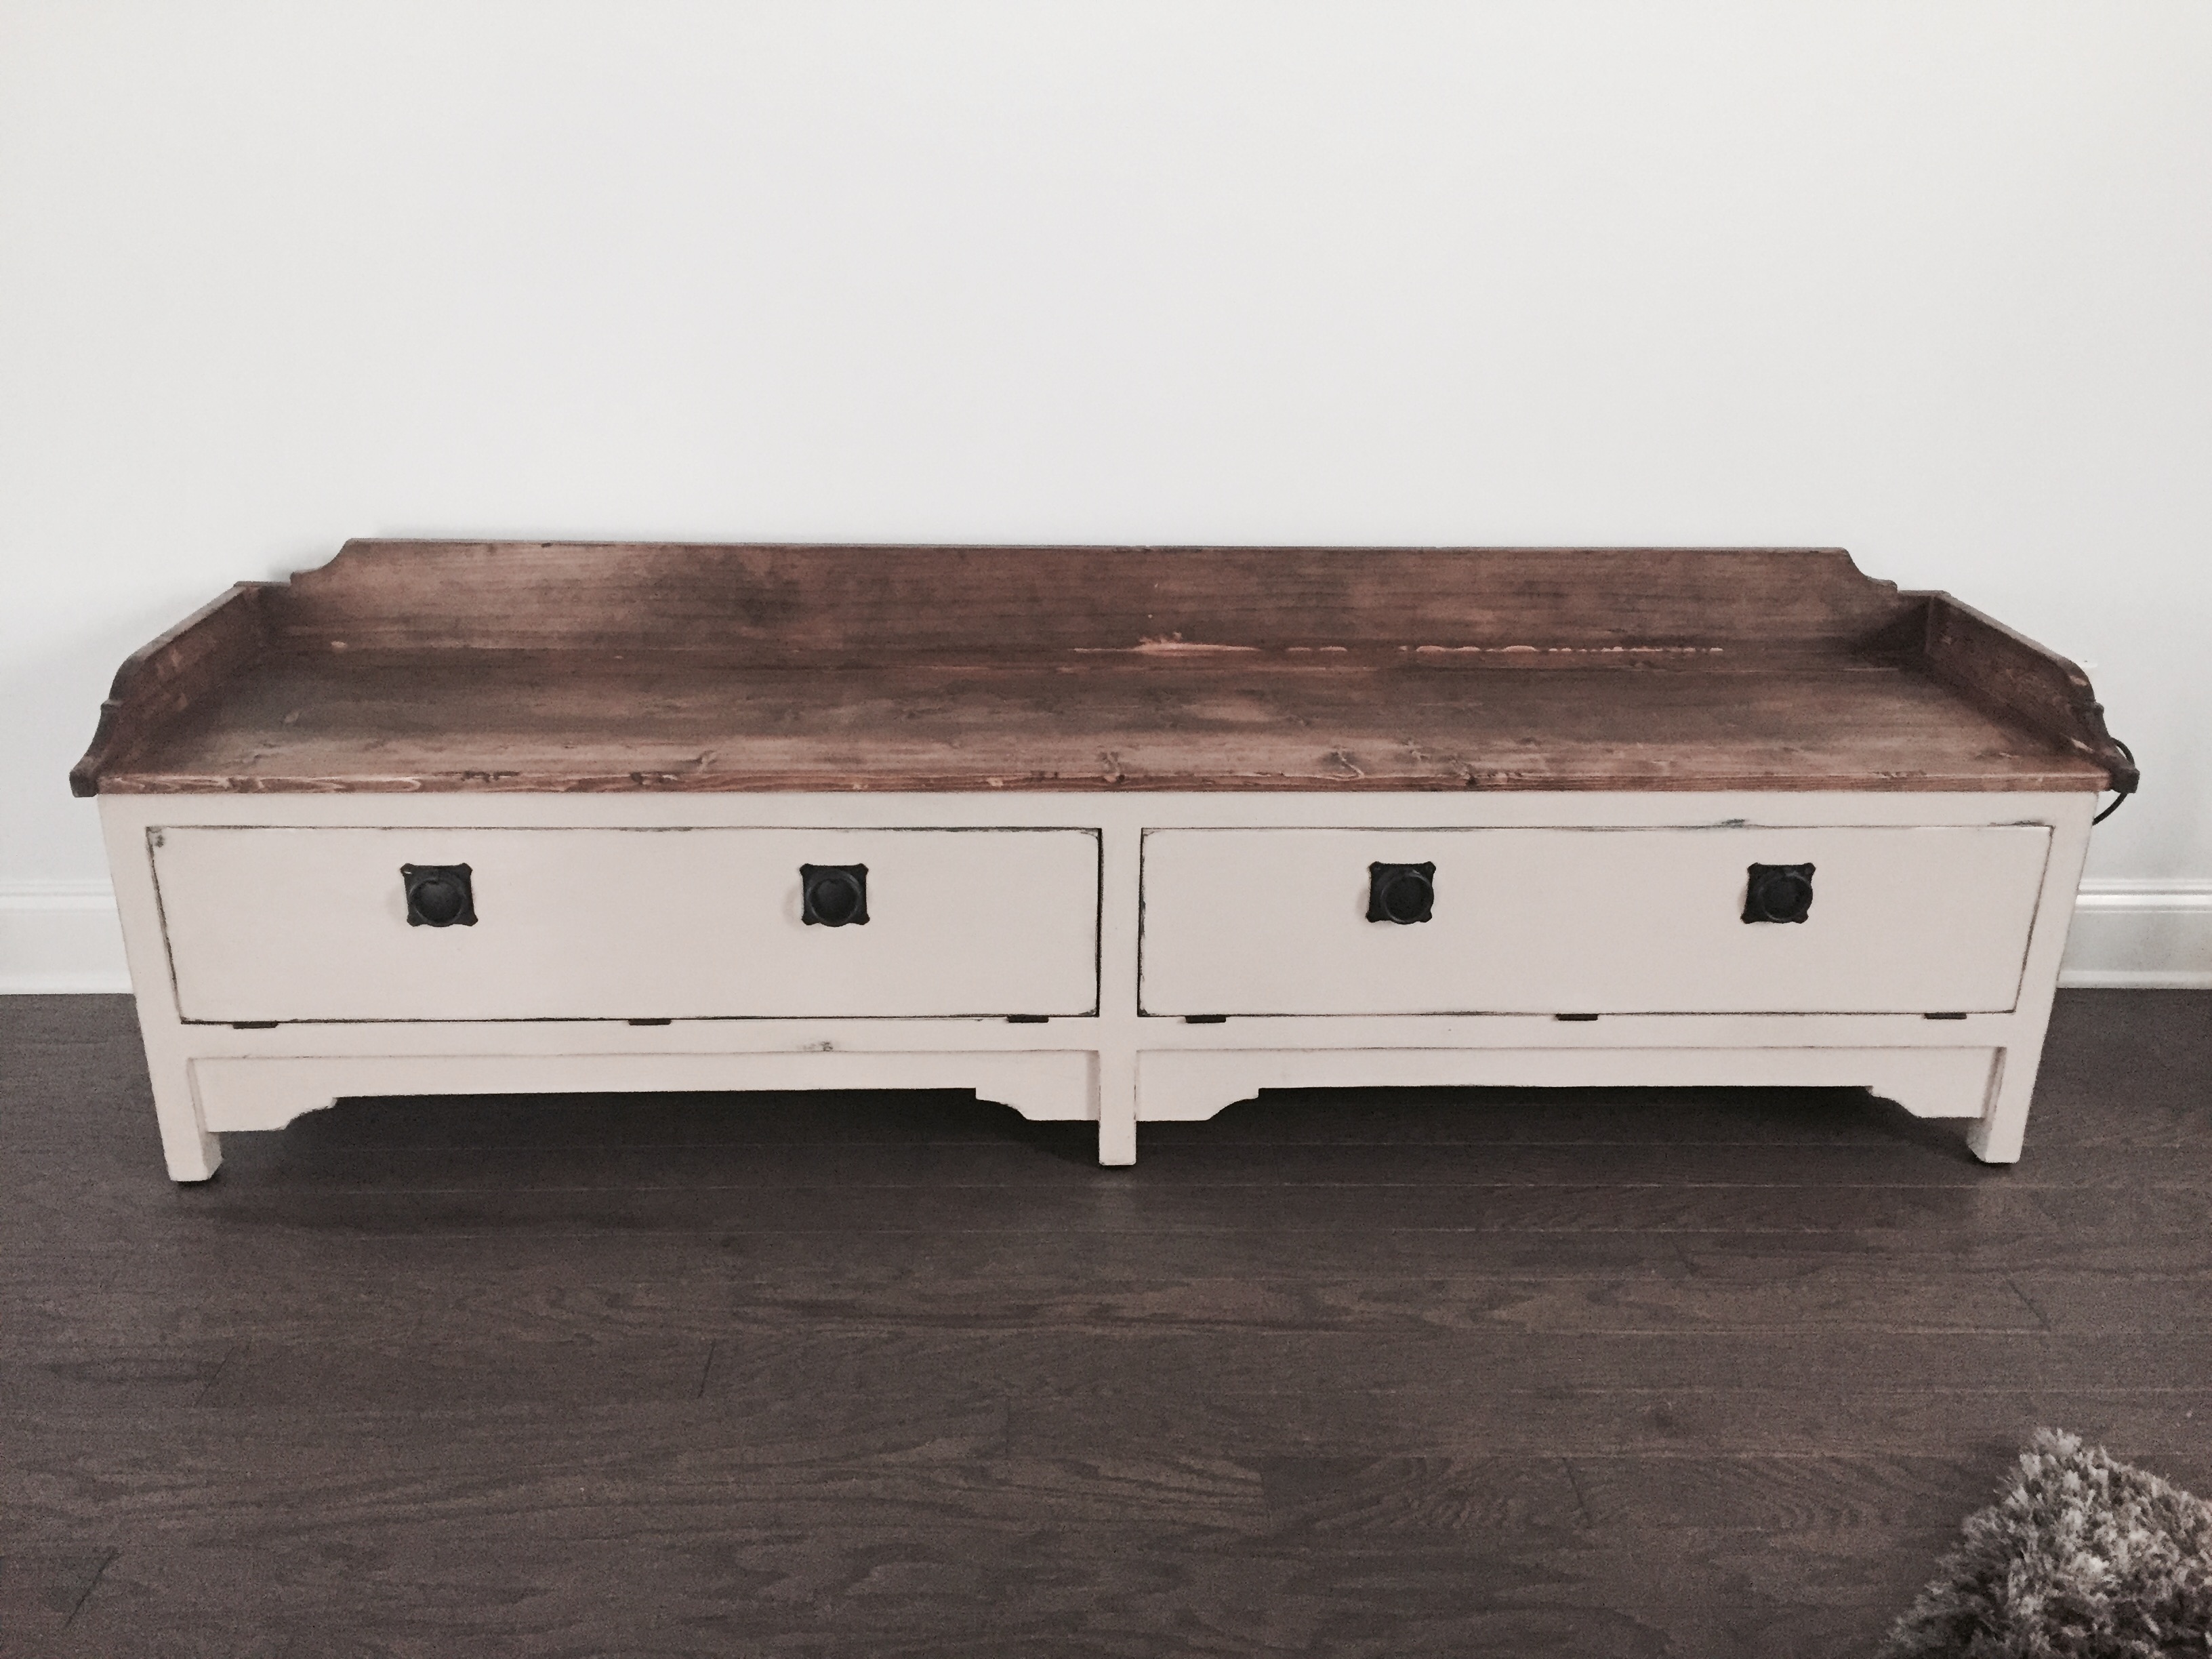
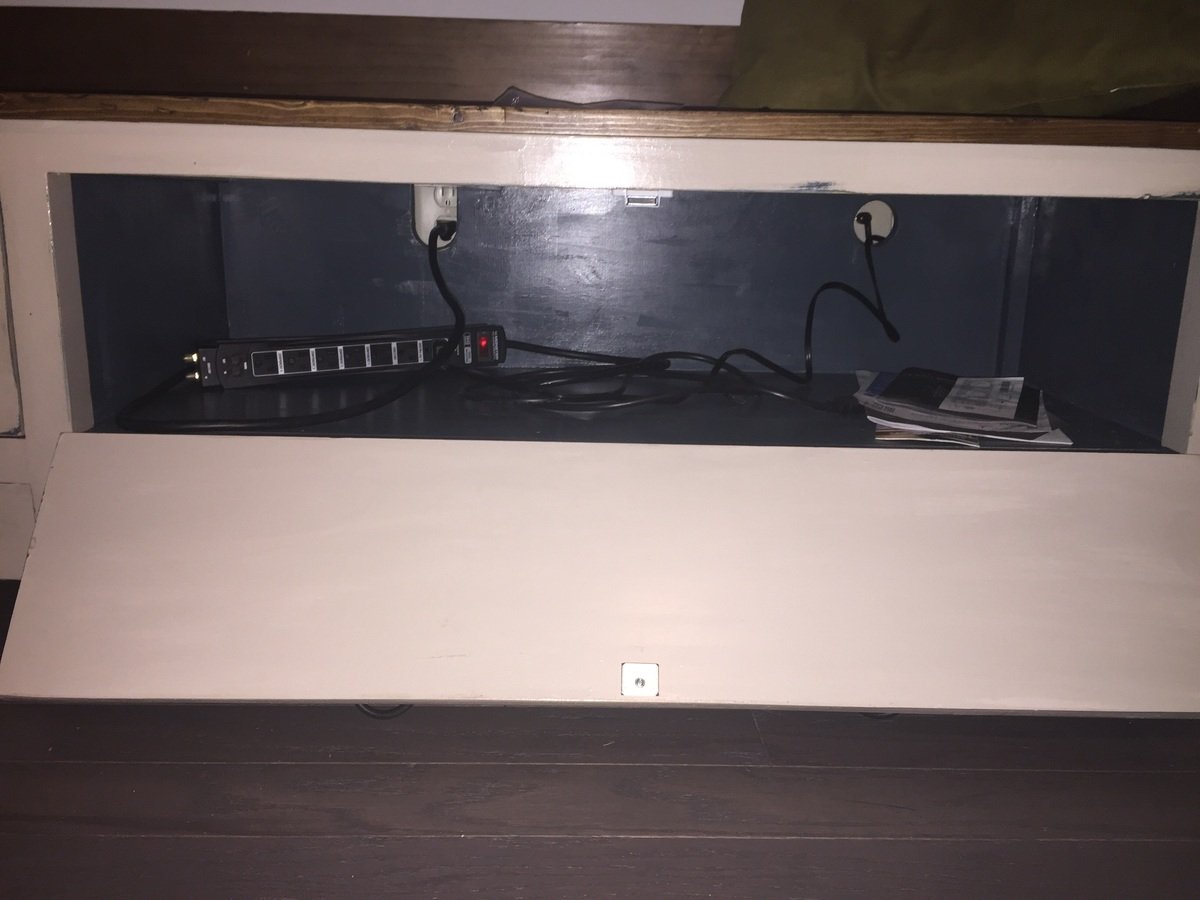
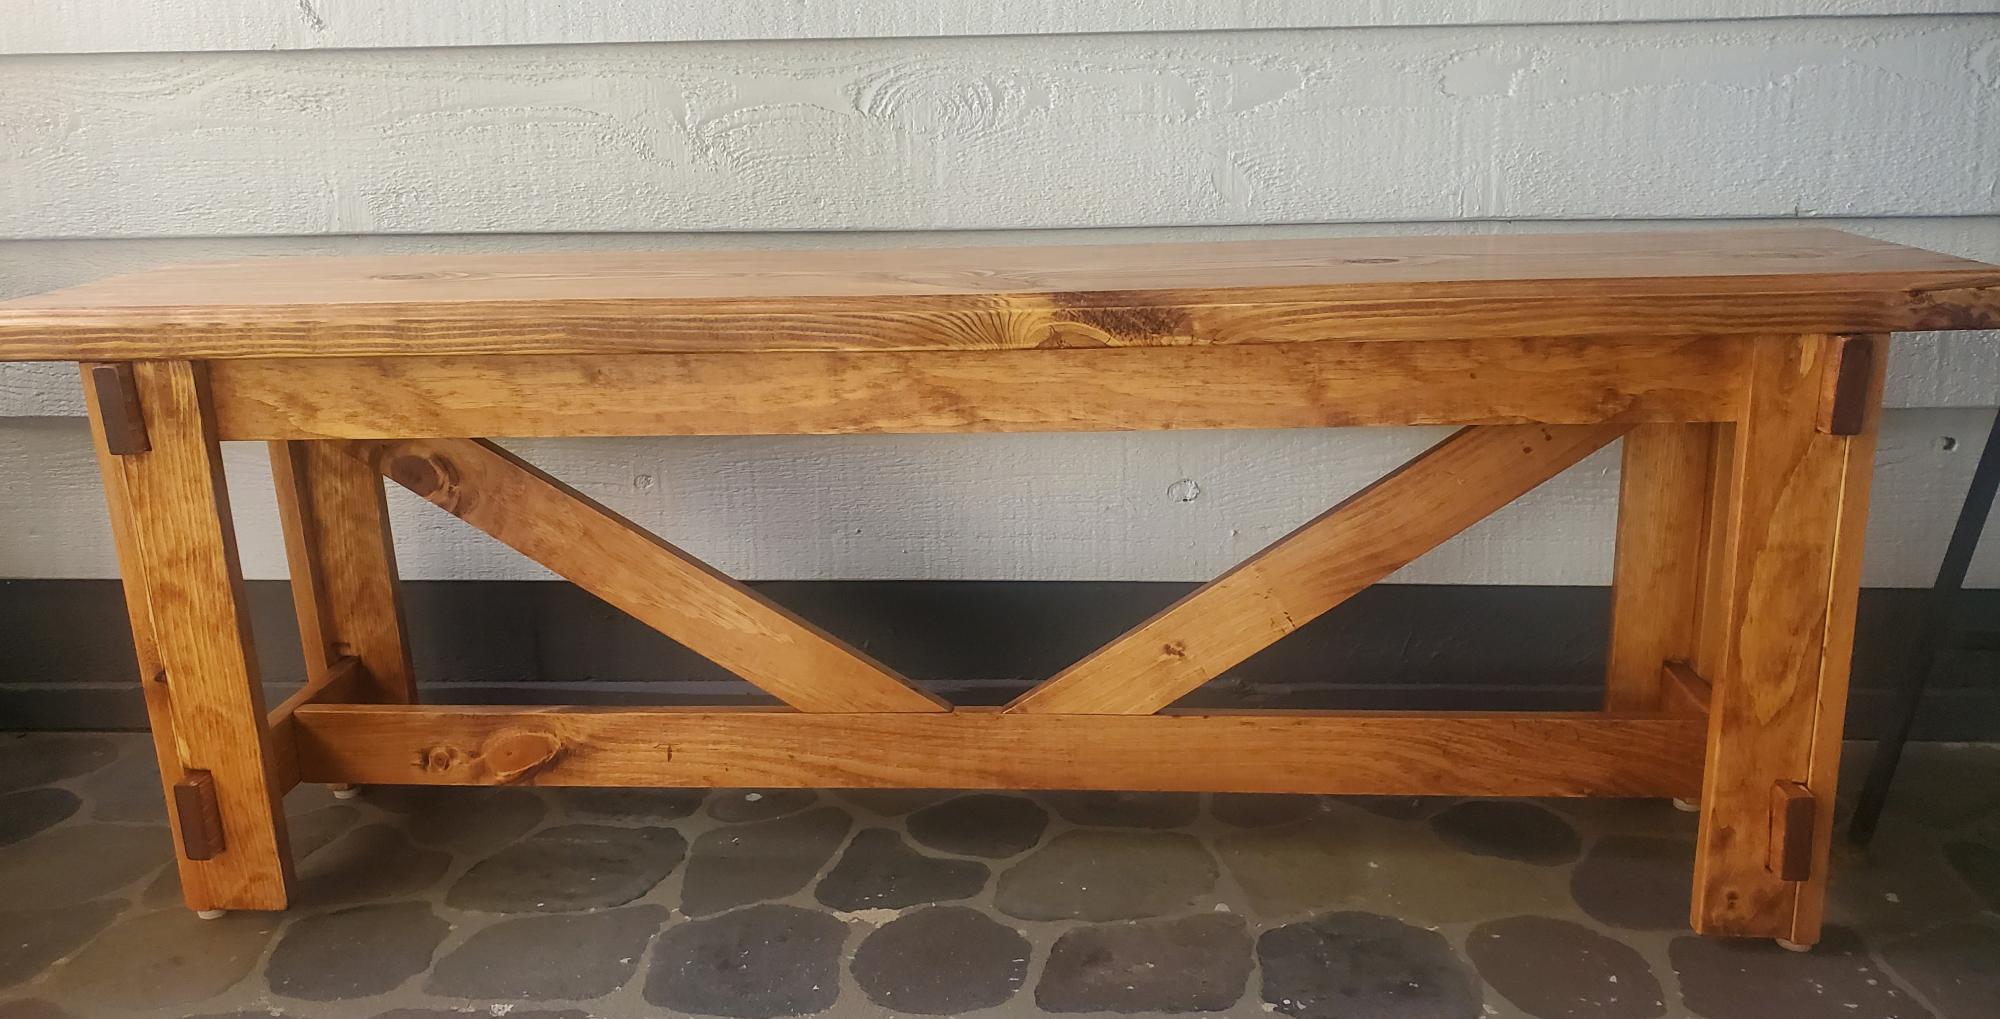
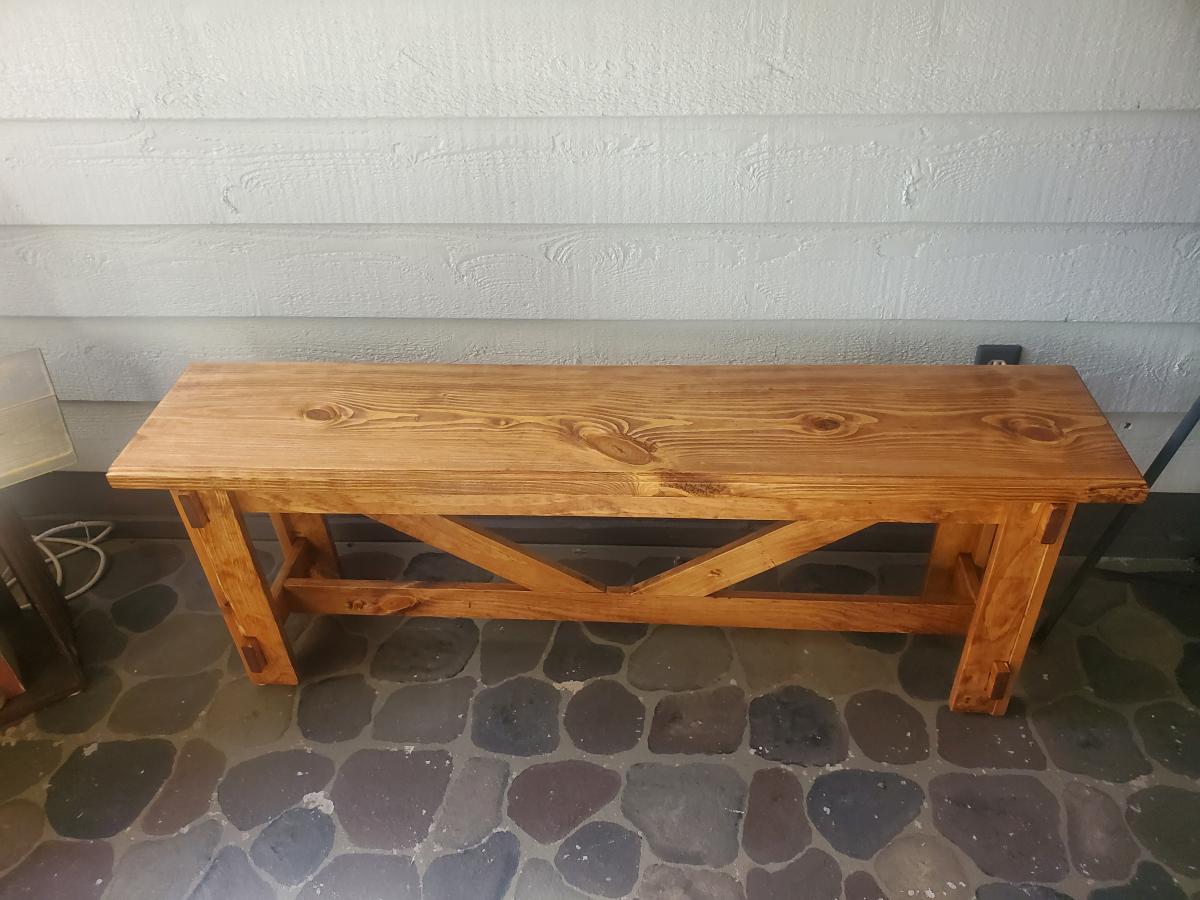
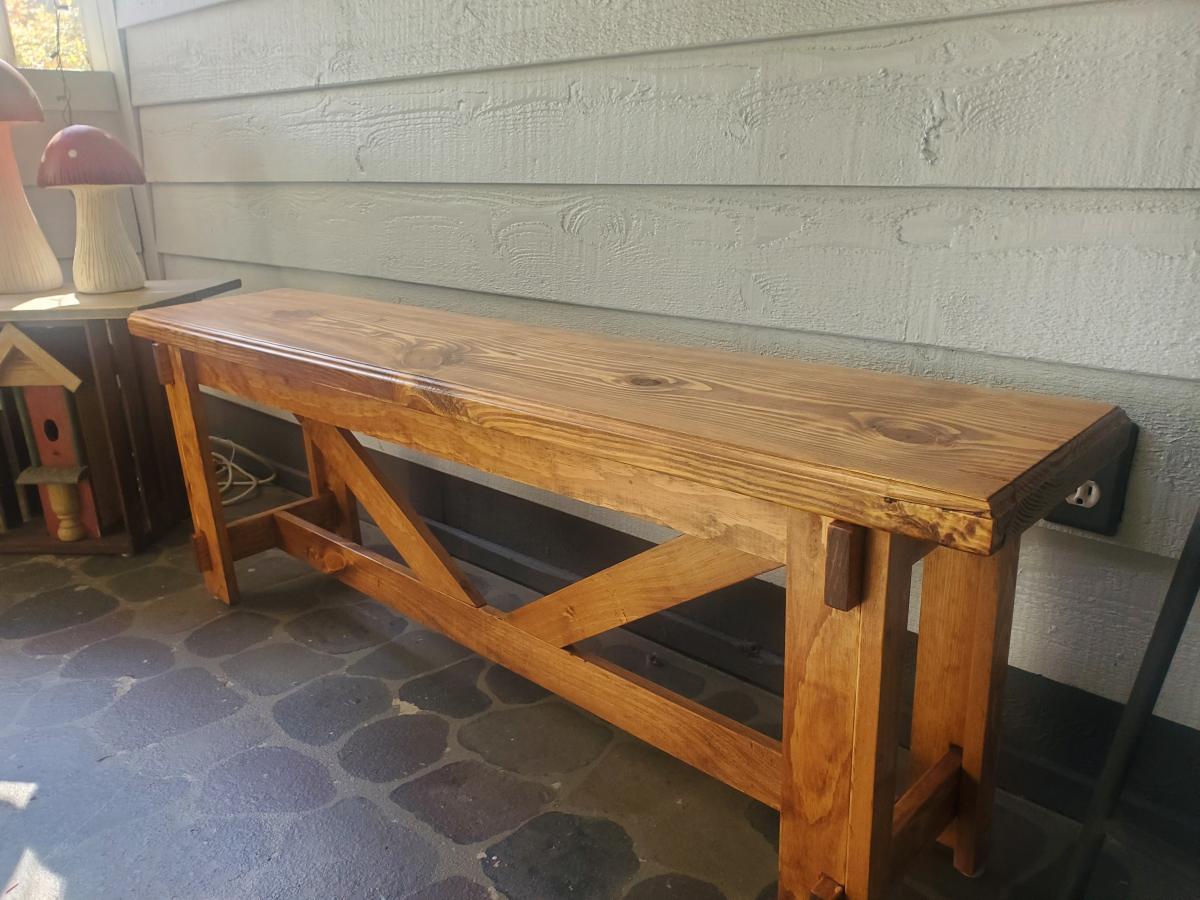
Bench in the making!
Estimated Cost
$100 + and additional tools needed that you dont have
Estimated Time Investment
Weekend Project (10-20 Hours)
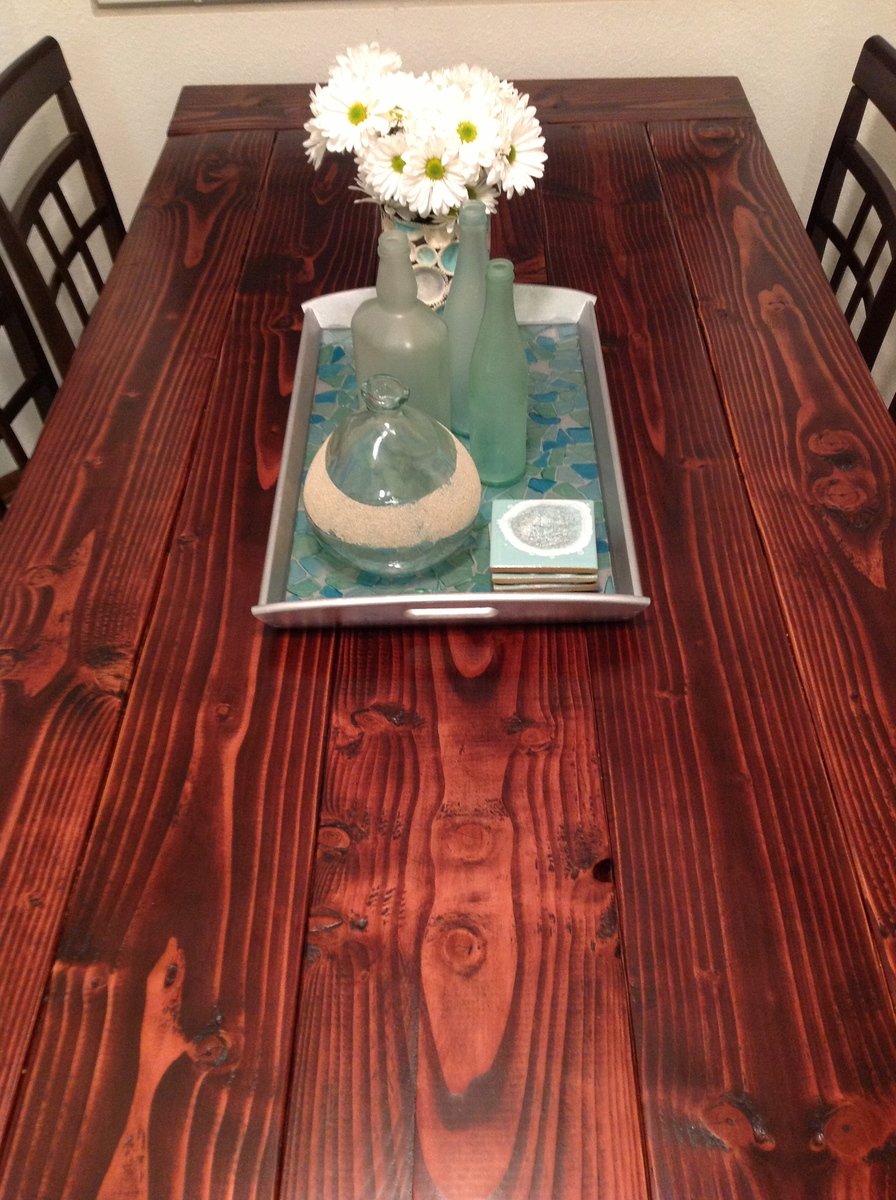
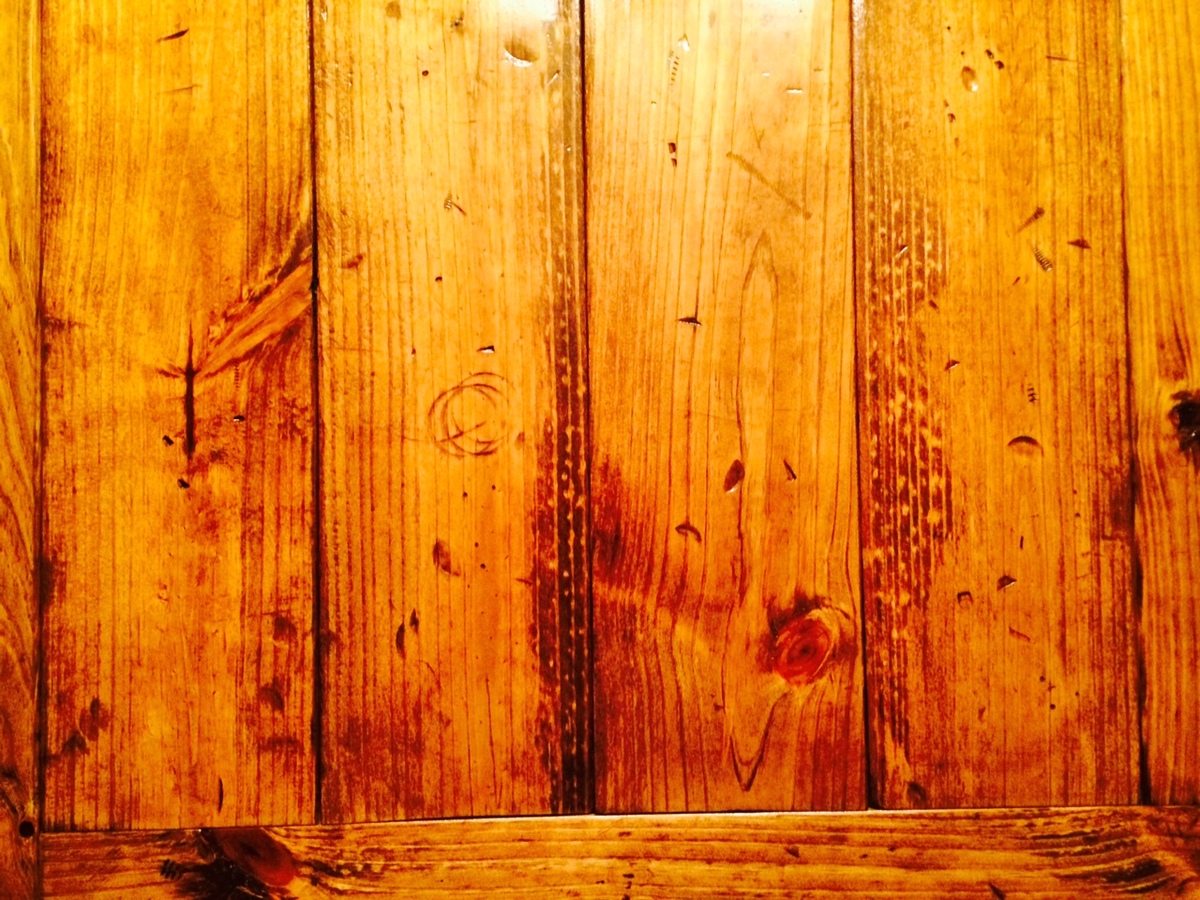
Finish Used
minwax mahogany and poly in satin. I used 3 coats of stain and poly. I sanded with 120 grit first and 220 grit last. The more you sand the better it will look and feel.
Recommended Skill Level
Intermediate


Comments
KeriDorgan
Thu, 02/07/2013 - 08:48
sanding the table
What kind of sander did you use?