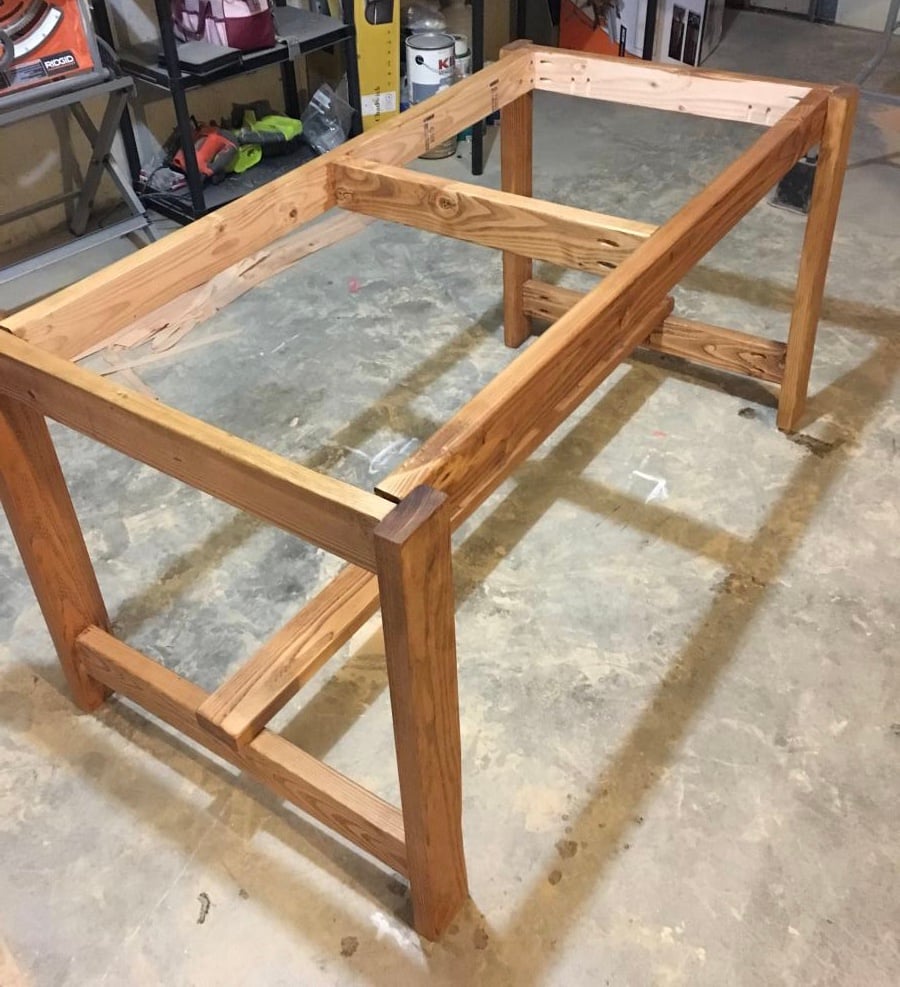
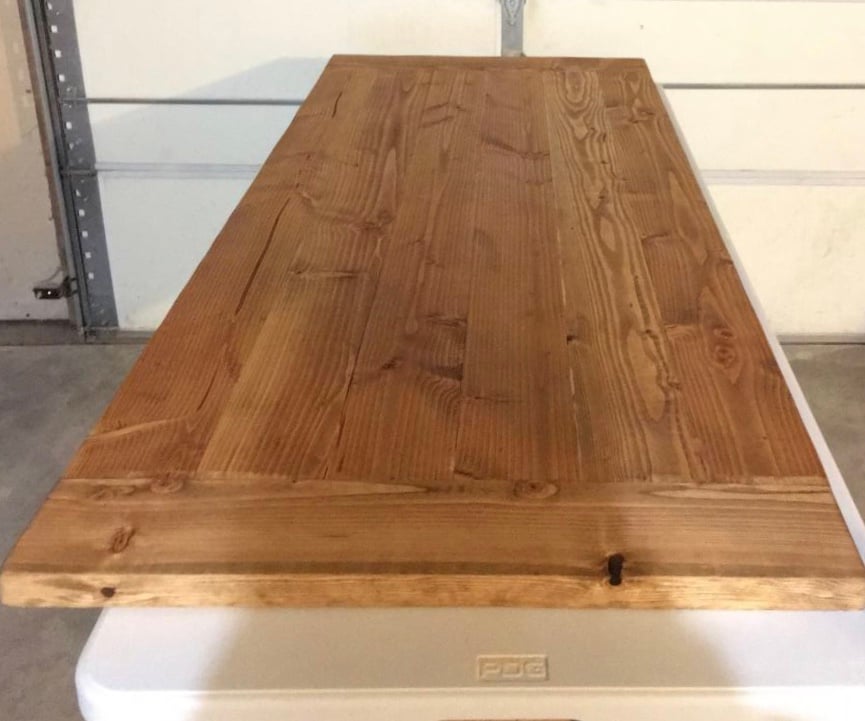
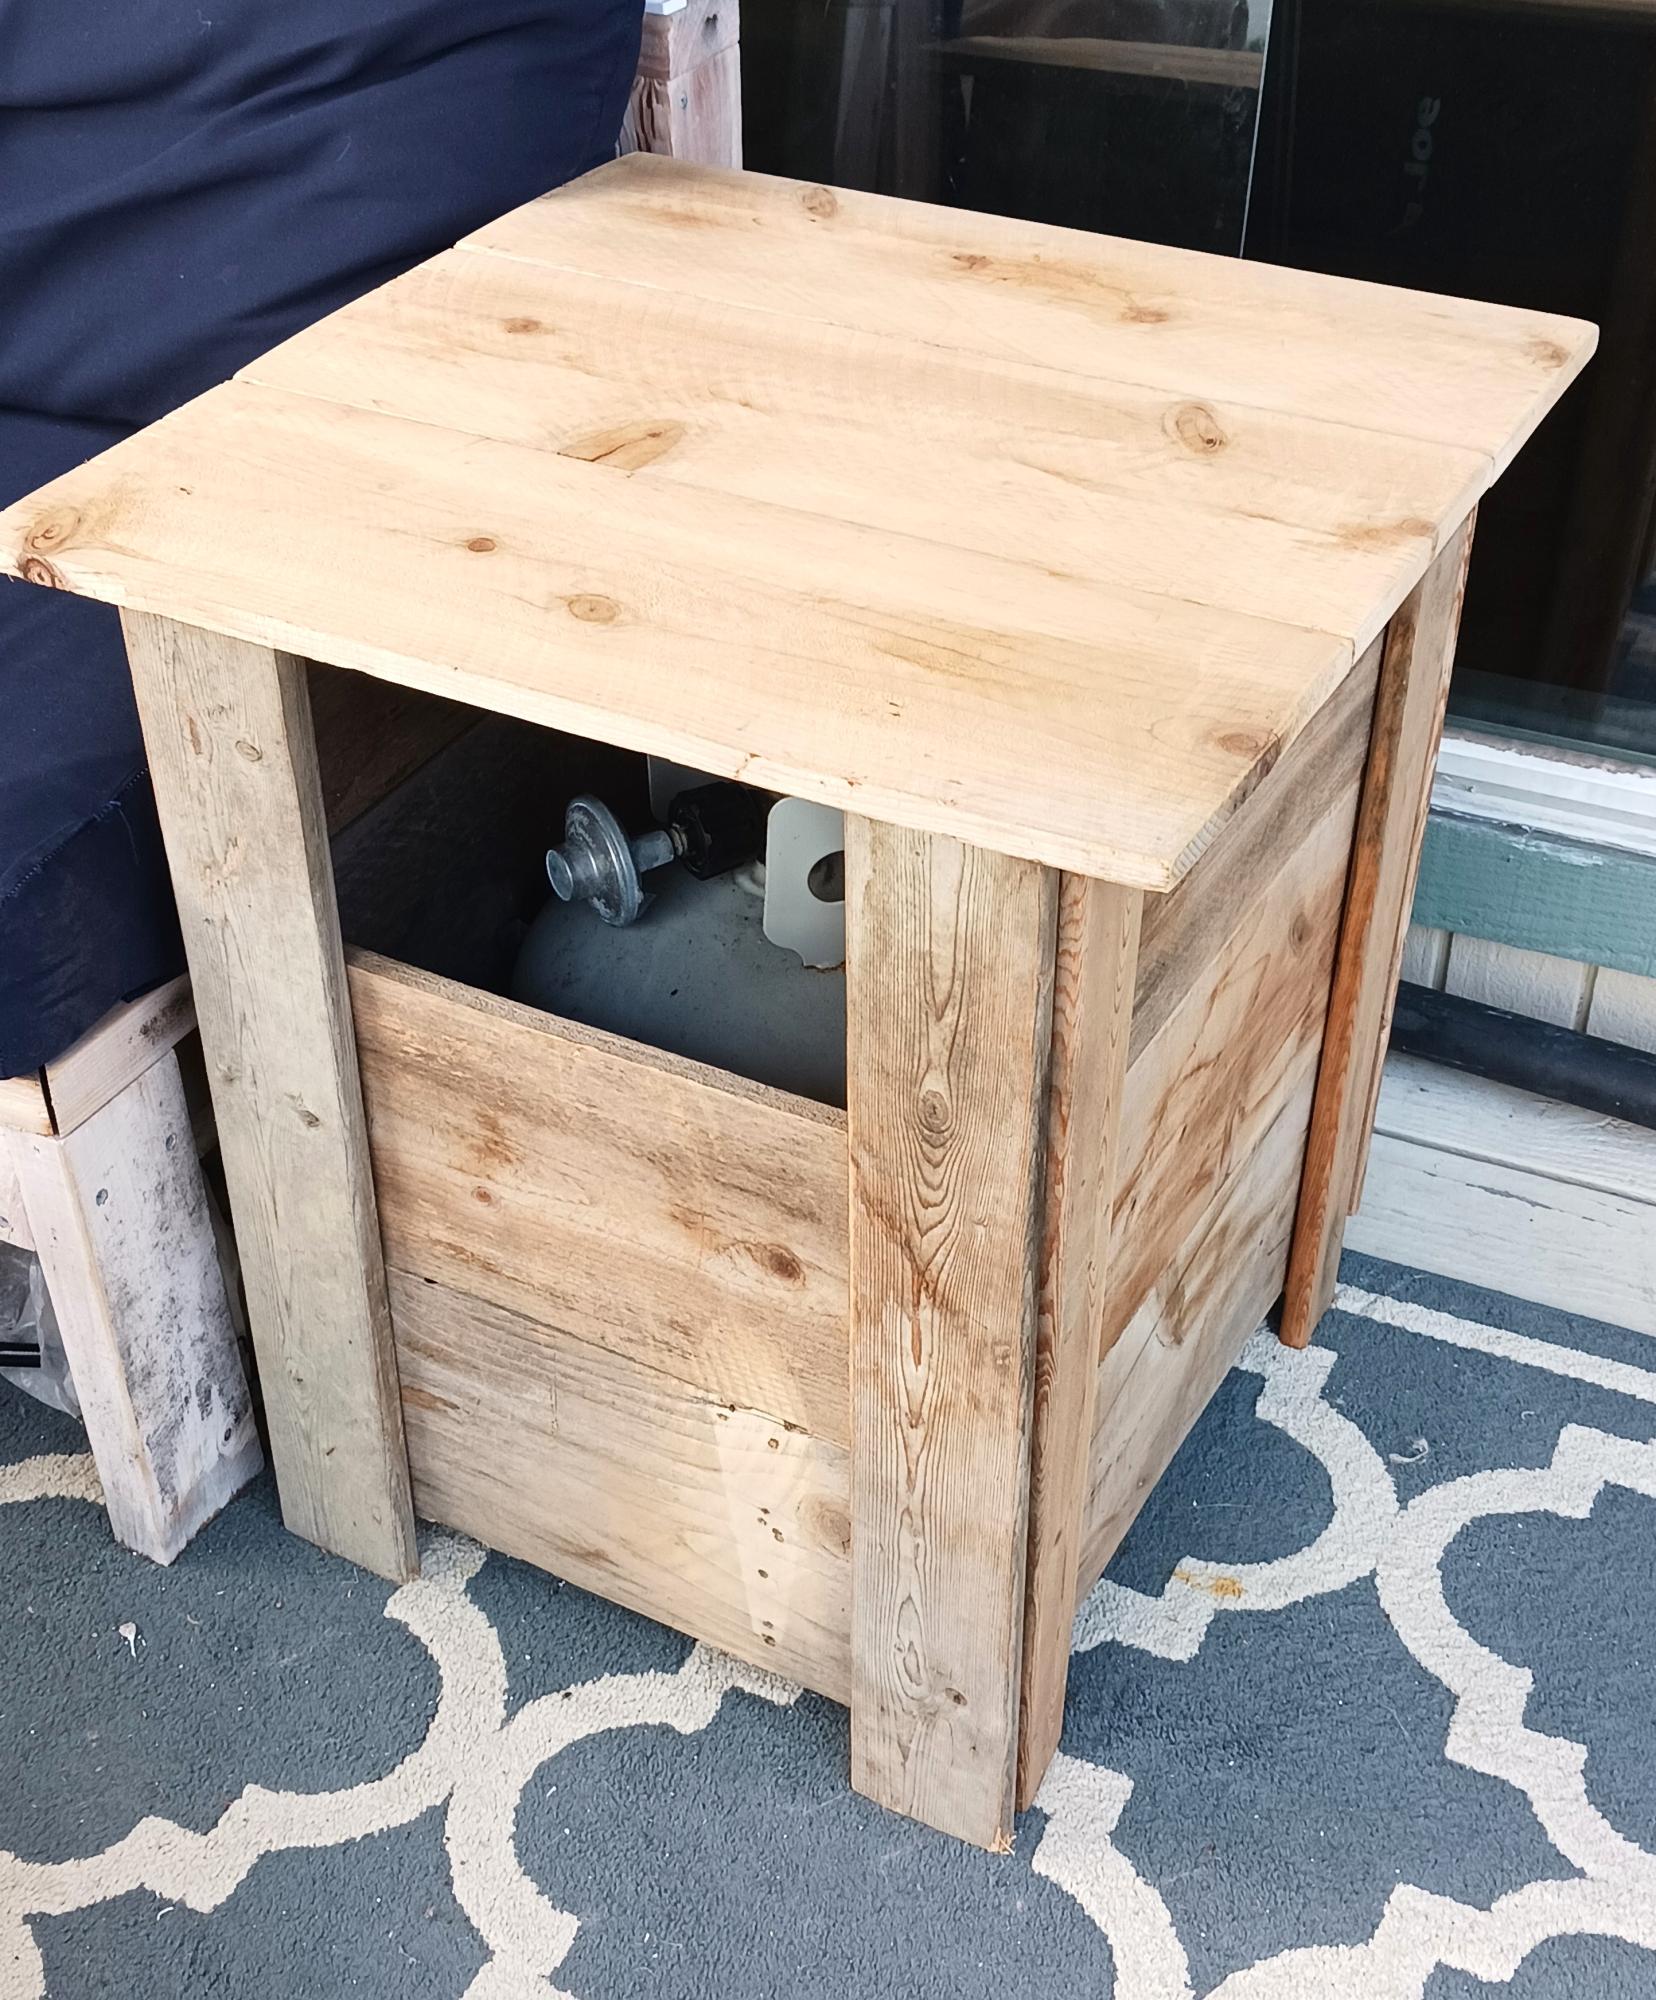
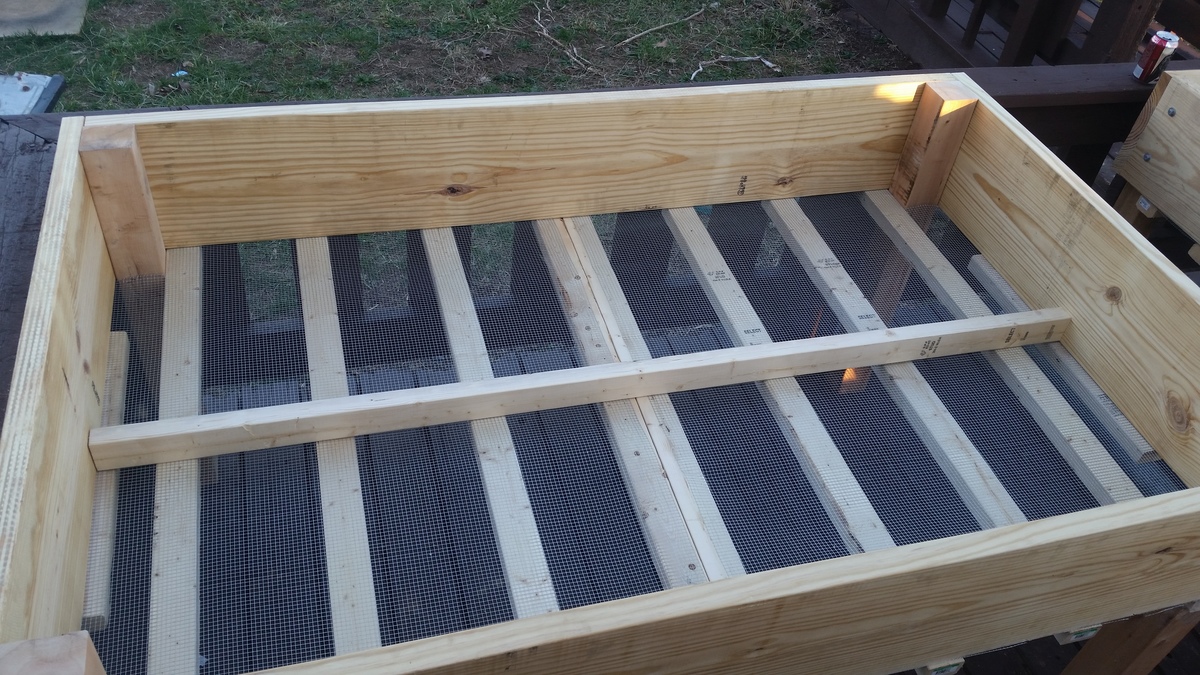
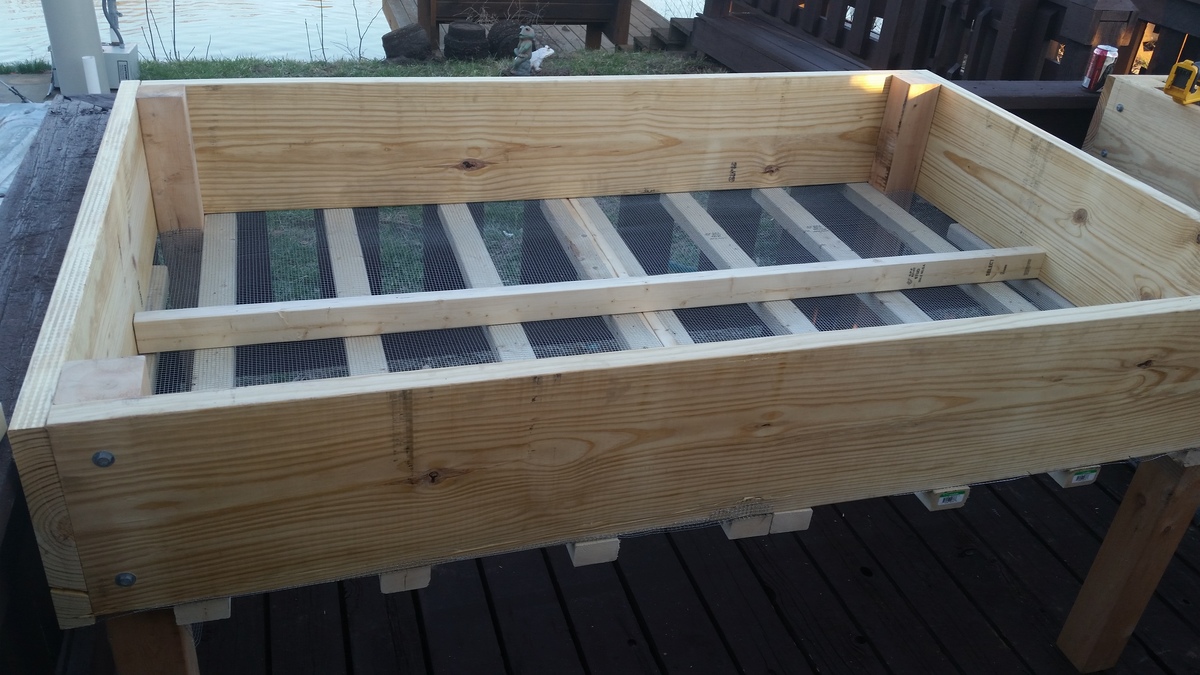
Farmhouse Table
![](/sites/default/files/IMG_4263_0.jpg)
![](/sites/default/files/IMG_4263.jpg)
I loved this project. Since I can't buy wood, I have to use wood from pallets, or where ever I can find free wood. In this case I used 2x4's from pallets, 1x4 oak slats from an old bed frame I acquired and 1x4's from a large solid maple dog crate I acquired. The top was made from cabinet grade plywood we had left over from cabinets my husband made two years ago when we remodeled the kitchen (so I have to say that was purchased). The maple dog crate had some awesome wood, even tho it had been broken in a couple places. Just had to plane down the reddish finish on it. Since it was going to be painted, I didn't care what kind of wood I used. The only thing I had to buy were the corner brackets. Even the screws were from pallets we acquired, just had to paint the heads black.
I love this step stool!! My daughter uses it EVERYDAY! This was the first thing I built and I think it turned out pretty good. I did a different design on the bottom sides to make it a little girly since I was painting it blue (girls can have blue stuff too!)
We loved Ana's charging table, but didn't think we needed the holes for charging - what we really needed was just a side table to go next to our couch, but one with storage capacity (hence the shelves behind the doors on the bottom) and a place to put the remotes and game controllers for the TV (hence the shelf at the top). We decided to keep the "secret" compartment on top that flips up, like in the original plans, for storing messy things with cords like the headphones that you can see in the picture.
We also decided to replace the solid wood doors with a glass pane, and used glass paint to paint a square in the middle of the glass.
This was our very first - ever! - furniture-making project and we both really love how it came out. :-)
I scaled back the length of the sofa by a few inches and I made the sectional only one seat to fit my space on the deck. This was my first woodworking project that I did by myself. I got the cushions for more than 1/2 off at Ikea so the whole project cost about $150 ($80 for the cushions). It took me about a week to complete but the total time was less than 10 hours to build and stain. I'm pretty happy with how it turned out.
We were looking for nightstand that would match our new mantle moulding headboard and stumbled across these plans. It was a cinch to build. I adjusted the height and width up a bit, as we have a platform bed that is higher than most nightstands. It turned out beautifully!
I also made a few modifications and additions, for my own purposes. I cut out a square in the backer board and mounted a charging block to the underside of the top piece. That way, my phone, kindle and fitbit charging cords can be tucked away in the storage bins and I don't have wires all across the top. And I purchased a piece of thin plexiglass that I'm using to protect the top of the table. It looks great and will keep any coffee or water rings/spills from damaging the stand's surface.
Also, hardwood plywood is a BEAST. Good gawd, the splinters are a nightmare. You HAVE to have leather or some other really thick gloves. But there are just some things that are tough to do wearing gloves. So for the second nightstand, we put a coat of primer on the sheet of hardwood before we even started measuring and cutting. That has helped so much with the splinters.
Built these for my daughters new home
Wed, 12/29/2021 - 10:41
Those look great, your daughter is sure to love them! Thanks for sharing.
I wanted to build something fun and challenging for me. I was inspired to do more caddy things because of Anas fun plans for her Soda Caddy. I often try to design my own plans, (the old fashioned way, because skechup hates me!). I LOVE to look at pictures online, and just see if I can replicate it somewhat. So this Desk Caddy is what I came up with. I used all old wood that I had in the shed, and was begging to be made into something fun! I think this would be cute for so many different areas. Outside, you could organize your gardening items, seed packets, shovels and pots. It could be an awesome message center, mail area. Whatever!
If the dimensions are with the image, it's much easier for me to figure out, this one had dimensions, so I just went with my gut and I think it turned out ok. It sold in my booth, at our local antique mall in 2 days.
Without the Kreg Jig, I would not have had the confidence to build this, and sell it. I love the Kreg Jig!
Clearly I need to get a new camera, and need to take better pictures, SOON!
I fell in love with a set of bookshelves from a big box store (ahem, T@#get) but was disheartened to find that they would not help me get the corner shelf ordered to Canada from their website.
With inspiration from Ana, I decided to design and build the whole thing myself. It cost 1/3 the price, and as my first wood project, I'd say it turned out pretty well.
I made my design to work best with the wood available local to me, and to fit specifically in our room. The biggest challenge wasn't wood-related at all, but was actually dealing with the electrical outlet that I needed to attached to the base of one shelf.
Check it all out at my blog; http://projectjumanji.blogspot.ca
this is a coffee table that i had build just by looking at a picture and taking measurements of my previous coffee table that i had, I'm very glad to show the table off!
We had an empty area at the bottom of our stairs that was just calling for a hall tree. I love watching and learning from Anna's videos. I really liked 2 of her plans: the Farmhouse Hall Tree and the Mudroom Bench with Easy Drawers. I decided to combine them to make my own unique hall tree. Our teenage daughter used the "window panes" in the back to paint a Japanese Maple tree. I think it turned out beautifully. This is the first of Anna's plans that I've used, but I plan to use many more! Thank you, Anna for your amazing videos and desire to share your knowledge. We appreciate it so much!
Sat, 01/01/2022 - 12:13
That is sure to be cherished for many years, amazing art and amazing build! Thank you so much for sharing!
Built this over a relatively warm Saturday in January. Like most projects, the building wasn't bad but the finishing took forever :)
This is a slightly modified version of the Providence Bench. I used 1x wood rather than 2x wood, so the legs are slightly longer to make the bench come out to the same height. Made this to match a planked-top table. More photos on my blog: http://redhenhome.blogspot.com/2013/07/the-other-solomon-table-bench.ht…
Thu, 09/12/2013 - 05:46
I like the planked top! Great job on the finish - it's rustic without being overdone. It's one of the things i love about pottery barn furniture.
What is the hand-rubbed polyurethane? Is that just the wipe-on stuff I keep seeing at the store? Was it easy to use?
First large wood working project my husband and I completed. In love with Projects and plans by Ana white !
Thu, 07/16/2015 - 20:17
Yes that is glass on the table top. Don't have to stress about spills with my two small kids
What a great project! This is my first Ana White project and definitely won't be my last!
I modified the garage plans to fit our basement. We have two beams the shelves needed to fit between, so I made the length 10' and bought 2x4s at 10'. Otherwise, I didn't do any modifications.
The wood was cut at the store for the lengths needed, making it super easy to come home and assemble! We secured the shelves to the basement supports and along the back wall. It's pretty secure and stable.
Overall this probably took a few hours (we took a break while constructing it). Next time I would make the shelves a bit deeper. 17" was fine, but a few more inches would have made the bins fit a bit better.
I am looking forward to making more!
Had a small bench that the previous owners of our house left. It was all made from 1x. Wanted something a little beefier to match the bed I built. So came up with this bench. Made from all pine.
Again I'm sorry I have no plans, but what I do have is a great instructional video. Drawer slides are such a pain to install without the right tools. I'm sure you can find great dresser plans but the kicker is how you install the drawers. These inexpensive drawer slide mounting tools might save you from going insane. Check them out. http://youtu.be/vI3jgkhxxPE
I kind of came up with this on my own. I used 1 x 3 furring strips for the legs and stops for the shelves. I used 1 x 8 for the shelves. I wanted a semi distressed look so I painted white and then painted the blue very messy making sure I missed certain areas.
I loved making this Ana White's Narrow Cottage End Table plan after seeing it here on a search. I made it for my mother's 83rd birthday. She asked for oak and a light stain (Rust Oleum's Summer Oak Stain). Used three coats of wipe on Poly and one coat of Johnson's paste wax on the top. I bought the blue knob at Cost Plus World Market. The project took me two days. Will difinitely make another one but in pine this time.
Built this table and bench for my wife. She wanted to host Thanksgiving dinner and needed a bigger table. I used the 96” plan, building the bench first and the table second. 3 coats of Danish oil dark walnut, and 2 coats of poly. I get a lot of compliments about this table. The bench is remarkably comfortable and sturdy. And yes, my wife was very pleased, plus I finished on time for dinner.
Mon, 01/17/2022 - 13:49
Thank you. The set up gratitude goes to my wife. She inspires me to complete these builds. And thank you to Ana White for these awesome build plans. I’m running out of house for all the builds so far.
My husband and I were inspired by Ana's plans, but needed to use up some wood we had laying around the garage because it was starting to bend and warp. We made the large box 2x6 ft and the smaller one is made from scrap and is about 15in x 2.5 ft.