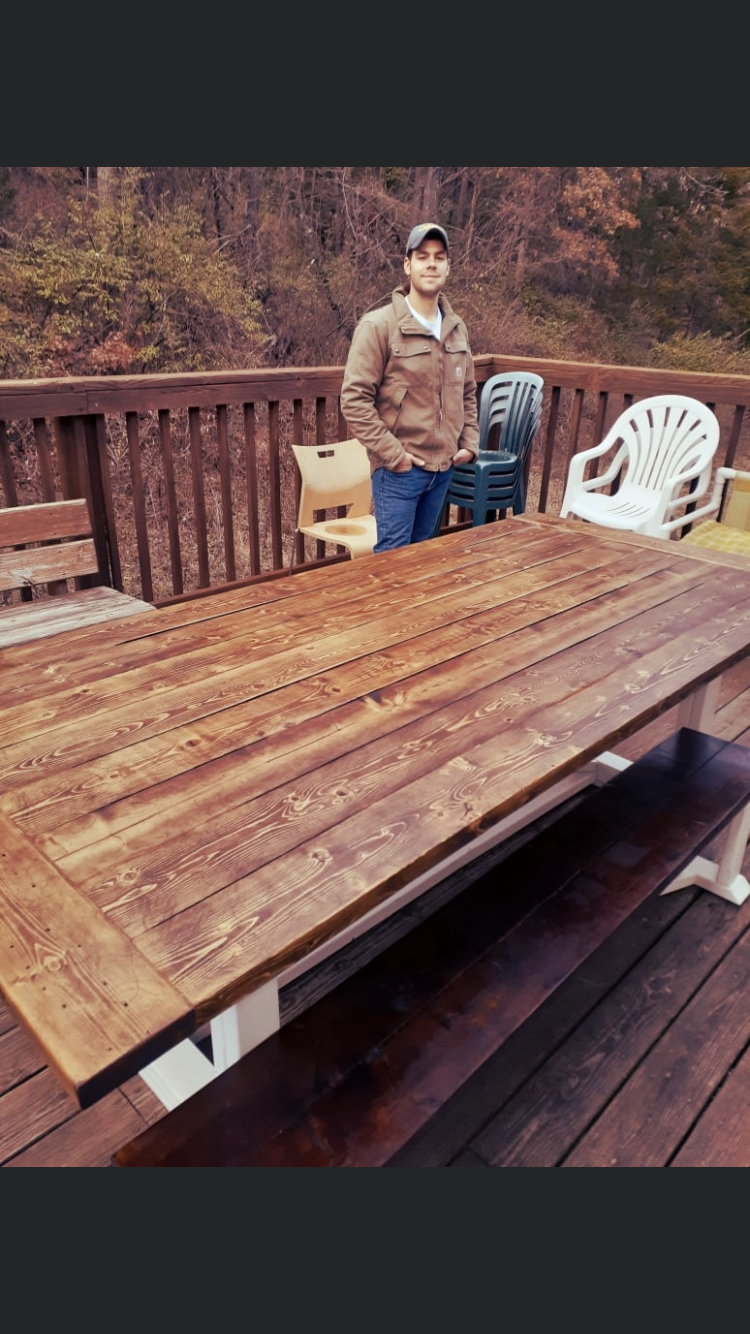
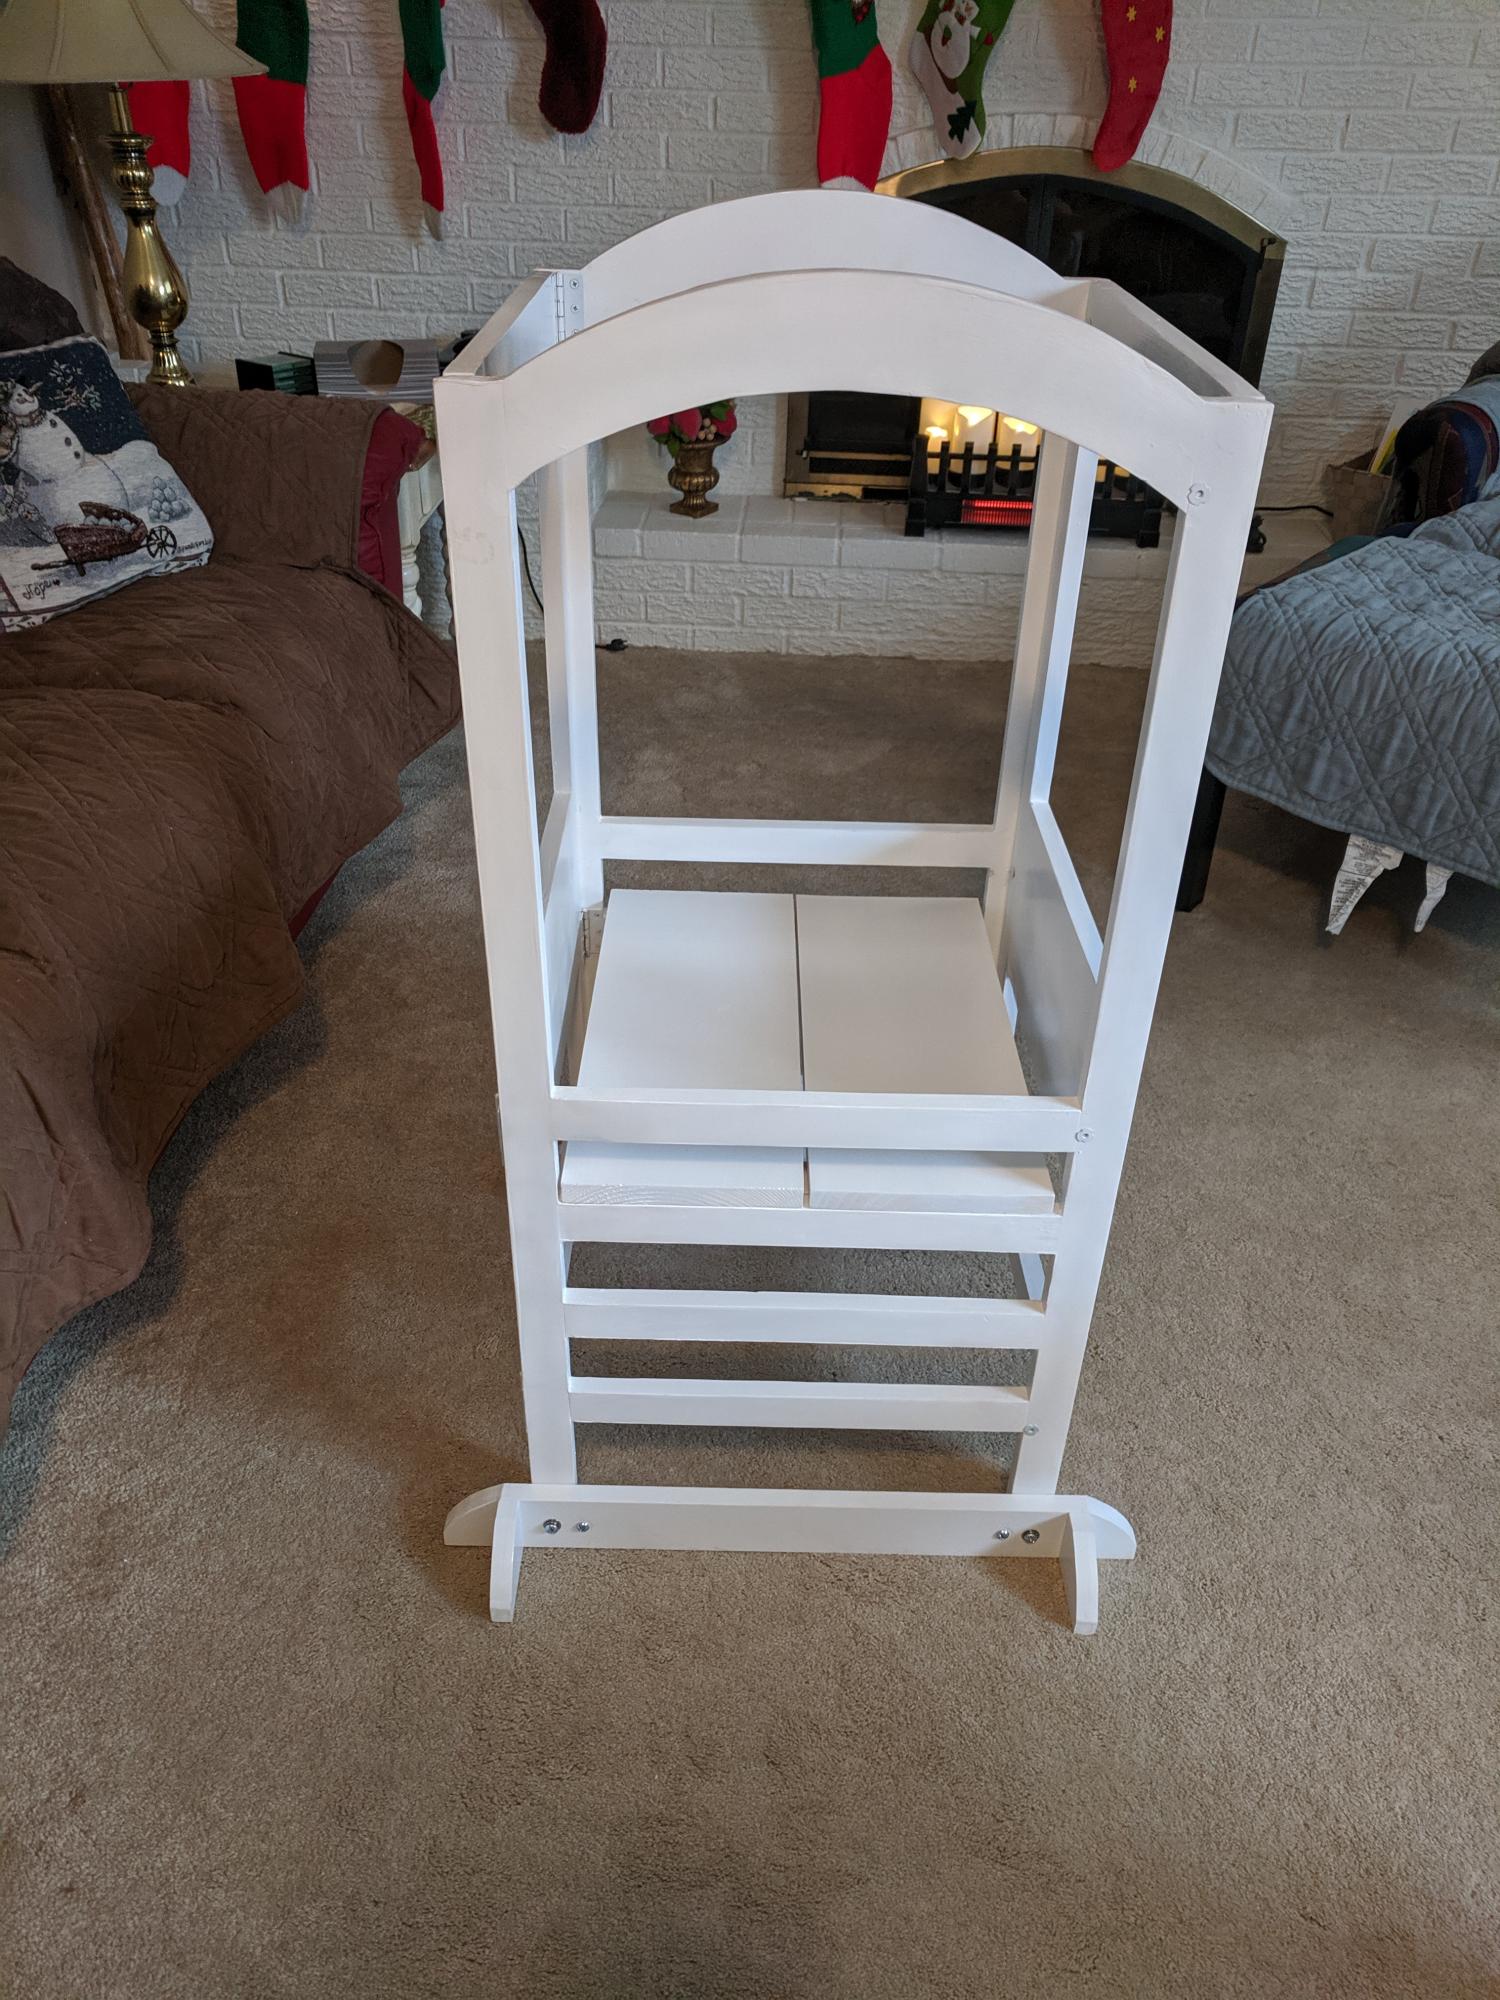
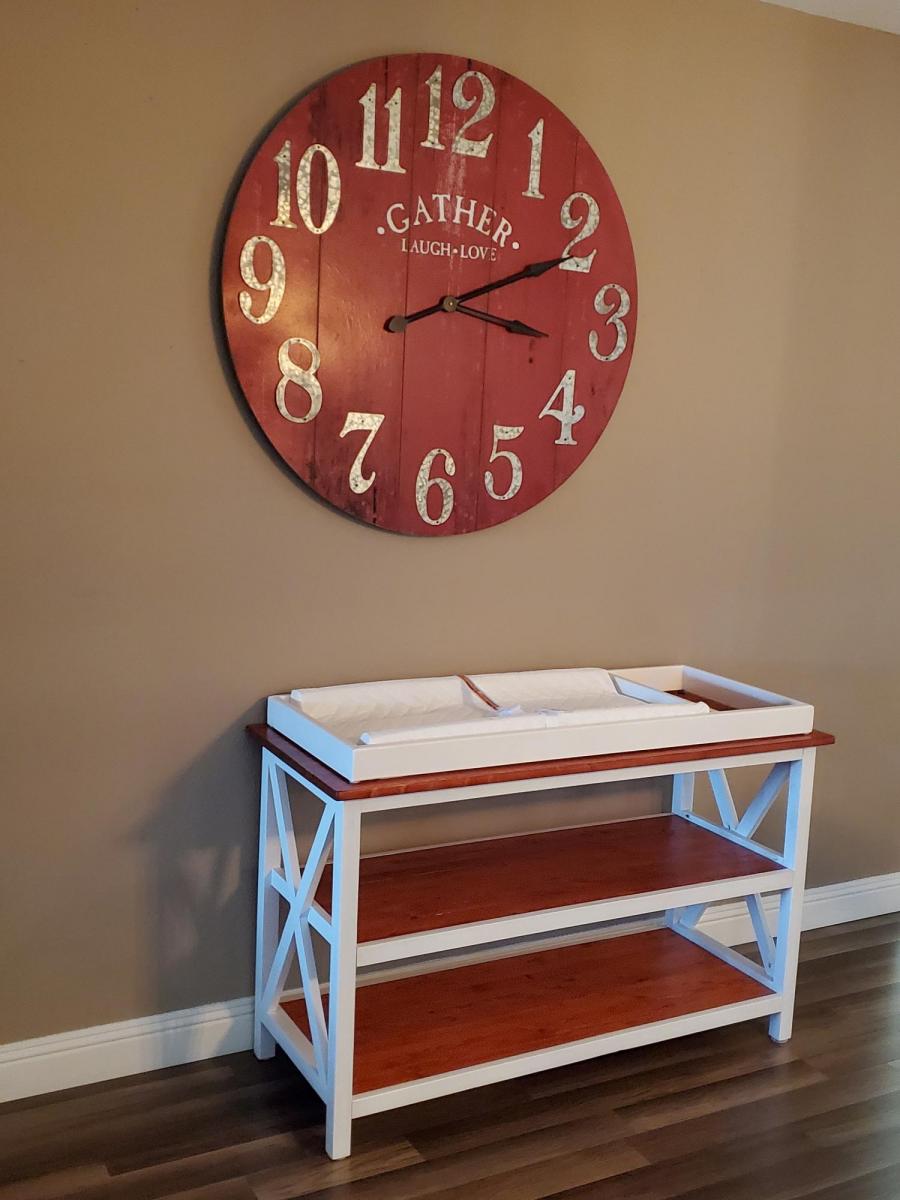
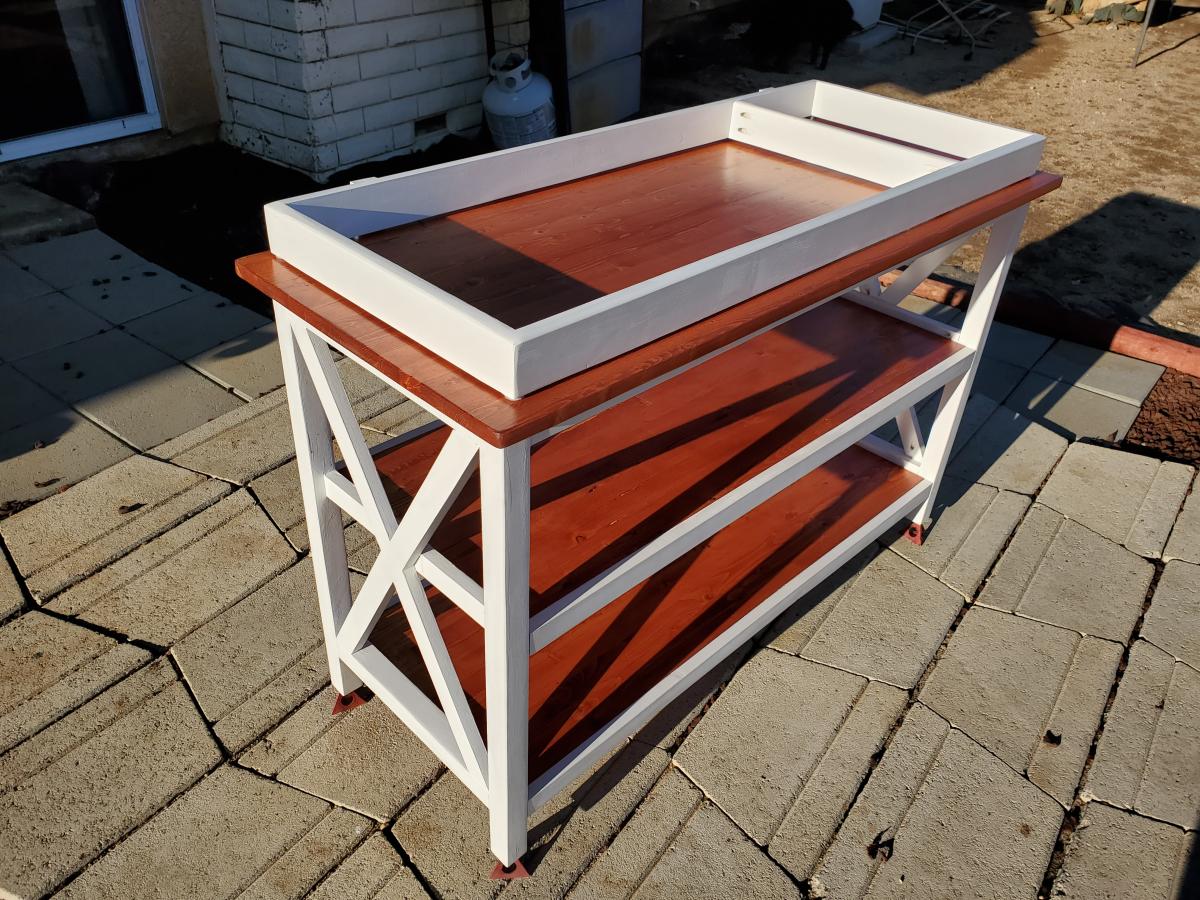
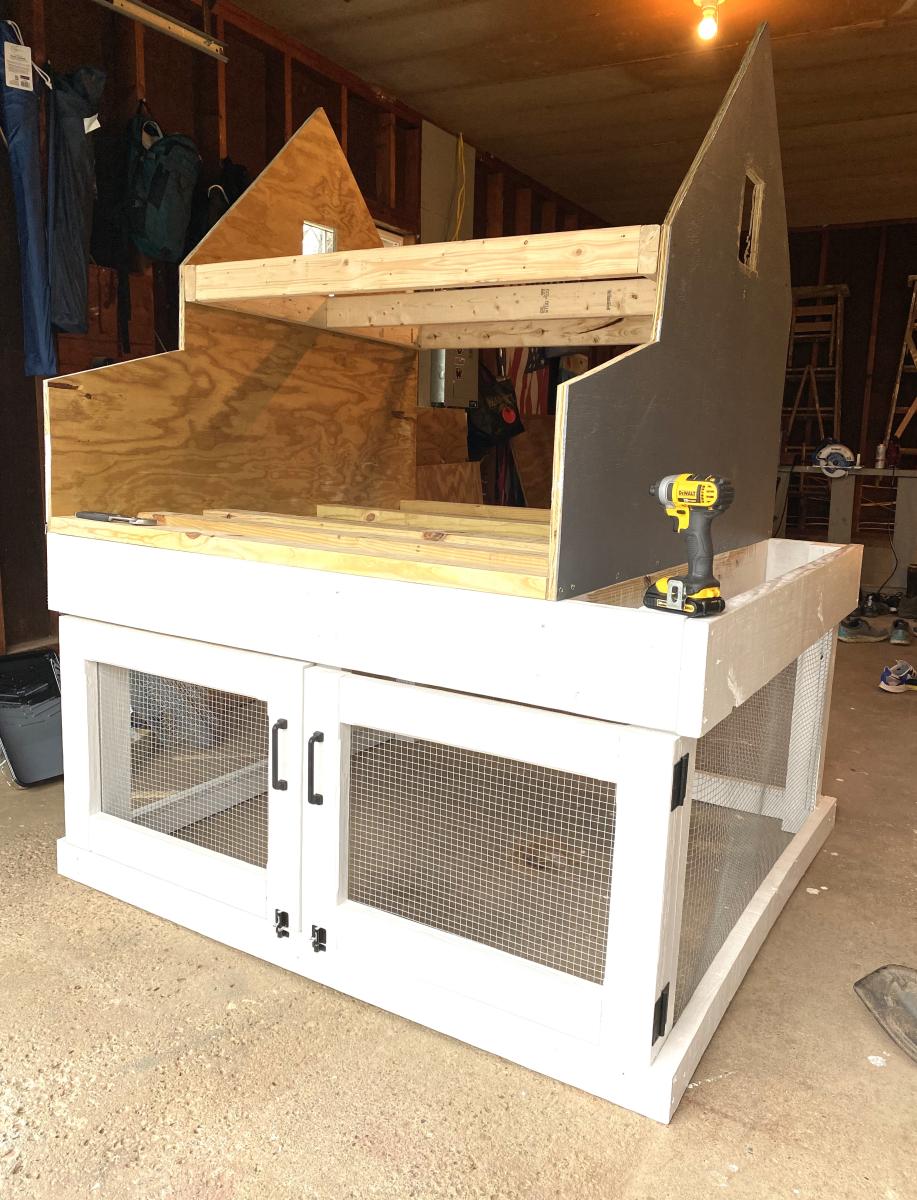
A Christmas gift for a friend who recently had a baby.
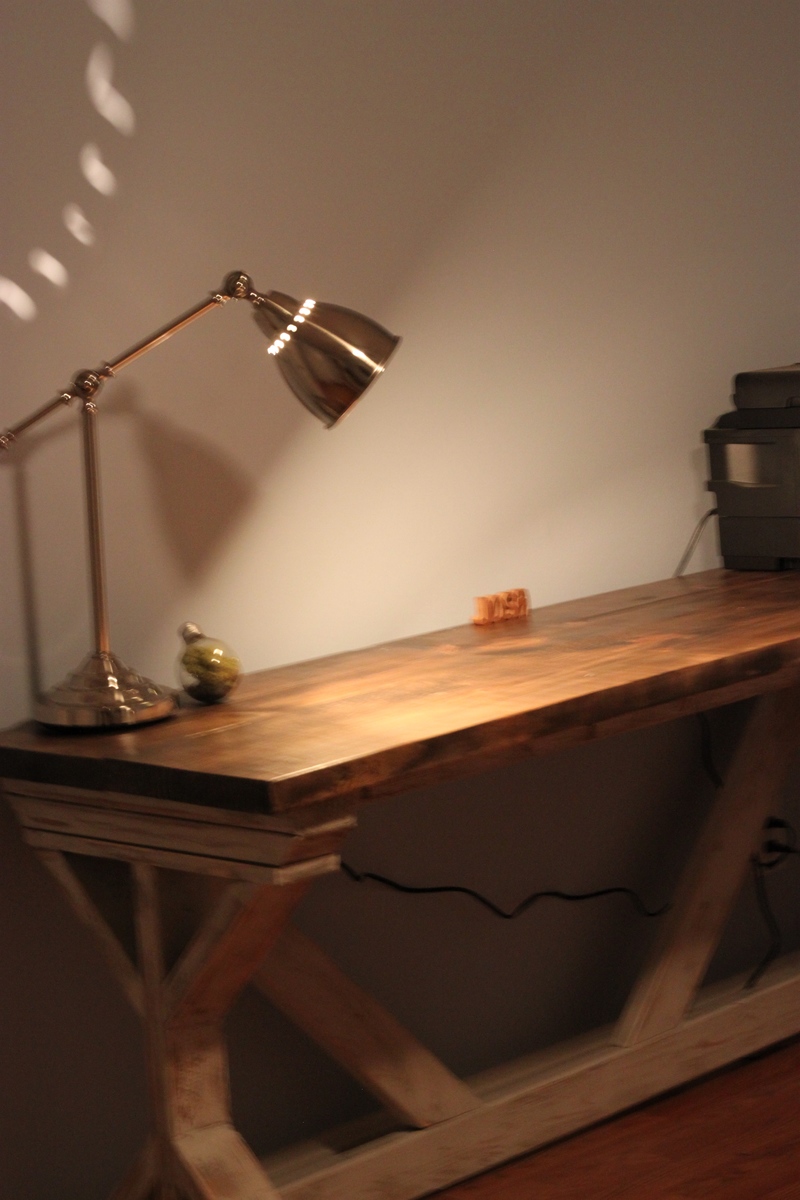
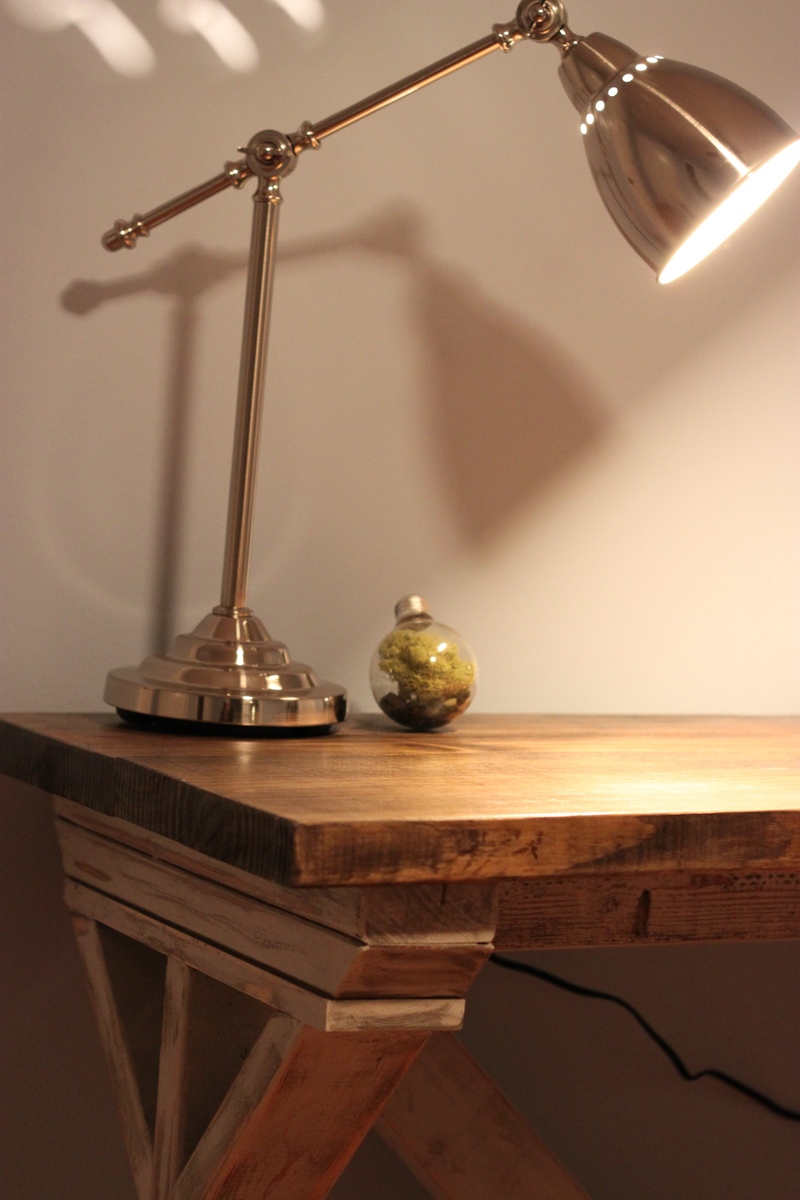
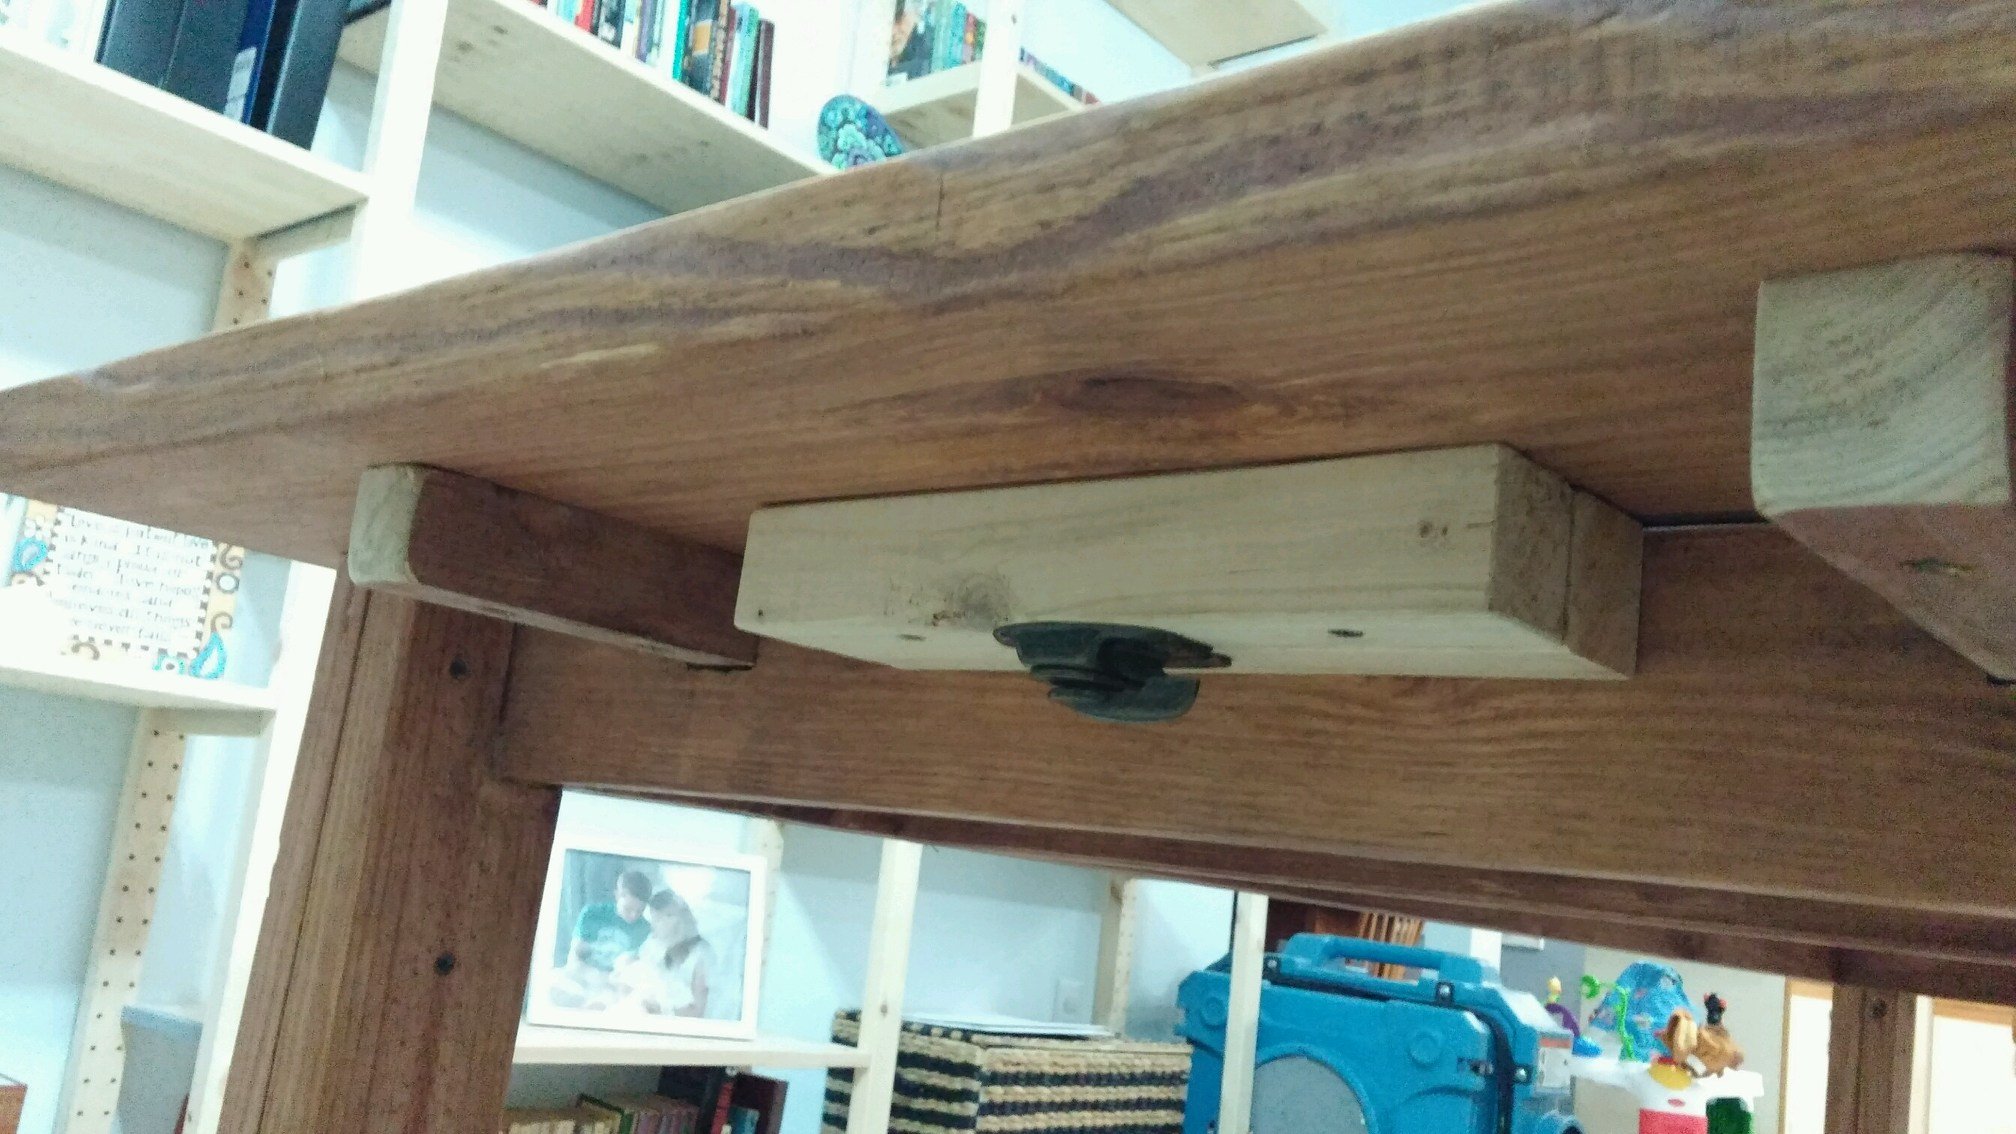
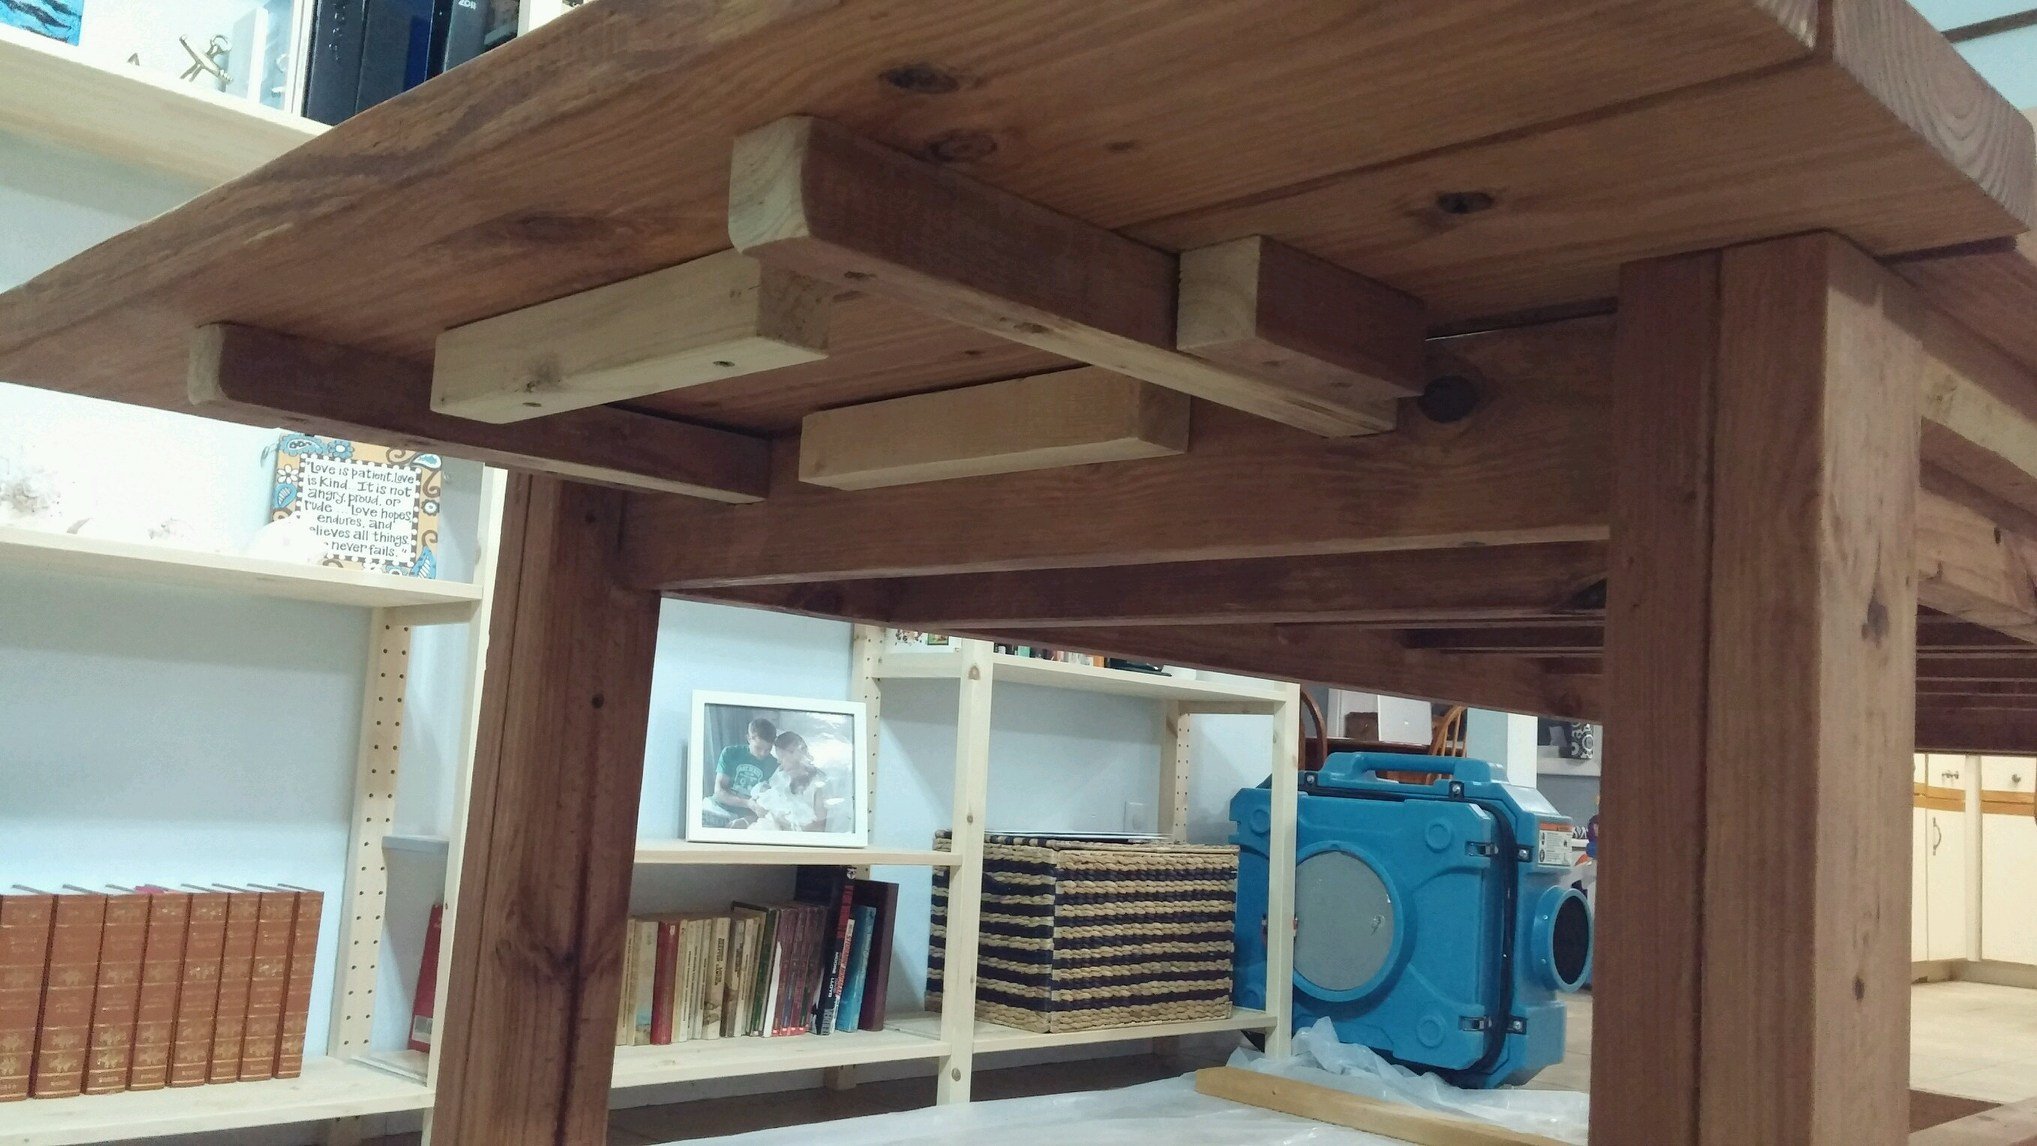
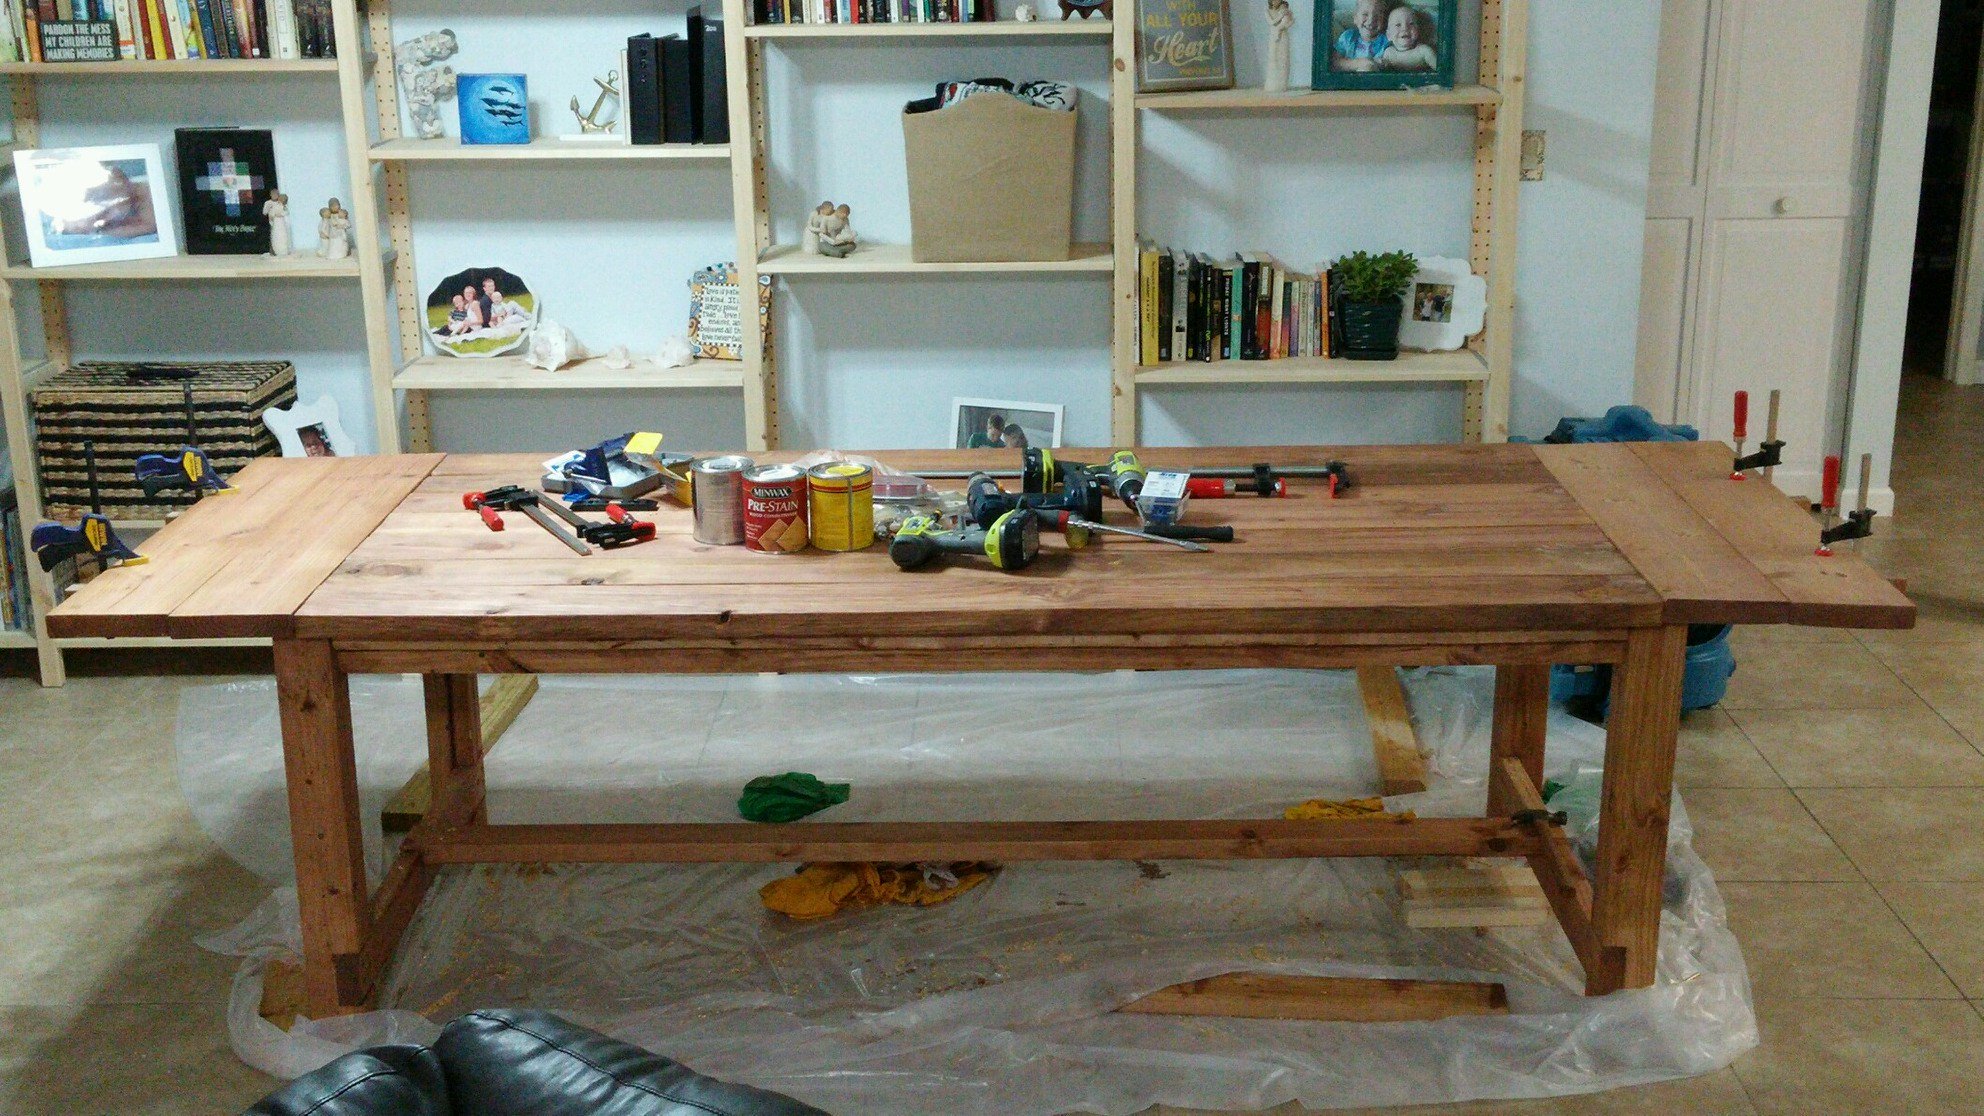
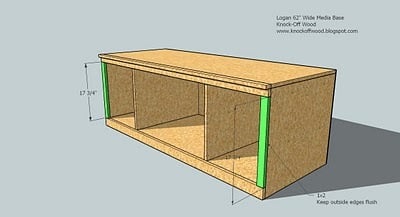
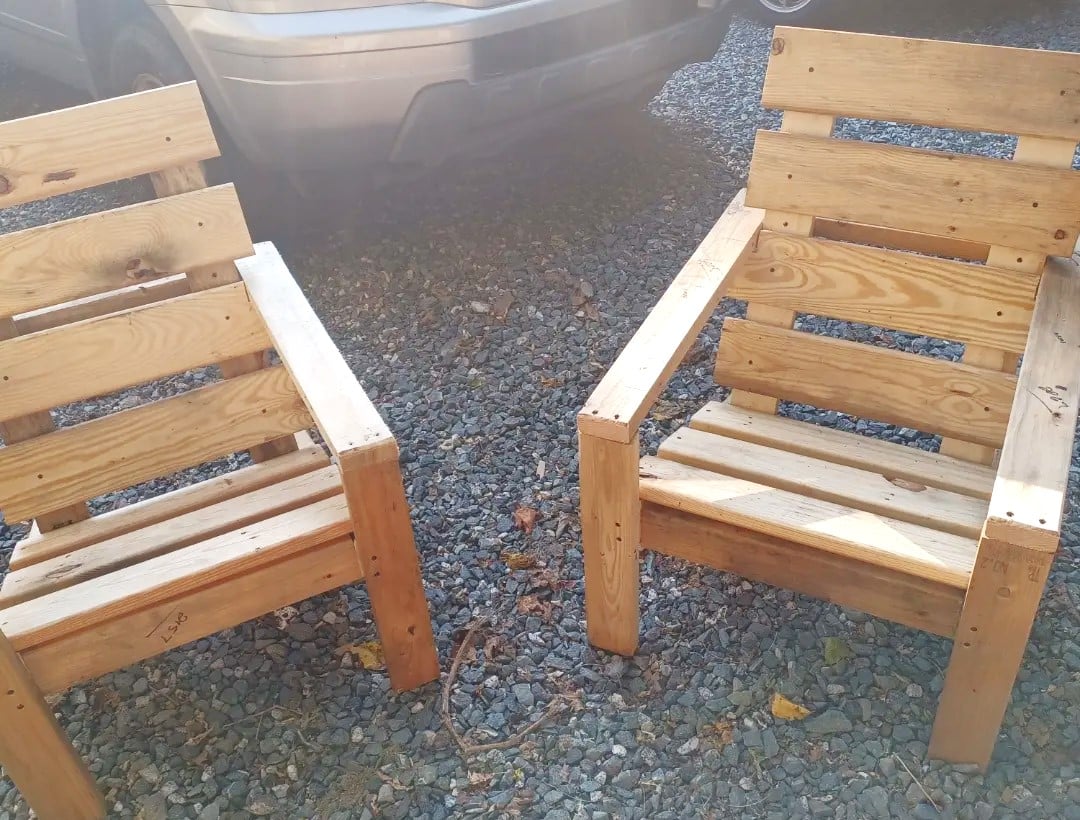
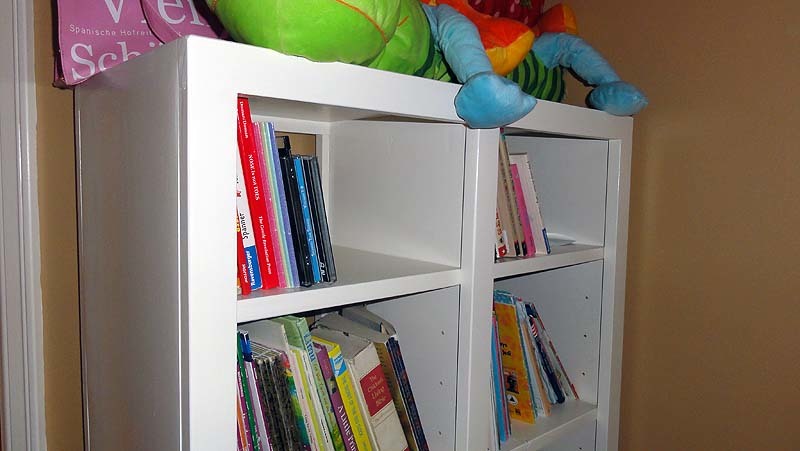
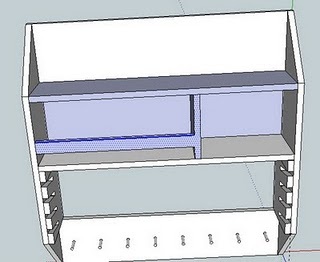
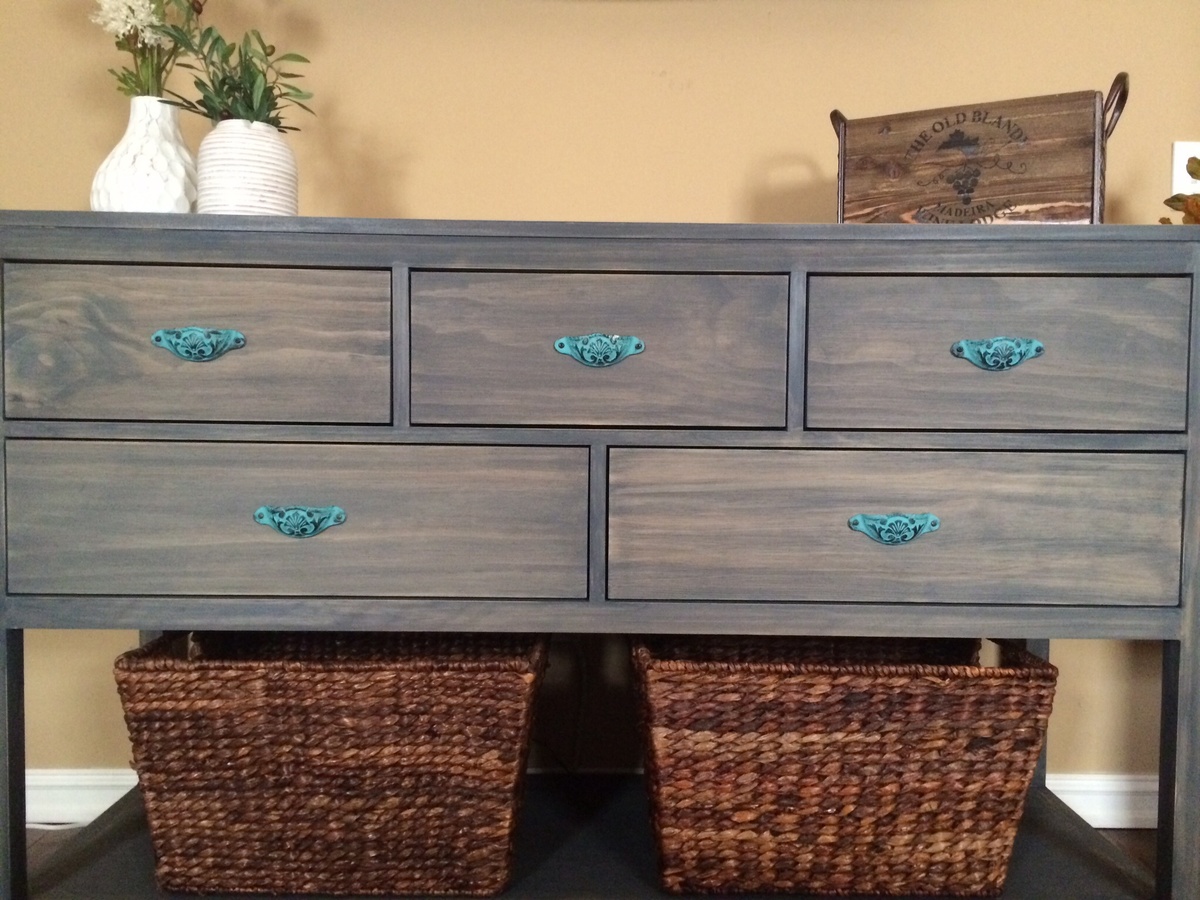
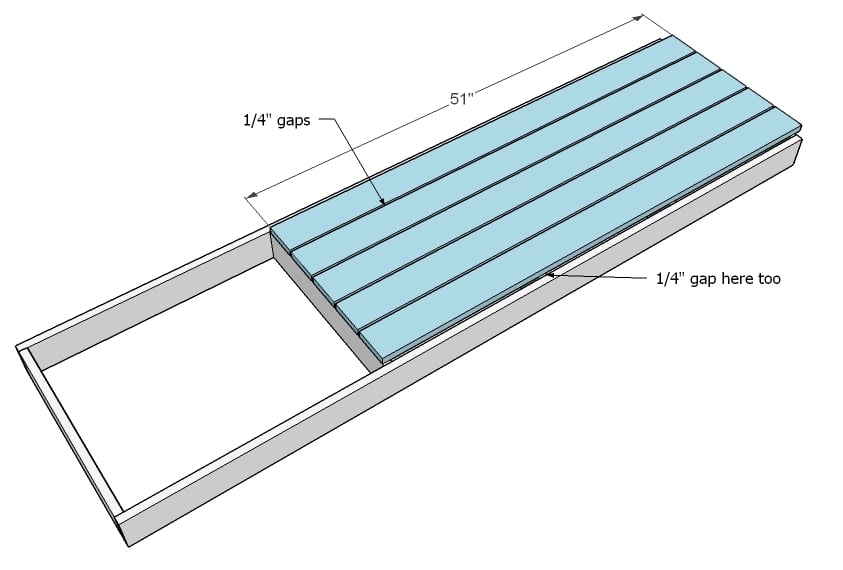
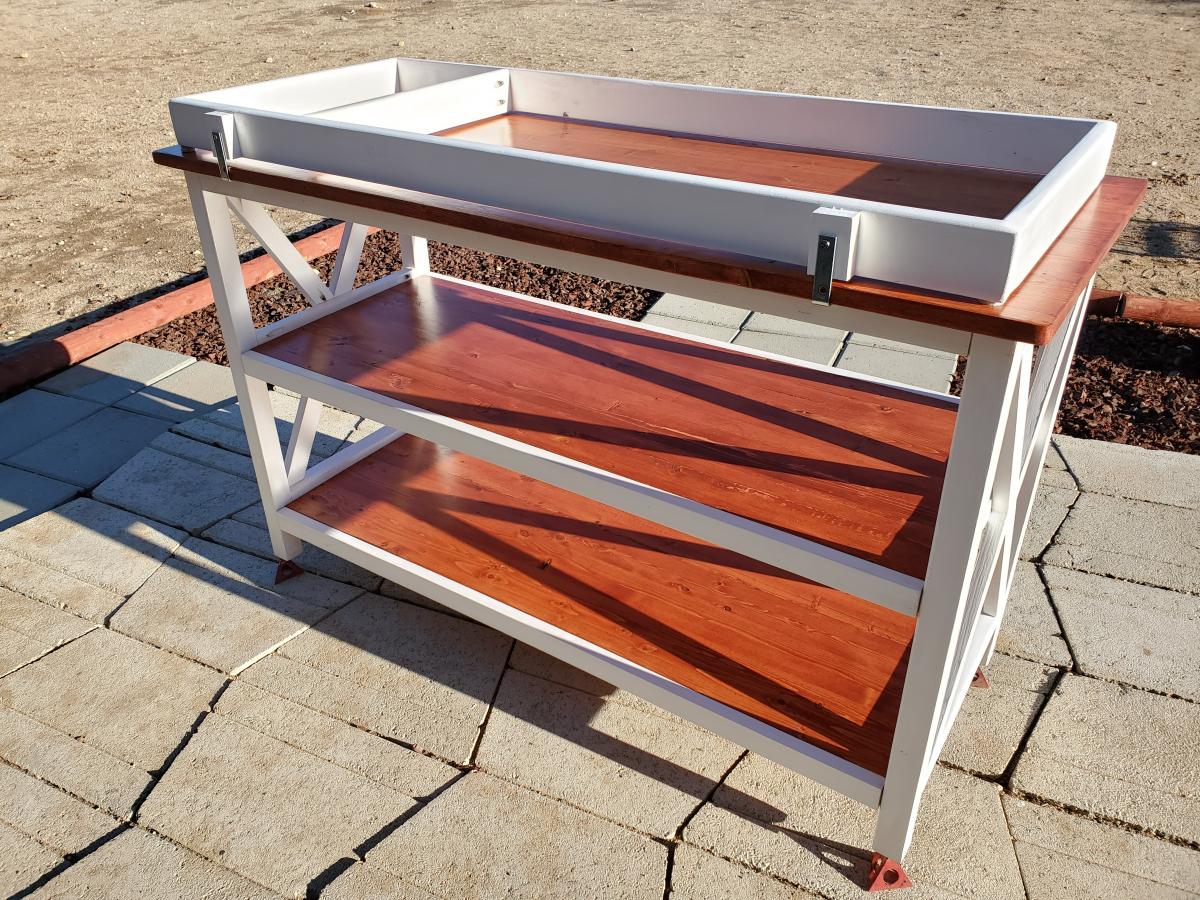
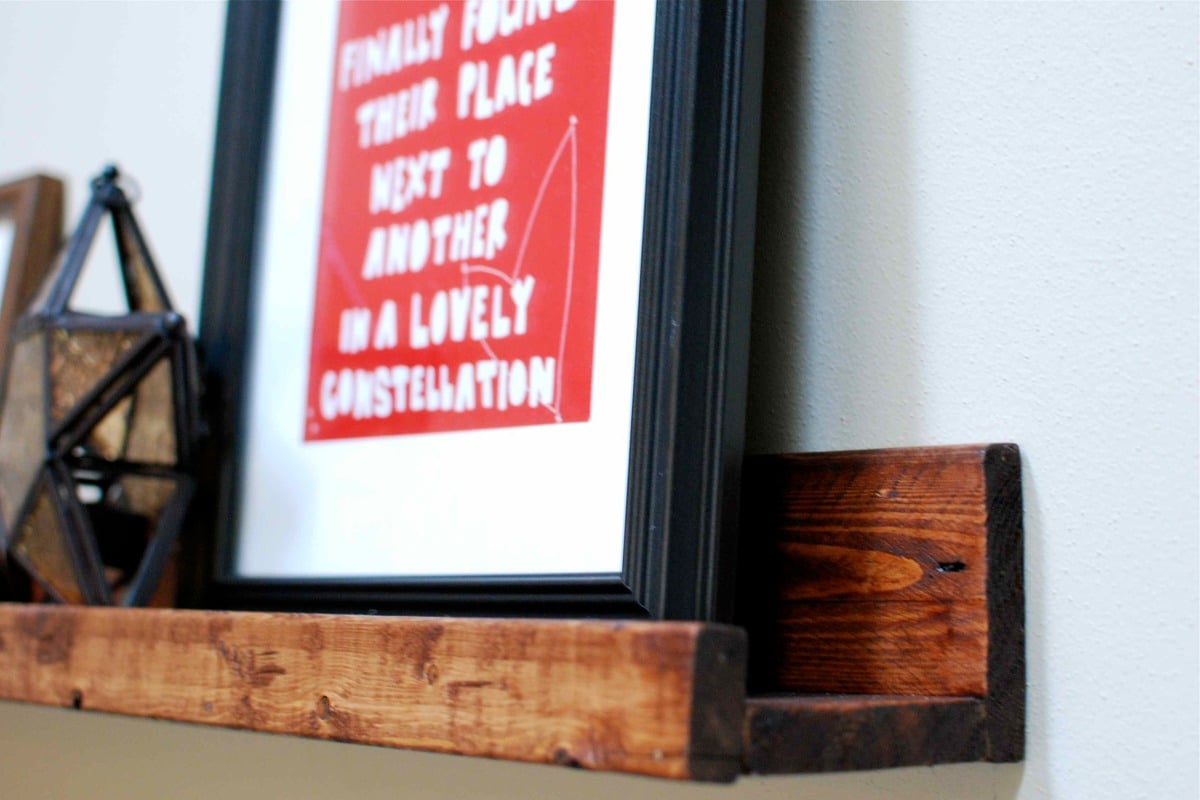
I went with one inch (3/4") project panels. The top shelf is 1"x 20". The lower shelves are 1"x 16", but I added 1 1/2" with two 1"x 2" banding. For the "x" brackets, I used 1"x 2" and added a middle piece to connect the legs and double as a side shelf ledge. The baby changing station top is secured by an L-bracket, where I added a block to keep the spacing even around the station top and screwed from underneath. (Note, you might have to trim the L-bracket to fit on the underside of the lip.) Also, I put on furniture felt under the baby changing station top to prevent any marring to the top shelf.
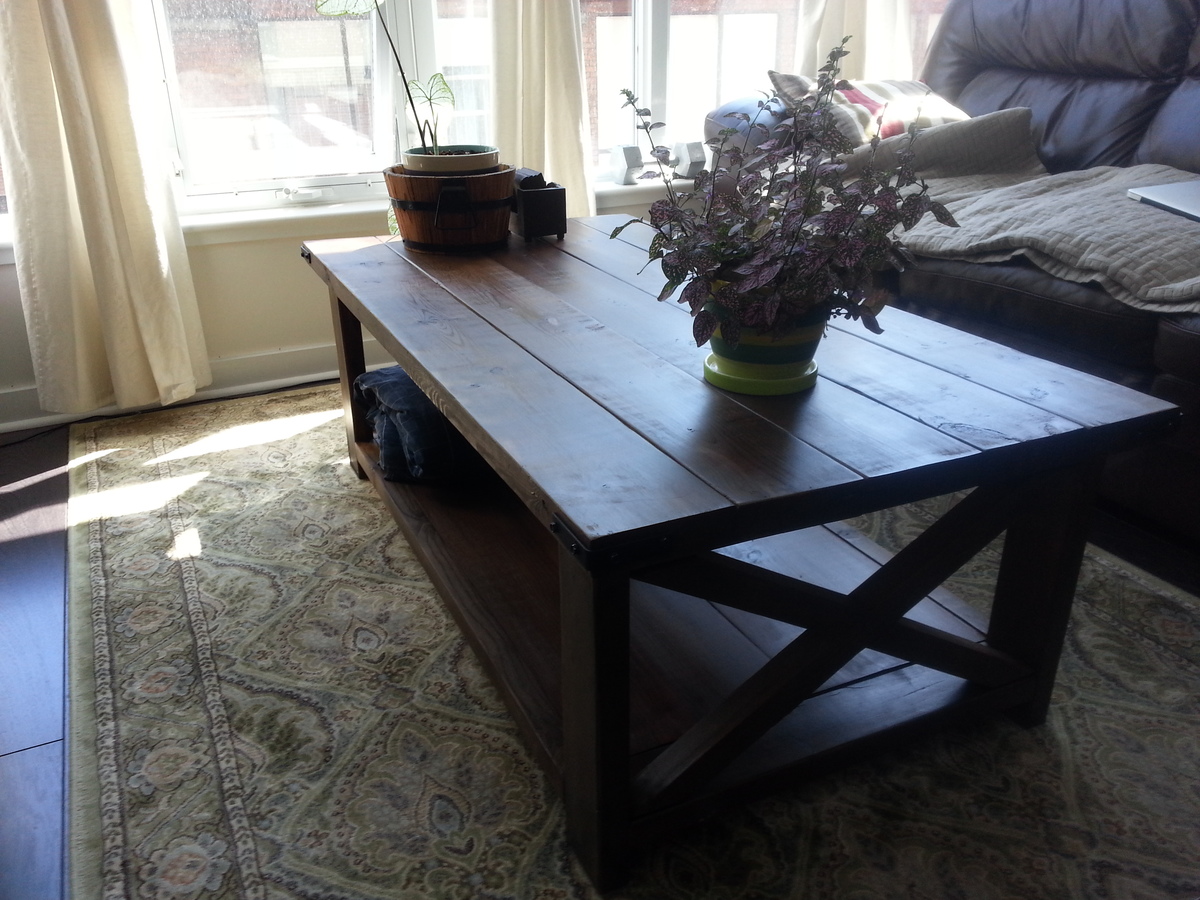
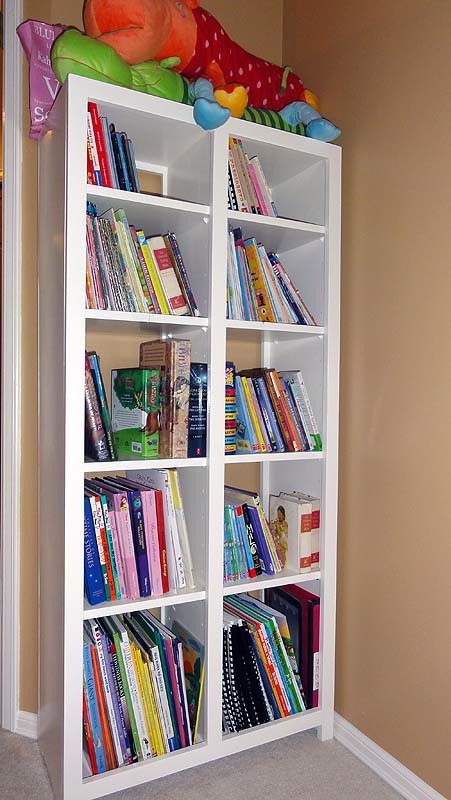
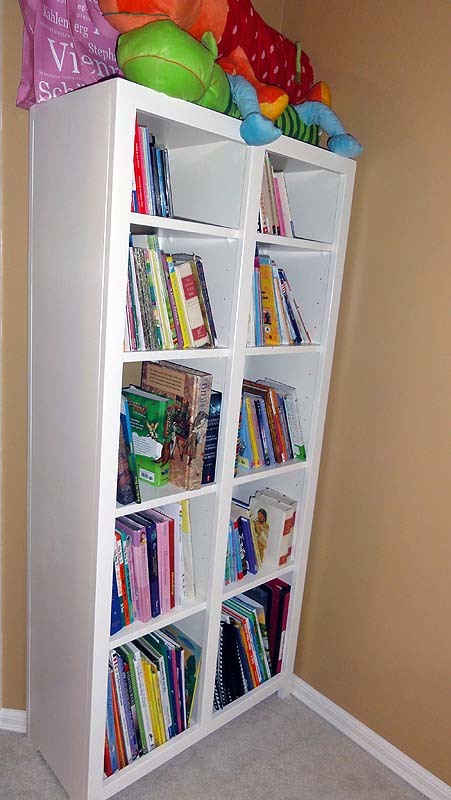
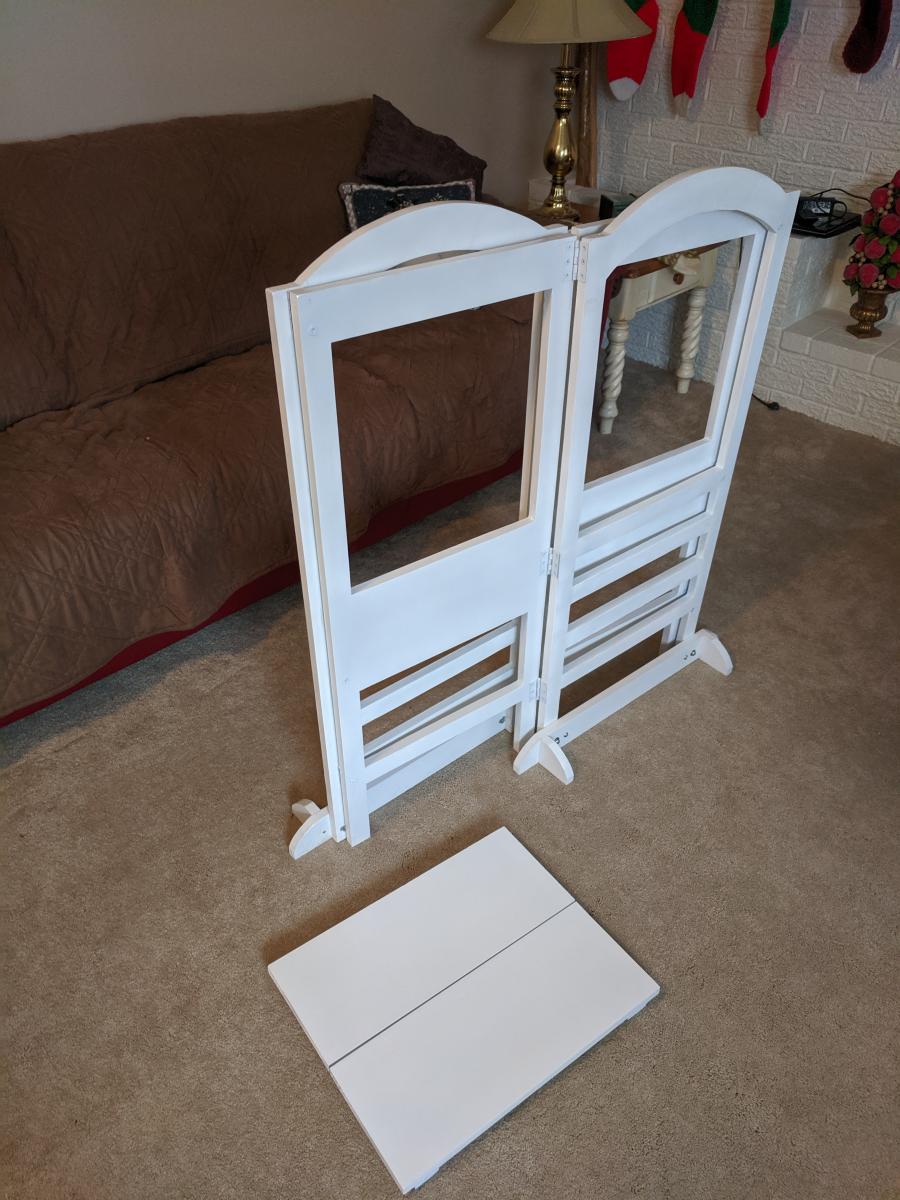
The removable top allows the changing station to become a standard shelving unit once the baby outgrows the changing station top. There are no holes drilled onto the topside of the top shelve as it's being secured by two L-brackets.
Estimated Cost
The wood cost was about $70.
Estimated Time Investment
Weekend Project (10-20 Hours)
Finish Used
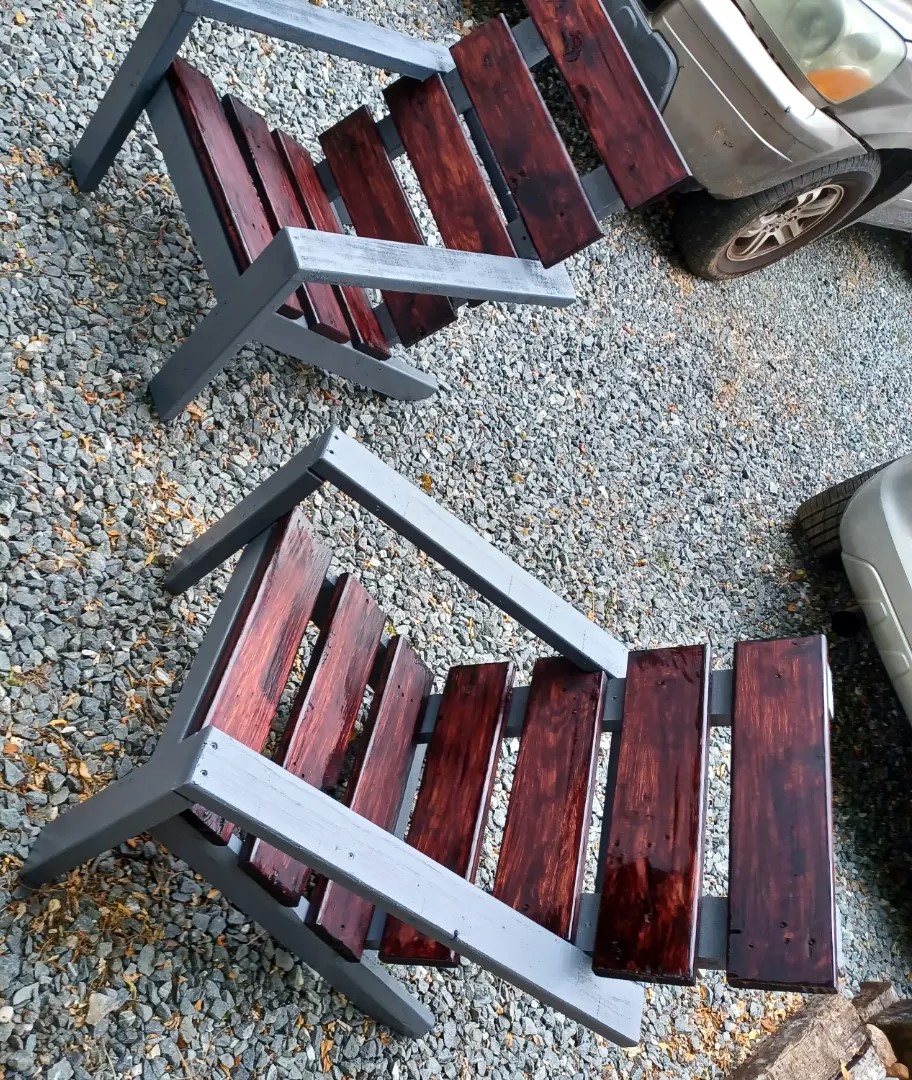
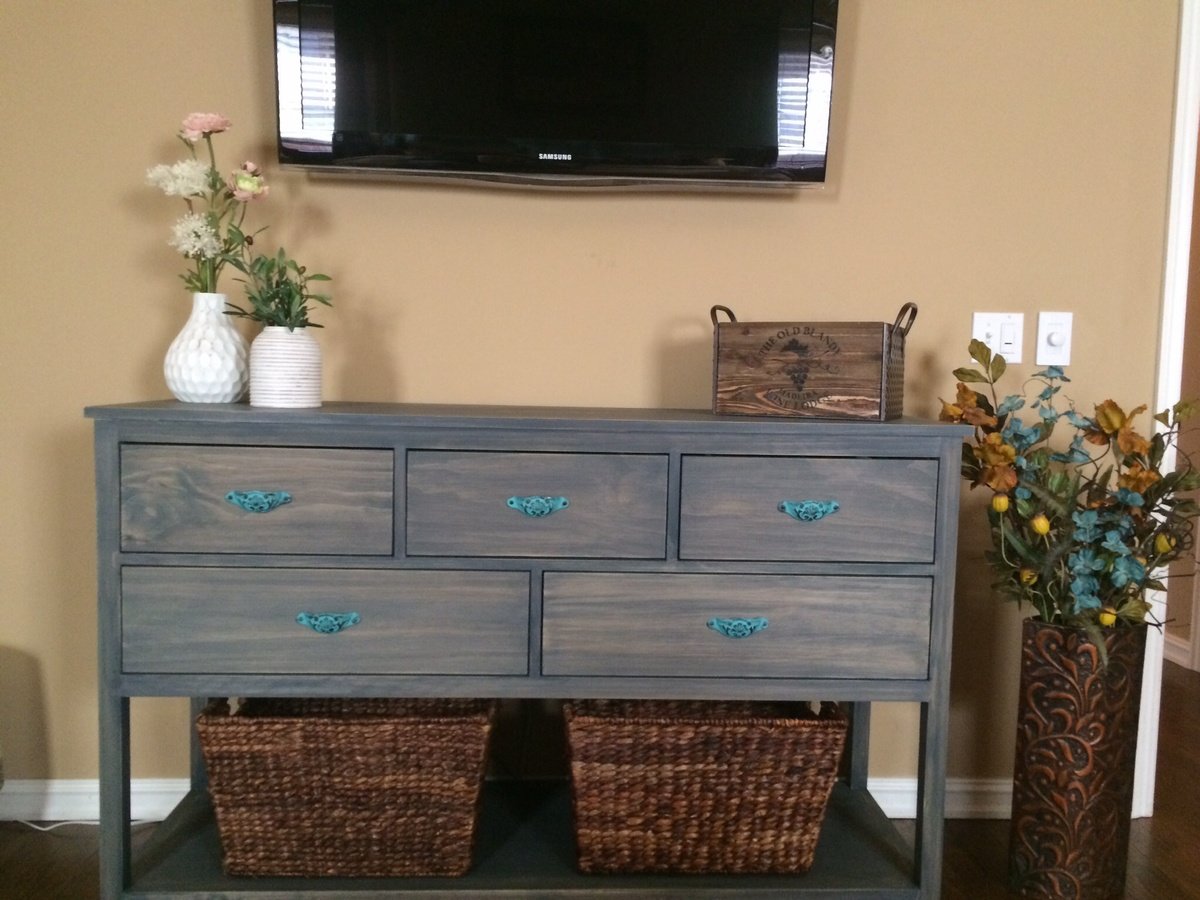
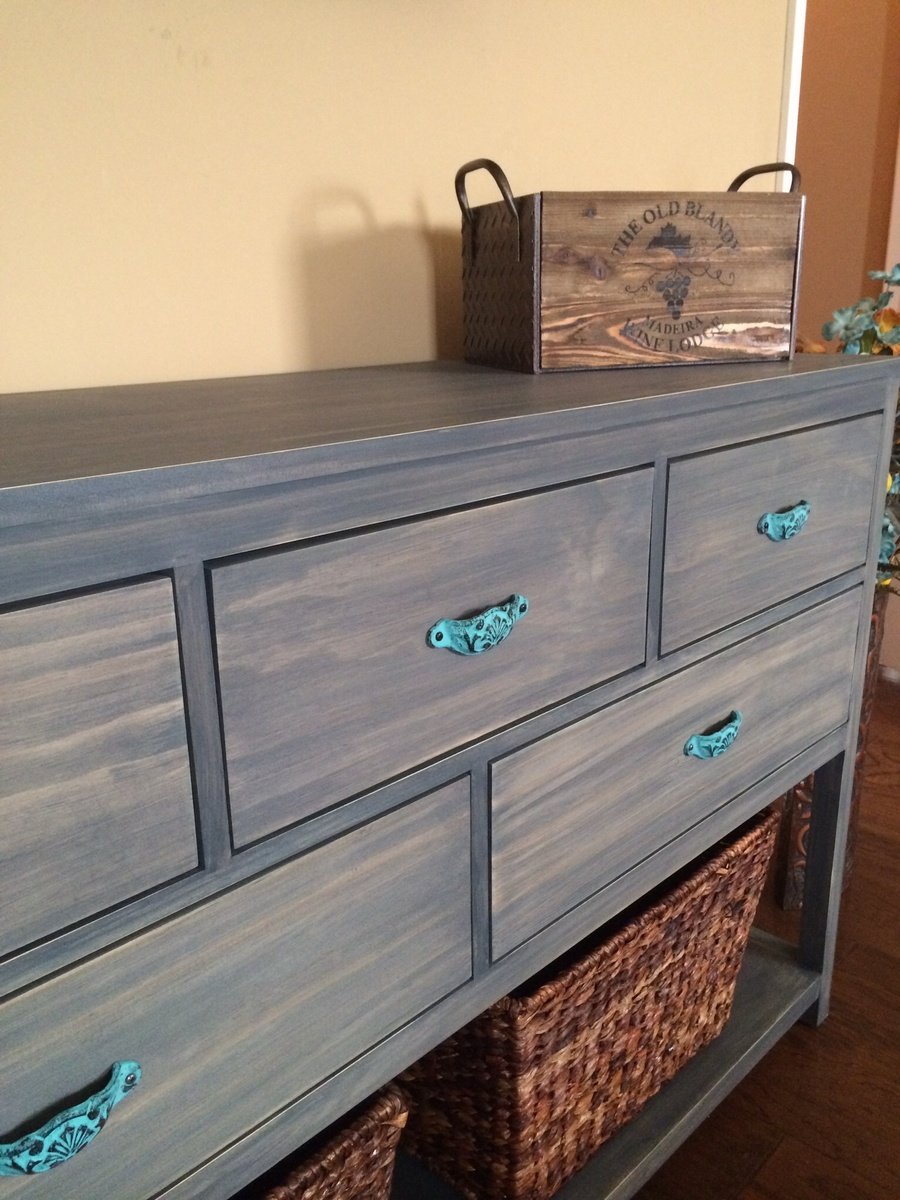
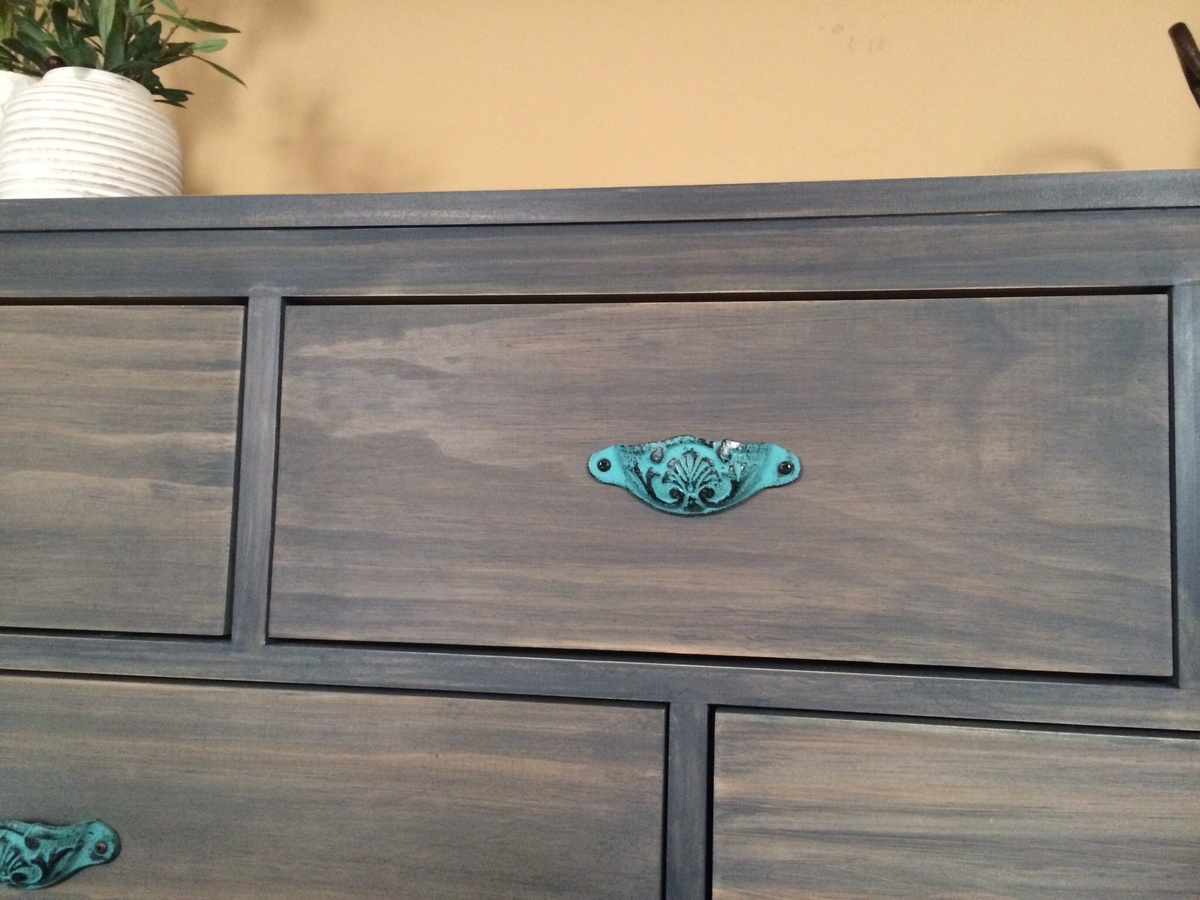
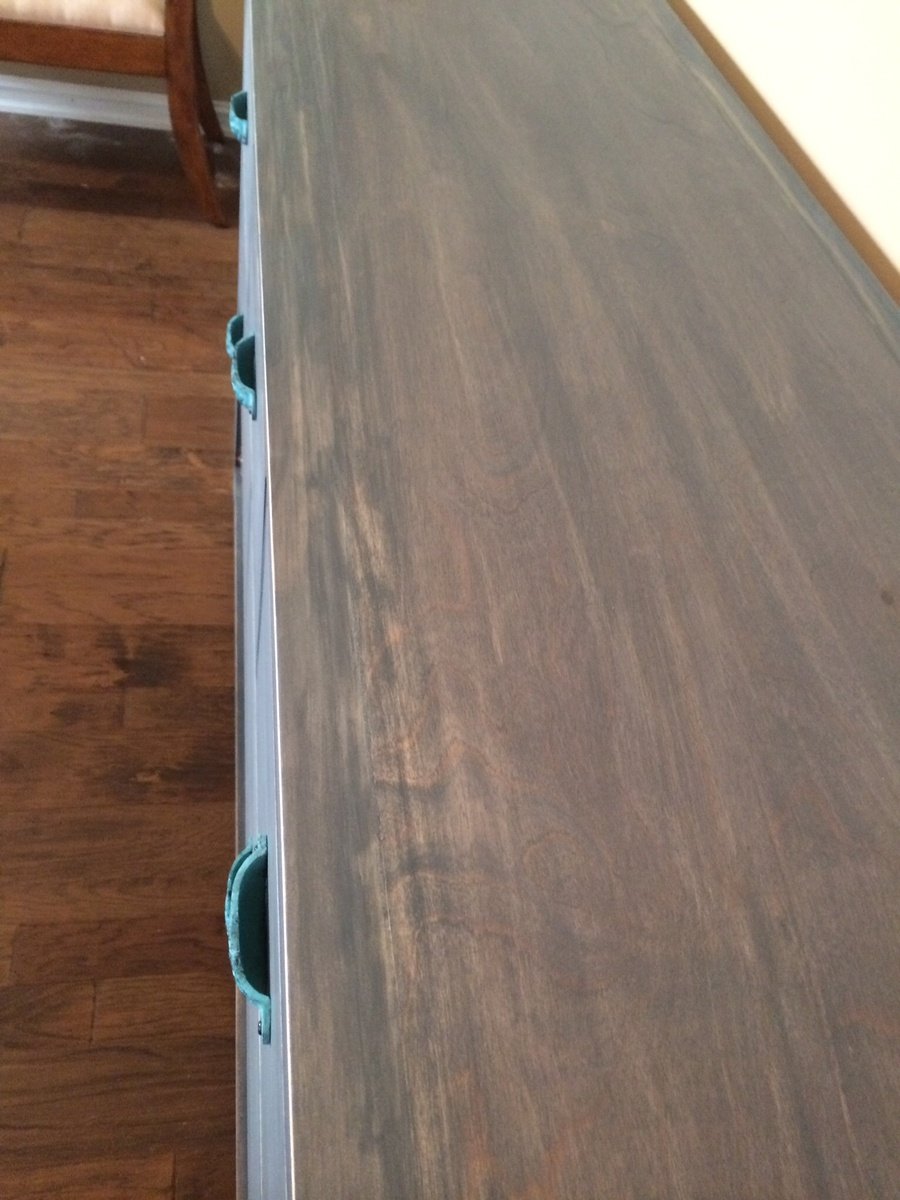
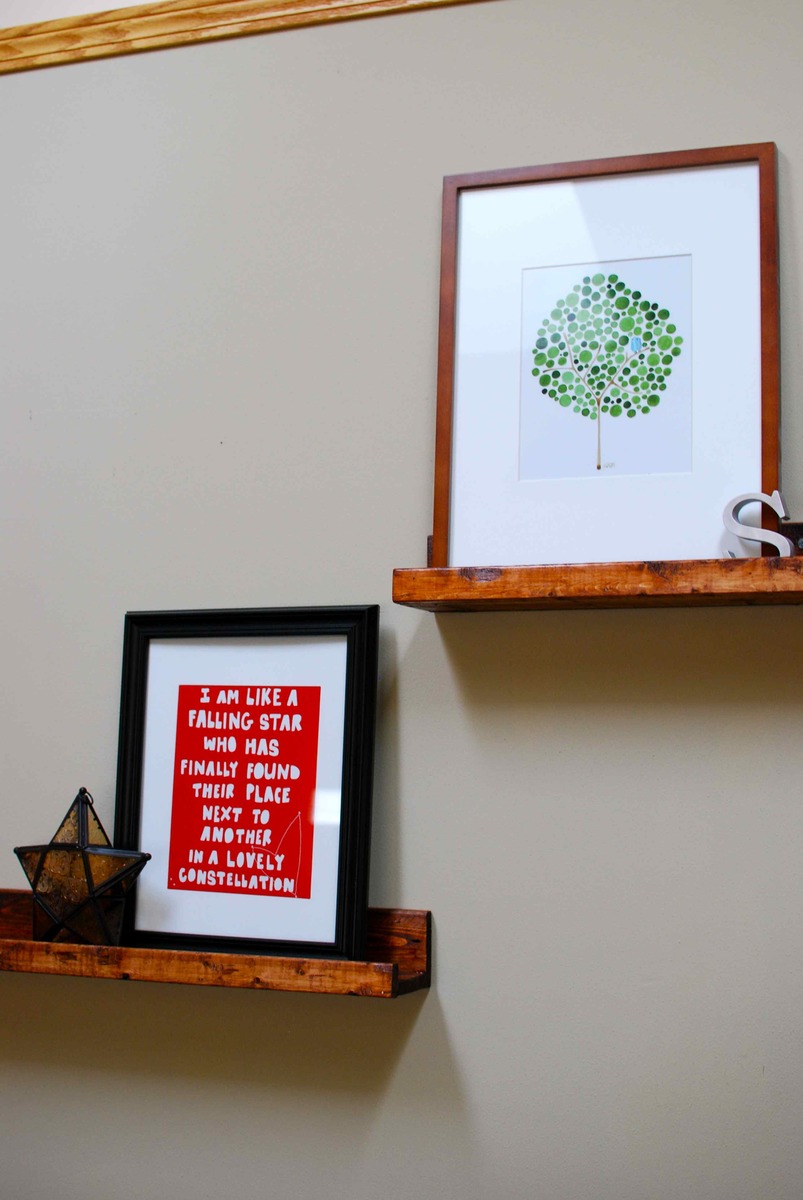
Cherry stain, white paint, and poly.
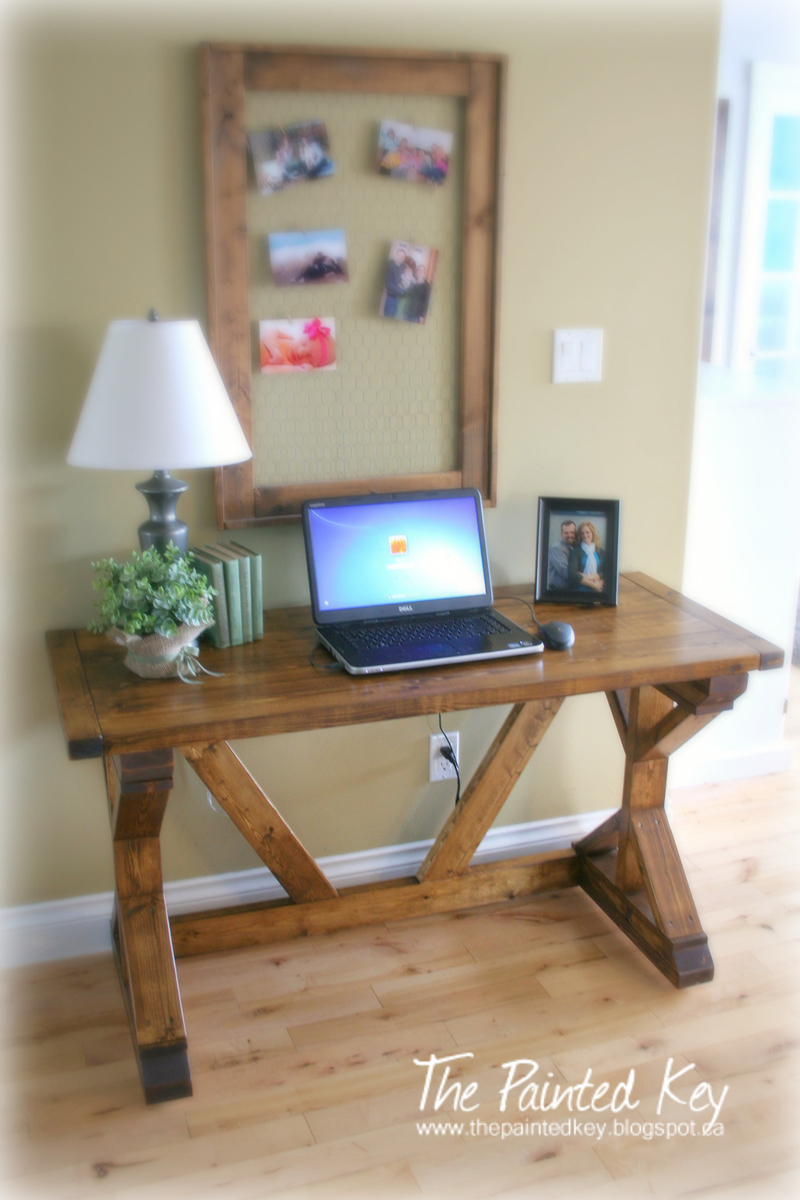
I stained all three shelves first. I painted the rest of the project white, which needed two coats. Then I assembled the unit together. Afterwards, I applied three coats of poly with a foam brush. After the second coat of poly, i used a gray finishing pad. On the third and final coat of poly, I used a white finishing pad (finer than the gray pad).
Recommended Skill Level
Intermediate