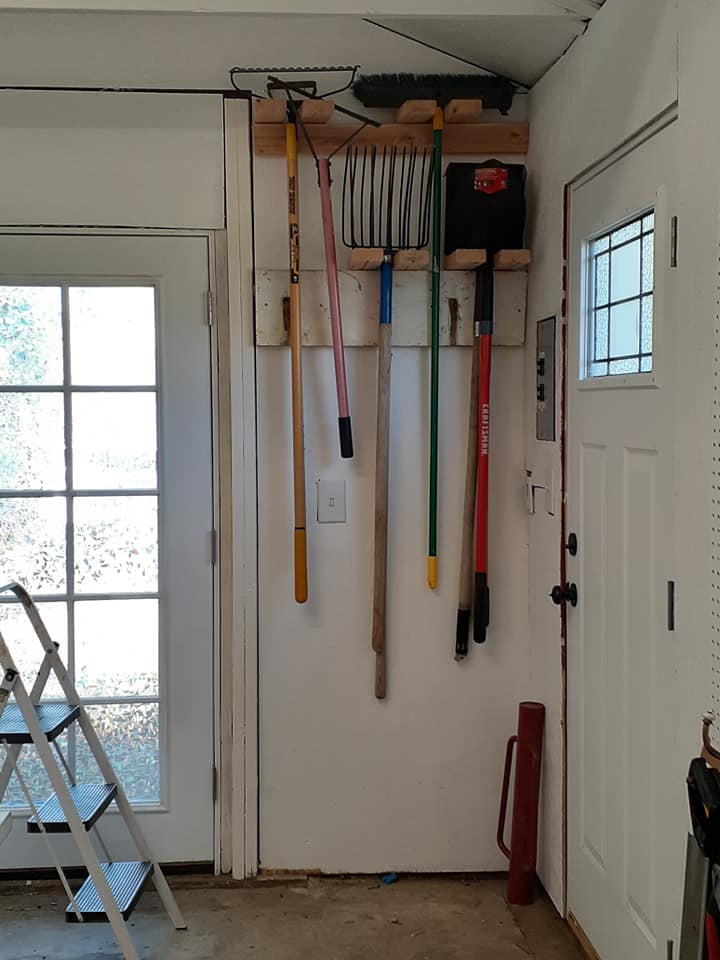
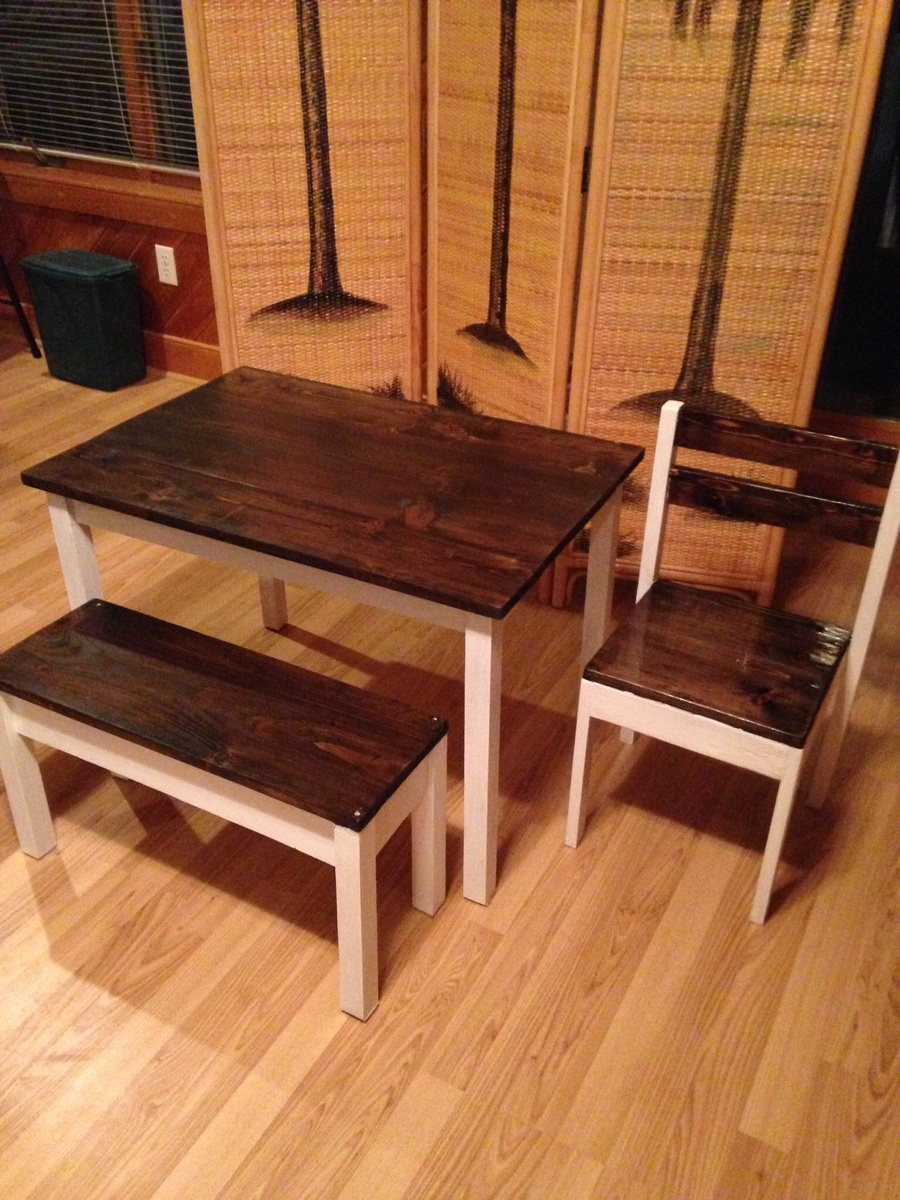
ryobi workbench by ana white
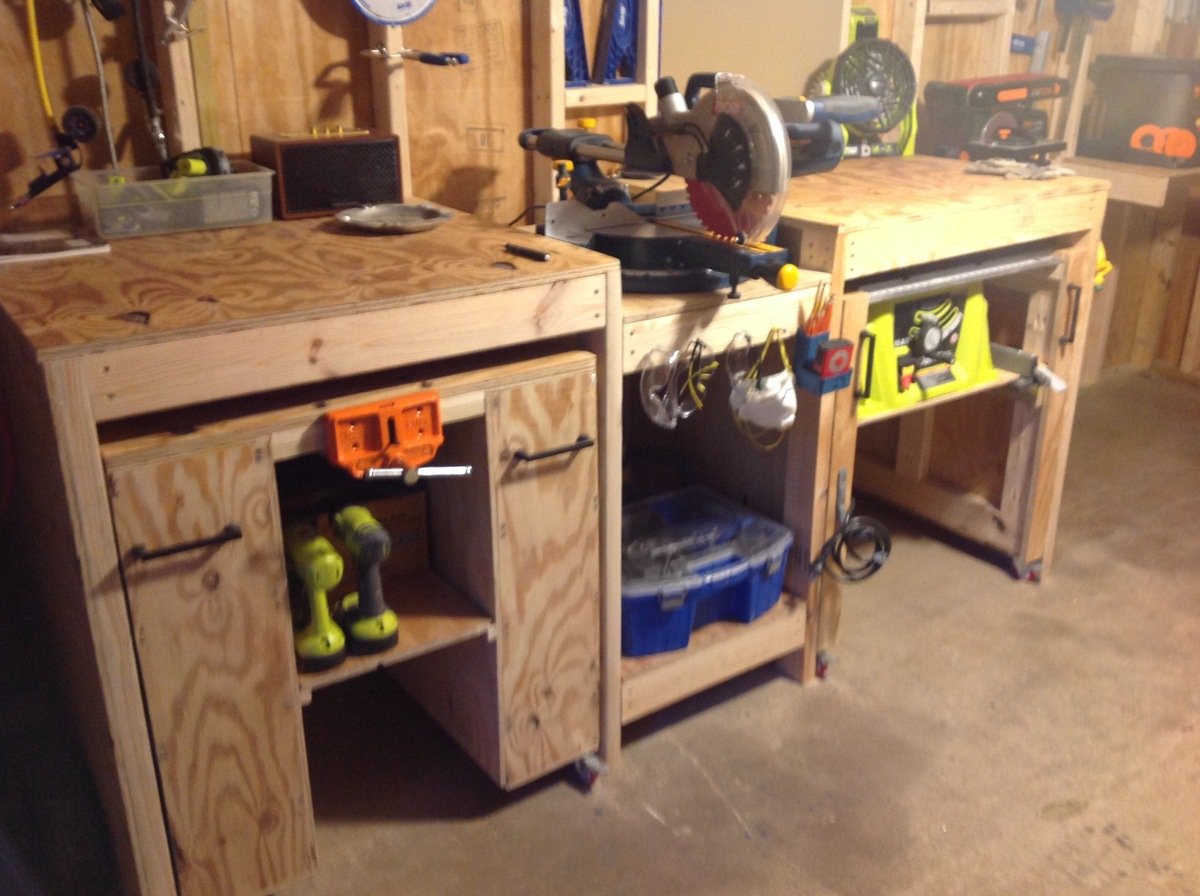
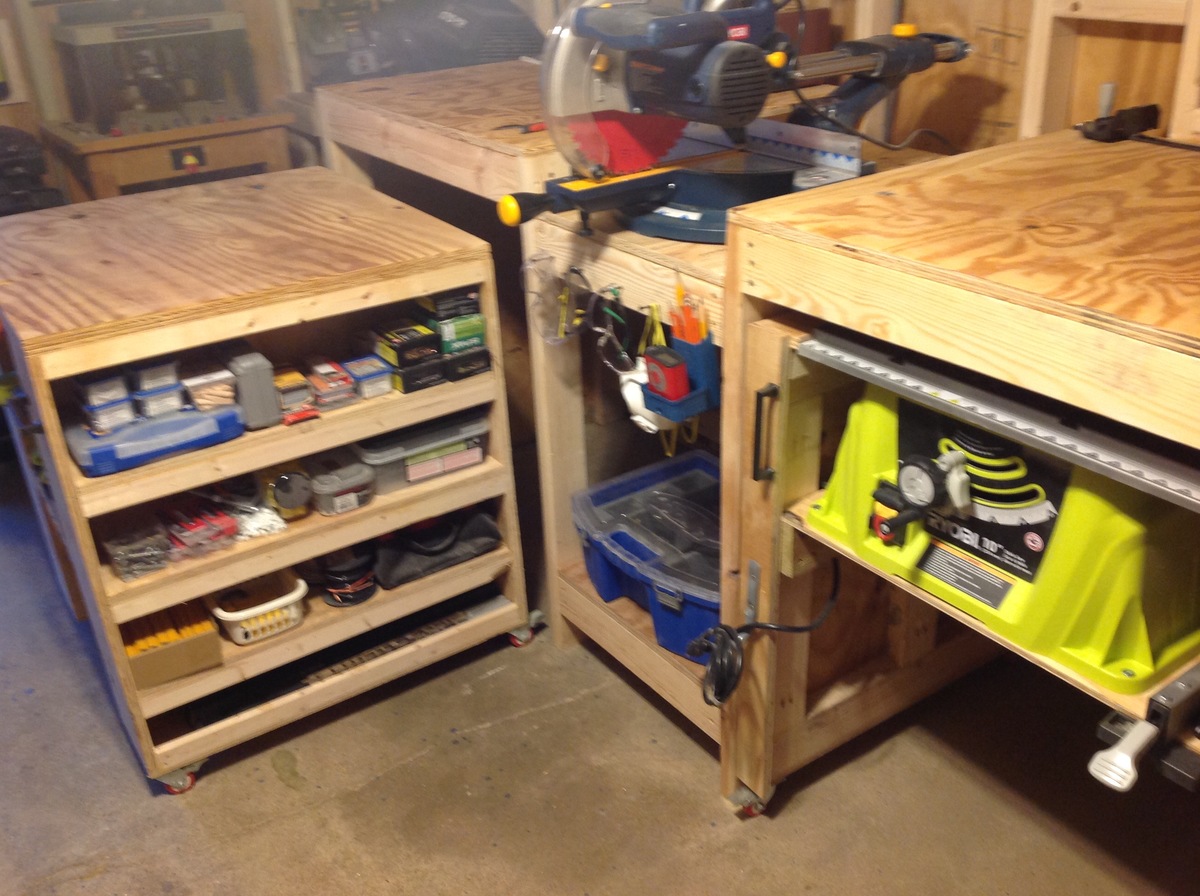
I built this new workbench for my garage to accomodate my table and miter saw and to add some stowaway storage and I cant tell you how much I love it, especially with being able to pull the tables out to make an outfeed for the tablesaw. I altered theplans a bit to shorten the entire length by nearly 1.5 feet and instead of the board mounted tool space I added my bench vise to this gap and use shelved underneath for storage. The plan was simple to follow and allowed me to build a bench that all of my neighbors talk about now! Thanks so much Ana!
Built from Plan(s)
Estimated Cost
250.00
Estimated Time Investment
Weekend Project (10-20 Hours)
Finish Used
a couple coats of tung oil
Recommended Skill Level
Beginner