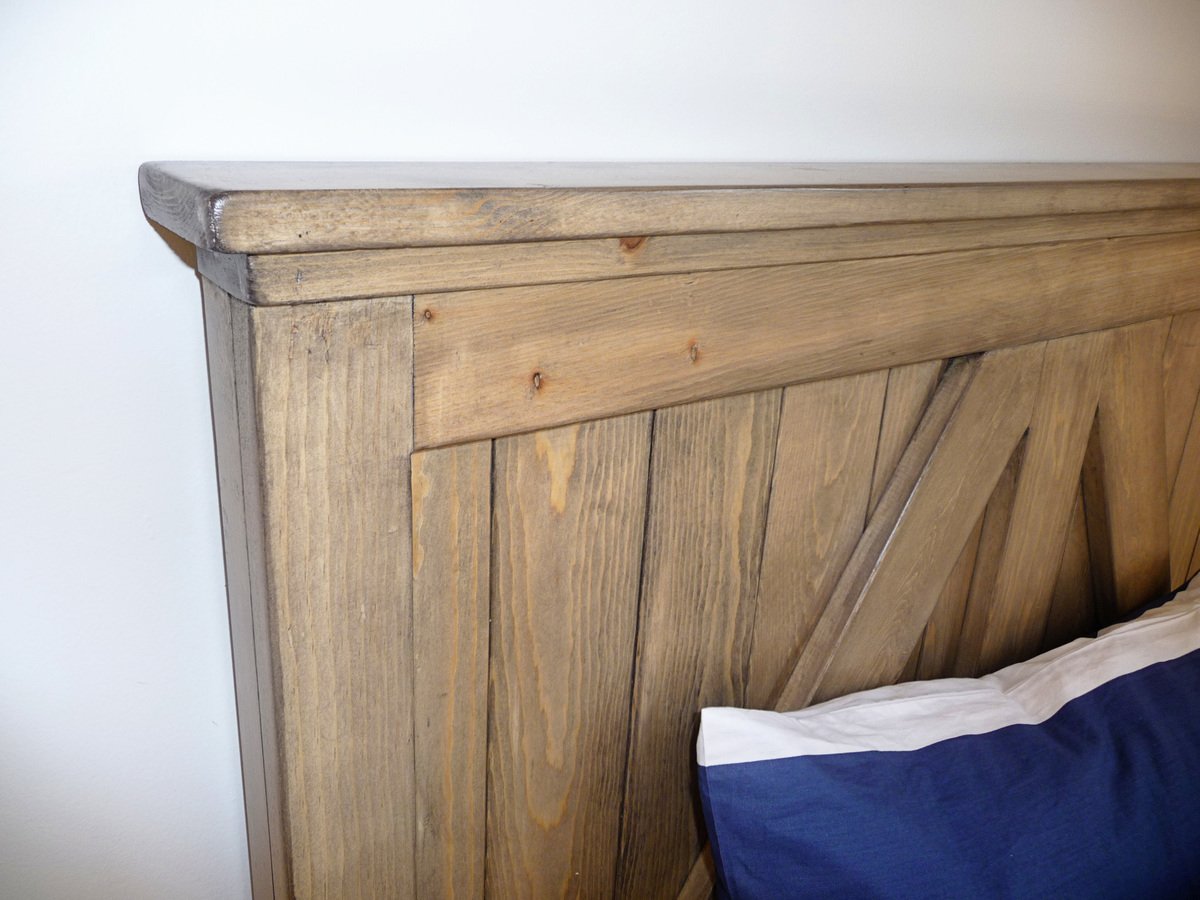
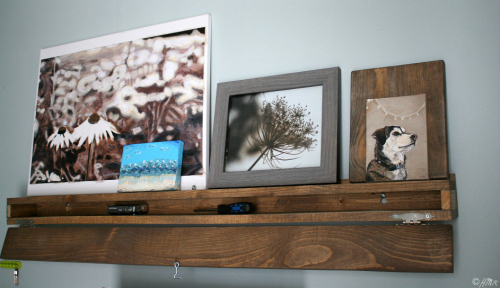
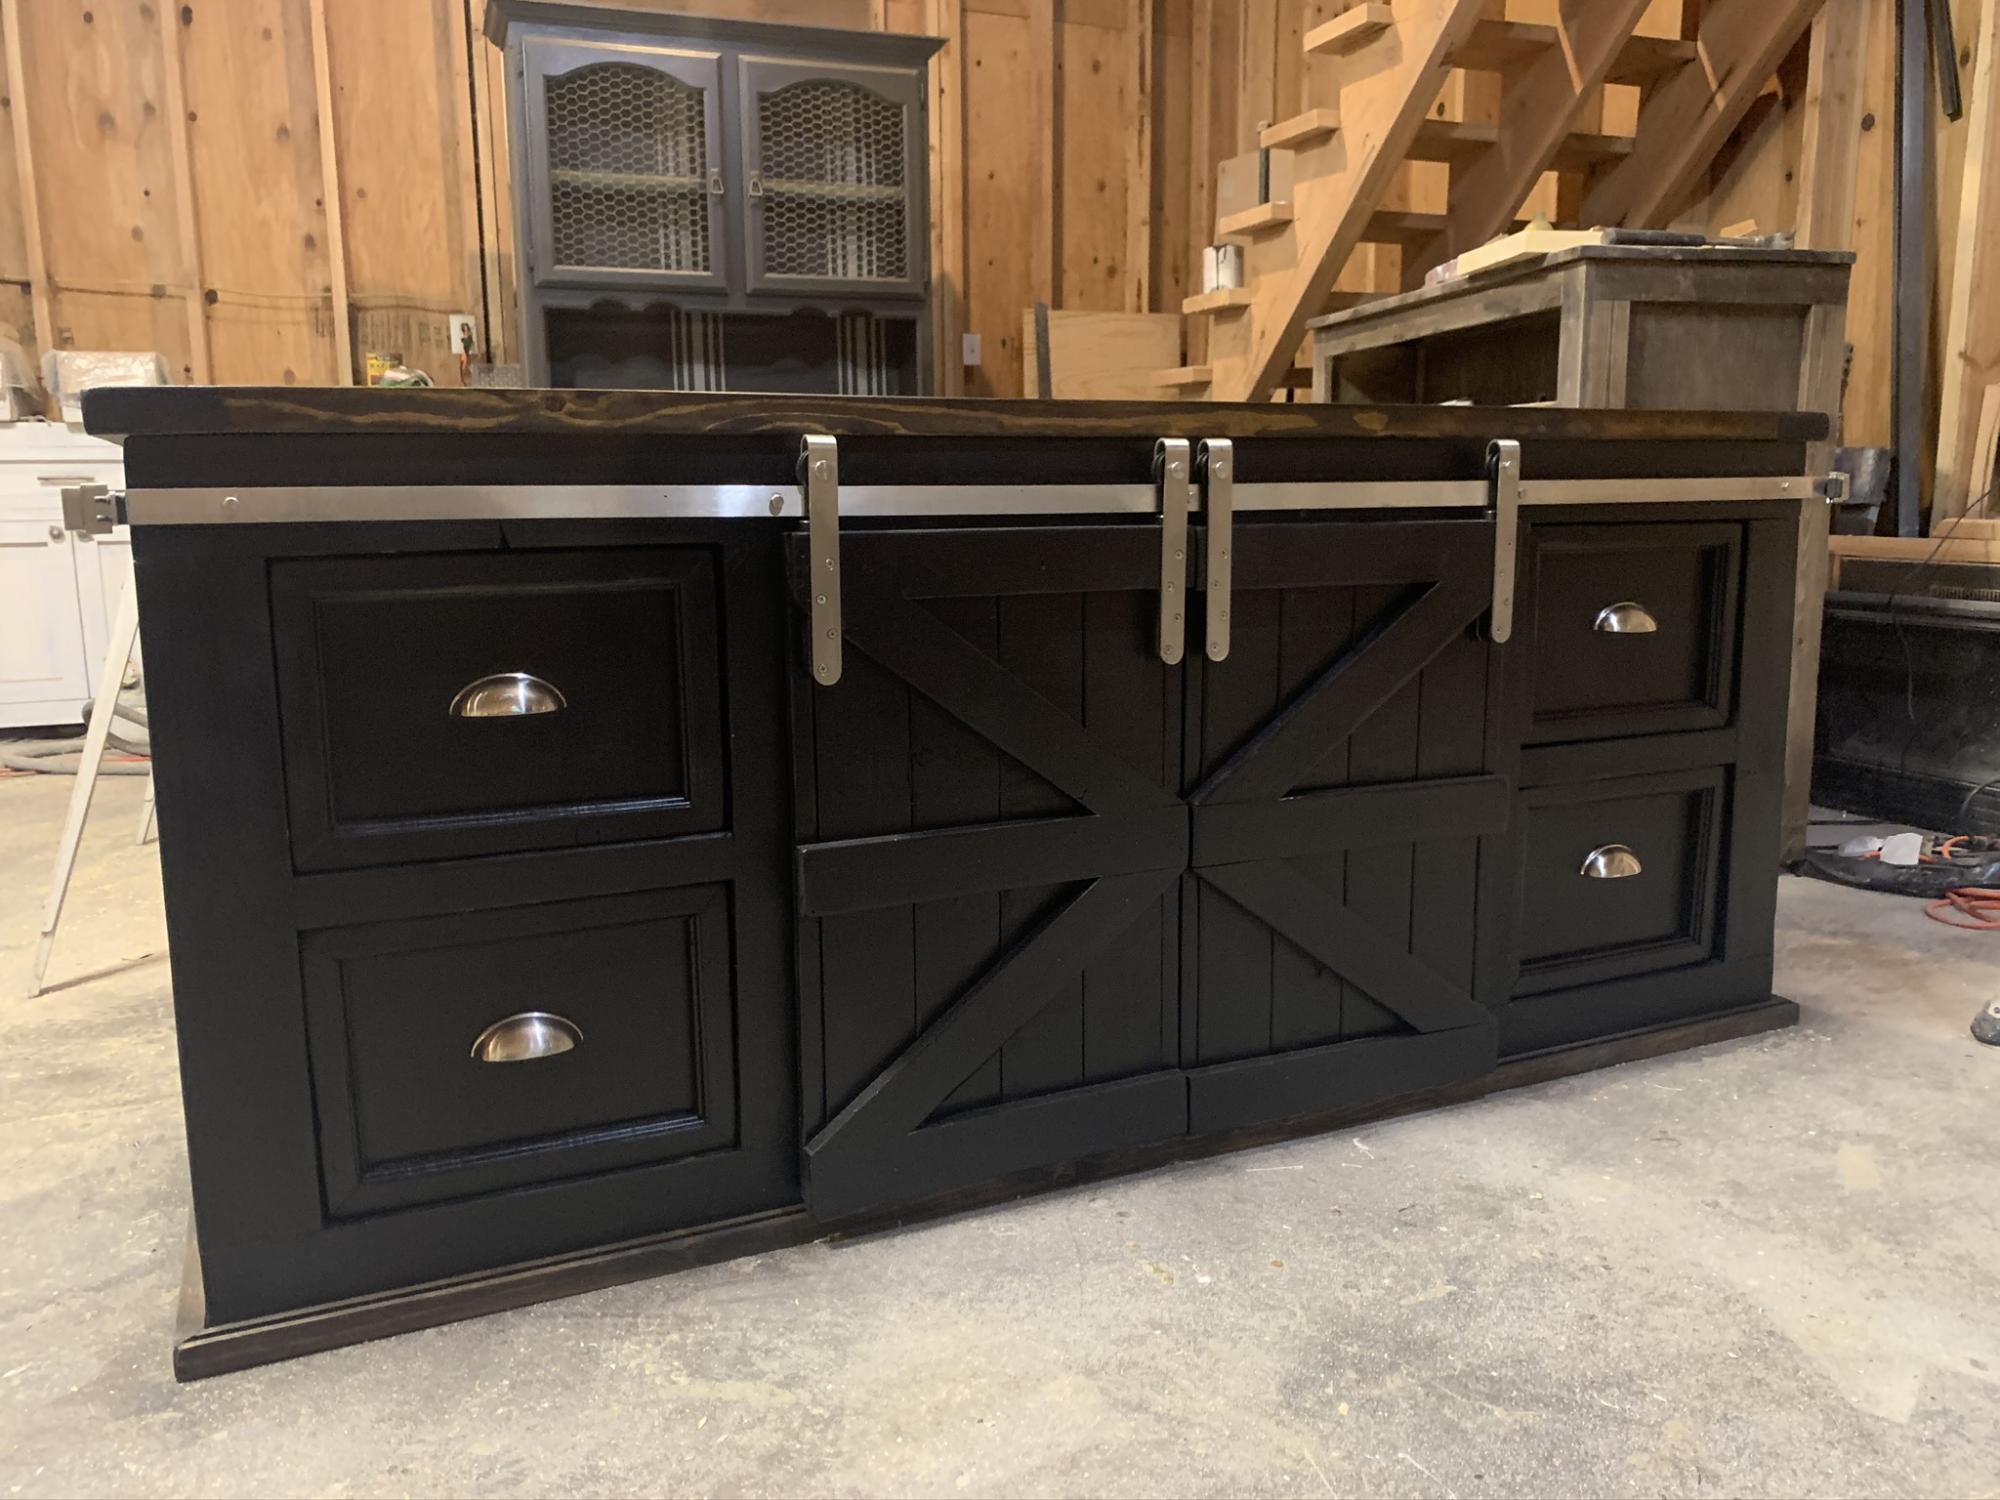
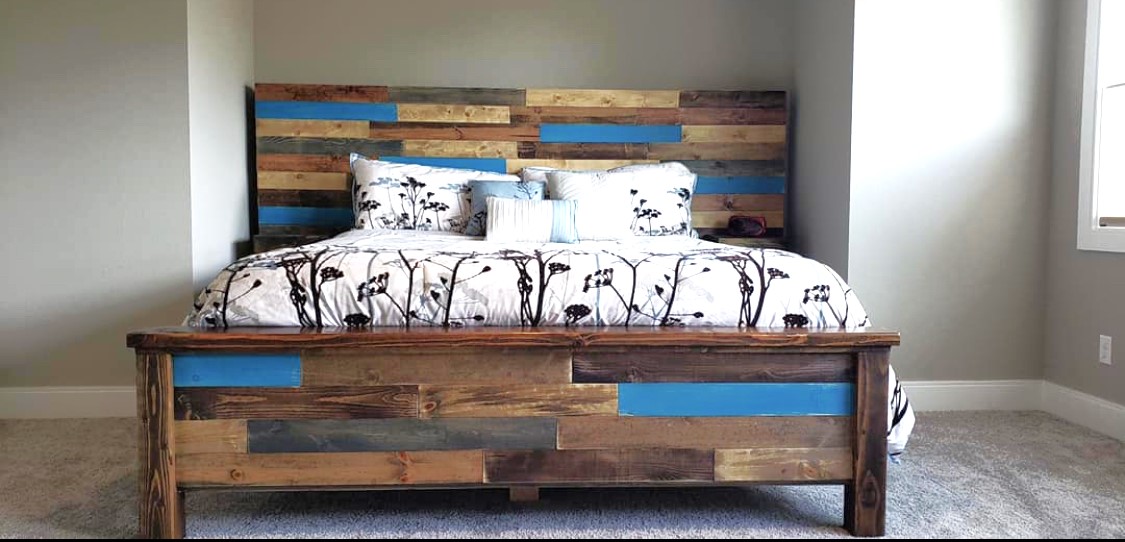
Brookstone Headboard
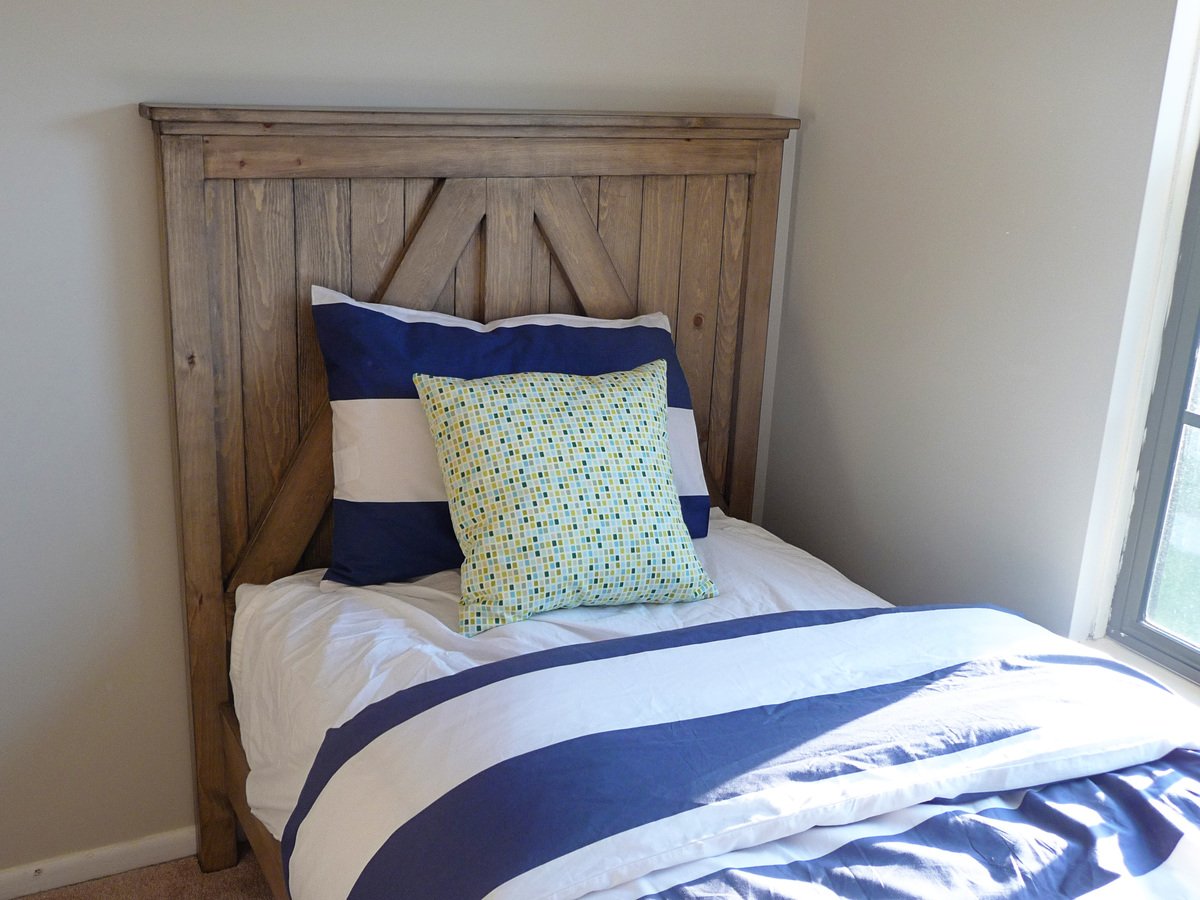
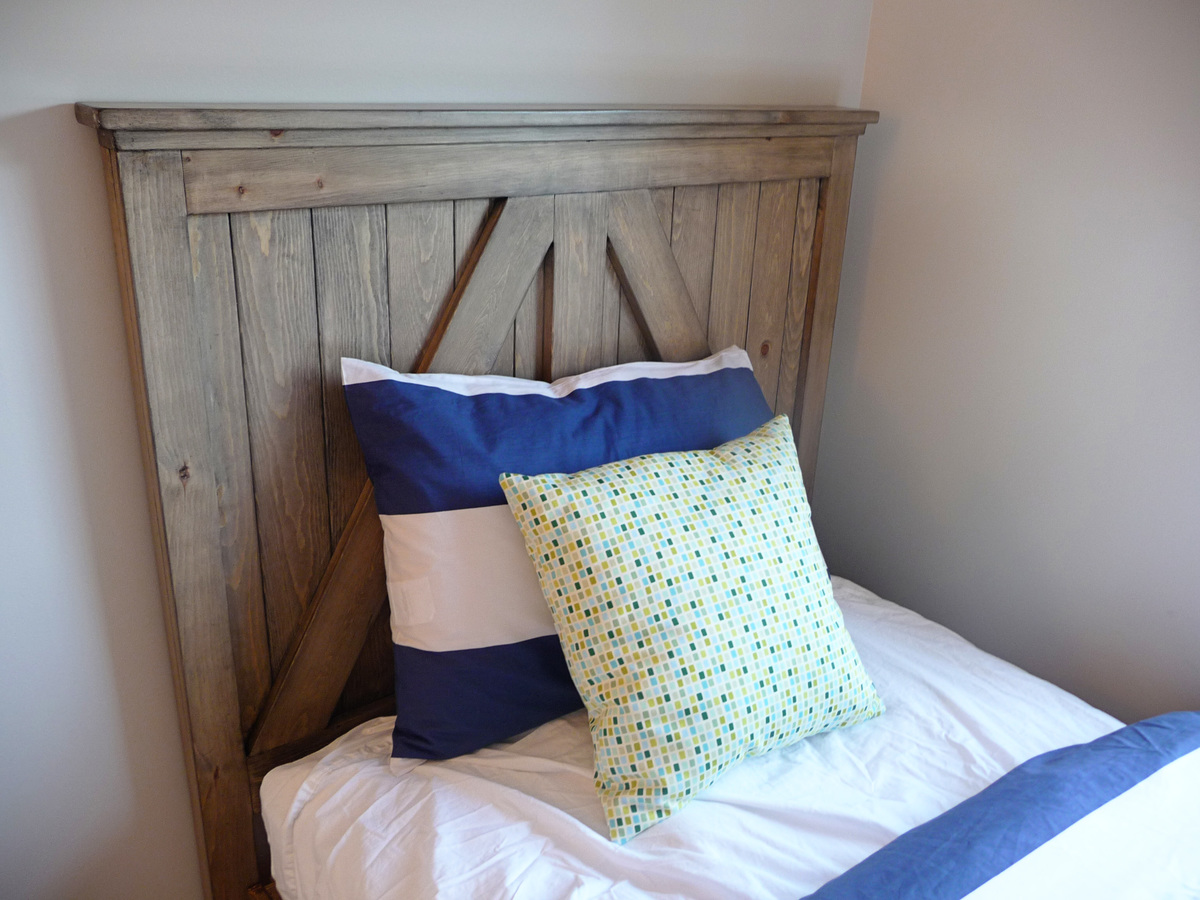
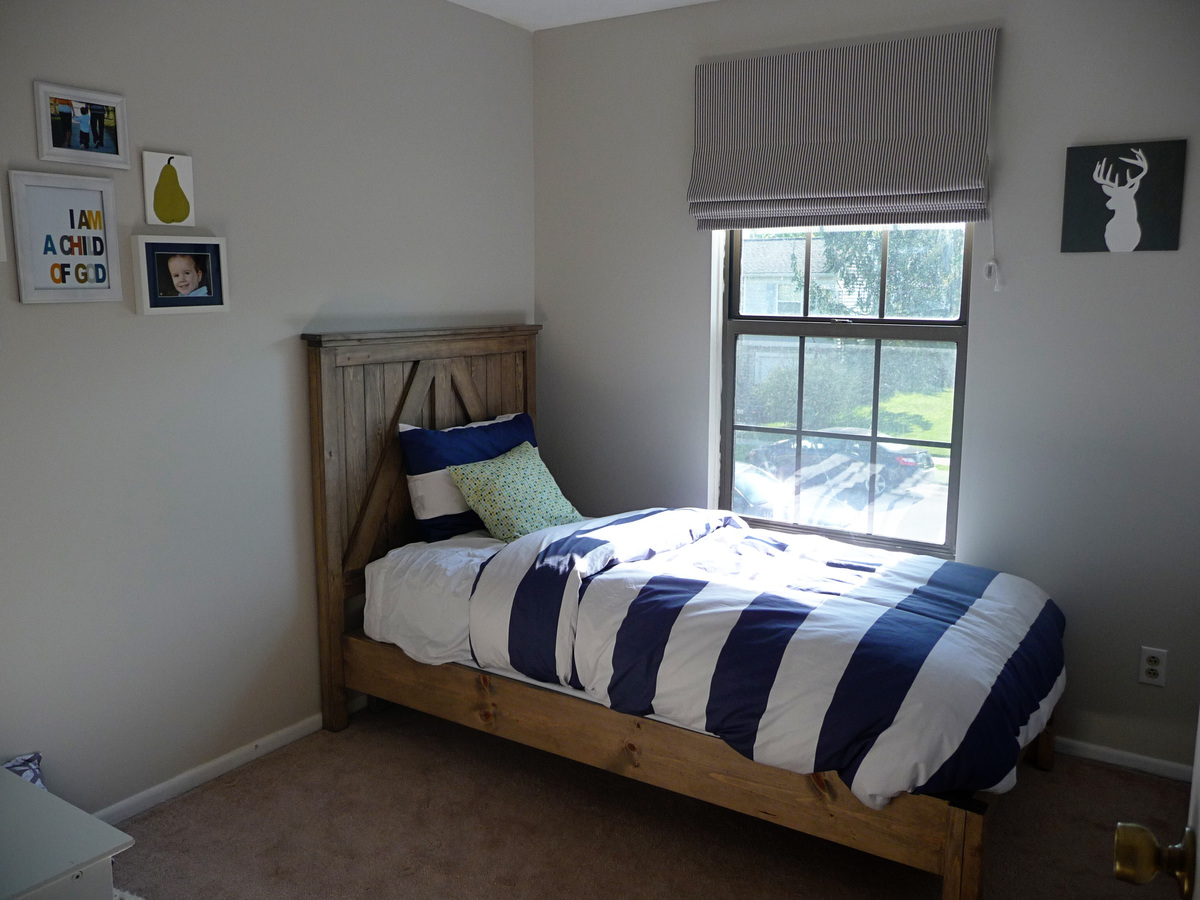
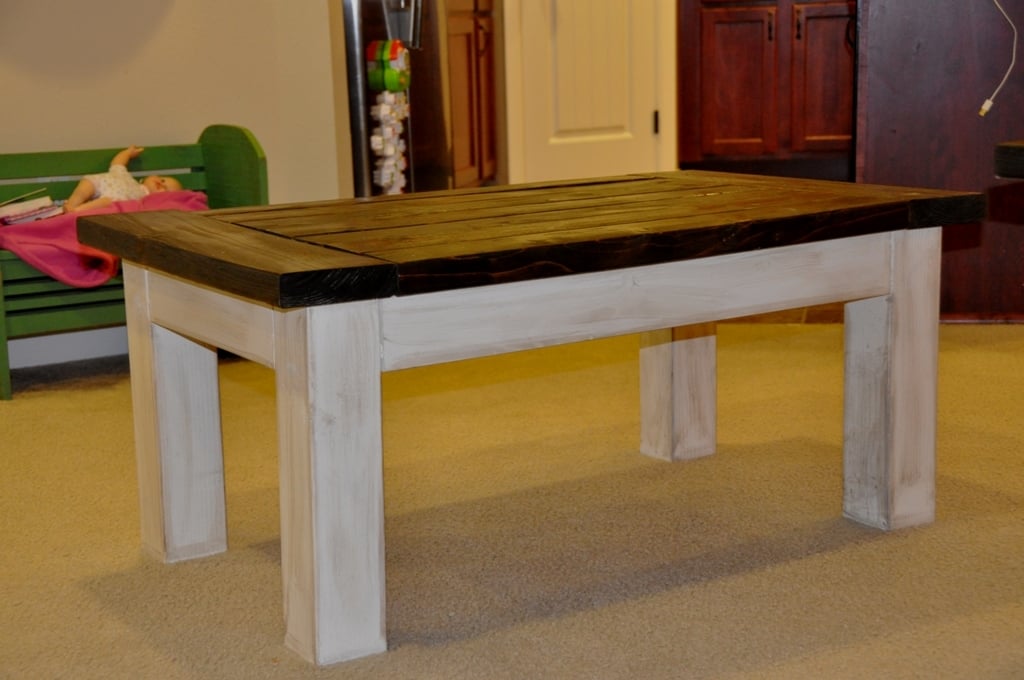
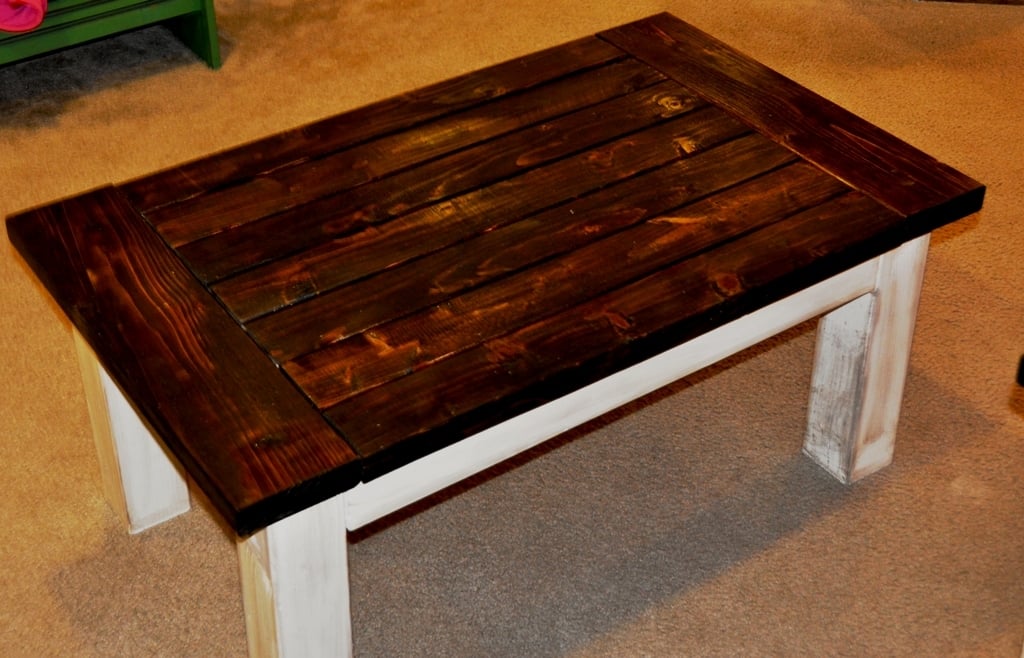
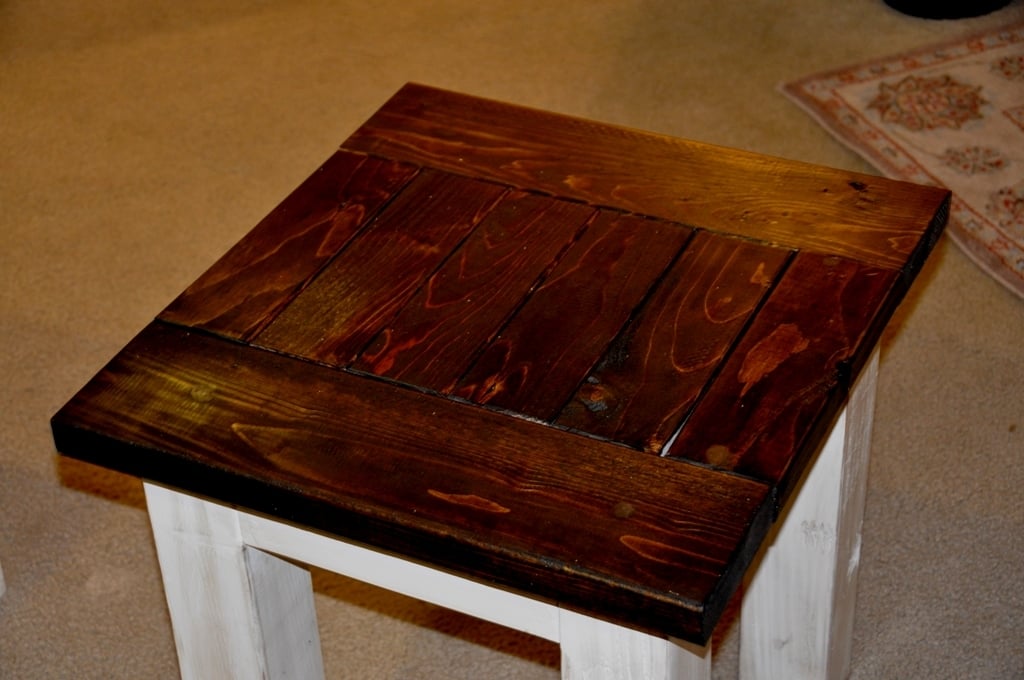
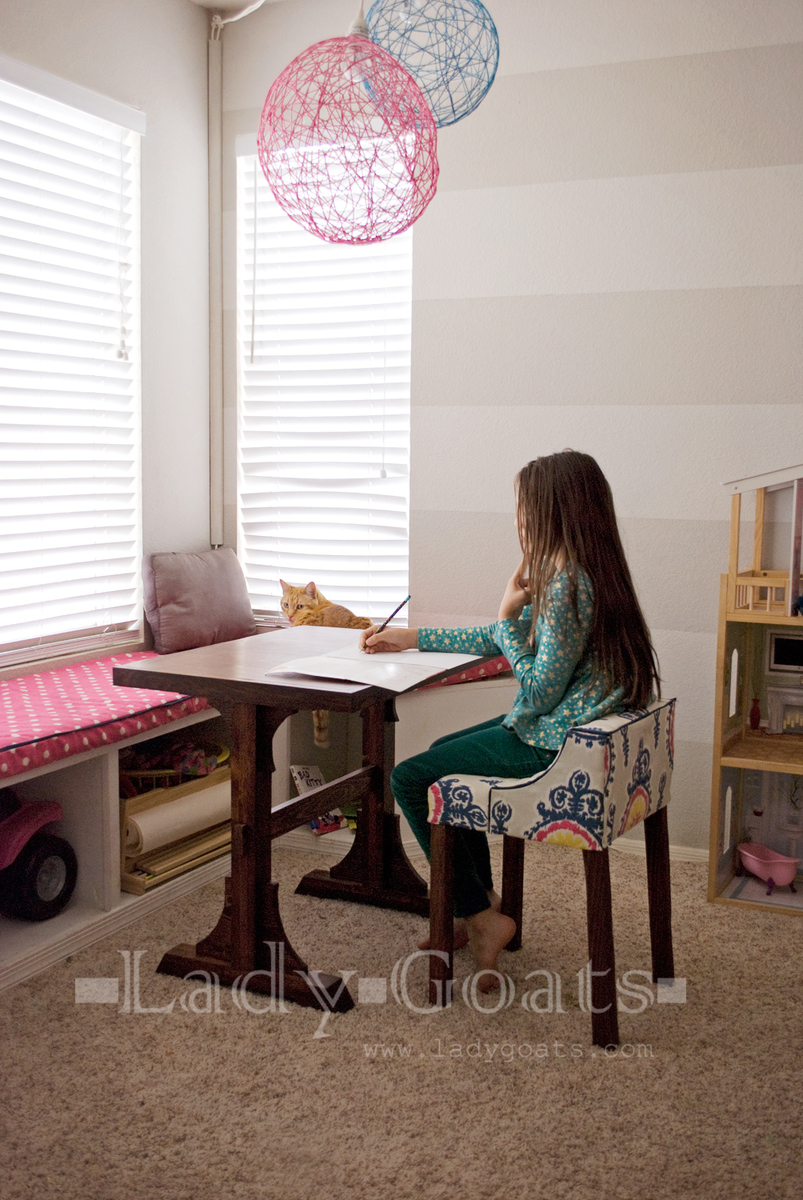
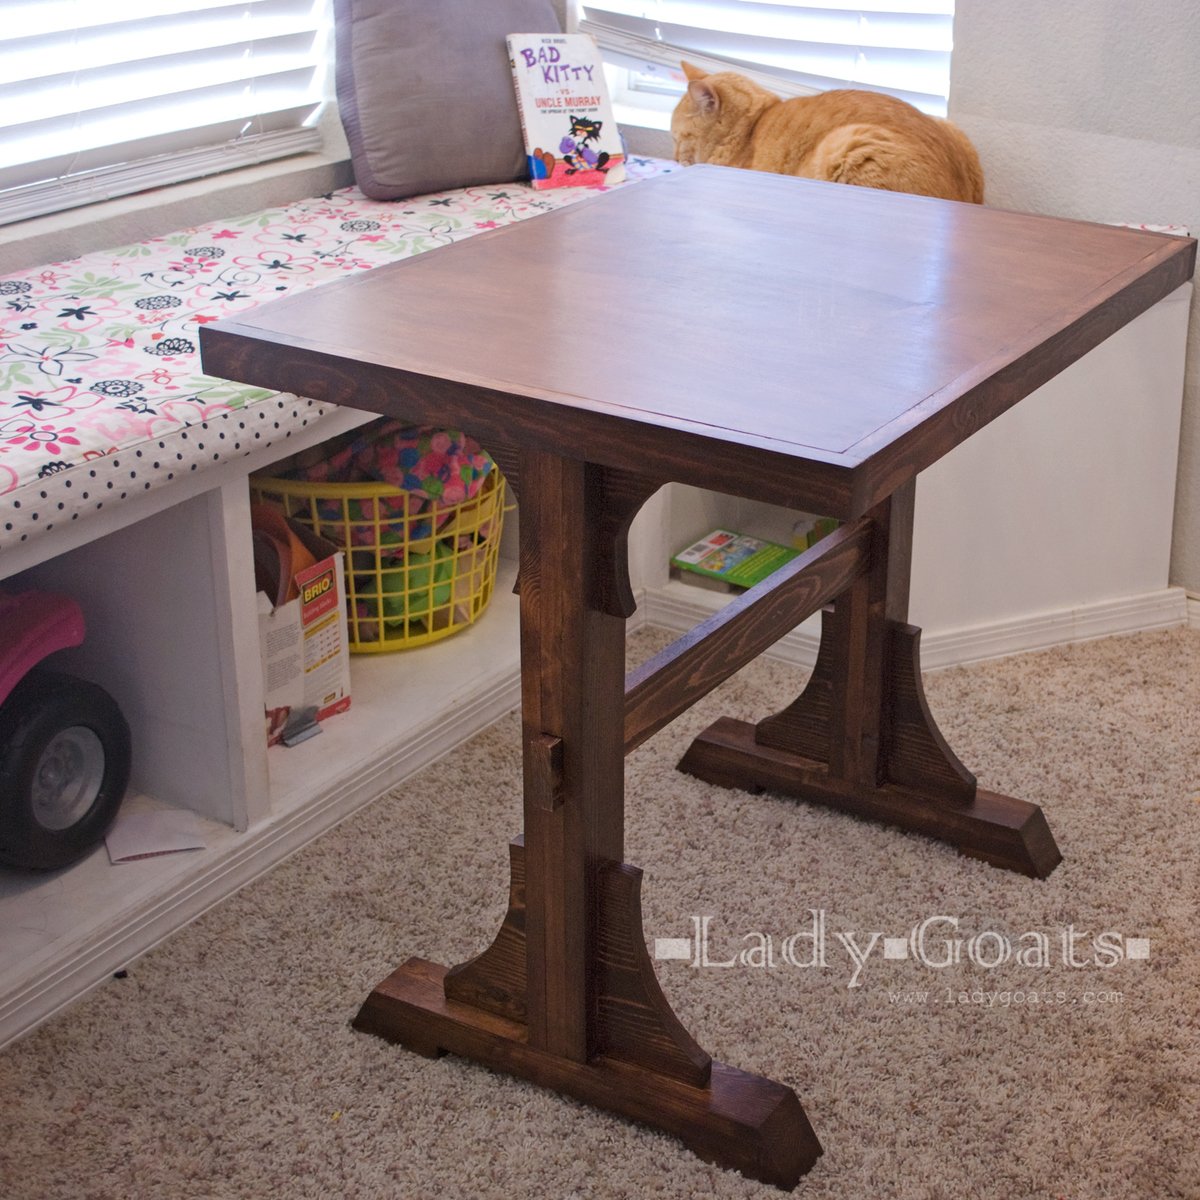
I made this Brookstone headboard (and then made up a bed frame). Total cost for headboard was $30. This is my 3 year old son's big boy bed, and I love it! For the stain I used Minwax water-based, clear tint base, with some black in it.
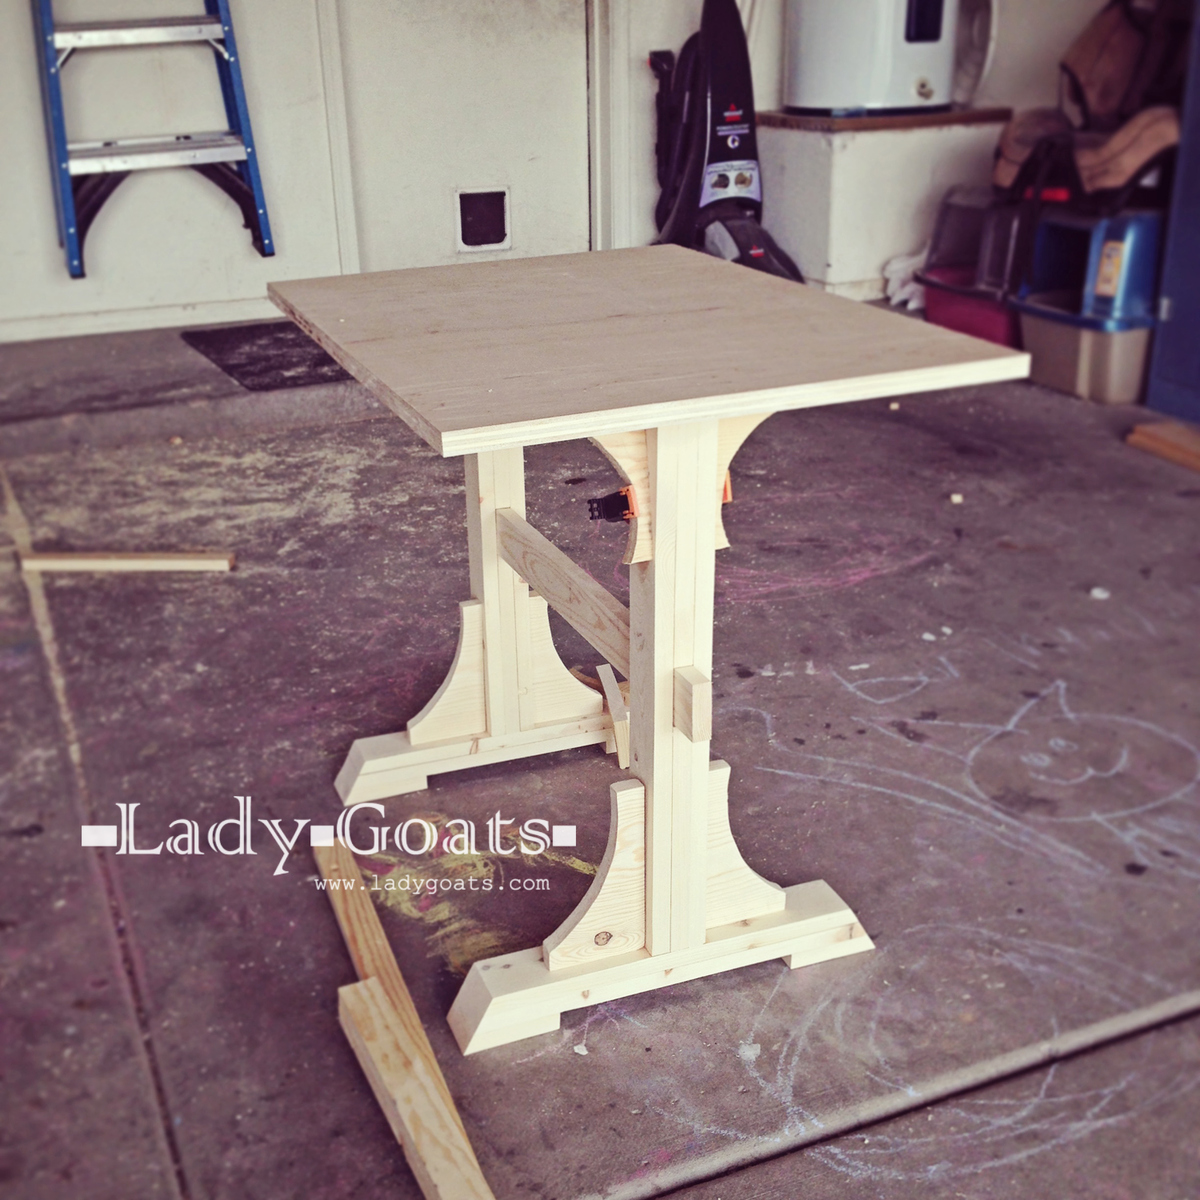
Built from Plan(s)
Estimated Cost
$30
Estimated Time Investment
Afternoon Project (3-6 Hours)
Finish Used
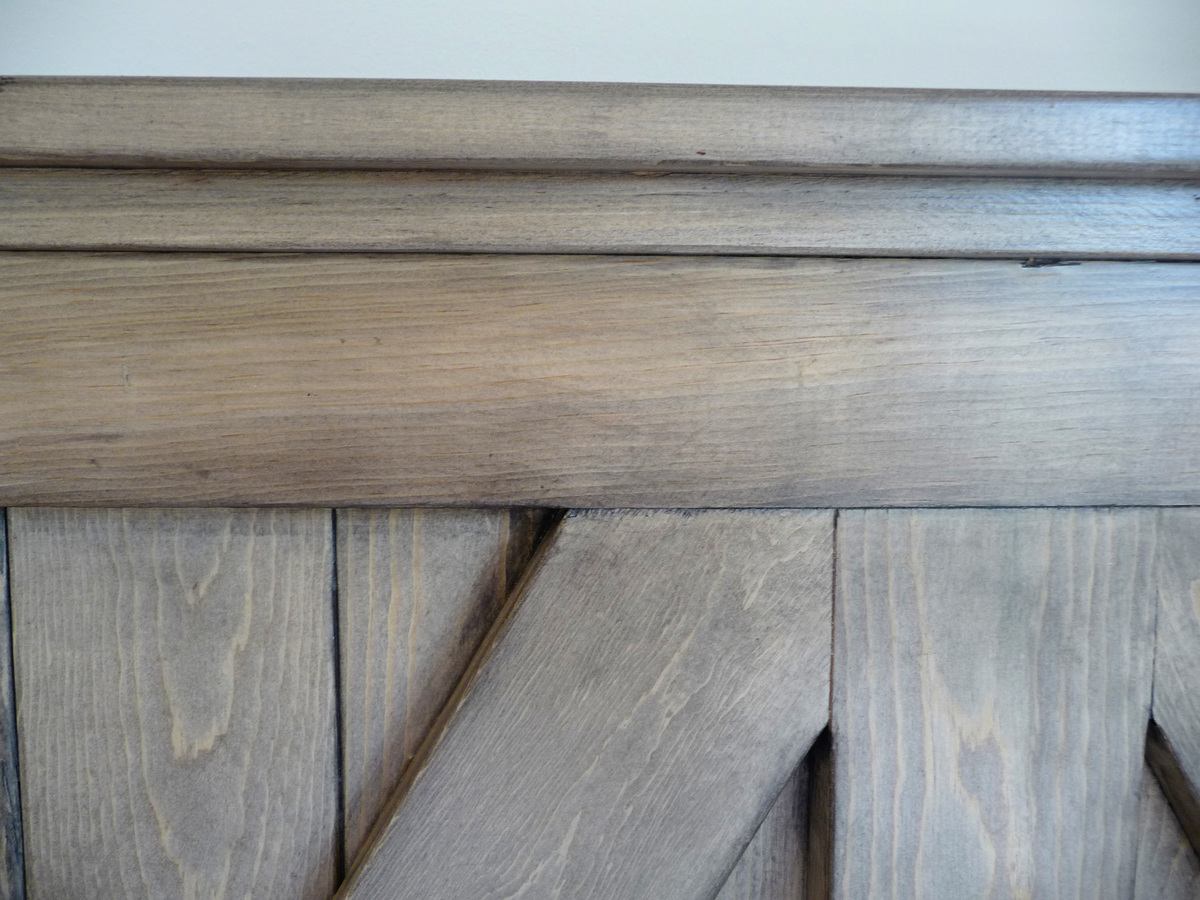
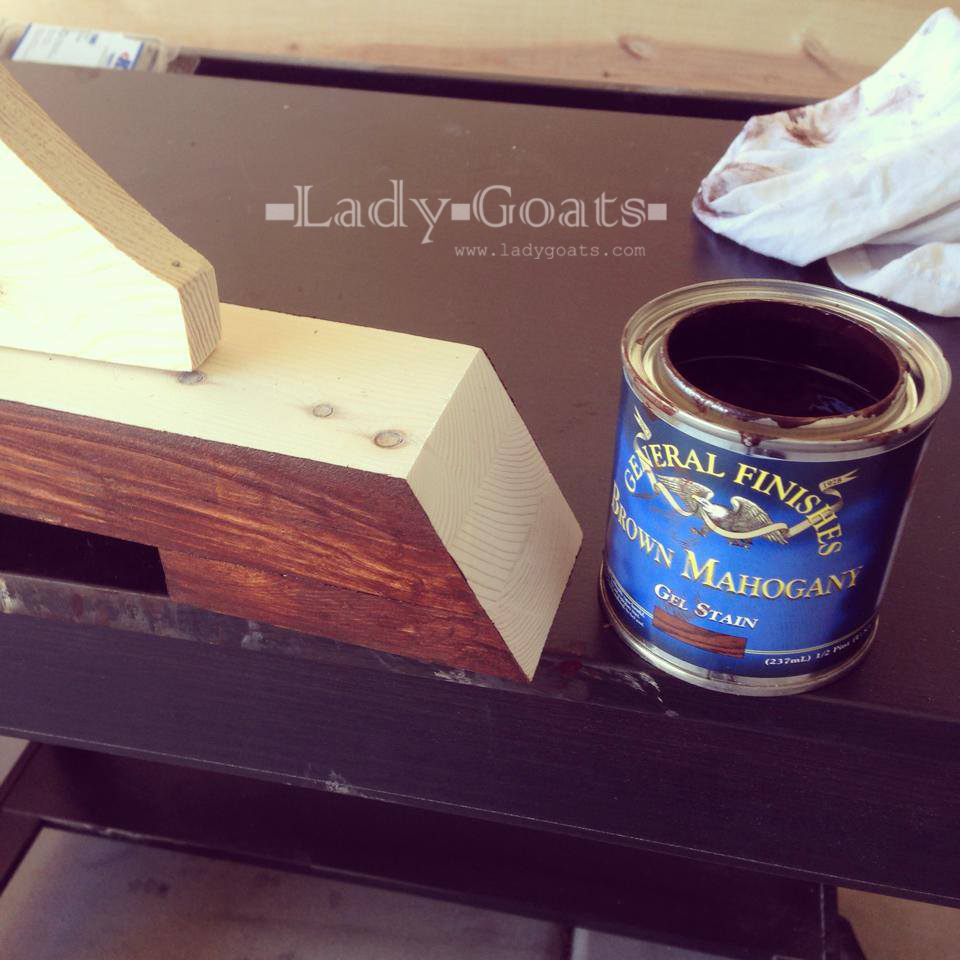
Minwax, water-based, clear tint base, with some black added in. Use water-based wood conditioner first! Polycrylic topcoat.
Recommended Skill Level
Beginner


Comments
Jill P (not verified)
Wed, 04/25/2012 - 22:59
Amazing finish! Love this!
Amazing finish! Love this!
Robohead
Thu, 04/26/2012 - 10:26
That's a great looking bed.
That's a great looking bed. Love the style and the finish on it.
margjack
Thu, 04/26/2012 - 16:06
love the finish!
love the finish!