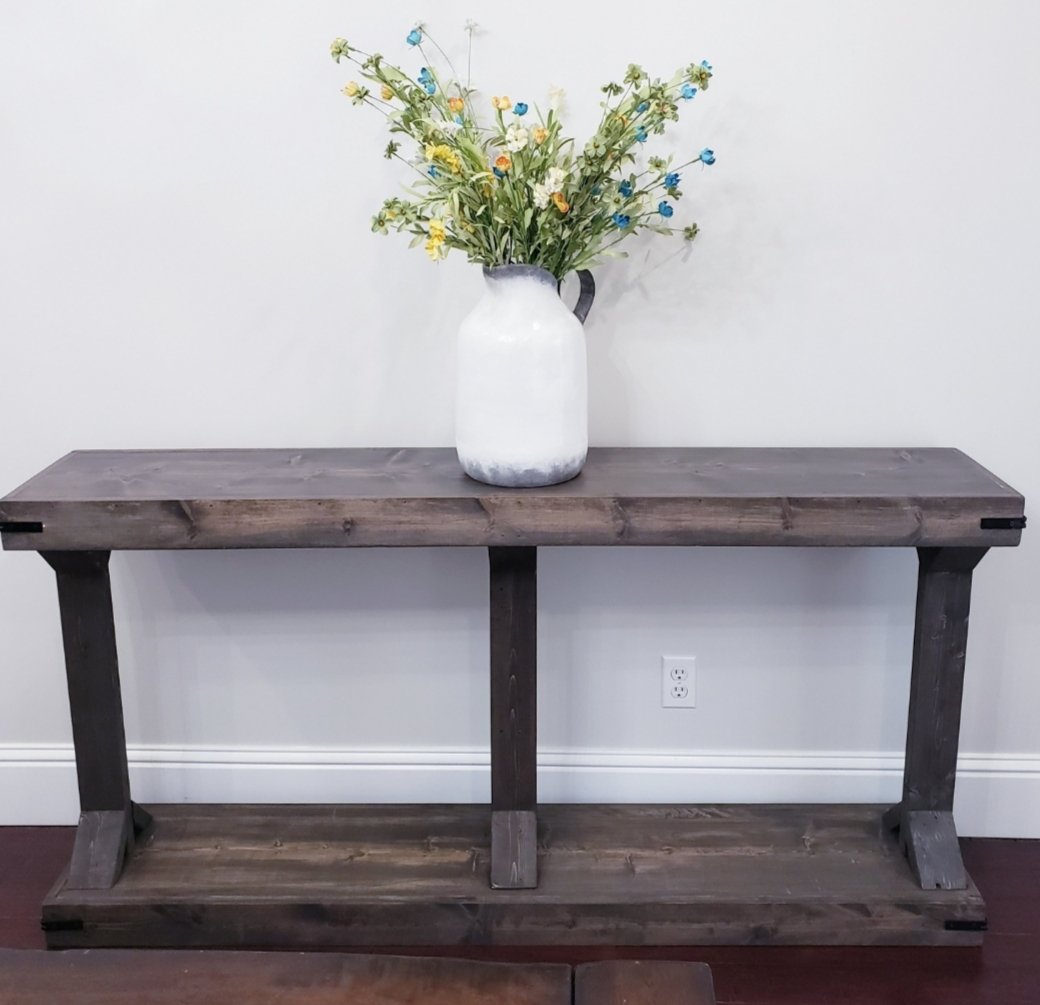
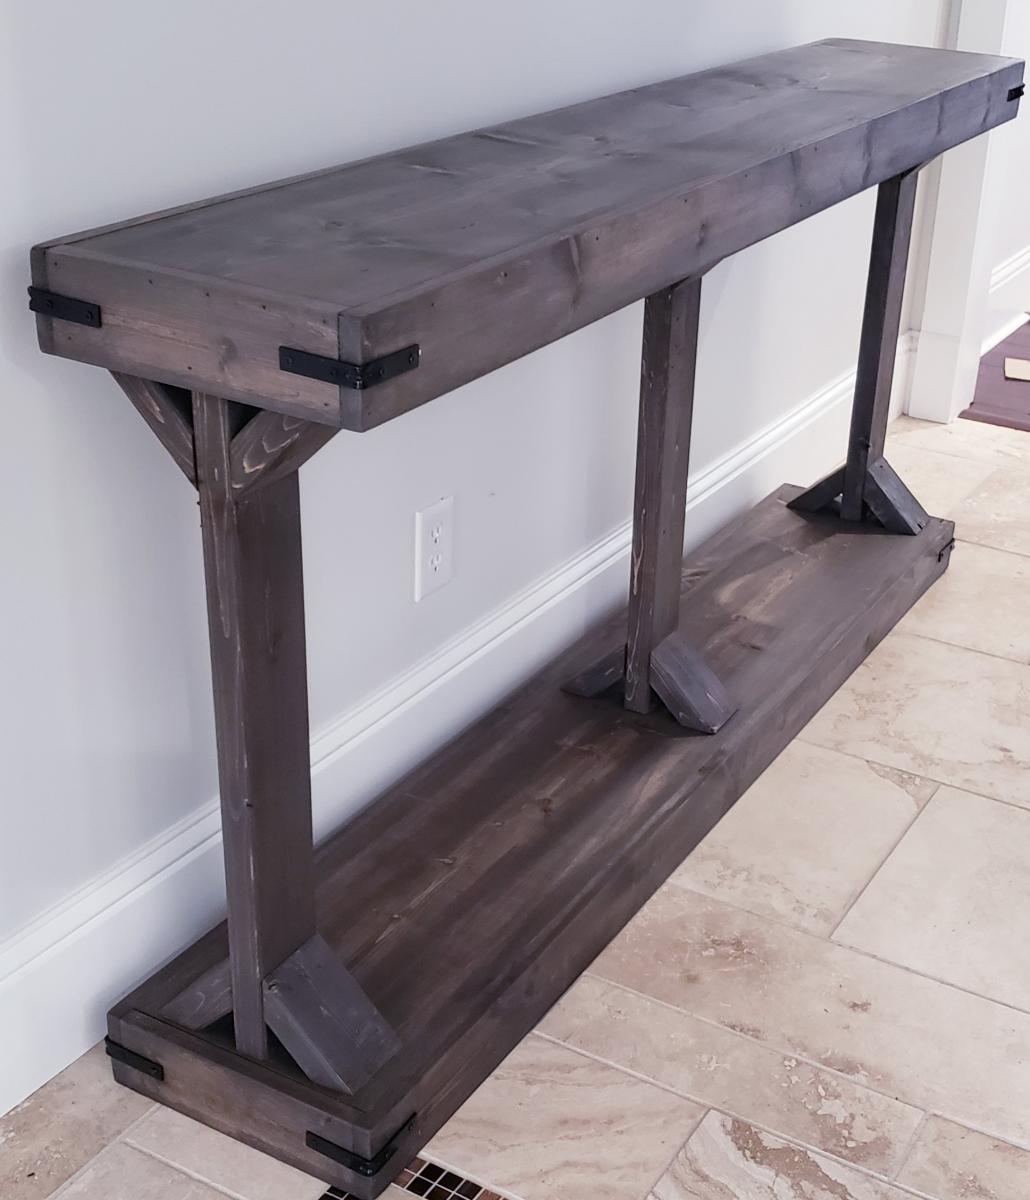
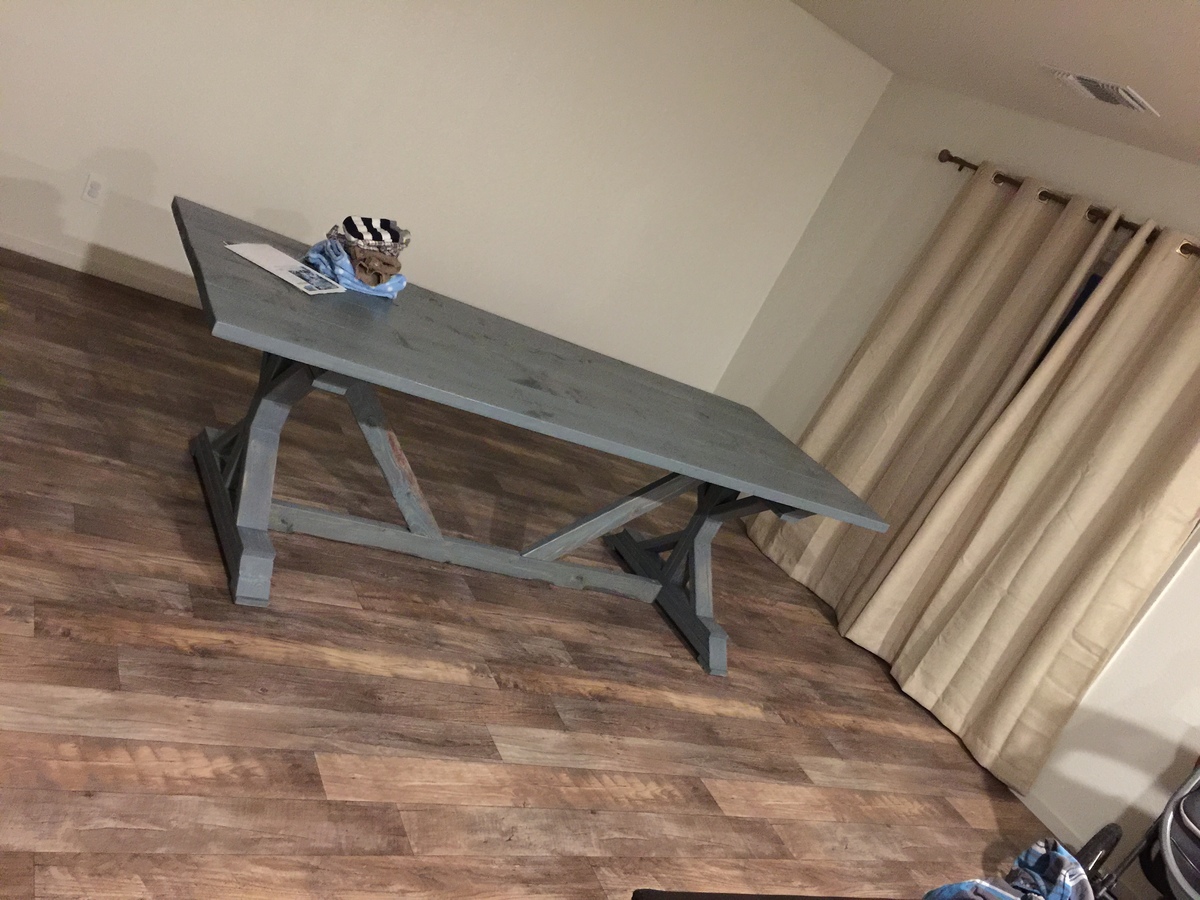
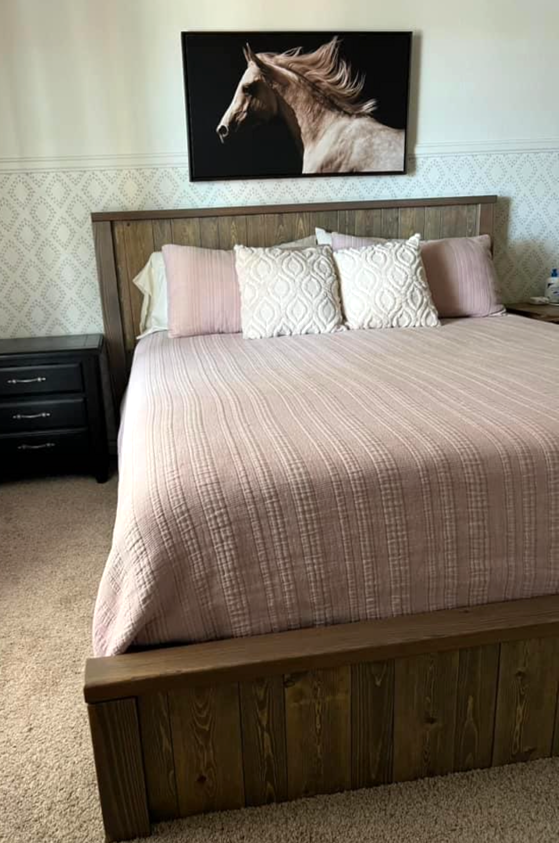
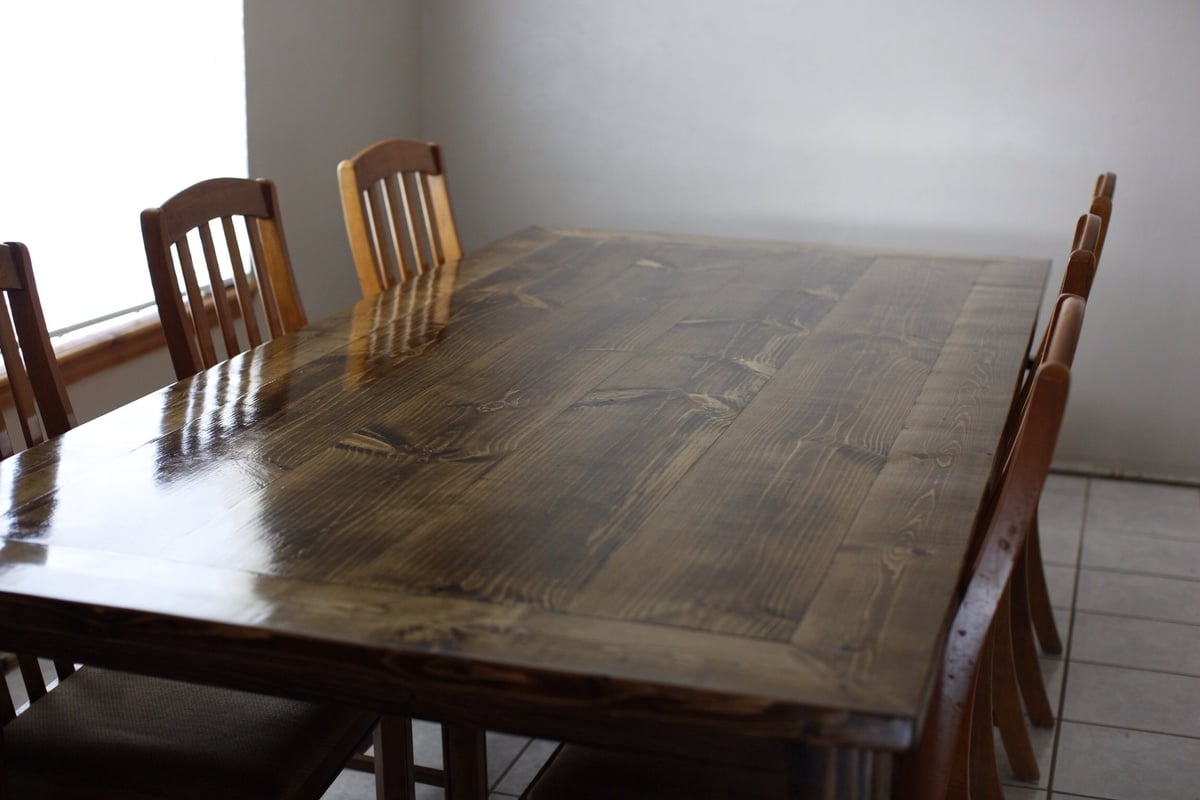
Farmhouse table
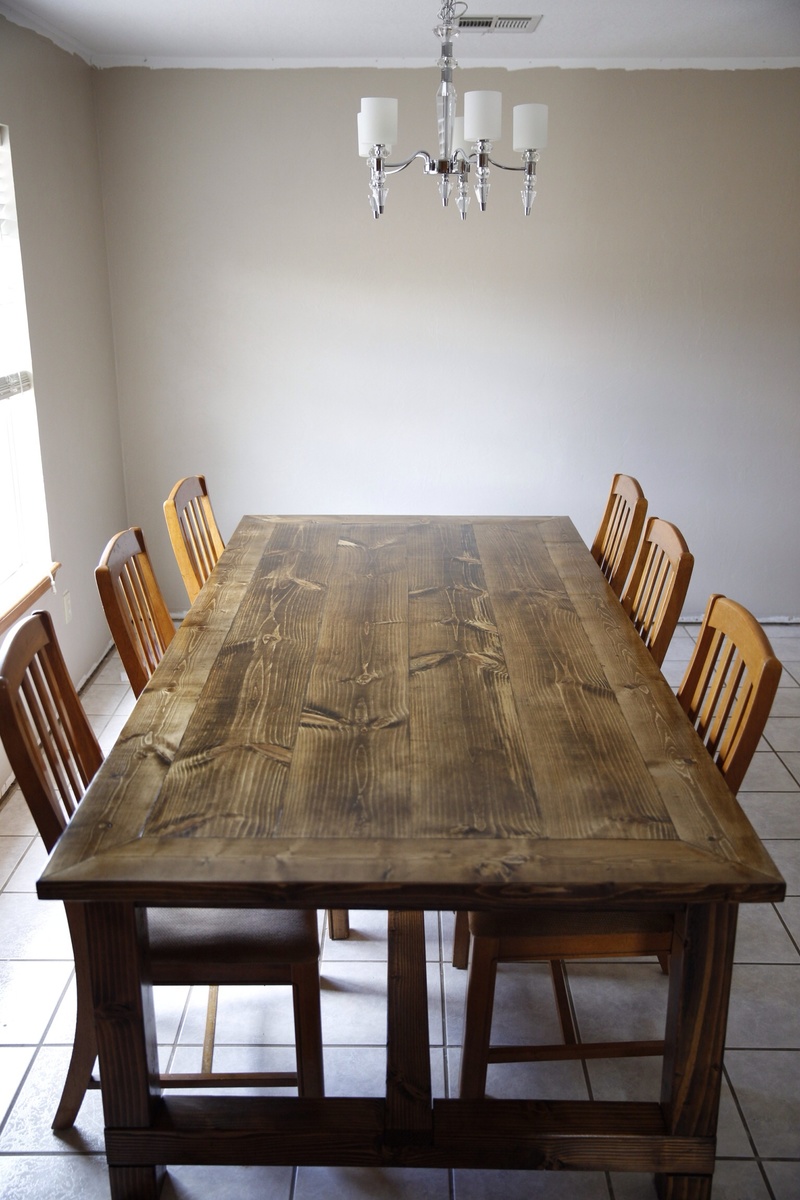
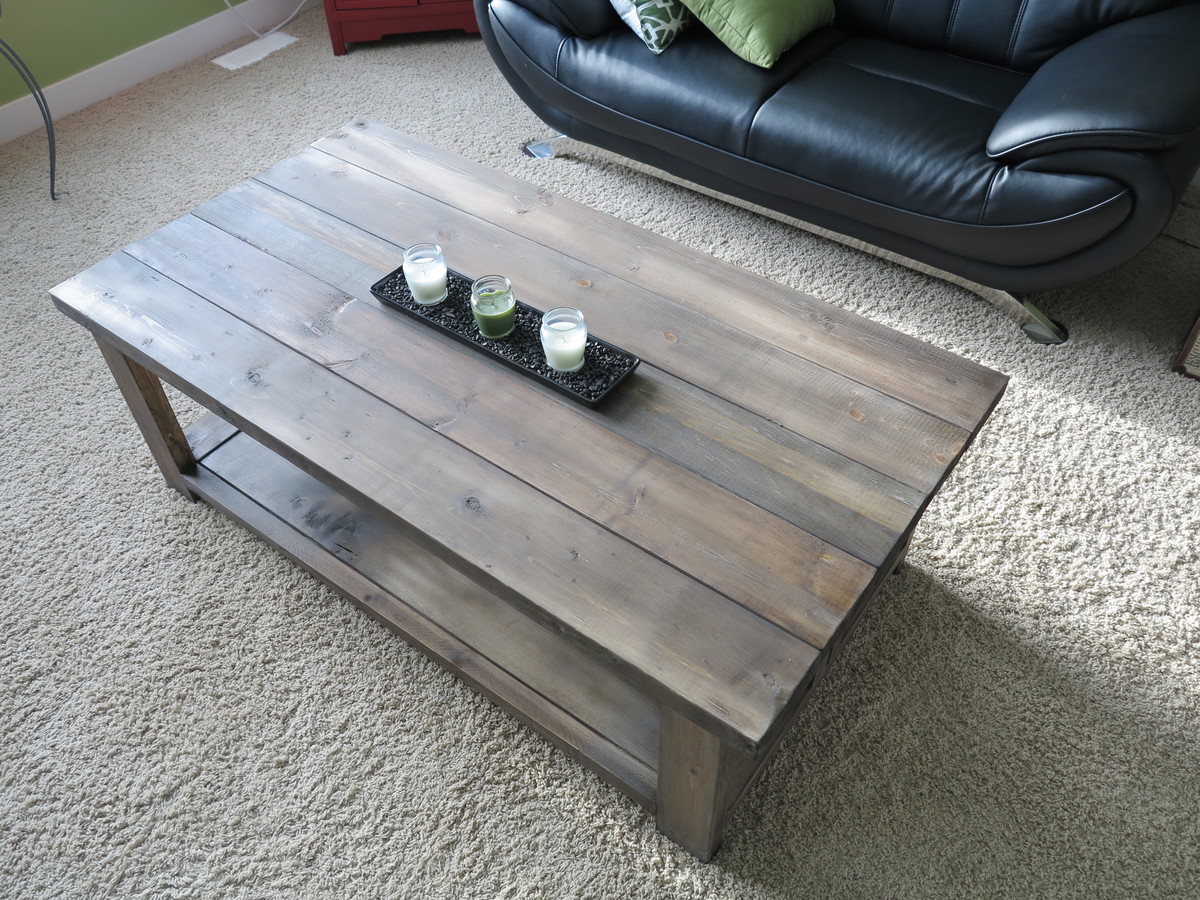
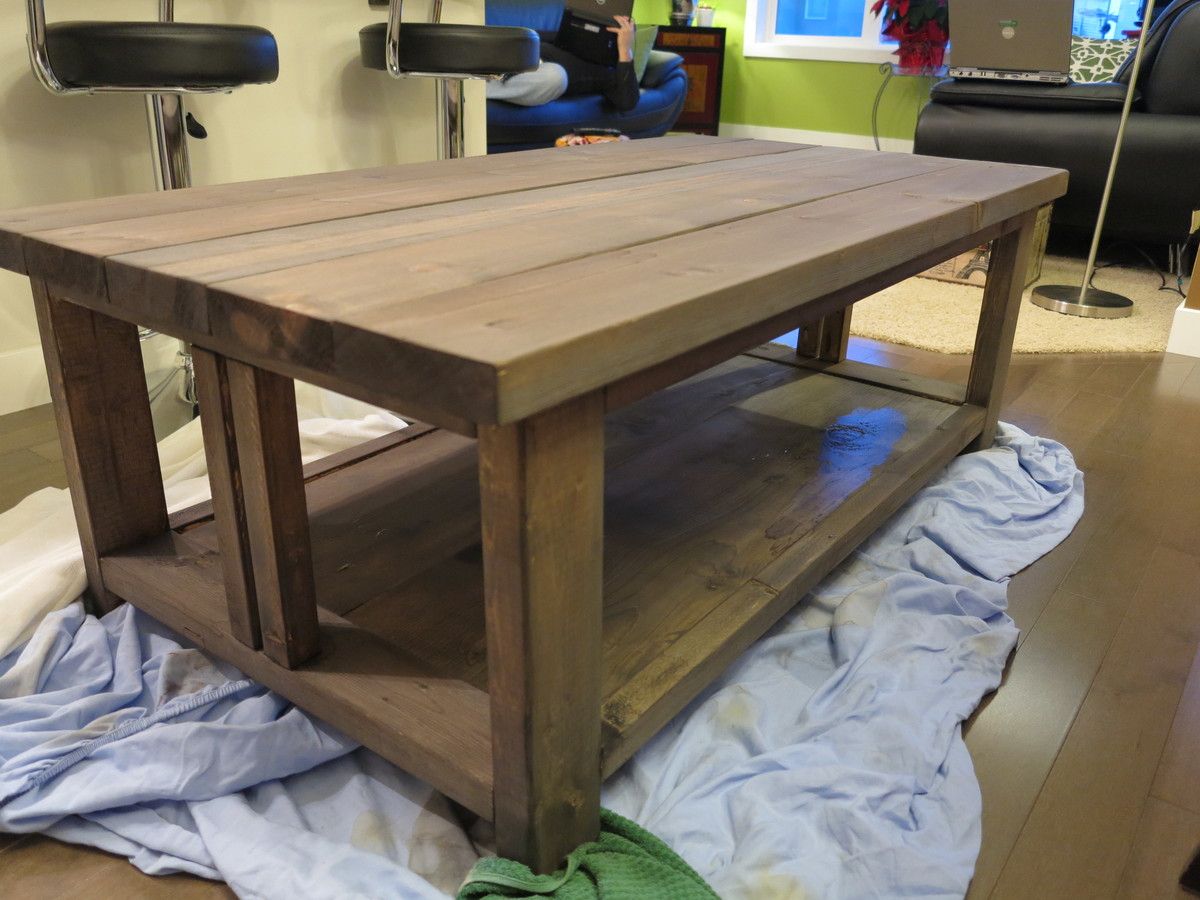
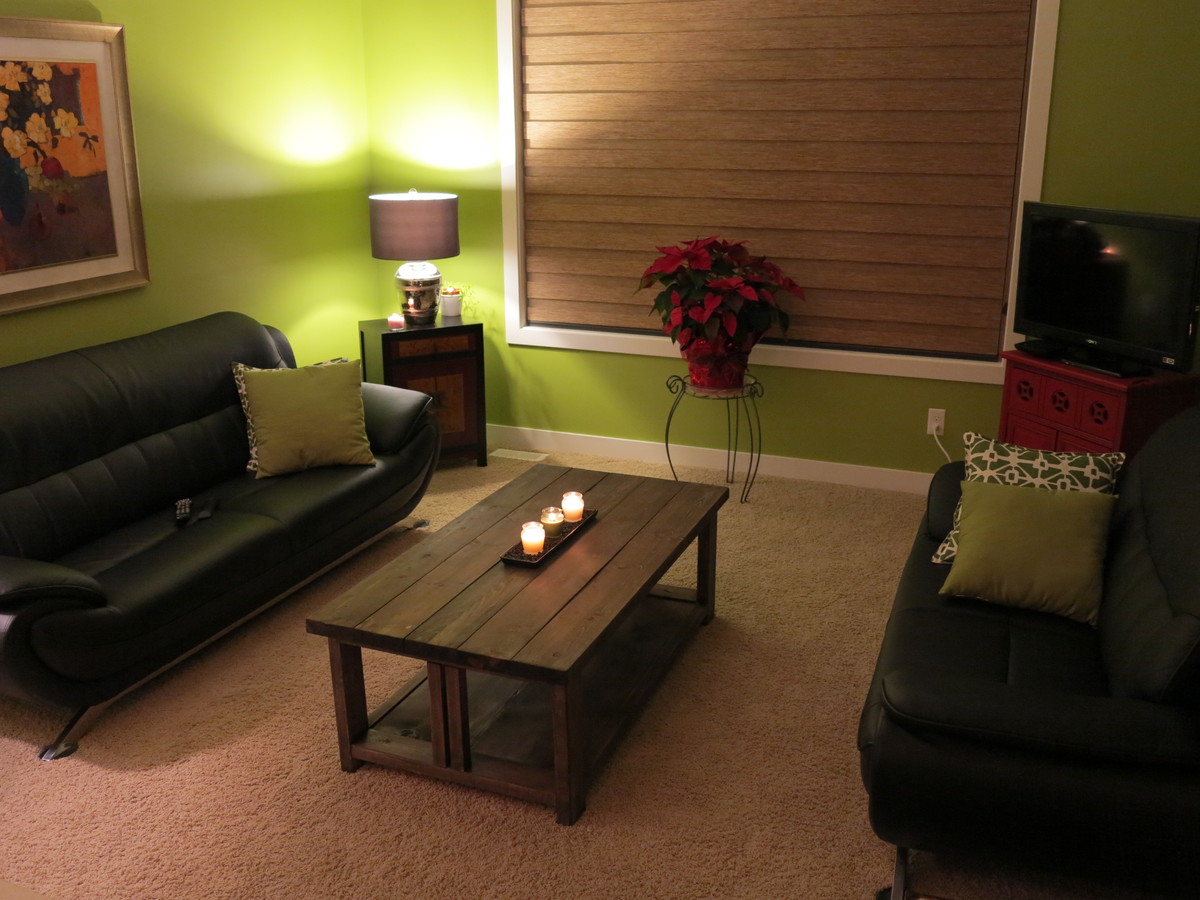
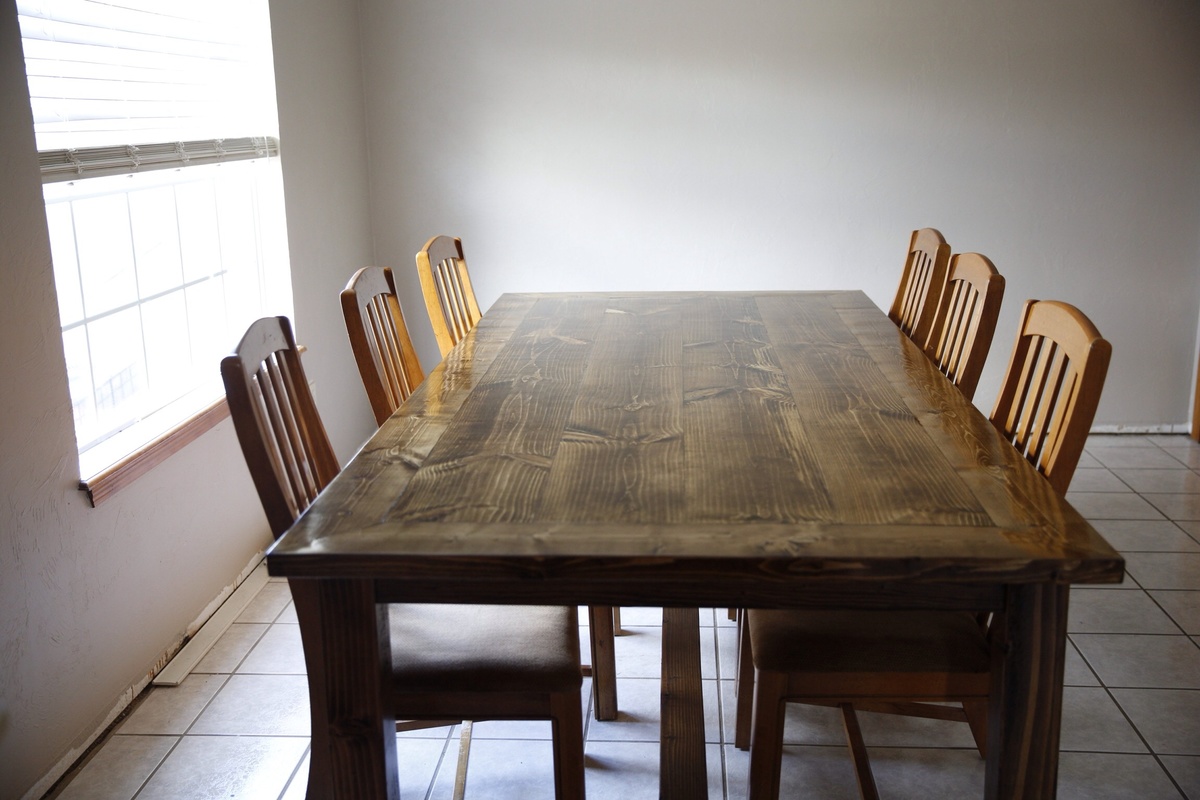
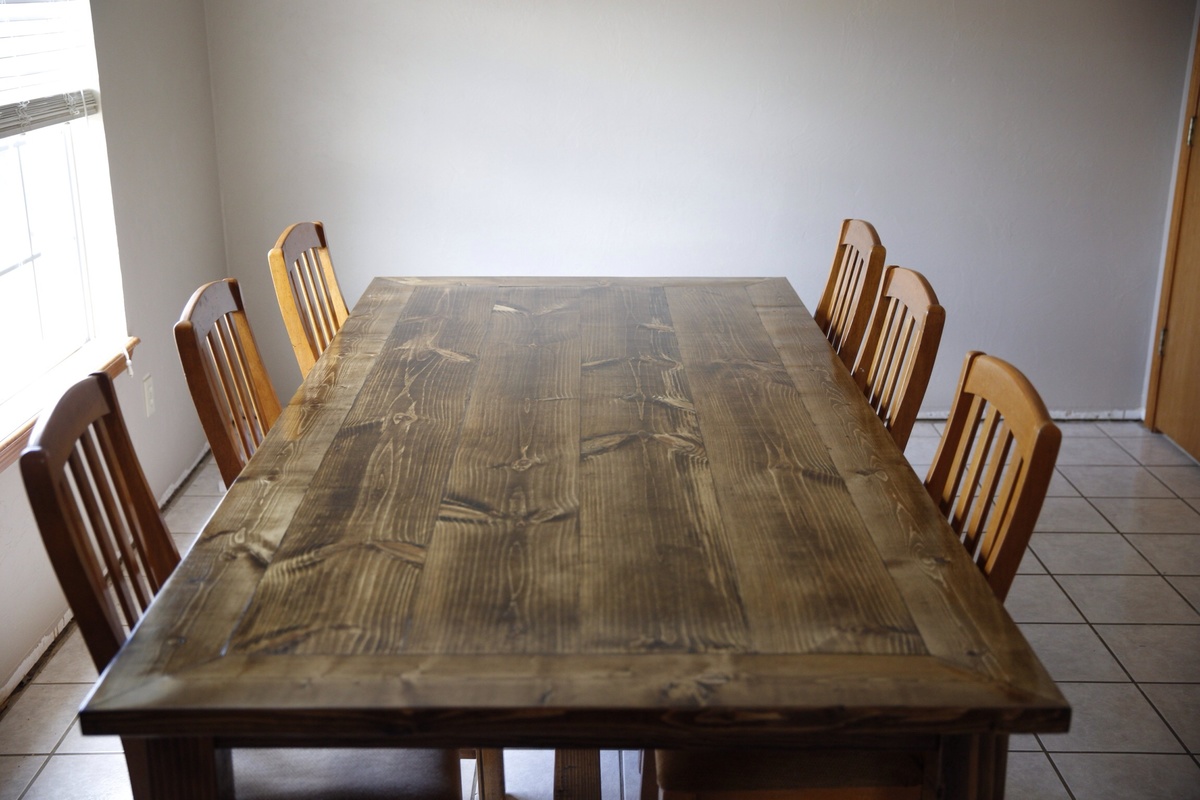
Farmhouse style table, 4 2x10 with 2X6 border. All Doweled and glued. Seems most plans are with square "breadboard" ends, i thought this style was a bit cleaner with no raw ends. 4X4 legs with 4X4 cross stretchers. Table ended up 4'X8' matching bench to follow.
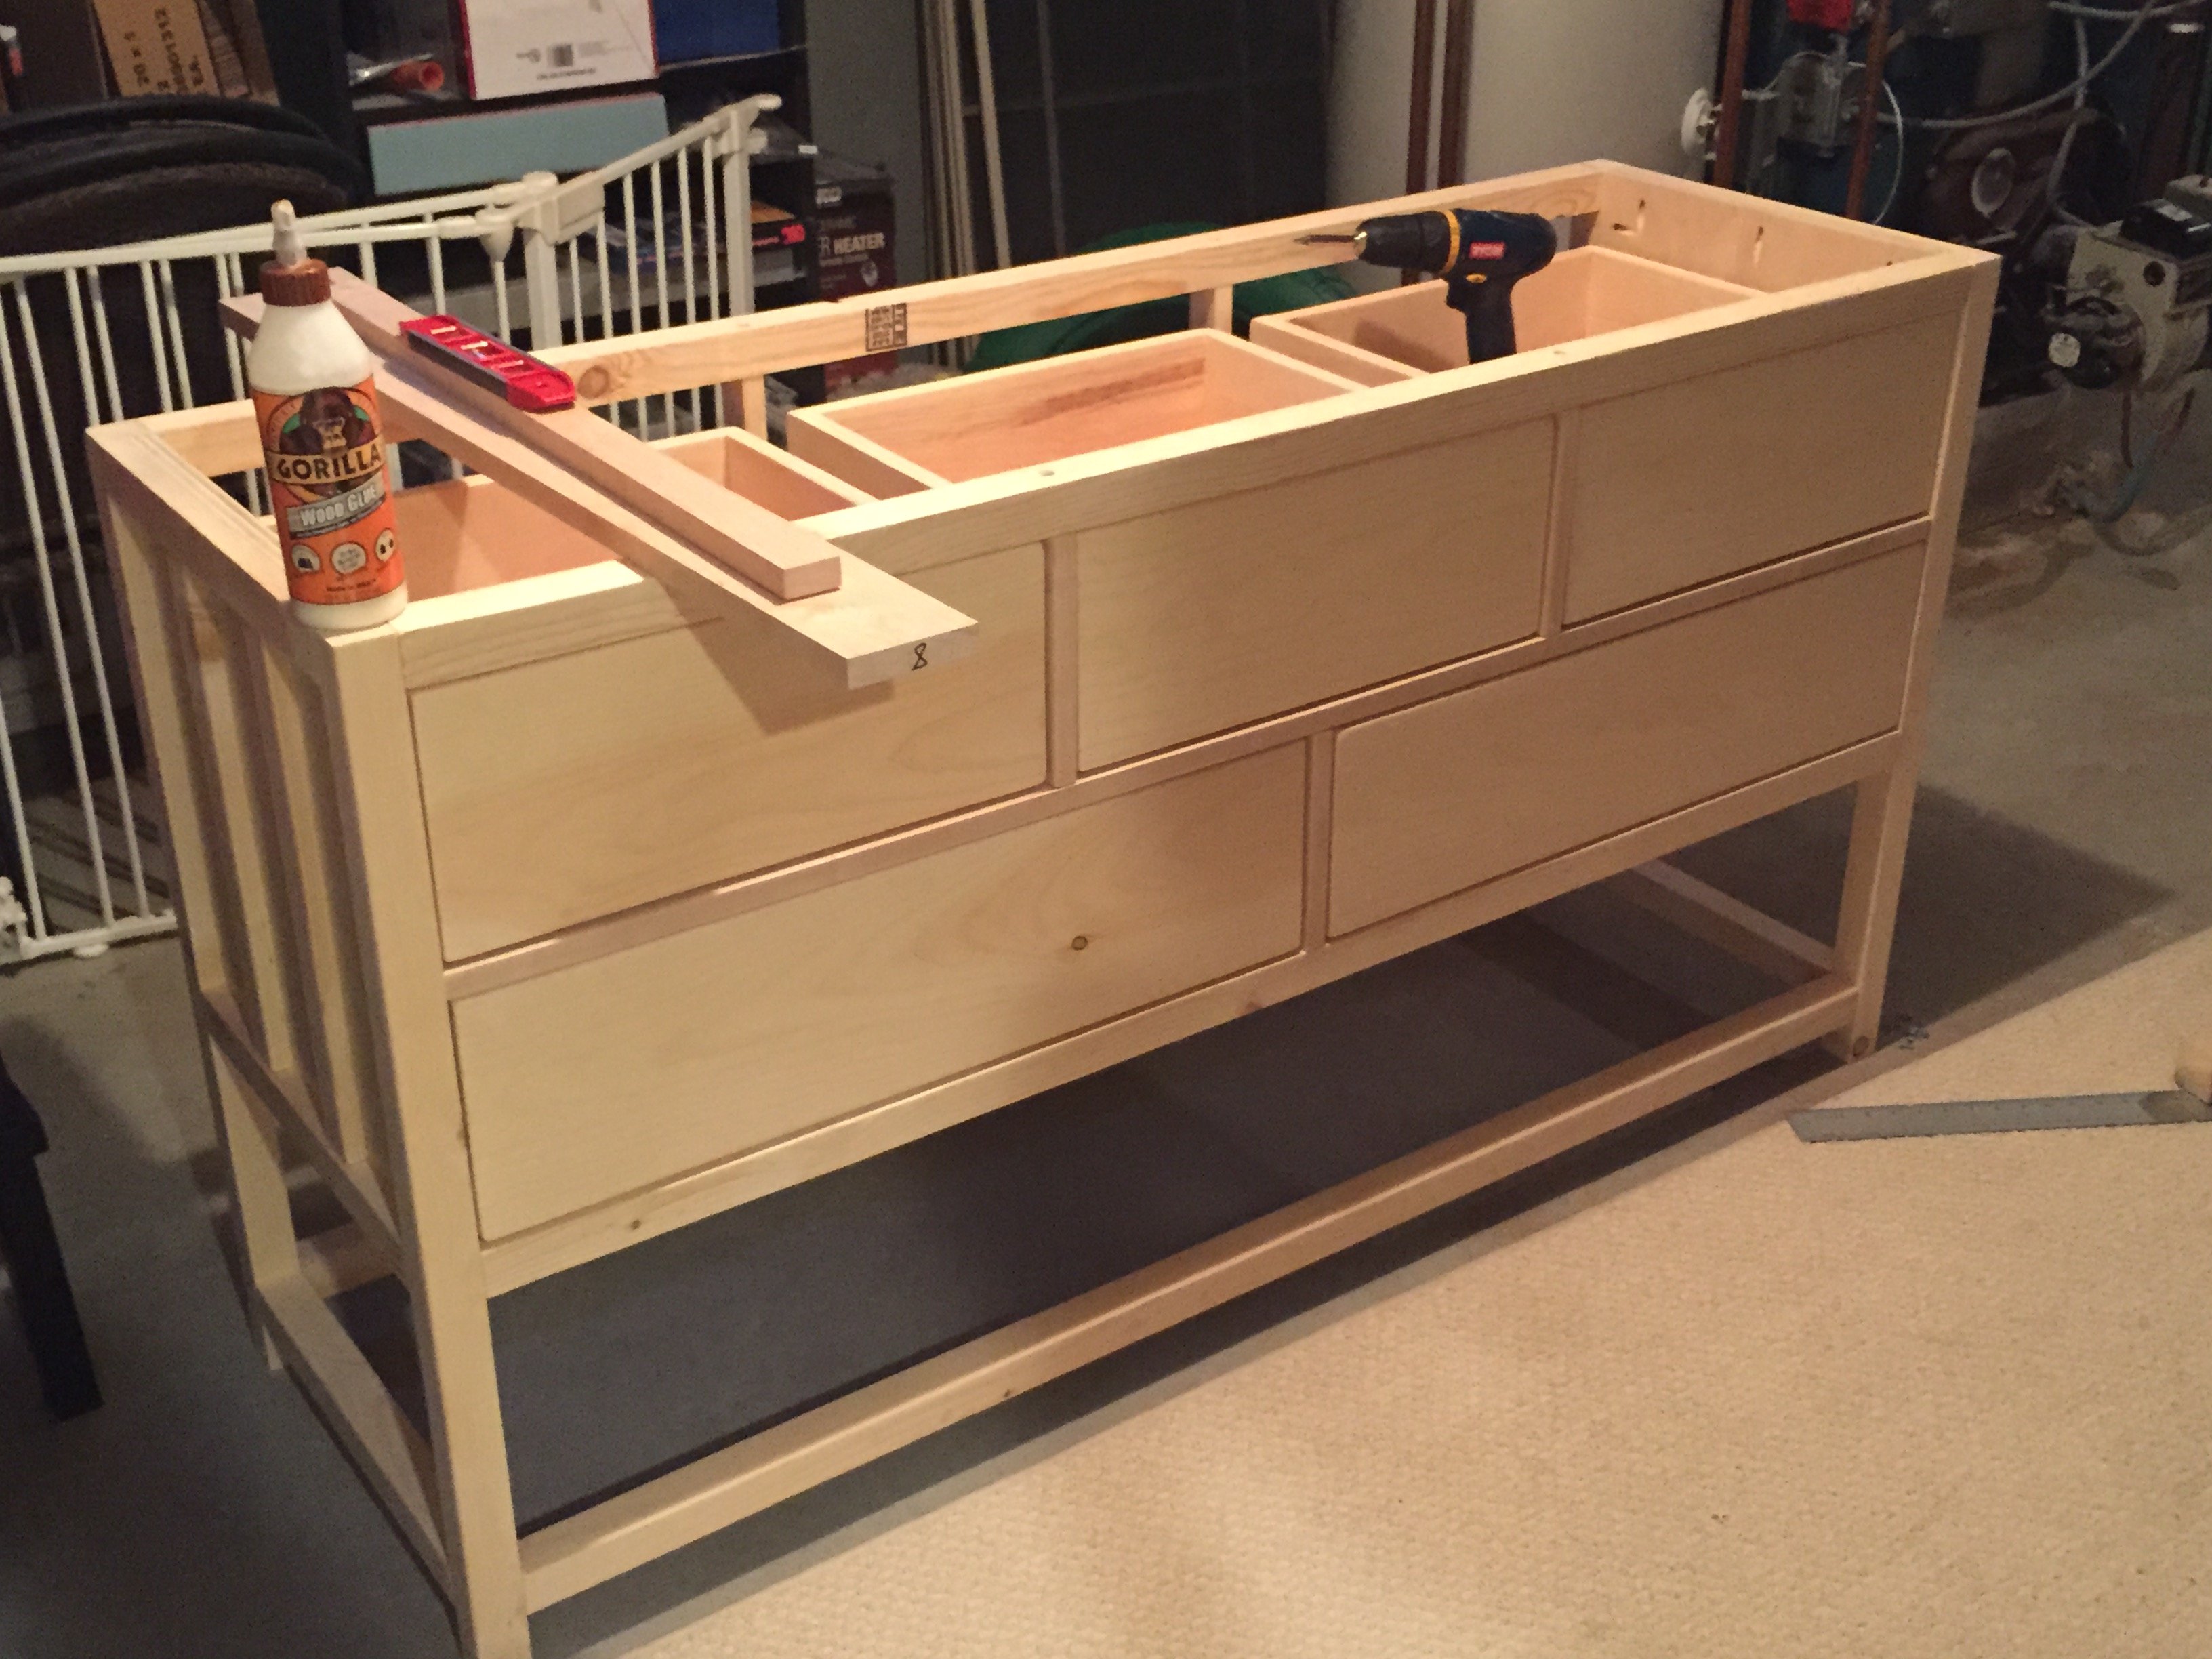
You really need a dowel-jig, Kreg-jig, and bar clamps to do this project. You can also use a biscuit cutter instead of dowel jig, but I think it lines up better with dowels.
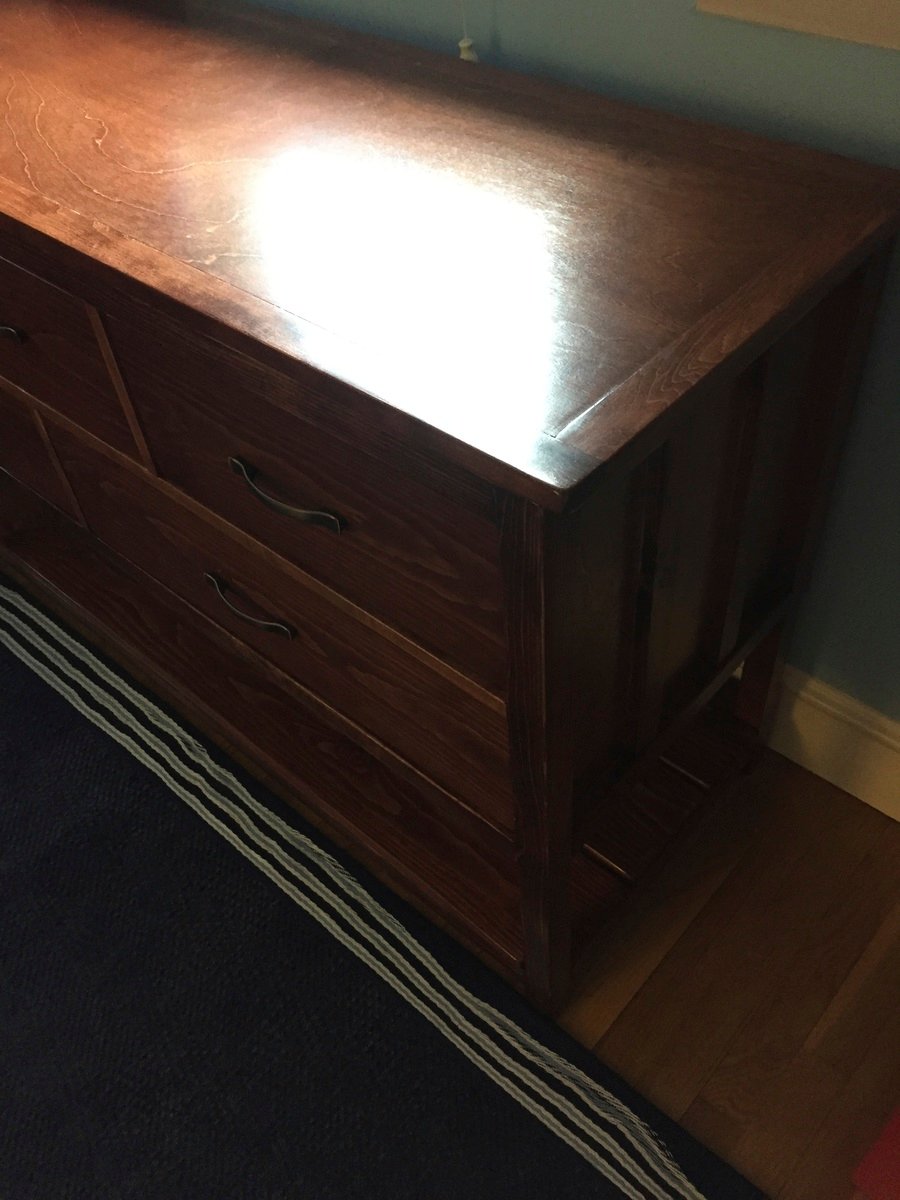
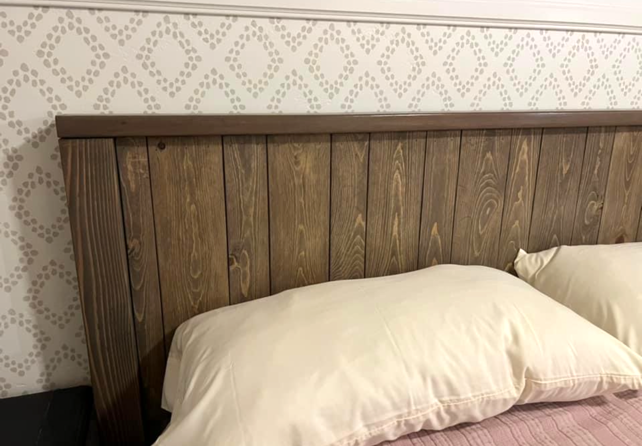
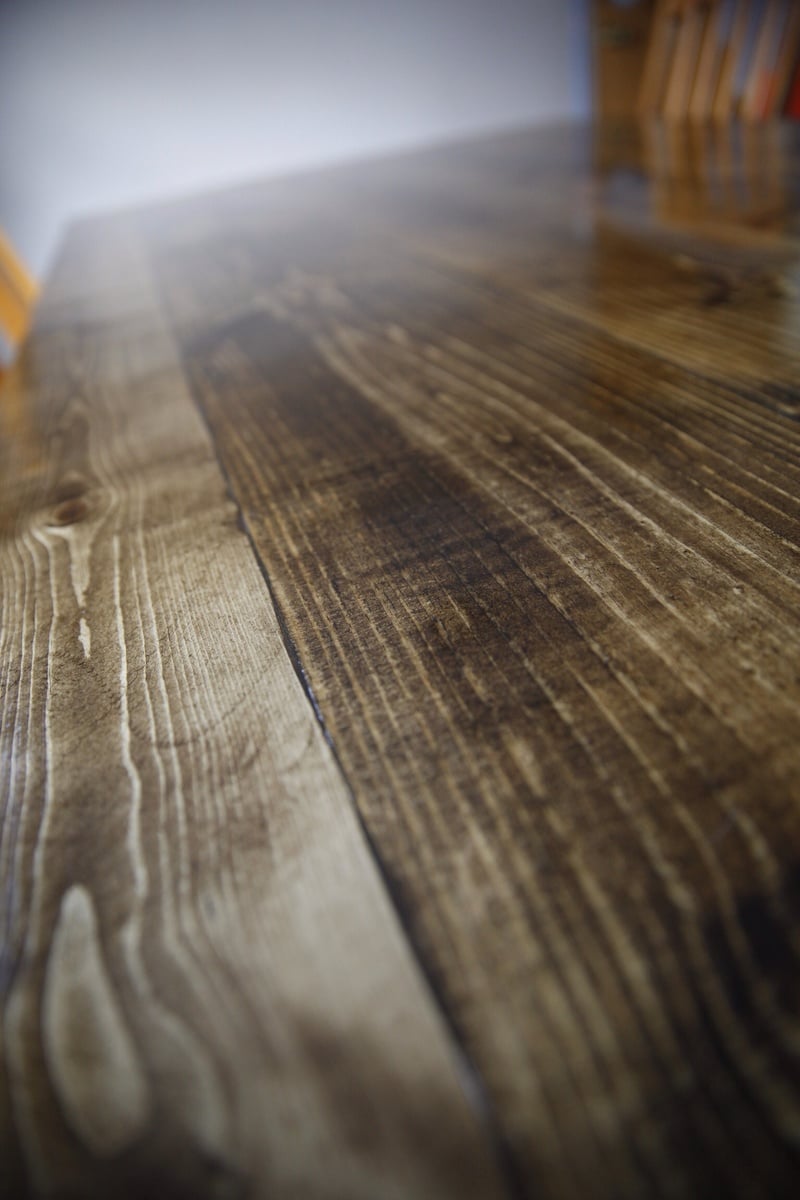
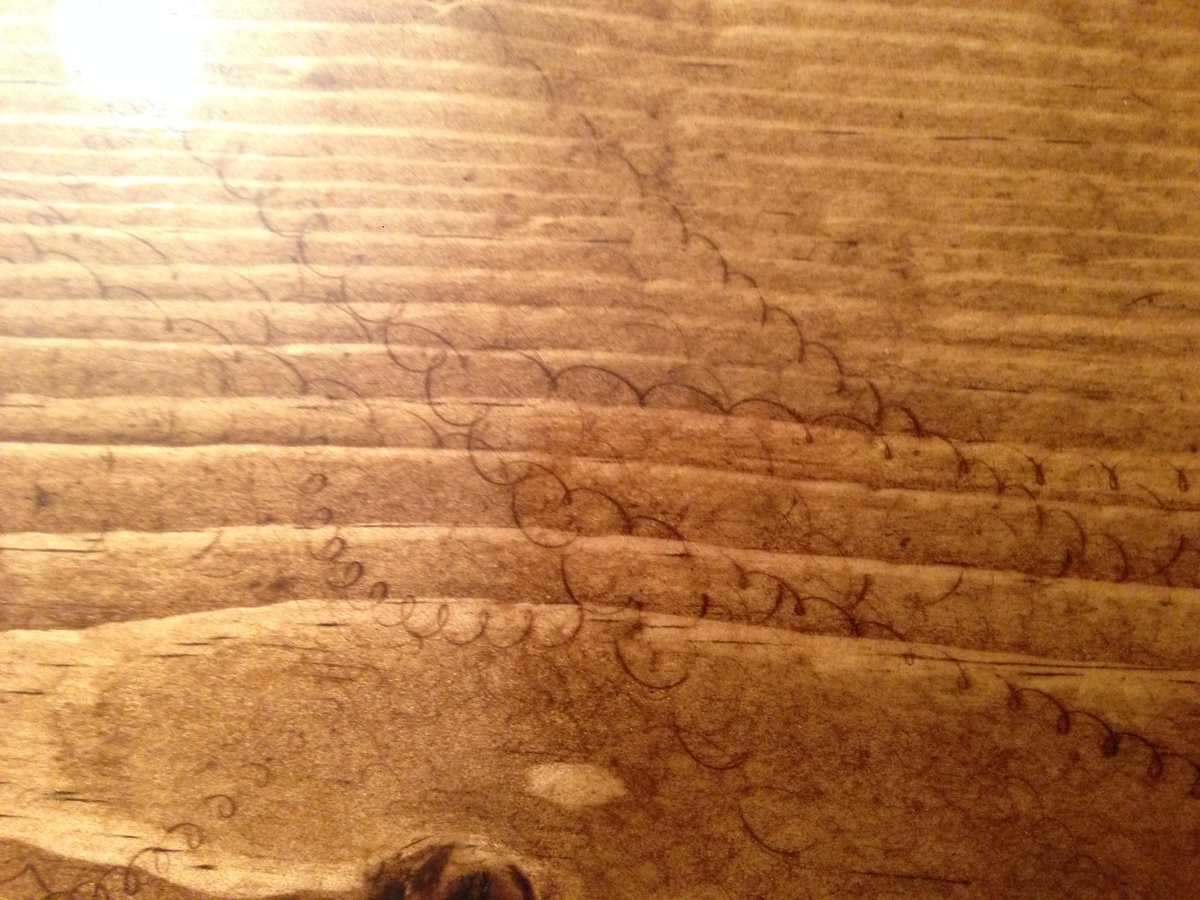
Close up shot shows swirl marks from 80 grit sandpaper used on an orbital sander... Even using 180 grit final sand it left them there, actually a nice distress look.
Estimated Cost
150.00
Estimated Time Investment
Week Long Project (20 Hours or More)
Finish Used
Min-wax dark walnut, min wax wood conditioner, 5 coats satin poly.
Recommended Skill Level
Intermediate