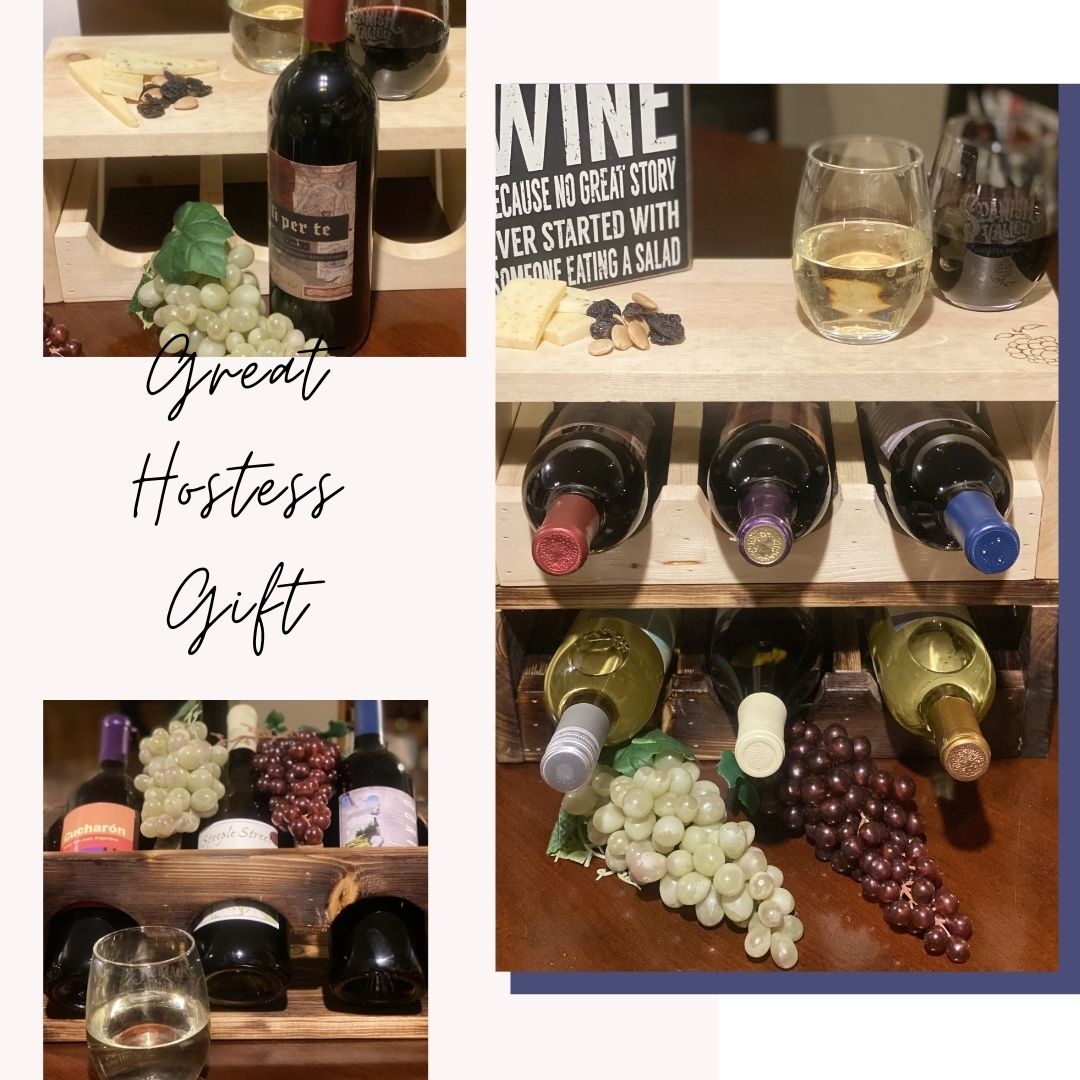
Basketball hoop for bedroom decor & play
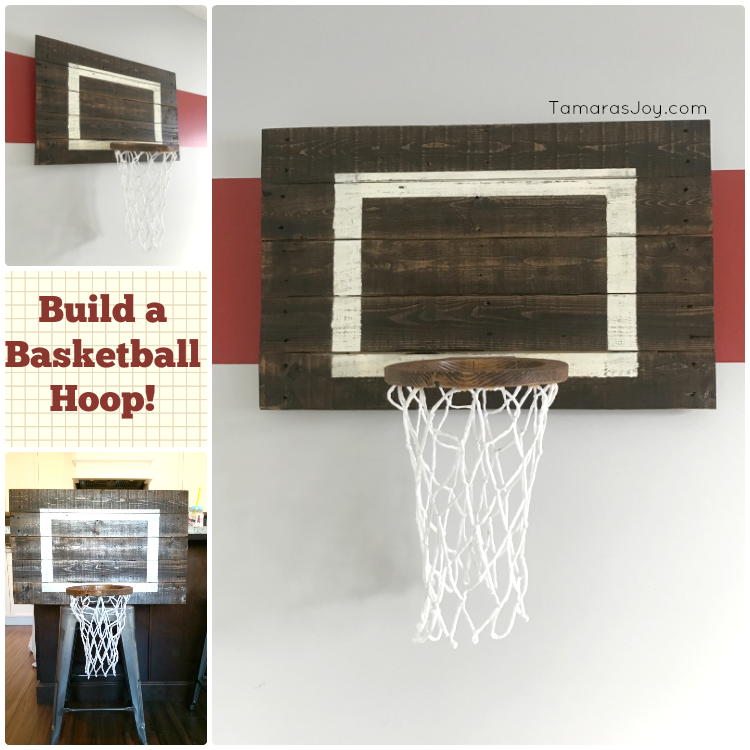
Full tutorial on the blog tamarasjoy.com
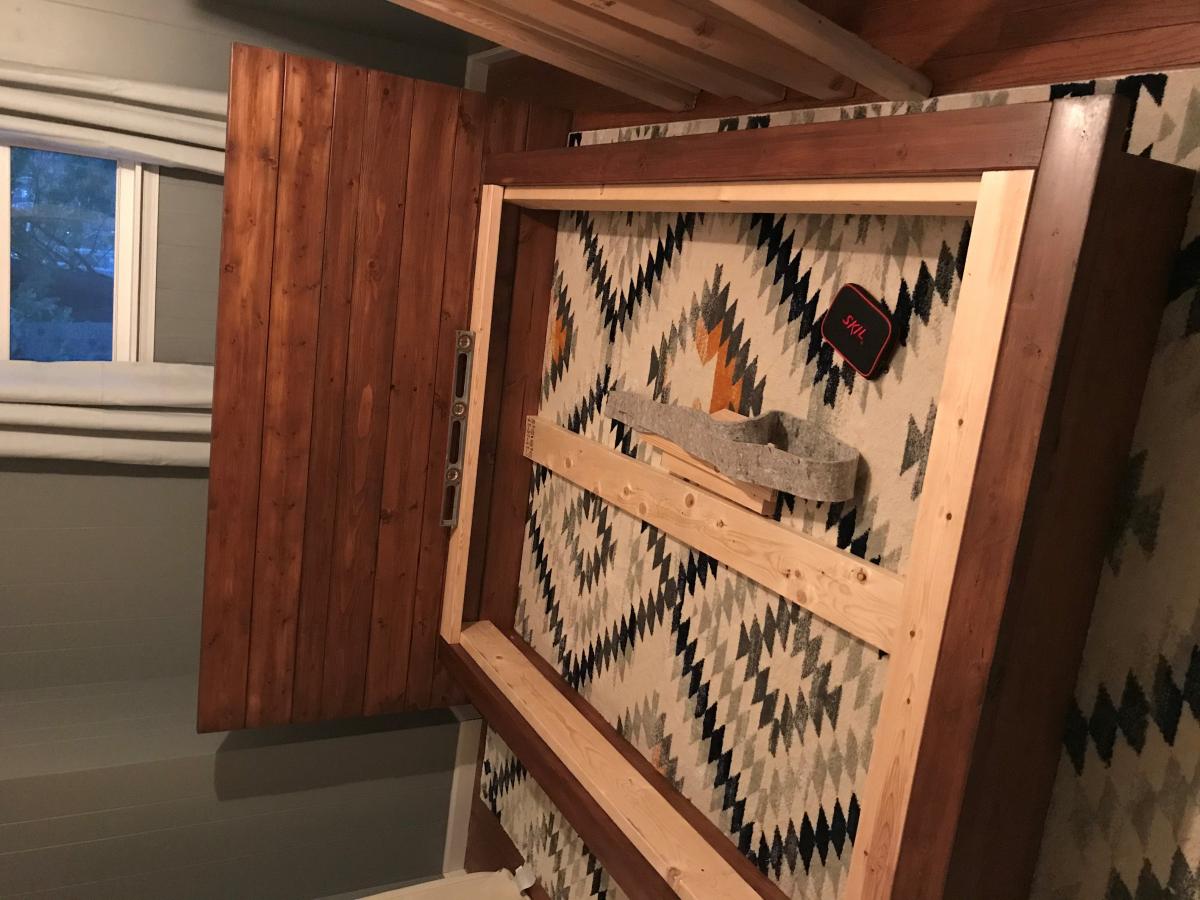
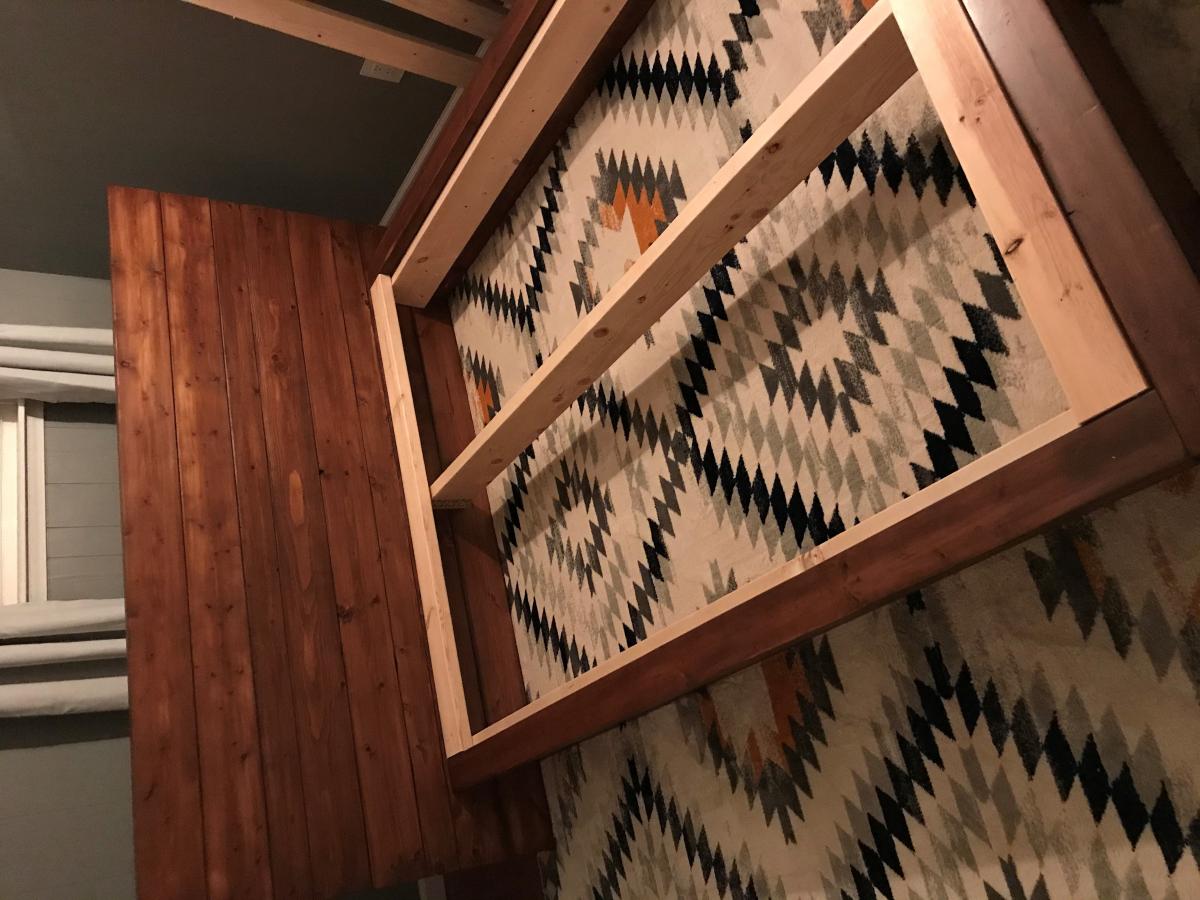
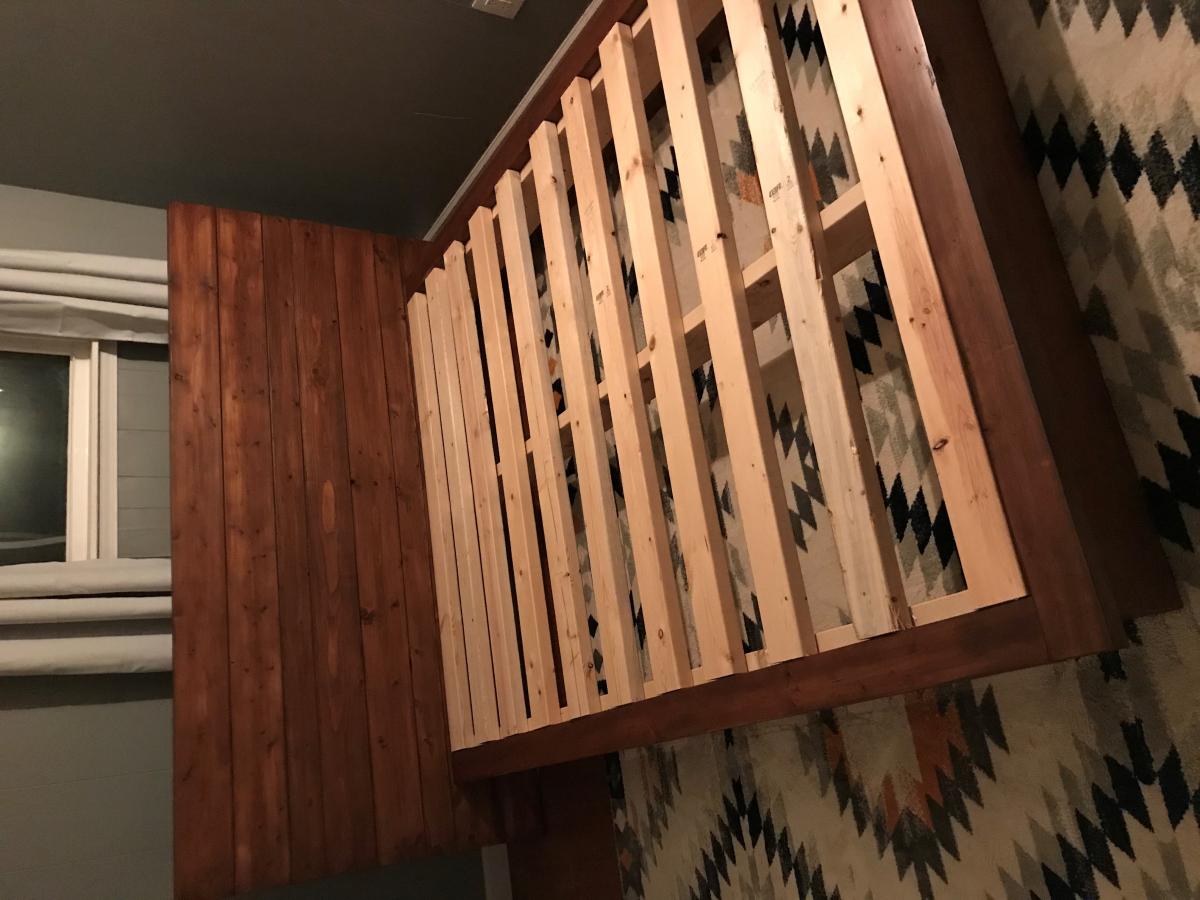
I built this basketball hoop for my sons room over a year ago and it has stood the test of time! The wood rim never cracked. Plus it looks fantastic :)
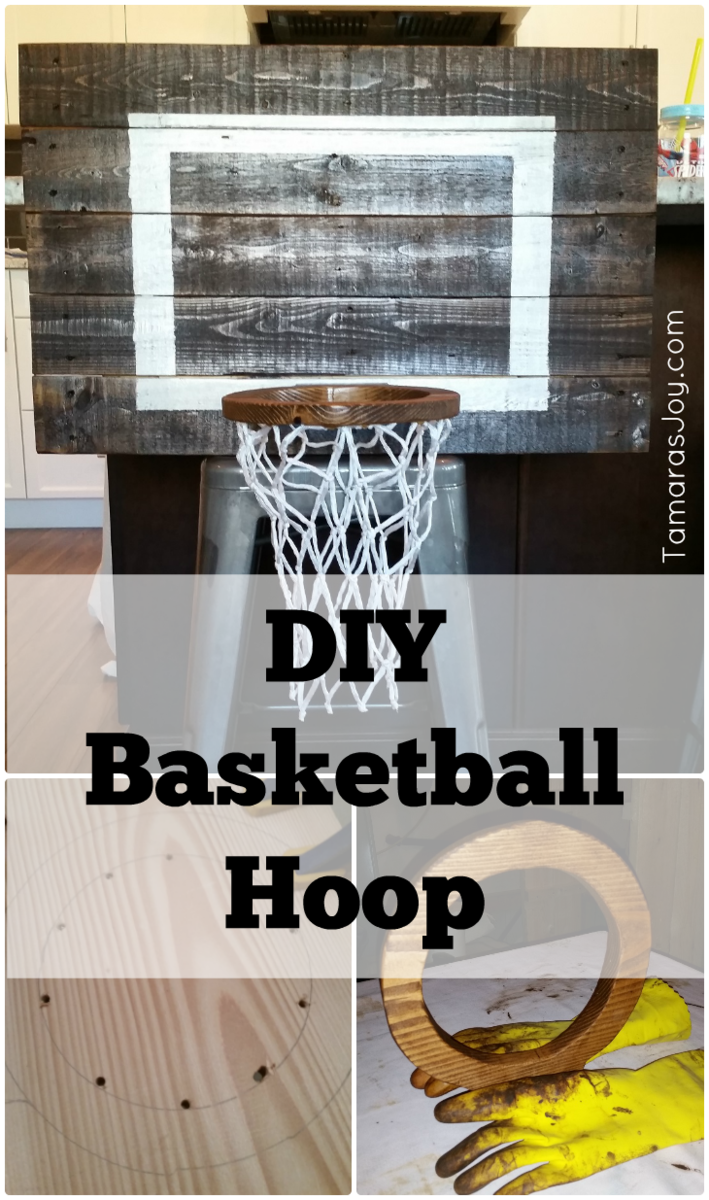
Estimated Cost
I used scraps but if you needed to purchase the wood and screws it may run you $25
The only thing I bought was the netting which was less then $10
The only thing I bought was the netting which was less then $10
Estimated Time Investment
An Hour or Two (0-2 Hours)
Finish Used
Dark stain, nothing special.
Recommended Skill Level
Starter Project