Farmhouse table
Adjust the height slightly. Easy to follow plans, quick project.
I found a baseball bat headboard that I wanted to make for my son...thankfully I found this website that has helped me so much. I BUILT every piece of furniture my in sons room, crazy!
I had a blast doing and have no plans on stopping.
In reply to More info by mrpaulperry
Sat, 01/18/2014 - 20:52
There wasn't a plan for the headboard. I found a picture a few years back and knew I wanted to make it for my son. I can take measurements of everything and let you know but I got the bats then just did what looked best.
I searched high and low for bats in local stores and online. I ended up finding the best and cheapest online. I did my best to find old, used bats but couldn't find all the right sizes for what I wanted so I just got new bats.
I used Douglas Fir instead of pine, which increased the cost but I love the warmth of the wood in this piece. The instructions were pretty easy to follow once I got going, and the longest part of it was the staining process. I love this piece and I'm ready to do another one!
Thank you Ana for all of your woodworking plans. I have made several now and this desk is my latest. I stuck with the plywood for the file cabinets and went with an ash top panel made from 8" wide boards in order to practice some jointing and planing. The stain is minwax honey finished with 7 coats of poly. Again, thank you.
Needed to outfit an antique center island with some doors because our cookware was constantly getting dirty and having to wash before using. Followed the panel, rile and stile plans and ended up with some pretty decent cabinet doors. I would say that this style of creating doors while may seem easier due to not needing many tools (circular saw and kreg pocket set is about all you need), is actually intermediate because the panels have to be cut EXACTLY right or you will have gaps in your door. I remedied this with the help of my old friend wood putty, but this limits the doors since they must be painted. If your big box home improvement store has a COMPETENT worker (sometimes those are hard to find) you just might get some panels cut well enough, although I myself know how 1/8's of an inch add up . If you do decide to get someone else to cut the panels bring your tape measure and verify the cuts are accurate. Anyway I have created doors both the traditional rile and stiles with inset panels and this way and this way is definitely quicker!
NOTE: I haven't installed any catches or handles thats why the door is slightly open.
Great Way to Spruce Up Your Kitchen!
-Martin
We loved this bed much! And others loved it so much that the people who purchased our home requested to keep the bed frame as well. I guess we'll be building it again. We used a vinegar/steel wool solution to oxidize the wood and then sealed it with a natural finish (rubio-monocoat 'cotton white'). Thank you for these plans!
1st time working in walnut, 1st time using my miter saw for more than 90 degree cuts!
Great plans, Ana. Very easy to build. A good project for someone like me who has no carpentry experience.
Easy picture frame shelves.
Sat, 06/19/2021 - 10:09
Such a wonderful way to display photos! Wonderful job, thank you for sharing!
Modified the size to be 42" (w) x 16" (d) x 19" (h). Used radiator covering grate for door inserts and left shelves open for horizontal component storage.
I made 3 cubbies underneath and left off the doors. I'm still looking for fabric bins to go under there. Instead of doing the bottome arm, I made a bookshelf so there would be more storage space in this little room. I love how it turned out.
Seesaw for my daughter Milica!
Thank you Ana for the idea.
Greetings from Serbia.
Thanks Anna White for your plans and for your great website!
Fri, 03/06/2015 - 15:53
This is really awesome! I love the mix matched chair look too!
I built this table for a friend a few weekends ago. The reclaimed top turned out amazing!
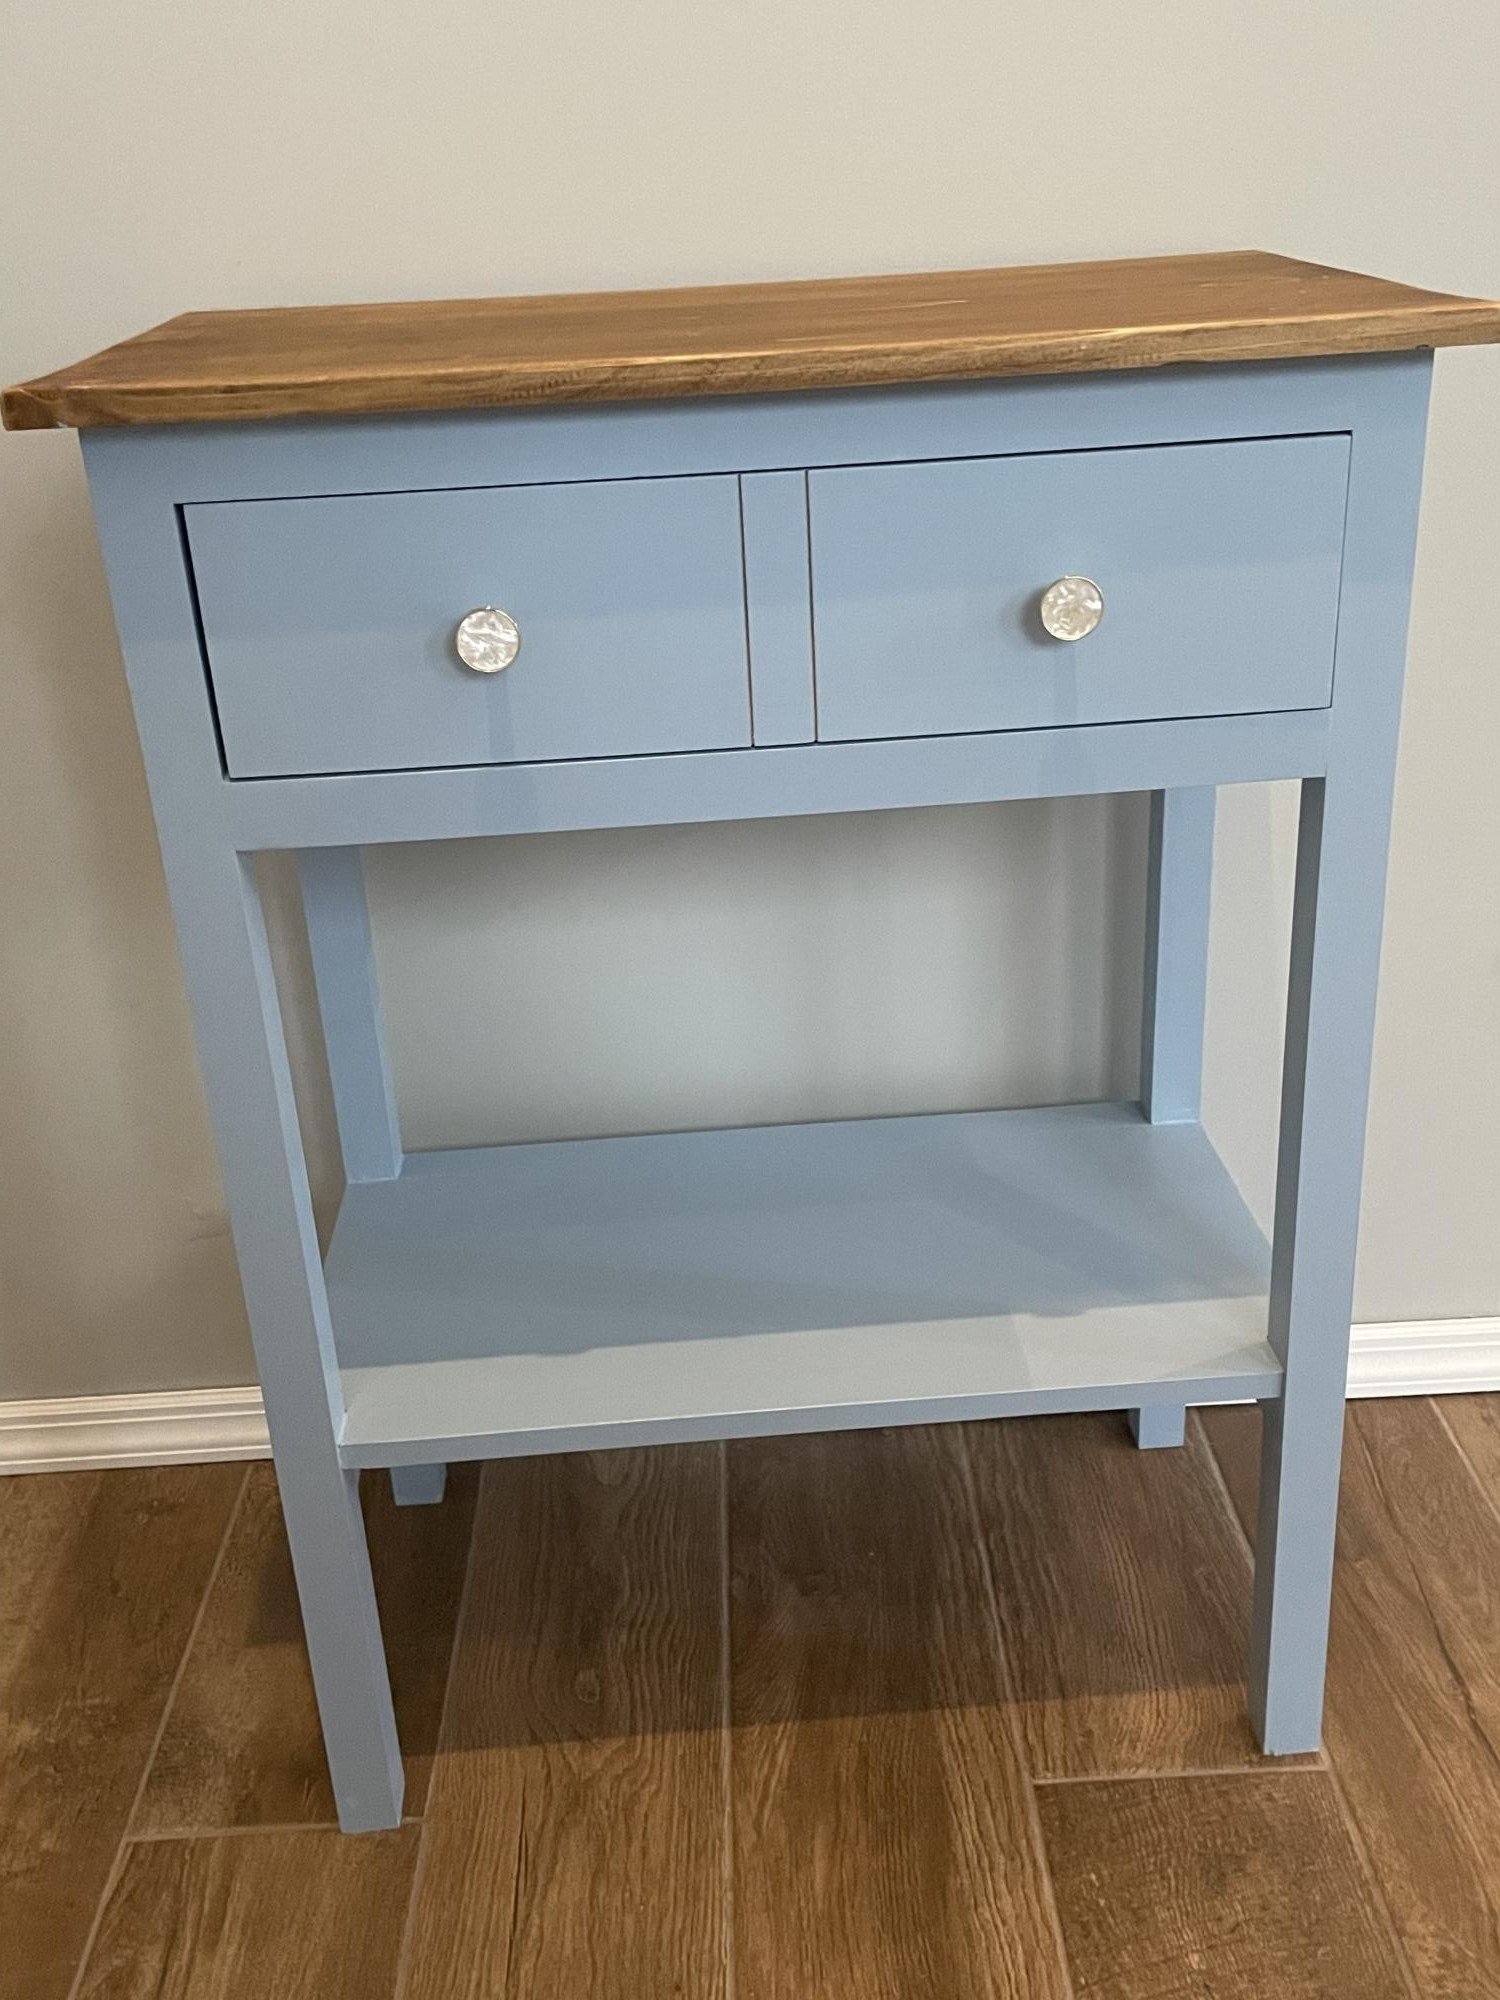
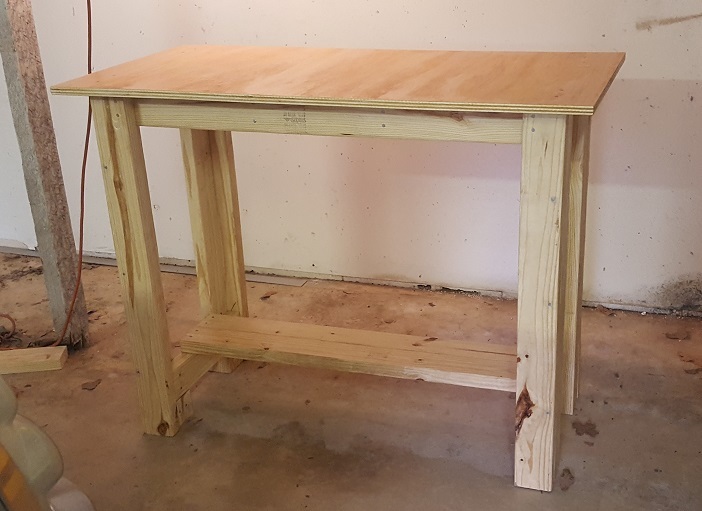
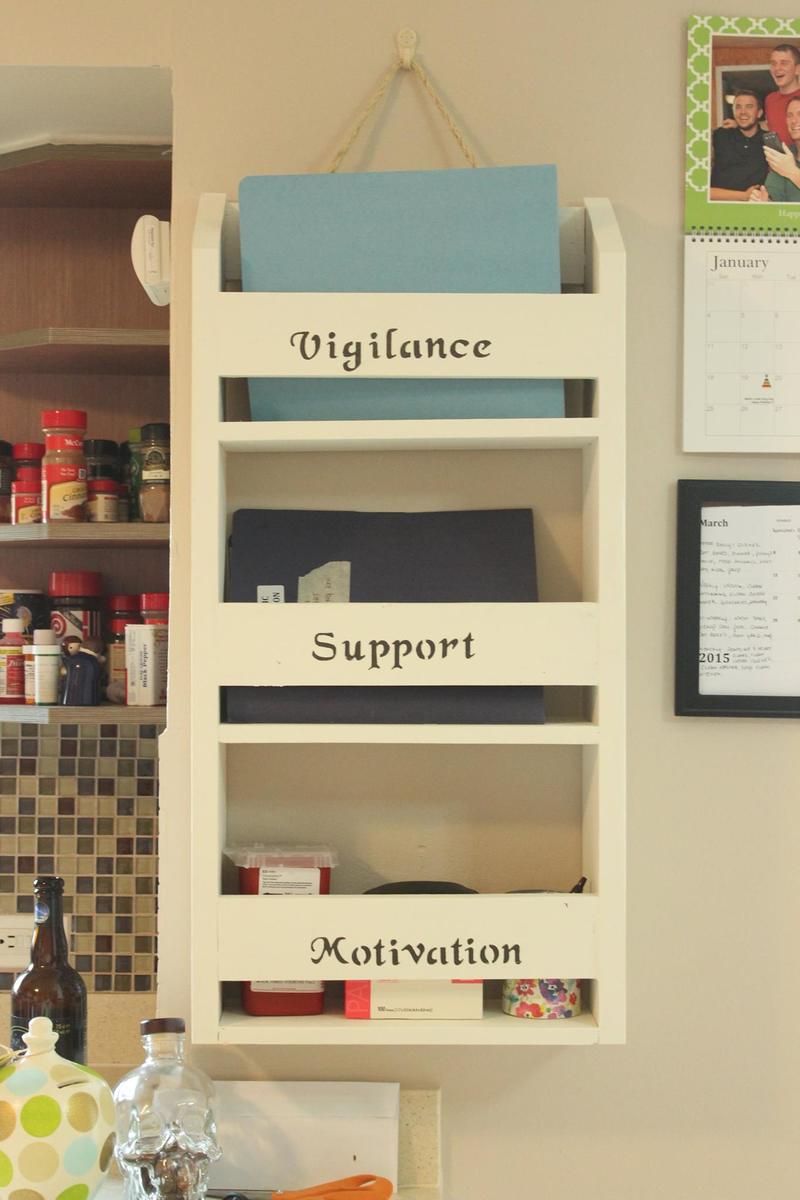
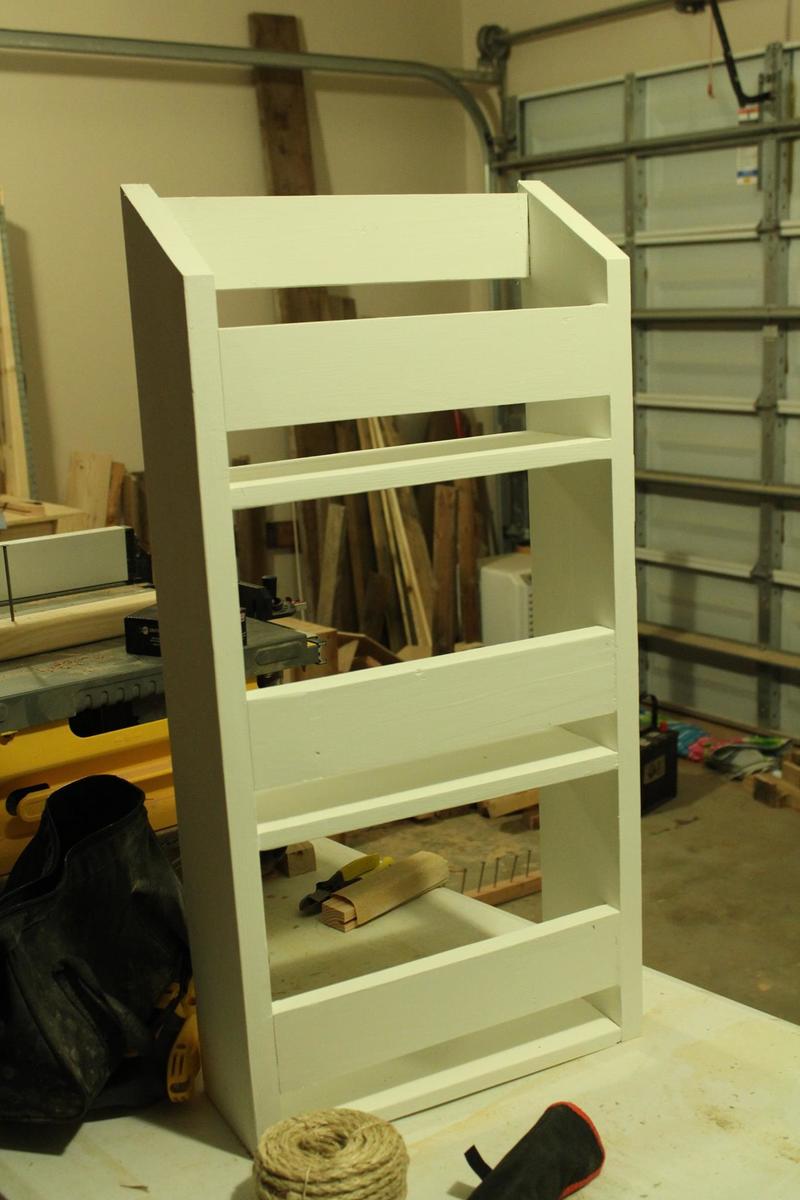
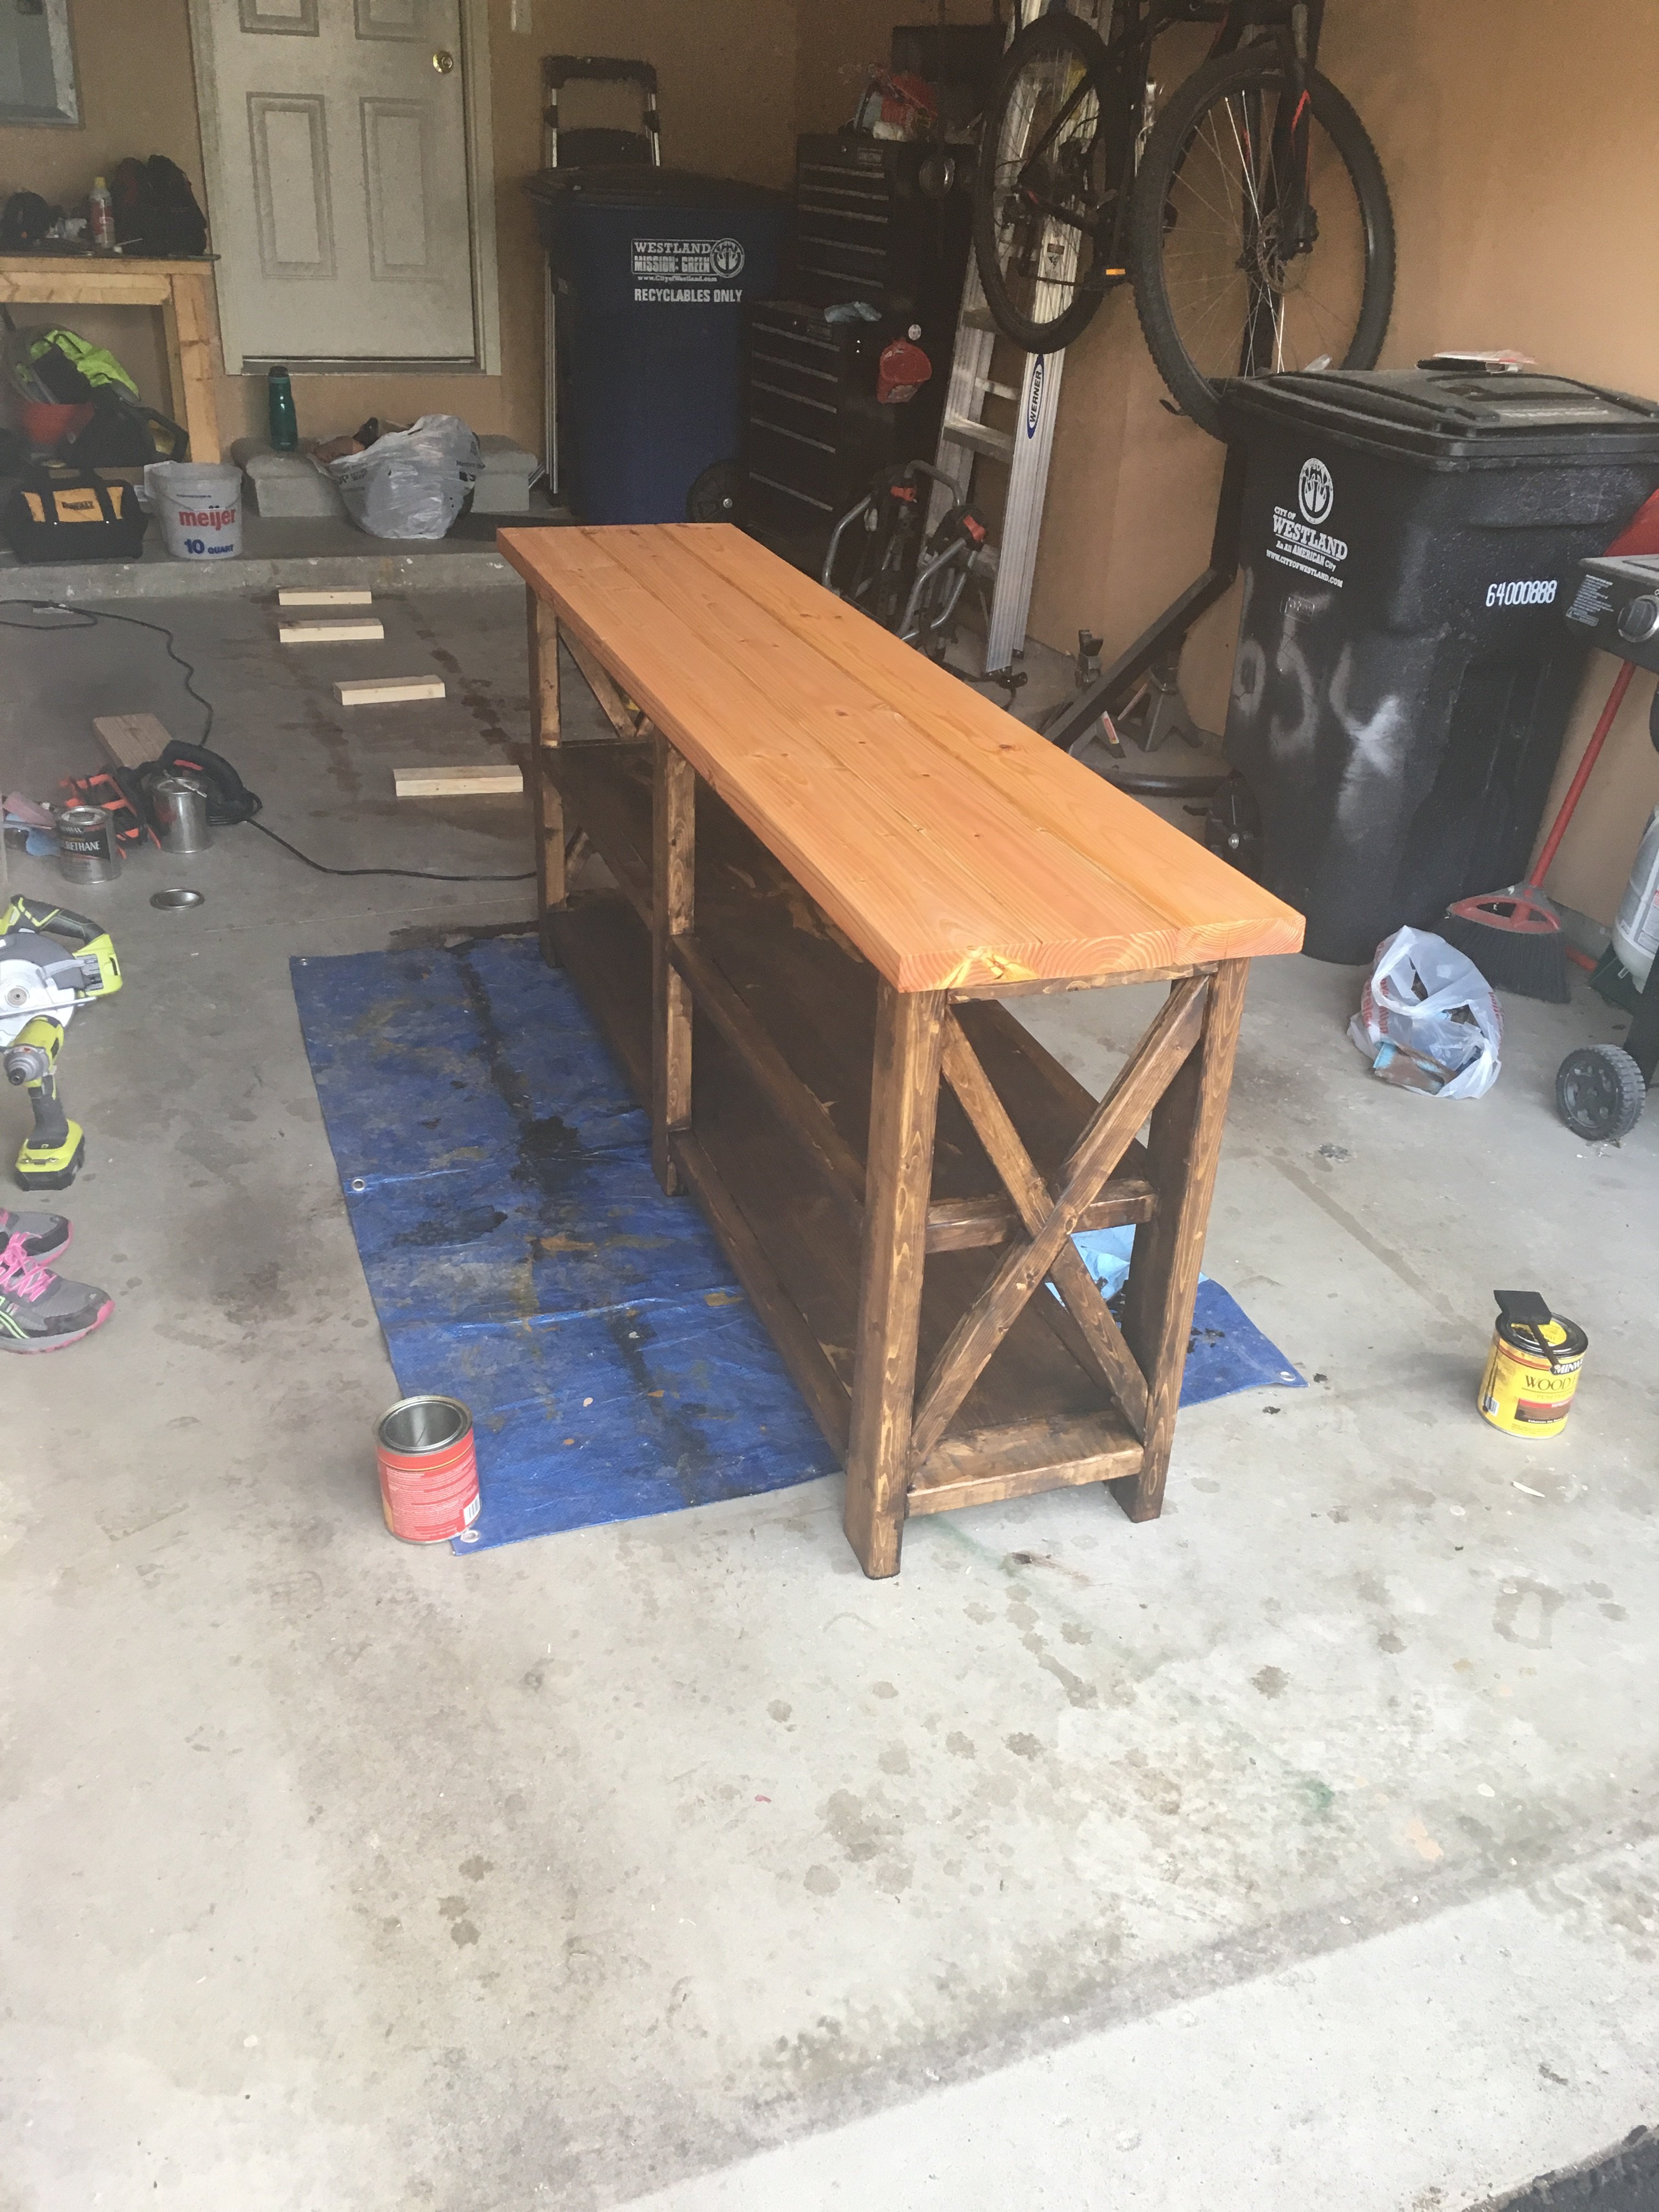
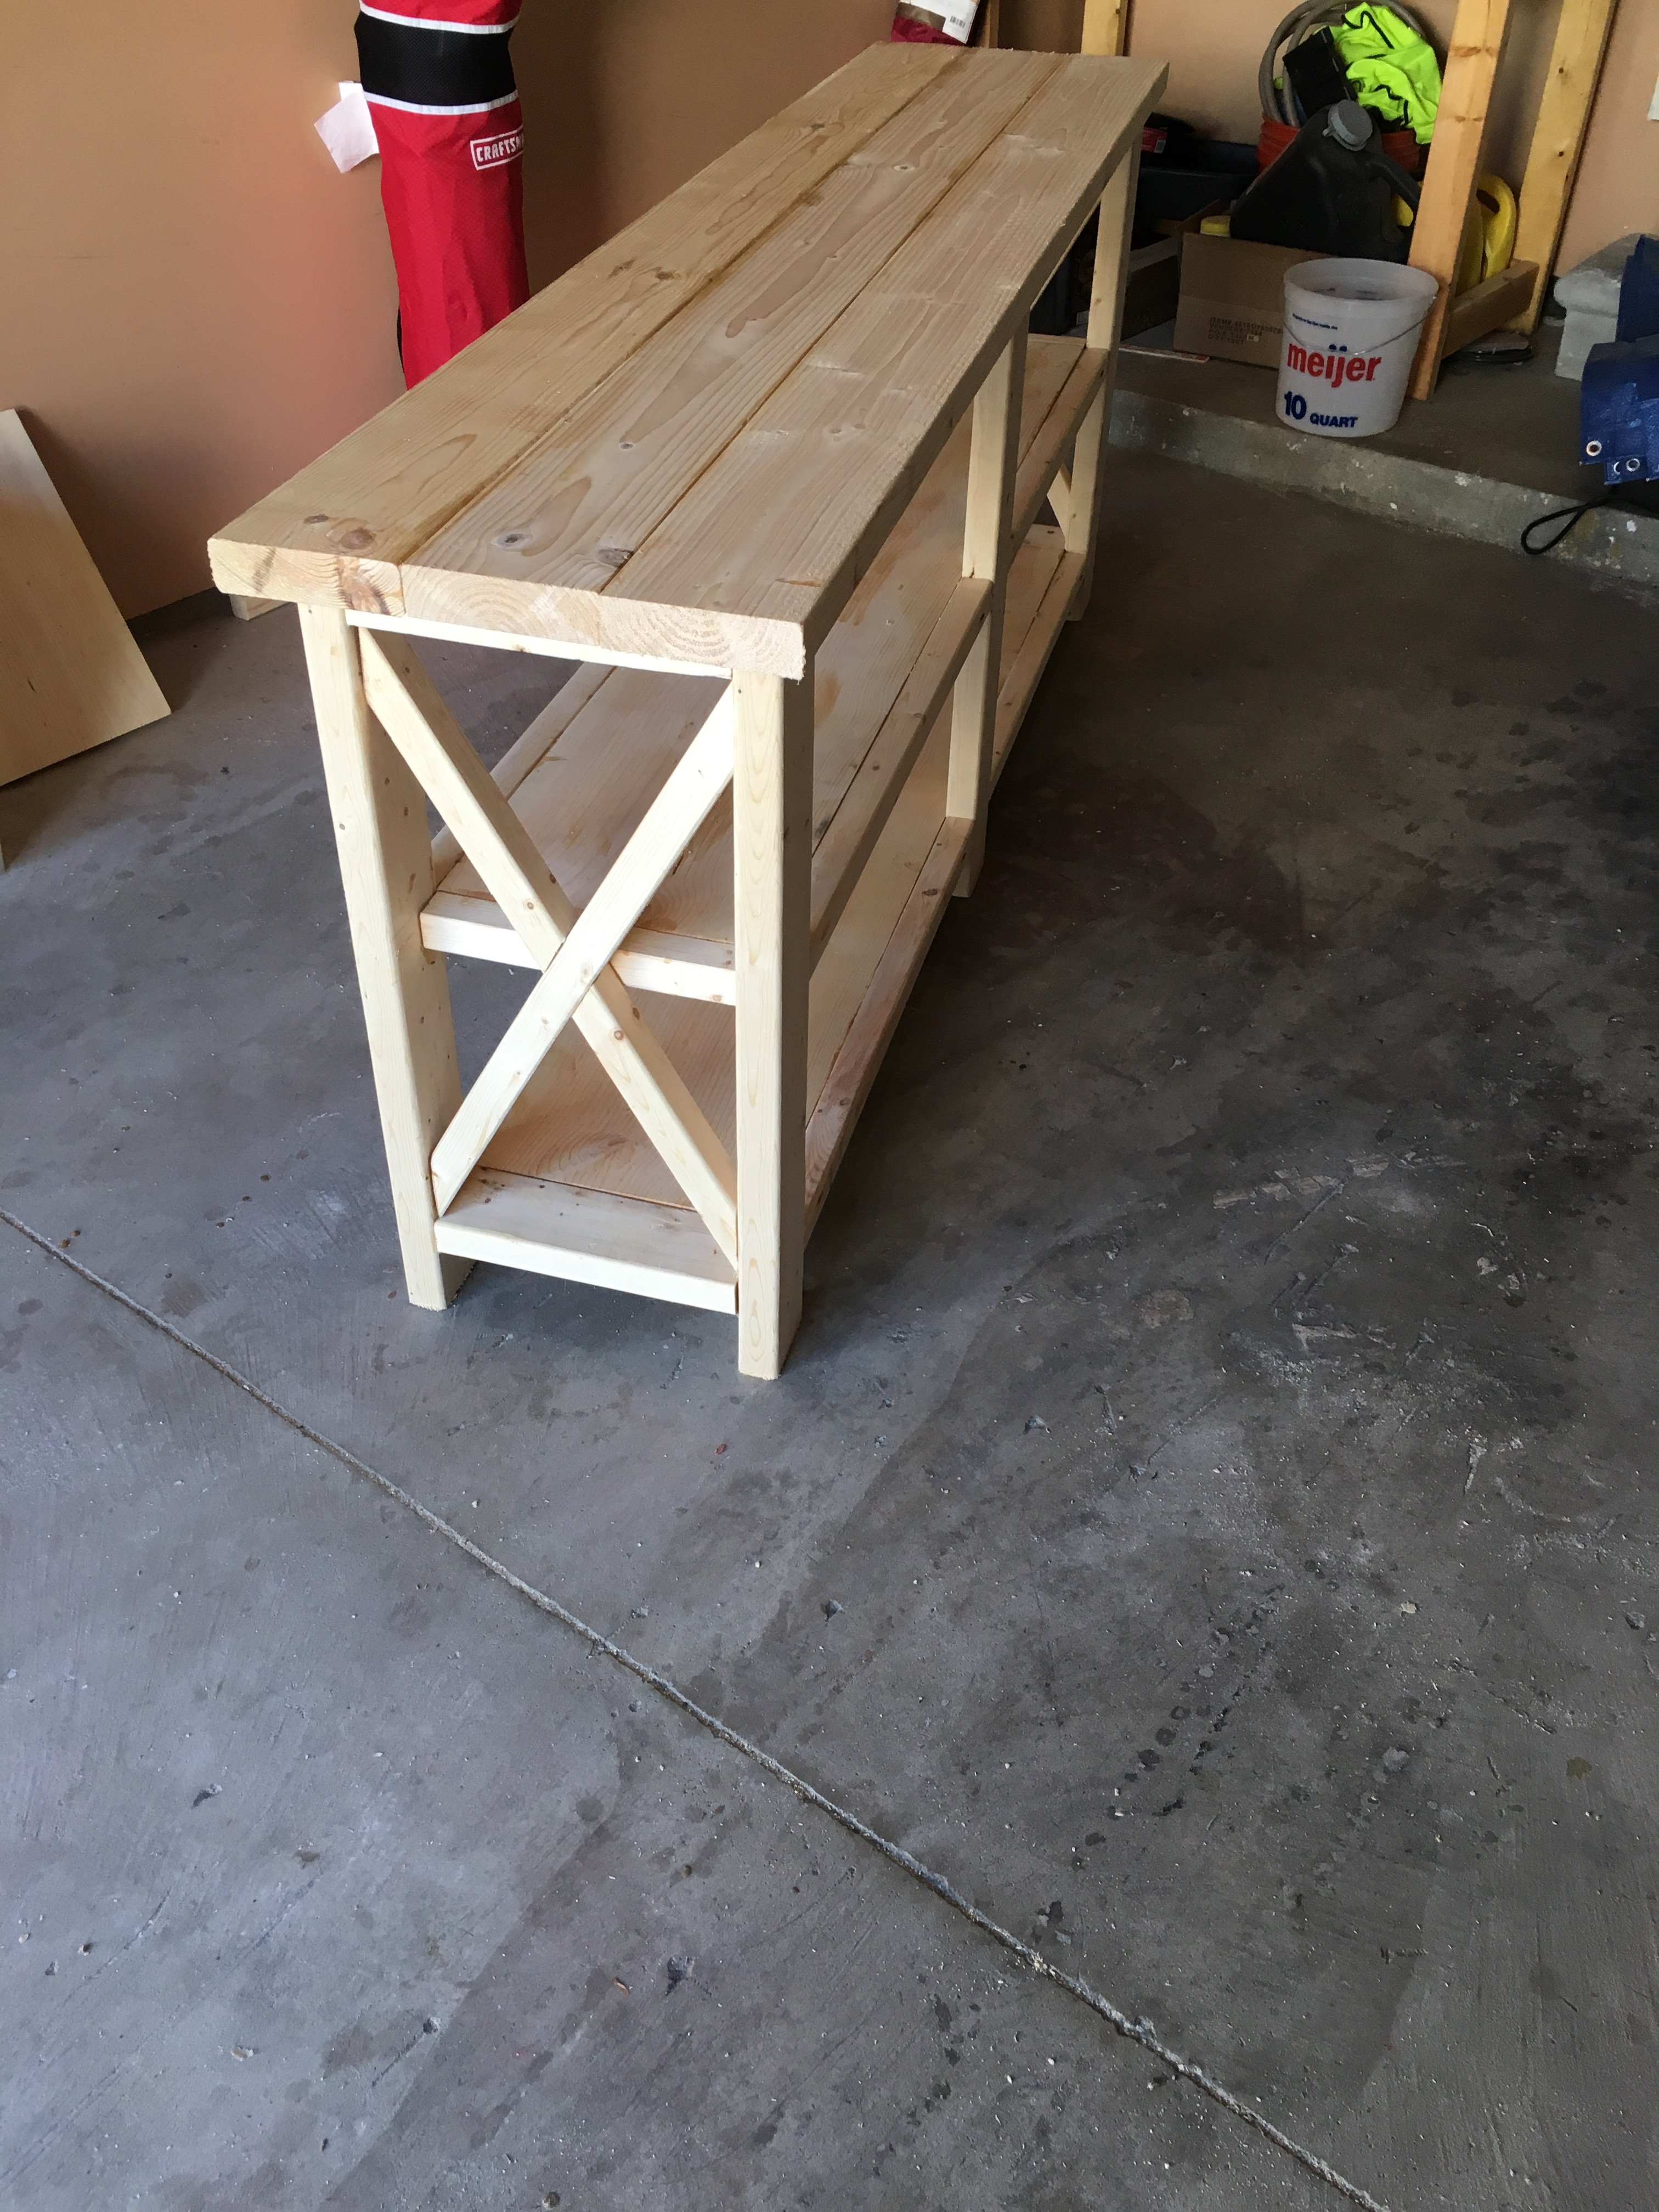
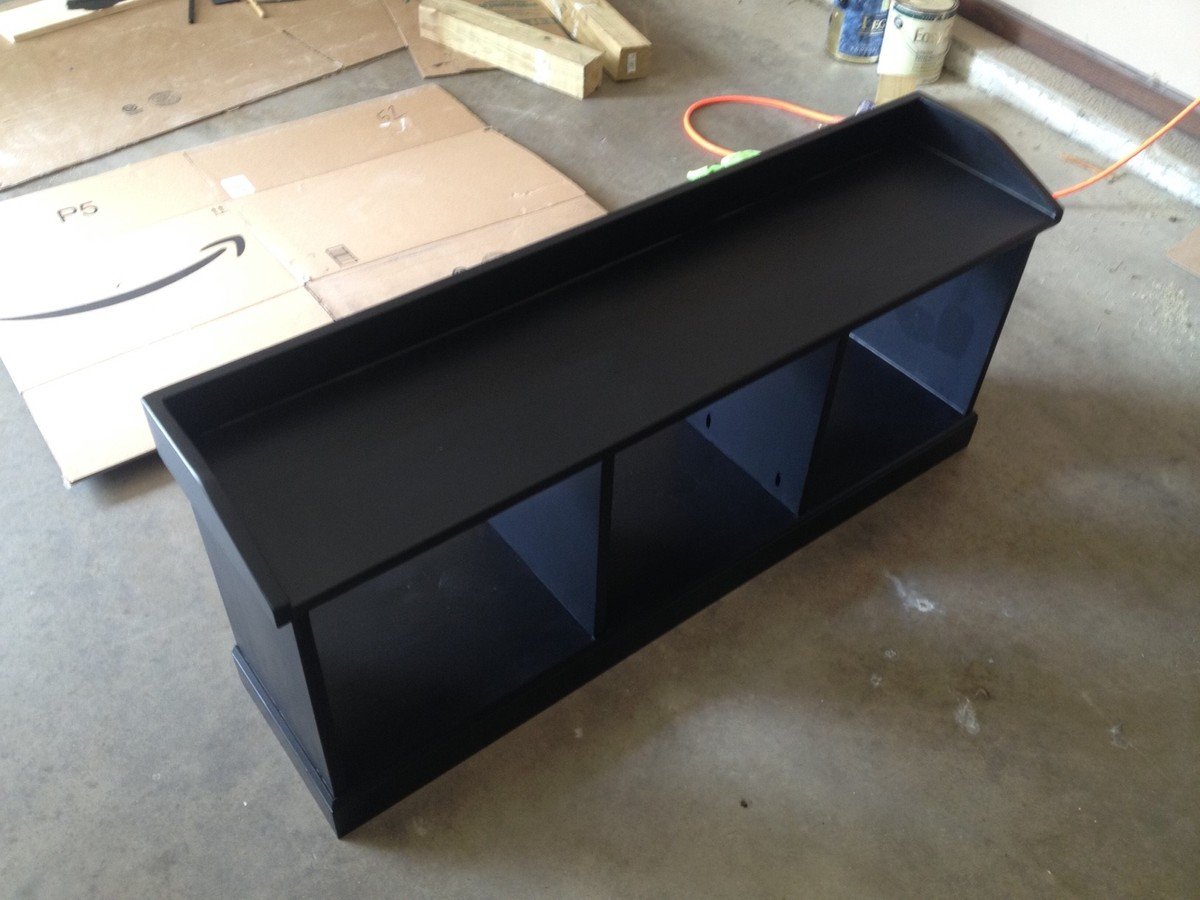
A few weeks ago I was diagnosed with type 1 diabetes and little did I know how many papers and supplies come with having it. For a couple weeks our kitchen counter was just littered with testing supplies and literature, it got the where I couldn't take it anymore. I decided to build this little set of shelves; so darn cute and a quick, inexpensive build. It took me about 5 hours total to complete the assembly and paint job and another hour or two to finish the stenciling. I am using it for all my diabetes accessories but it would work great as a little organizer for all that clutter that inevitably congregates in little piles on the kitchen table and counters.
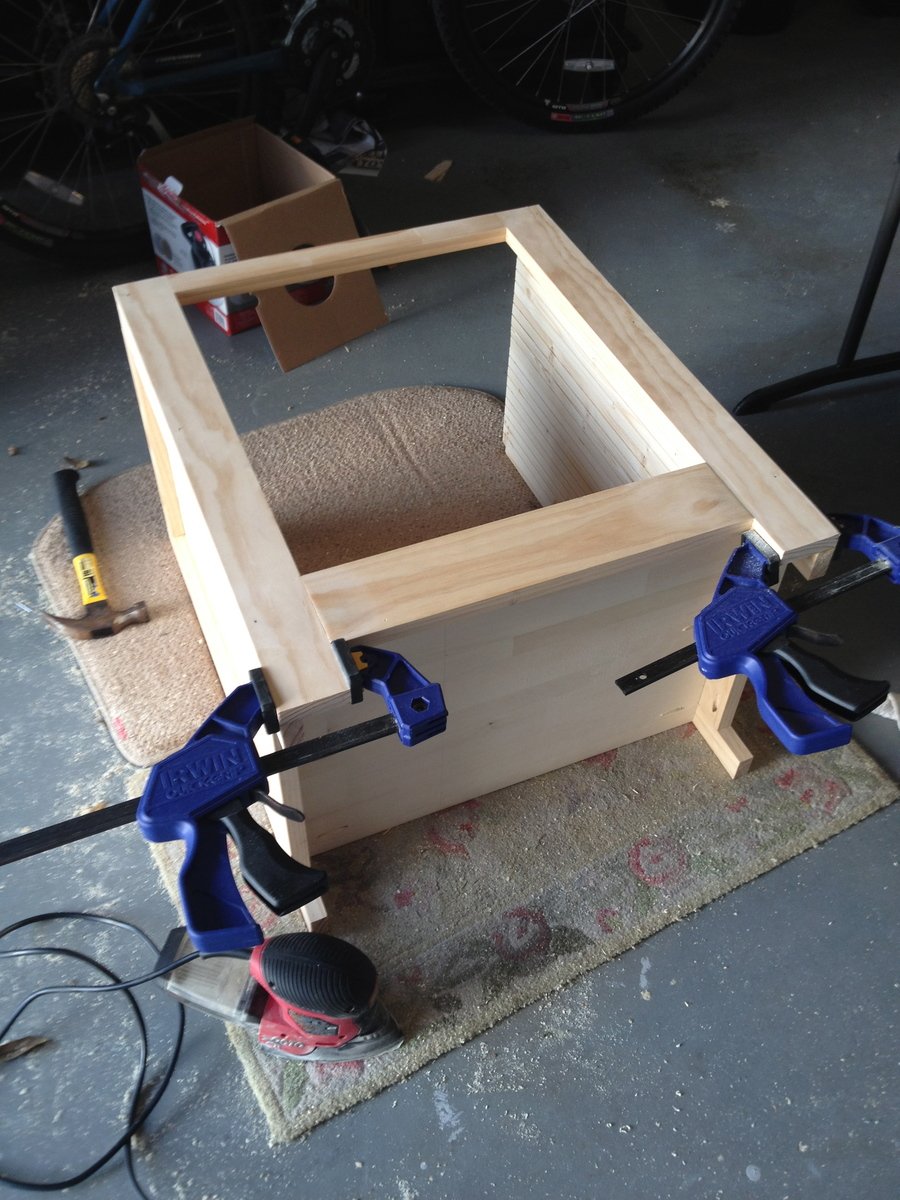
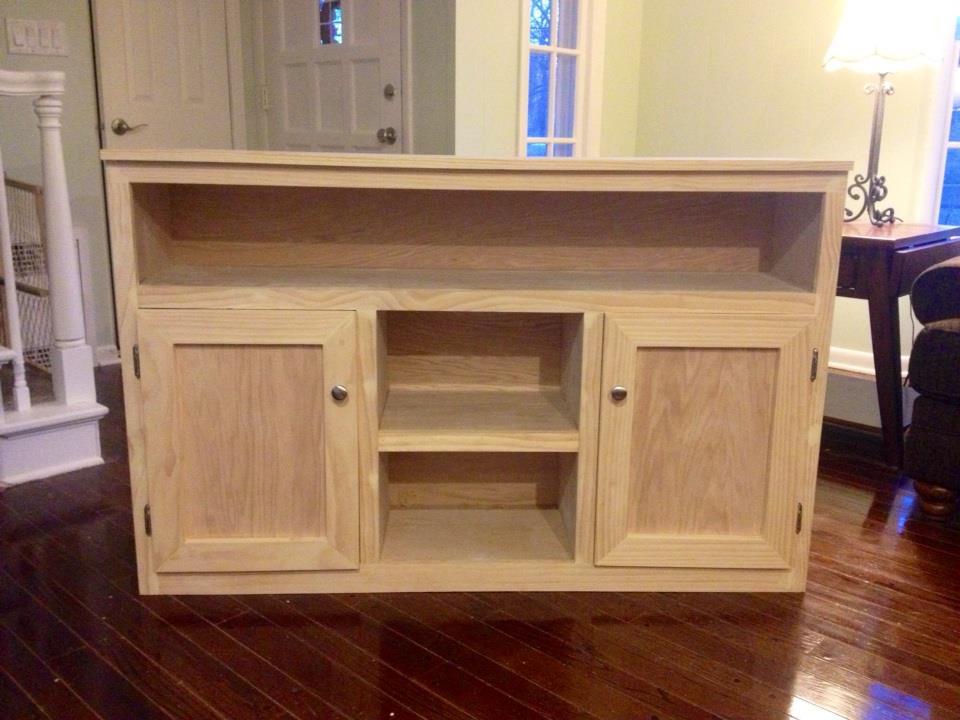
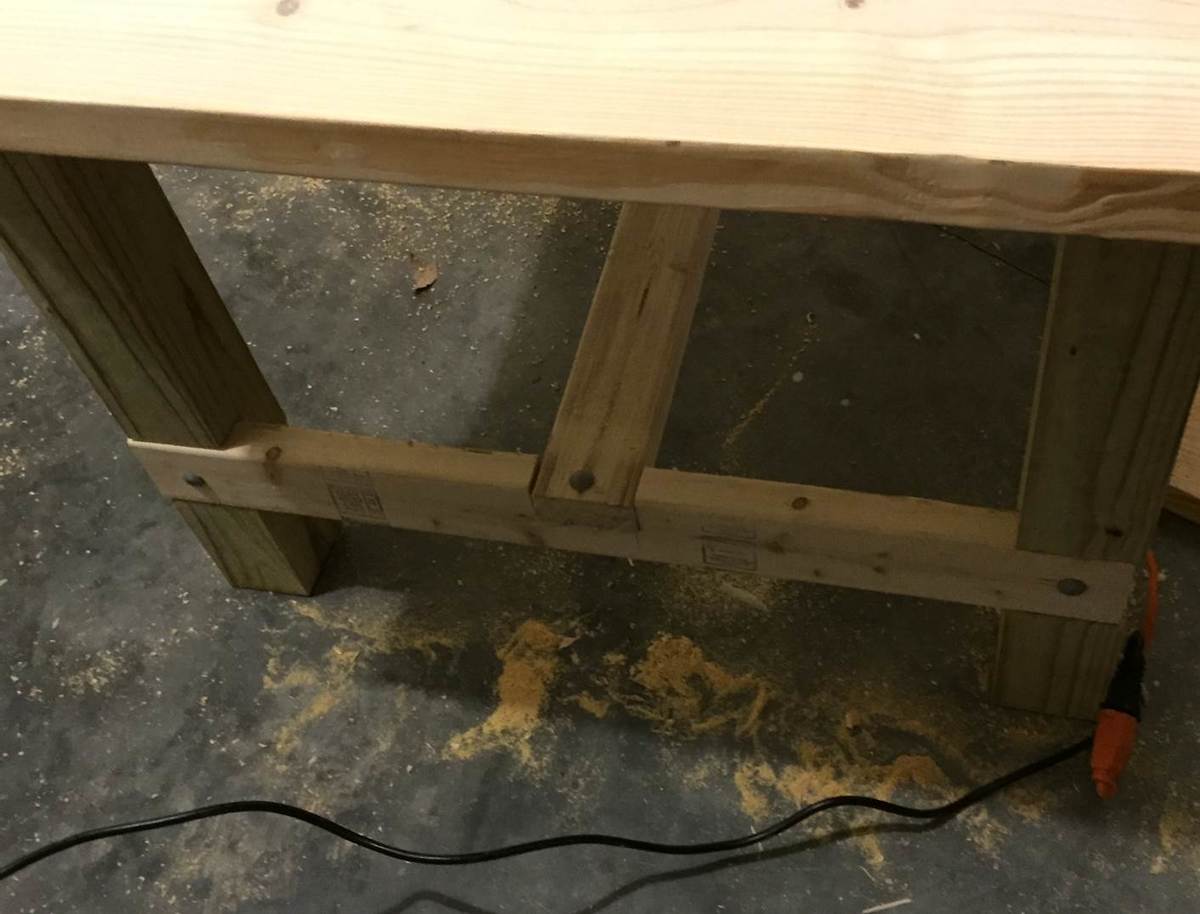
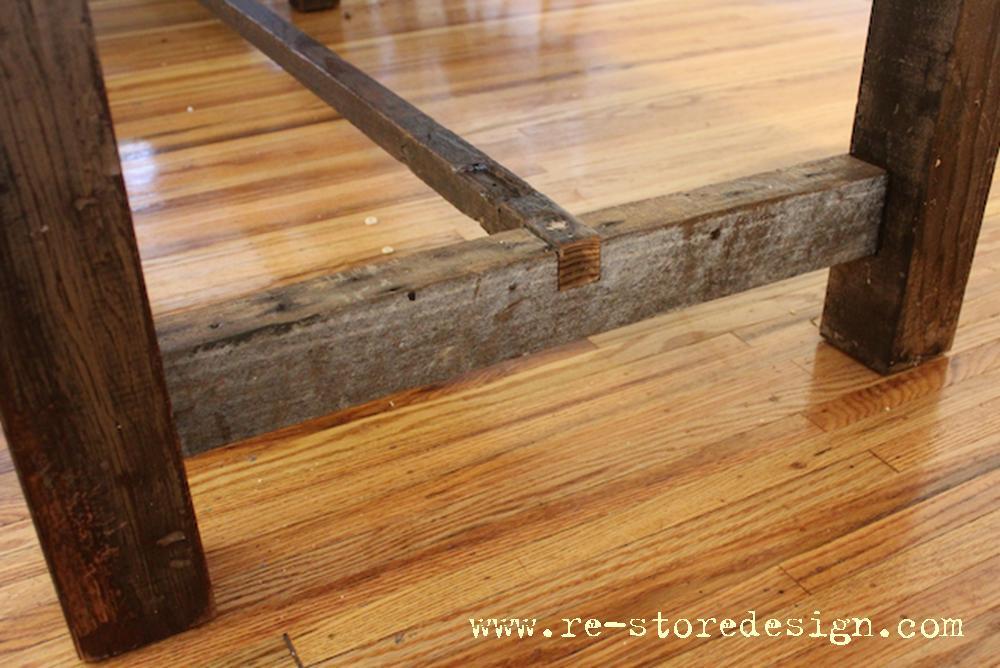
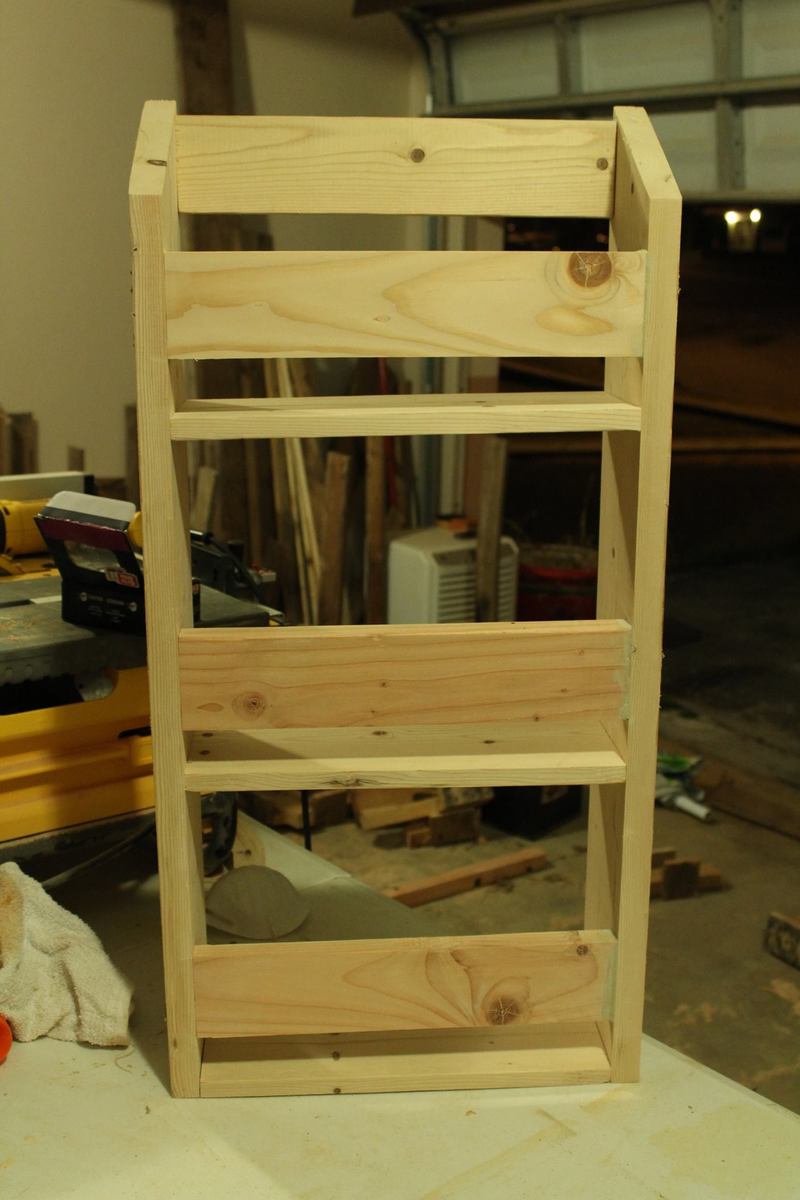
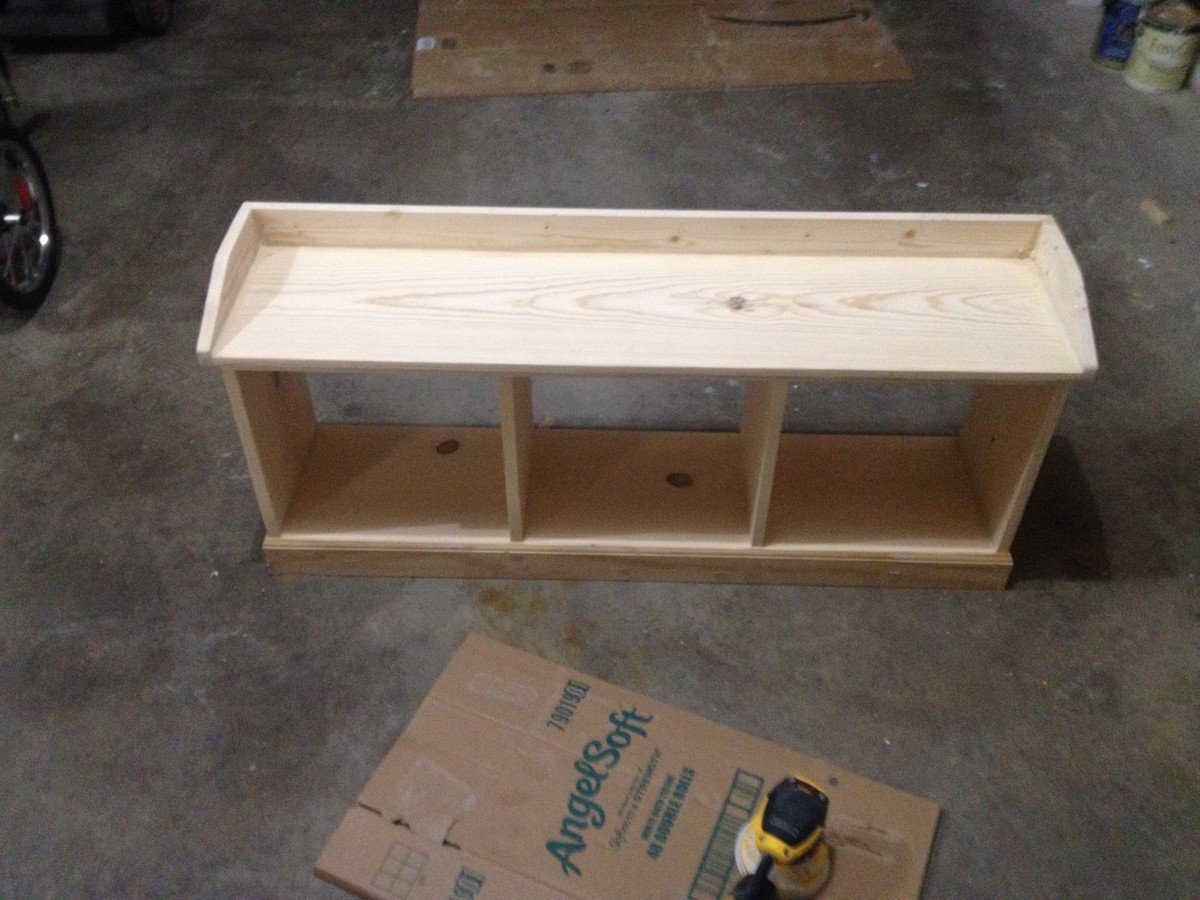
One modification I made from the original plan was the angled cuts at the top; we unfortunately don't own a jigsaw so I just cut the side boards at a 30 degree angle to the corner instead. My shelves are also only 3/4 of an inch instead of 1 inch because I miss measured and did not buy enough supplies. So instead of waiting until I could get back to the store I ripped one of the 2X6 boards in half so I could utilize both sides.
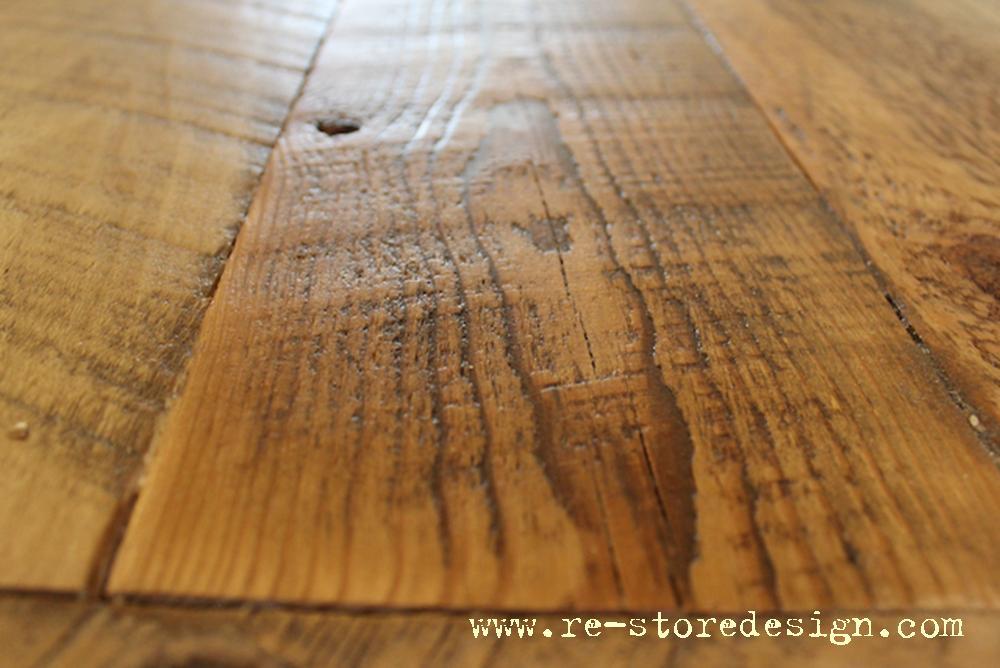
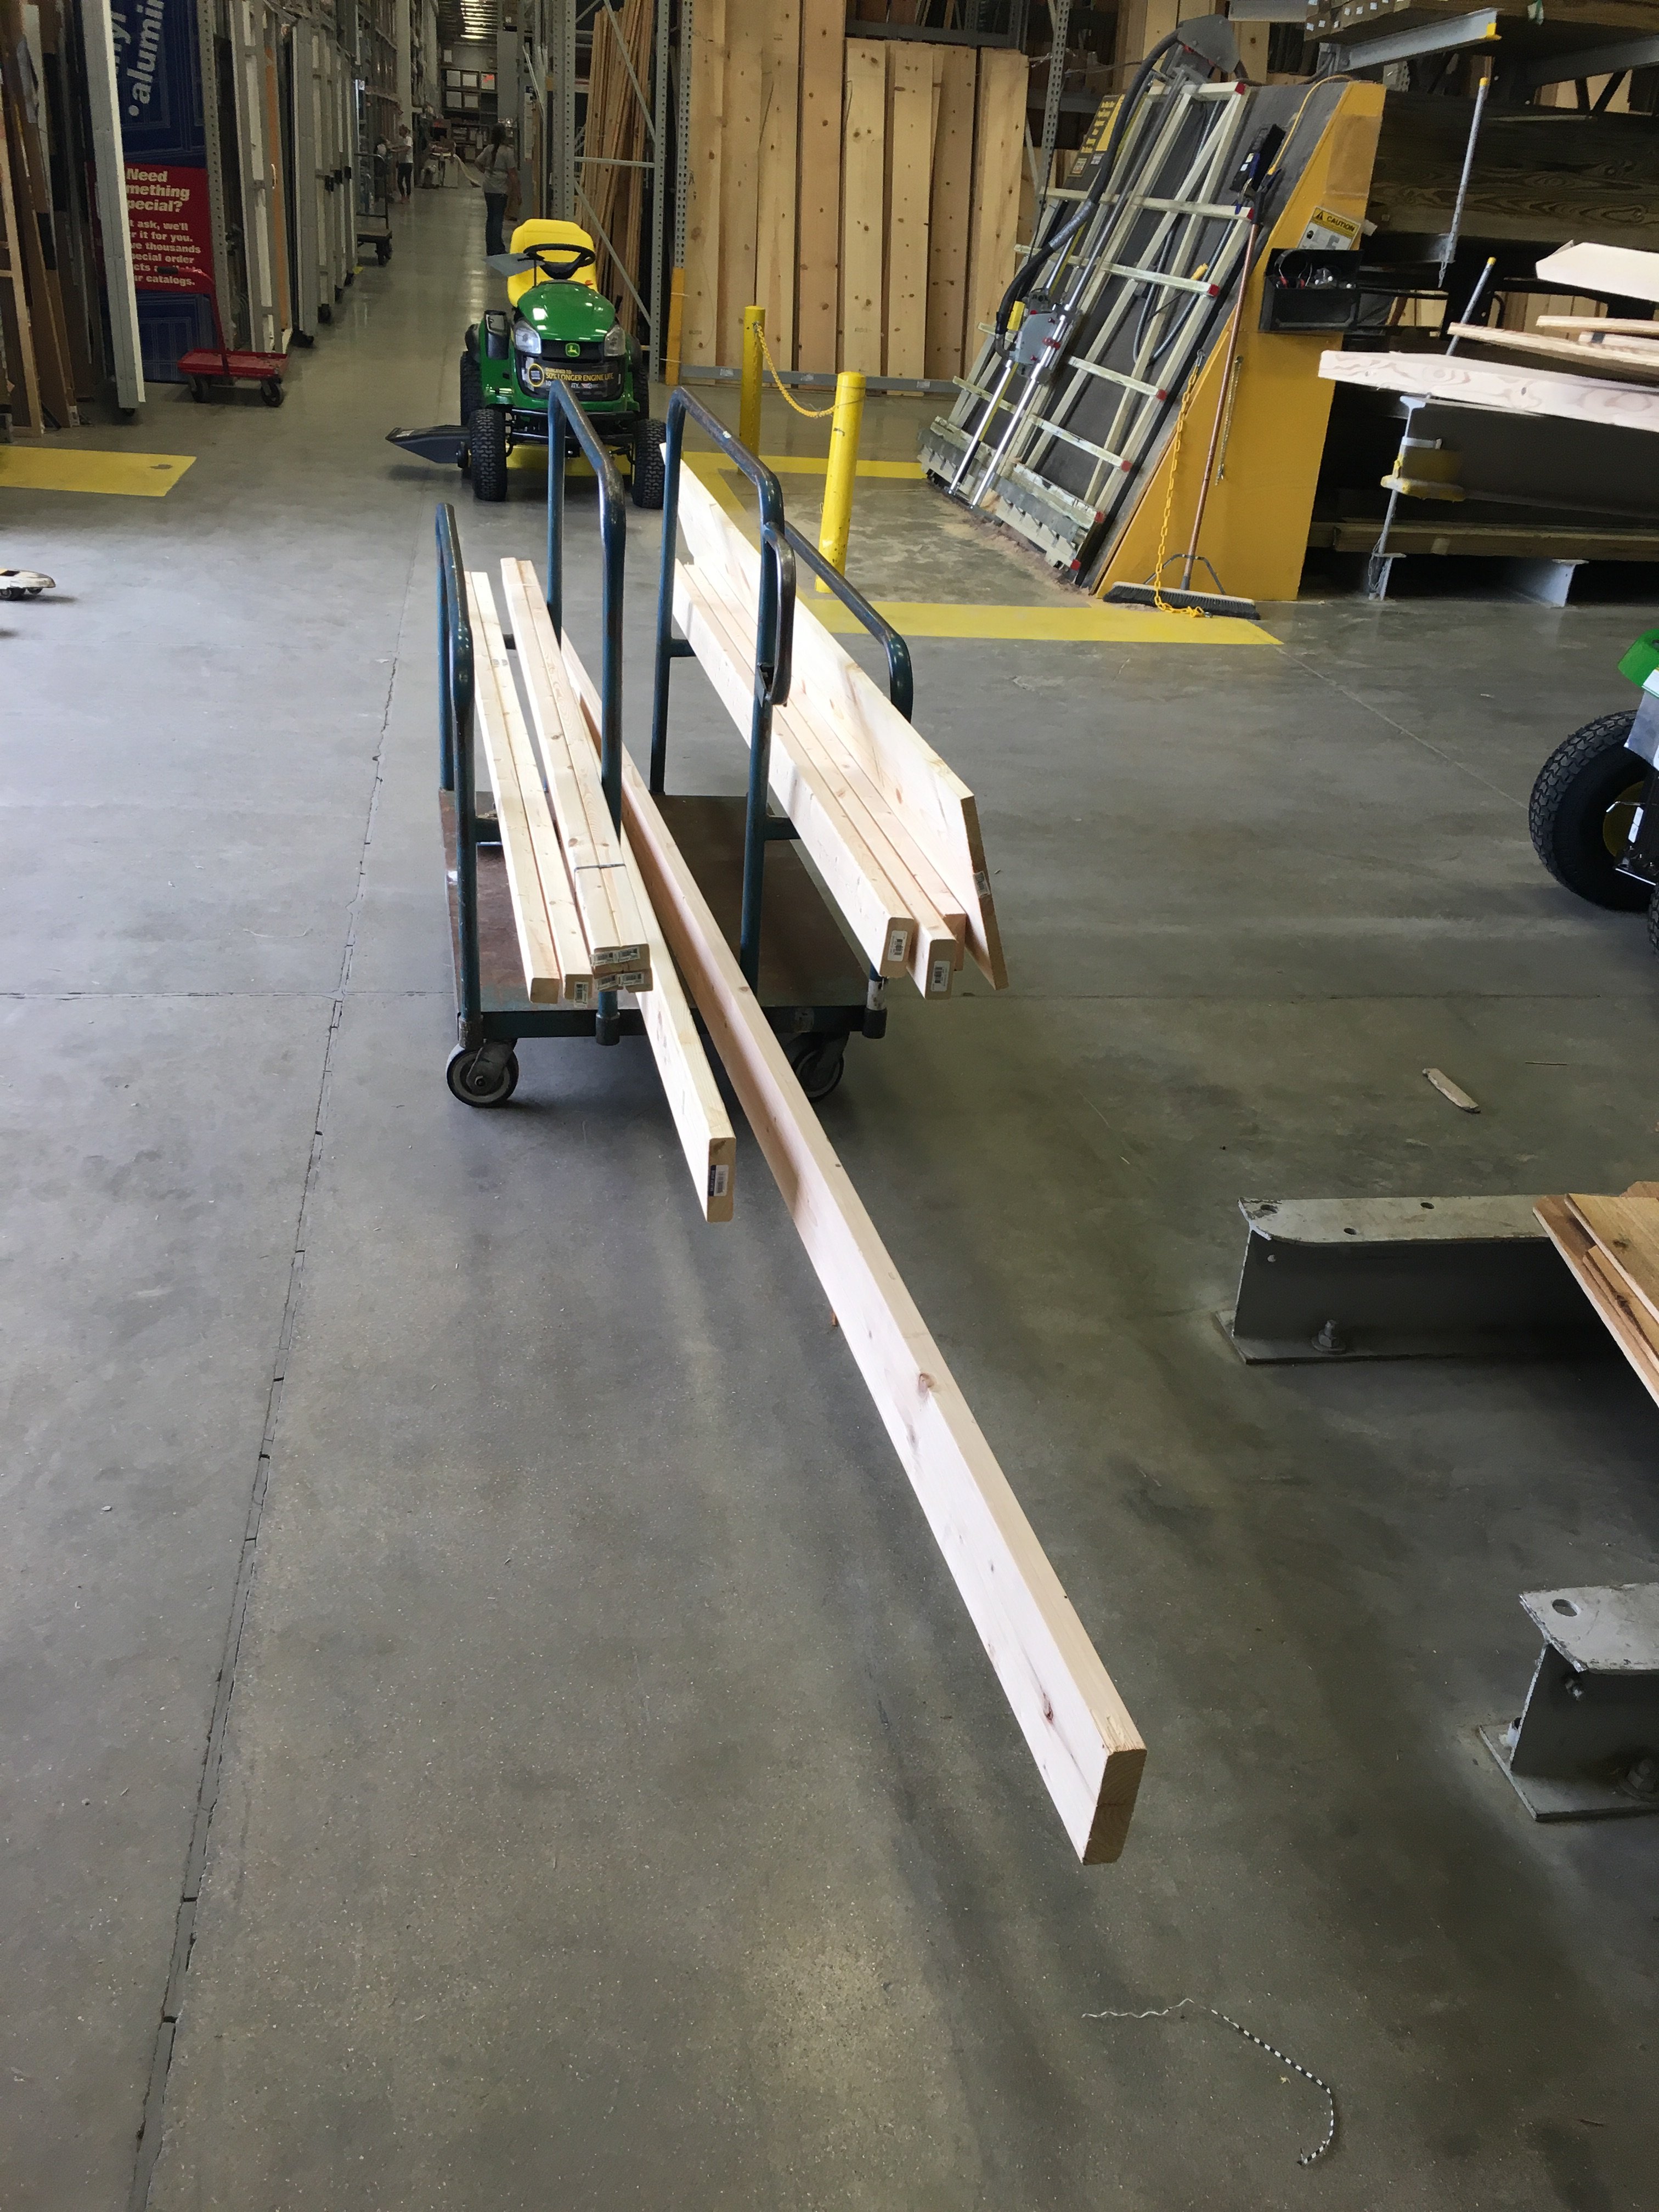
To save a little money as lumber is pricey where we live, I bought 1- 2X6, 1-2X4, (both of these I match booked and ripped to create more material) and utilized 2 inch drywall screws which I countersank and filled before painting. Total cost was about $16 (I utilized paint was already had)
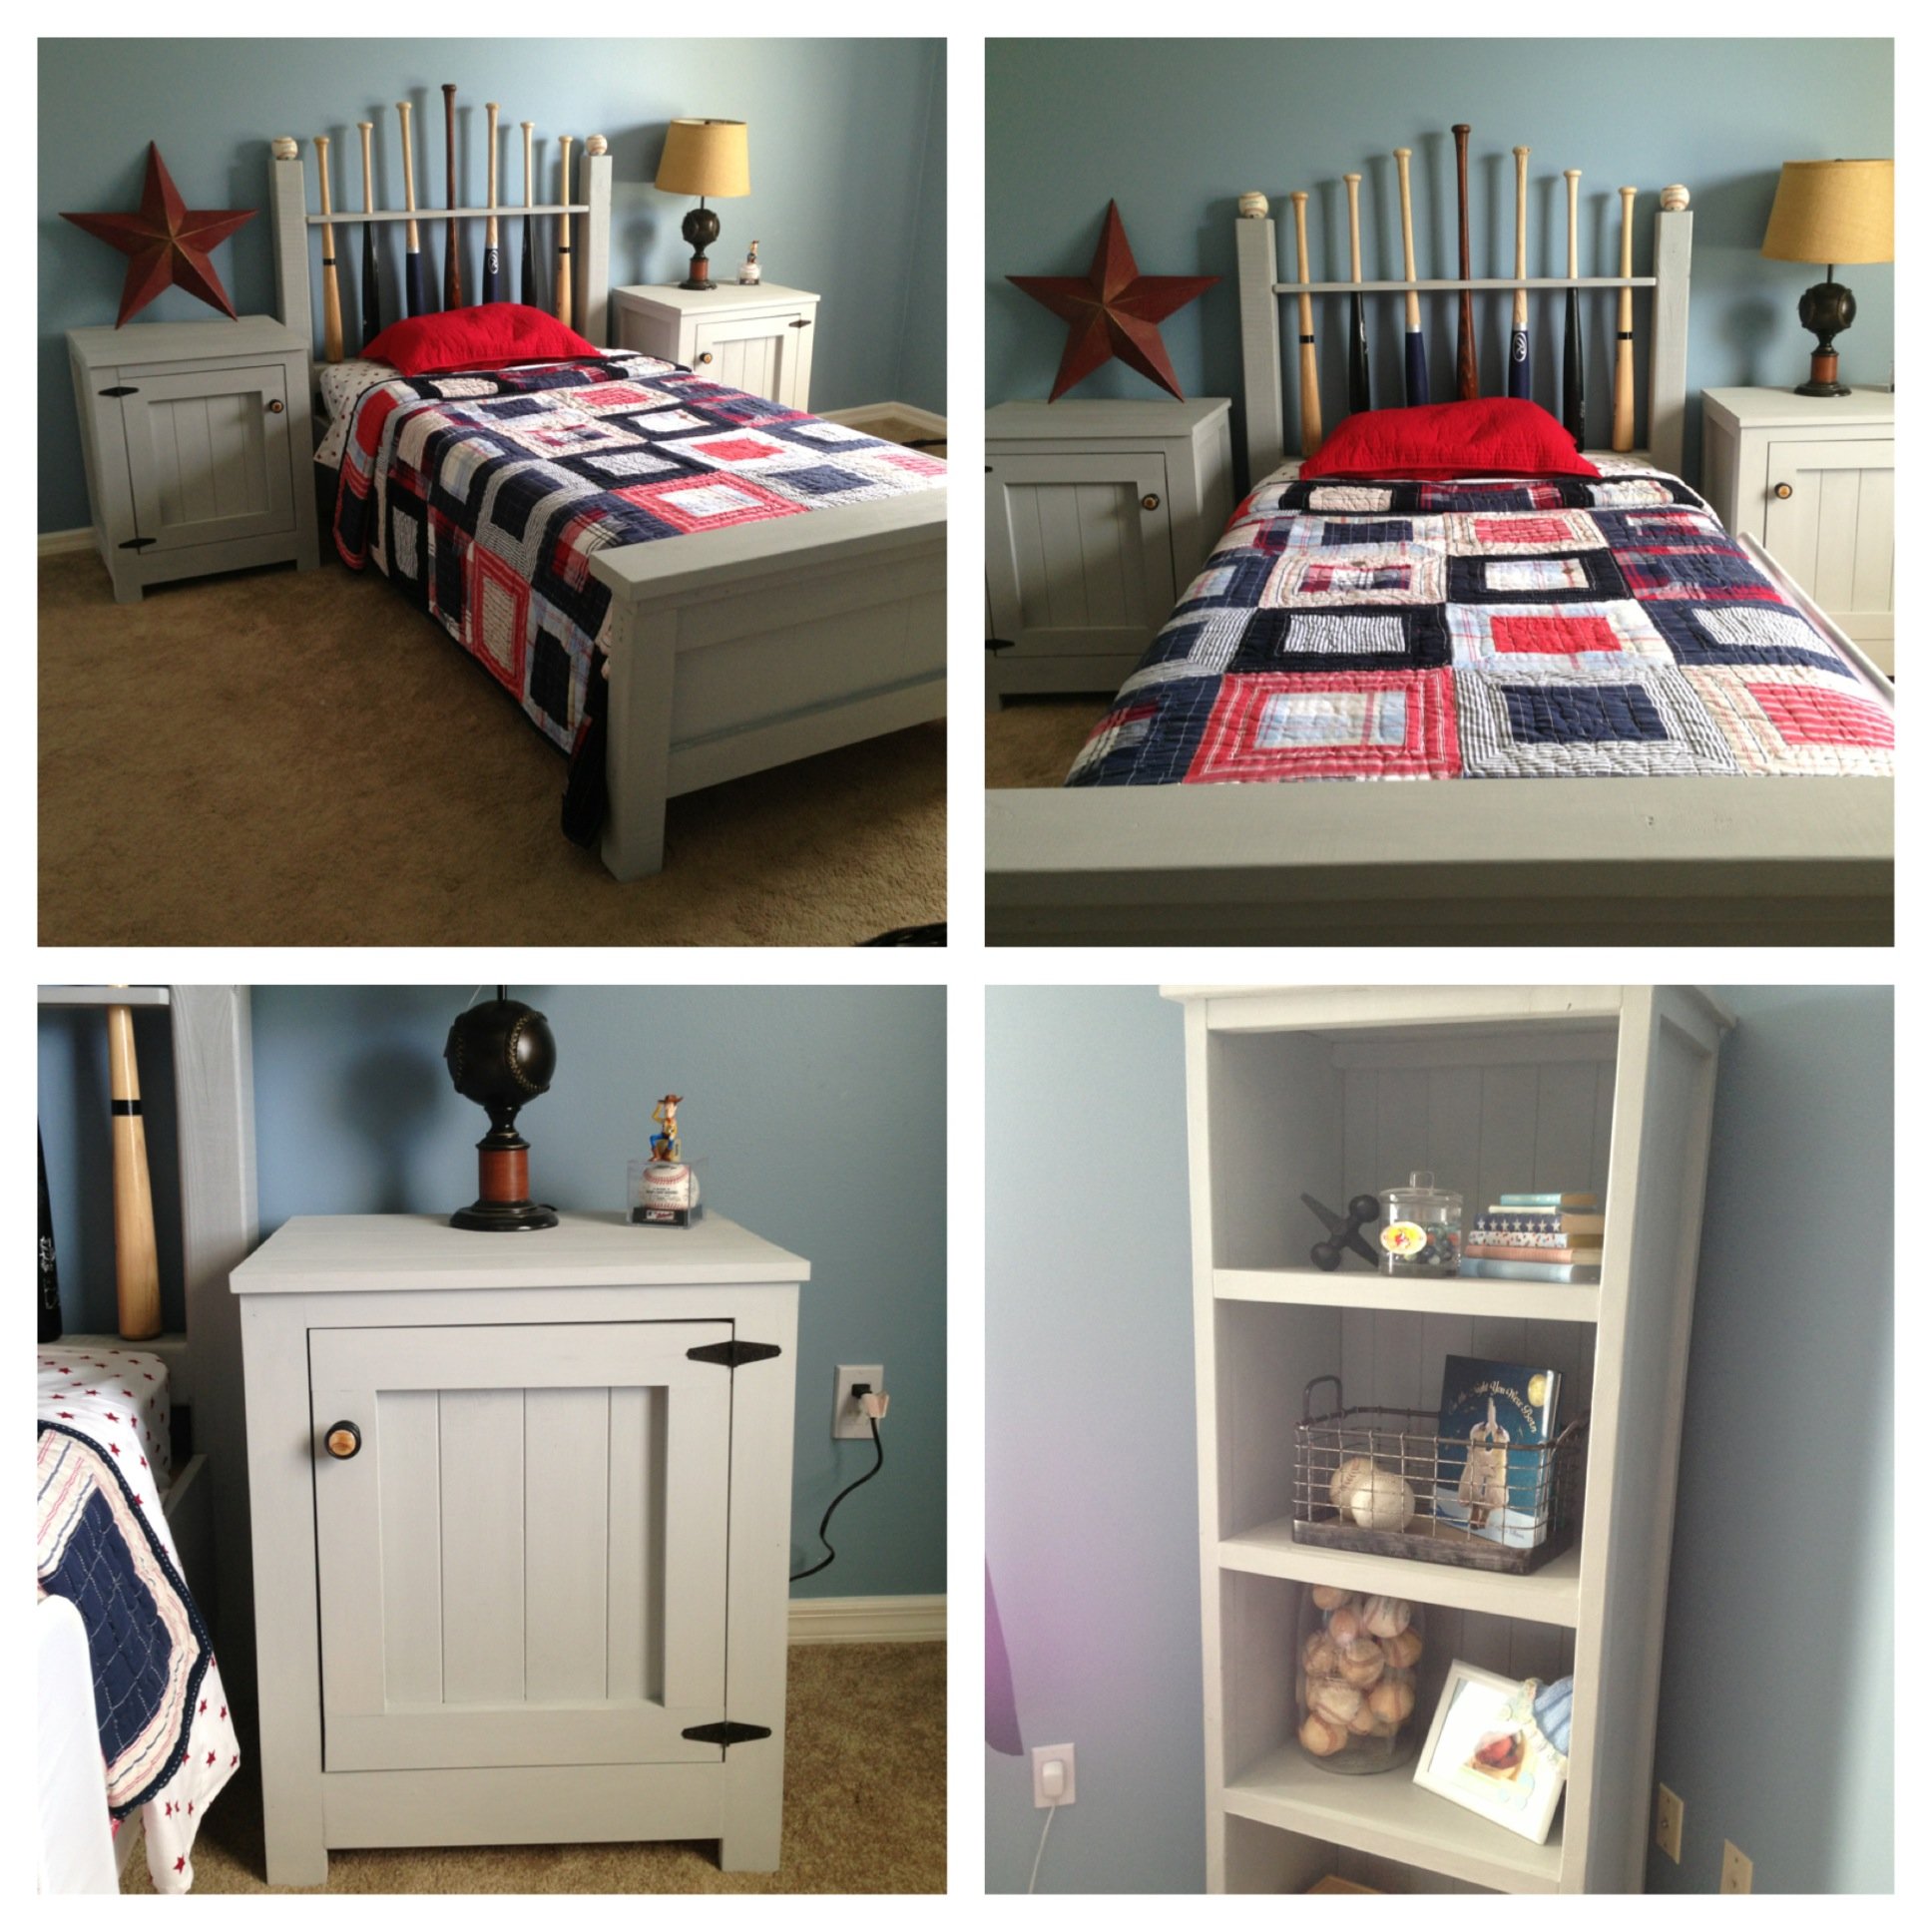
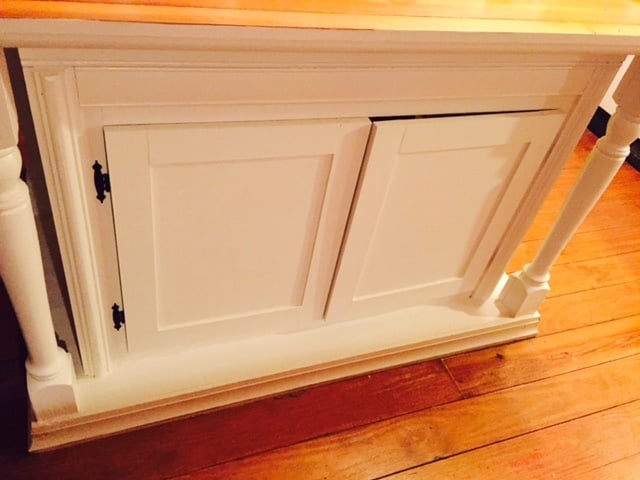
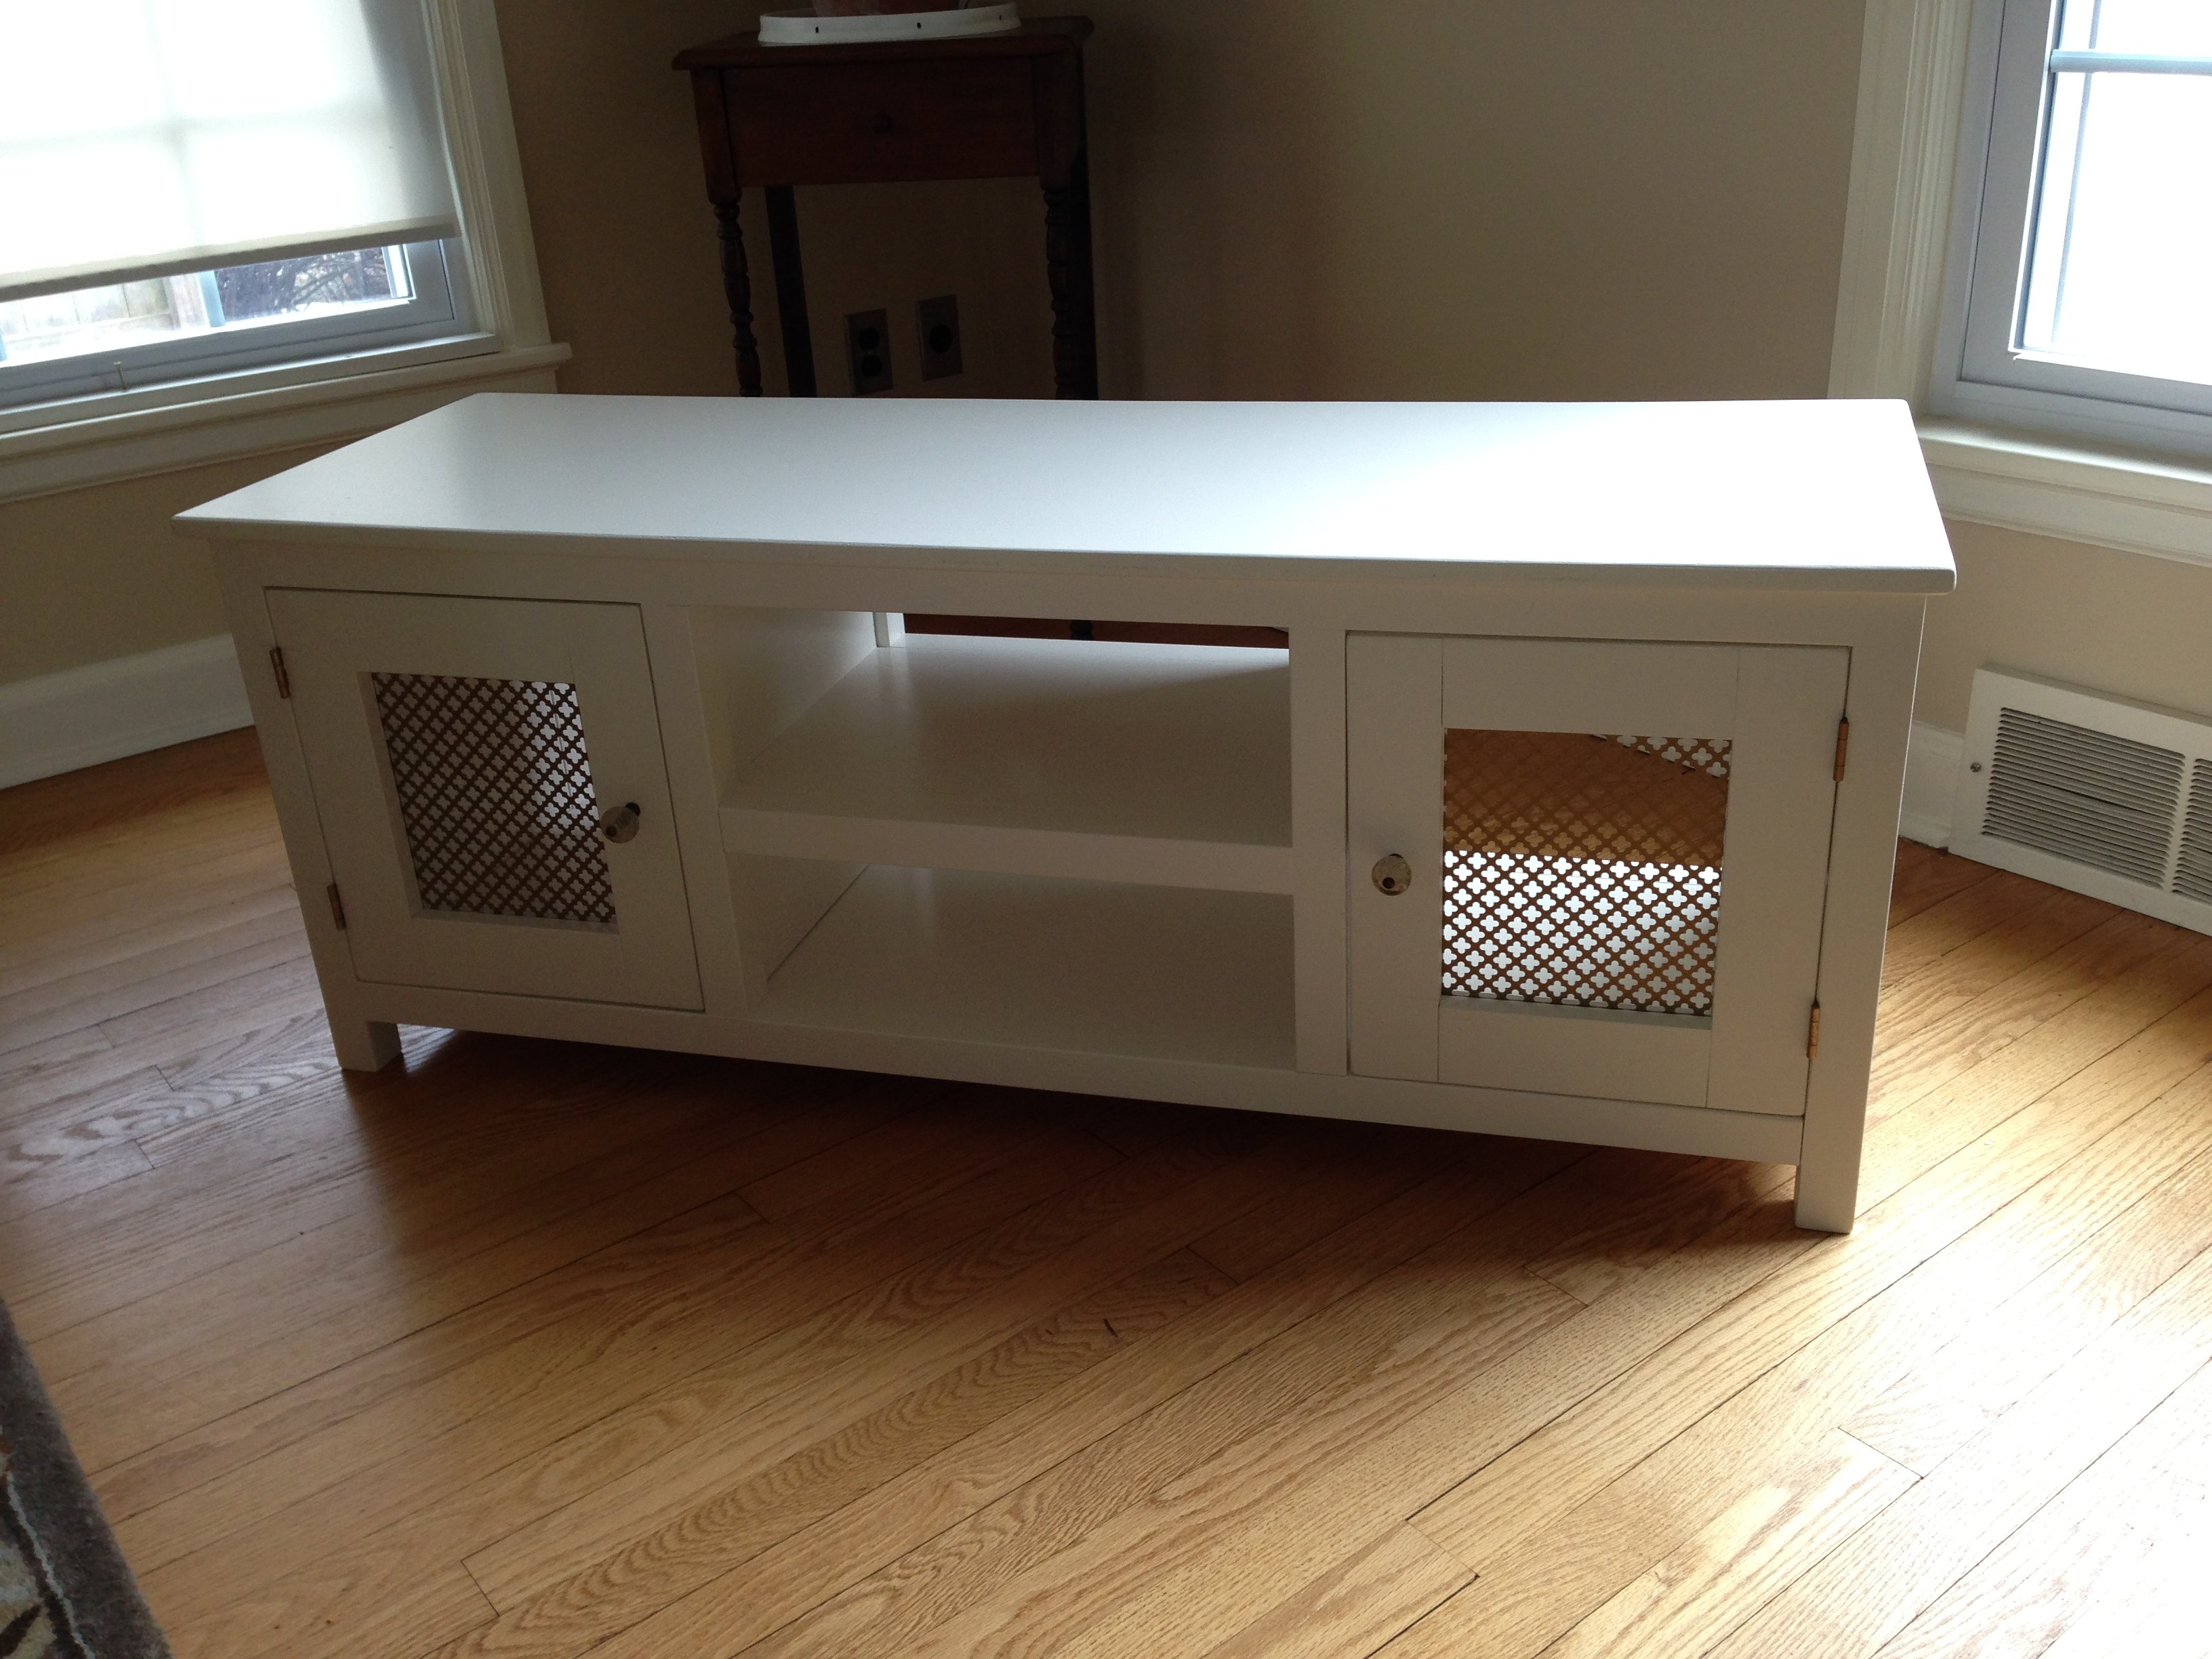
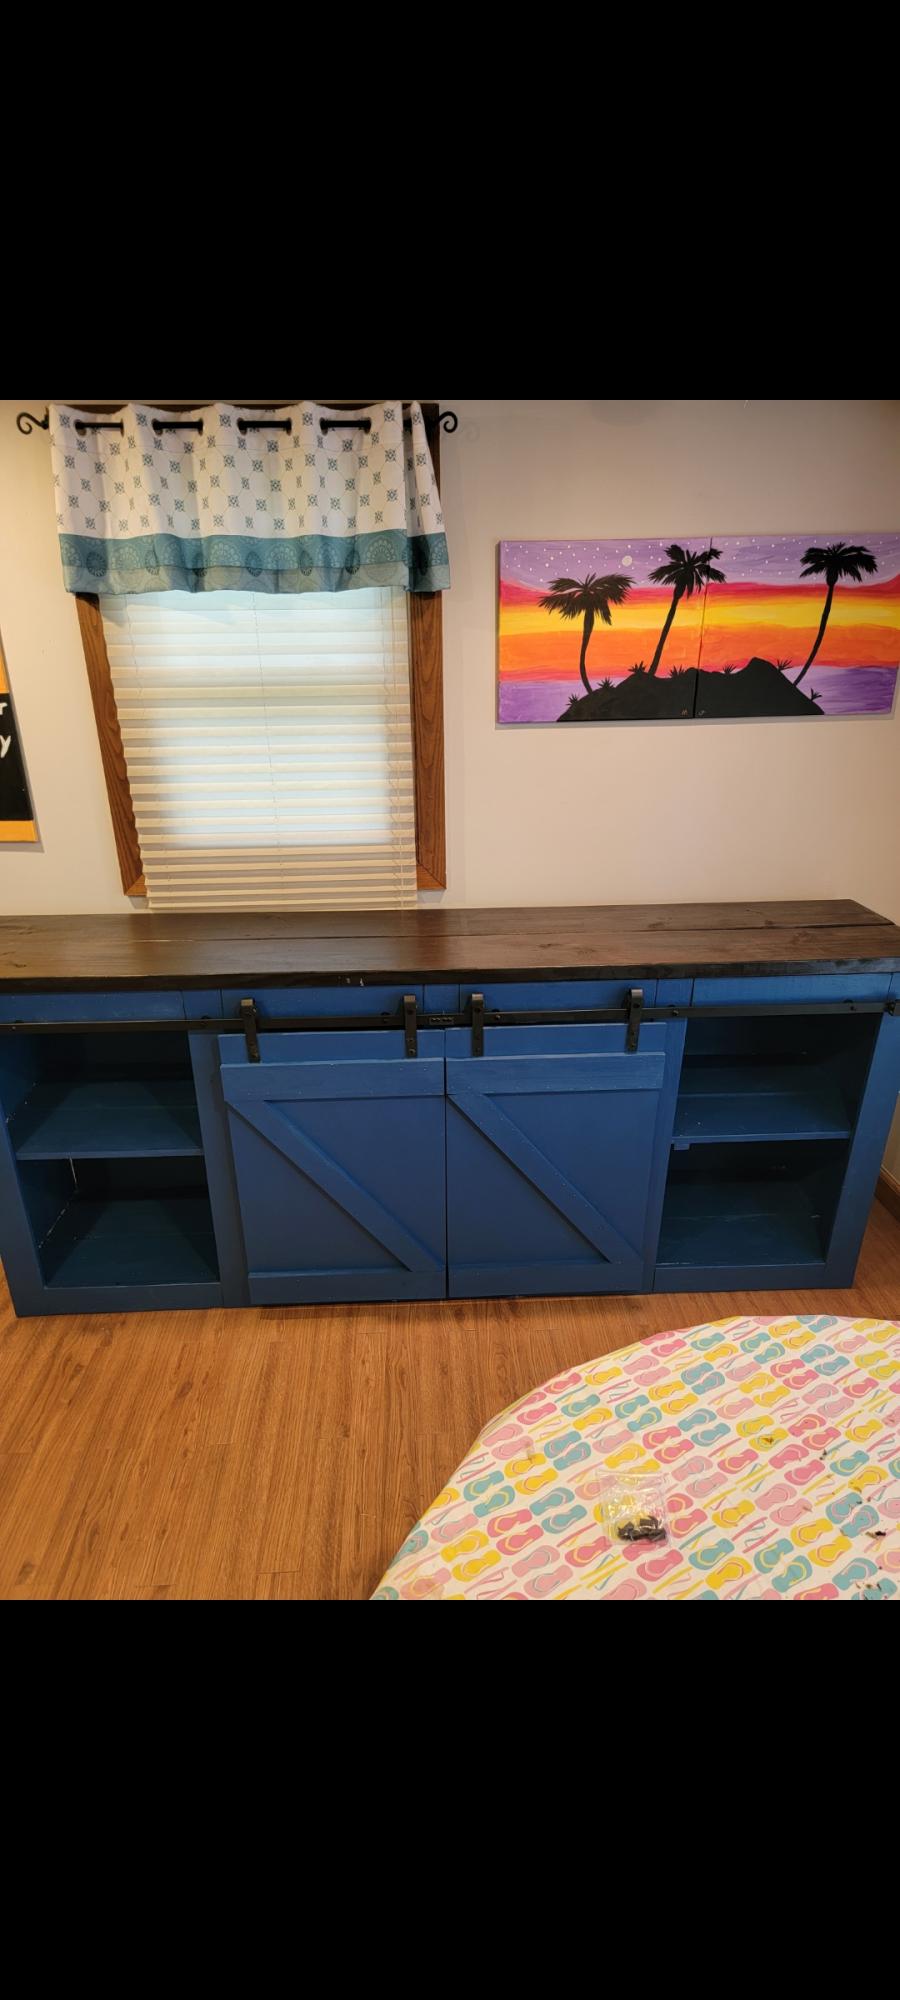
Wife picked this plan for our TV stand for our new TV. Took 2 weekends to make and total cost was ~ $100.
Followed the build instruction from this website except for the "X" on both sides. I do not own a miter saw to cut all the differrent angles. Hence I cut the 60 degree angles using circular saw and speed square and put the x togetter by creating dados 3/4" deep on the center of both the 2x2 member of the X using a router.
For stains, we used Minwas Expresso for the bottom and the top we used Golden Pecan. 2 coats of stain folloed by 2 coats of high gloss polyurethane.
This was the first time I've tried to build anything this big. I have to say, I'm pretty happy with how it turned out, especially since I didn't have a miter saw (just a circular saw) when I built this. I don't have a lot of time off from work, so it took me about 30 hours to build, but went surprisingly smooth.
Classic Bunk Beds painted blue.
I used some scrap wood to build a small custom box so my kids can keep a water cup or book close by.
Pretty basic bench made from Home Depot pine boards (the cheap ones, not the Select Pine stuff). I had some extra trim pieces from a past project so used that for the base trim. That stuff is pretty cheap anyhow so it wouldn't be too much to add to other projects.
I didn't have too much trouble with this one other trying to get the paint on evenly.
Comments
Ana White Admin
Fri, 05/28/2021 - 10:44
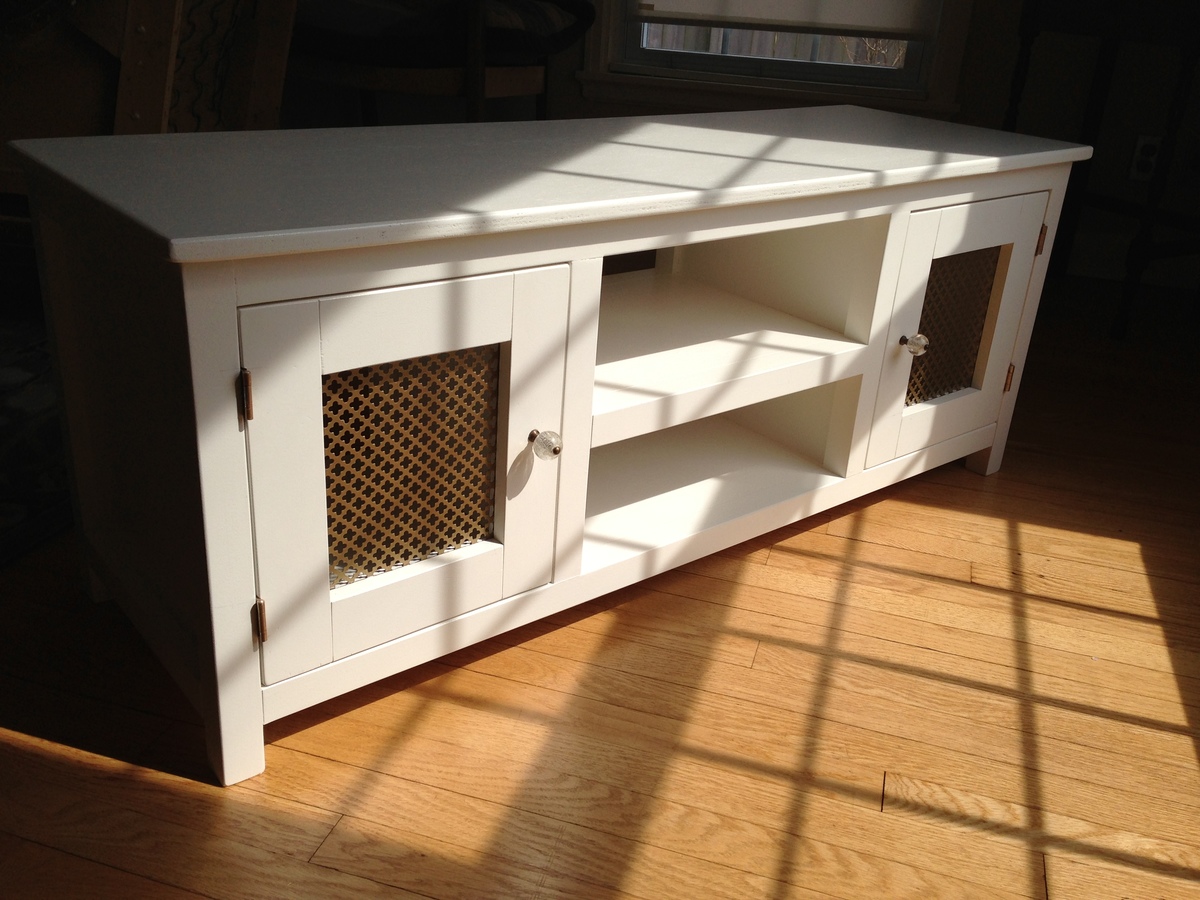
Beautiful finish!
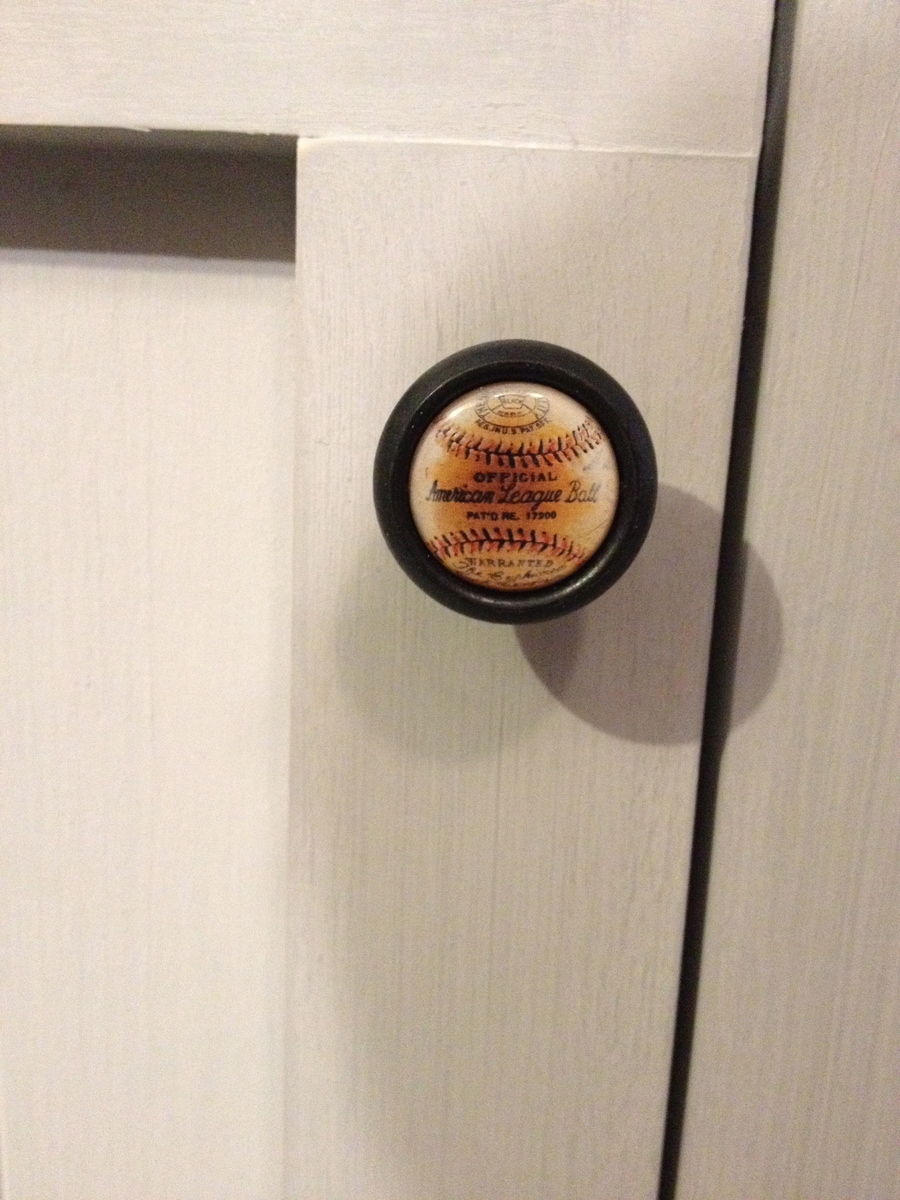
Love the hardware and two tone finish! Thank you for sharing:)