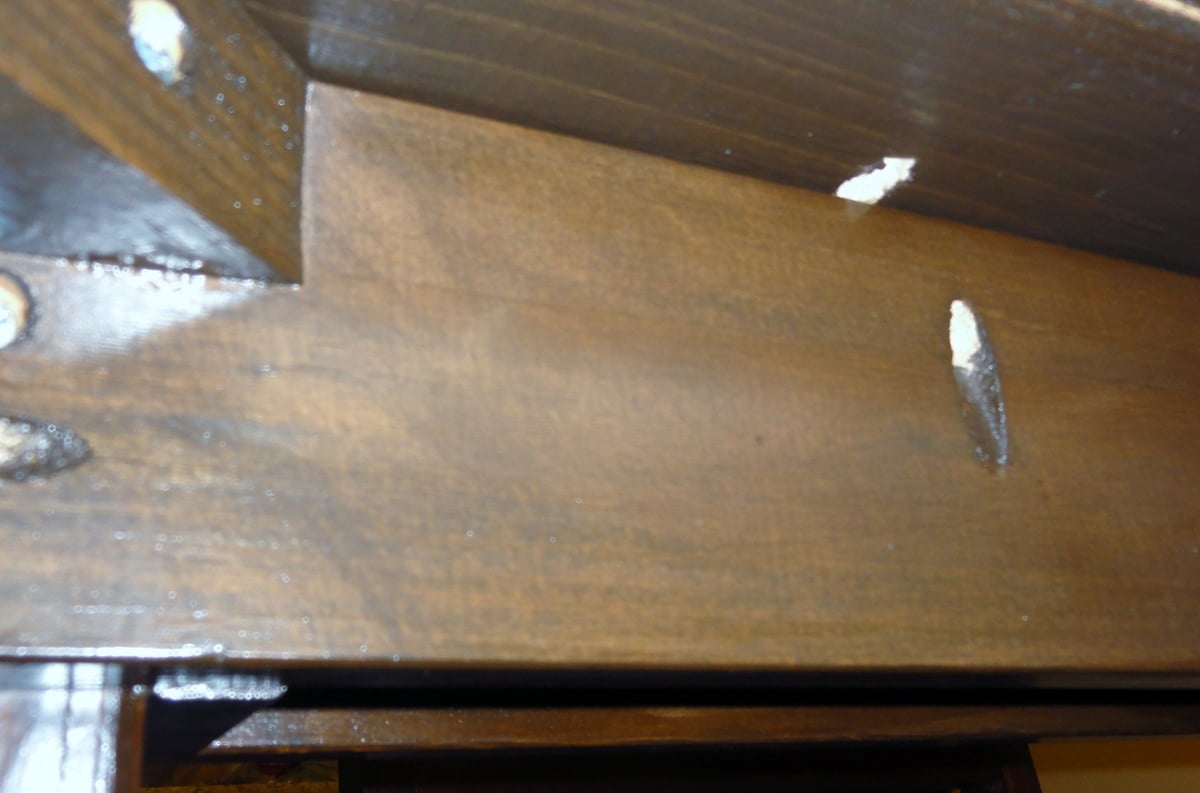
We badly needed a new kitchen table since ours has been completely destroyed over the years. Not a bad table, but too "smooth and perfect" for our lifestyle. I wanted something darker a lot more rustic that would not HIGHLIGHT nicks and scratches so badly.
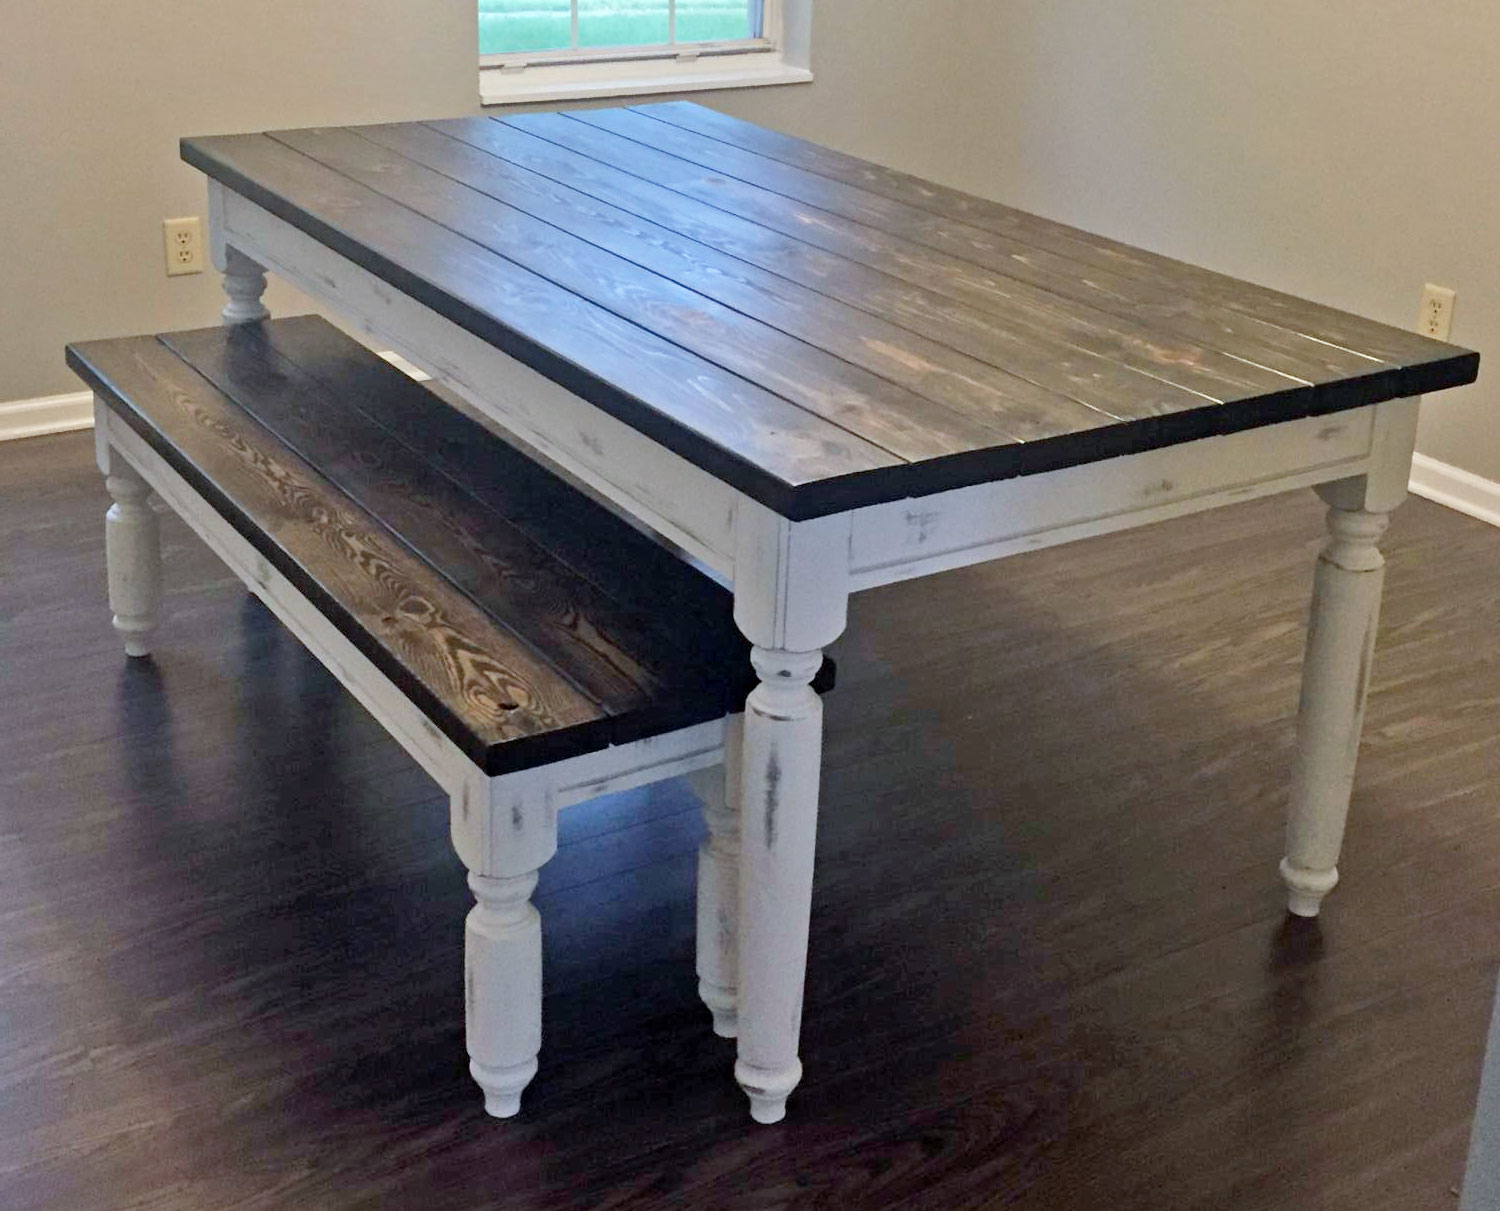
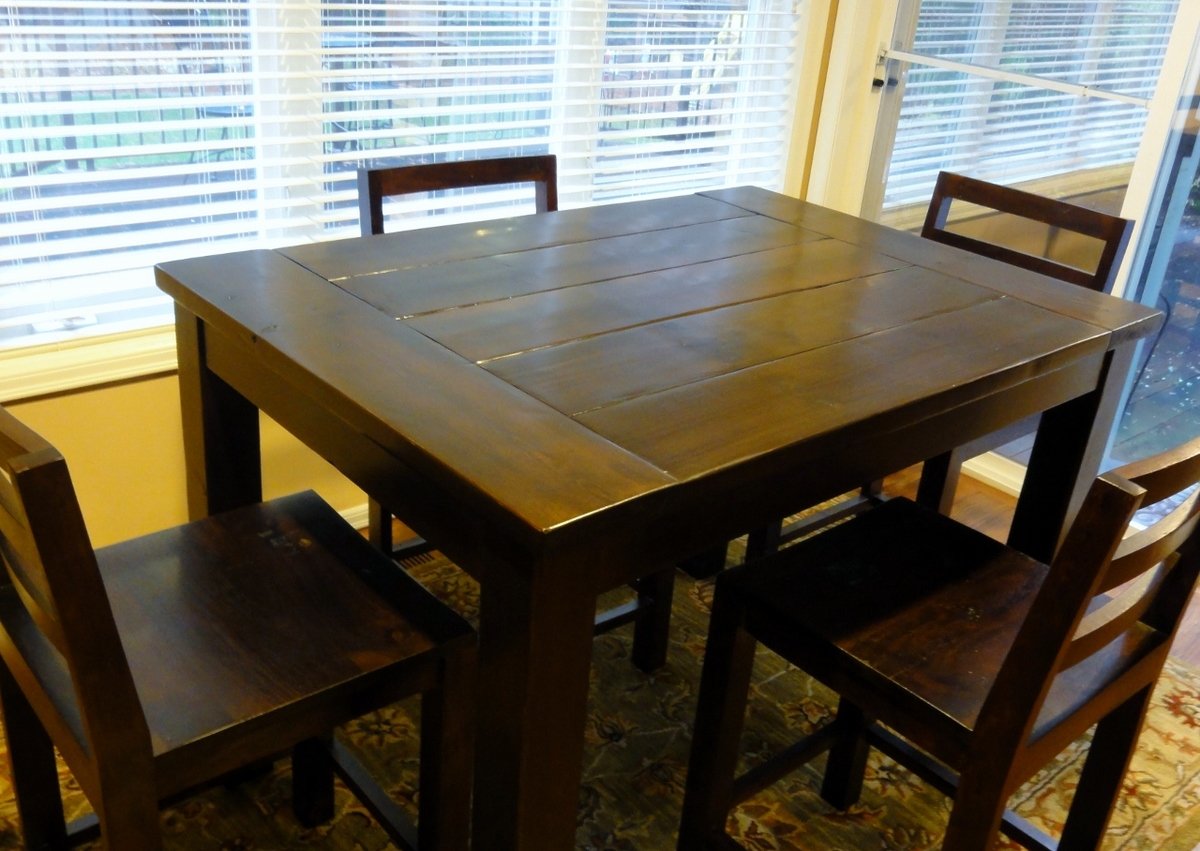
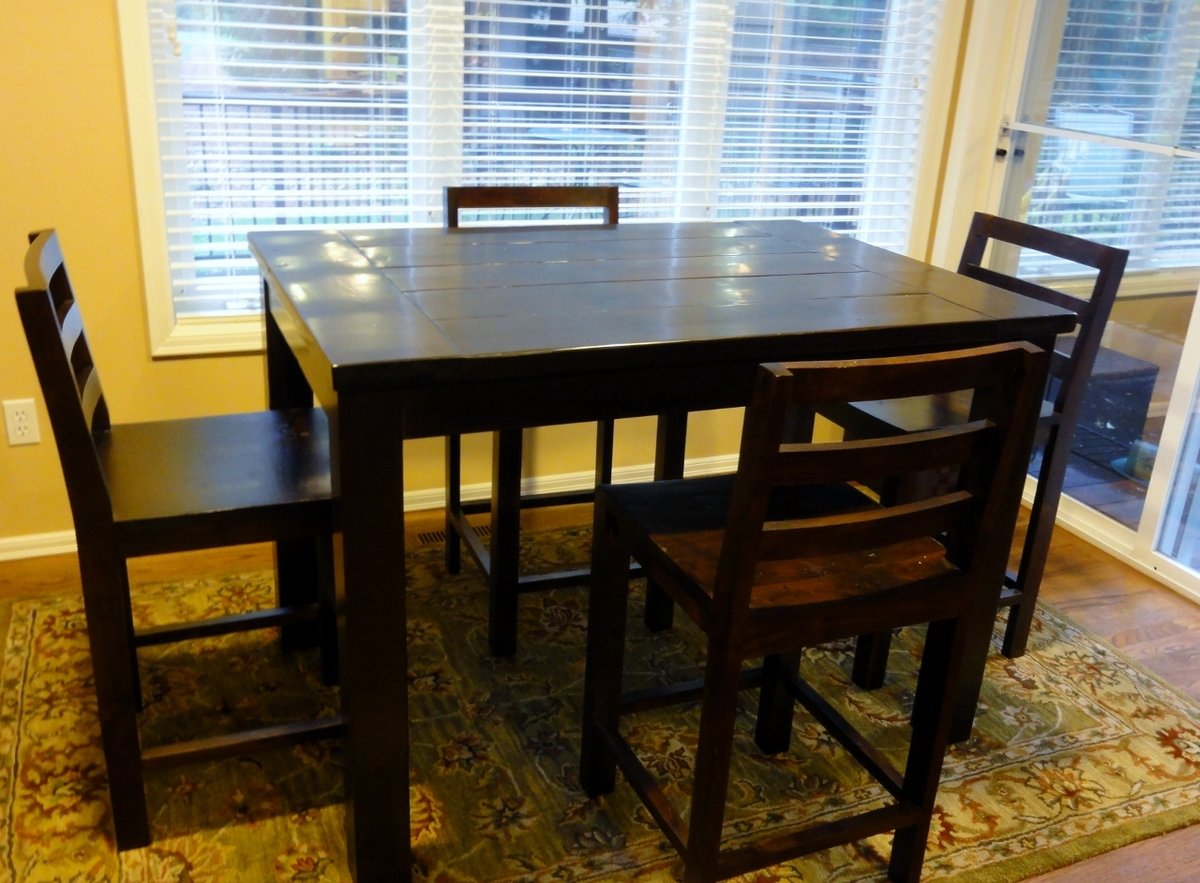
I fell in love with a table at World Market, but it was the wrong size. It's called the Napa Gathering Collection. It comes in either a counter-height 3' x 3' table or a standard height 3' x 5' table. Shorter table is too long for the kitchen and the counter-height one was too small. *sigh* Here's a photo of the set. LOVE this!!!! So upset it's so small. World Market photo below makes it appear a lot more red than it is.

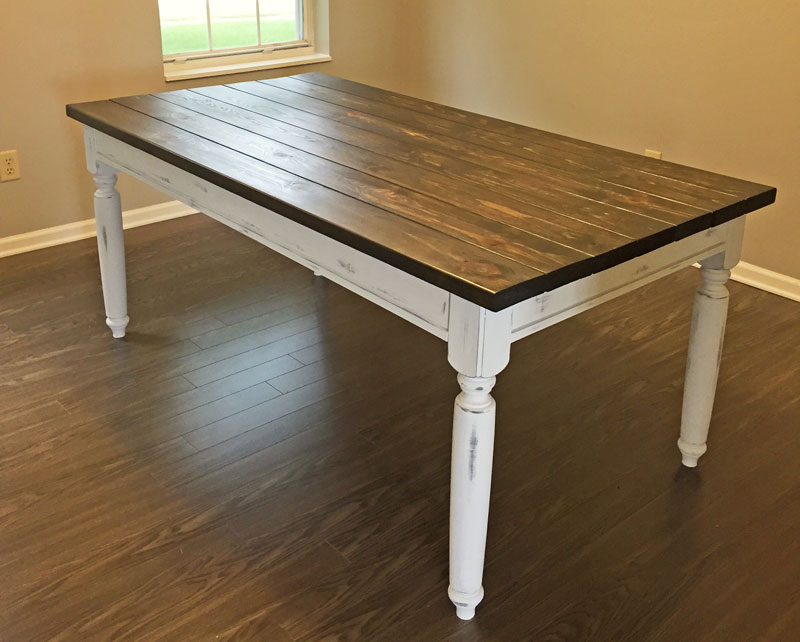
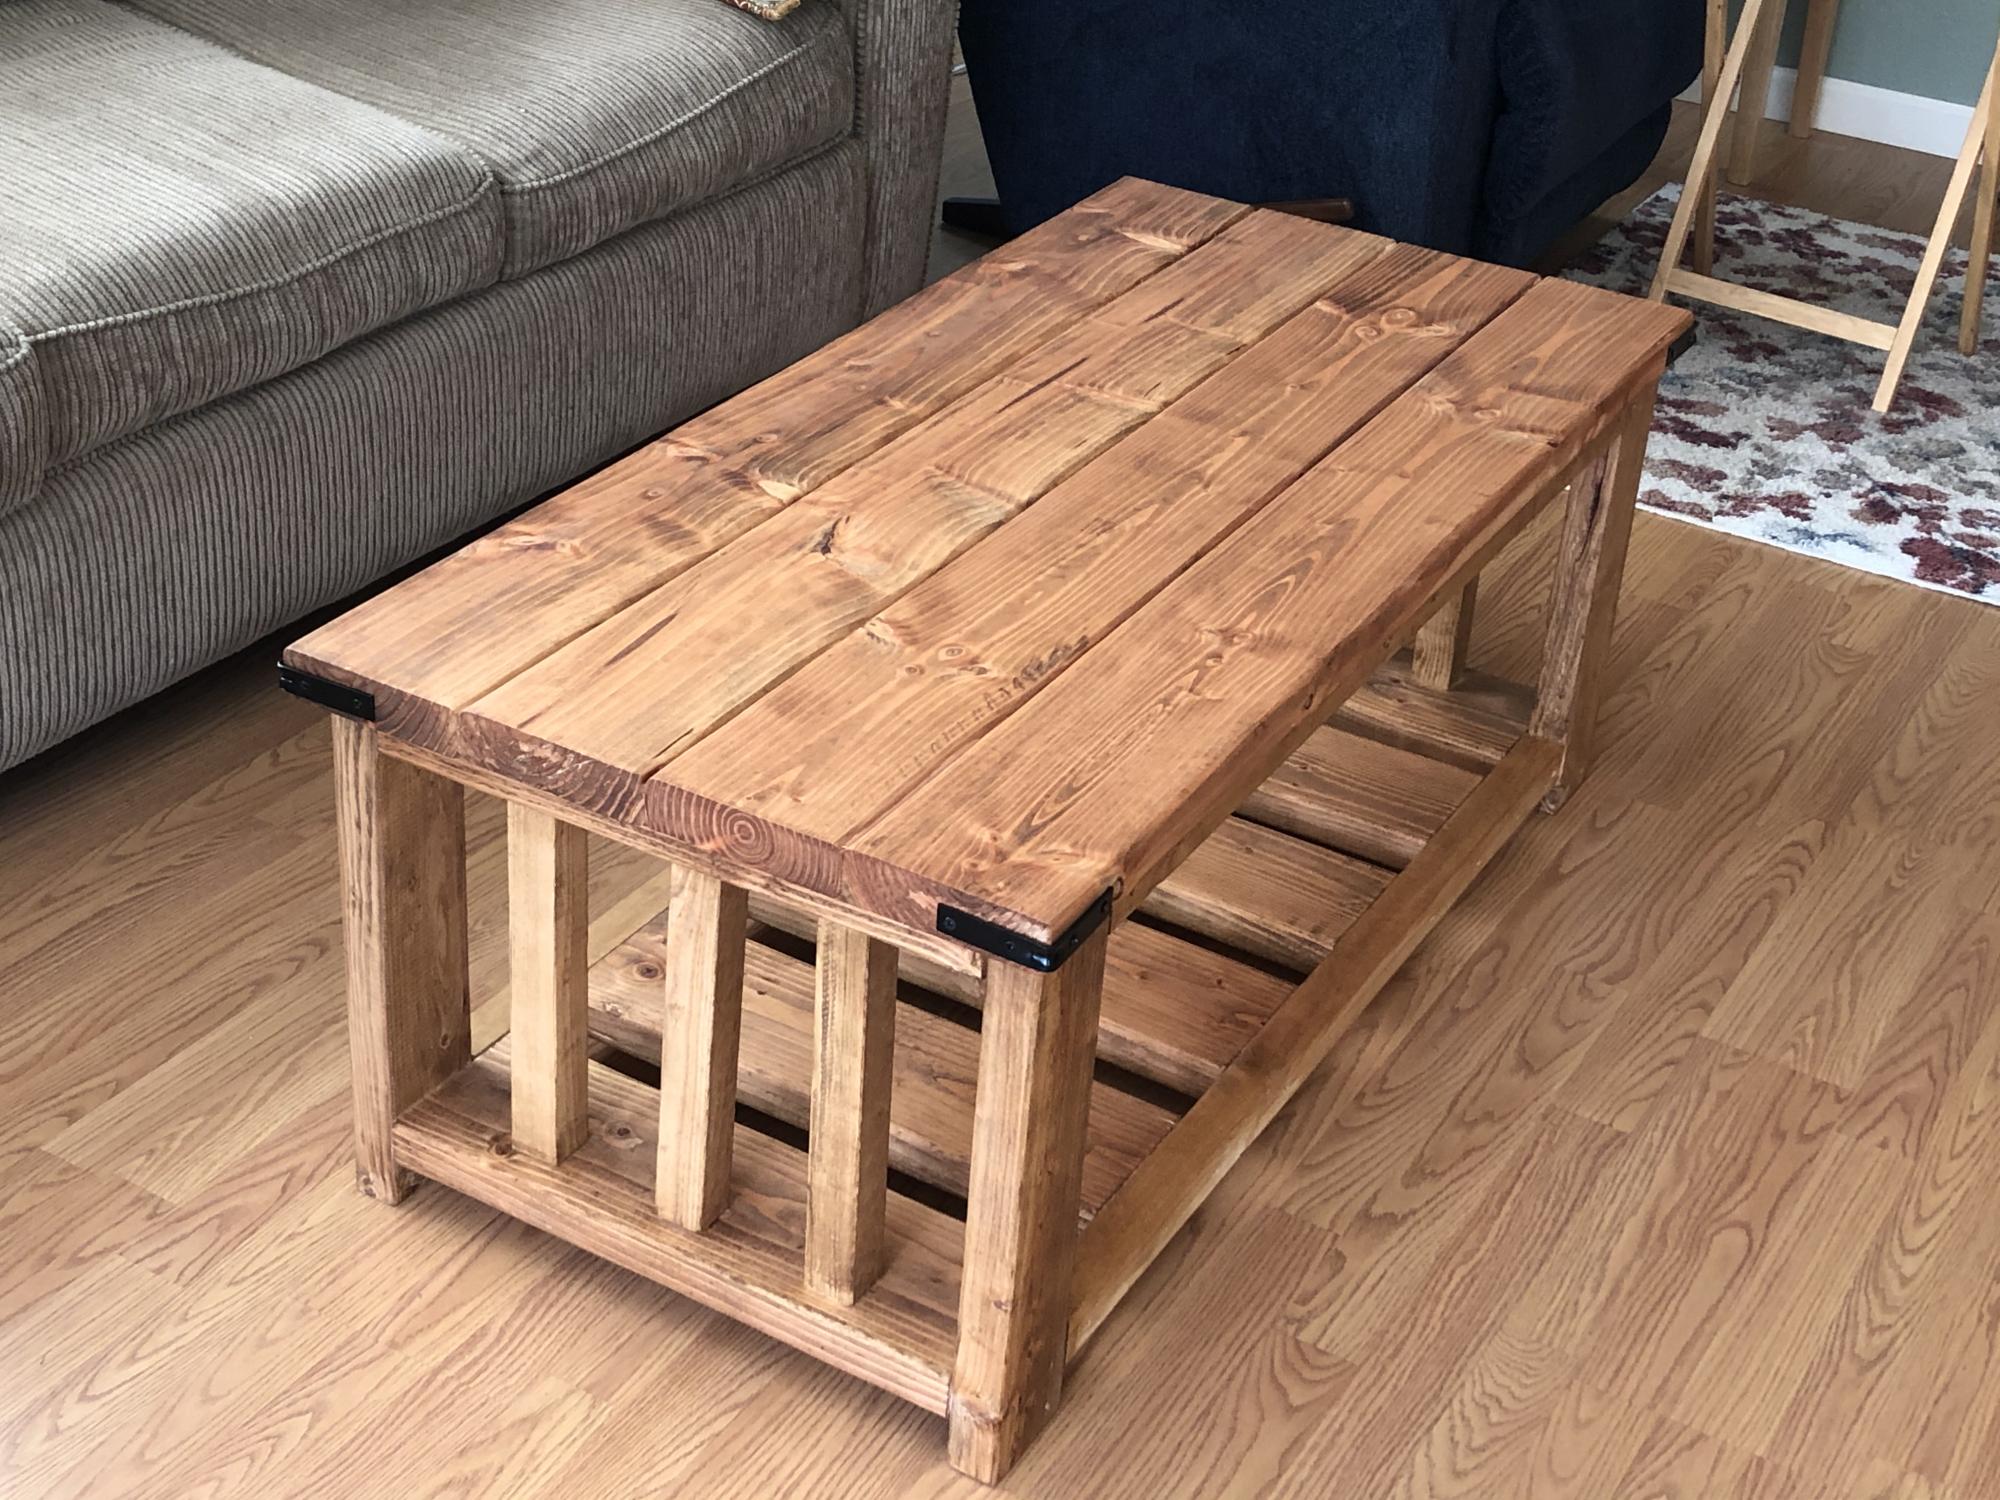
Anyway, it's made out of Acacia wood, so it was massively heavy and strong. I loved it so much that I bought the four gathering chairs and spent over a month trying to get Acacia wood without spending a fortune. No luck. So I decided the most similar table here on Ana's site was the Tryde coffee table.
I researched different hardwoods, but was so nervous to spend that much money that I decided my first kitchen table would be a rough draft with super cheap wood. LOL If I love it then I didn't spend a lot. If I don't love it, I will learn from it and can build it again someday with more expensive hardwood like maple.
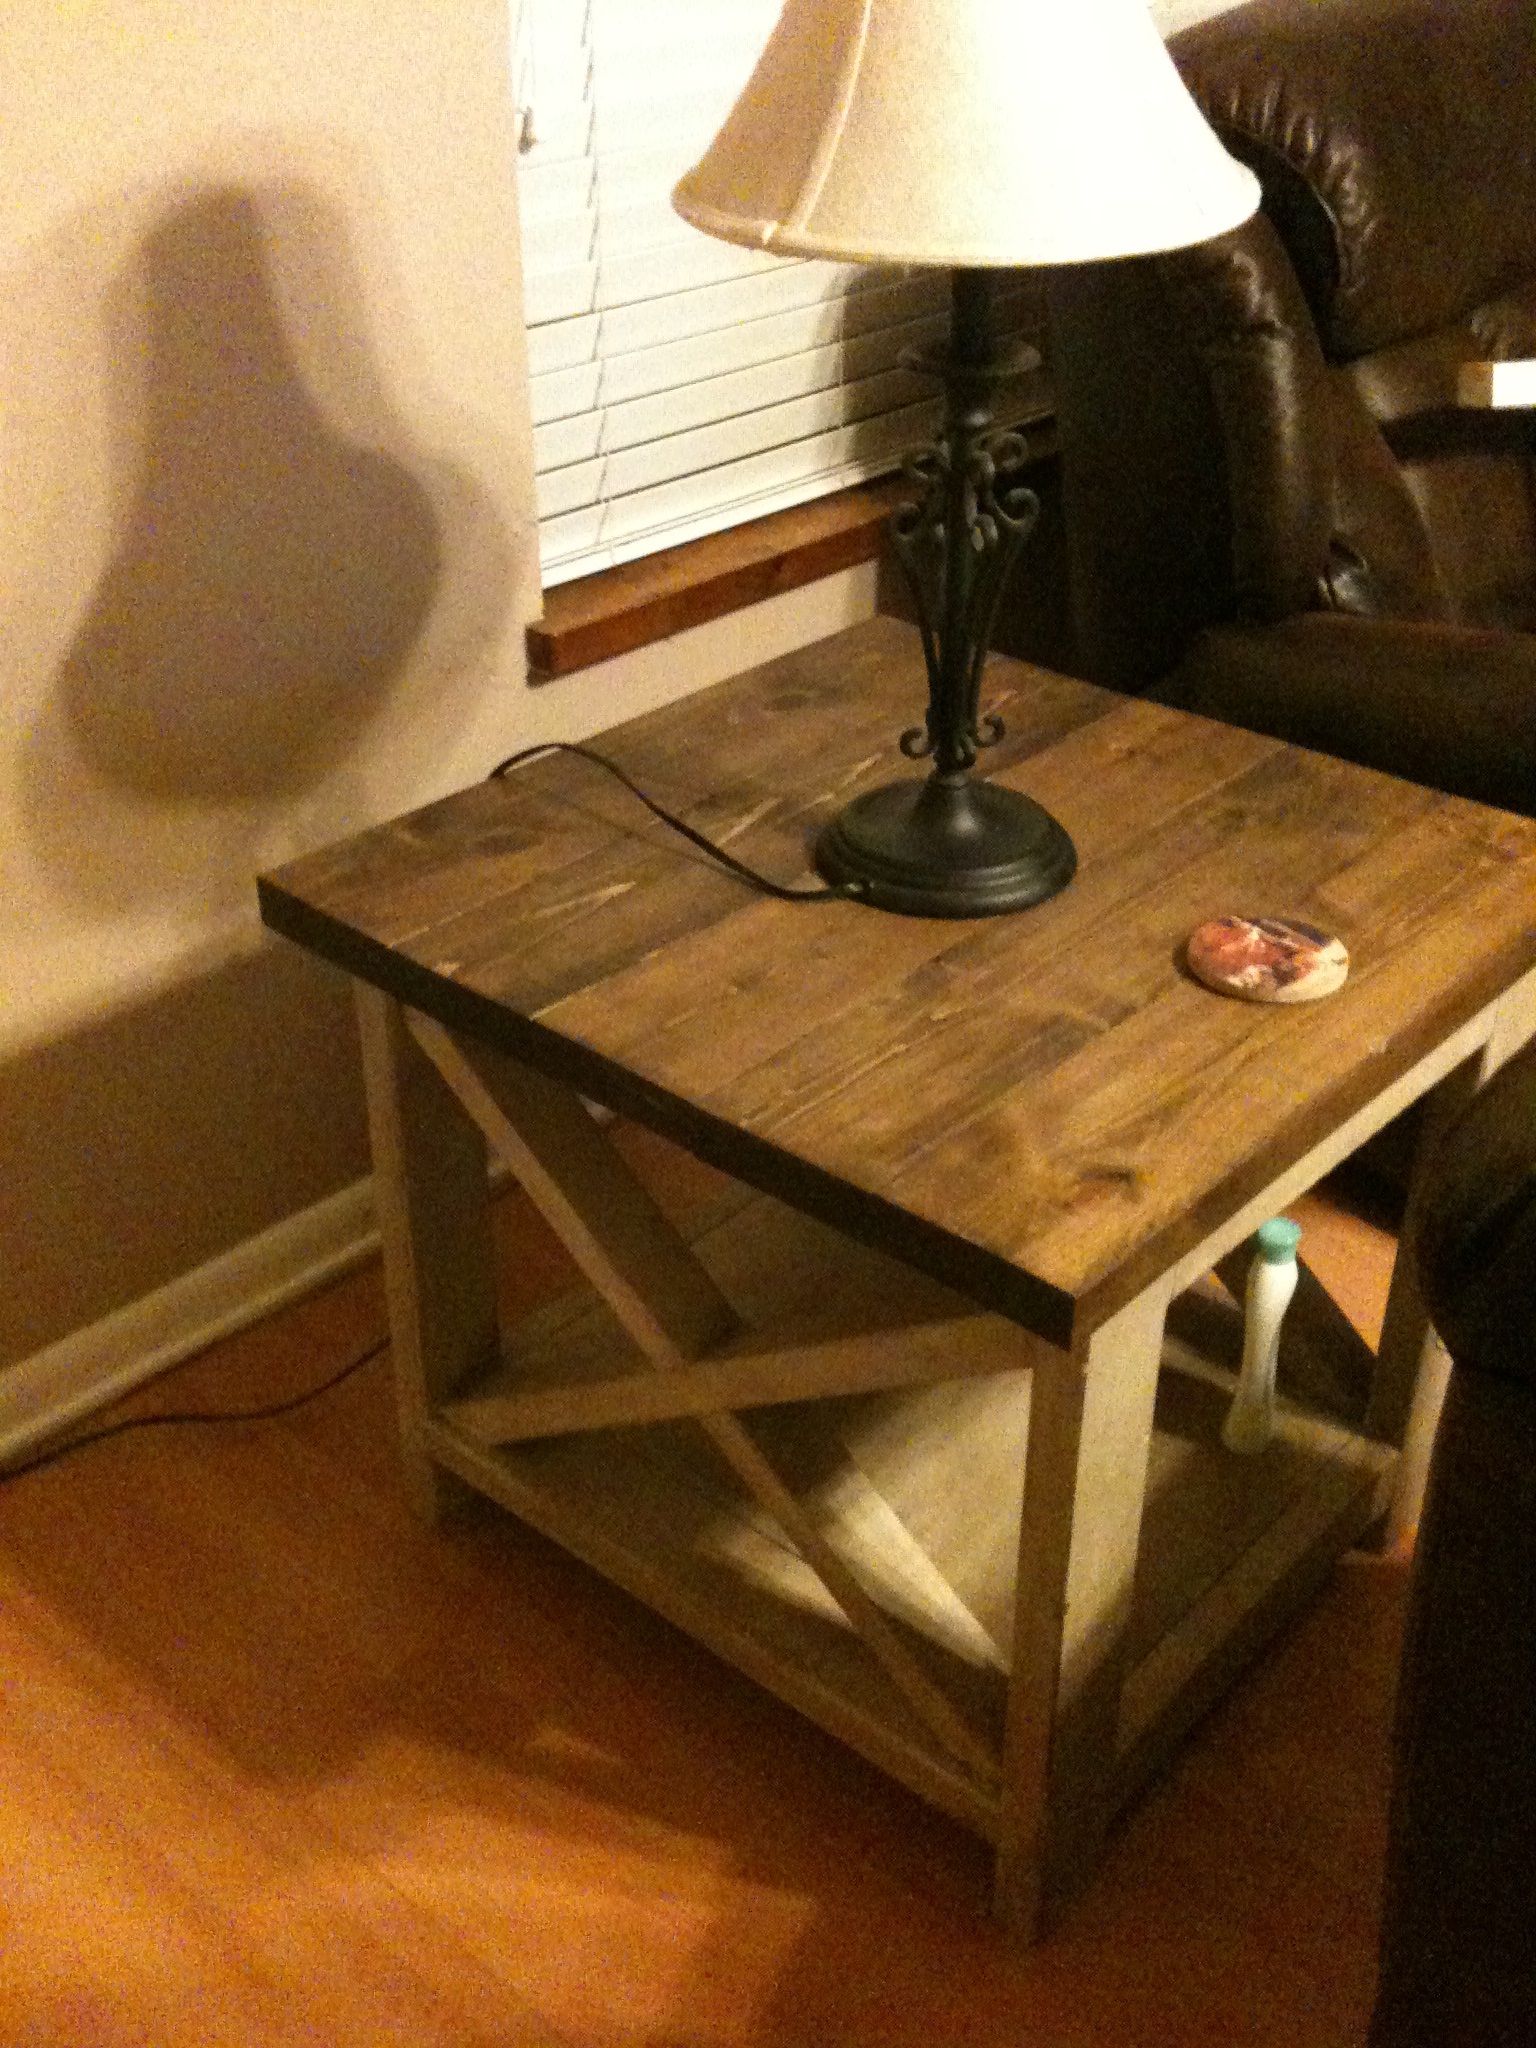
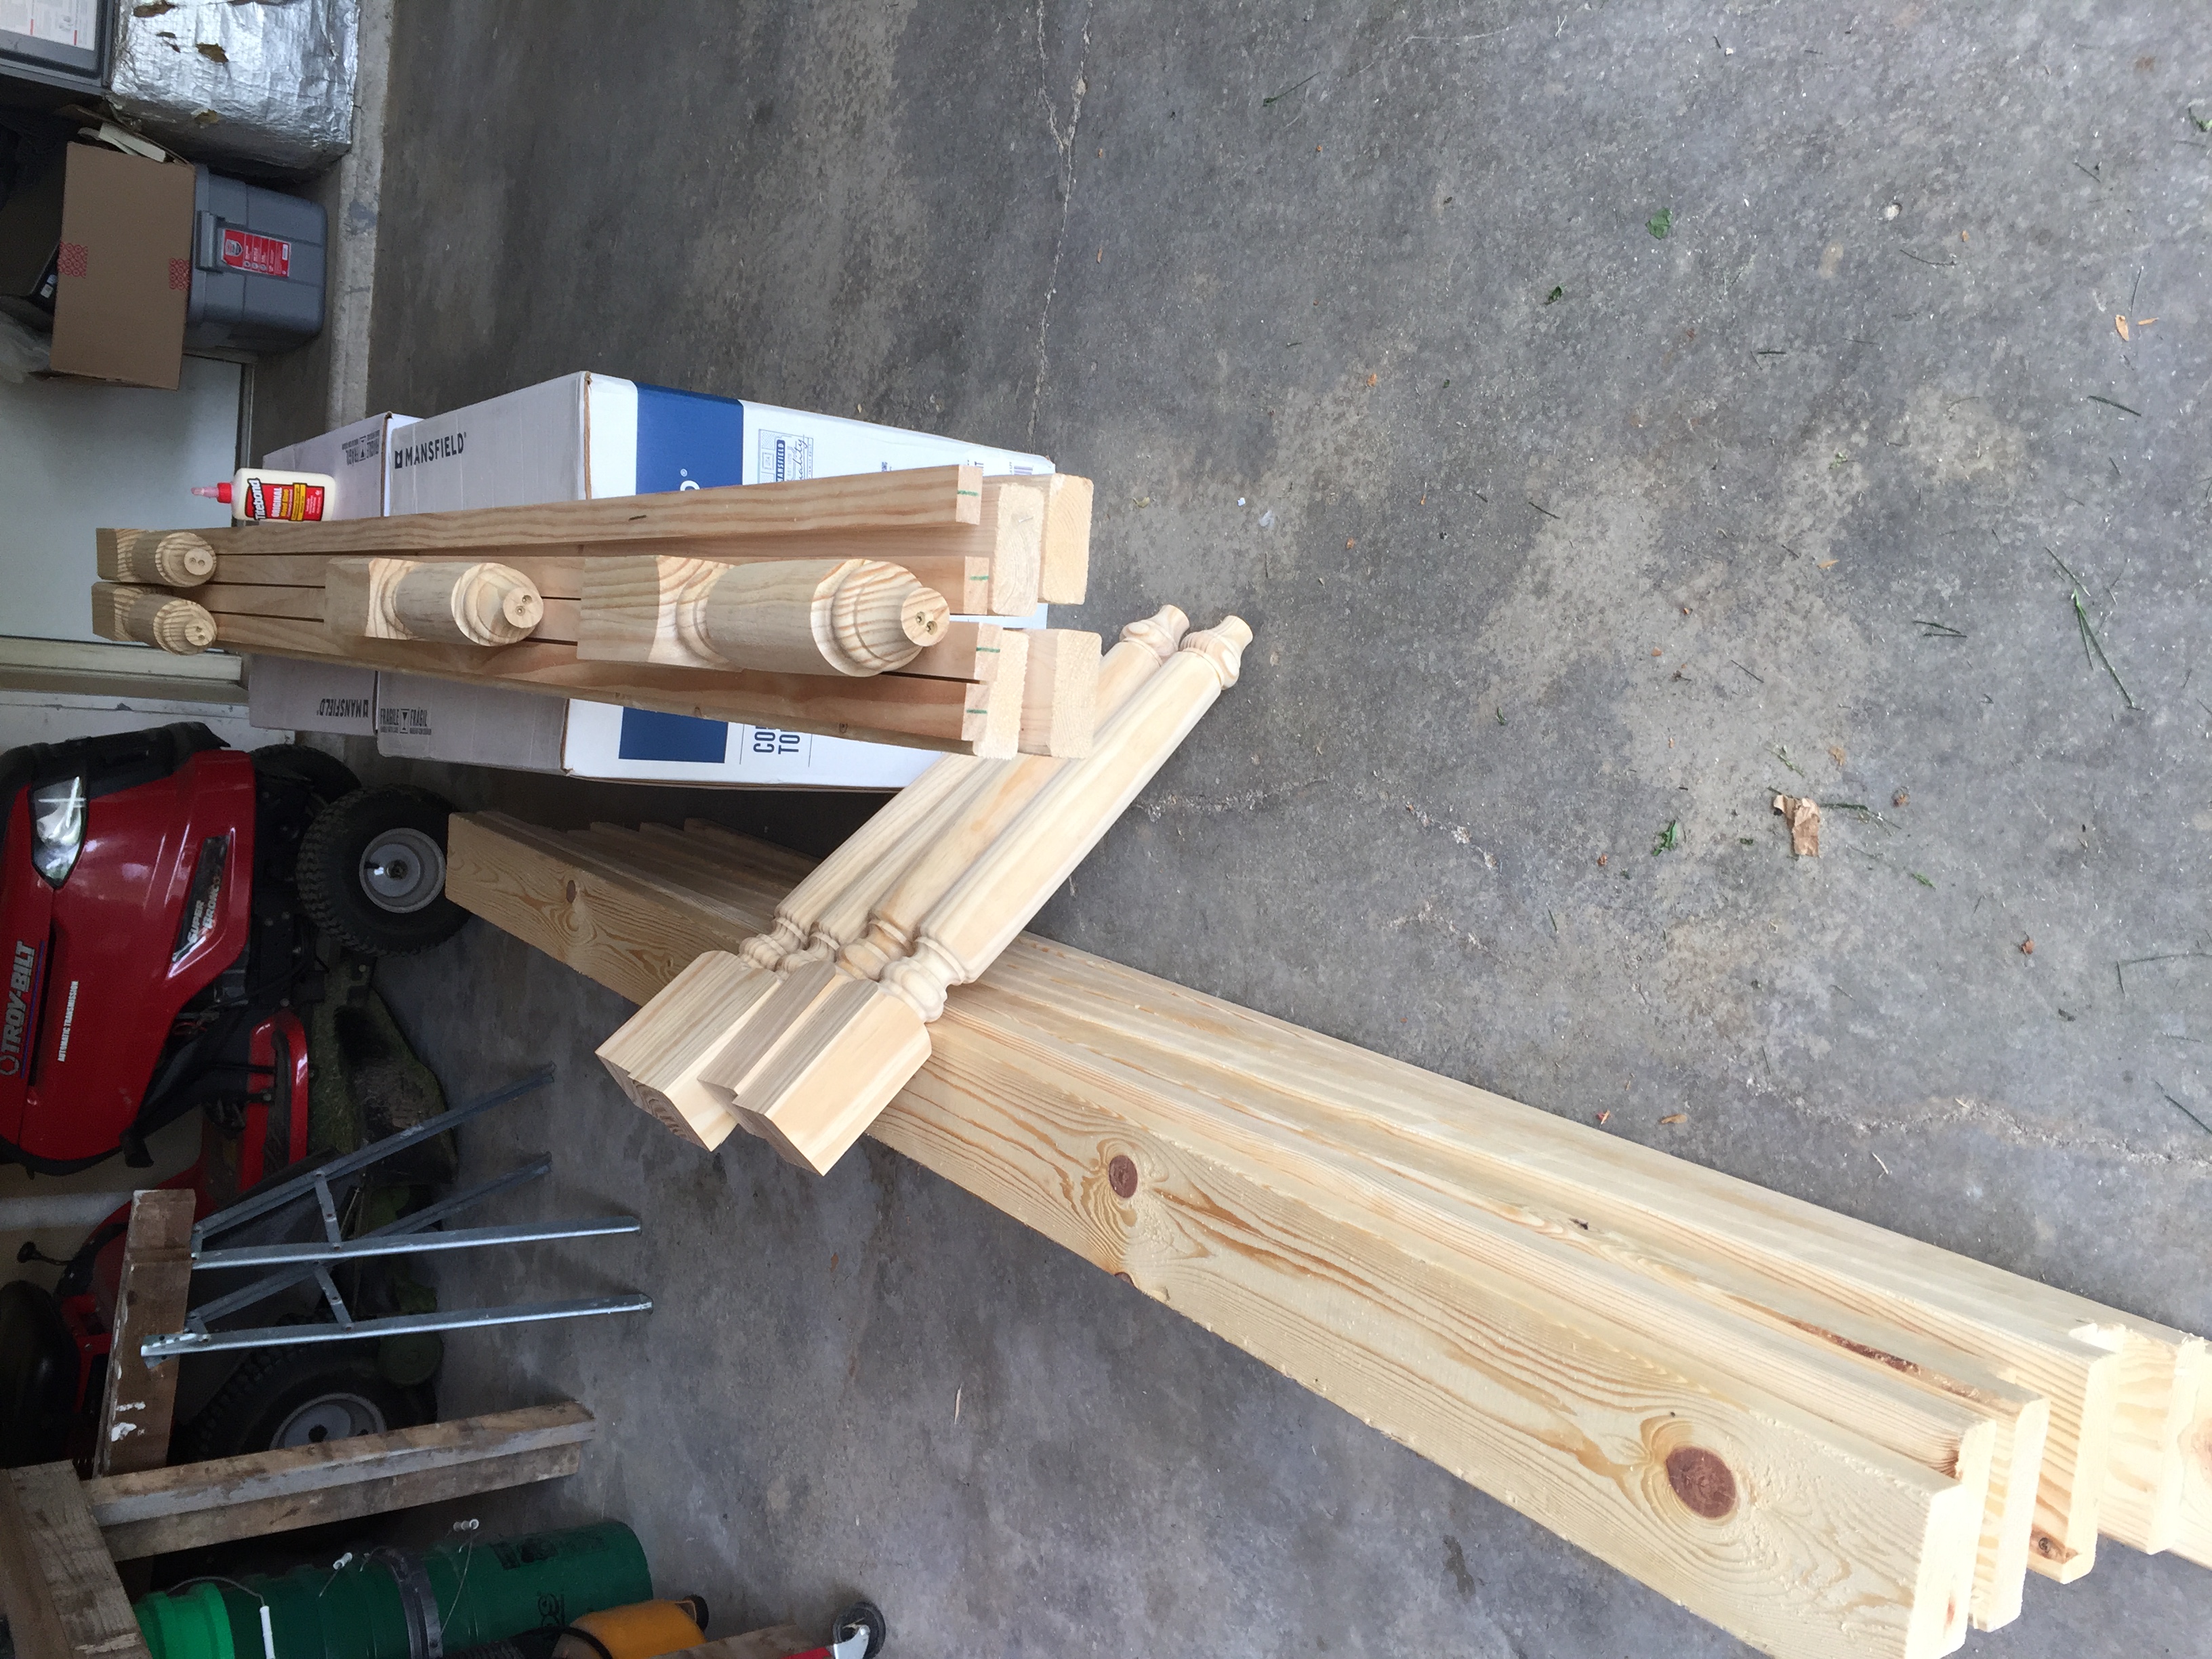
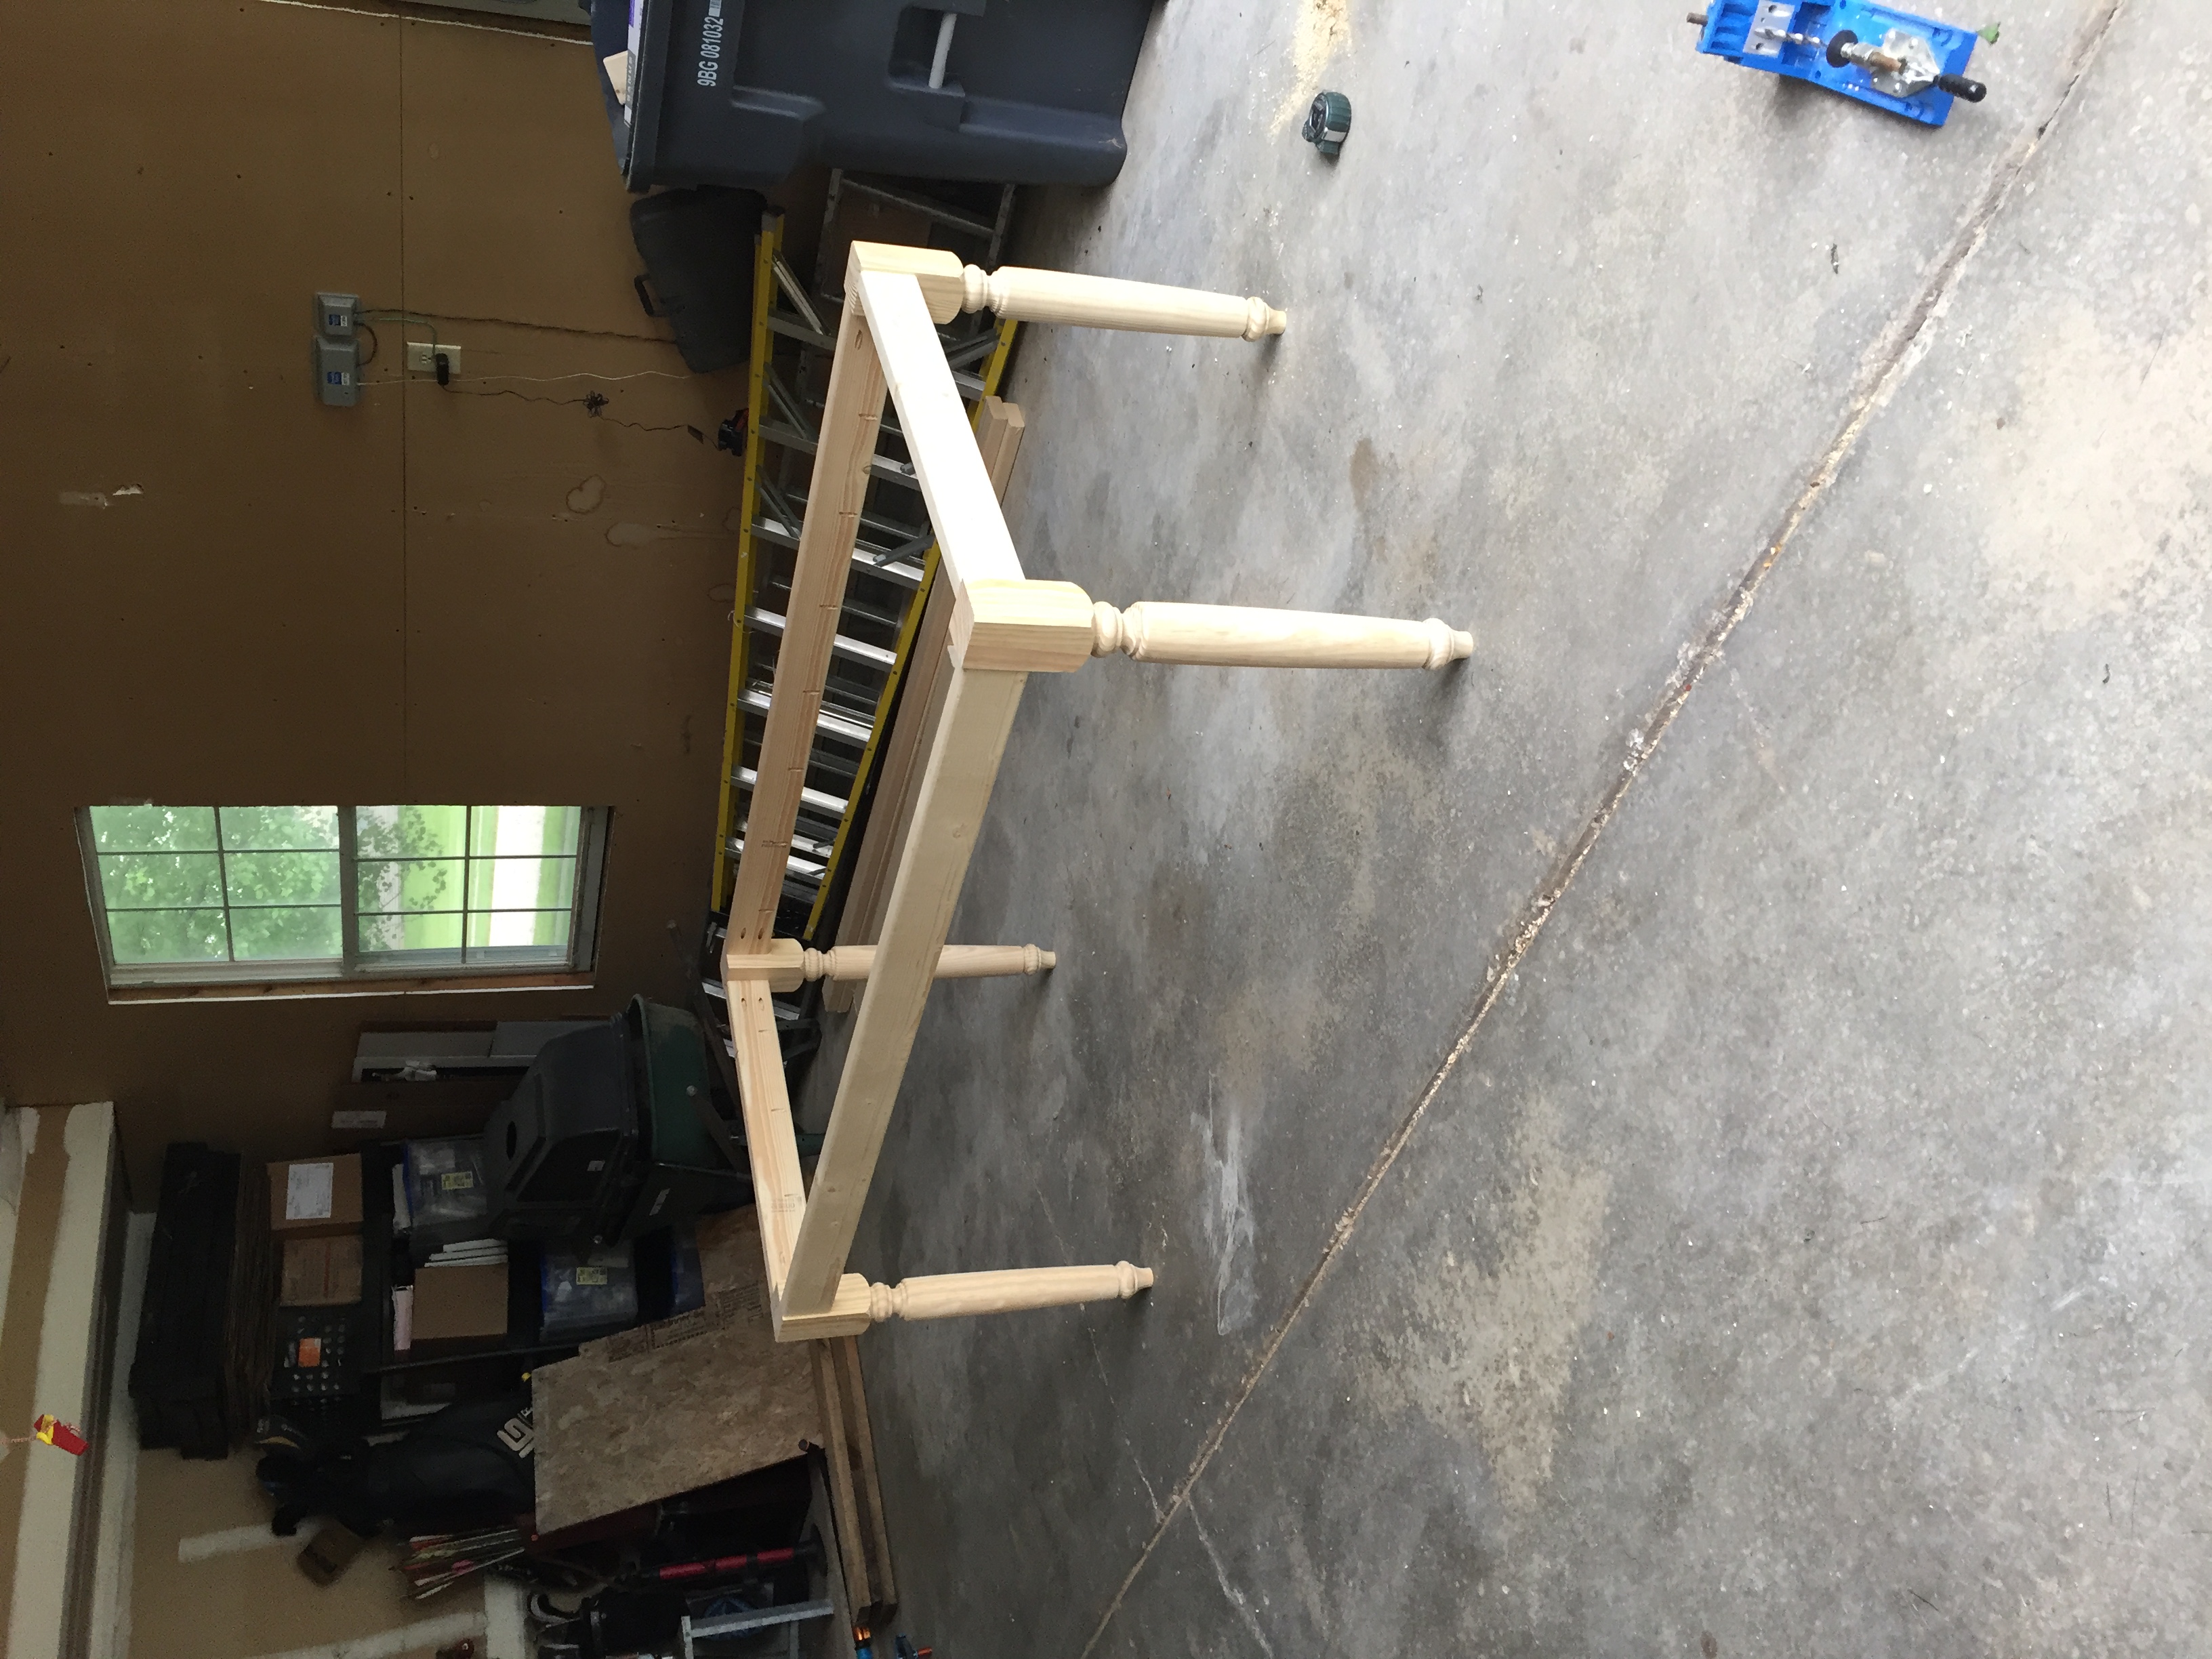
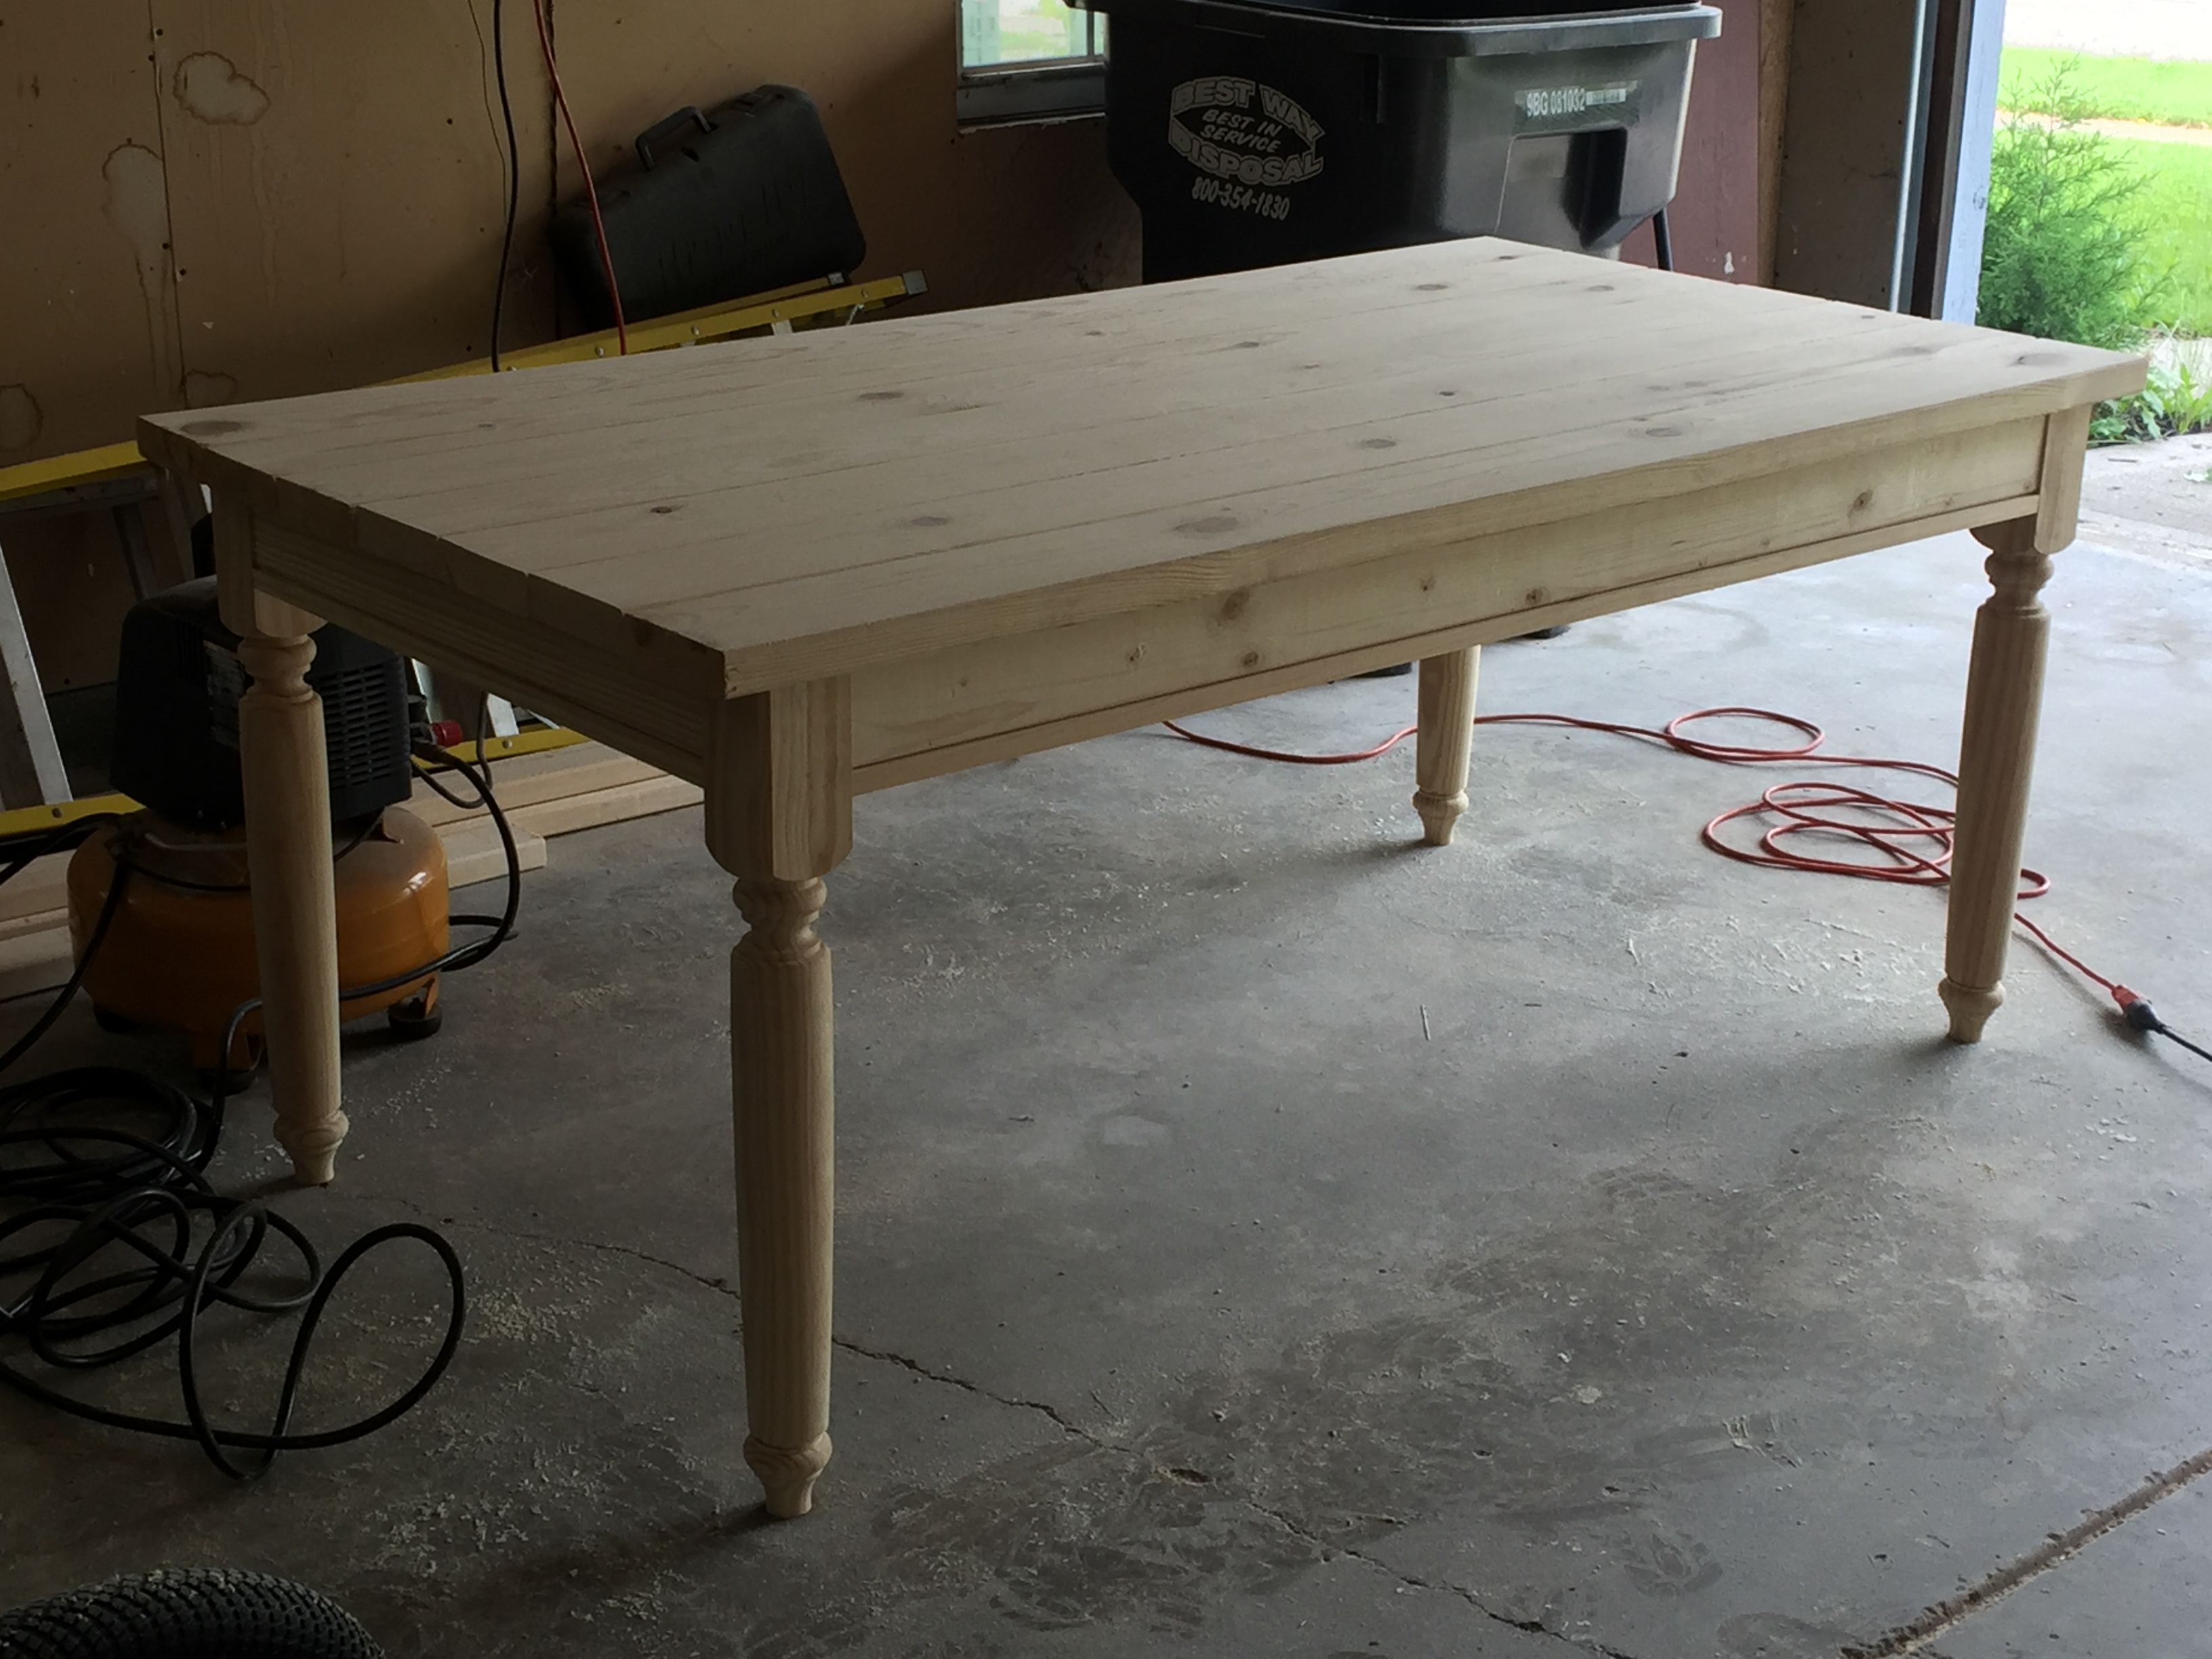
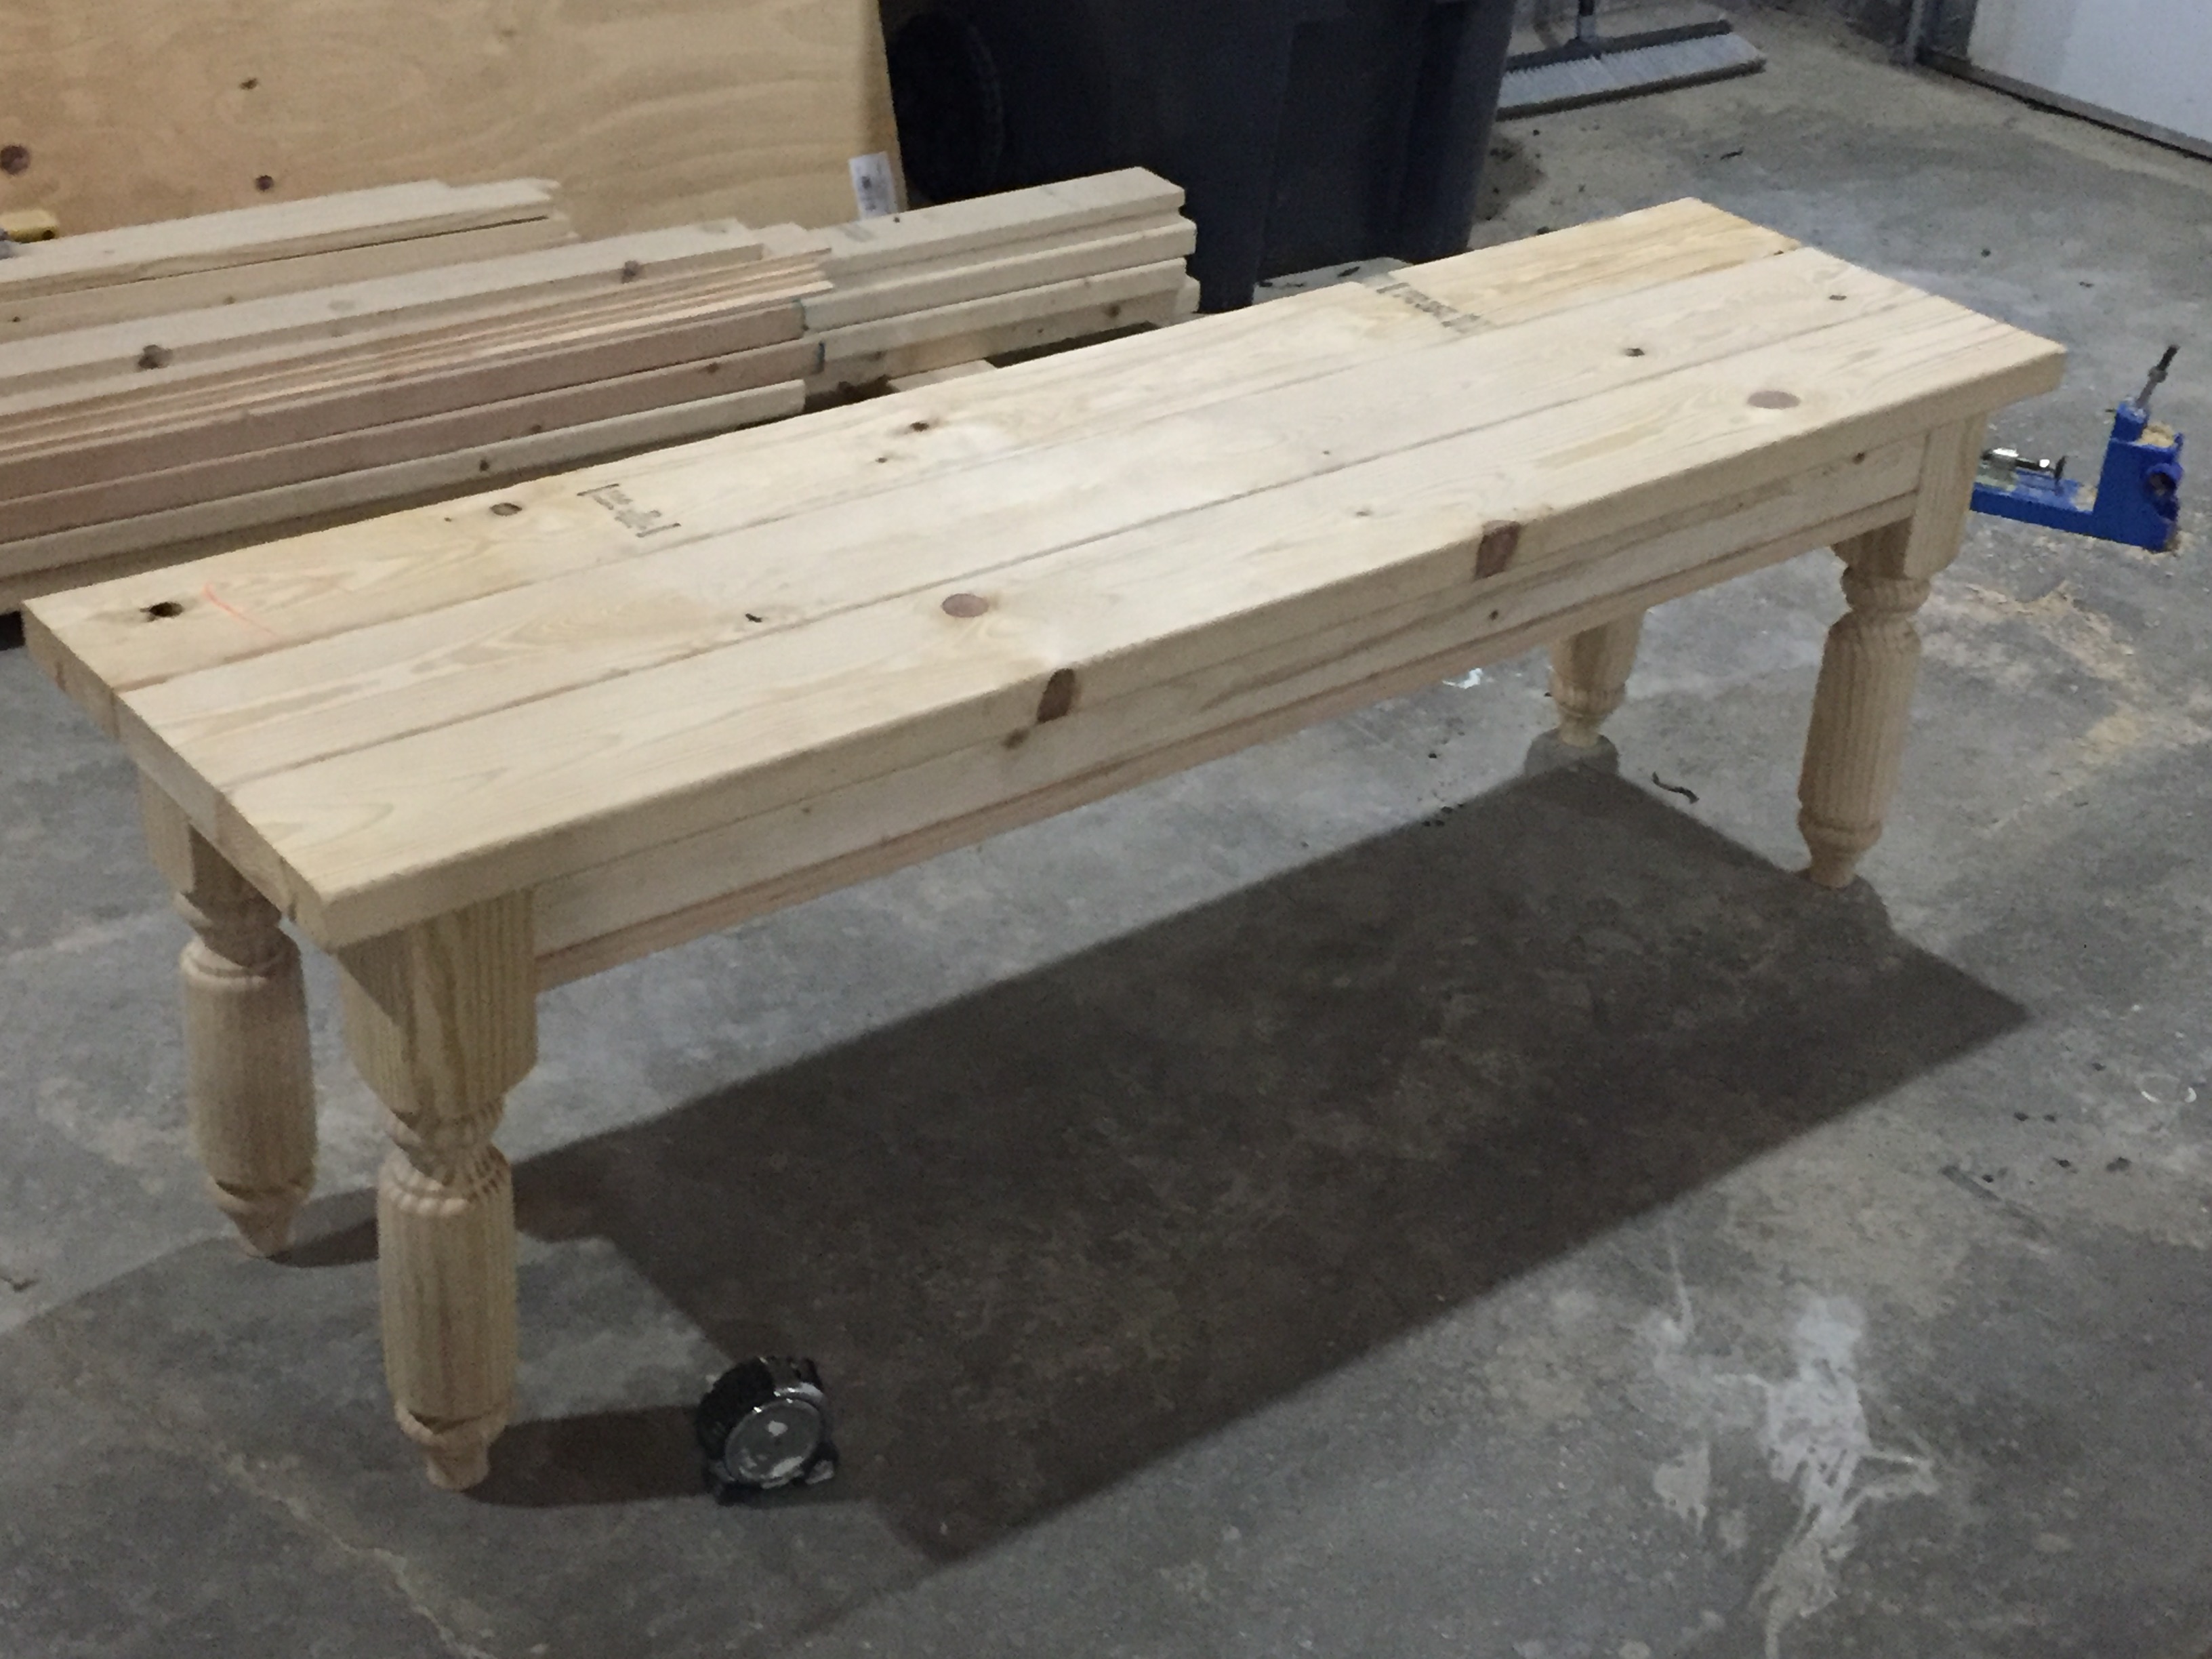
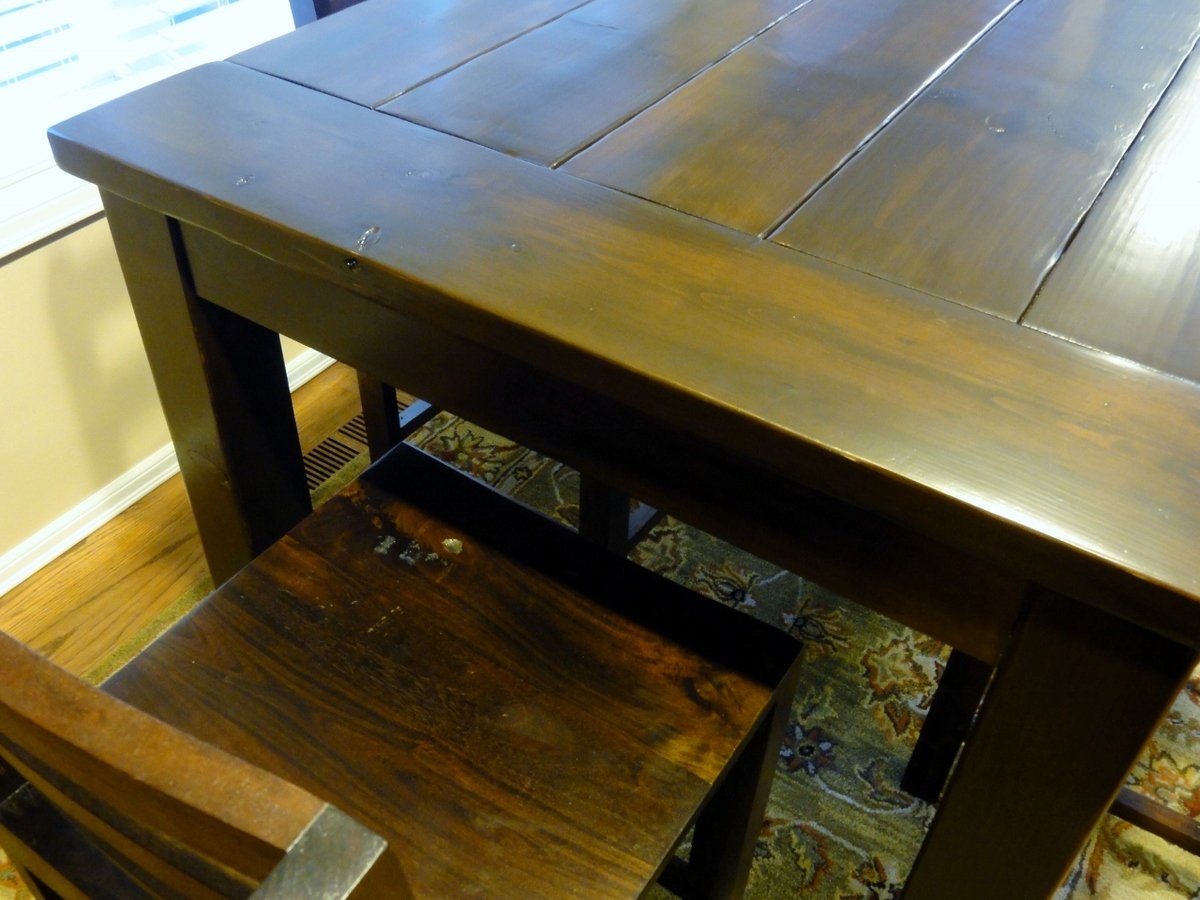
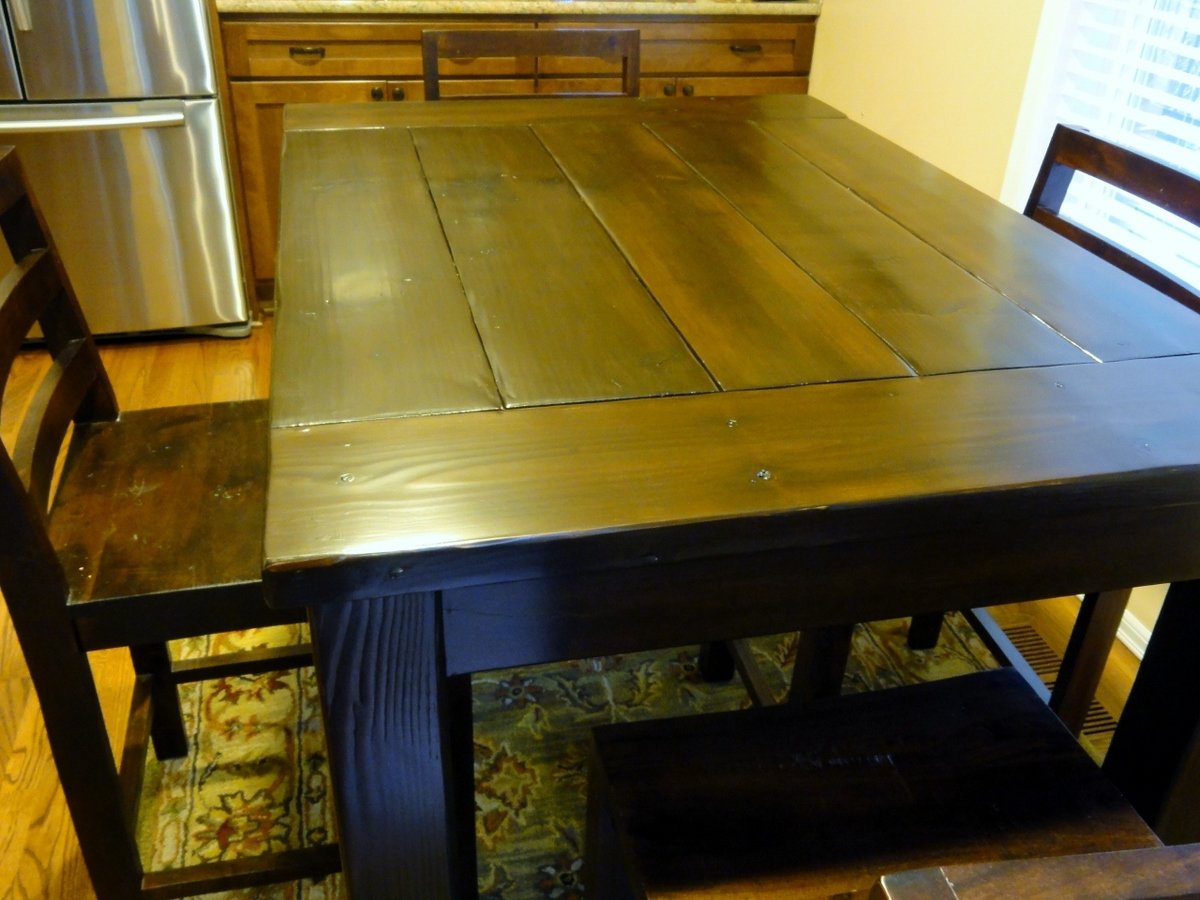
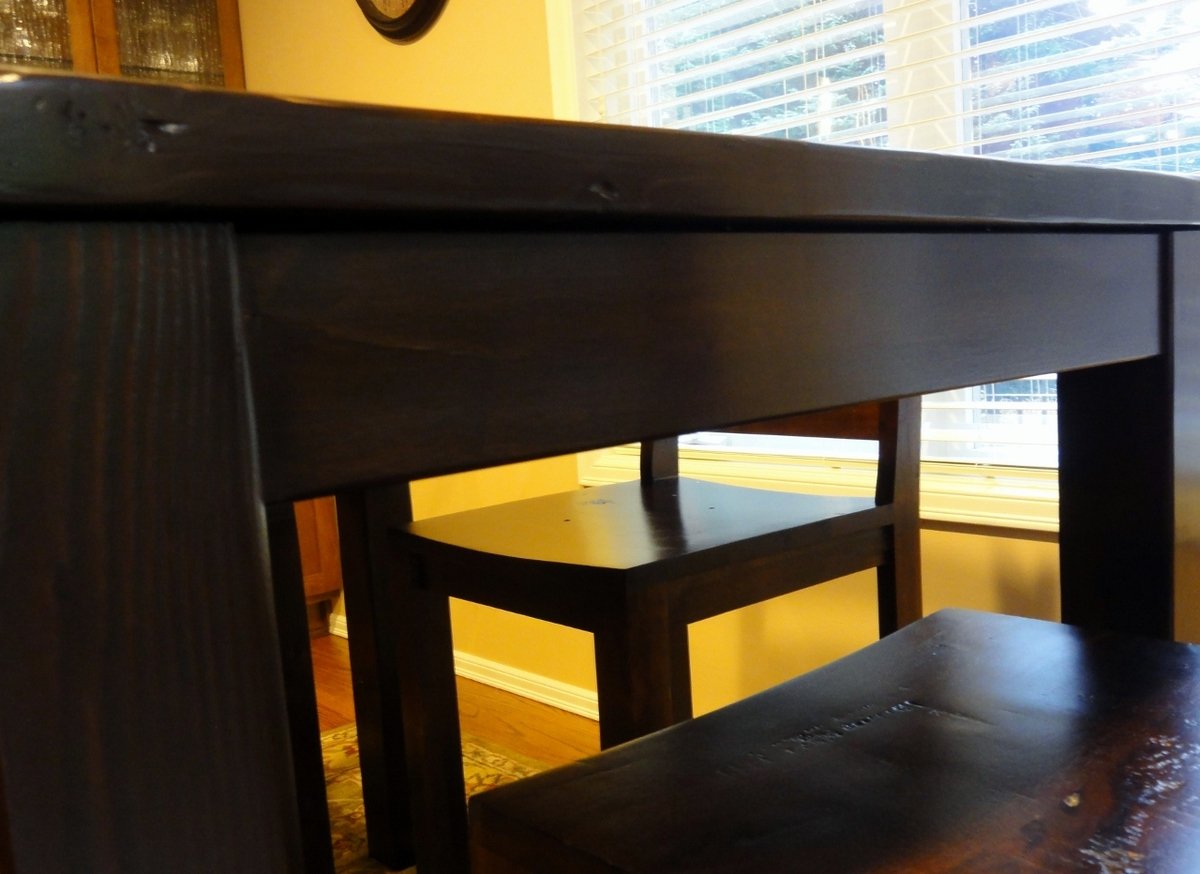
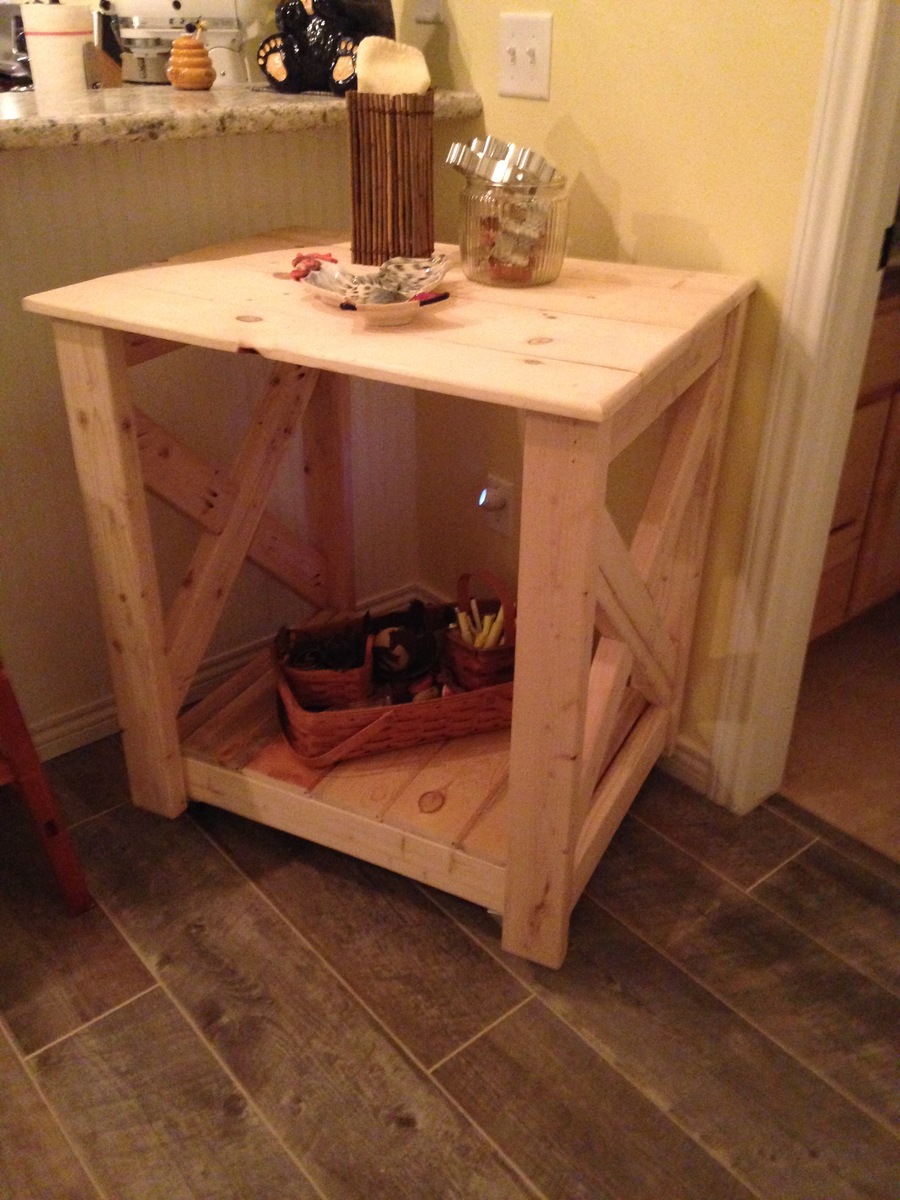
I used the 2x8 hemlock for the tabletop, hemlock 4x4 legs and finished hemlock 1x4's everywhere else. I used cheap 2x2 studs for the support structure underneath. This table was almost exclusively built using Kreg joins, with only a few exceptions where necessary. No visible screw holes to fill ANYWHERE! Yay! LOVE my Kreg Jig!
Lots of sanding, Benite wood conditioner, red-ish dye, dark chestnut stain and three coats of poly later... and I moved it into my kitchen this morning! So excited!!! I love how it turned out!