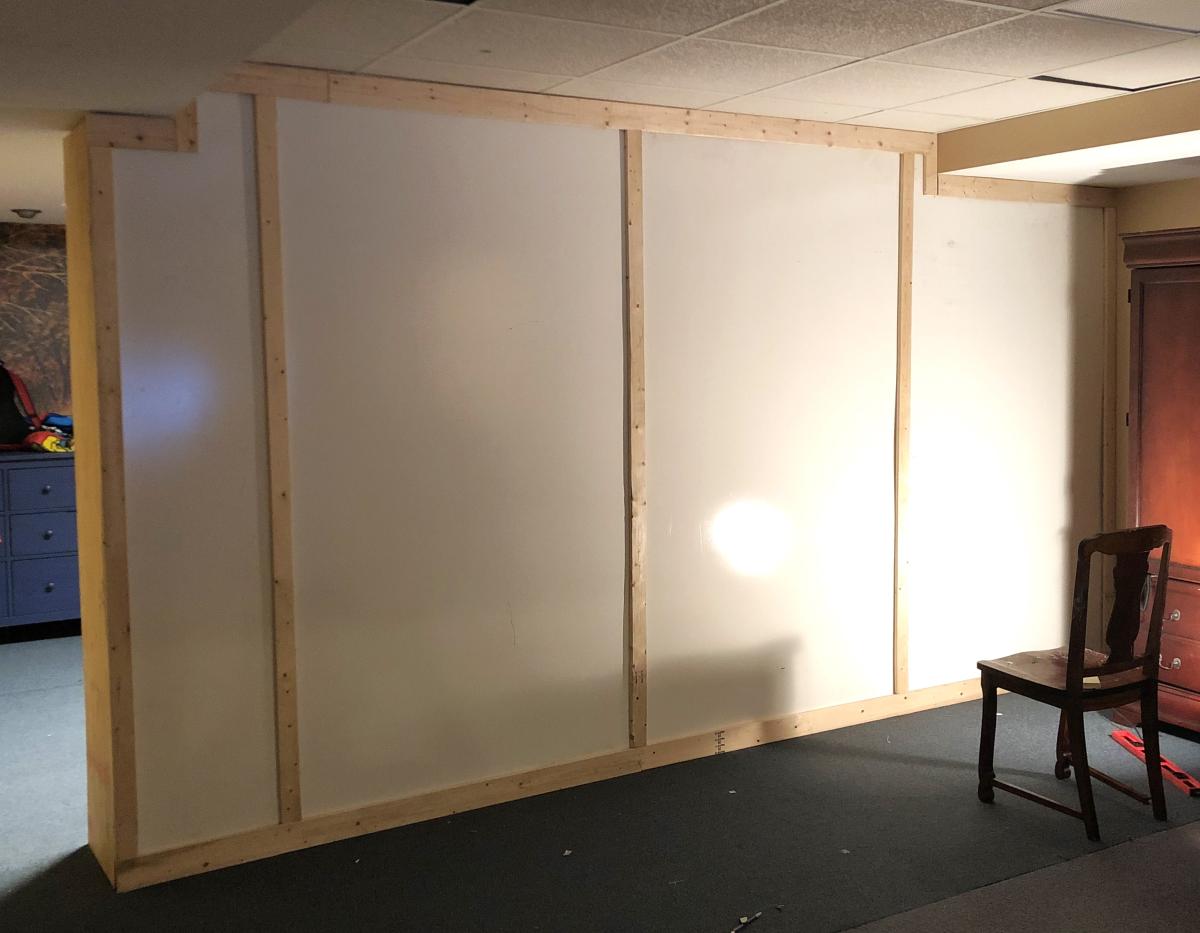
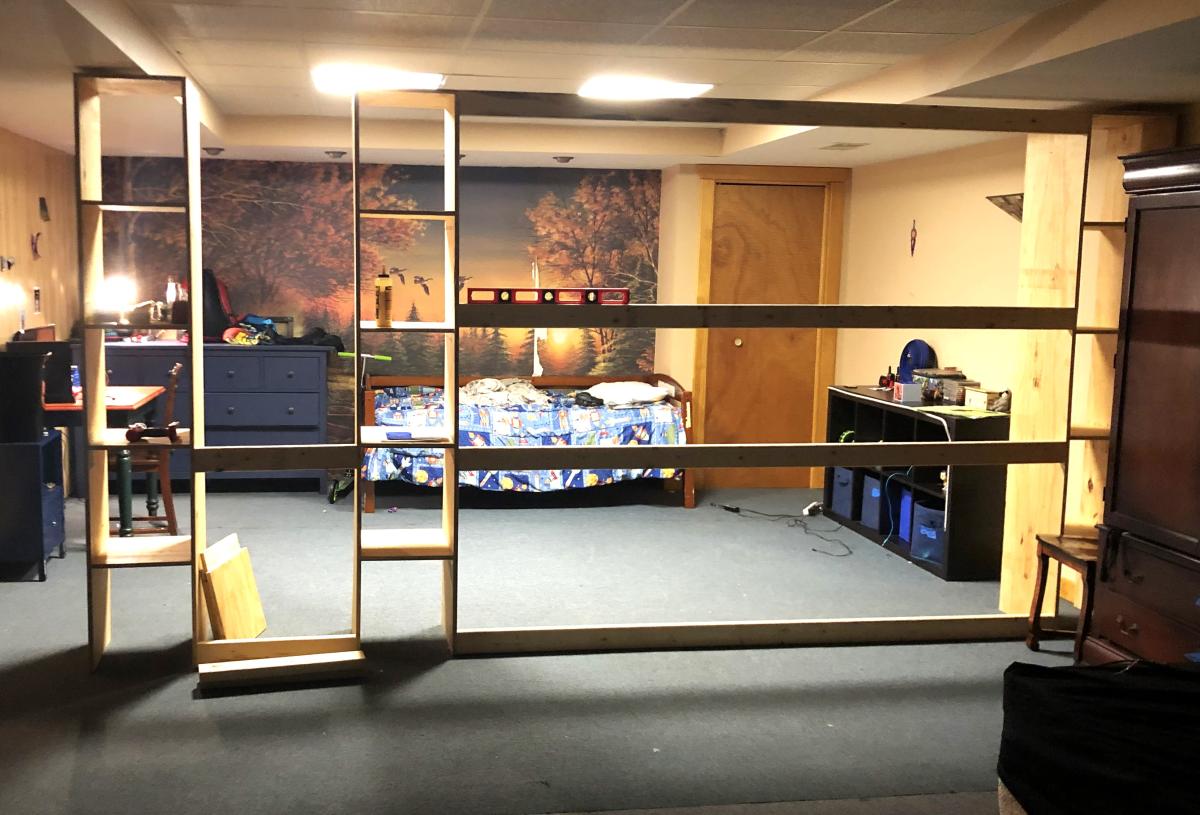
Room Divider Wall with Built-in Storage
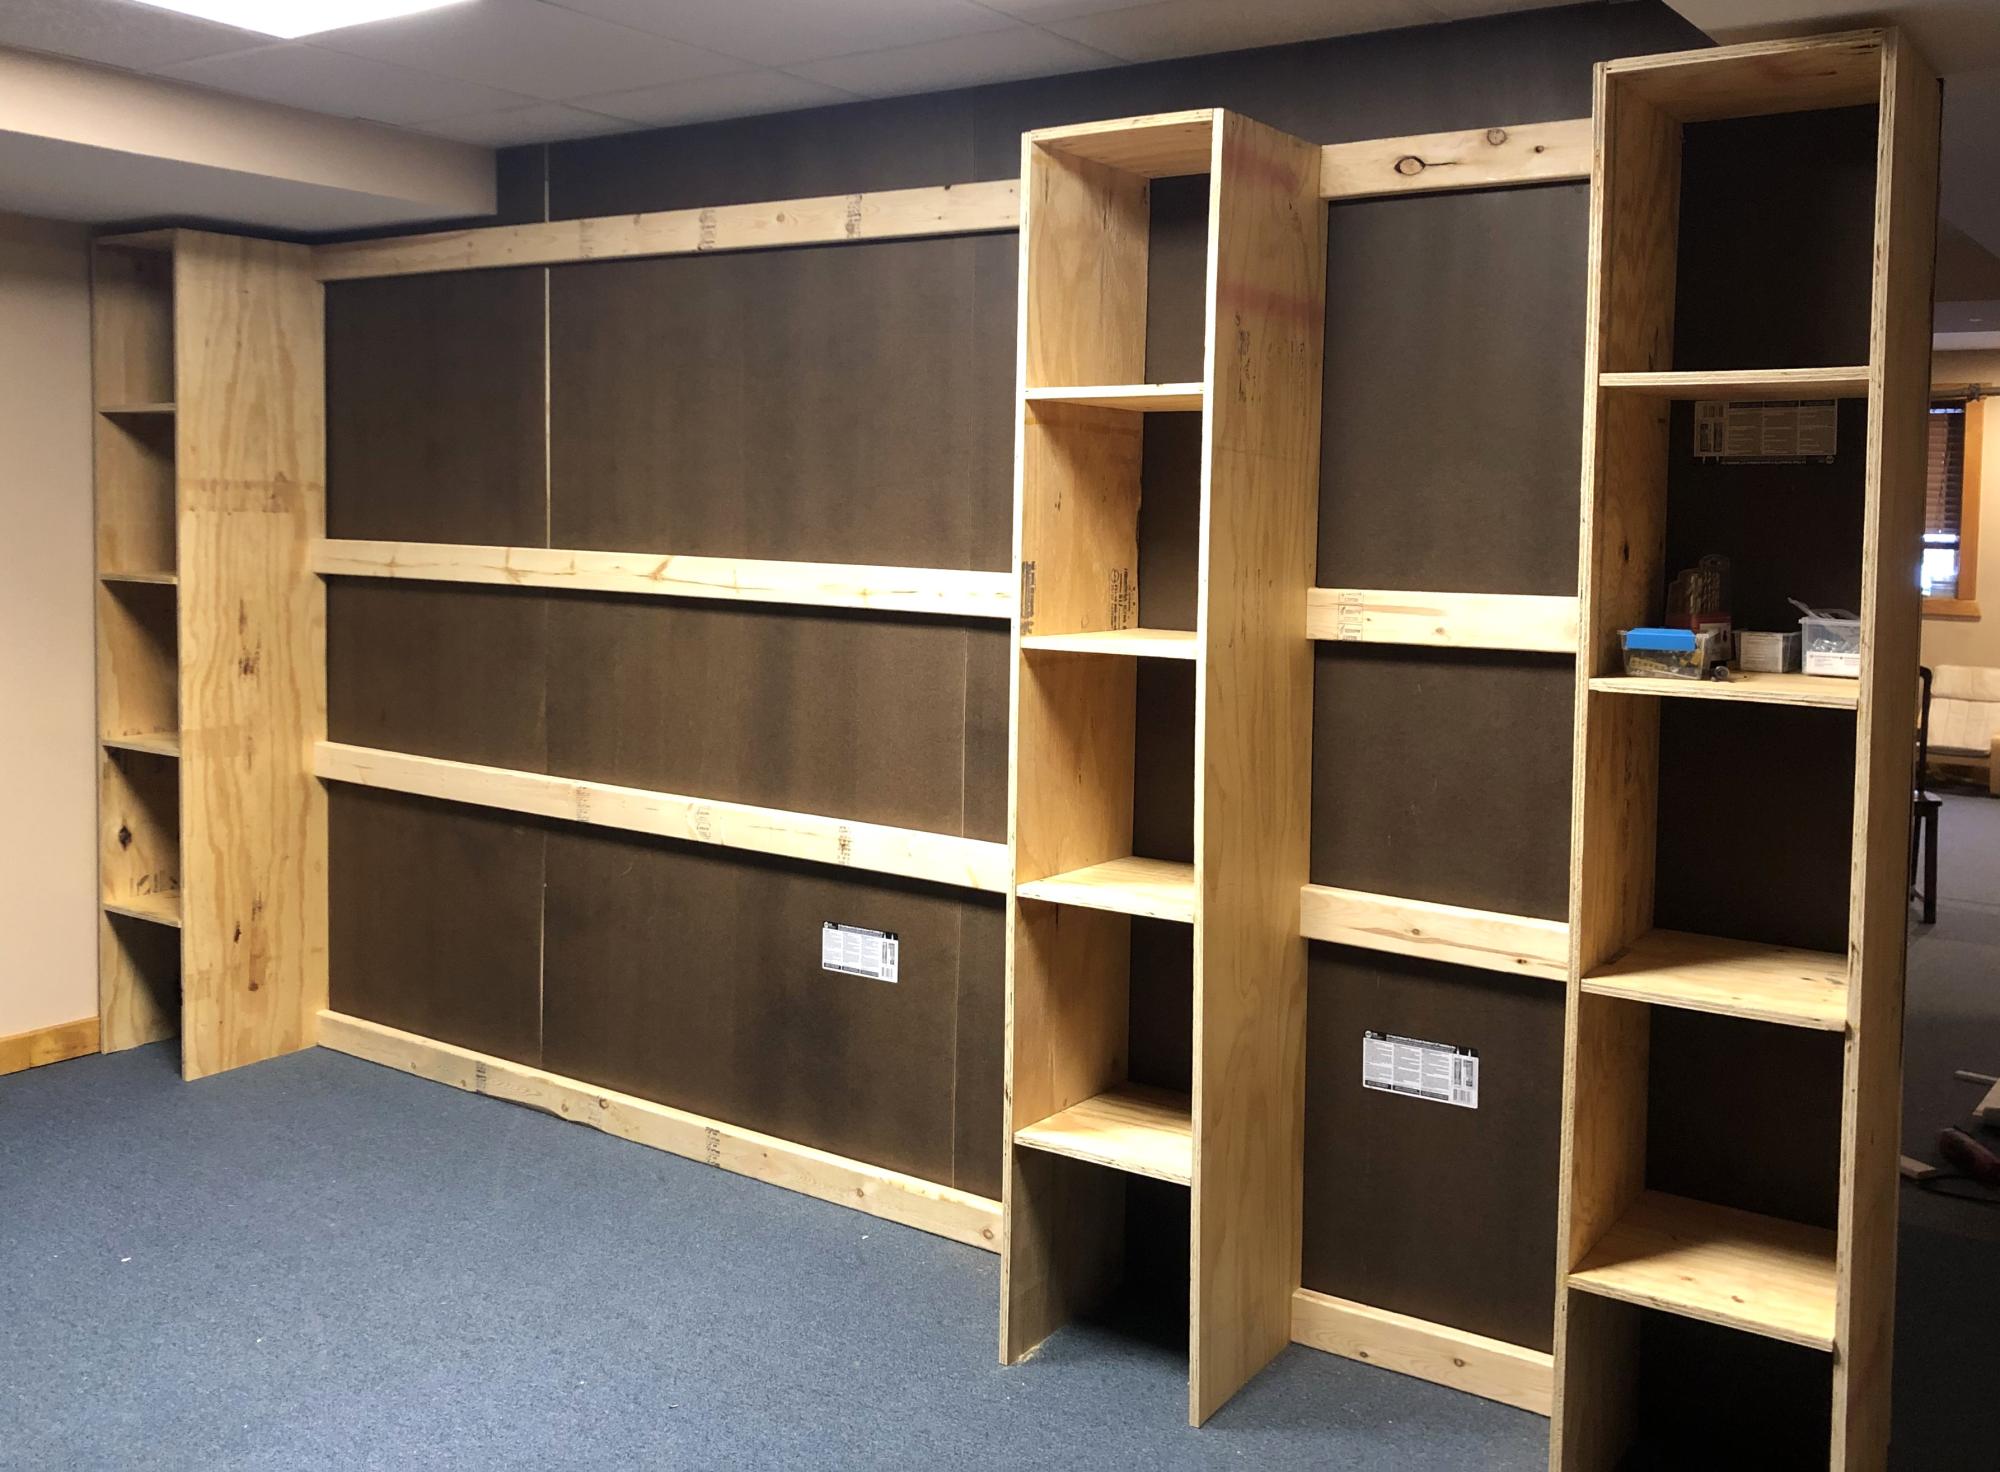
Modified the wall divider closet plan into a wall to serve as an extra bedroom in my basement. The inner wall was subsequently painted.
Grace LeBlanc
Built from Plan(s)
Modified the wall divider closet plan into a wall to serve as an extra bedroom in my basement. The inner wall was subsequently painted.
Grace LeBlanc
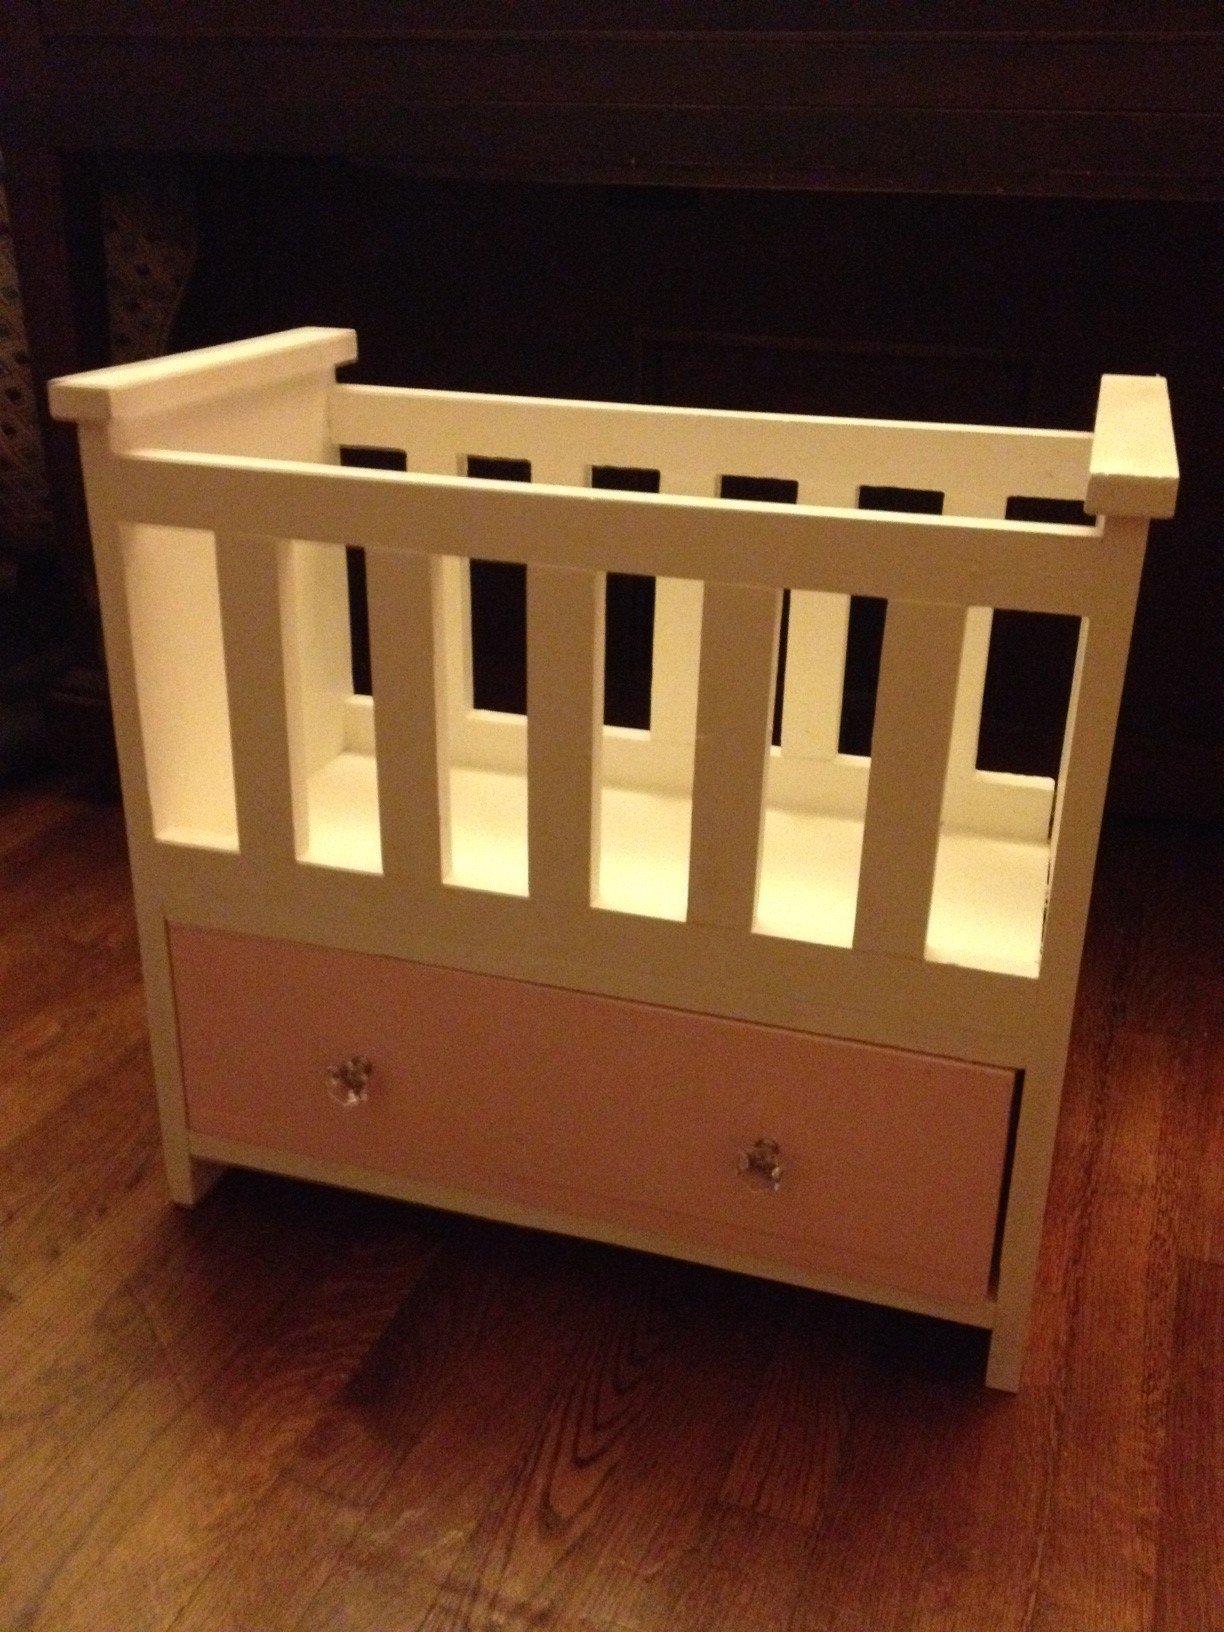
Made this based on the Oliva's Doll Crib plans with changes to the shape of the top of the ends (to better match my daughter's crib), taller end pieces (about 2 inches), and a shelf under the drawer. To keep the drawer from falling out, I built the crib as usual, then turned the crib upside down, and screwed two rubber stoppers to the front of the underside of the crib bottom. I then put the drawer in place, placed the bottom shelf, and then screwd it in through the bottom (which is on top right now because the whole thing is upside down). I also put in some spacers so that the drawer doesn't get stuck, squished between the bottom of the crib and the shelf.
Mon, 09/10/2012 - 15:49
Can you tell me the measurements of wood you used? Piece by piece?
Thu, 11/15/2012 - 16:05
I really did just follow the plan that Anna made. The ends, the tallest solid pieces of wood that I added length to, are about 21 inches long. Ana had them at 18 or 19 inches long. Everything else was the same.
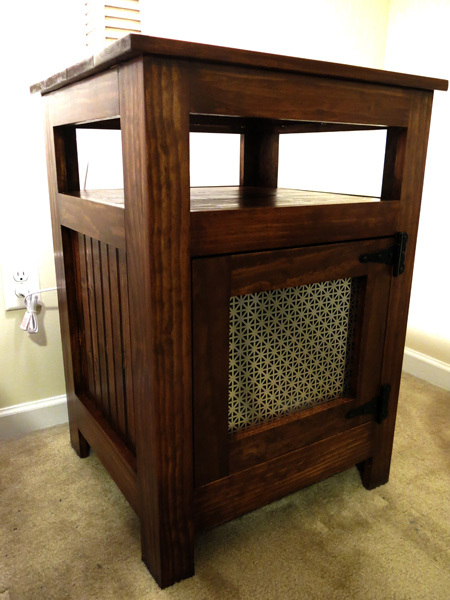
This is my third build based on the Kentwood Nightstand plan. Added a shelf this time to use as a charging station at night. Customized the height as well so matches the height of the bed.
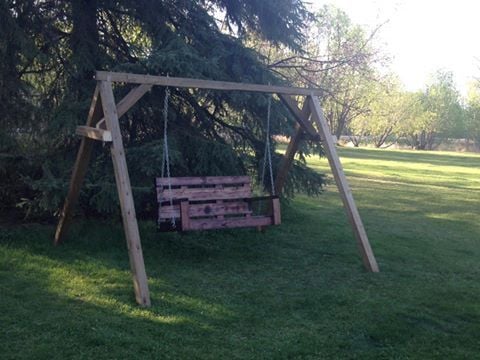
Perfect plan Ana , very easy to make. Swing hung on the A frame bulid with 4X4
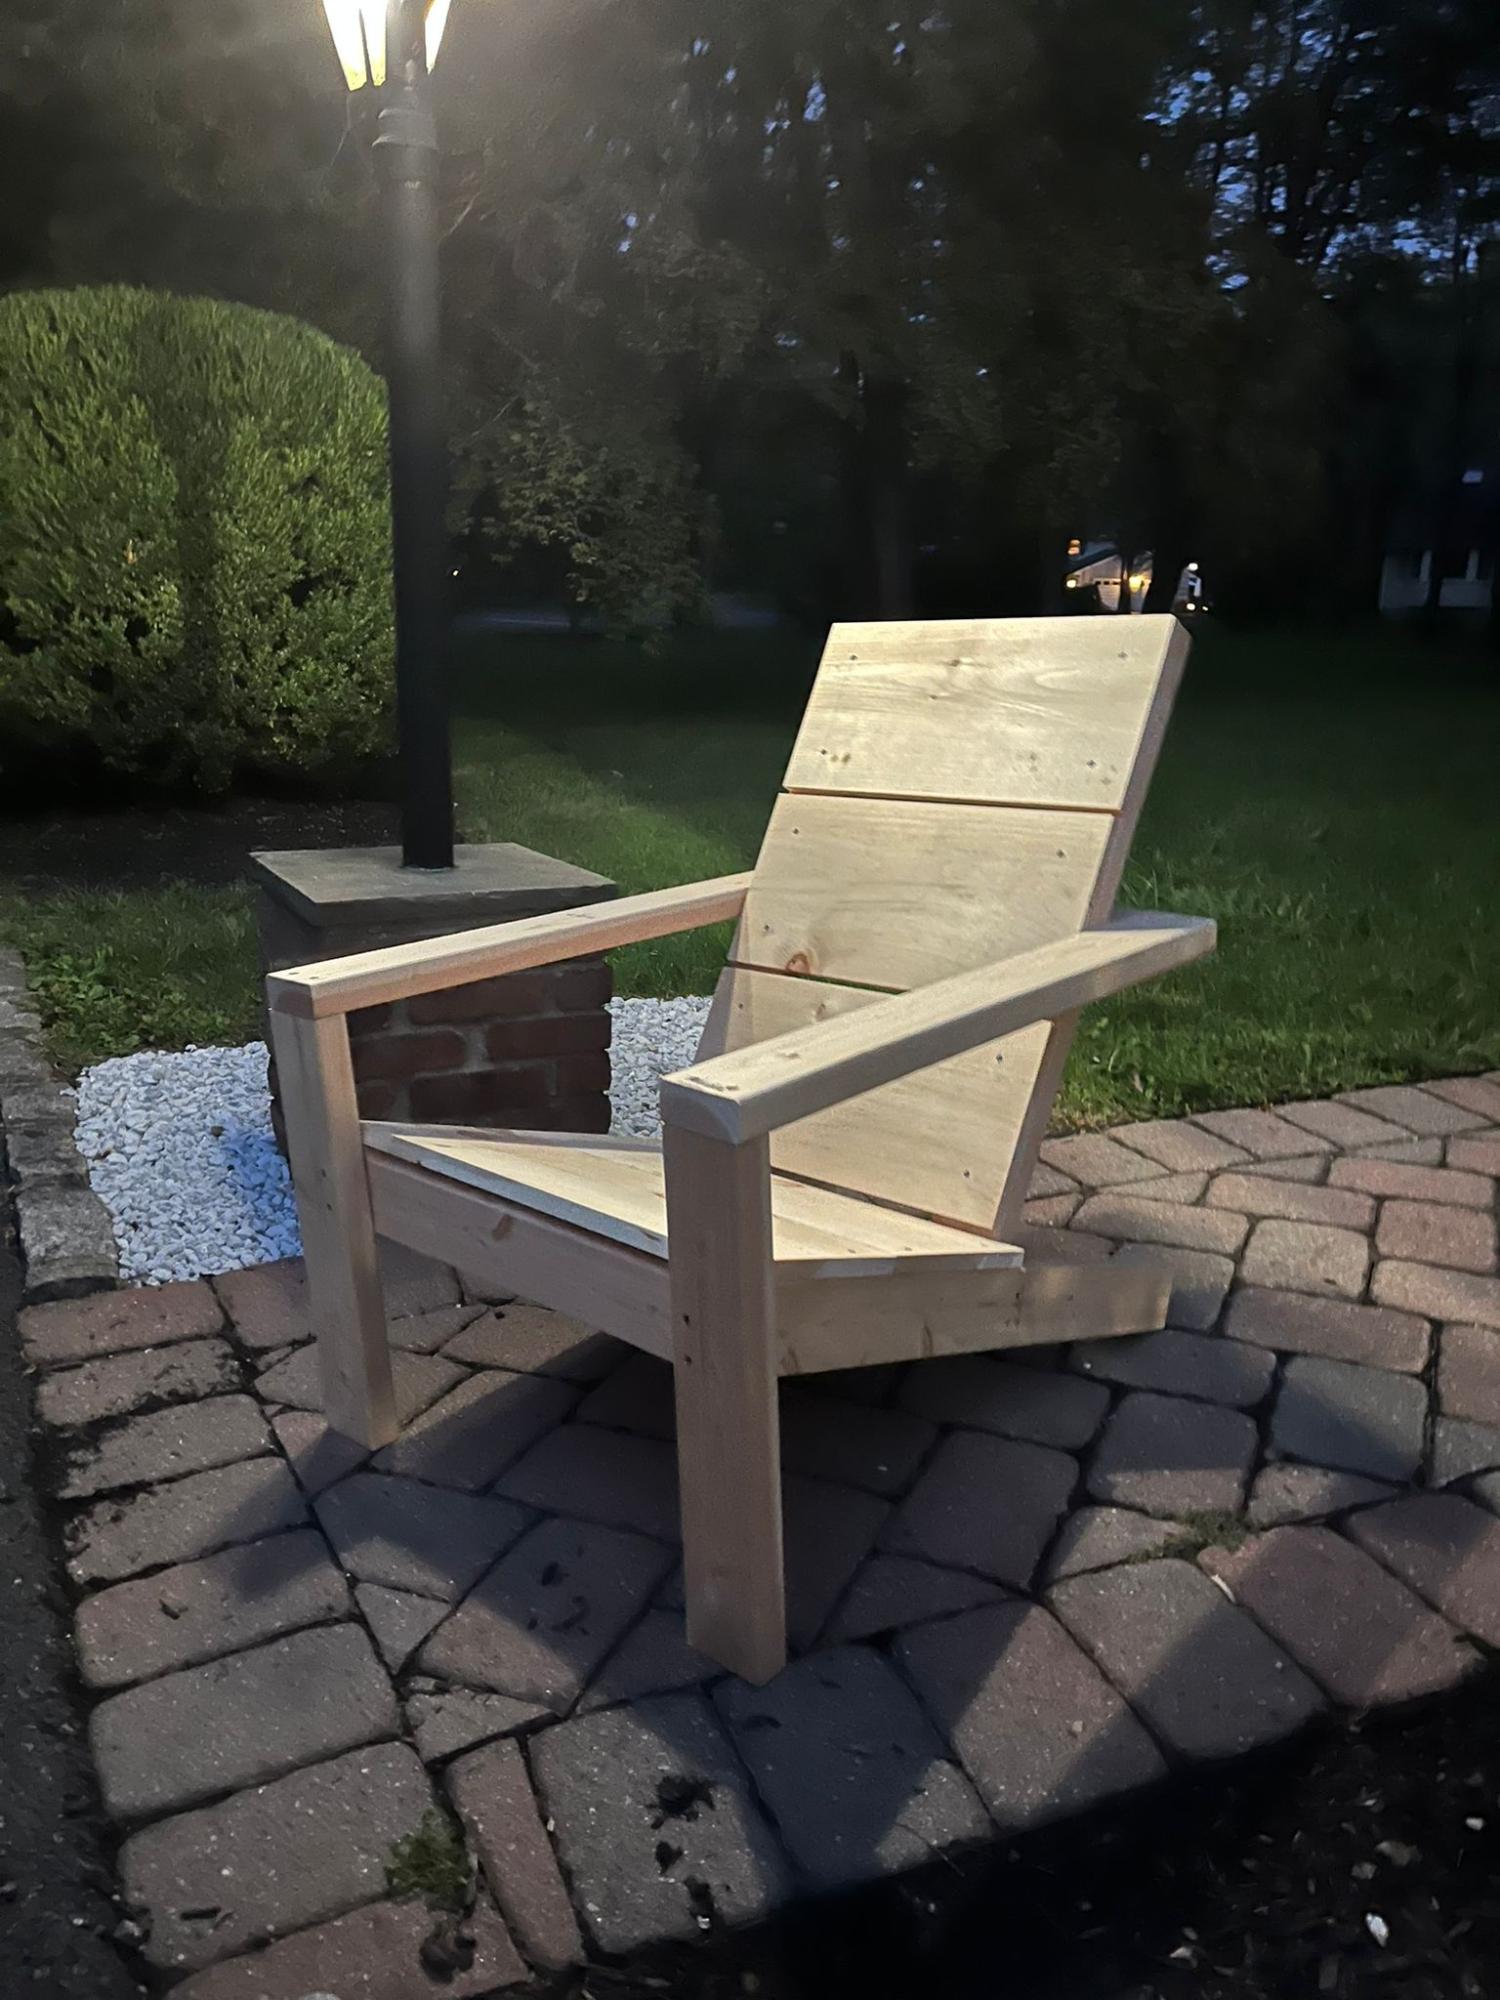
Great Project. We are very happy with the chair. It is modern. Amazing. Ana thanks!! The drawings are great.
Jhrios2003
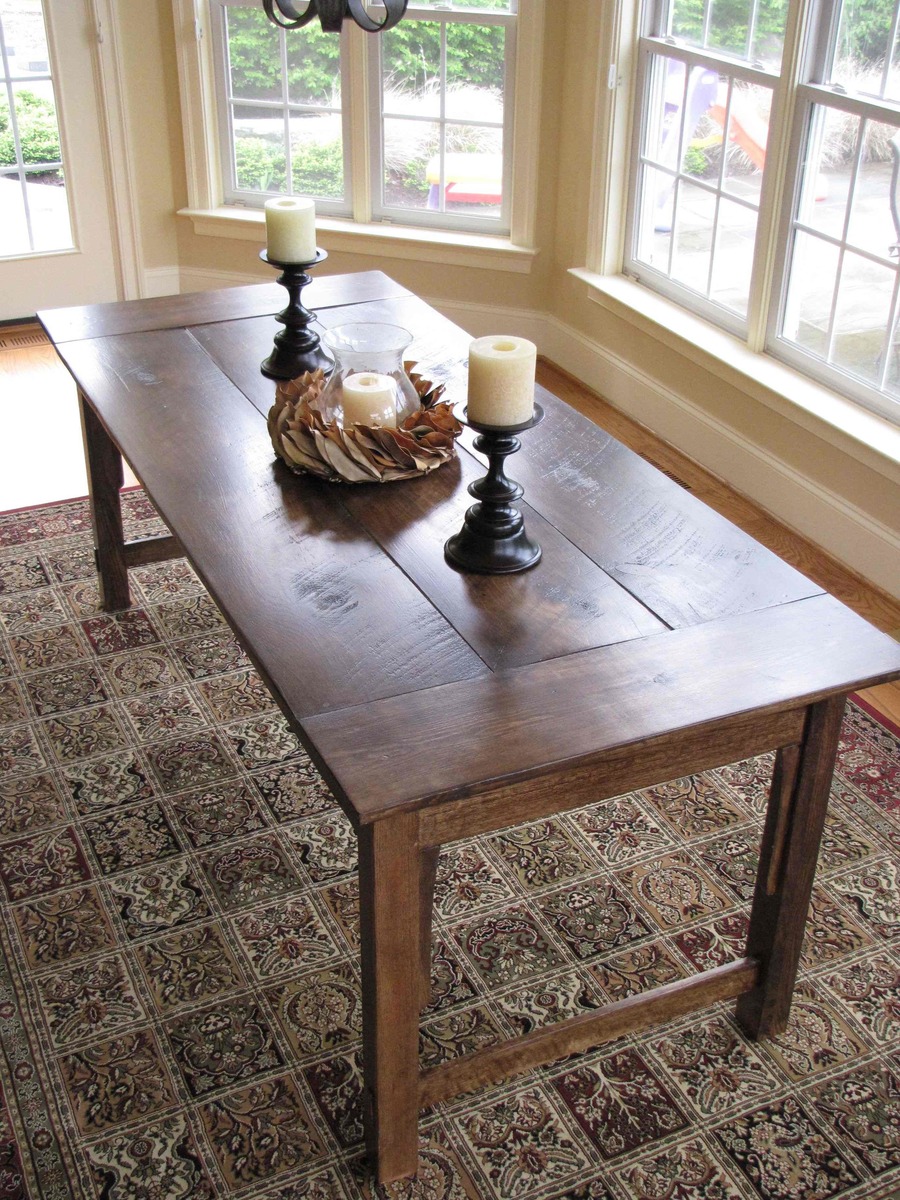
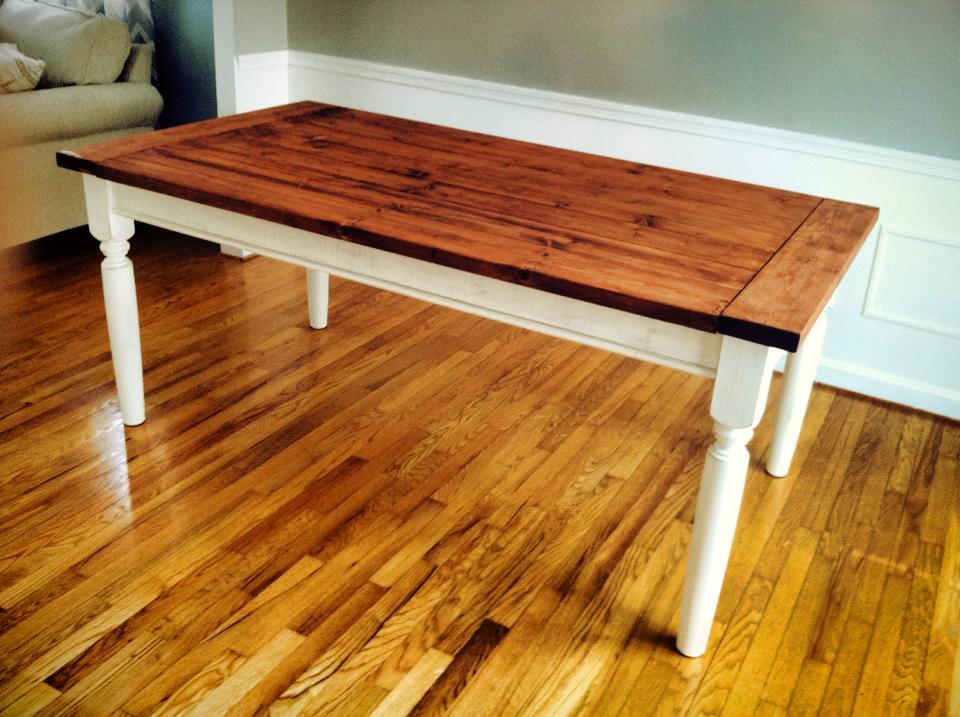
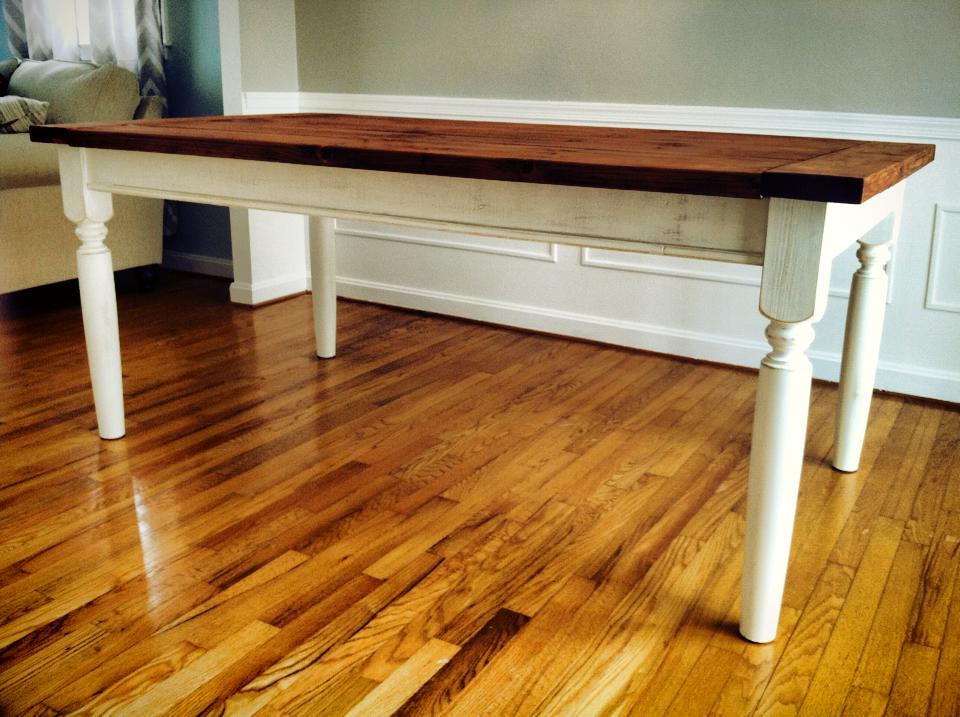
Since I am in the middle of a divorce, my ex- took my dining room furniture. I decided instead of buying something new, or getting a hand me down, I would build a new table. The wood top was made of 3 wood planks from my sister in laws hardwood flooring leftovers. It was sooo fun to make this. The stain was a mix of Minwax Providence and Ebony 3 to 1 mix appx. I did not add the bottom wood piece, as I did not think it needed it, it is plenty strong without it. I am working on the bench and chairs now. This has been by far my most fulfilling project ever. Enjoy!

Tue, 04/24/2012 - 09:55
I think you came up with a great solution to your dining room problem. As a victim of the "ex furniture snatch" myself, I also decided to build my own instead of buying. It was quite the confidence boost! Love the table with the wider boards. I also didn't use a stretcher for my Farmhouse Table, and it's held up perfectly for over a year now.

In reply to Looks great! What size did by whitney_smith
Tue, 04/24/2012 - 16:53
The finished size is 36x 85x32 high. It may be about 1/2- 1 inch too high, but I custom made the bench for it and am repurposing some bar height swivel chairs to size as well. Thanks for the compliments
Thu, 09/27/2012 - 08:38
I am looking to do the same design with the larger boards in the middle. What size are the boards running vertically on the ends? 1 x 6?
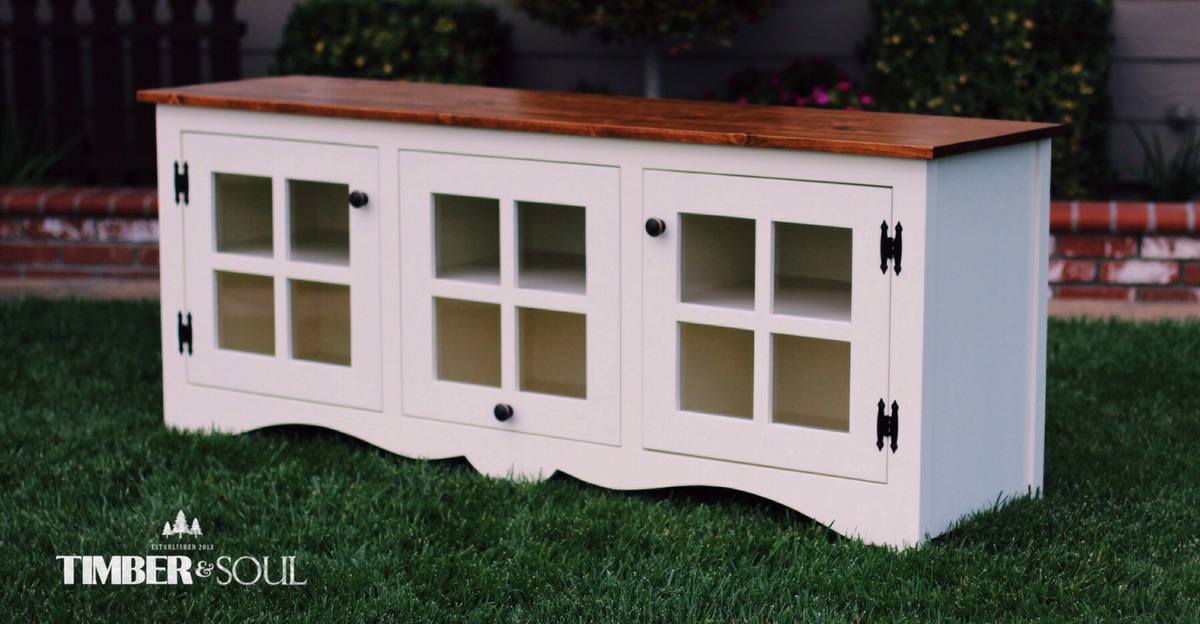
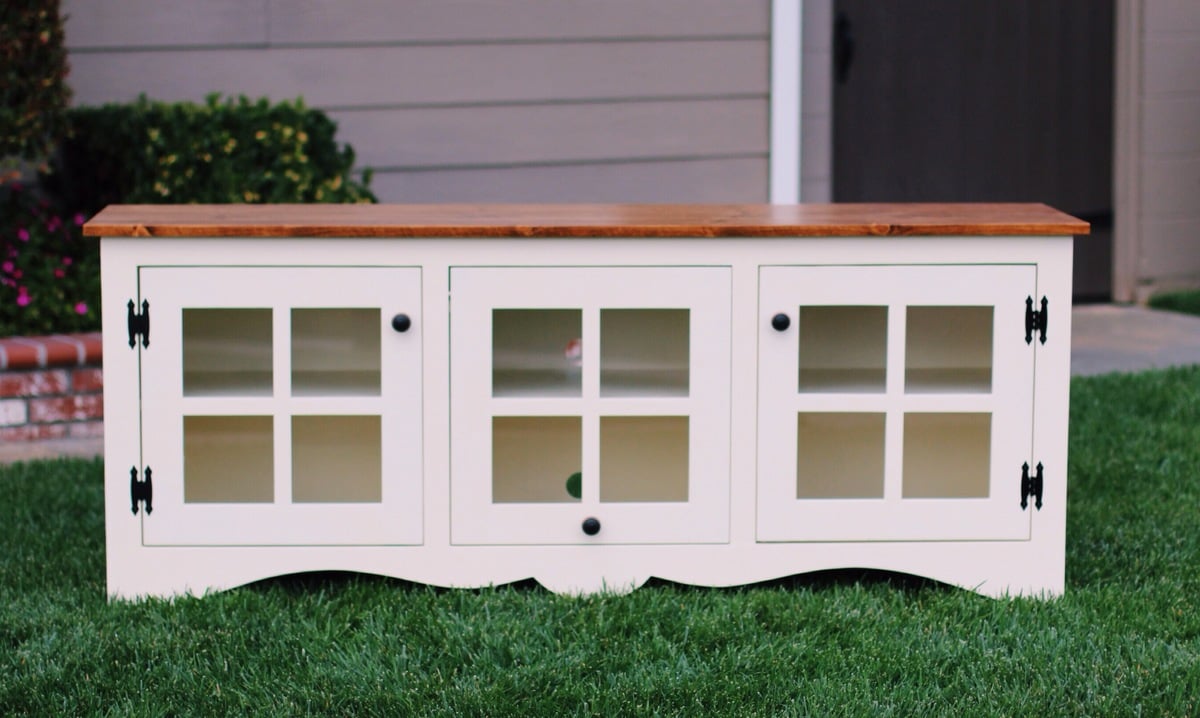
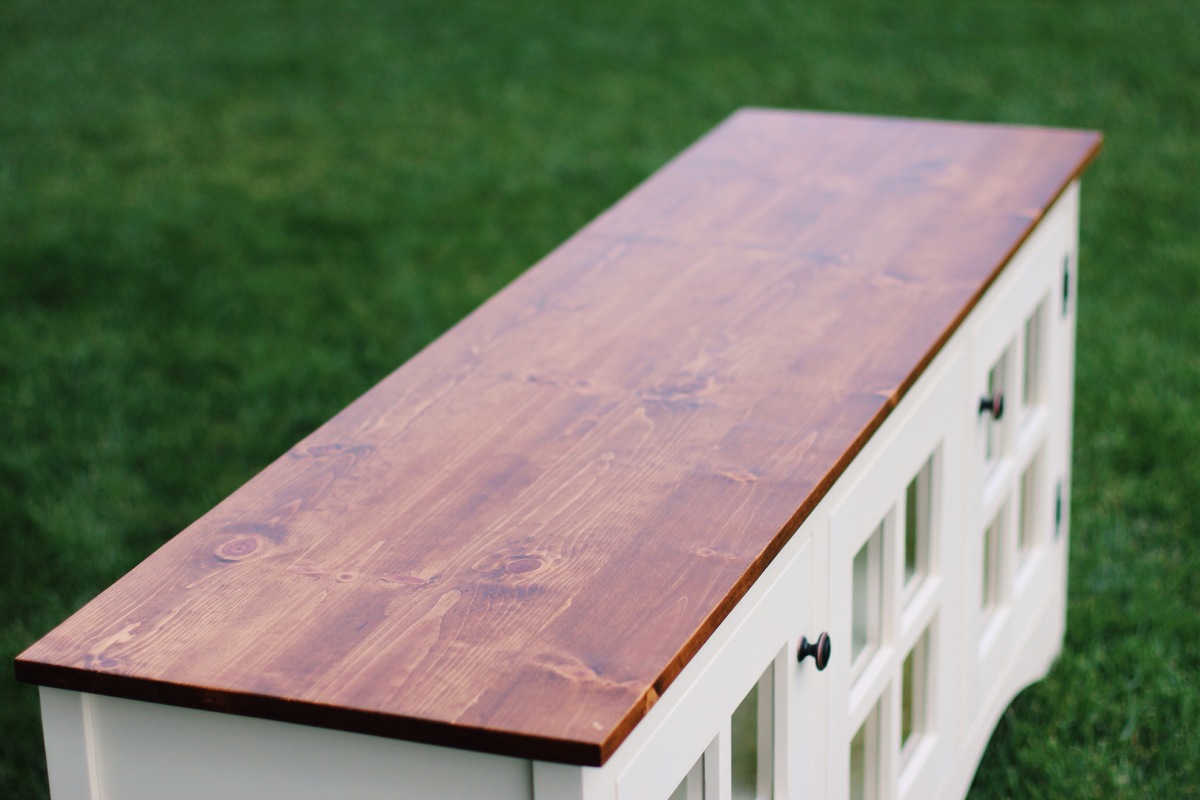
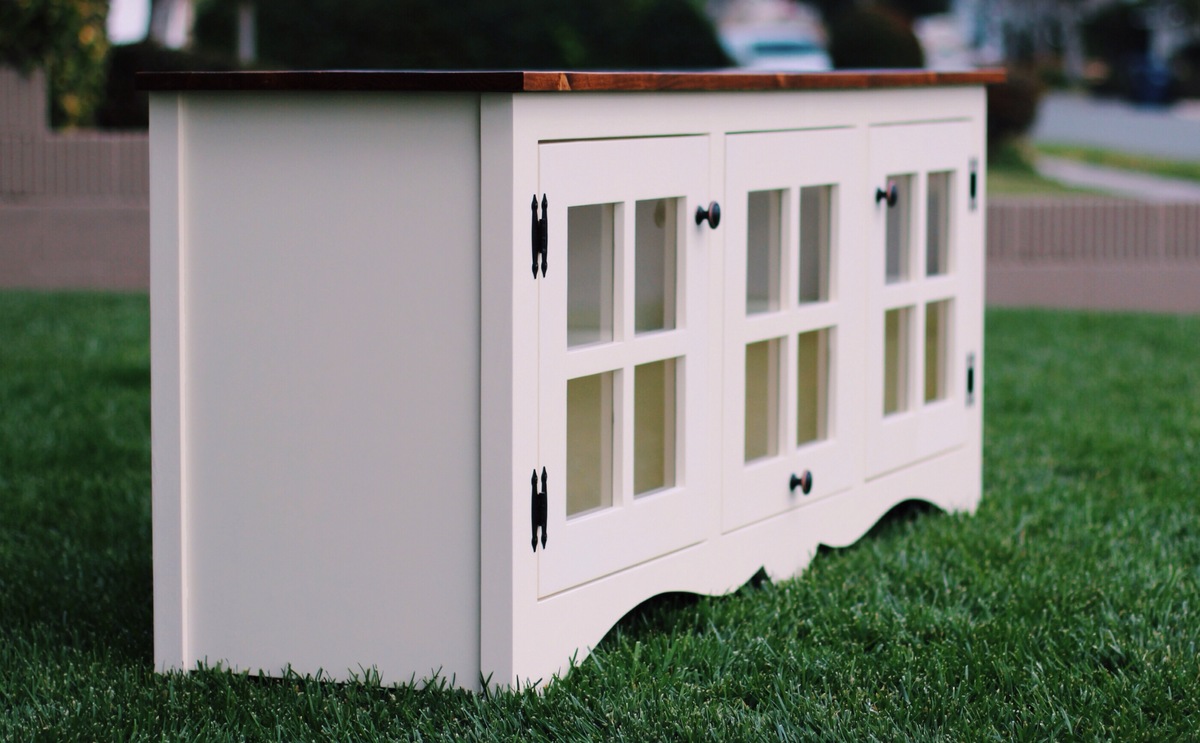
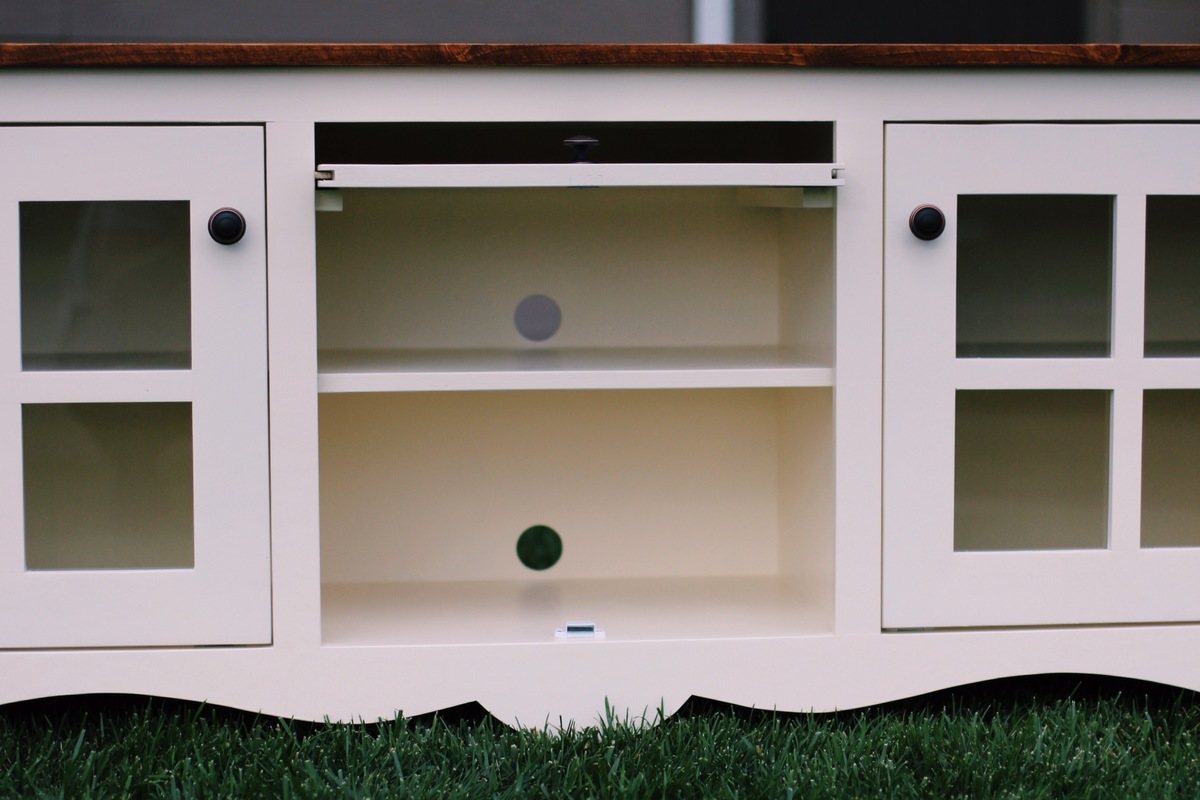
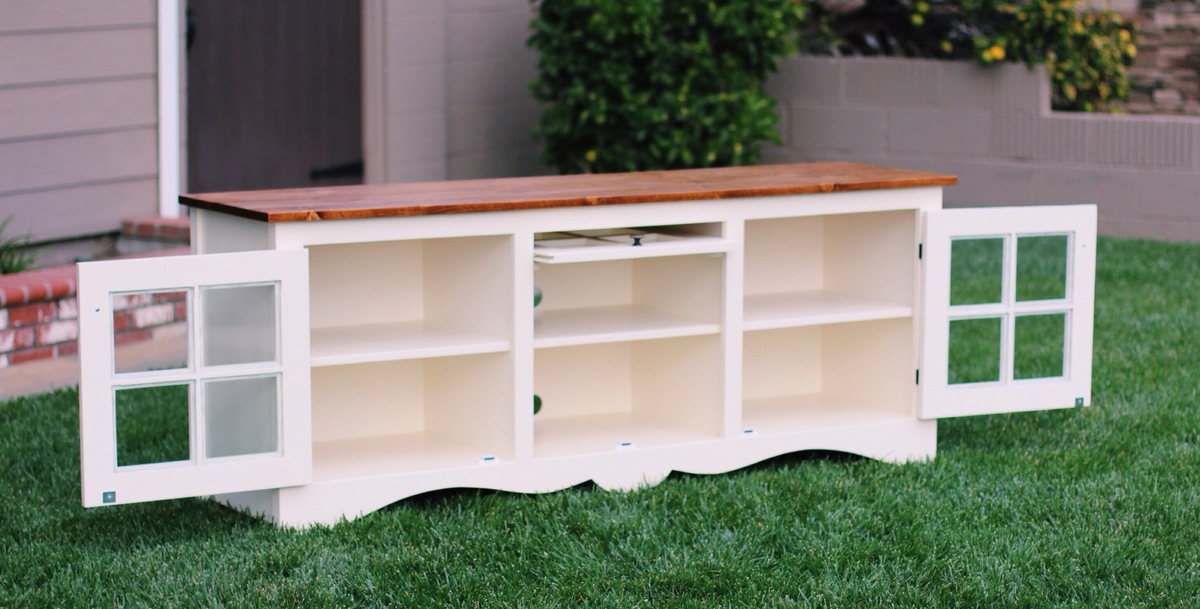
A Farmhouse Media Console built from ana white's plans. This media console was built out of maple plywood and poplar for the face frame, doors, and top. The design at the bottom was a bit of a trick. I used a bucket for the half circle and a very thin piece of wood for the "wavy" design. The center door is known as a barrister door. I would be happy to answer any questions. Feel free to visit my facebook page www.facebook.com/timberandsoul
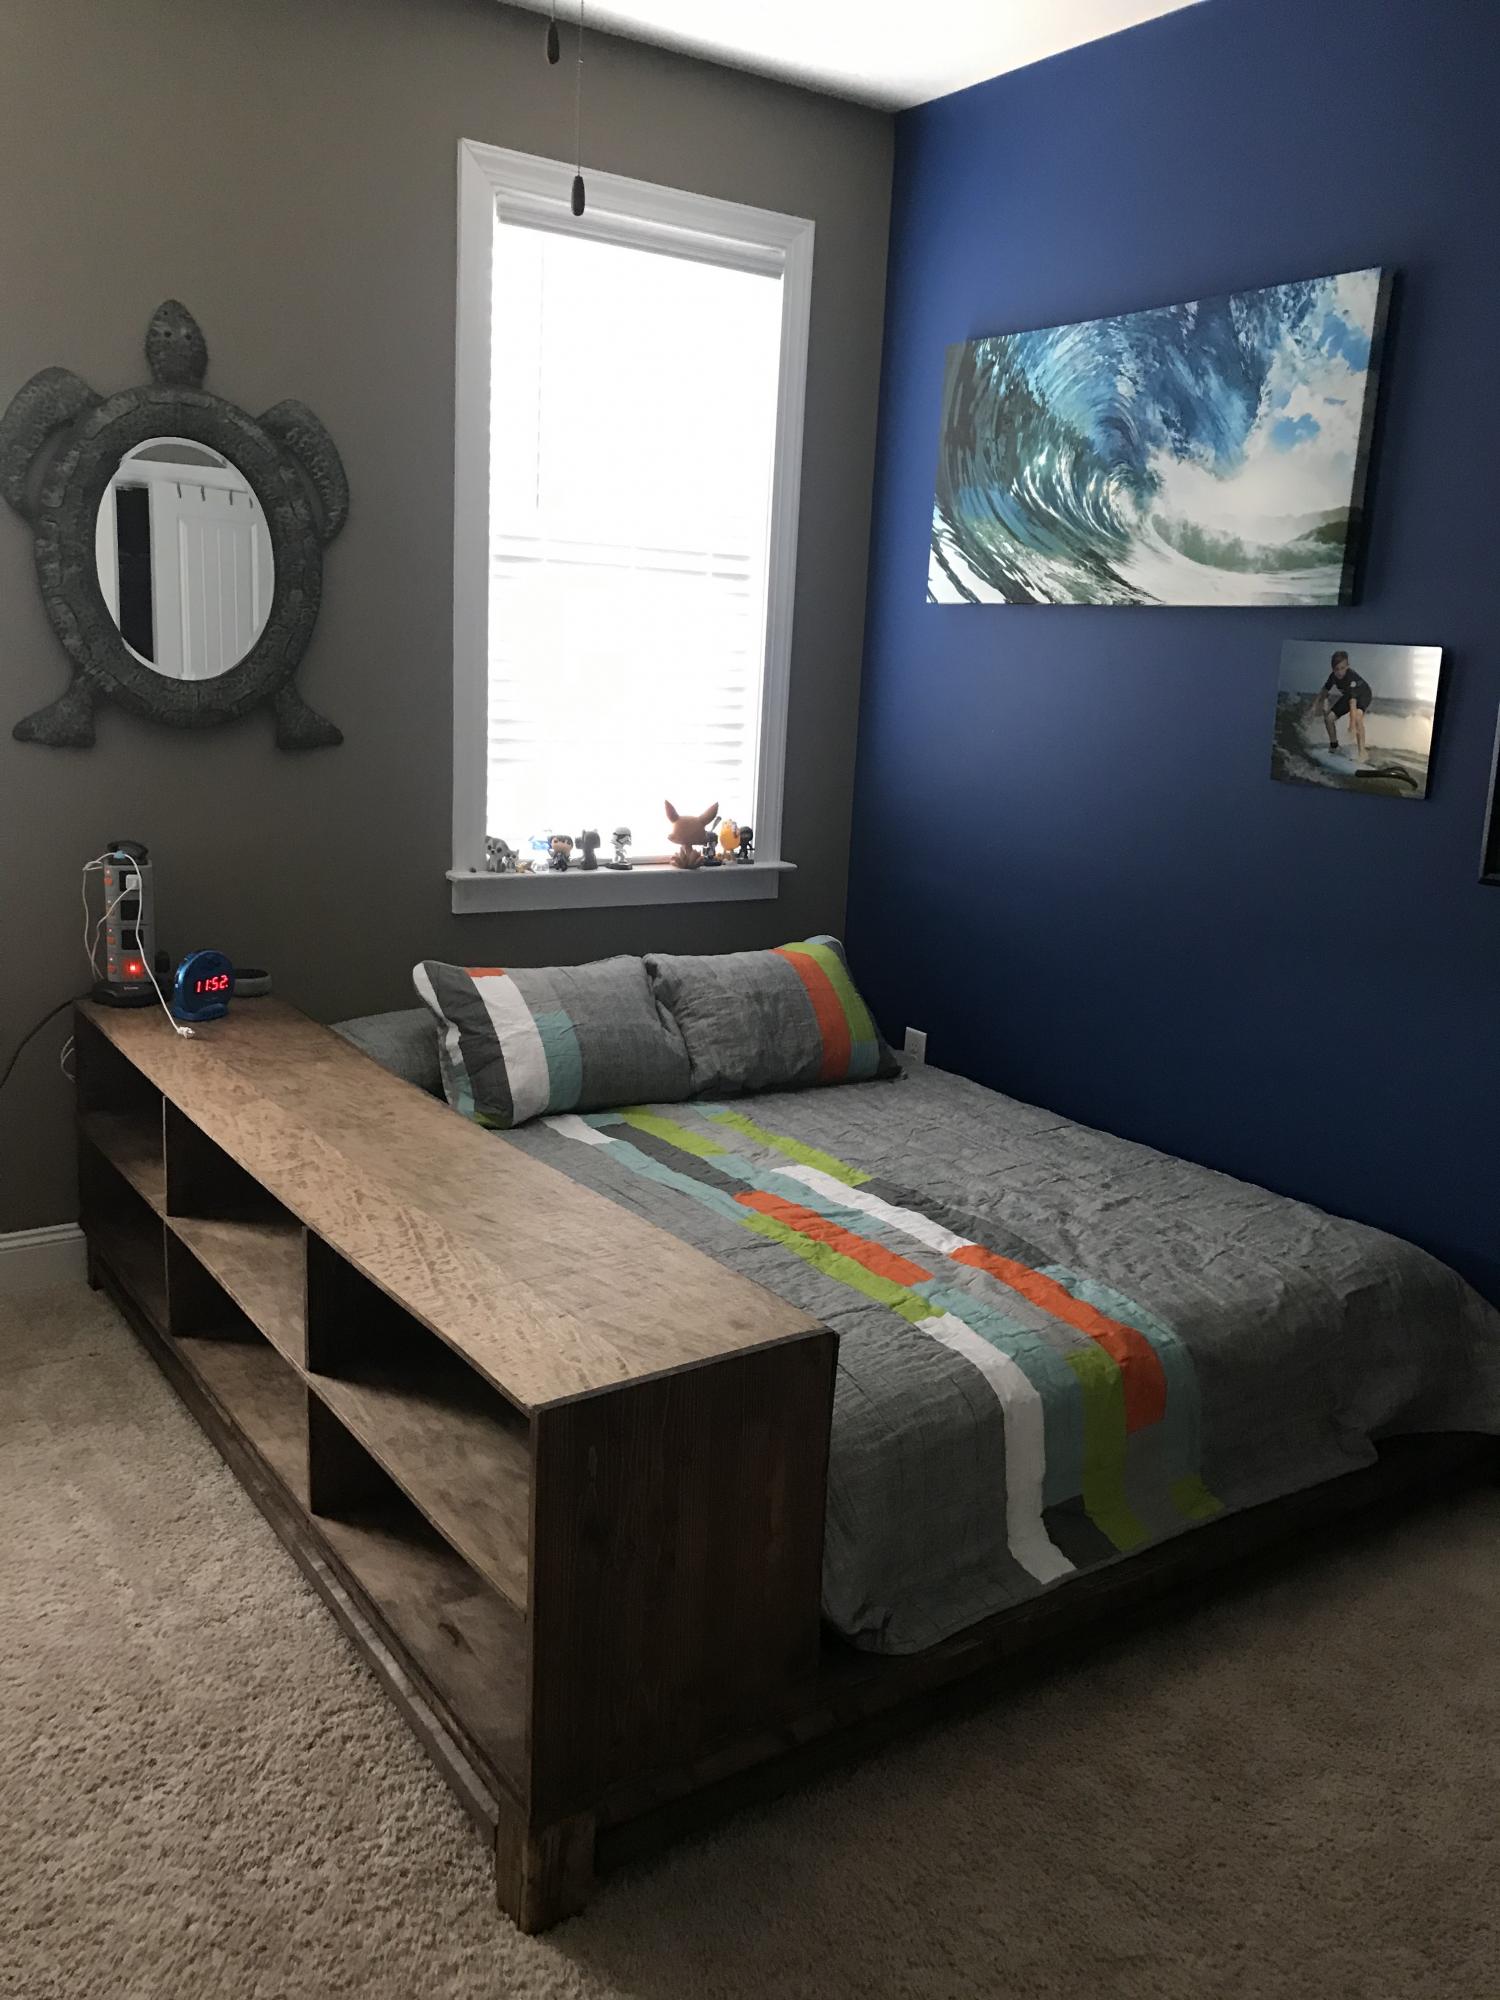
https://www.ana-white.com/woodworking-projects/easiest-teen-platform-bed
This went really well thanks for posting the plans!
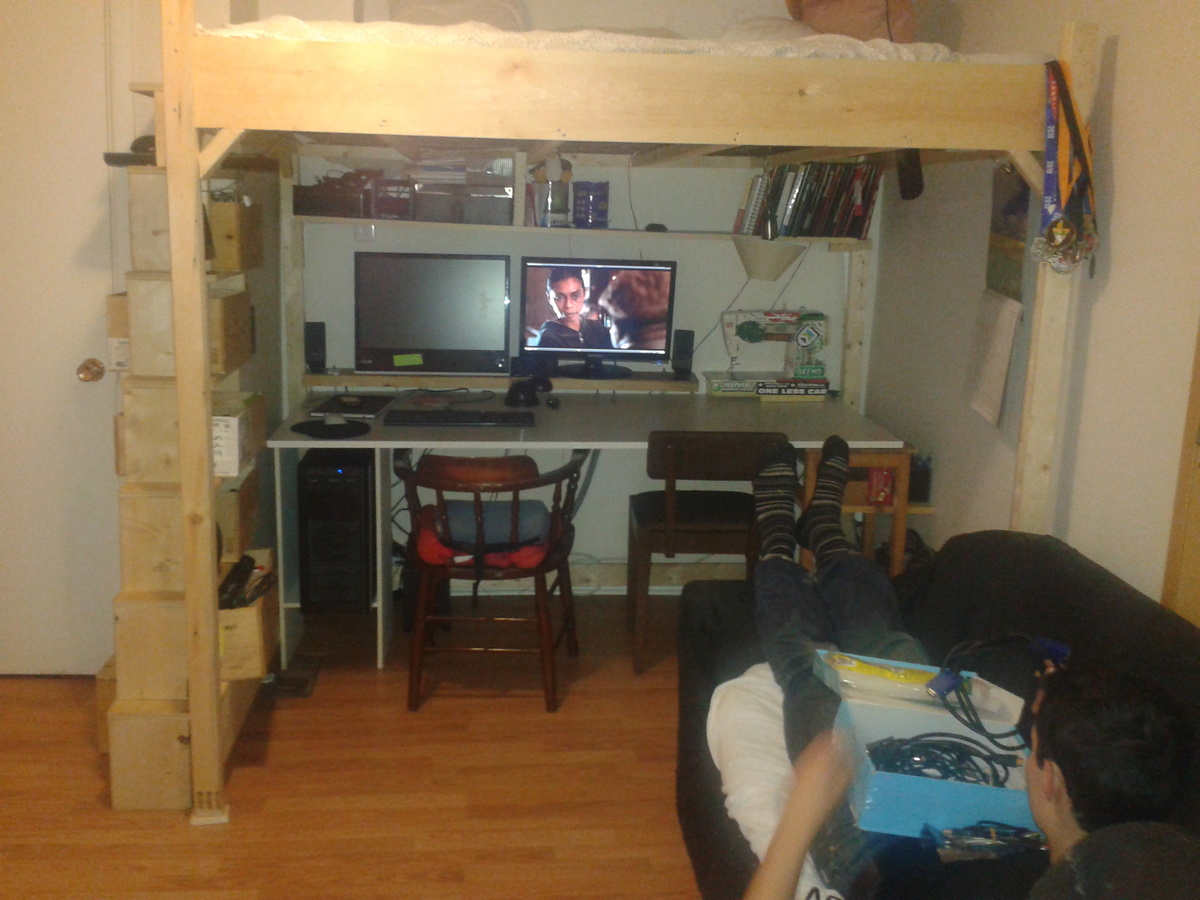
Our den is an awkward spot and we wanted to have a usable double bed as well as desk space for two people, but putting in two desks and a futon made it really cluttered and took up a lot of space, plus we were always having to move one of the desks in order to use the futon as a bed. So we combined all three items!
I changed the dimensions of the loft to accomodate the futon frame (I actually just dropped the futon bed support into the top of the loft) and then I used a long counter I already had as a desktop. The desk is sitting on large shelf brackets that are attached to the uprights of the loft, and then at the front there are shelves to hold up the front part of the desk.
It's ideal because most of the time we are not both working and so we can take advantage of the other person's space, but if we are both there there is enough room as well.
The plan I used below is awesome because everything is really firm but you can still take apart the key parts to get it out of the room. So I built it outside but put it together in the room itself.
We call it the sky bed and my friends love it. I also ditched the ladder and built the shelving unit you see that is both a ladder and shelves, and takes advantage of the shape of the room.
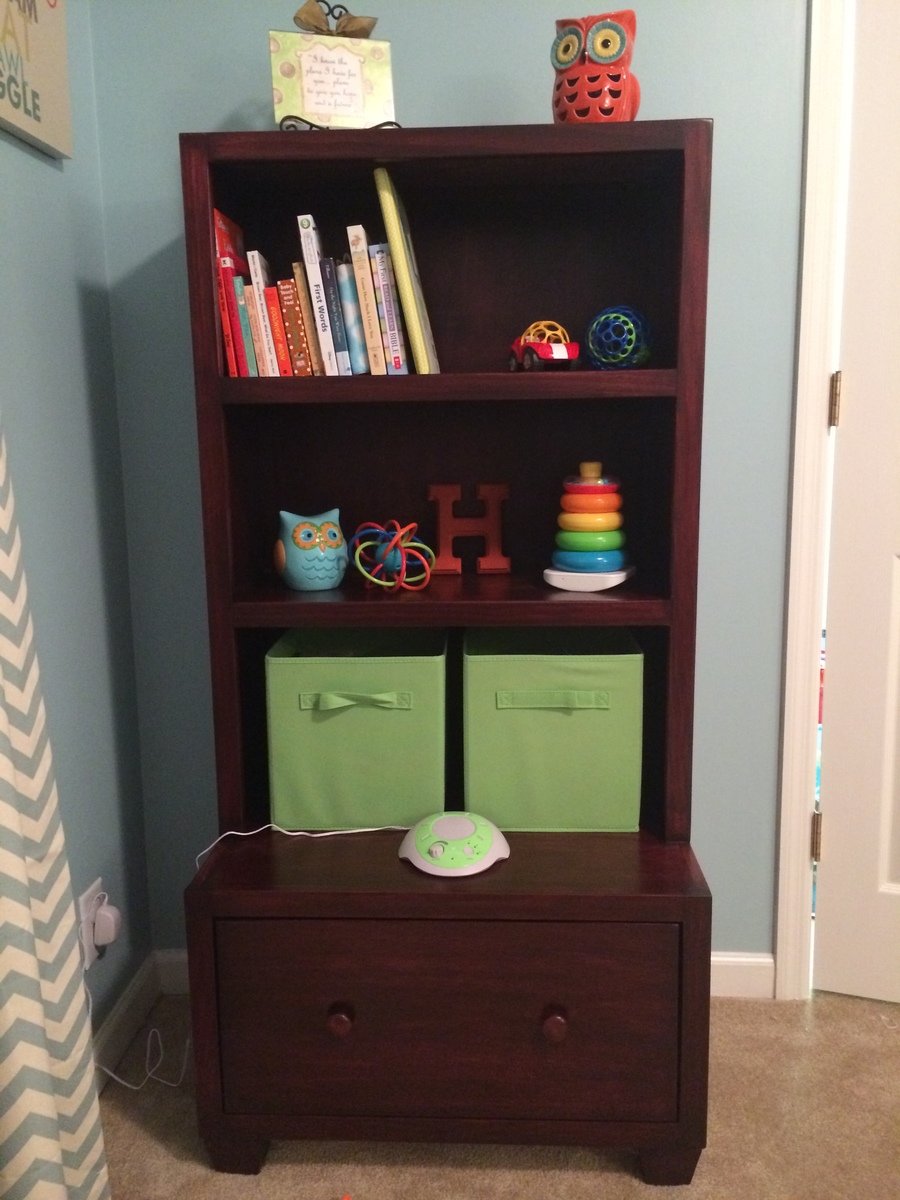
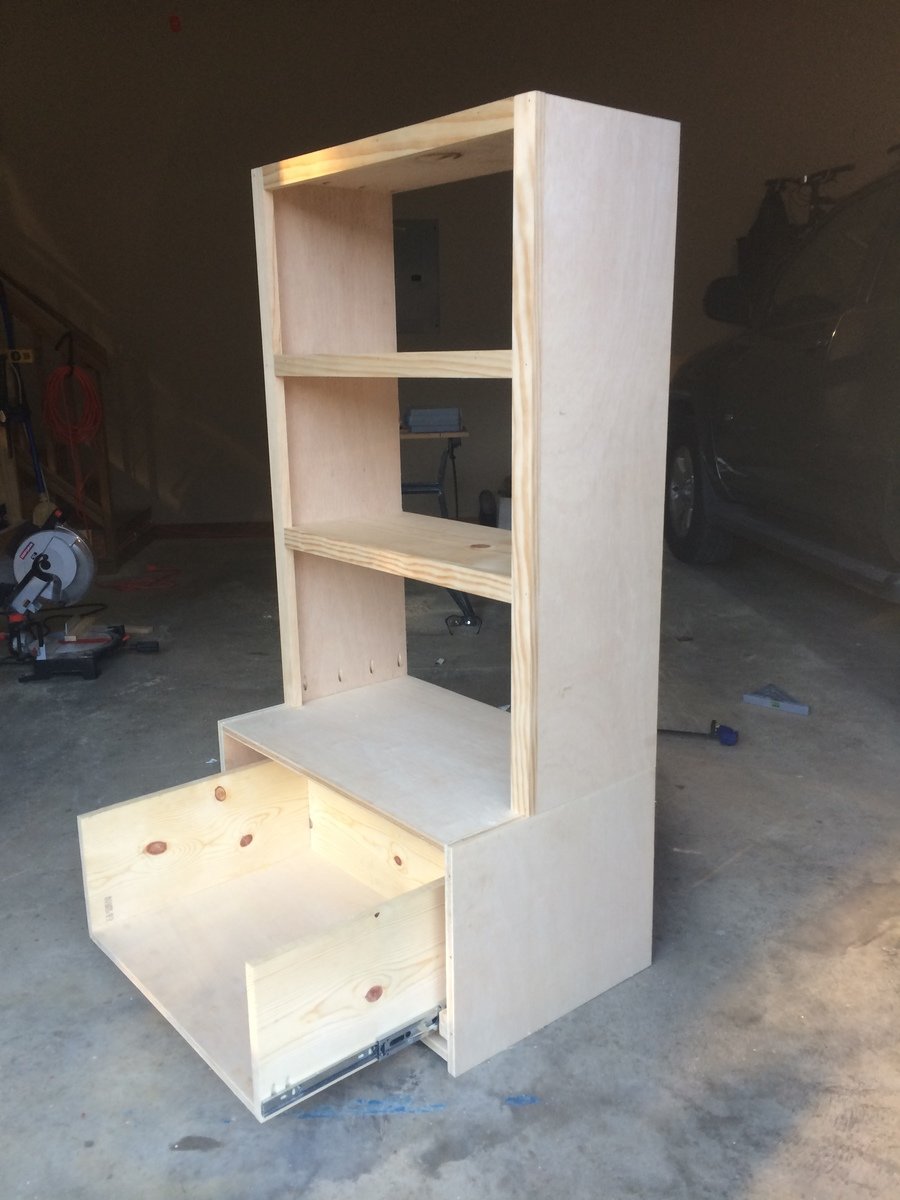
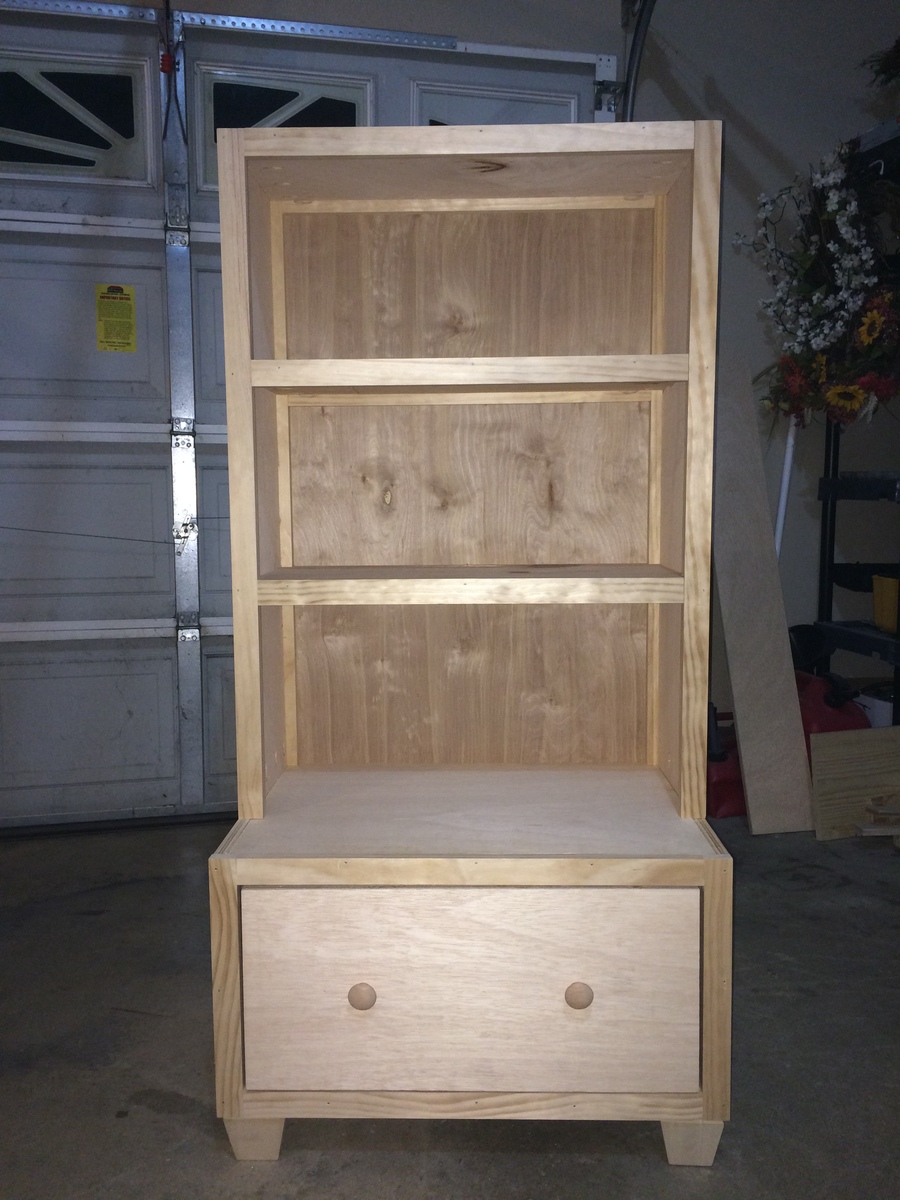
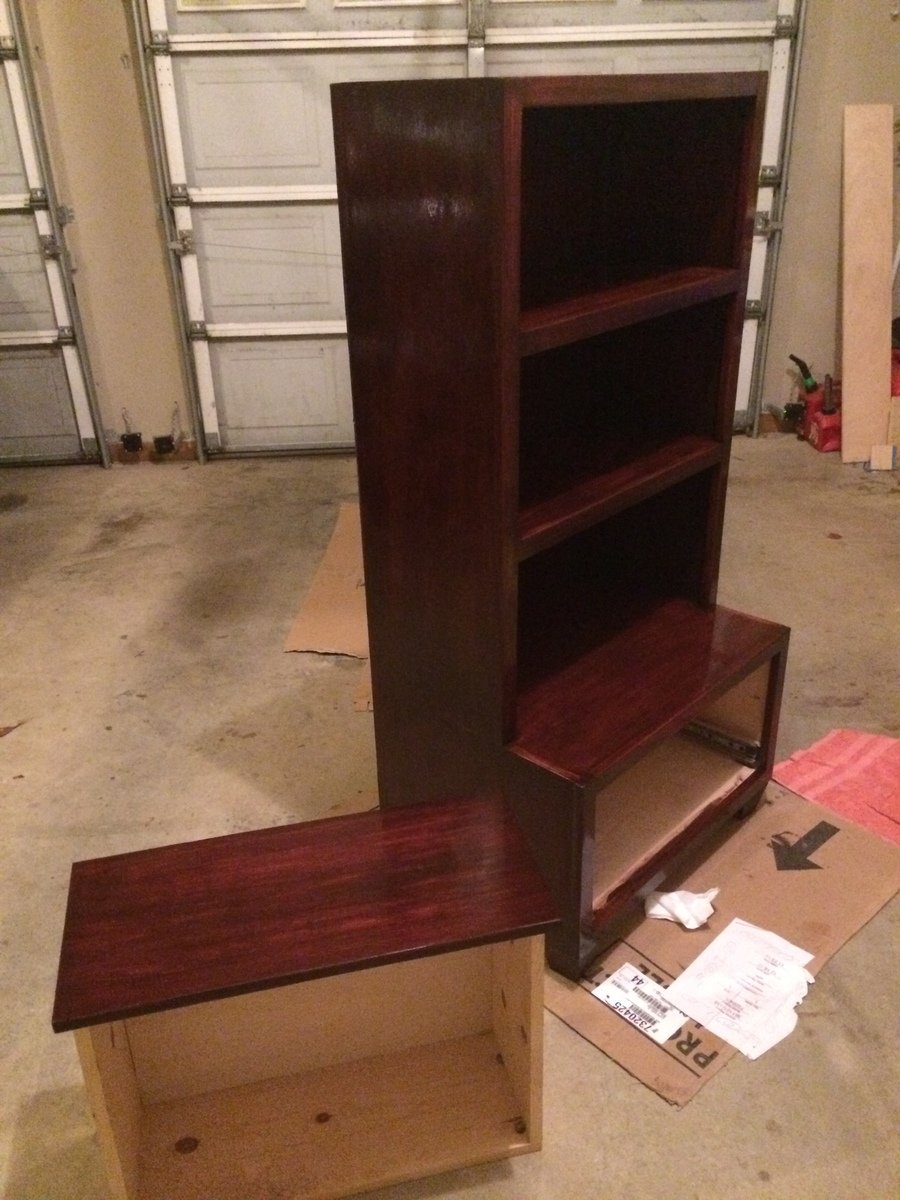
I built a bookcase with a large drawer beneath for my son's nursery. This build was based on Ana's plans for the Cube Drawer Bench and Hutch, but I changed a few things to make it my own. This was my first real attempt at making any kind of furniture, or anything else, really, and I'm fairly happy with the way it turned out. More importantly, my wife loves it.
I learned a TON from all the resources on this website. Thanks Ana!
Mon, 02/10/2014 - 15:59
It looks really great! One question, how did you attach the hutch to the bench?
Mon, 02/10/2014 - 16:54
Thank you!
I attached the hutch to the drawer by drilling 4 pocket holes on the inside of the bookcase where the bottom meets the top of the drawer. I also used wood glue. I was concerned about the hutch moving around, and the possibility of it tipping over, so I decided to go ahead and build the two components as one piece, essentially.
Also, in order to add some additional strength and stability, I combined the frames on both components so that I would have vertical 1x2's going down the entire length of the backside of the piece. I also added horizontal 1x2's on the backside of each shelf. All these things combined really gave it a lot of extra strength.
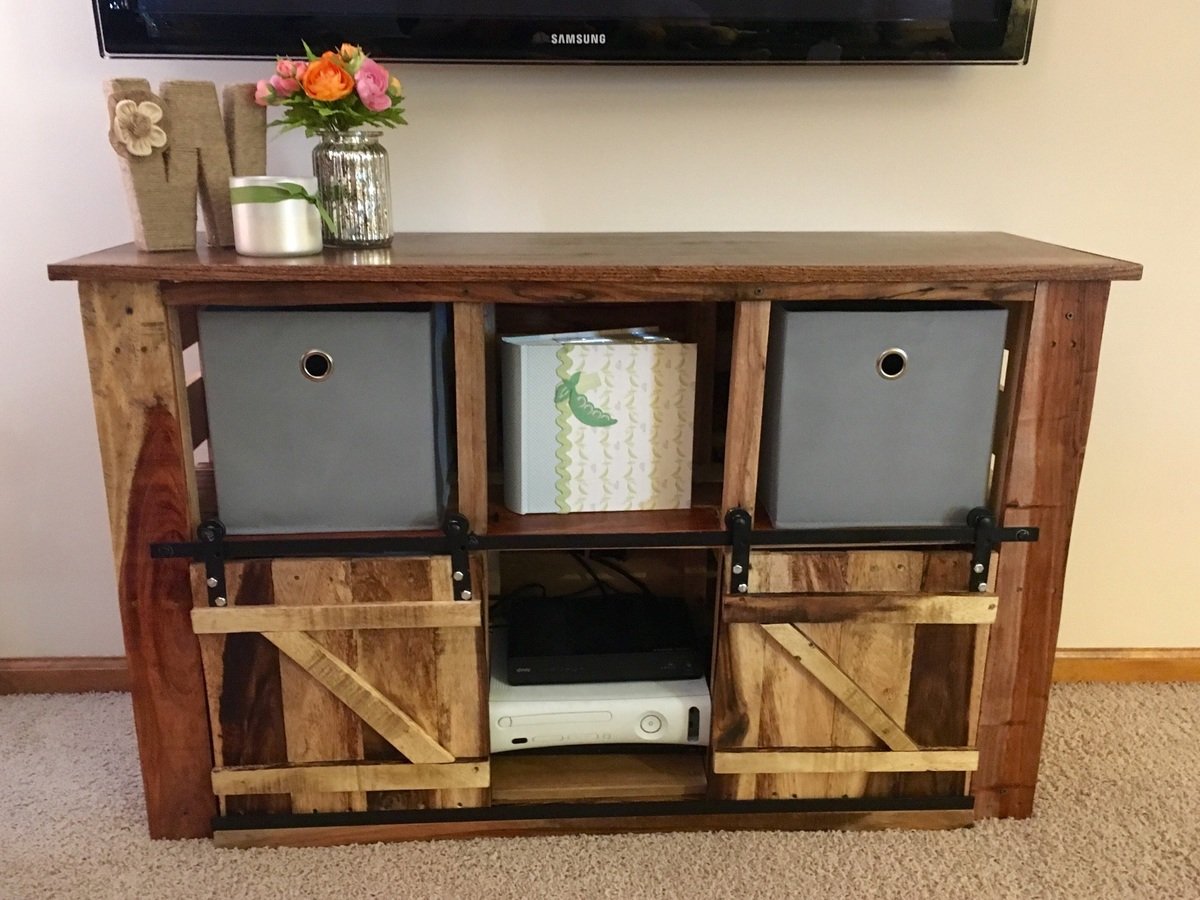
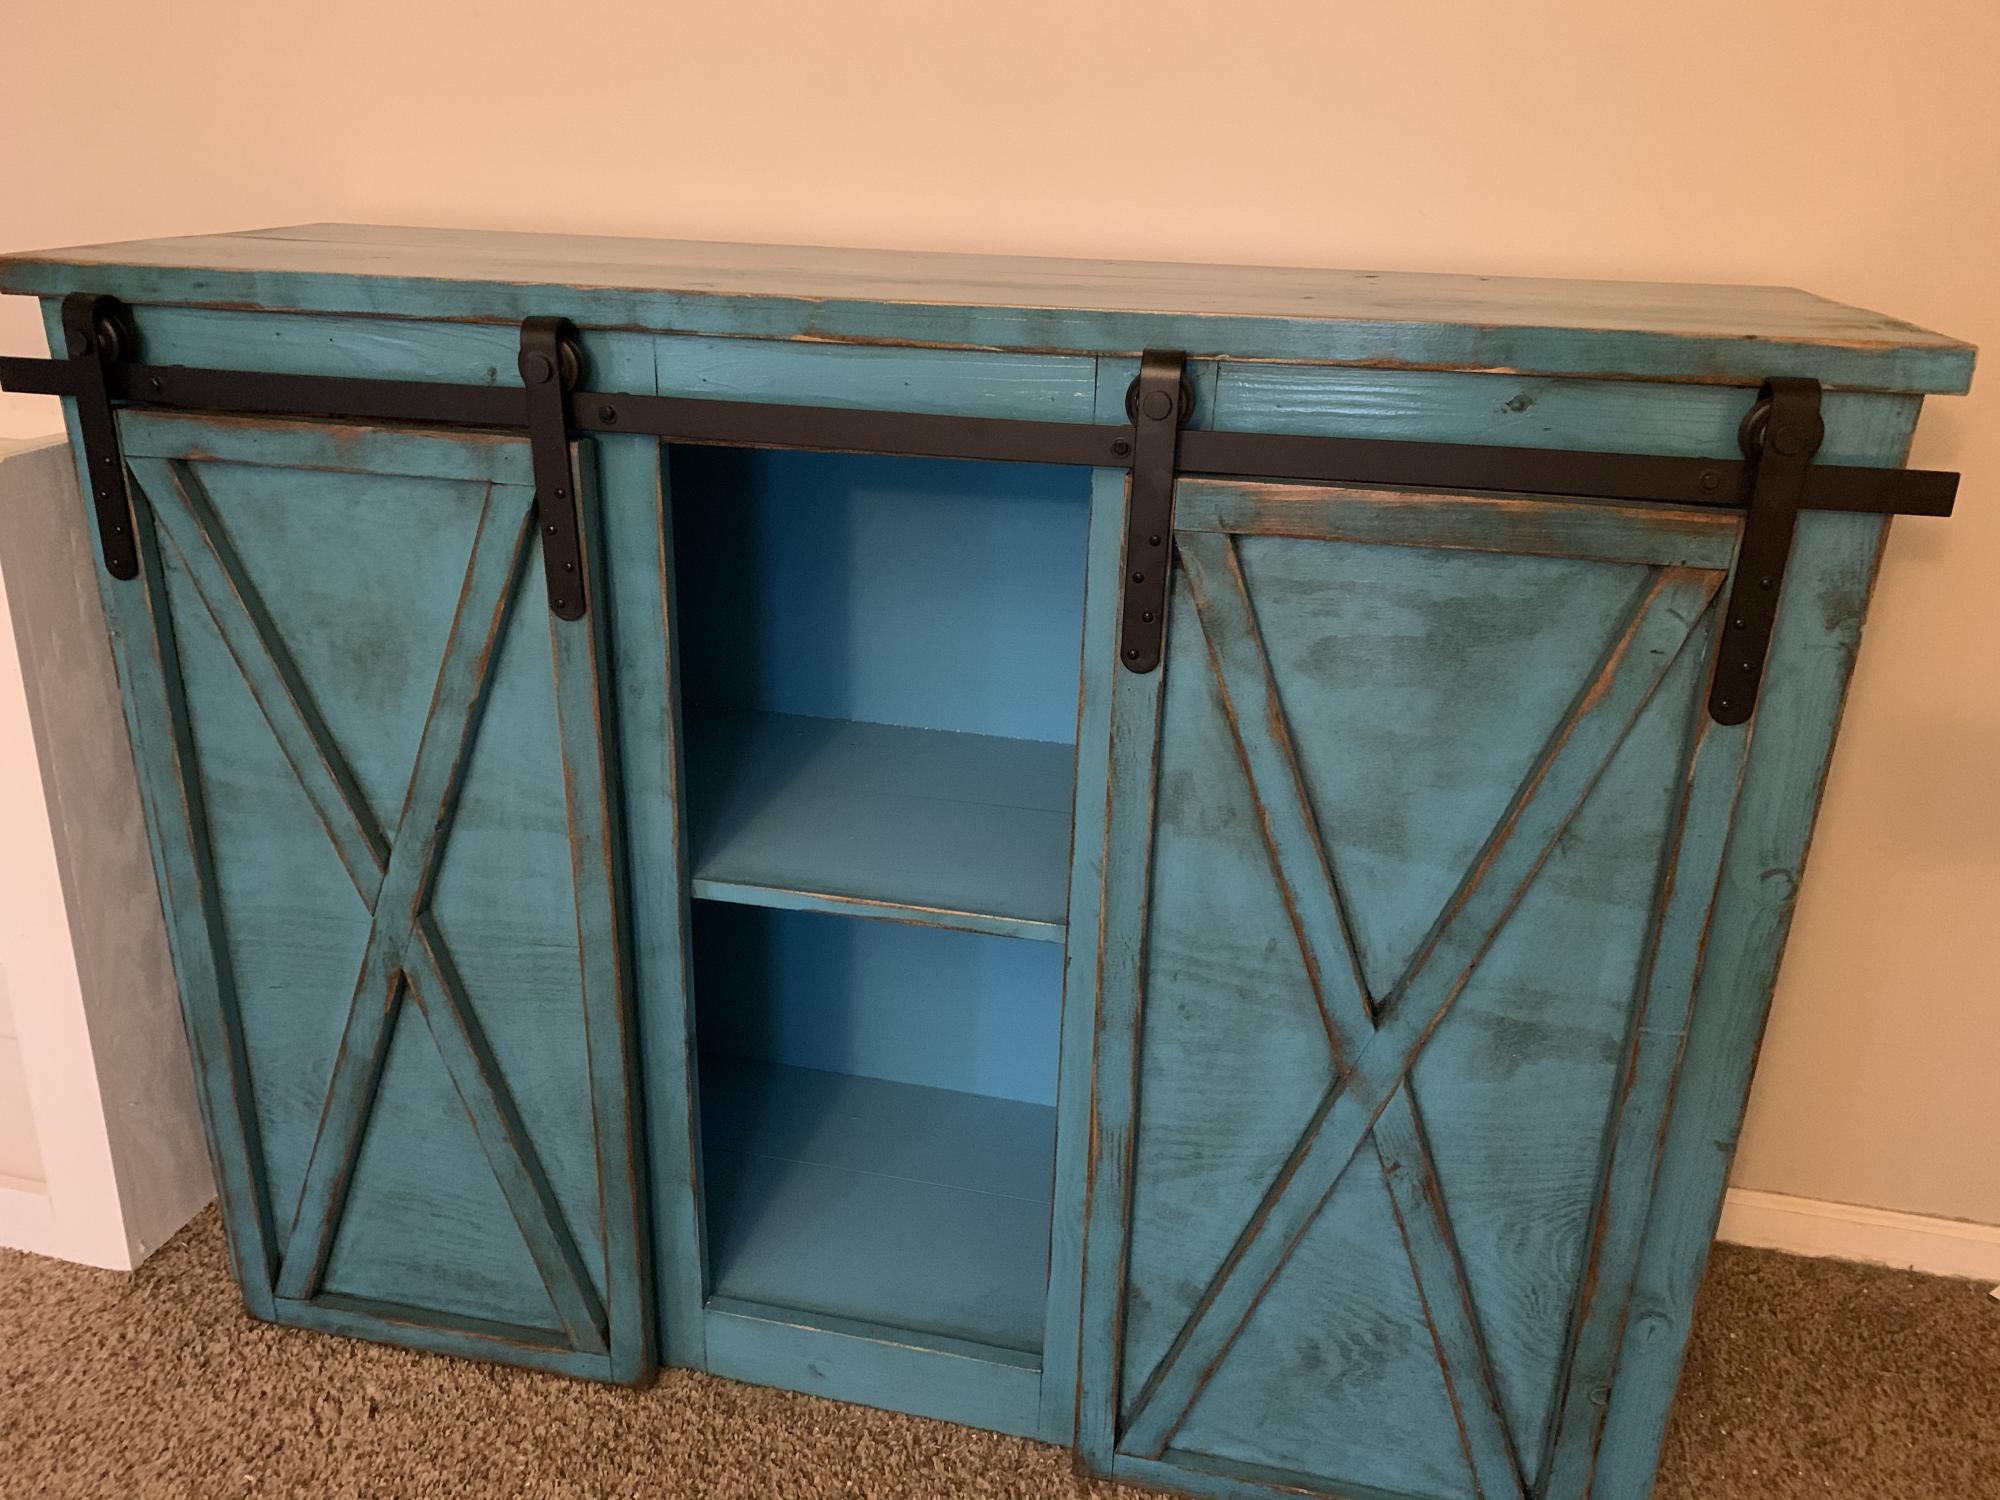
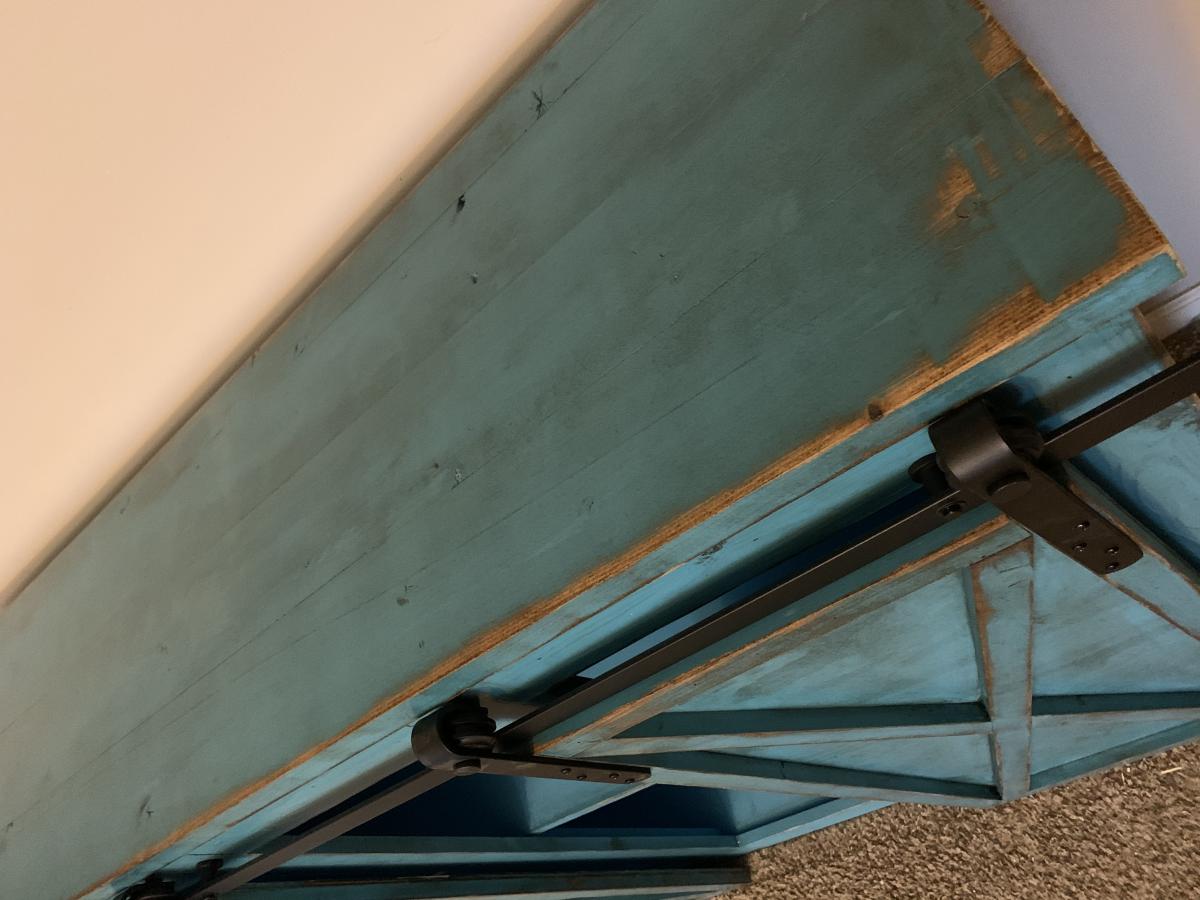
Mini sliding barn doors. Made this piece out of pallet wood and used red oak for the top.
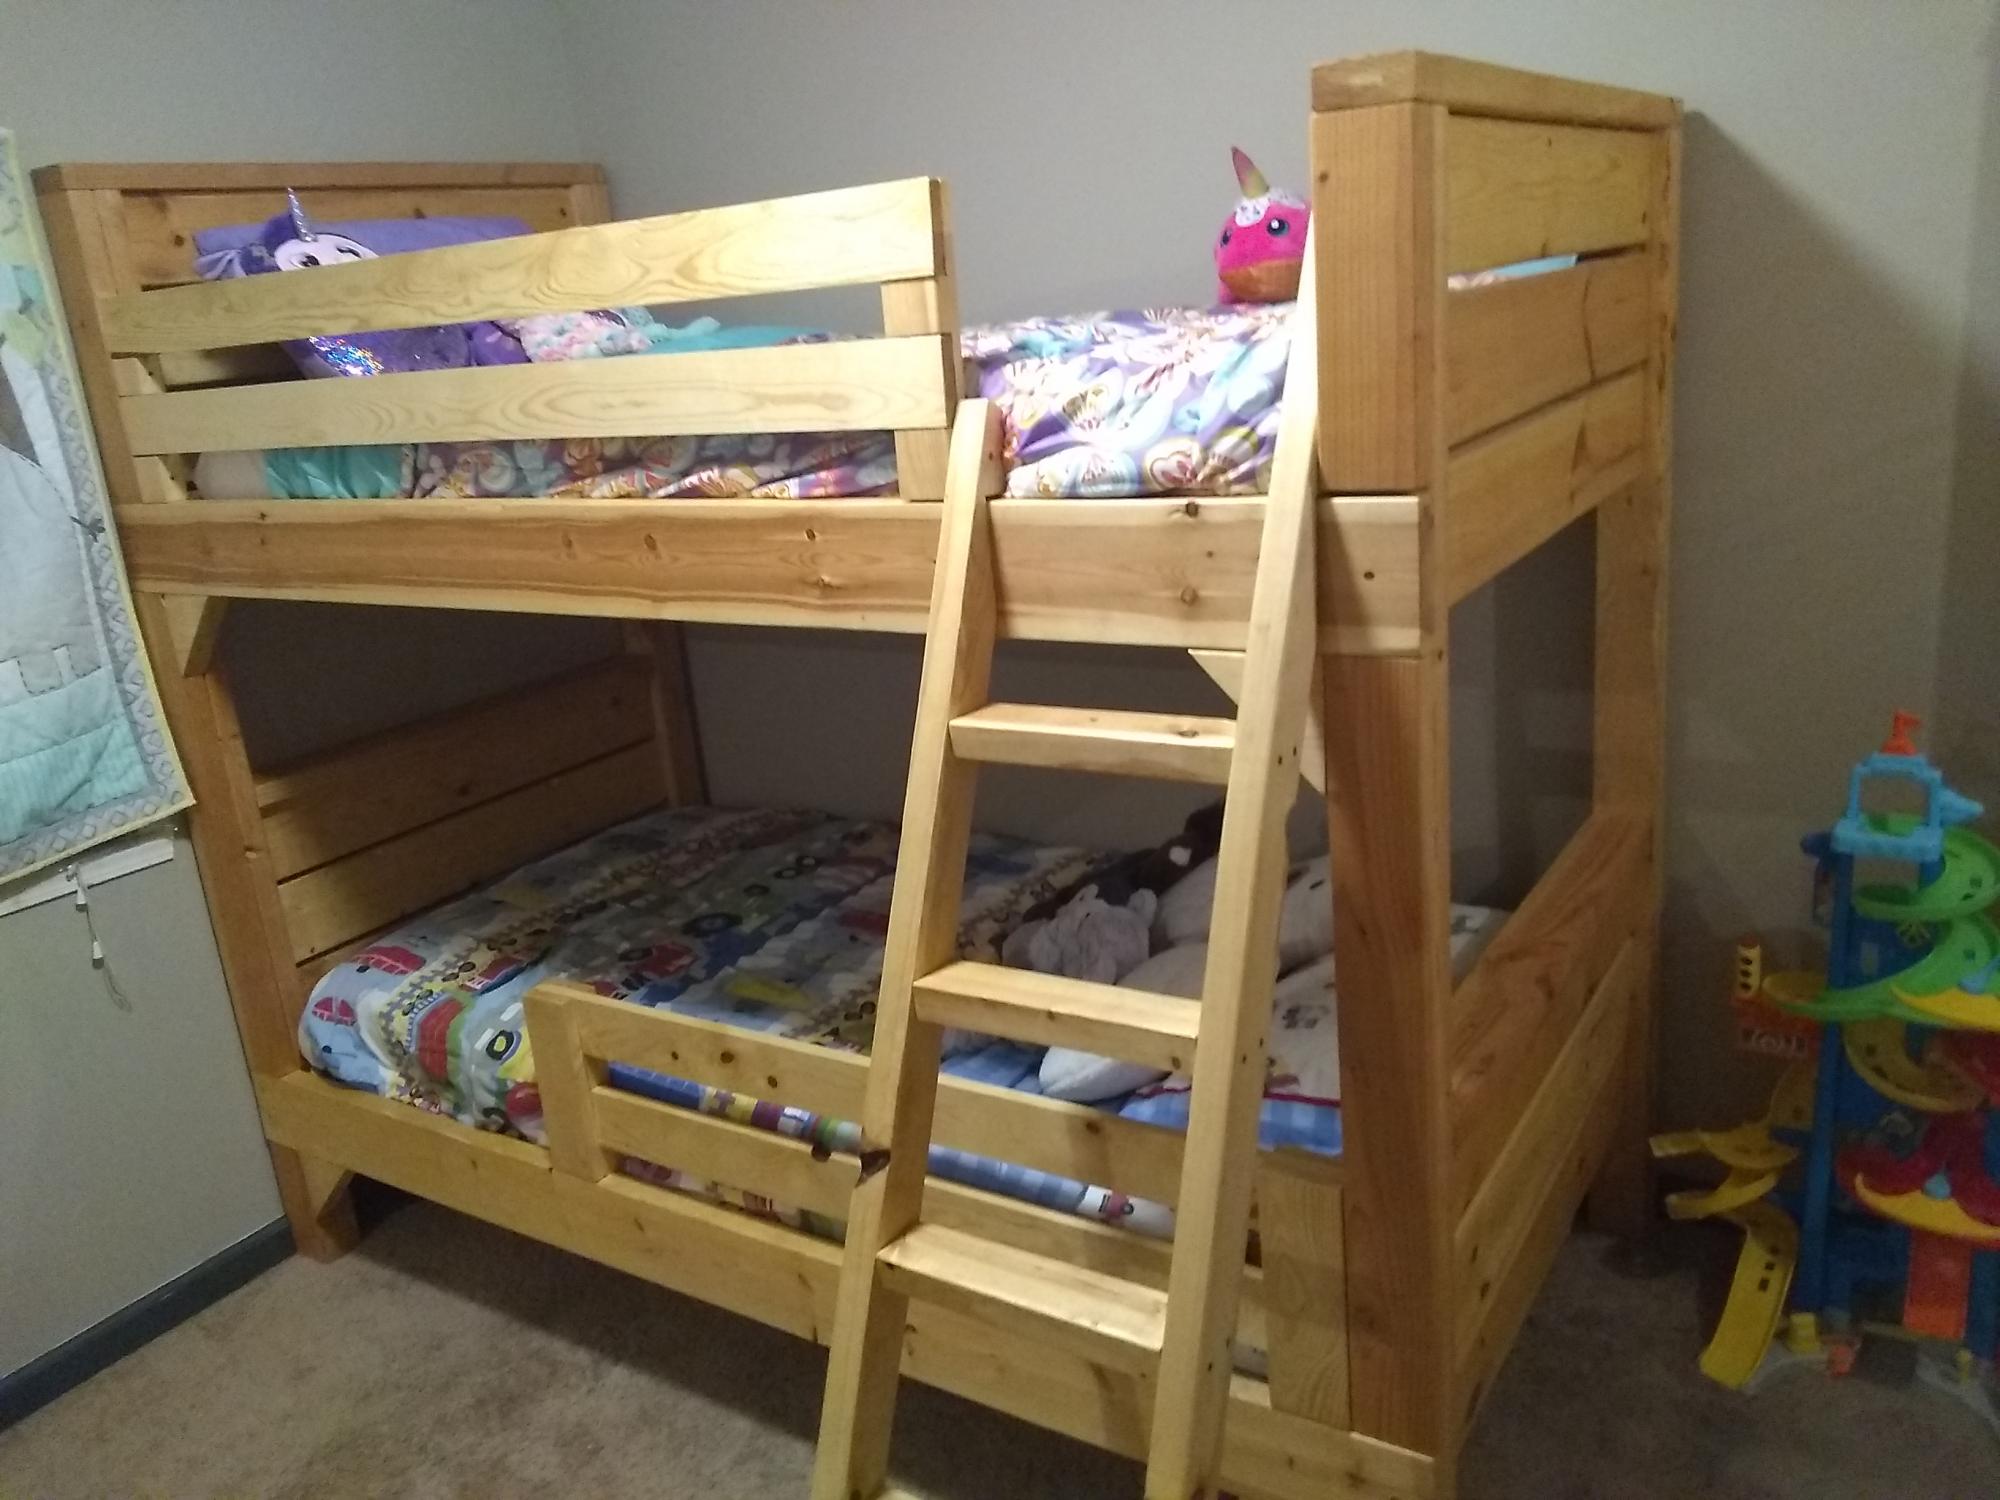
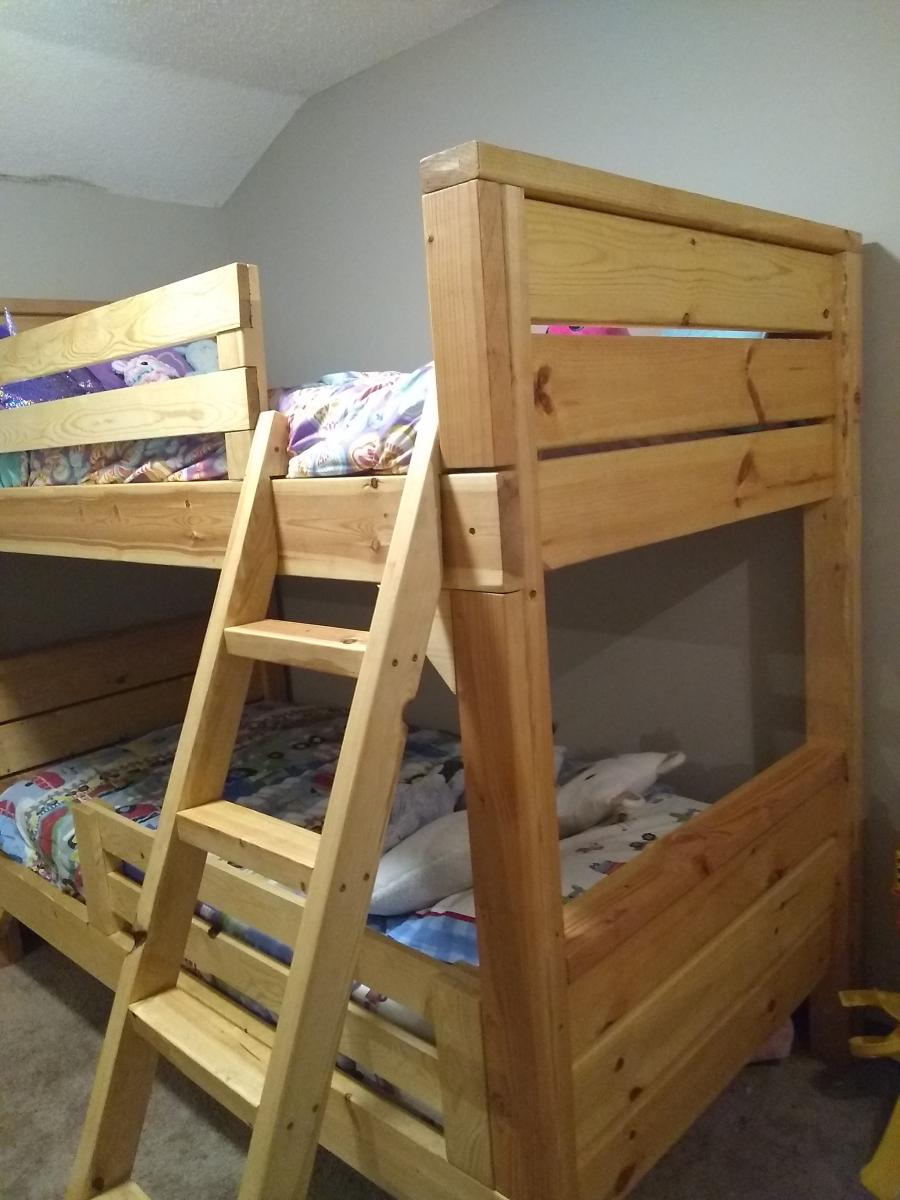
I built this bunk bed from the plans here on Anna white, I love this site. I think it came out really good. It took a little longer than expected because I sanded every piece down, every corner, every side, every end, because it's for my kids.
I devised the ladder myself for my situation and modified the rails I found as well.
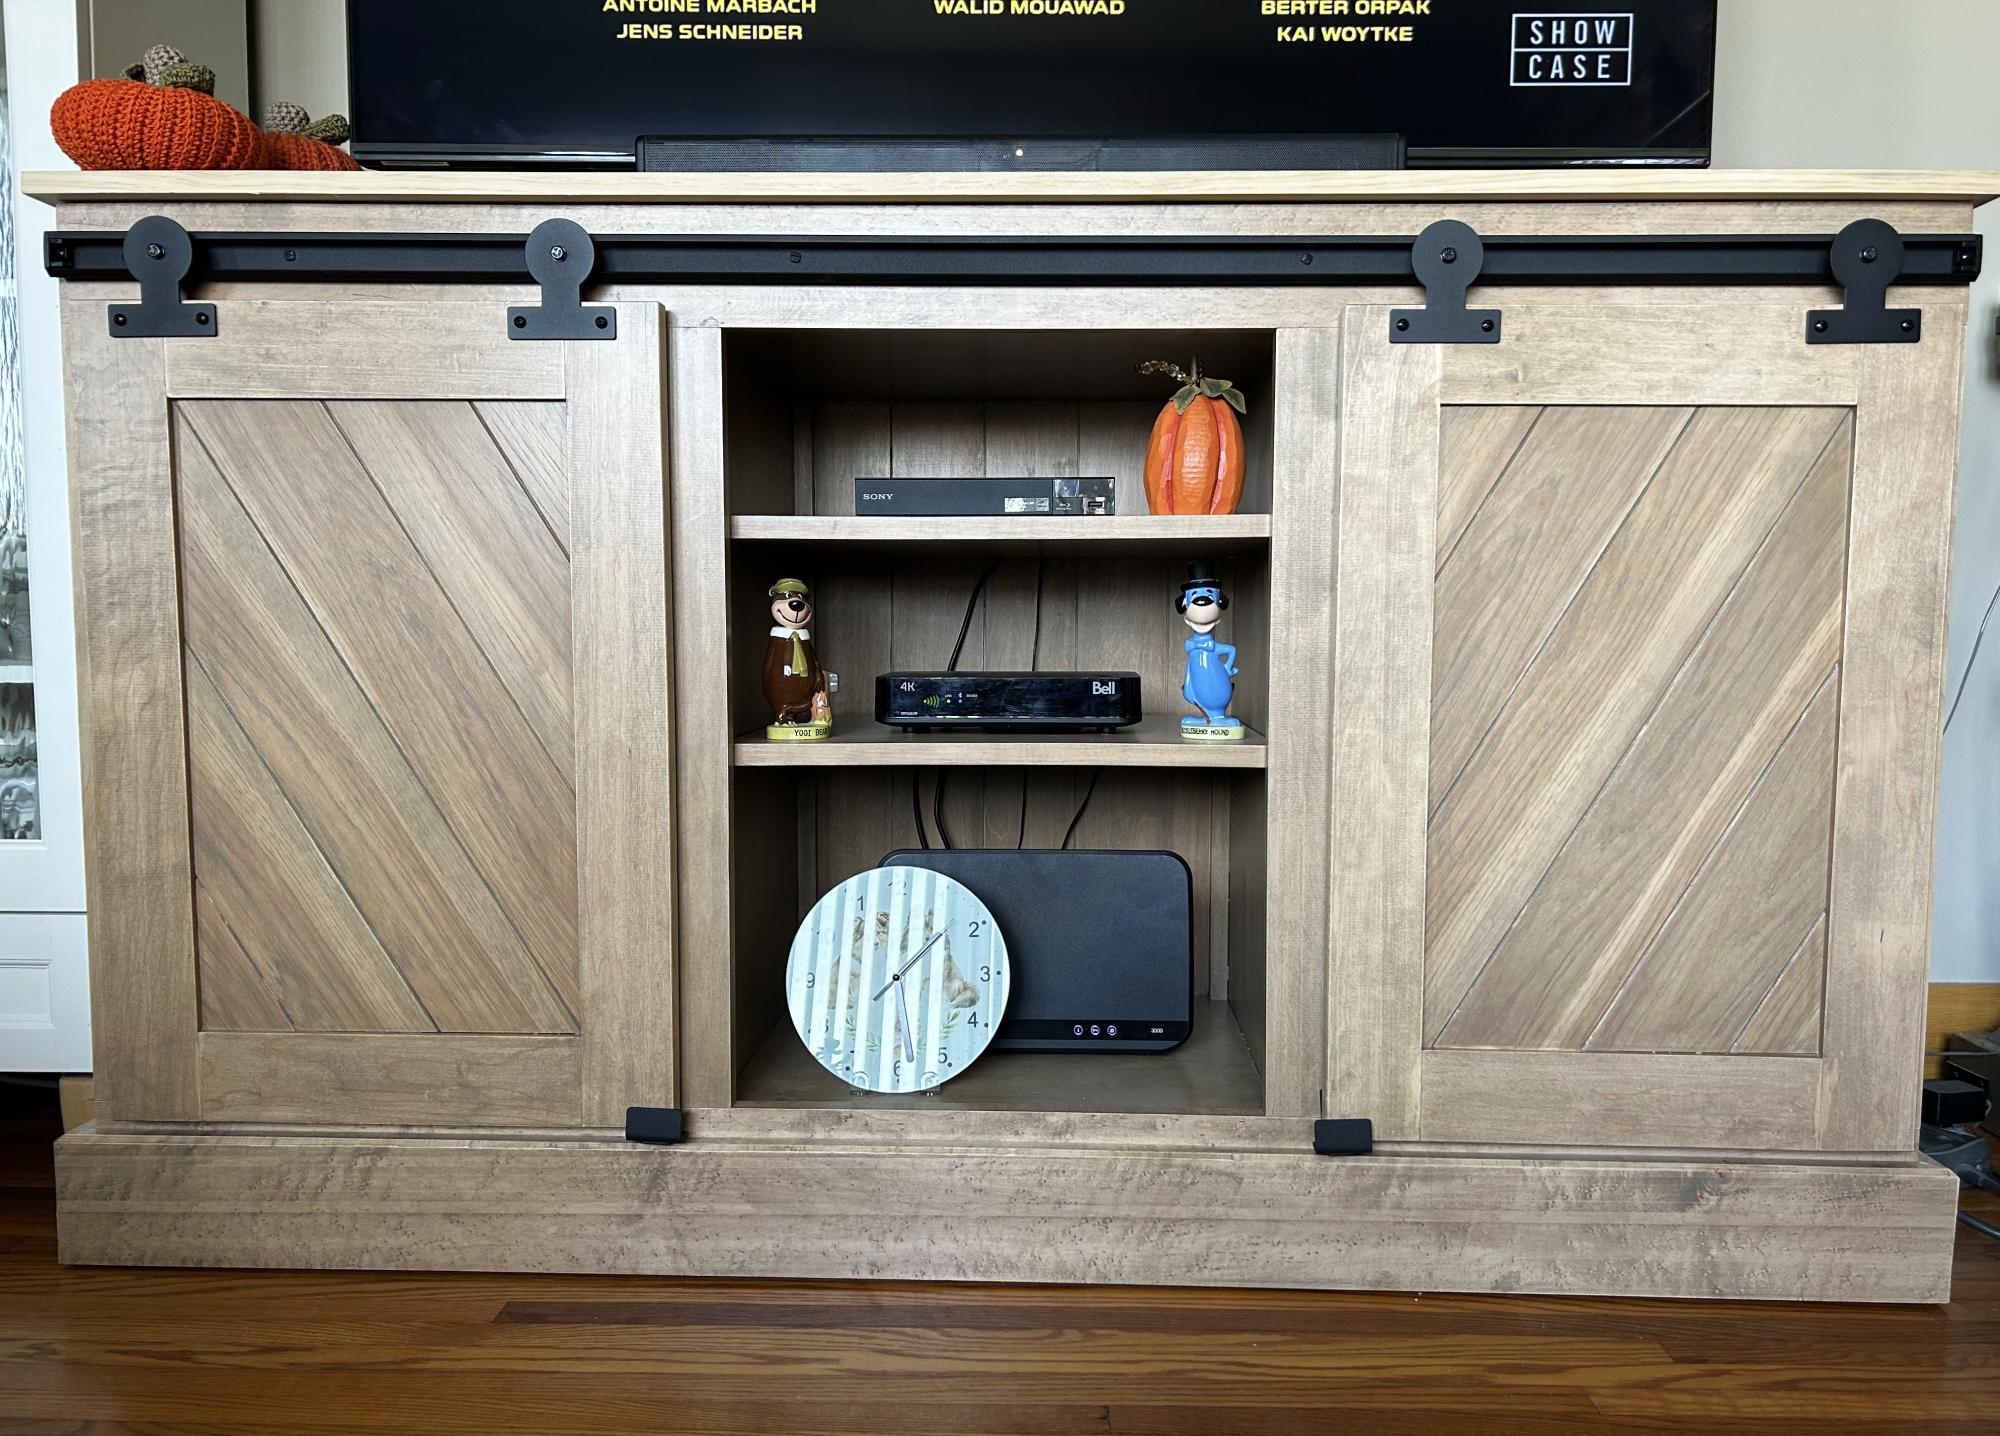
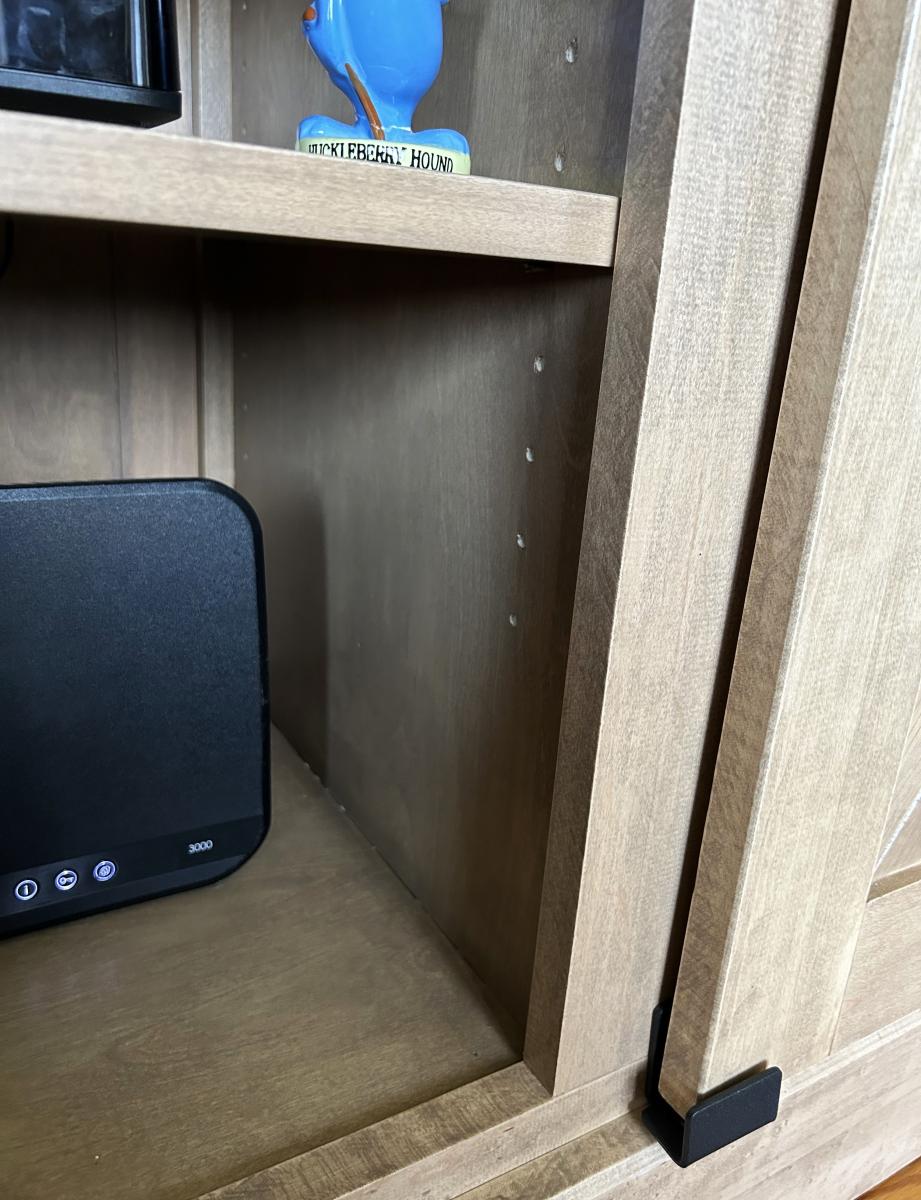
5ft Barn Door TV Stand.
I used the Grandy Barn Door Console as inspiration. I made it as 3 separate units and screwed them together. The shelves are adjustable, the bead board back was done on the table saw, the doors are maple with a hickory diagonal centre panel! This is my largest project so far and I have have to thank Ana White for the beautiful plans that you produce. Without you I’m not sure I would have attempted this. I am one proud lady 🥰
Debbie P
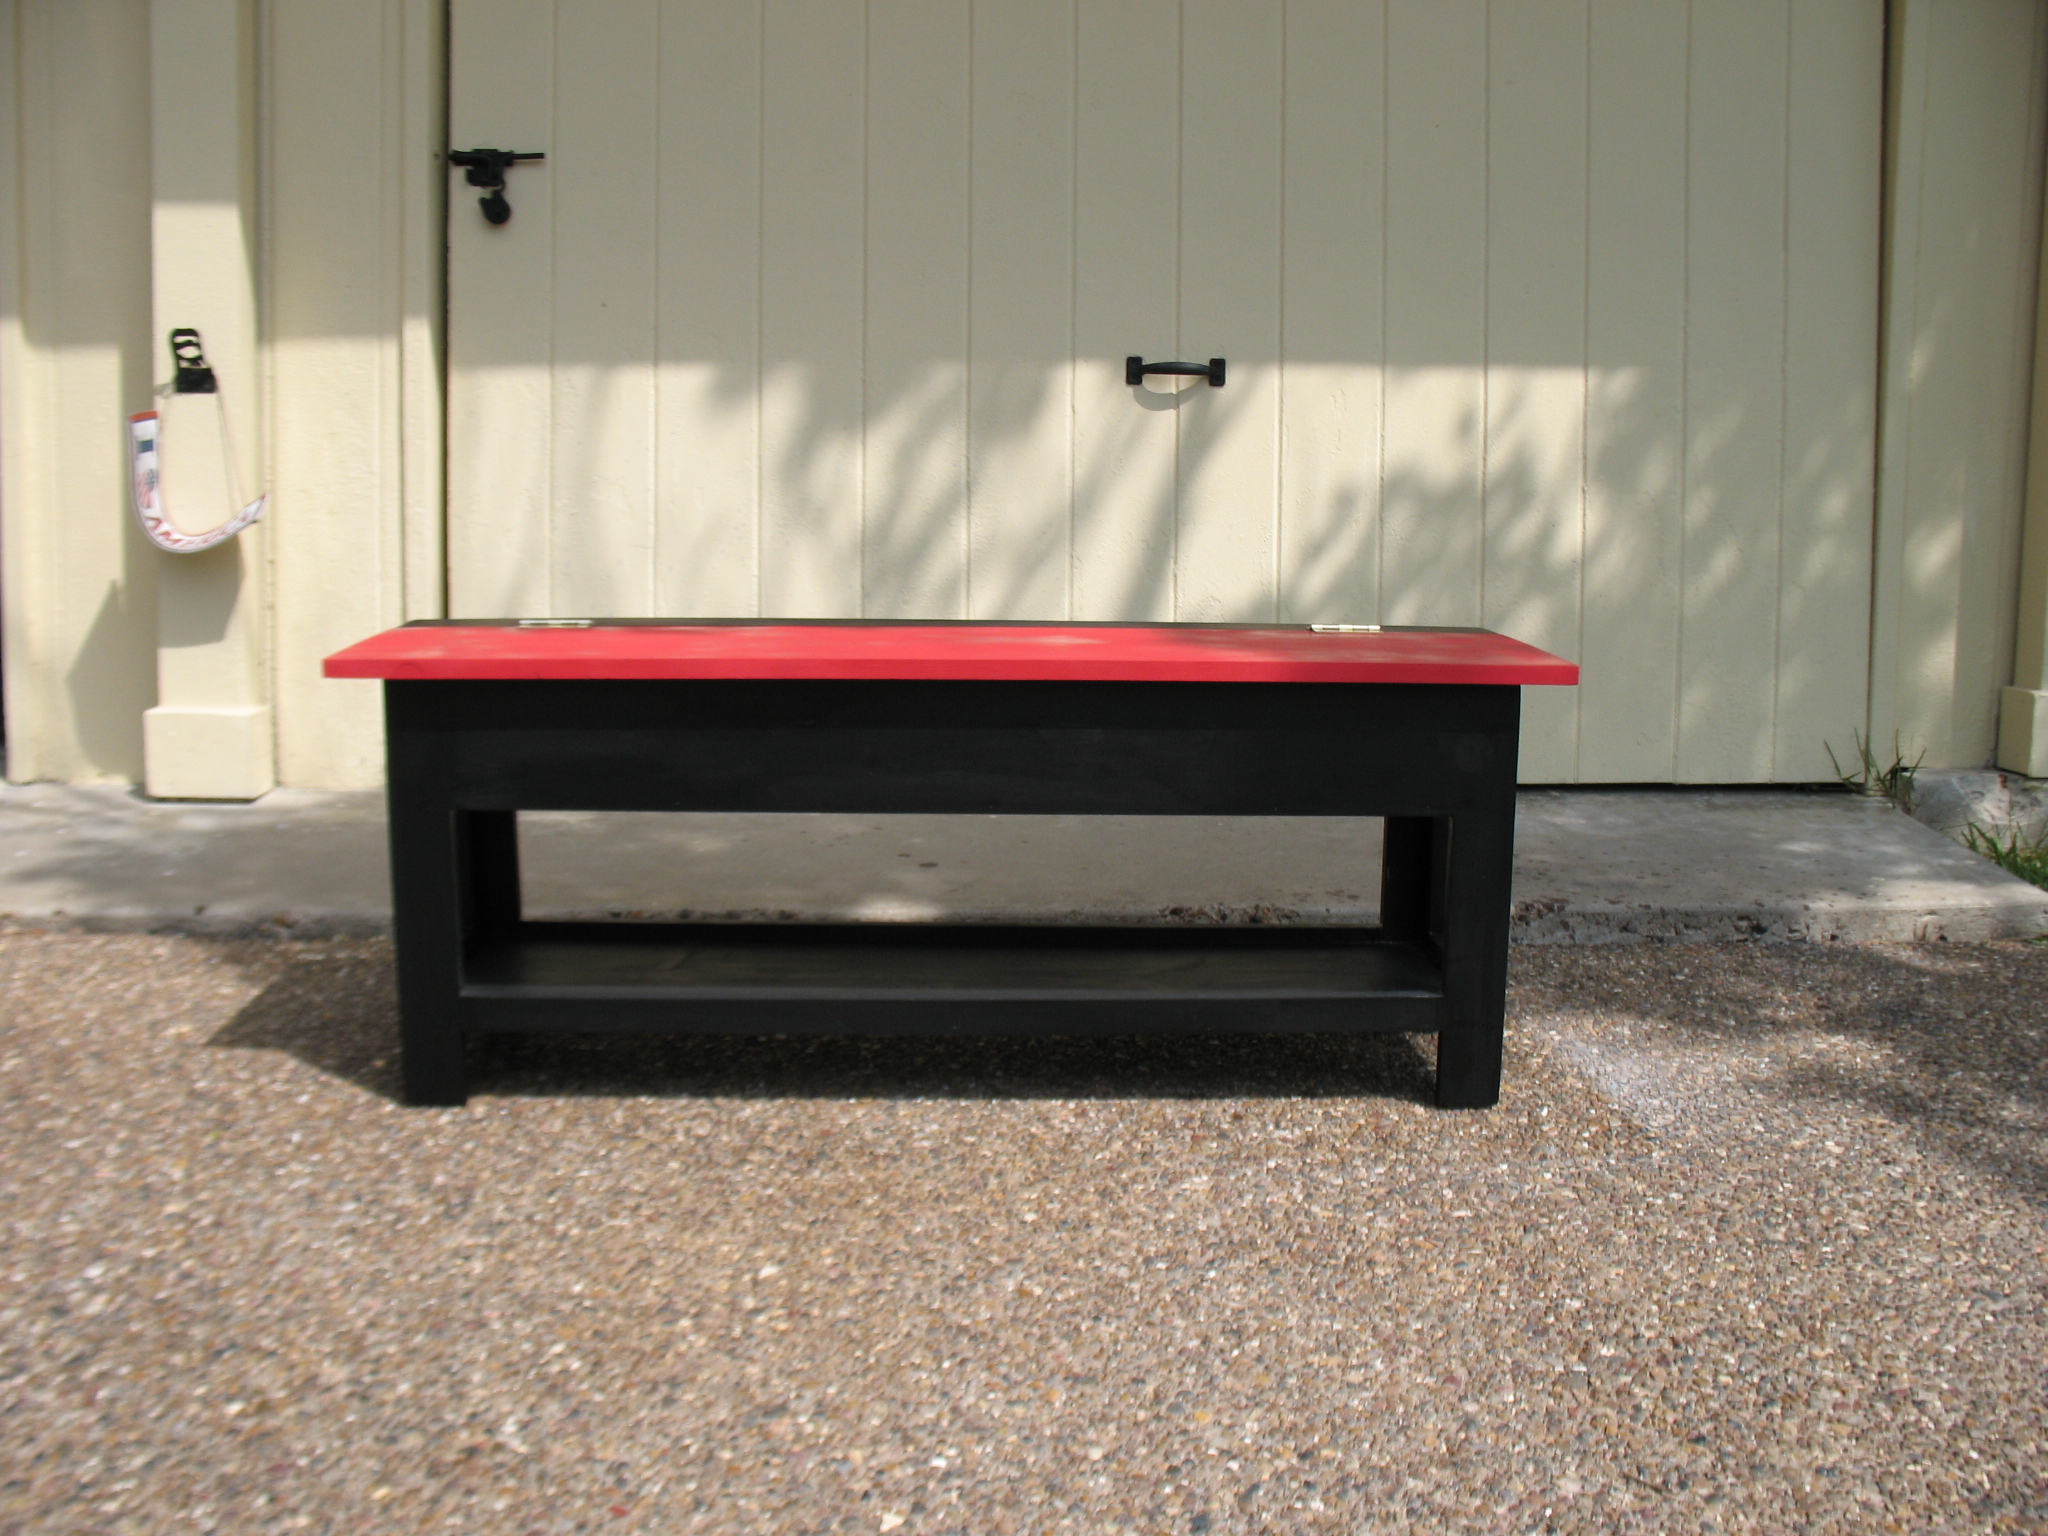
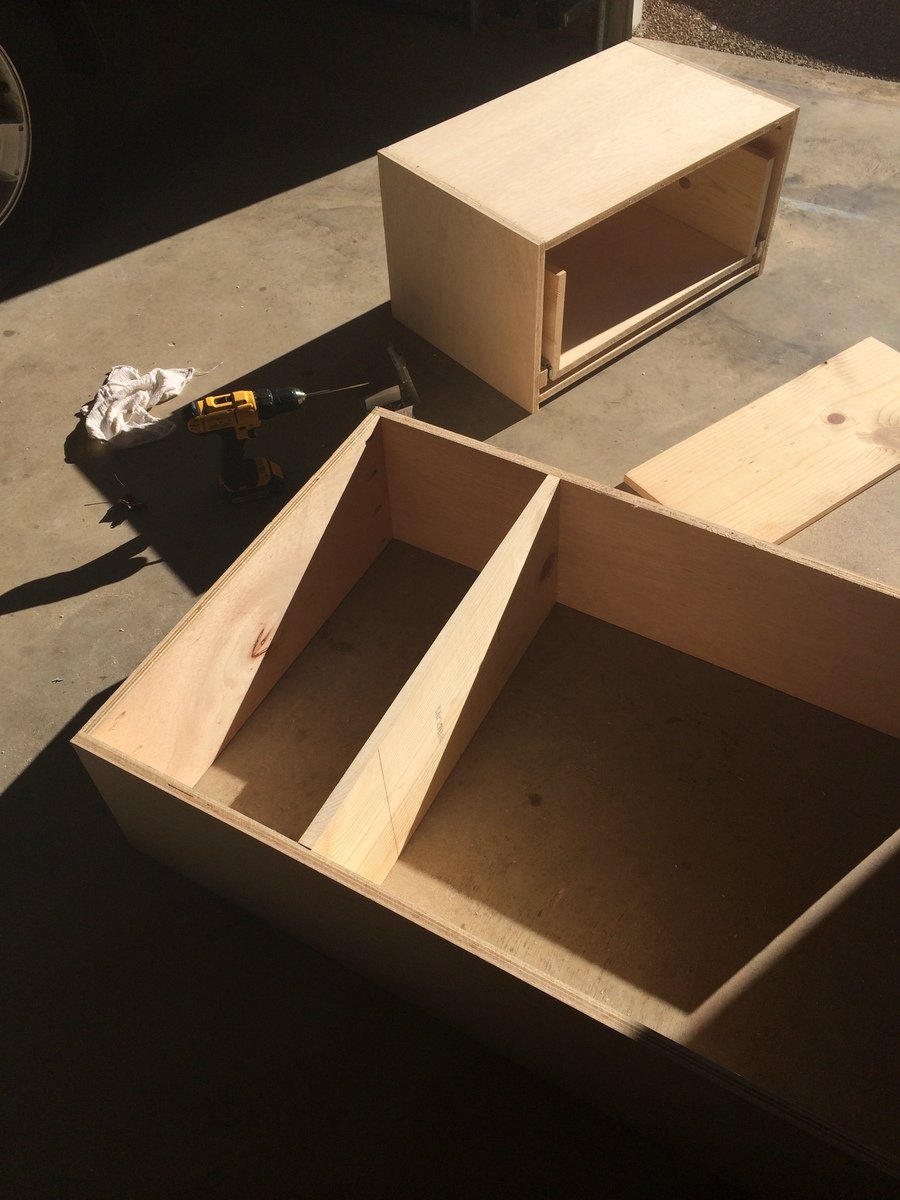
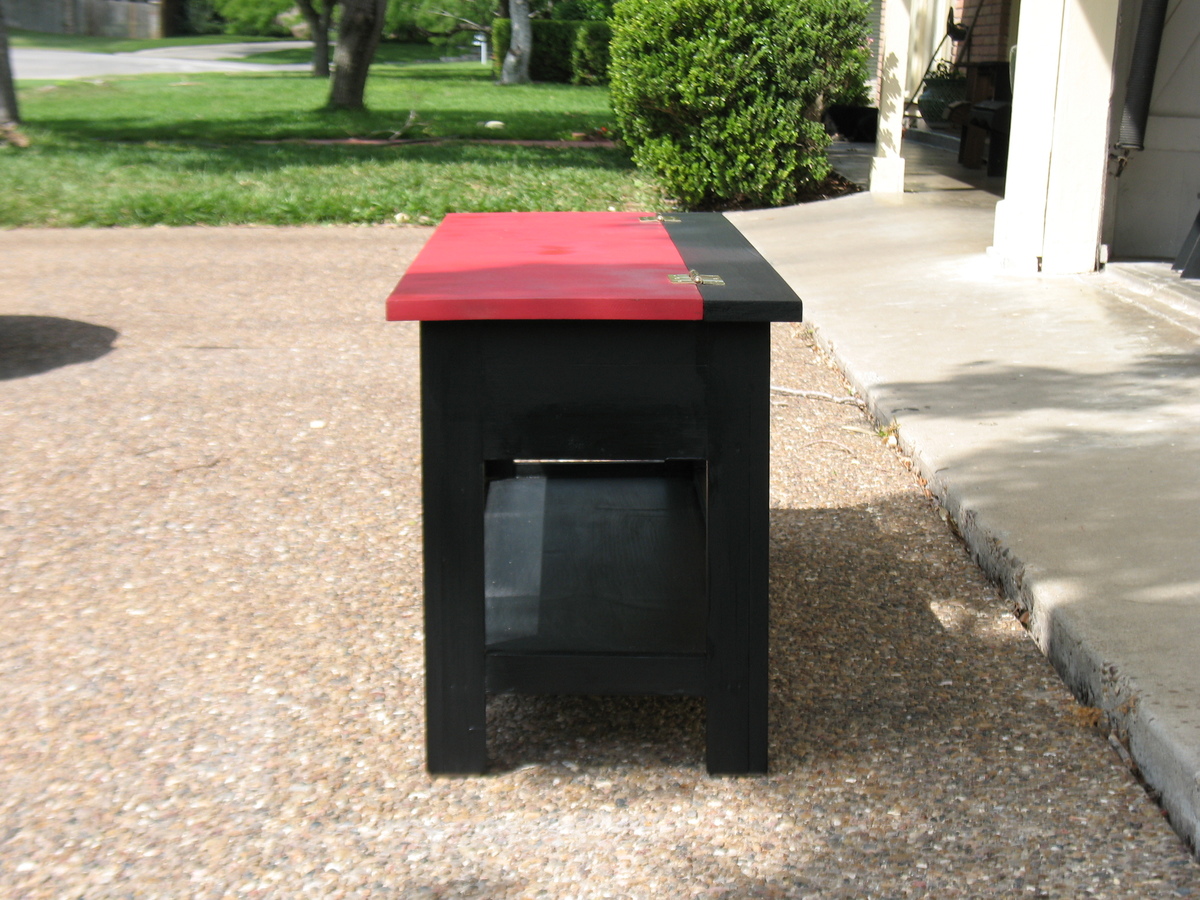
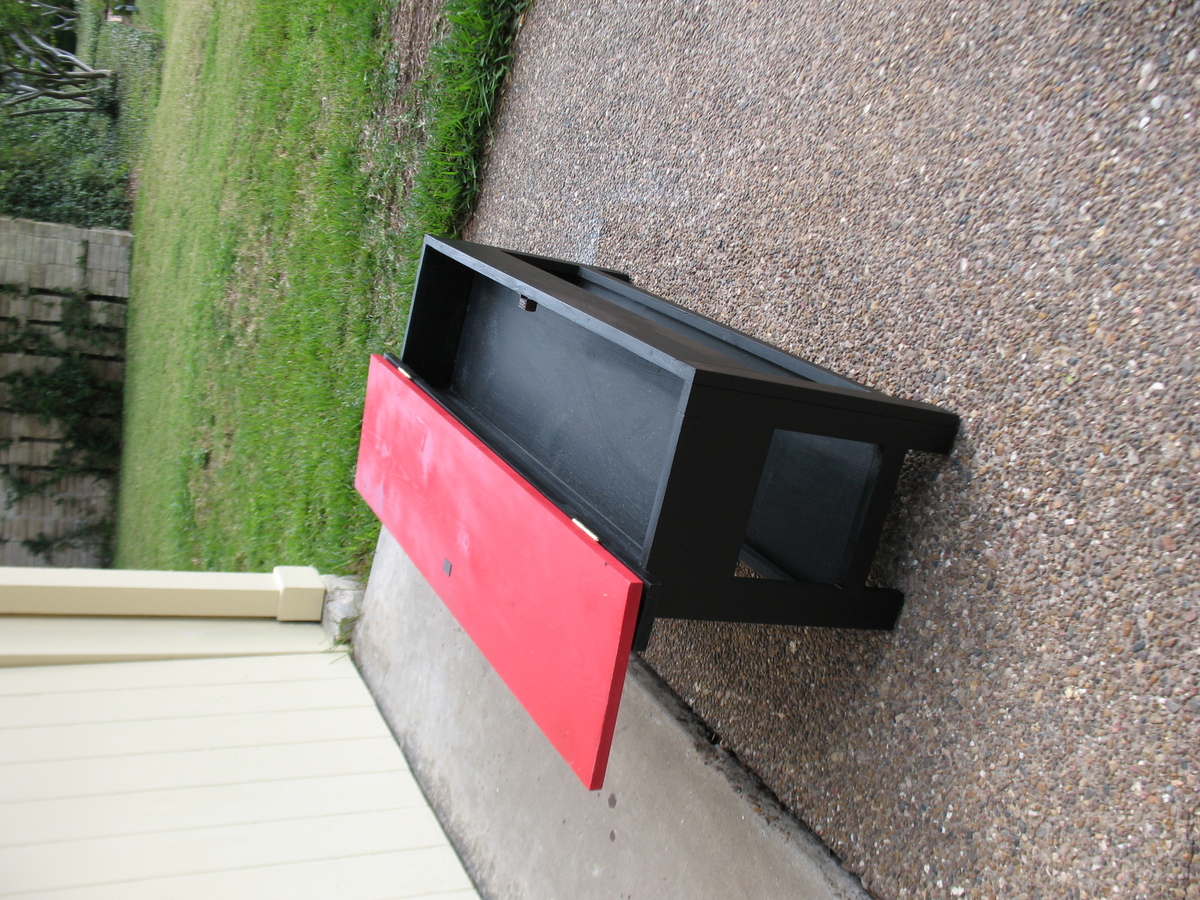
It is a great storage bench. It took me a while to finish it because I made the decision to make the storage area deeper to 4.5 inches without thinking about how that would change the side panels. So I had some adjusting to do. I took my medicine and moved on. I was going to use the bench in the garage to store tools but it came out so well that now I may find a place in the house. Great bench and very sturdy. I was going to paint it entirely black but the idea of the flip top being a different color hit me and I kinda like it. If I do it over I would go with black hinges, which I can still do.
This is my first build!
Had a blast building this and turned out beautiful!
cant wait to start on my next!
Sun, 02/16/2014 - 22:21
Looks AWESOME! I did something similar with the wood on white, I just posted the build :) I am going to have to copy this though!!!
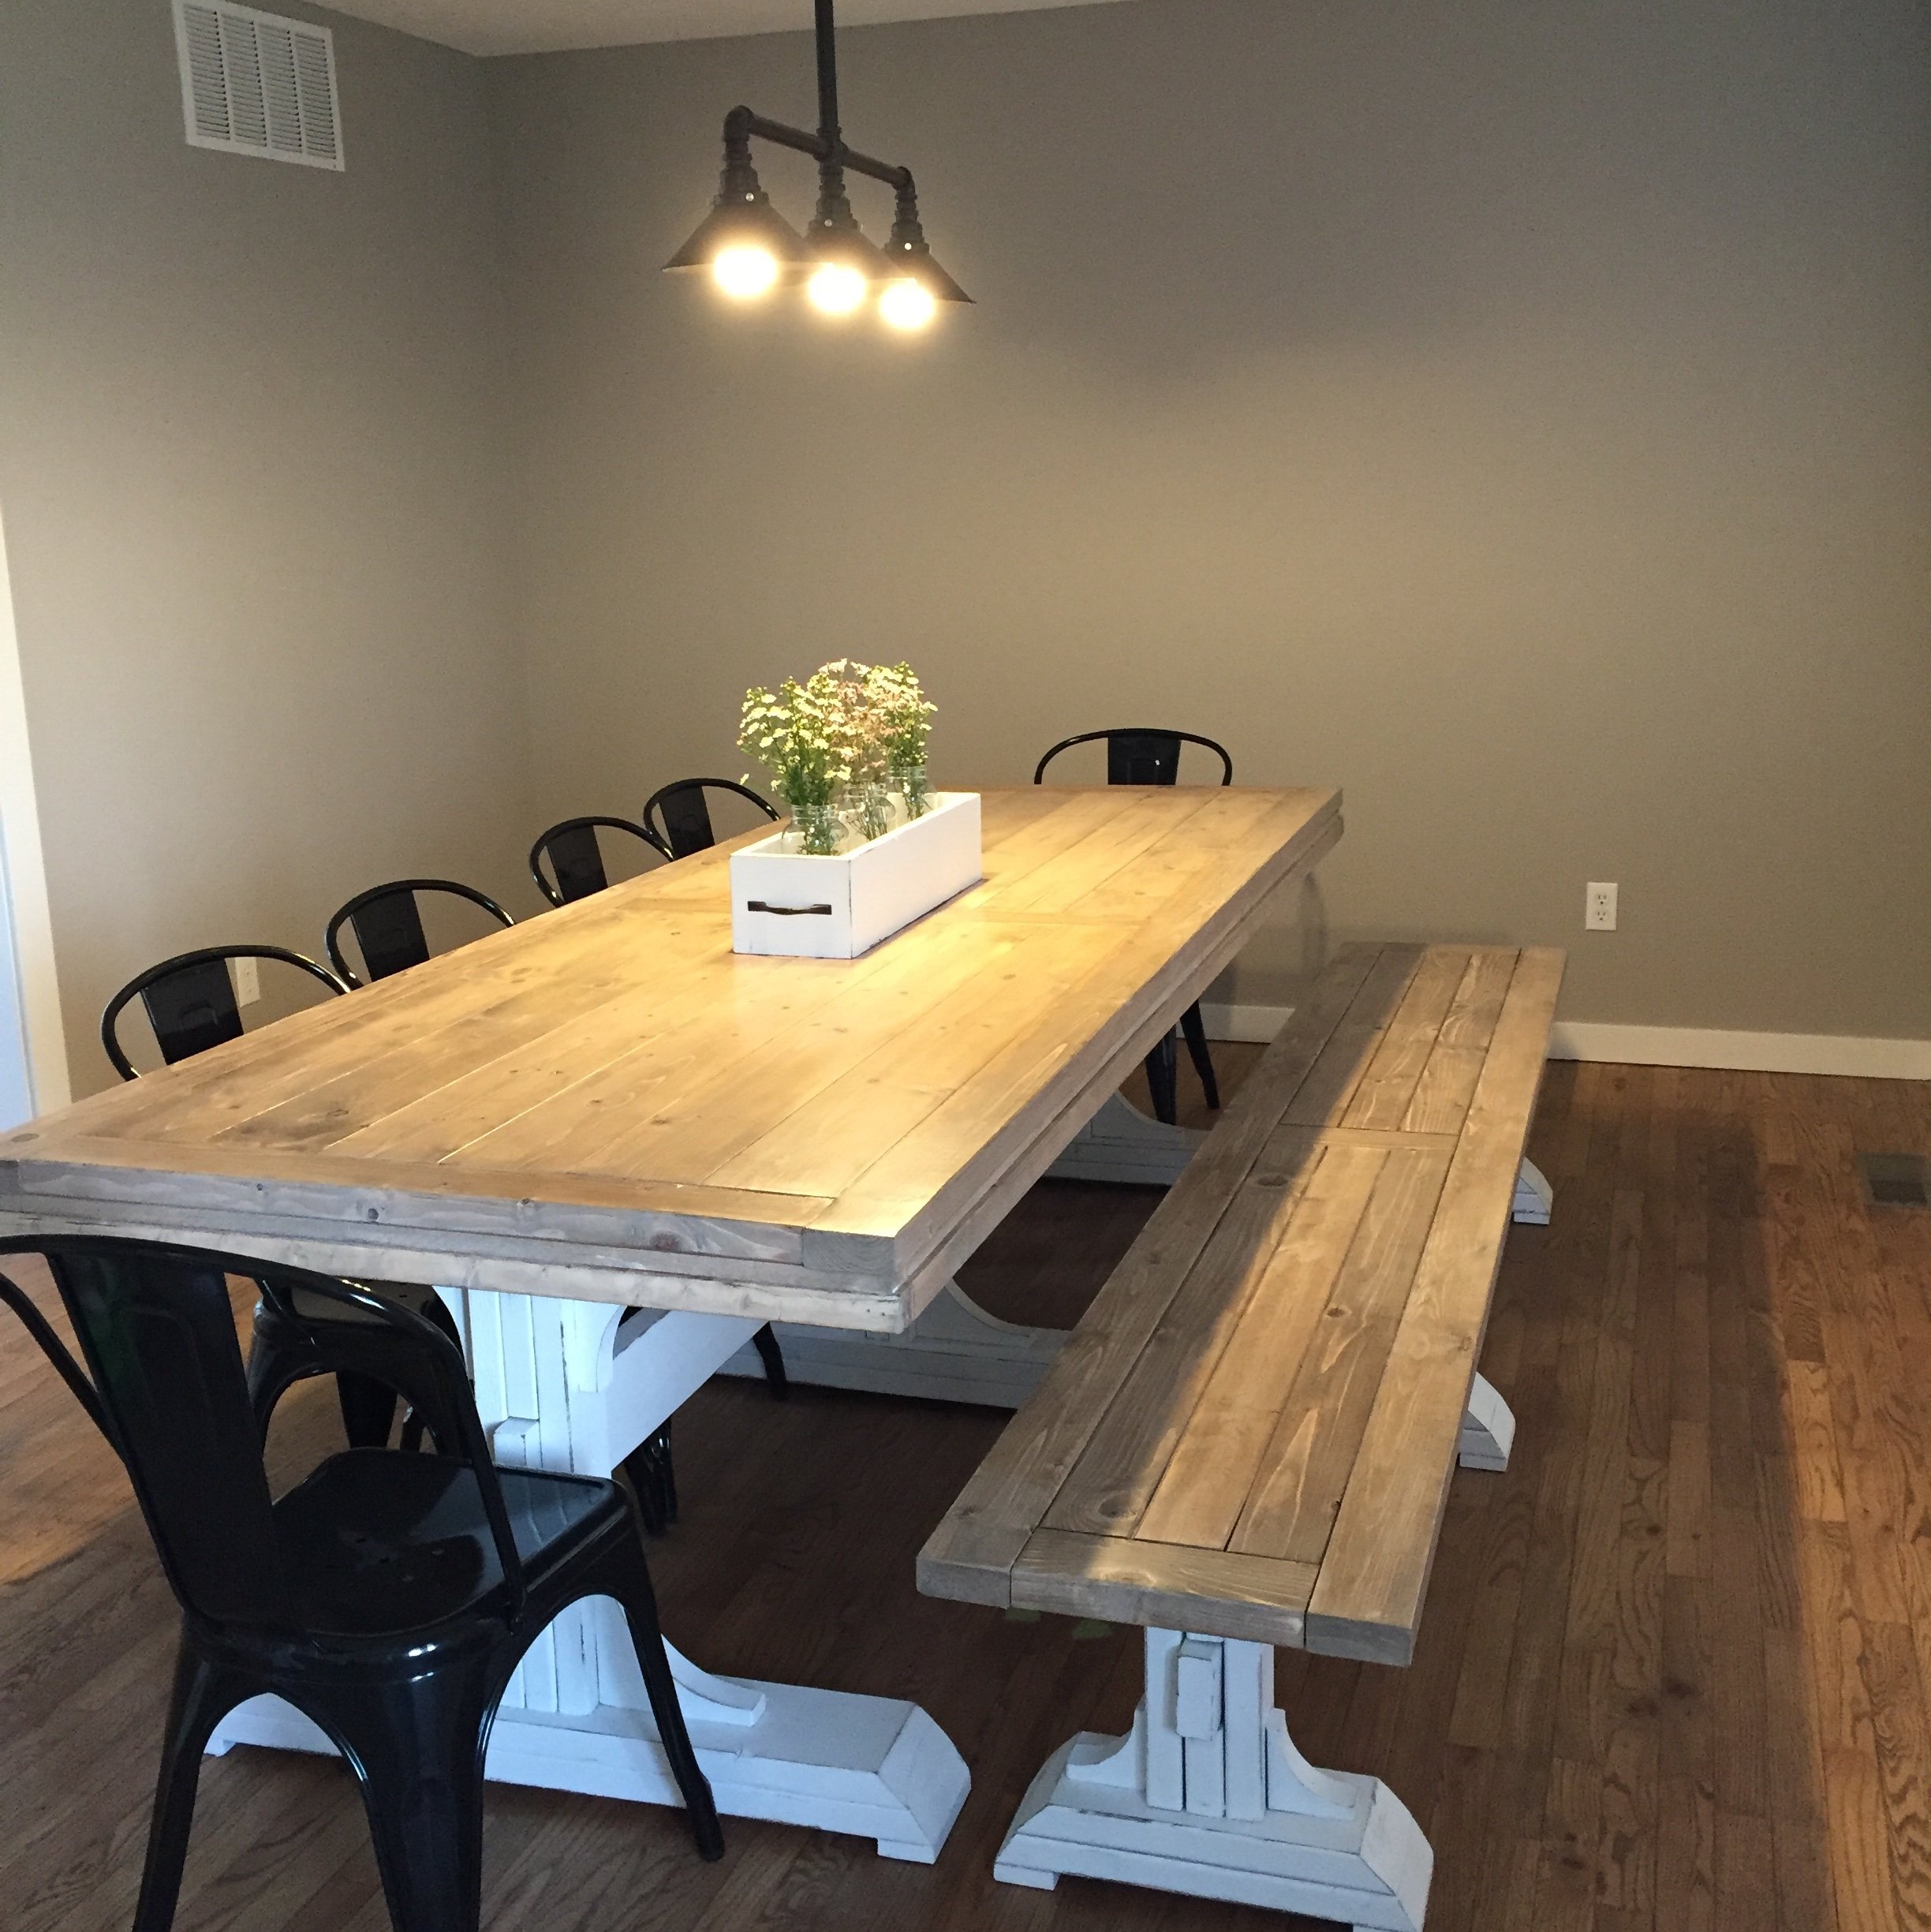
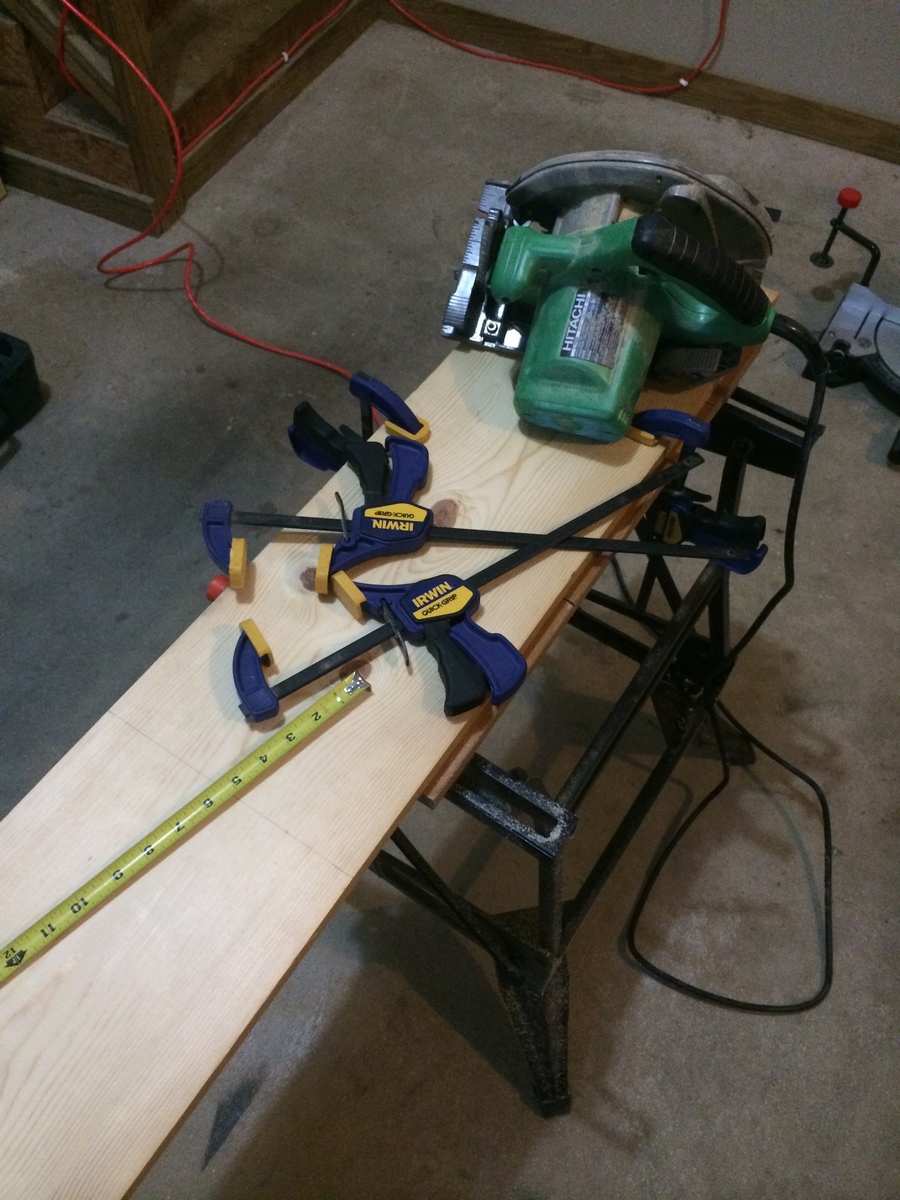
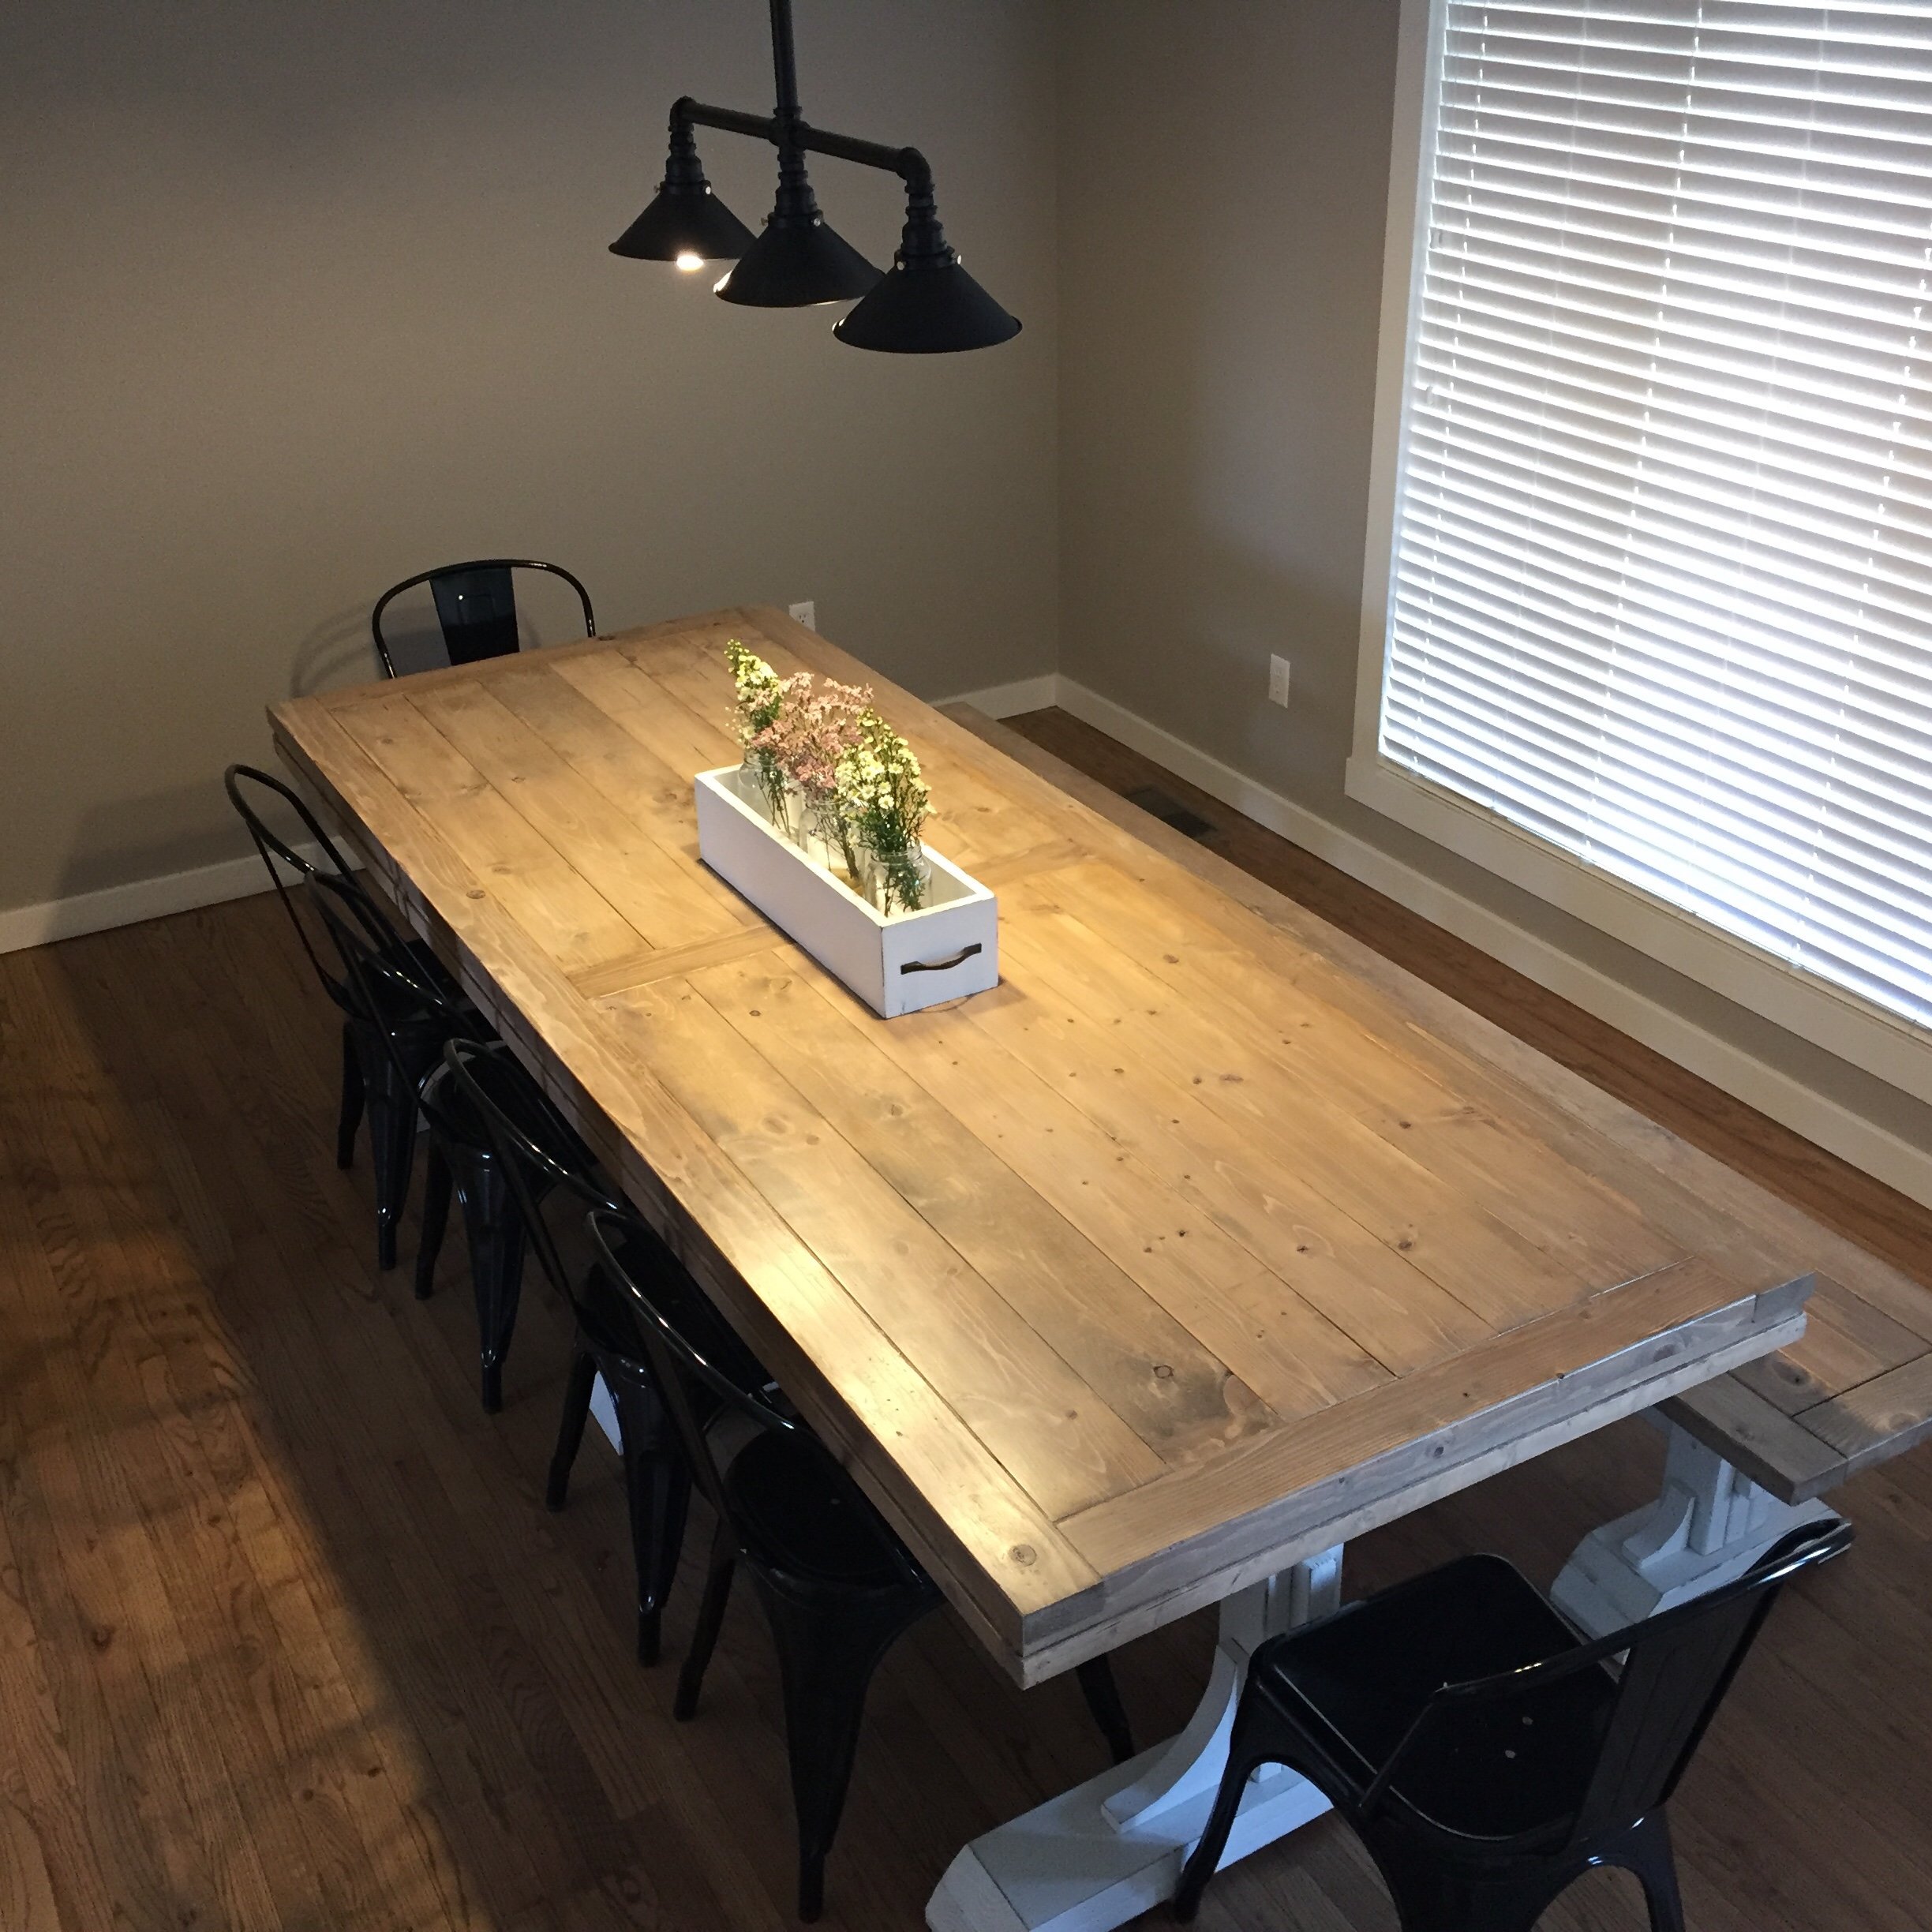
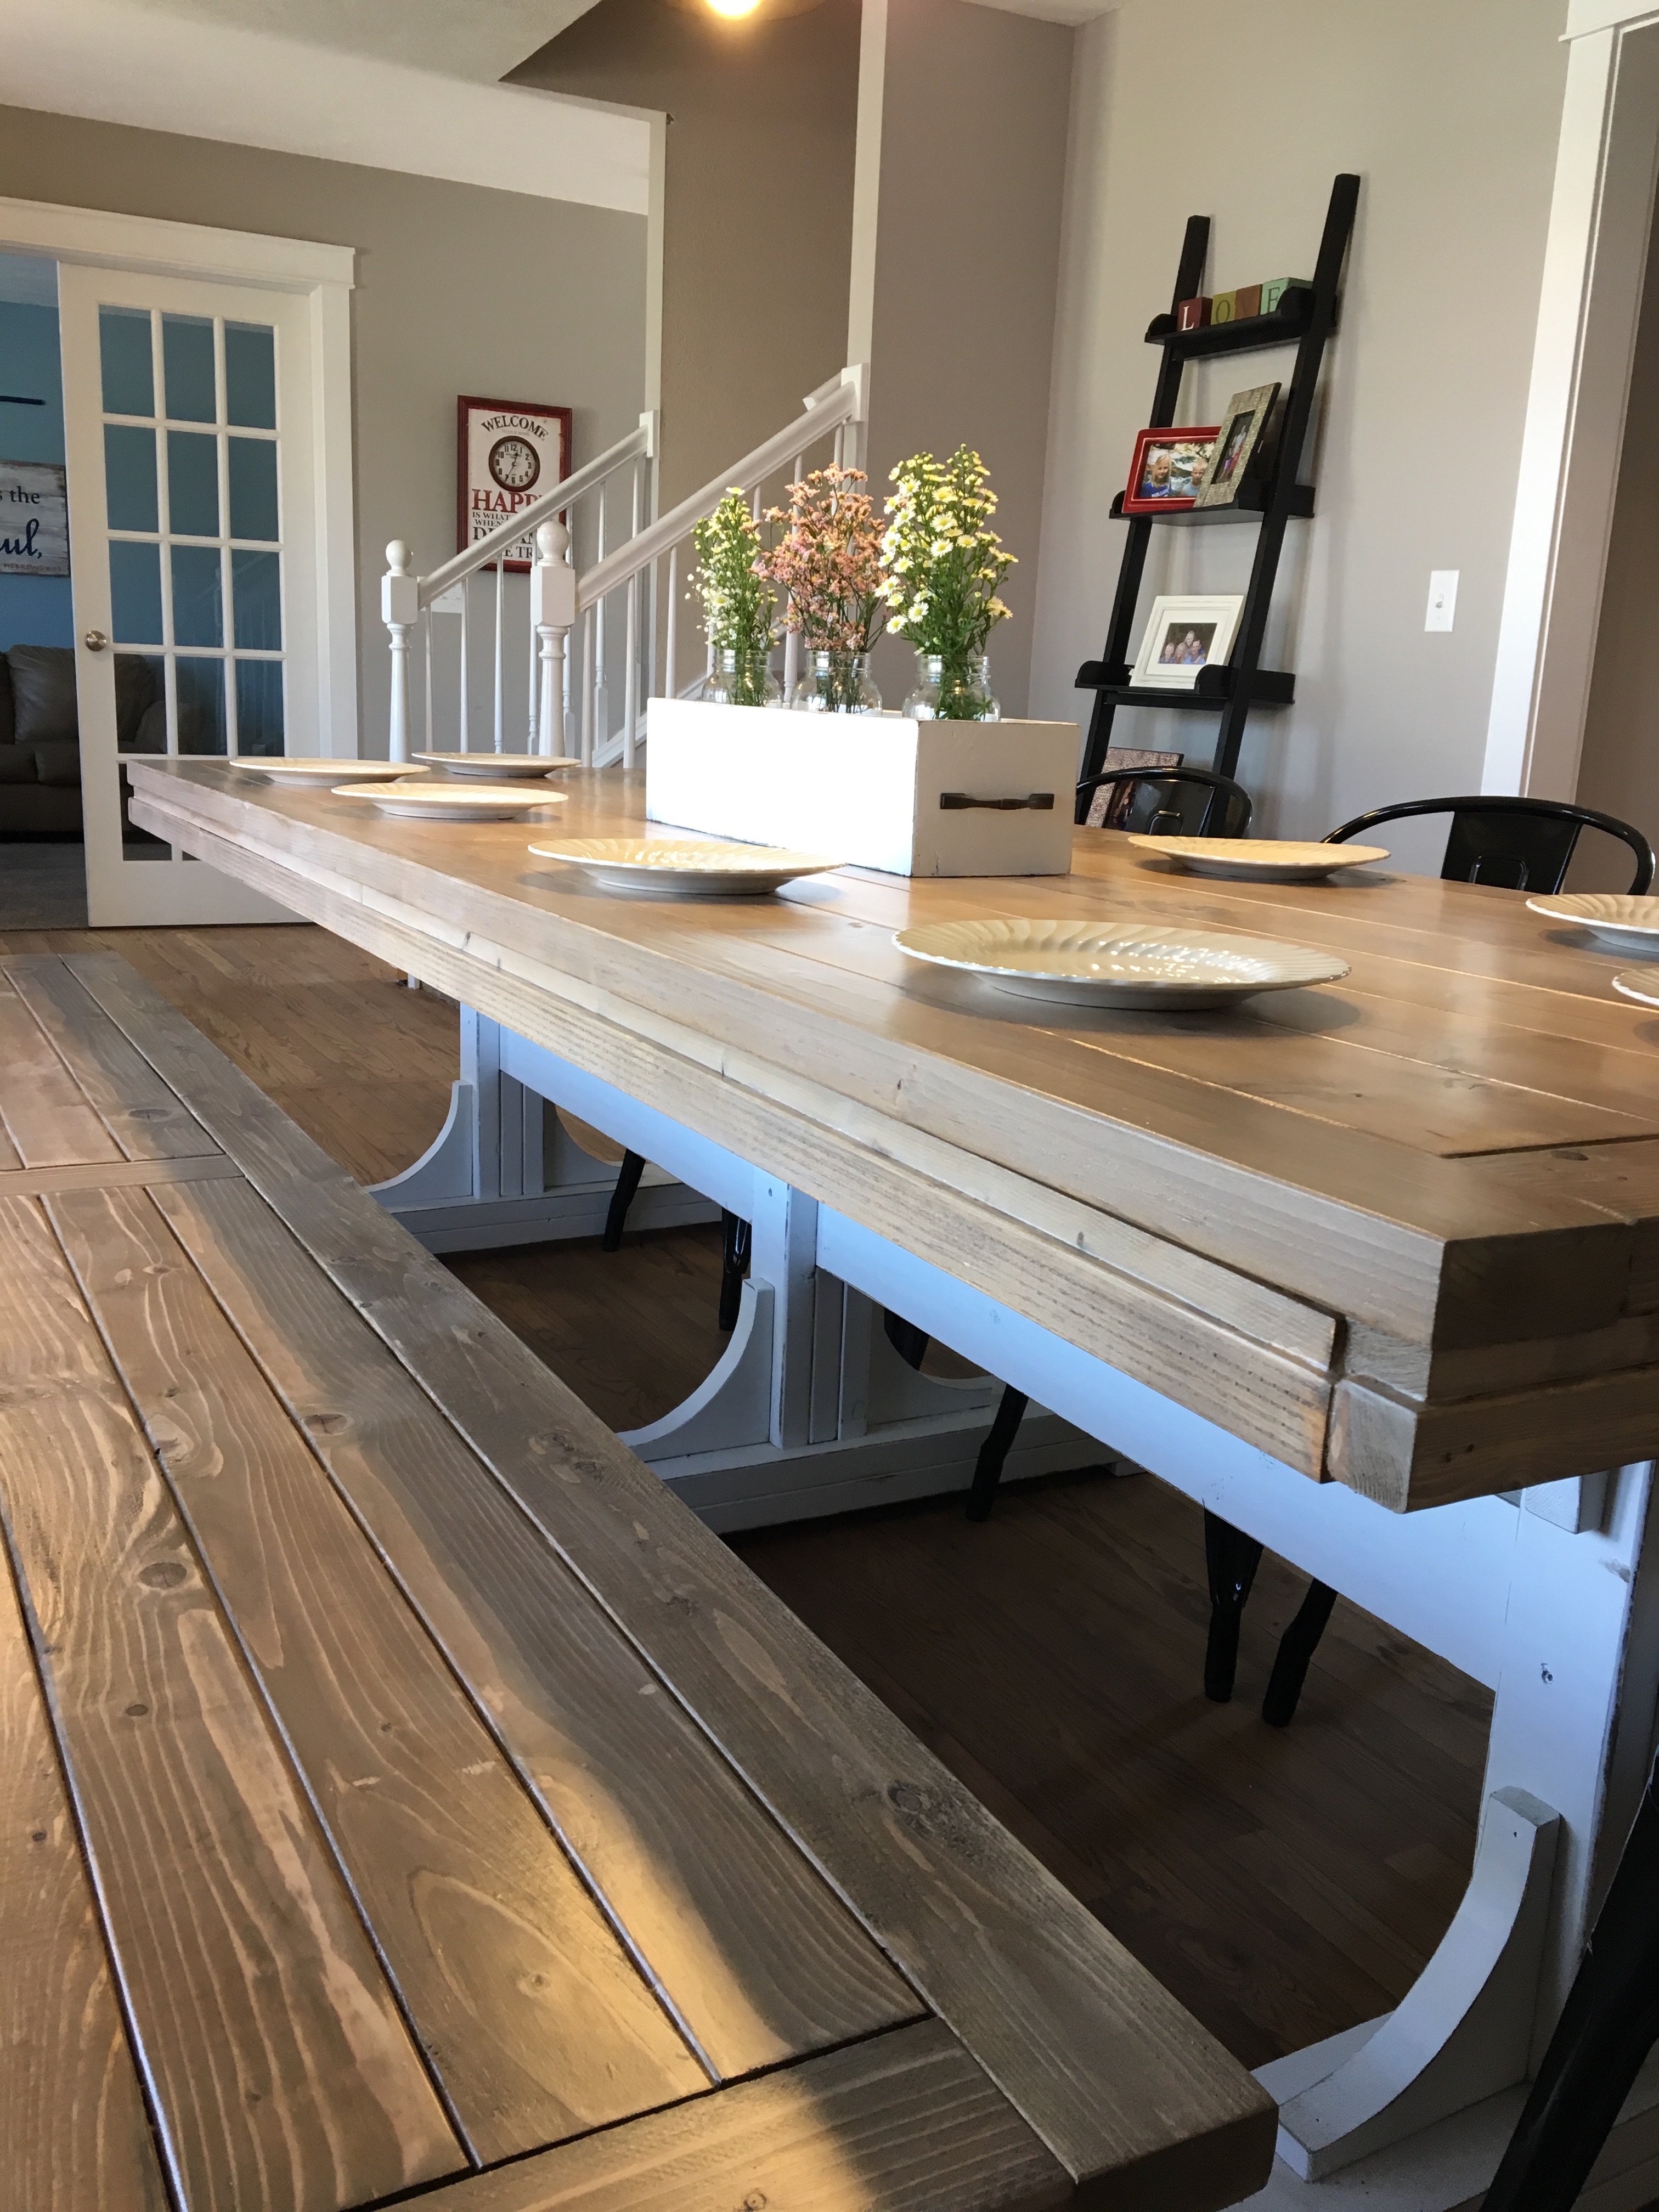
I built this for my wife for Mother's Day 2016! Also built the centerpiece box. If you know how to use a miter saw, jig saw, and read a tape measure....then you can build it too!! It was a lot of fun and very rewarding!! Took around 25-28 hours to build and finish. Let me know if you have any questions. My email is [email protected]

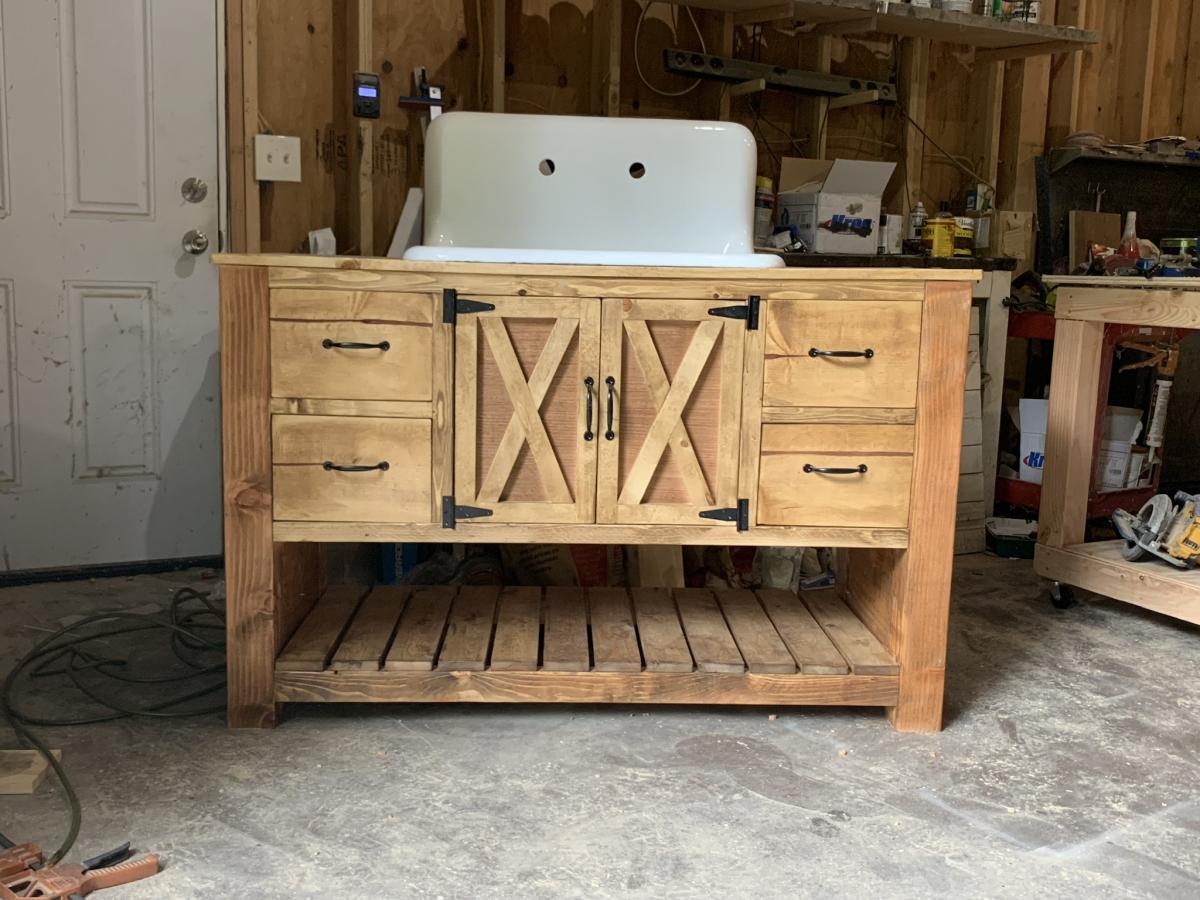
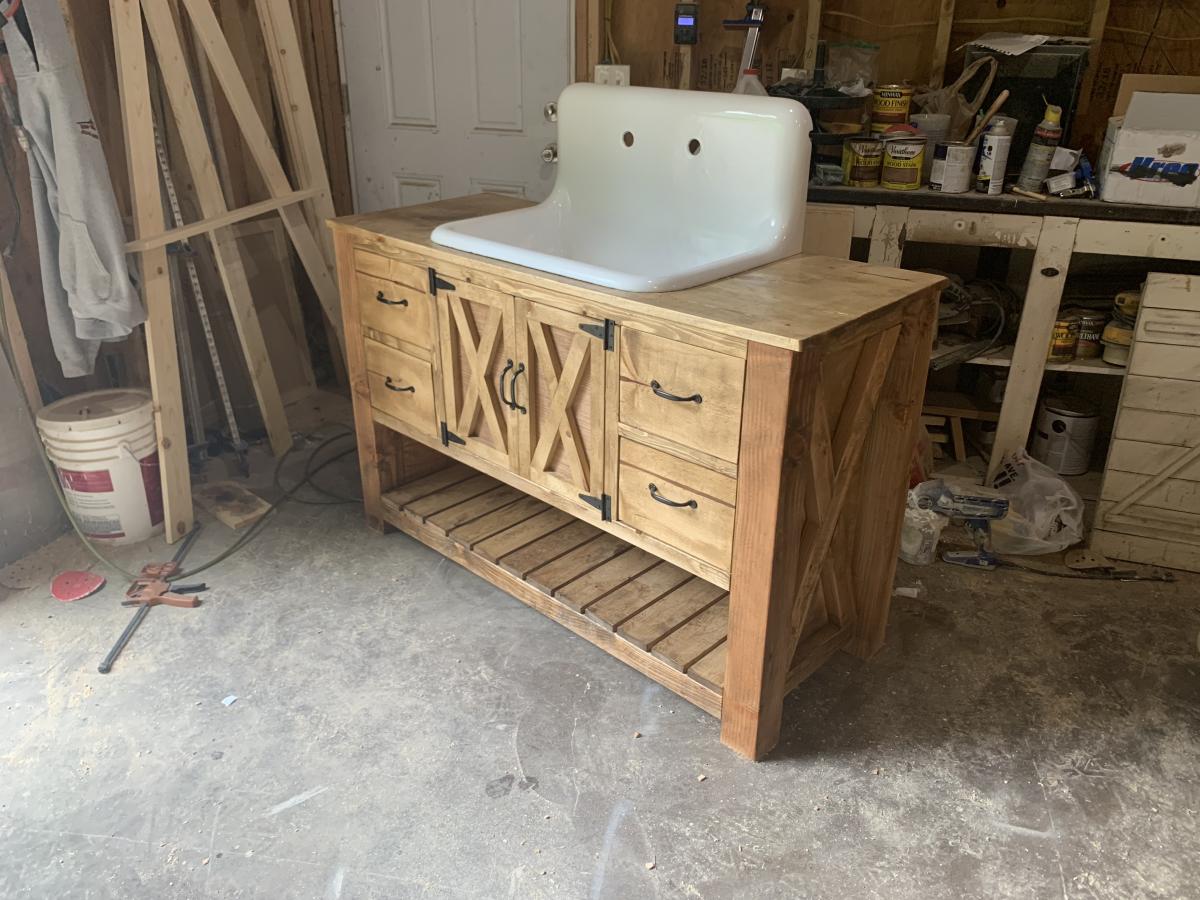
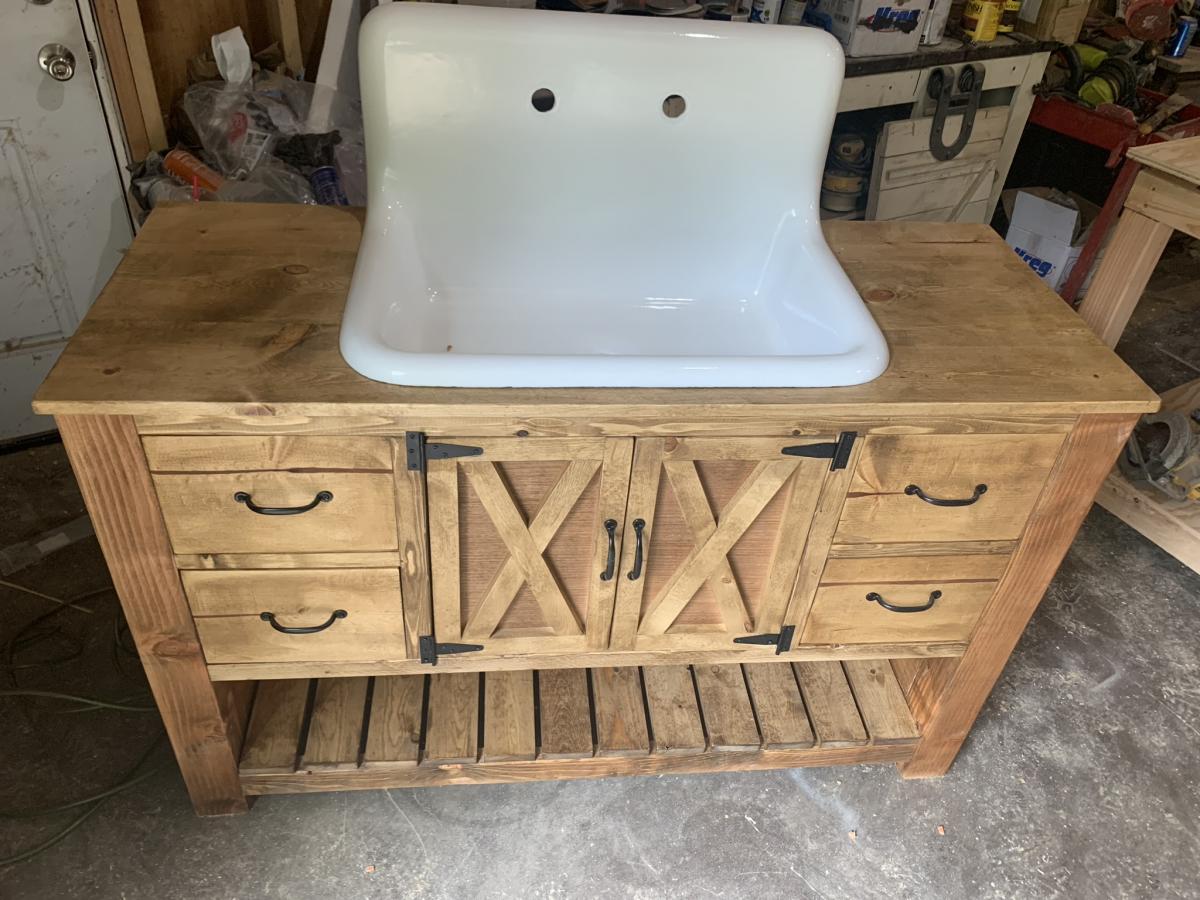
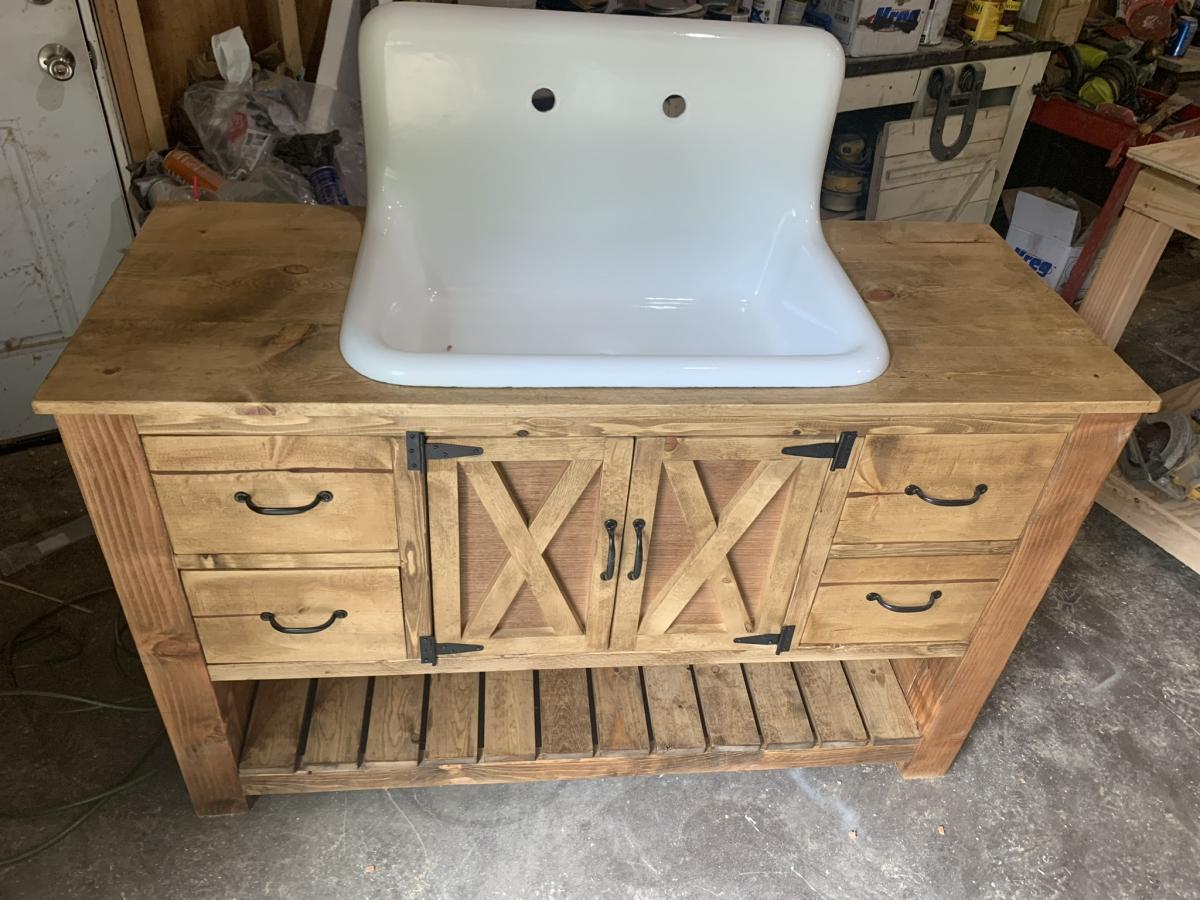
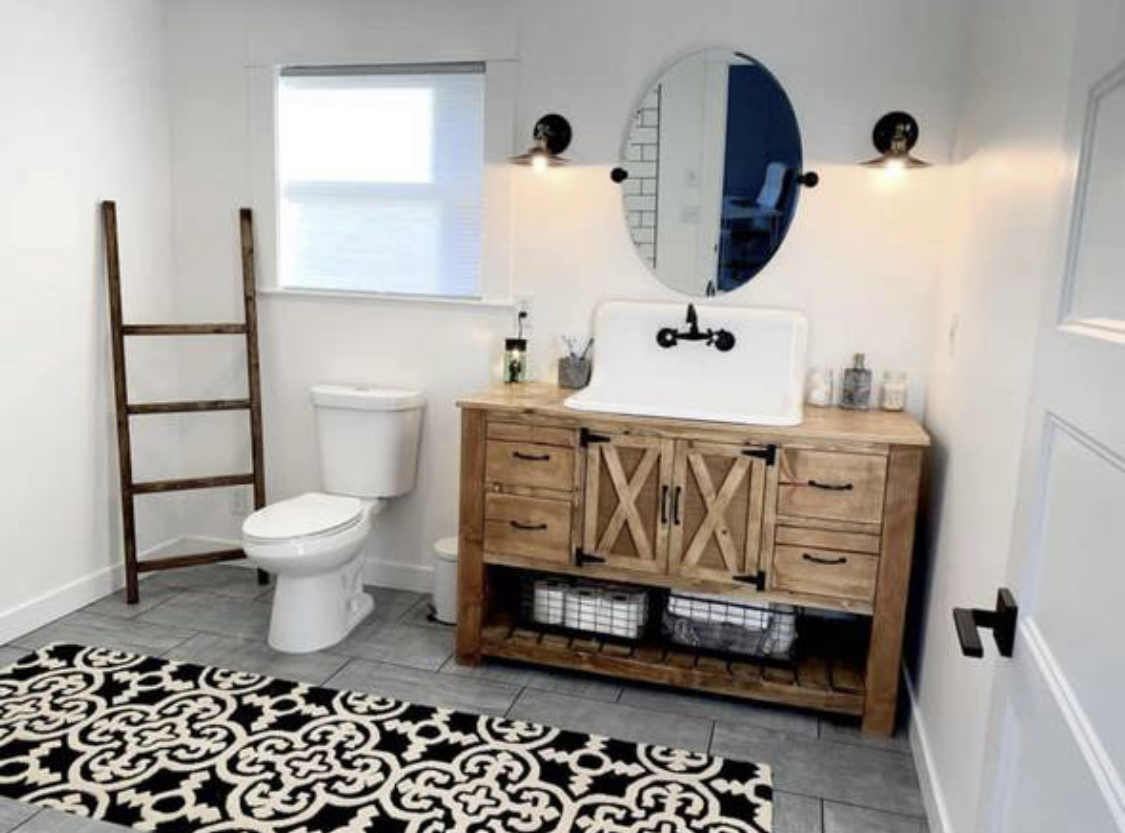
Hand made bathroom vanity


Wed, 06/30/2021 - 23:28
I've been searching for WEEKS to find this vanity. I knew it existed somewhere but didn't know where. Please, PLEASE, post the plans for this. The video posted above it is for the pantry organizer. Thank you in advance!
Wed, 06/30/2021 - 23:35
What angles did you cut the "X"s at? They're cut at the top and bottom instead of the sides like the kitchen island plans show and I want to make sure that I cut mine at the correct angle. Thank you again.
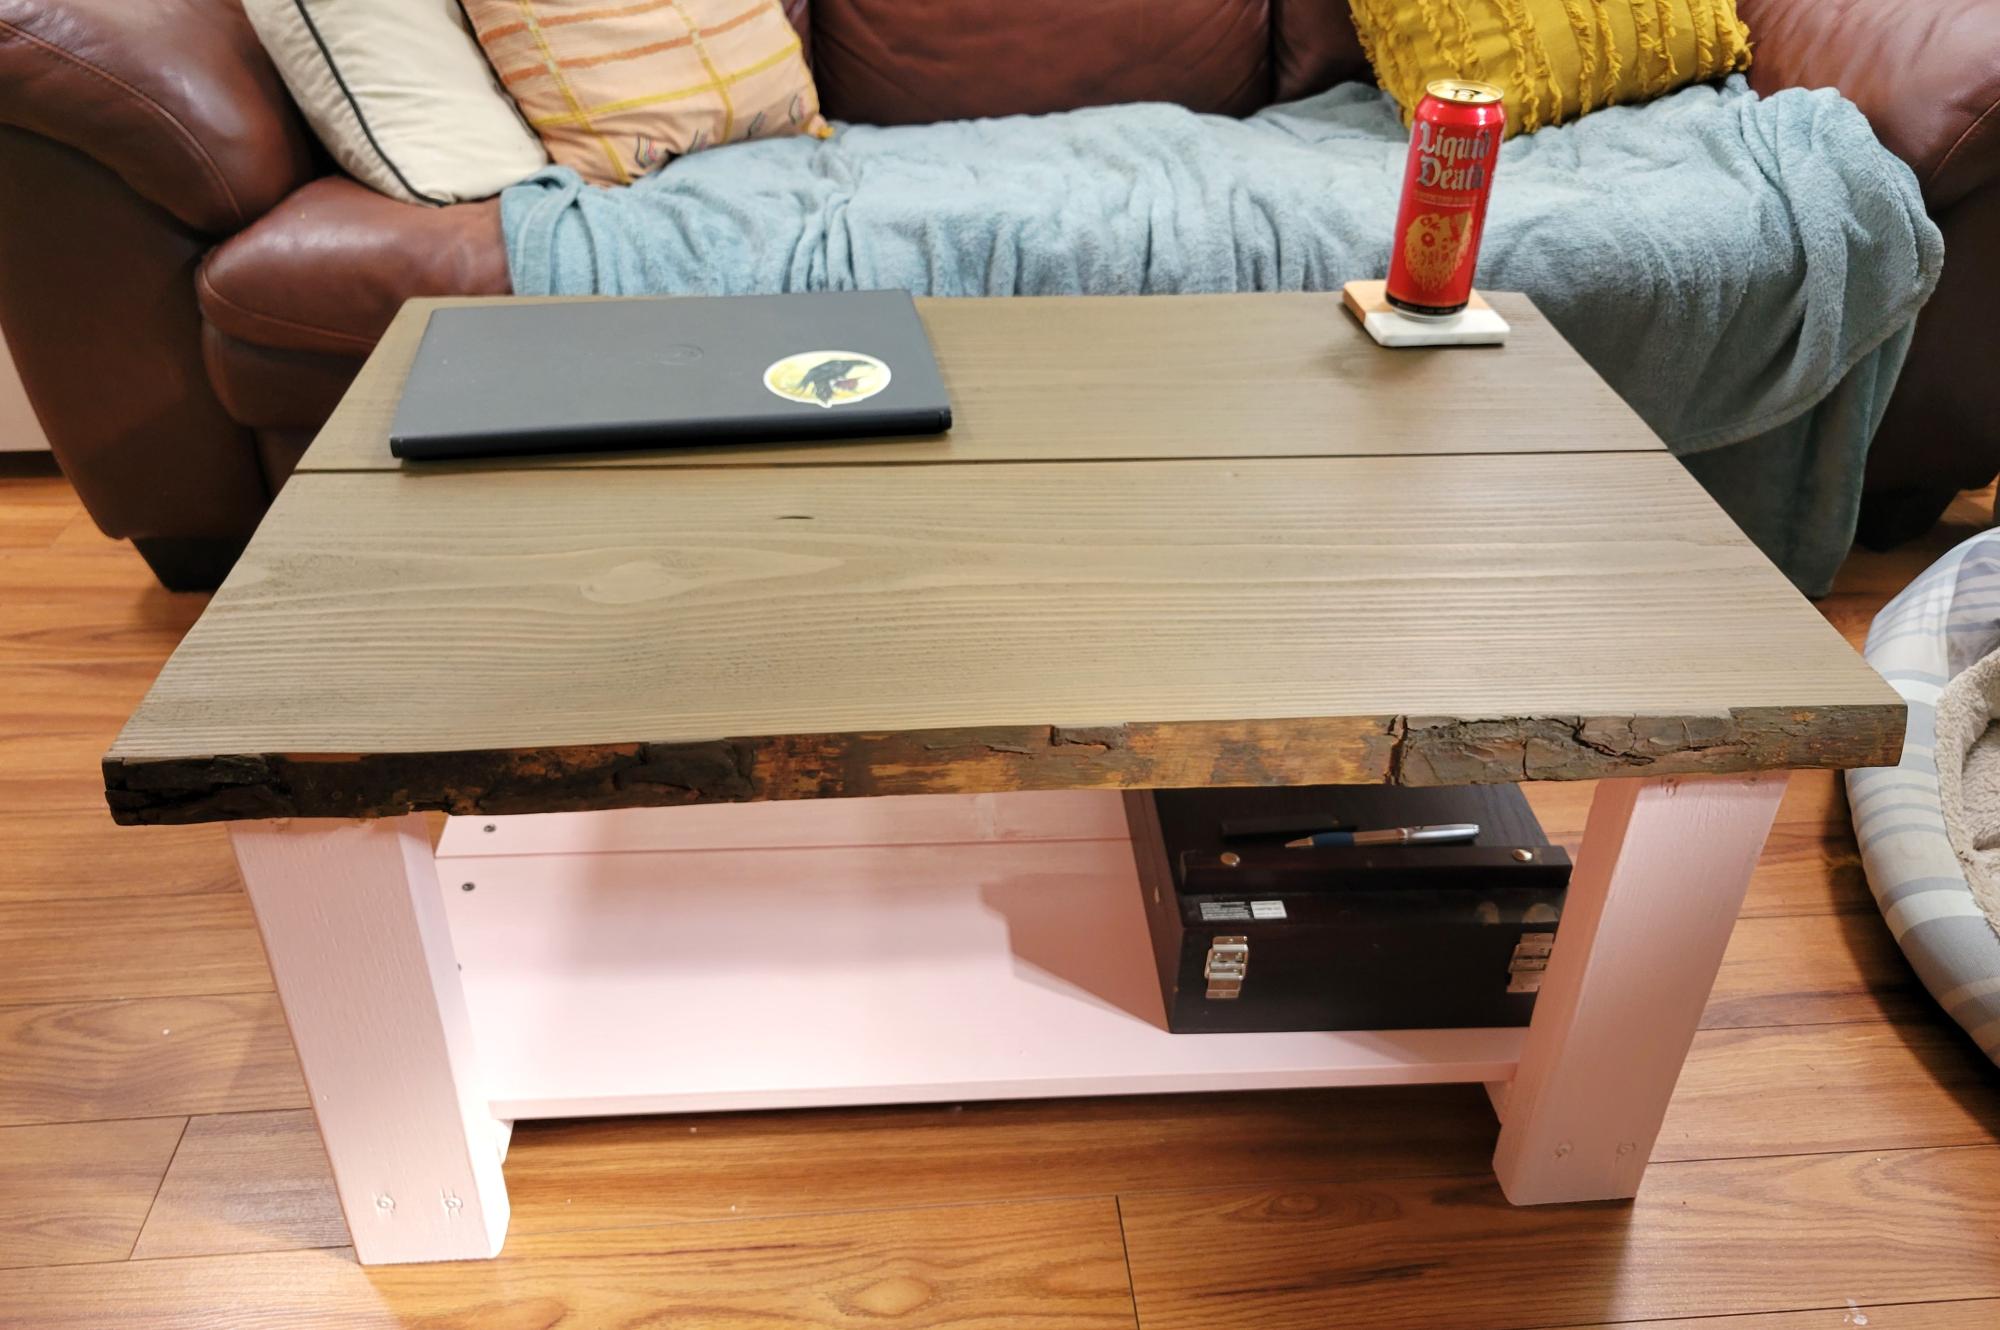
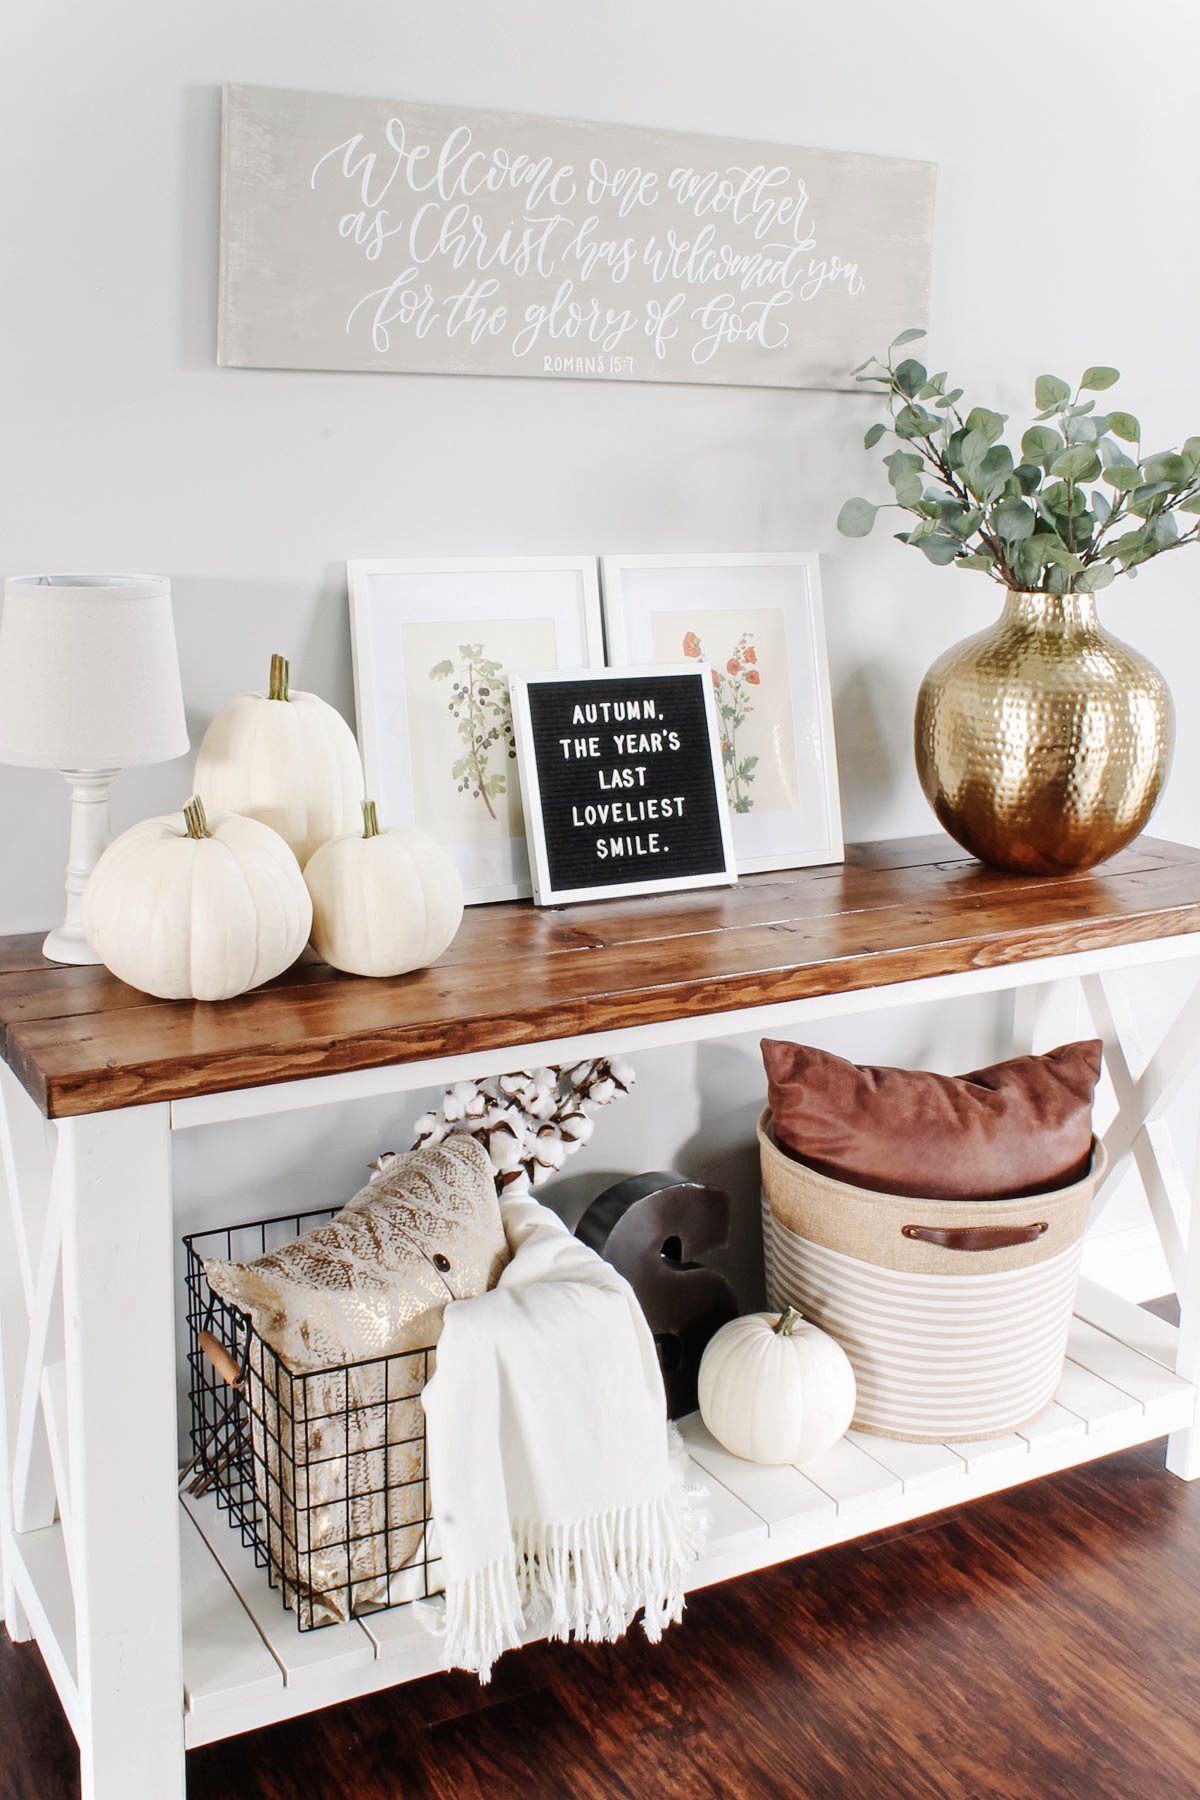
This is my first piece of furniture I've ever made that didn't come in a box ;) The instructions were so clear and easy to follow. I wish I'd had a table saw for the piece of live edge (it had live edge on both sides so I had to make a 6 foot cut with my circular saw that came out not quite perfect, but I am choosing to think of it as adding to the charm. Might go back and add some shine to the top, but for now I'm super happy with it.
emily.rhoades_
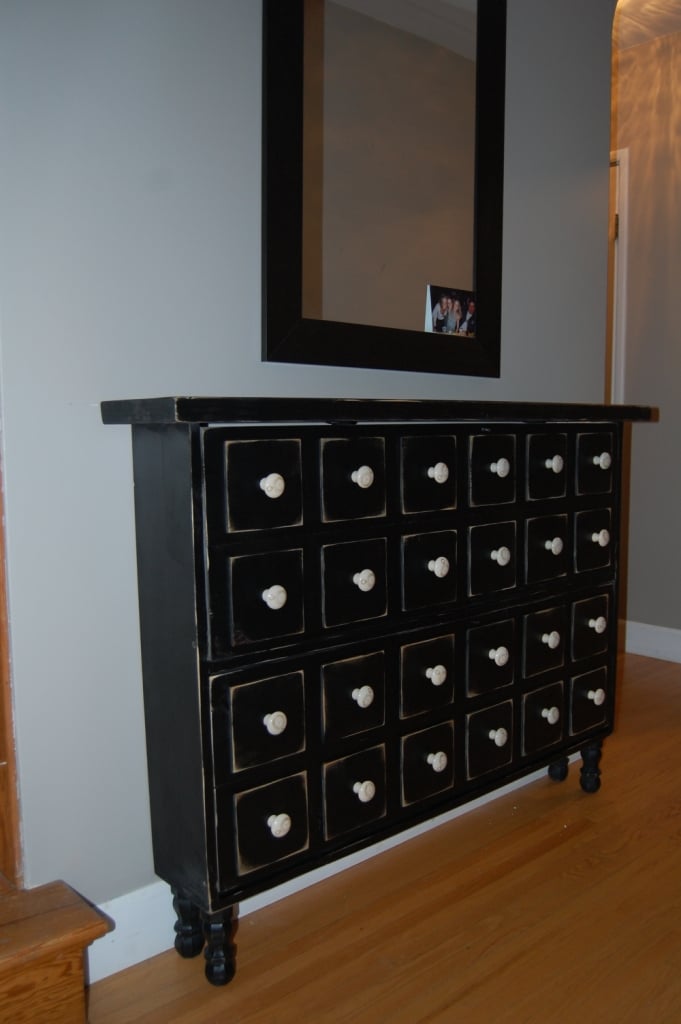
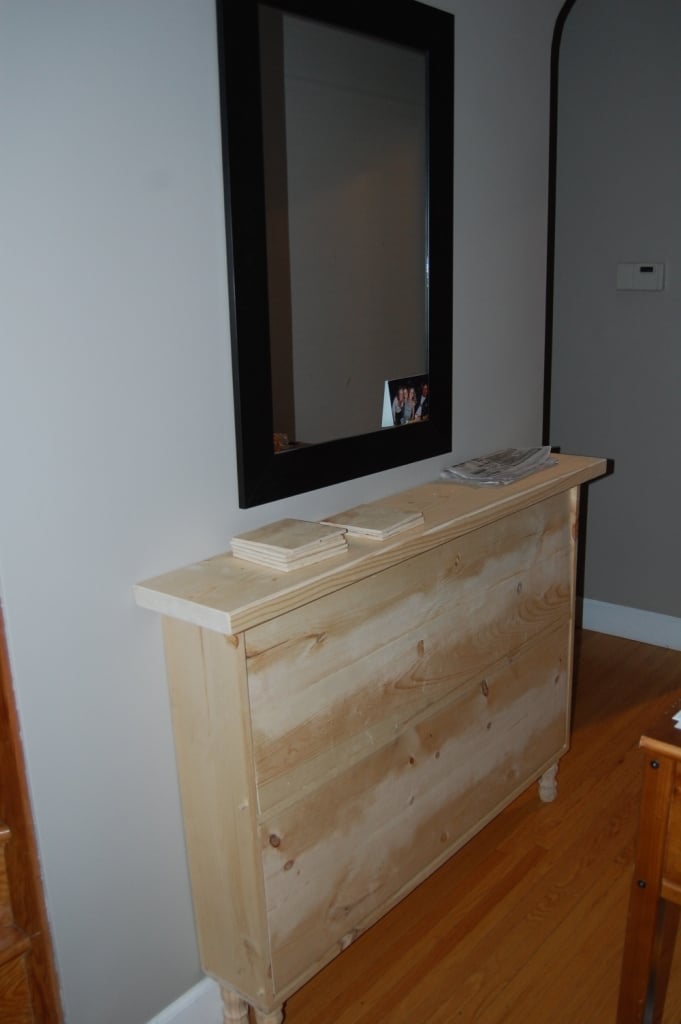
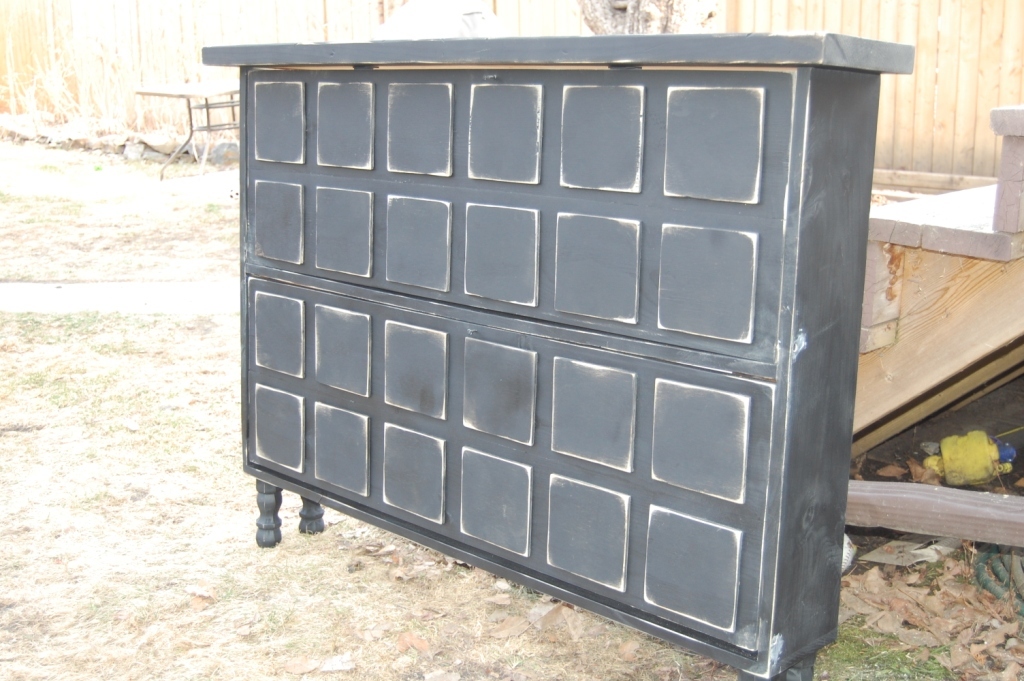
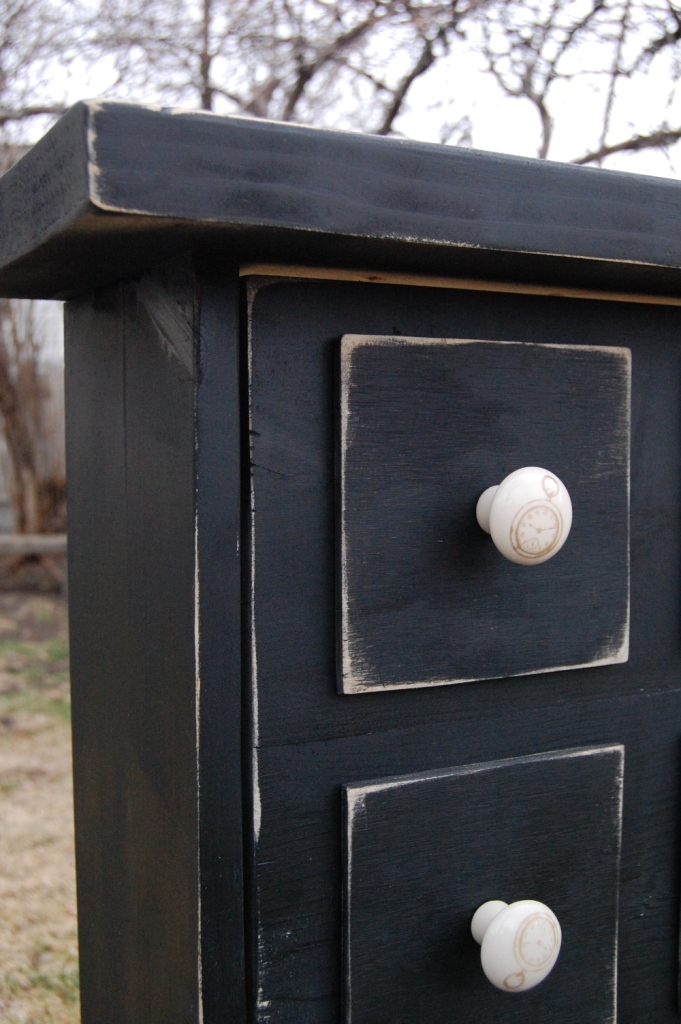
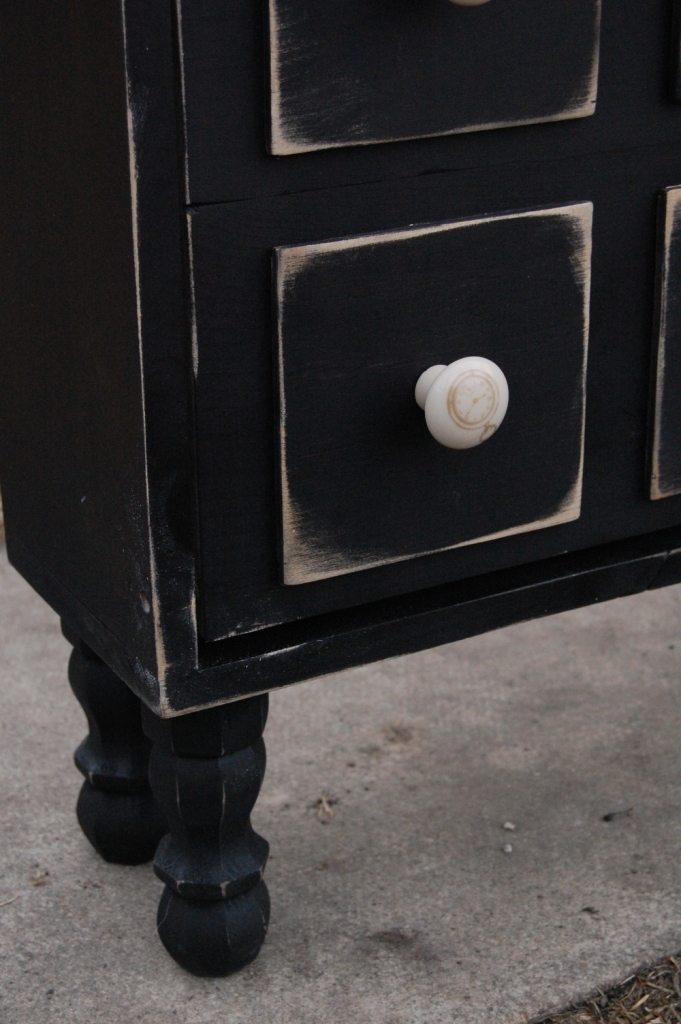
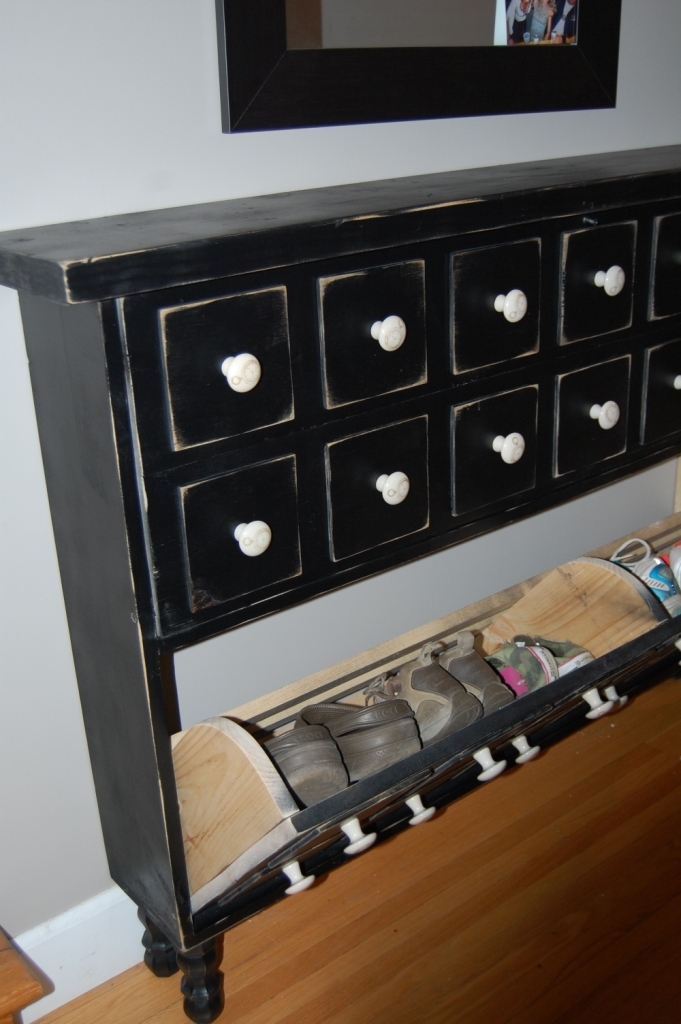
I have been planning to build the apothecary media console, but my desire for a new hall table and shoe storage won out. So...I transferred the look, and I love it! I wanted a vintage feel so I added legs, apothecary drawer fronts and knobs, a 2x10 top, and a distressed finish.
Tue, 05/01/2012 - 07:52
You are a very smart cookie - who would think that there are shoes in there! awesome~


Comments
Ana White Admin
Mon, 09/18/2023 - 15:34
Great solution!
Looks like the perfect plan for the space, great build!