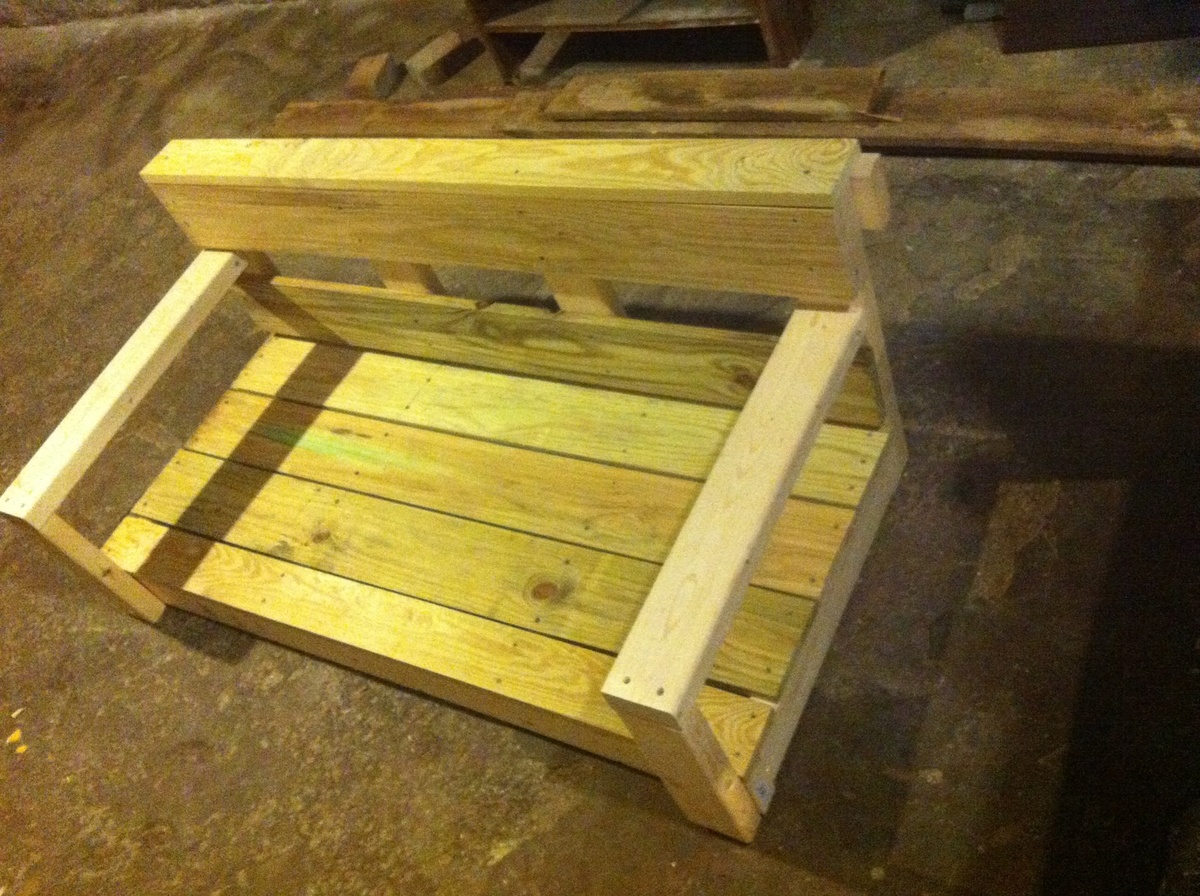
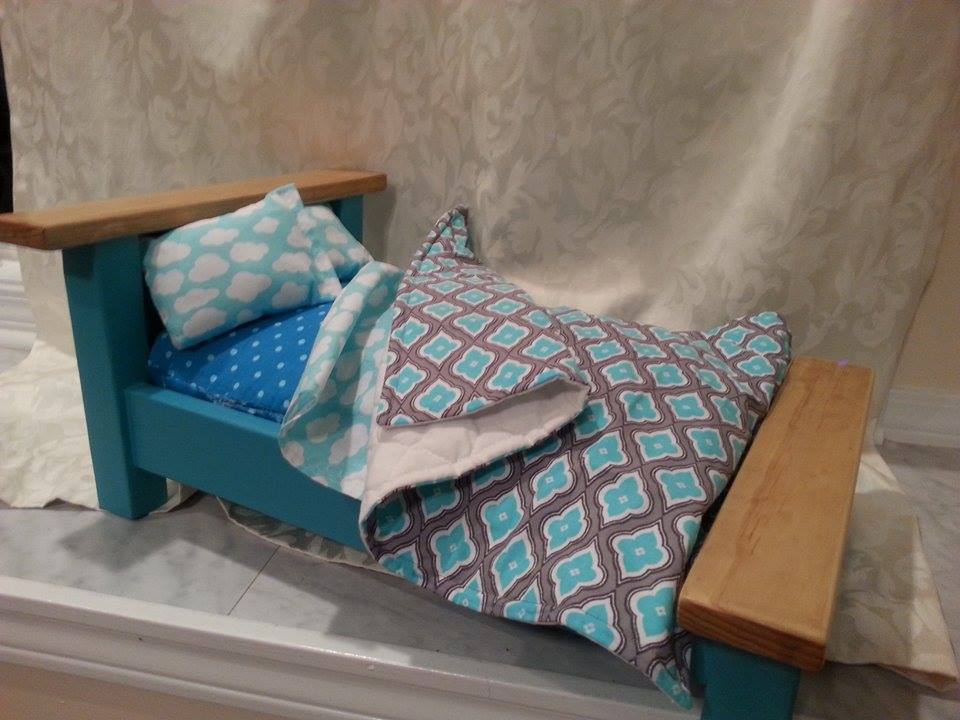
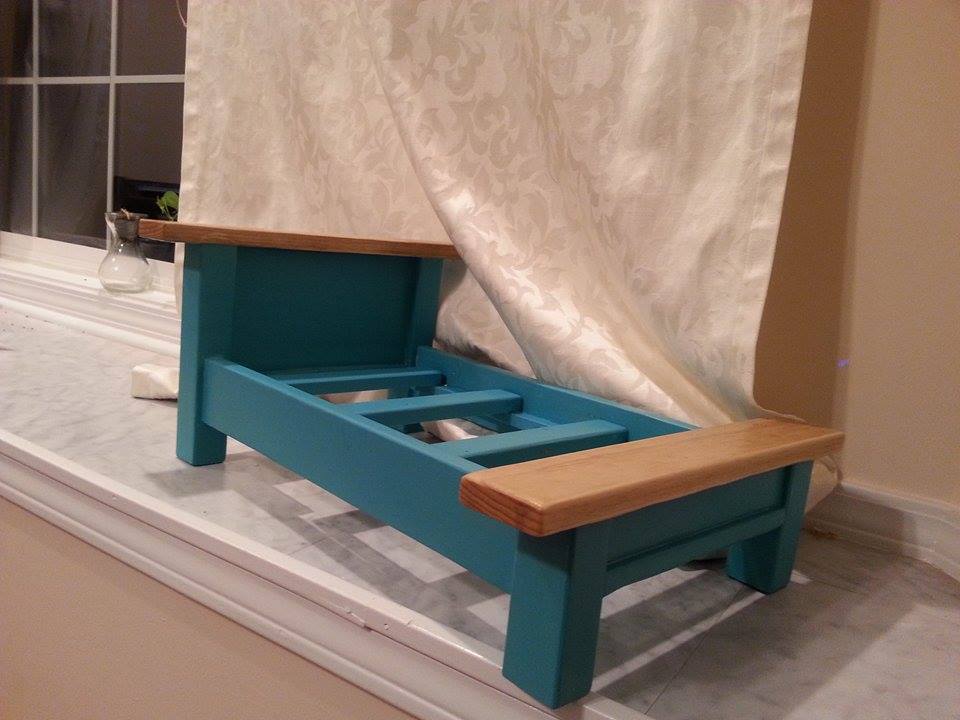
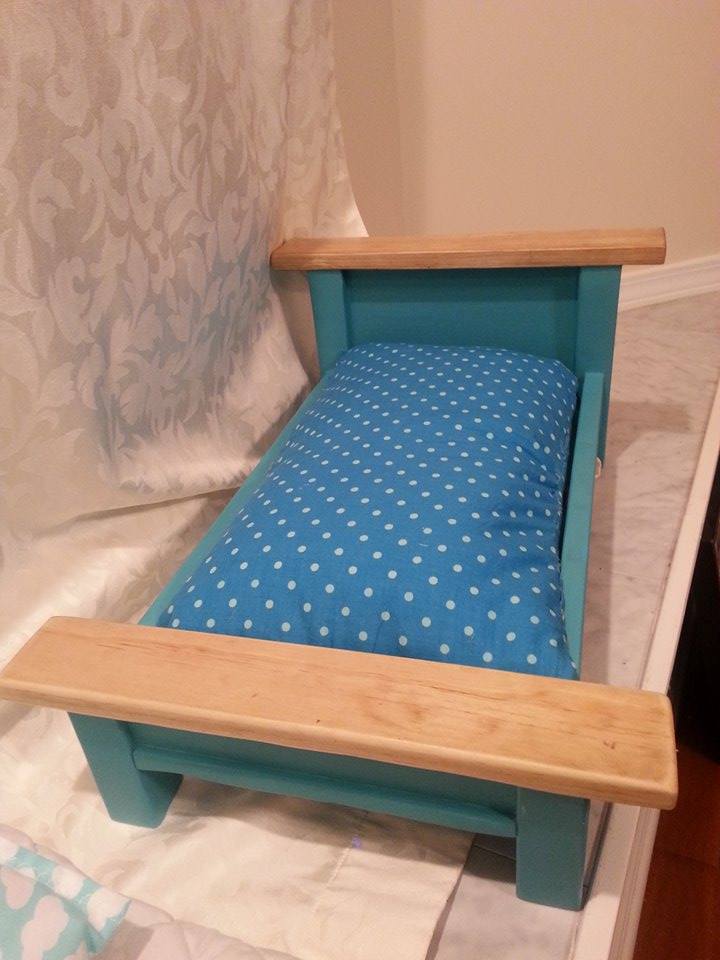
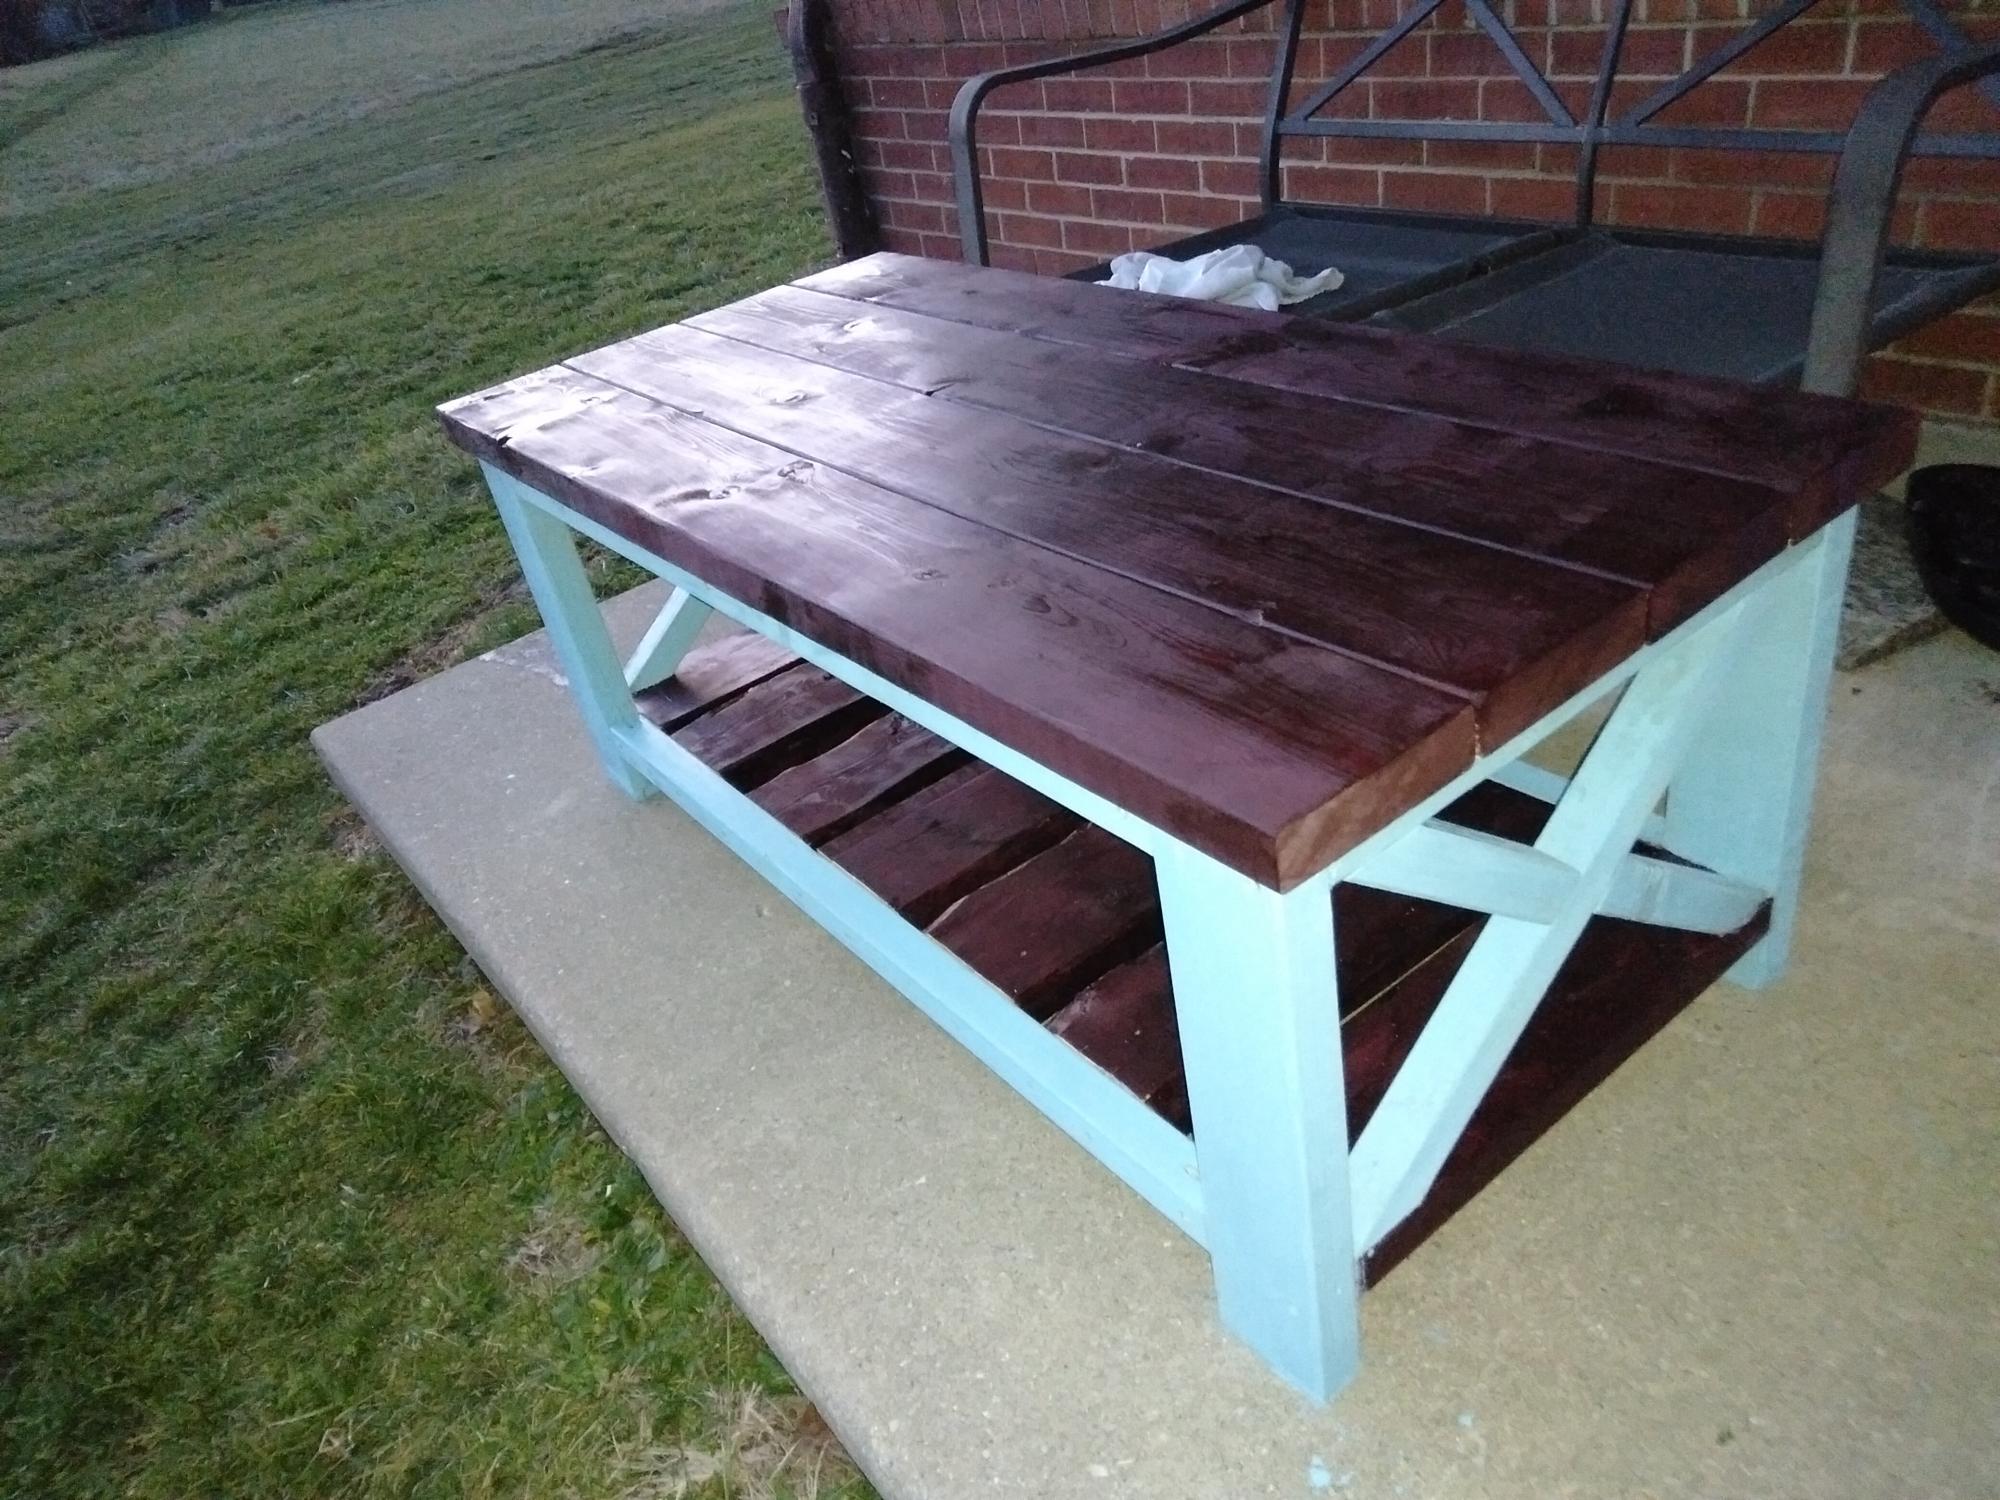
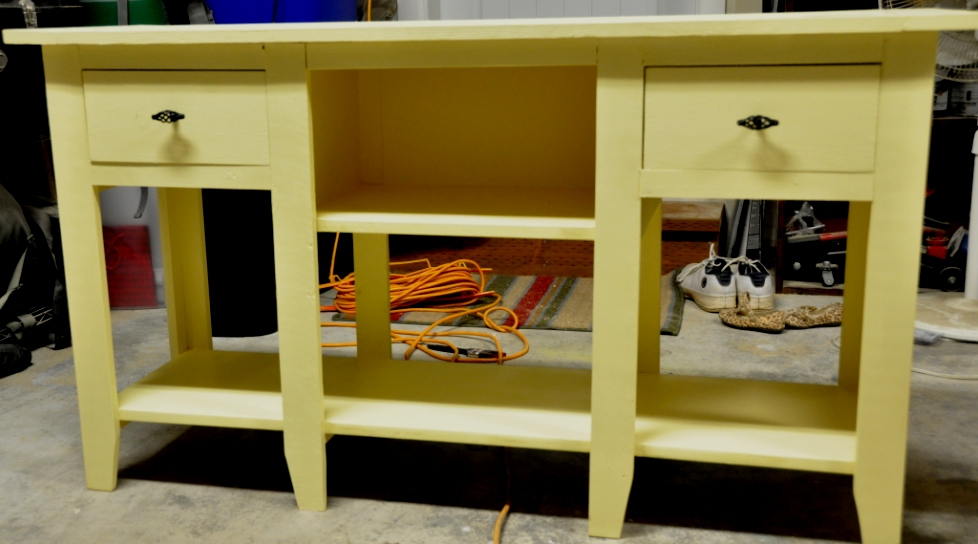
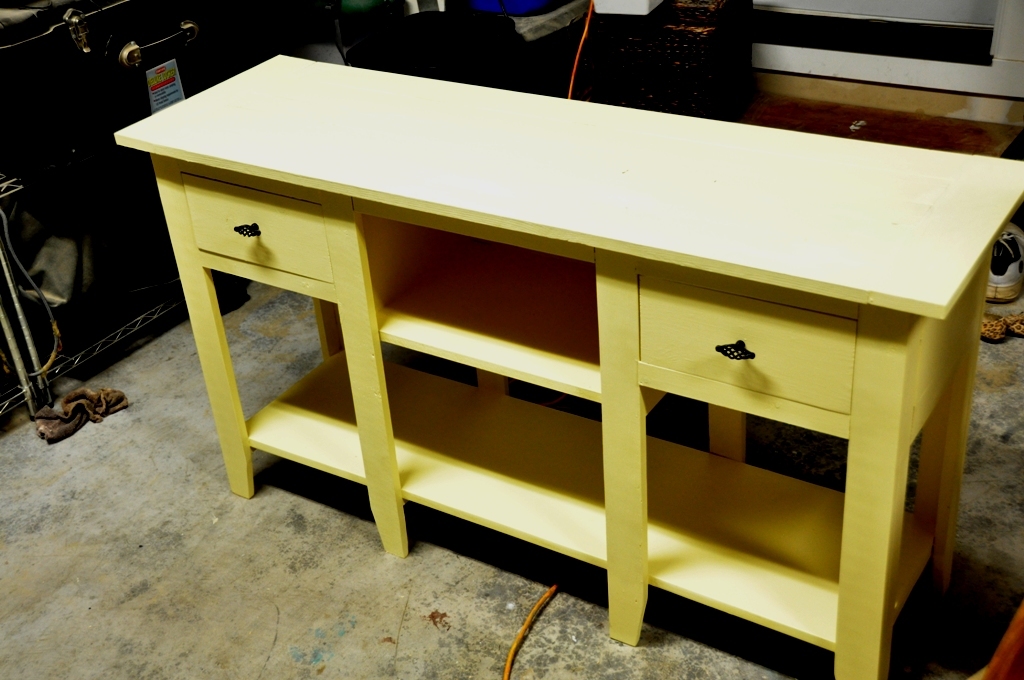
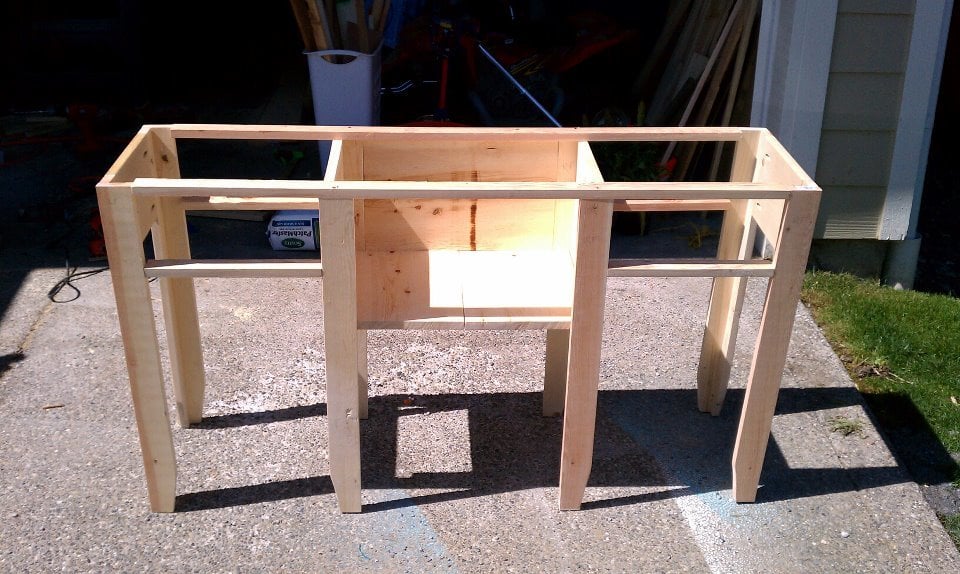
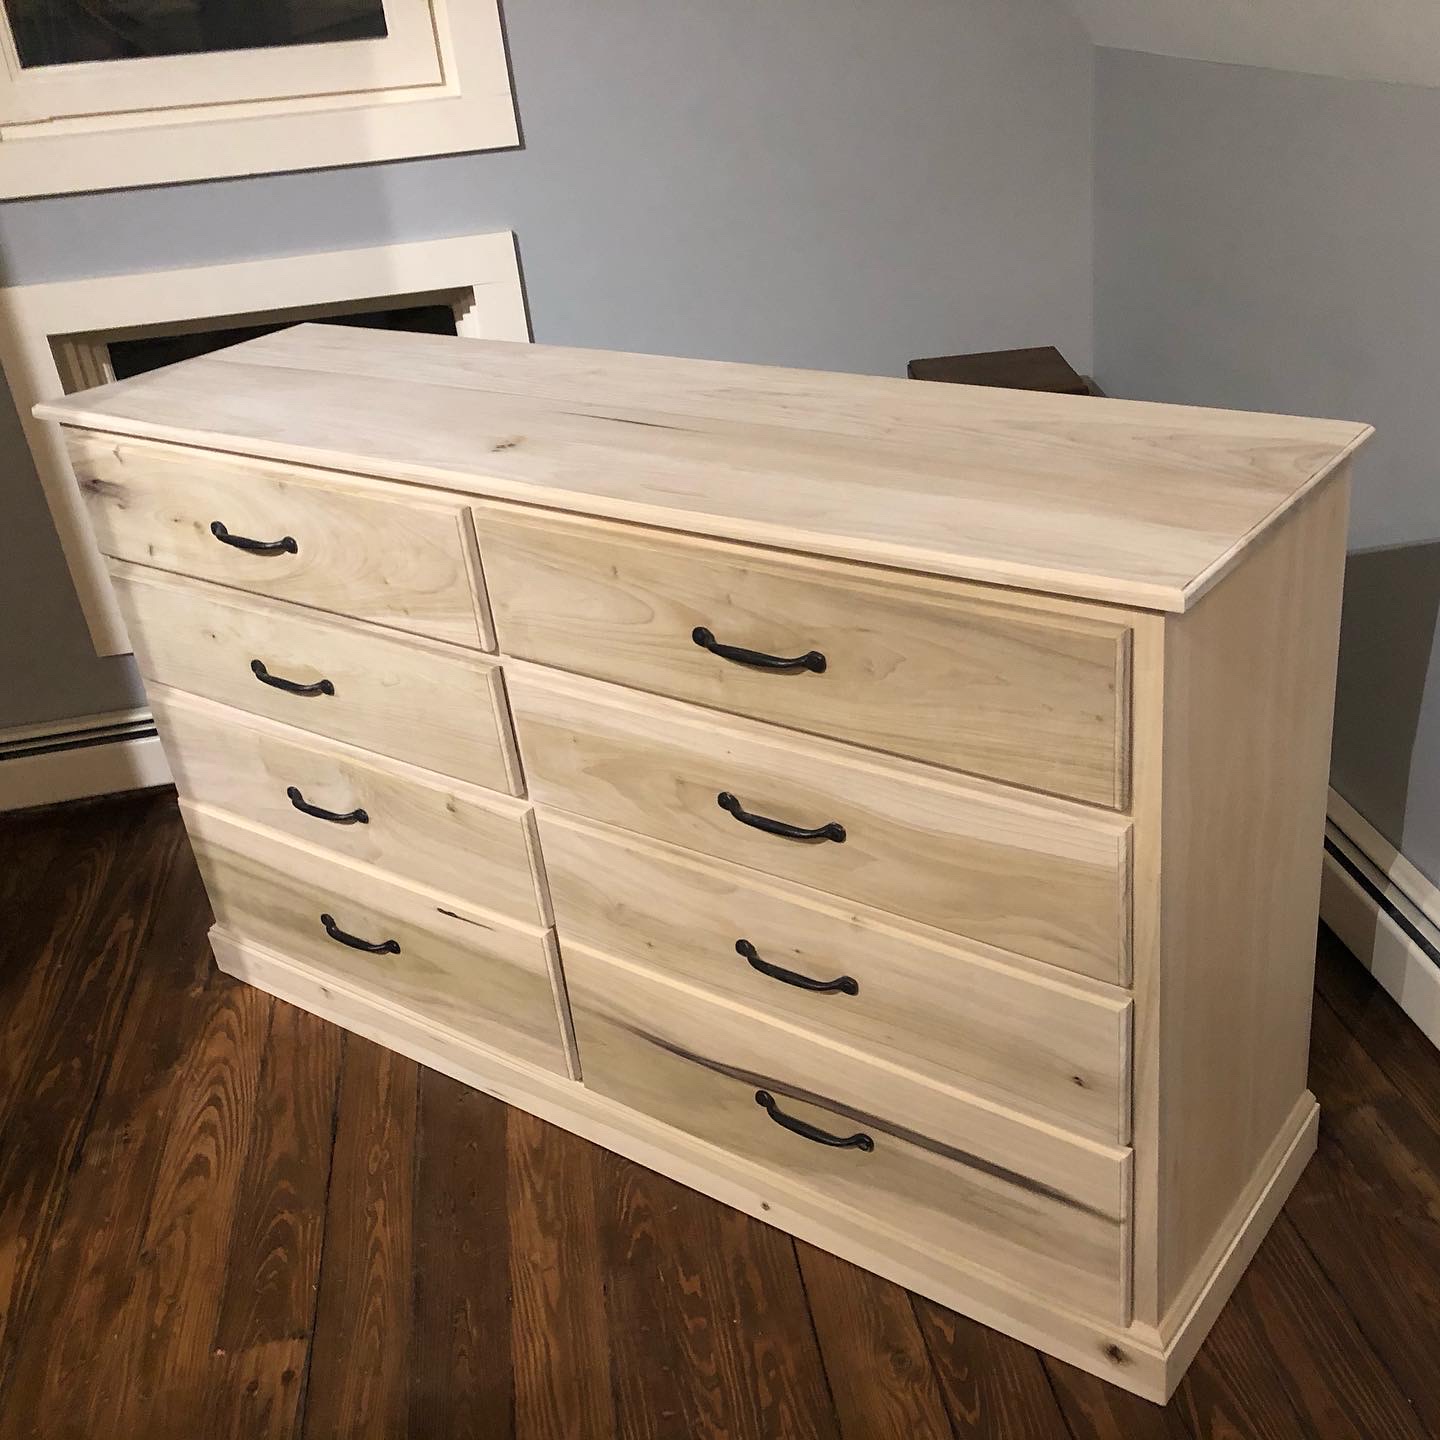
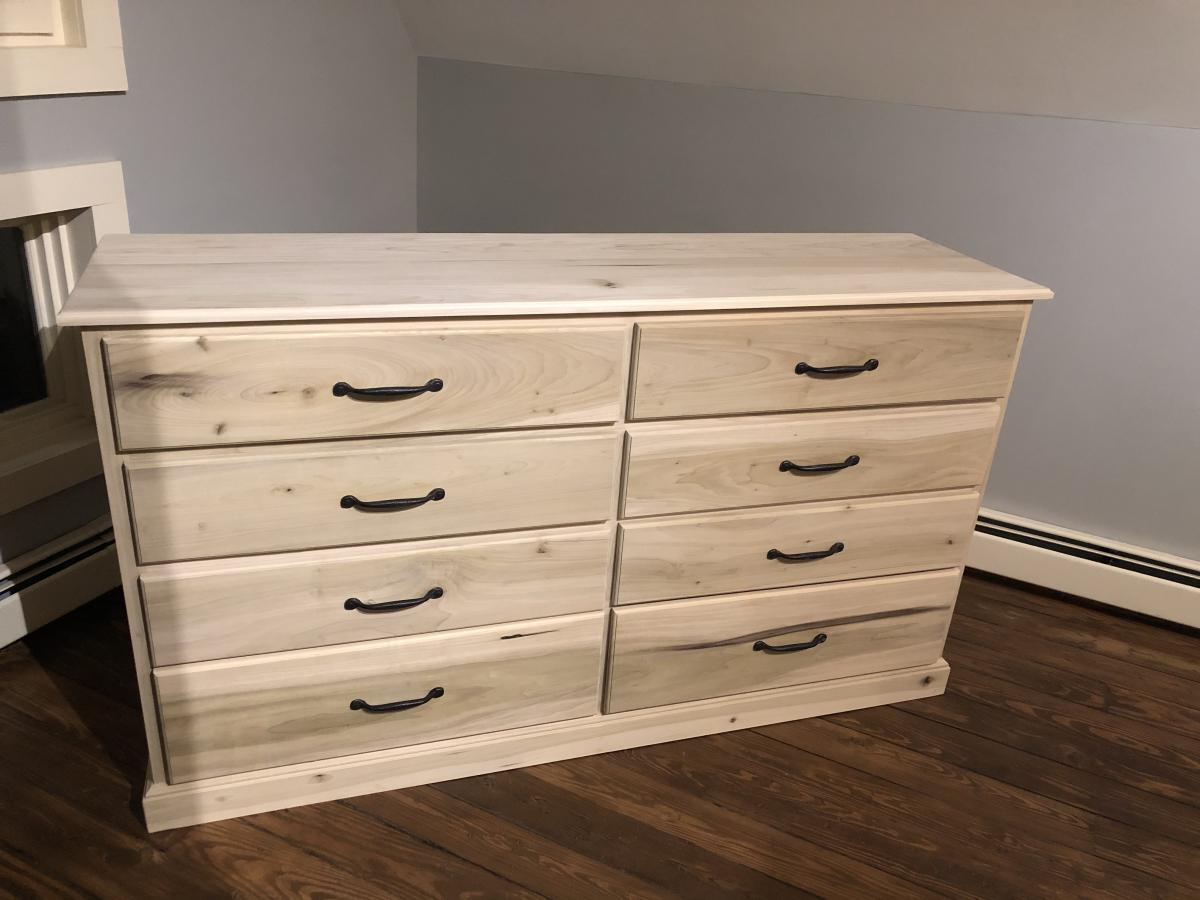
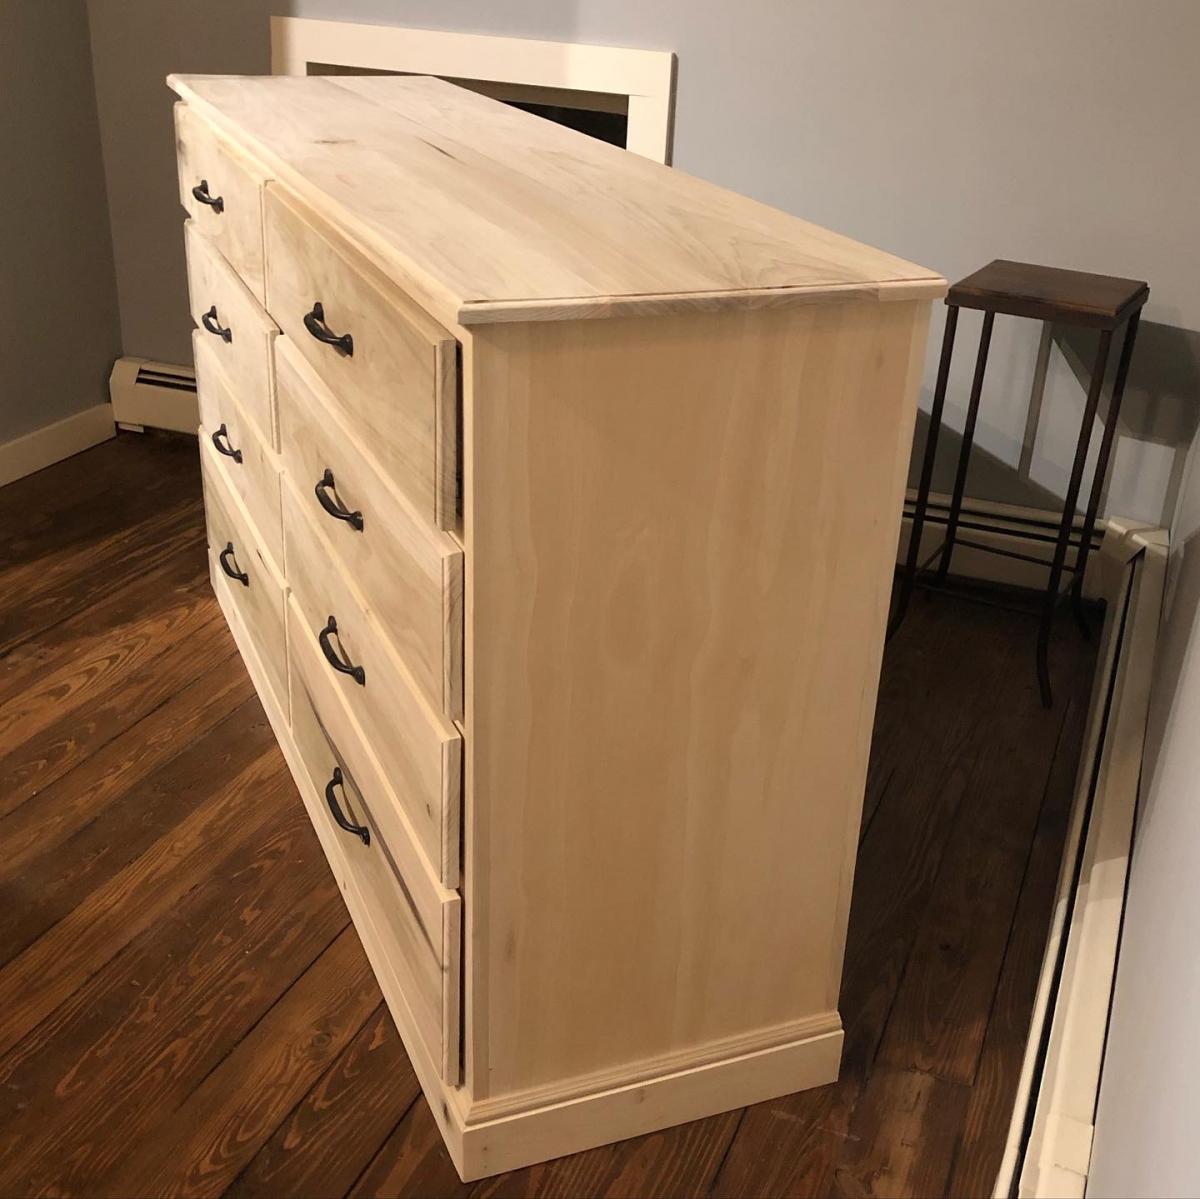
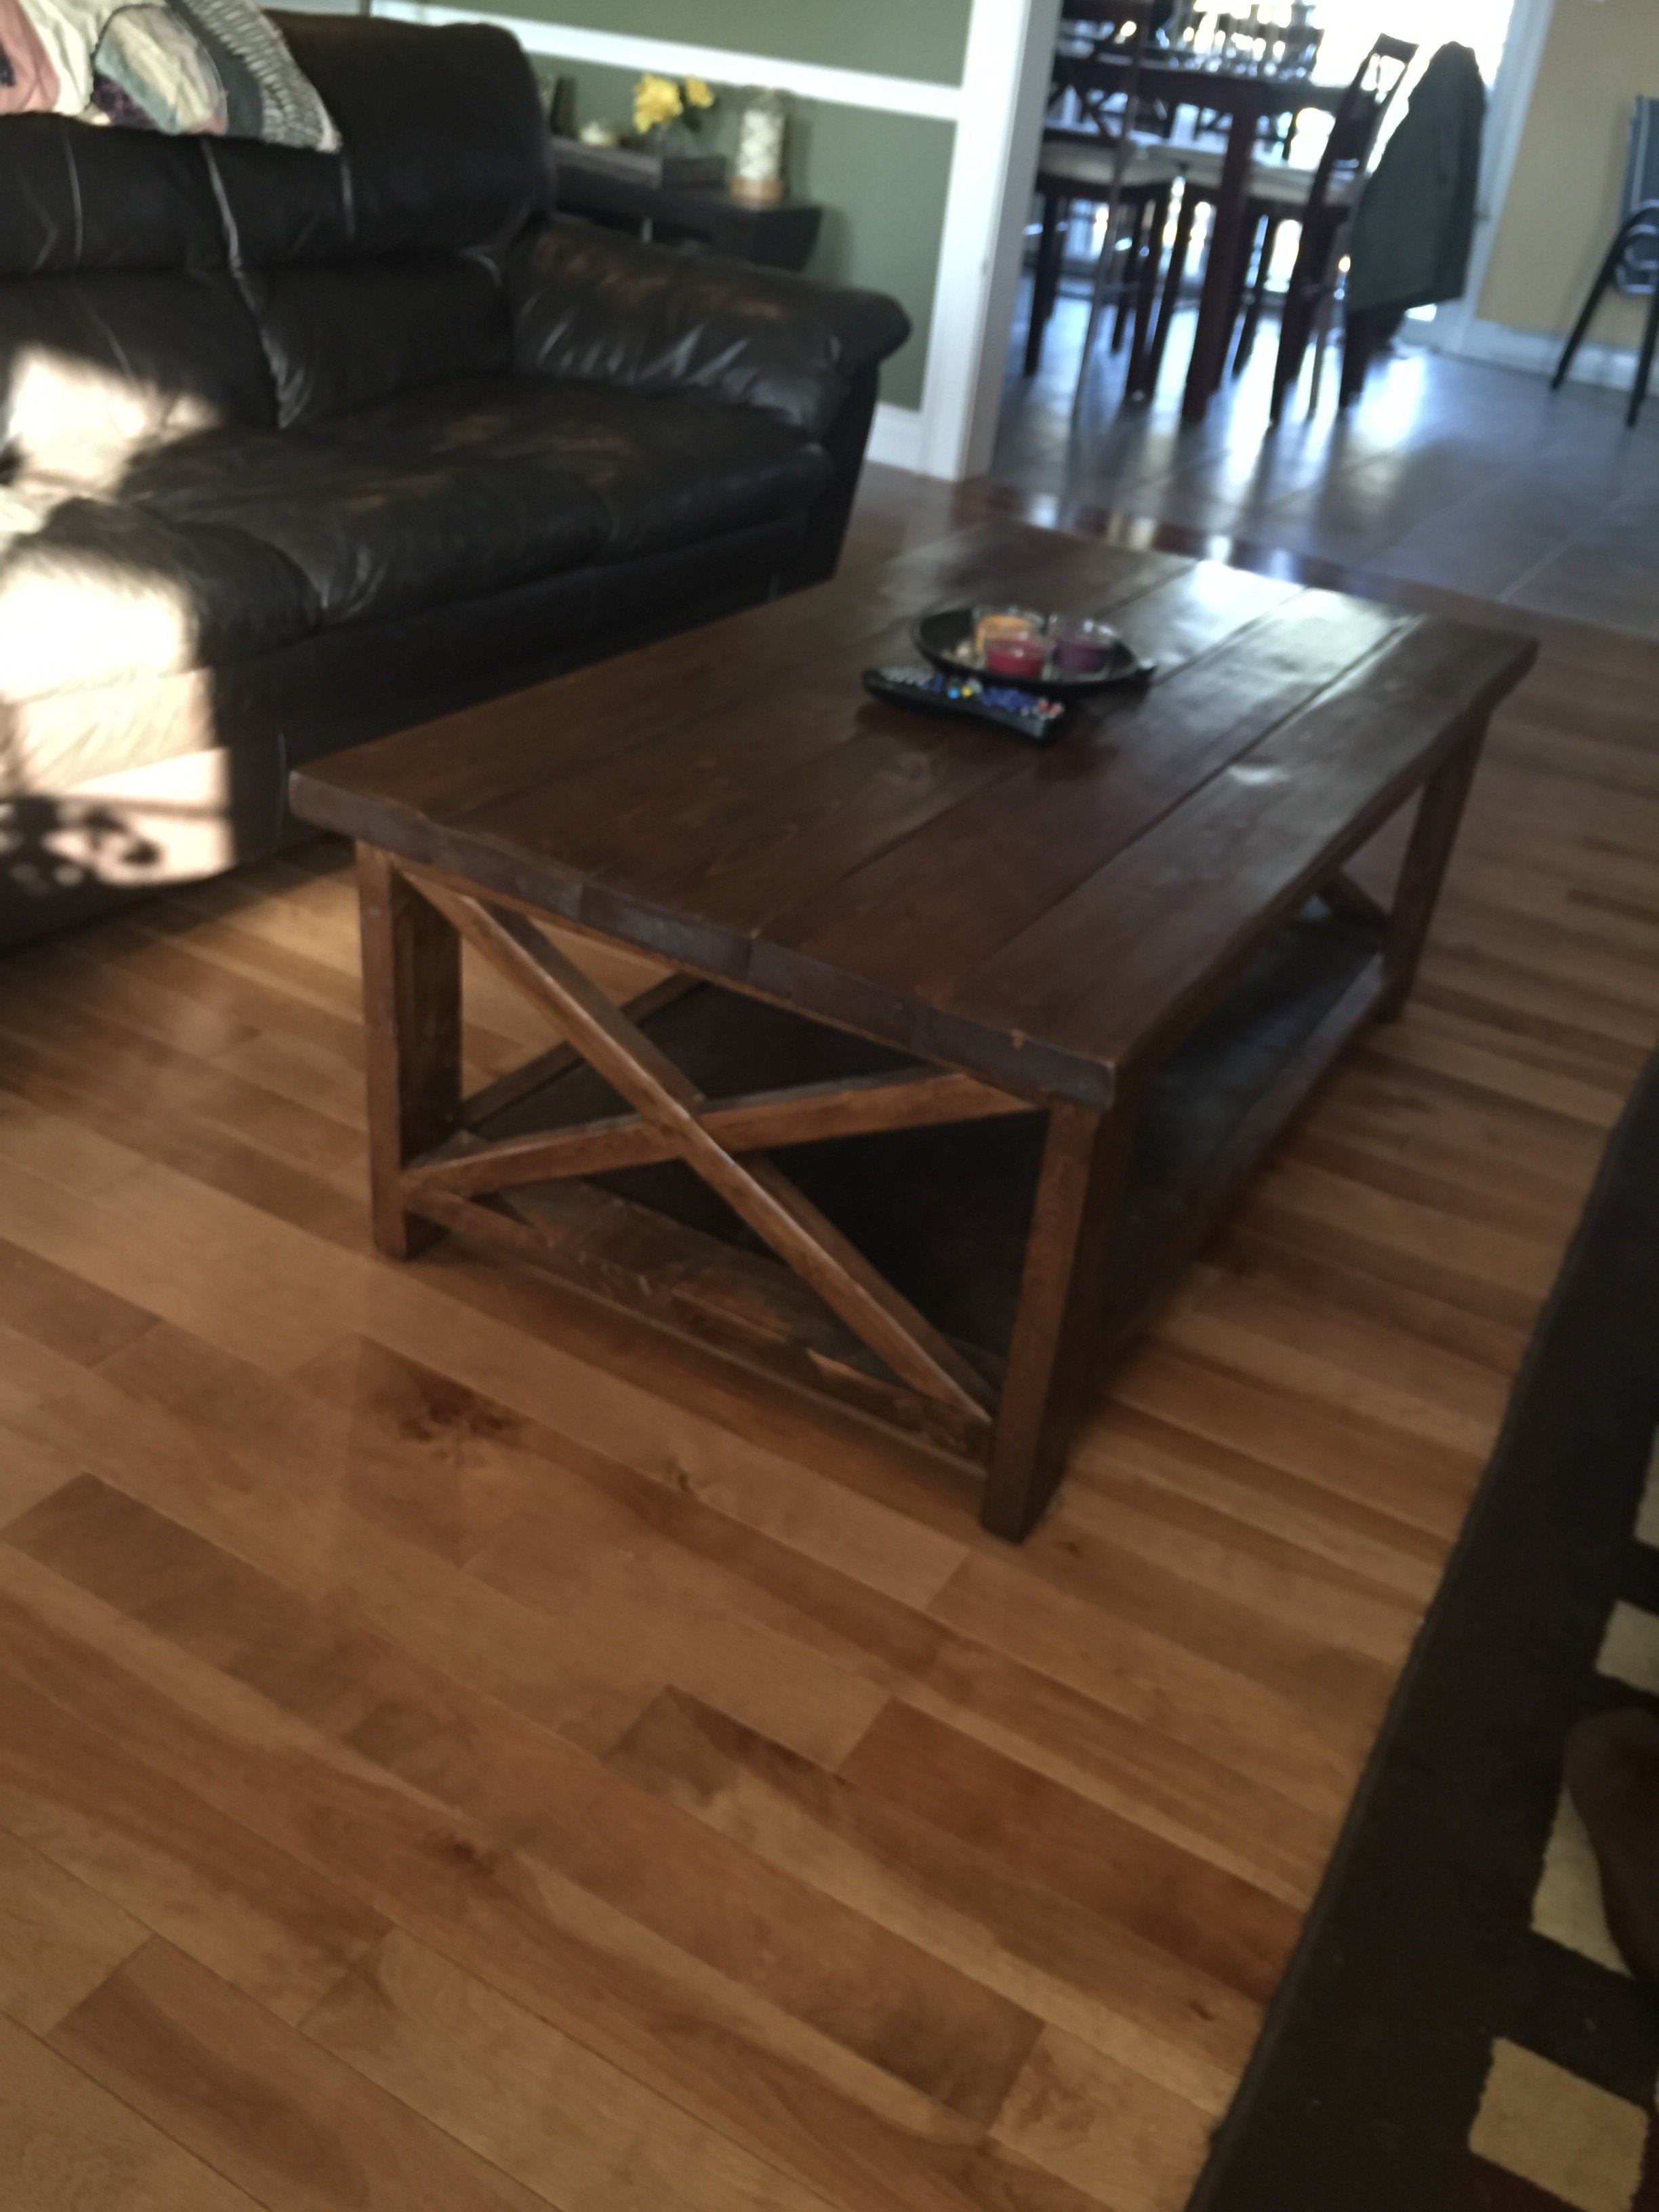
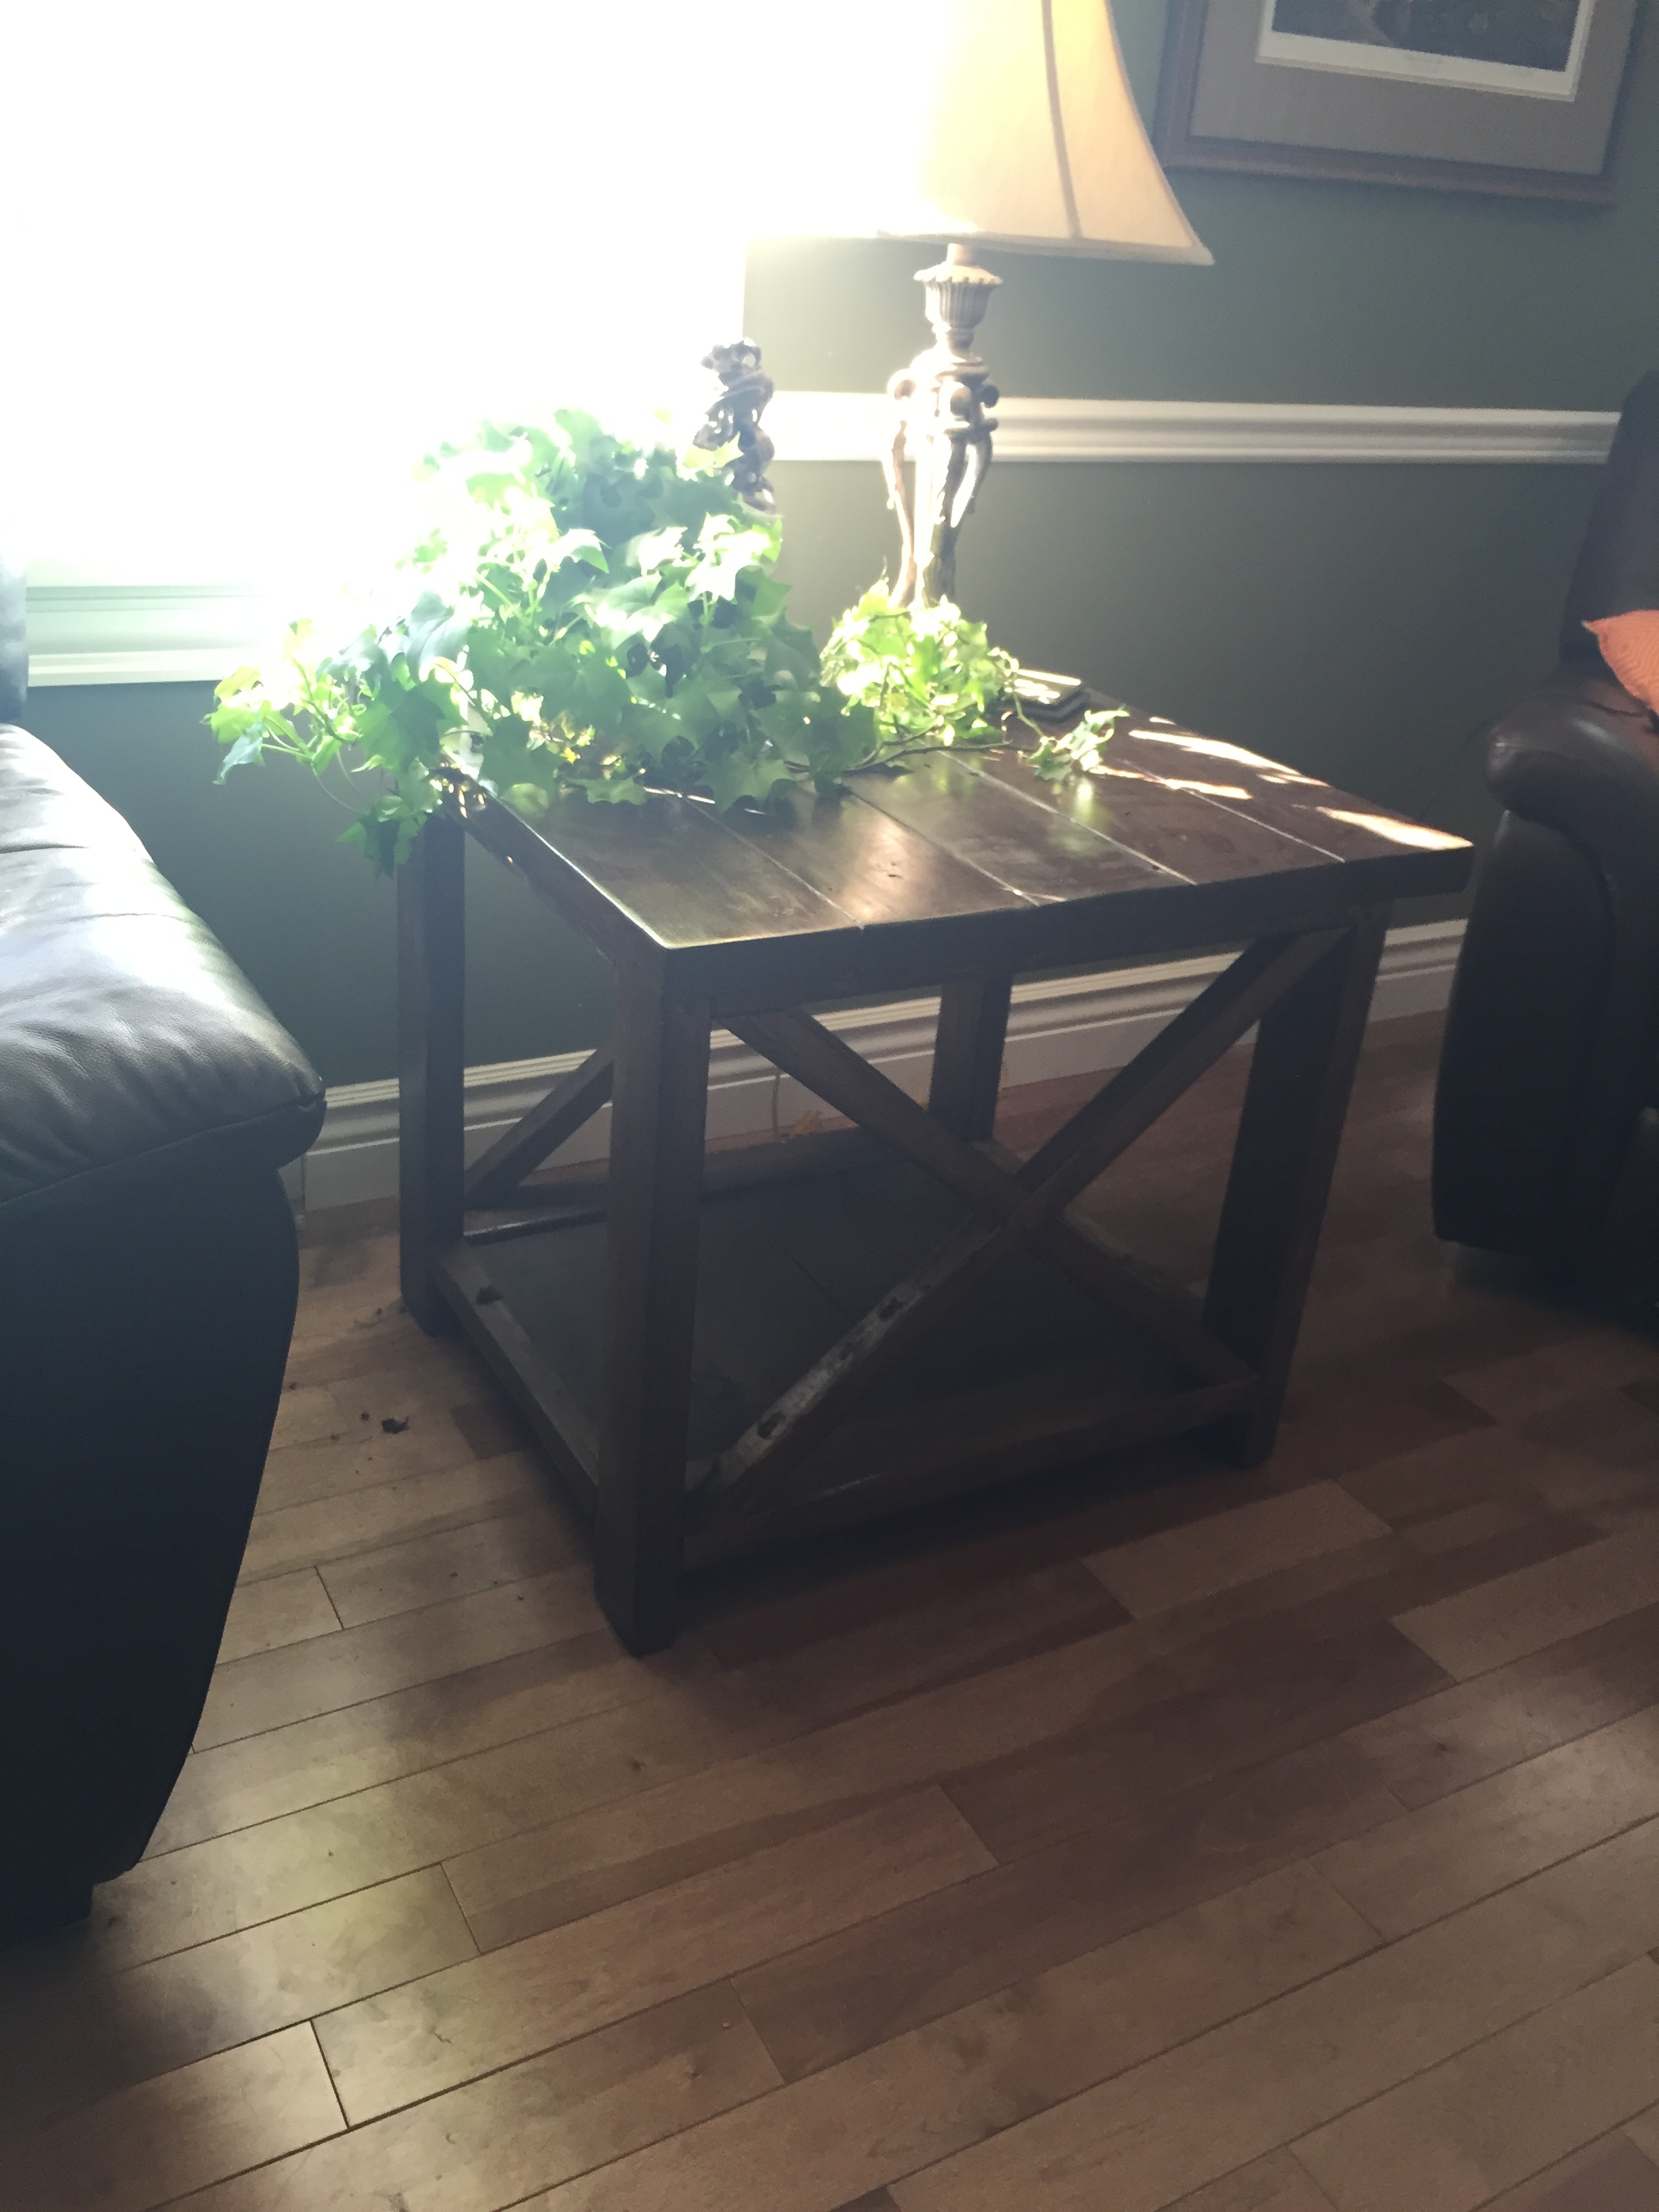
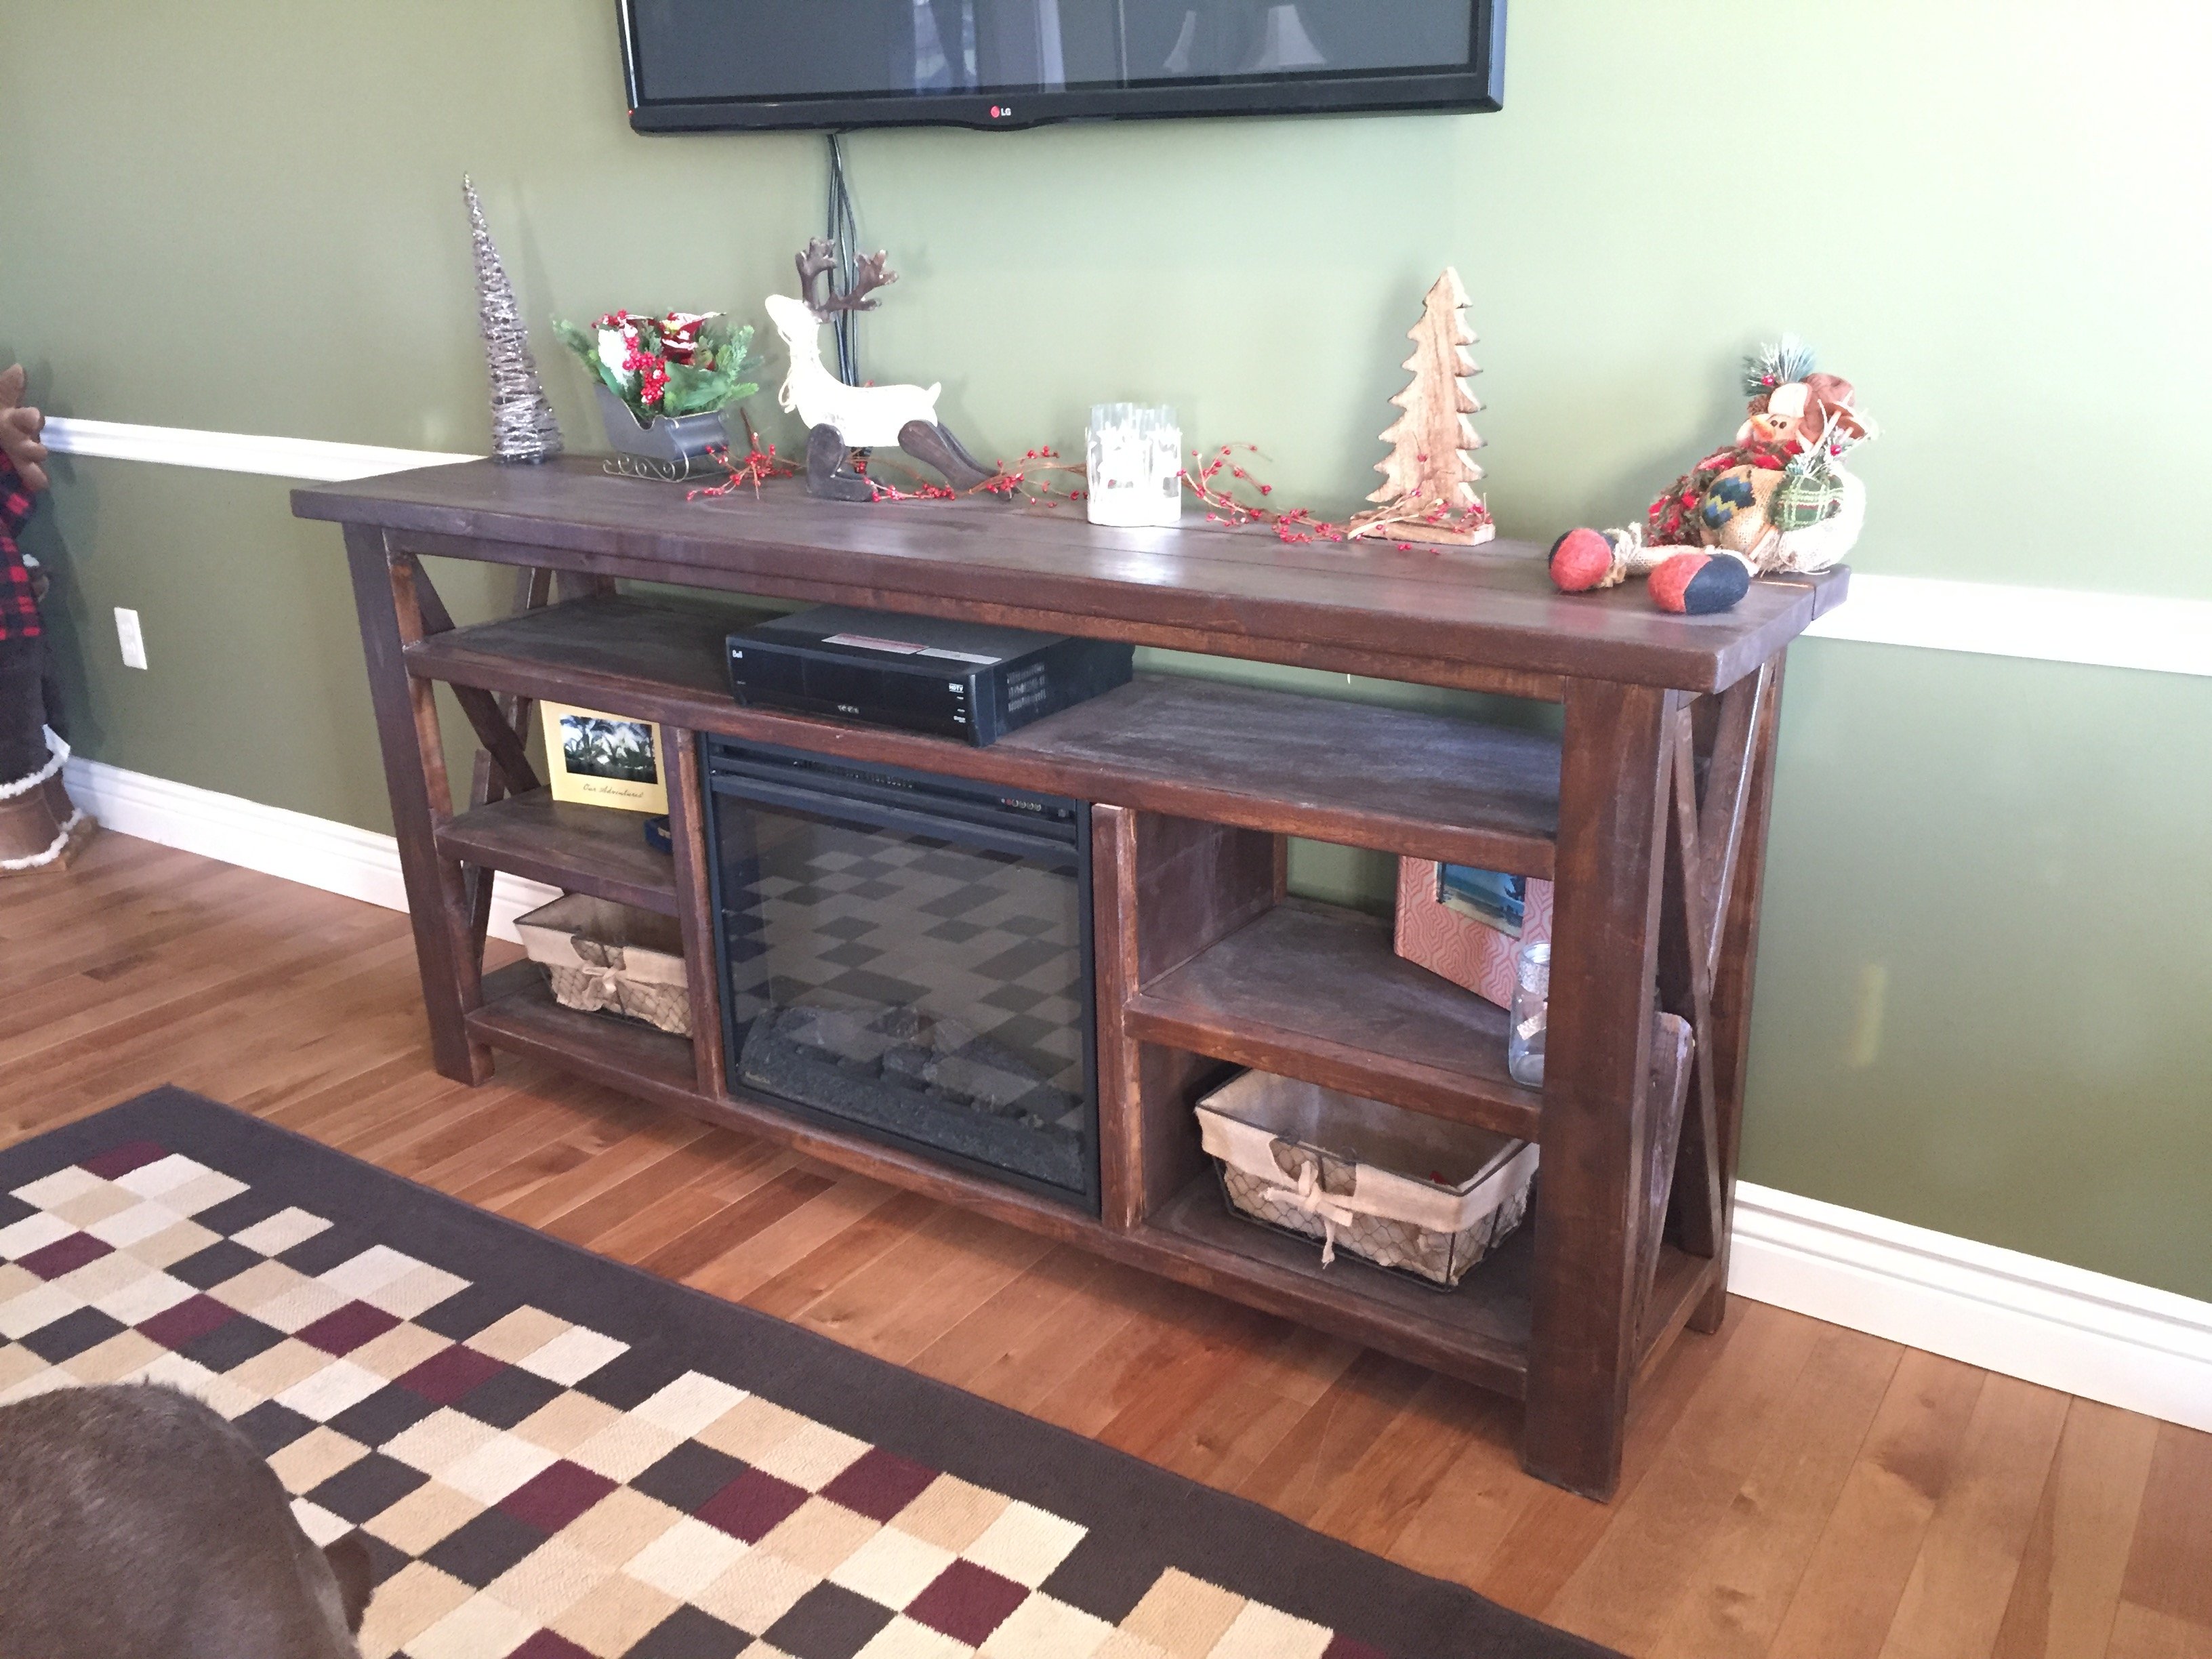
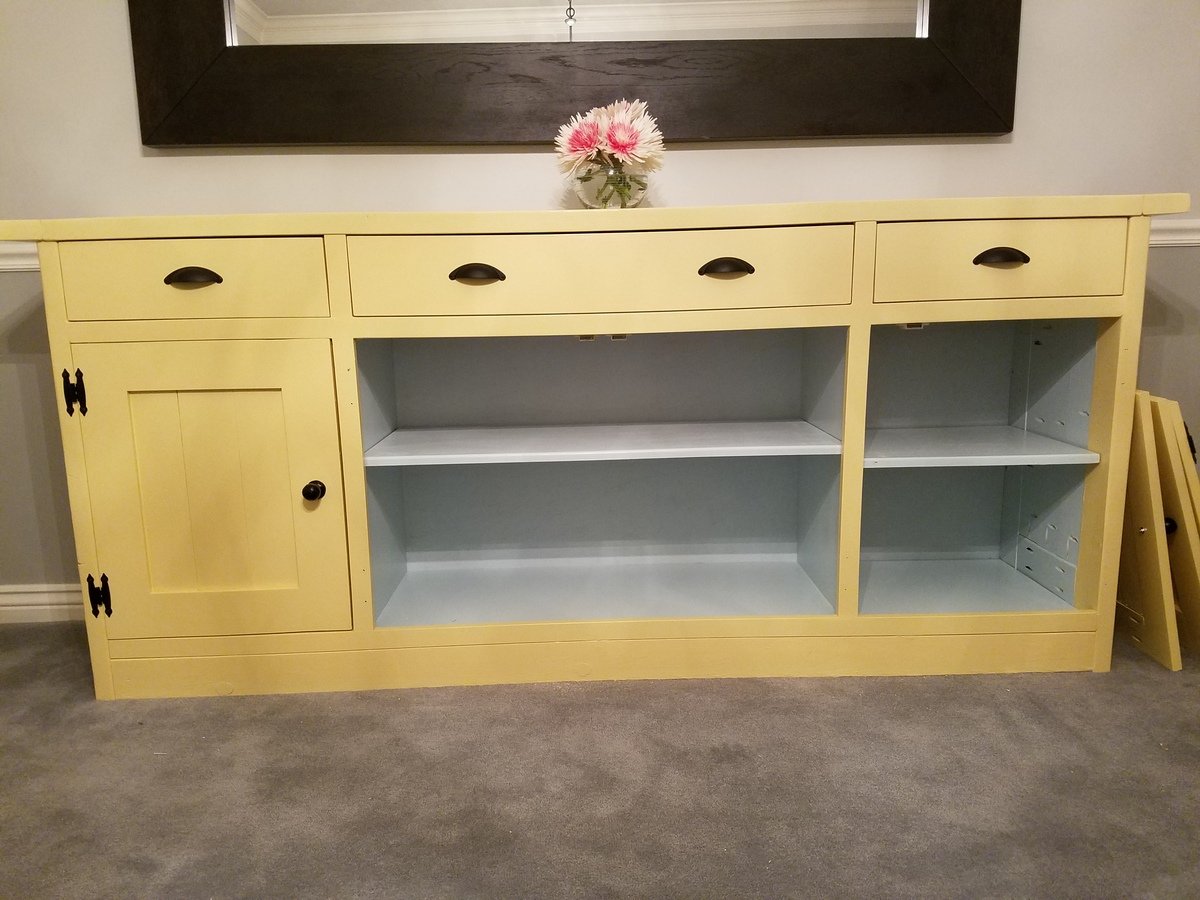
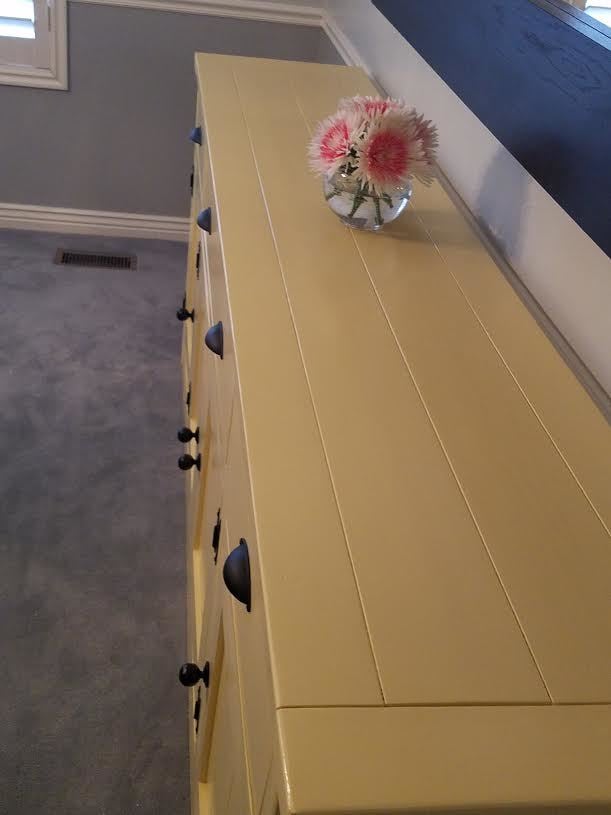
Sideboard - 1st Build!

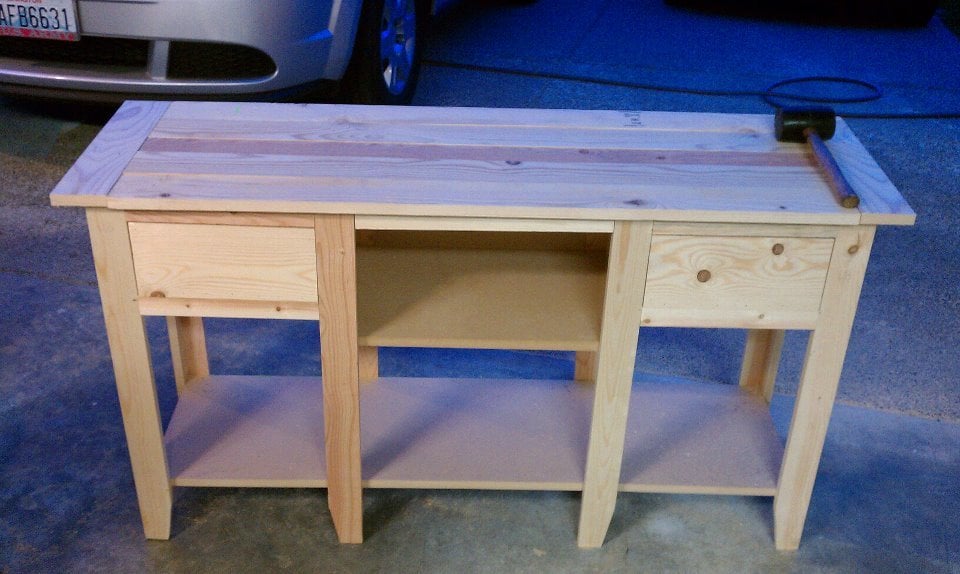
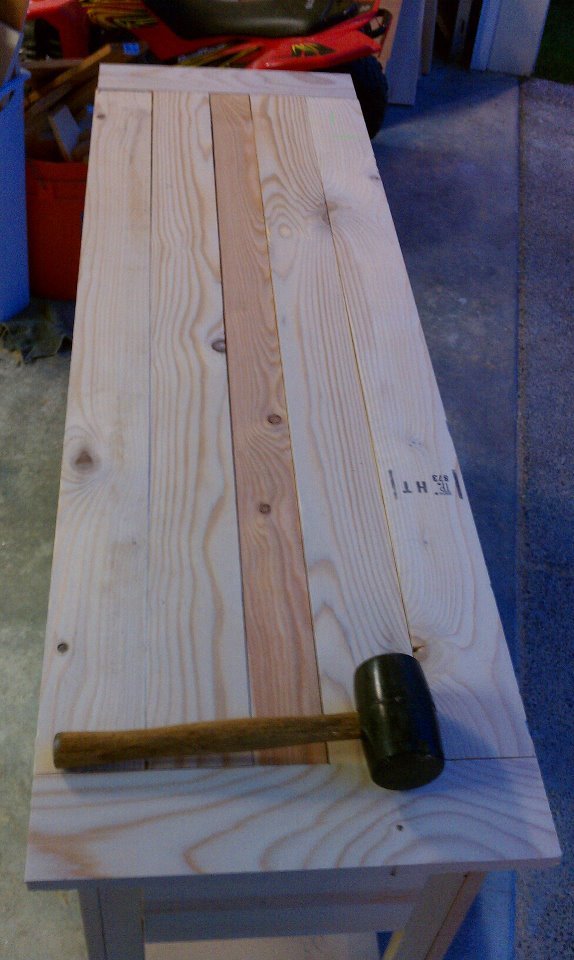
This was my first build from Ana White and my first piece of furniture. It is doable for a determined, handy beginner/ intermediate. I took my time and worked on it when I could, thanks to my wife for letting me take over the garage for several weekends and her great painting skills!
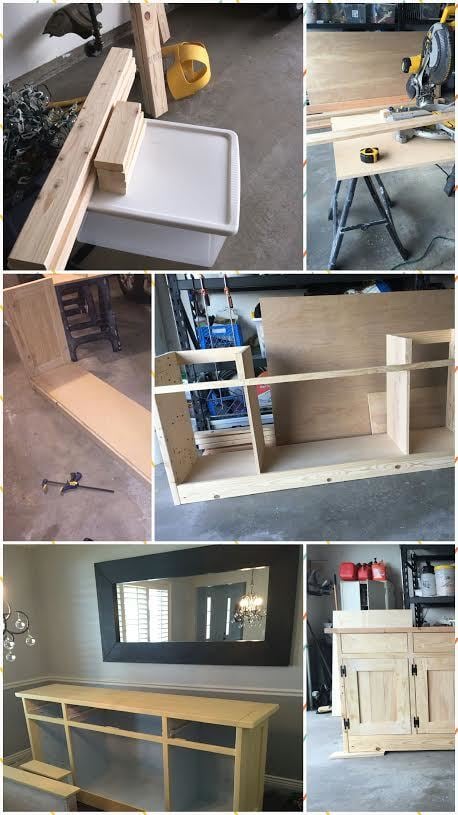
Built from Plan(s)
Estimated Cost
$400
Estimated Time Investment
Week Long Project (20 Hours or More)
Finish Used
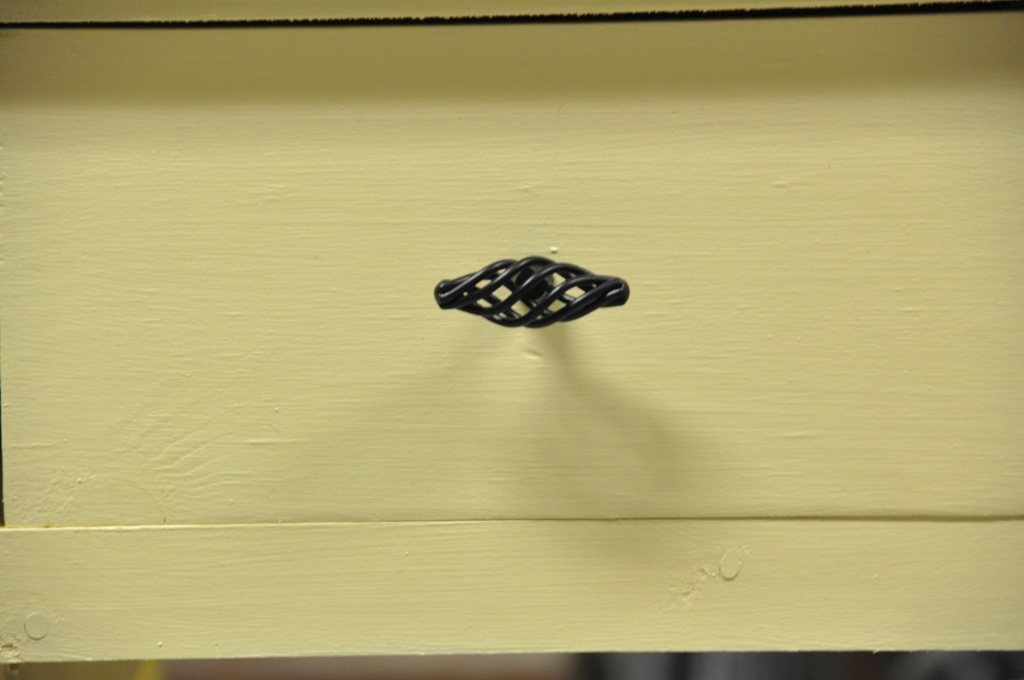
General Finishes milk paint: Buttercup (yellow)
Sherwin Williams: Blue Bell
General Finishes: Poly Finish - satin
We primed it white
Two coats yellow
Two coats poly
Light sanding between each application with superfine sand paper sponges.
Sherwin Williams: Blue Bell
General Finishes: Poly Finish - satin
We primed it white
Two coats yellow
Two coats poly
Light sanding between each application with superfine sand paper sponges.
Recommended Skill Level
Intermediate