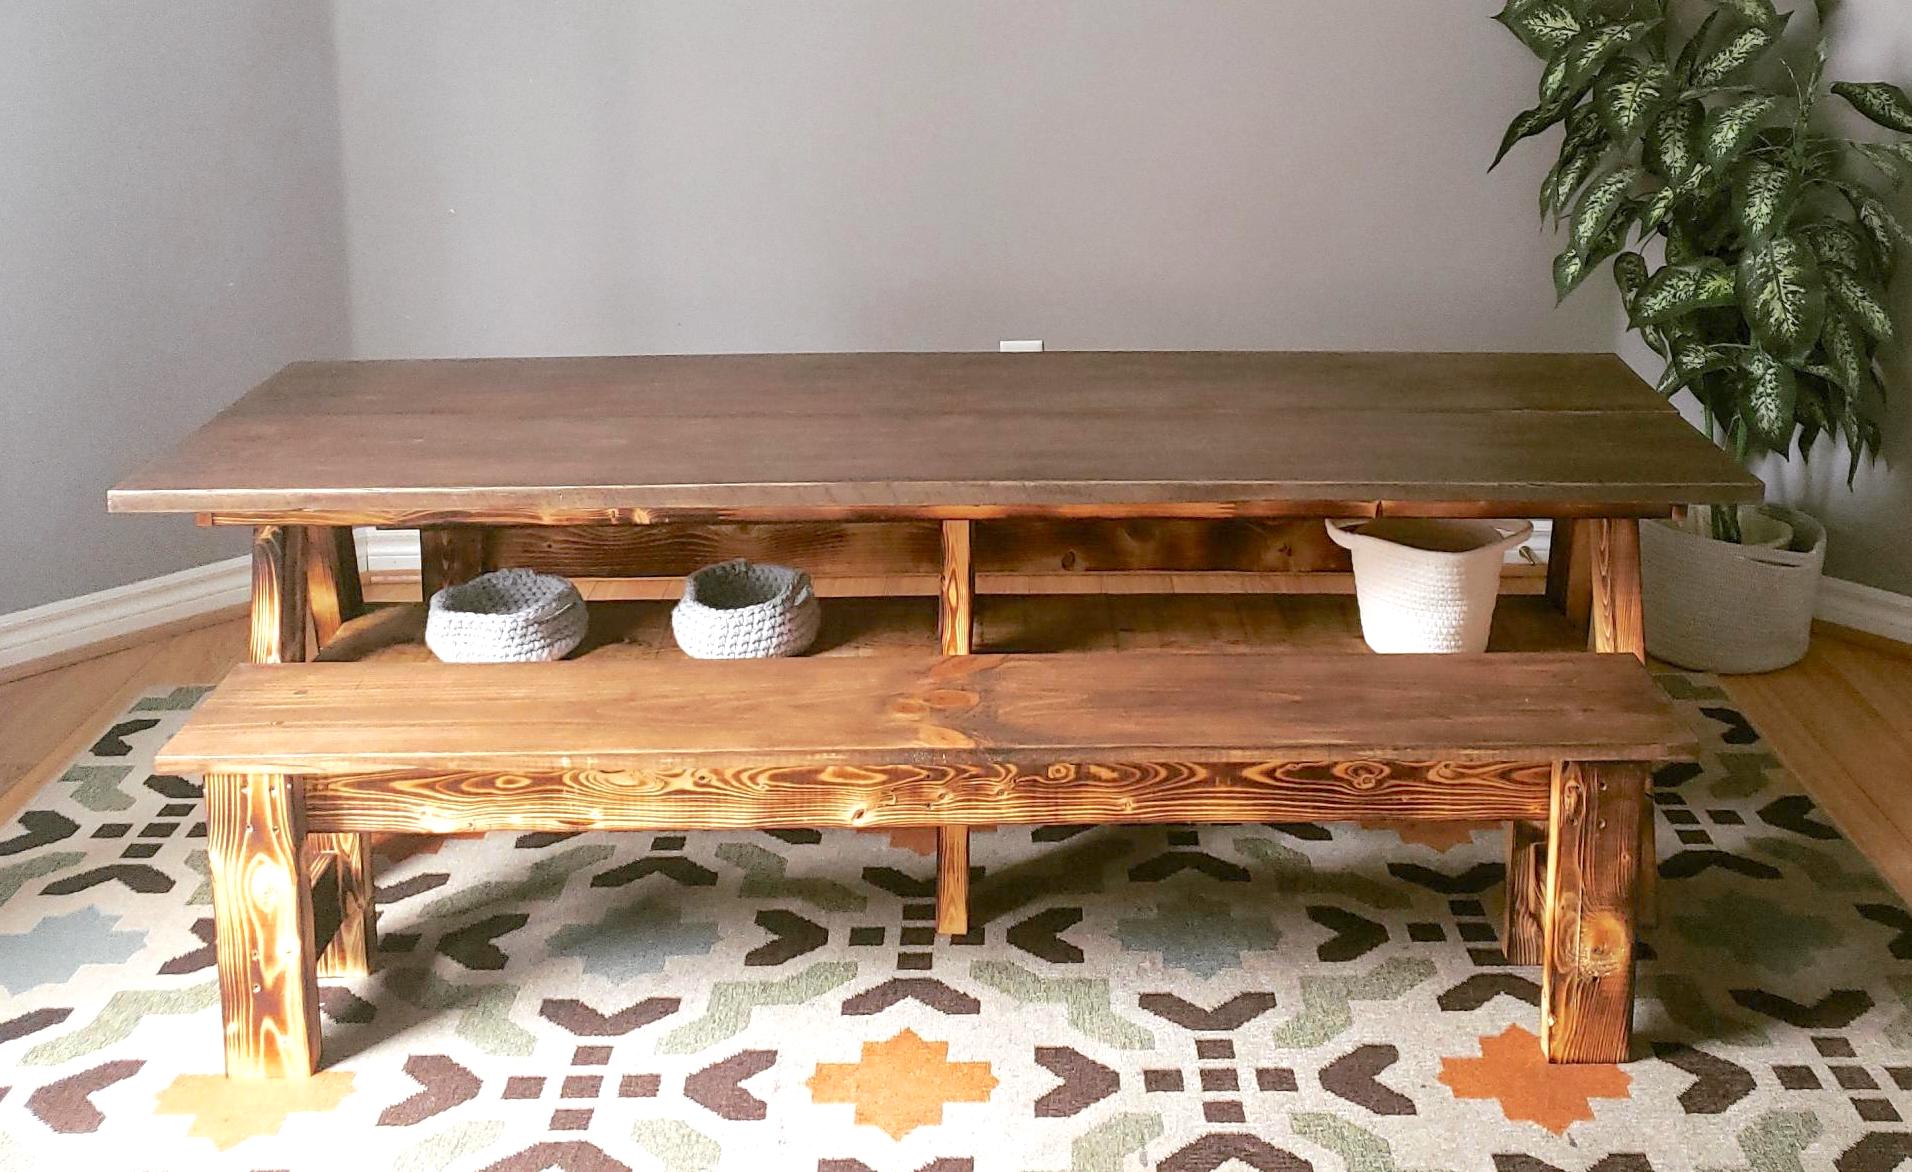
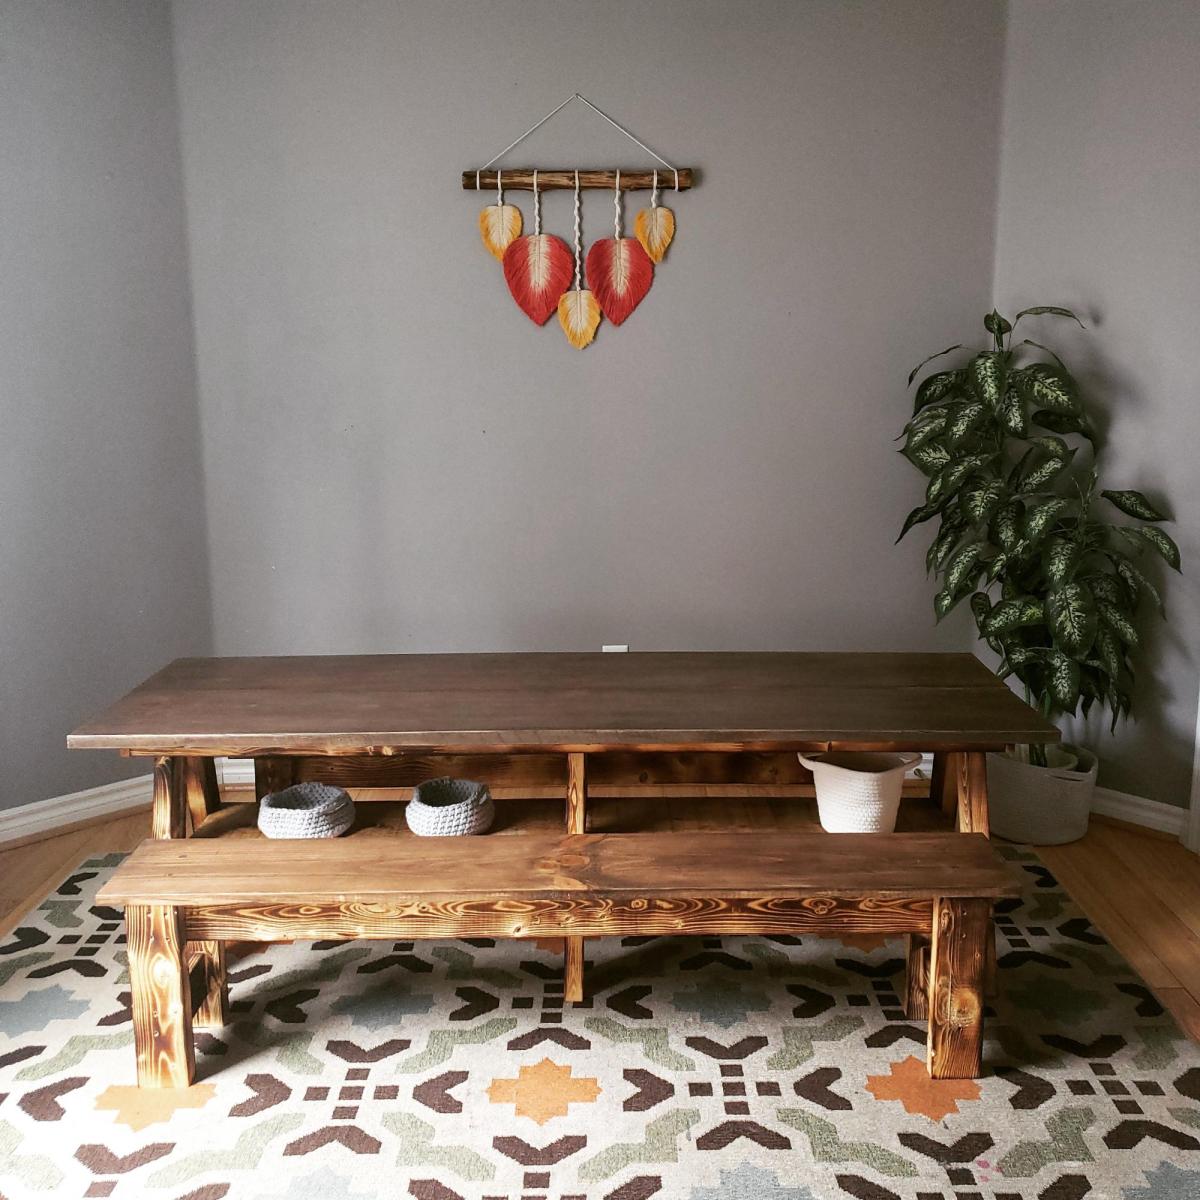
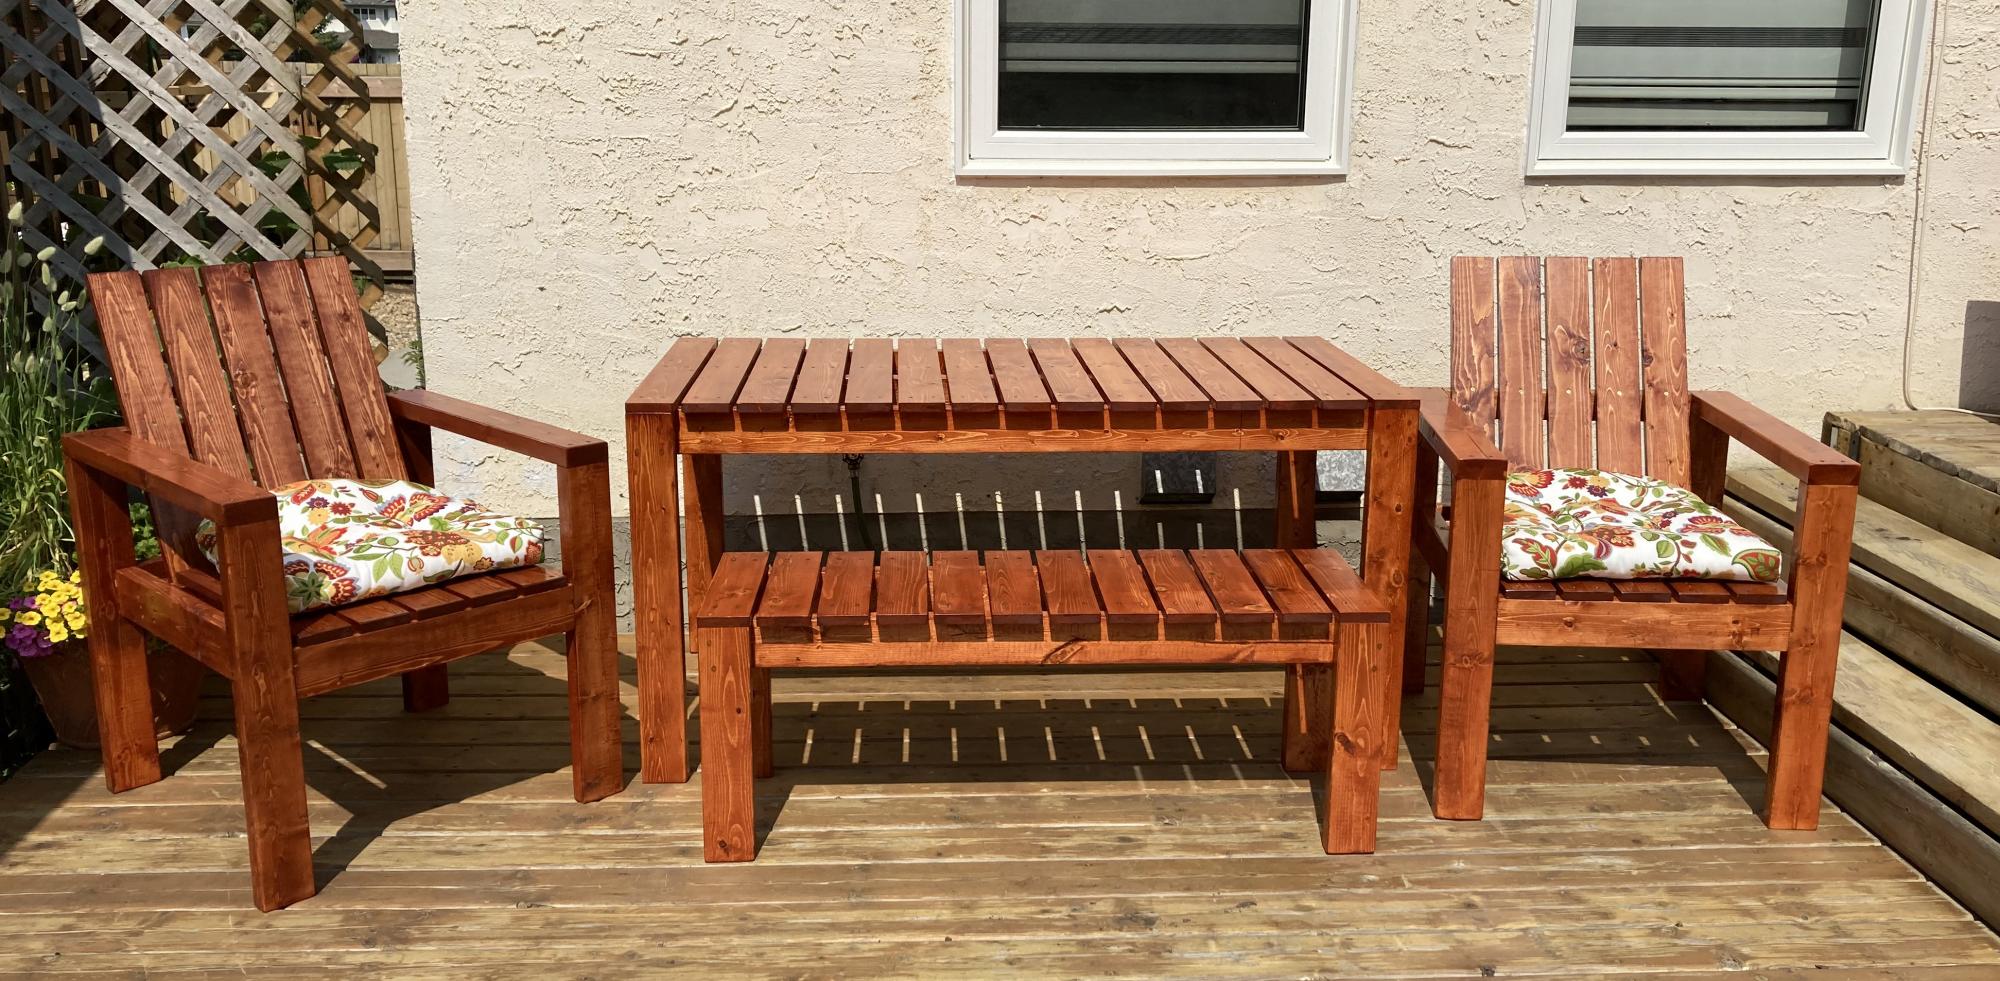
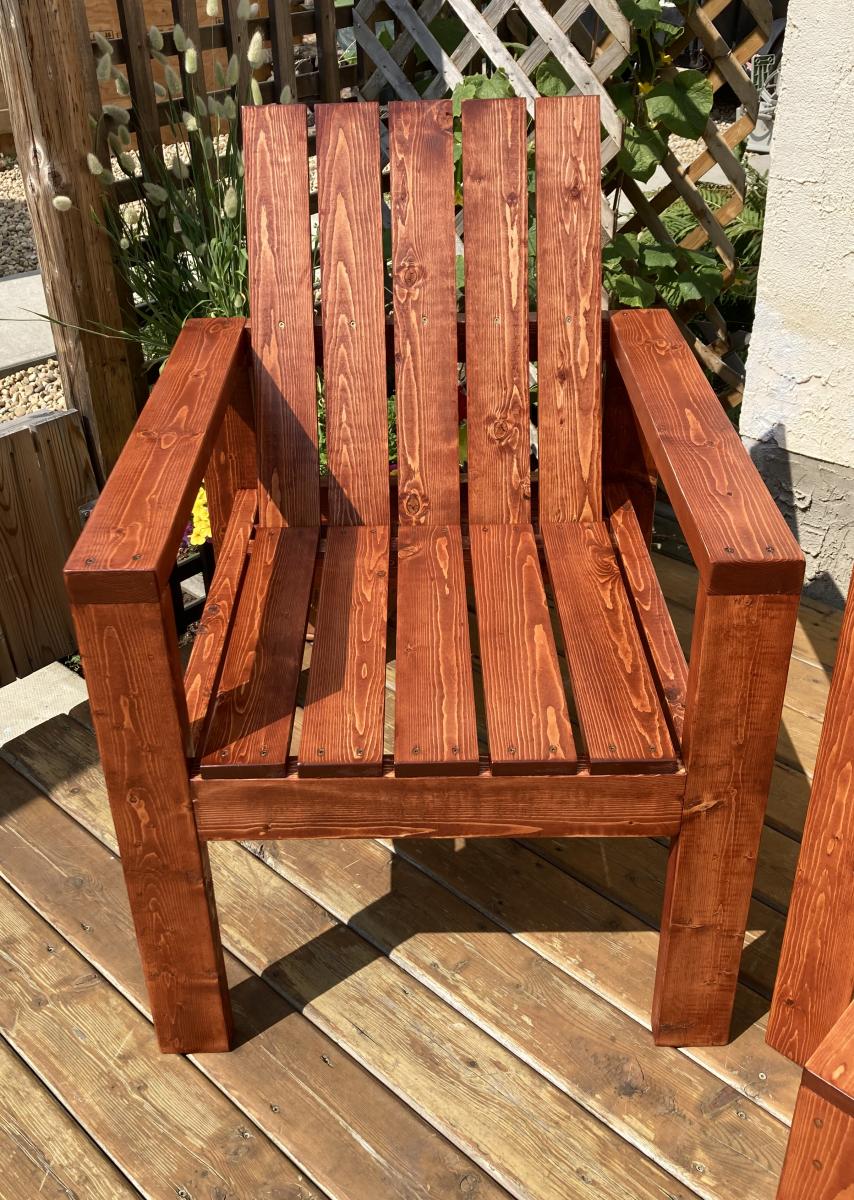
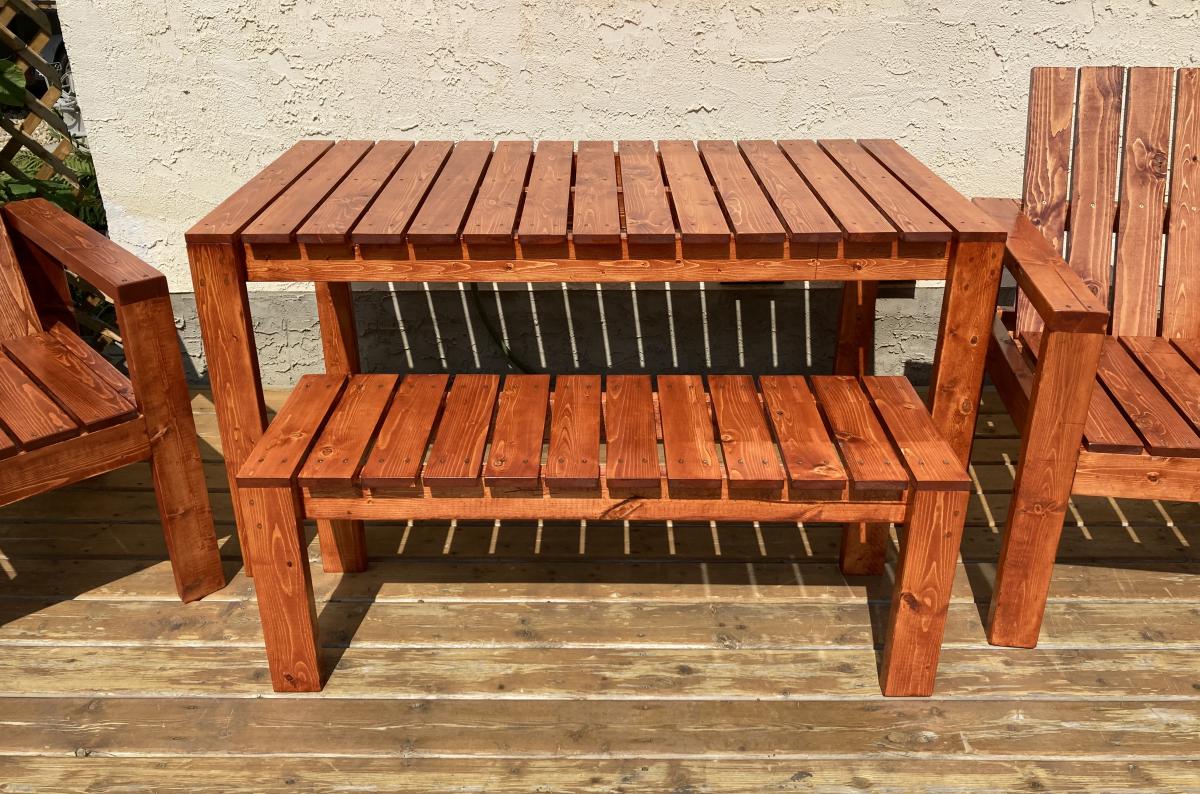
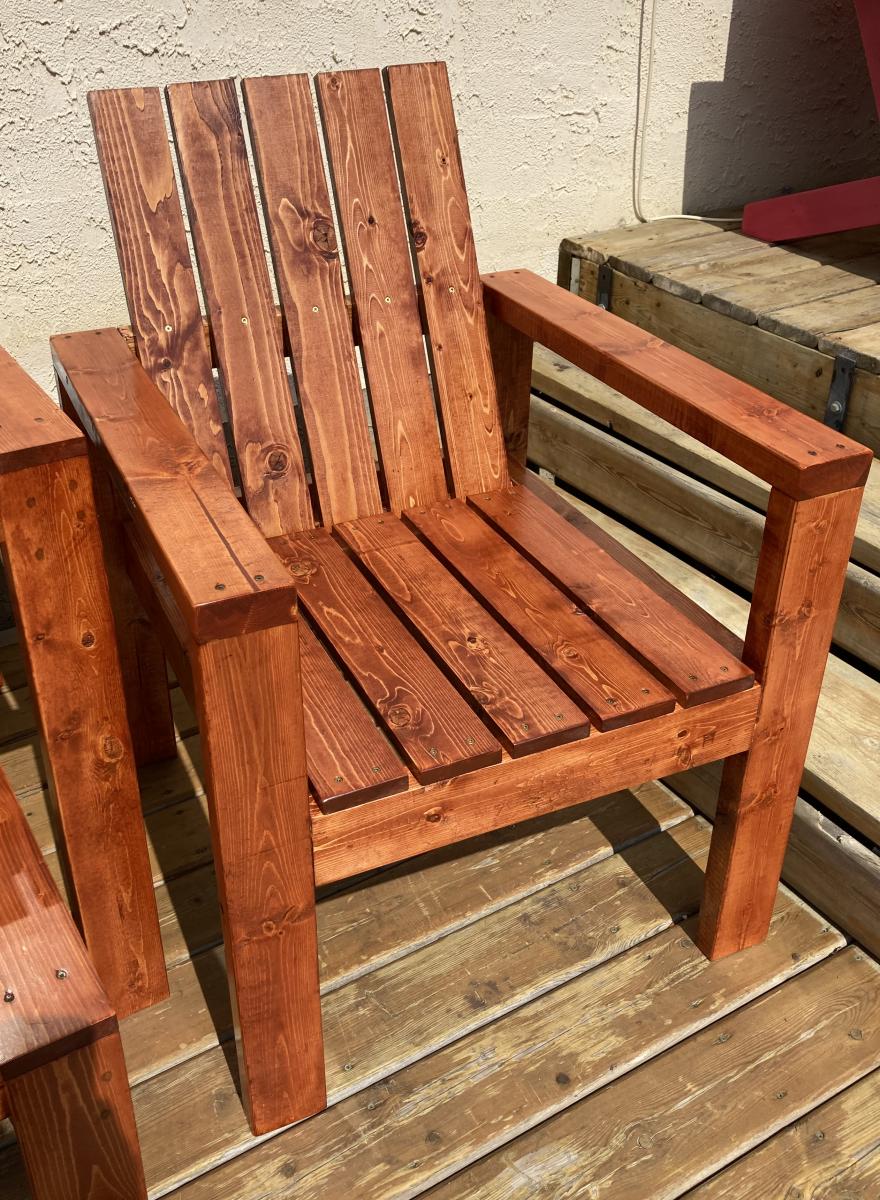
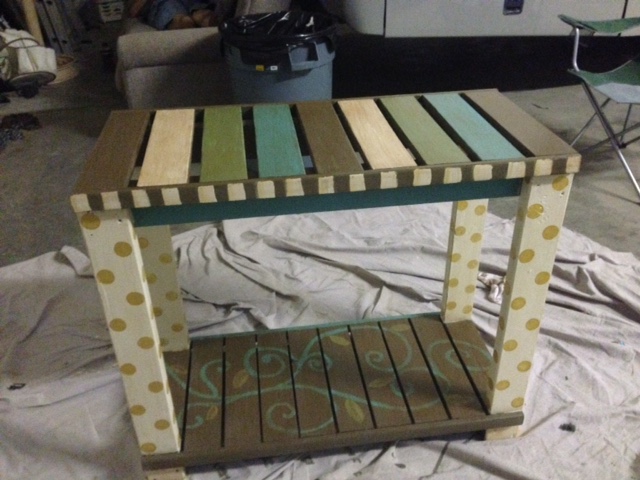
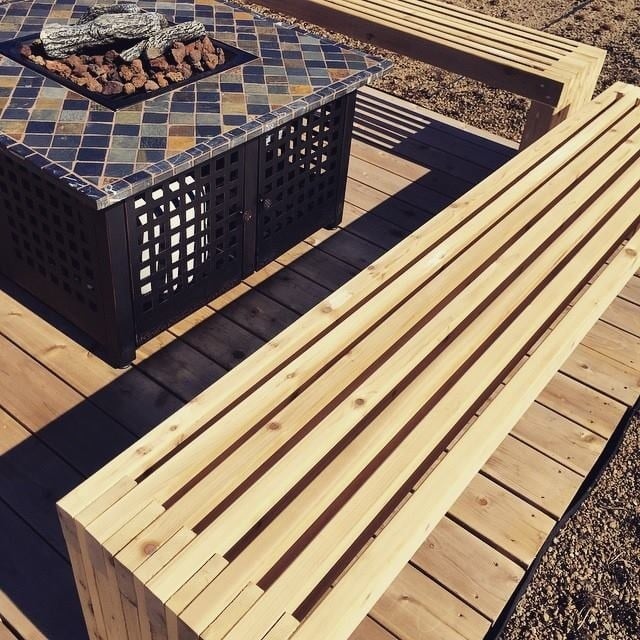
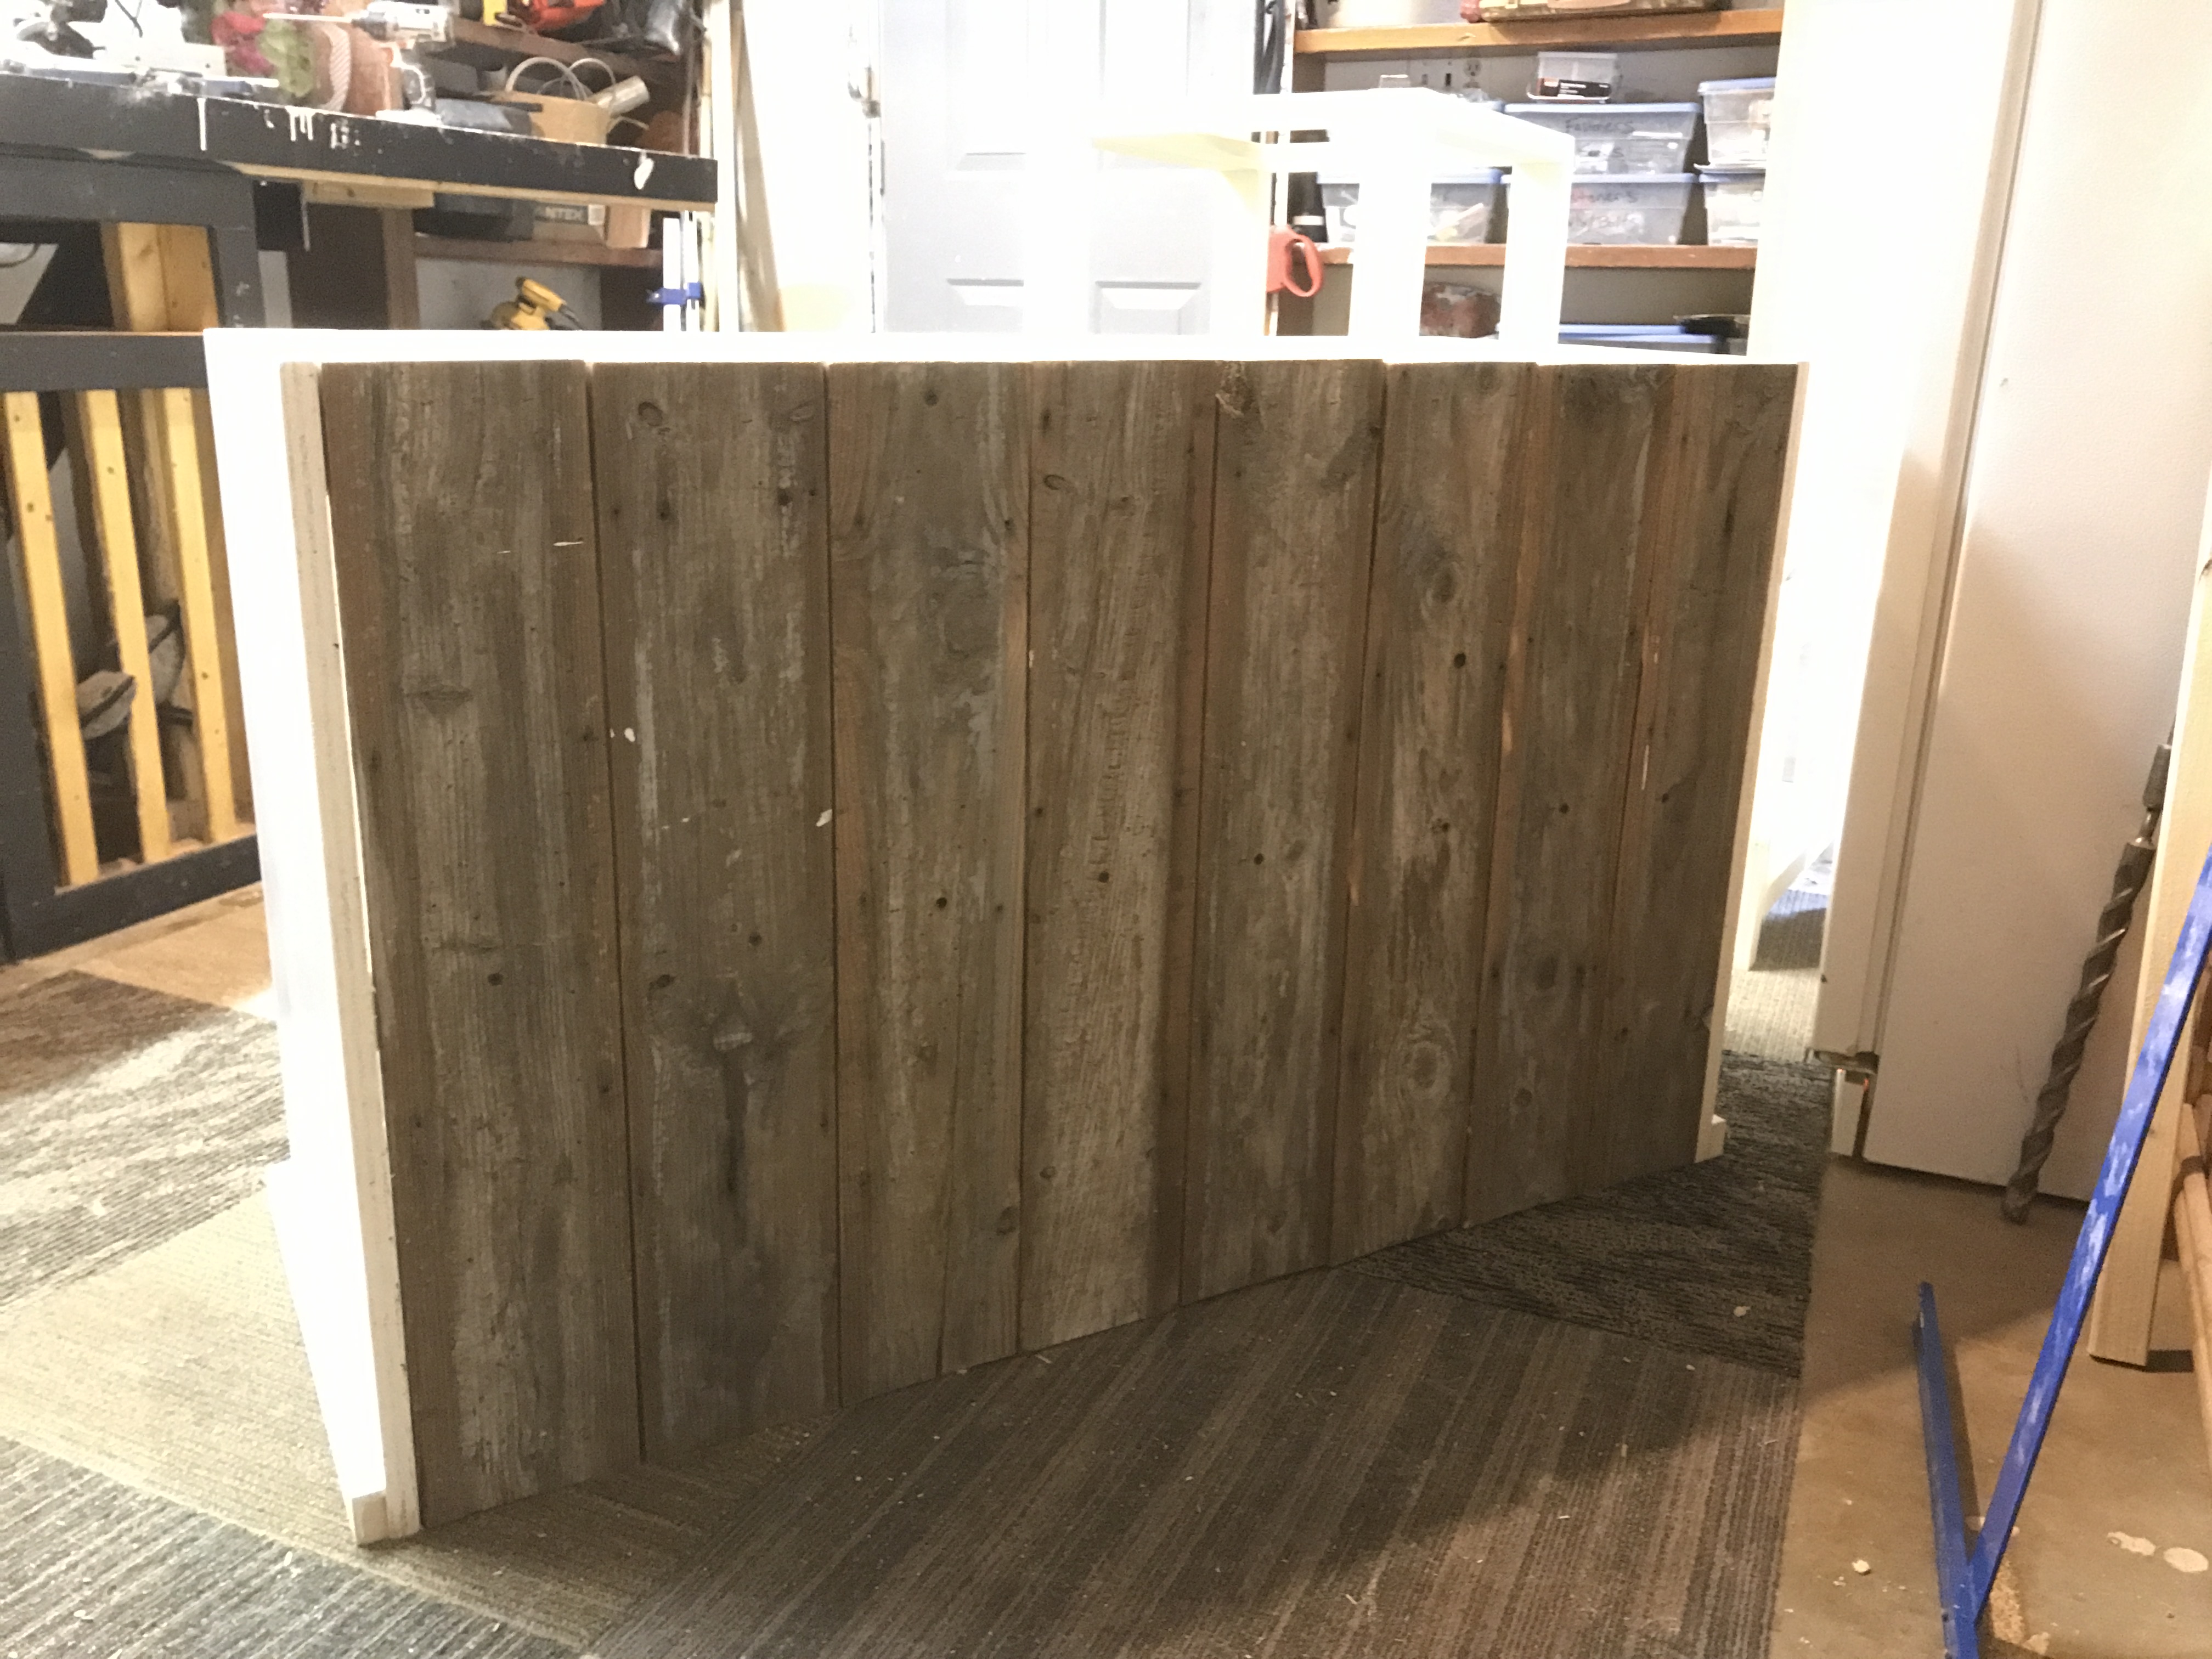
Farmhouse Chic Bench

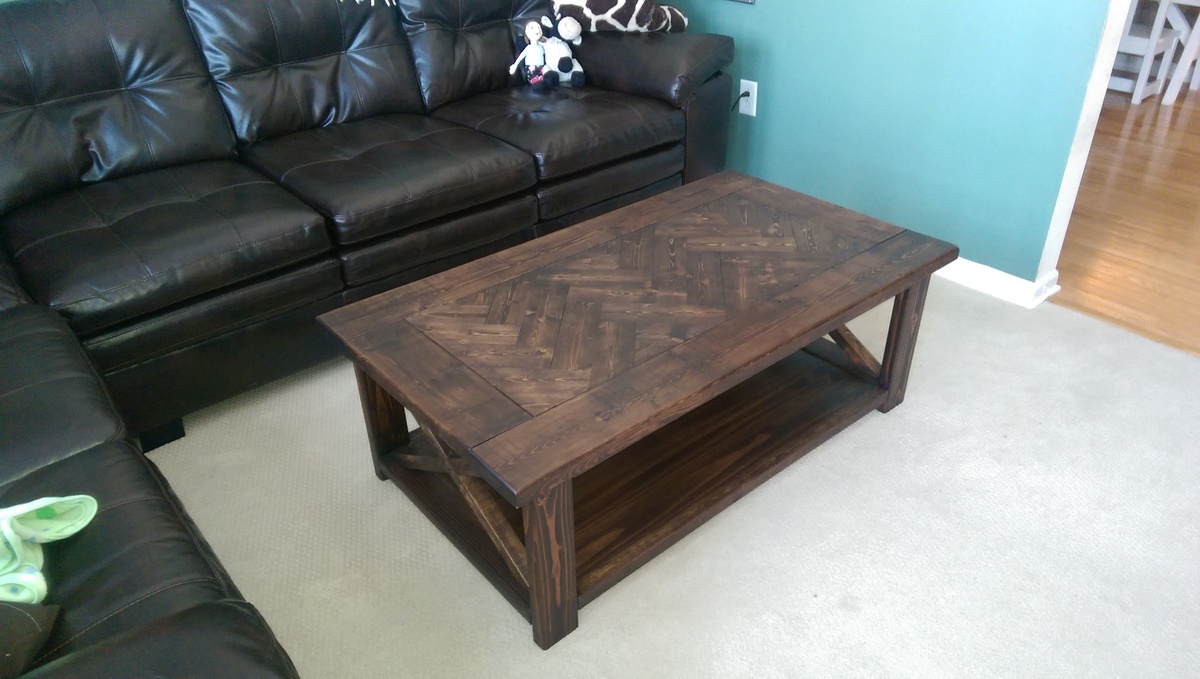
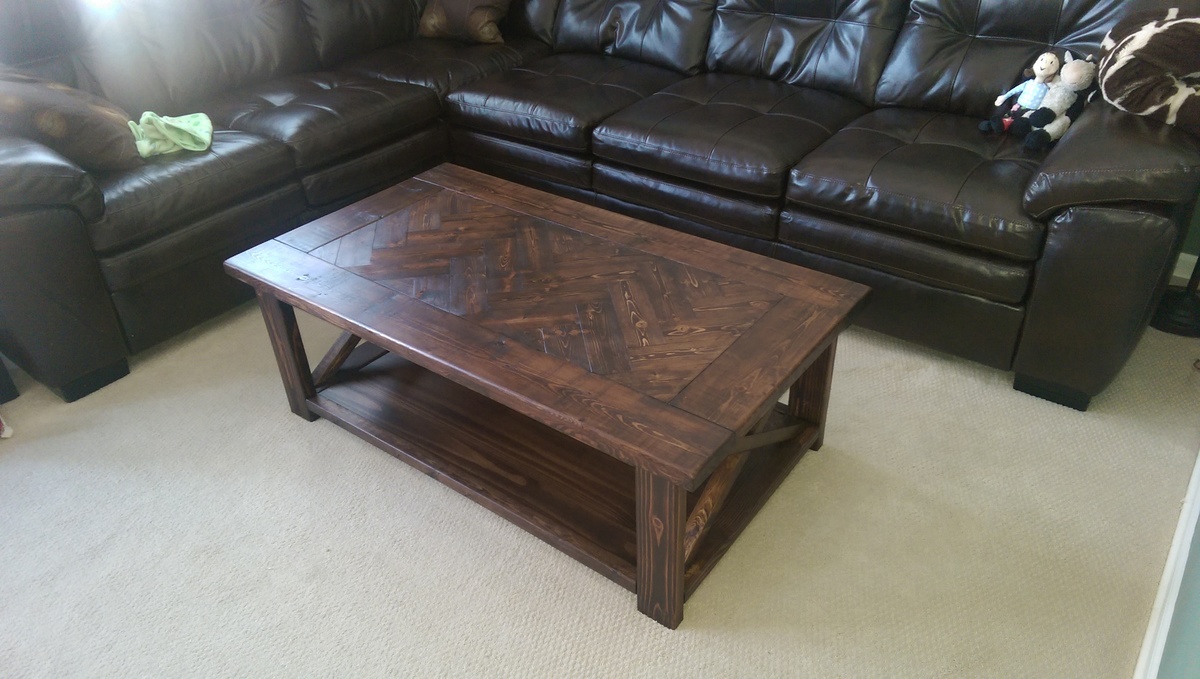
This was the first piece I ever made and I was very excited about how it turned out. Last summer I spent a weekend with a friend and she had a bench almost identical to this one in her entryway-- I just had to have it. I took pictures of it from every angle and went home, telling my husband he had to make it for me (he does some woodworking). As time went by and my bench was not made, I finally told him to teach me how to use the power tools... he did and this was the result. I wish I had plans for this, but I do not. I made this bench by looking at the pictures I took of the one I saw at my friend's house. Eventually I hope to get it together in order to make some up-- it was very easy, and I do think someone with some skill (since at the time I had none!) could most likely do the same. I was able to do it about 3 days.


Comments
dmcarwin
Tue, 04/16/2013 - 09:35
How fun!
Congrats on your first project! It really is a fun bench you did a great job!