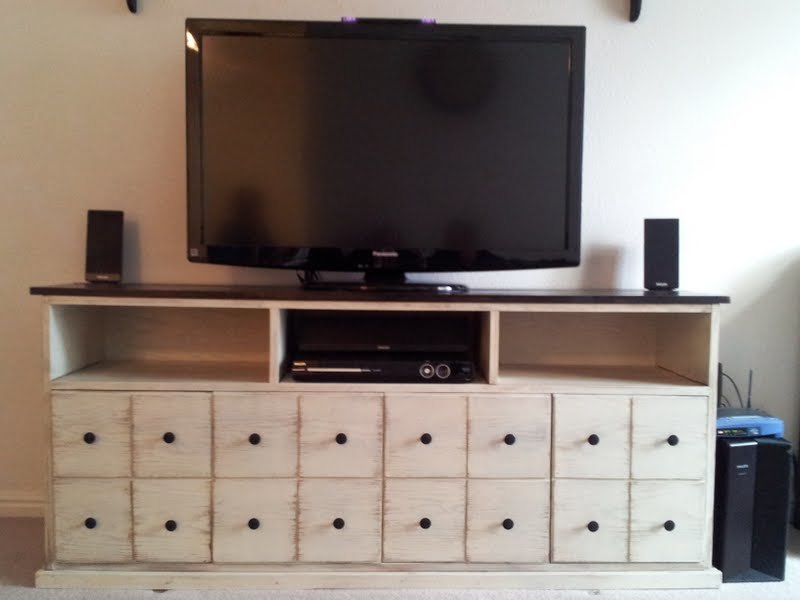
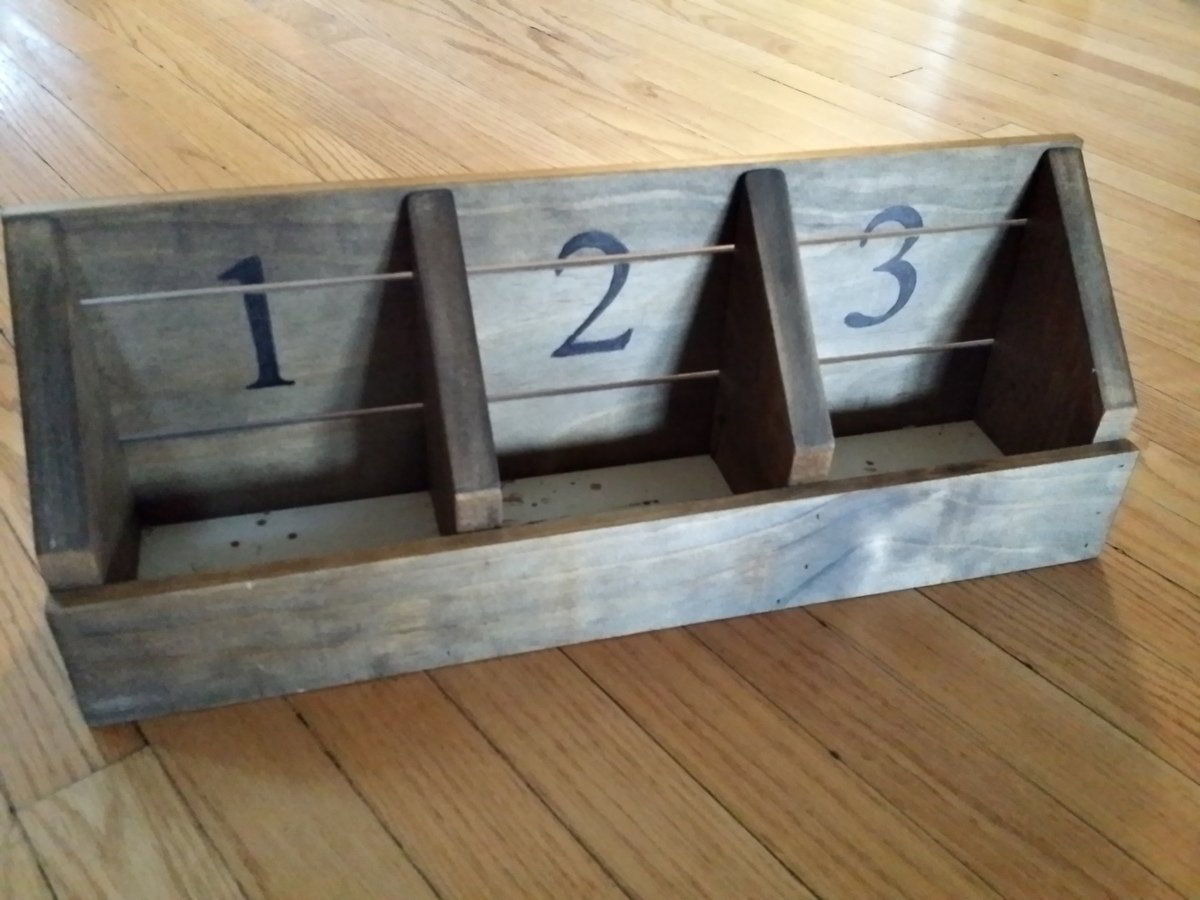
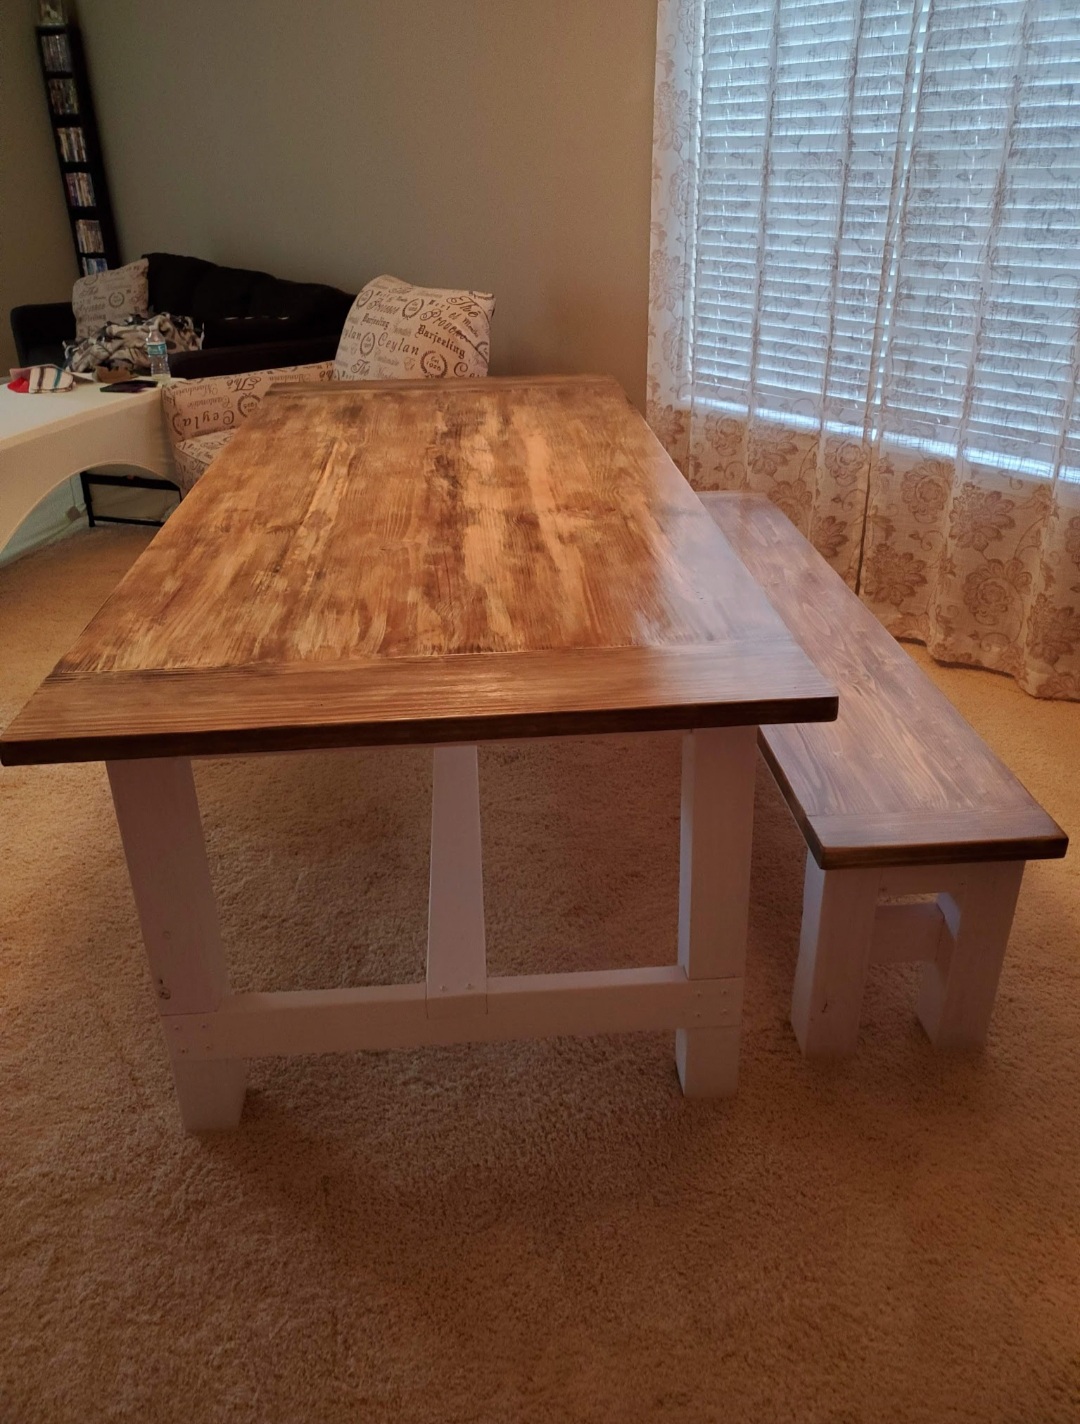
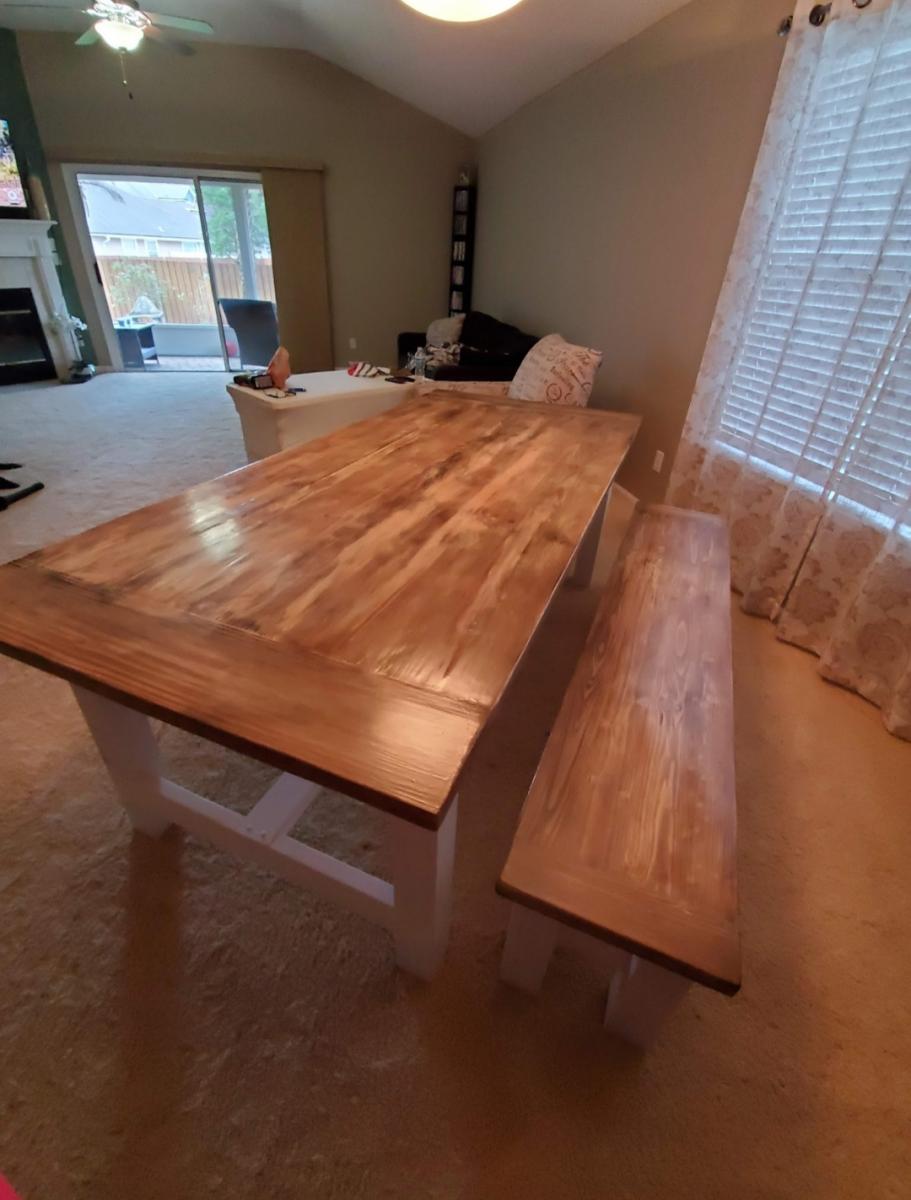
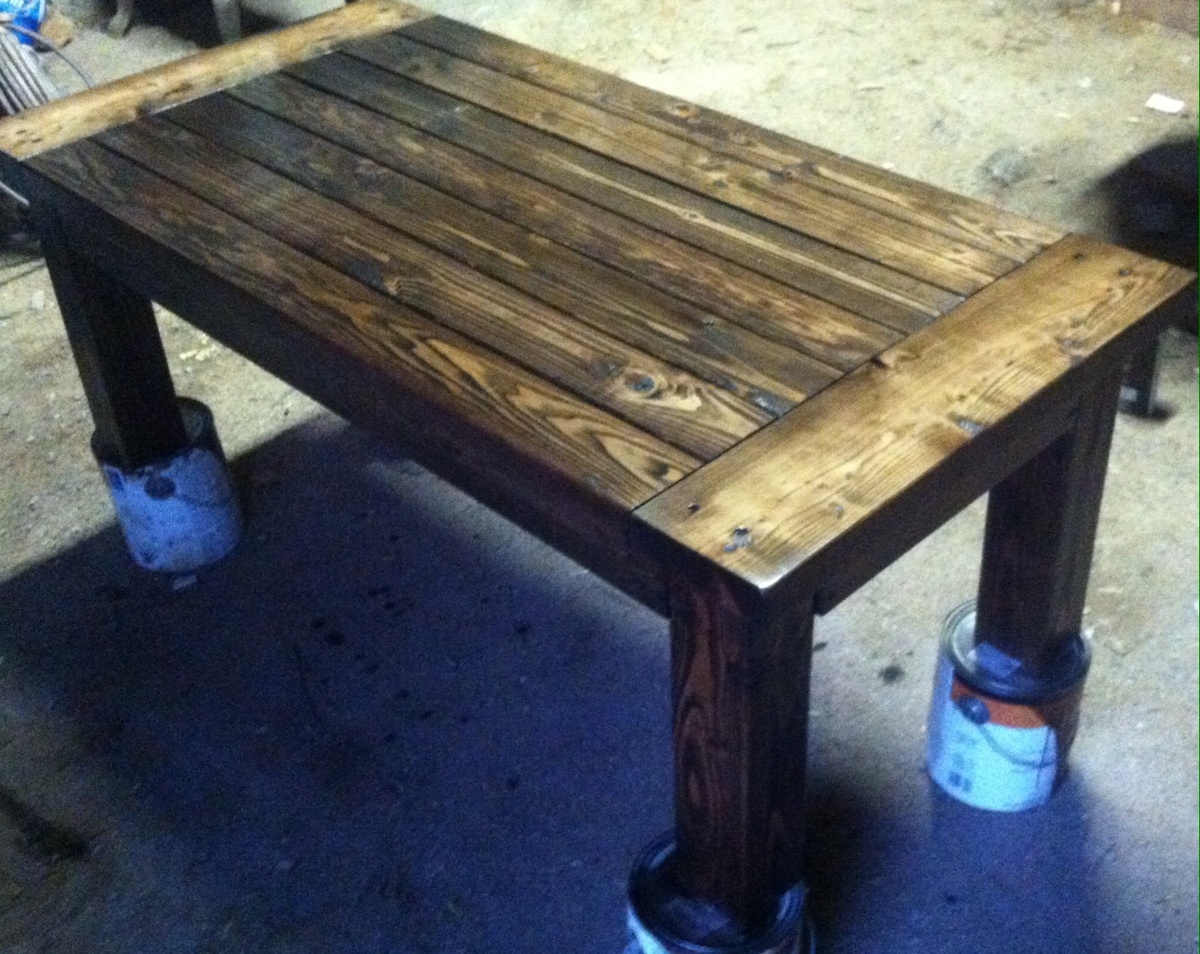
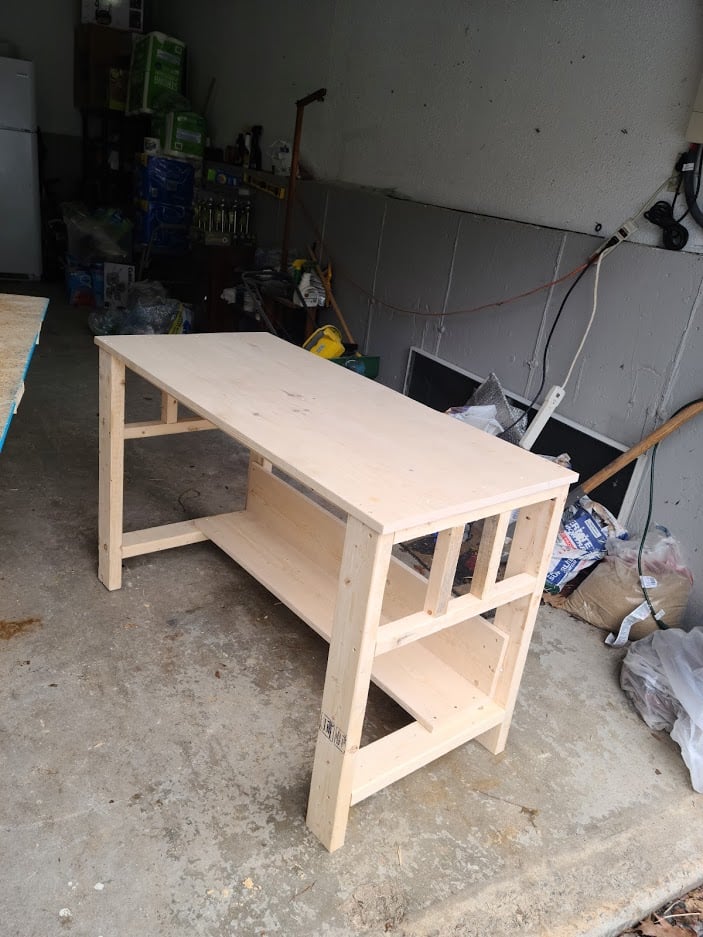
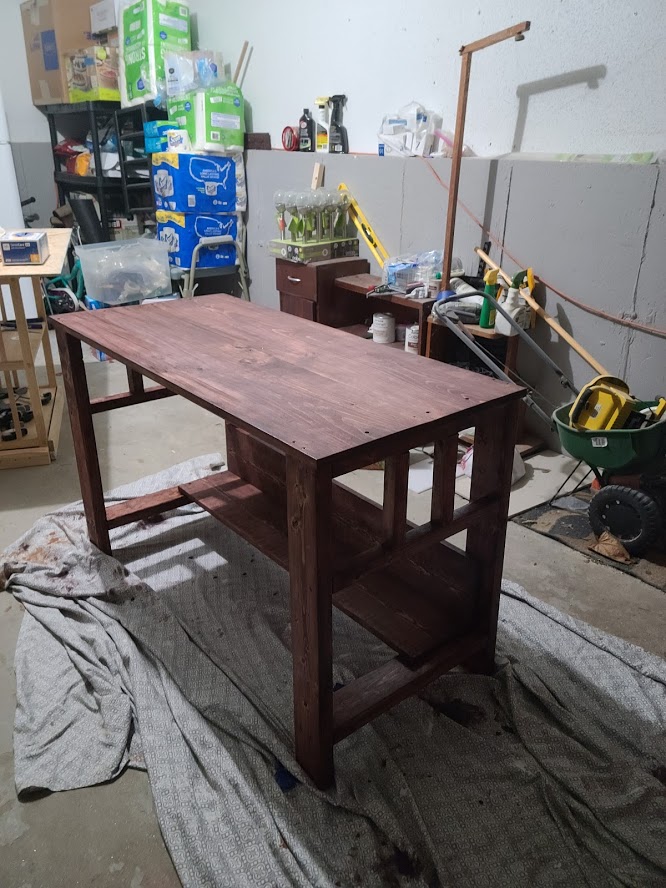
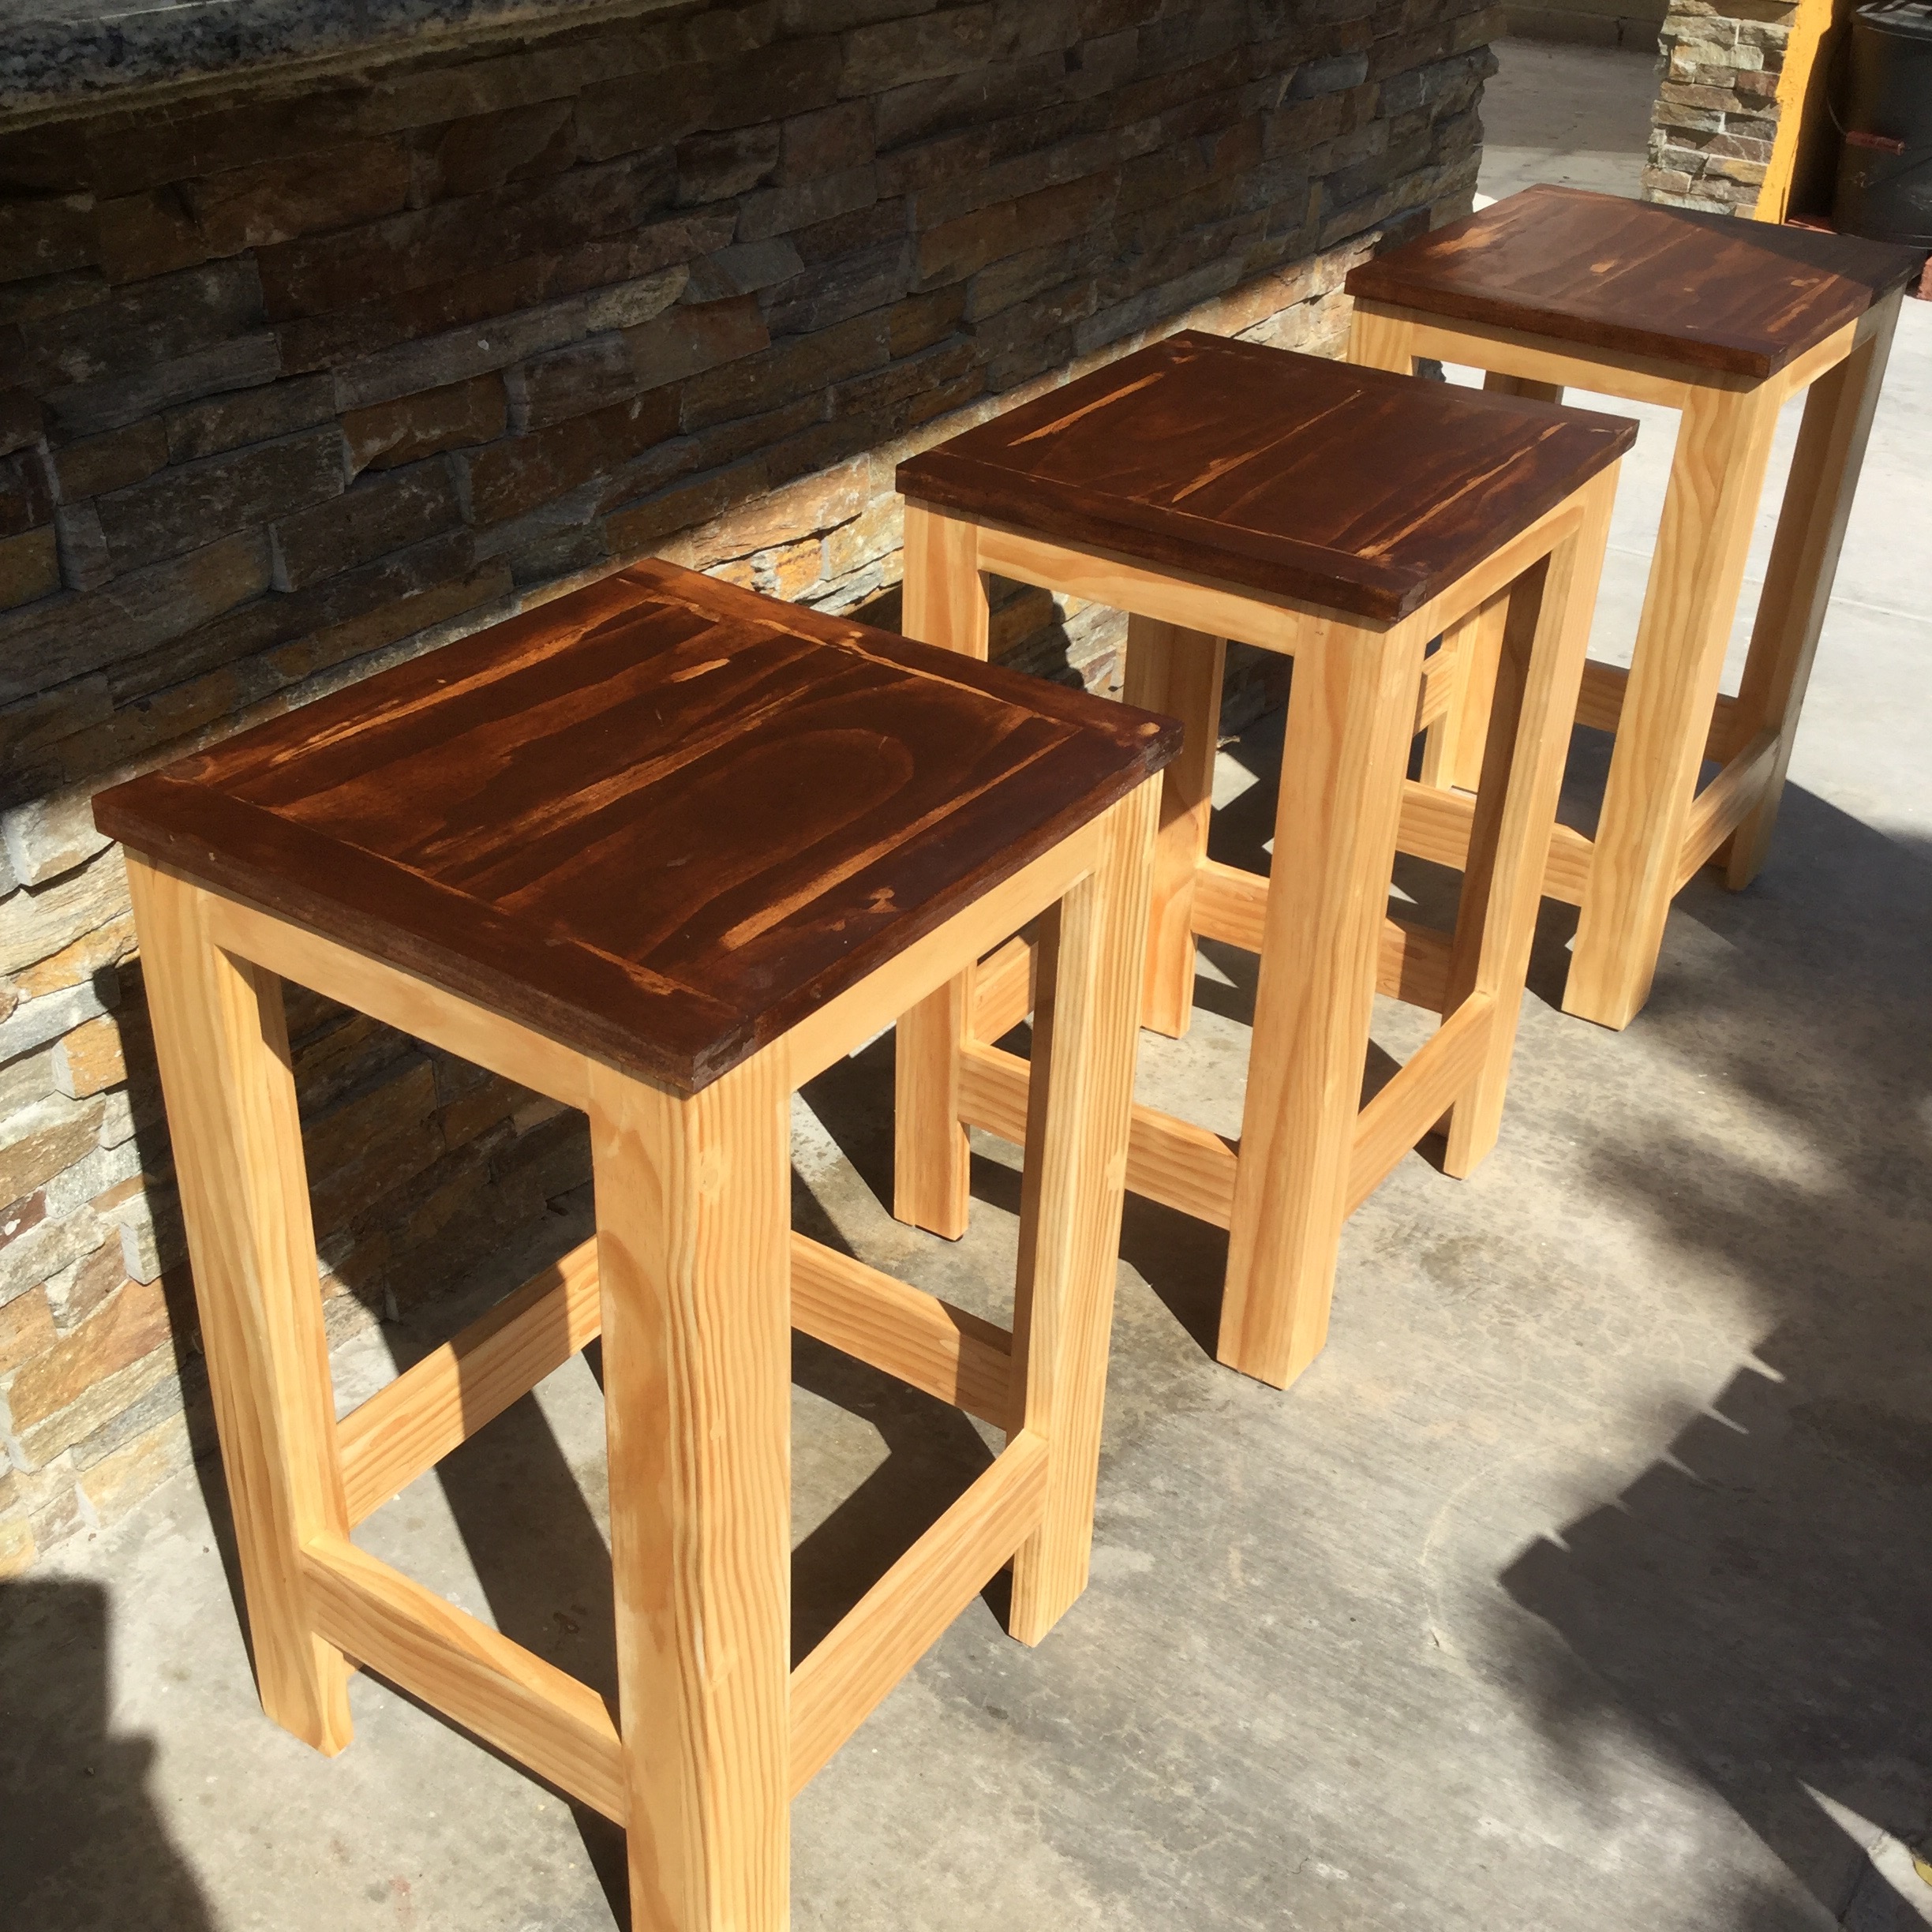
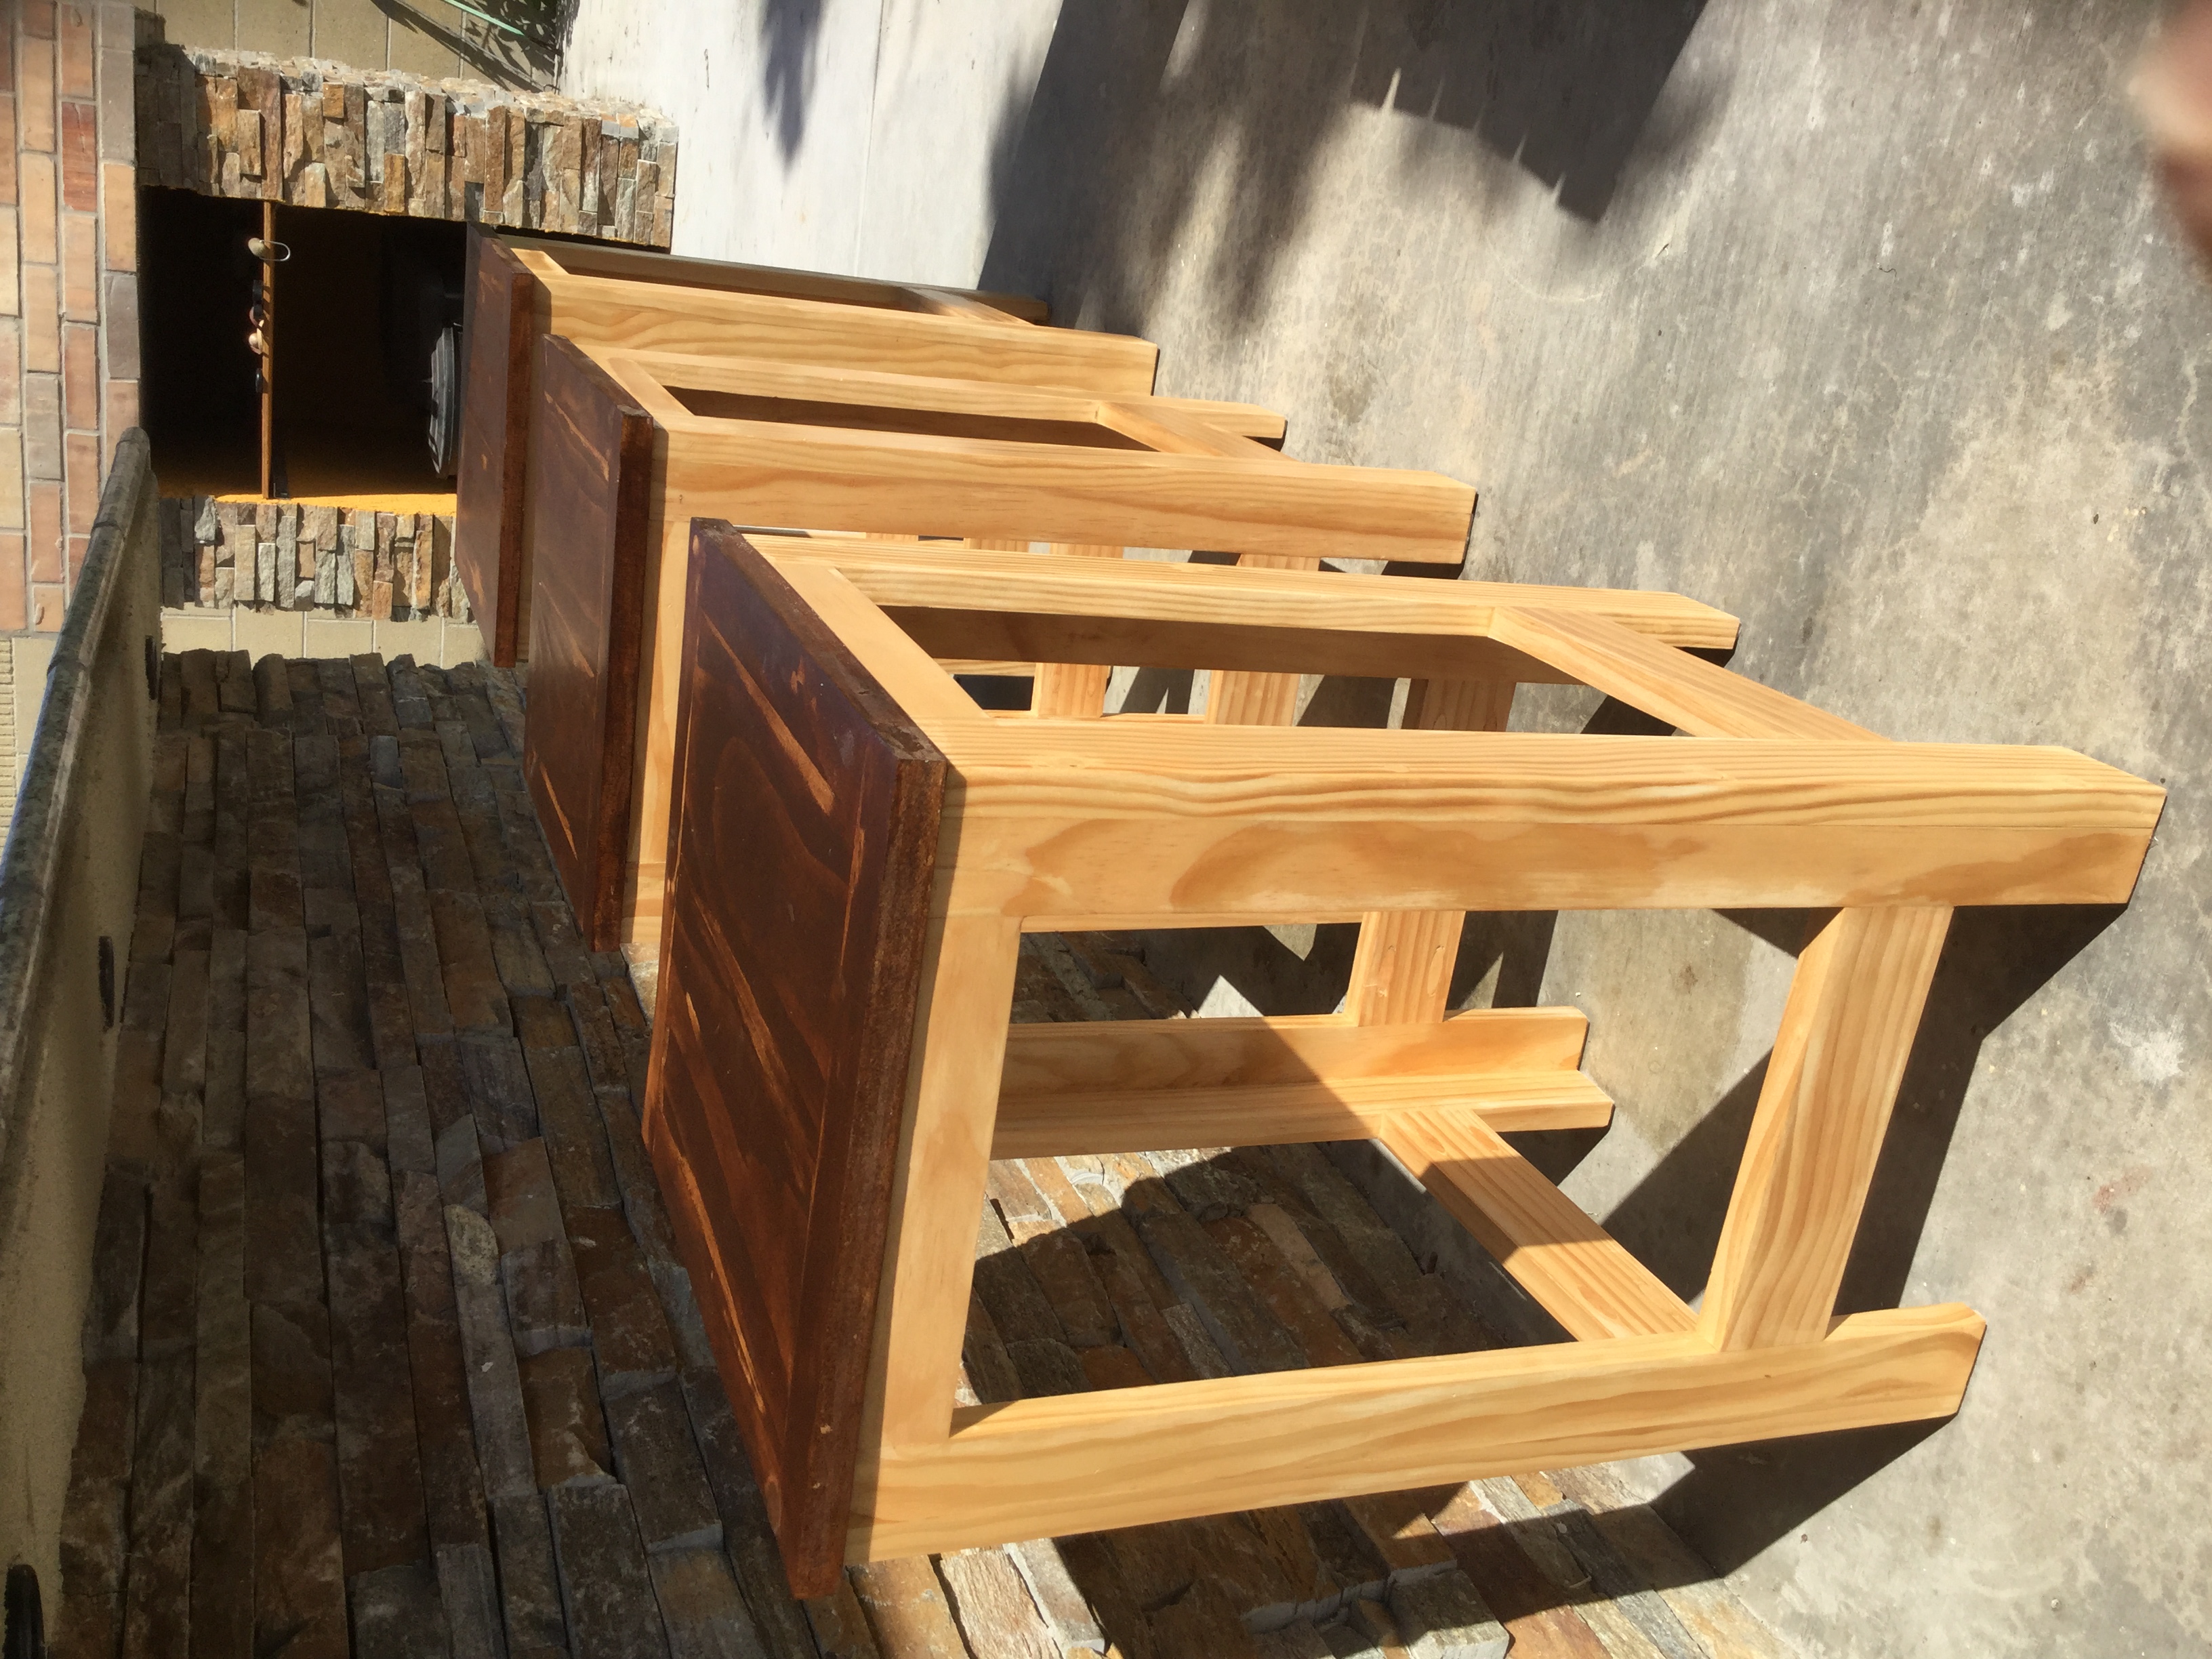
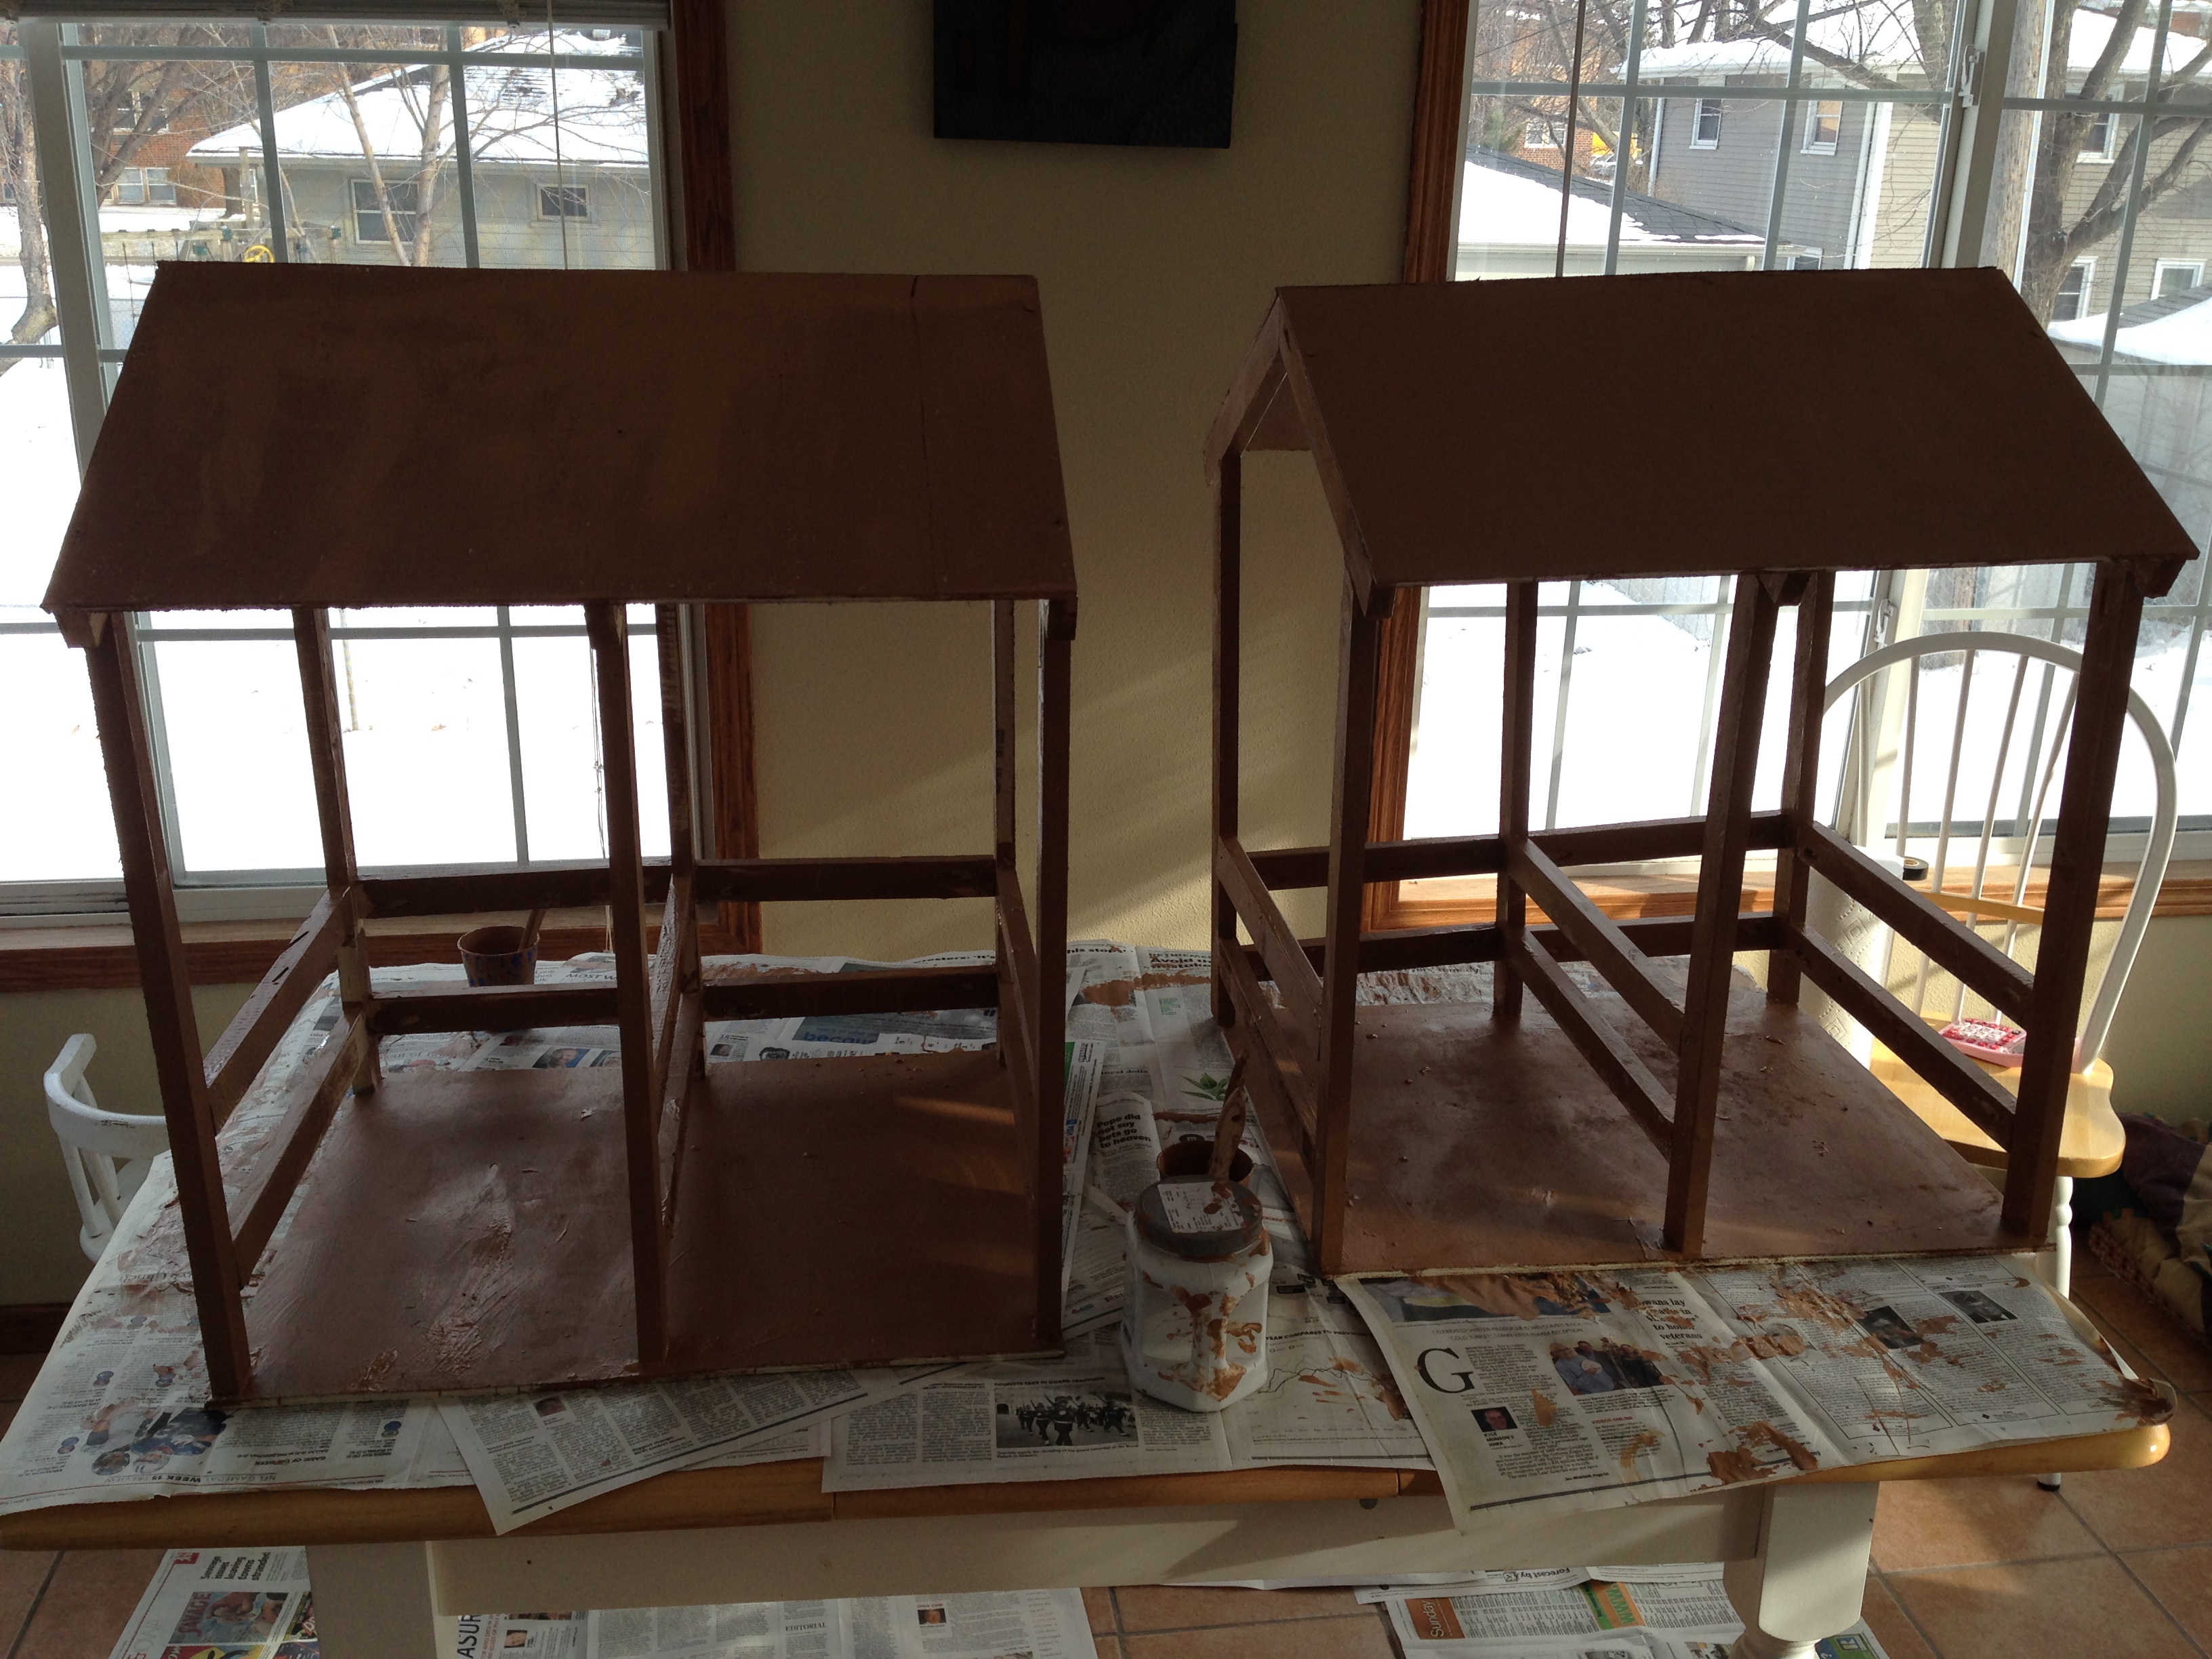
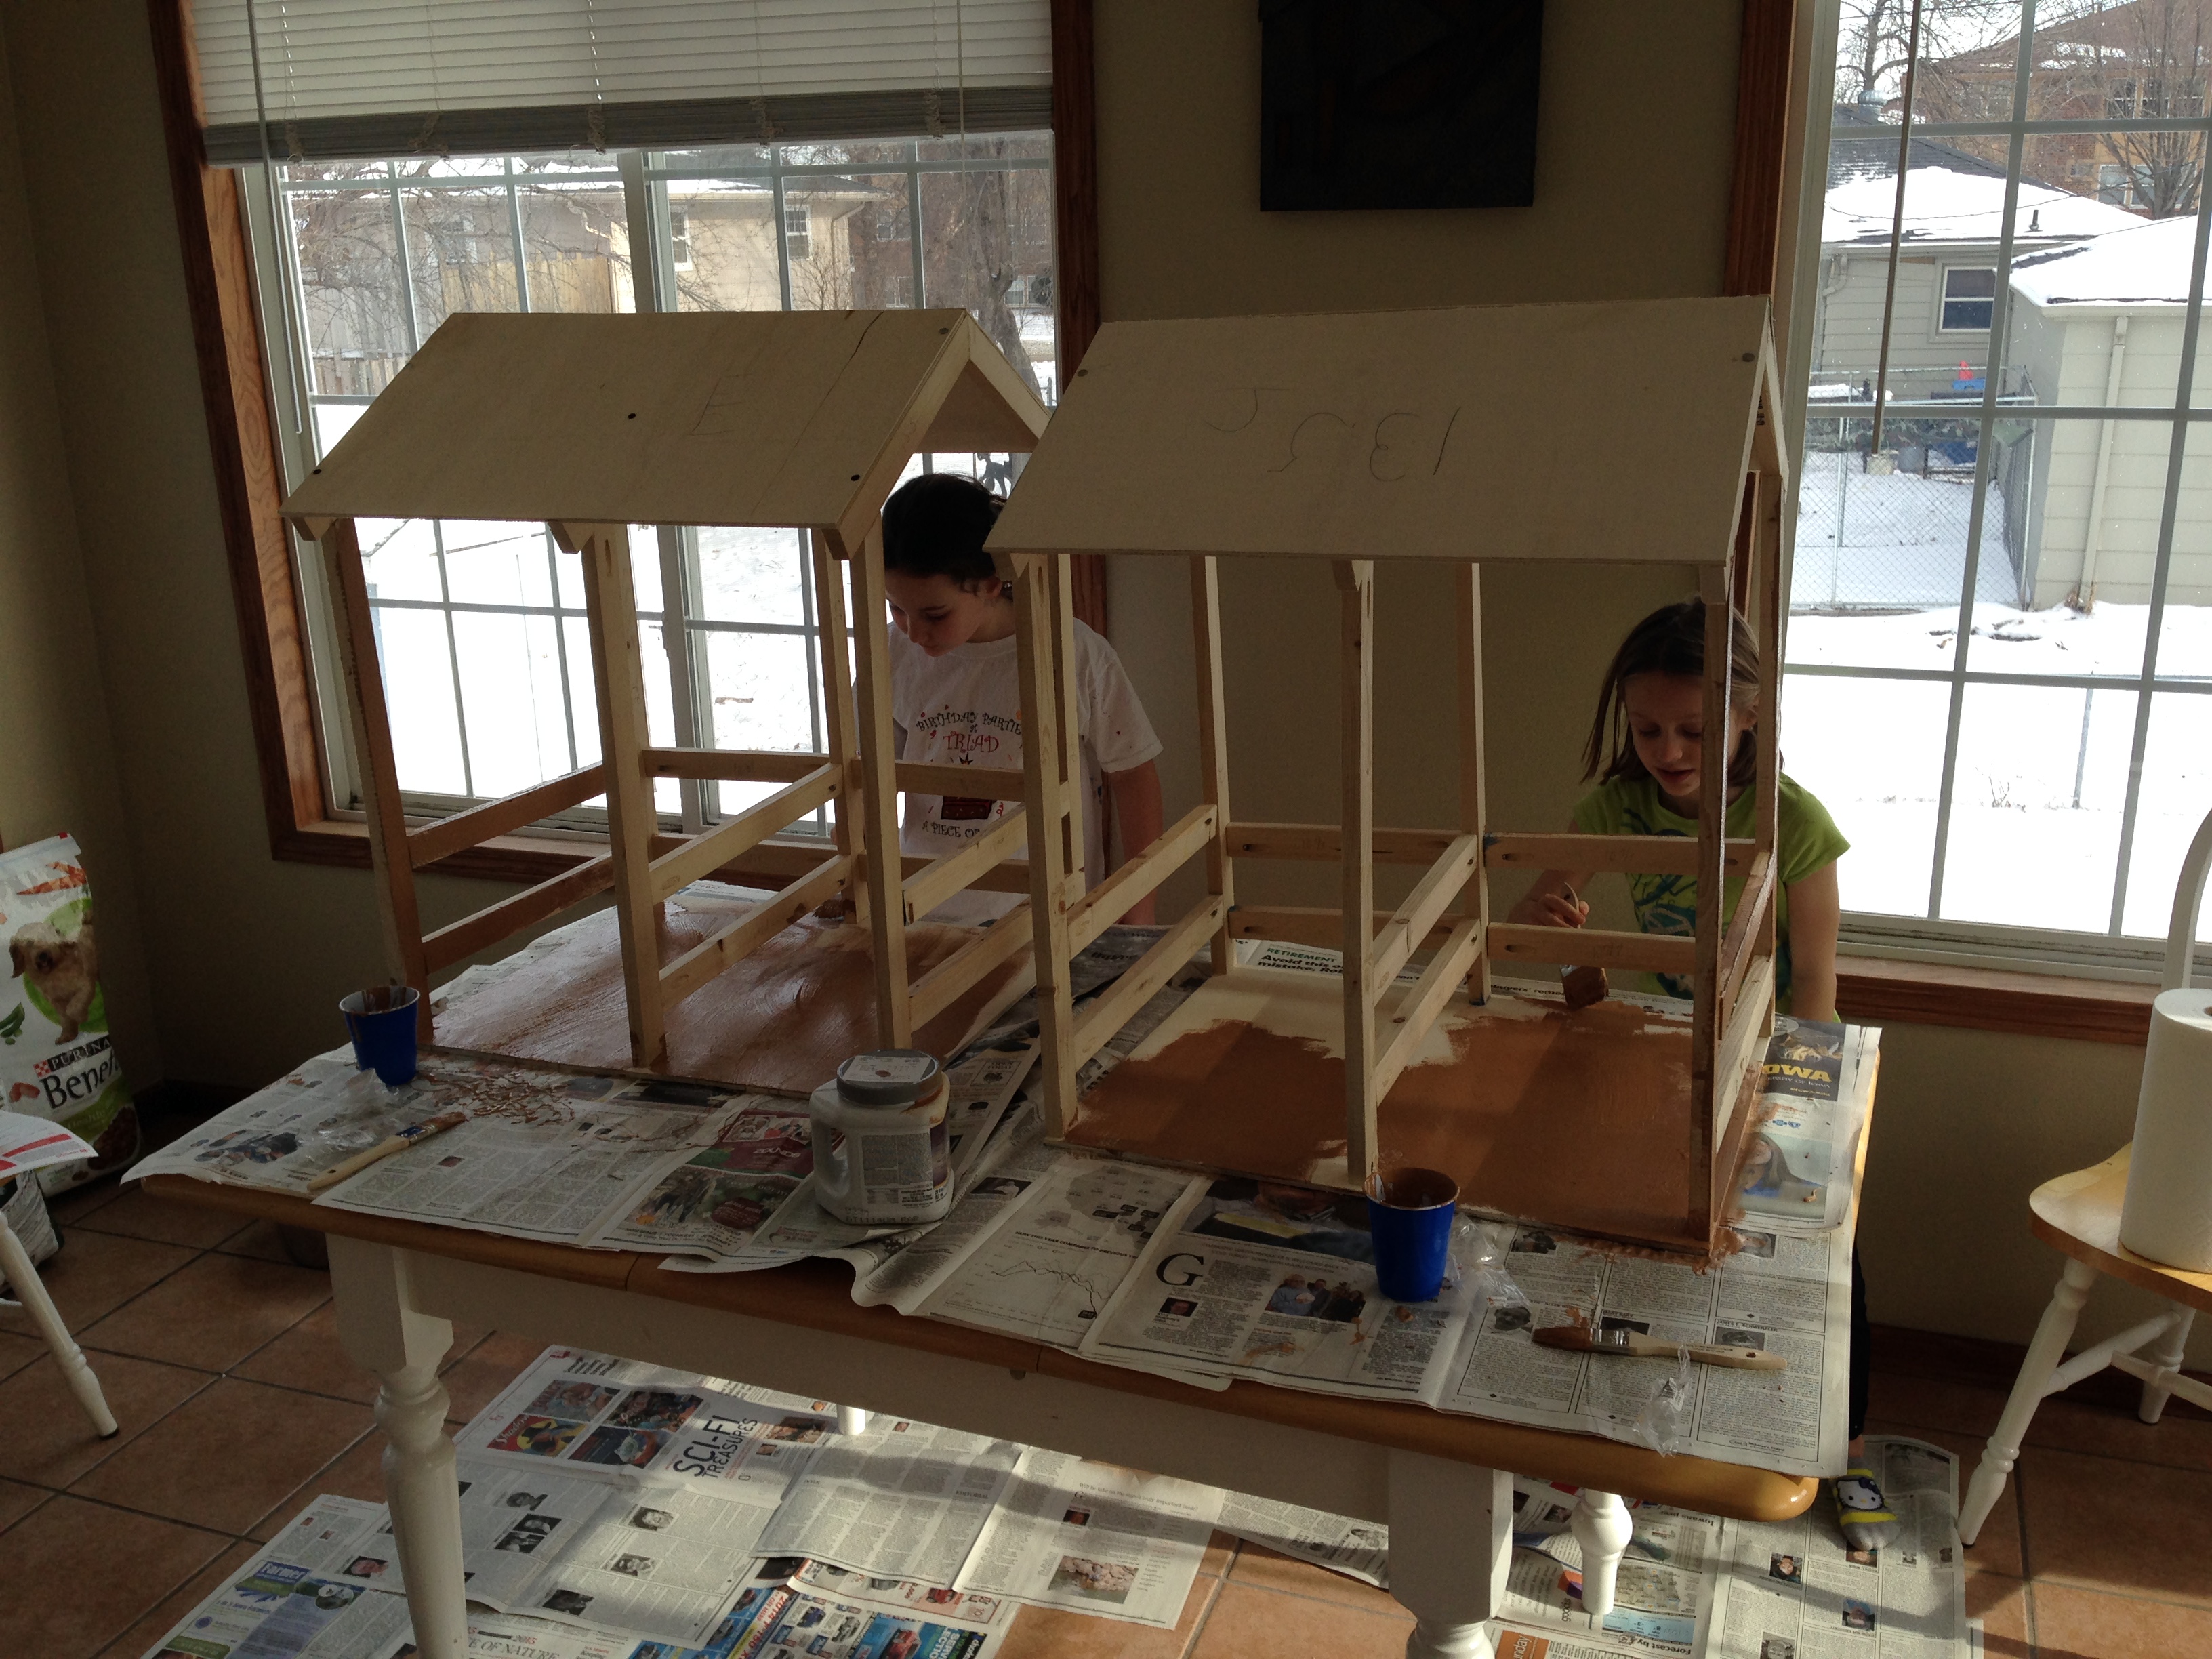
Workbench console
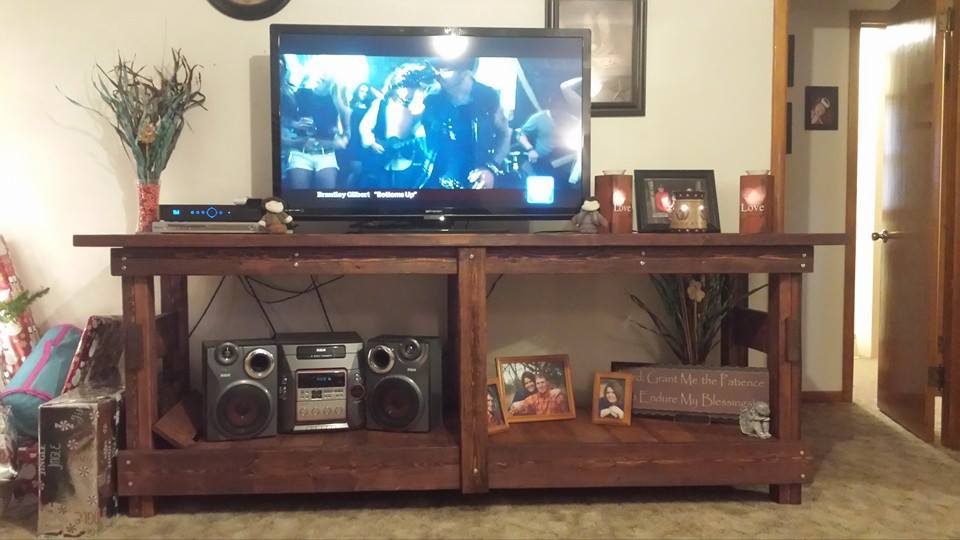
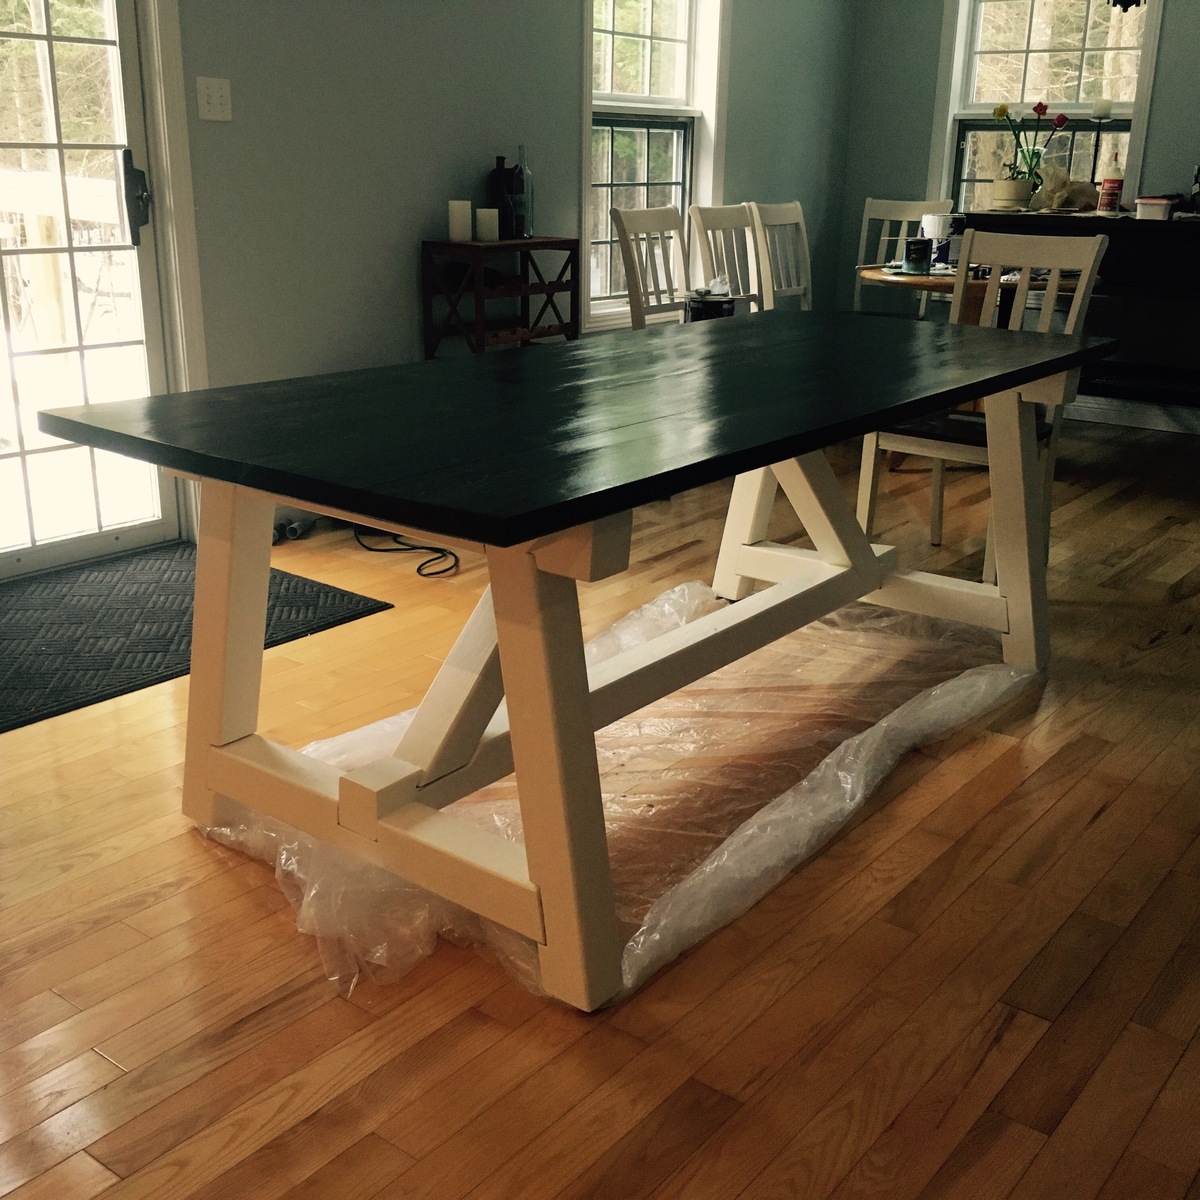
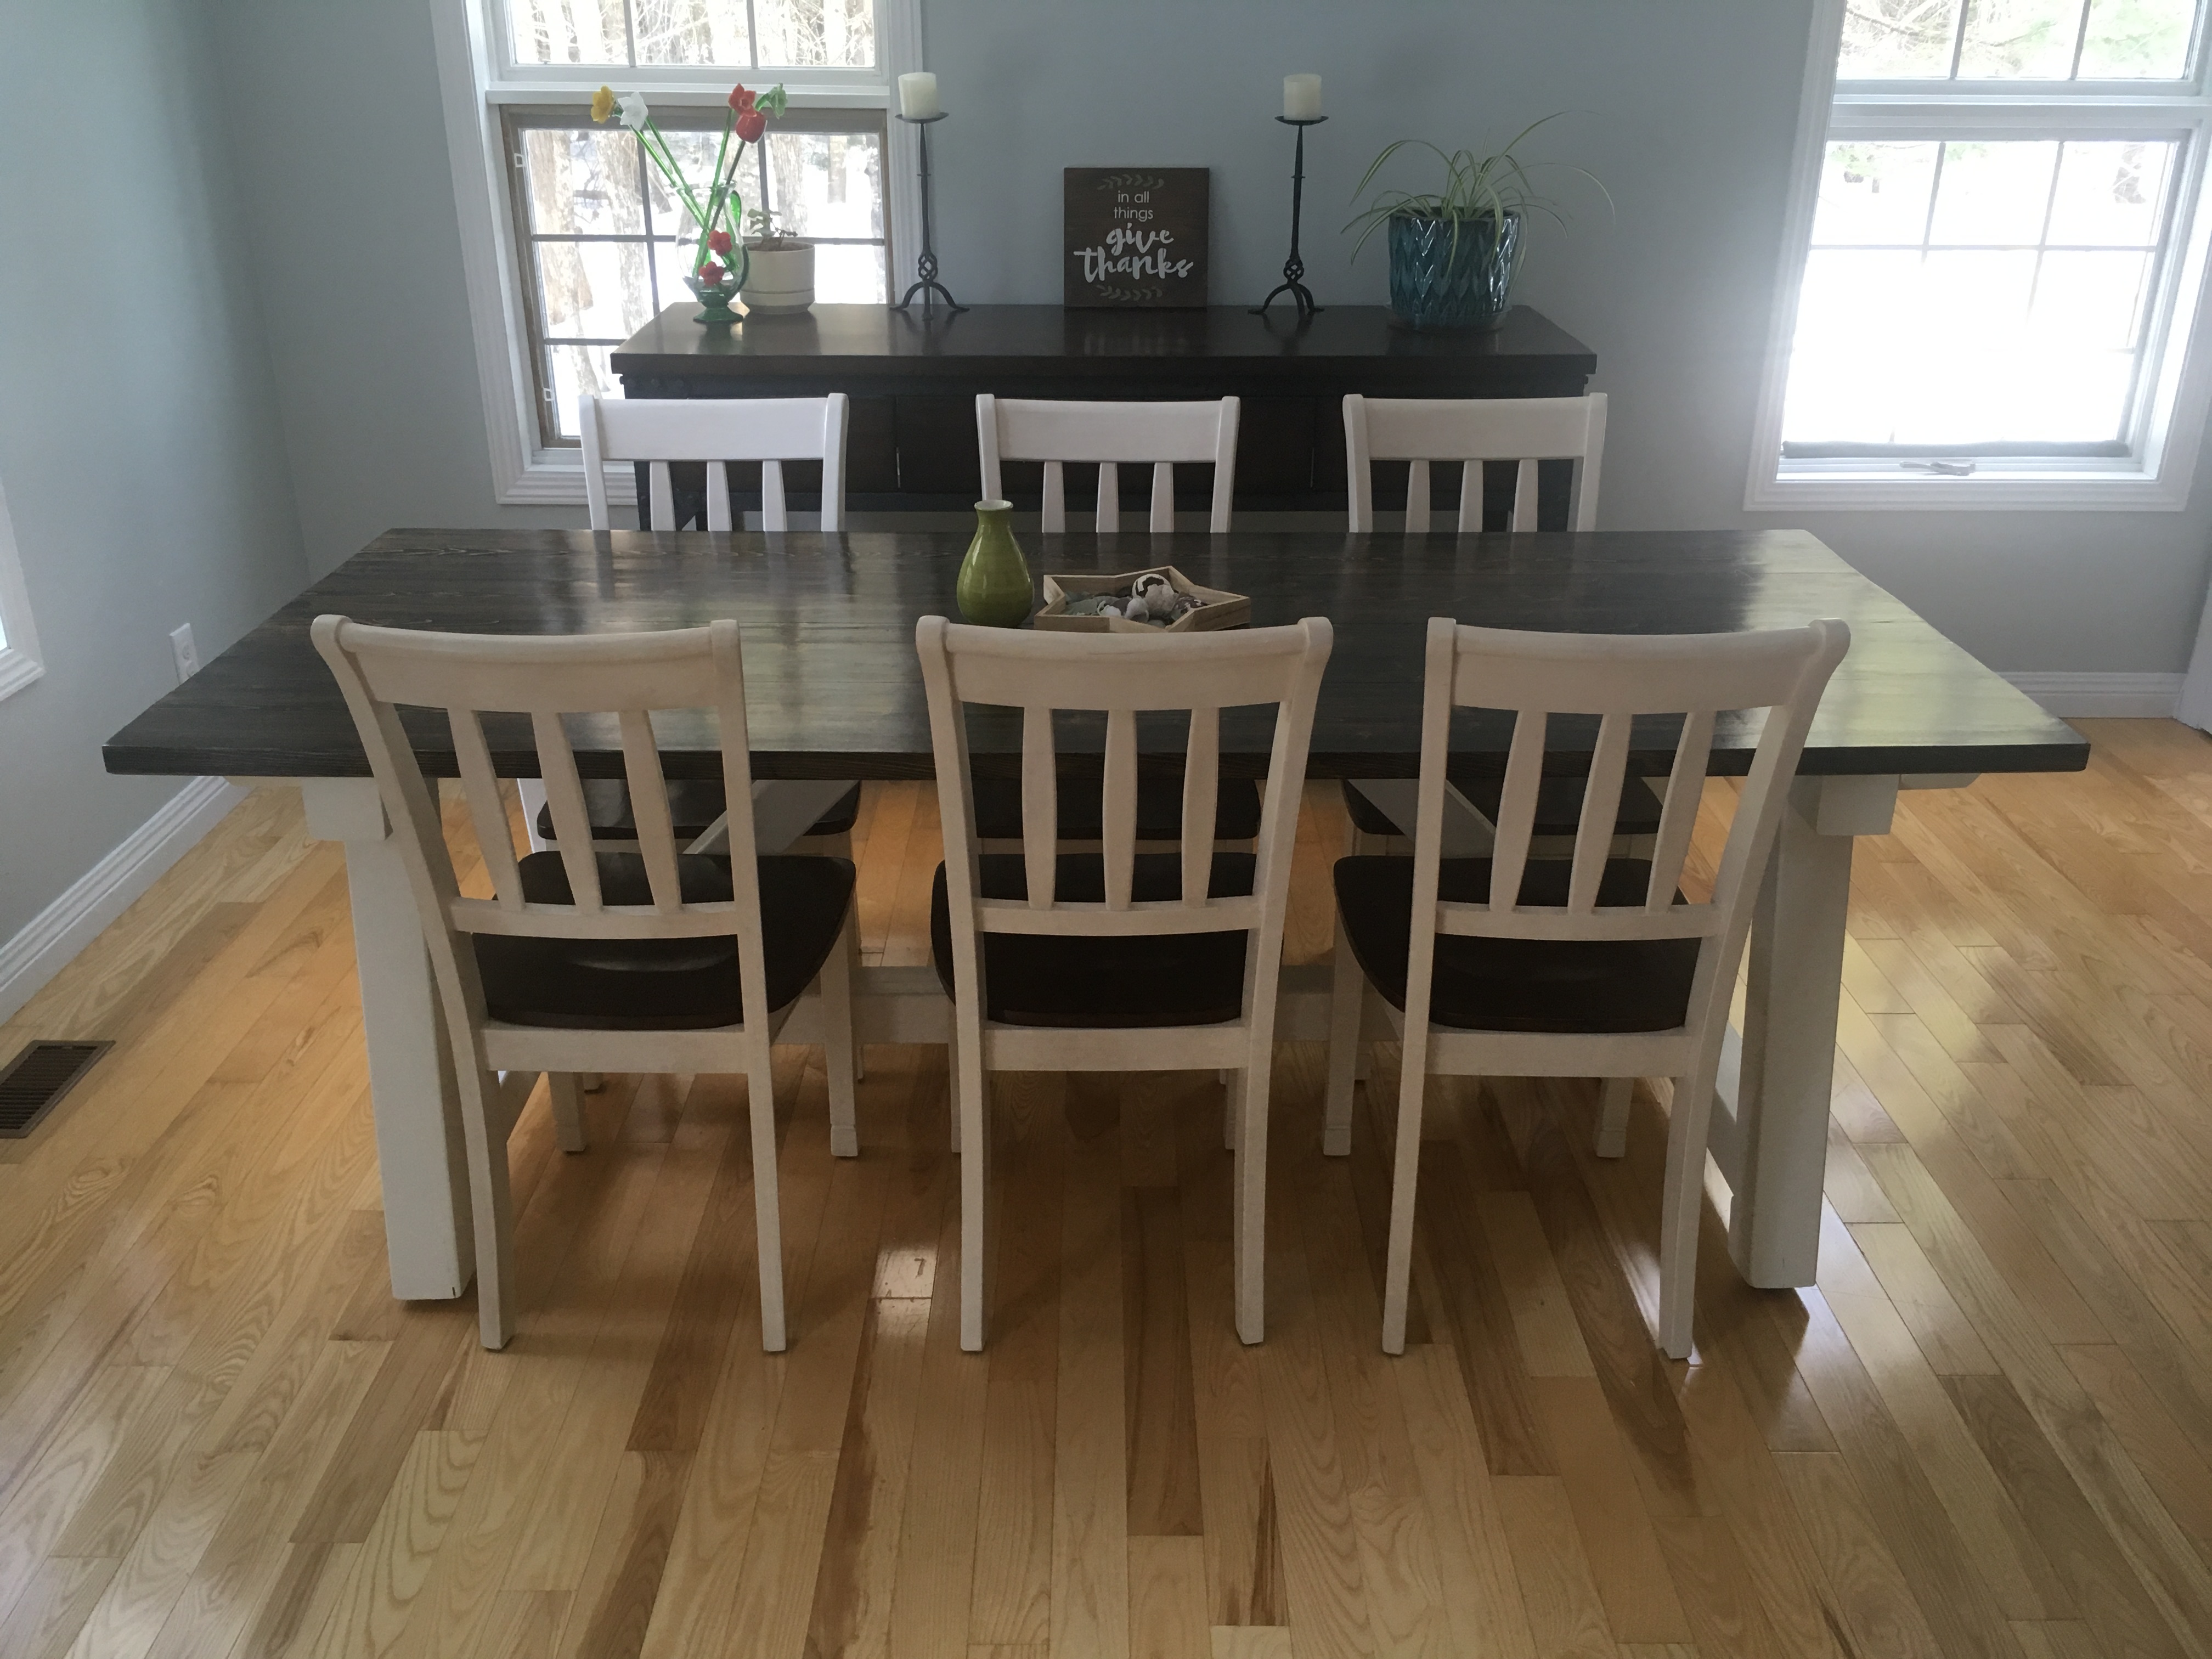
We built this after getting a new tv. We love it.
Built from Plan(s)
Estimated Cost
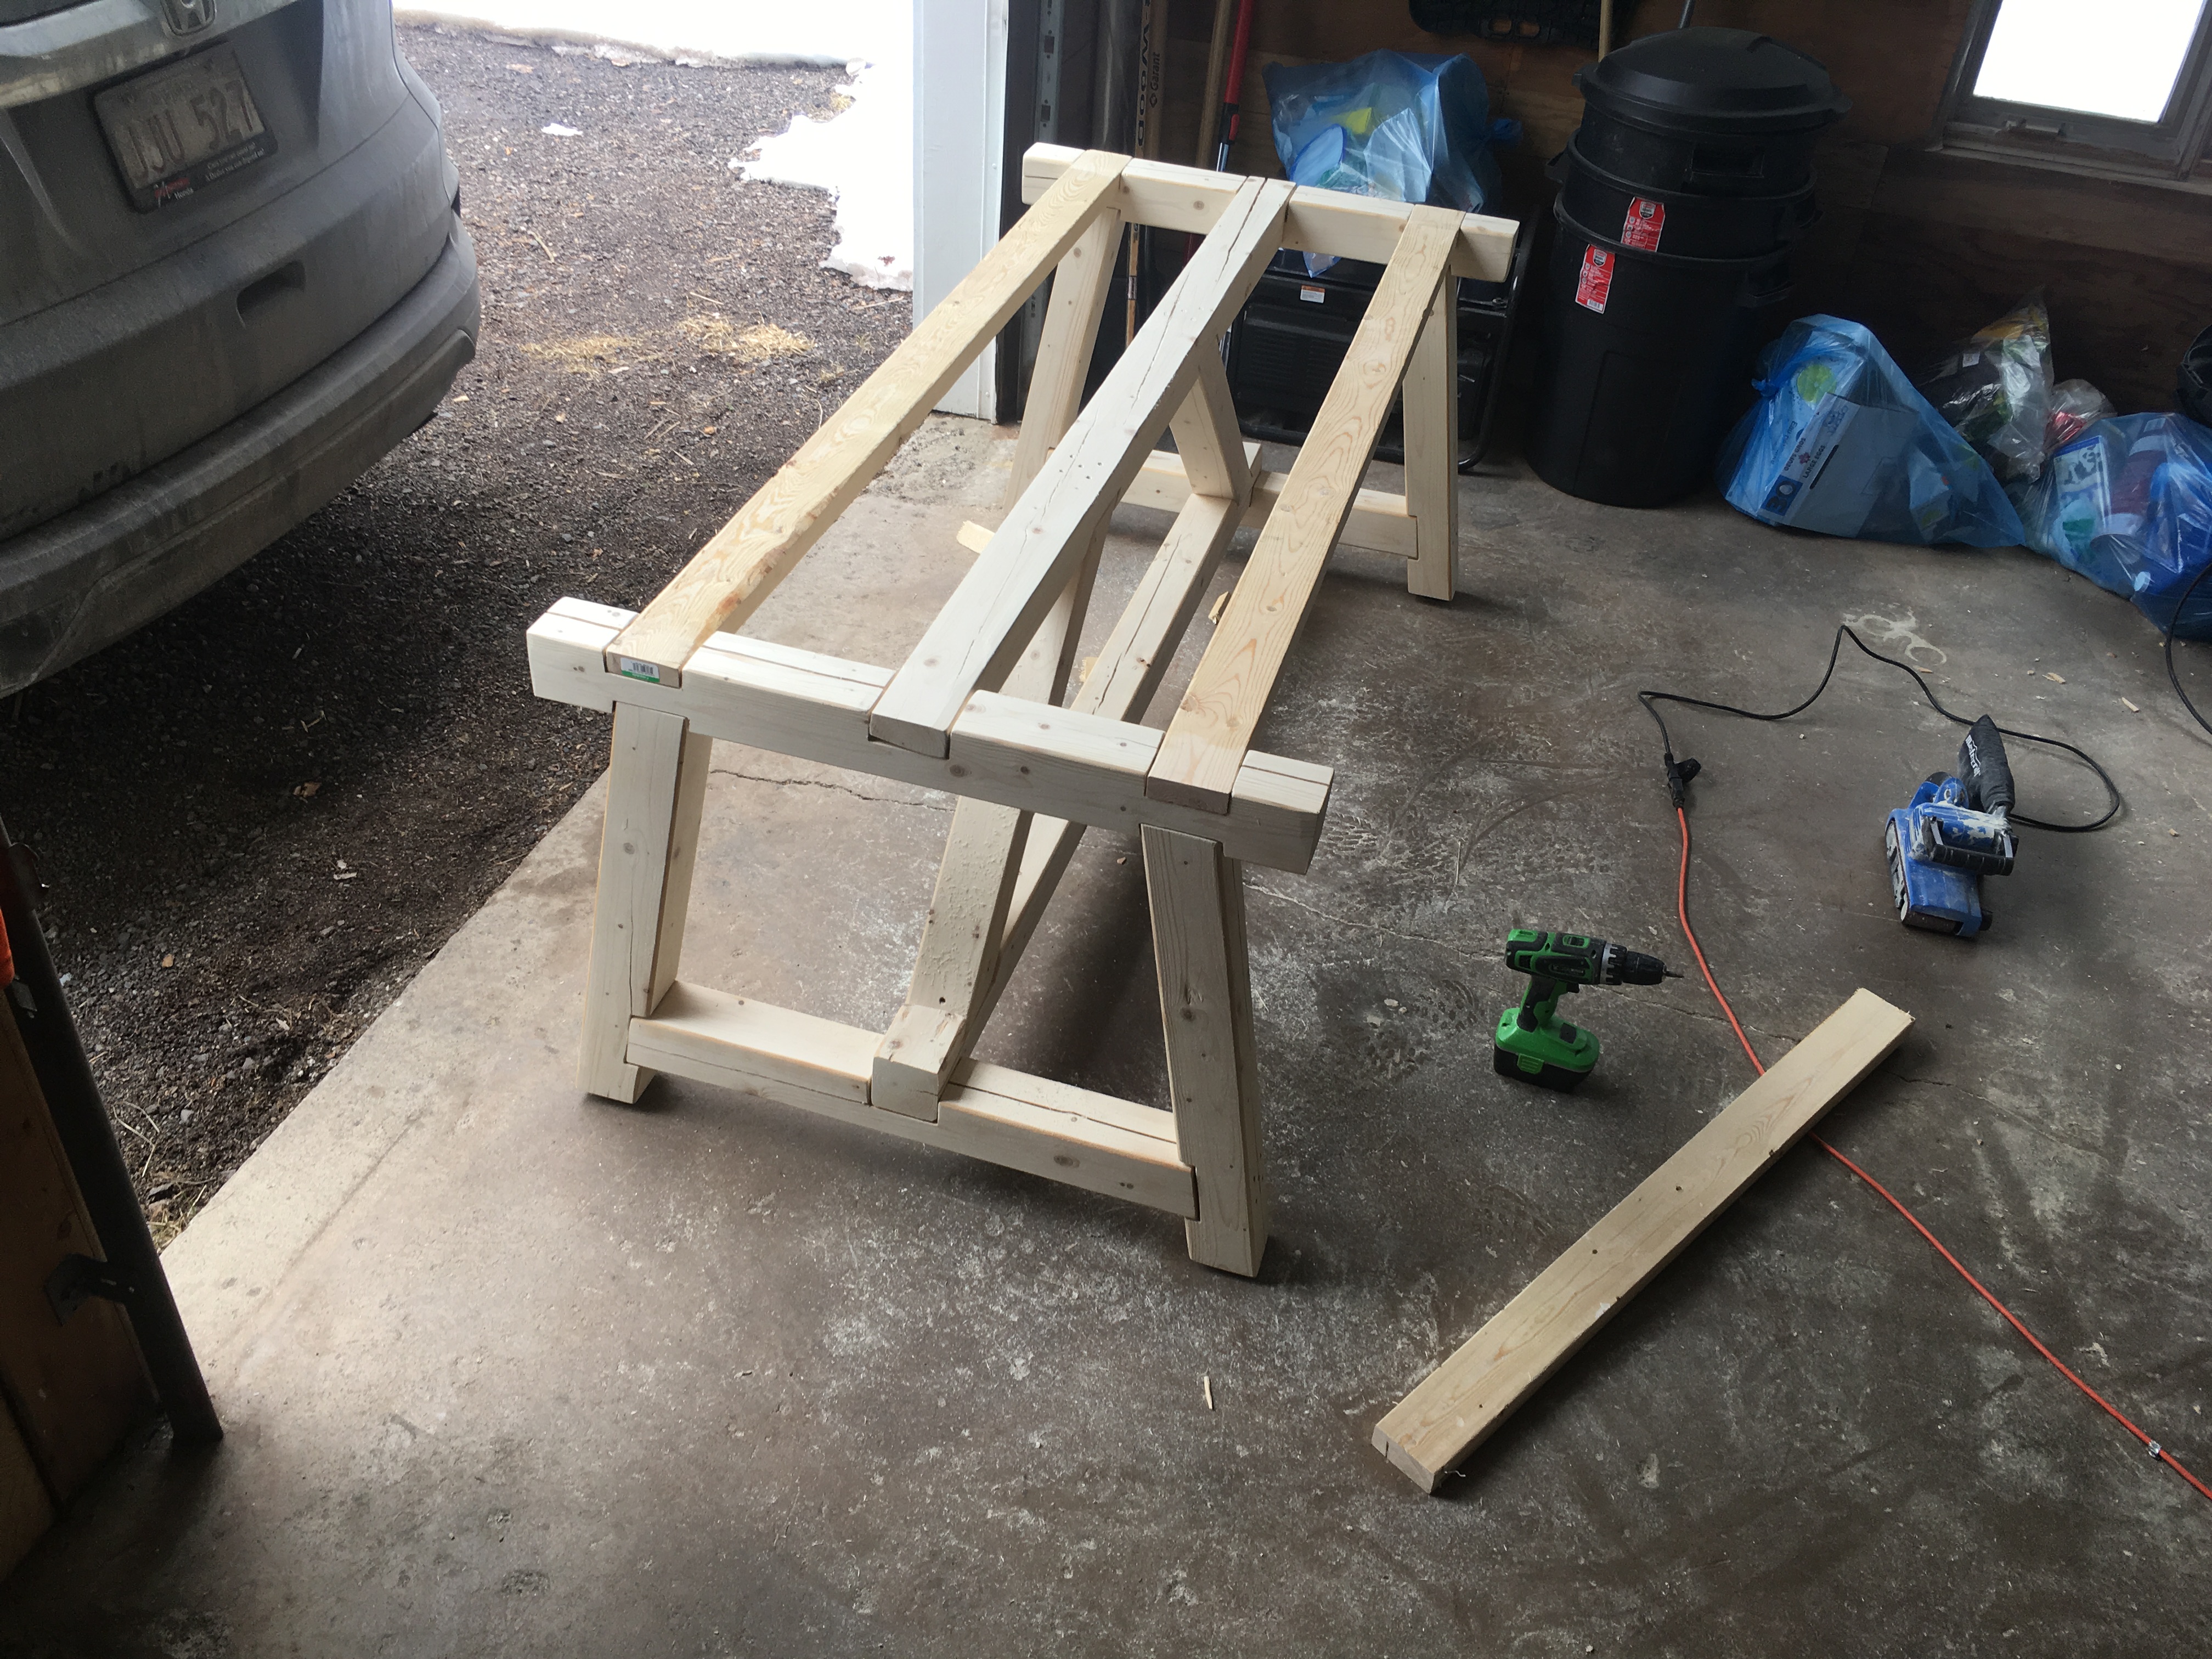
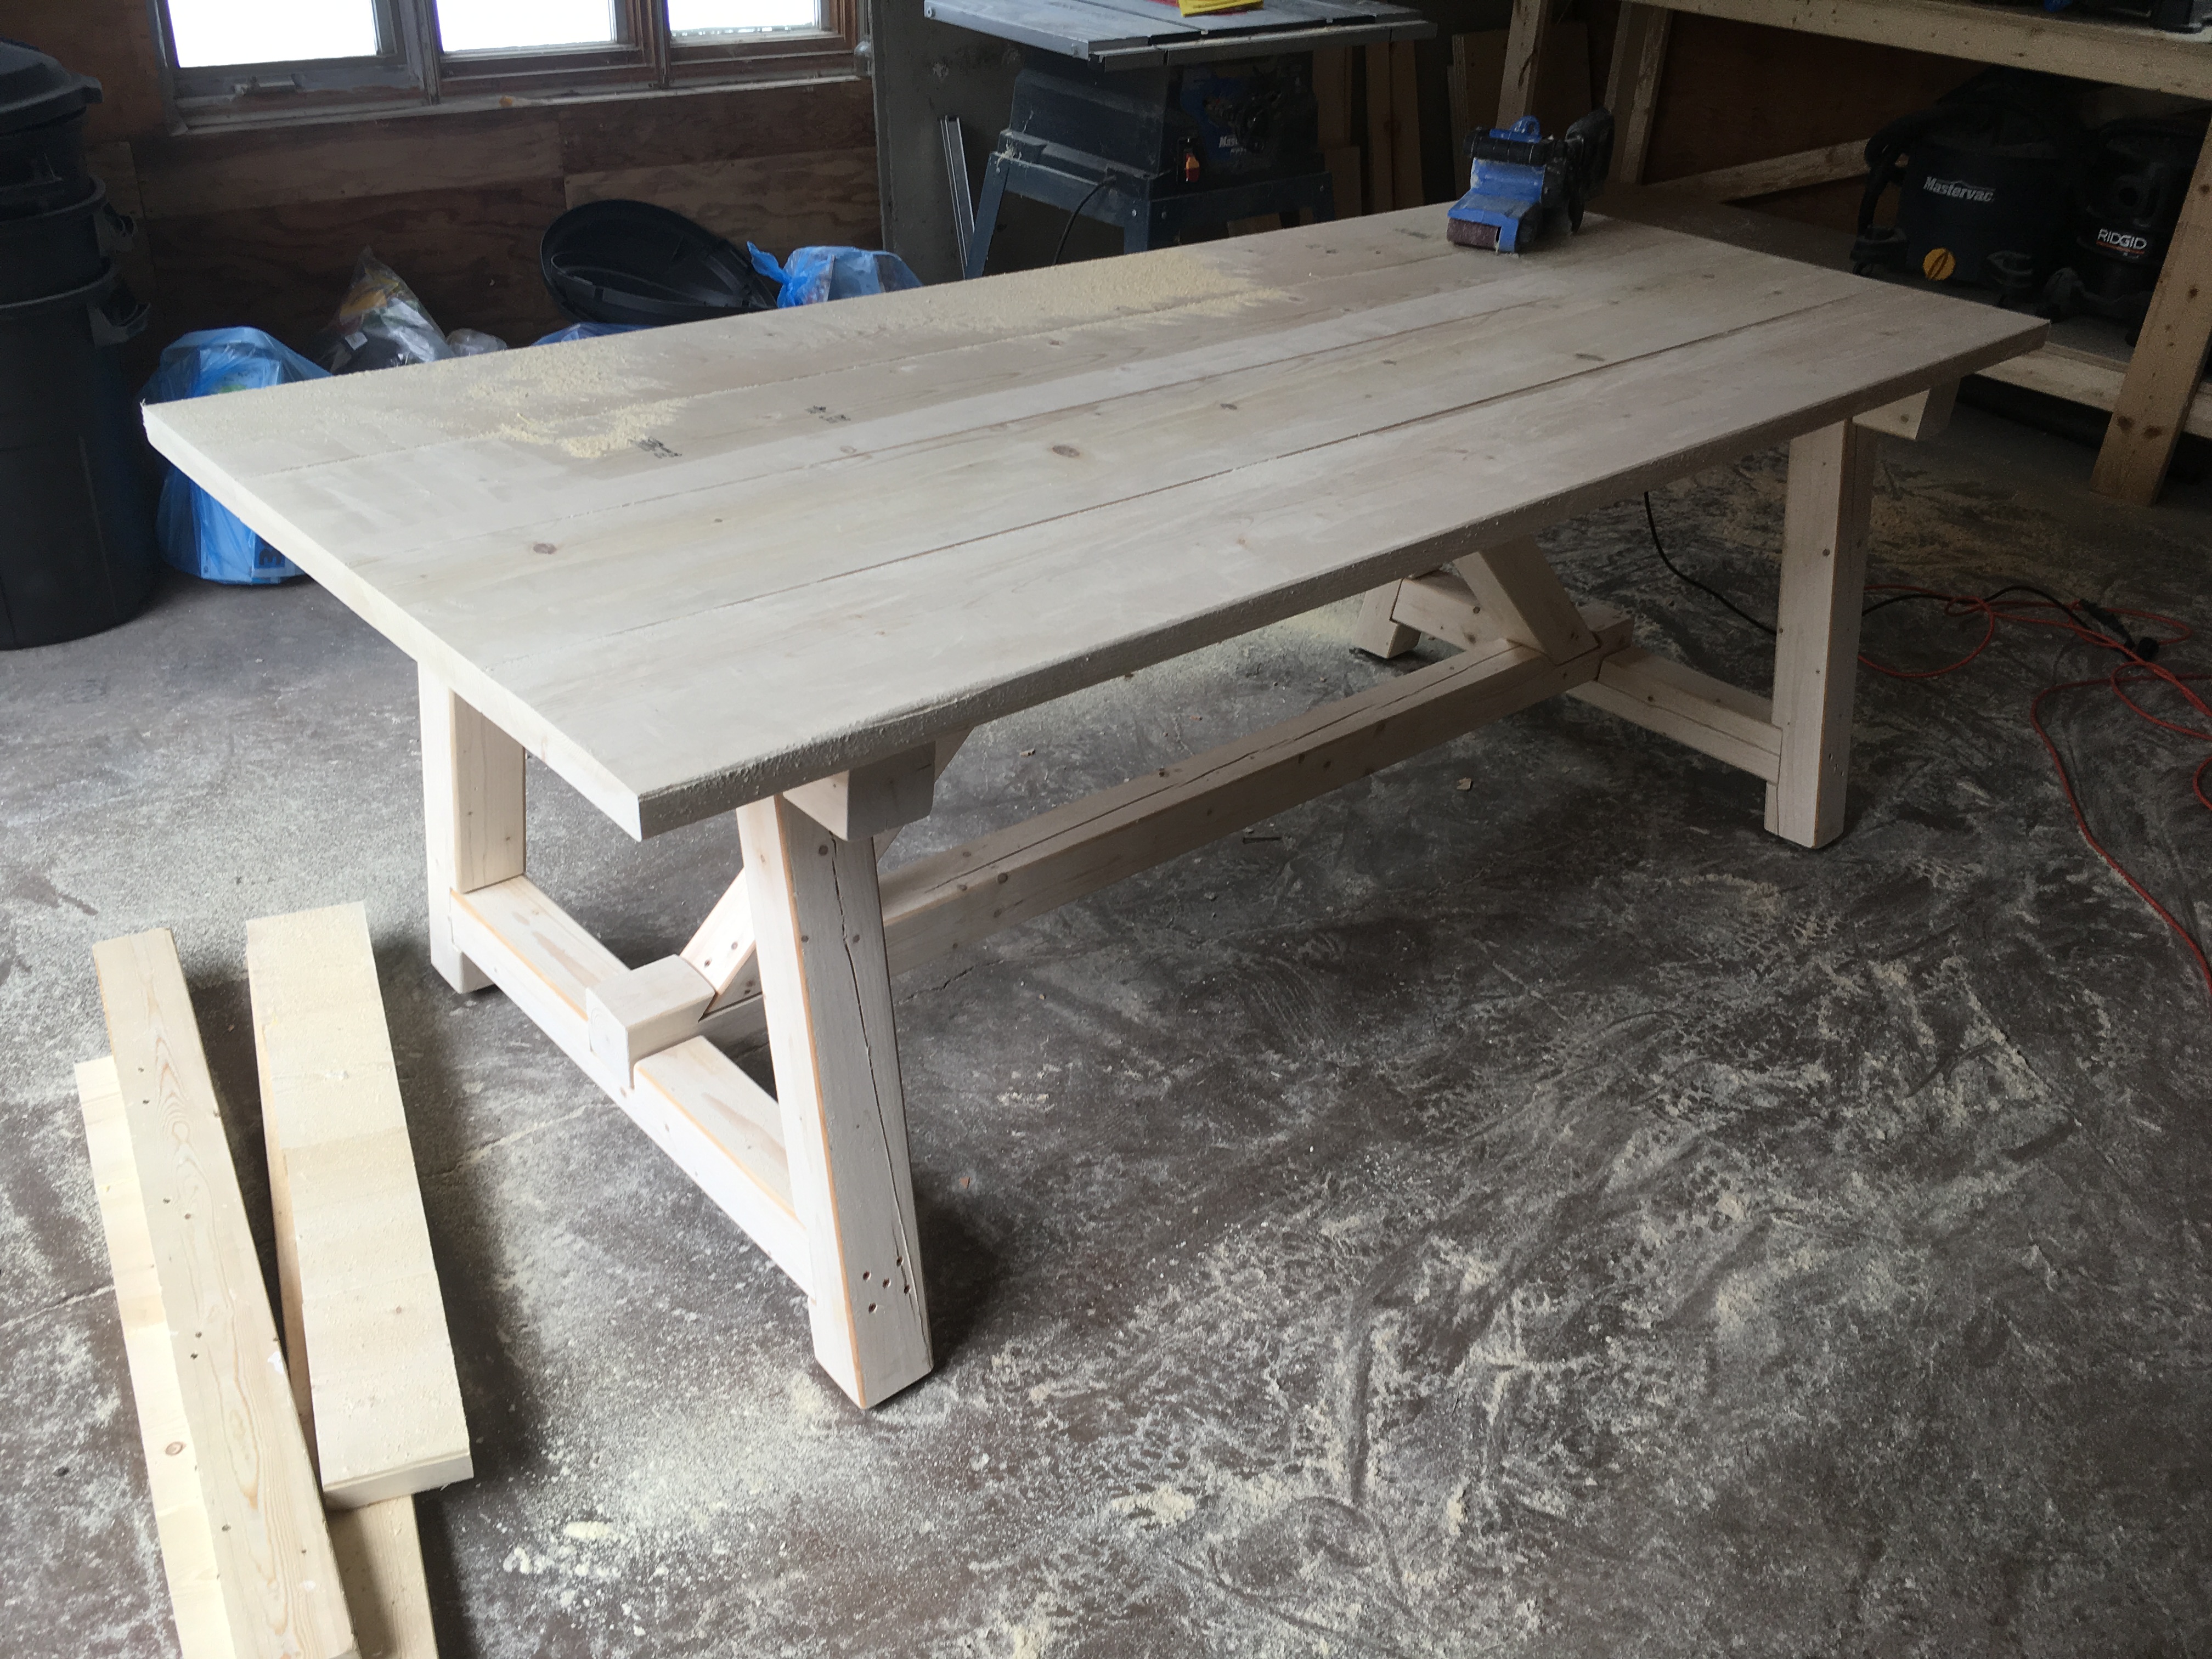
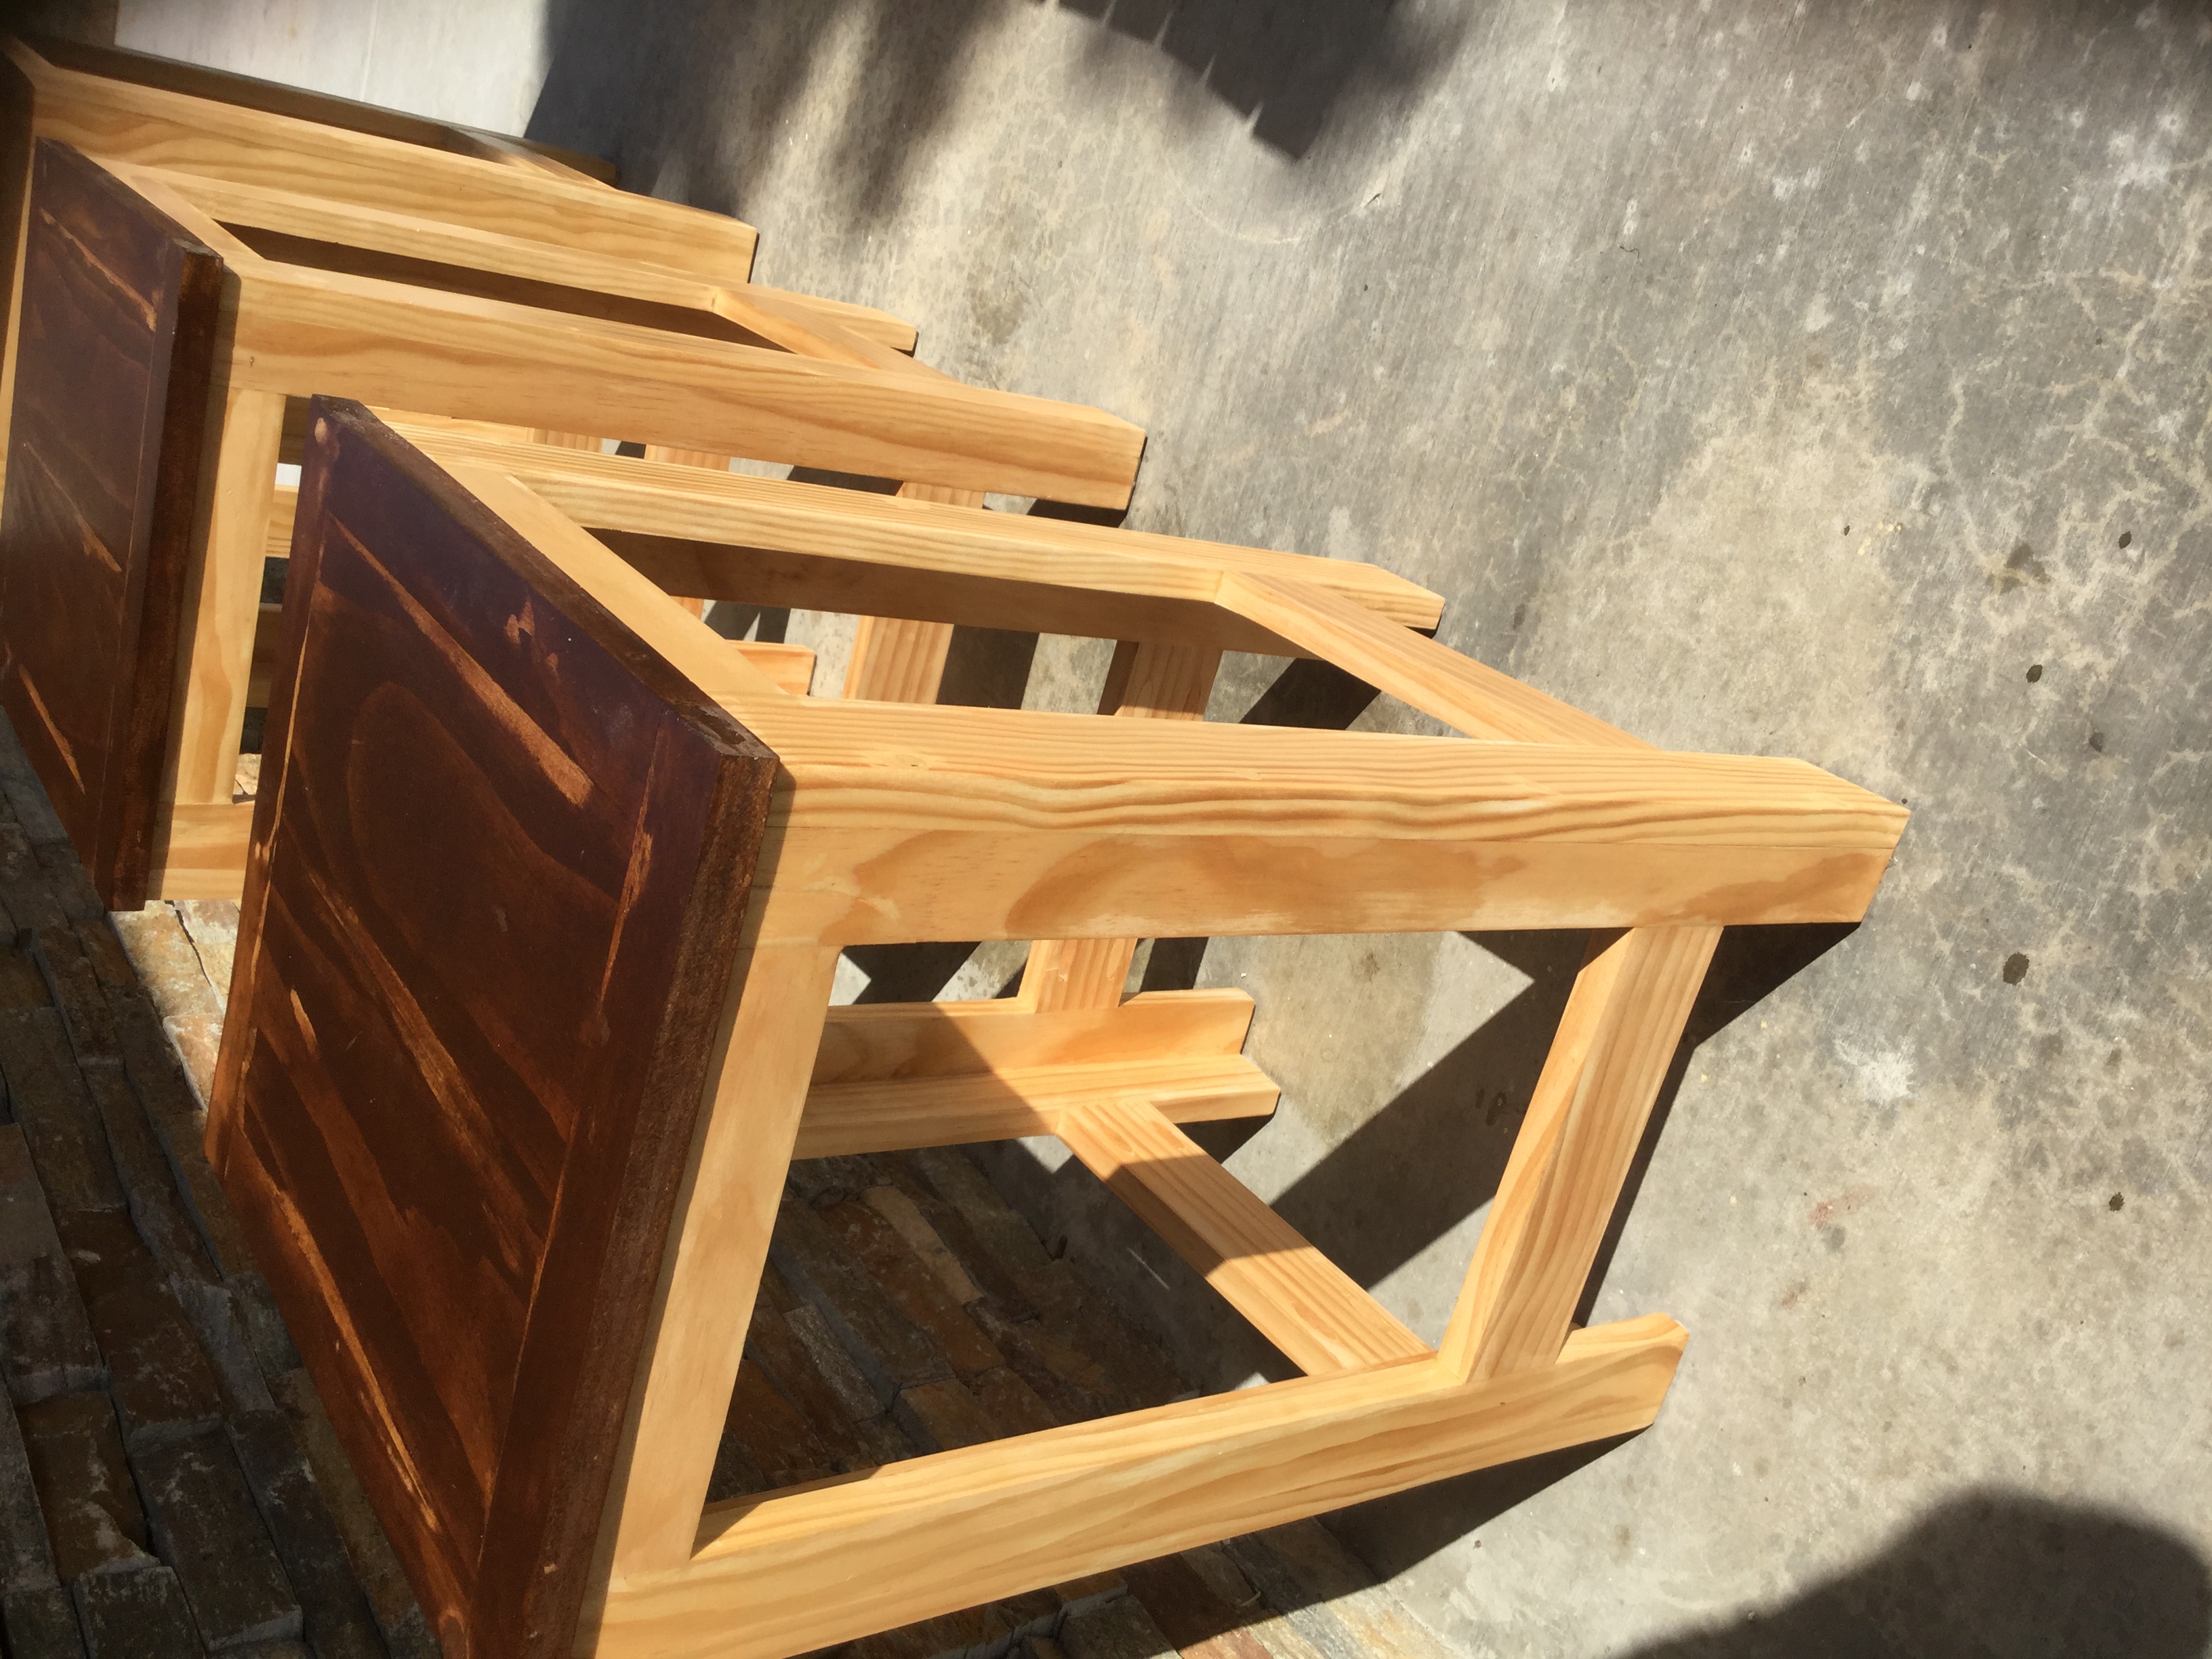
we used standard pine so it probably cost with stain around $90 to build. Took longer to stain and sand than anything.
Estimated Time Investment
Weekend Project (10-20 Hours)
Finish Used
oak stain
Recommended Skill Level
Intermediate