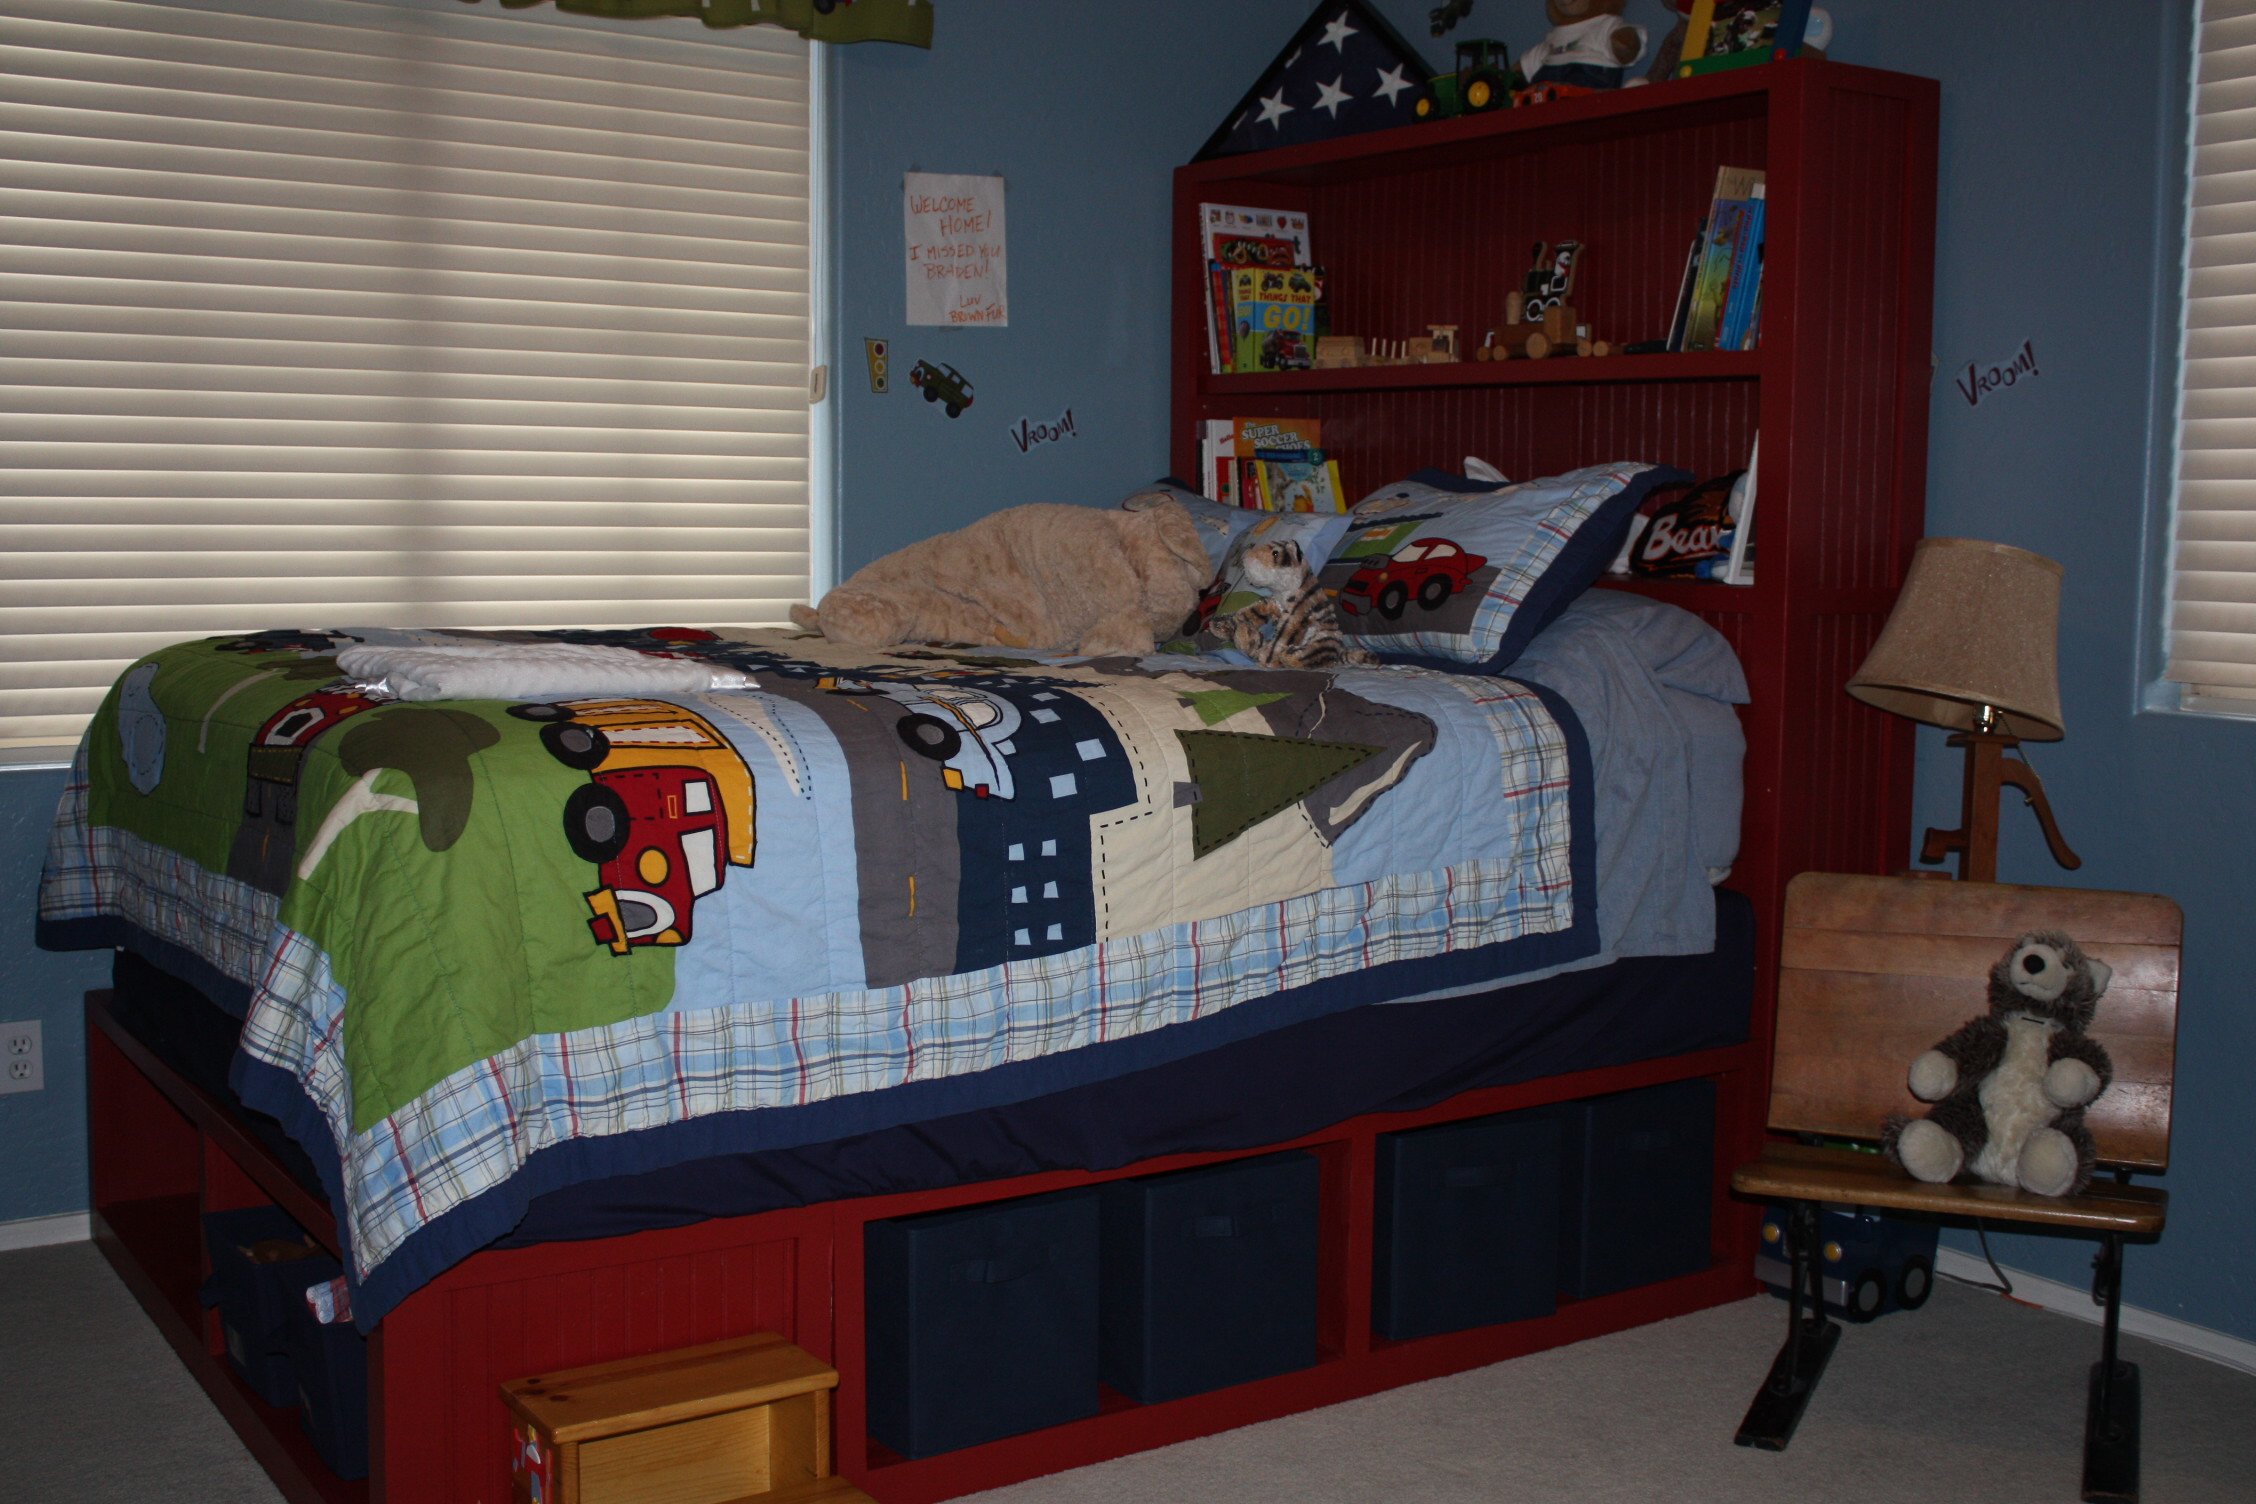
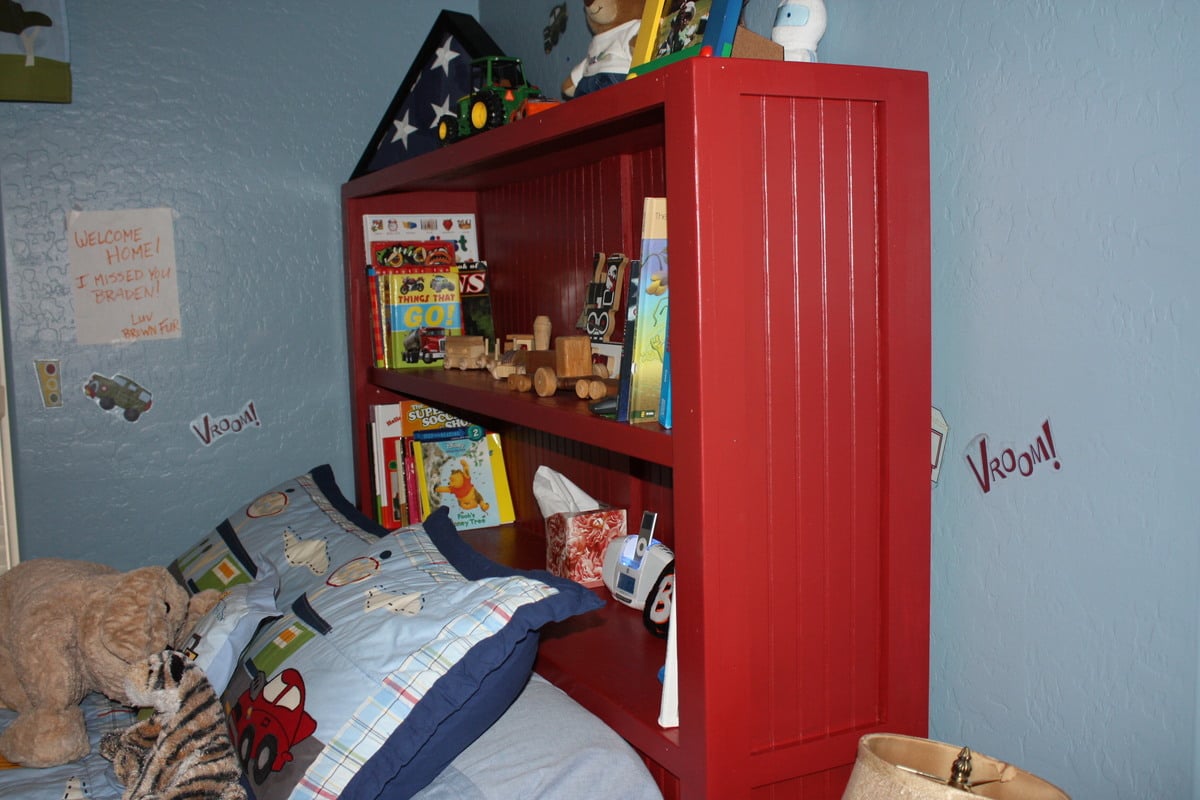
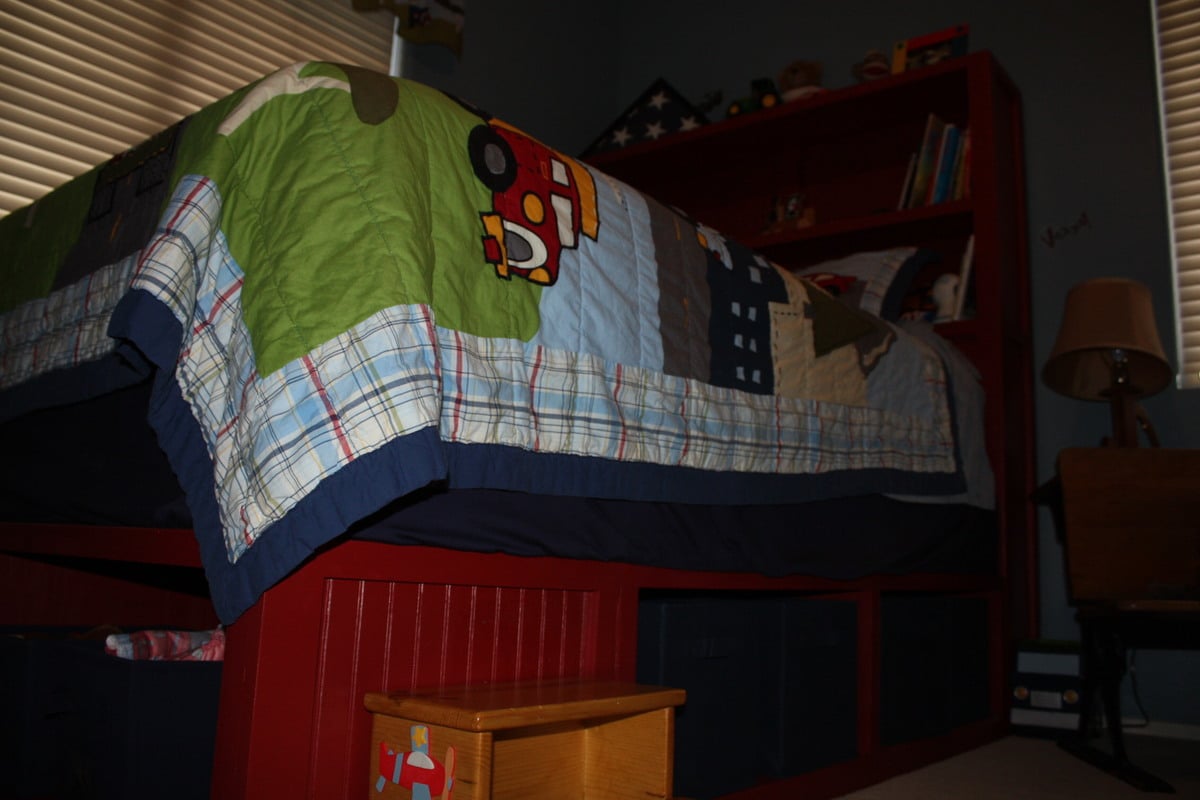
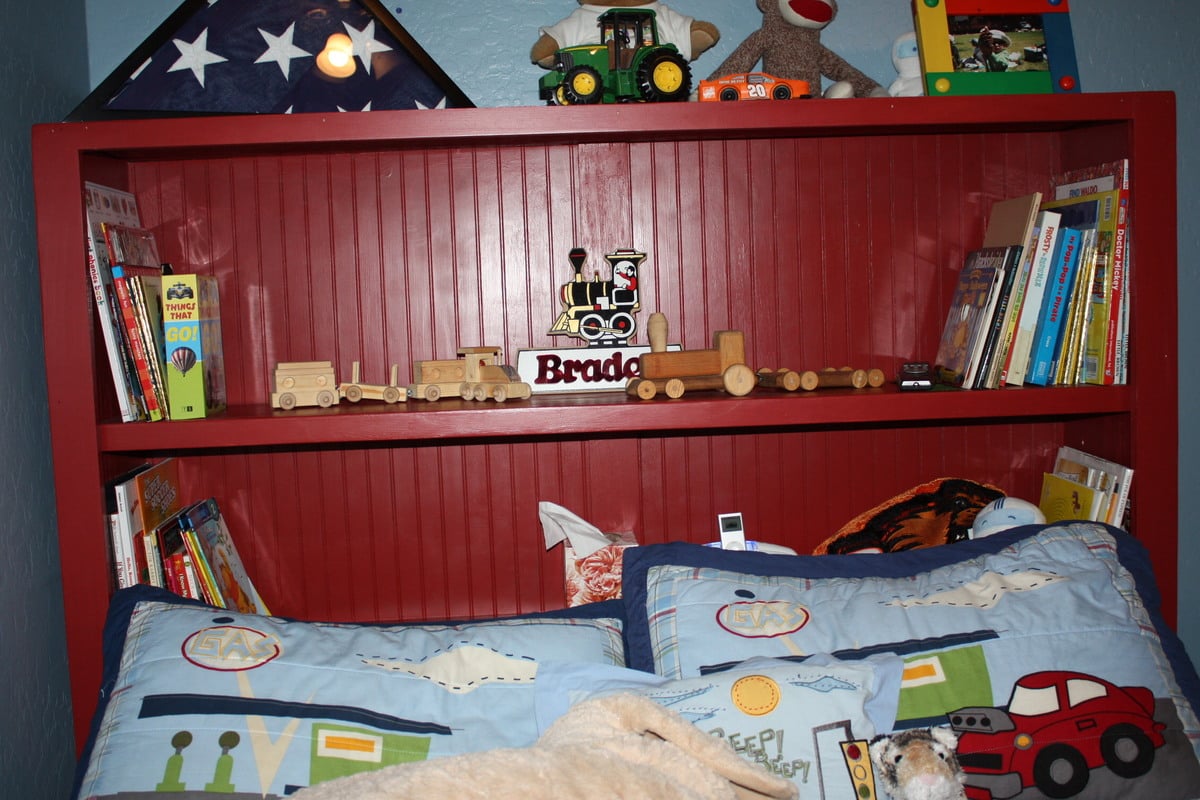
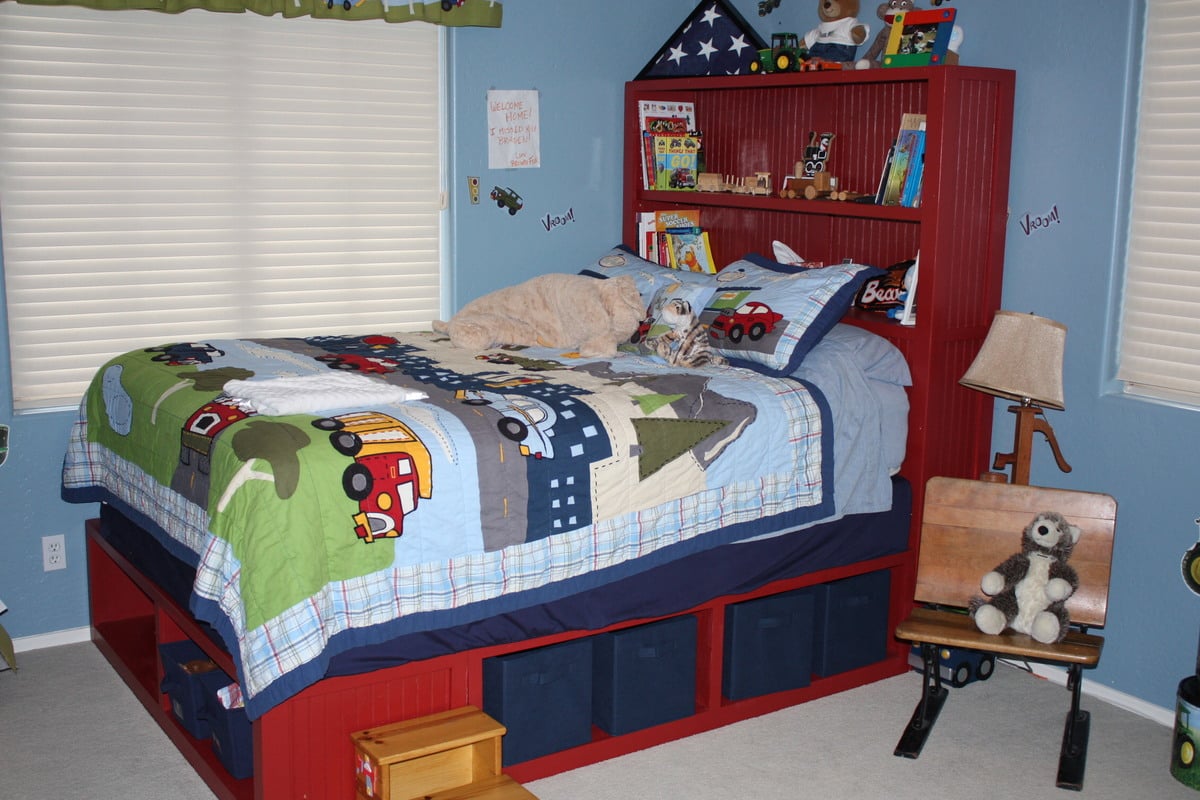
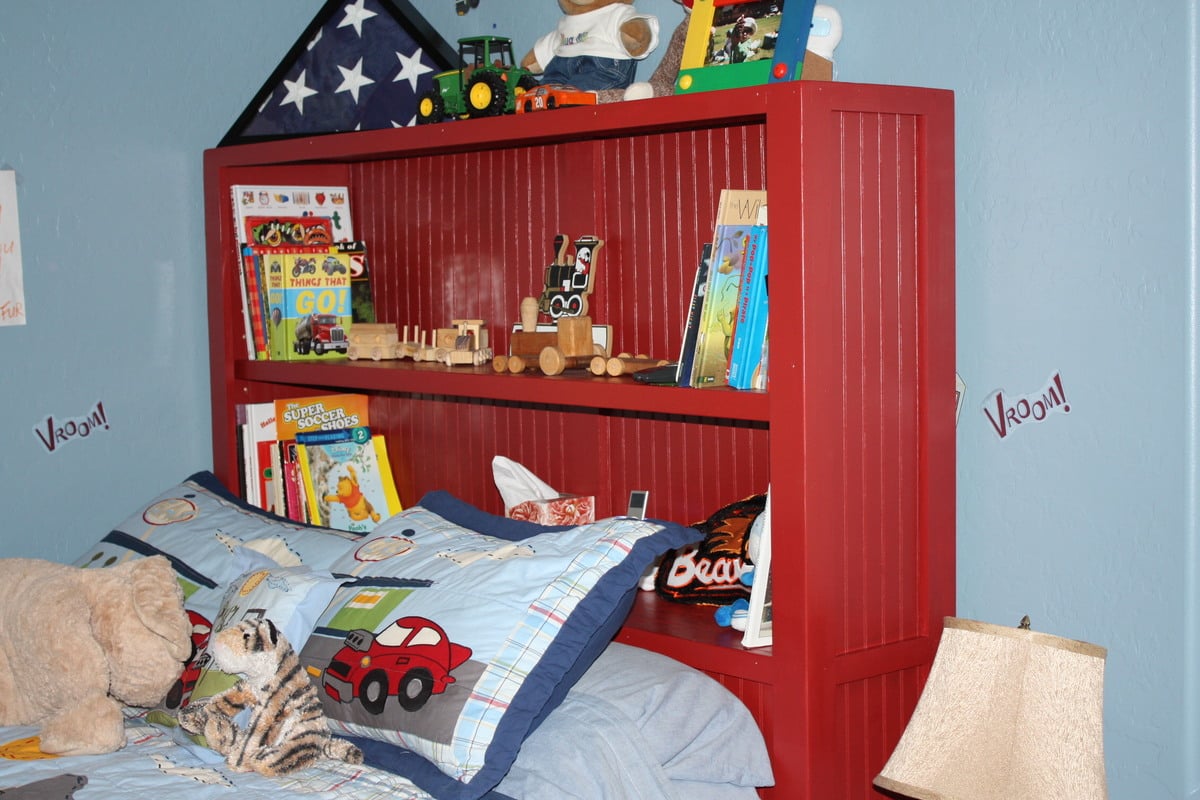
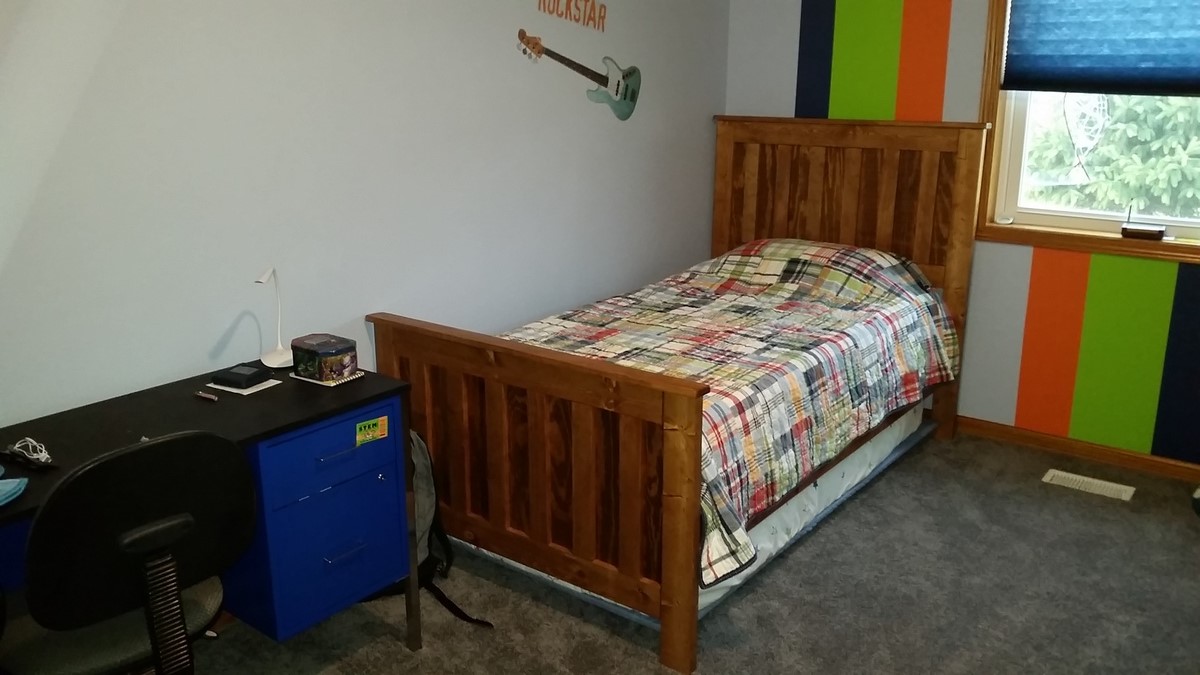
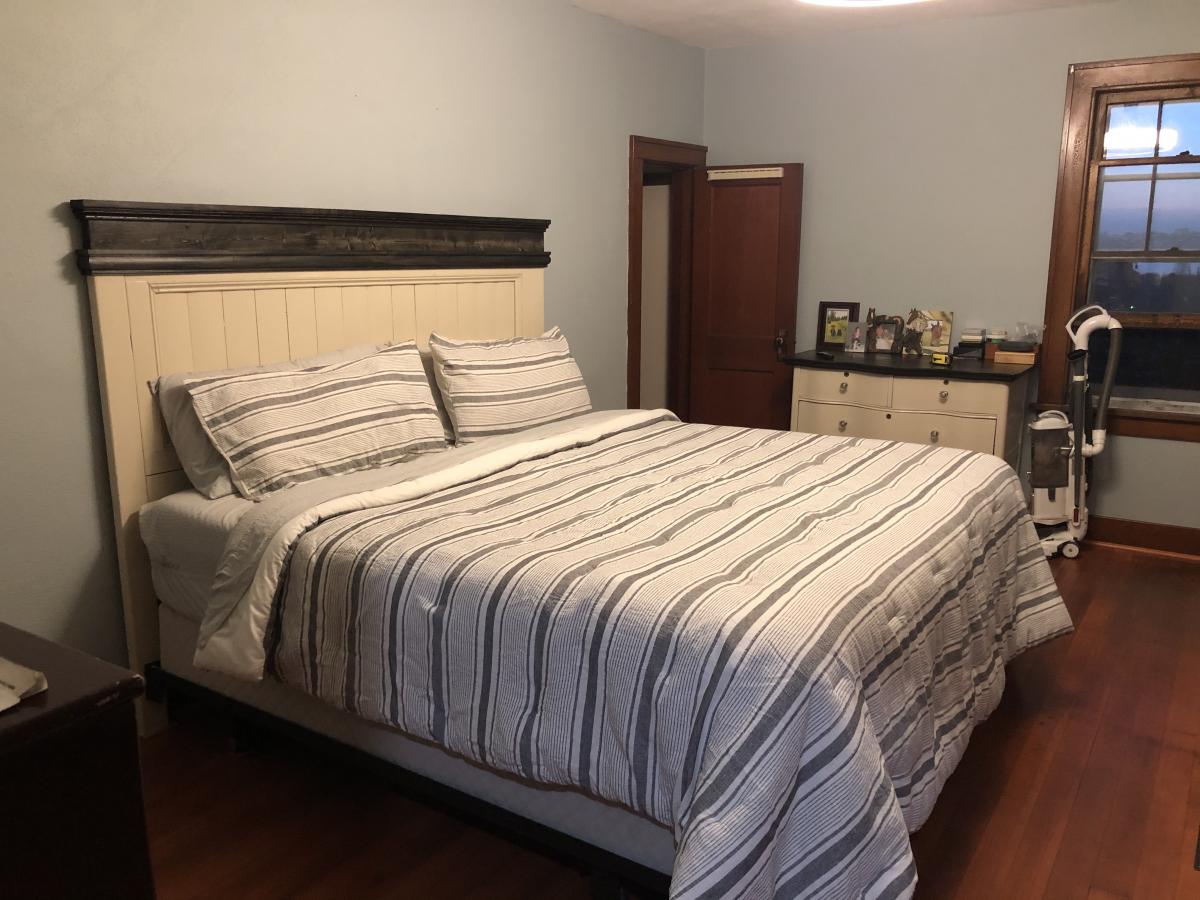
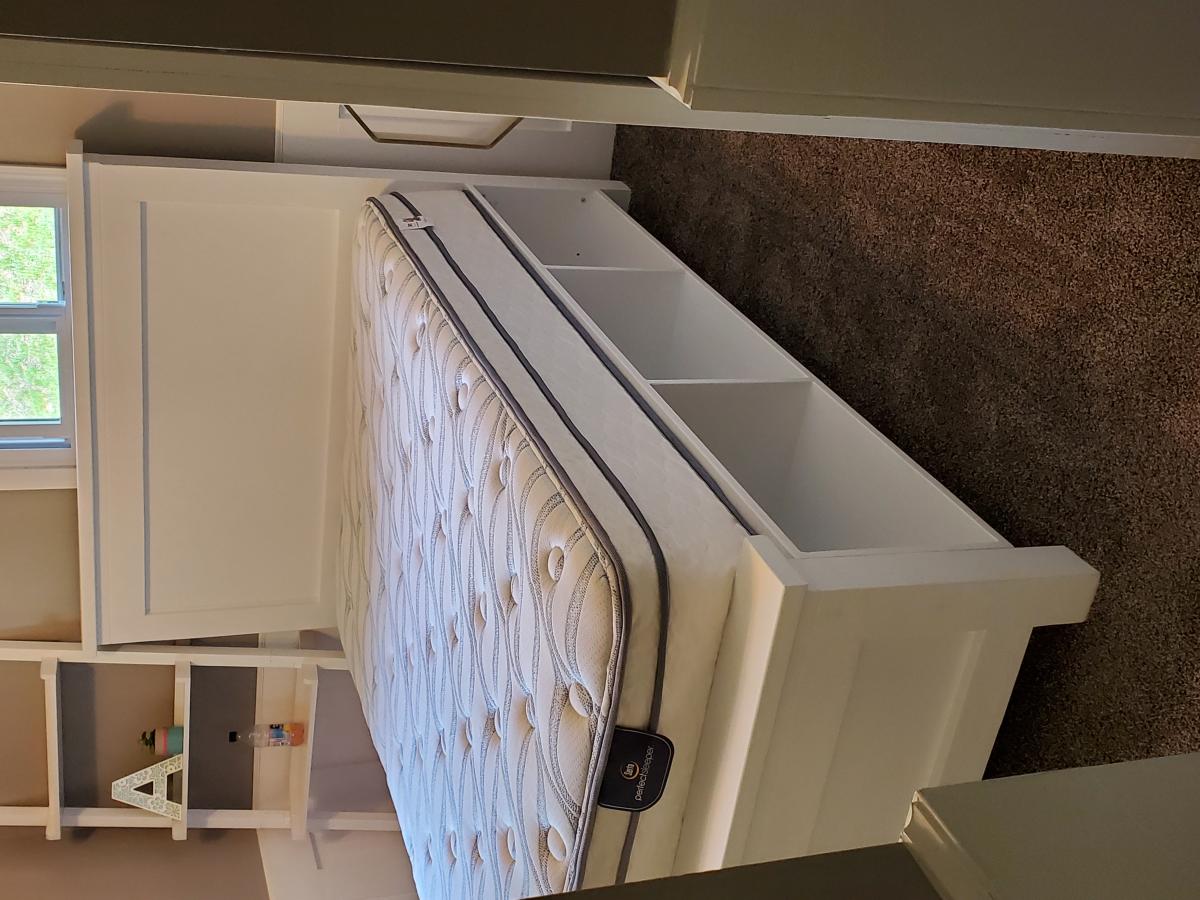
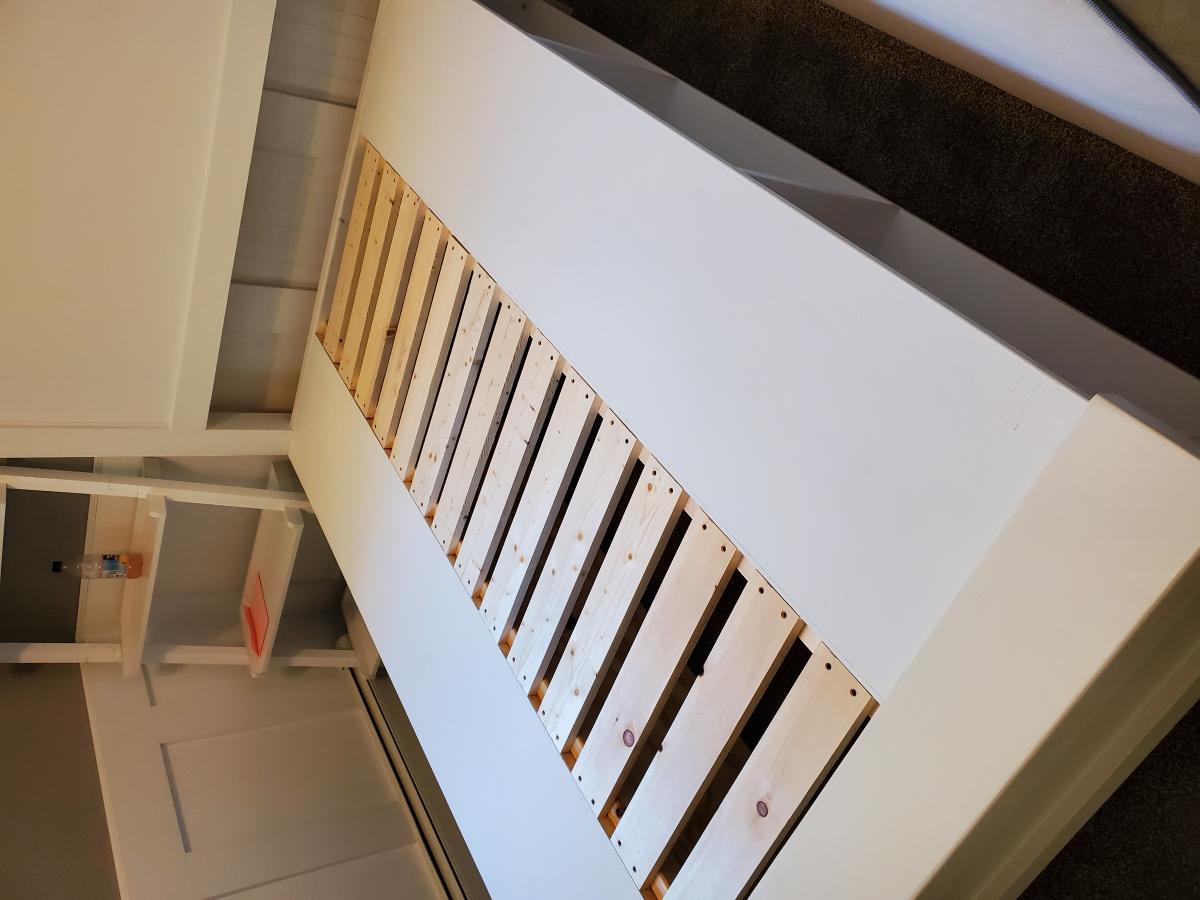
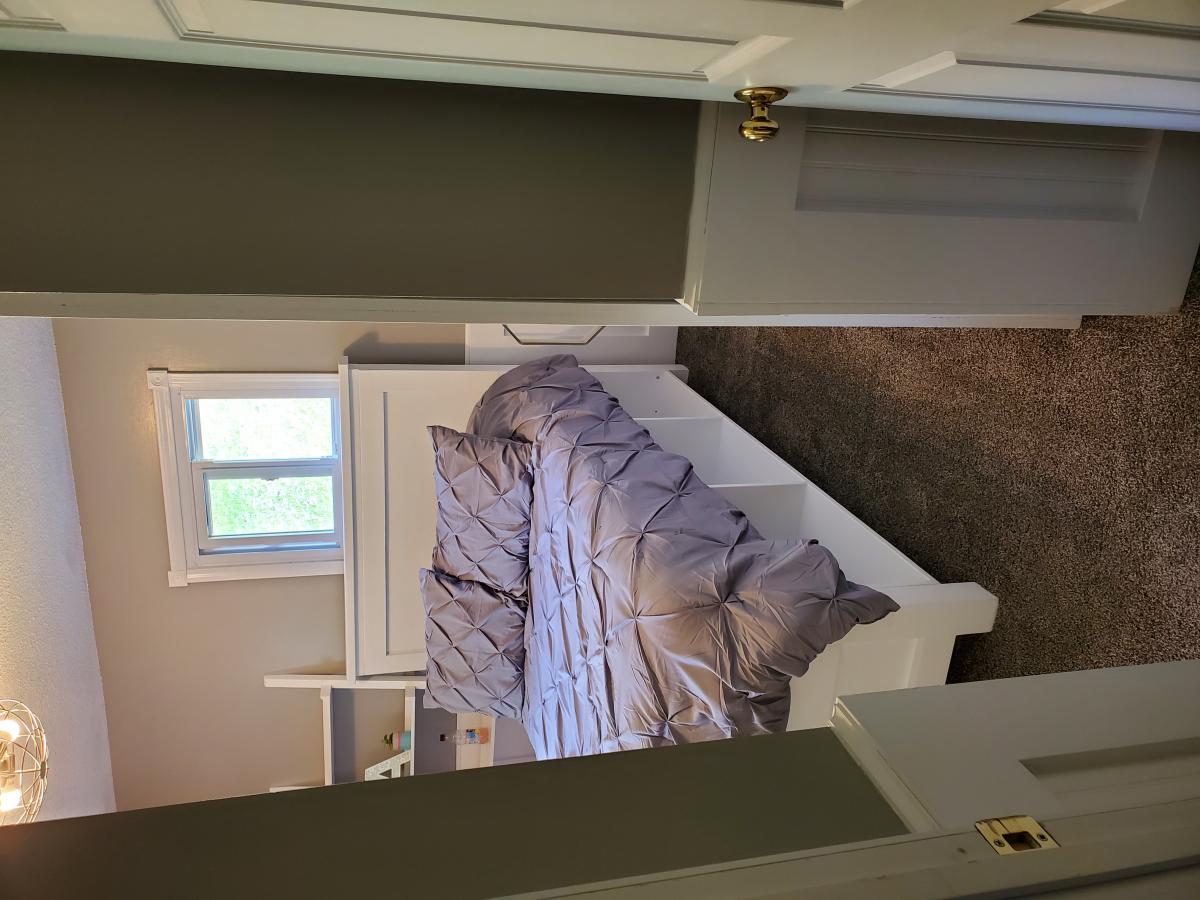
Farmhouse bed with storage full size

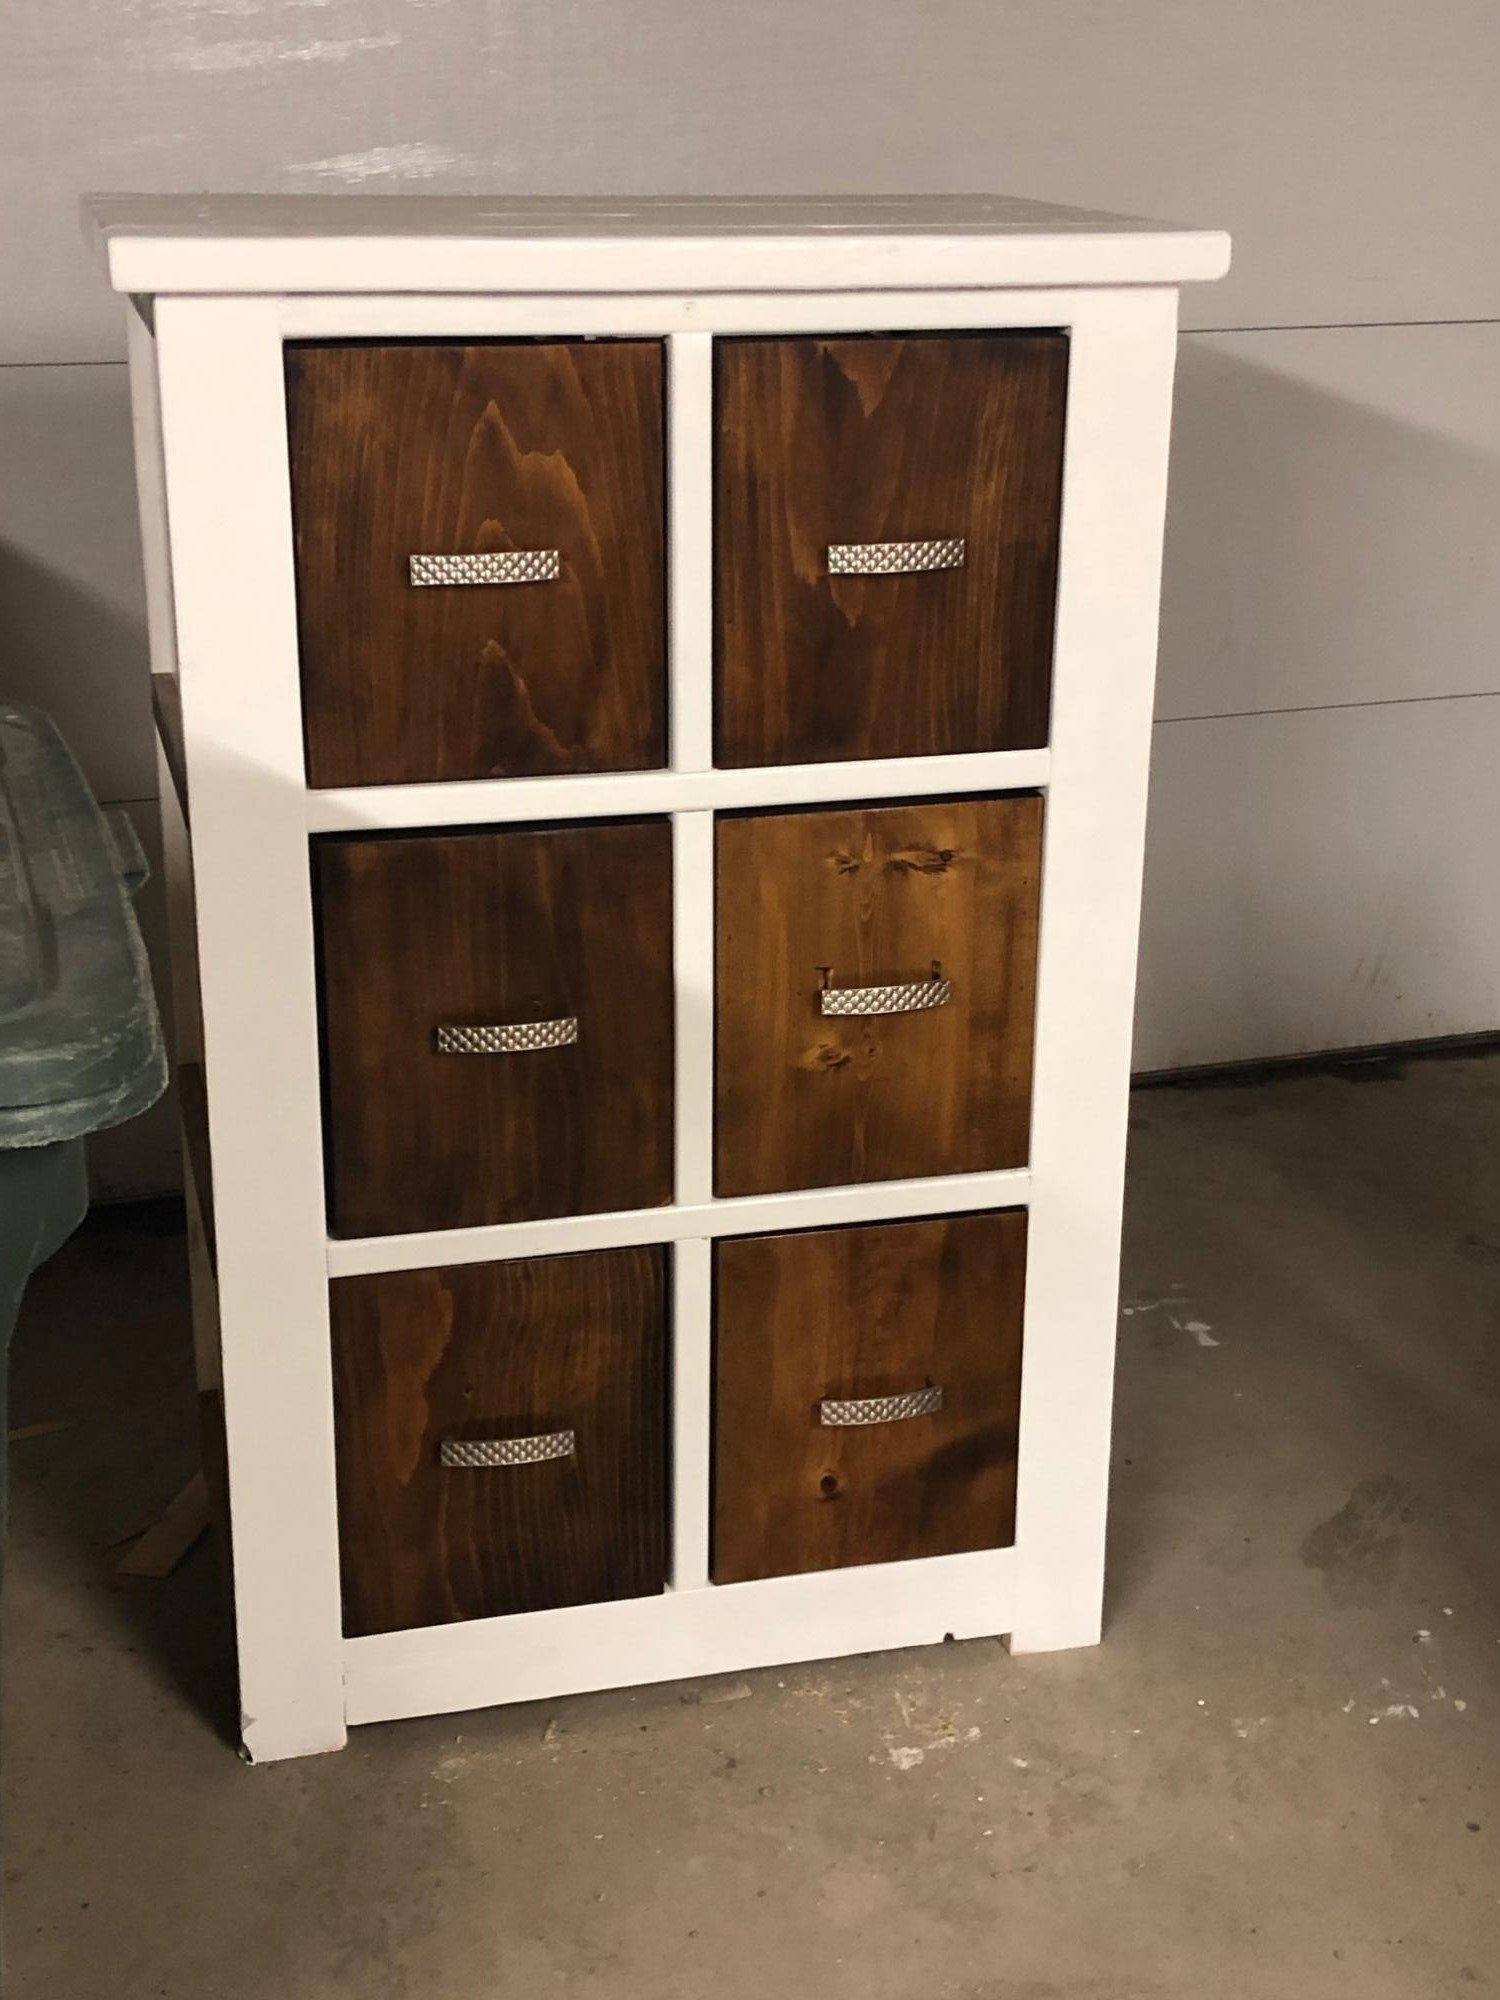
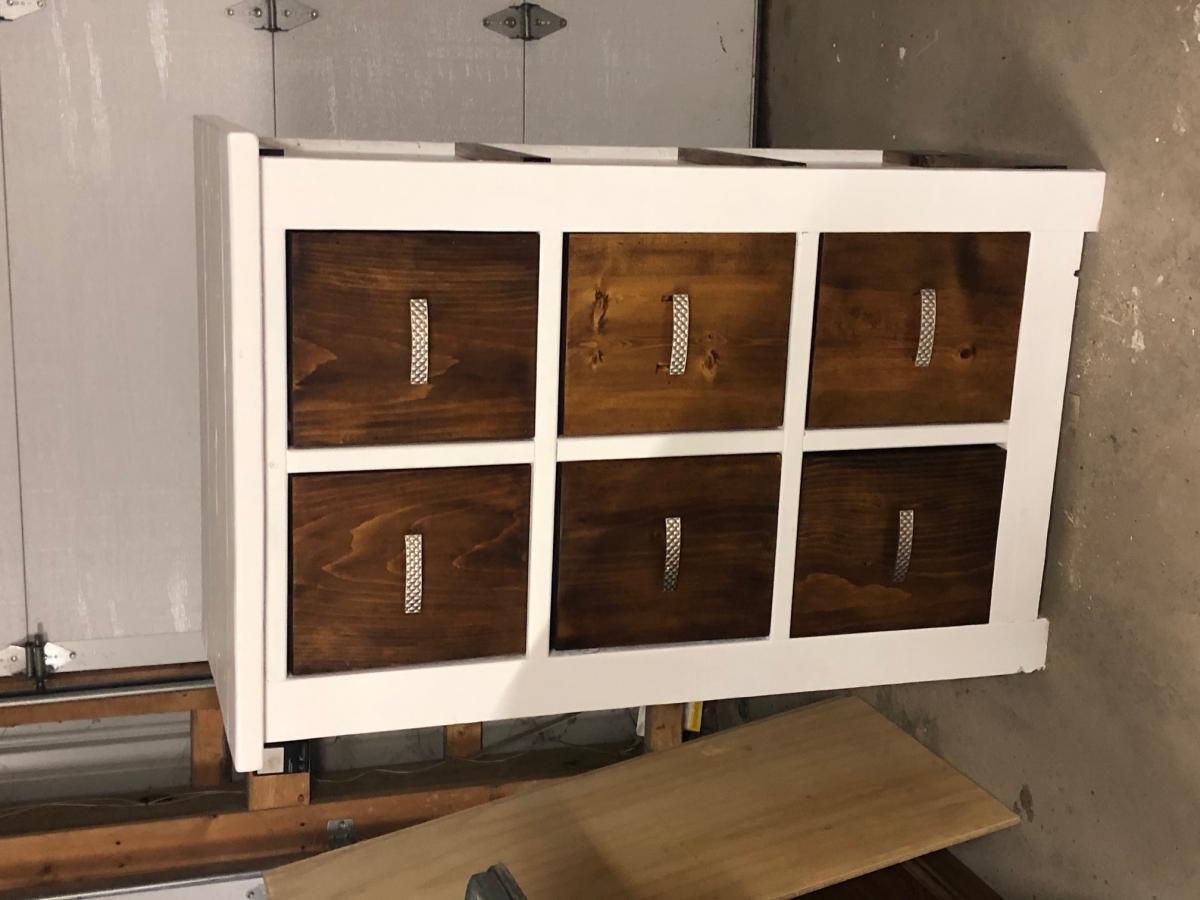
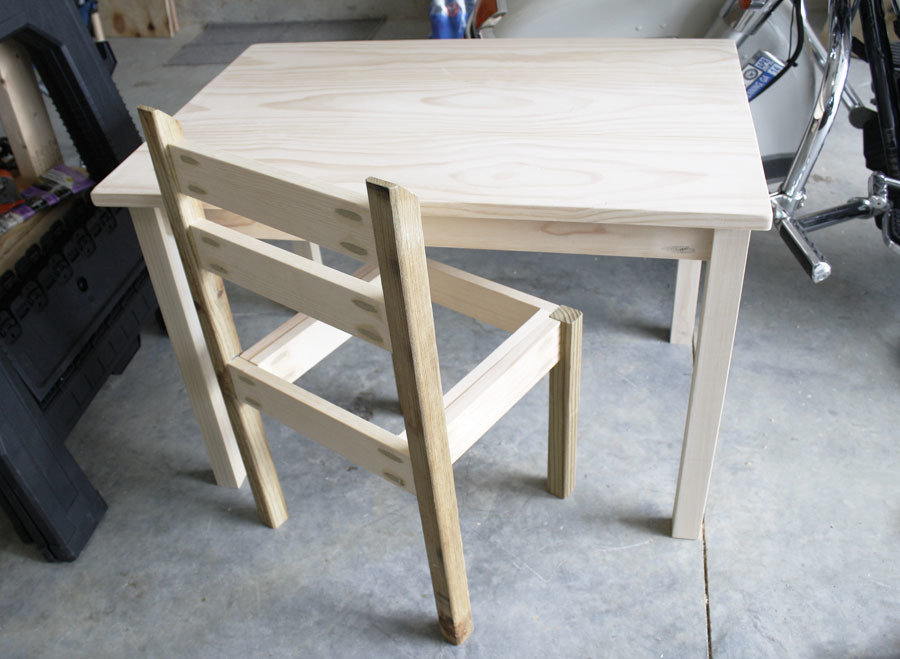
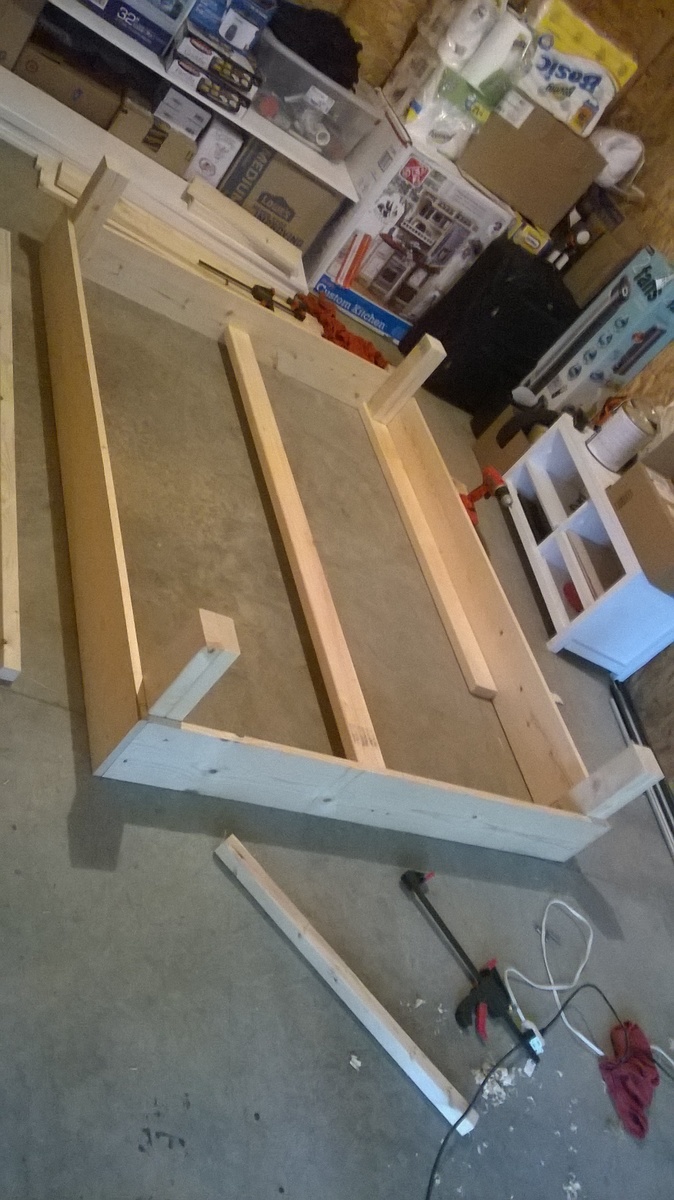
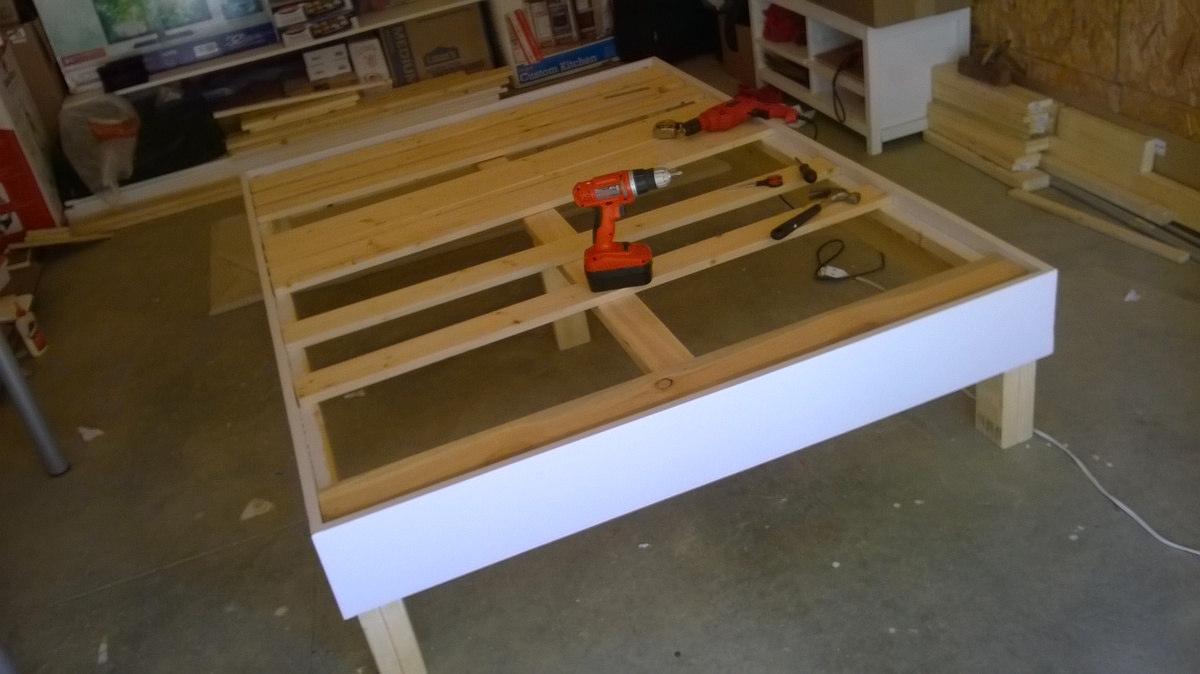
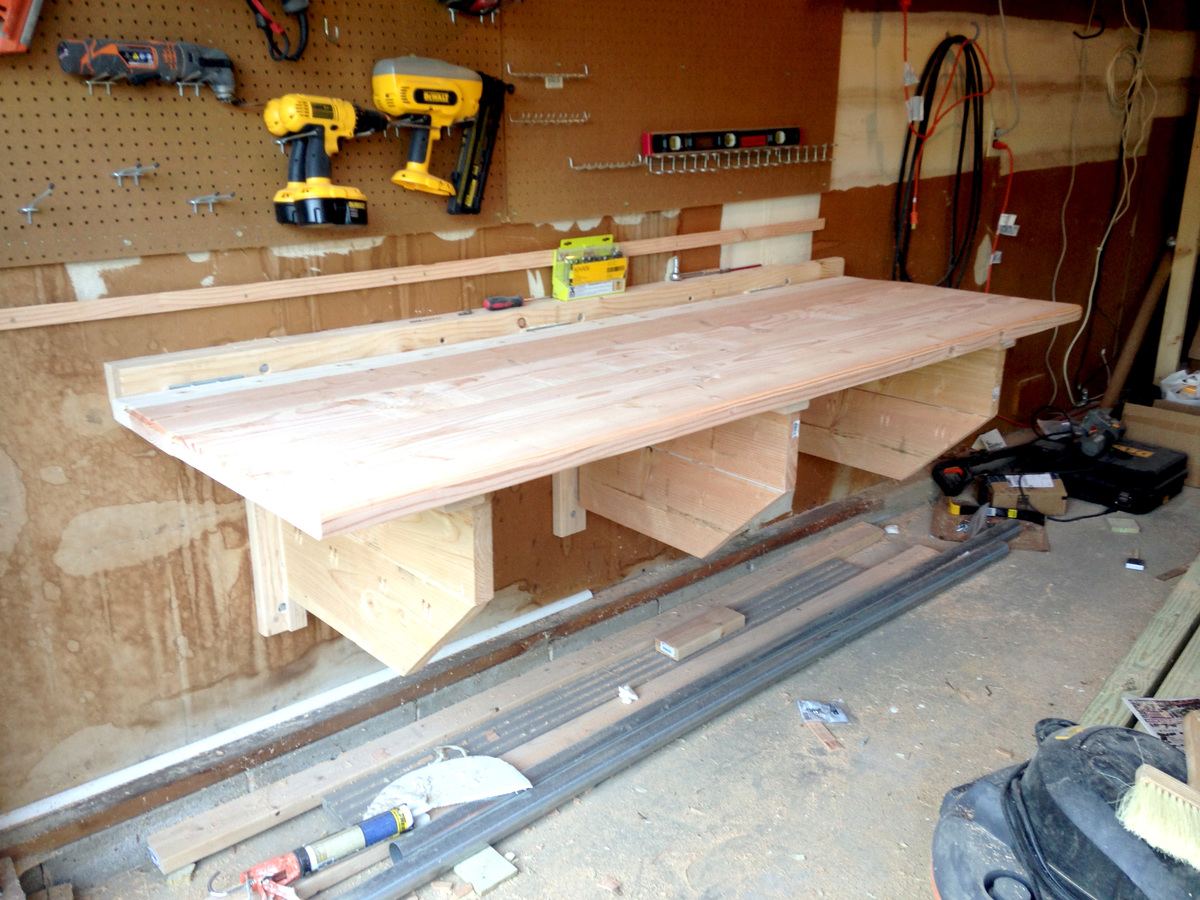
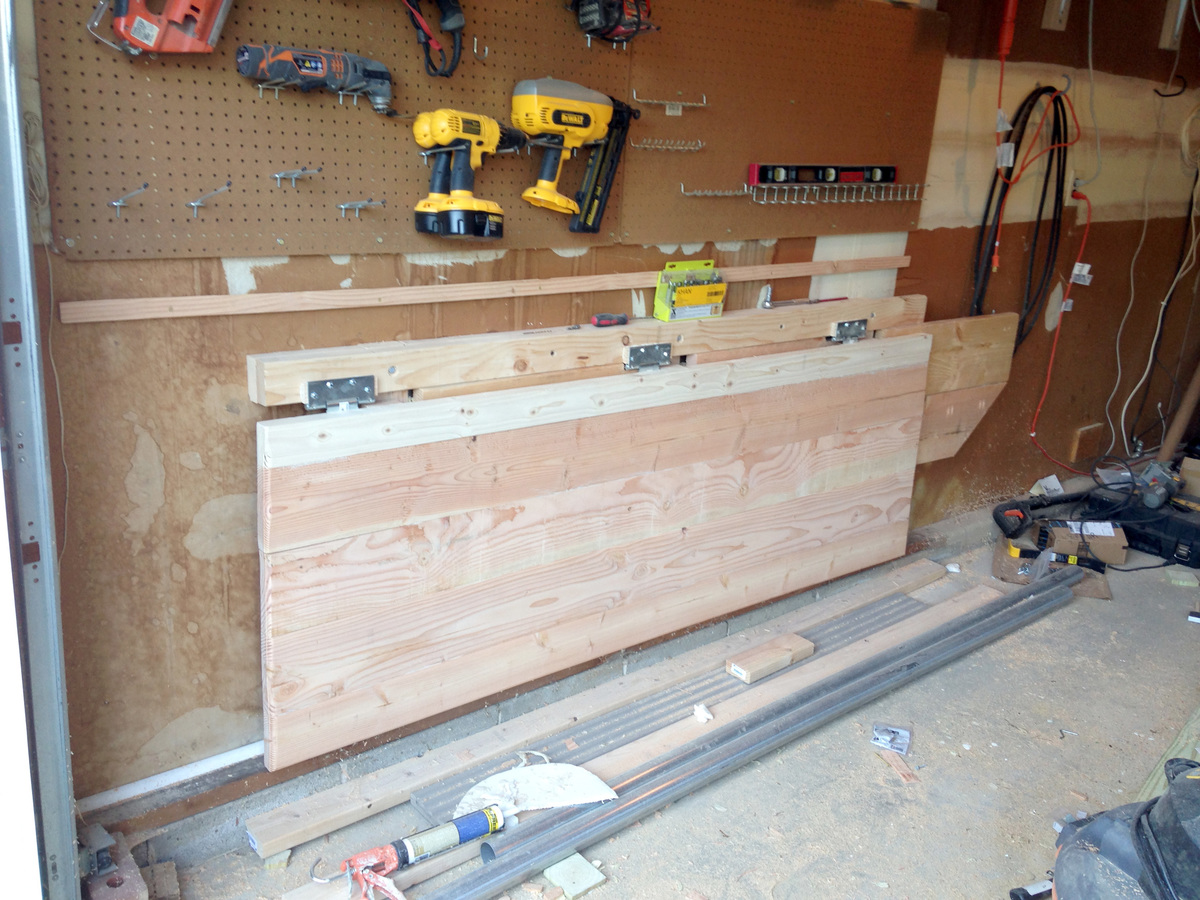
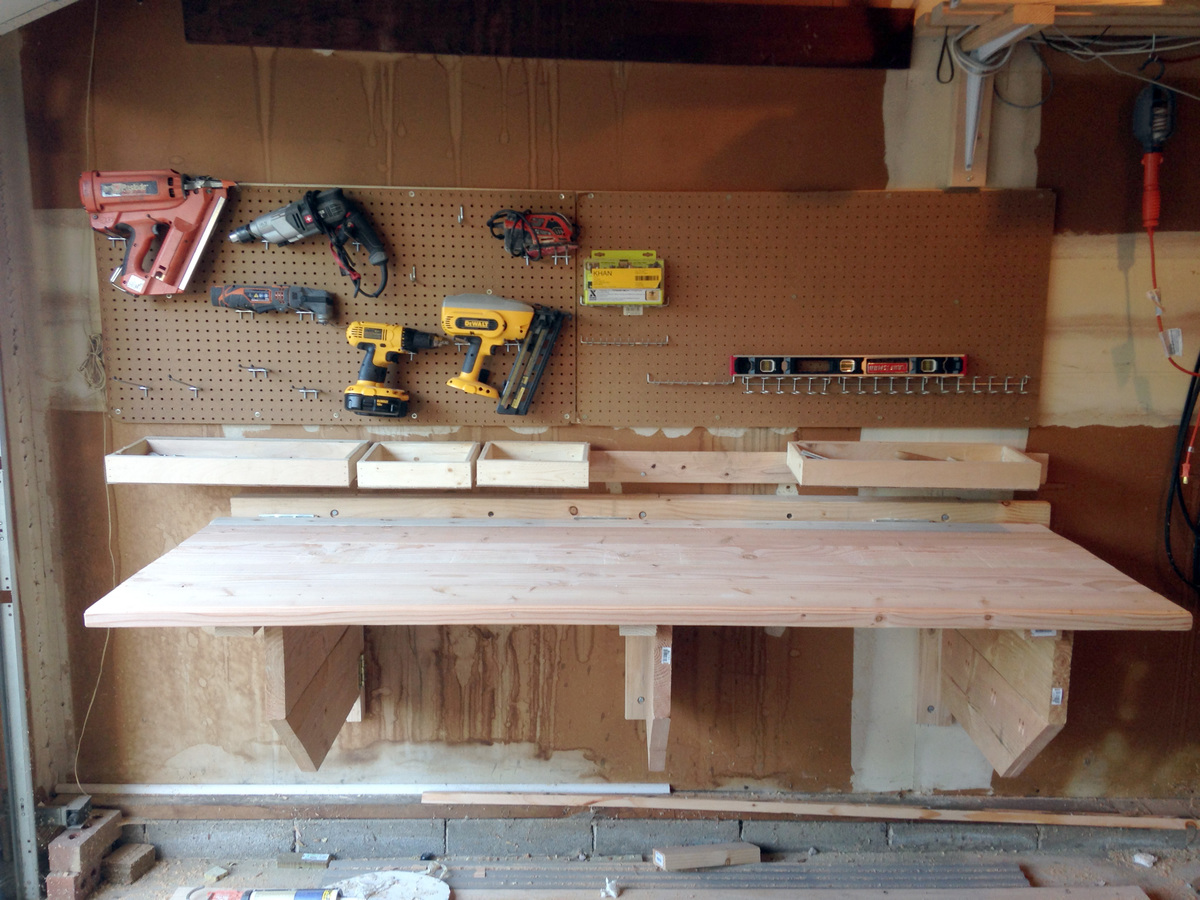
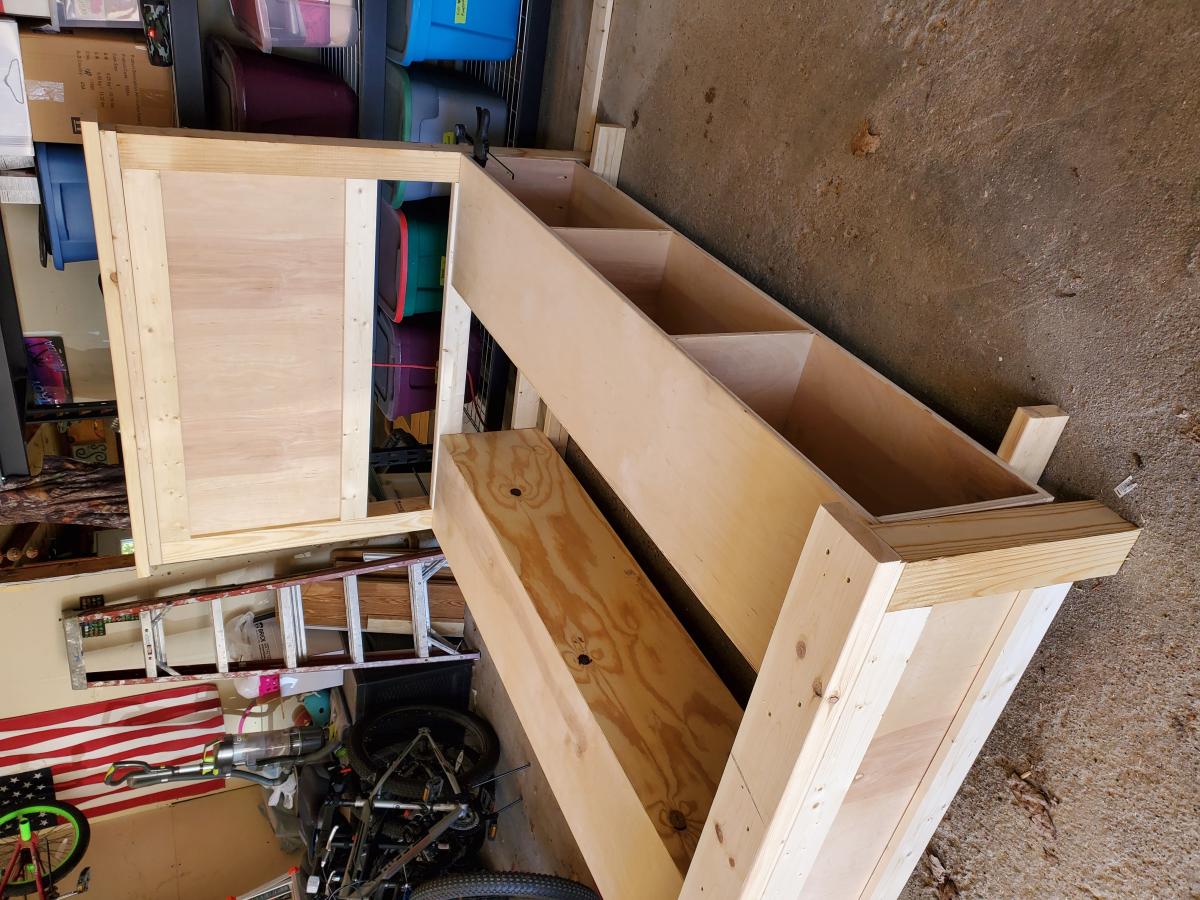
I built this bed for my daughters newly remodeled bedroom. It was overall pretty simple build. The plans were simple and easy to follow. I did add some center supports on the storage boxes under the center slats for added strength.

Built from Plan(s)
Estimated Cost
$200
Estimated Time Investment
Week Long Project (20 Hours or More)
Finish Used
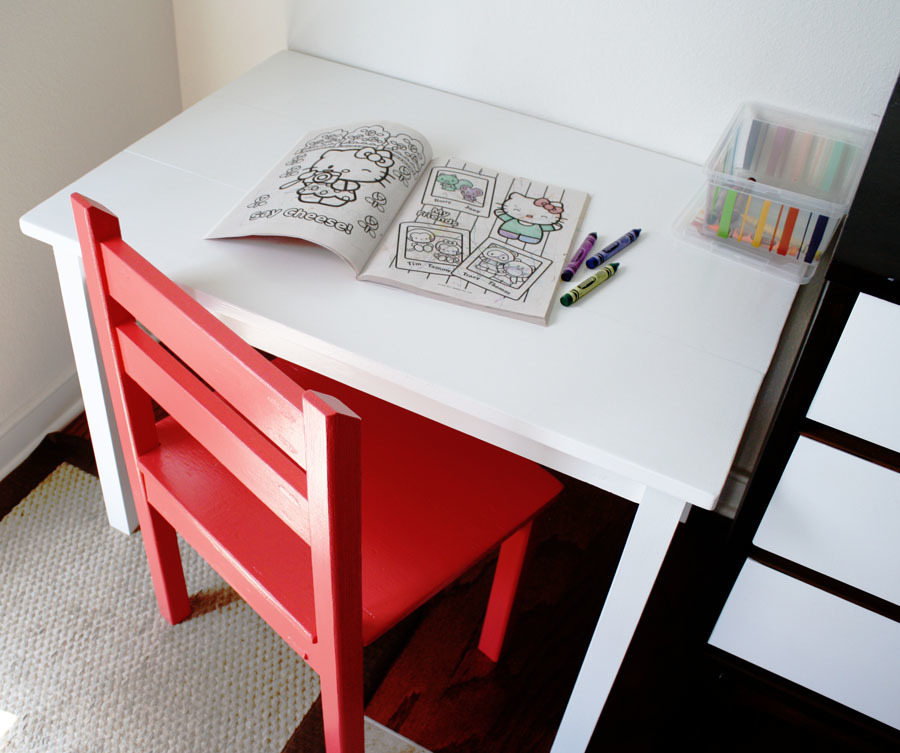
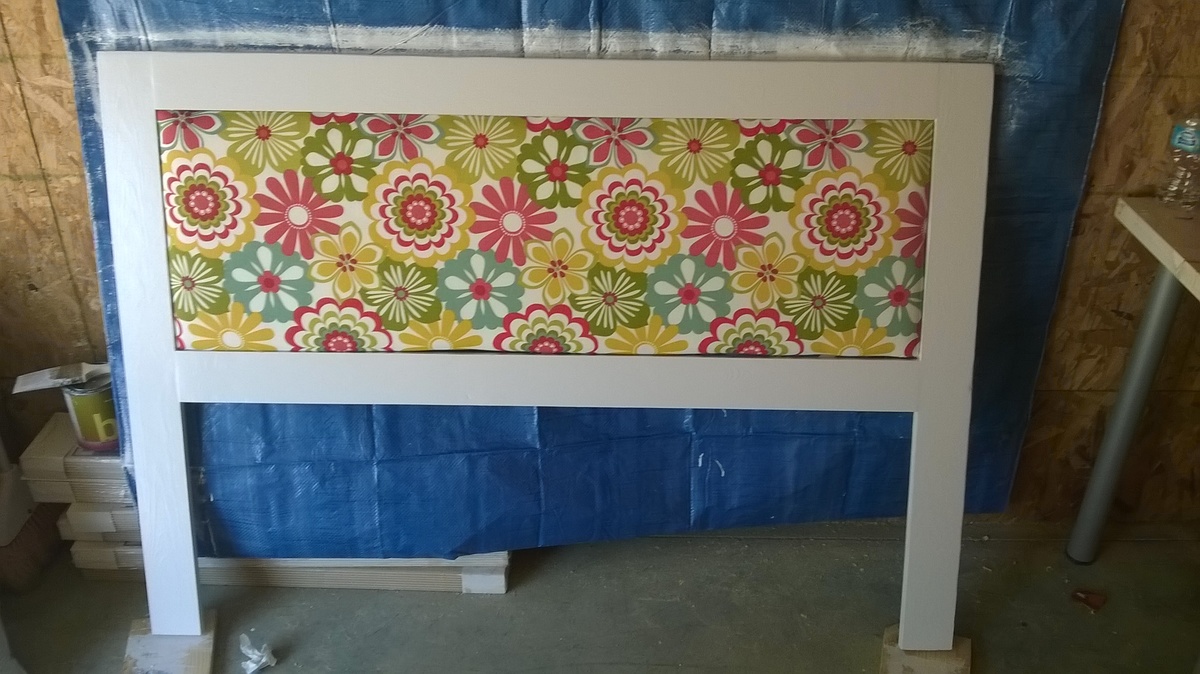
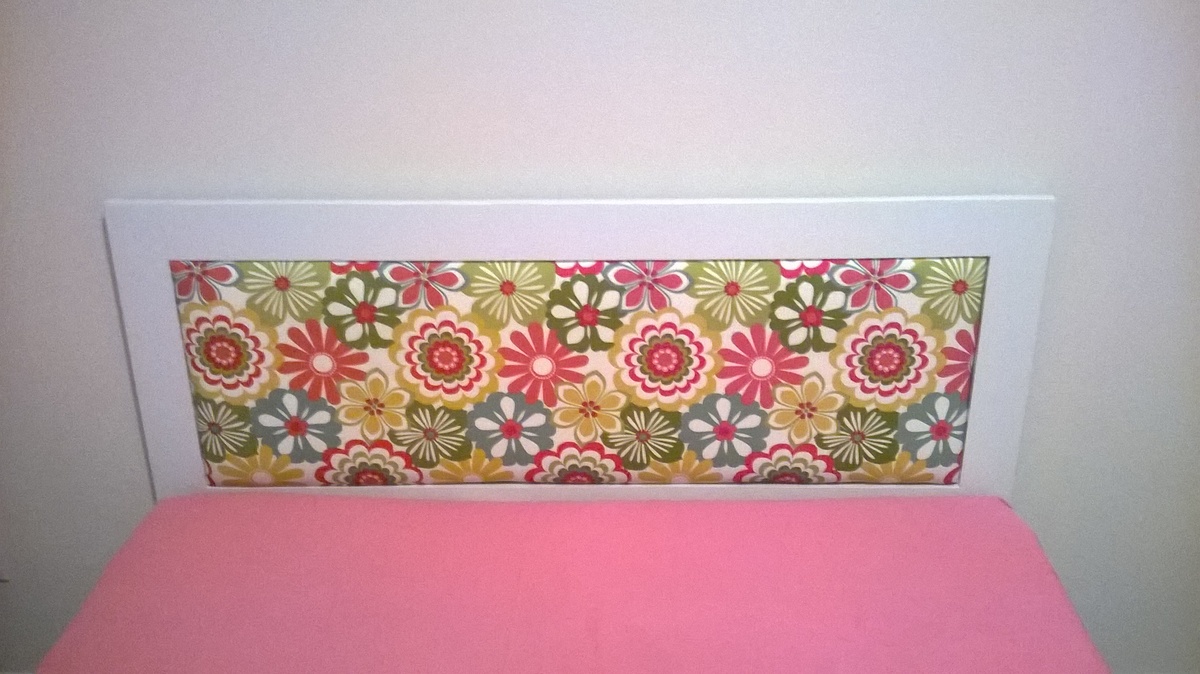
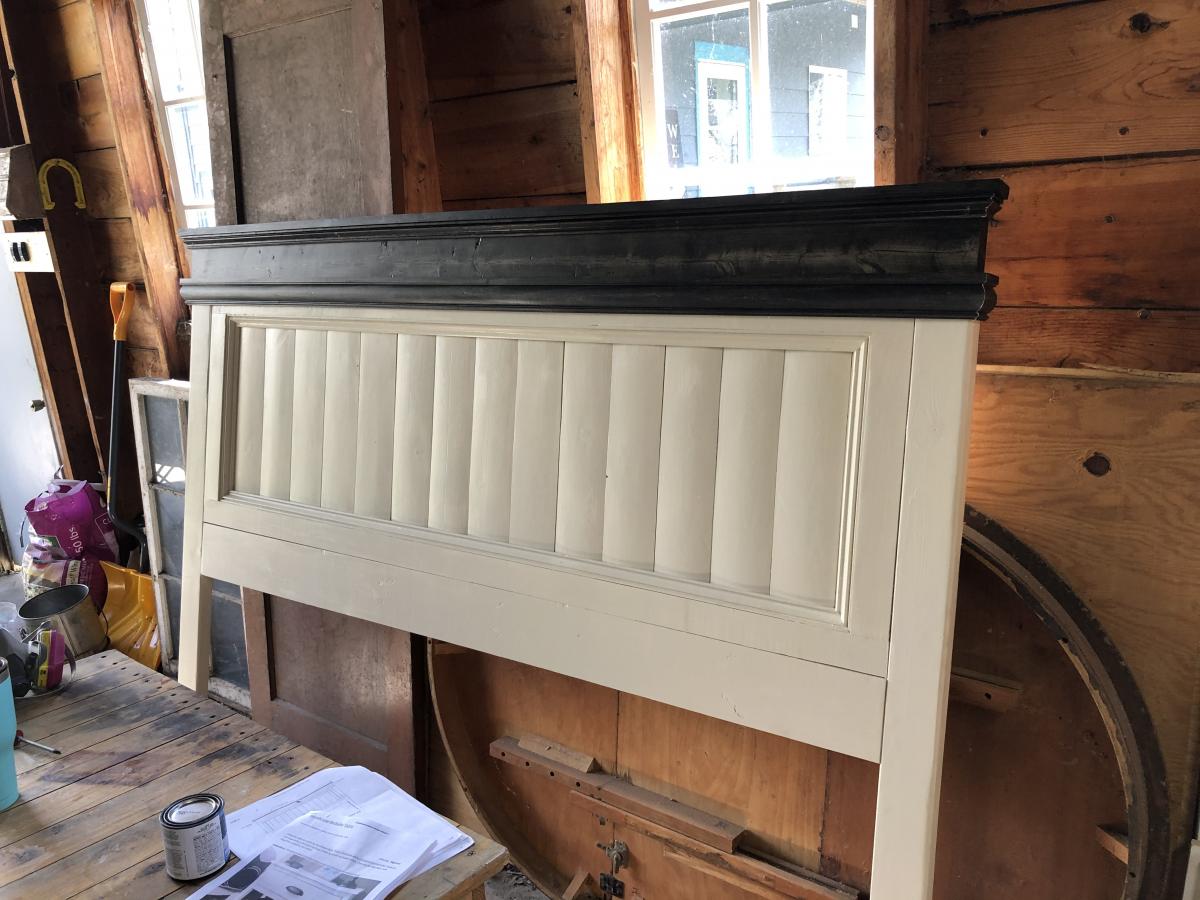
White Valspar satin gloss
Recommended Skill Level
Beginner