9 cubby Shelf
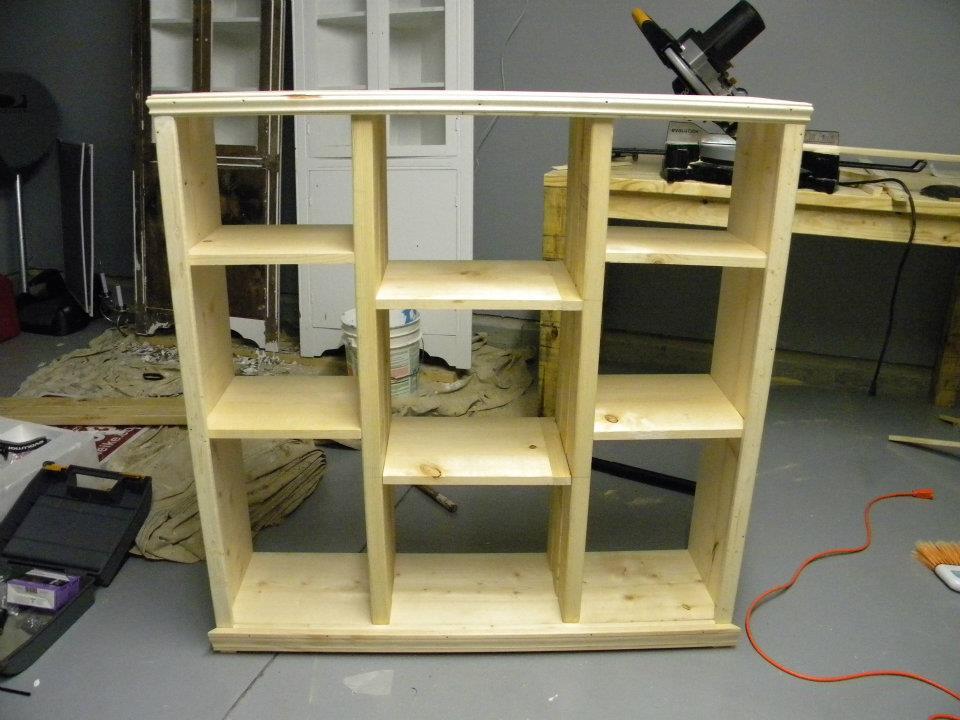
I off set the shelves because my wife wanted to be able to fit some of my sons bigger toys. I also add trim pieces to make it more decorative and painted it white. Enjoy...
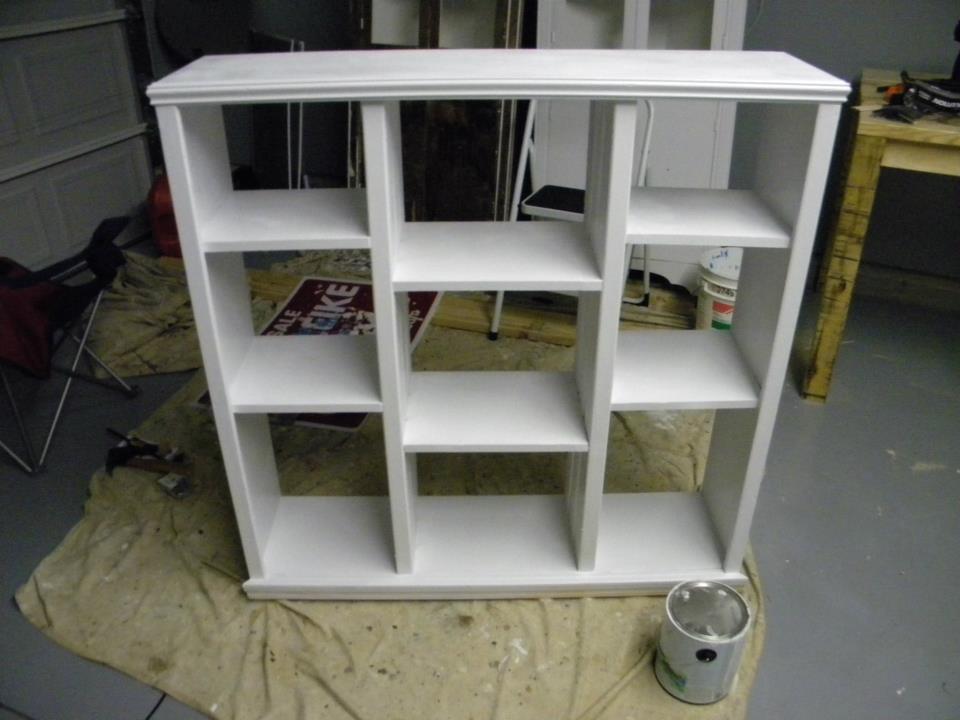
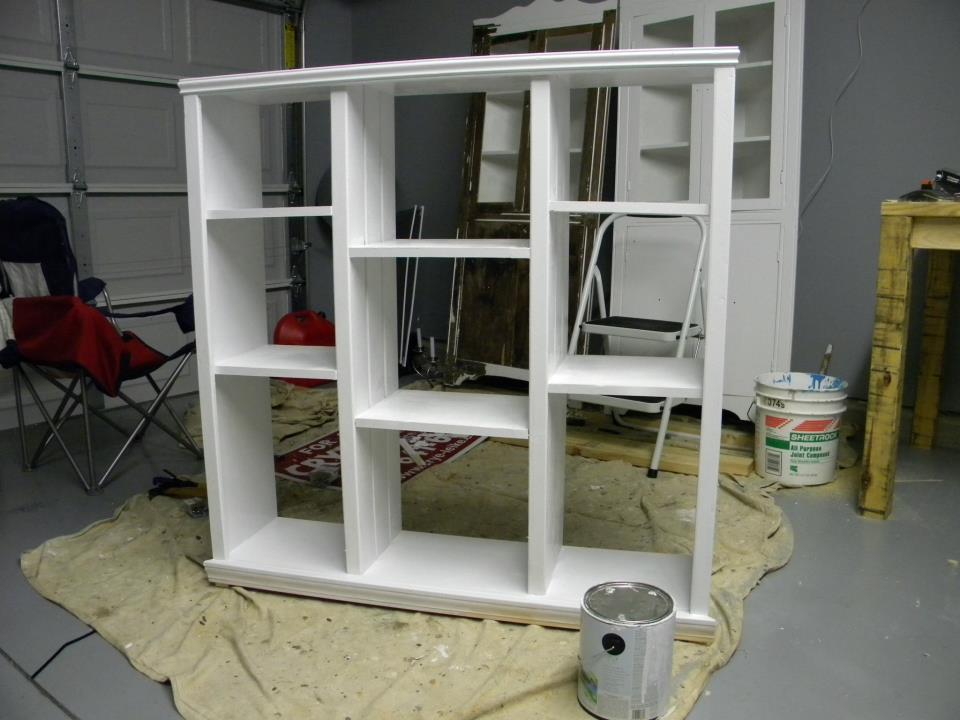

I off set the shelves because my wife wanted to be able to fit some of my sons bigger toys. I also add trim pieces to make it more decorative and painted it white. Enjoy...


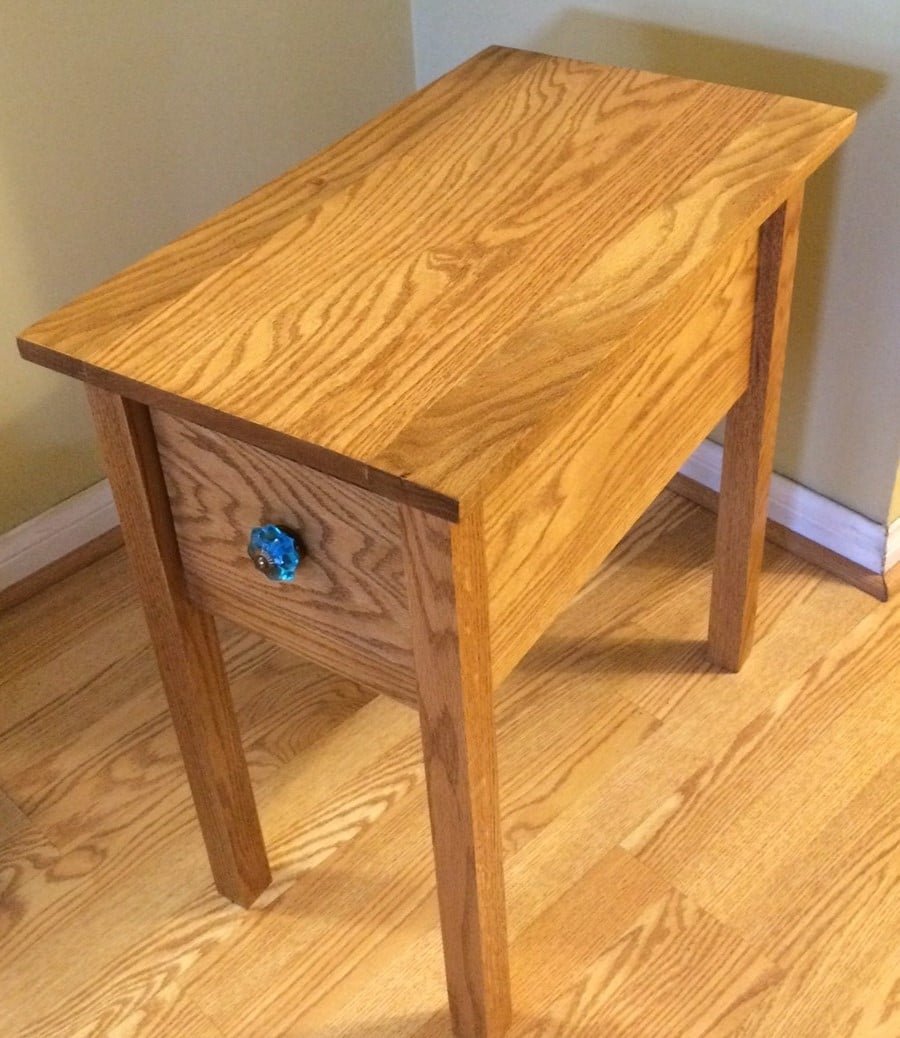
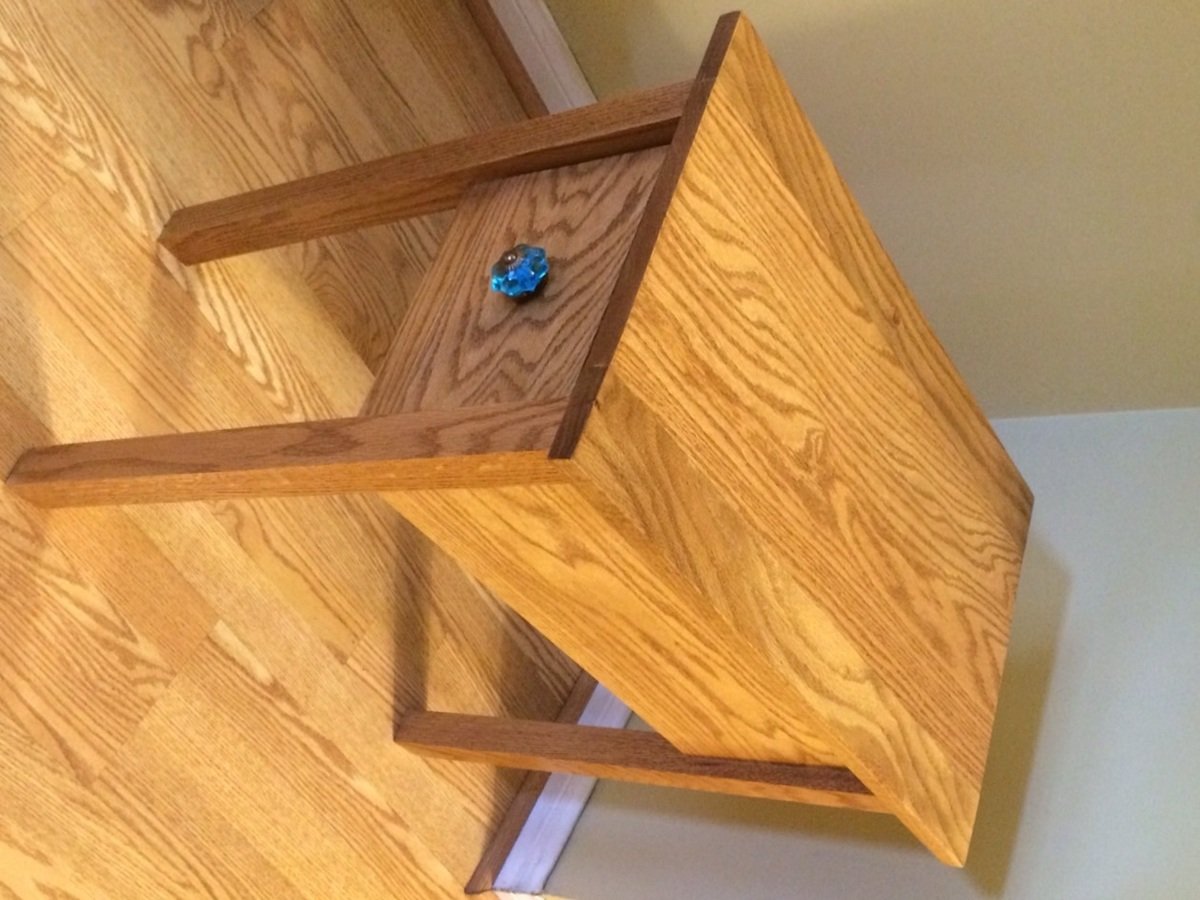
I loved making this Ana White's Narrow Cottage End Table plan after seeing it here on a search. I made it for my mother's 83rd birthday. She asked for oak and a light stain (Rust Oleum's Summer Oak Stain). Used three coats of wipe on Poly and one coat of Johnson's paste wax on the top. I bought the blue knob at Cost Plus World Market. The project took me two days. Will difinitely make another one but in pine this time.
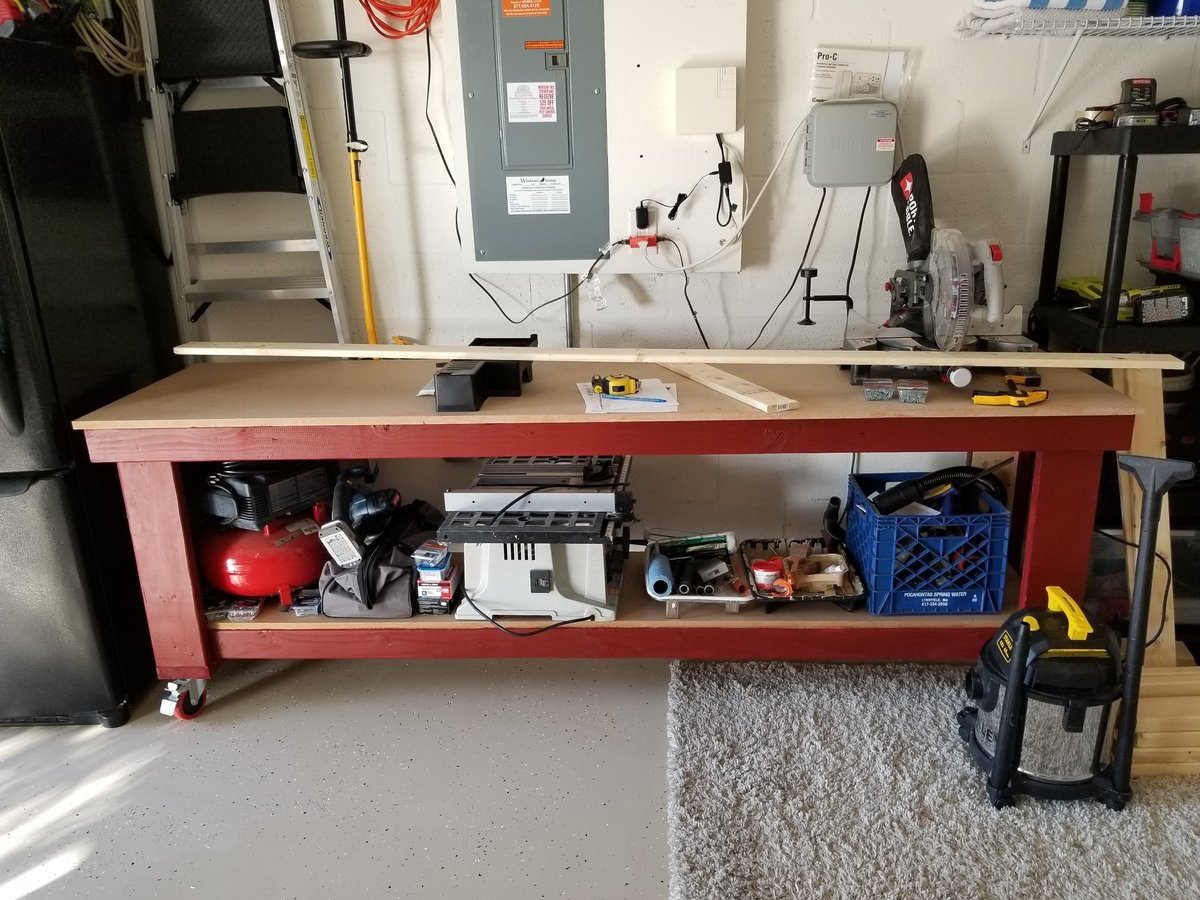
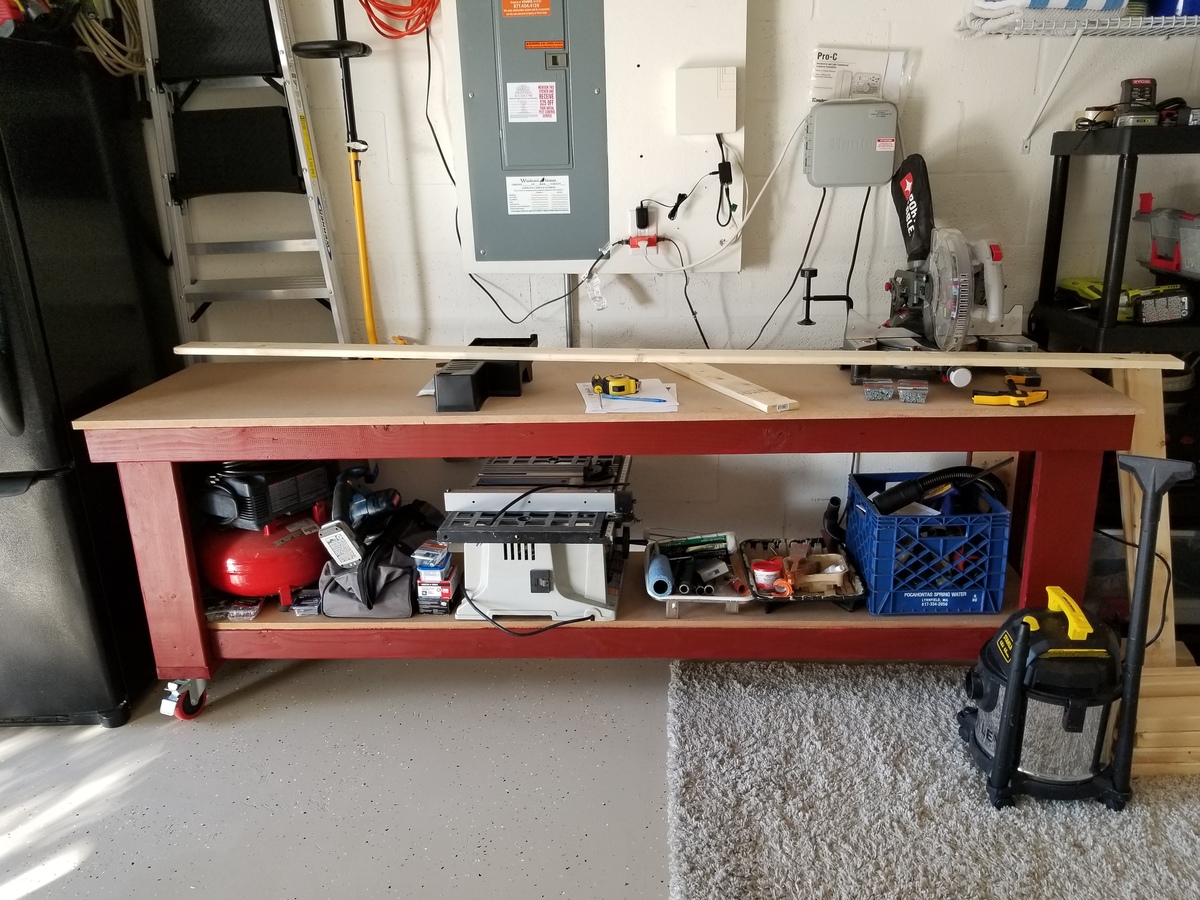
Work bench with casters came out great and already using it on my kitchen console.
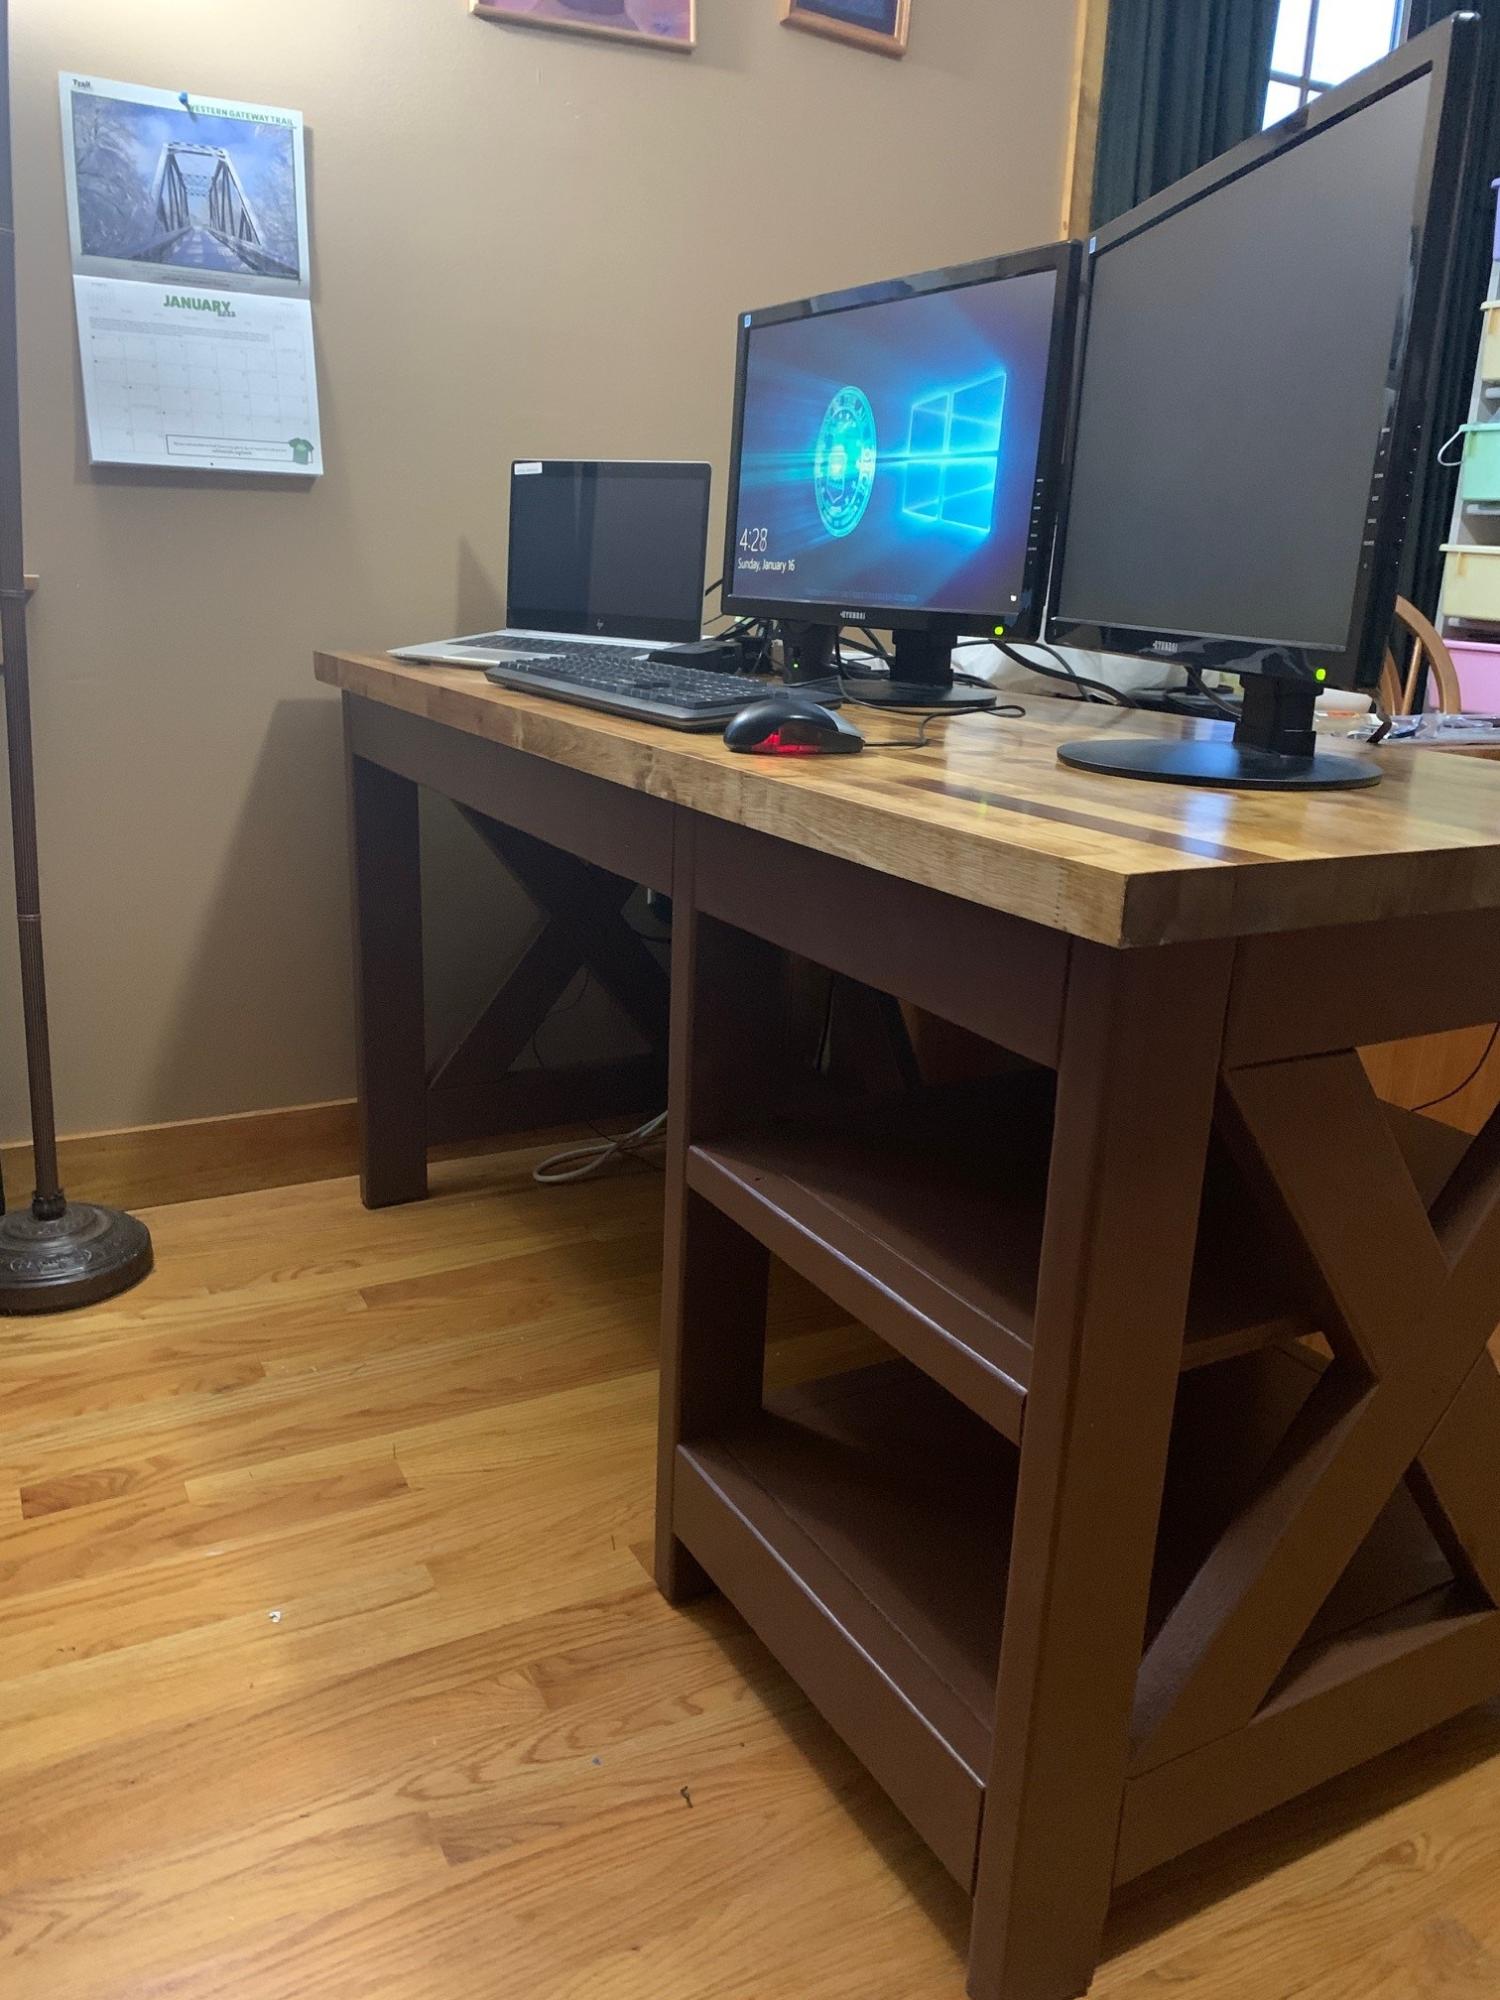
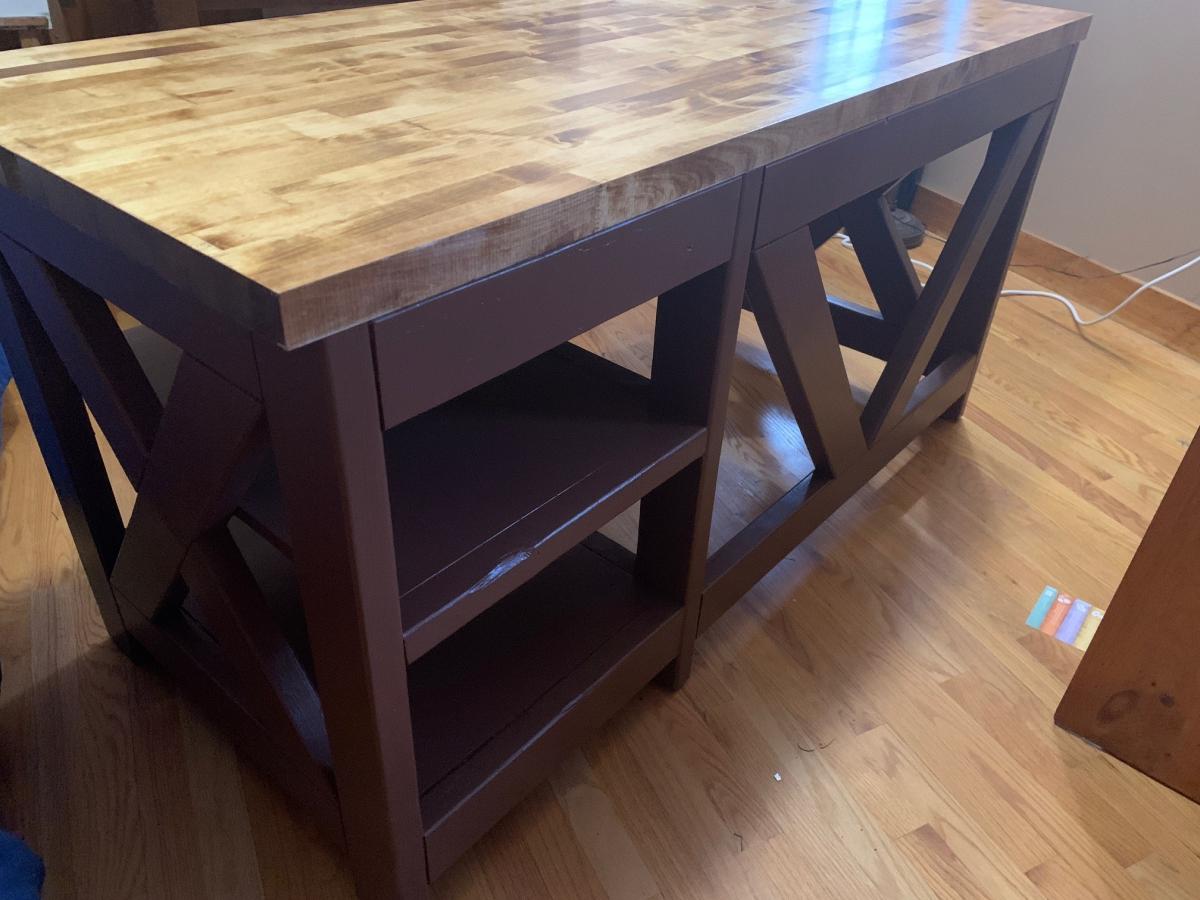
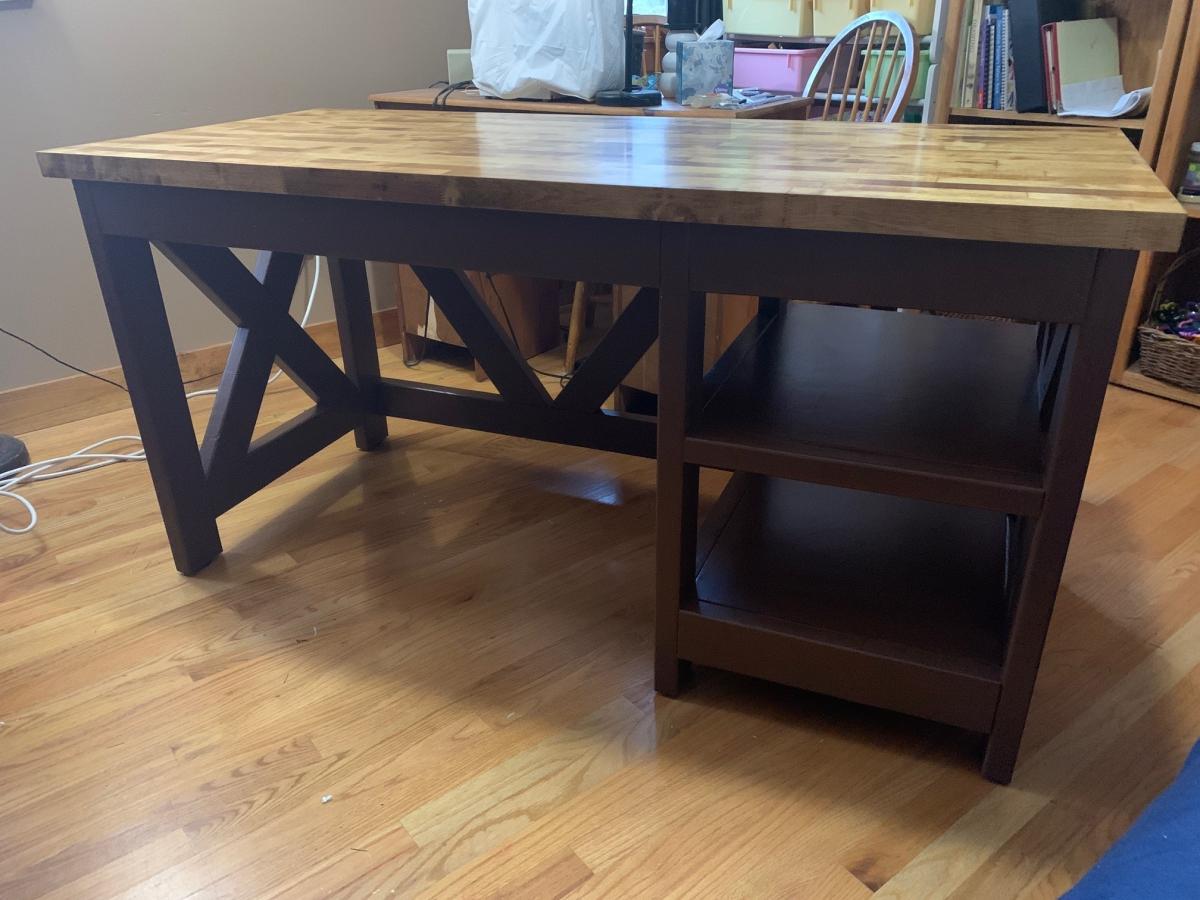
After nearly two years of working from home I started searching for an actual desk and did not really find what I was looking for. Then I found the Farmhouse X Plans and knew that's what I wanted to do.
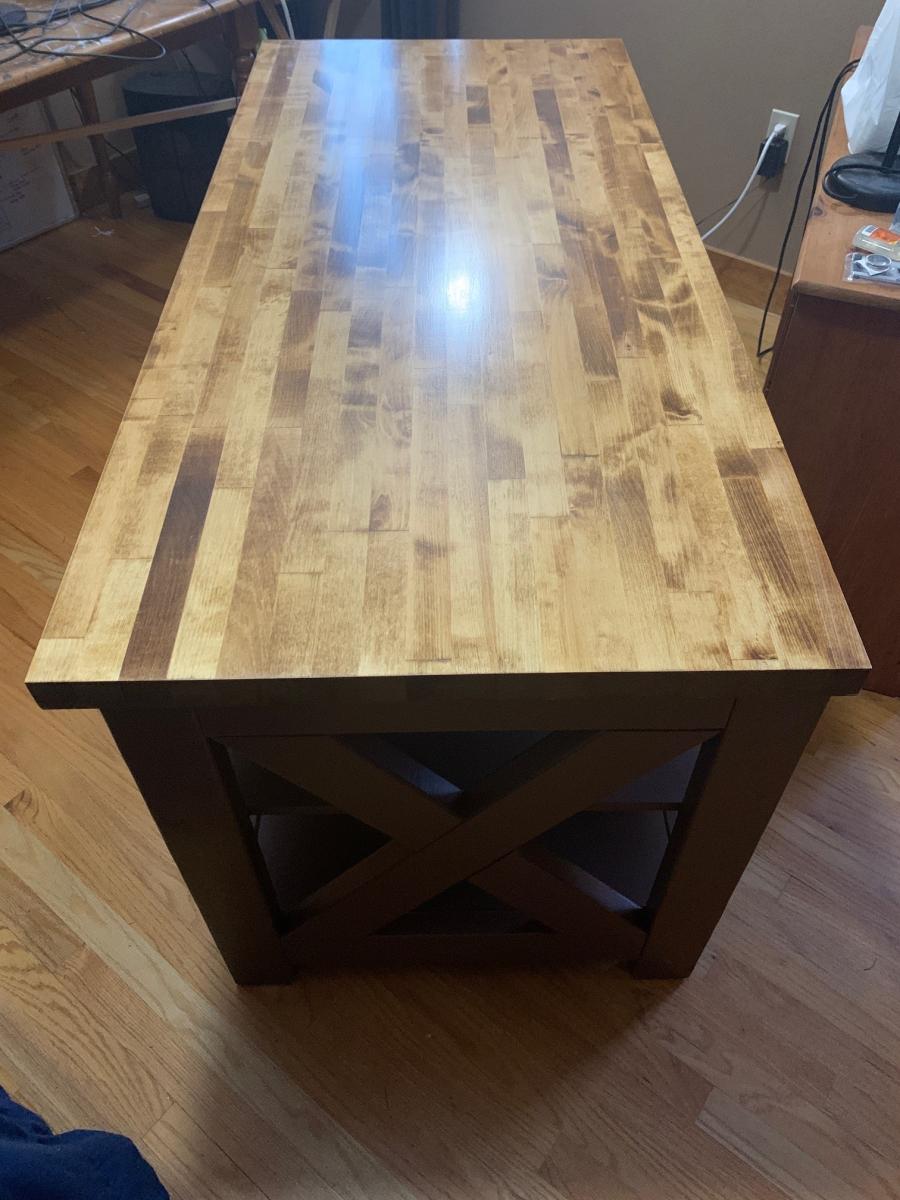
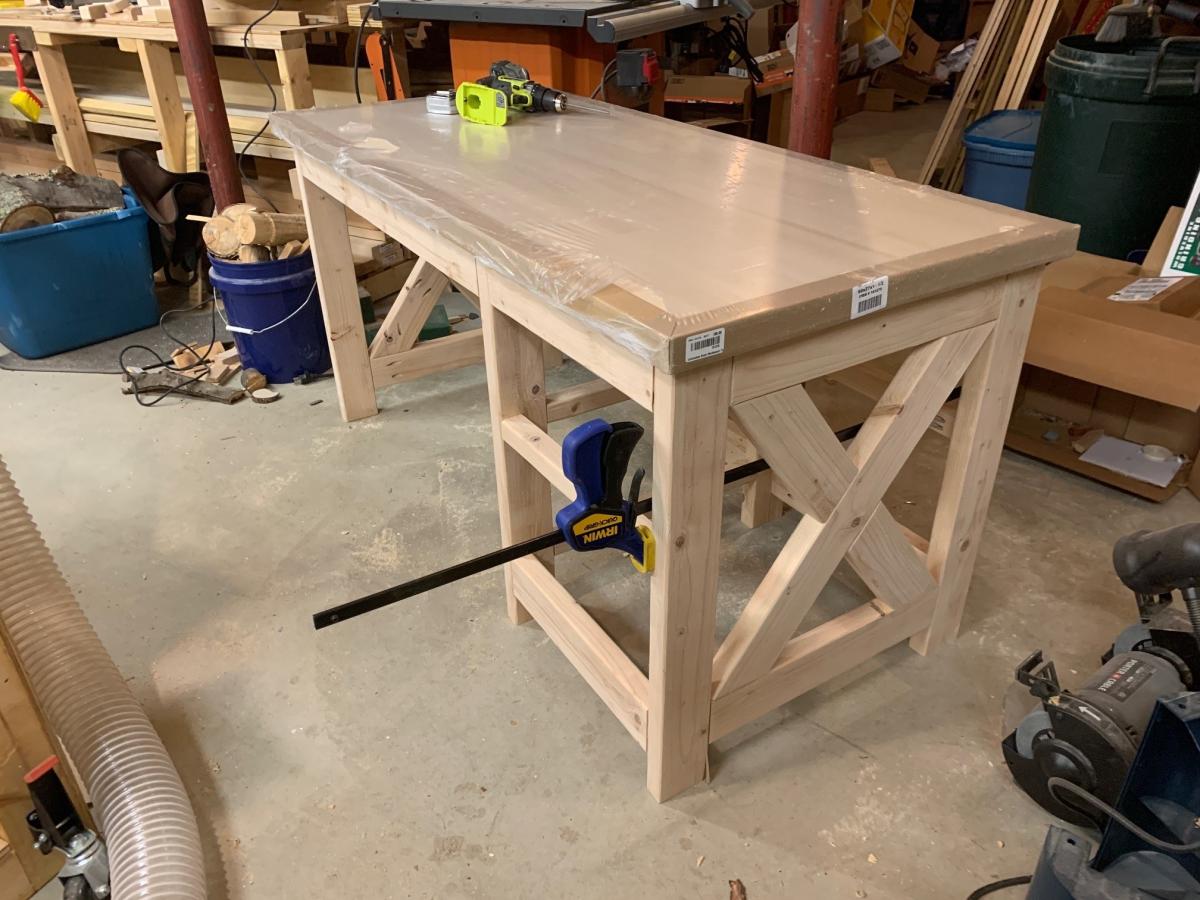
I found a birch butcher block top, 27" x 60" on sale for less than the cost of building my own top. I had to carefully adjust the measurements of the plans and also doublechecked before every cut. Measure twice cut once was definitely a good idea for me this time.
I used Z Clips to hold the top to the 2x4 frame and used my biscuit jointer to cut the groove. Took several test cuts to get the right height. I finished the top with Helmsman Spar urethane and five coats of poly. The frame used a primer and some Behr paint (I decided the color "Coffee Bean" was perfect for my long days at the office).
I plan on making slideout drawers soon, with bottom mounted drawer slides. Some baskets would work too.
So far I'm quite happy with how it all came out.
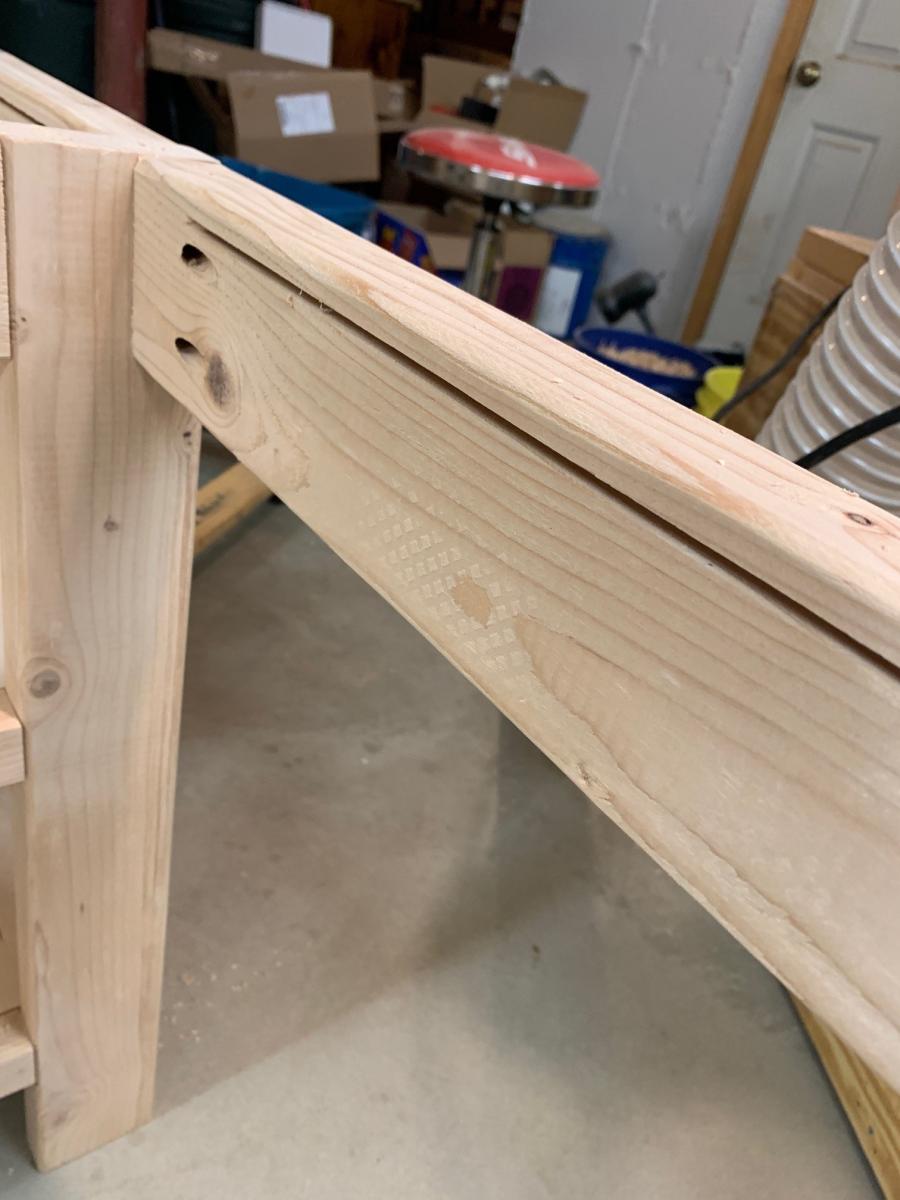
Sun, 01/16/2022 - 15:40
That is a gorgeous desk, thank you for sharing, wonderful build!
Fri, 01/28/2022 - 08:45
Thank you! Haven't decided whether to build drawers or not, it's definitely sturdy and heavy!
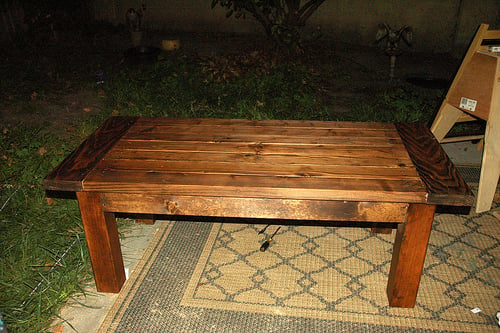
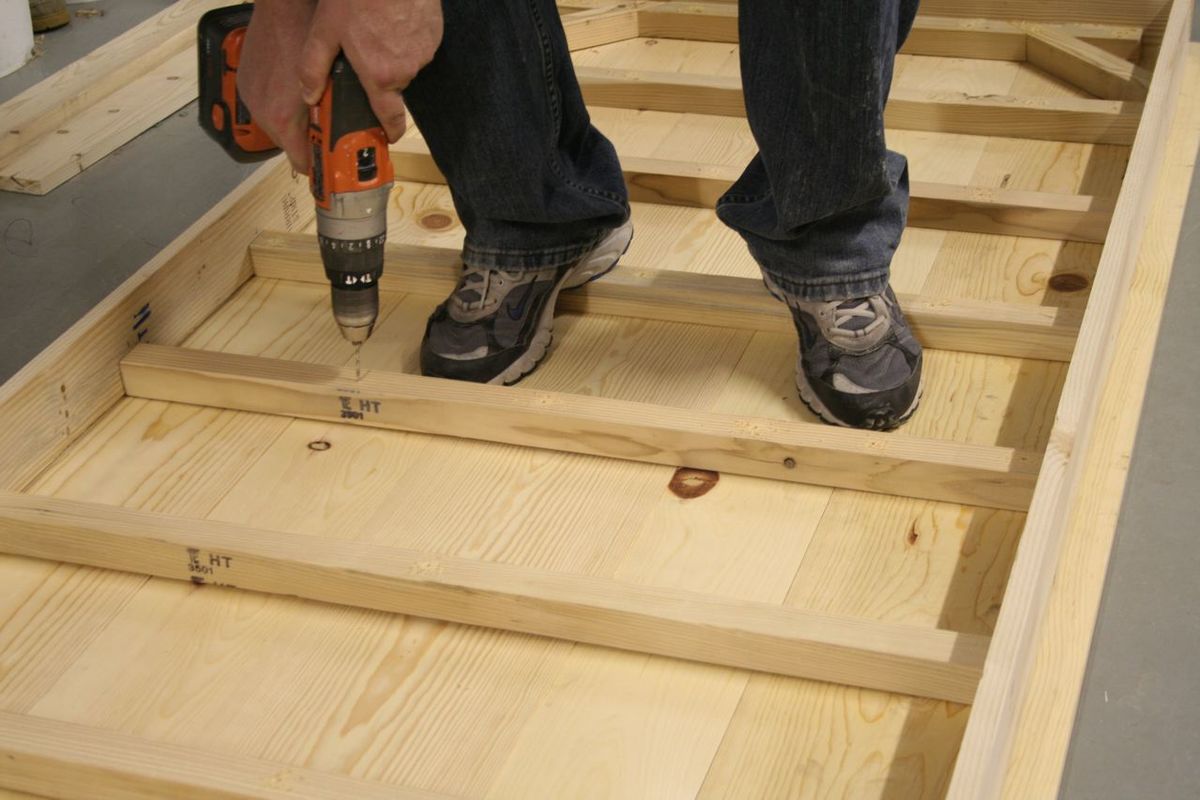
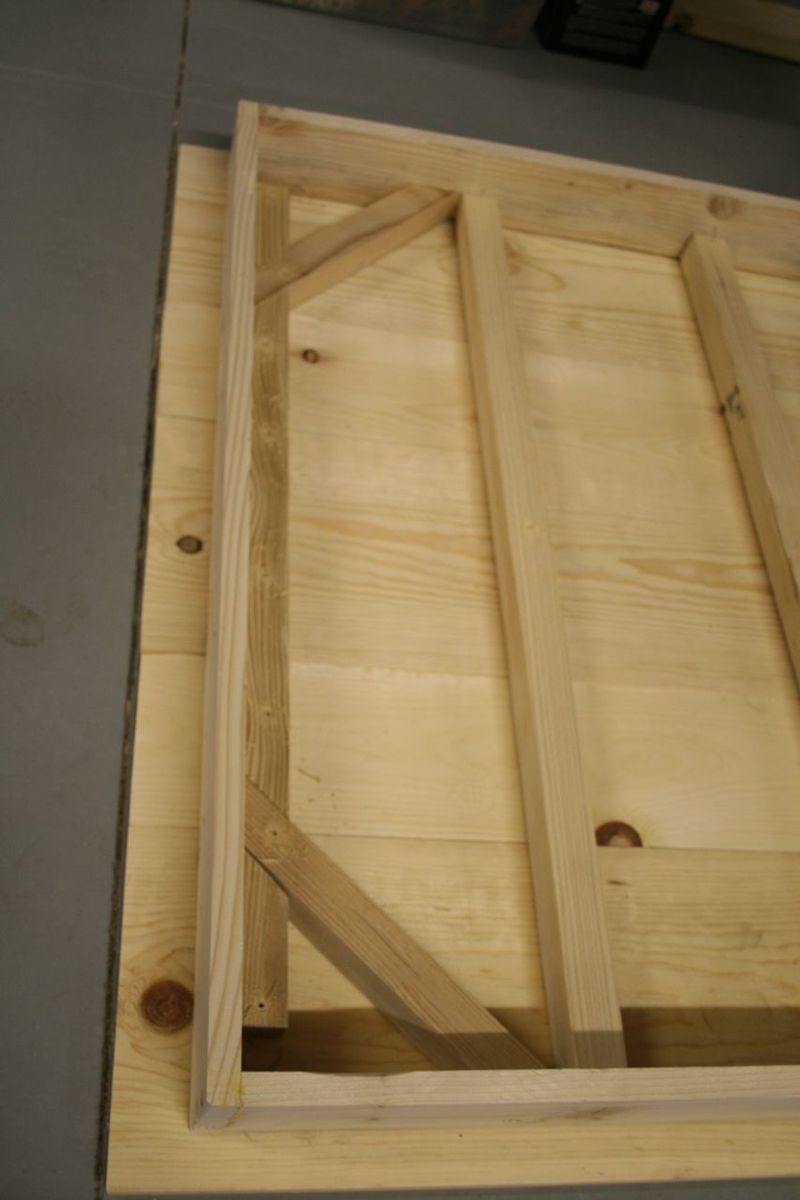
My friend and I made this table. It took about 8 hours, mostly because we were trying to figure out the drill & we cut one of the wood pieces wrong and had to go get another one. We also cut all the wood with a jigsaw. Crazy yes, but it worked out ok.
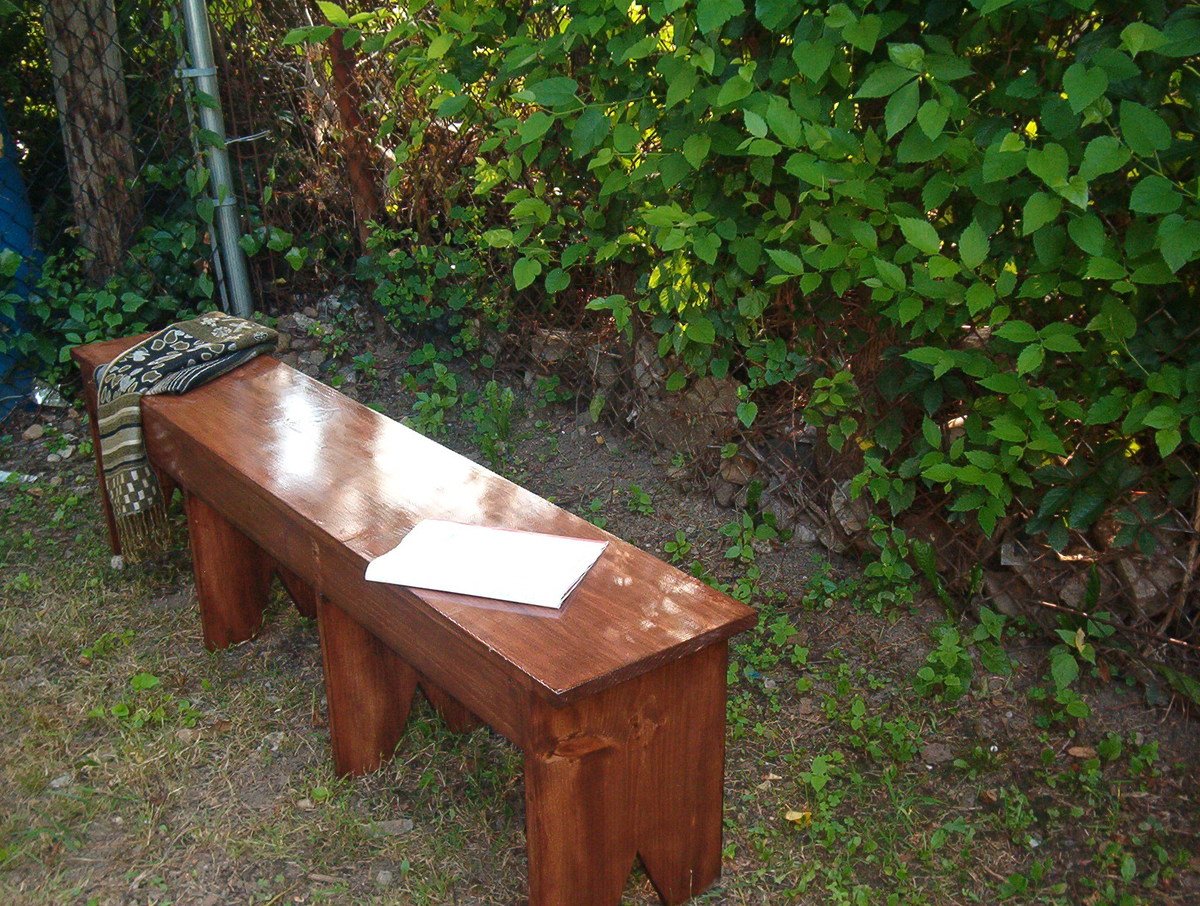
This is the second project I've completed and I'm very proud of it. The design was changed just by adding four legs instead of three. It took me awhile to get the color even. Sanding between coats of the clear coat semi-gloss finish would leave white marks/residue that was difficult to clean away. I would have to restain those sections with a swift wipe on/wipe off action. This made the color deeper but also richer. During the summer months, the bench will be outside but will serve as indoor seating in the winter.
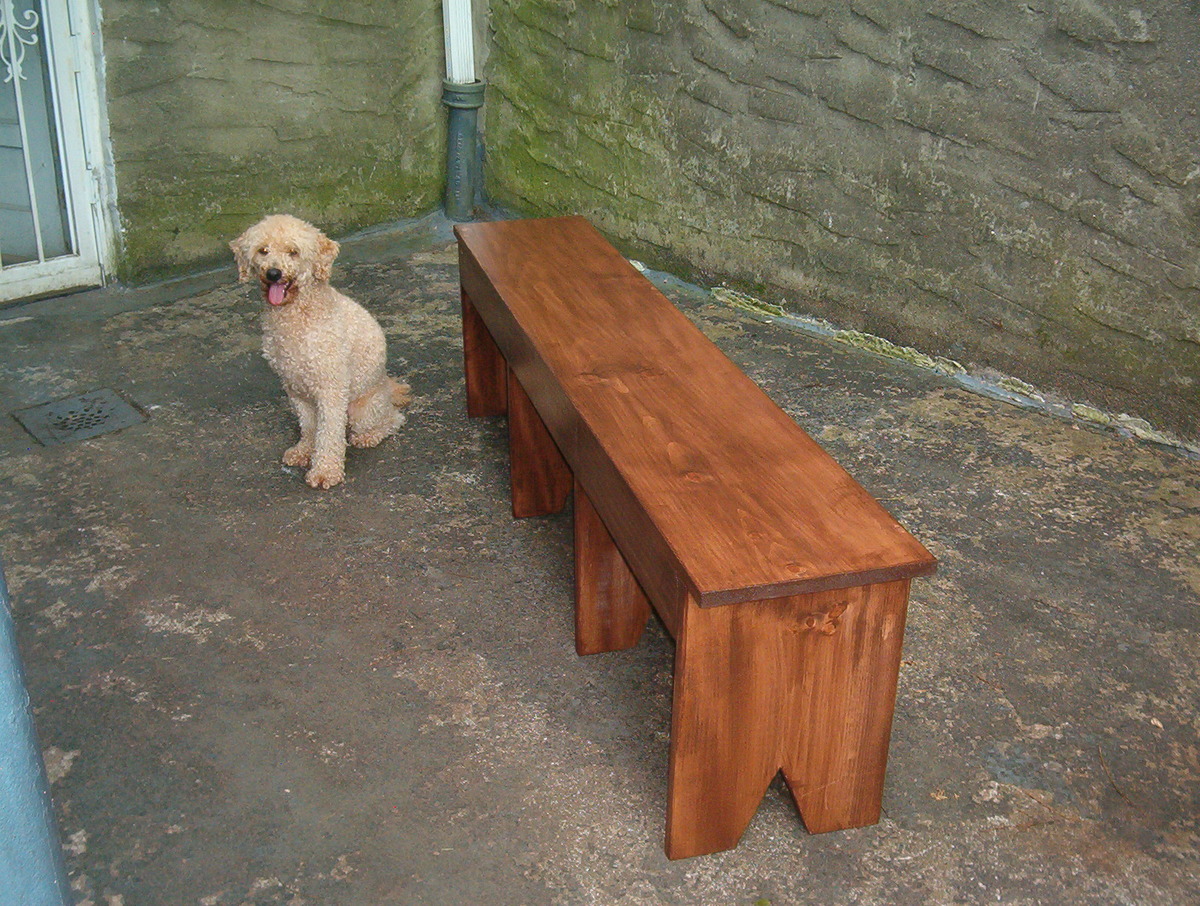
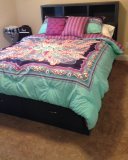
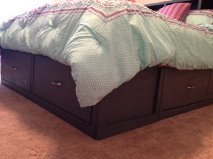
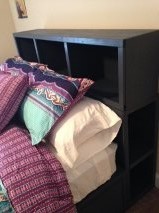
We made this storage bed for our teenage daughter. She helped! She picked out the stain, comforter, and went through different plans with me to make it her own. She learned how to use a miter saw, sander, etc. and it was a great bonding experience. It's a few different plans, and we had to make modifications, but it is immensely better quality than store bought furniture we purchased a few years ago (it's falling apart!) and it has sentimental value. We are proud of the furniture, but even more proud of our daughter. :-)
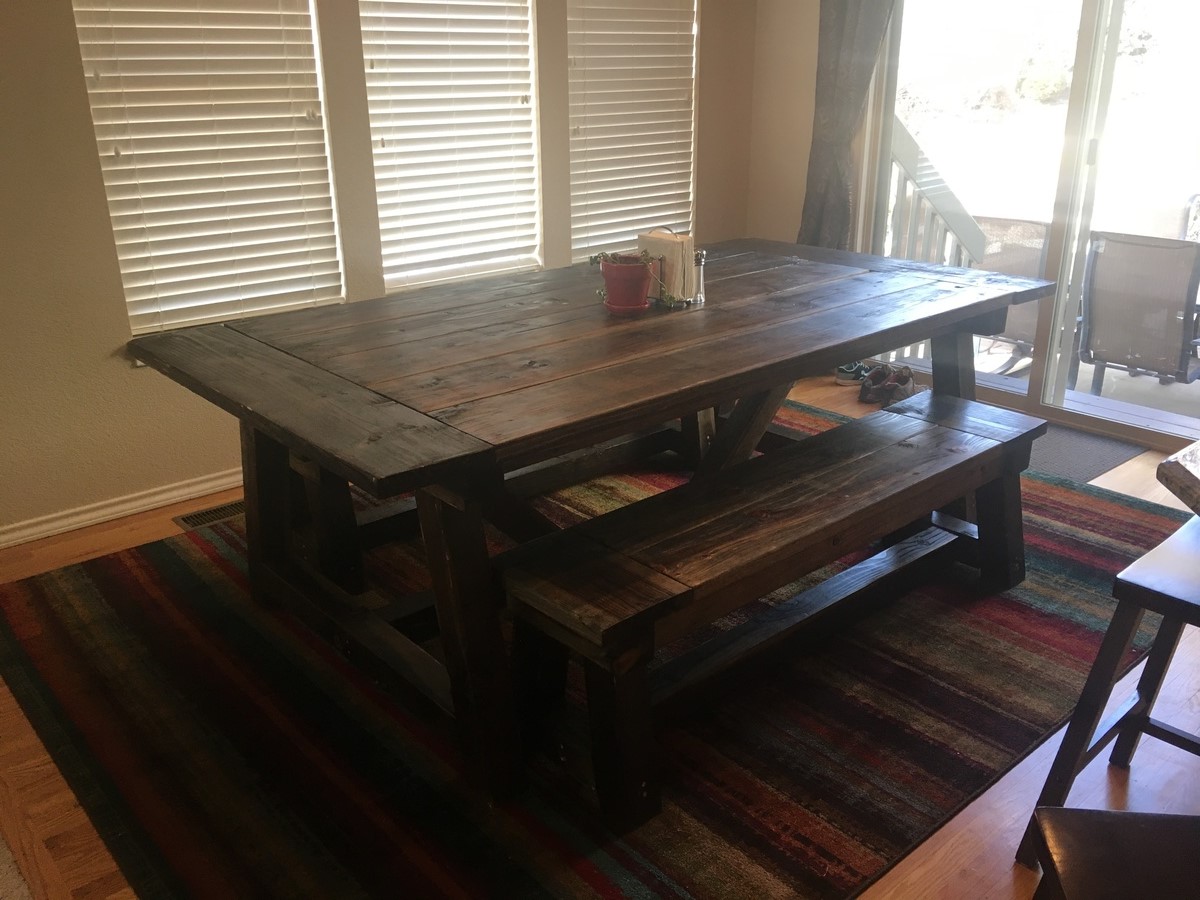
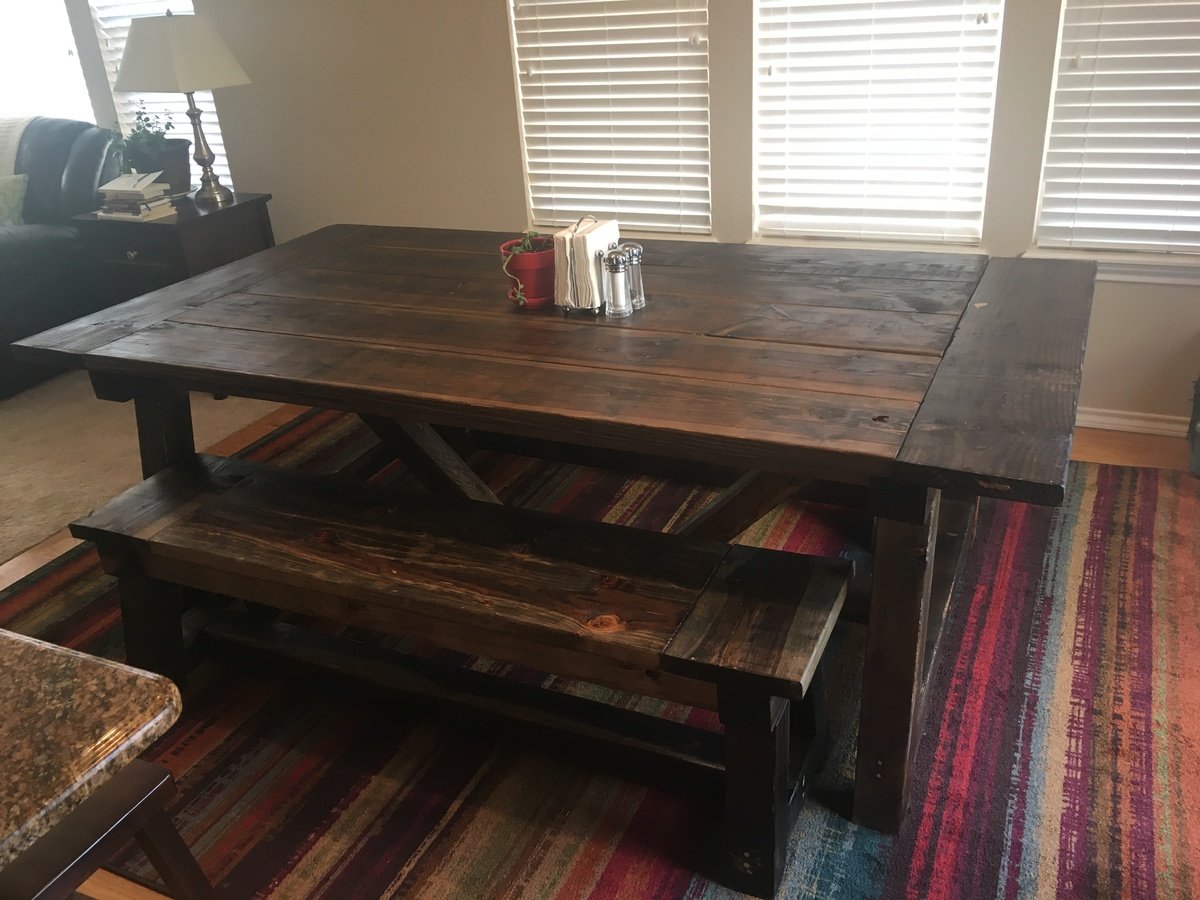
Thanks for the joy of this project! Our family of 5 just got a new kitchen table, and everyone pitched in to build it.
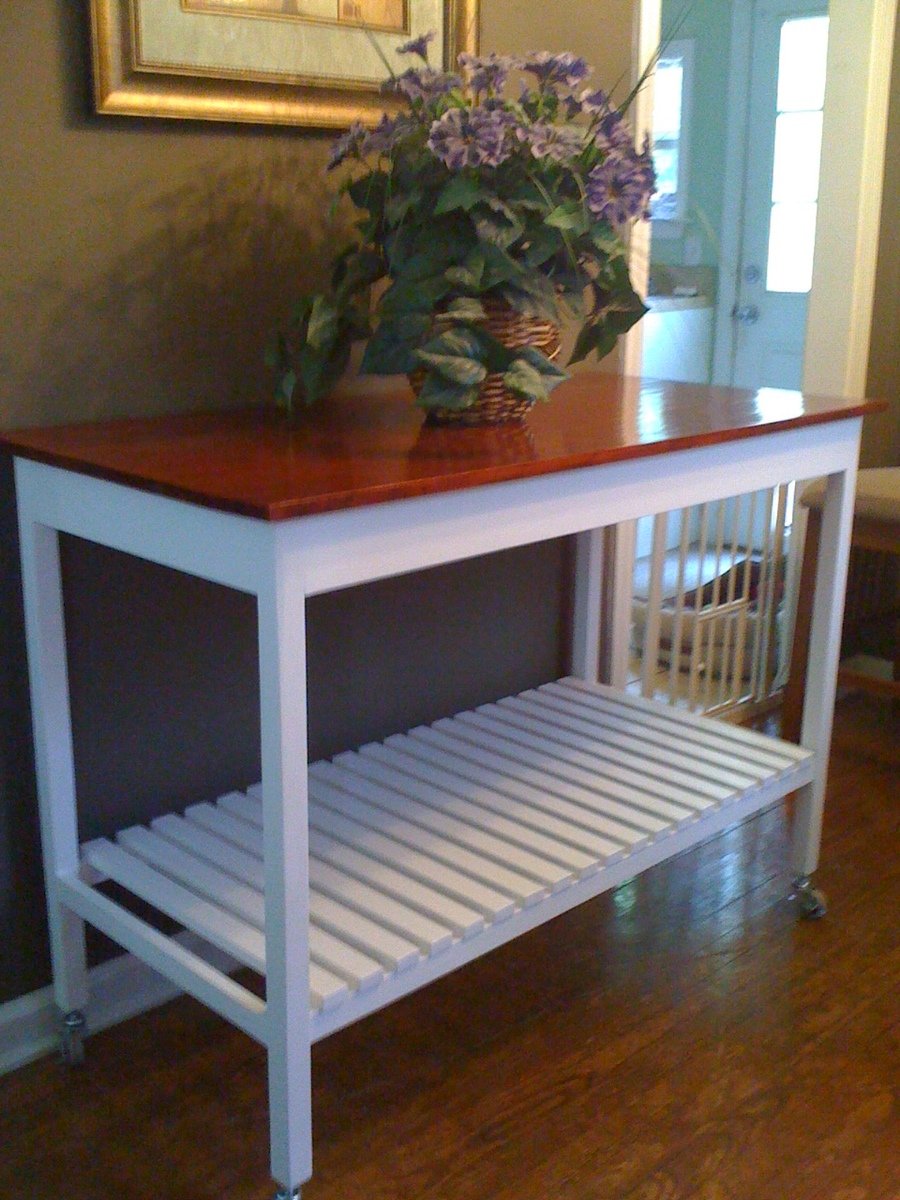
I've recently started woodworking and have gathered a few tool out in my little shed (10x12) and started playing around. After finding this site and browsing the plans I came across this one and decided I'd give it a try. The leg lengths were a little shorter than what I had expected so I added casters to each leg to raise the height a little and to give it mobility. It took me longer to complete since I was doing it in my spare time and had to figure out a few things. I bought the Kreg pocket hole kit and had to play around a while with it. I also had to practice my staining since I hadn't done that before either. Also, if possible- I'd recommend finishing the slats before putting them on.. they're a pain to try and paint after assembled. Any questions or comments email [email protected] **update 4/26/12 - 2nd picture is where the island sat since I made it- finally had to say goodbye since my house is tiny-- Quick $125. First day it was posted on CL I had 5 responses- within a week and a half it was gone**
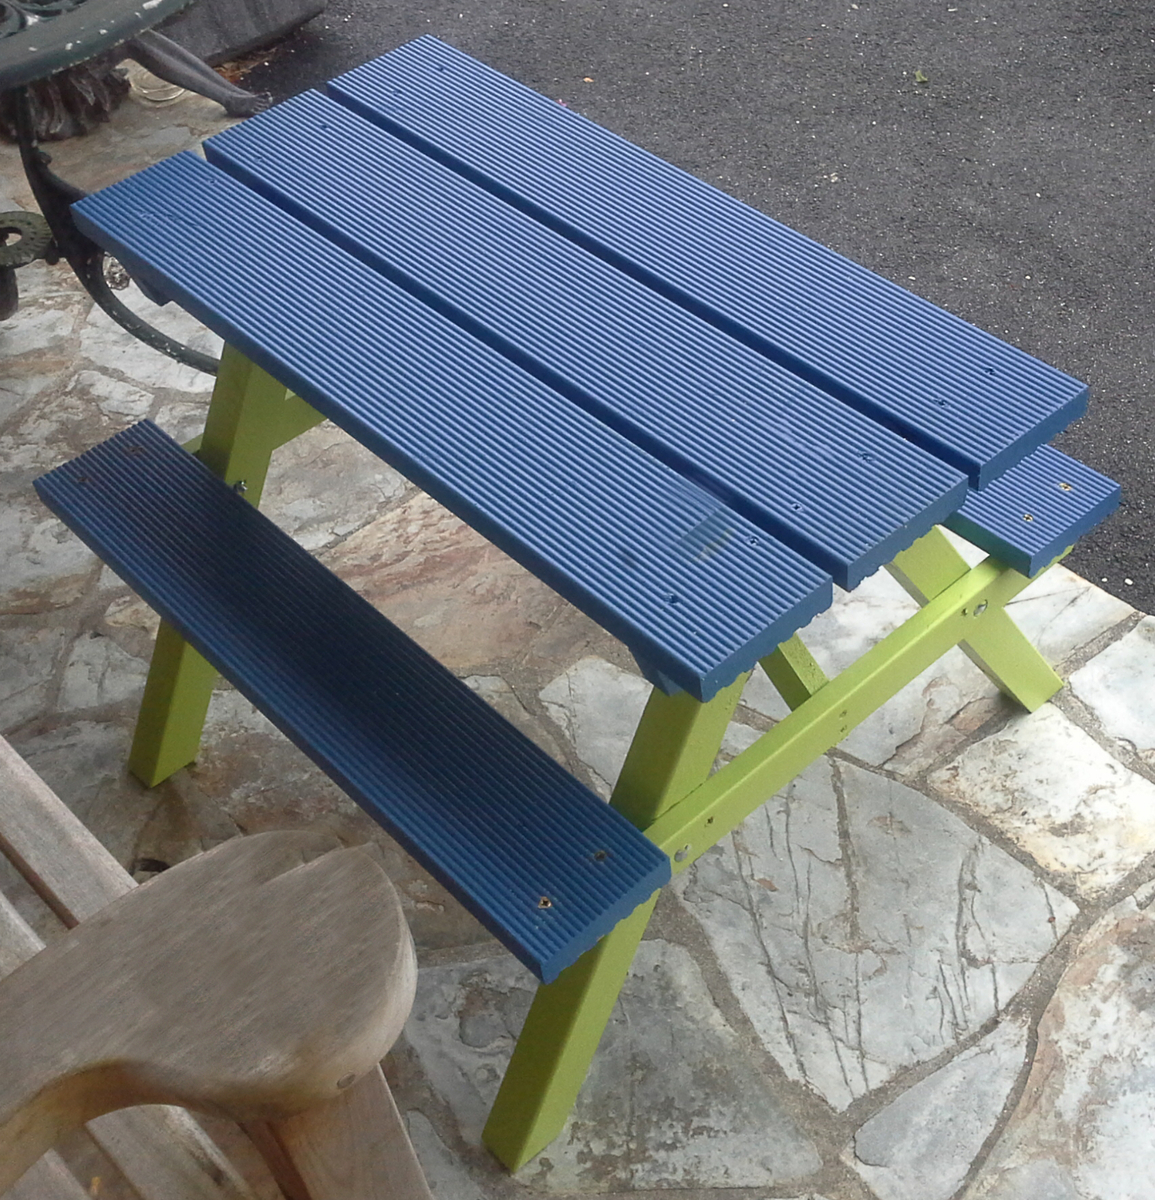
I was looking for inspiration for the grandchildren when
I came across the full size version. I have now made 3 of the 1\3 sized as pictured, in different colours. It takes longer to paint them than make them.
One of the most rewarding, yet frustrating projects done to date.
A project completed over the course of several weeks challenging the limited tool set available.
In the end, the cost of new tools and frustration of assembly was all worth it!
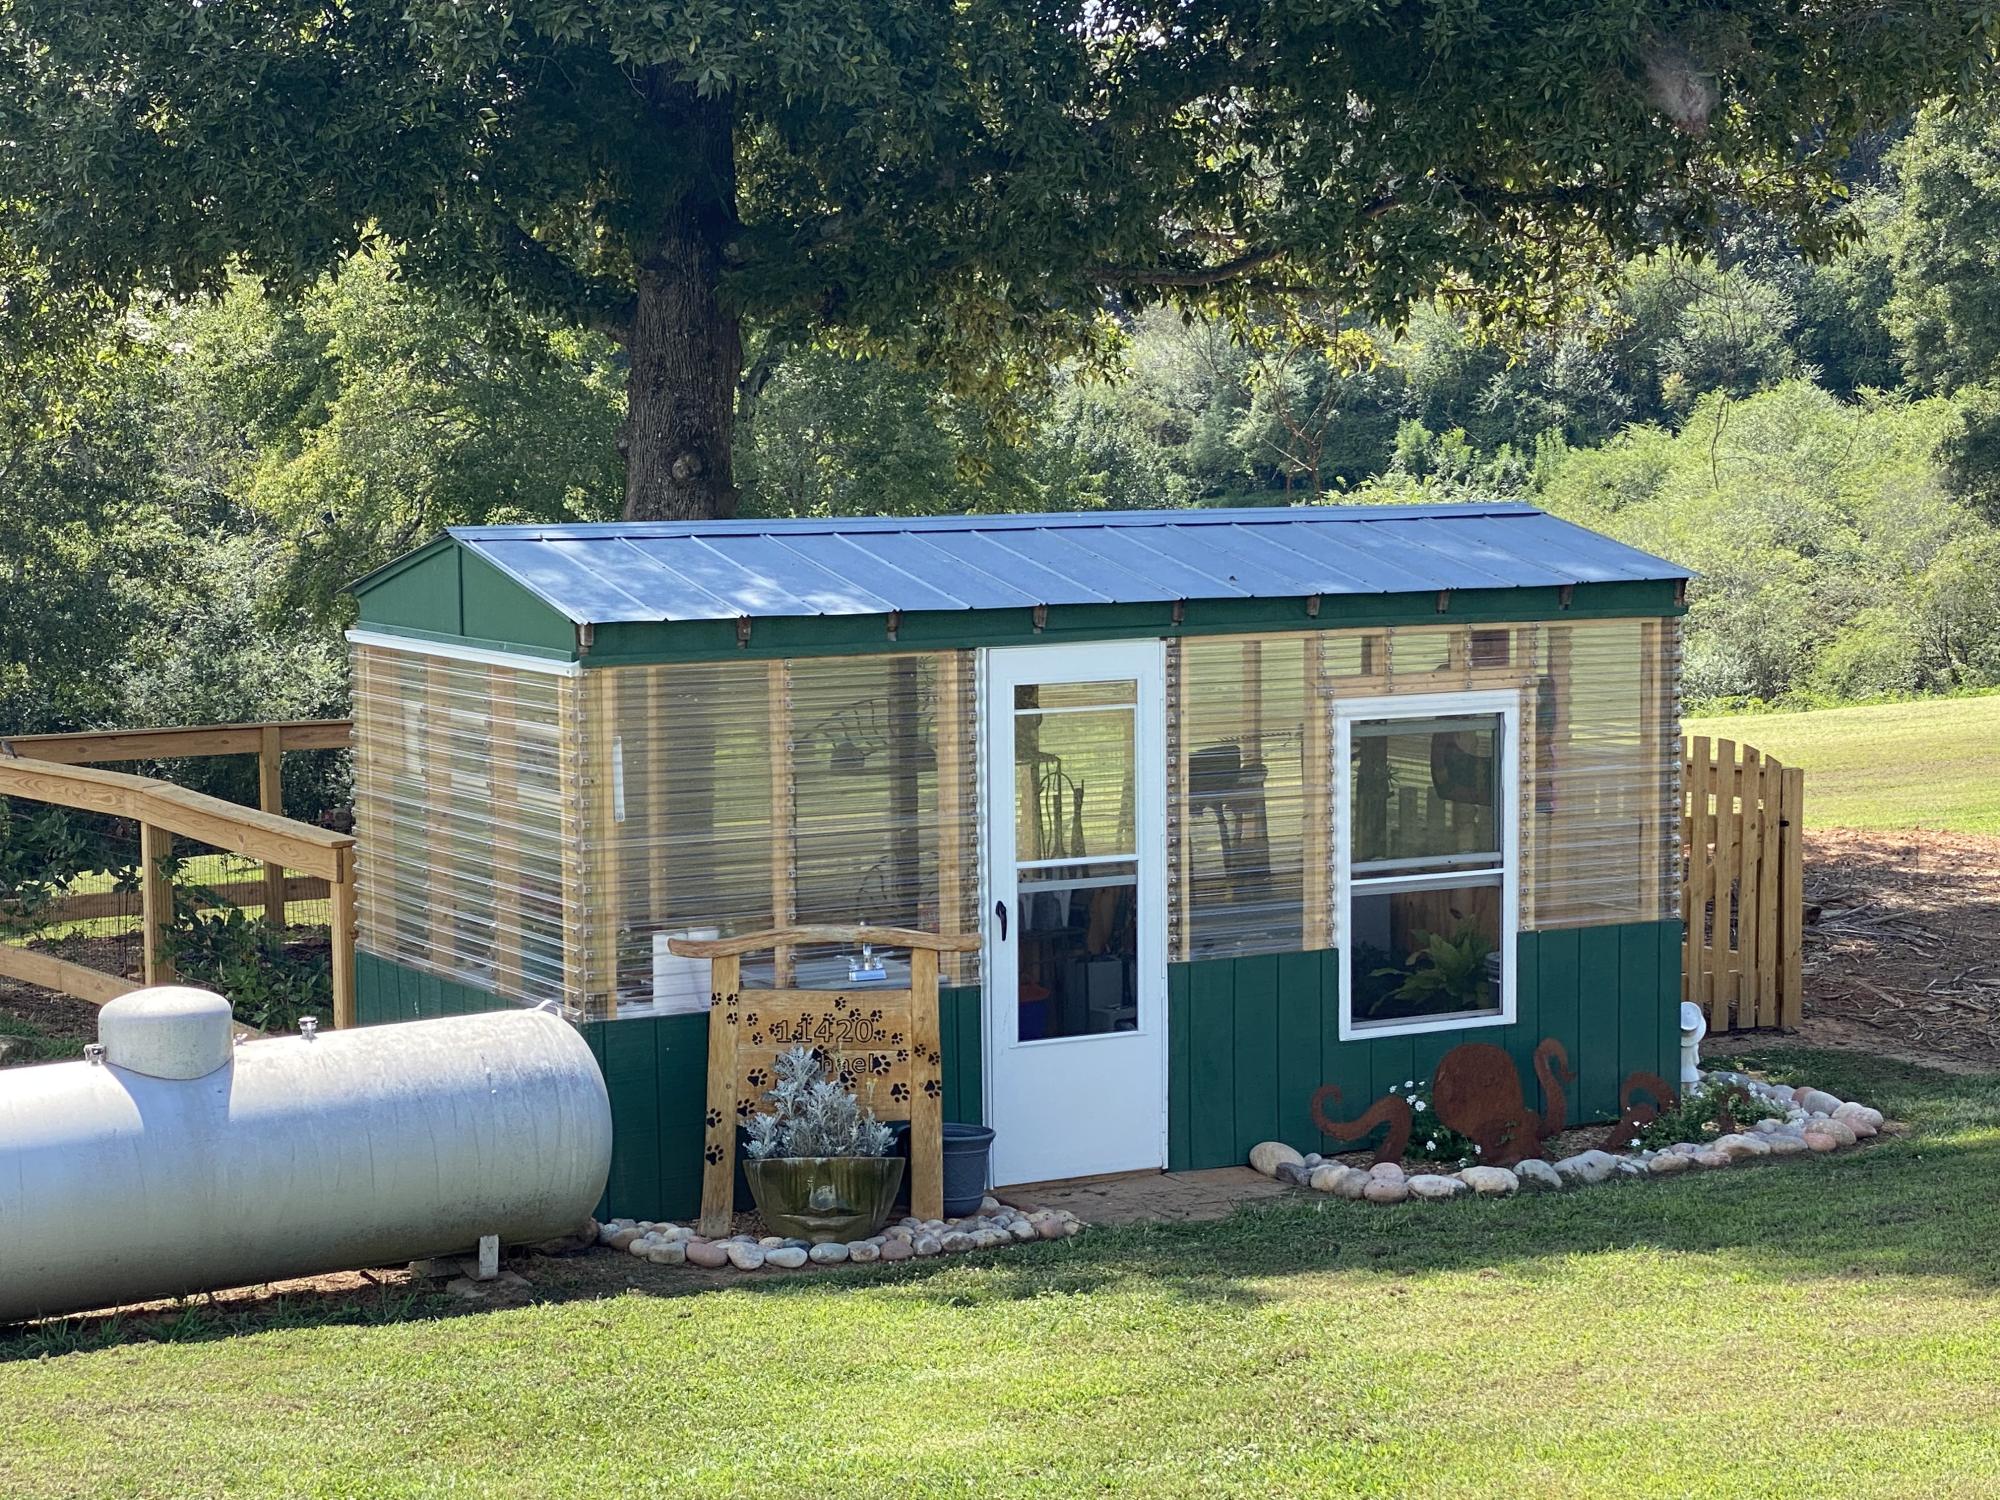
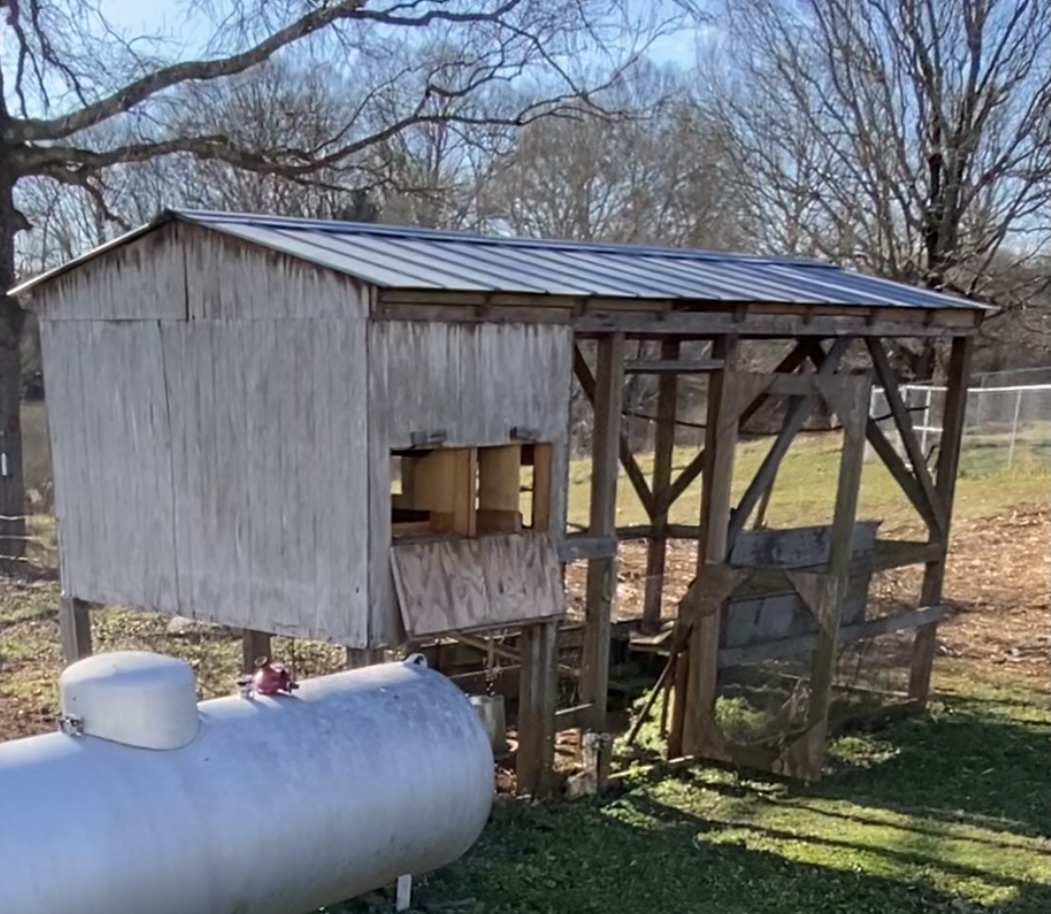
Using a couple of the Ana White Plans and YouTube videos, converted a run-down, Carpenter Bee infested chicken coop into a functional greenhouse with running water and electricity.
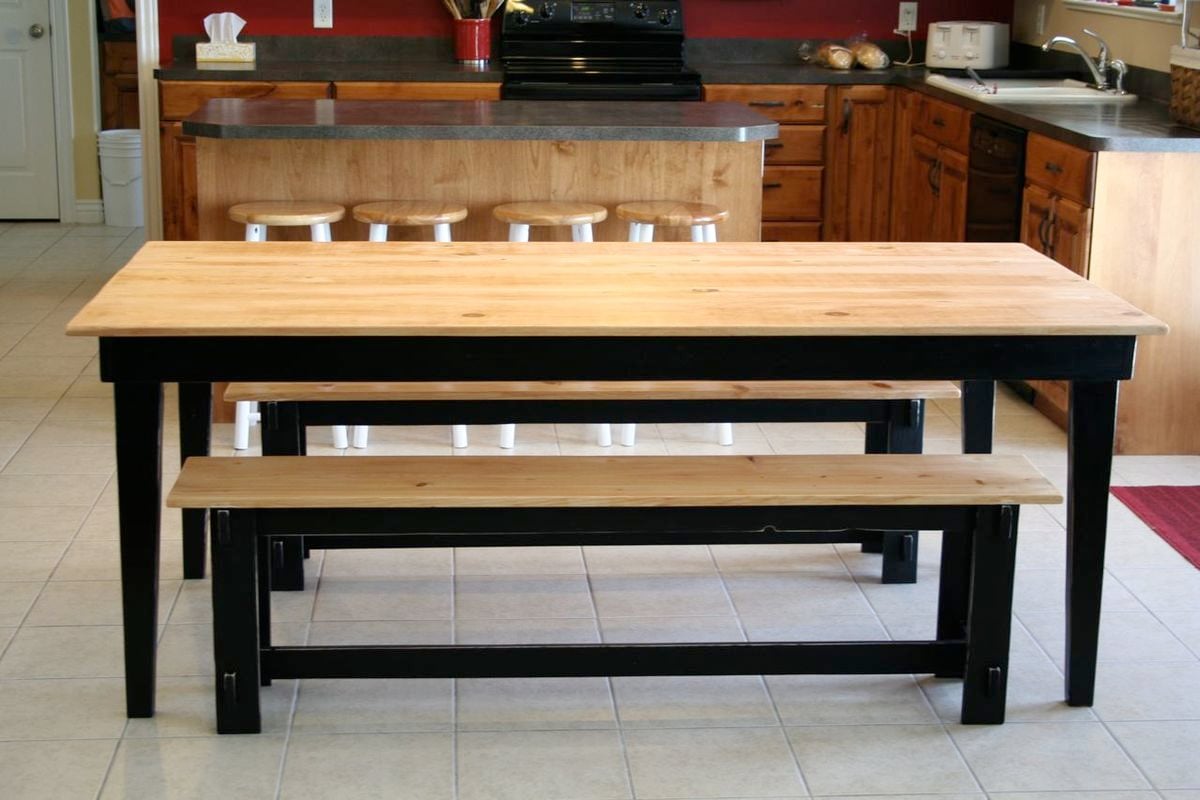
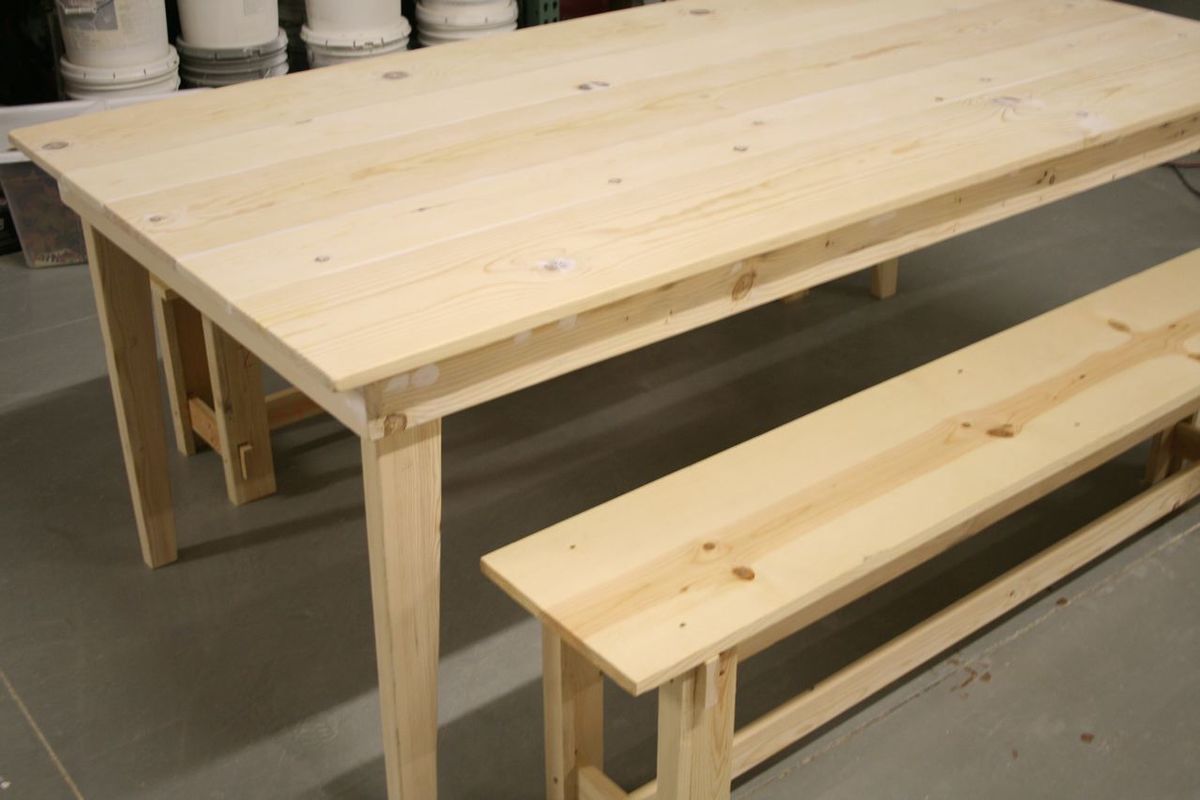
We shortened the table and lengthened the benches - you can see all our details and changes in the blog link.
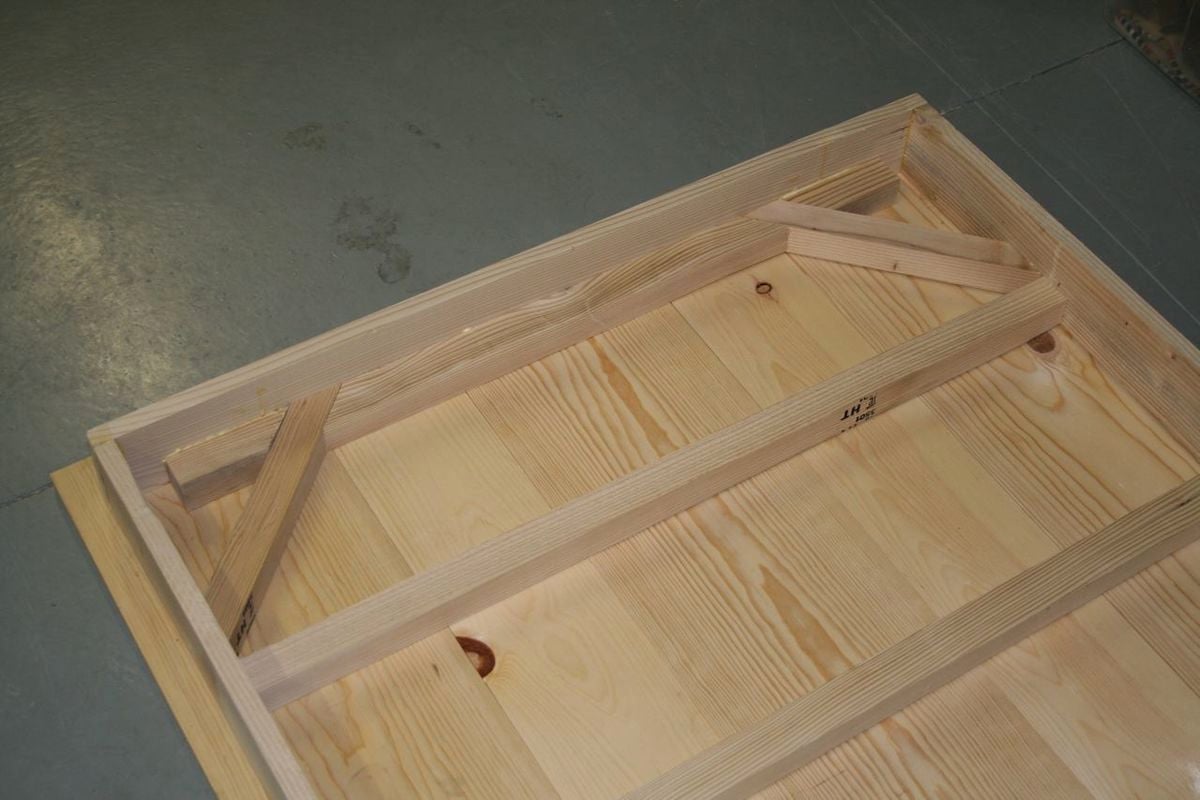
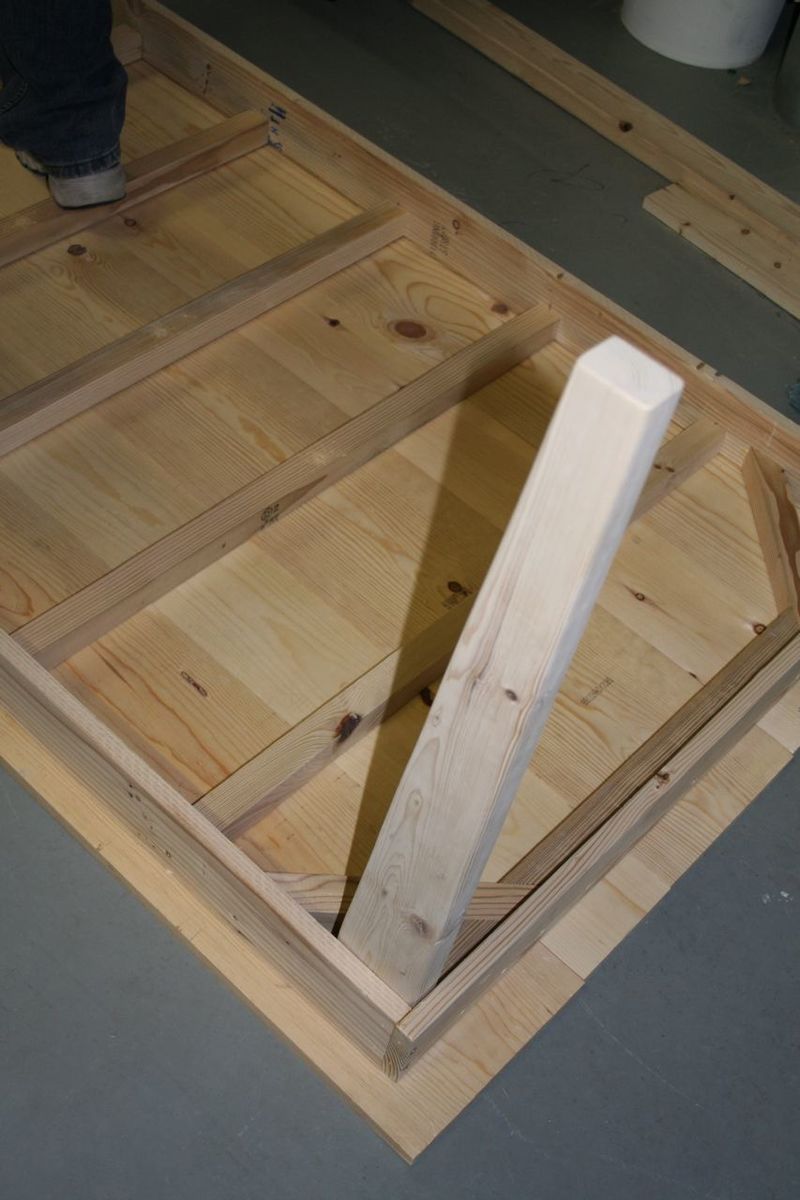
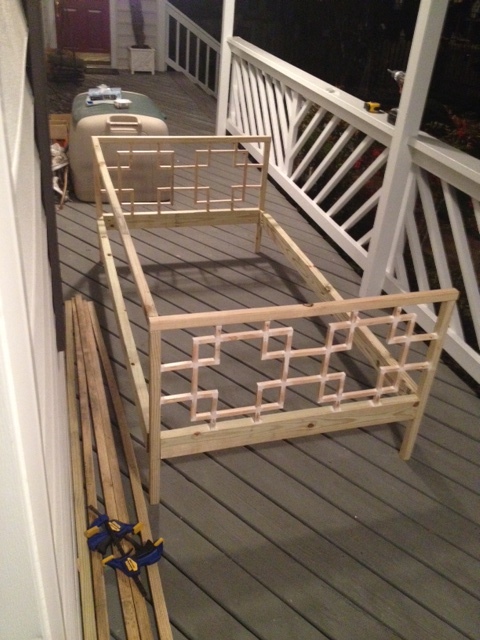
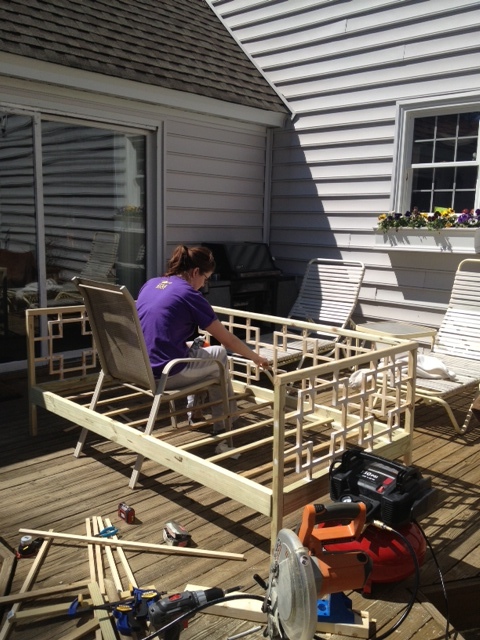
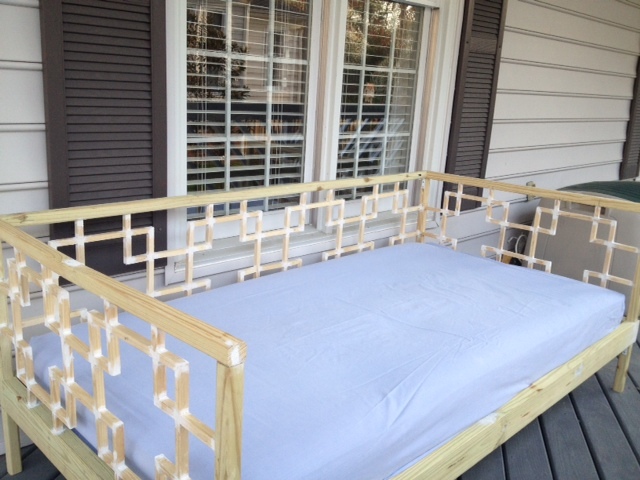
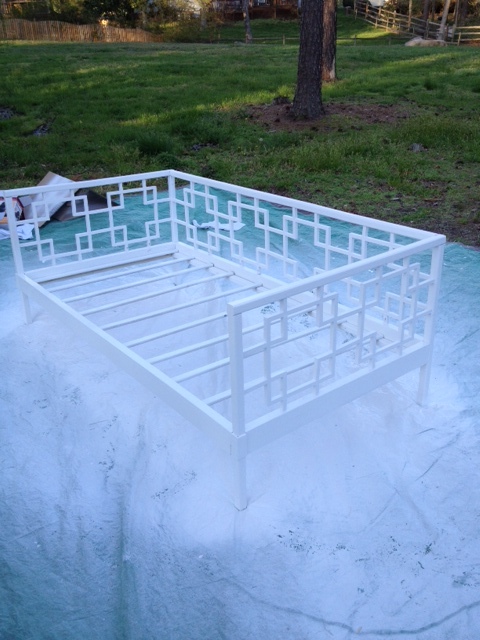
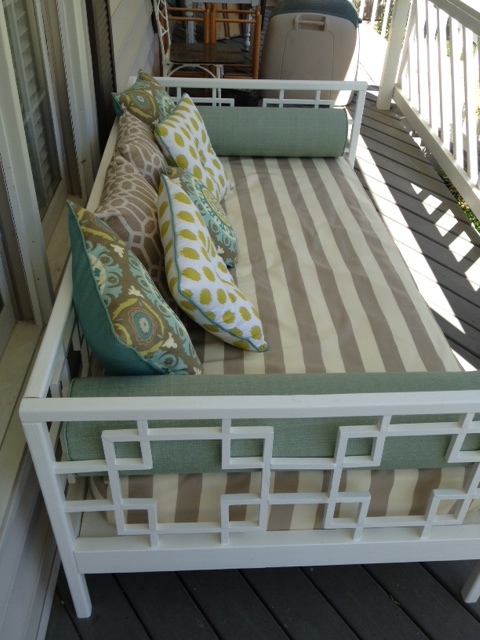
The daybed took about 4 weekends, and started with a lot of trial-and-error. Around the 3rd weekend, and a lot of "redo-ing", it started taking shape! This daybed will go on our screen porch, along with the homemade outdoor pillows and mattress cover. This project was definitely frustrating at times, but has been well worth the effort.
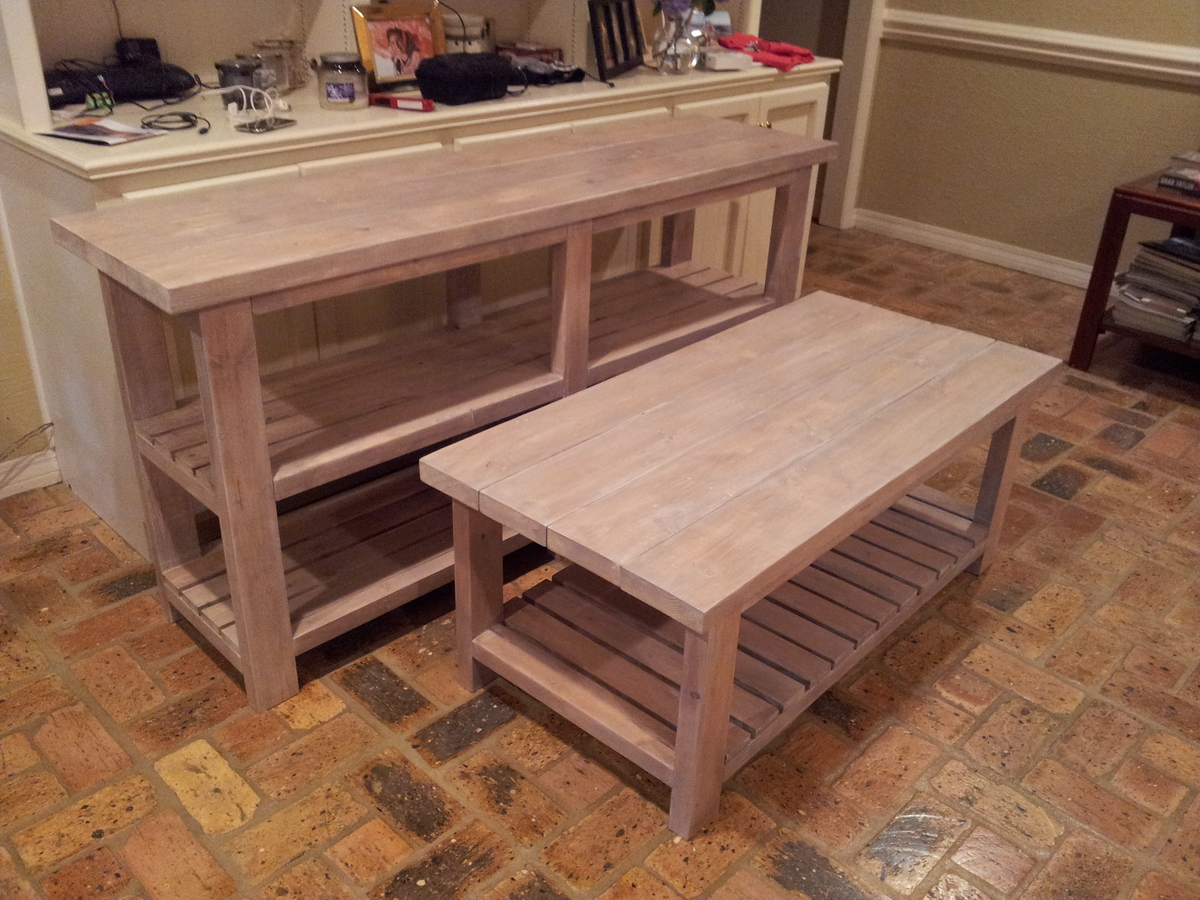
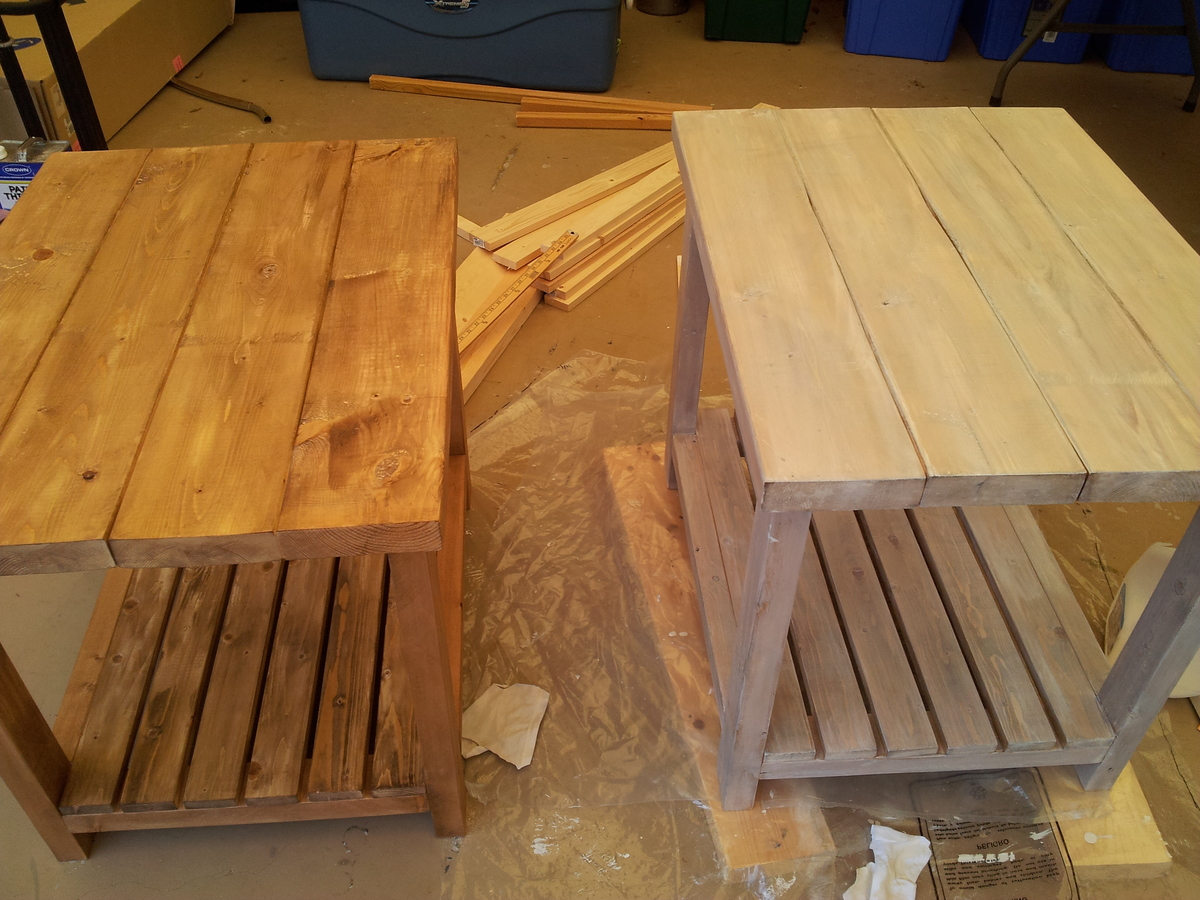
I modified the Rustic X plans by removing the X's on the sides and using 1x3in slats on the shelf. They were made for a beach condo so I wanted a more open look. I wanted a white washed finish and after trying several ideas from the internet I came up with this process: First, I used rags to rub on Minwax Special Walnut stain as lightly as I could. Second, I diluted latex satin white paint, at least 50-50, and brushed it on a small area and immediately wiped it off with a clean rag. I used Minwax Polycrylic as my protective layer.
Mon, 07/20/2015 - 14:57
The Rustix X plans use the hidden pocket screws using the Kreg Jig tool. It really makes a strong joint. All the hidden pockets are on the underside of the trim pieces. The top and slats are screwed on with normal wood screws, again from the underside.
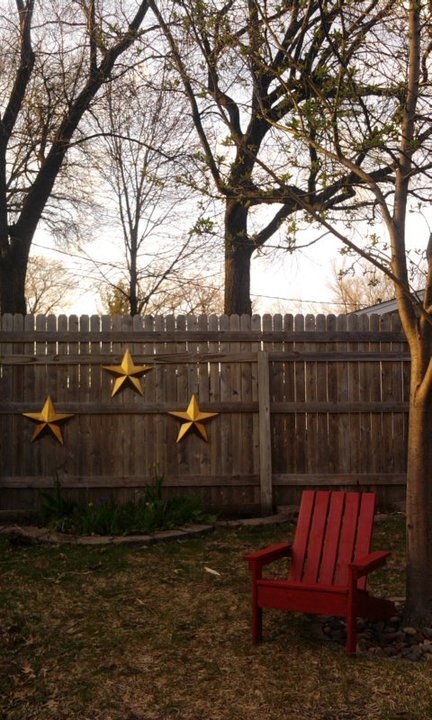
This was a very simple build, but to do it again I would attach the arms to the arm supports at a 90* angle before attaching them to the chair itself. My kids love this style of chair and are thrilled to have their own nice loungers out in the yard!
This was the first project my husband and I attempted. I'm new to building but he has lots of experience. Went real well, I should have taken the advice though to measure and cut trim at the end. I did it at the start to get it sanded and we ended up needing to redo it all with new wood. So happy with the end result though, tons of storage for baby's toys.
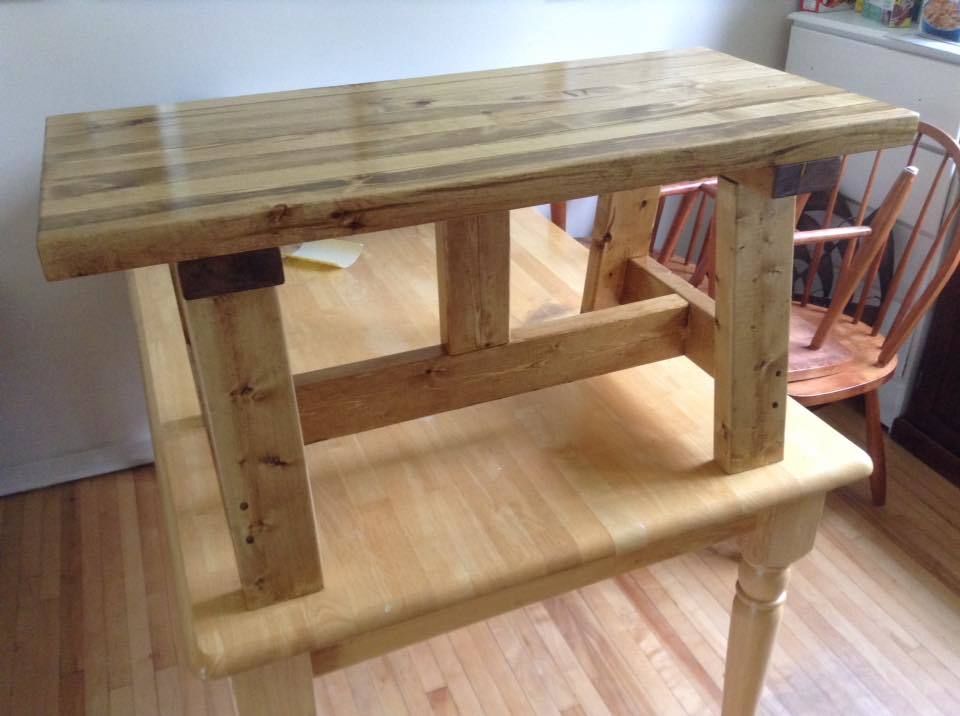
My neighbours had noticed the things I build and asked if I could build them a nice bench. I had some very nice pieces laying around that I thought would be amazing to laminate for the top. After completing the top which was alot of elbow grease, I needed to build the base. I cannot for the life of me find the link, but I know it was from Shanty Chic. It is absolutely beautiful, one of my best pieces of work.
Tue, 07/21/2015 - 09:42
It looks like a recent post from Ana's site: http://ana-white.com/2015/07/free_plans/2x4-truss-benches-alaska-lake-cabin
Mon, 02/20/2017 - 08:12
I don't remember which plan I got the base from, but the top is of my own design, and I spend awhile figuring out what kind of base I wanted, but it is suppose to be representative of an old design from Pottery Barn, was built for some friends that needed something heavy duty.
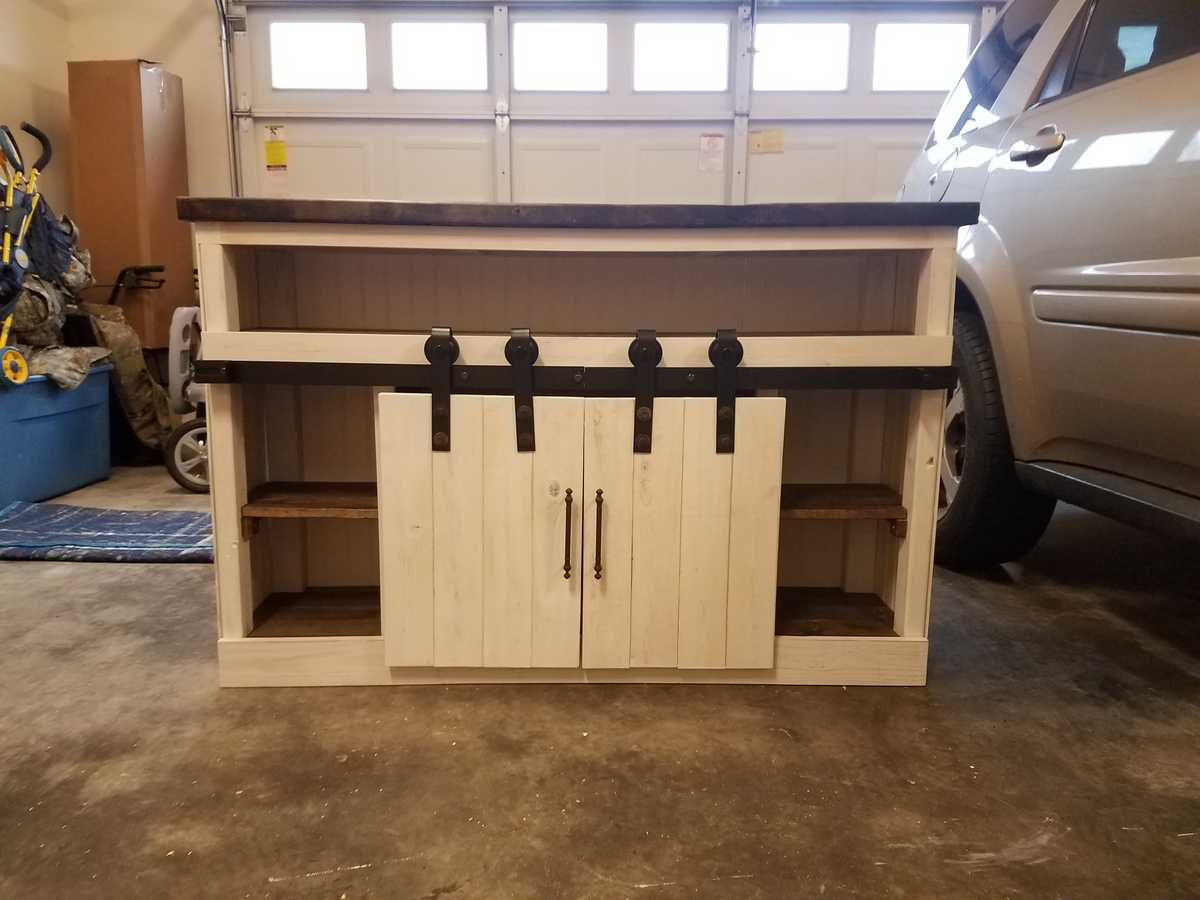
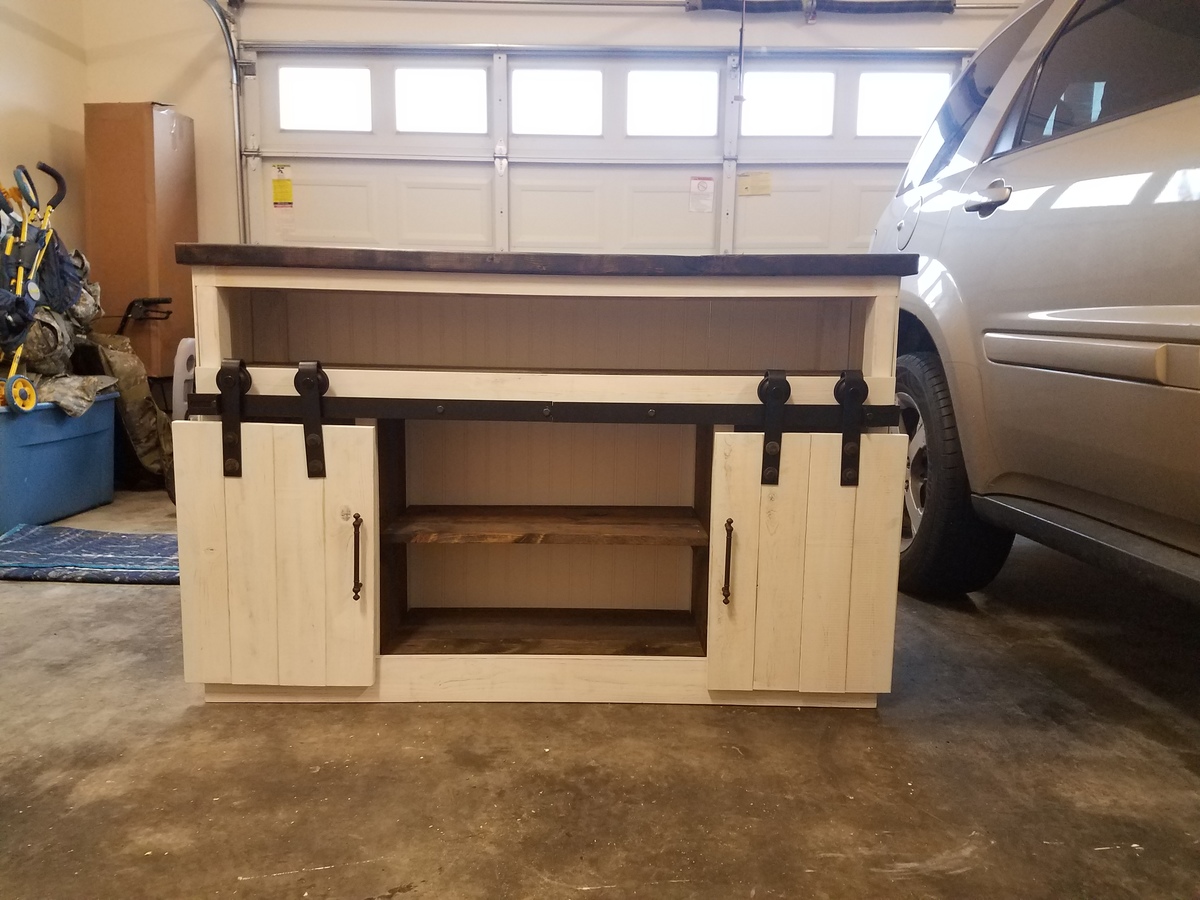
Built a smaller version of the grandy console with slot in the top for a sound bar. This was my first time using barn door hardware. Was a good time.
Comments
lscrandall
Sun, 07/14/2013 - 08:25
Cubby Shelf storage
My next project! I love the way this came out. Great job.
sean1023
Sun, 07/14/2013 - 11:13
Thank you
Thank you