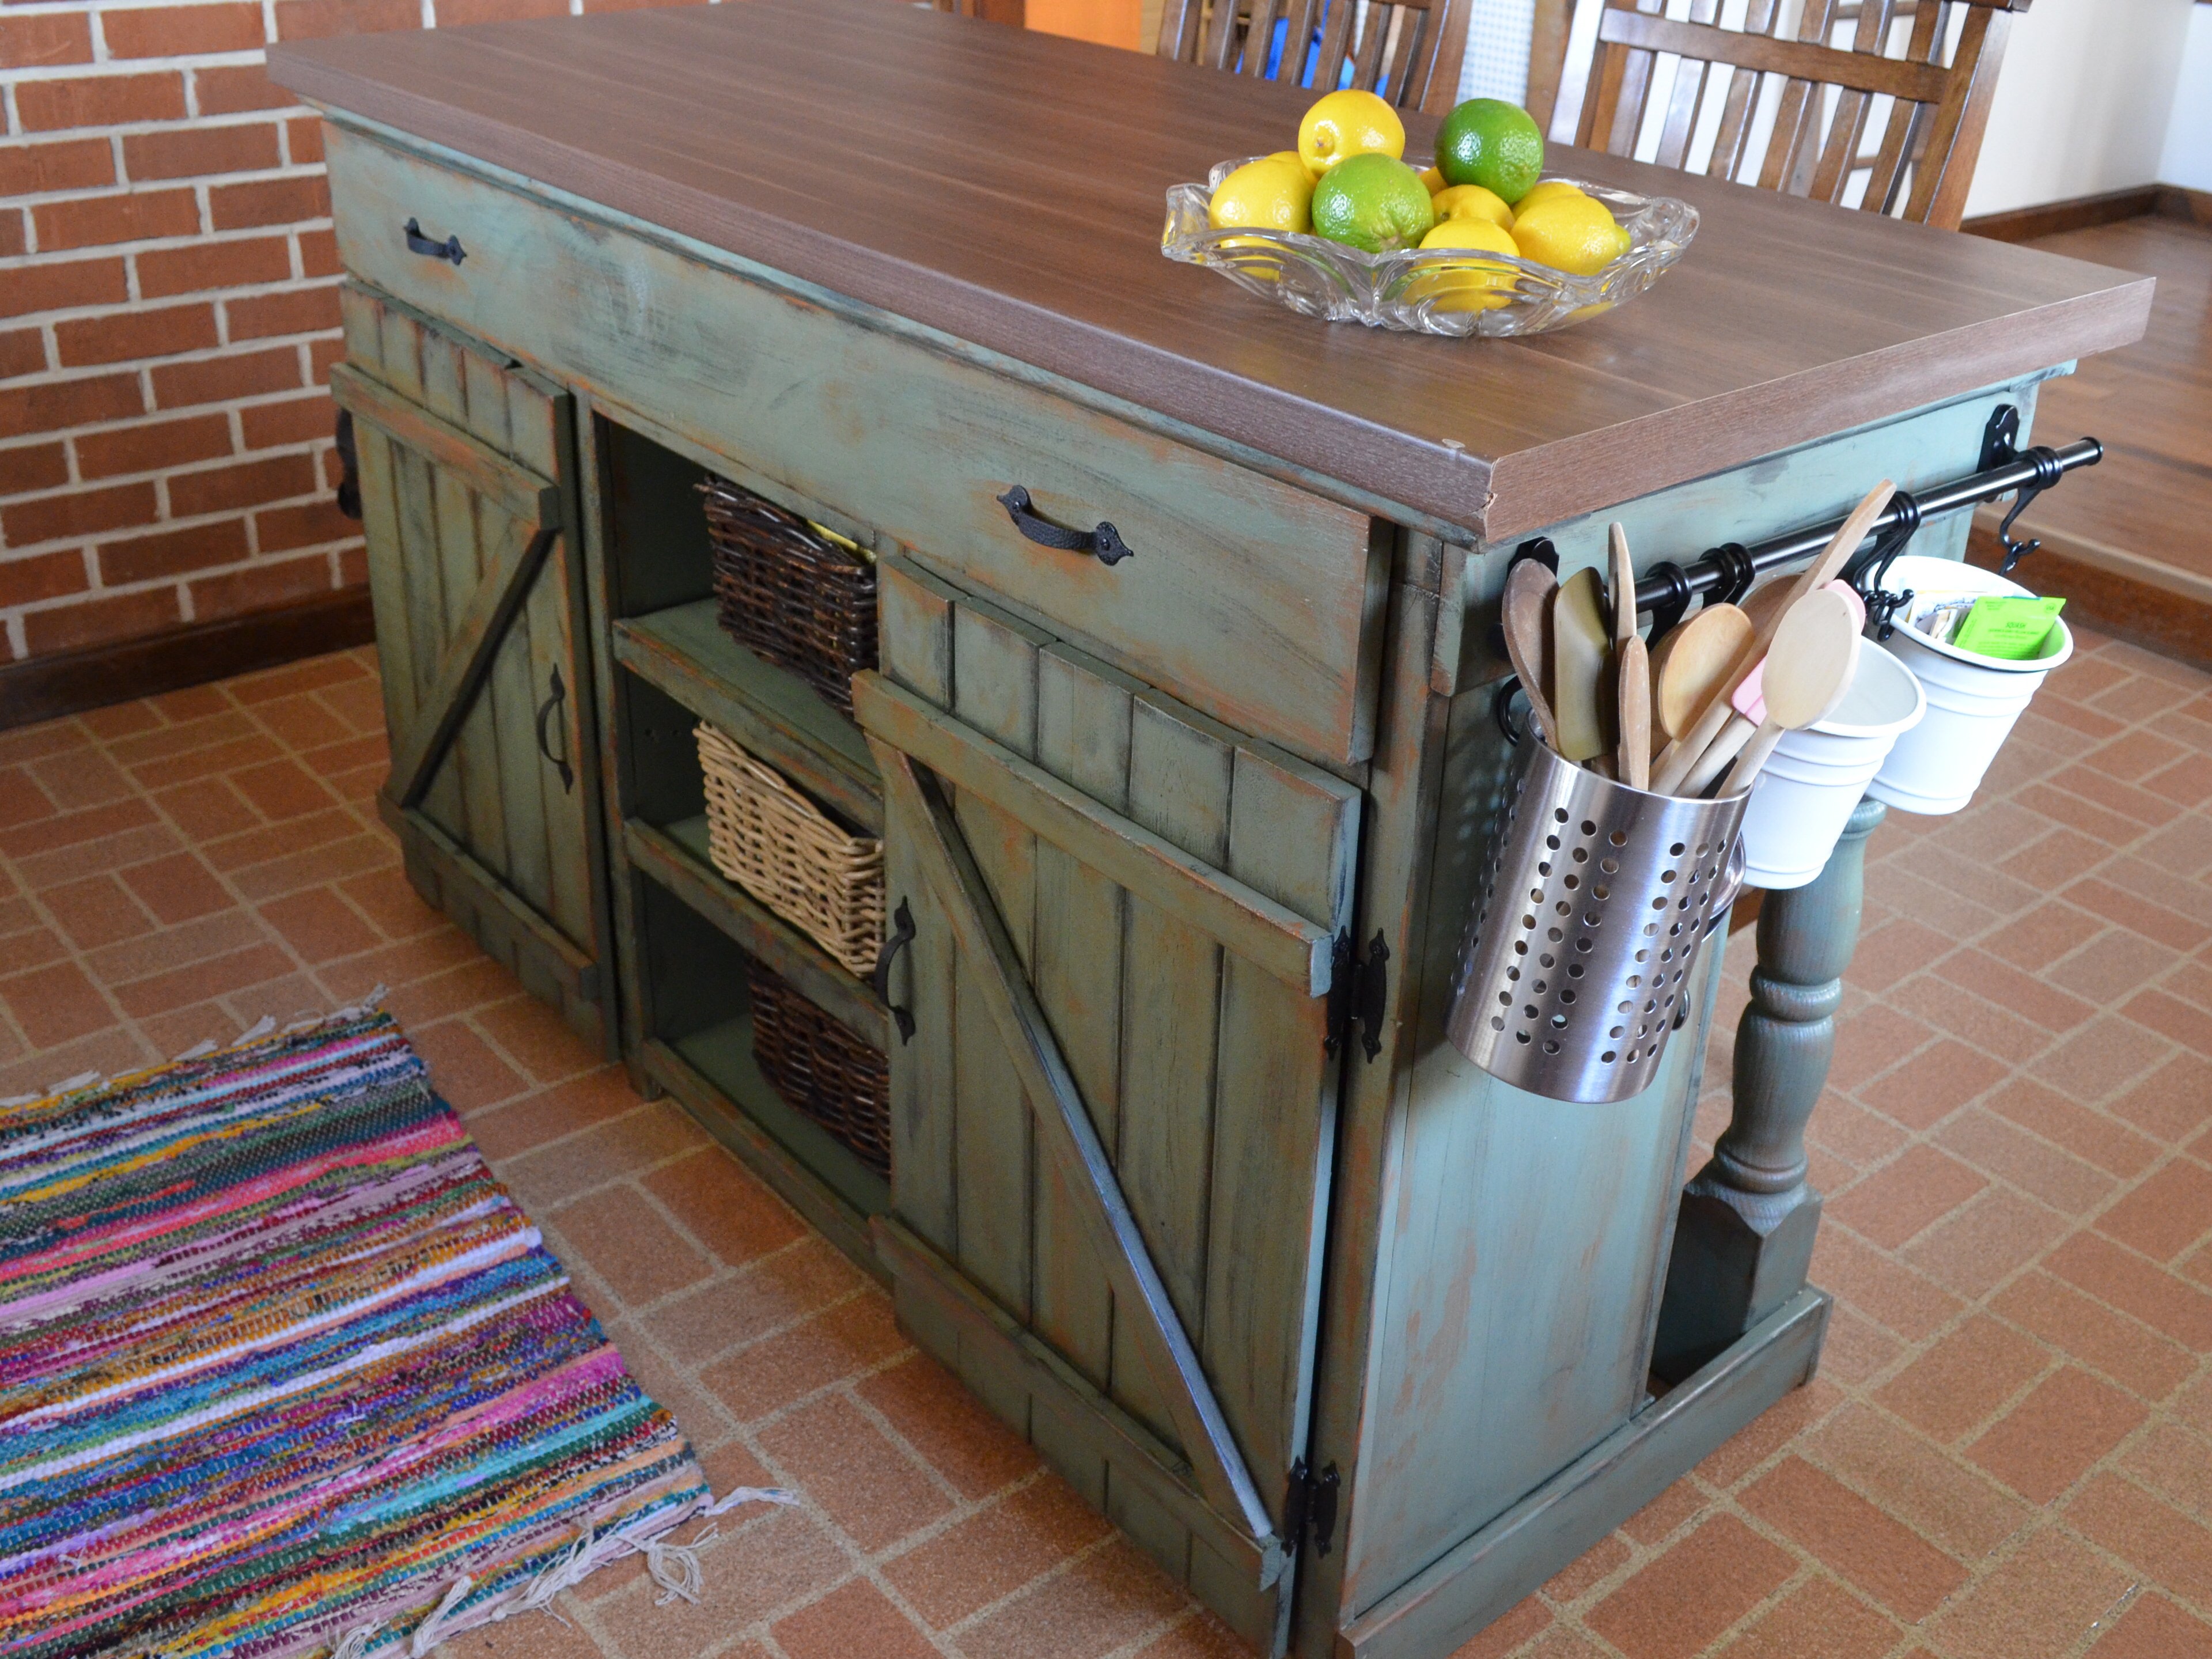
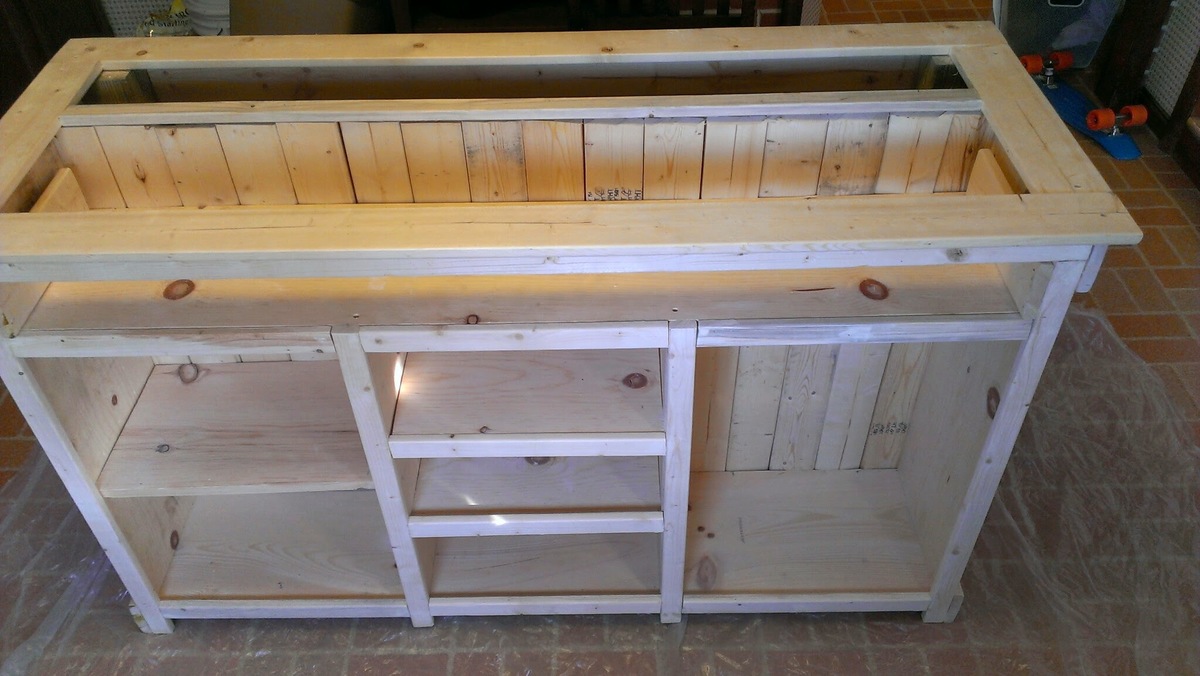
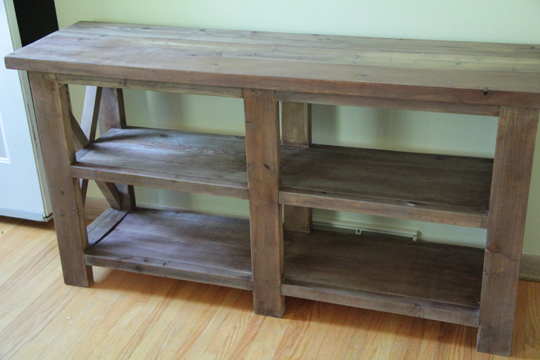
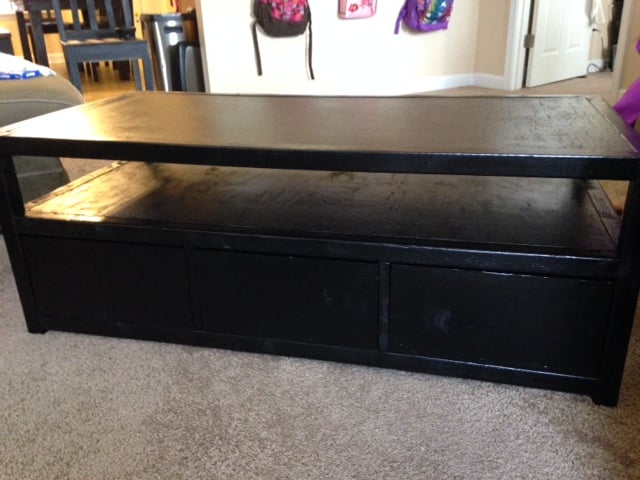
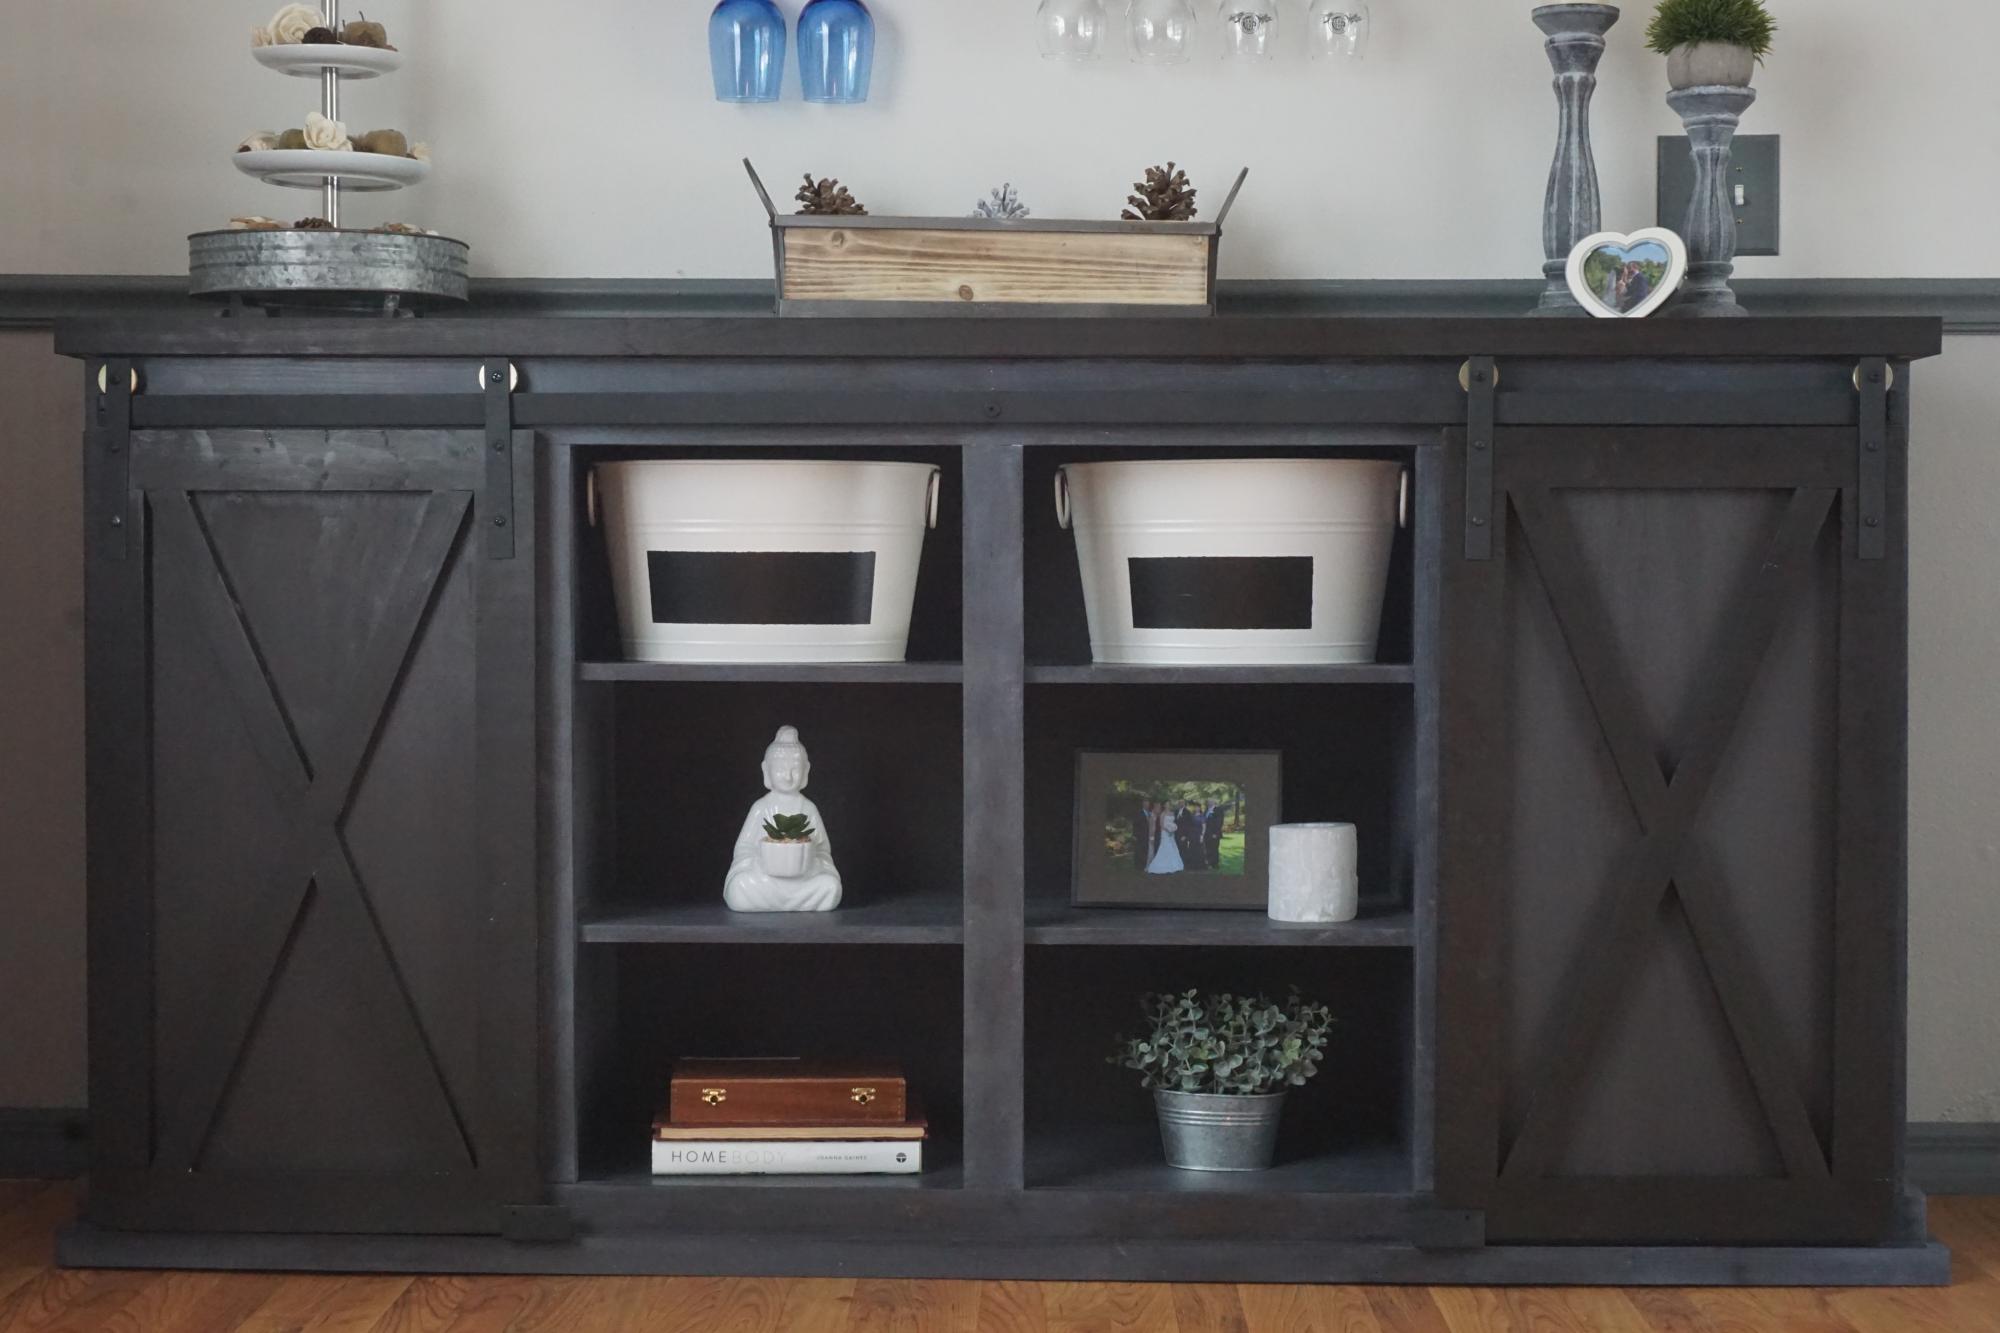
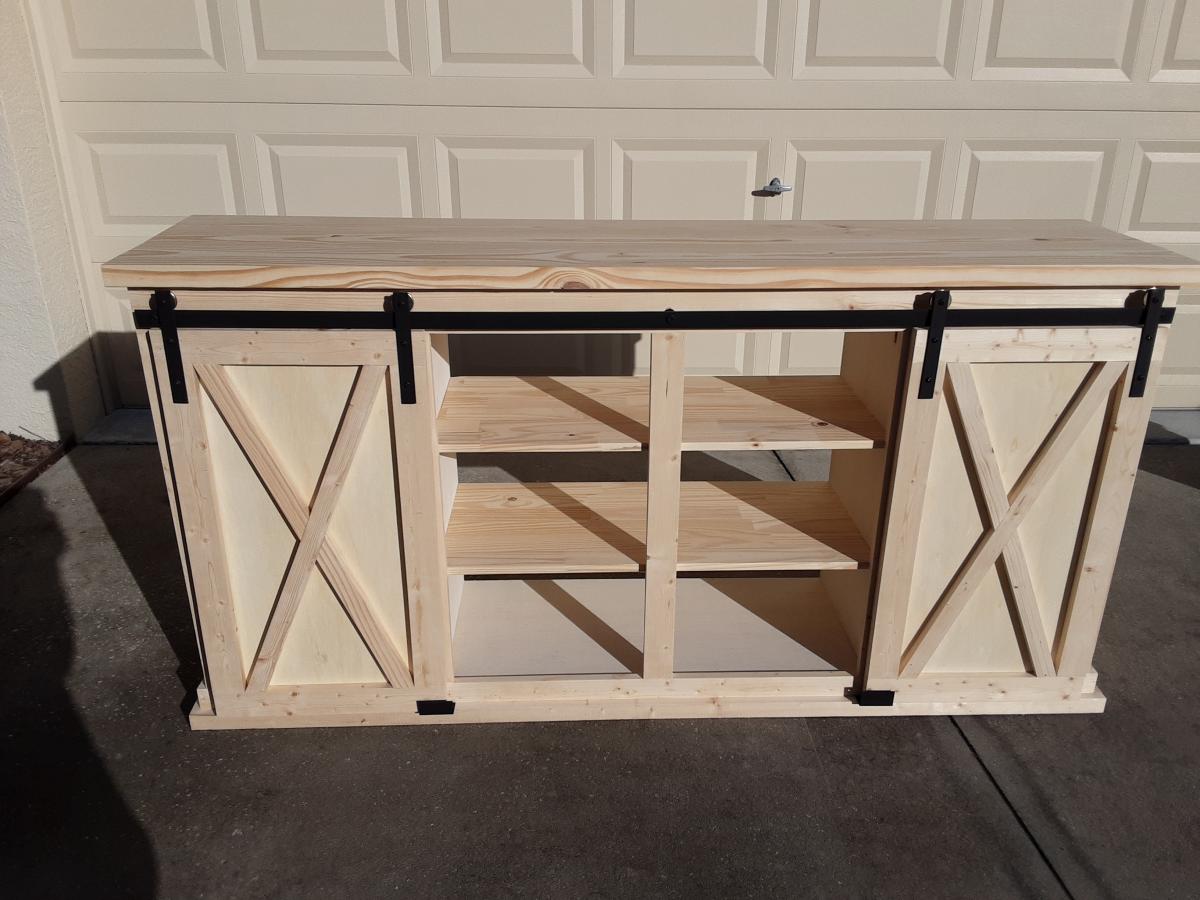
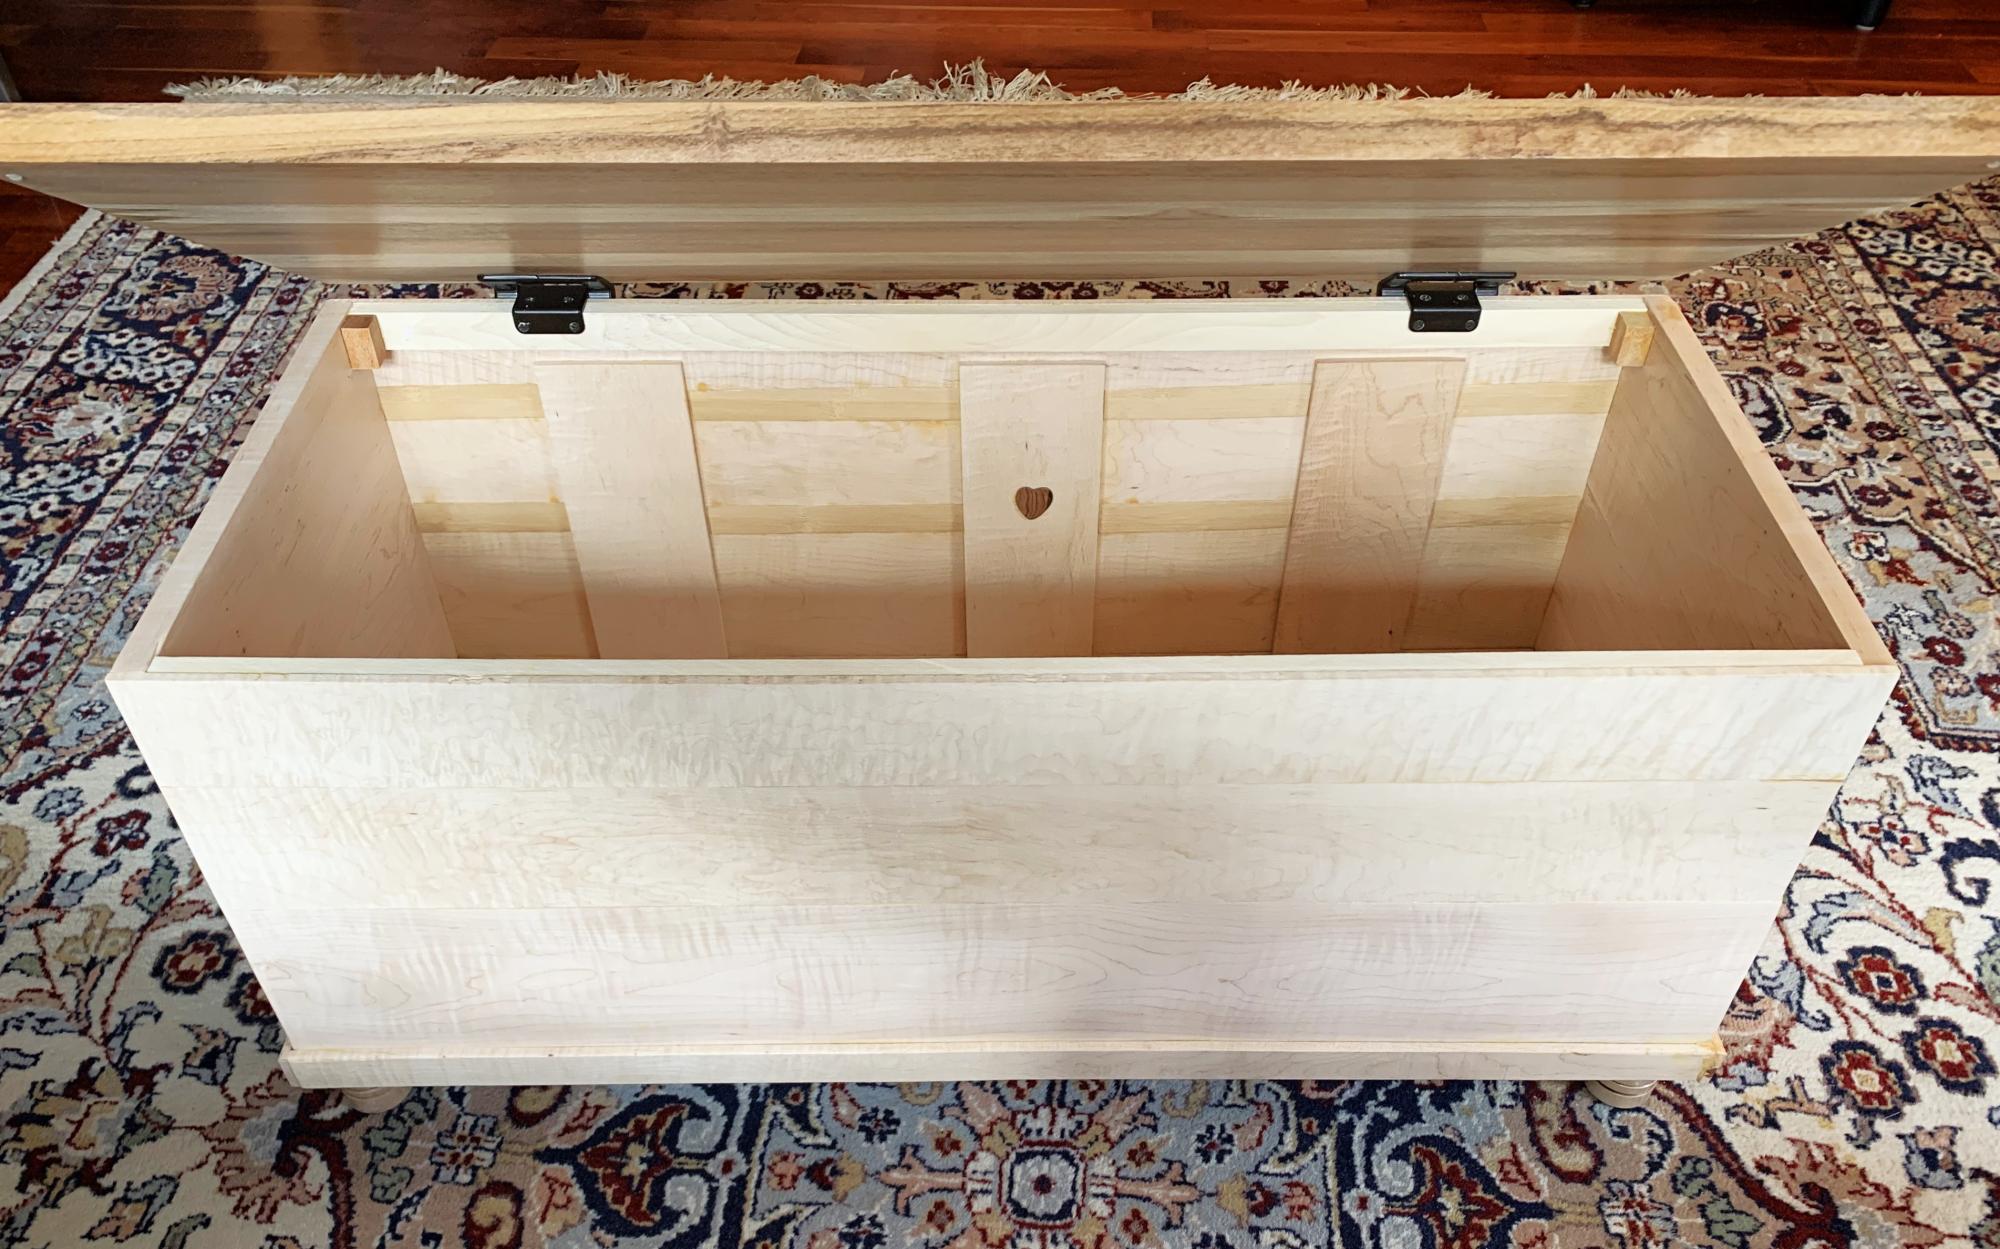
Farmhouse Kitchen Island
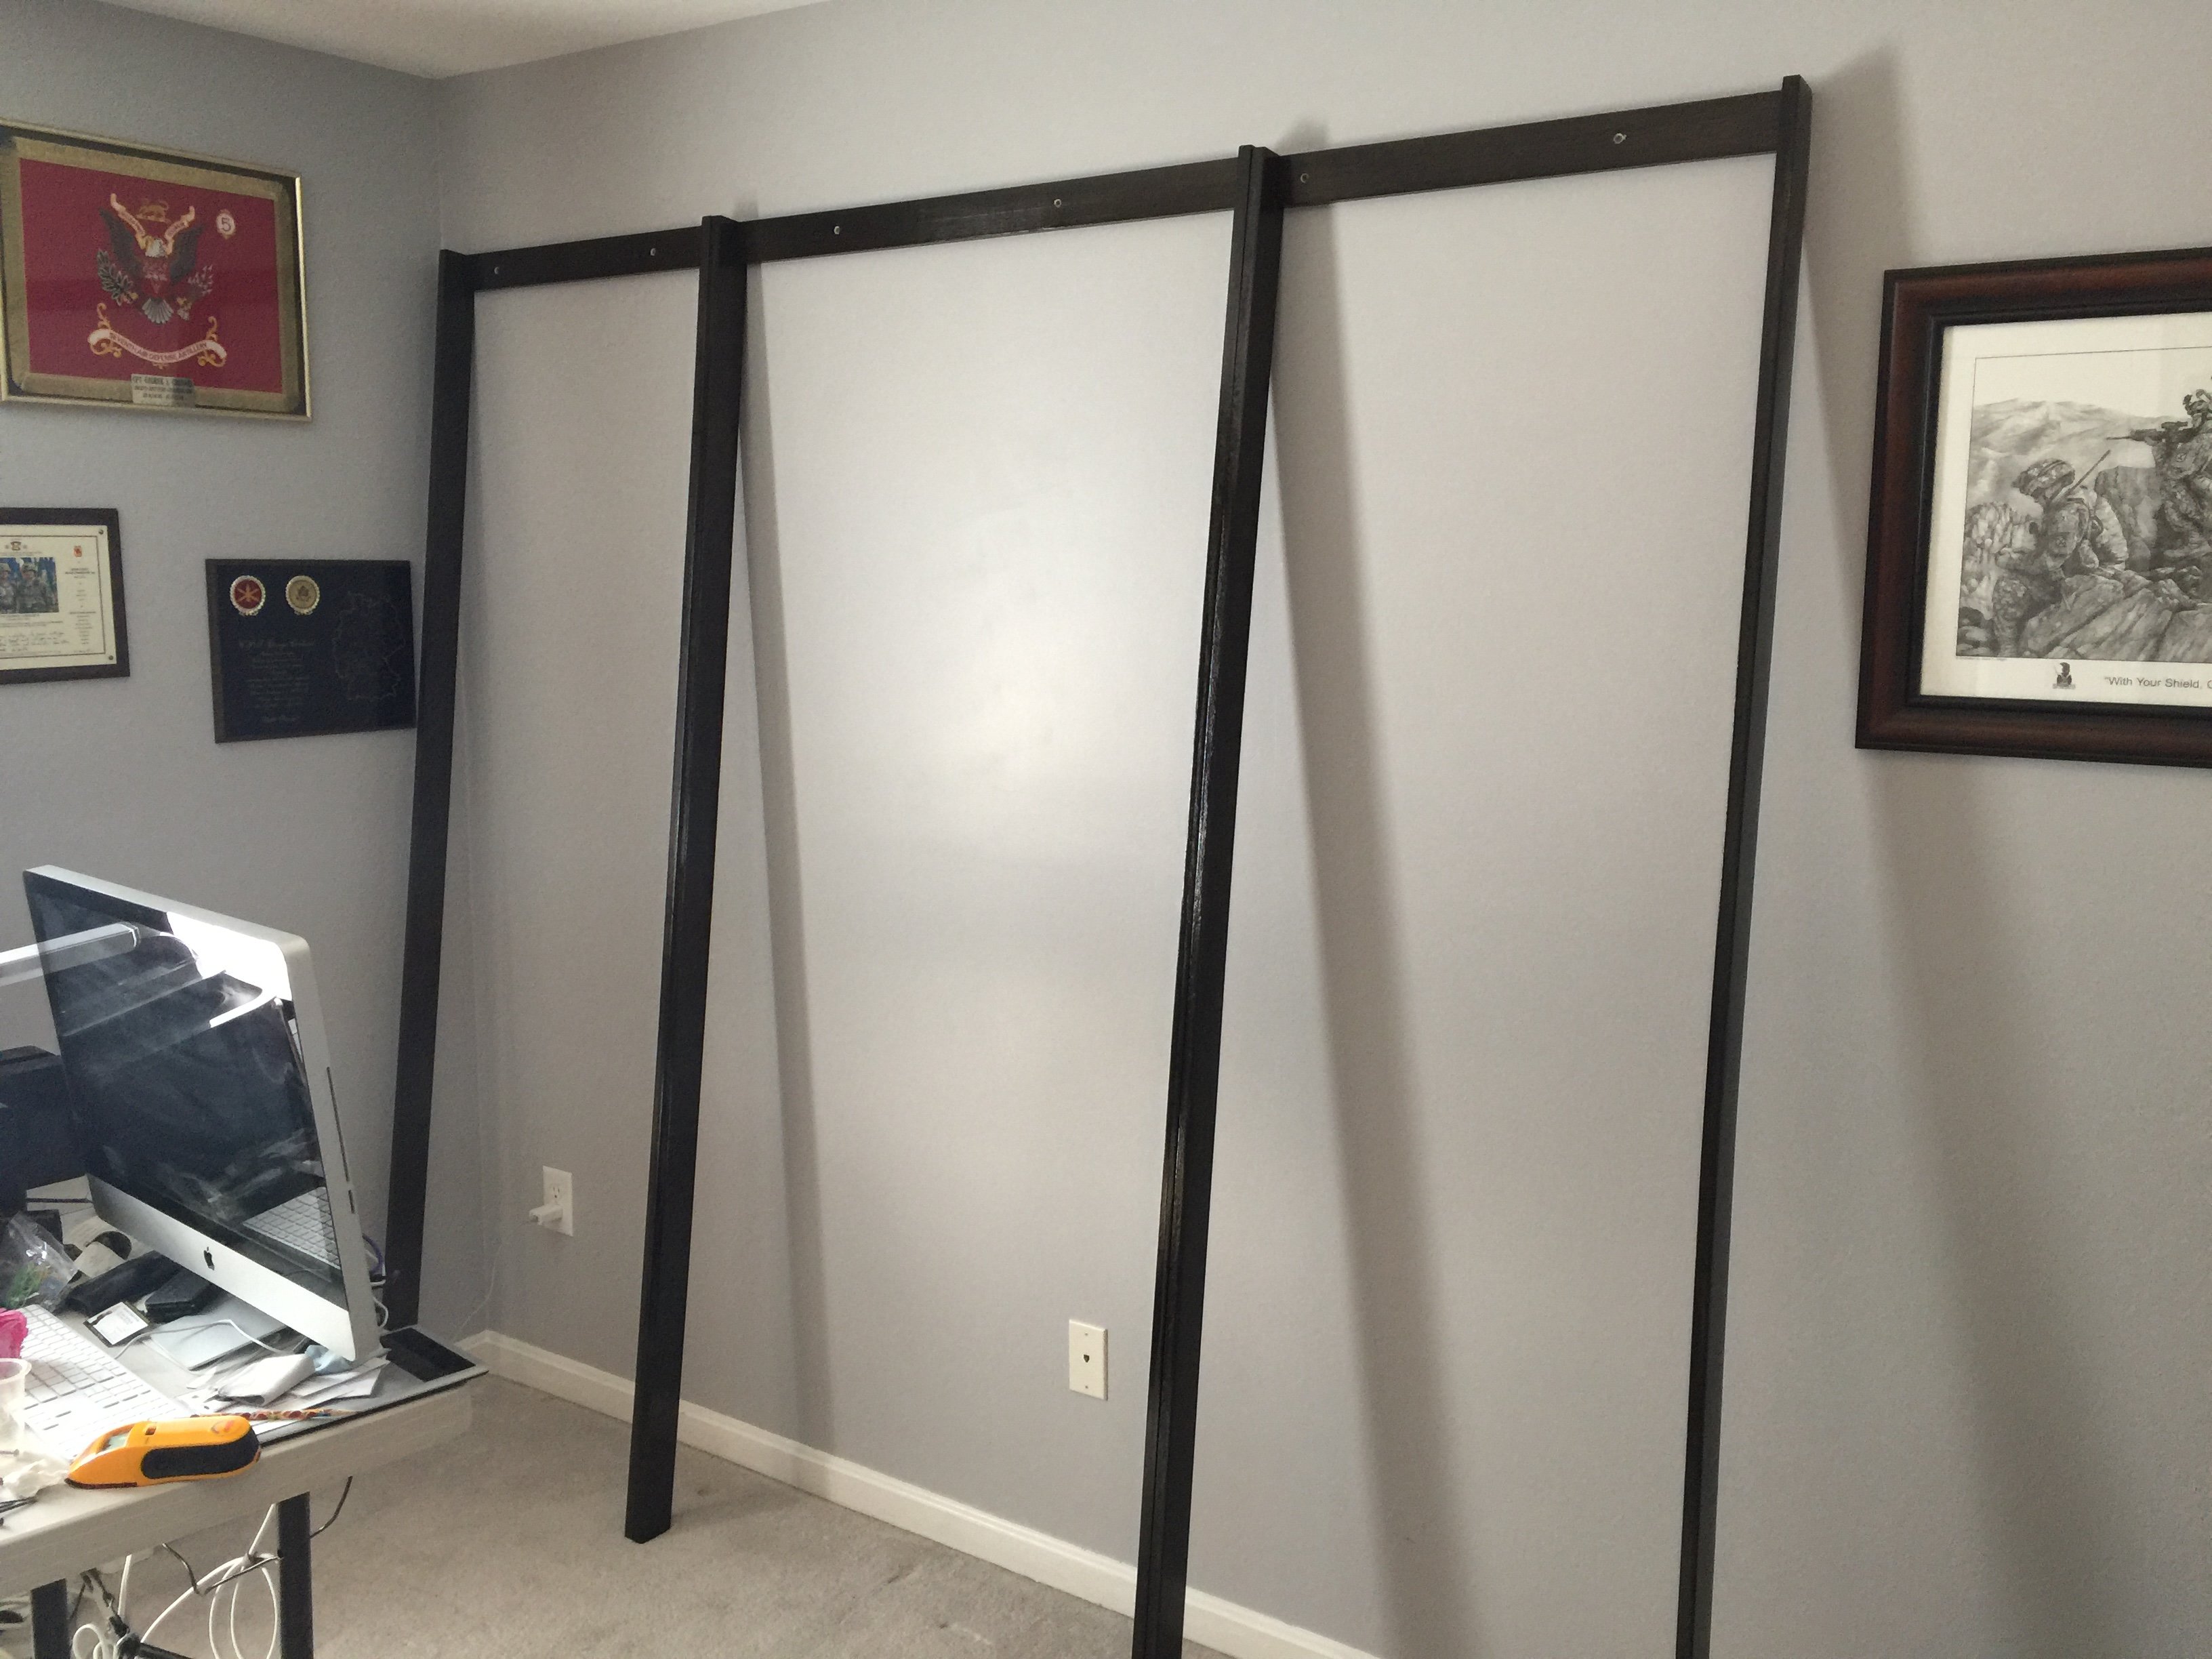
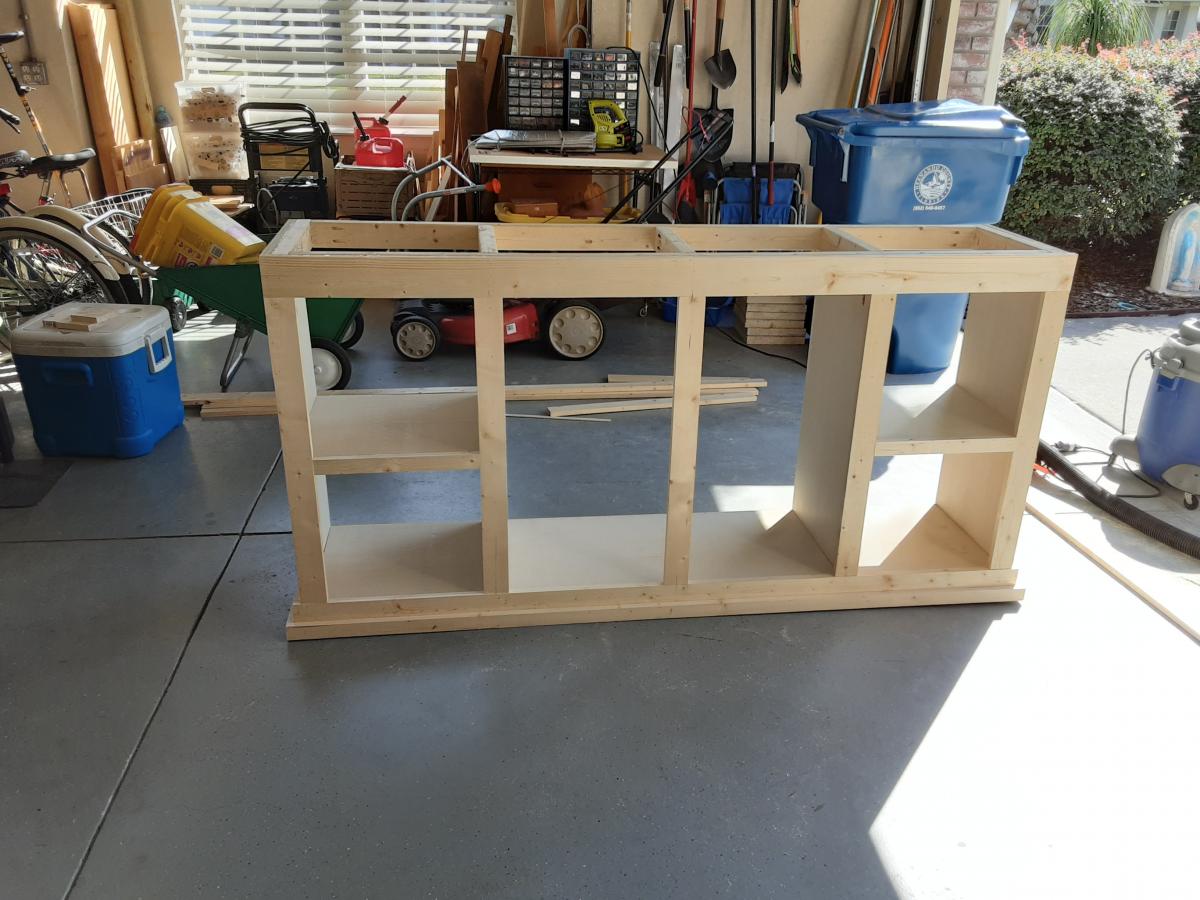
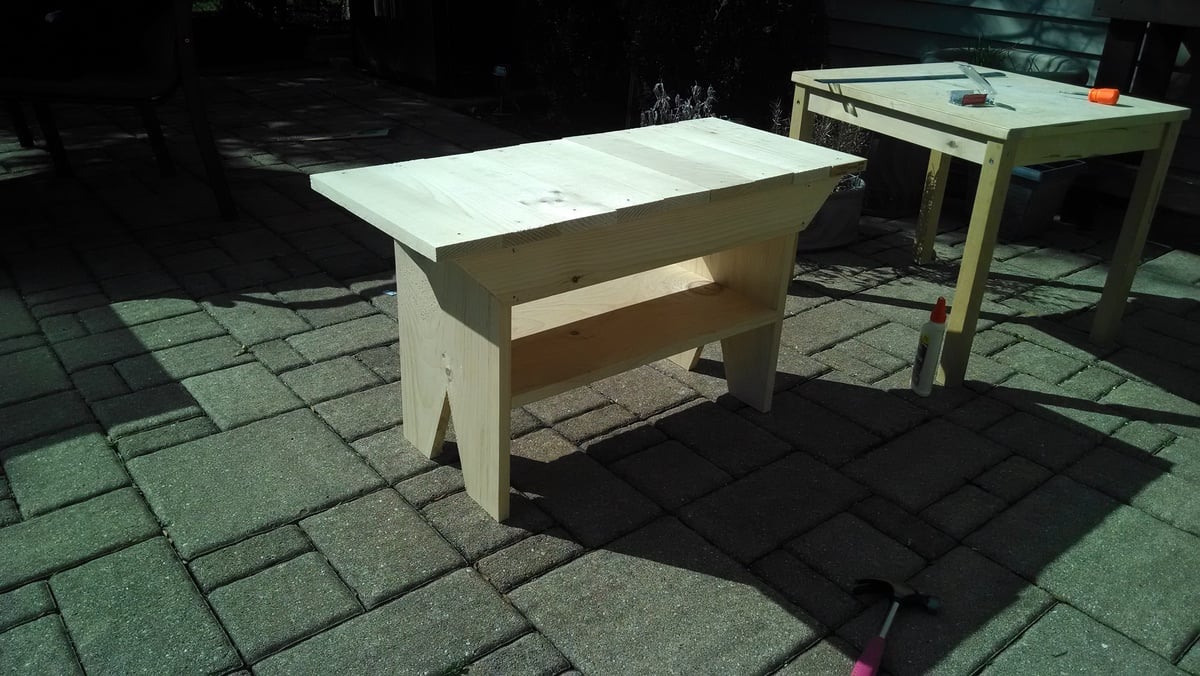
Grabbed some cheap whiteboard for my first project. My wife was looking at buying an island and I decided to surprise her by trying my hand at building one. Turned out to be an enjoyable new hobby that I hope to continue (plus, Laura now says I am her "favorite husband!").
Materials breakdown:
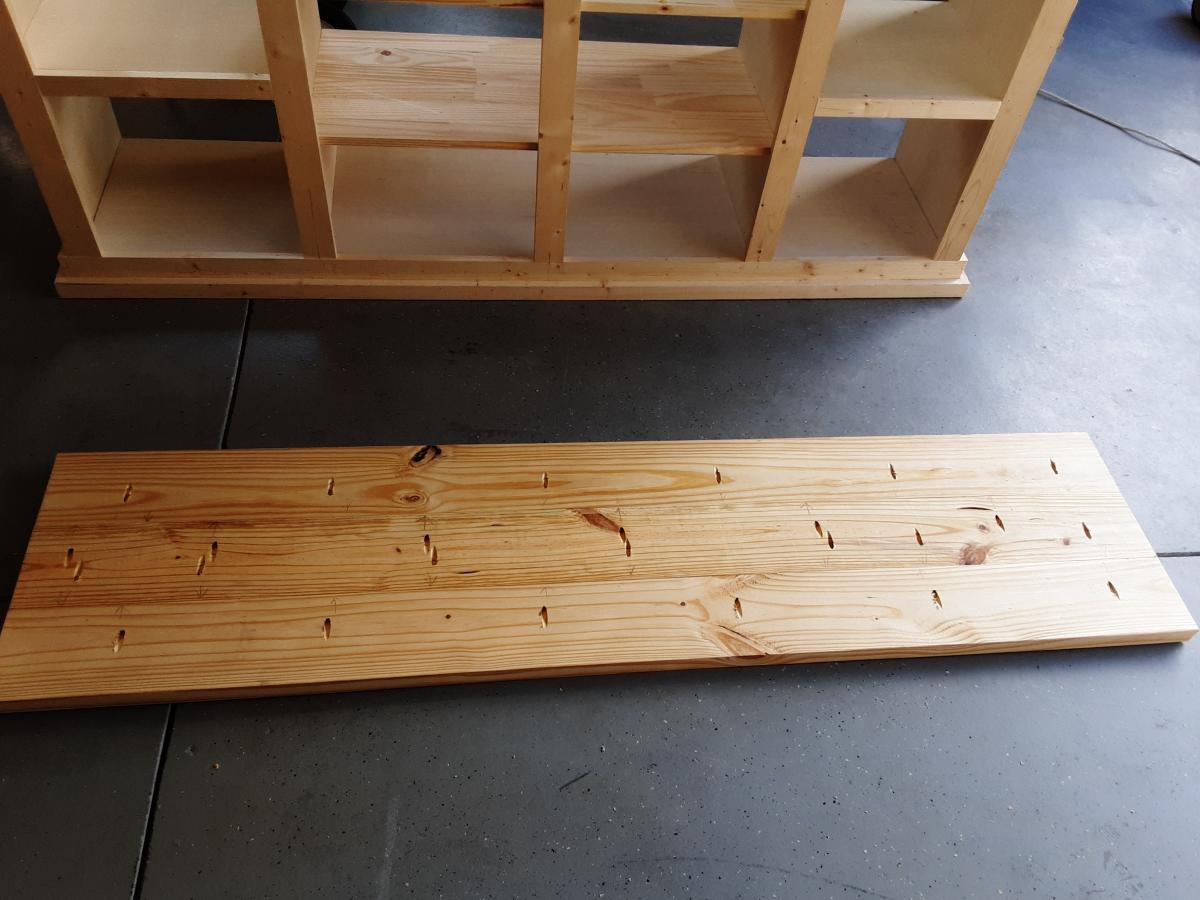
The lumber is white board from Lowe's for $115
The countertop is laminate Pragel from Ikea for $59 (cut to size)
Paint, polyurethane and drawer hinges were $50
I had another $75 in tools, glue, wood filler, nails, etc, because this was my first project.
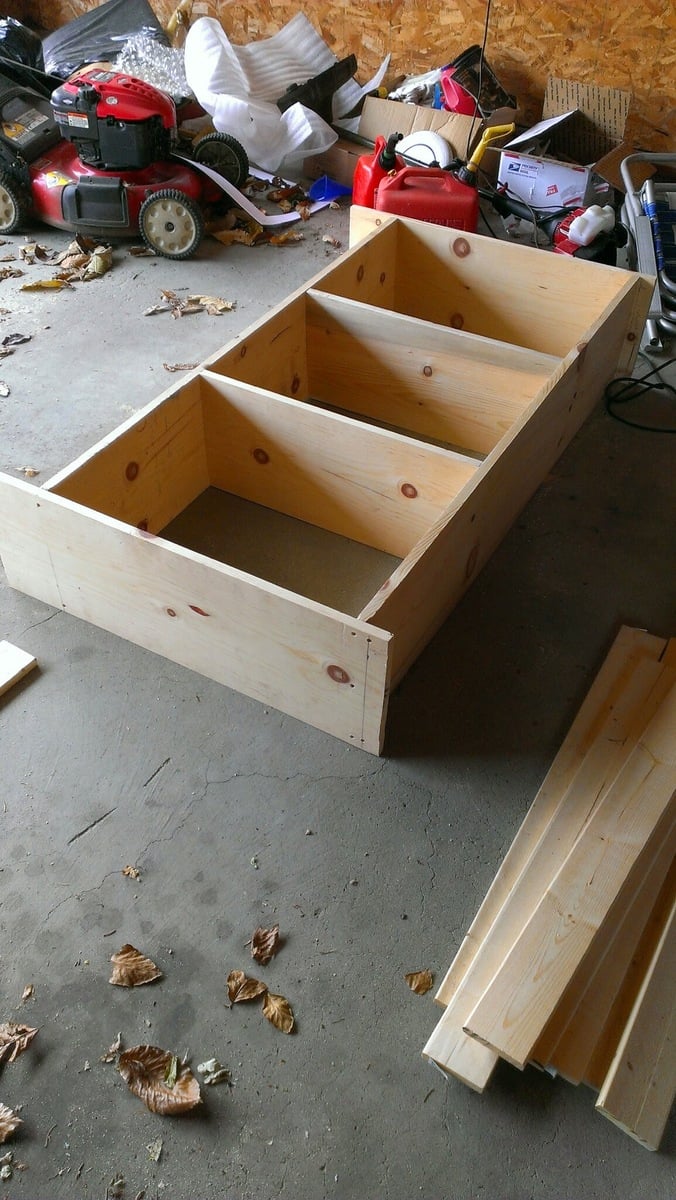
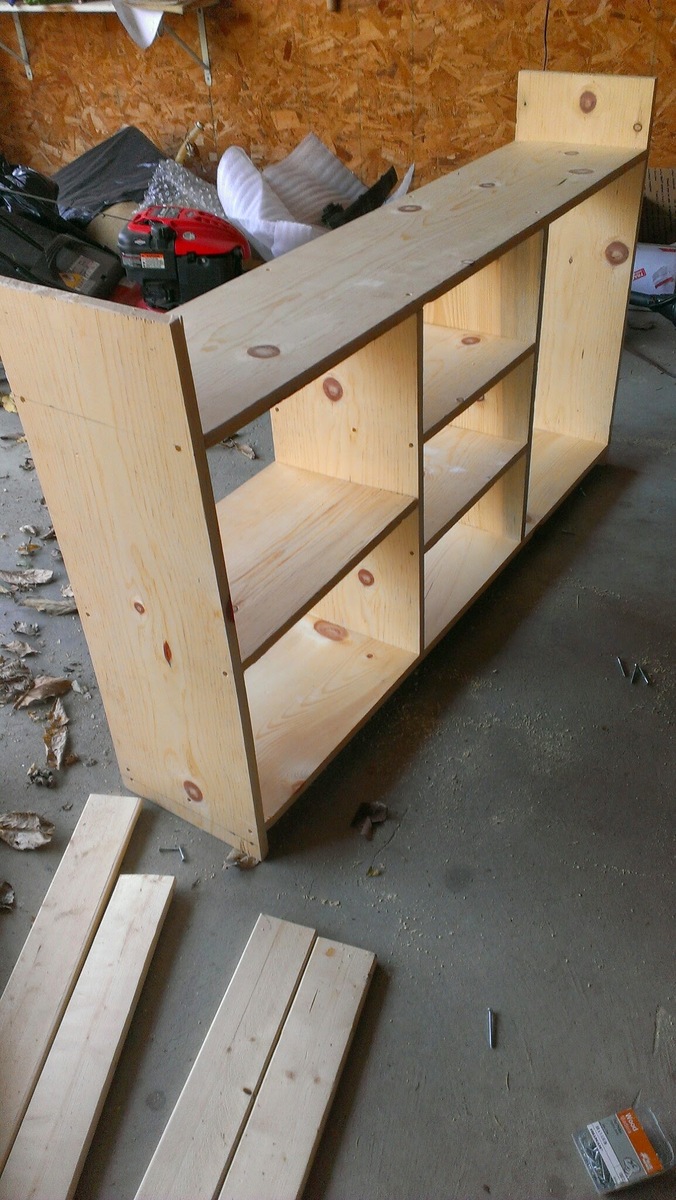
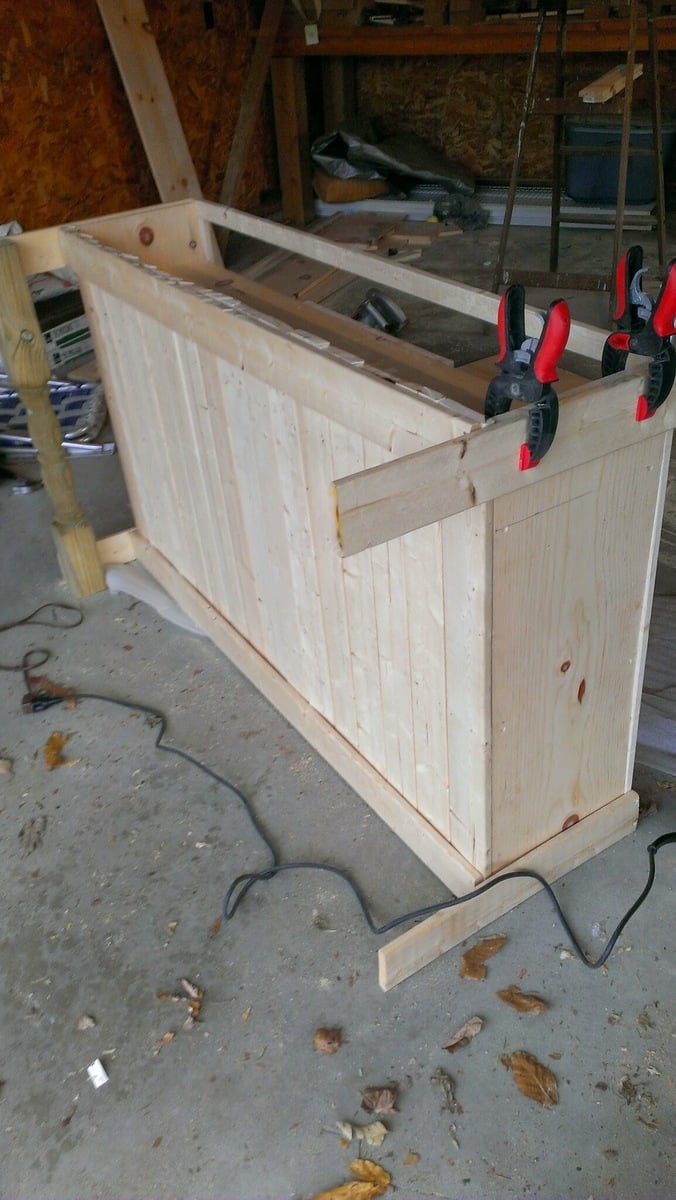
Built from Plan(s)
Estimated Cost
$225
Estimated Time Investment
Weekend Project (10-20 Hours)
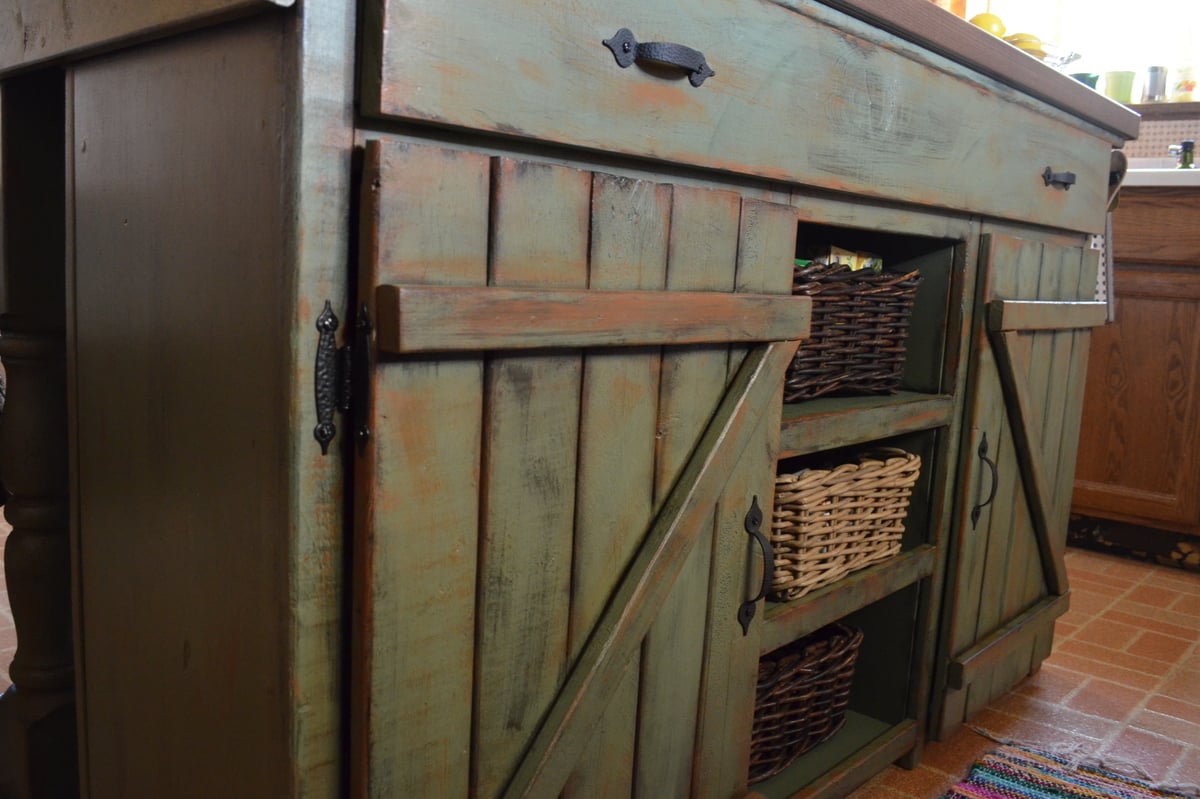
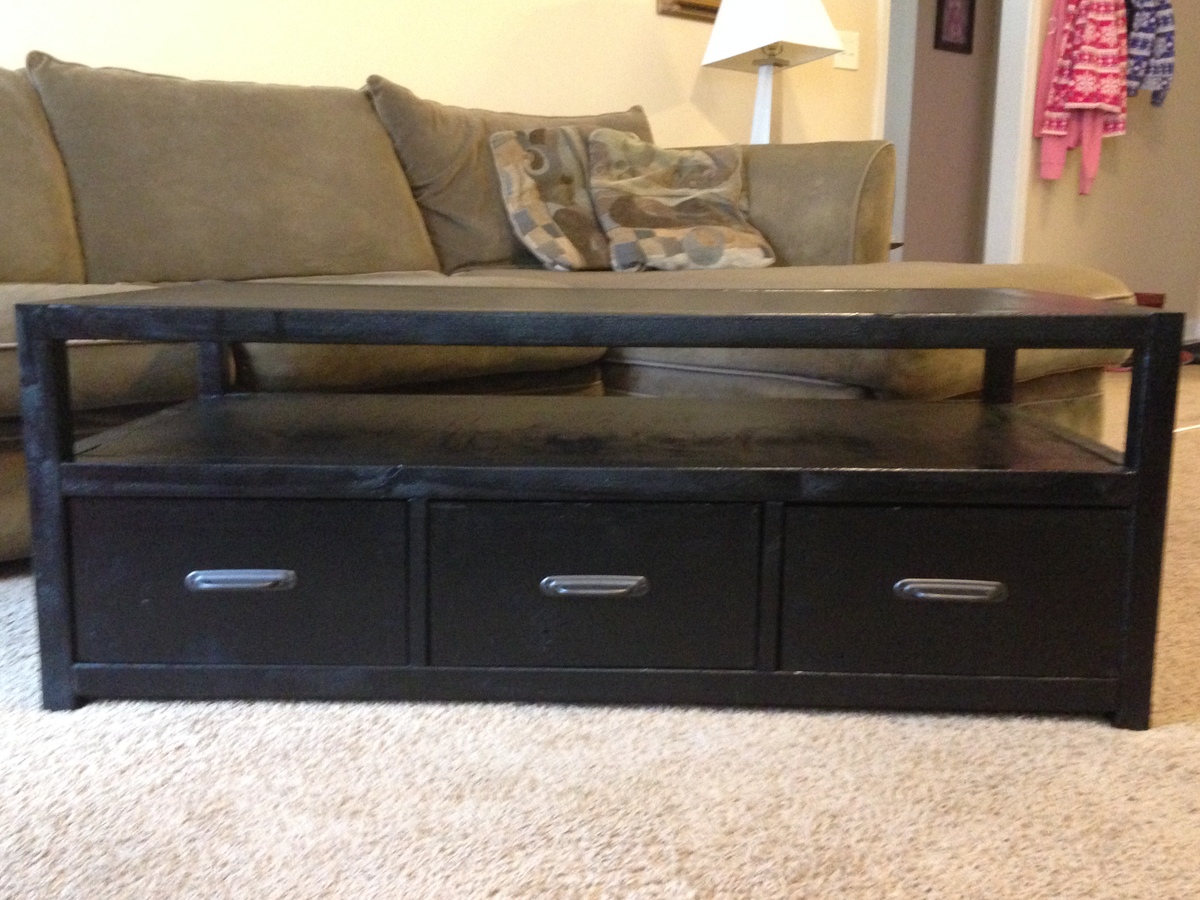
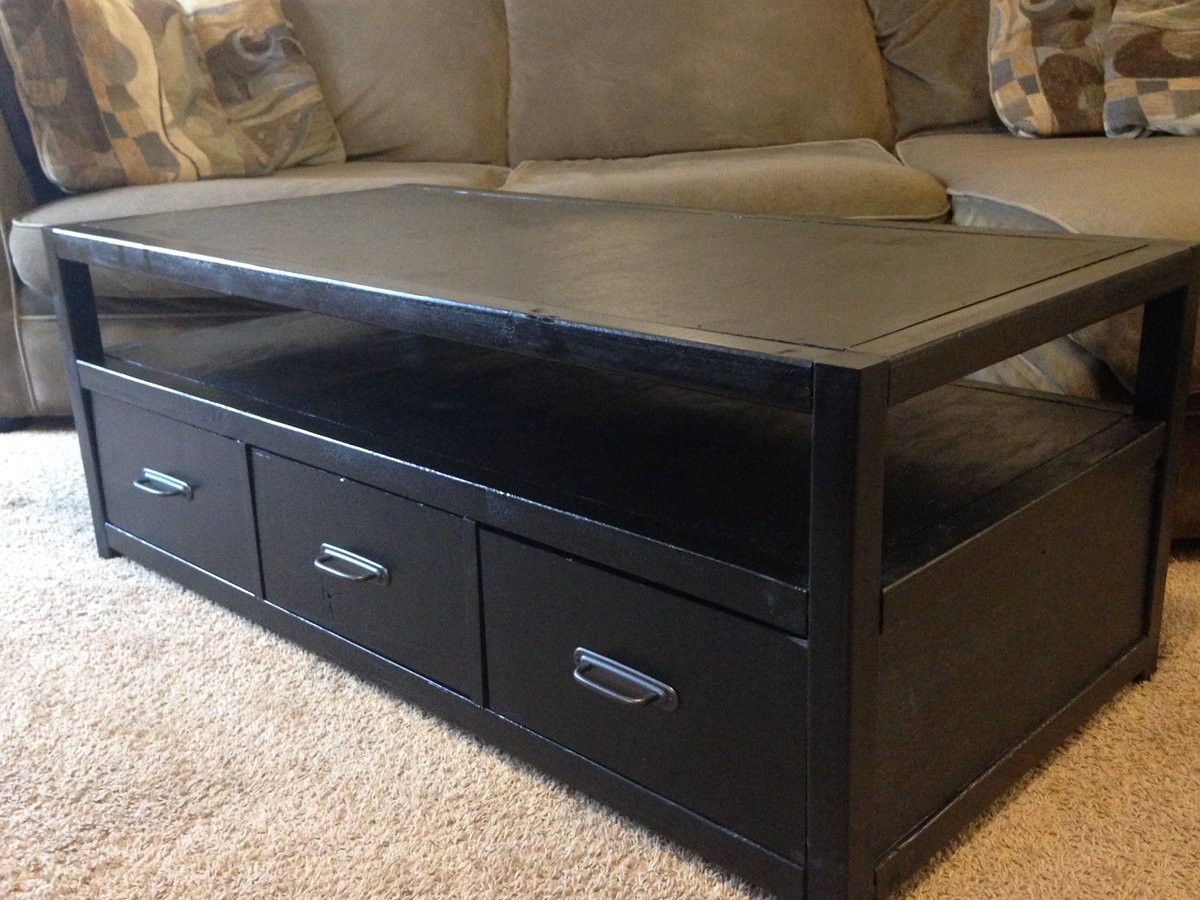
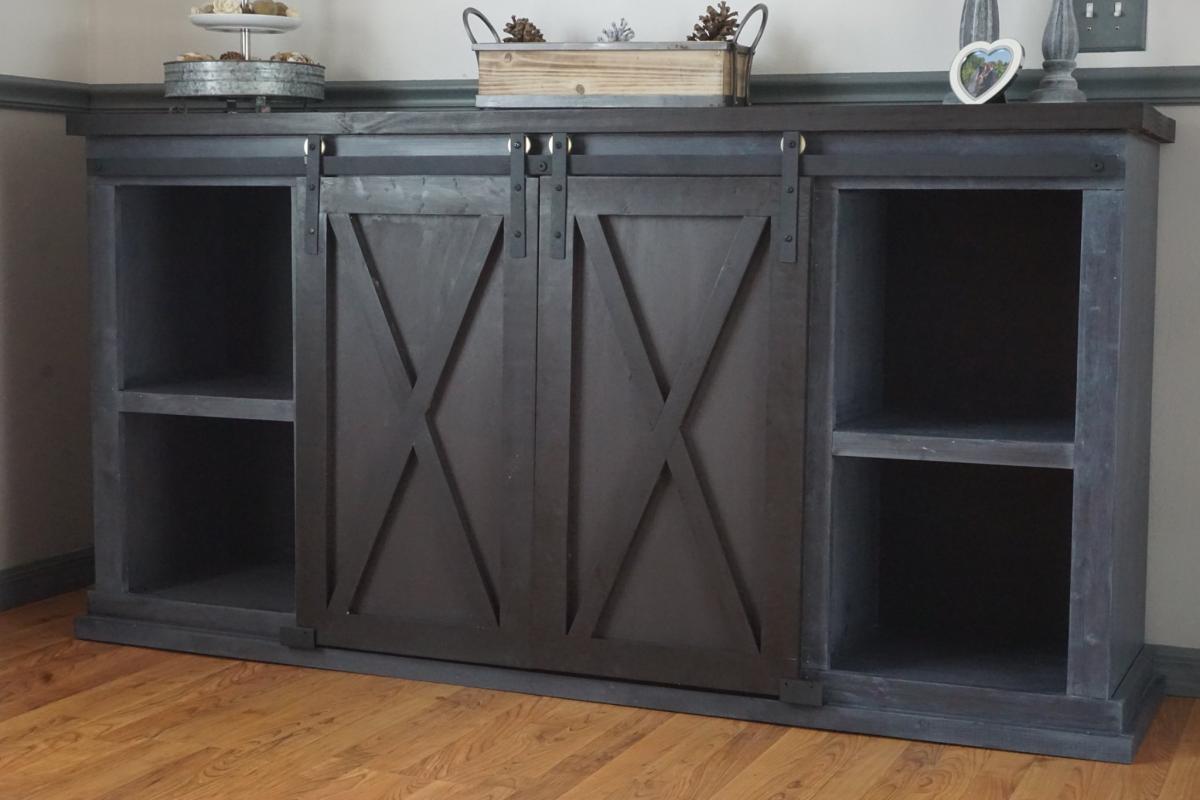
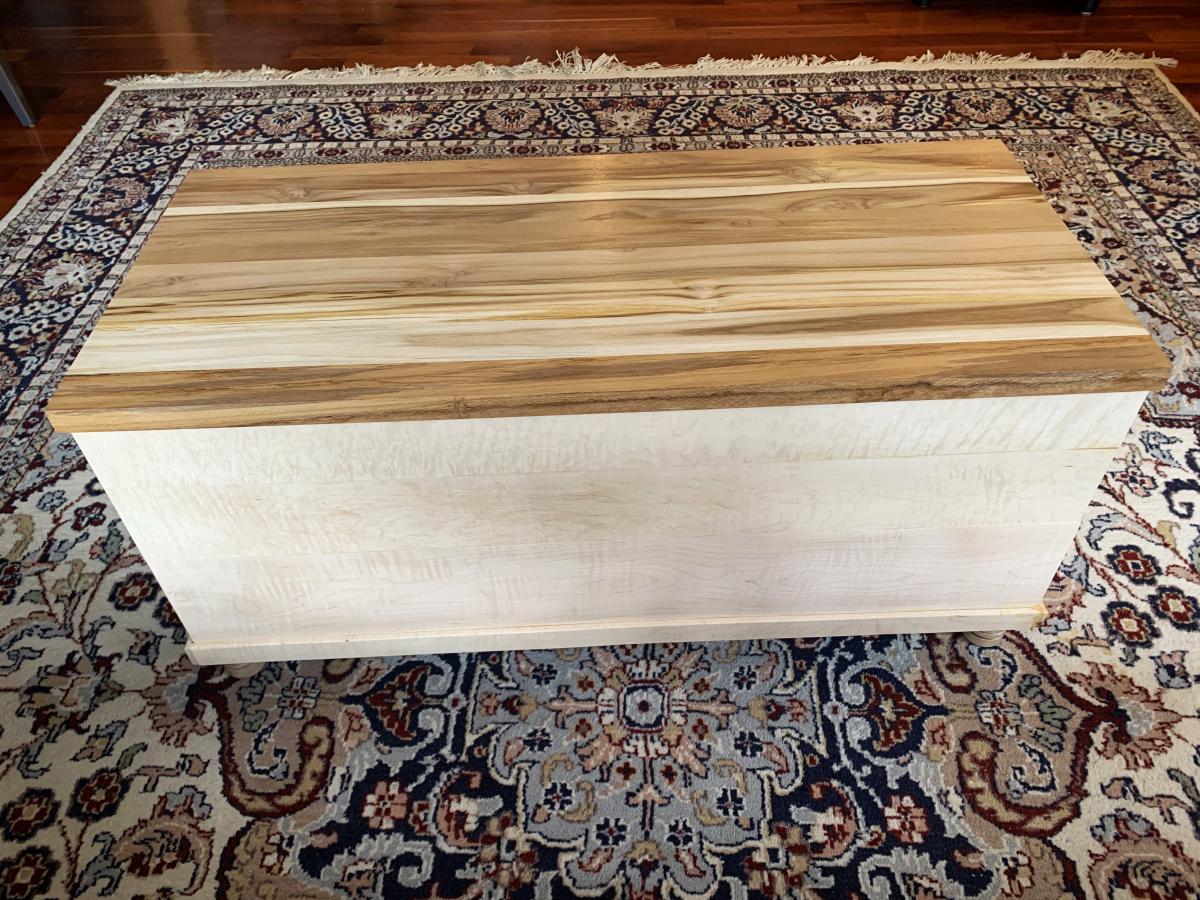
Finish Used
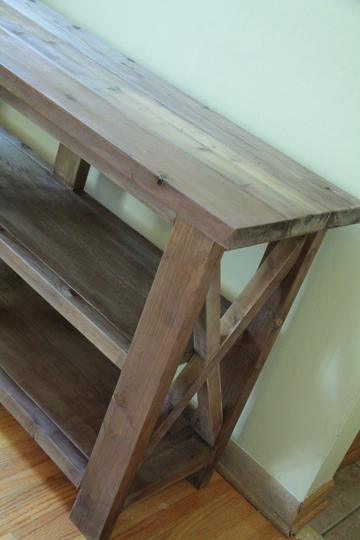
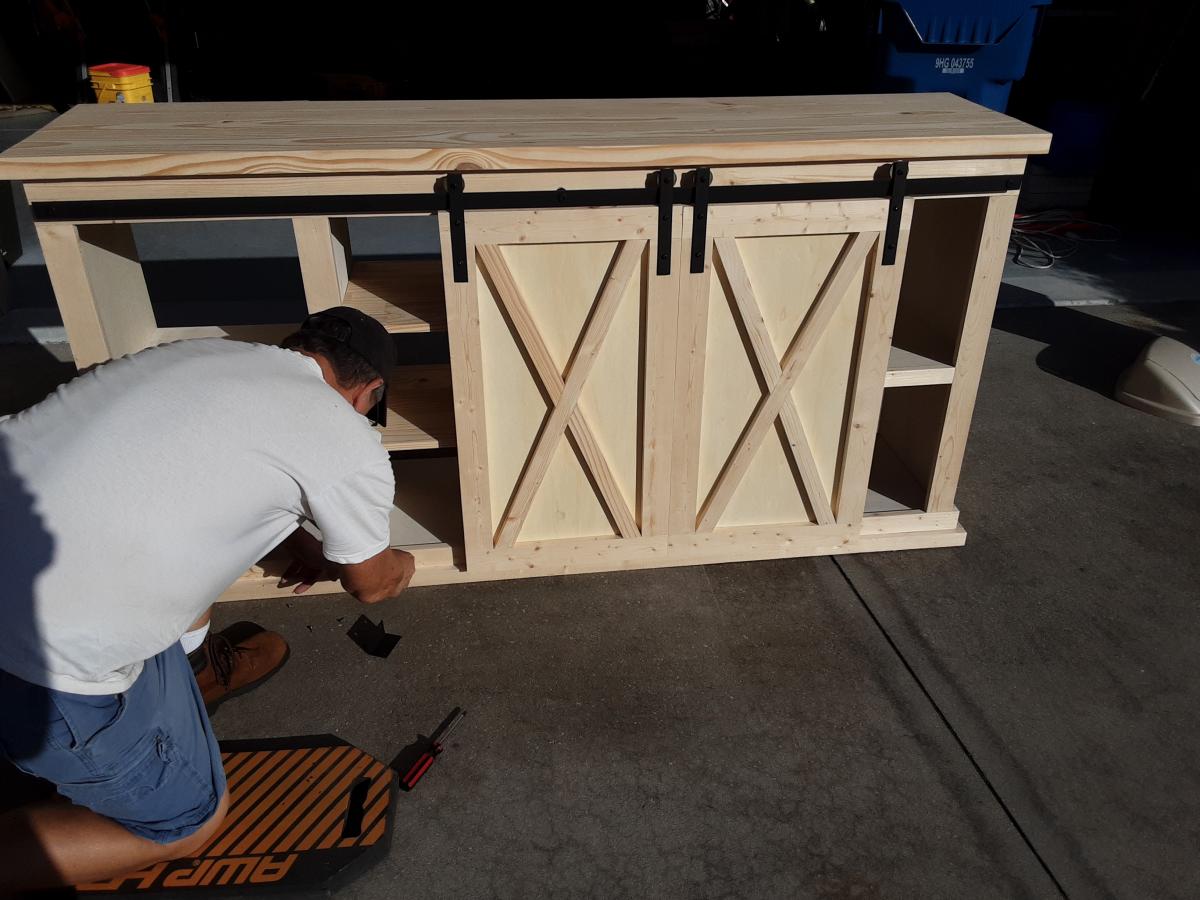
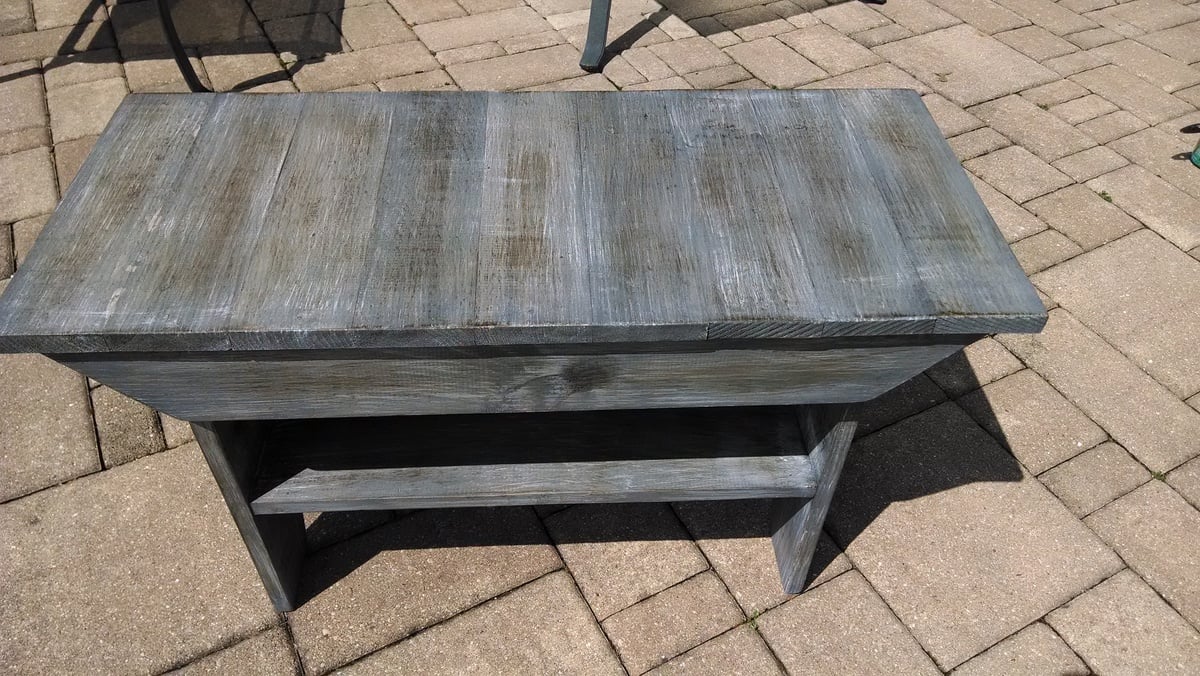
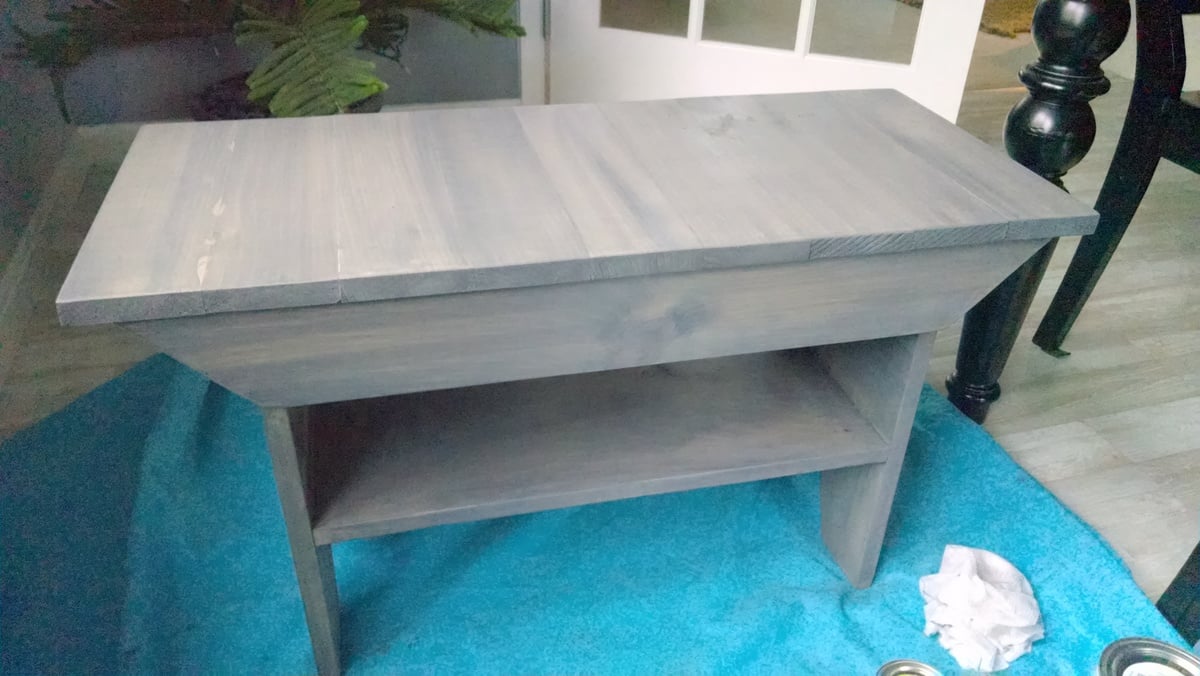
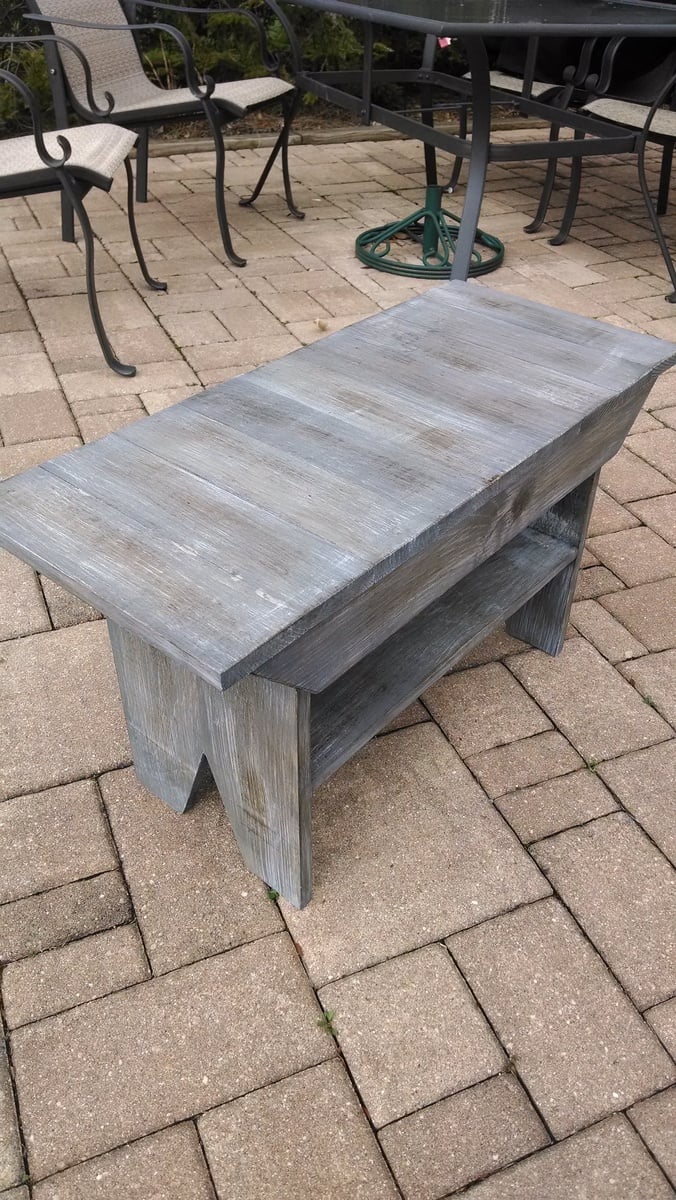
Green paint with black and chestnut dry-brushed distressing. Two coats of polyurethane.
Recommended Skill Level
Intermediate


Comments
NimbleShopper
Wed, 04/02/2014 - 07:34
Love the color
Nice work. I love the color you use. It looks fantastic.
In reply to Love the color by NimbleShopper
Pastor Priestley
Wed, 04/02/2014 - 17:38
Thank you!
My wife, Laura, helped with the paint and came up with the dry-brush distressing technique.
Ana White Admin
Wed, 04/02/2014 - 09:38
Impressive
Love this, and your first project!?!
In reply to Impressive by Ana White Admin
Pastor Priestley
Wed, 04/02/2014 - 17:42
Thanks
We just moved into an old house with a garage and the previous owners left a work table and an ancient Craftsman jig-saw, circular saw, and scroll saw (all from 1956). They were a bit sketch, but they got the job done!
birdsandsoap
Fri, 04/04/2014 - 21:42
wow. very impressed. love the
wow. very impressed. love the finish! it turned fantastic for your first project; looks like you have a new hobby!
In reply to wow. very impressed. love the by birdsandsoap
gozinehtalaee
Tue, 11/15/2016 - 00:15
Nice design
I love that. It have a nice design. ین درها دارای تکنولوژی مدرن و پیشرفته بوده و استفاده از آن سهل و آسان می باشد. وجود موتور توبولار و مرکز کنترل پیشرفته الکتروند فرانسه در آن باعث ایجاد امنیت، آرامش خیال و سهولت کارکرد آن بصورت دستی و اتوماتیک شده است. این مدل درب اتوماتیک به دلیل کم حجم بودن و جمع شدن در زیر سقف فروشگاه ها و یا مراکز تجاری و یا به صورت عمودی در سوله ها و کارخانه ها، هم باعث کارآیی بیشتر و هم دارای زیبایی مضاعف می باشد و کاربرد آن در مراکز تجاری، فروشگاه ها و صنعتی باعث ایجاد امنیت، راحتی و سهولت در استفاده از آن شده است .
ladybug618
Thu, 10/11/2018 - 11:18
Hanging rack
LOVE THIS!! Where did you find the hanging rack?