Kentwood Bed
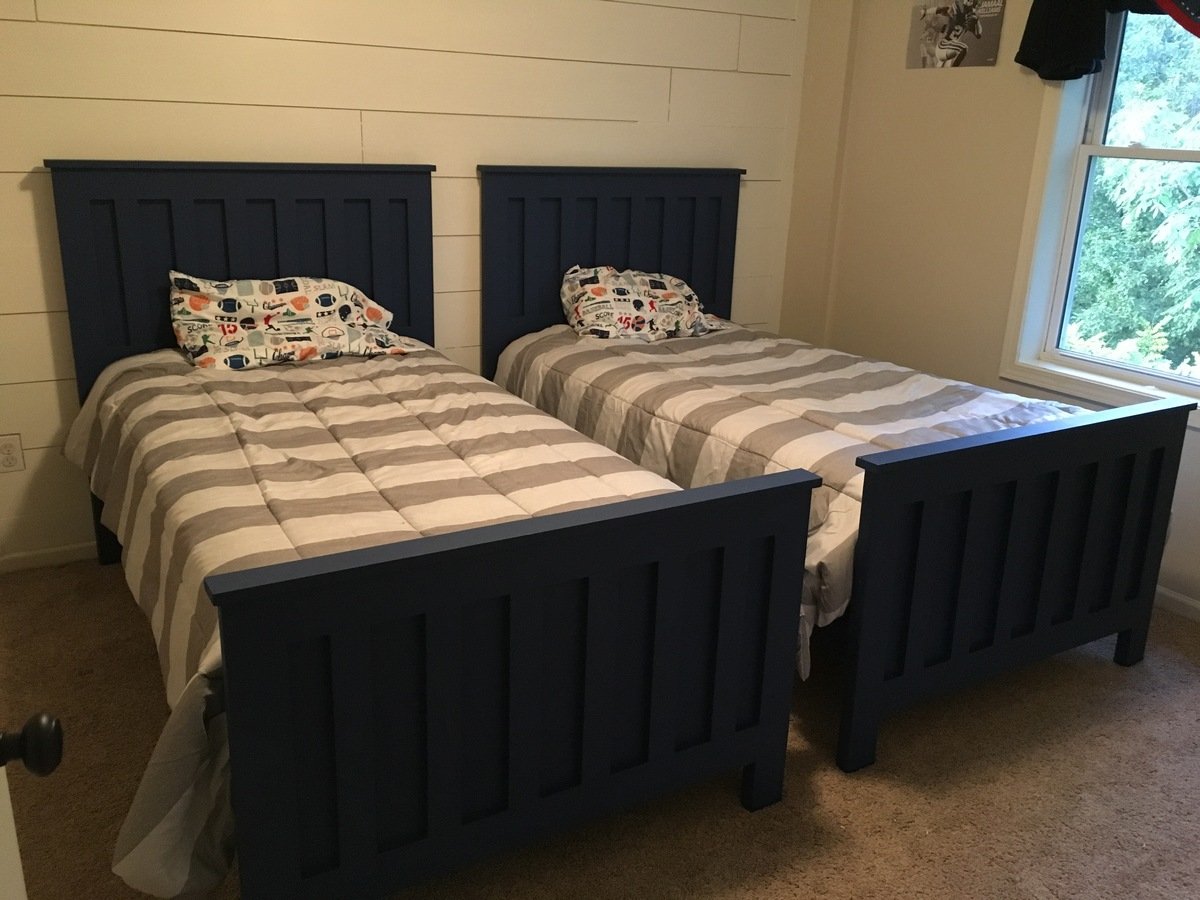
I made twin beds for my boys. It was the first time making furniture. It was a pretty easy plan to follow. Lowes did all my cuts for me so I didn't even need to find a saw.
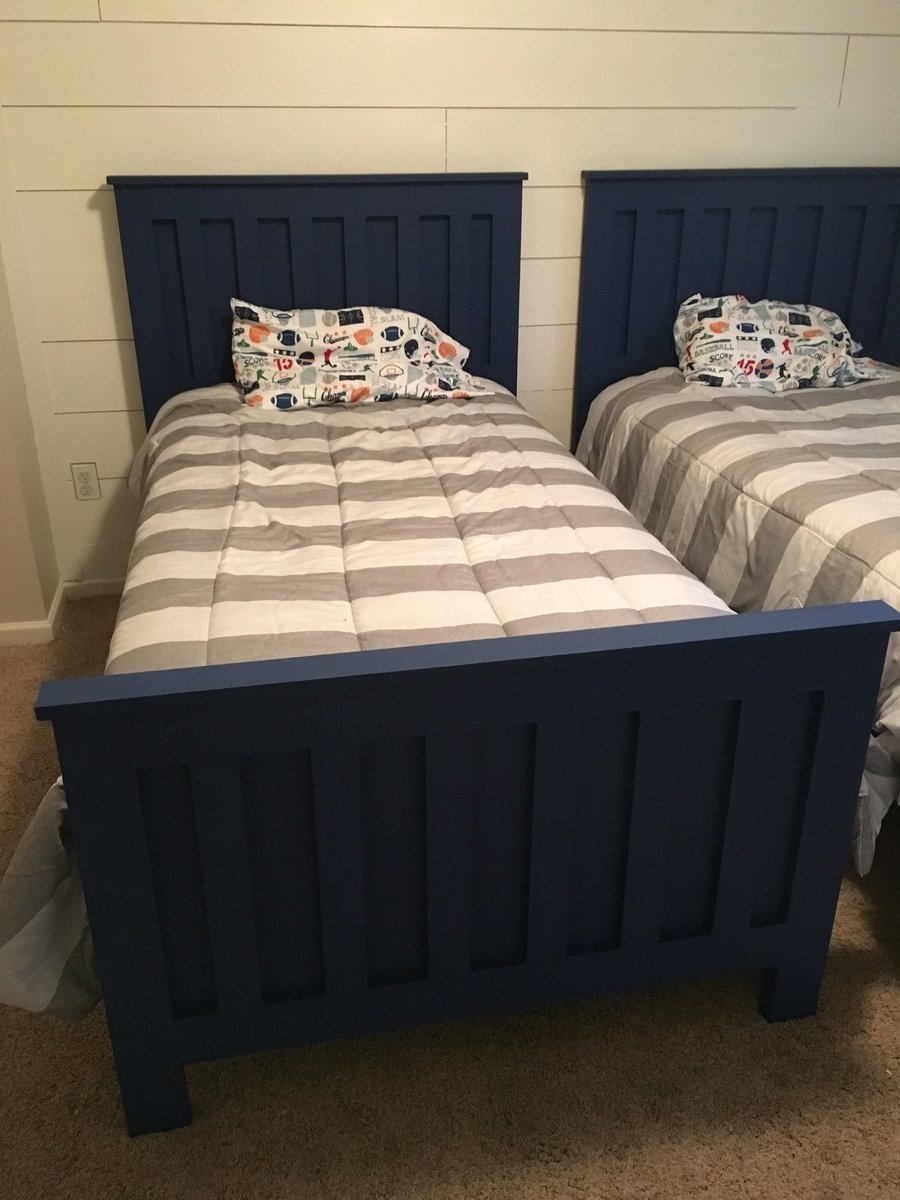

I made twin beds for my boys. It was the first time making furniture. It was a pretty easy plan to follow. Lowes did all my cuts for me so I didn't even need to find a saw.

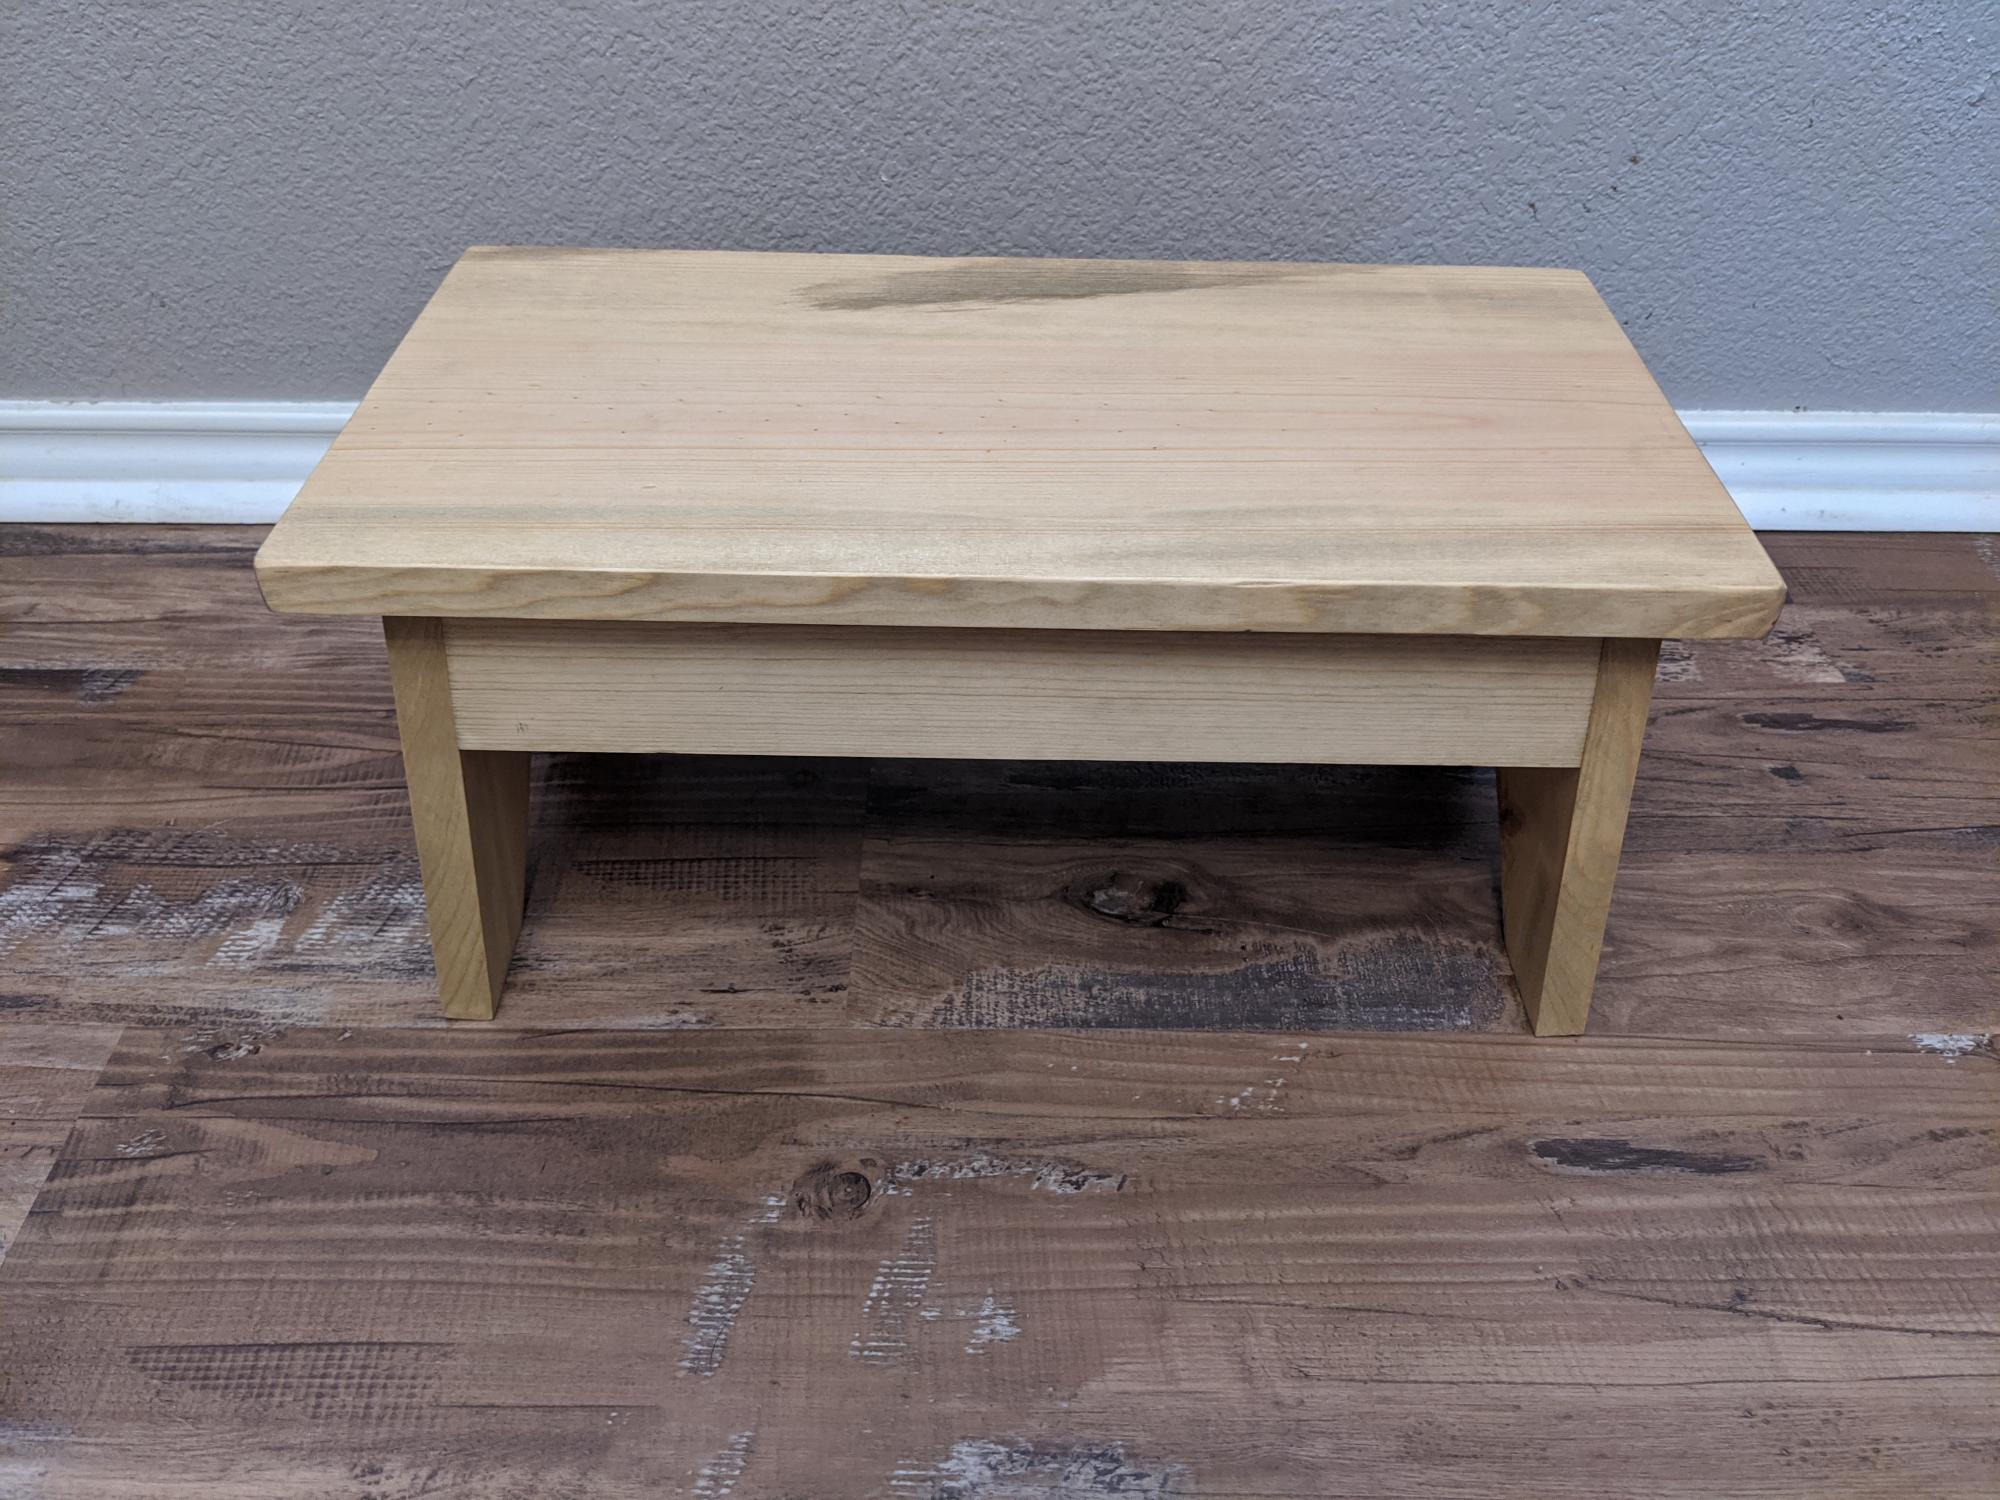
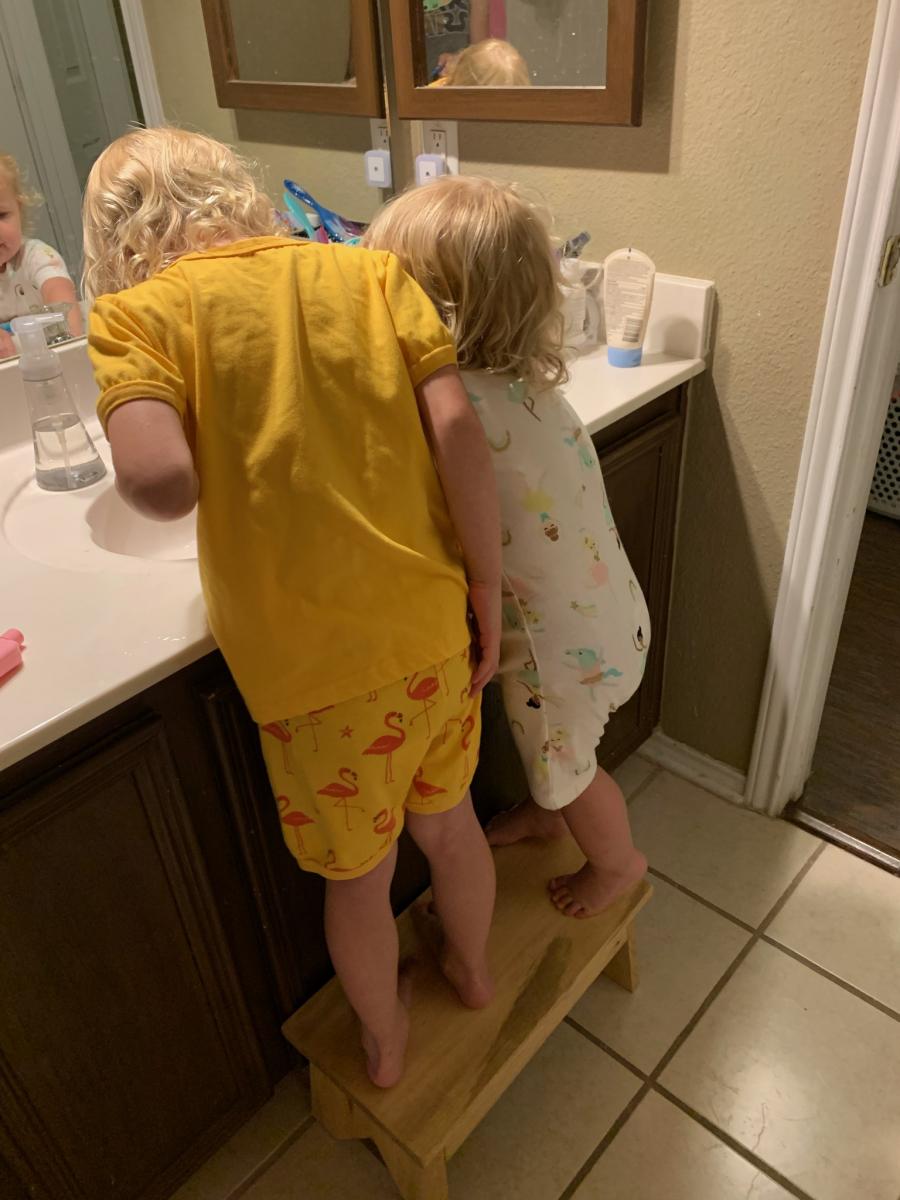
One of my coworkers asked me to build a new stool for her girls. I used the simple stool plans and she loves it.
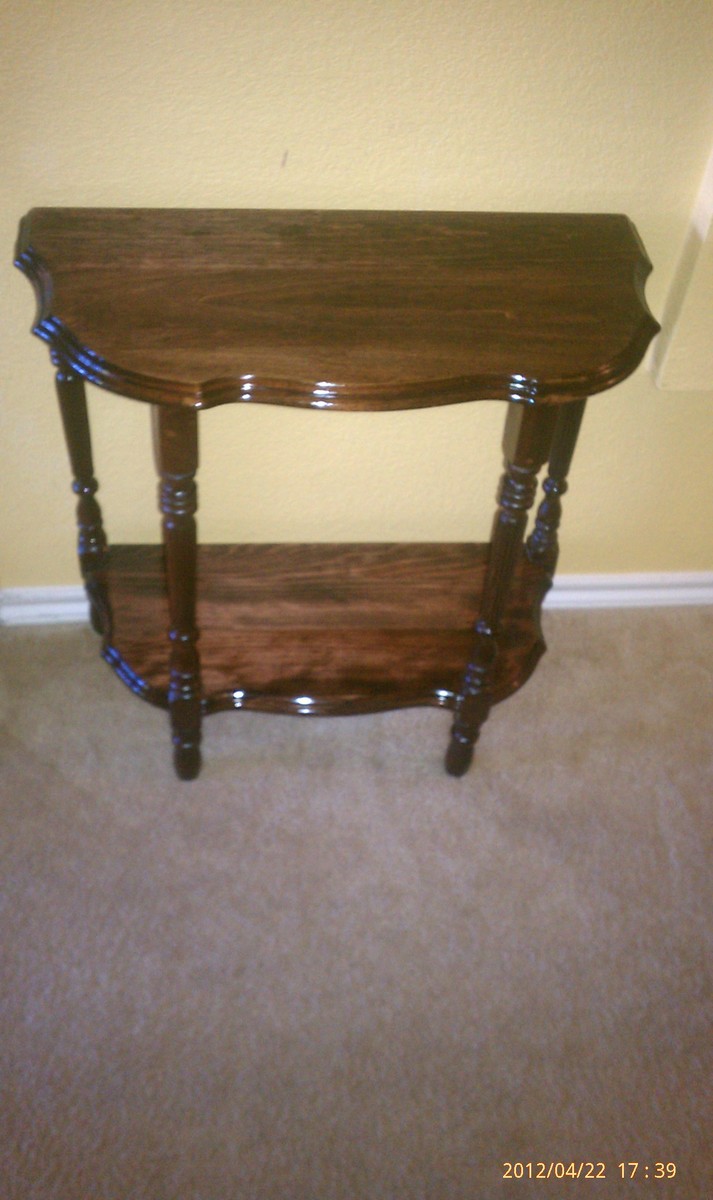
My mother found this old end table in her mother's basement in the mid 90's and brought it home with her to refinish. The table was very flimsy and Mom just didn't know how to fix it, so it sat in her garage since then. I saw it back in March when helping clean out the garage. I asked if I could restore it for her. I think it turned out really nice. Thanks to this site, I have been given the confidence to tackle projects like this. Just wanted to share the project and say thanks to everyone here for making this site a great resource.
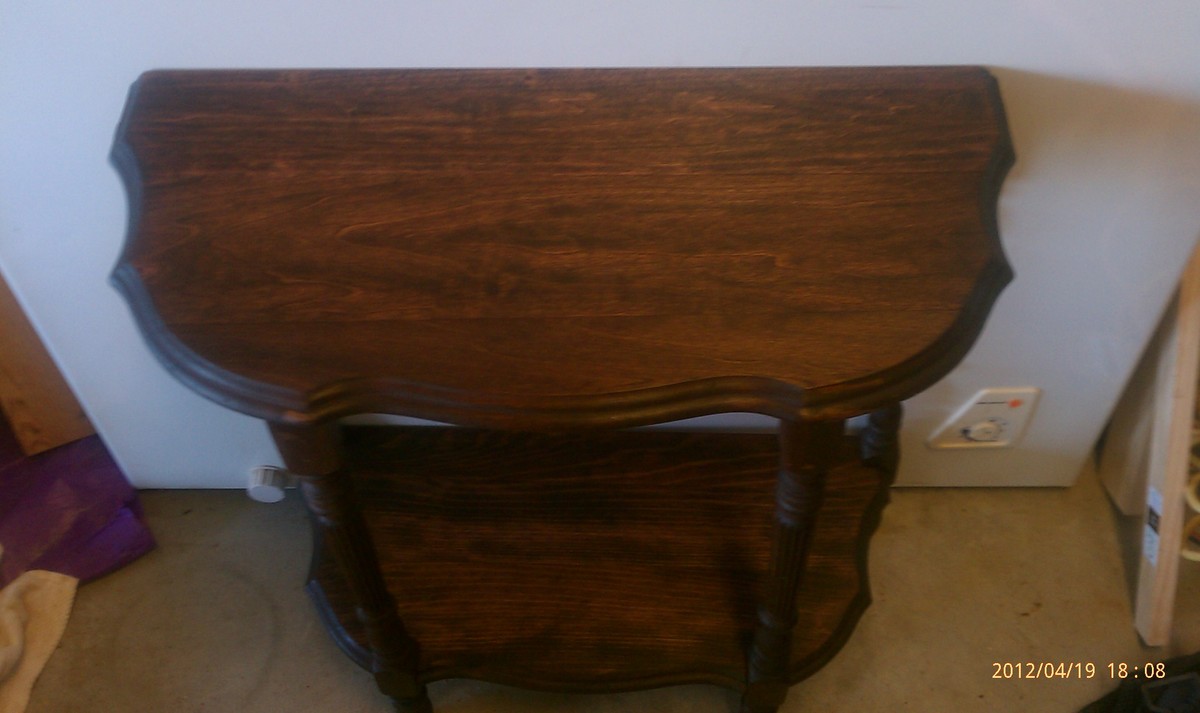
I fixed the table legs, sanded the table, used red mahogany stain, and about 15 coats of Poly to give the table a high gloss finish.
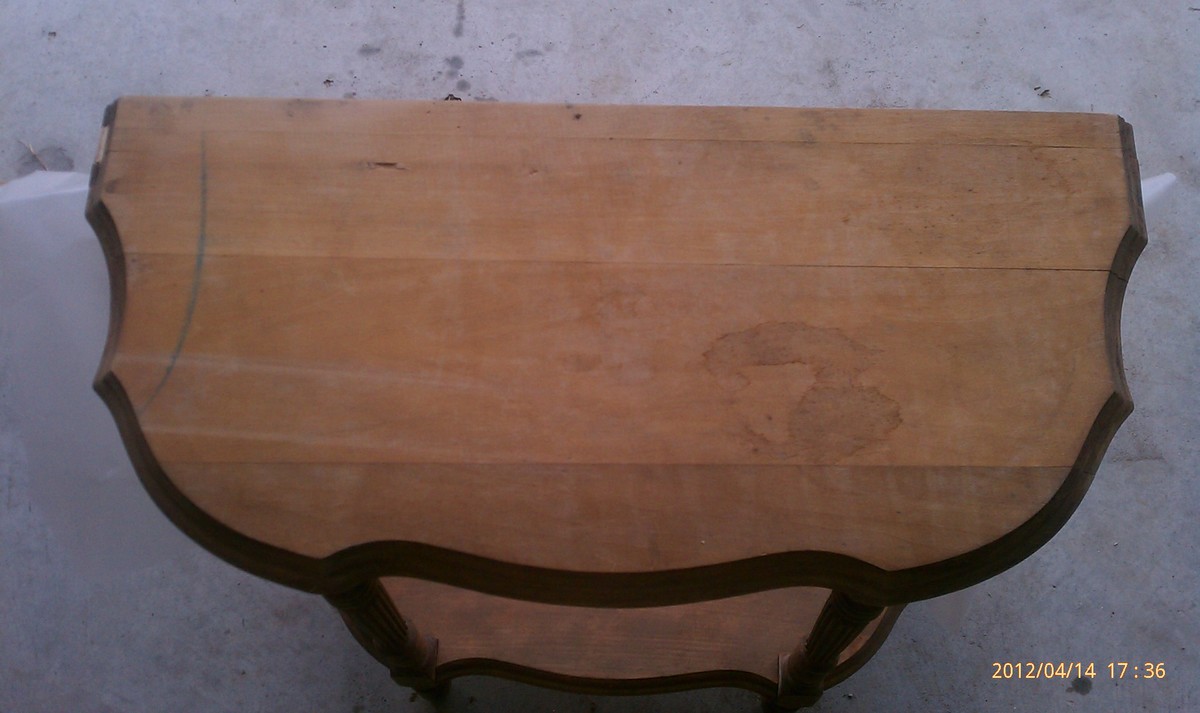
The additional photos are 1 of the original table and 1 of the table after staining and no Poly applied.
Mom was shocked with the finished project. Nothing more pleasing then see Mom smile!
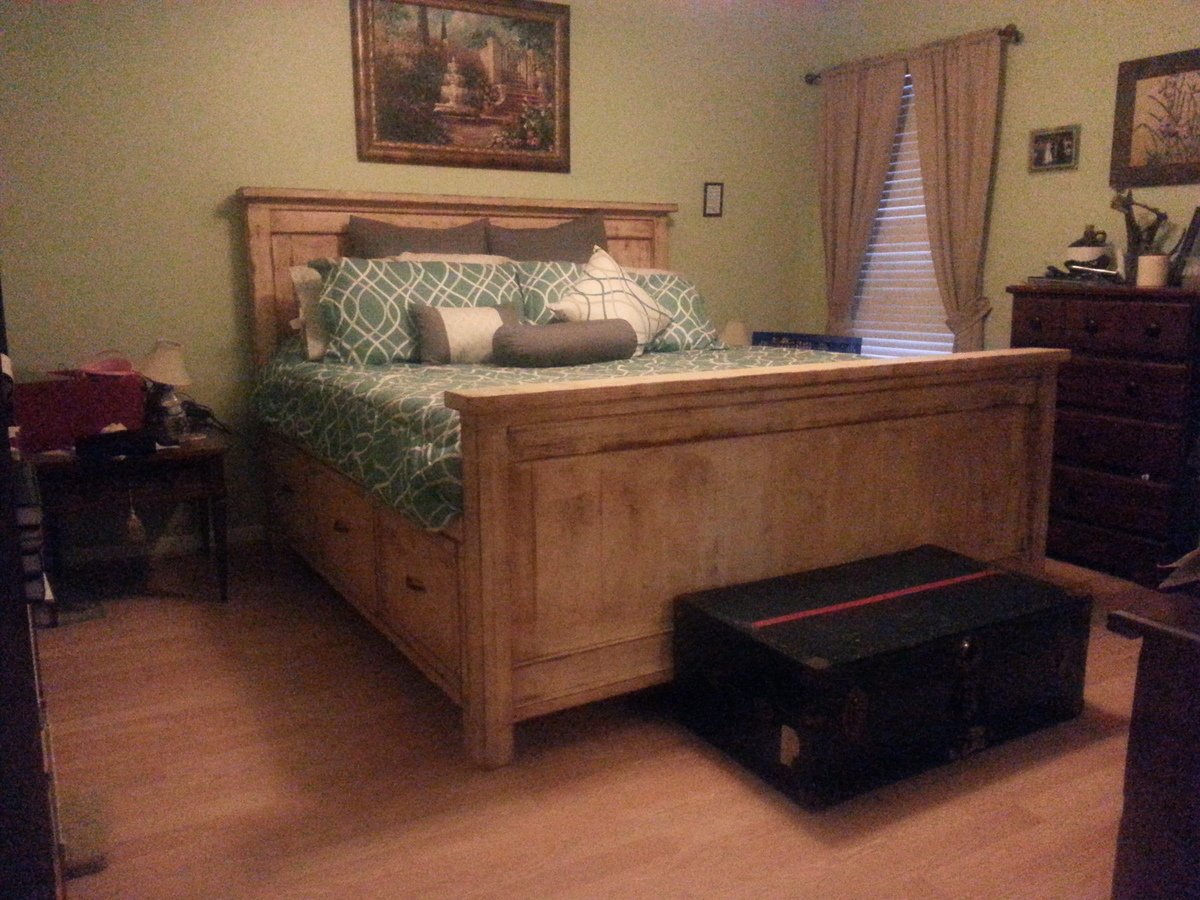
This is my biggest project to date; I put it together with a few modifications to the plans on this website (as I'm sure everyone does!) It will be my wife and my bed for quite some time and hopefully I can pass it along in the future. Seems sturdy as a rock and the additional storage will benefit us as our home has minimal closet space. The finish is a waxed-stained-sanded painted surface.
I broke this project into 3 phases: headboard, benches, and footboard. Juggling two kids and a wife, its hard to be able focus completely on a project without some (often welcome) interruptions.
One final note: this website introduced me to and this project confirmed that my favorite tool in my tool shed is the Kreg Pocket hole Jig; bought it thinking I would use it on a buffett table I built and have used it on every project since!
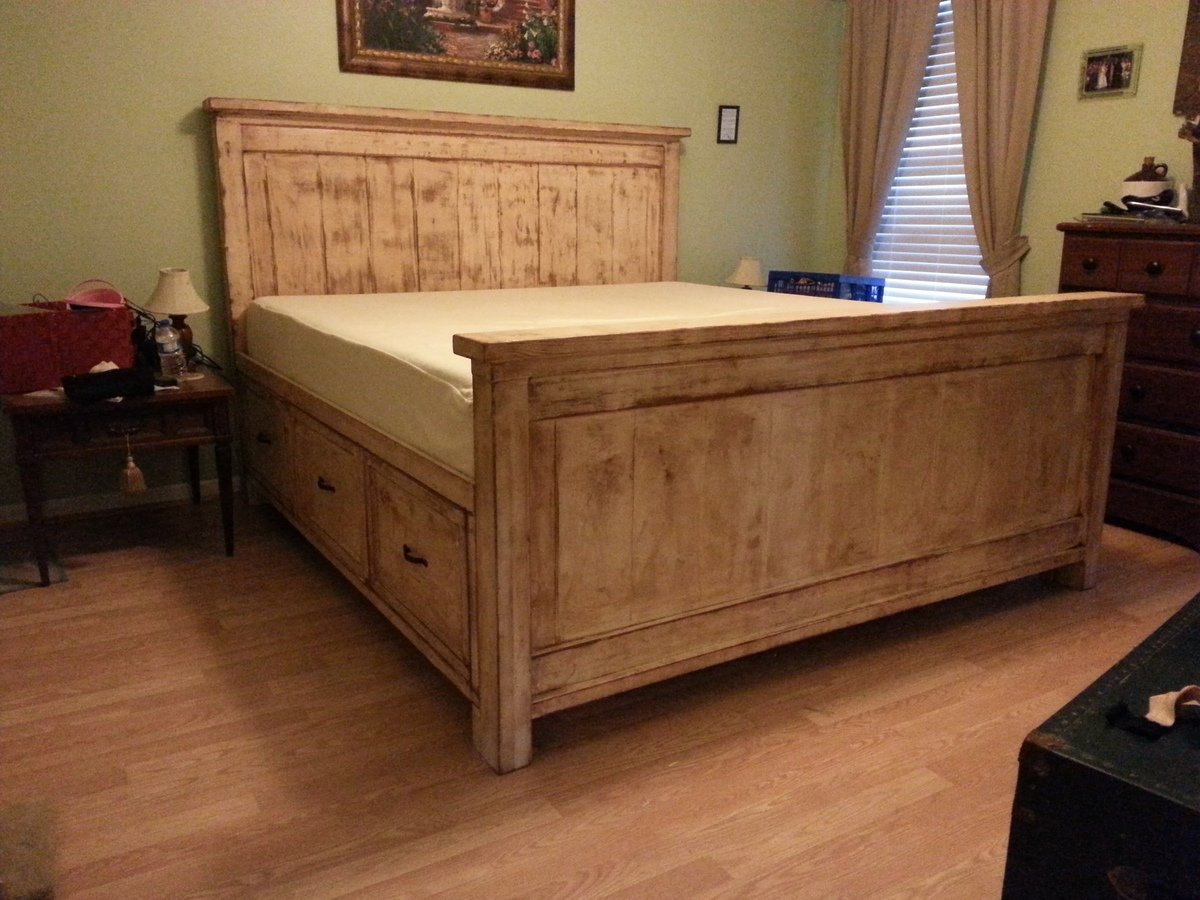
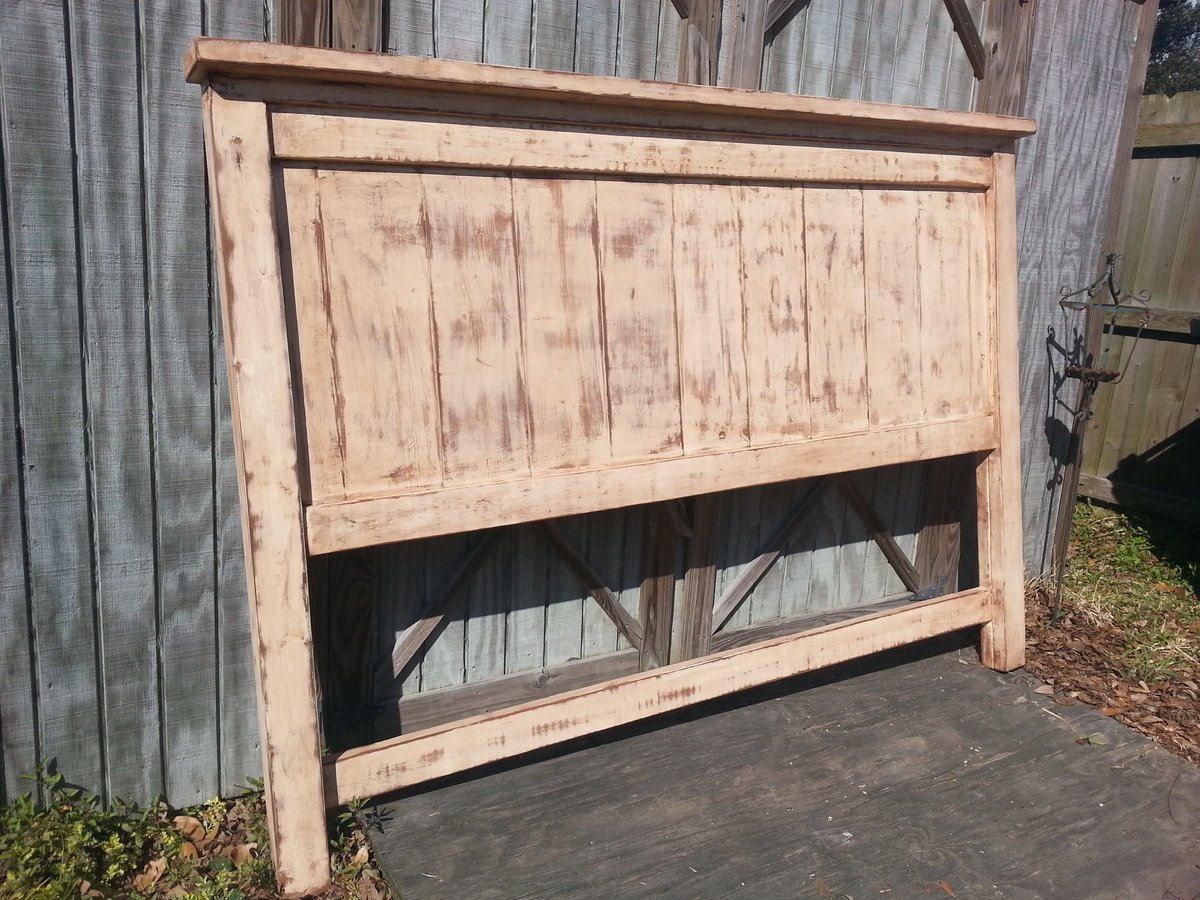
Wed, 12/24/2014 - 07:17
Could you tell me what modifications you made to the original plans?
Tue, 12/10/2019 - 21:03
I'm also interested in the modifications! I wanted to make the footboard taller, like yours is.
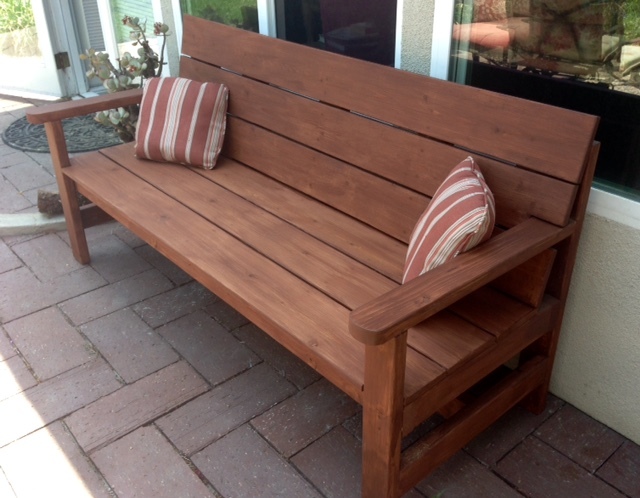
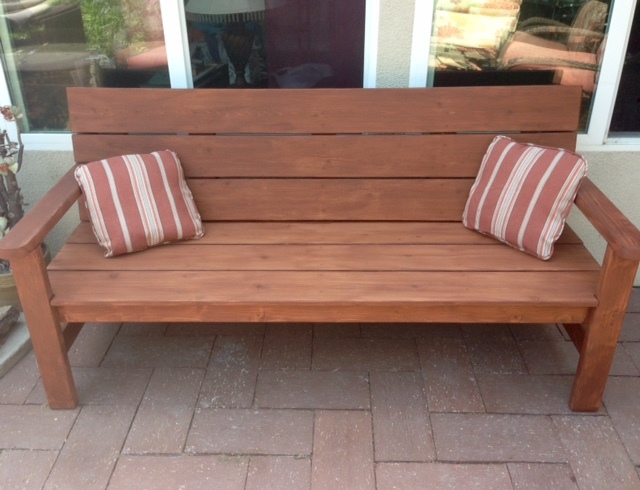
Great plans! I modified the bench by adding a slanted back (which enabled me to put the slats closer together), extending and curving the front of the arms and extended the seat to the outside of the legs.
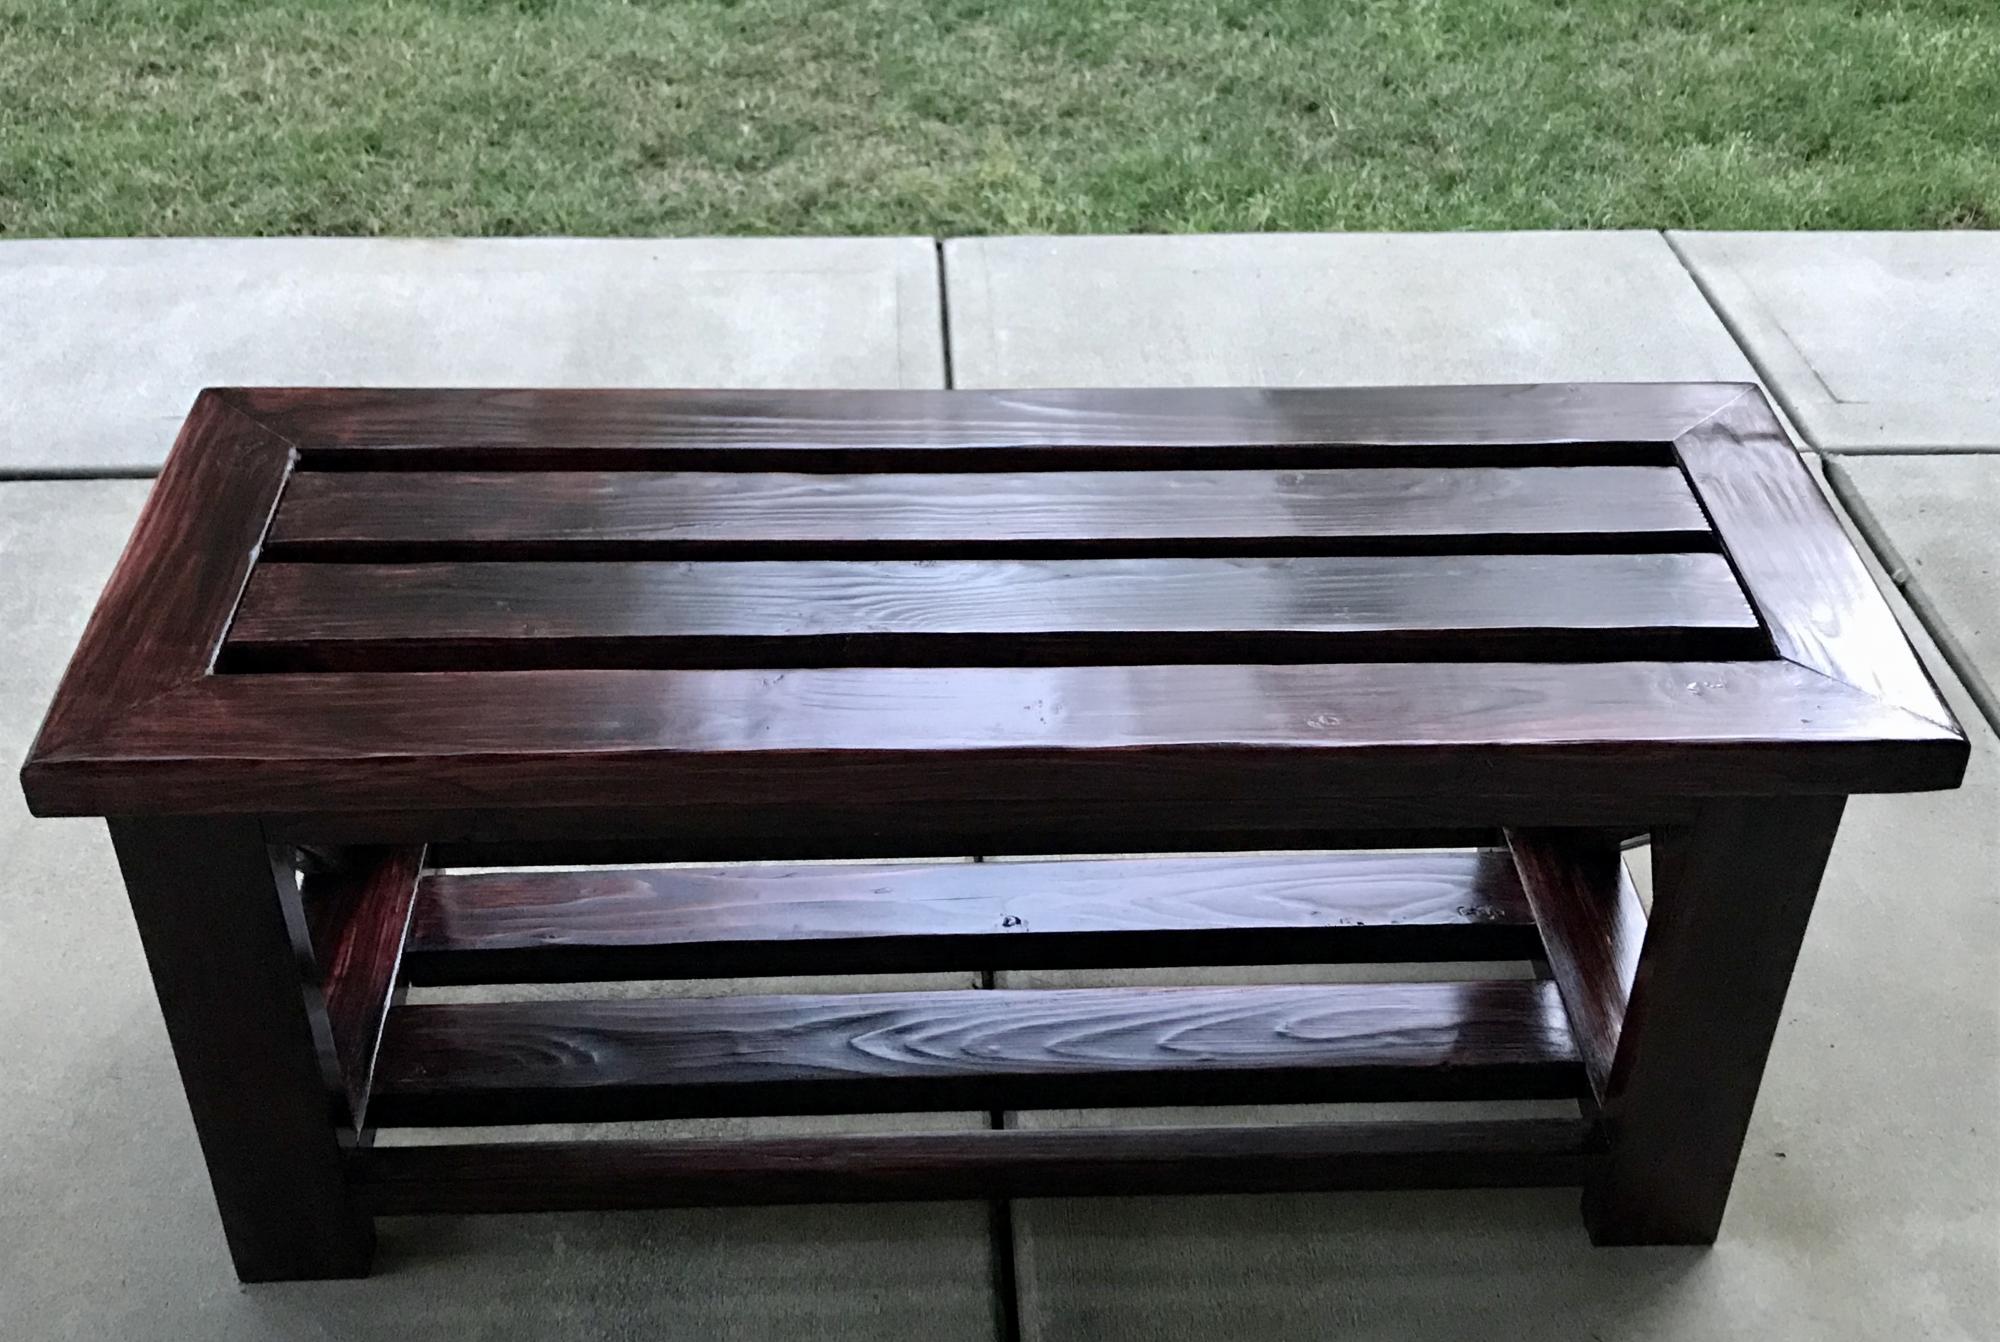
My first piece of furniture using the plans as guidance. Needed something to organize the shoes that accumulated at the front door.
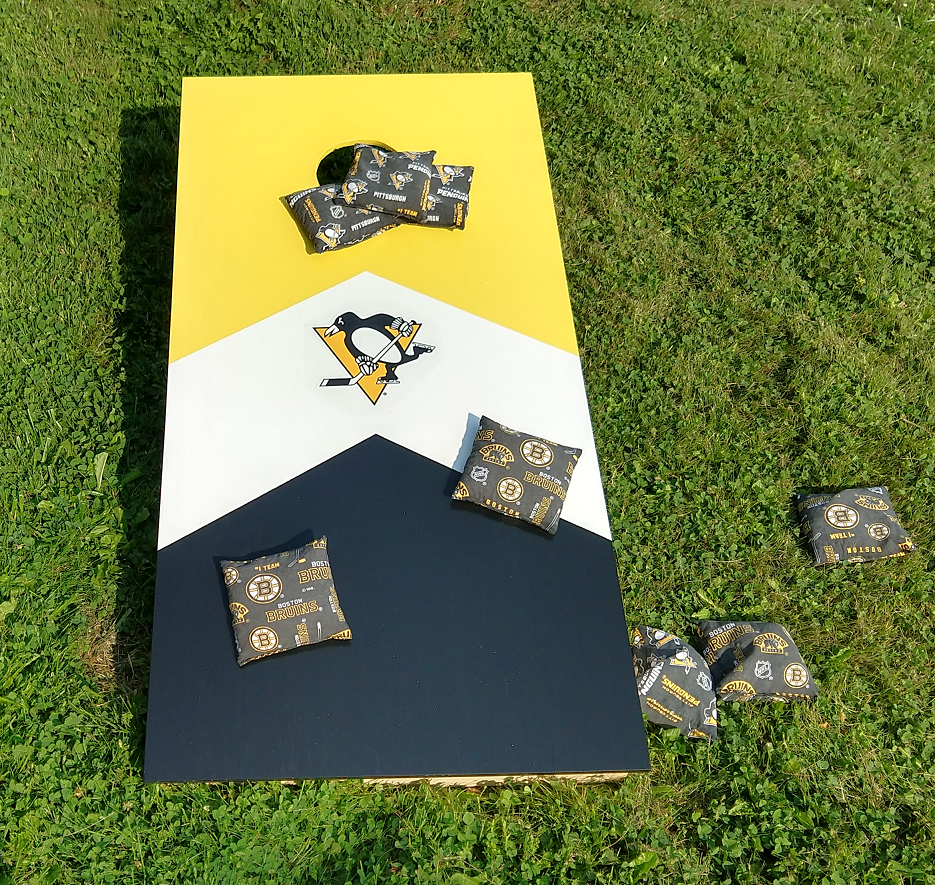
Did one with Bruins as well. Wife made the bags. Did another set with LA Rams for my brother.
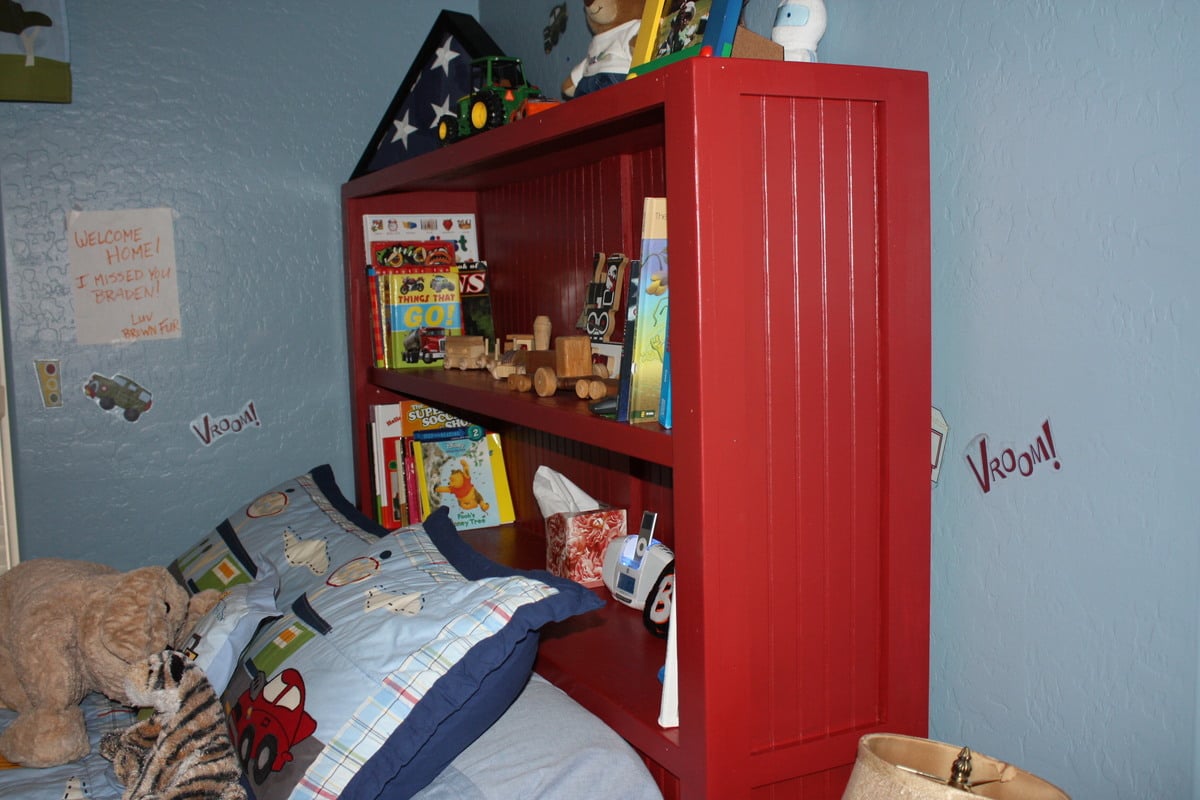
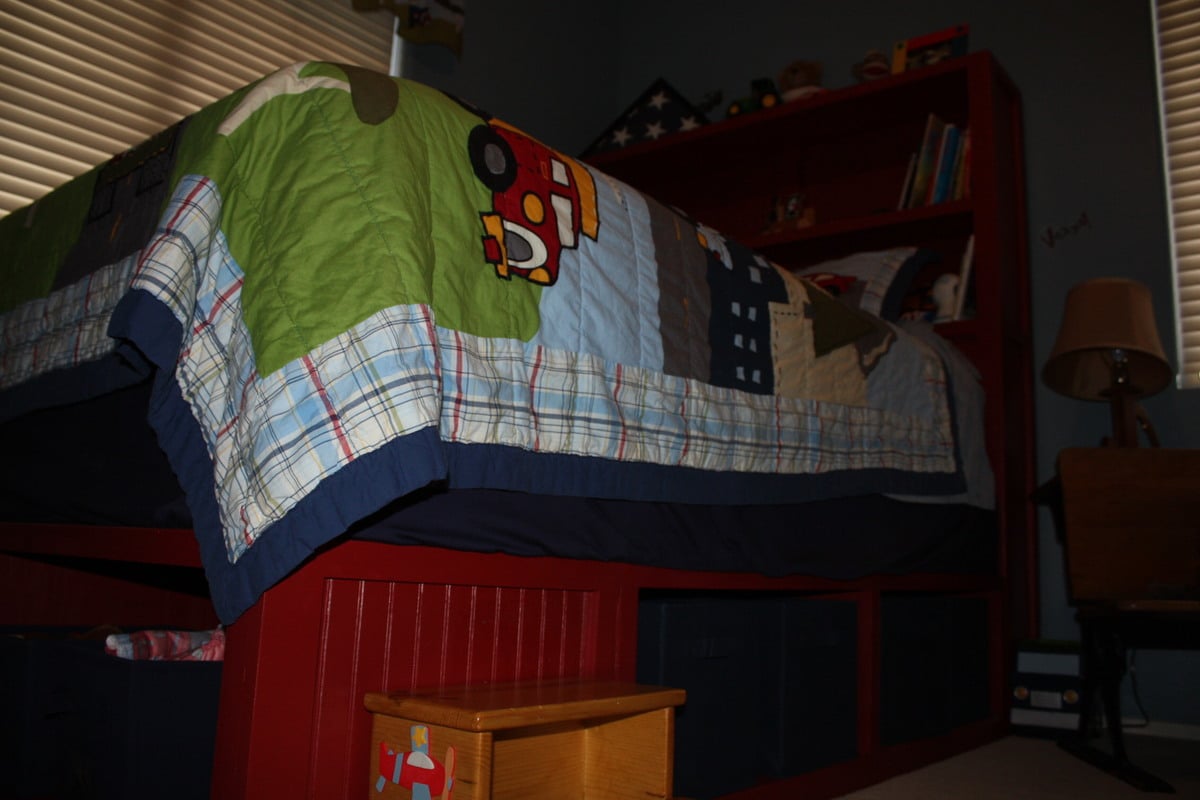
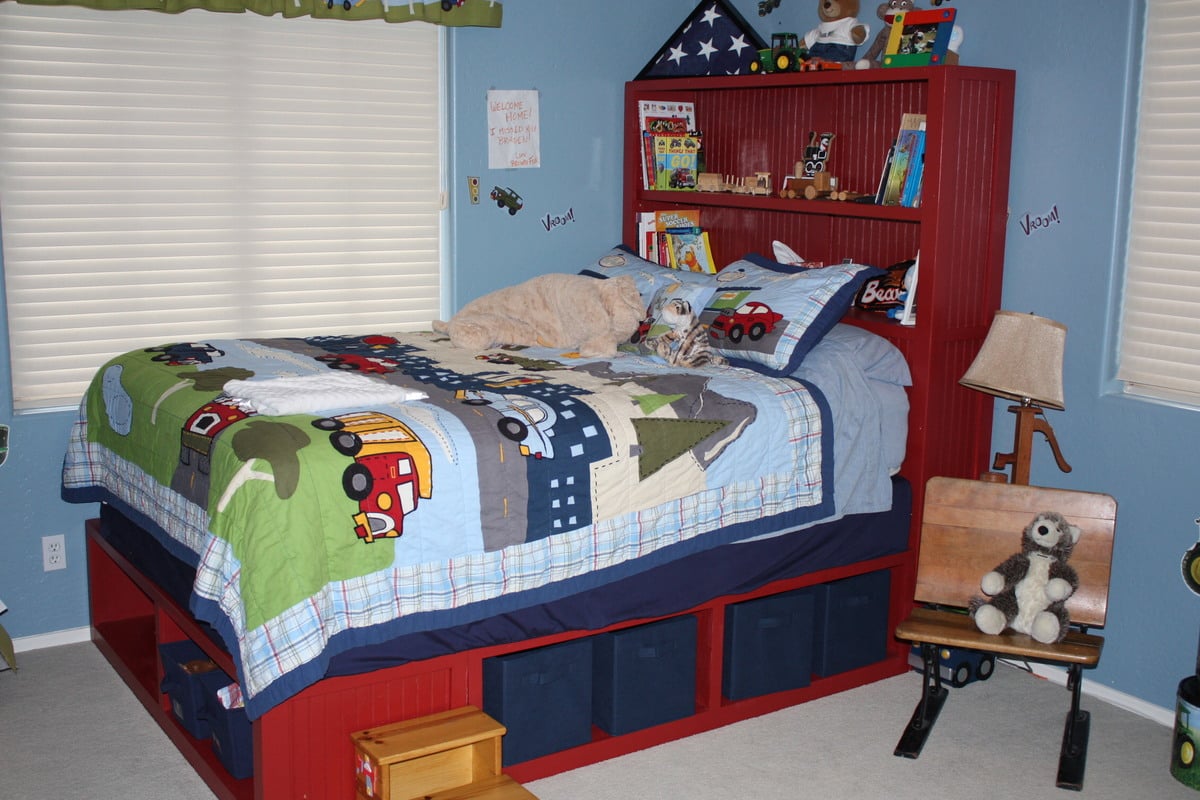
My boy was sleeping on a queen box spring / mattress sitting on the floor; figured he needed a bed and the storage bed seemed just the ticket.
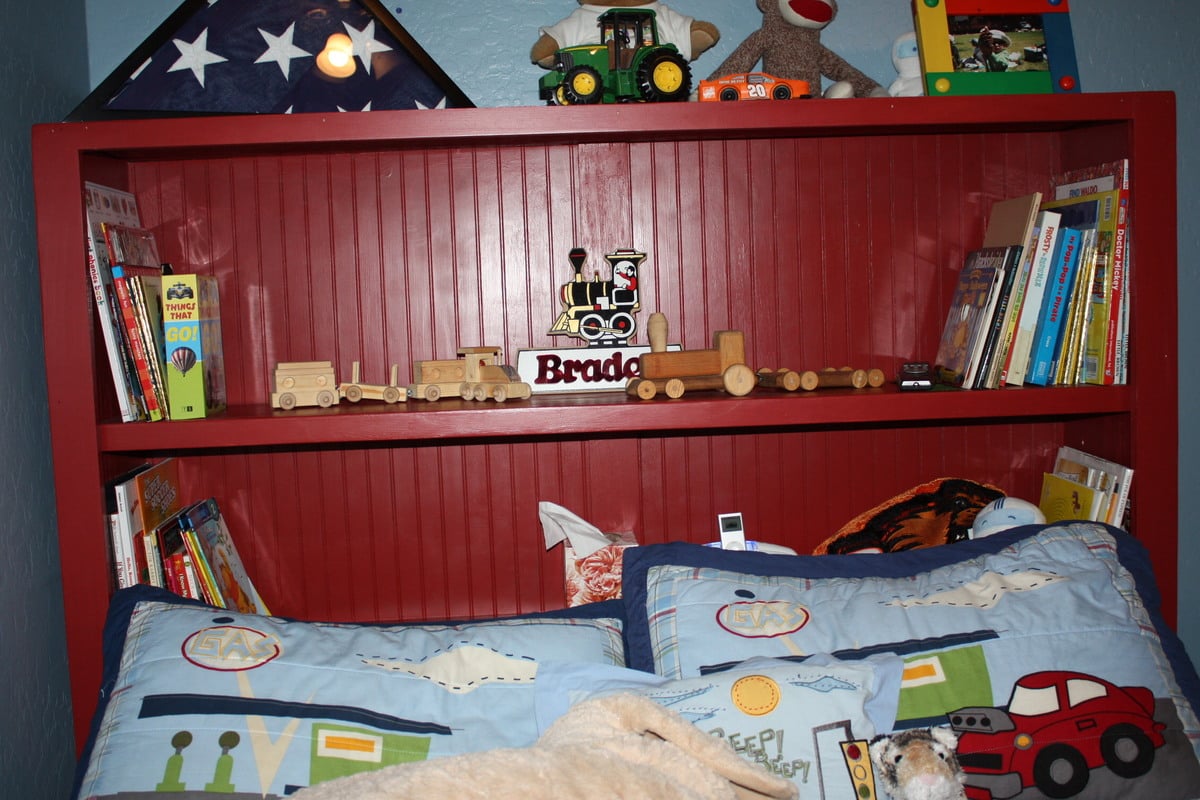
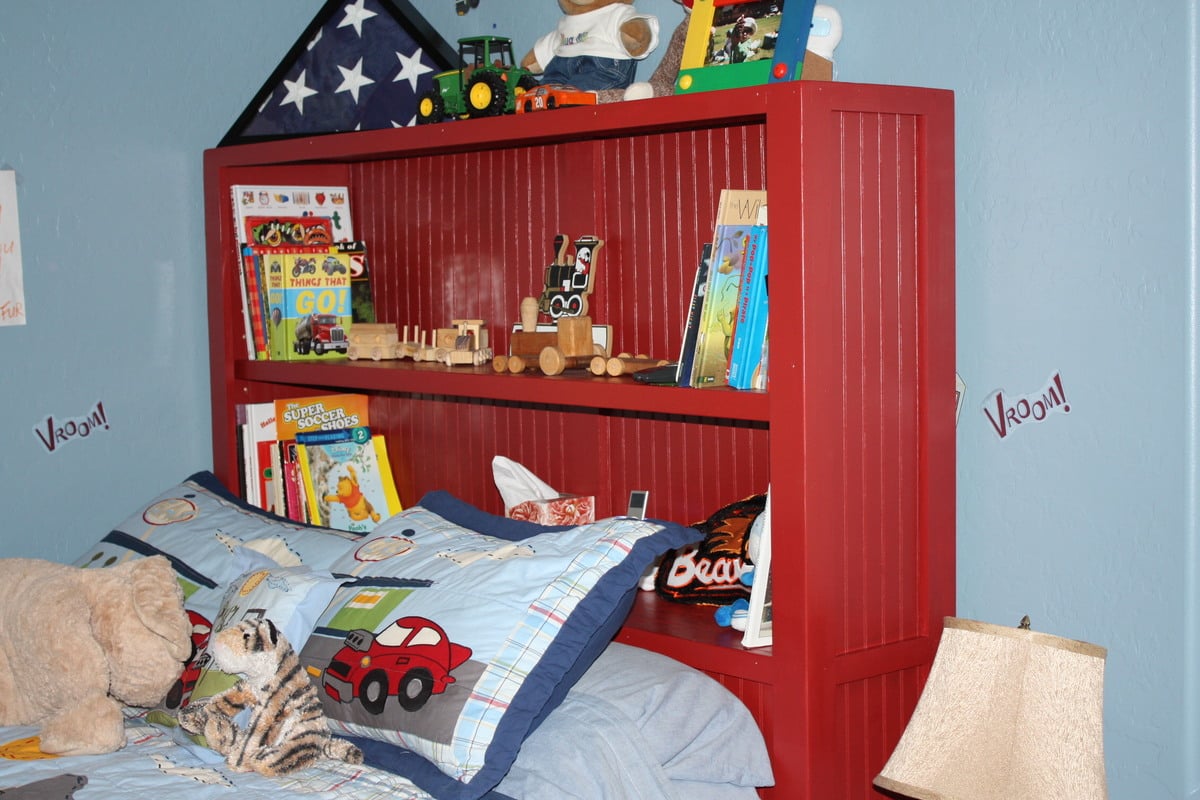
Found some beadboard on clearance for $16 a 4x8 sheet so picked up about 5 sheets. It was on clearance since it was prefinished. Not a big deal since I knew I'd be painting the bed (had to prime the stained wood first). I think the beadboard adds a nice touch on the ends.
Haven't built drawers yet, but the wife kind of likes the looks of the cubby bins so drawers can wait.
The headboard wasn't from any plan; just followed the same basic concept as the bed; sides are 3/4 plywood, but I rabbitted out the trim in order to insert the 1/4 beadboard. Used some scrap hardboard pegboard as a template for the shelf pin holes on the inside of the headboard to enable an adjustable shelf.
The bed sits up a little high for our liking, but eventually we will remove the boxspring and just set the mattress on the bed frame; just have to figure out where to store the boxspring . .
I miss the family when they're out of town, but at least I get a lot of projects done . . .
Thu, 08/30/2012 - 17:19
This is beautiful. Love your colors and use of beadboard! Great job! I love the bins too....really terrific!
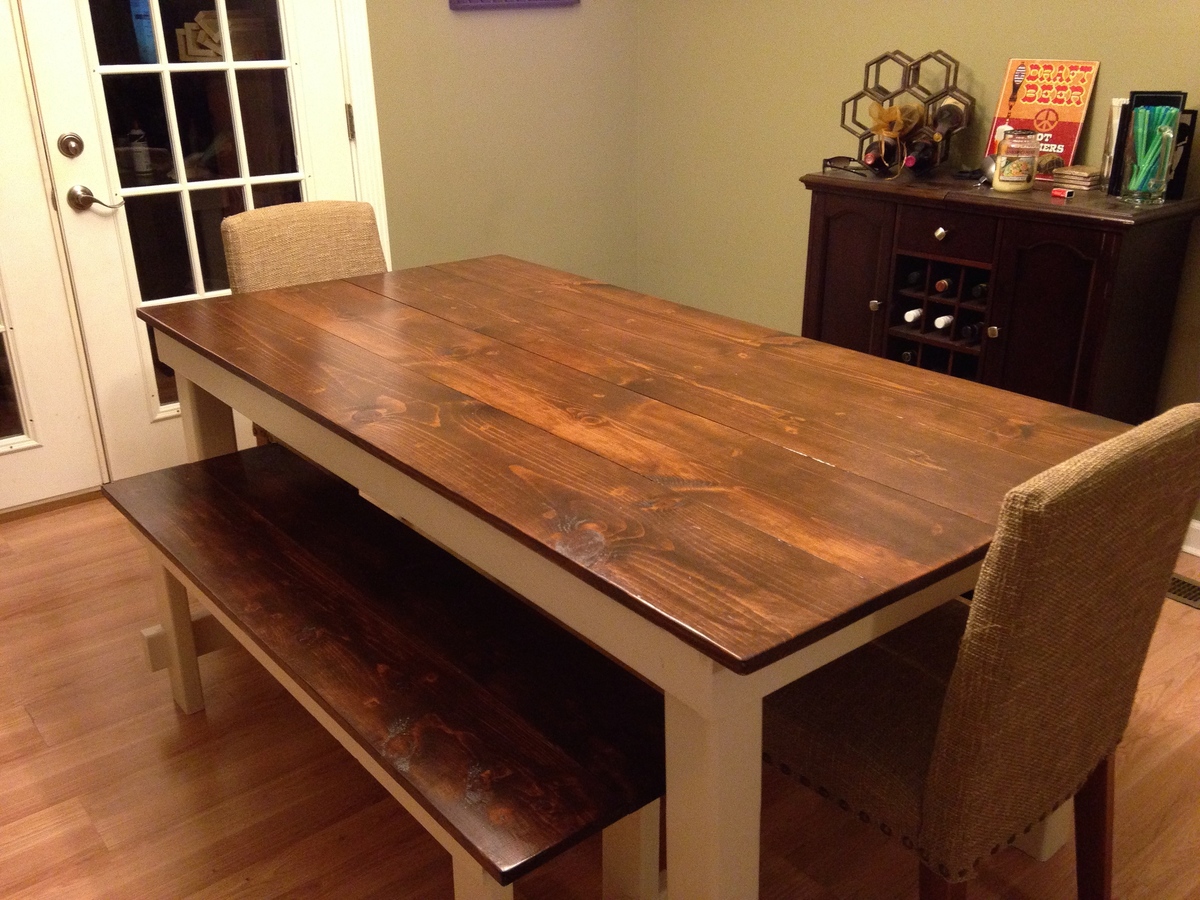
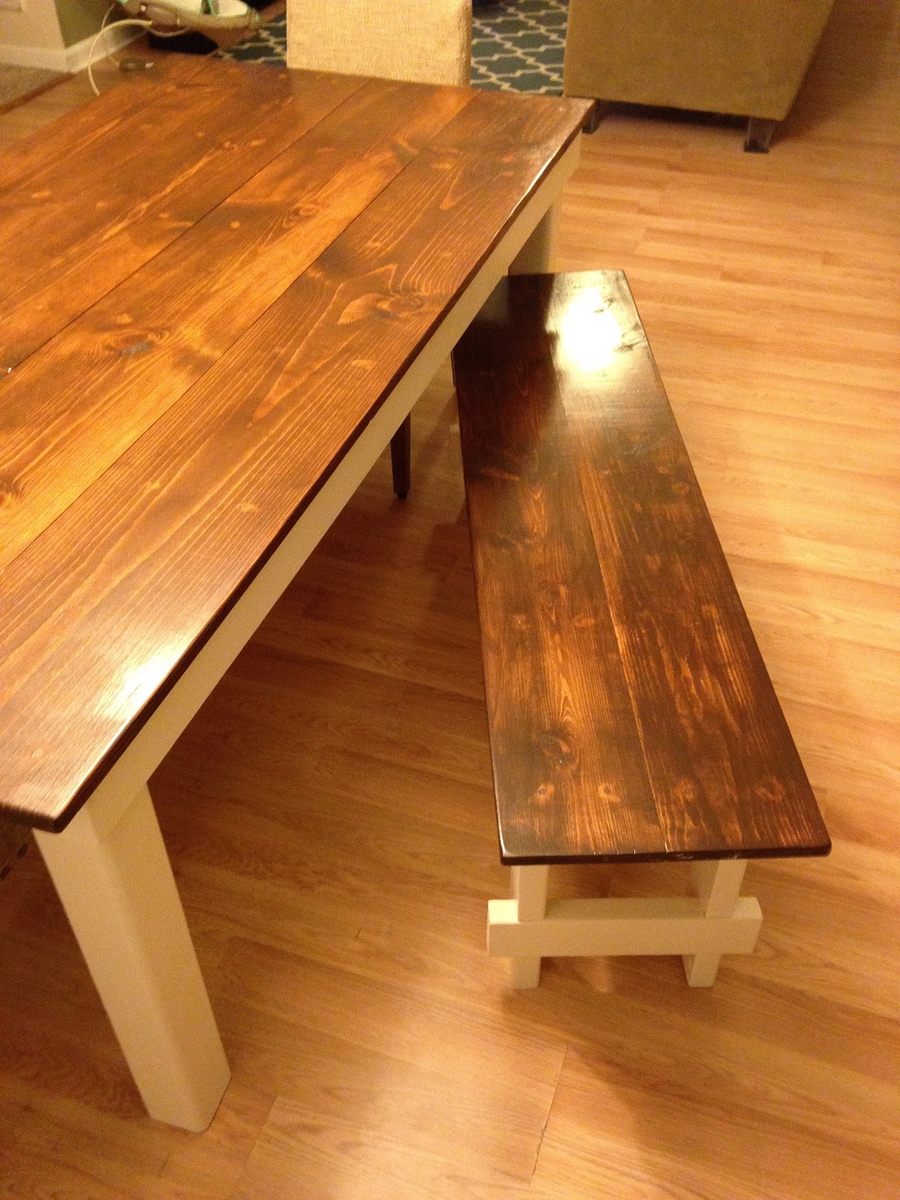
I wanted a farmhouse table look, but no too county. I think that this table accomplished that.
I debated a while with staining the entire table or staining the top and painting the legs. I'm really glad that I decided to paint the legs. I think it turn out great.
This was my first DIY wood project. I'm pretty much addicted now. Every time my wife wants to get a new piece of furniture, I always tell her that I can probably build it.
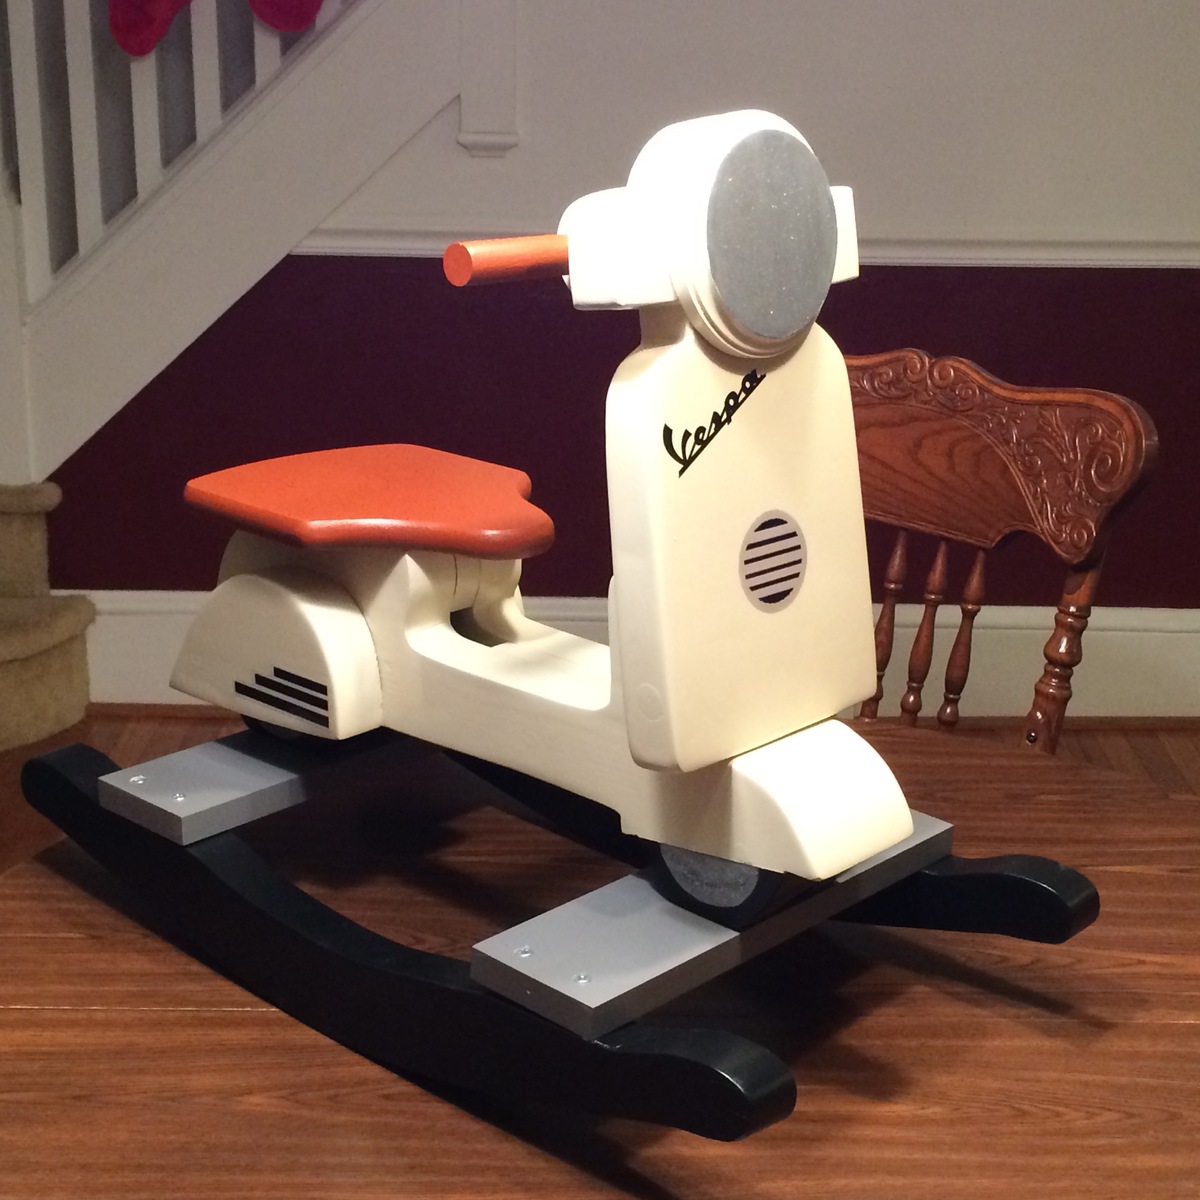
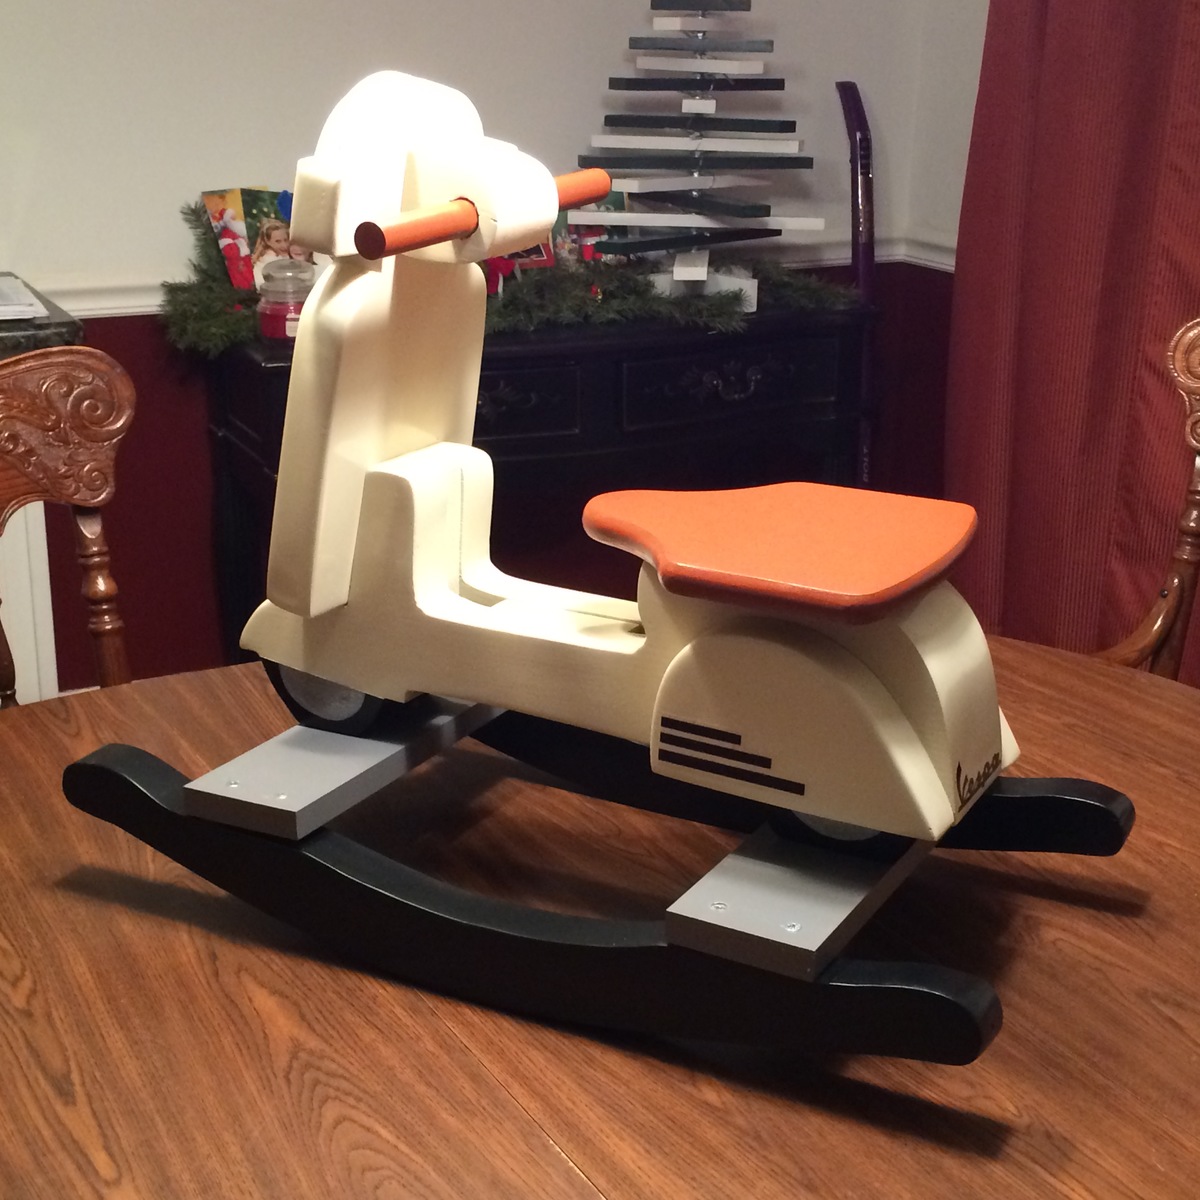
Fairly easy to make with a jigsaw and sander. I would suggest to whomever makes one of the Charlie scooters to use a hardwood as some of the section in the handlebar area can be fragile when weight is applied.
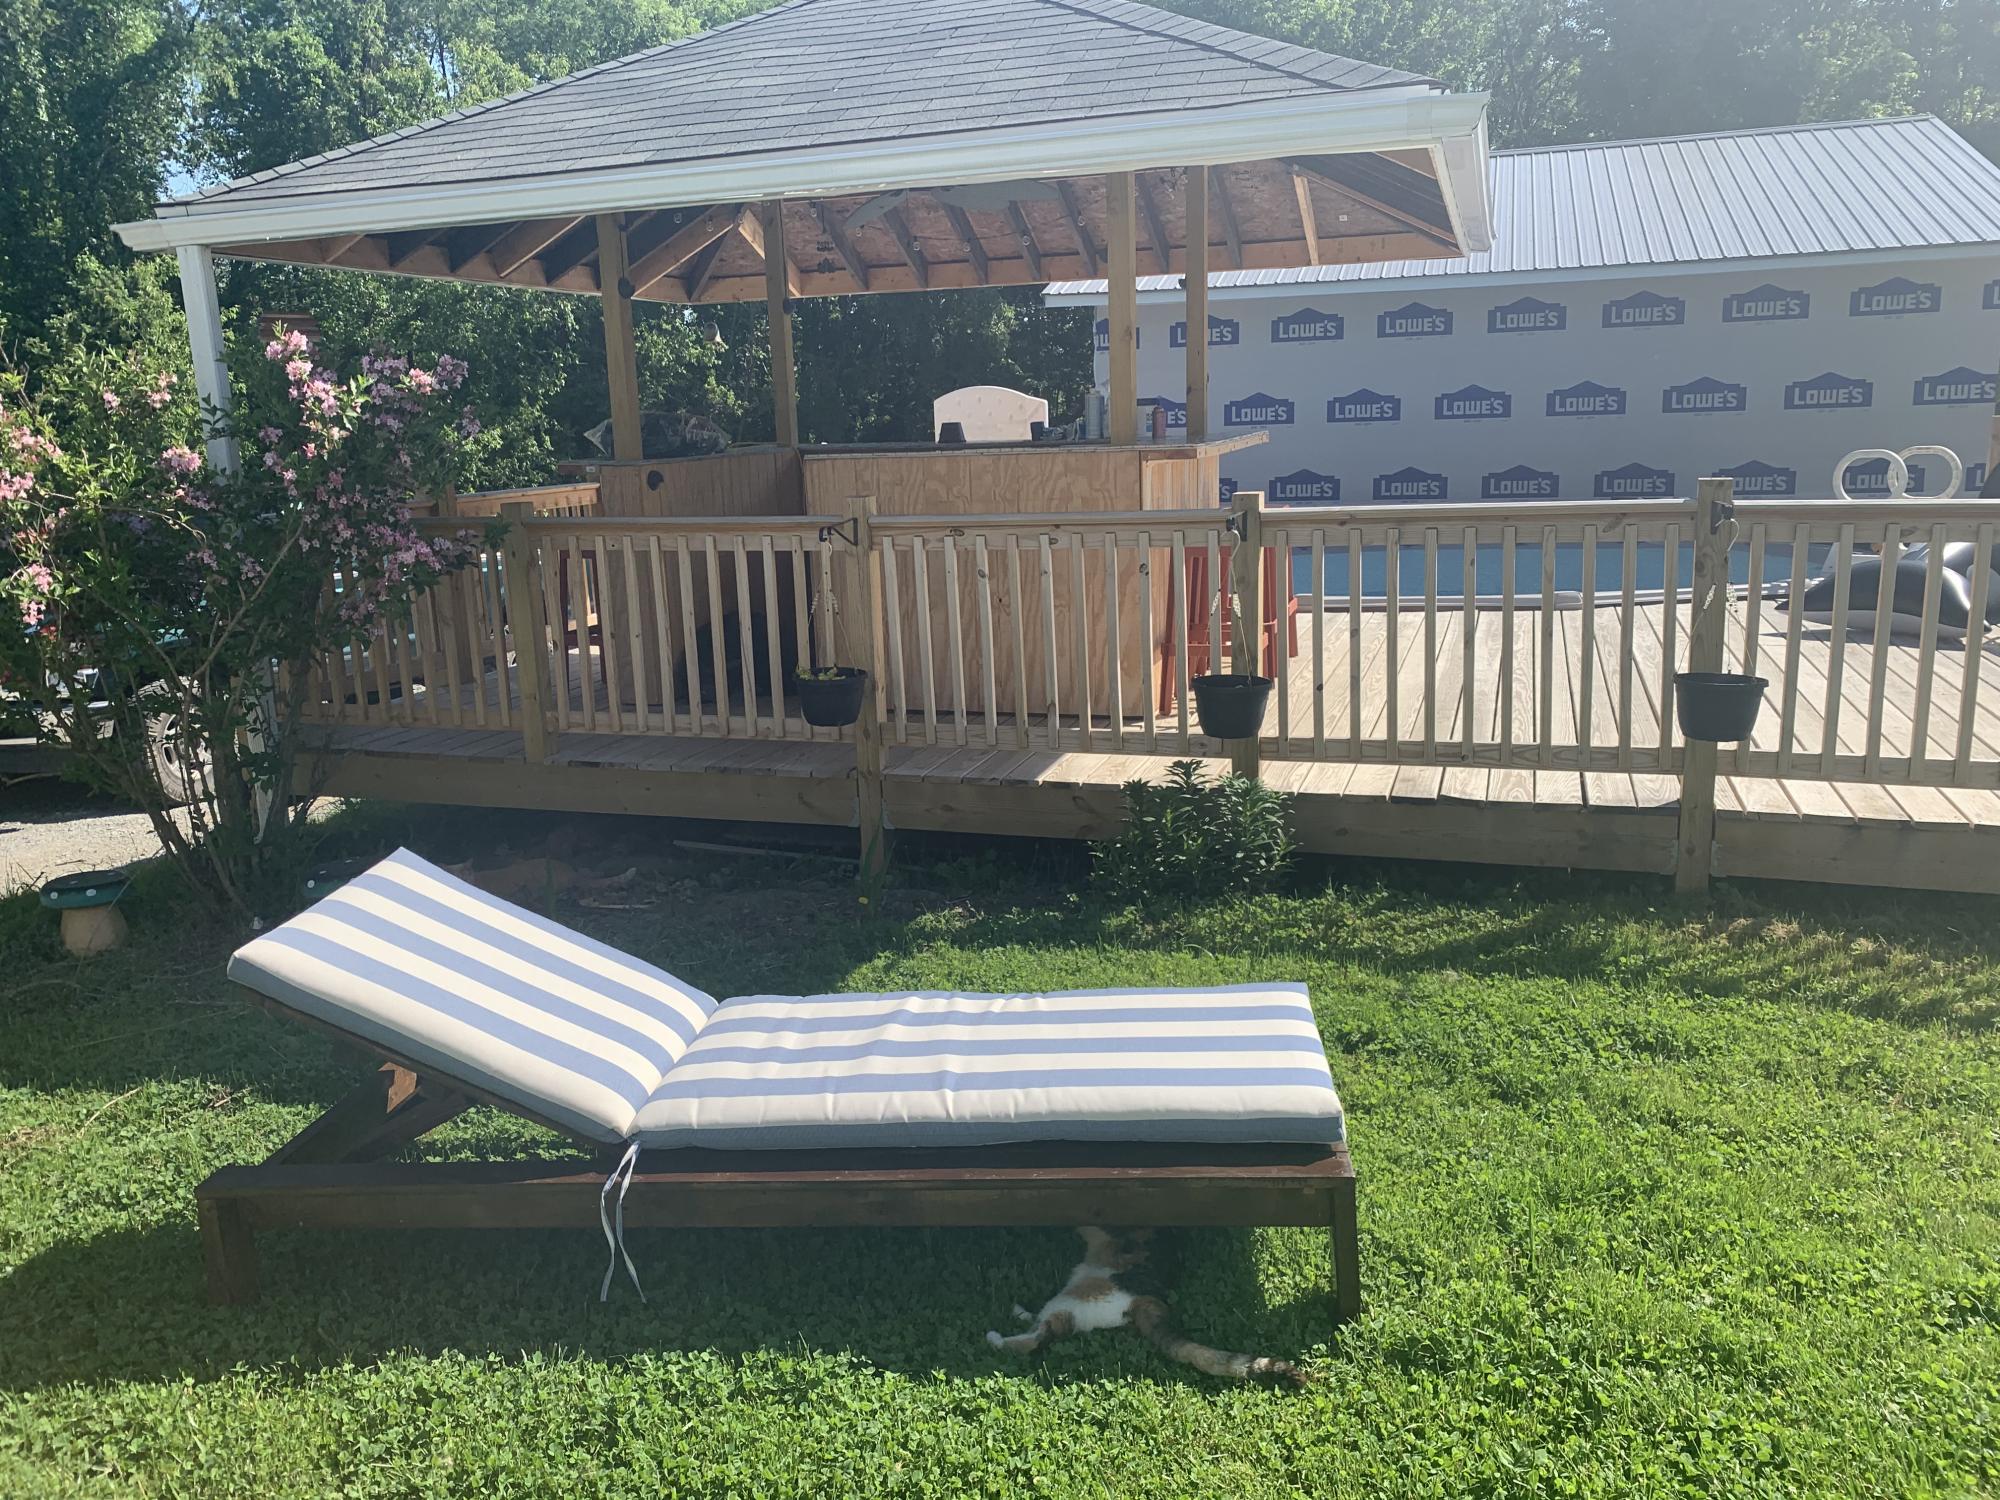
This is my first project, I’m soooo happy with how it turned out!
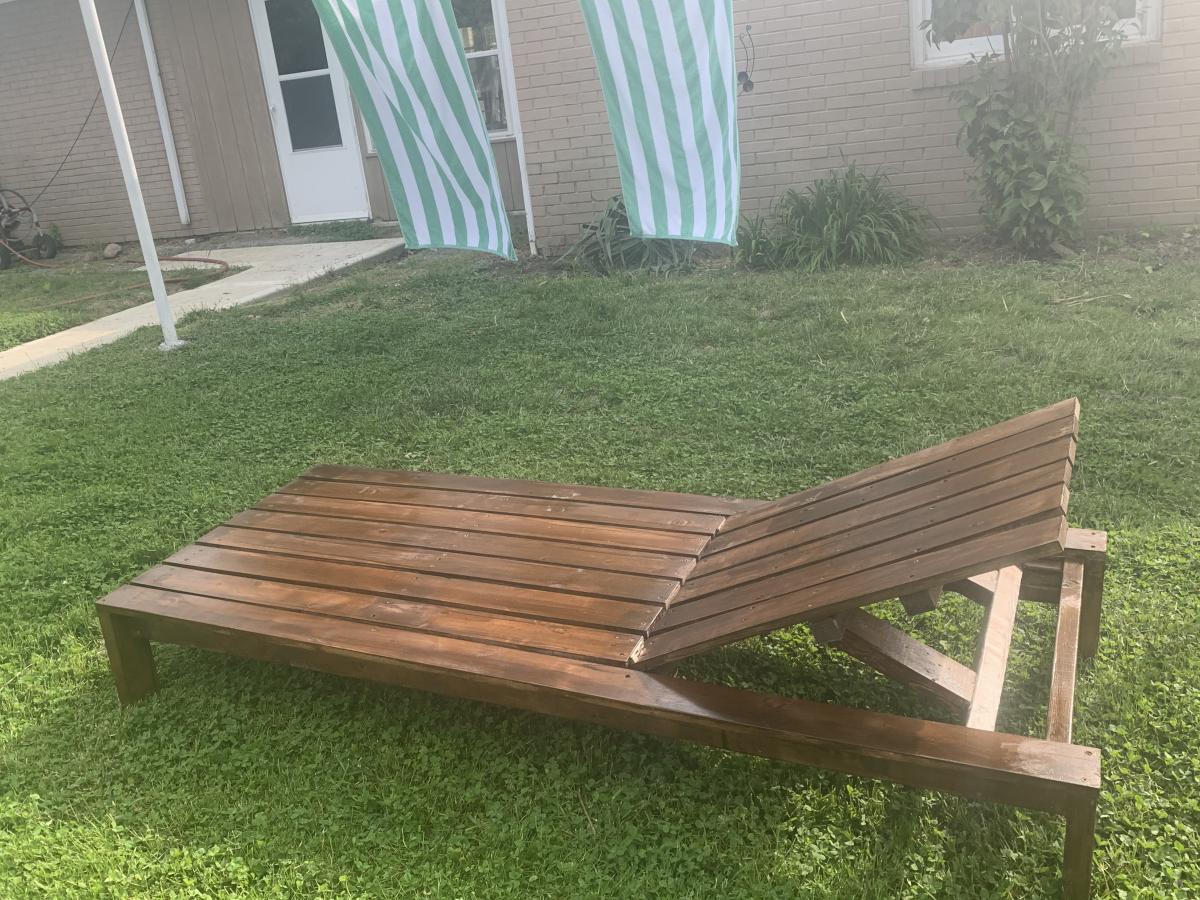
Wed, 05/27/2020 - 11:16
Looks awesome!!! Thank you so much for sharing photos!
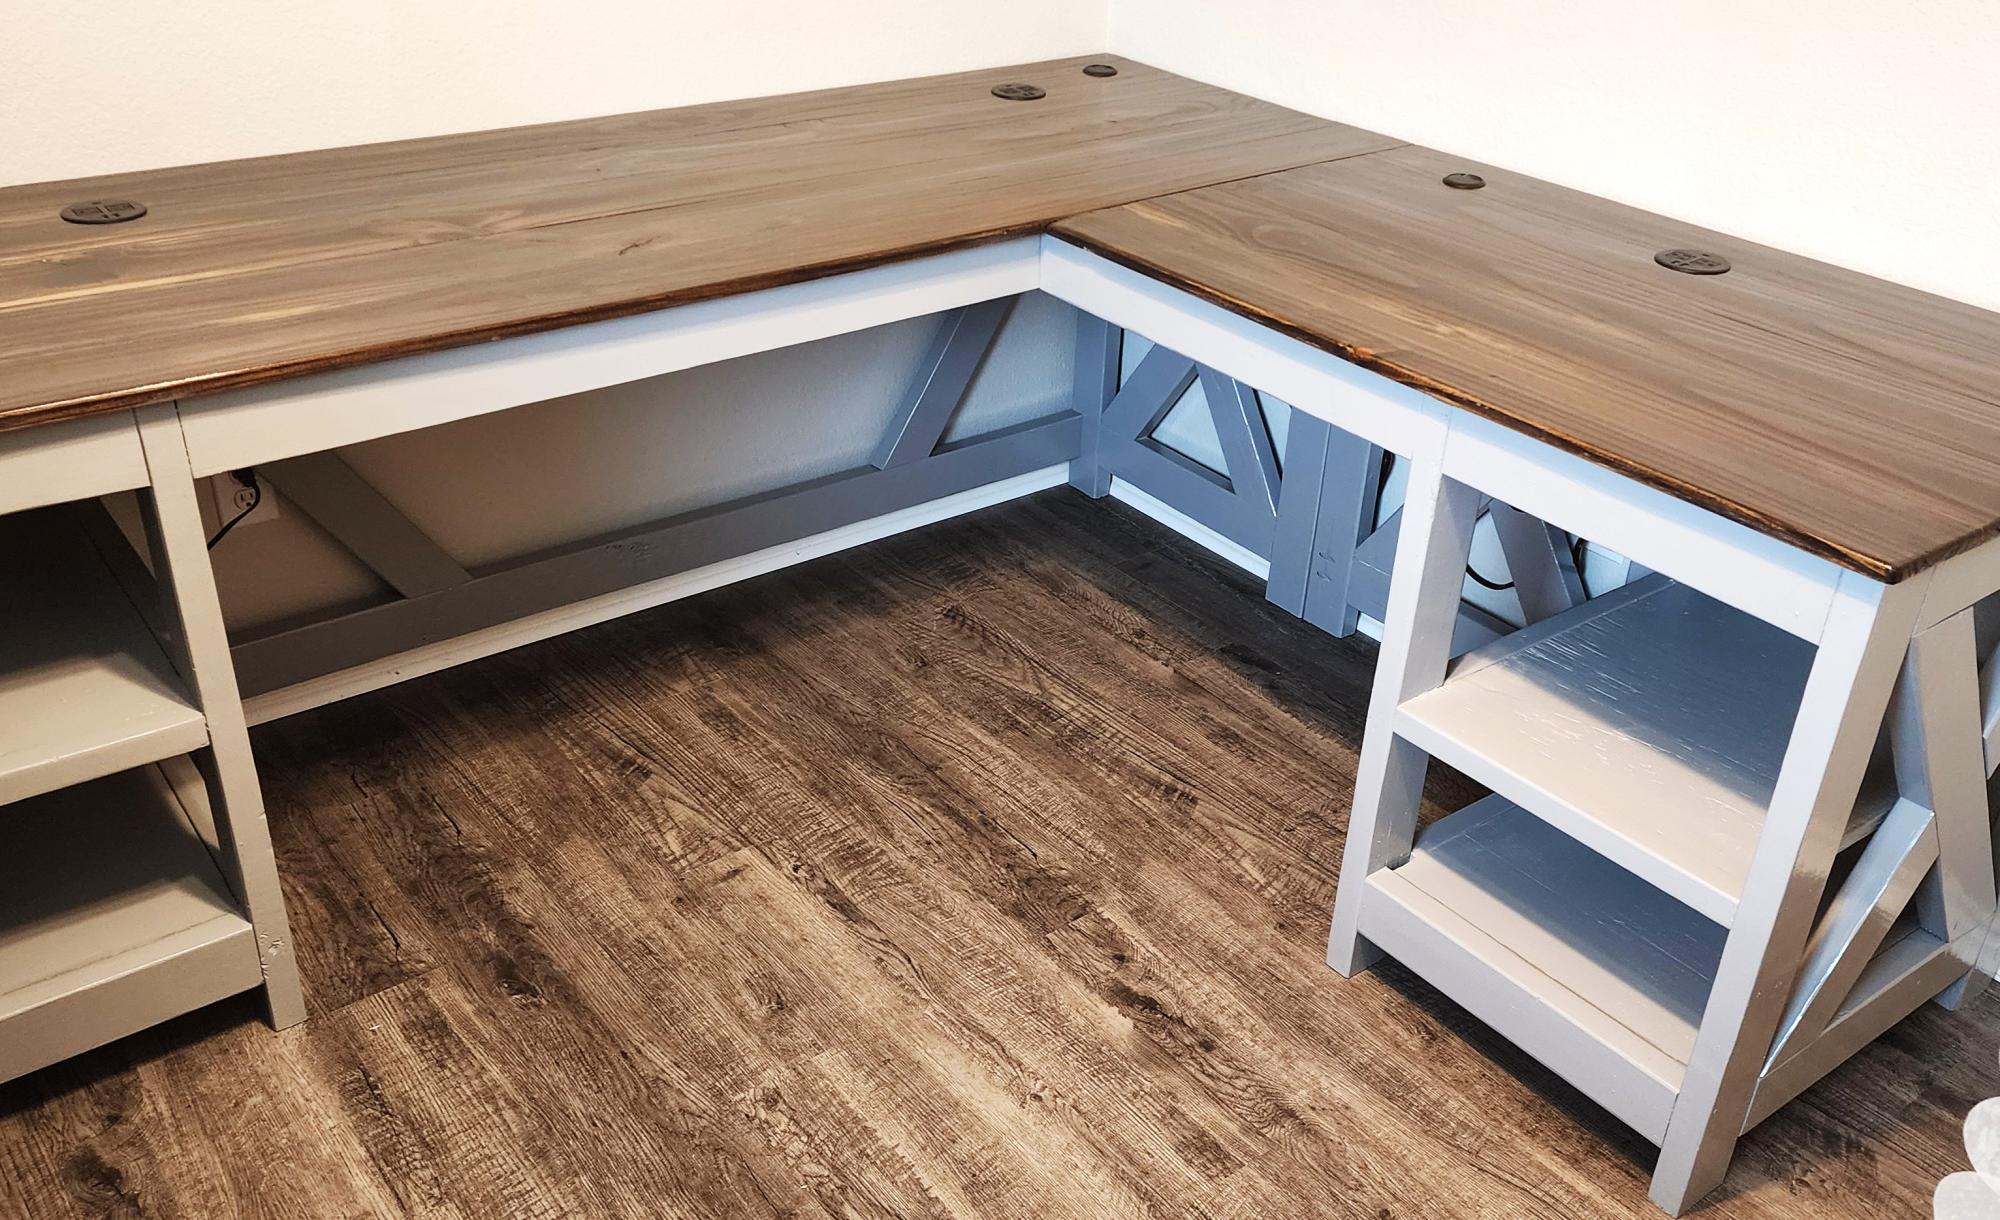
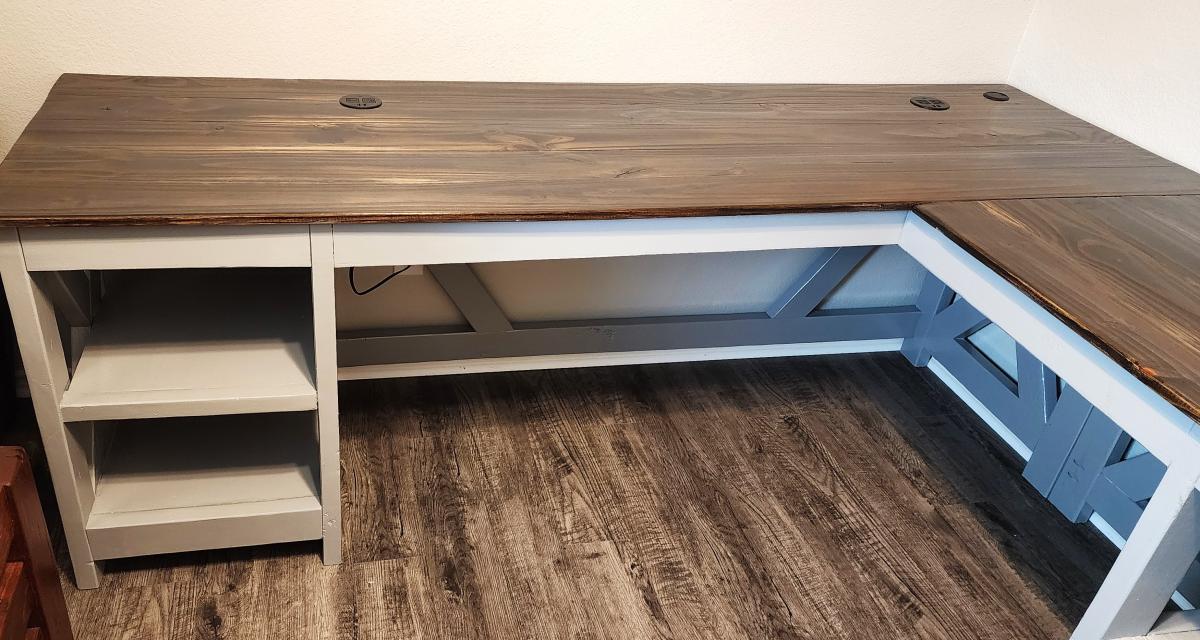
Desk for my wifes craft room.
Joshua Moore
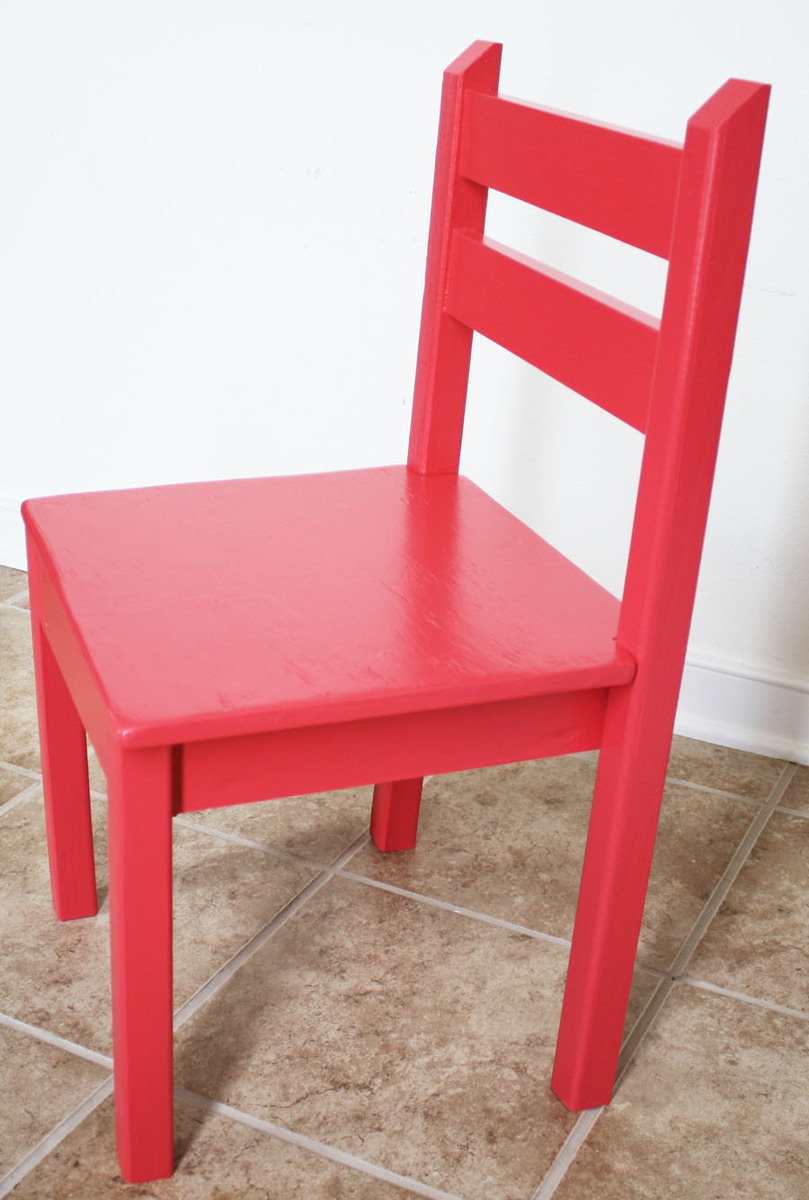
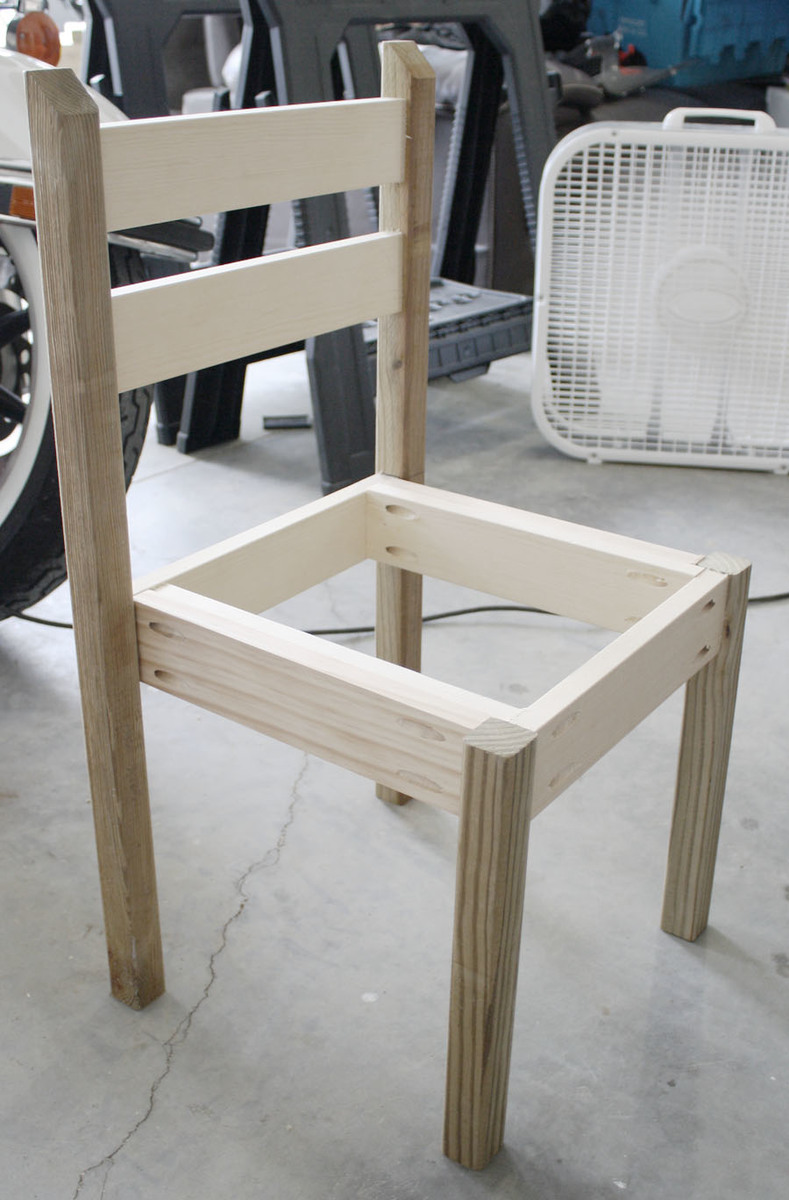
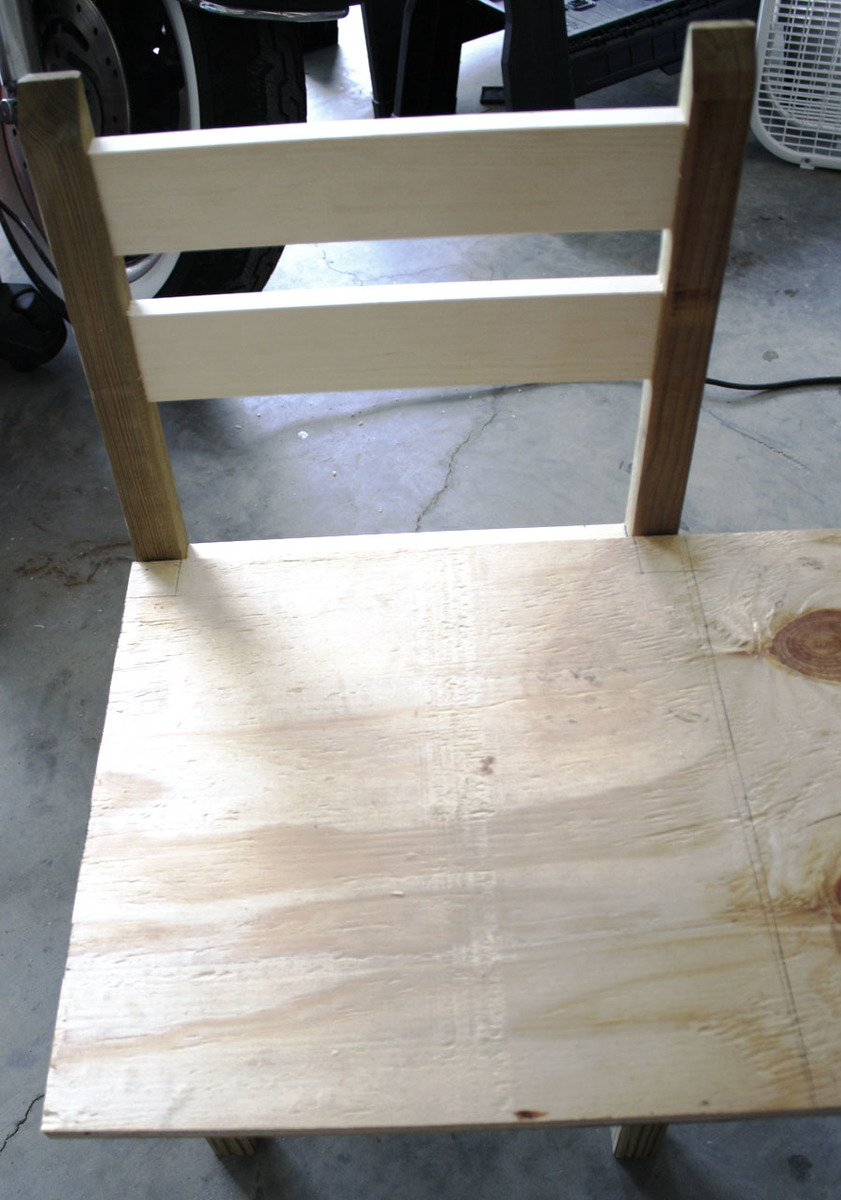
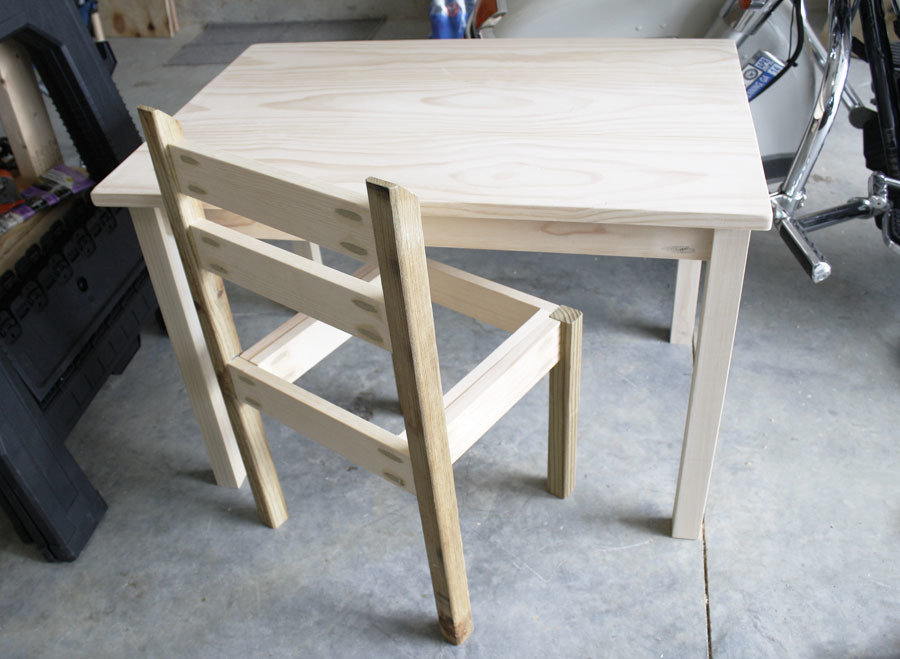
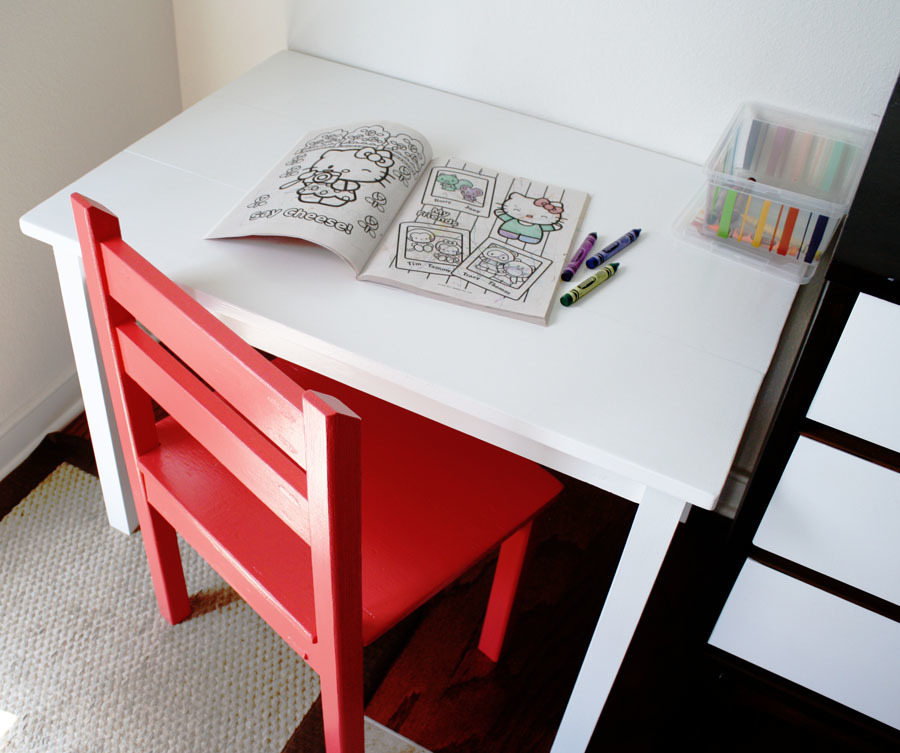
These chairs were easy to build, although I modified Ana's plans a little bit. I opted for solid wood 2x2s for the legs (I wanted it to be sturdier), and a solid seat instead of a slatted one. I notched out the back of the seat so it would fit flush against the back legs. Because of my modifications, my chair was just a couple bucks more.
Also, I was so excited to find solid wood balusters for the chair legs - they're not only better quality, but cheaper than furring strips!
Check out my blog link for a complete play-by-play!
Mon, 07/23/2012 - 08:25
Nice. I like the solid seat. Much easier to keep clean from kid grime.
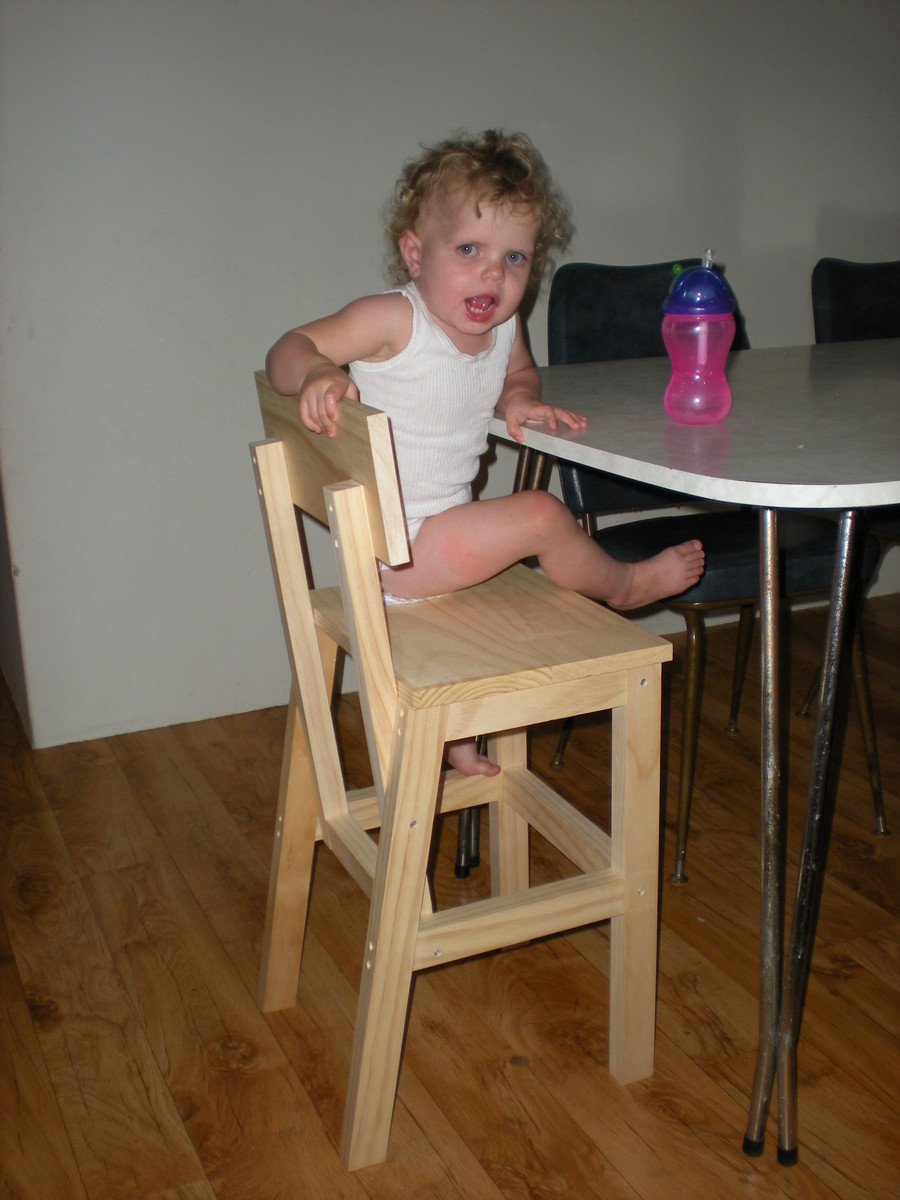
My daughter needed a chair that wasn't as bulky as our high chair but higher than a normal dining chair. This plan was perfect. I changed the dimensions to suit what I needed. The actual building took only a couple of hours but the finishing seemed to take forever. I probably spent about a week just on the finishing. I distressed it to help disguise the inevitable bumps and grubby handprints.
Mon, 05/01/2017 - 16:30
Is this adaptable for adult size with no back. Looking for something like this to slide under a new kitchen desk.
Tue, 08/27/2019 - 19:18
This is beautiful! So much prettier than a high chair or booster seat!

My kids needed a step stool and I had some scrap wood (2x10) left over from a previous project
Thu, 08/18/2016 - 20:12
Thank you! The dimensions are the same as the Ana White "Simple 1x10 Single Step Stool" except I used 2x10's instead of 1x10's like the plans called for. I also used some scrap pallet wood to make a design on the top of the stool.
- Stool height: 7 1/2" for legs, 1 1/2" for top, and 1/2" for scrap pallet wood; which gives a total height of 9"
- Stool width: 9 1/4" x 16"
- 5 degree angle cuts were made on the legs
Wed, 04/17/2024 - 09:21
Are the rails a 2x10 cut in half.? Or is it pallet wood?
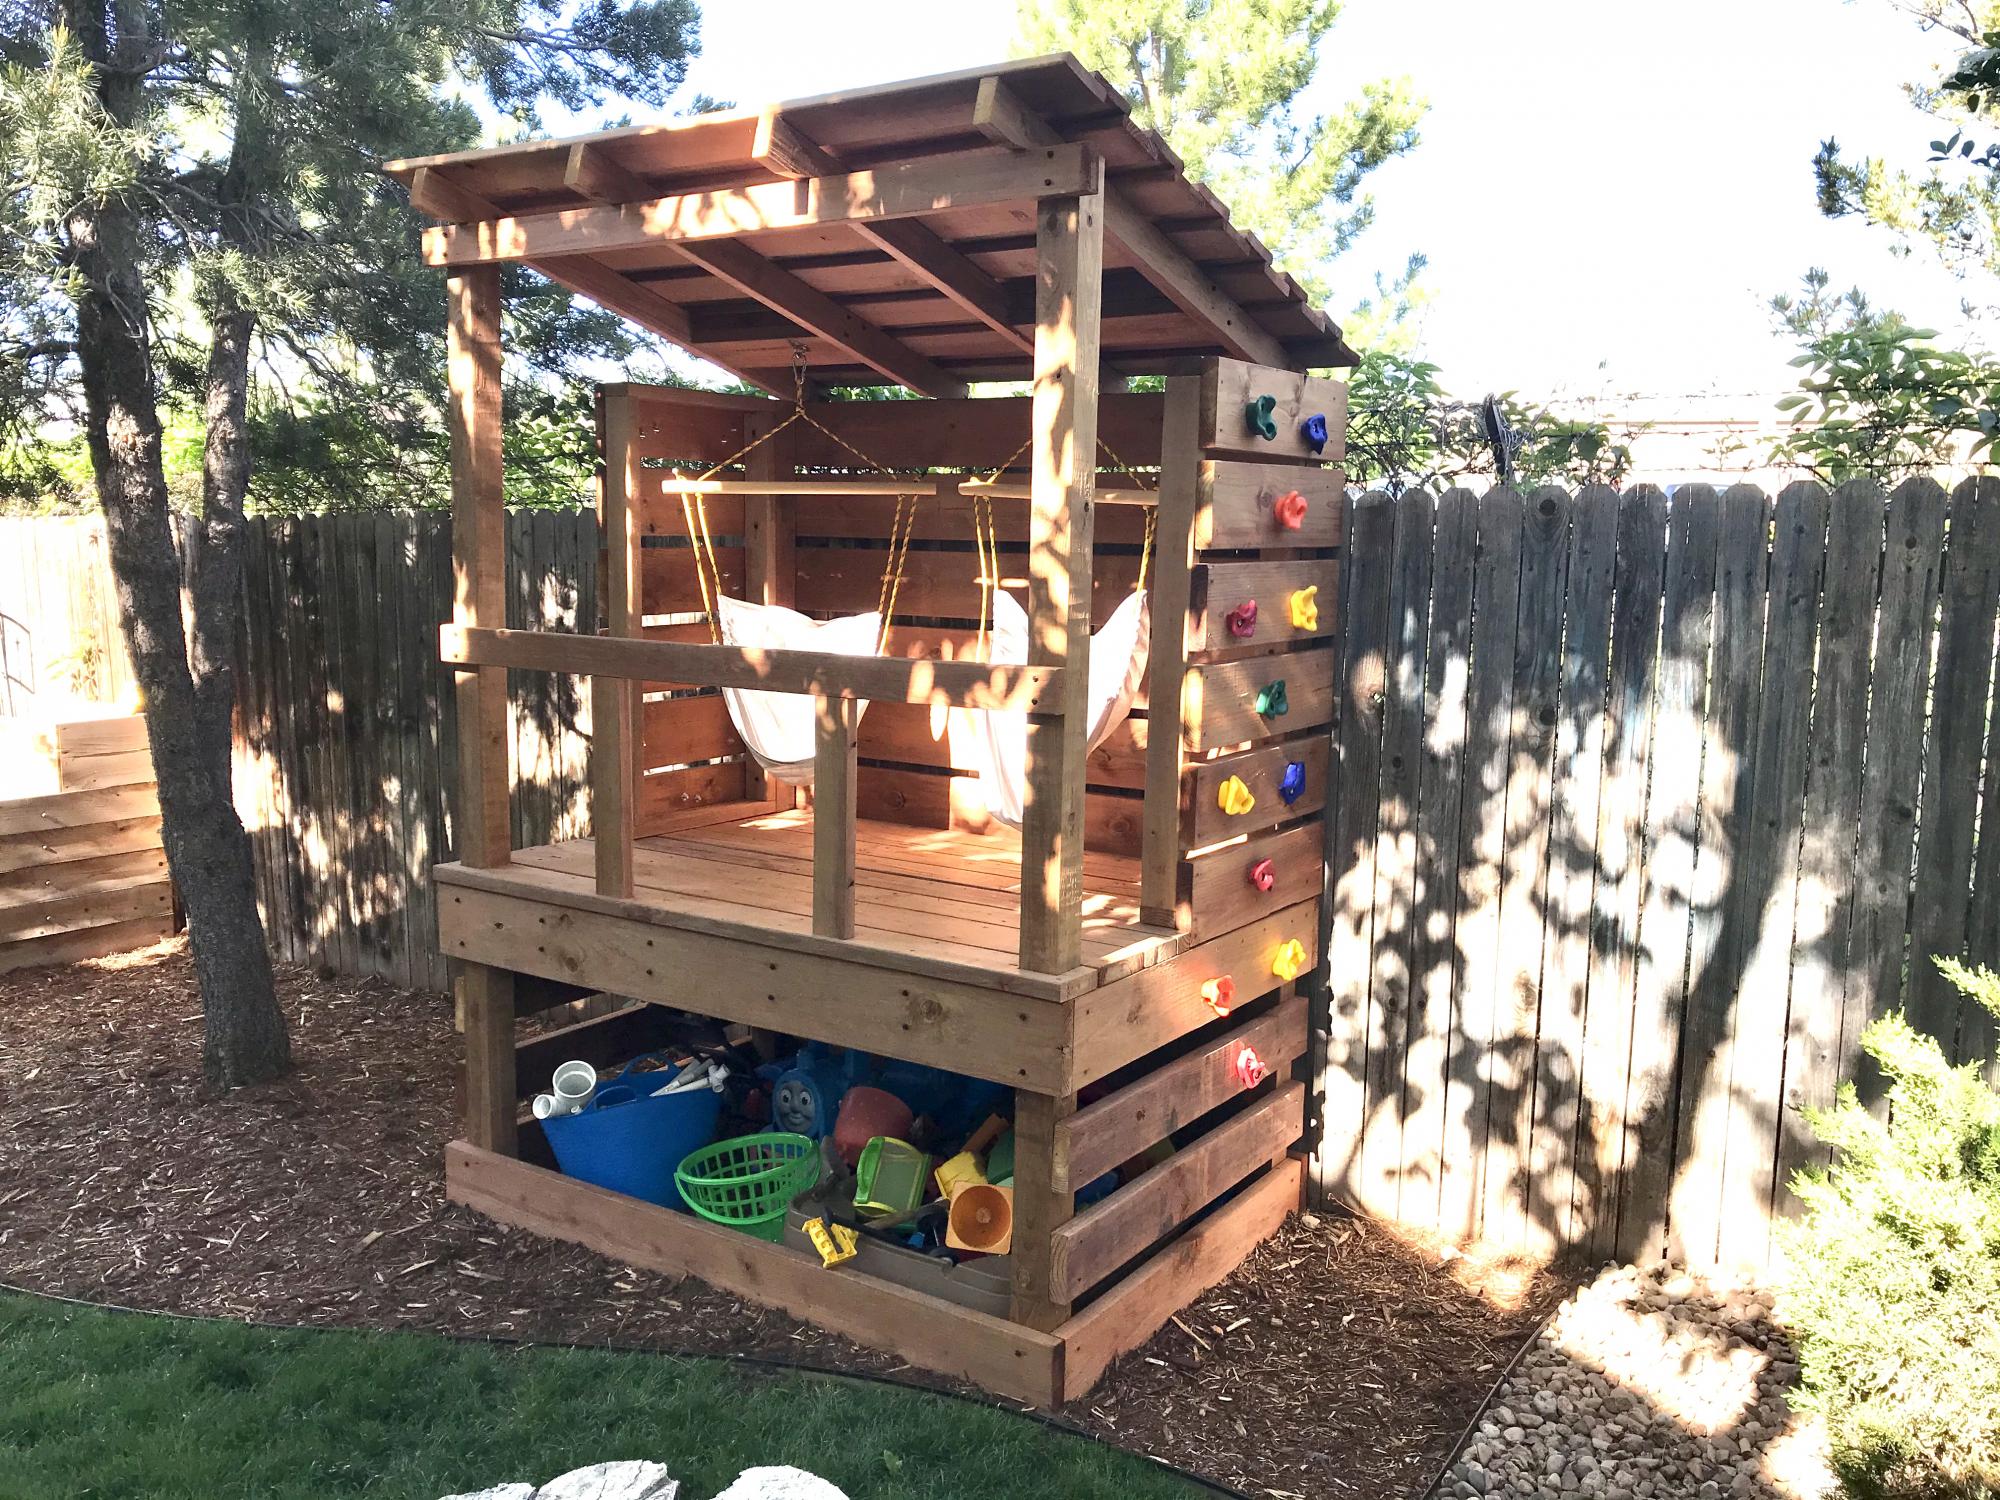
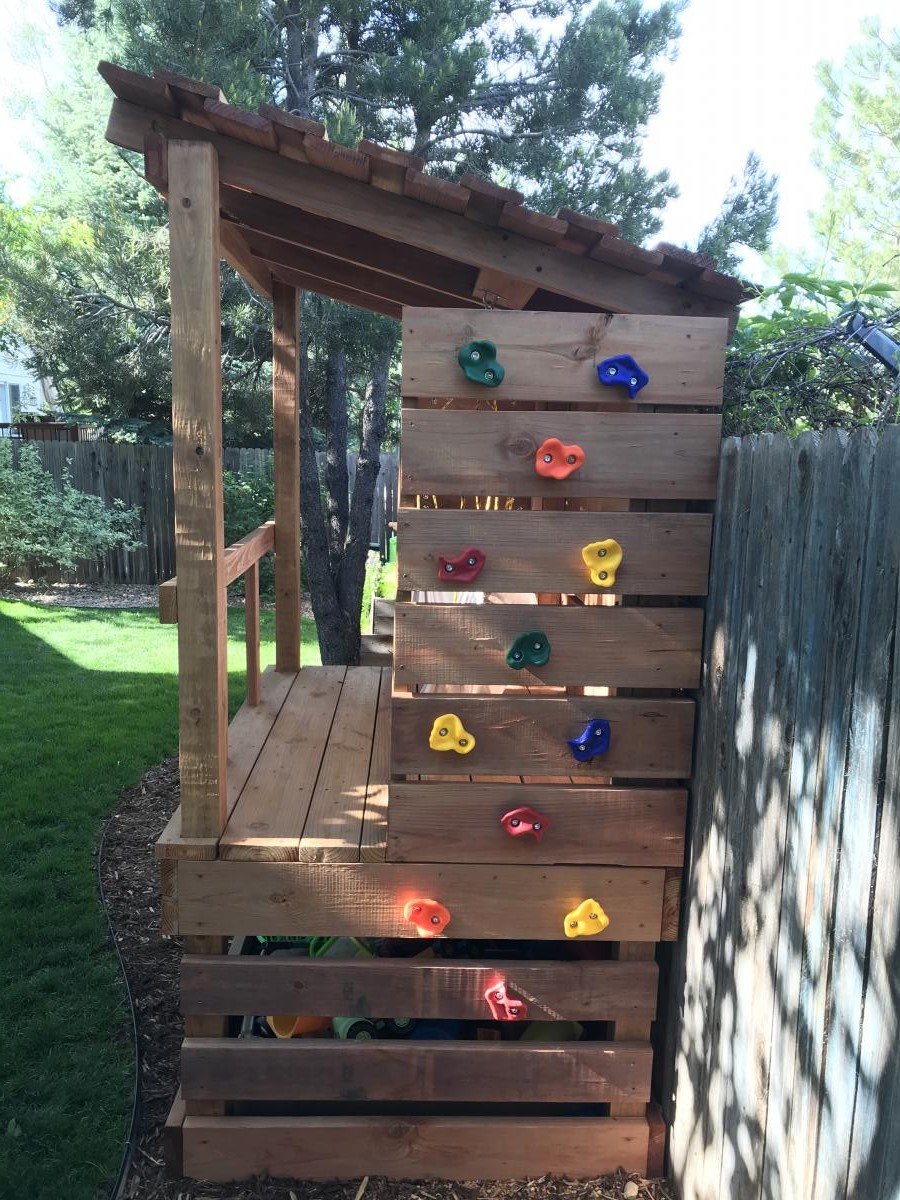
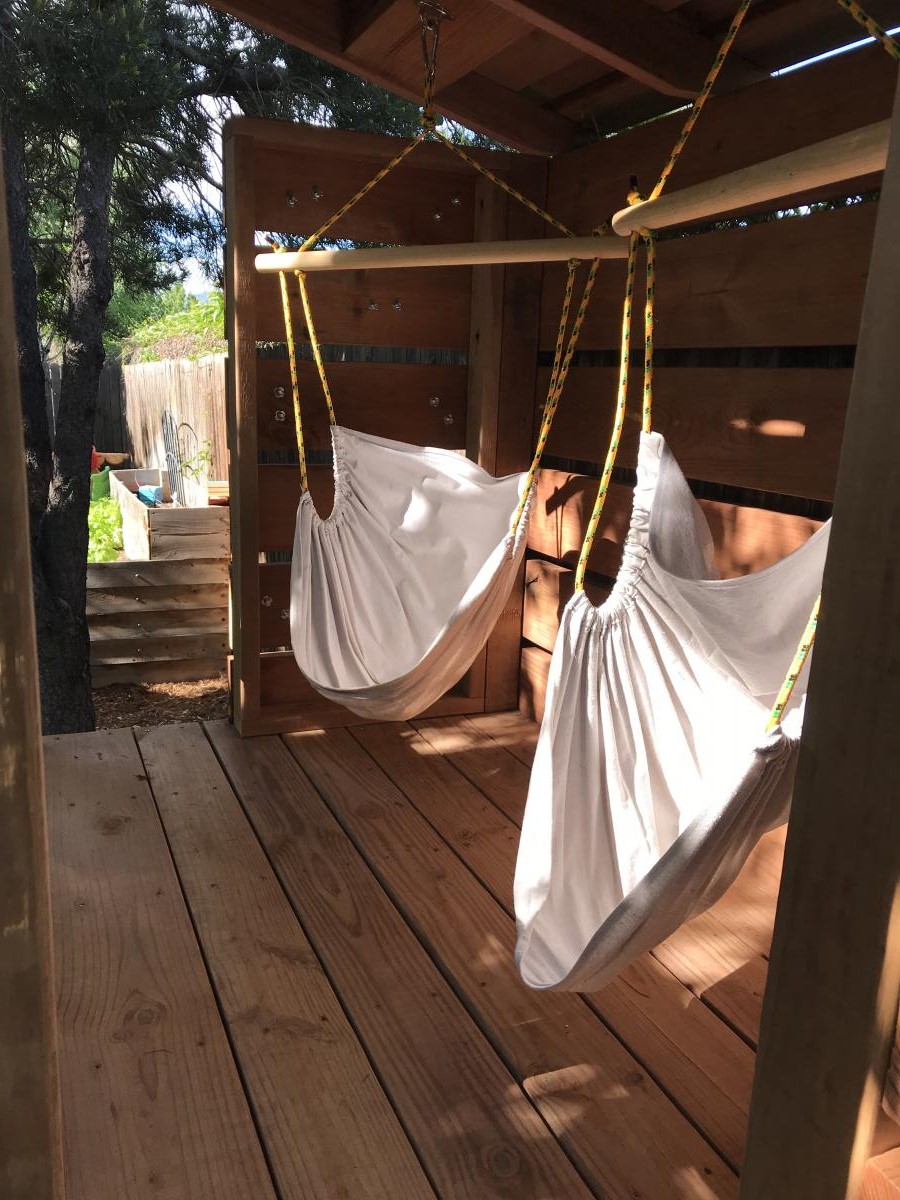
Built a fort for the boys with two climbing walls, a spot for their toys, and added some hammock swings
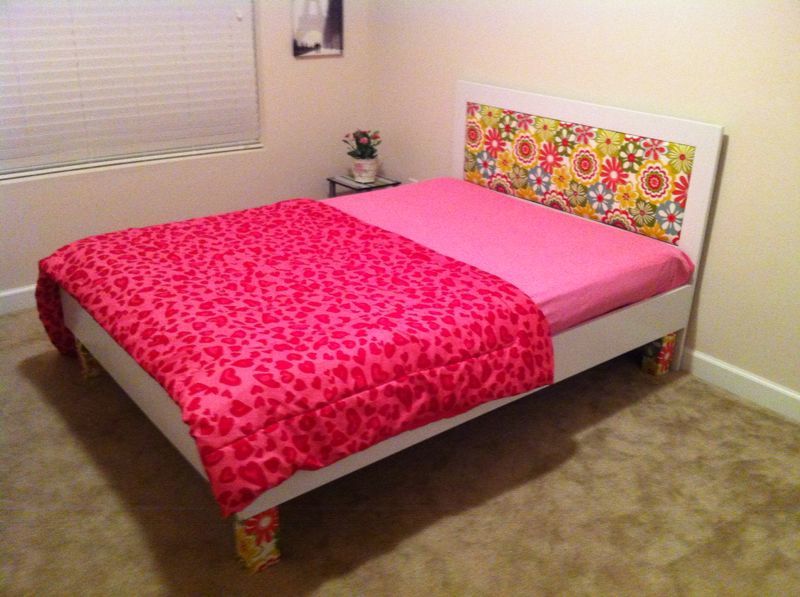
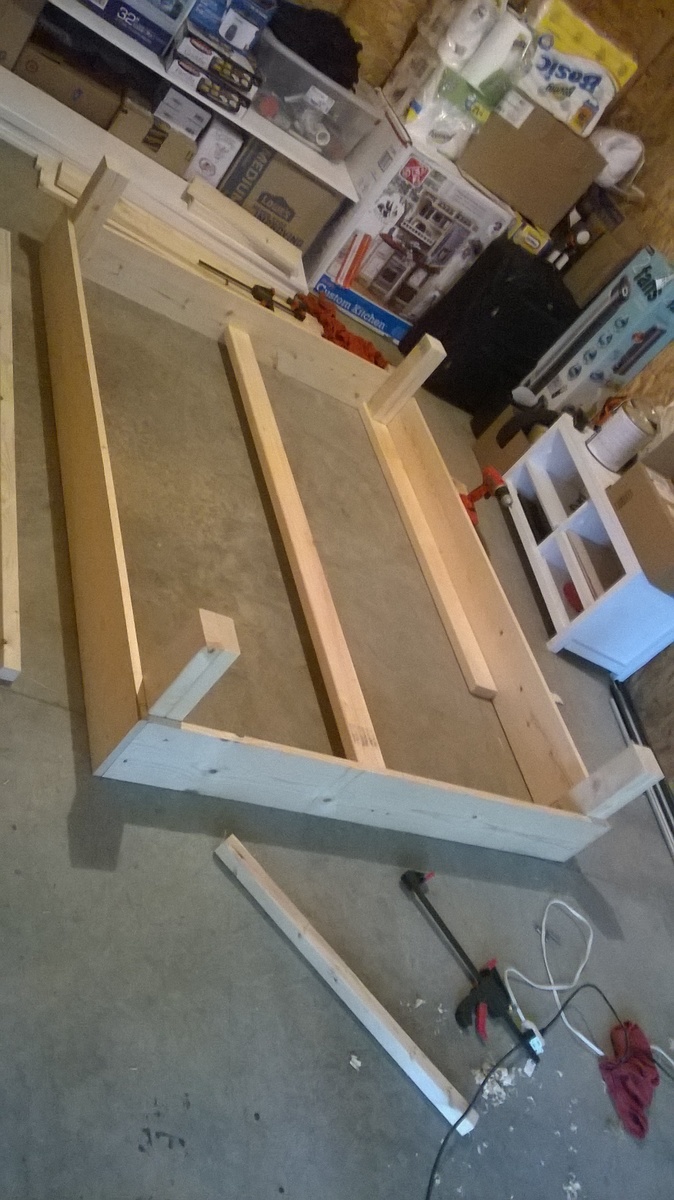
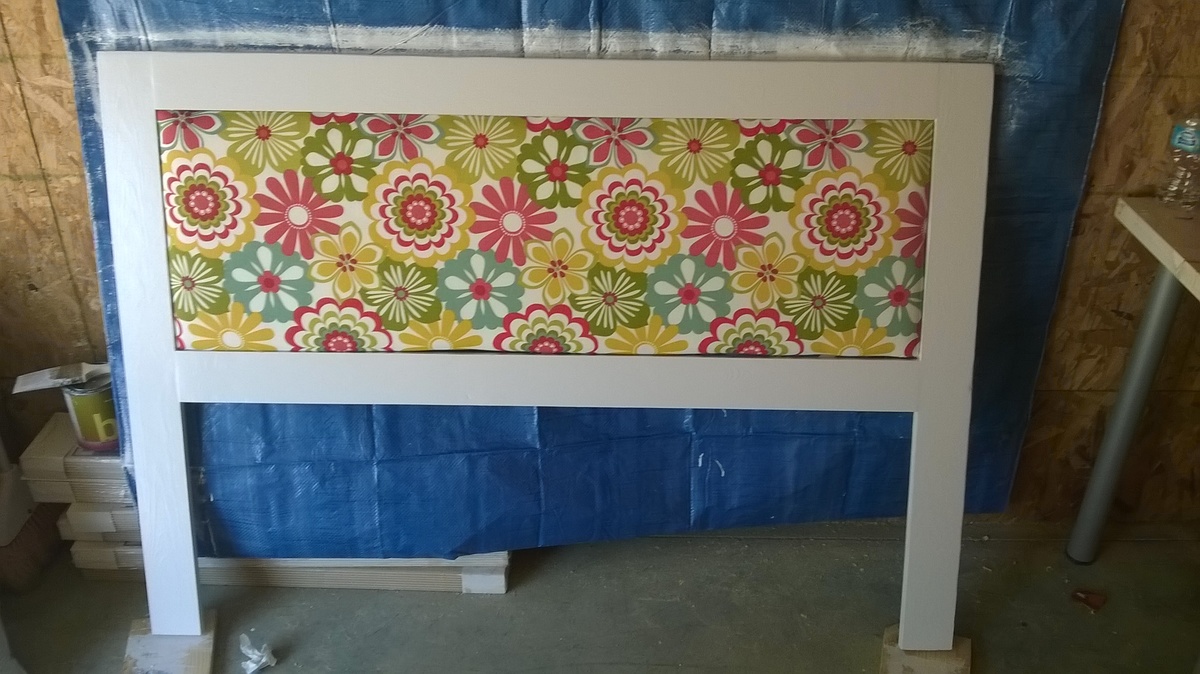
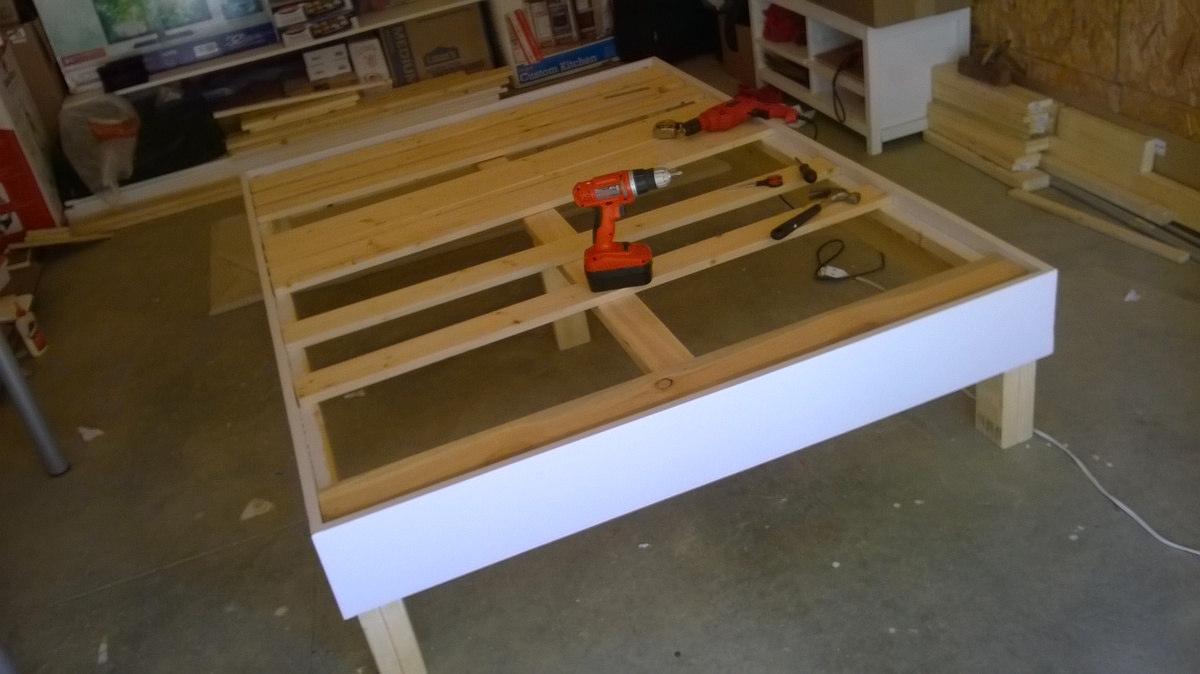
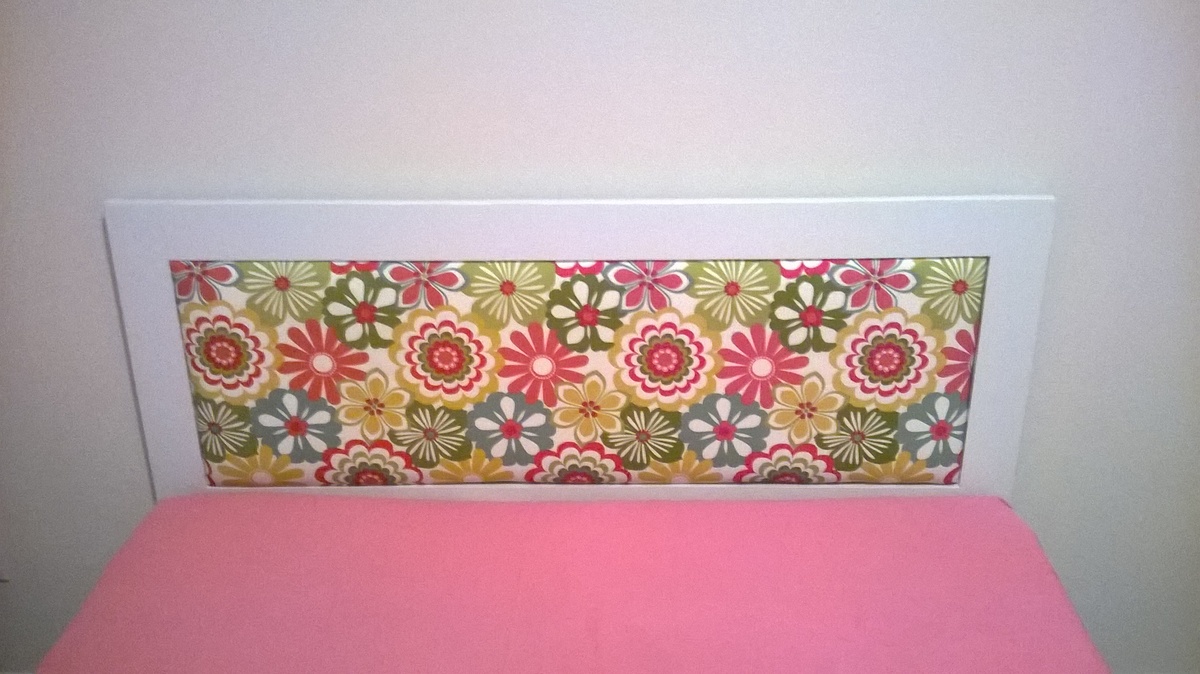
First of all, thanks Ana for the wonderful plans. I made this in full size mainly from the farmhouse bed plan with some modifications. The headboard is made of 1x4s with an upholstered pegboard. Instead of using 4x4 post for legs, i glued 2x4s studs together and later wrapped them with fabric instead of painting them.
This looks great in our second bedroom.
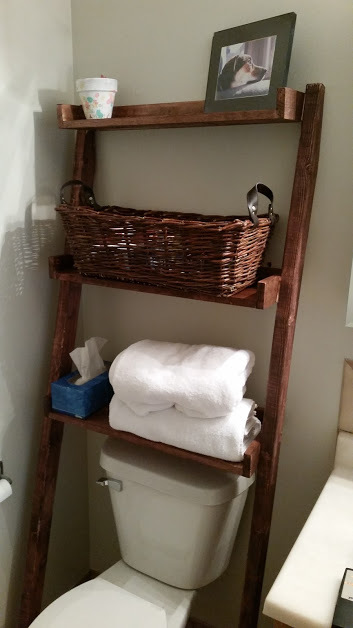
This was a pretty easy build, always a plus when you're looking for more storage. I'm not sure about the darkness of the stain though; I usually go with a walnut to match the rest of the house and wanted to try something different. This seems like a bit much. Might be easier to build an entire second set vs re-doing the stain though...
Comments
kristyzed
Thu, 08/04/2016 - 10:46
Wow!
You did a beautiful job! Well done. :)