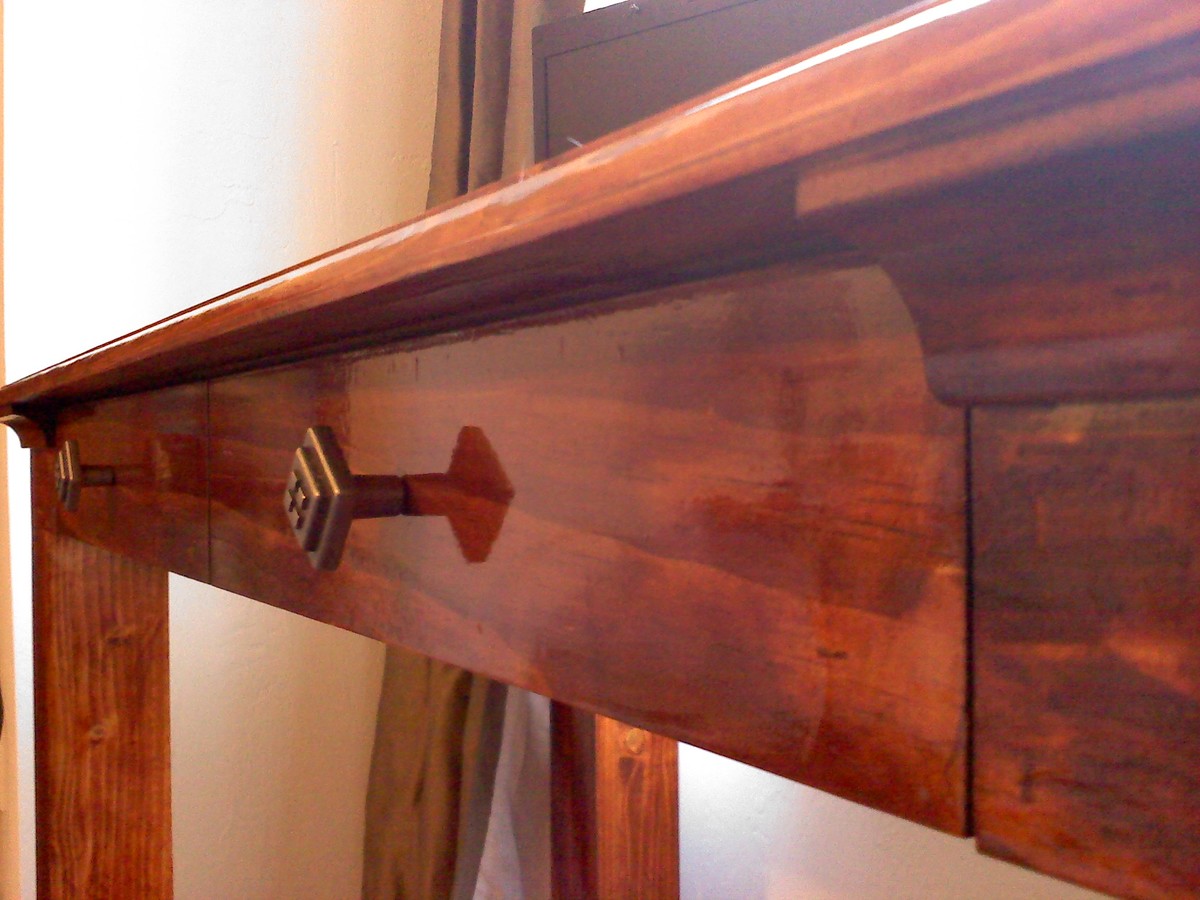
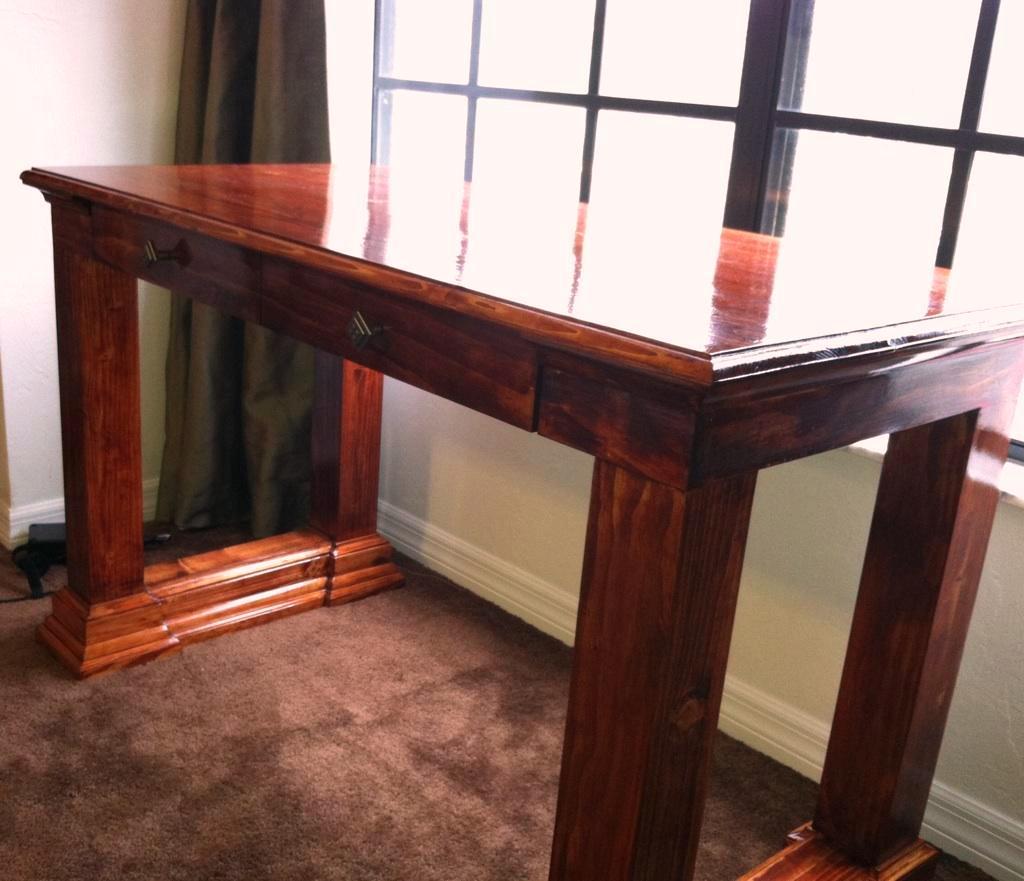
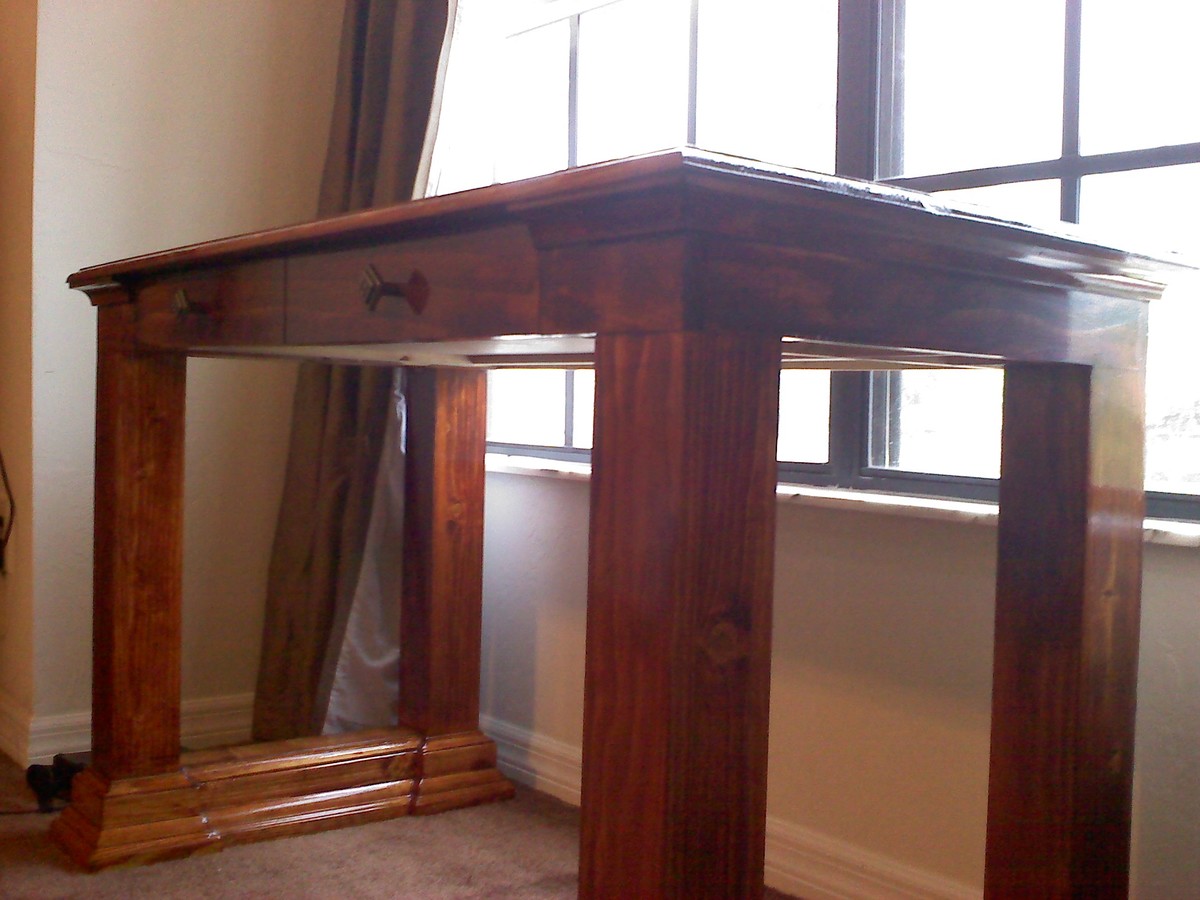
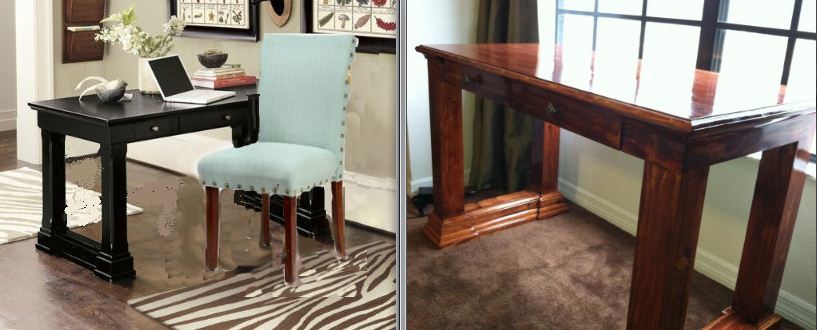
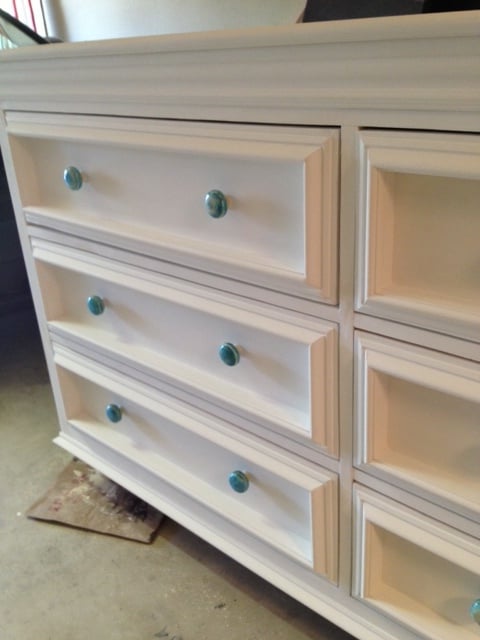
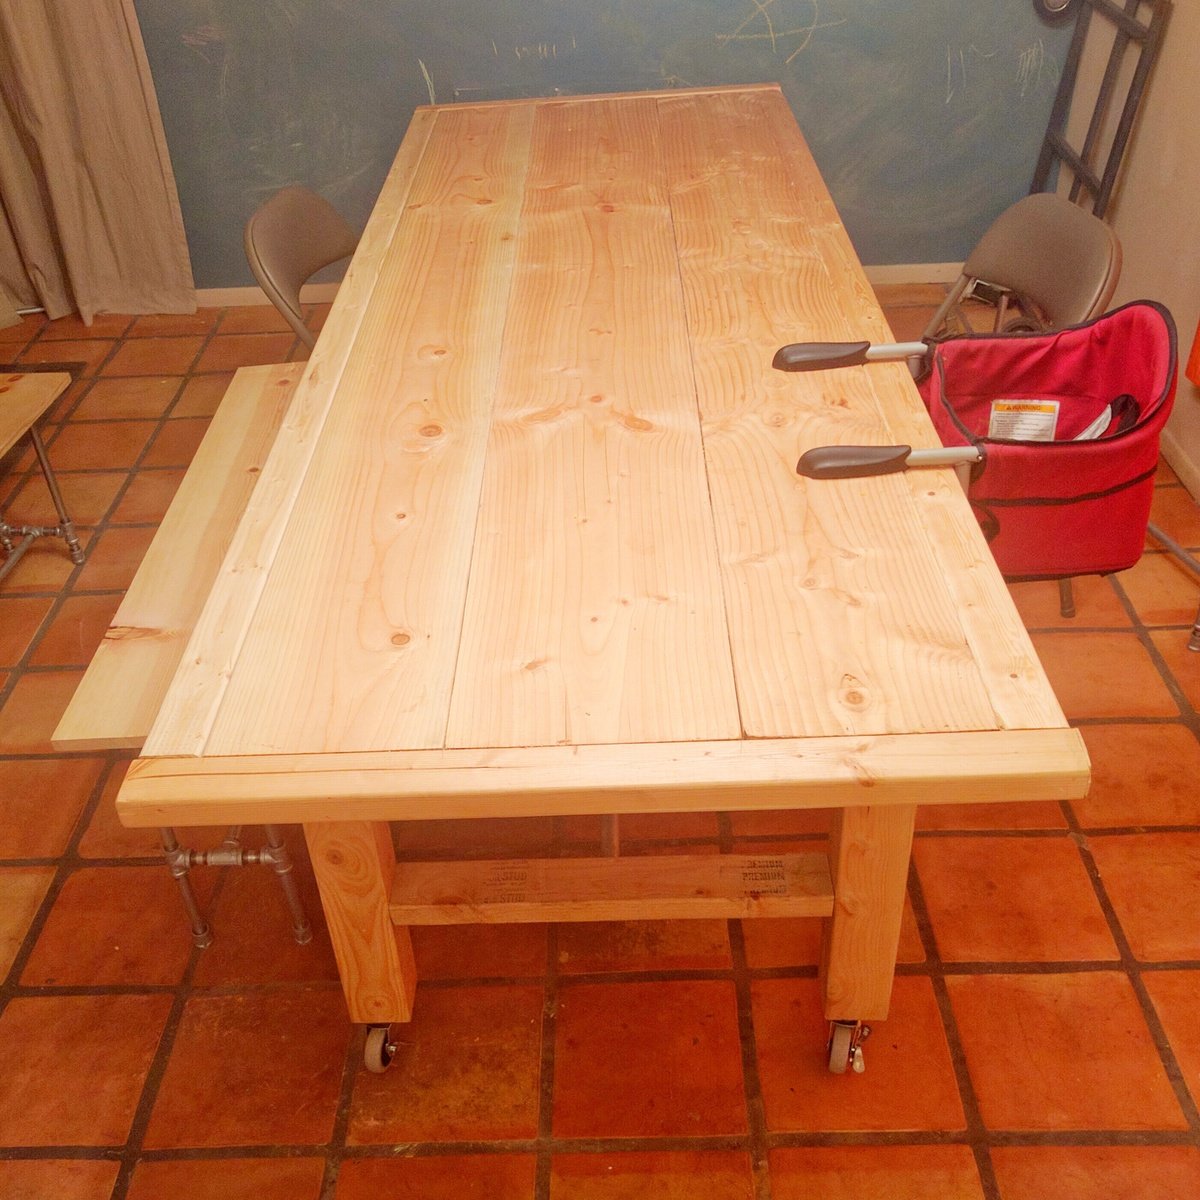
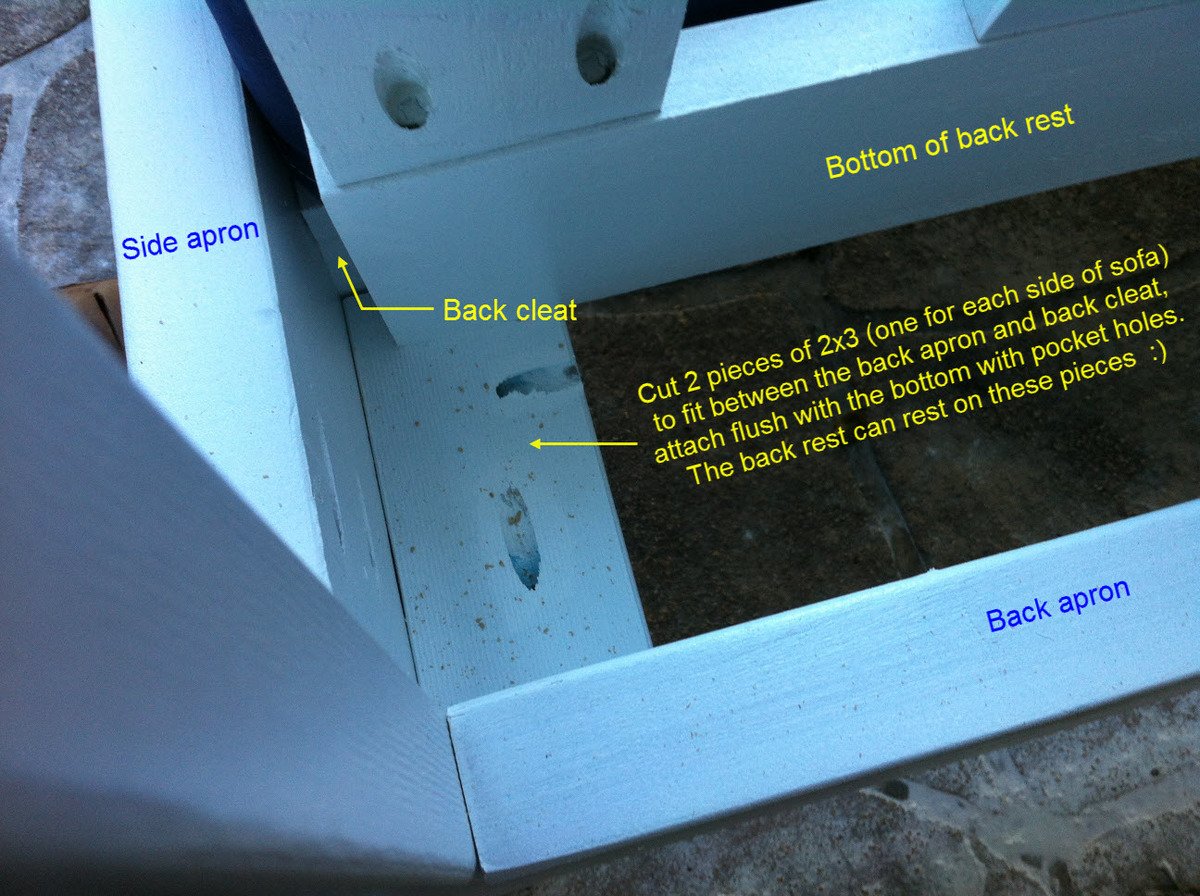
A friend contacted me about building a custom sized desk to coordinate with a set of dressers that she purchased used (I refinished them years before). We started with the Simple Modern desk (more in overall look), but made some changes away from "Modern" such as the bases, overhanging and routed top and trim on the side aprons. The legs of the desk aren't solid 4x4, but1x4s and 1x3 furring strips kreg jig'd and sanded till nearly seamless. The support under the desktop was redesigned to create a large, single drawer faced as two. The top is made from pine boards edge joined together. The two "bases" combined, have 96 pieces of trim to create this look. It was alot of work to get some tiny pieces just right, but well worth it in the end.
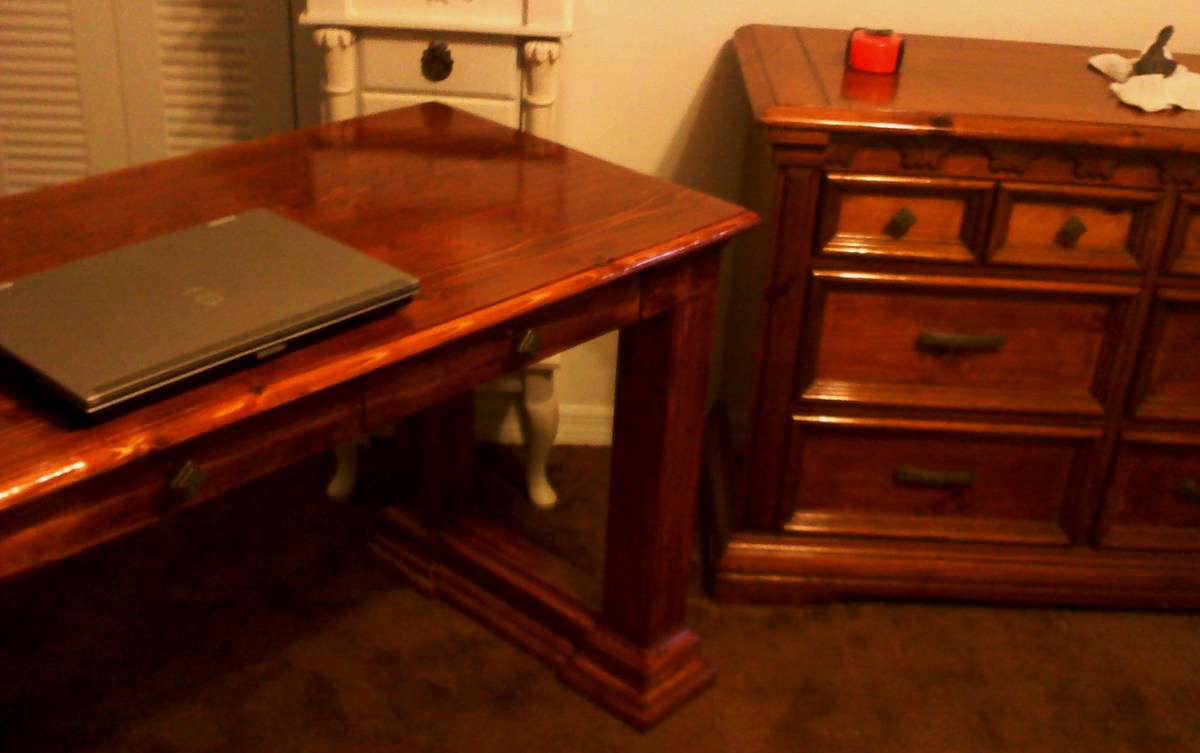
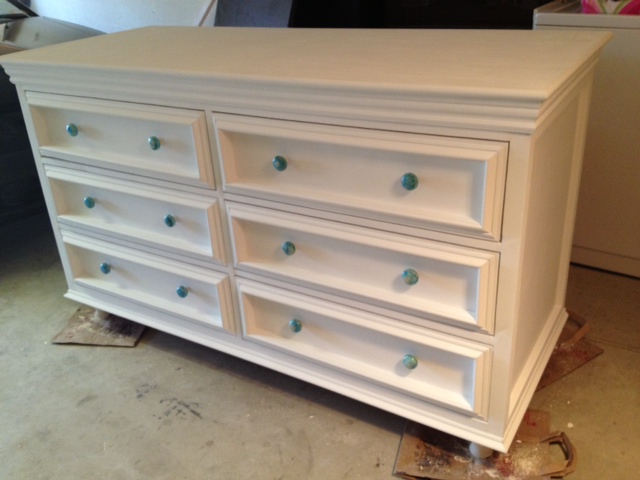
There are two comparison pictures uploaded. the photoshopped photo is the inspirational photo that came with the "Can you build me one of these?" and the second is the side by side with one of the dressers I was asked to compliment.
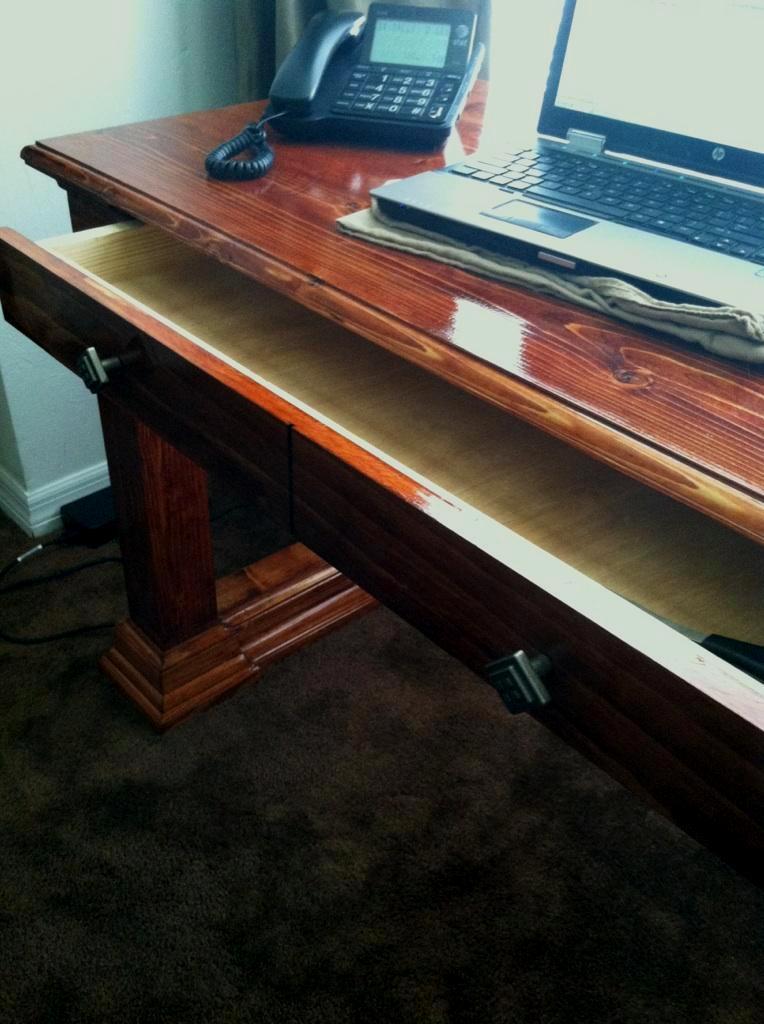
At 4 ft by 2 ft, she says its the perfect size for her home office laptop.
Overall, I was pretty surprised about how different of a turn this desk could take in style as I went from bare to adding the trim. Perhaps it can inspire others as well.


Comments
CreativeChaos
Mon, 06/09/2014 - 10:03
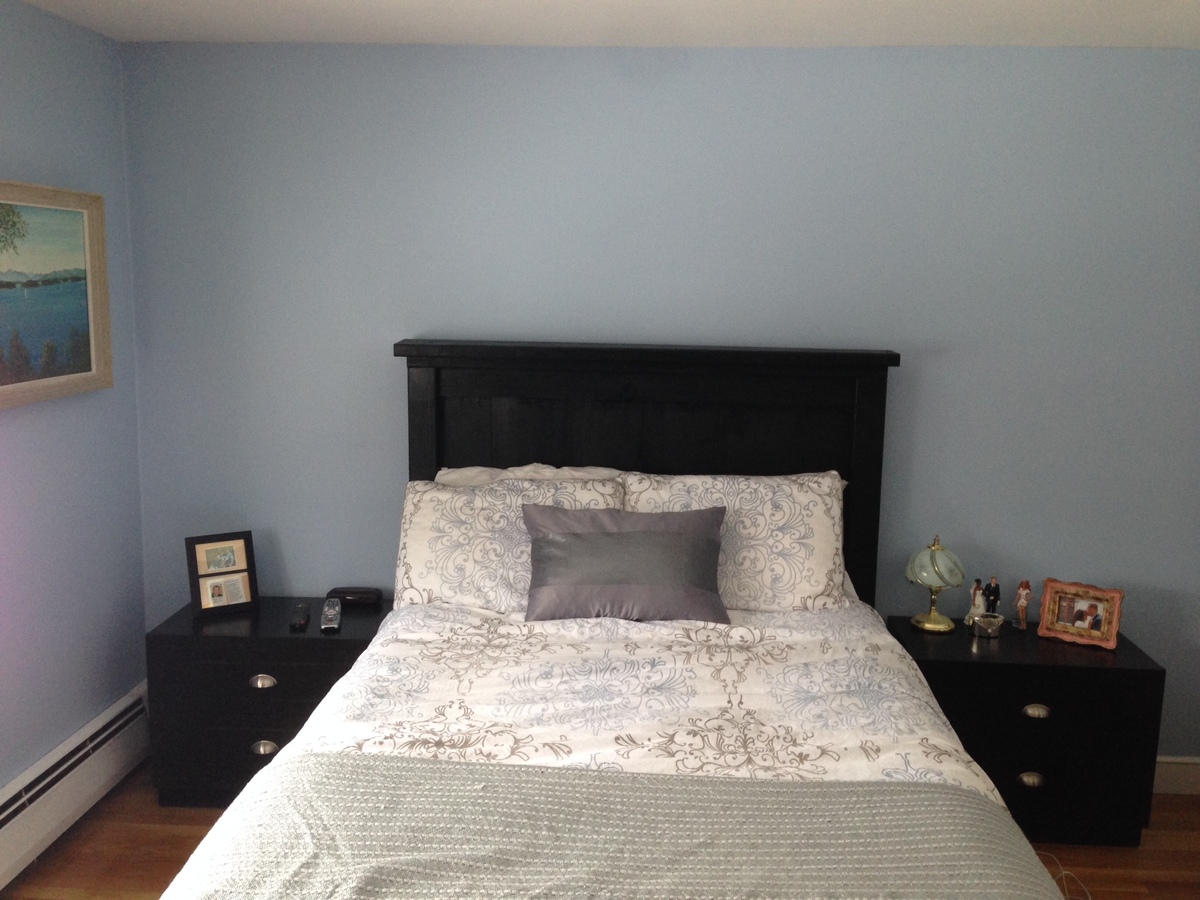
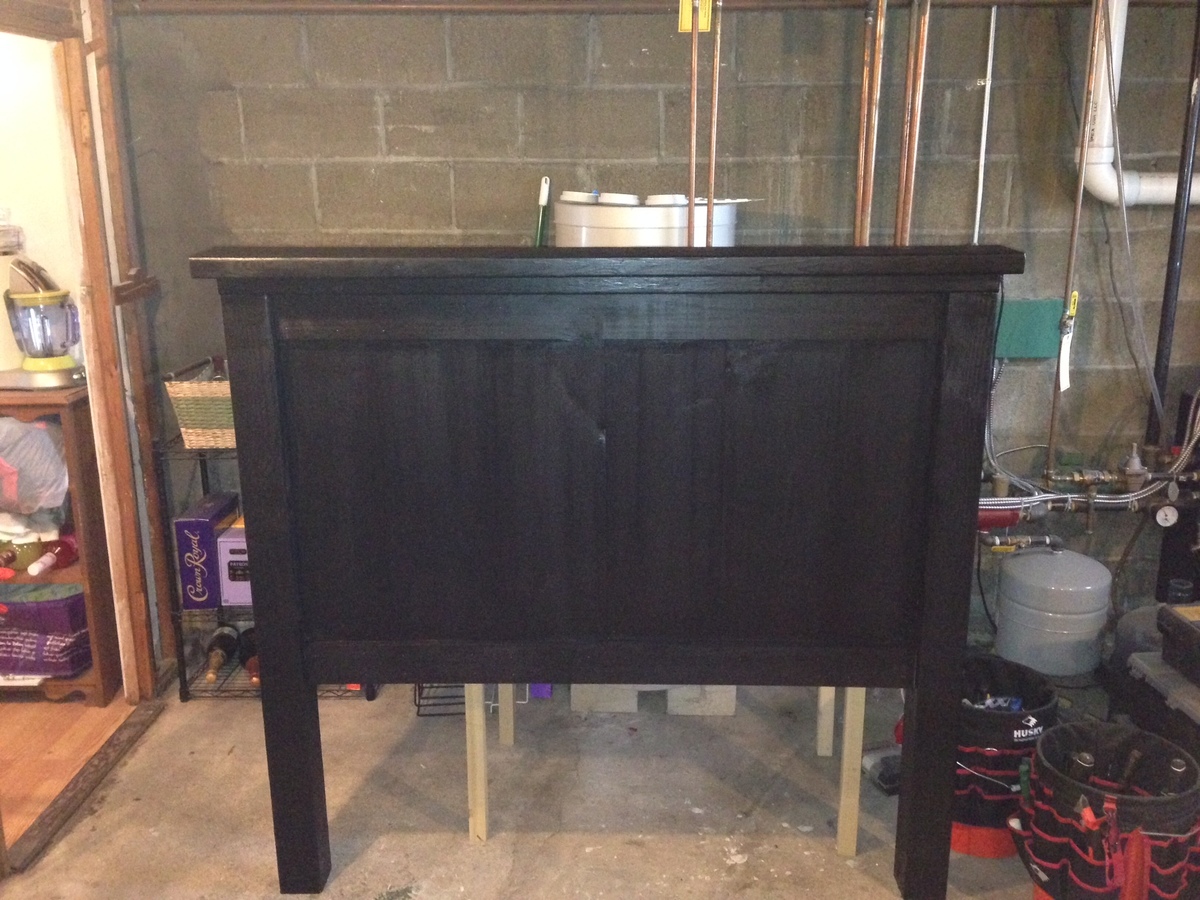
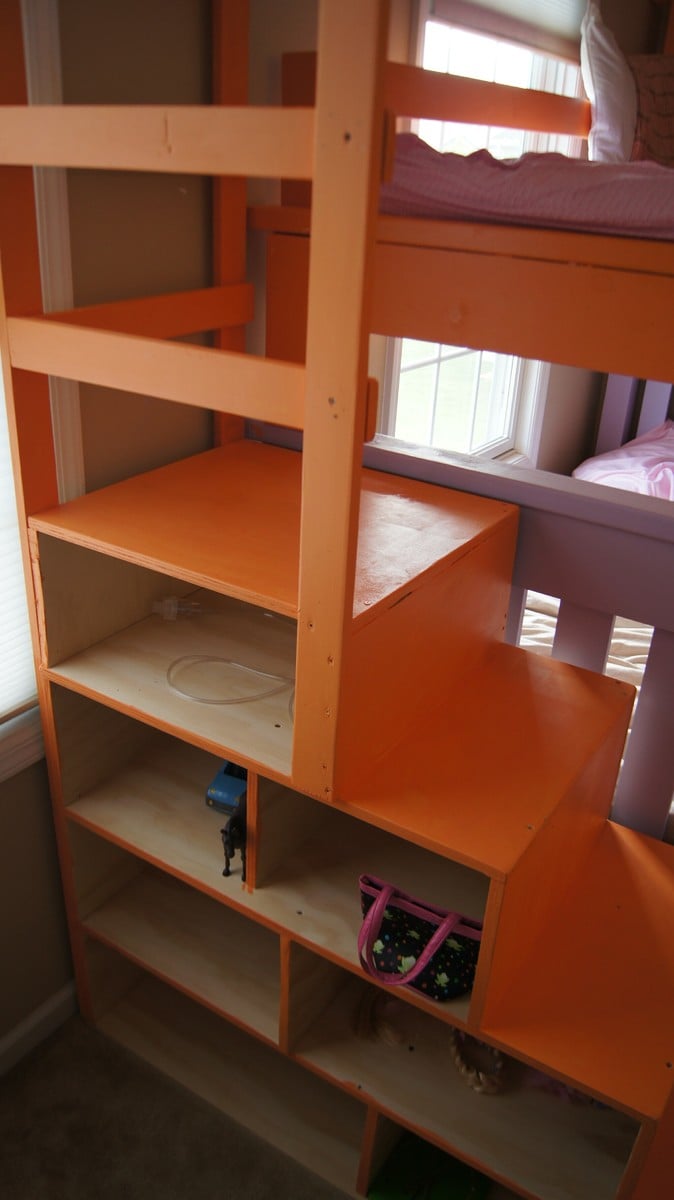
Headboard only
I just built this headboard for my daughter's new full bed and she wanted the headboard with the metal frame. I was wondering if you could share how you attached your headboard to the frame? The holes in our metal frame on the the flanges for the headboard are rather large. I used kiln dried 2x4's for her legs because we don't get 4x4's here that aren't pressure treated.