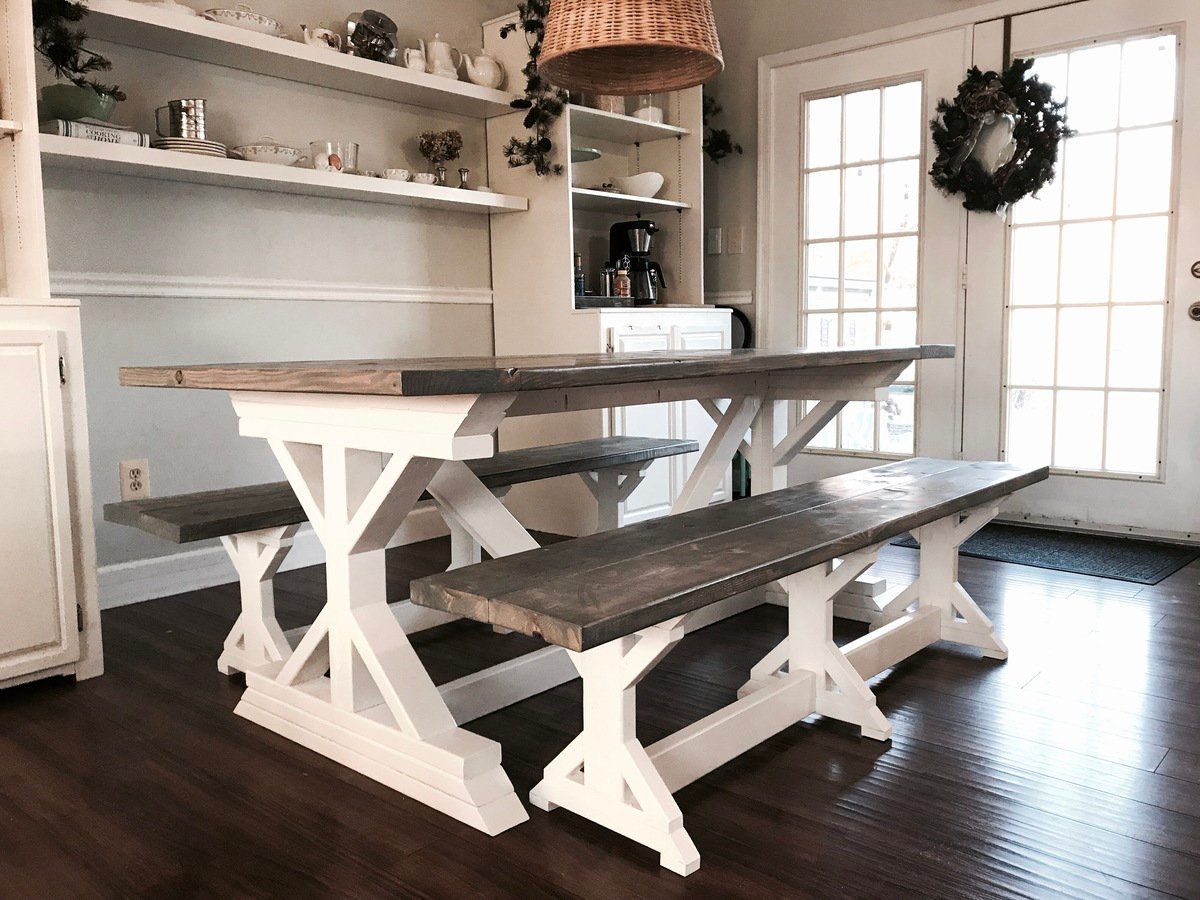
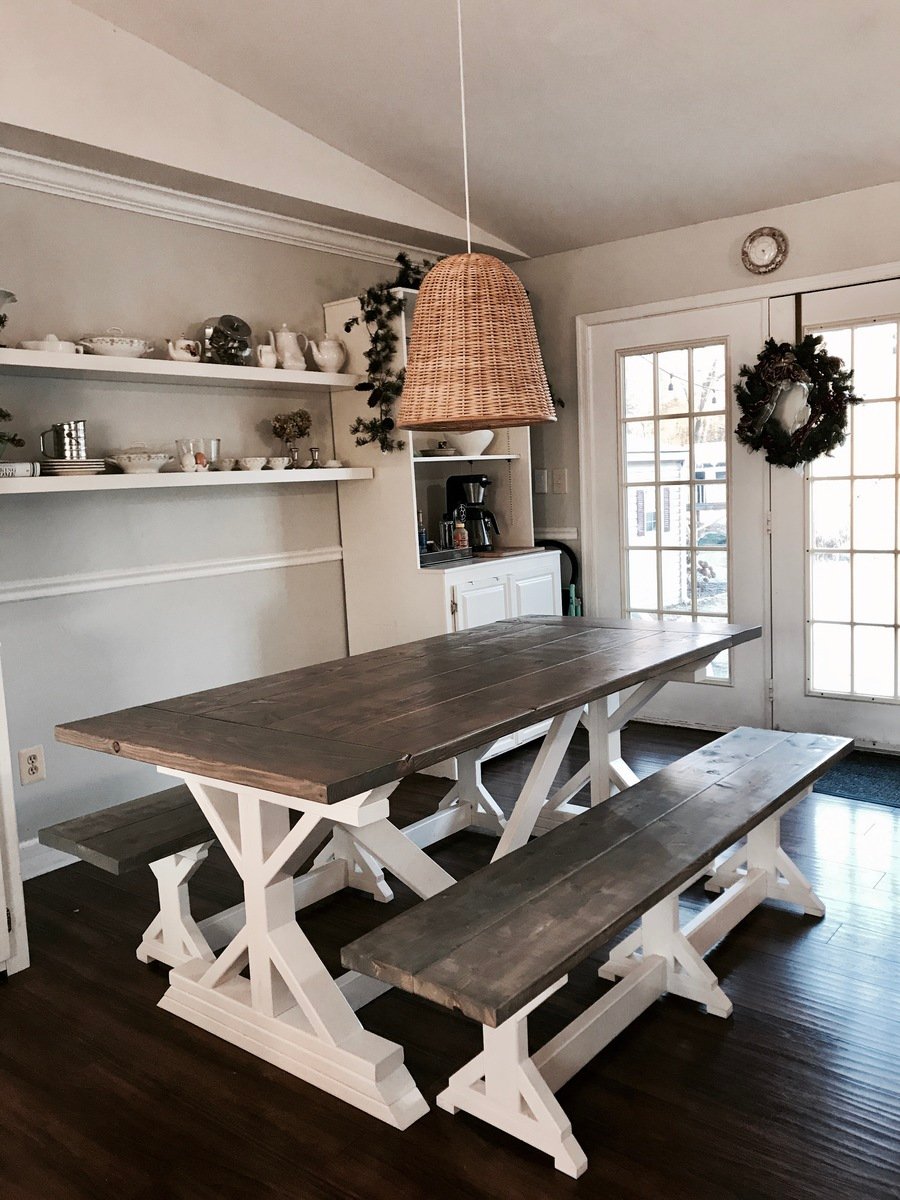
Farmhouse Table (My First Big Build!)
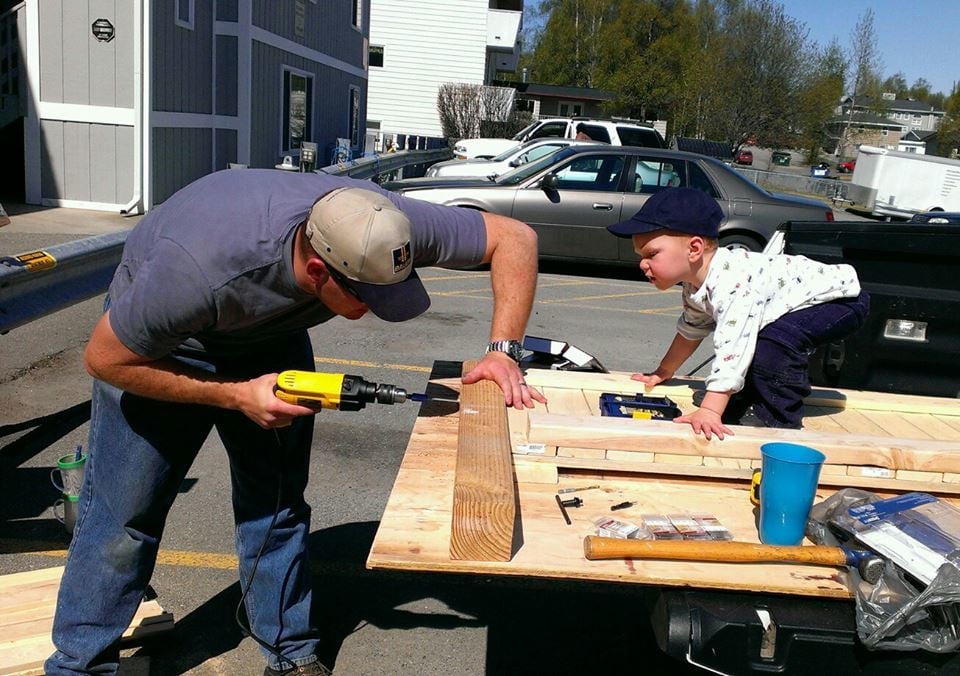
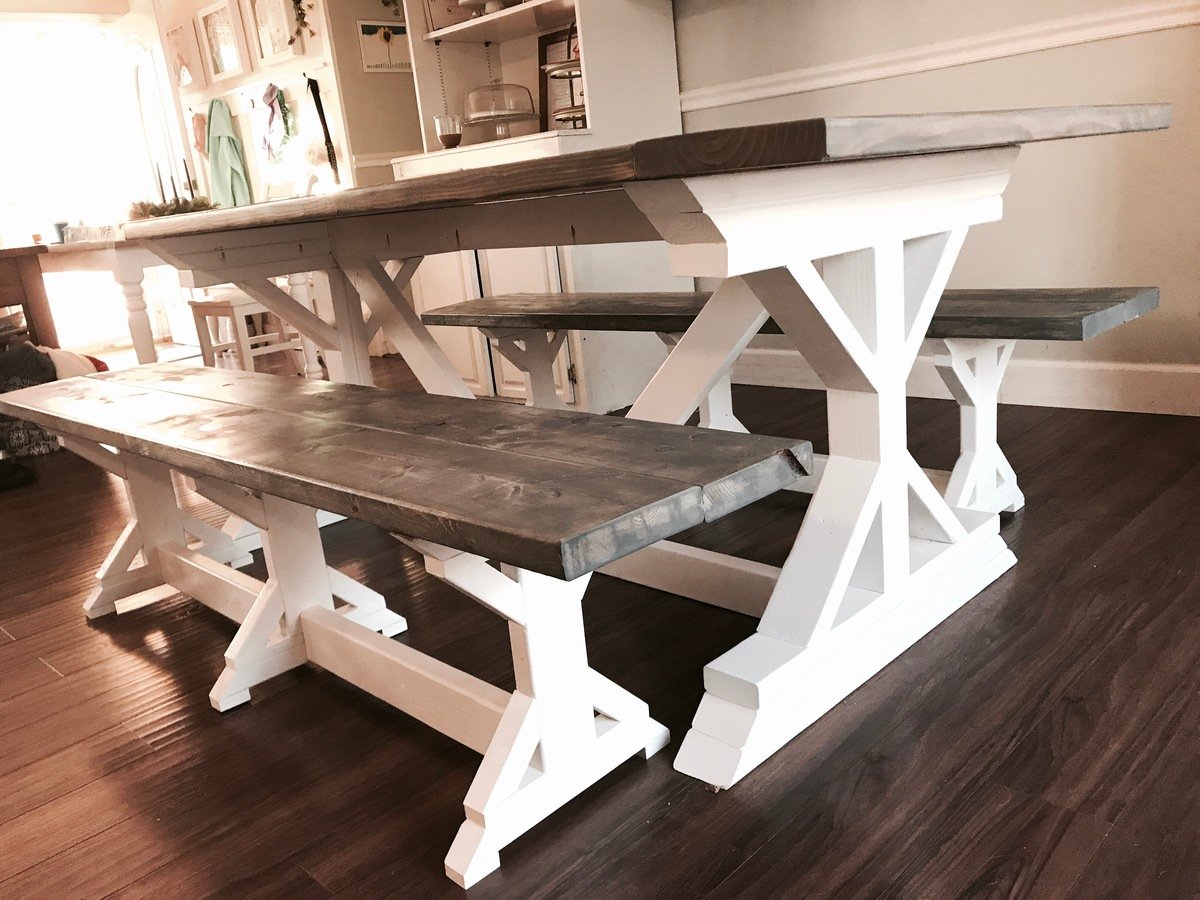
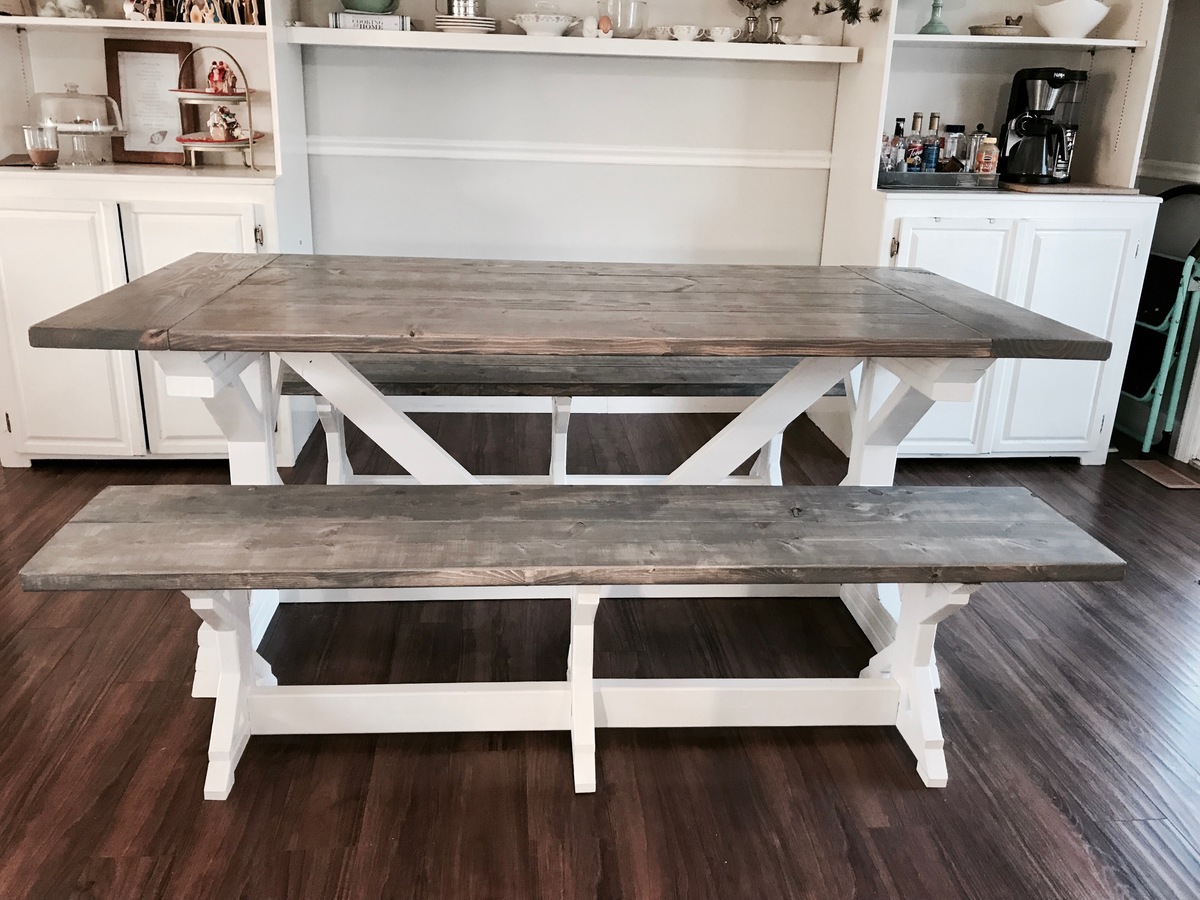
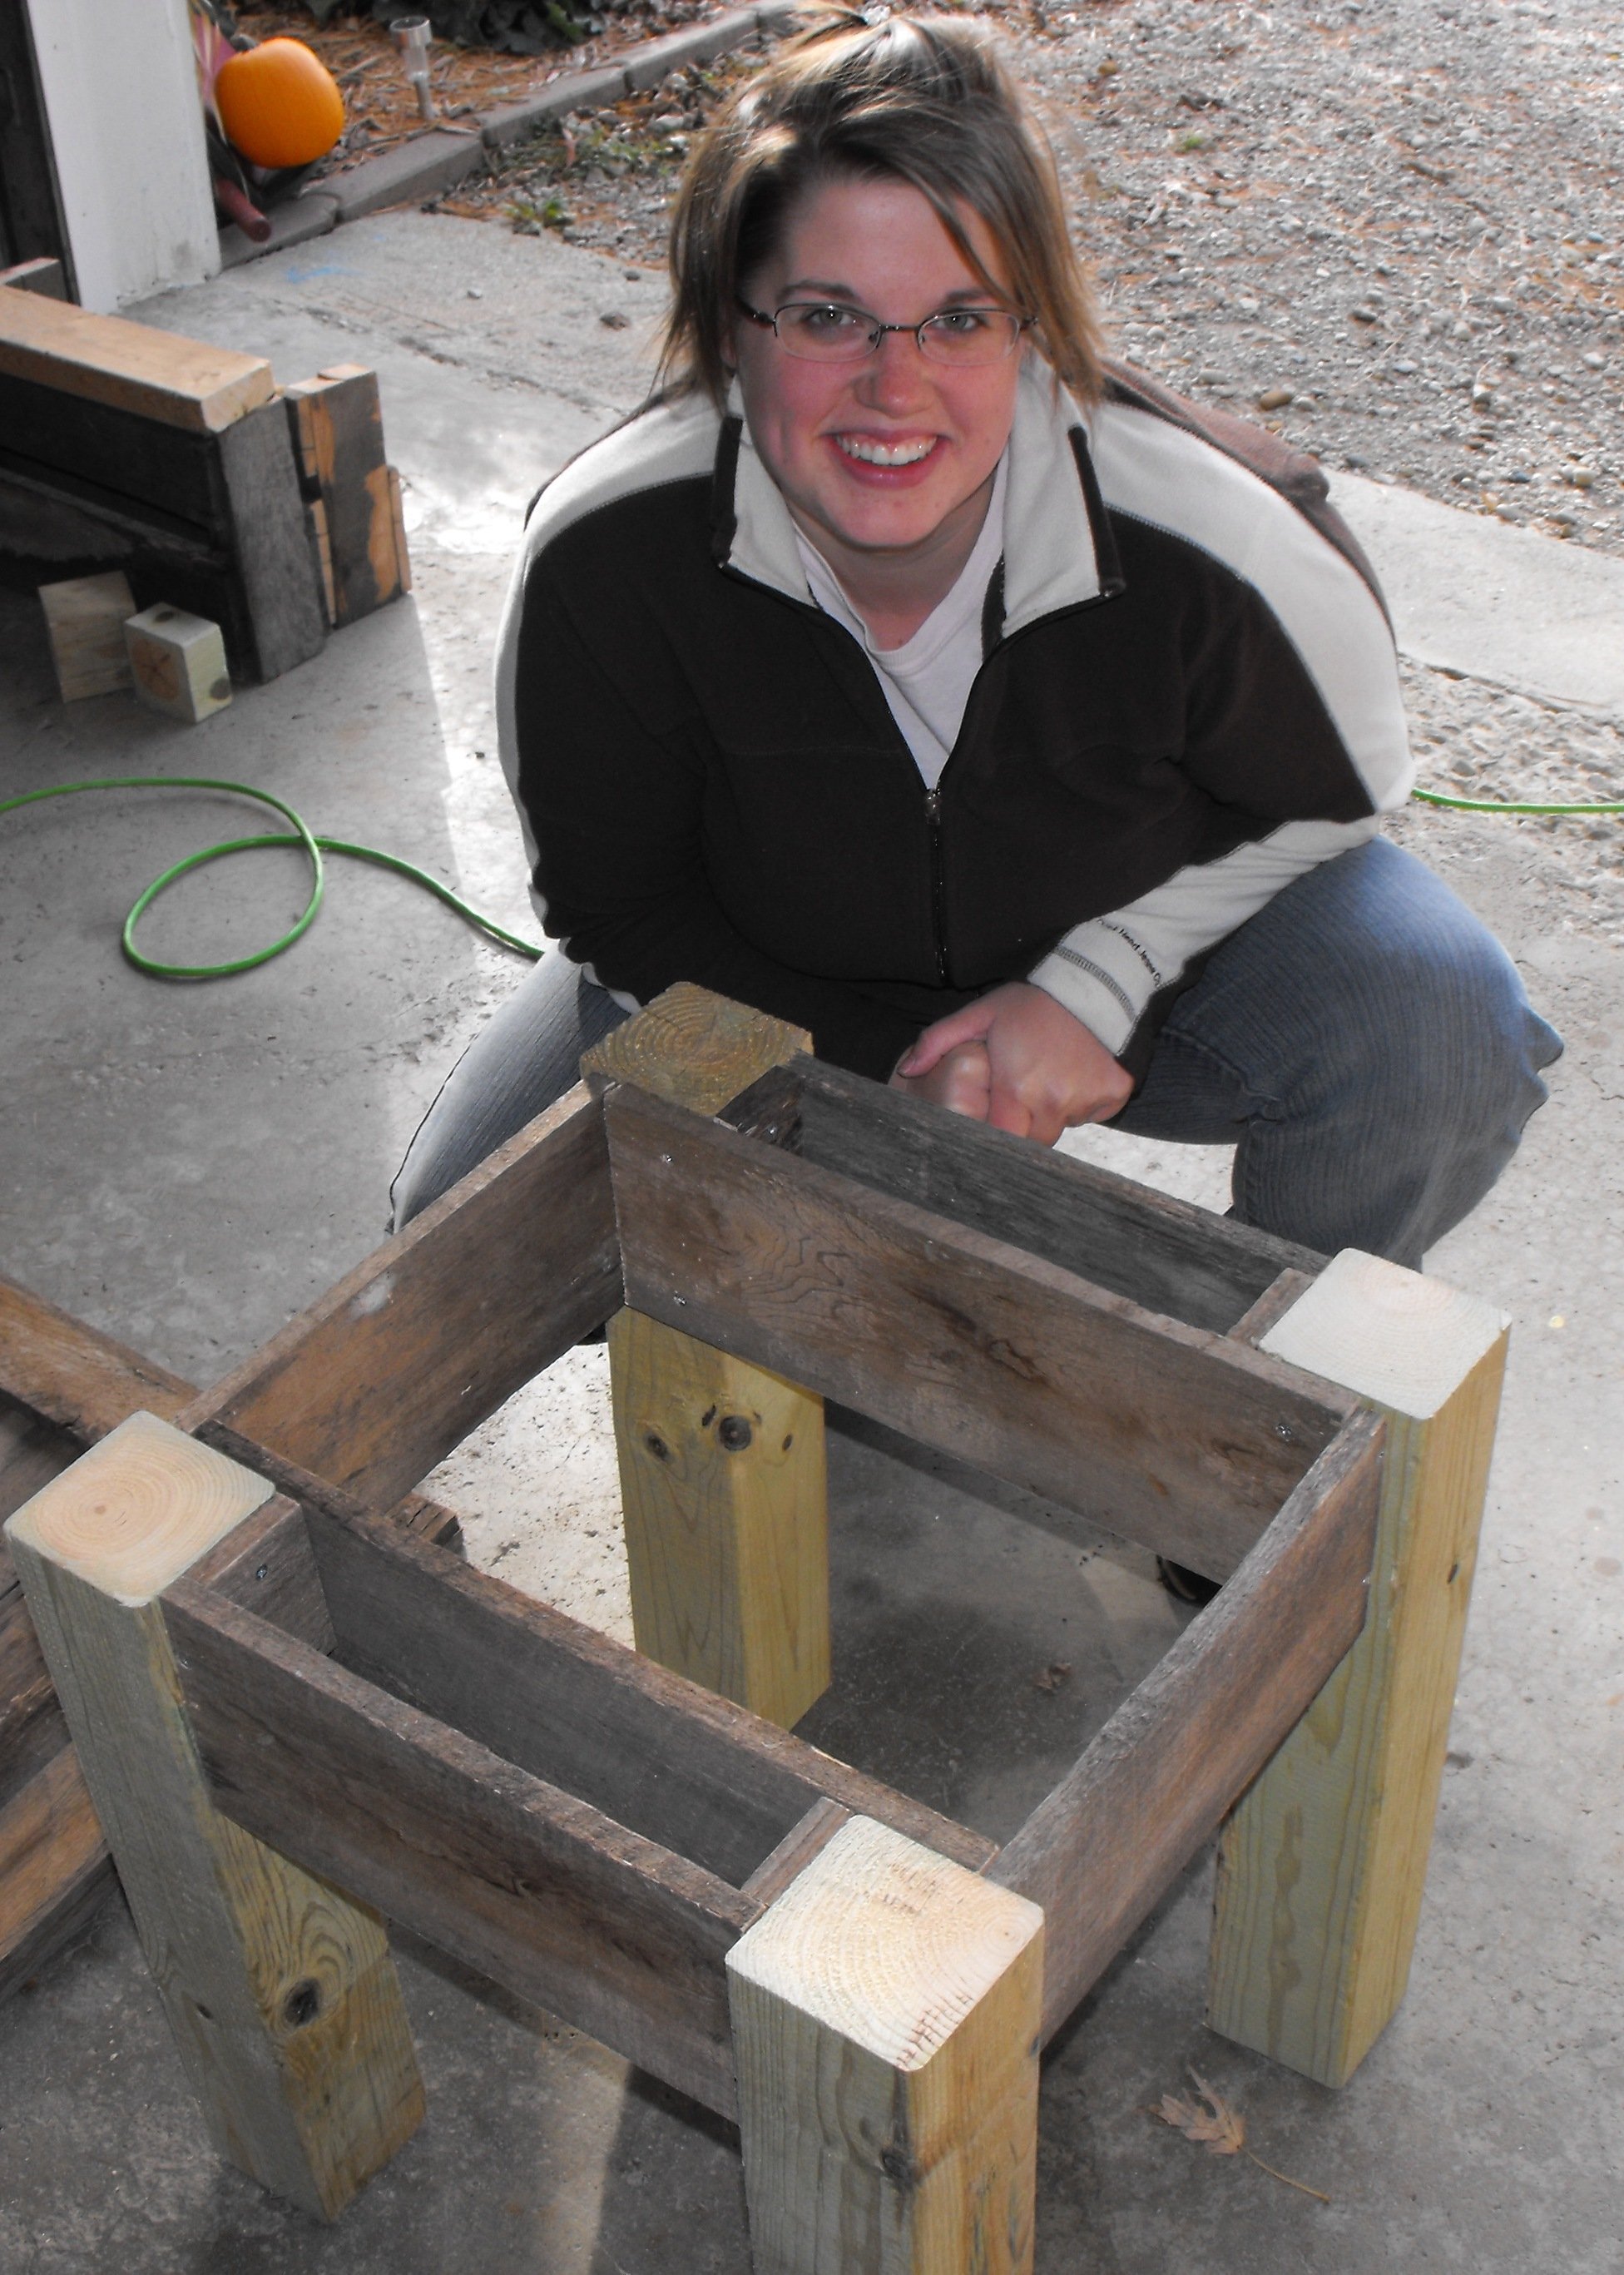
This was my first attempt at building a big project! I invested in a table saw a couple months ago since I sell handmade signs, but all I had tried to make were the signs and some very simple projects. I had been wanting a big farmhouse table for the longest time, but was so intimidated by such a big project!
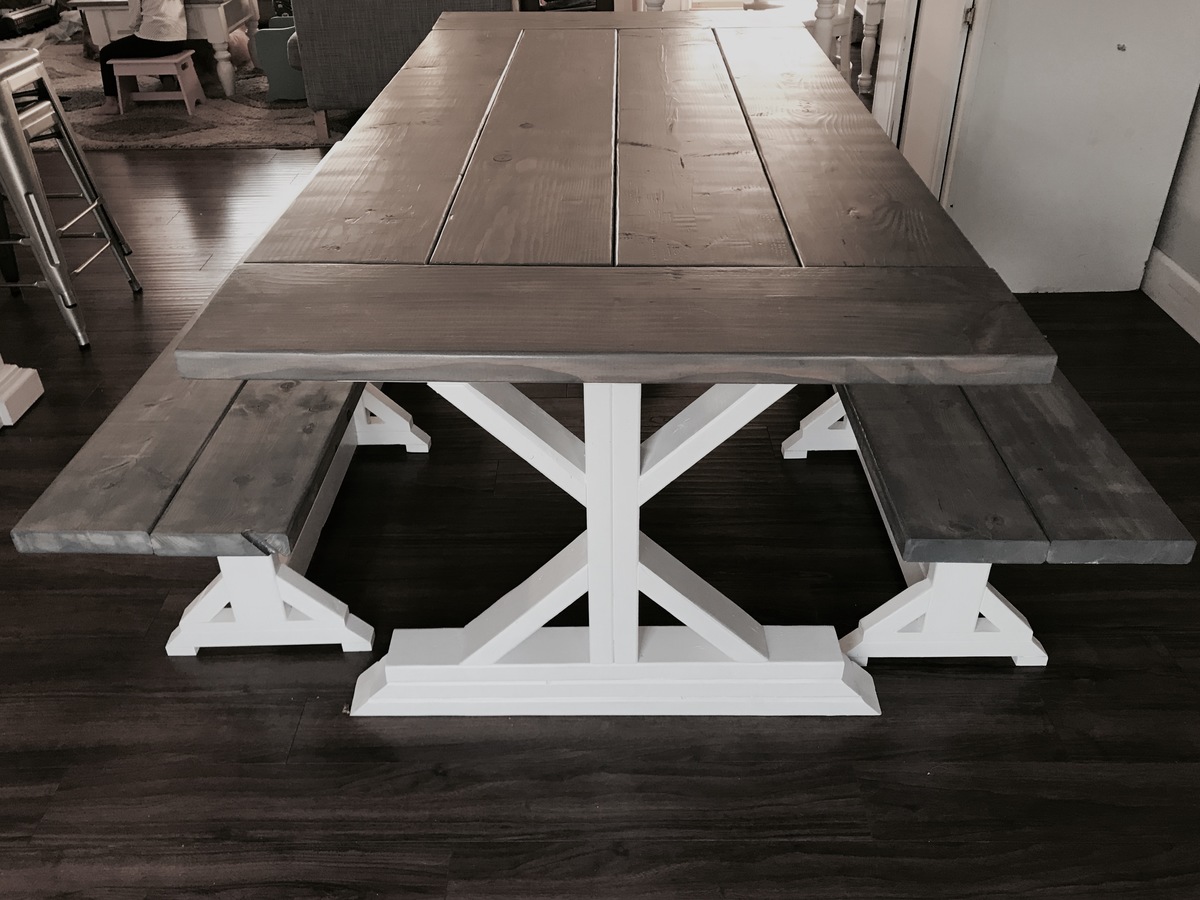
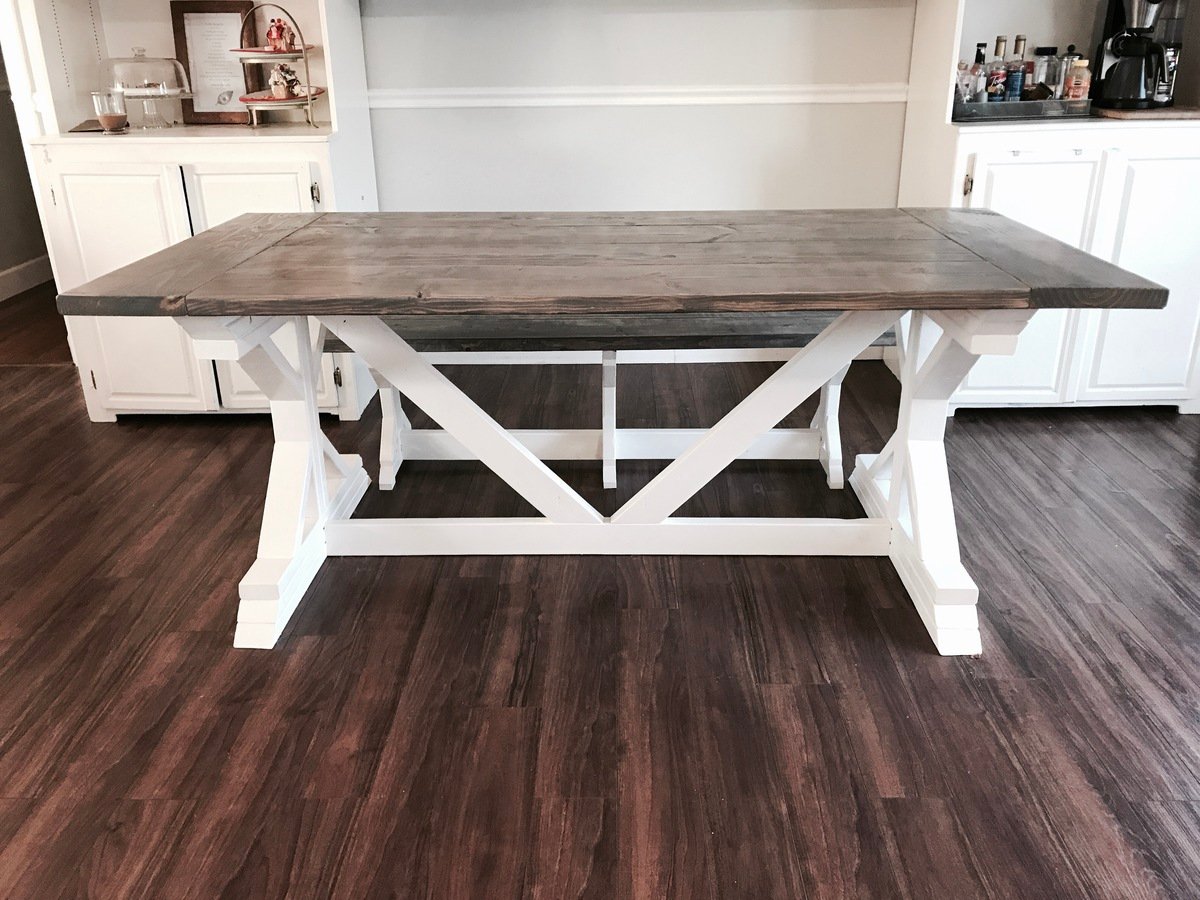
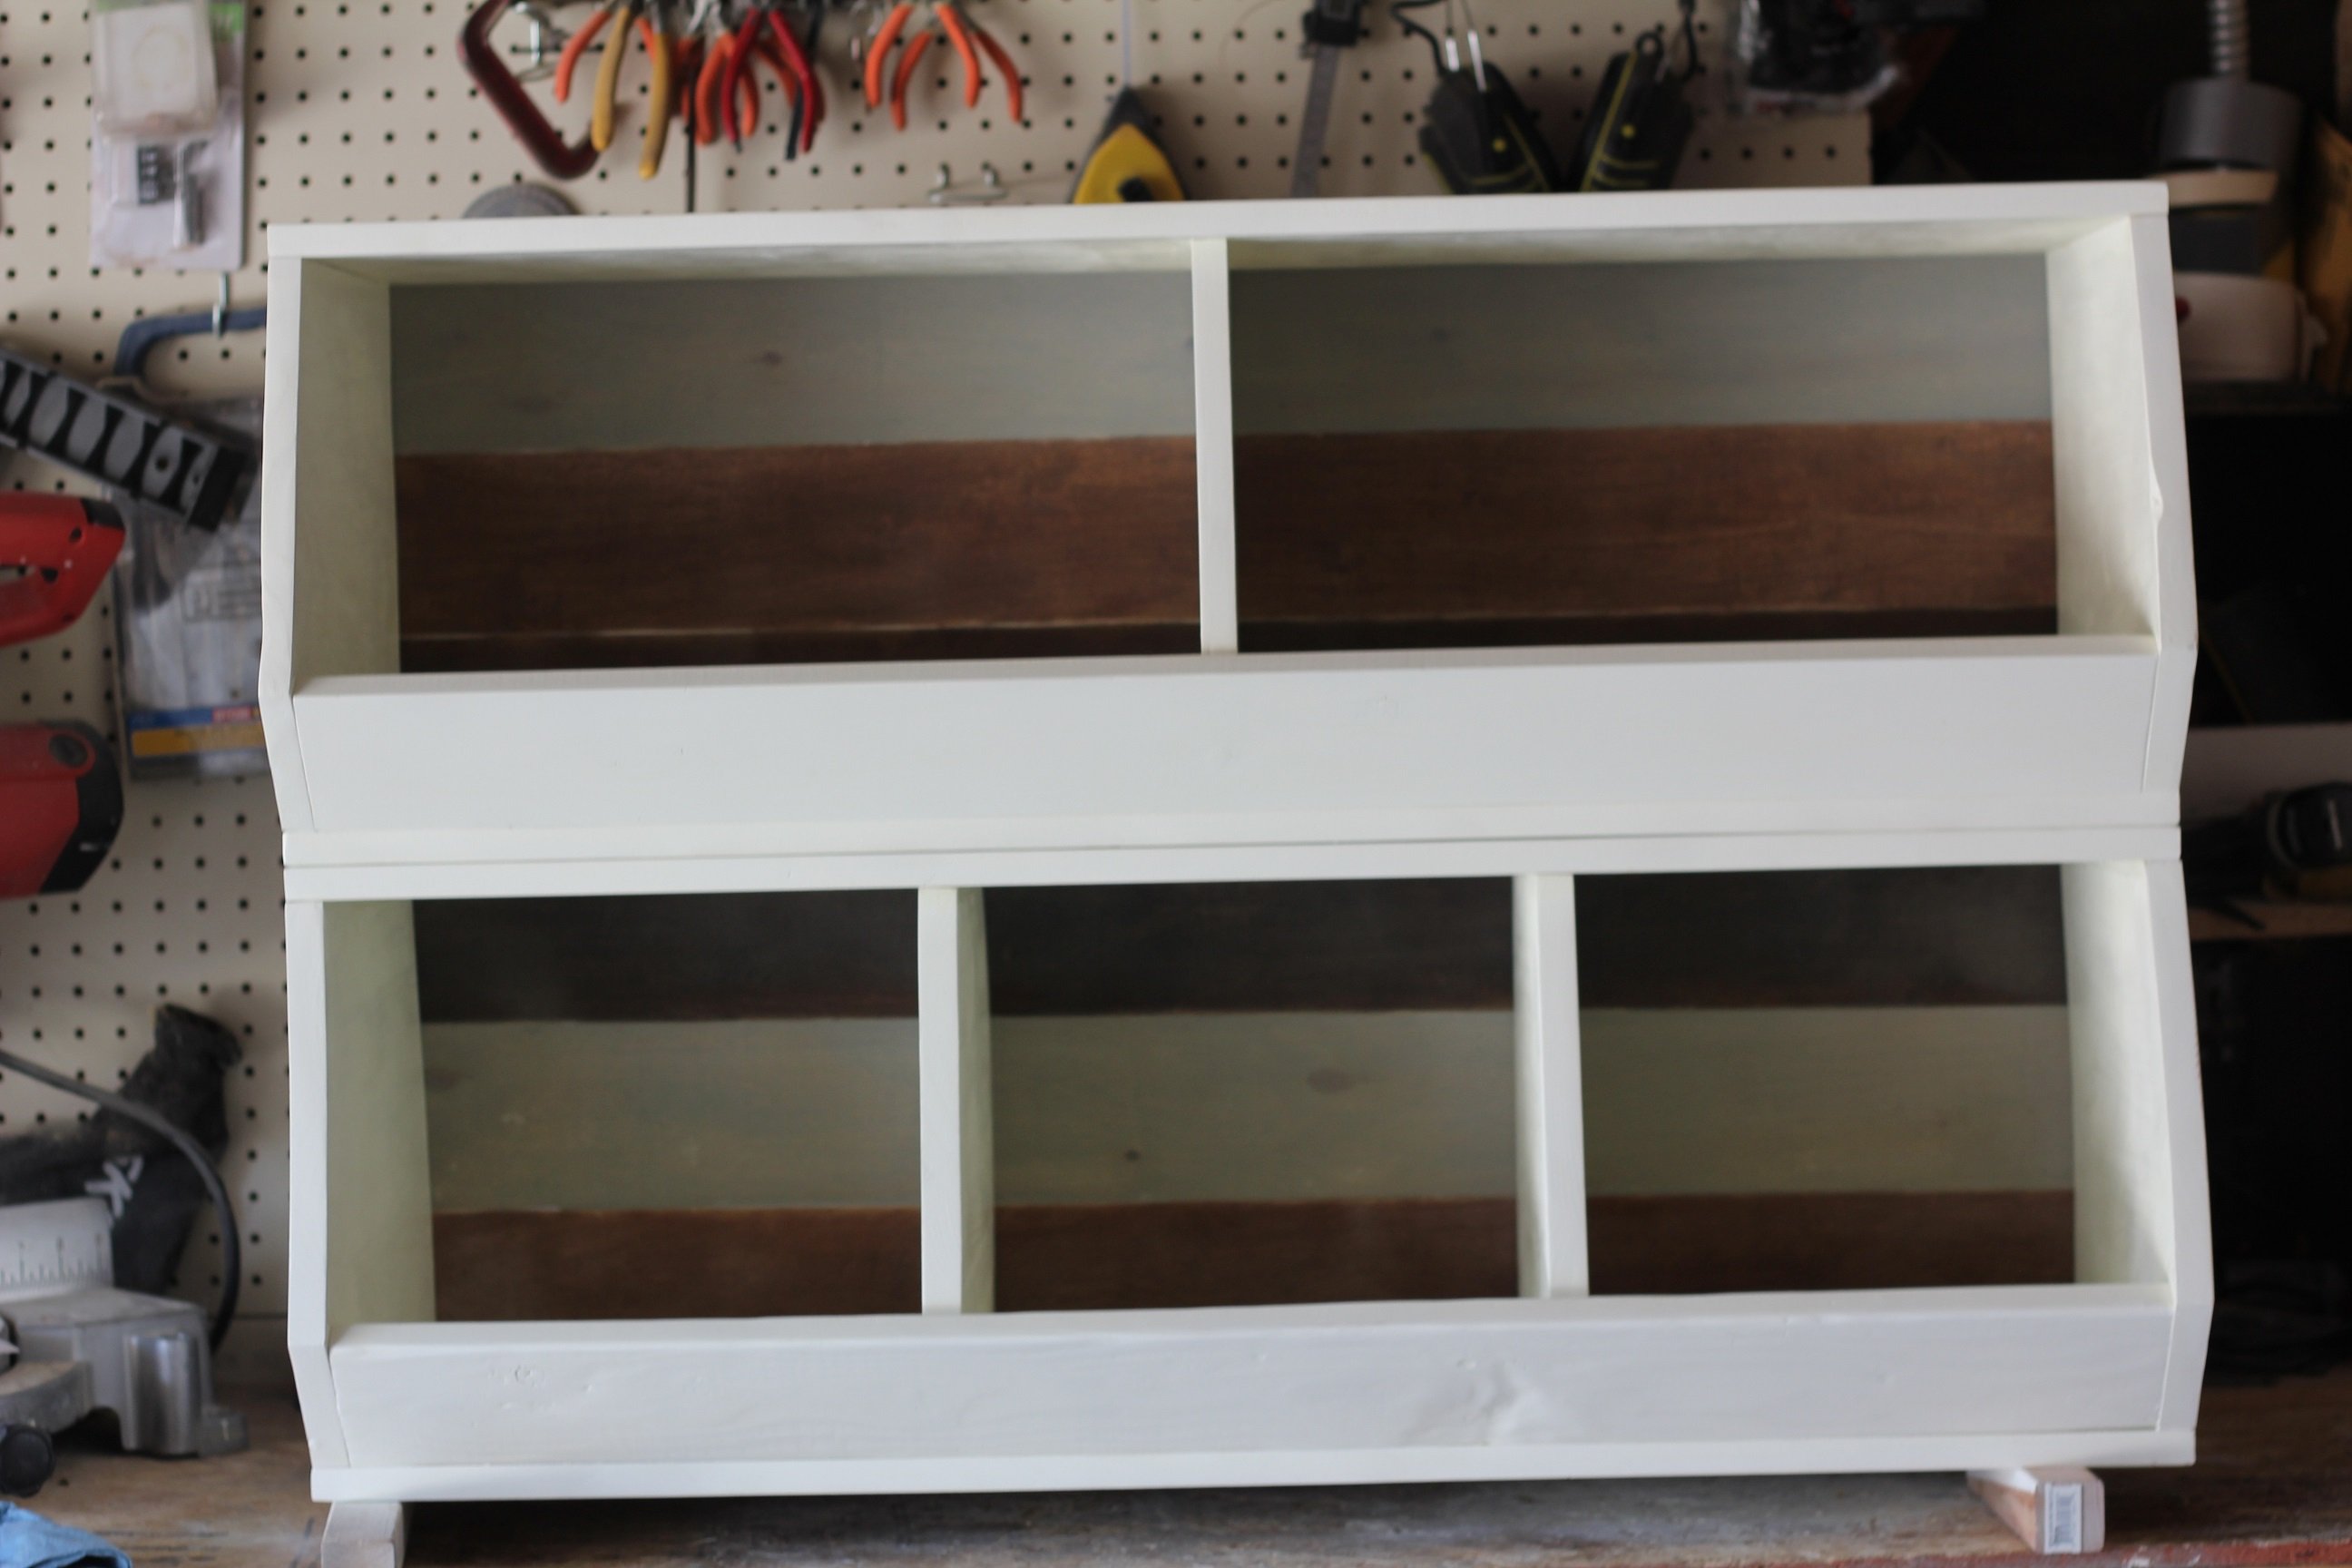
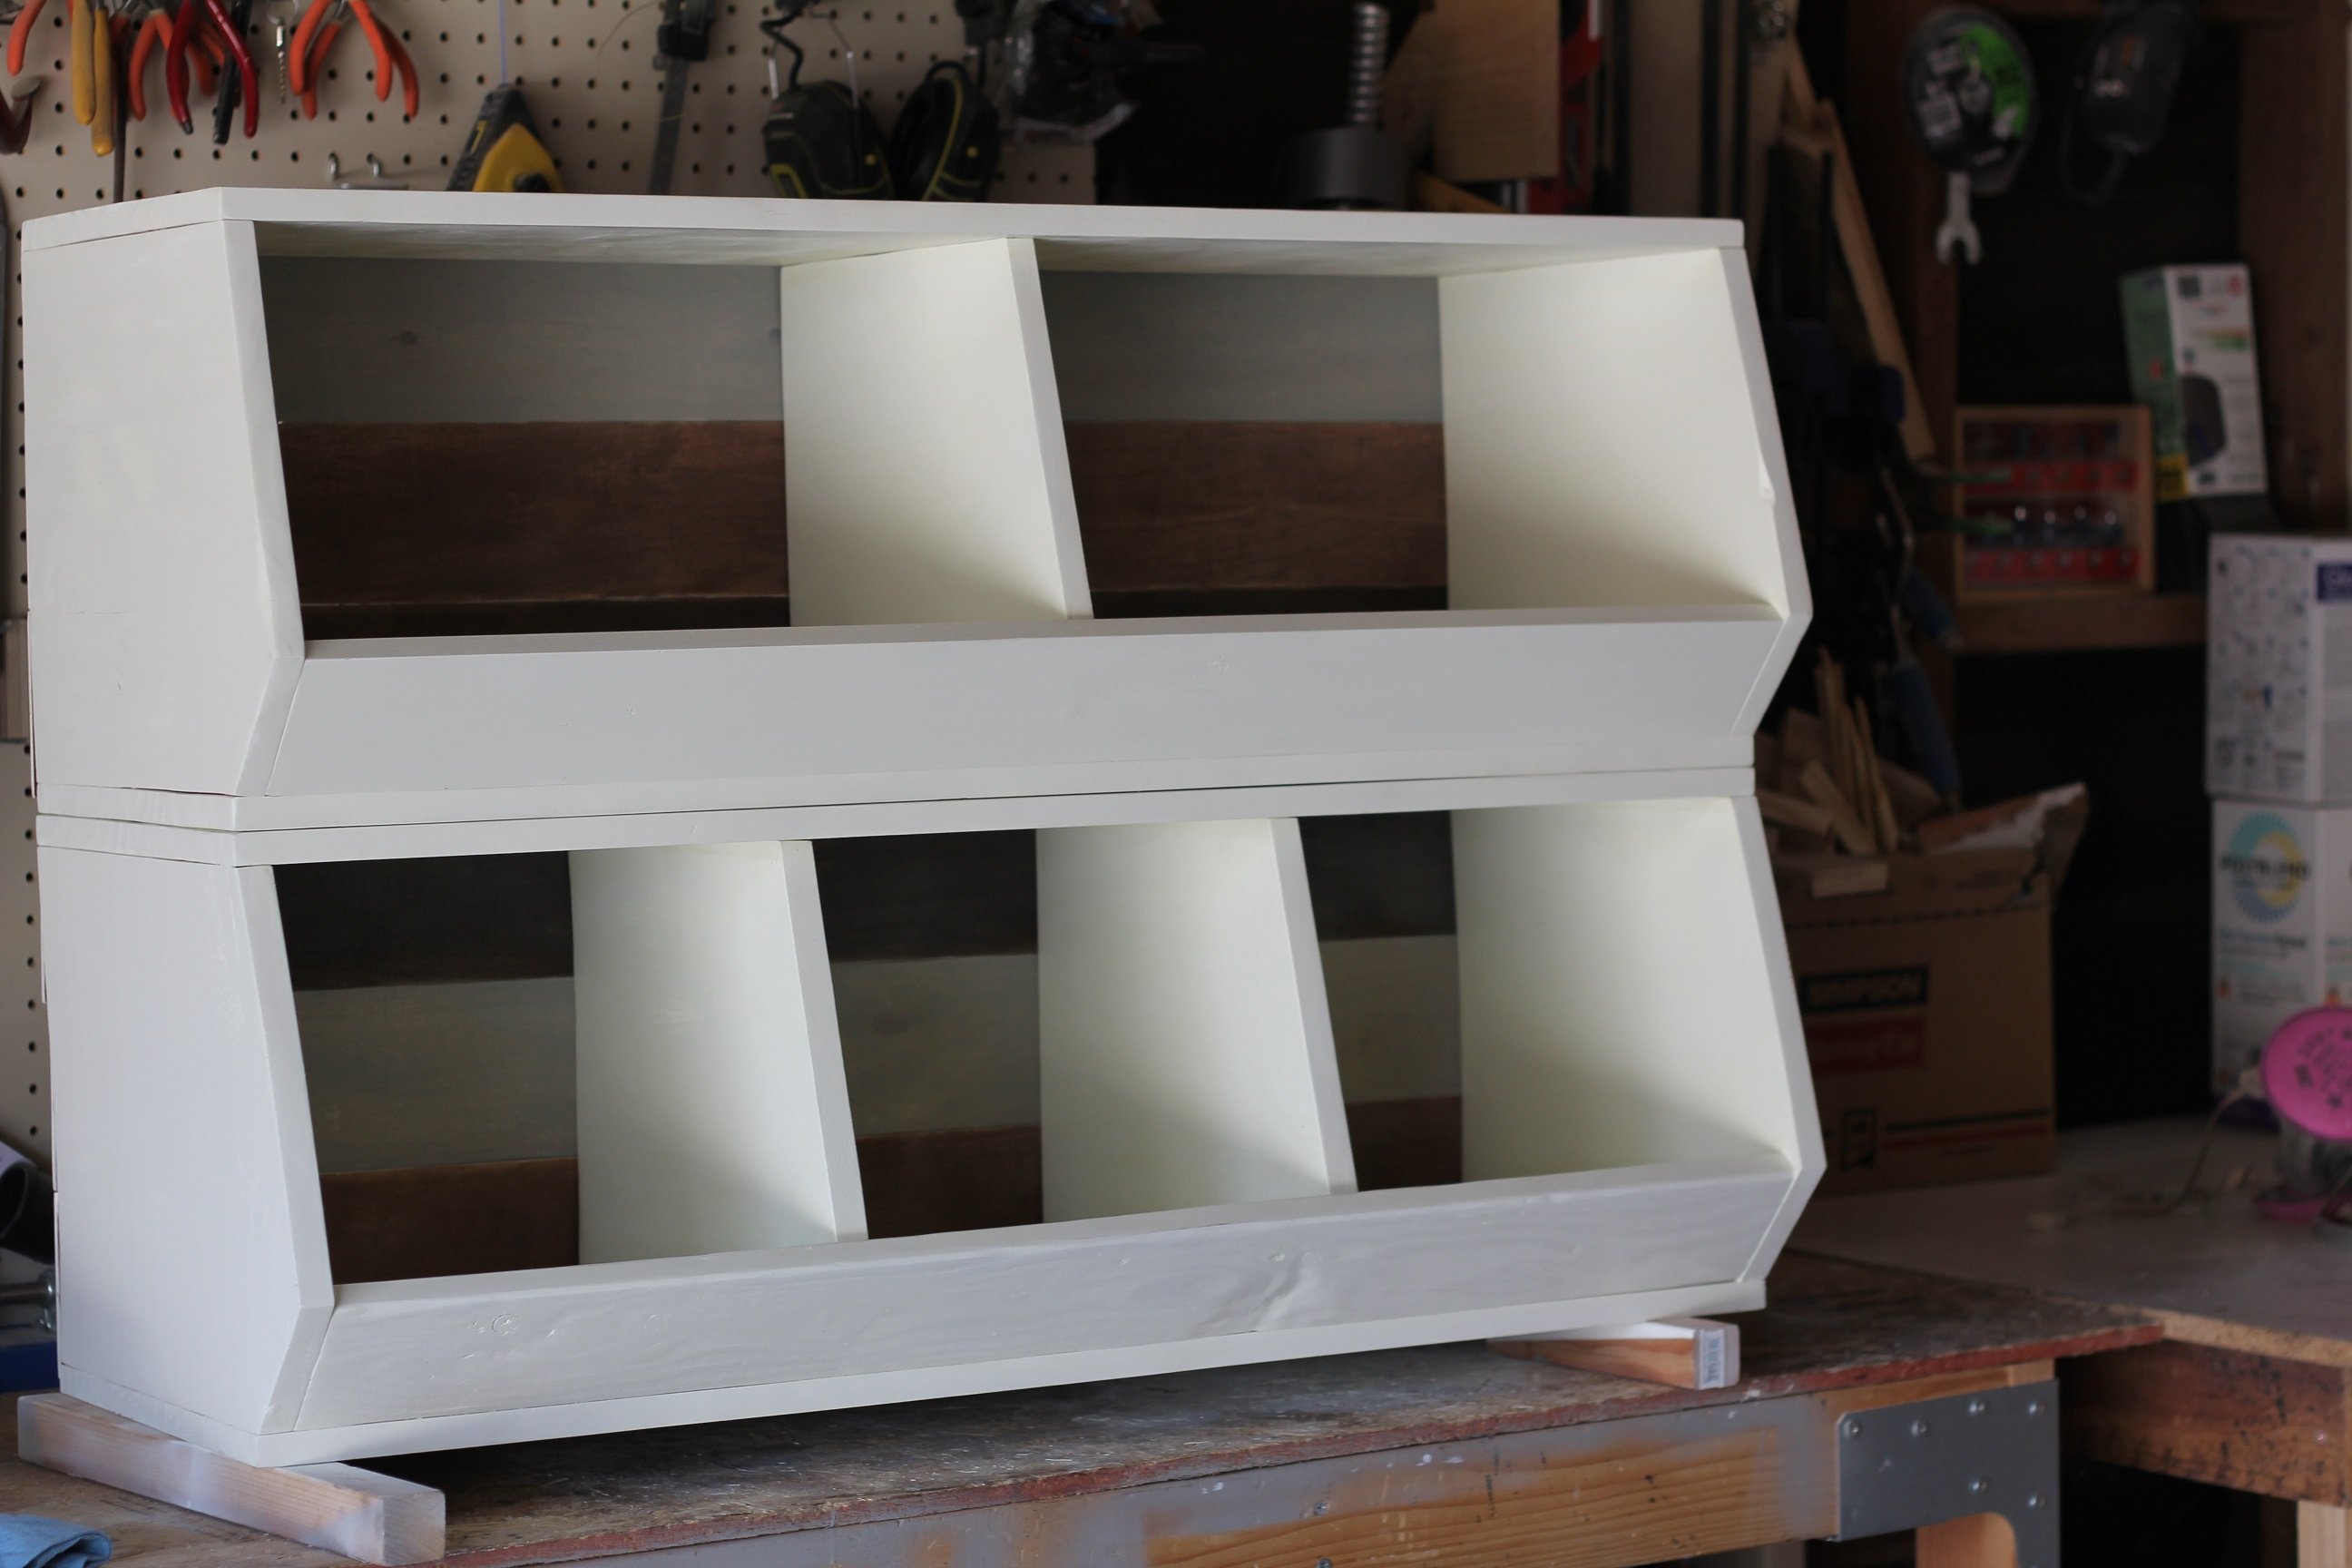
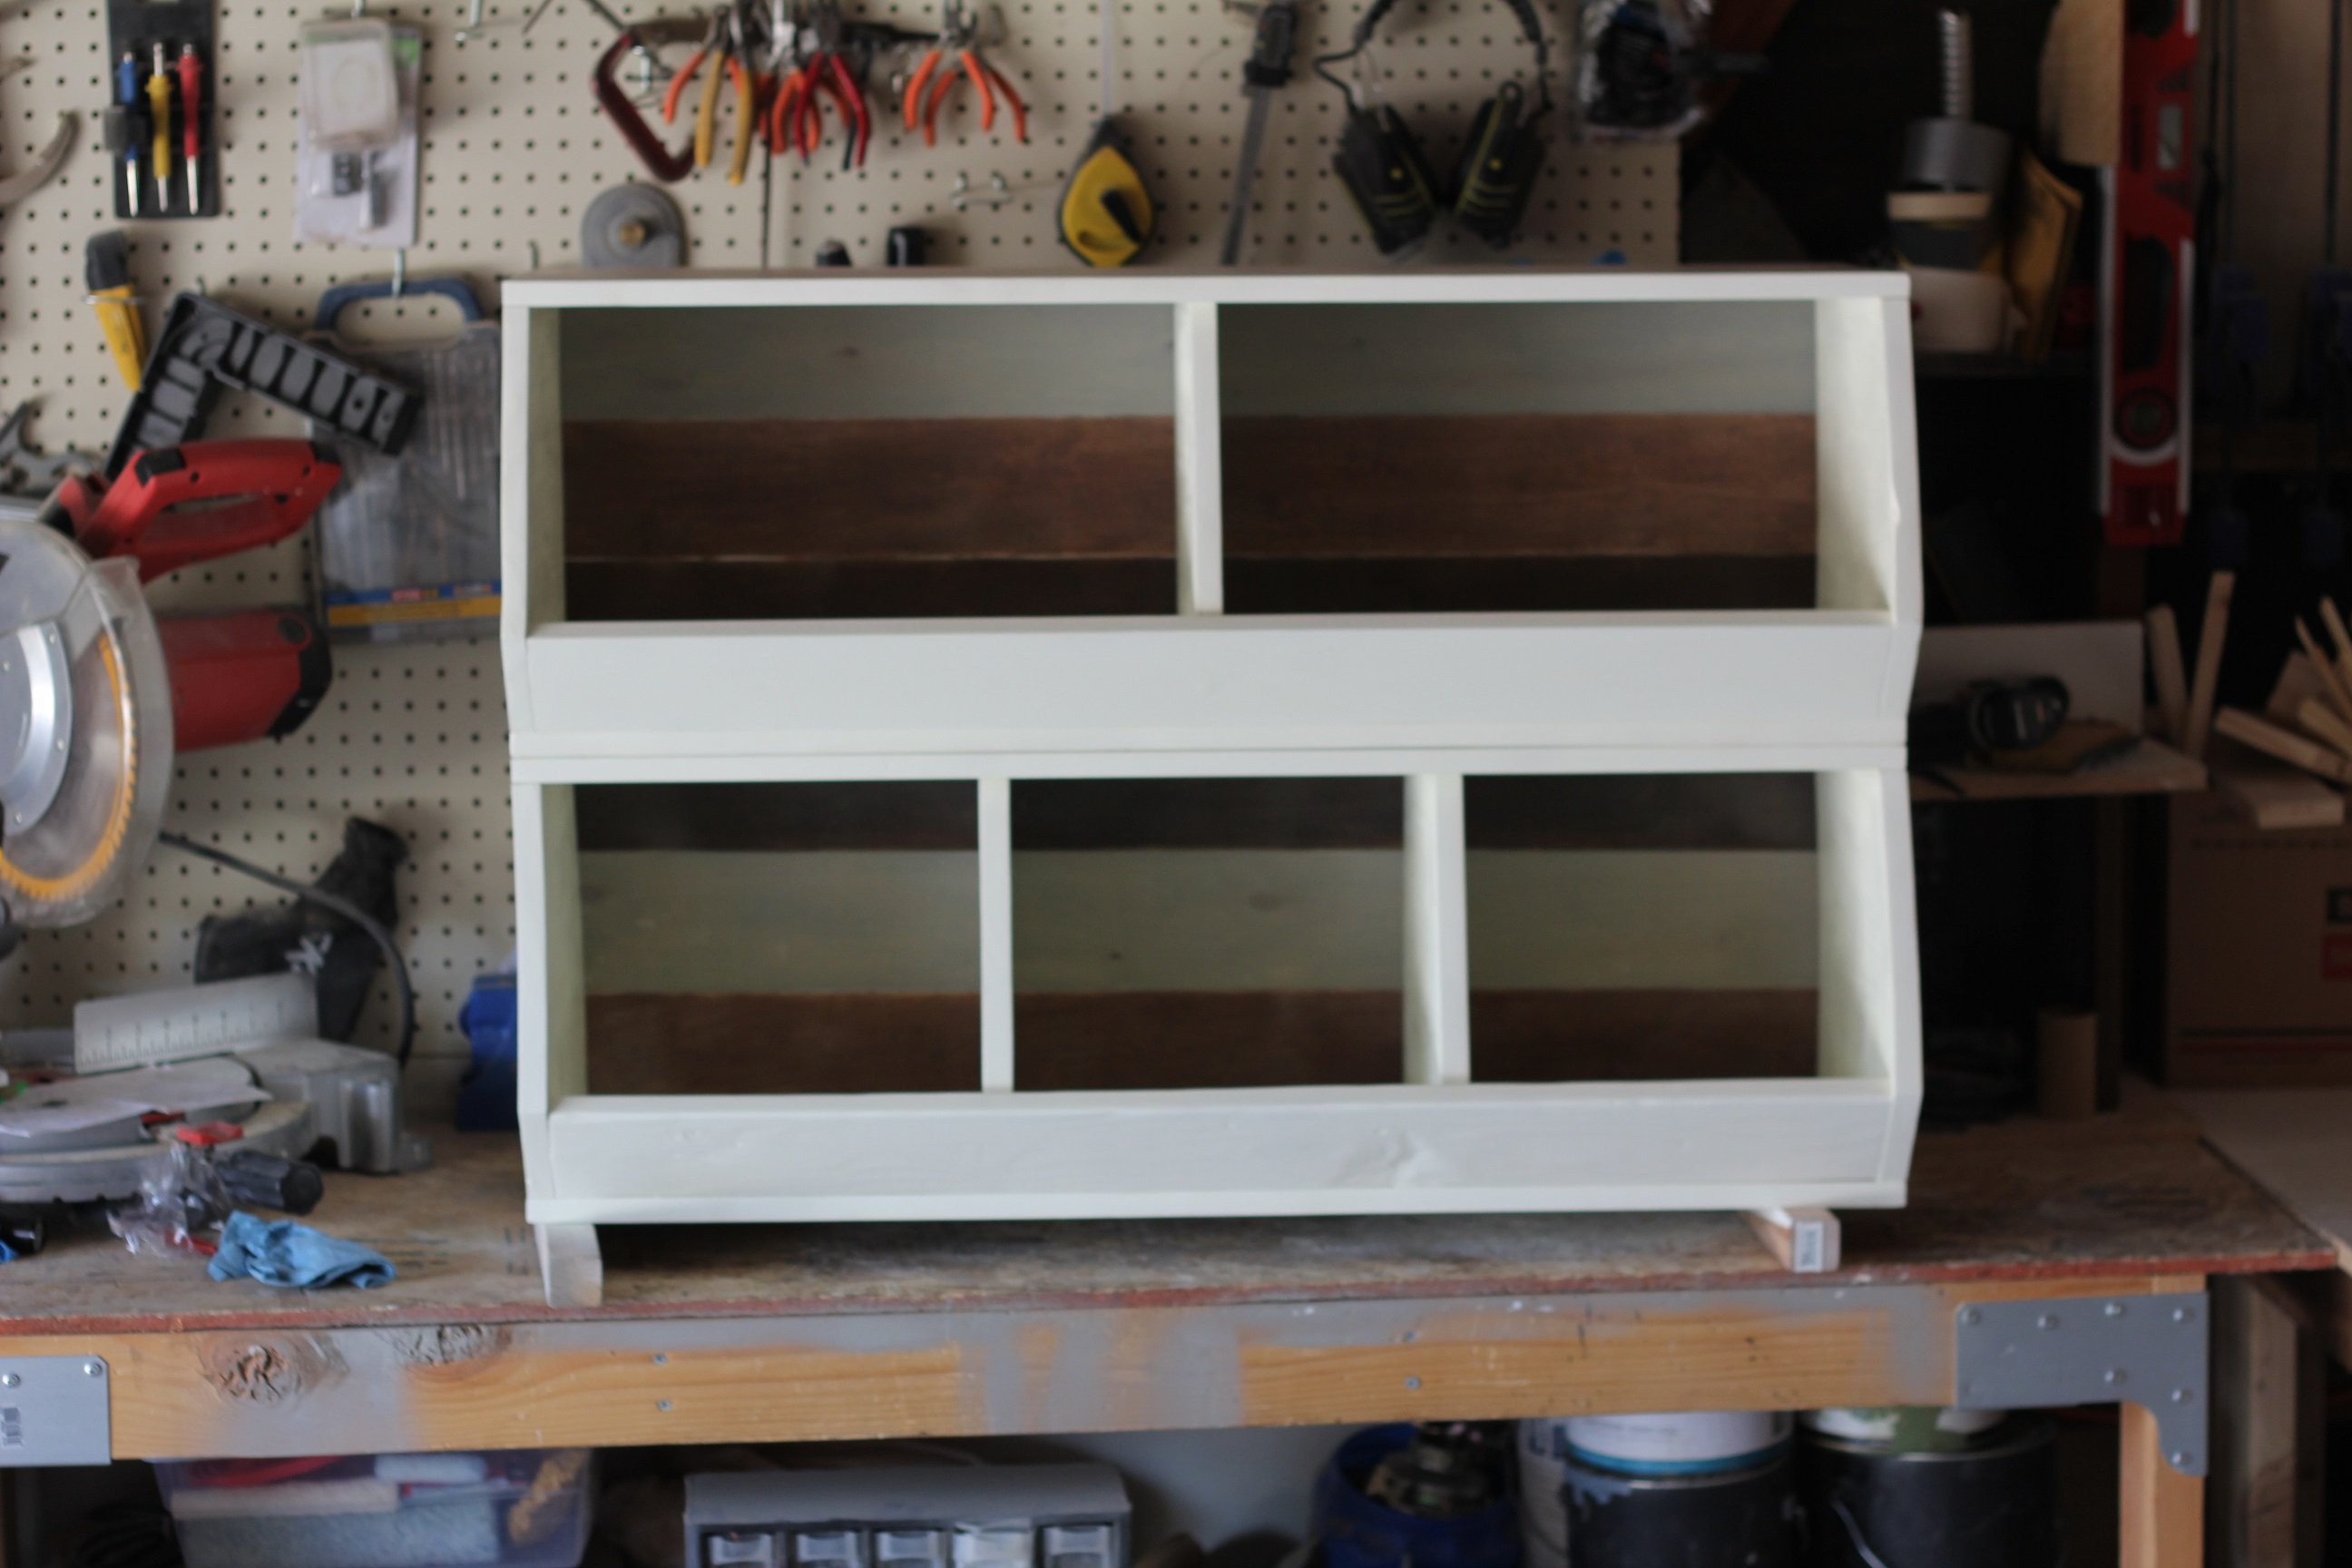
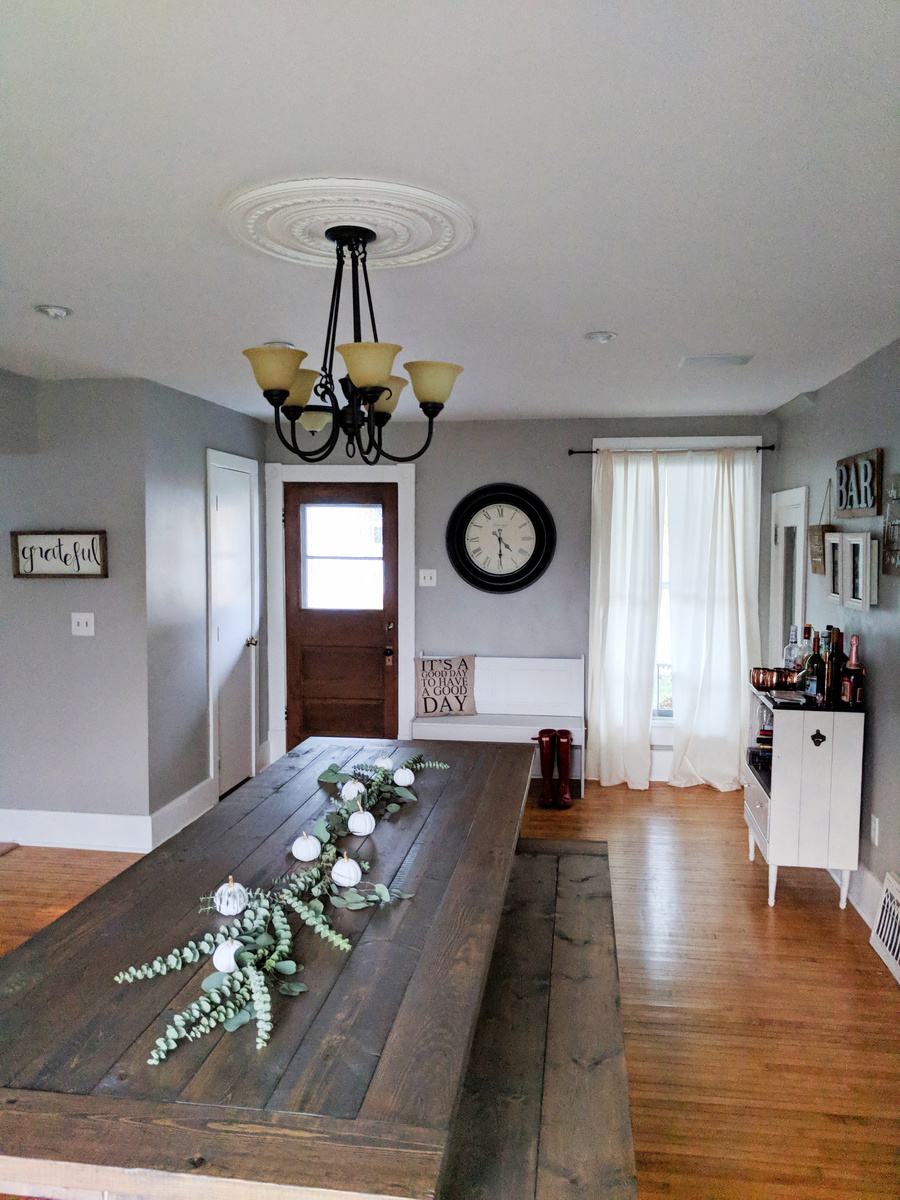
I finally got up the nerve and tackled it over the course of a weekend, and made the whole table by myself! I decided to buy a pocket hole Kreg Jig, which made the project go pretty smoothly. Ana's plan was easy to follow and I followed it to a T, other than using 2x6s instead of 2x8s for the tabletop, 2-2x4s instead of 4x4s for the legs, and extending the length a bit (my table is about 8.5 feet long!) It took me longer than it should have, I'm sure, but even as a beginner I finished the table from start to finish in a weekend.
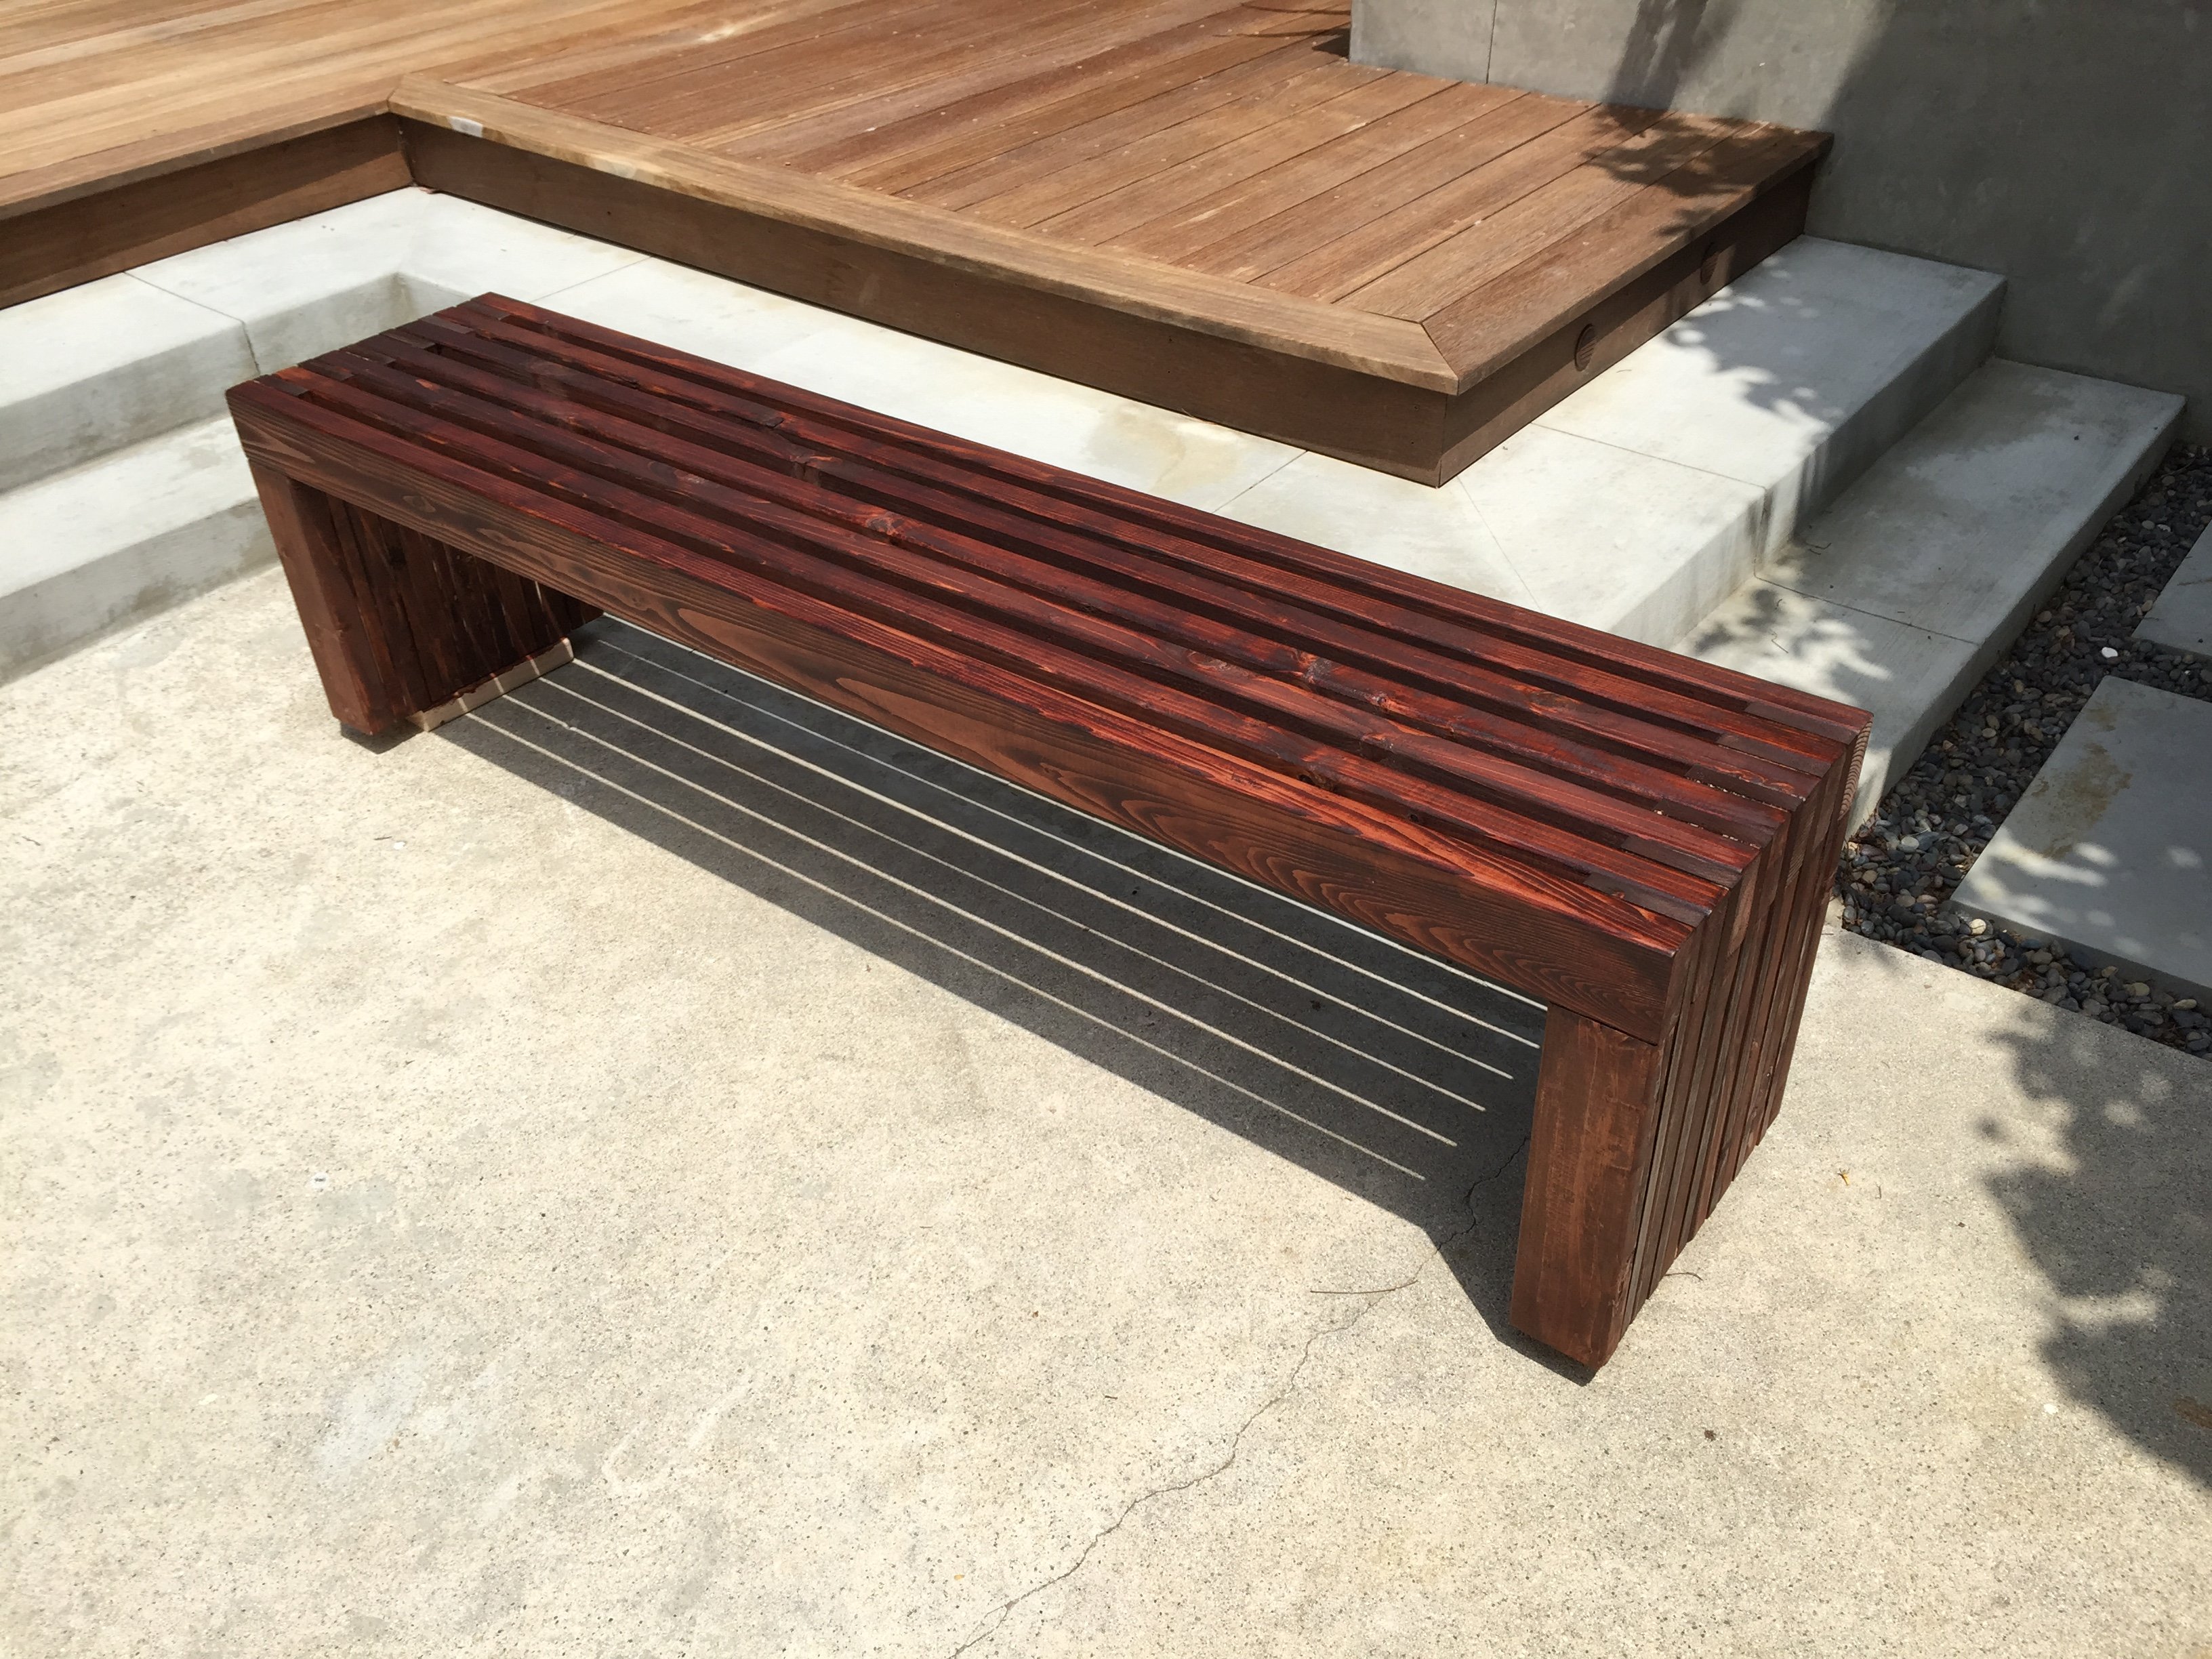
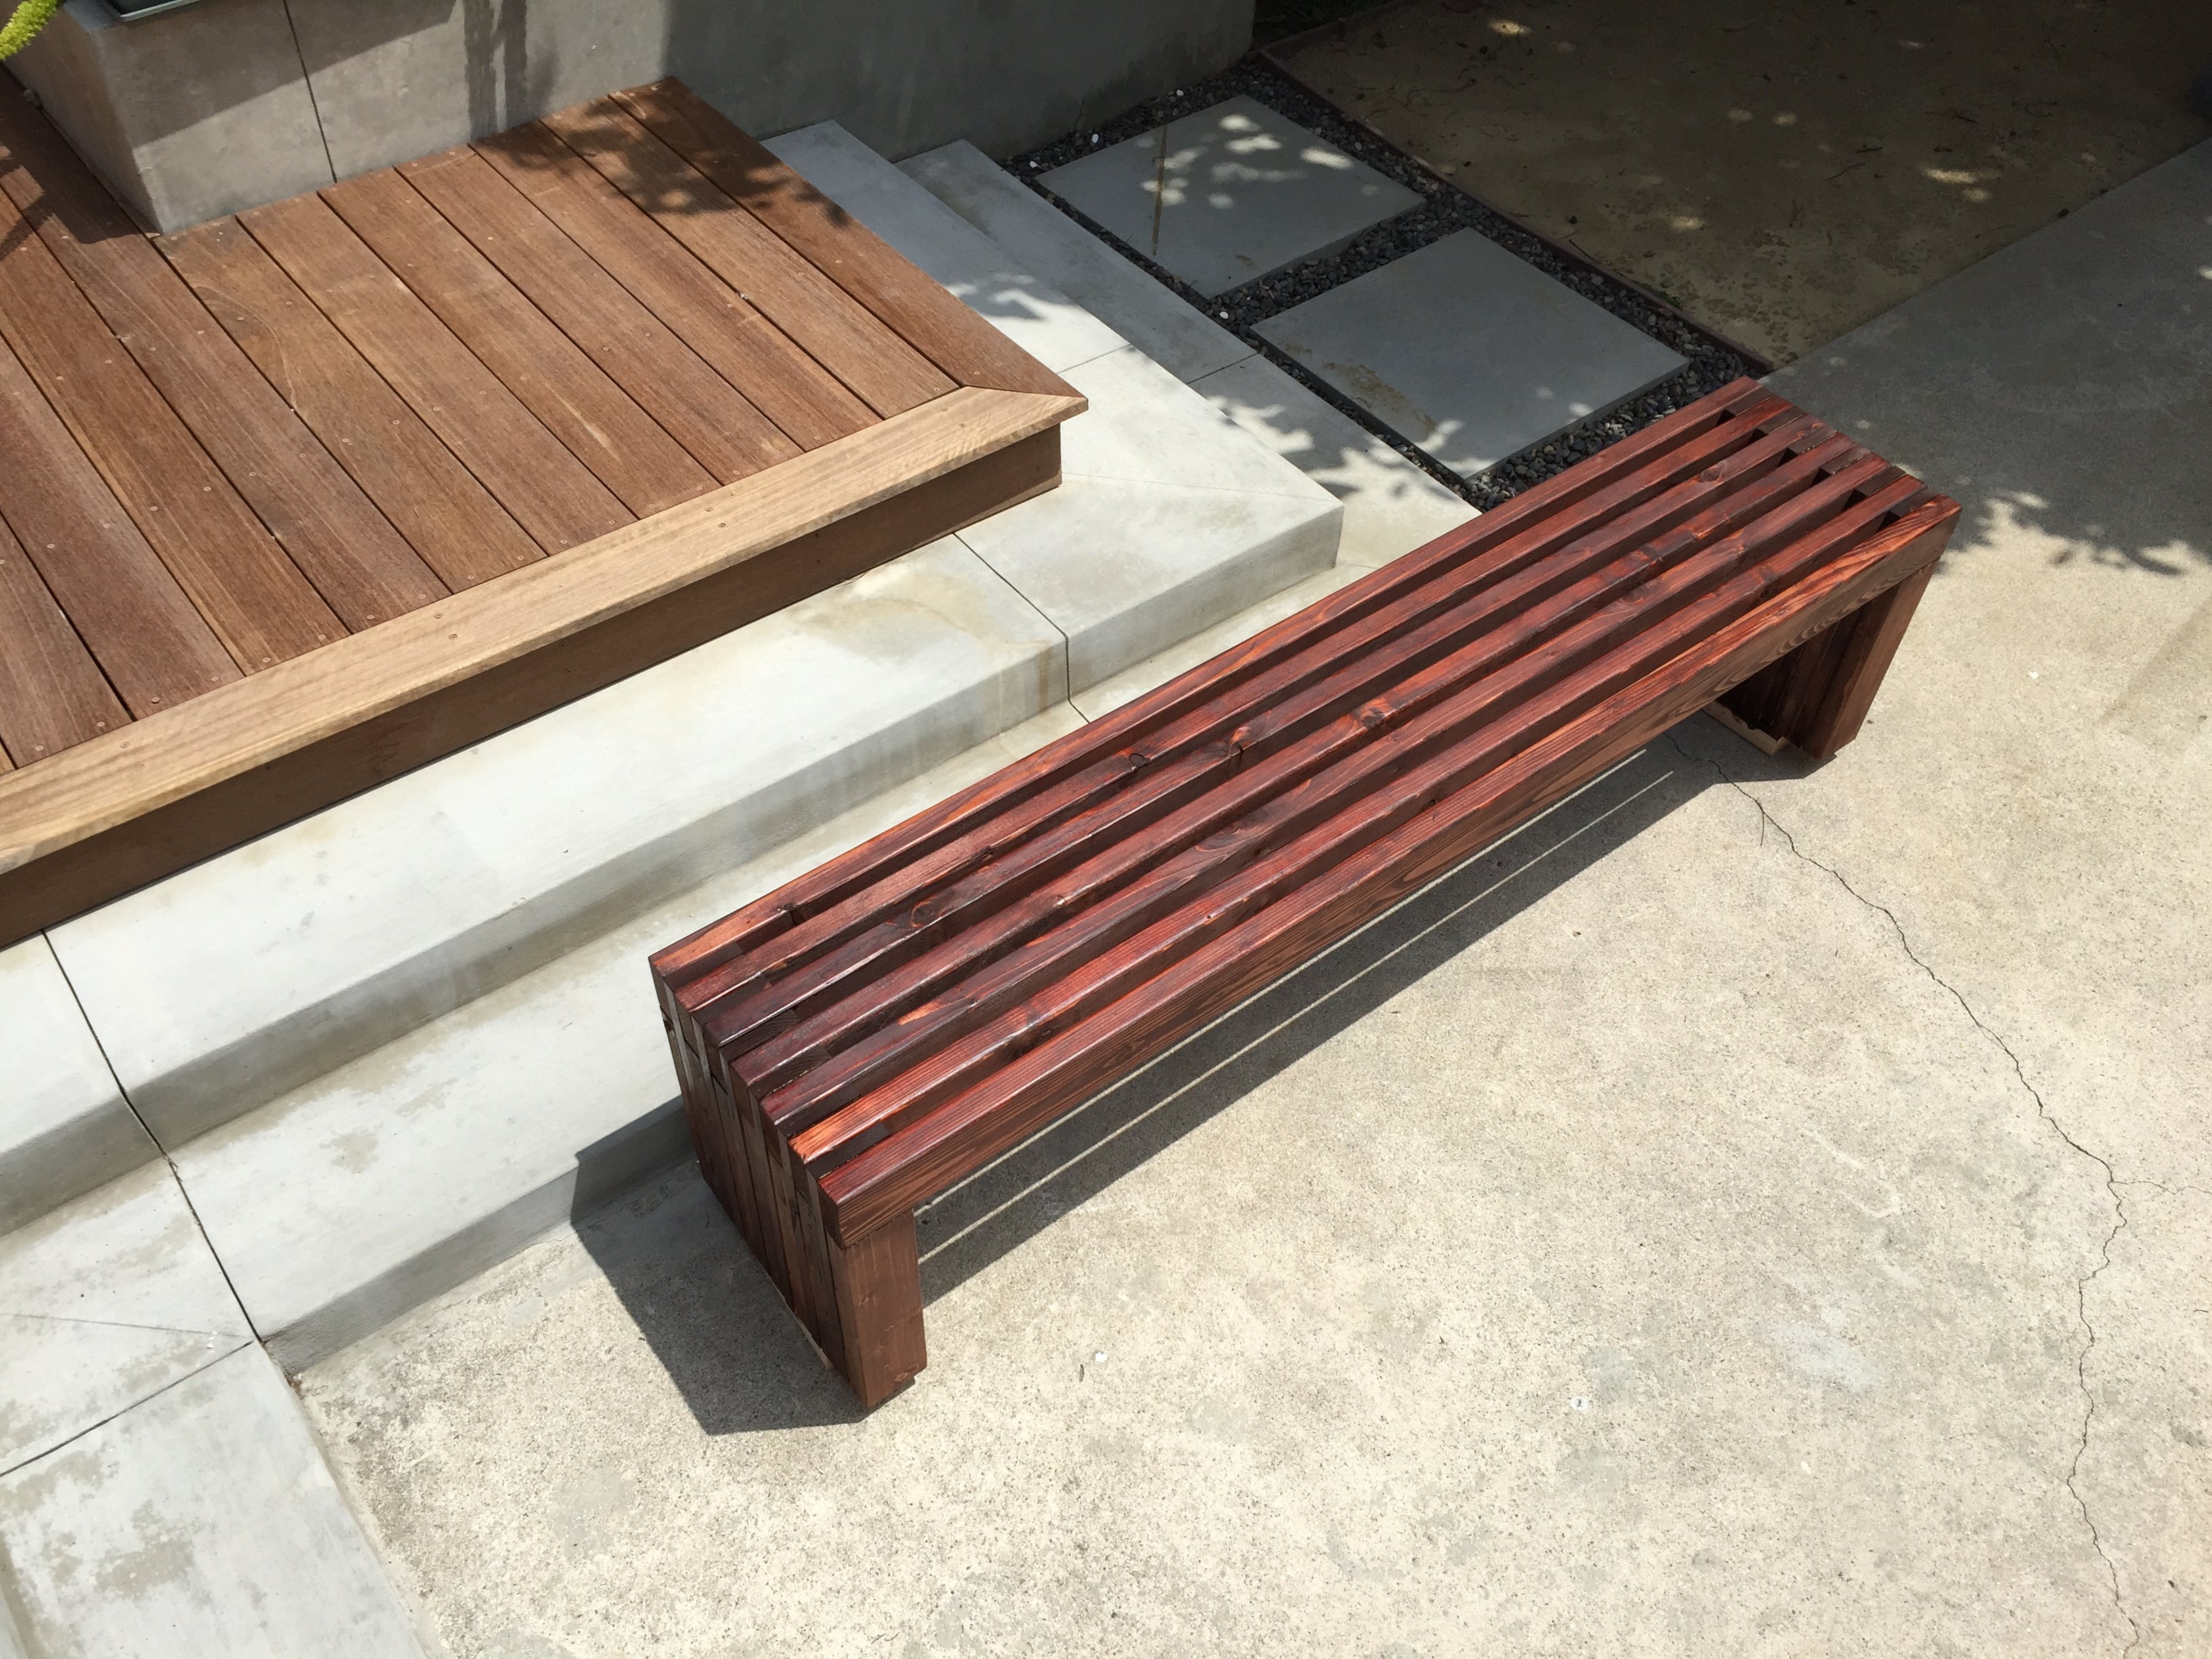
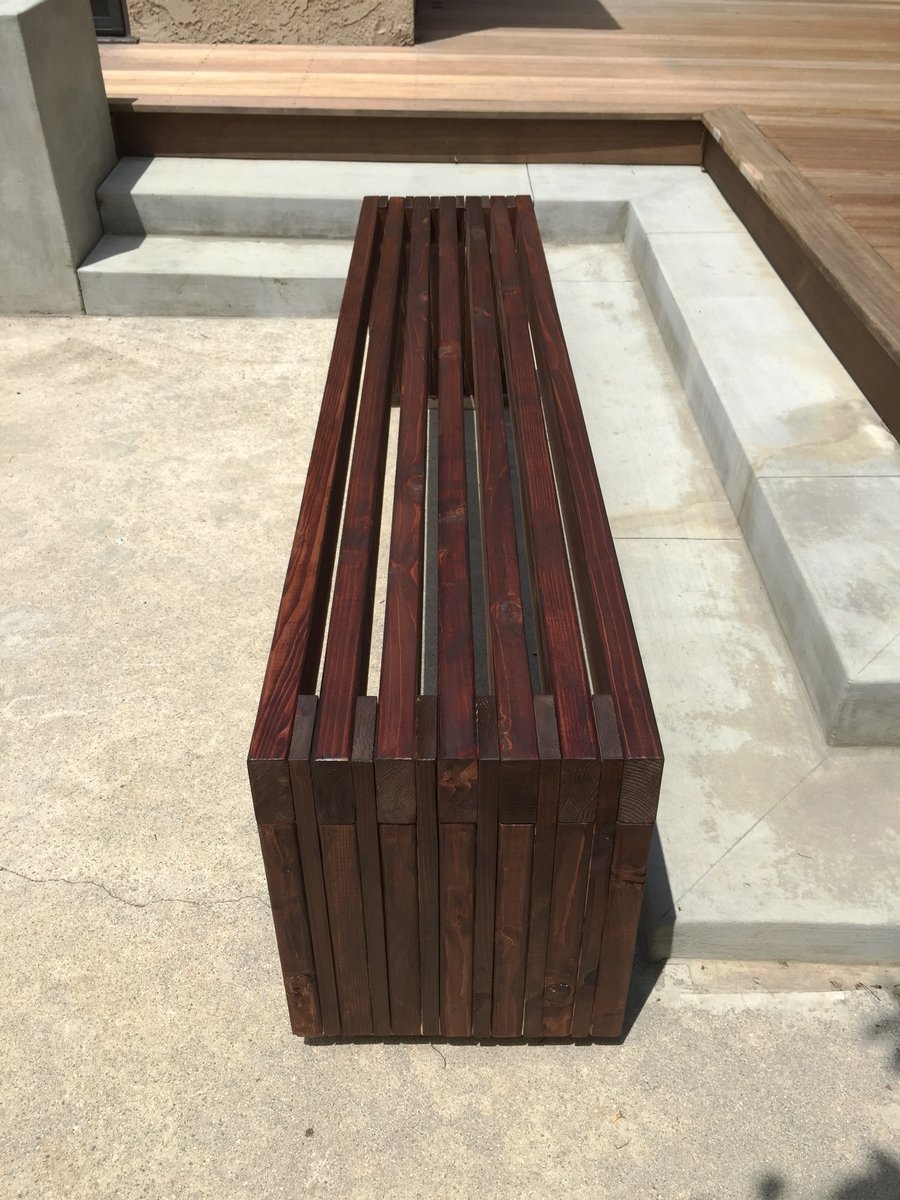
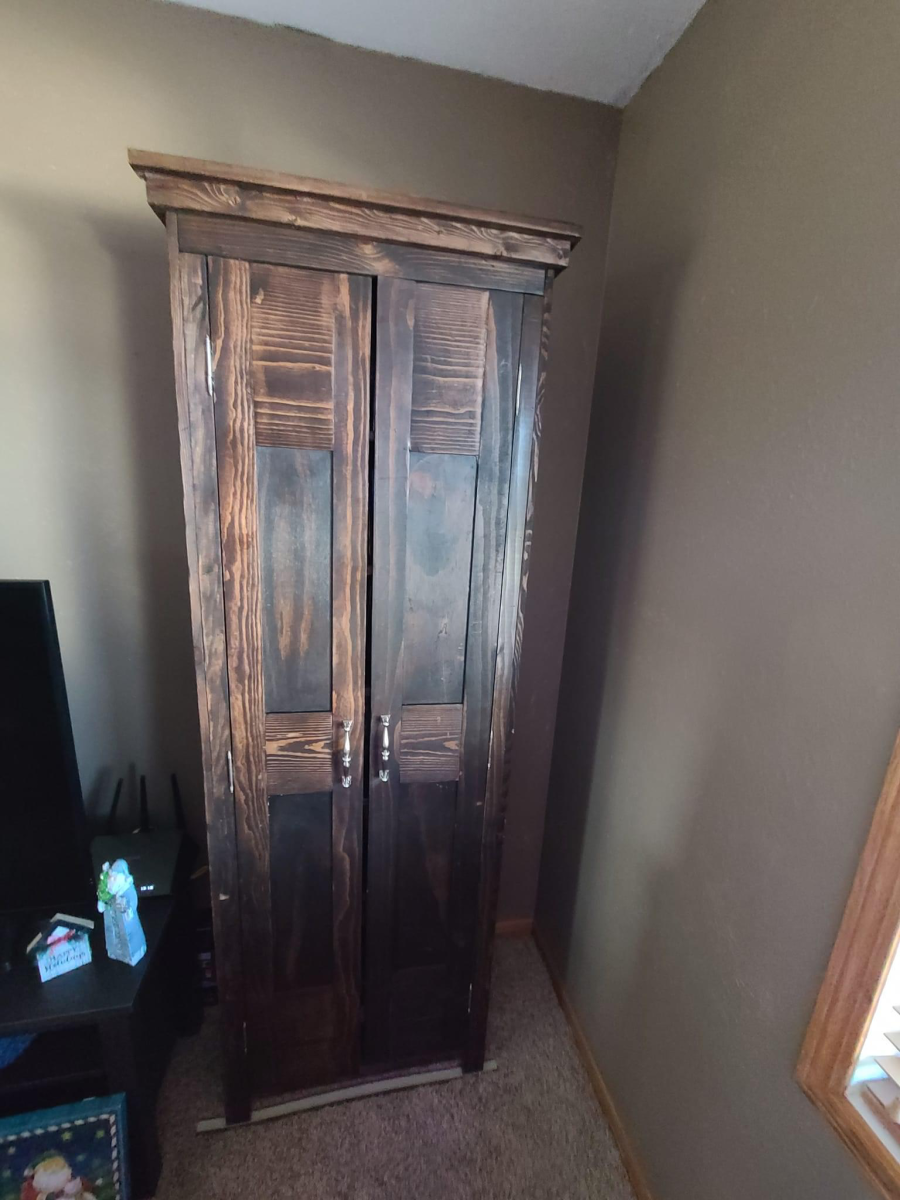
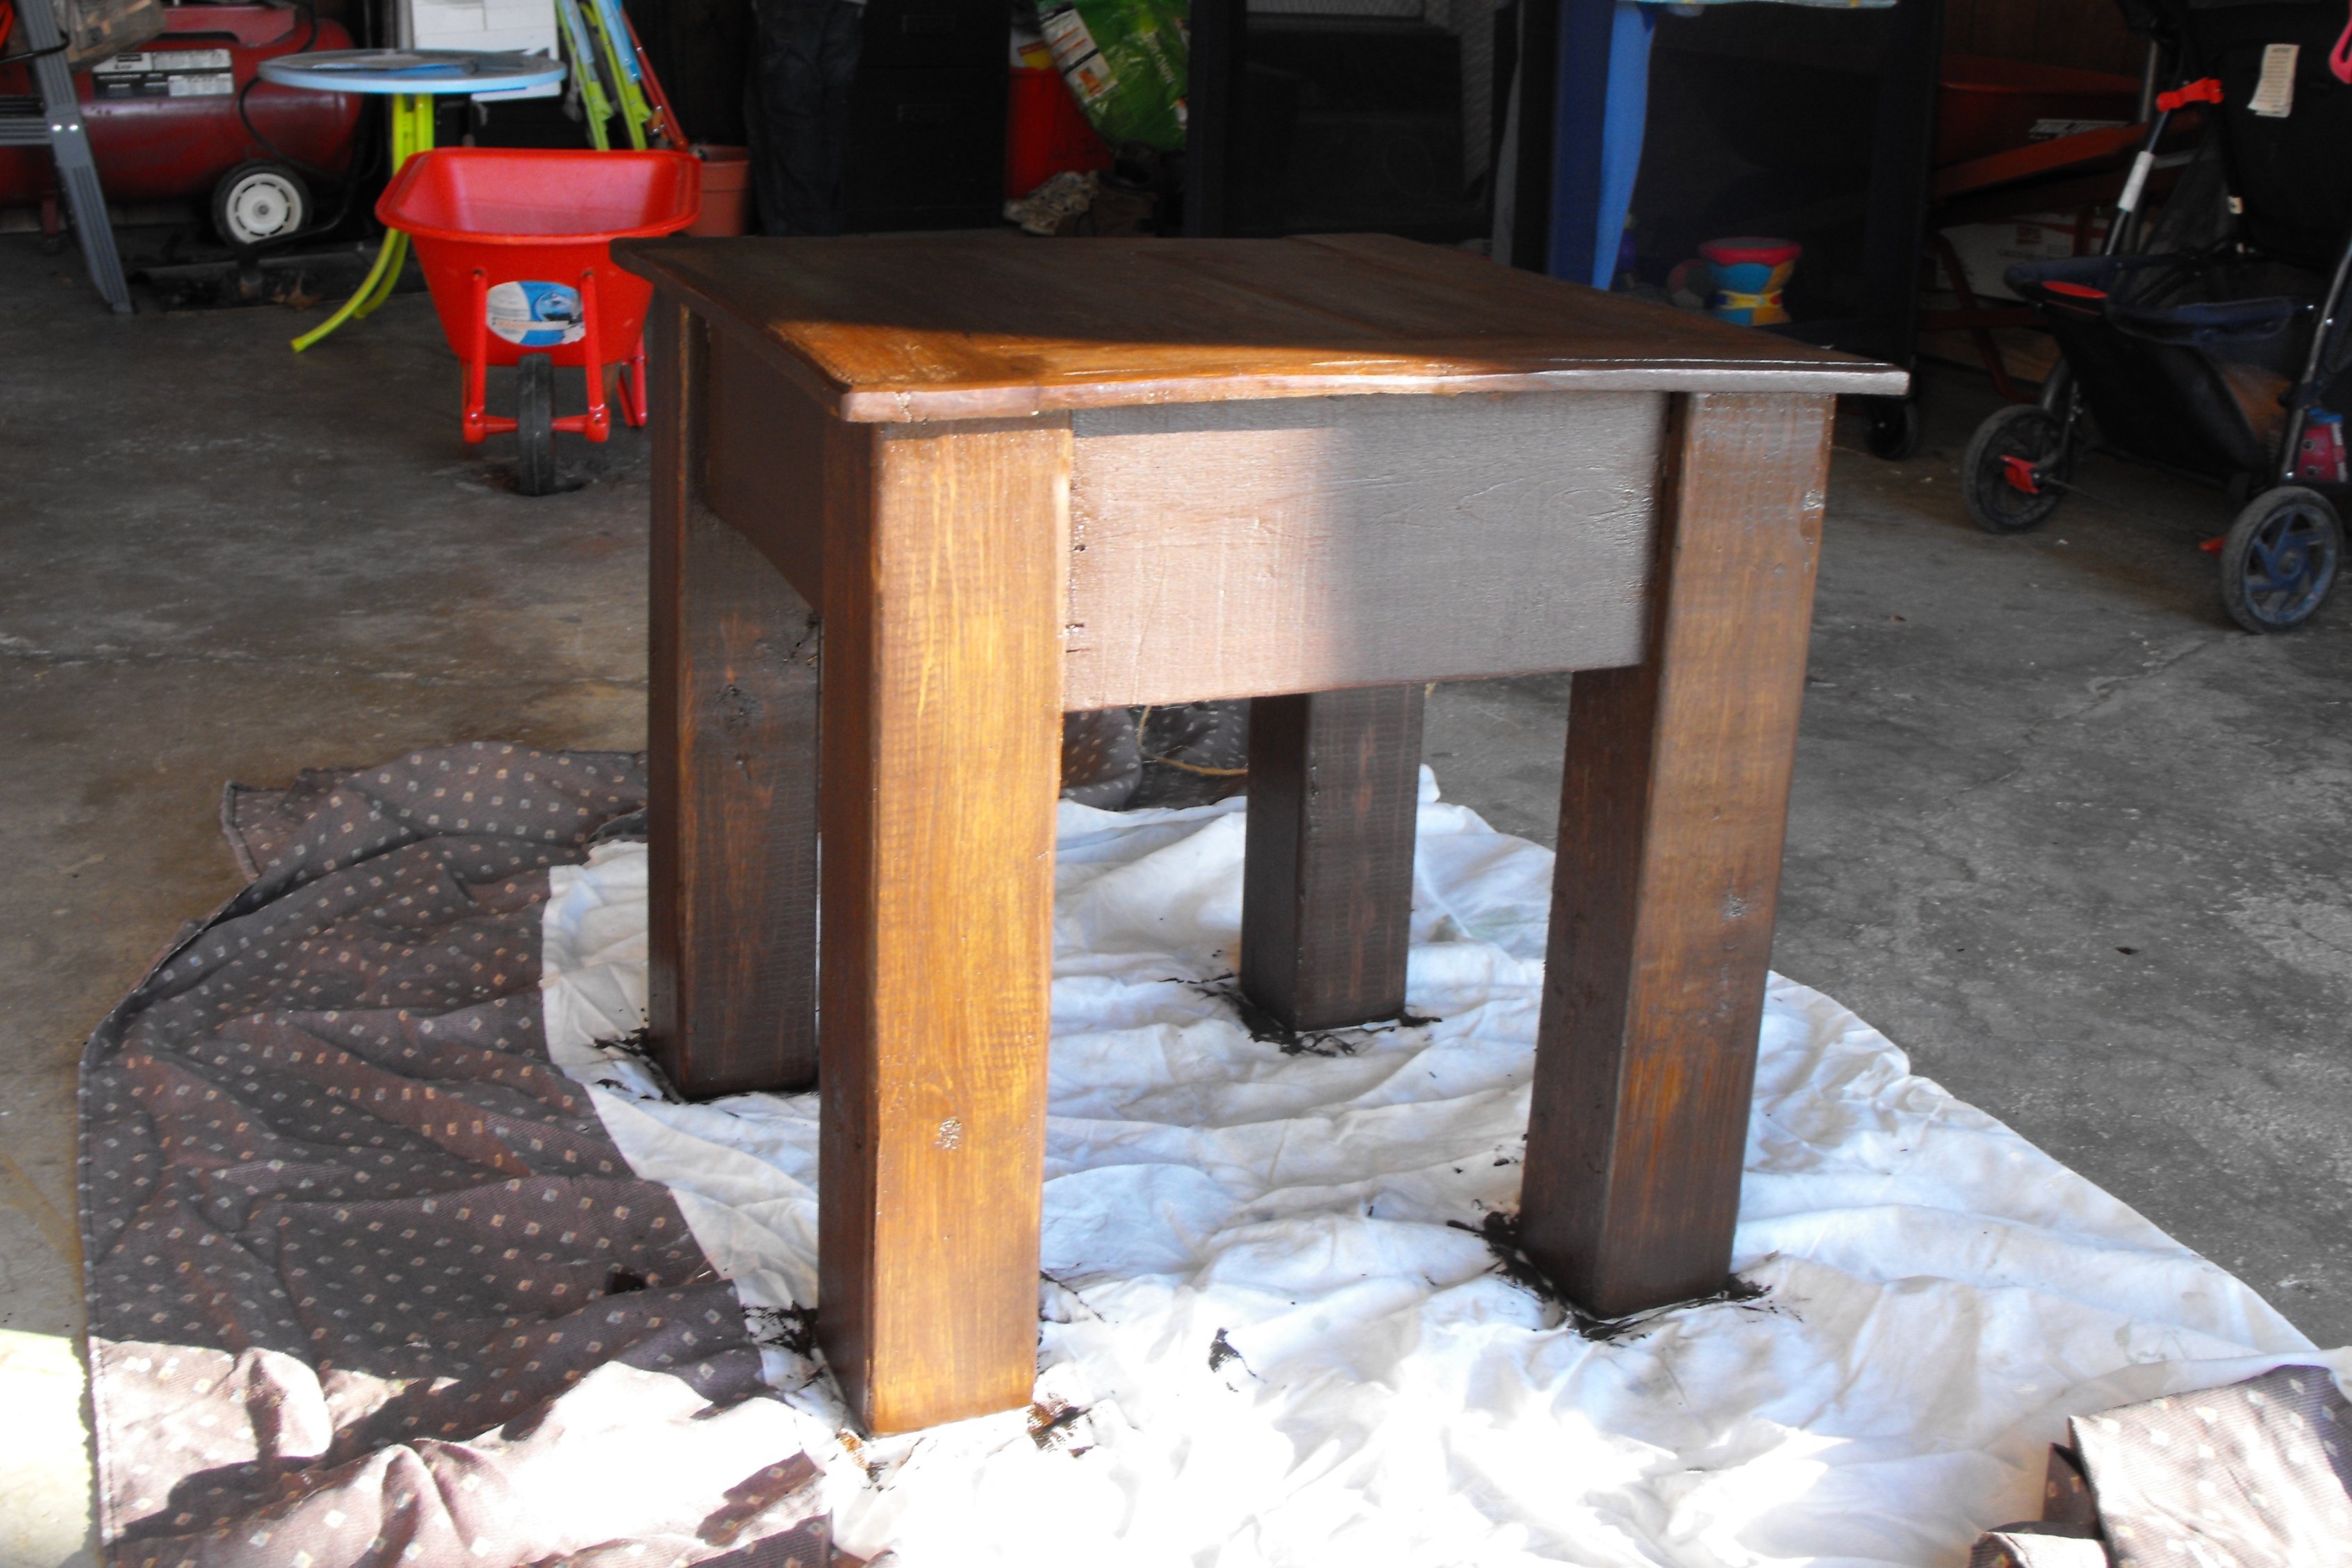
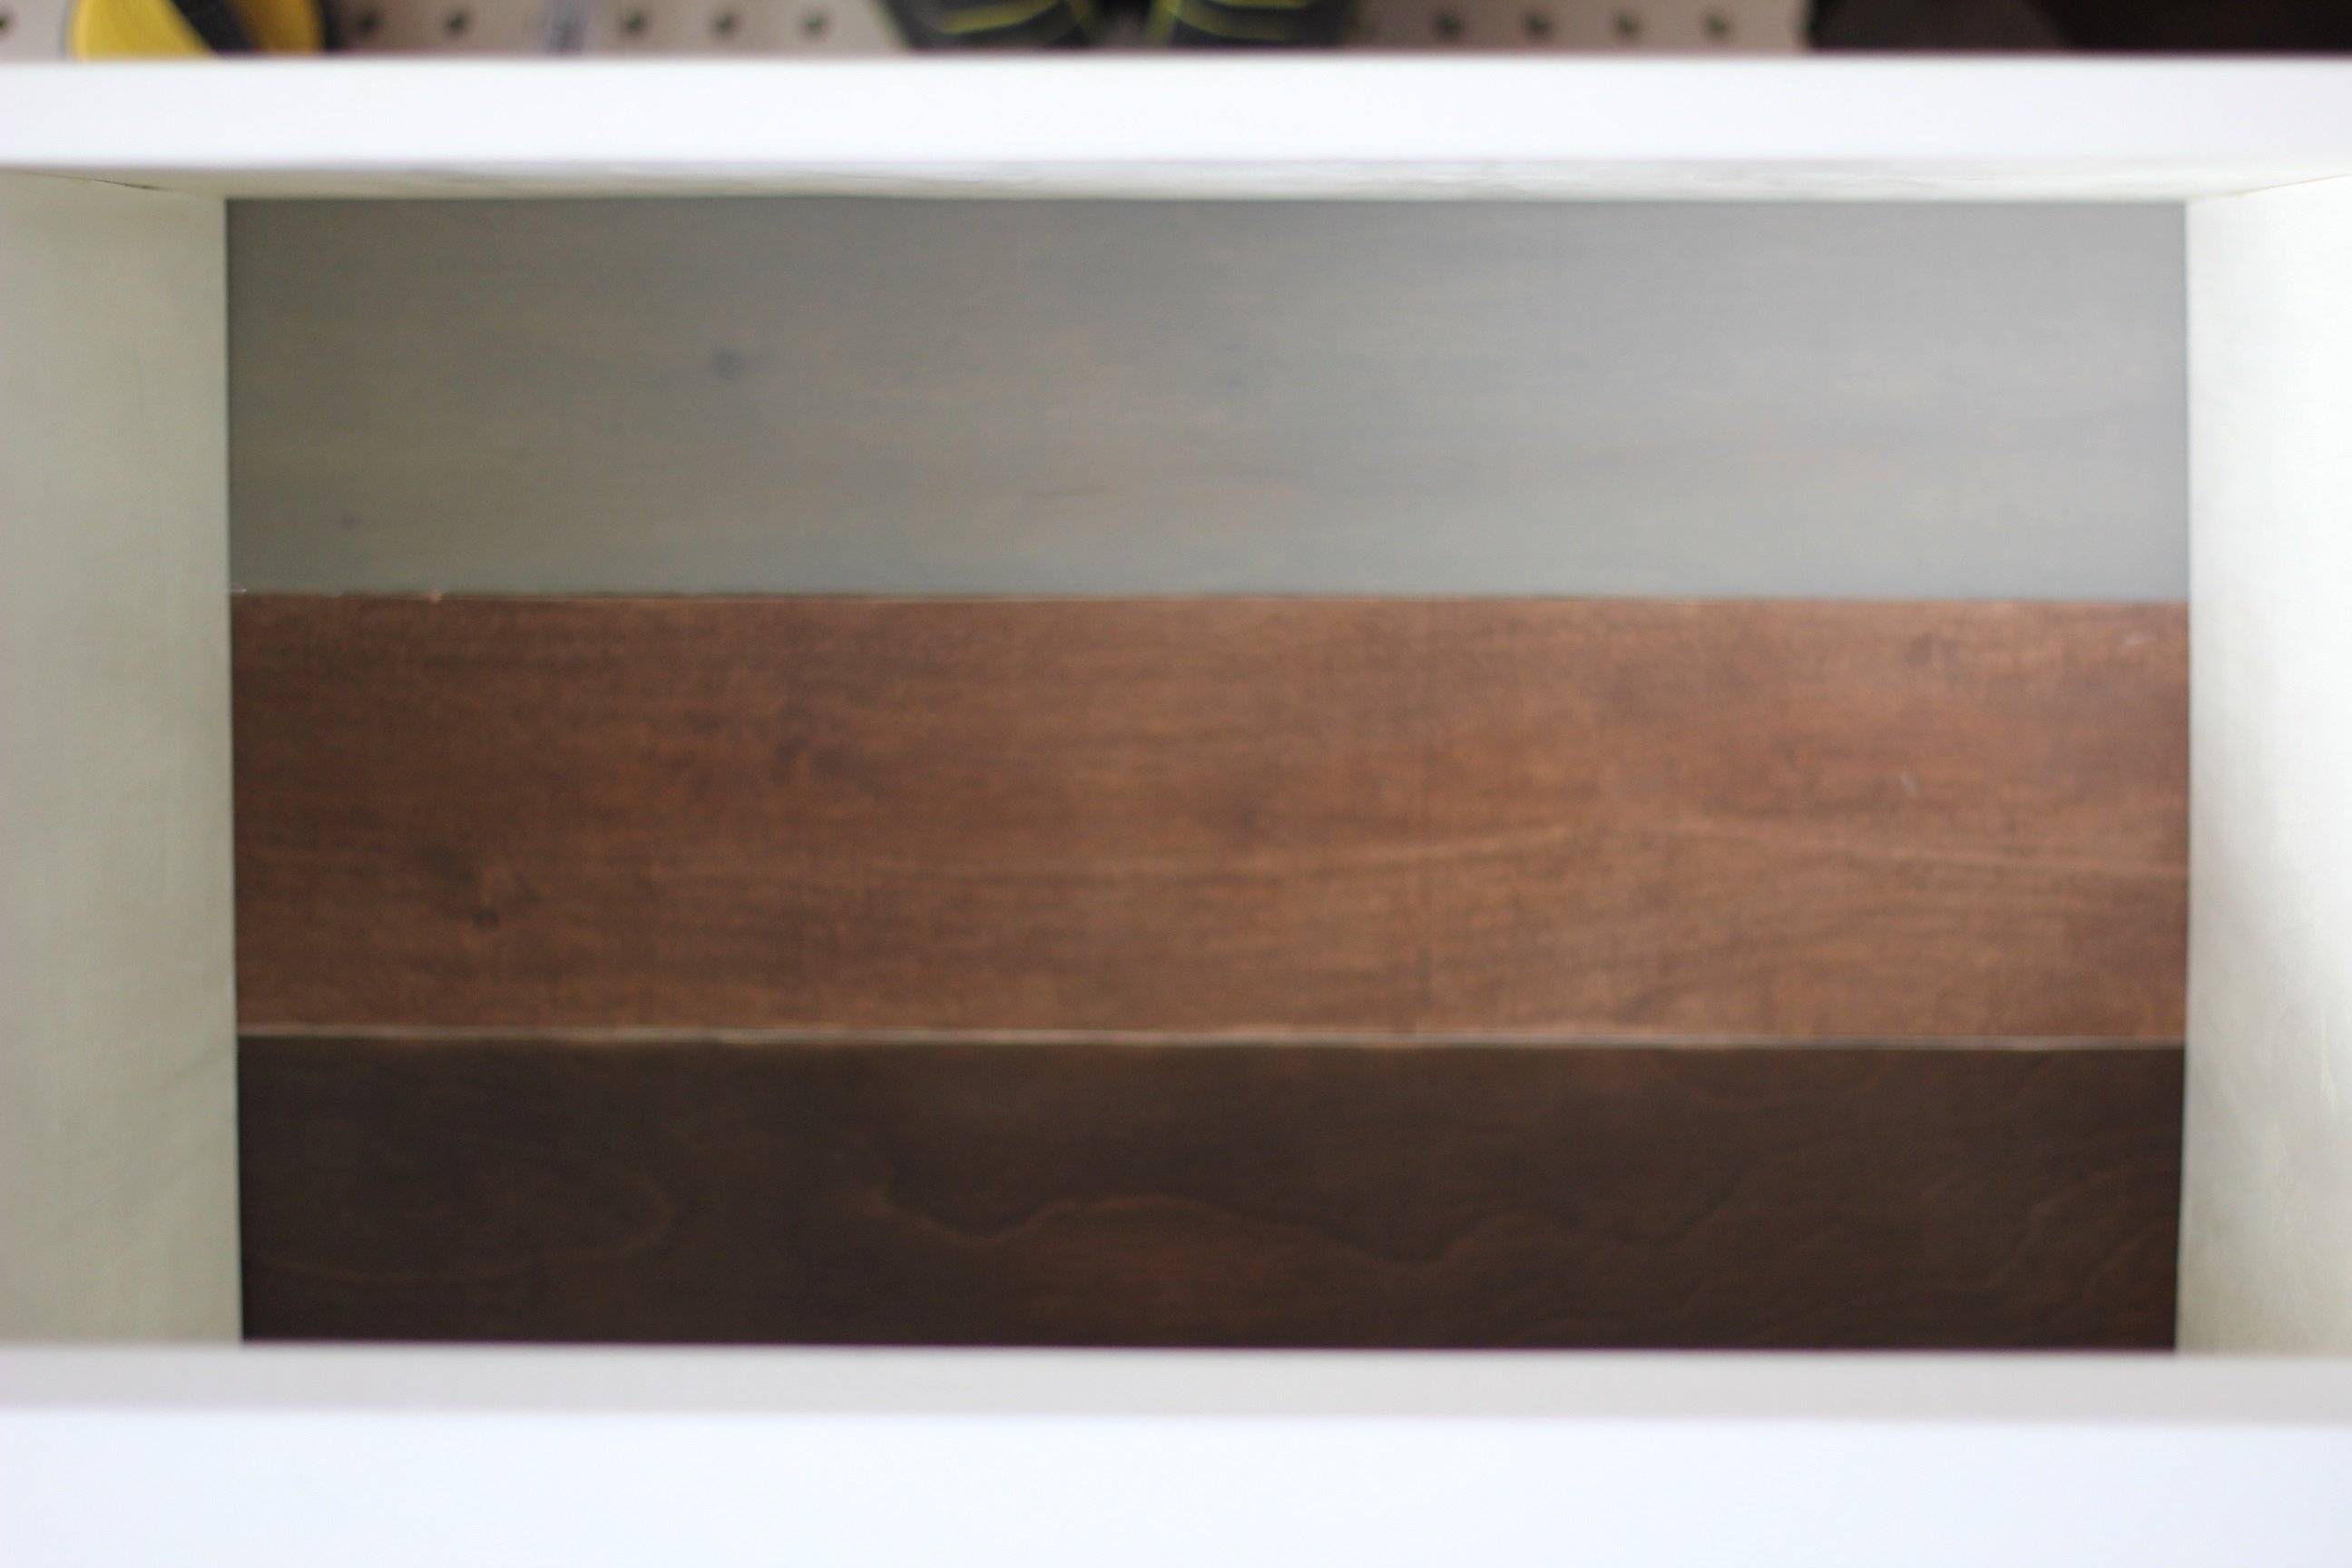
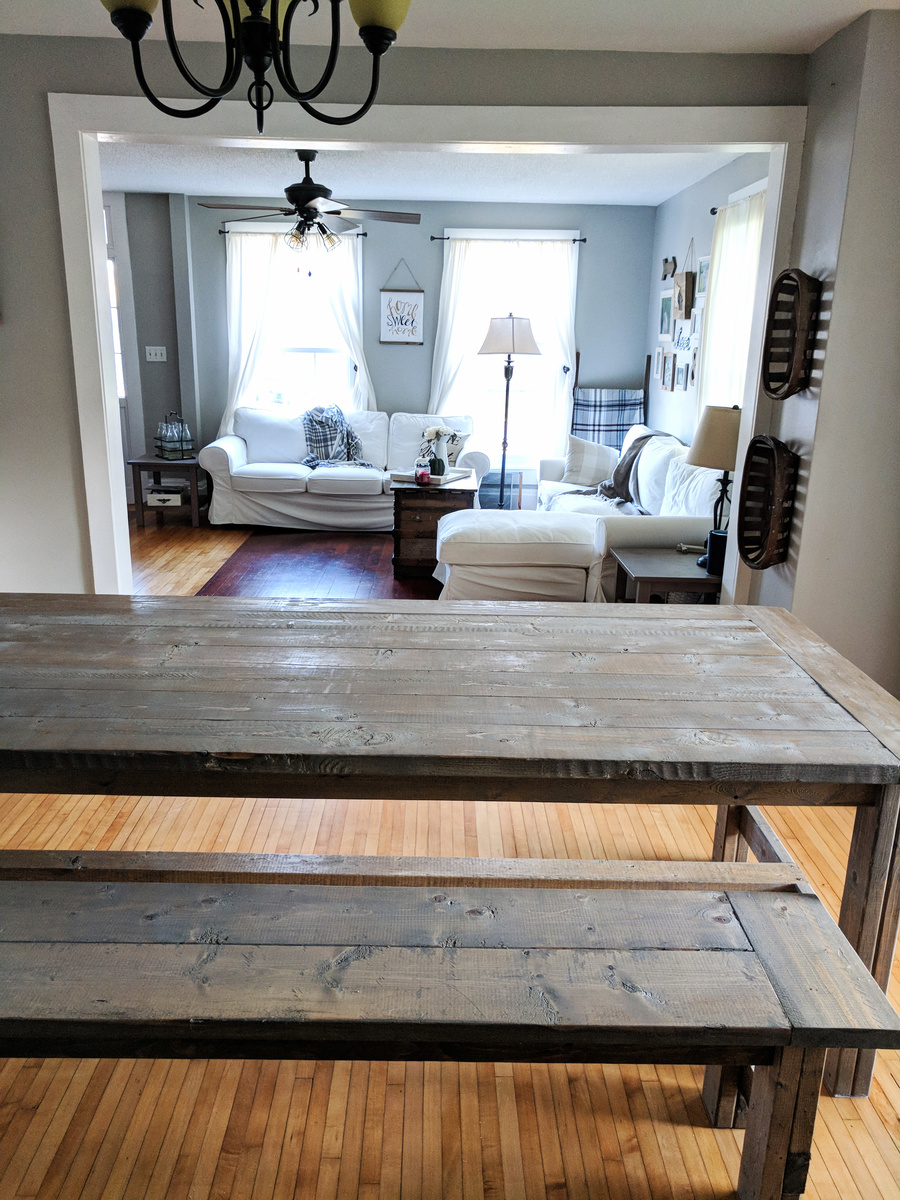
The finish is my favorite stain color, a half-and-half mix of Mixwax Weathered Oak and Espresso, topped with a coat of Varathane Triple Coat Matte Poly.
I built a matching bench the next day because I couldn't resist! I did accidentally put the end pocket holes on the wrong side of the end aprons, so they're facing outward (oops!) but I still love how the table turned out! I posted more photos of the process and finished product on my blog if you'd like to see more!
Minwax Espresso