Farmhouse Media Console
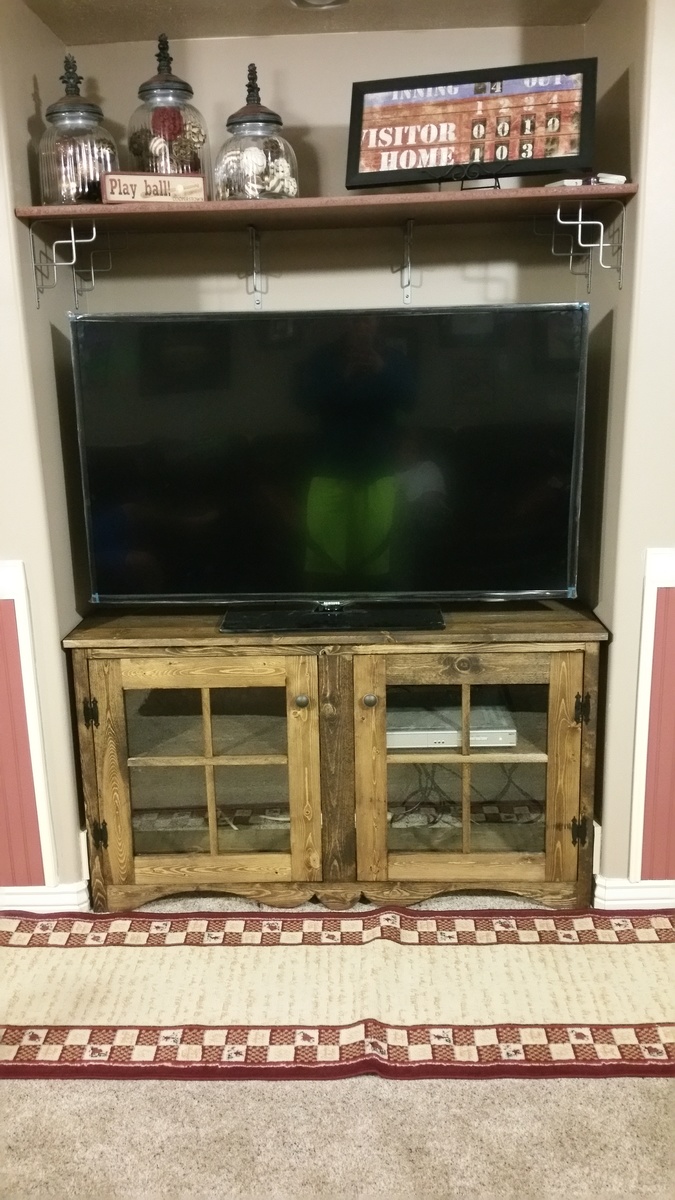
Farmhouse media console built to fit in a spot for their television.

Farmhouse media console built to fit in a spot for their television.
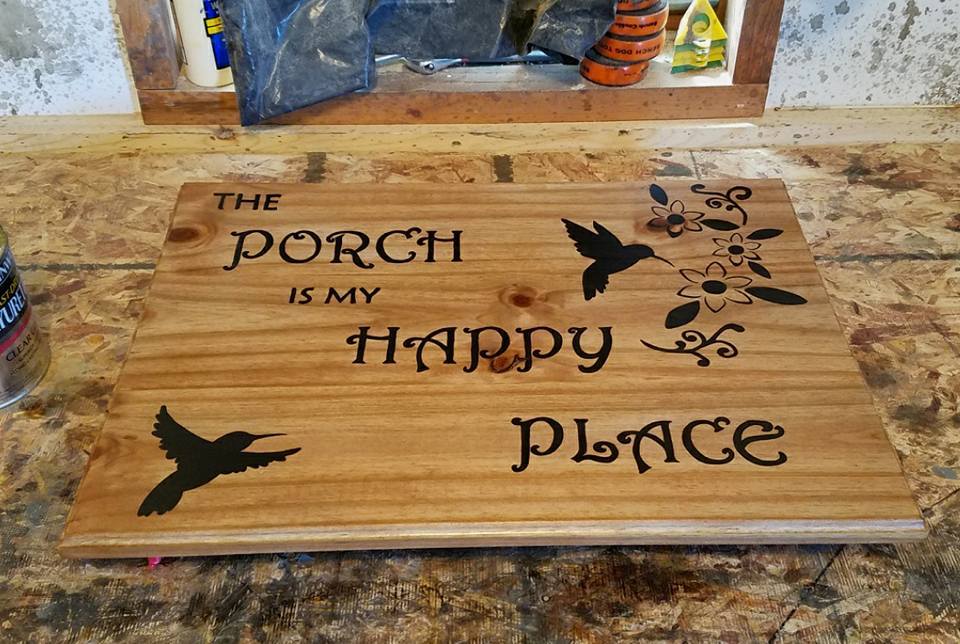
My father asked for a porch sign for his birthday, and as he enjoys sitting and watching the hummingbirds feed, thats the theme I went with. Sign is made with a redwood fence board that was sanded down and biscuit joined together, then given a decorative routered edge. Painted with Rustoleum paint, and given a few coats of spar urethane. Used jute cord on the back to hang the sign with.

First time building and I'm in love with it!
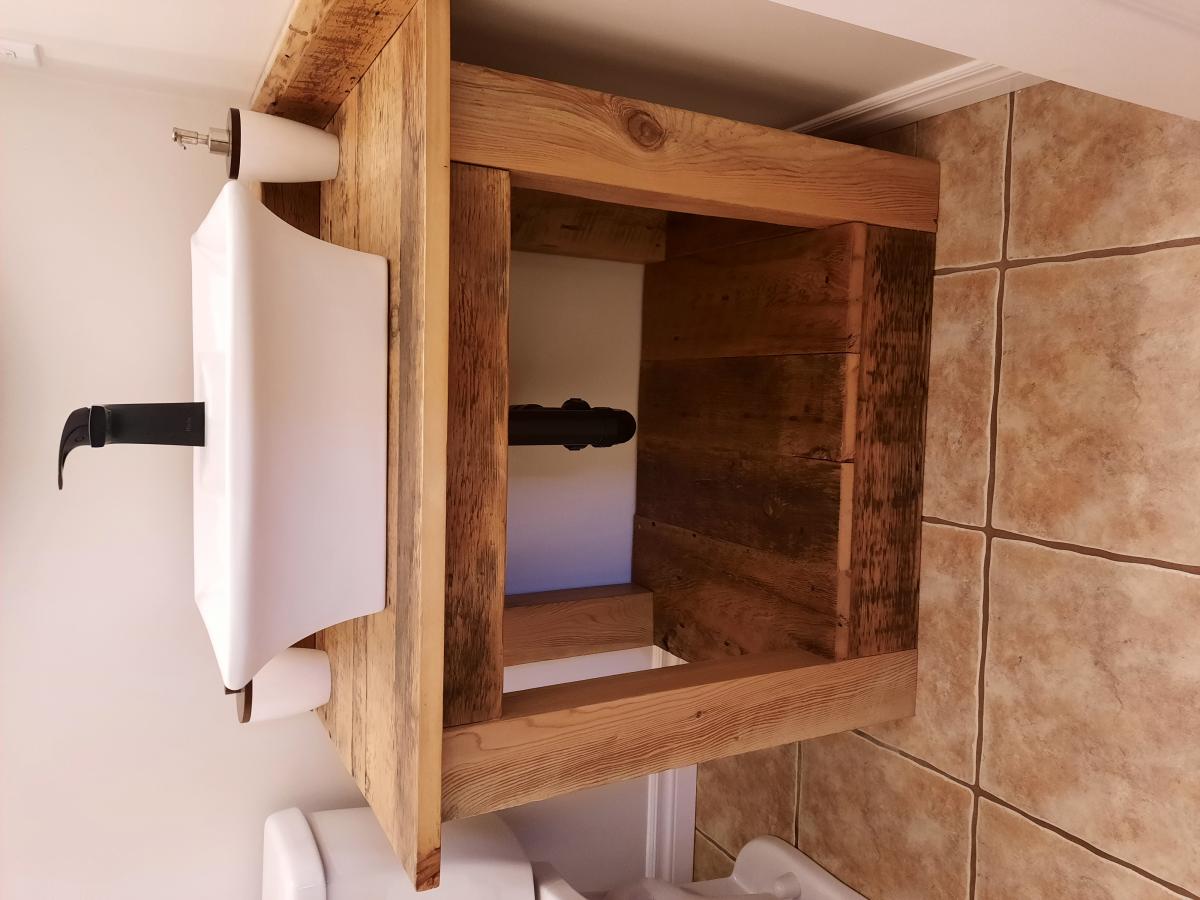
So happy with the finished product. Used 100 yr old barnwood and matte finish with varathane.
This by far has been my favorite build. Our front room is in the process of being revamped, and this is just the beginning. With our garage now dedicated to building, our cars have been kicked to the street. This means we actually use the front door now, so I took full advantage of making a piece of furniture that would allow for all the various items that get dumped on the floor when we walk in.
I love that everyone has a cubby and shelf for the shoes. My kids actually hang their backpacks up now when we get home from school and my husband can find his keys, wallet and sunglasses now!
This was one of the bigger projects I have tackled, but well worth it. I don't think my husband would have ever allowed me to buy this at PB for over $1000
I am cheap and I have expensive taste. I love, love, love Pottery Barn. I also love Michael Kors, Coach, Gucci, Jimmy Choo, and all things pretty. Especially pretty shiny things.
So I regress...
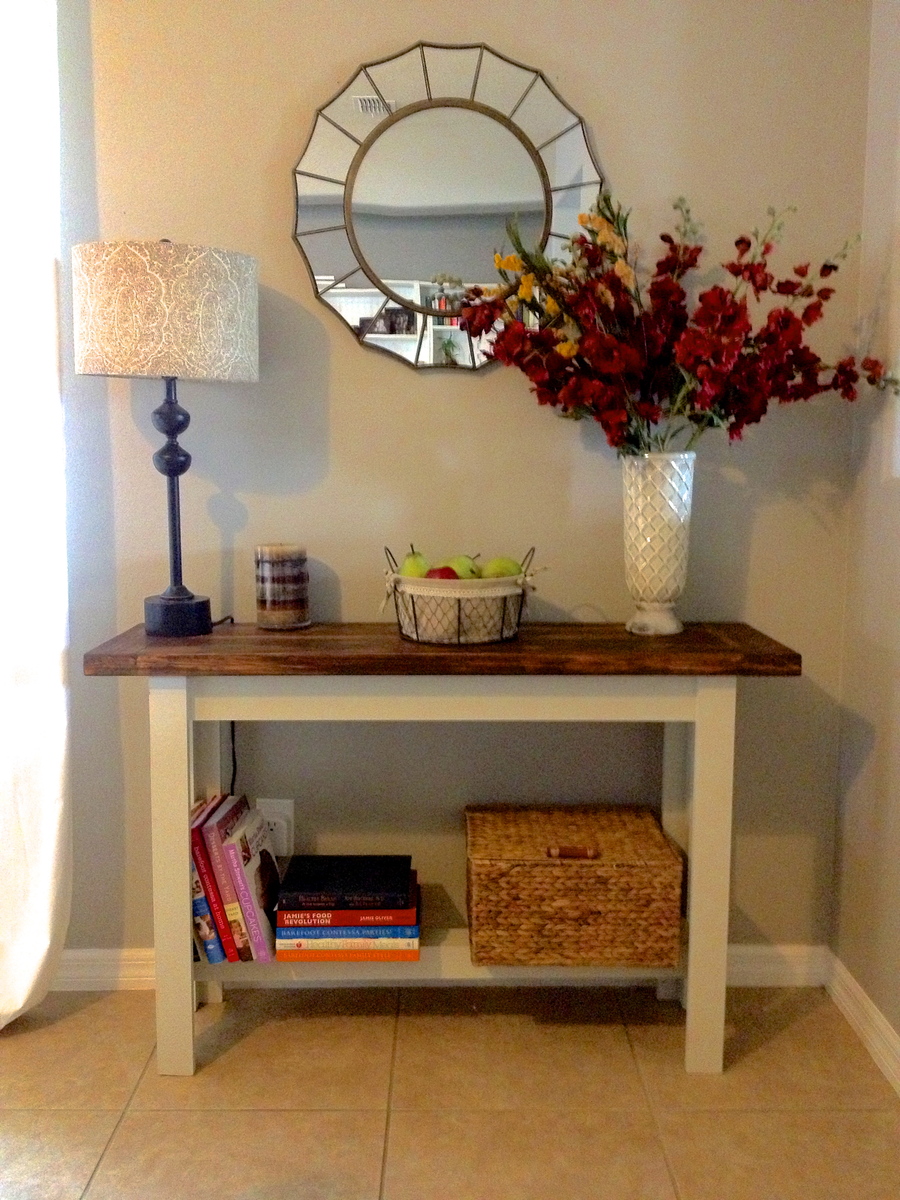
Anyways, I have had this bare spot in my living room and it has slowly been driving me crazy. Through much painstaking research I have decided that I wanted something like the Hyde Pottery Barn Console Table. Okay, not something like.... I wanted the Hyde Pottery Barn Console Table, but it also would cost $500. Hahaha. $500 for a console table. That's just ridiculous says my cheap, fugal self.
So I look at ebay and craigslist... nope, no one selling my dream table. And then a miracle happens.... I stumble across Ana White's blog. I think I've found my new blog BFF!
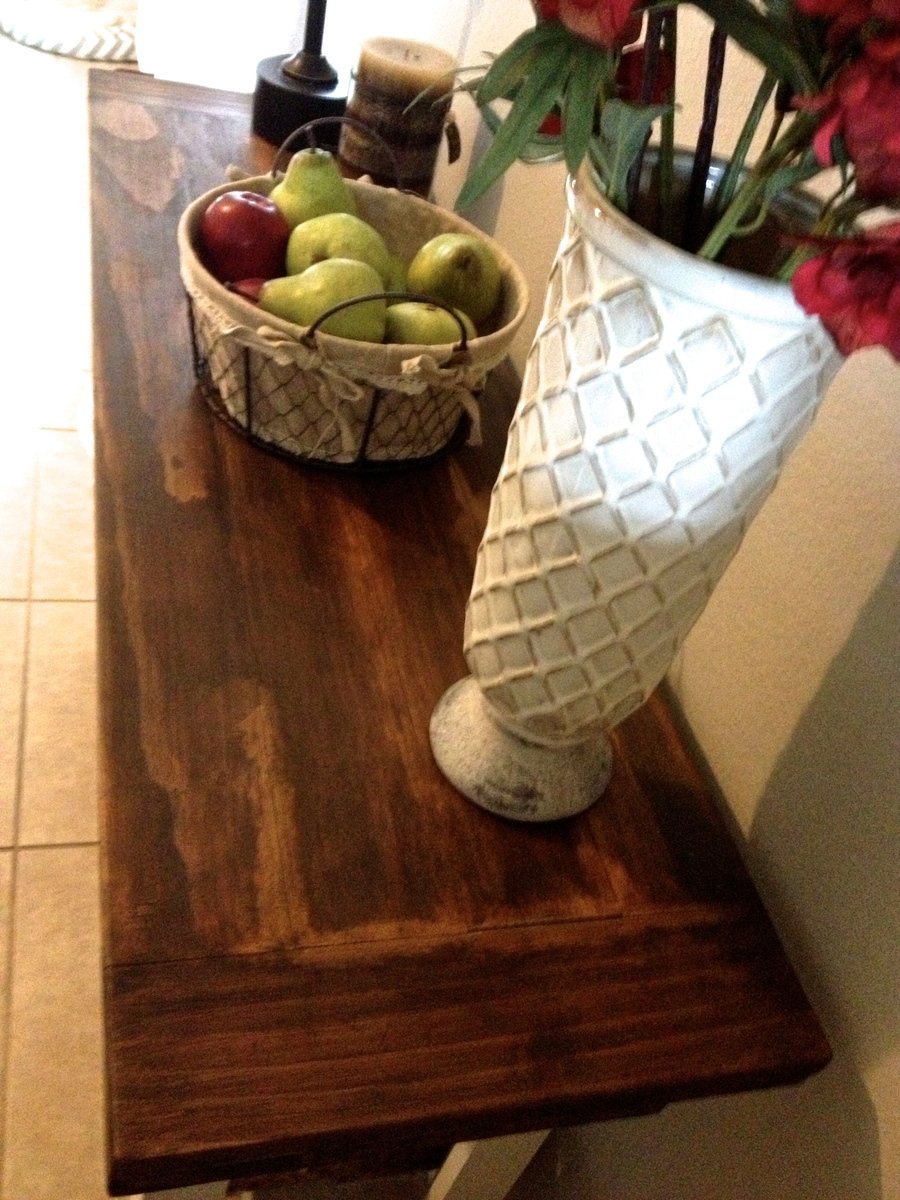
I followed her plans exactly and I decided to paint the bottom off white and stain the top walnut.
This was my first ever furniture build and I'm so excited by how it turned out!
Thanks, Ana!
Tue, 06/04/2013 - 13:57
You did an amazing job! I'm so glad you found what you wanted and were able to create it yourself!
This weeks project was some saw blade storage for all my blades.
Here is the YouTube video: https://www.youtube.com/watch?v=88DxZ3cuwSo
Website: http://www.lanebroswoodshop.com/2015/05/saw-blade-storage.html
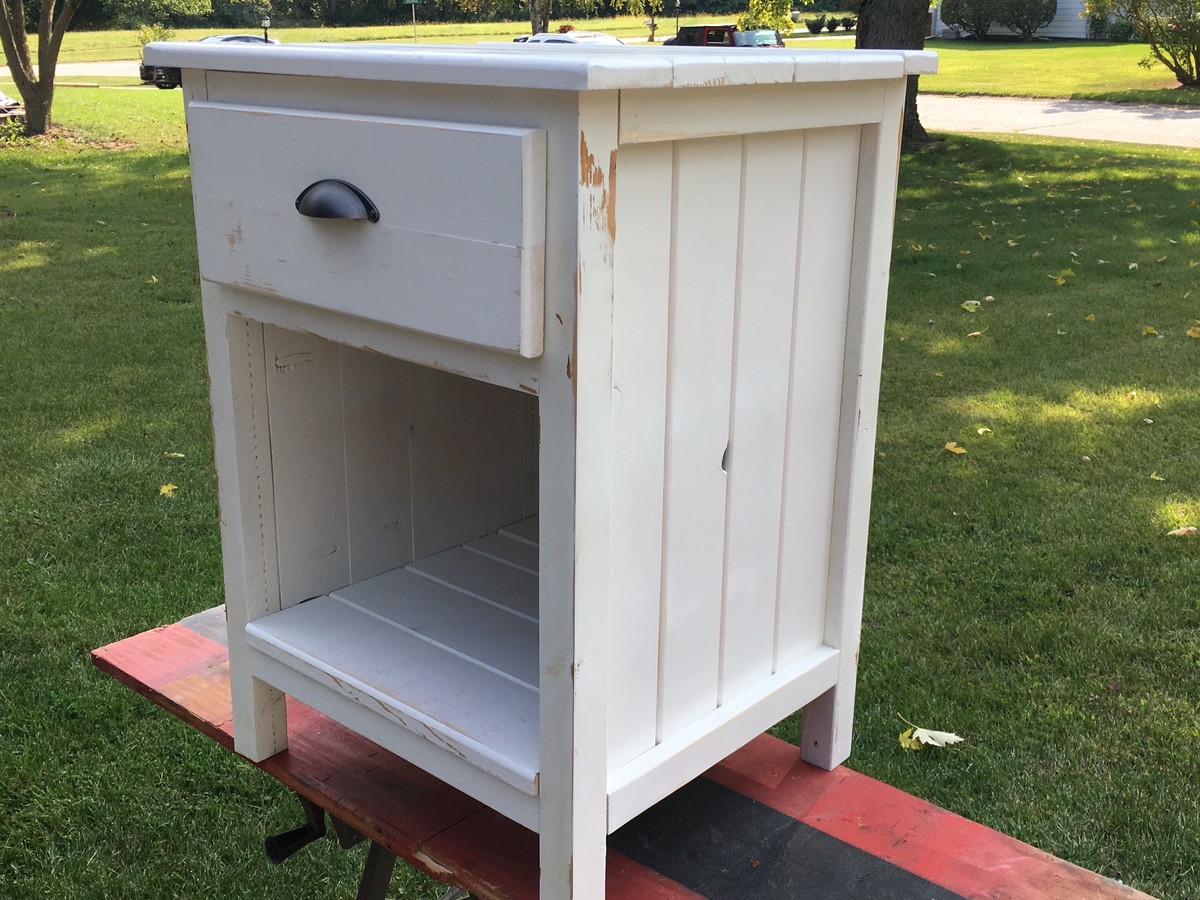
This is my interputation of the Reclaimed Wood Look Bedside Table. I beveled the edges of the of the 1x material and a top drawer with a large cubby beneath. I used a sprayed latex paint then a light sanding to give it the distressed look and the two coats of clear poly.
What a fantastic project!
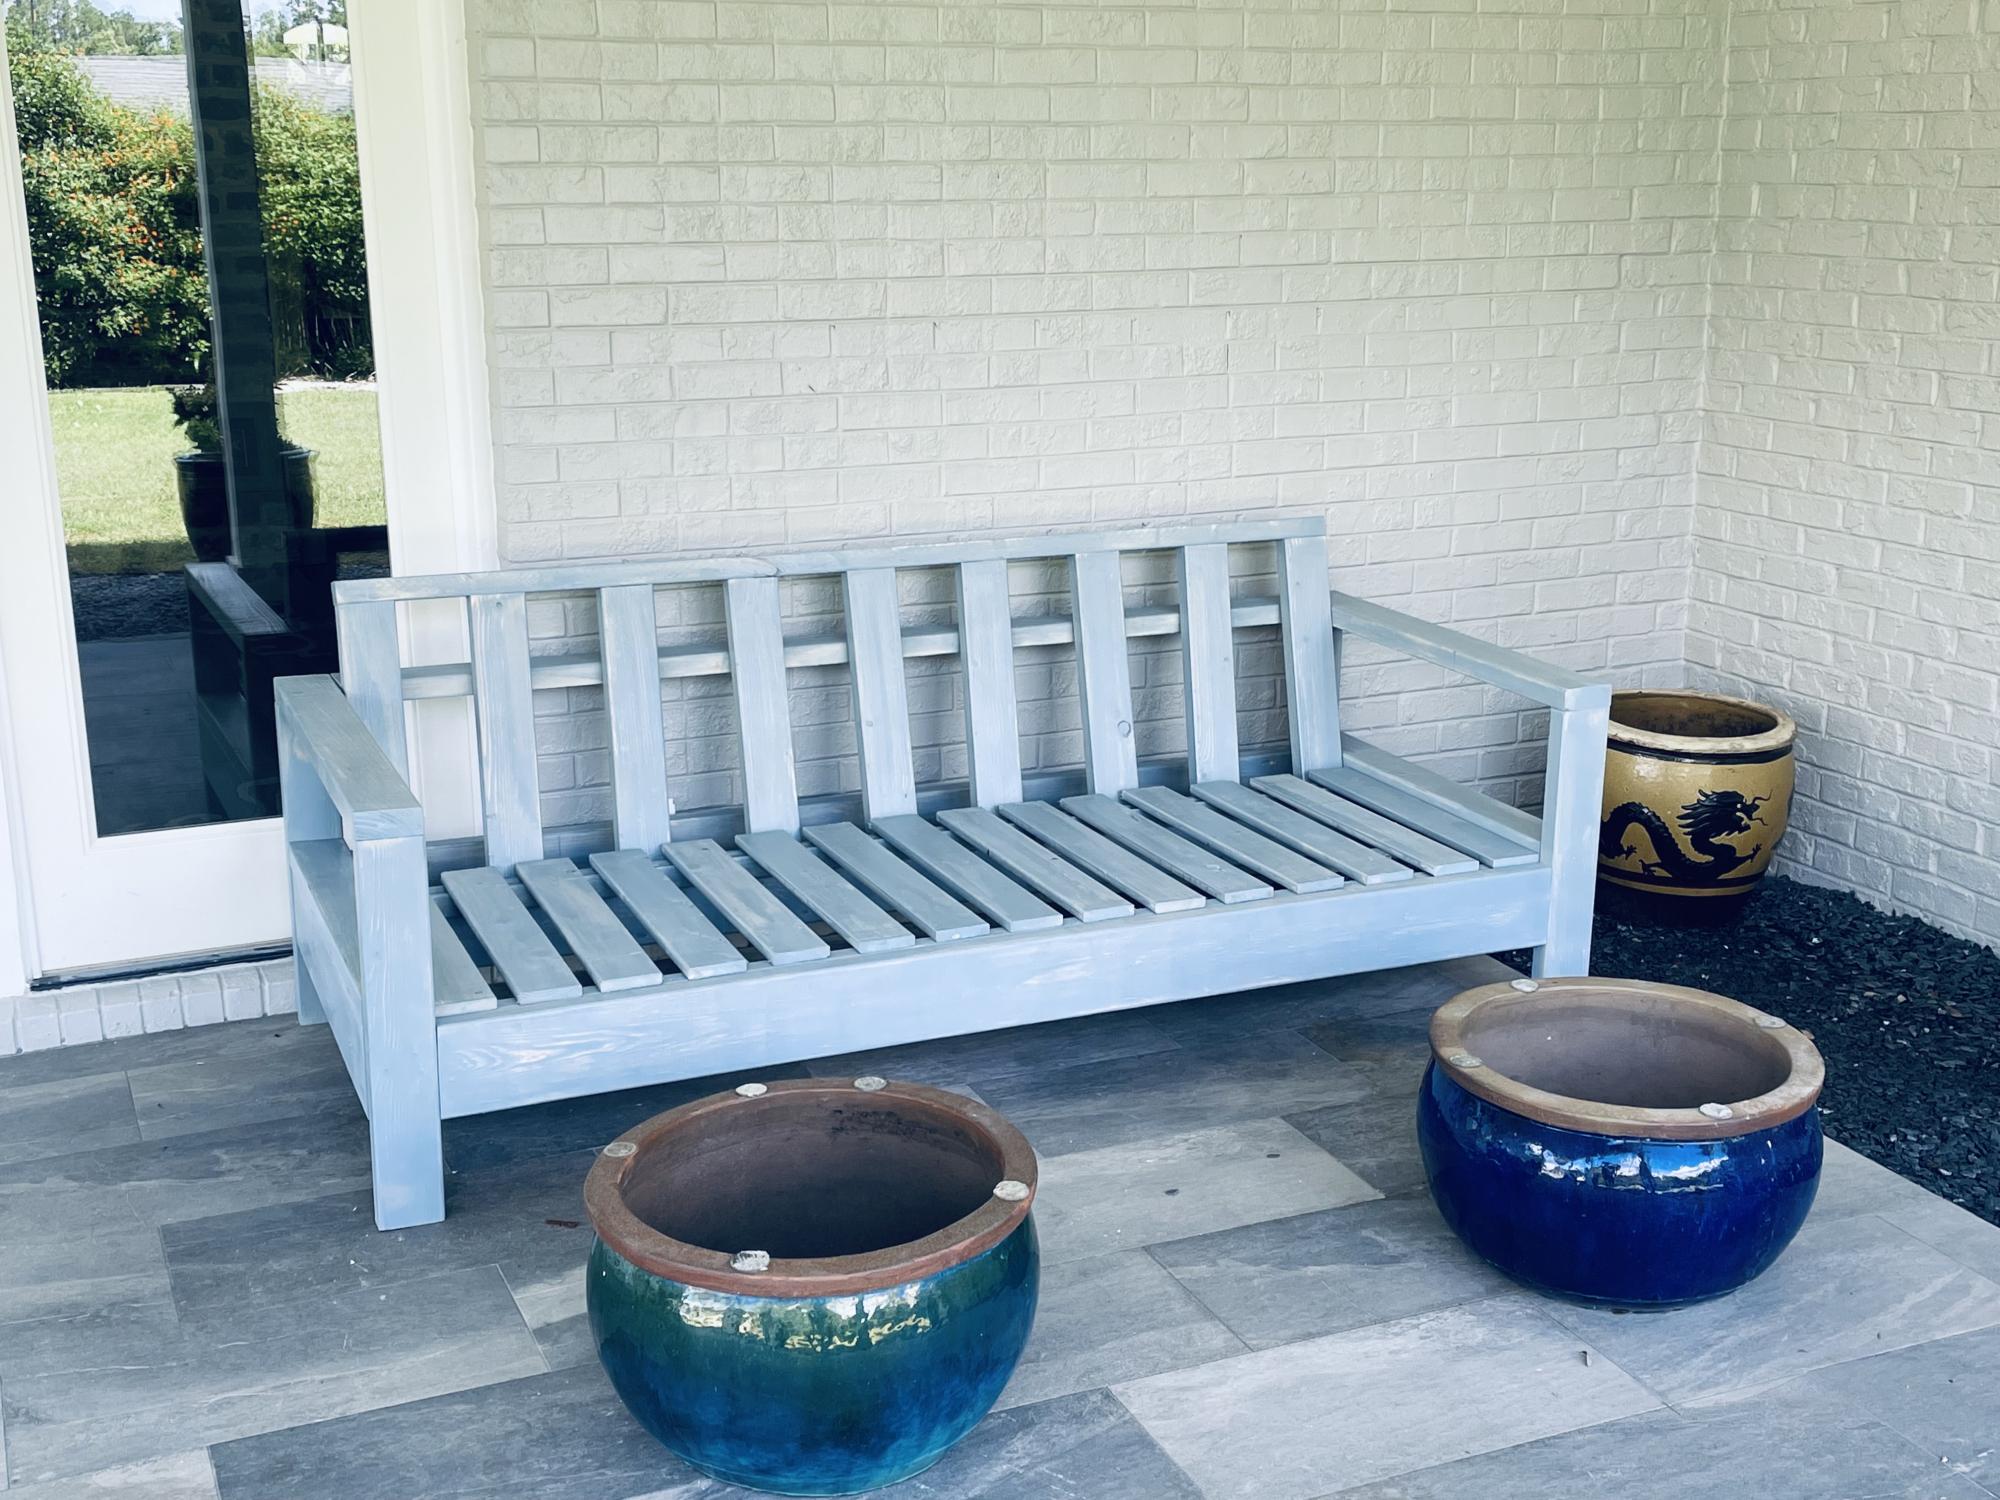
Color of the stain - colony blue by Behr. Lightly distressed.
Now awaiting cushions!
Updates: cushions arrived!
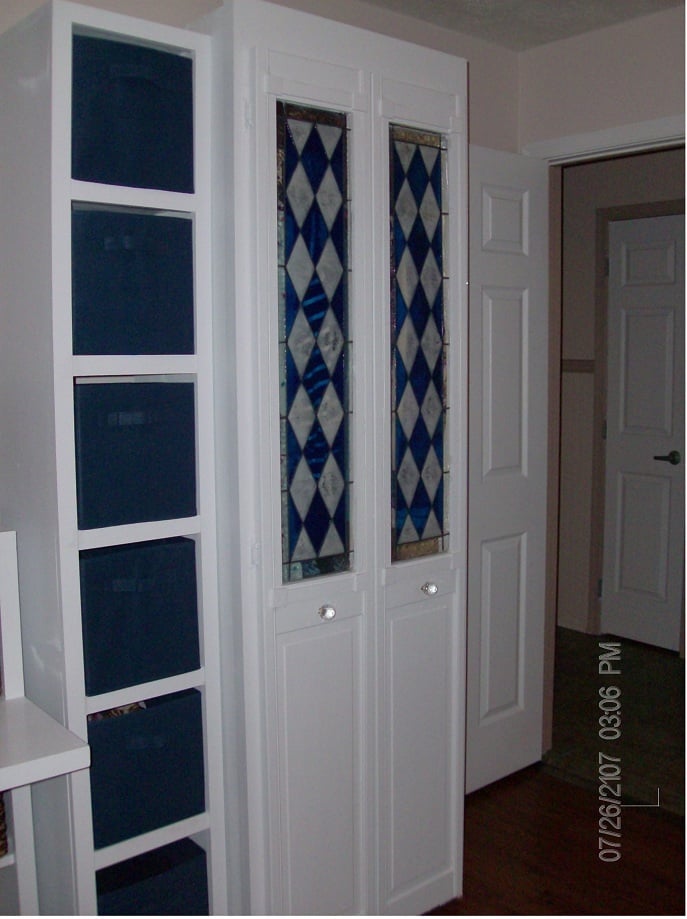
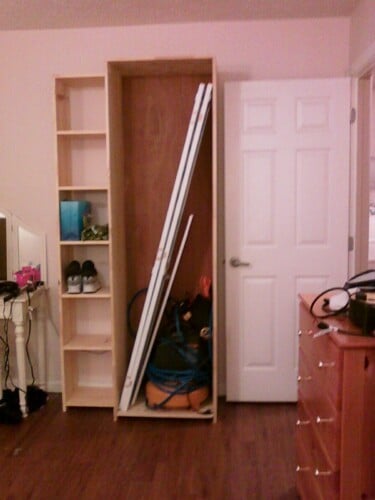
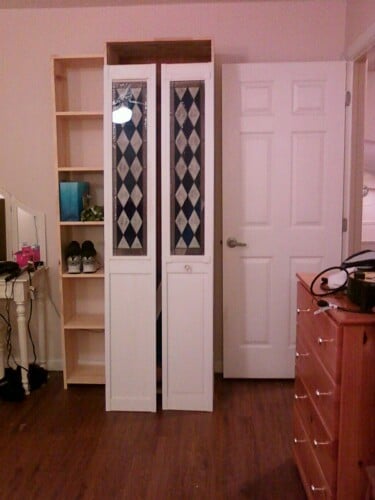
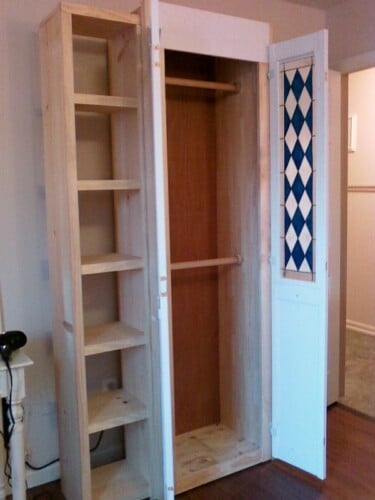
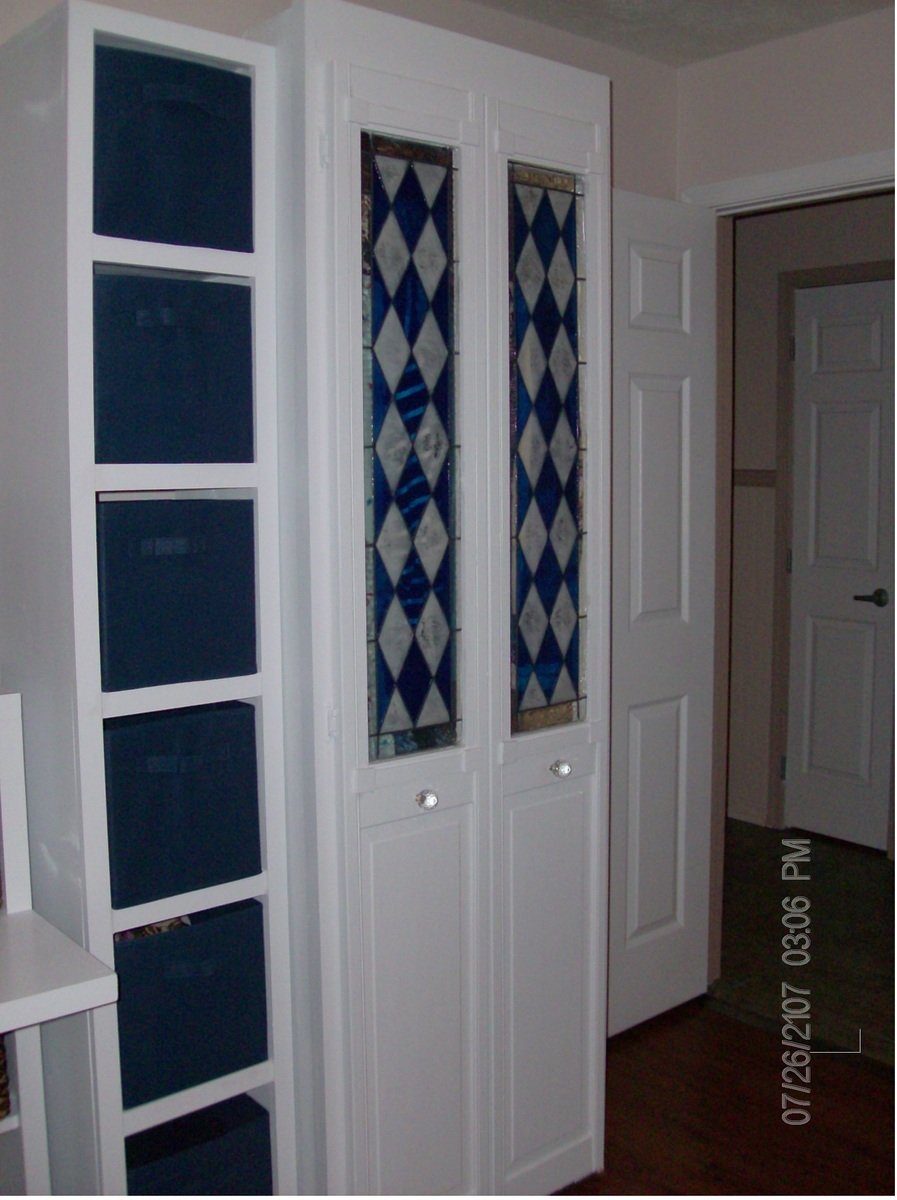
This is modified from Ana's Simplest Armoire plan, re-sized to fit the door (already had this, from another project -- I couldn't part with it when that room was remodeled- that gallery glass insert took me so long to make) and deep enough to hang clothes. Used my favorite new toy, the Kreg jig for this.
Such a fun project, now we're hooked! We've made a bedroom full of pieces to go with this one, and still making more.
Ana, thanks for the inspiration!
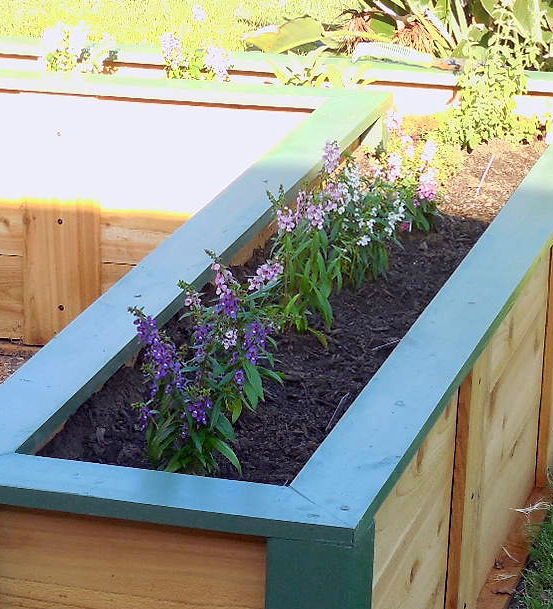
I have a really boring backyard patio so I thought I would spice it up with flowers but I could not find a plan for a large right angle planter. So I made up my own.
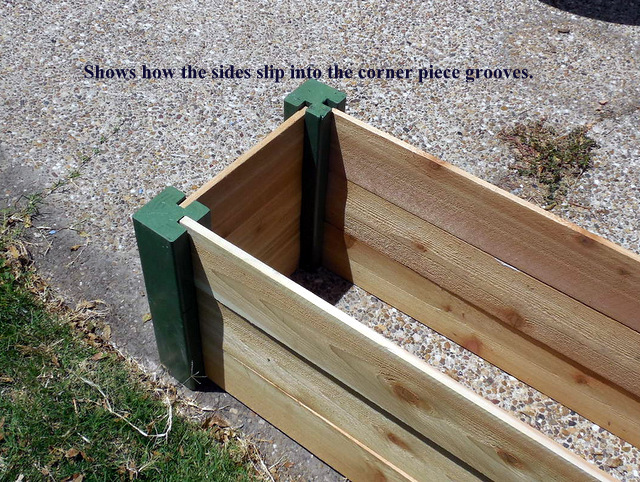
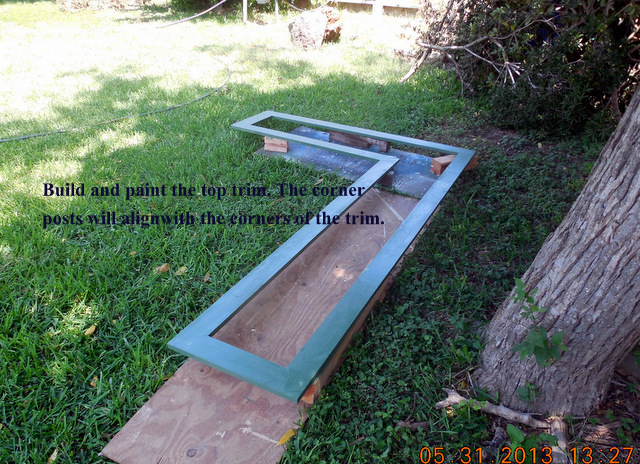
The planter is made from cedar fencing but pine for the top trim and the corner legs. The legs have grooves that the sides slide into and are not screwed or glued in place. That is so you can remove the top trim and then just pull the sides out to replace them as needed or to even change the size of the planter.
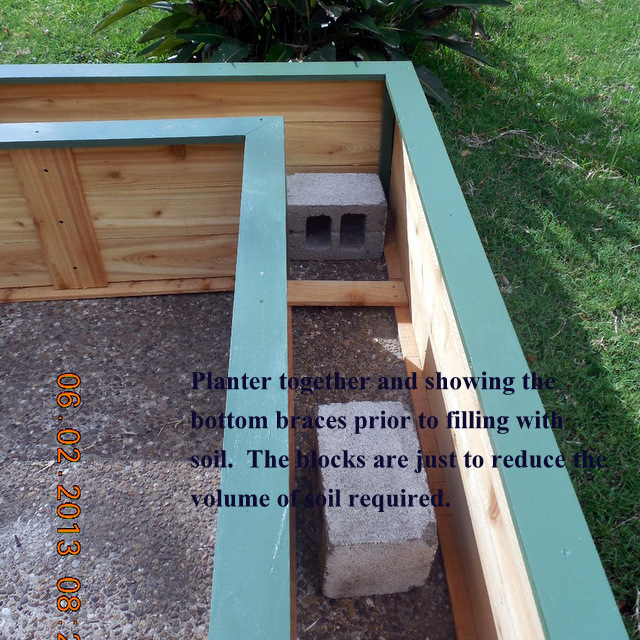
This planter is 18" high so it is comfortable to sit on but that also means you will need a lot of soil to fill it up. Mine took 26 40lb bags which is over 1/2 ton of soil. Add water and that planter is here to stay. But it also means that there is a large tendency for the sides to bulge along the bottom so I placed stop blocks along the bottom base and screwed into the base.
I planted Angelonia for color and sage, oregano, and thyme for spice. It was fun to build and came out well but it was expensive as the soil along was nearly $60. Add another $50 for lumber and screws and you have exceeded the magic $100 mark. Still a good deal, however.
Wed, 06/05/2013 - 10:14
Thanks for a very good idea. If I ever do another on I will incorporate your suggestion.
Wed, 06/05/2013 - 10:17
Thanks for a very good idea. If I ever do another on I will incorporate your suggestion.
Sun, 06/09/2013 - 06:05
I don't know what it would do cost-wise, but you could also use gravel to fill the bottom of the planter to give it better drainage.
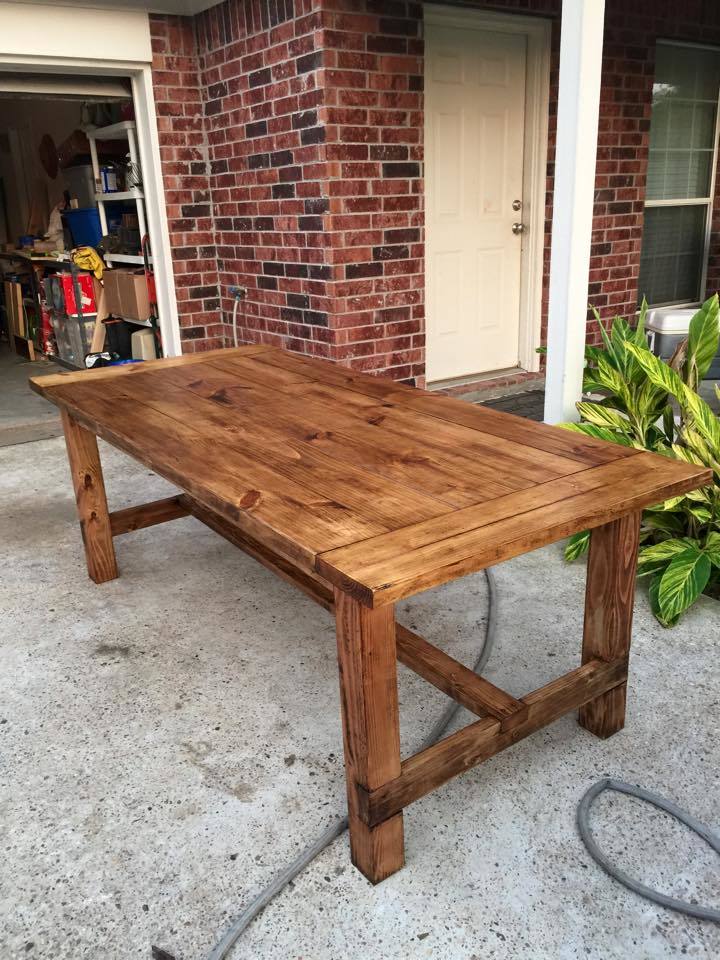
I managed to build this with a circular saw and some sand paper with absolutely no experience!! I am so happy with the results. I followed the plans precisely as I am not brave enough to experiment yet. I used Minwax Polyshade Mission Oak flavor. I've never stained anything before and I was pleased with the results. A couple coats and the shade is beautiful. I am going to fashion a couple benches and find me some brightly colored chairs and call it done.
Thank you for making this possible. I certainly never thought I could do something like this.
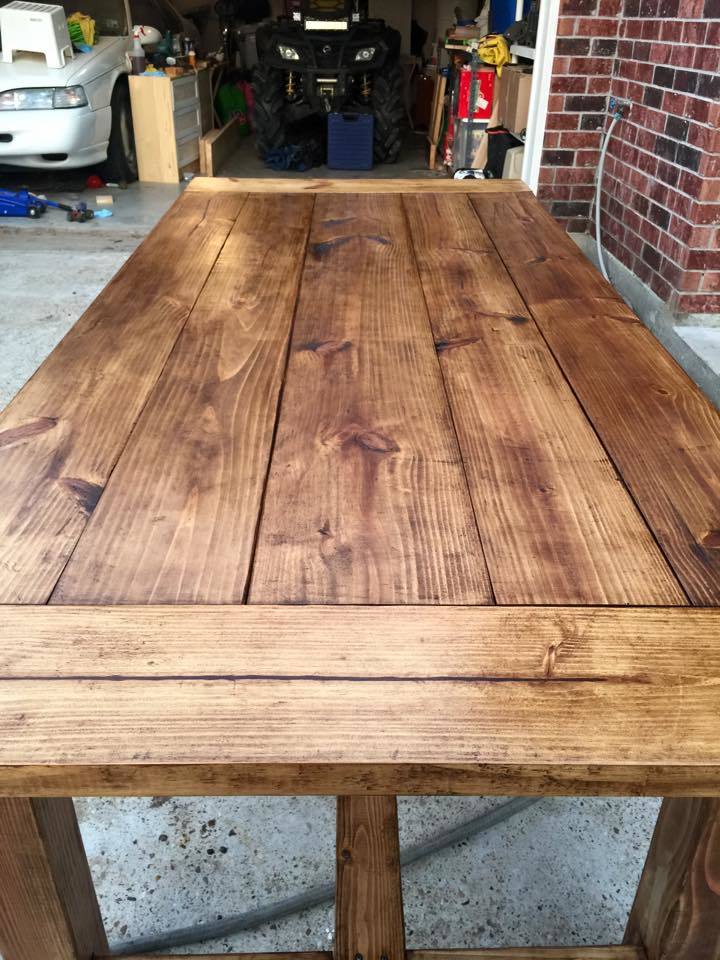
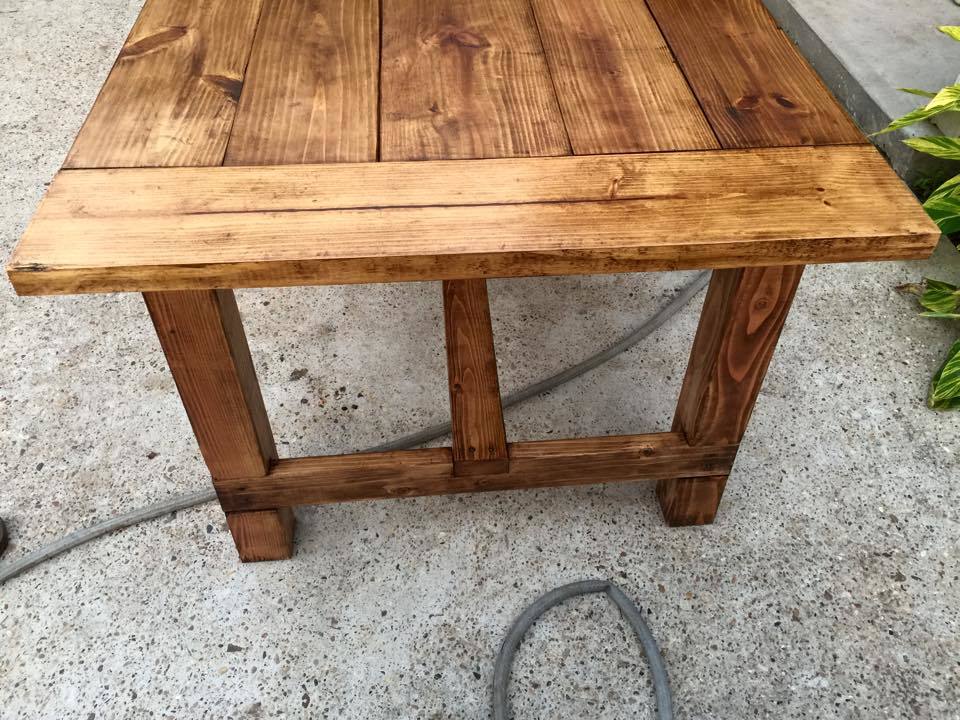
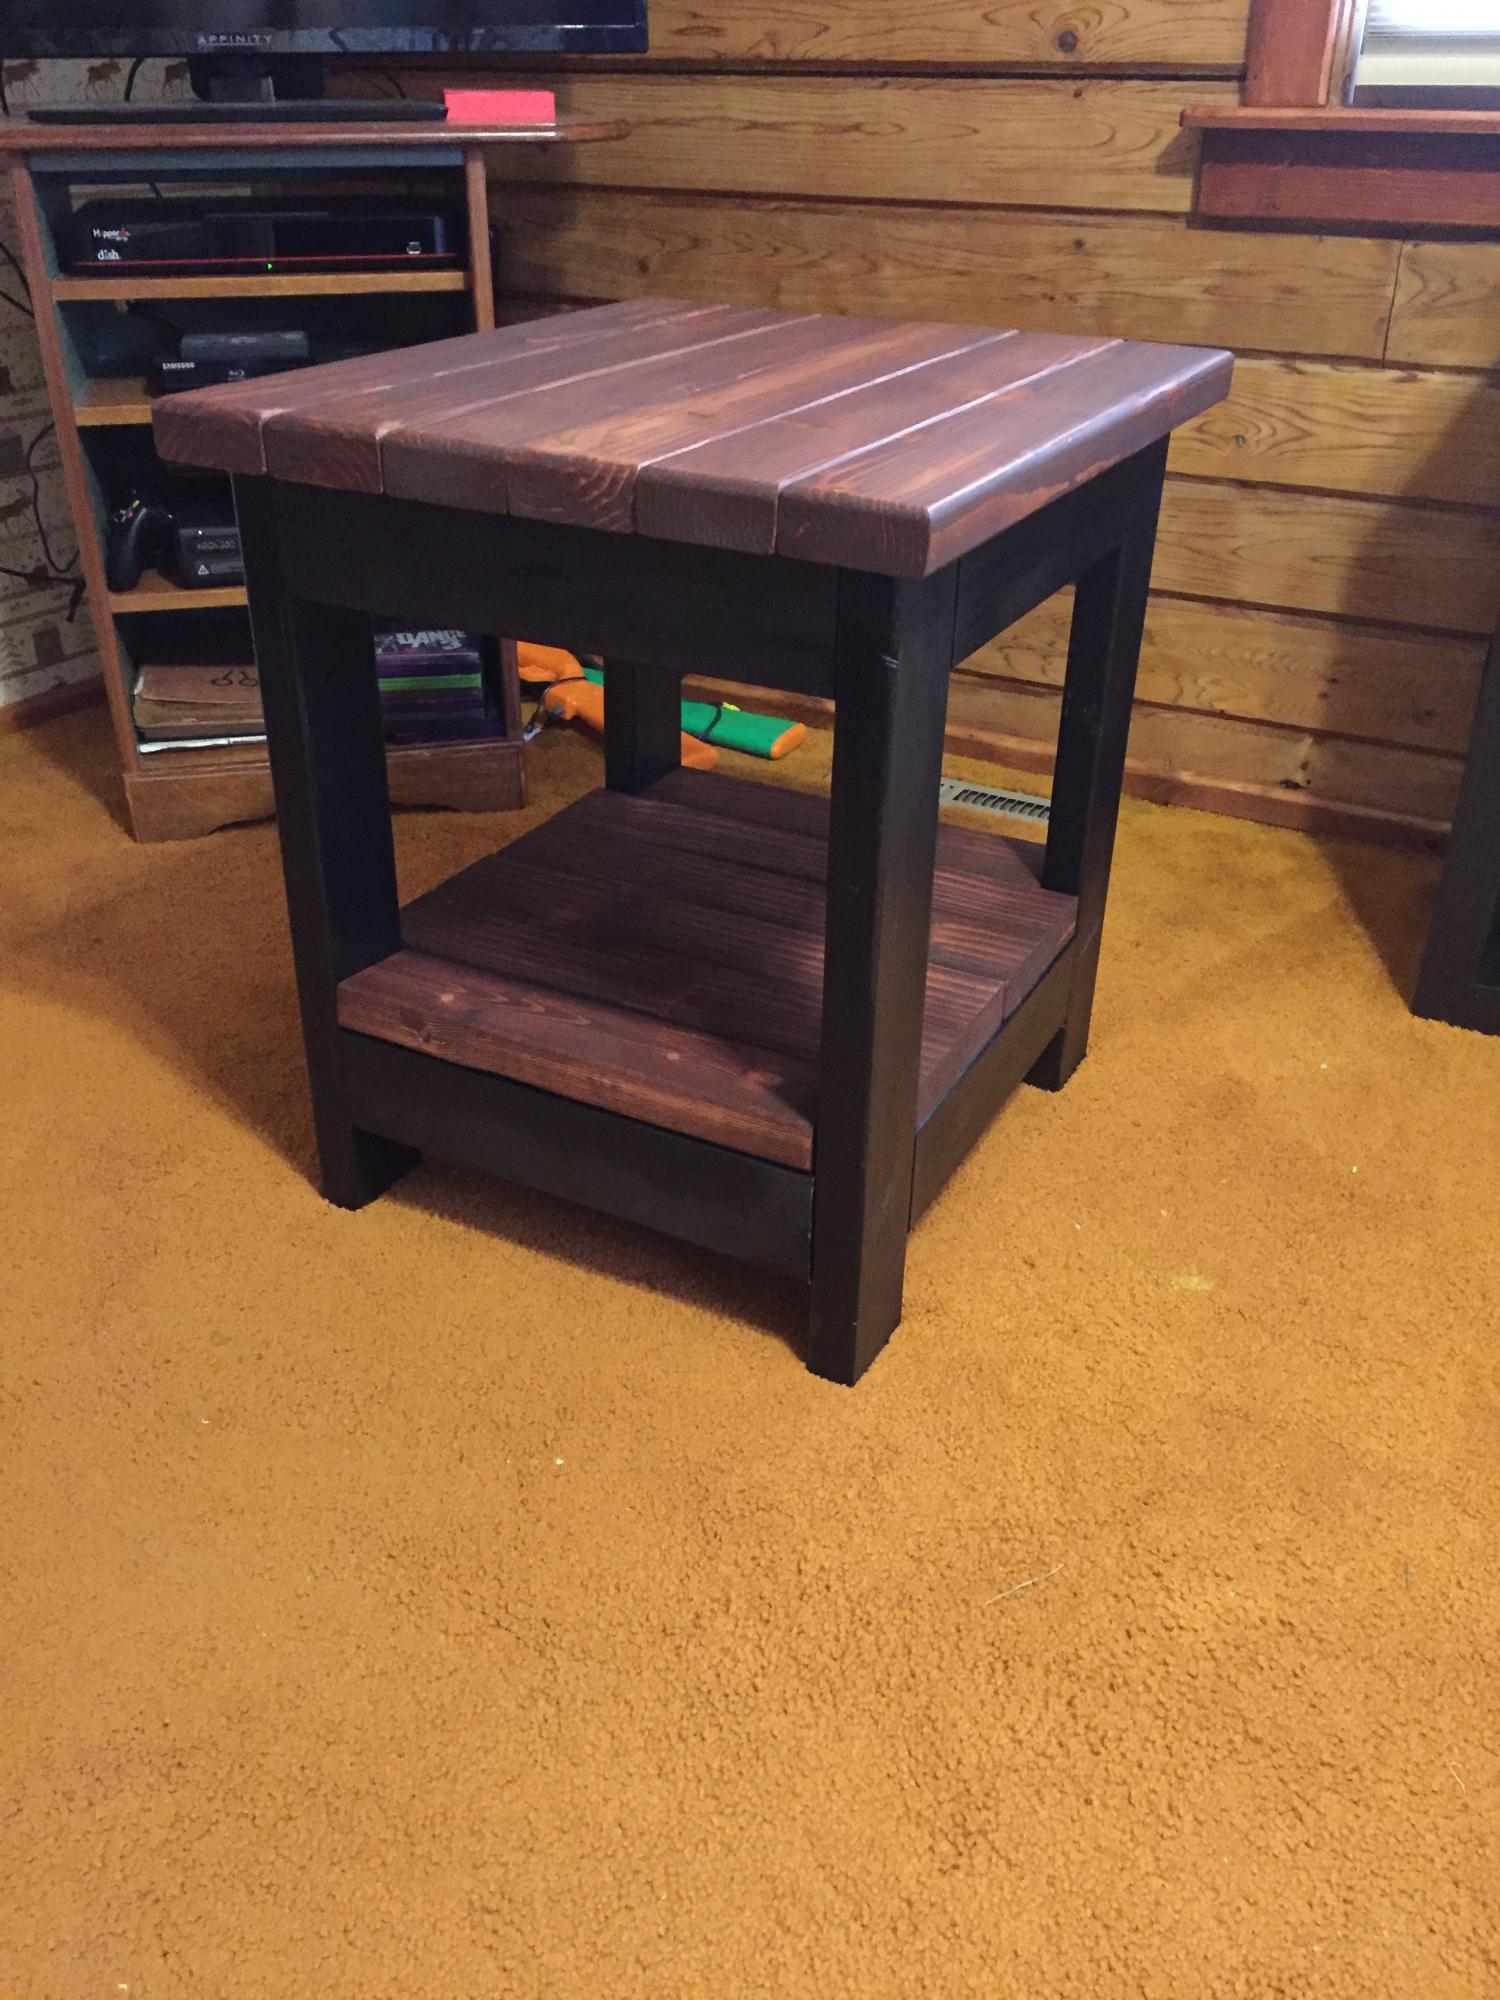
Our first project using the plans provided on this web site. We couldn't be happier with the outcome. The plans were concise, accurate and easy to follow.
Tue, 09/19/2017 - 21:52
I apologize that the picture is sideways. That is not the way it is saved on my computer but no matter what I try, it rotates to this.
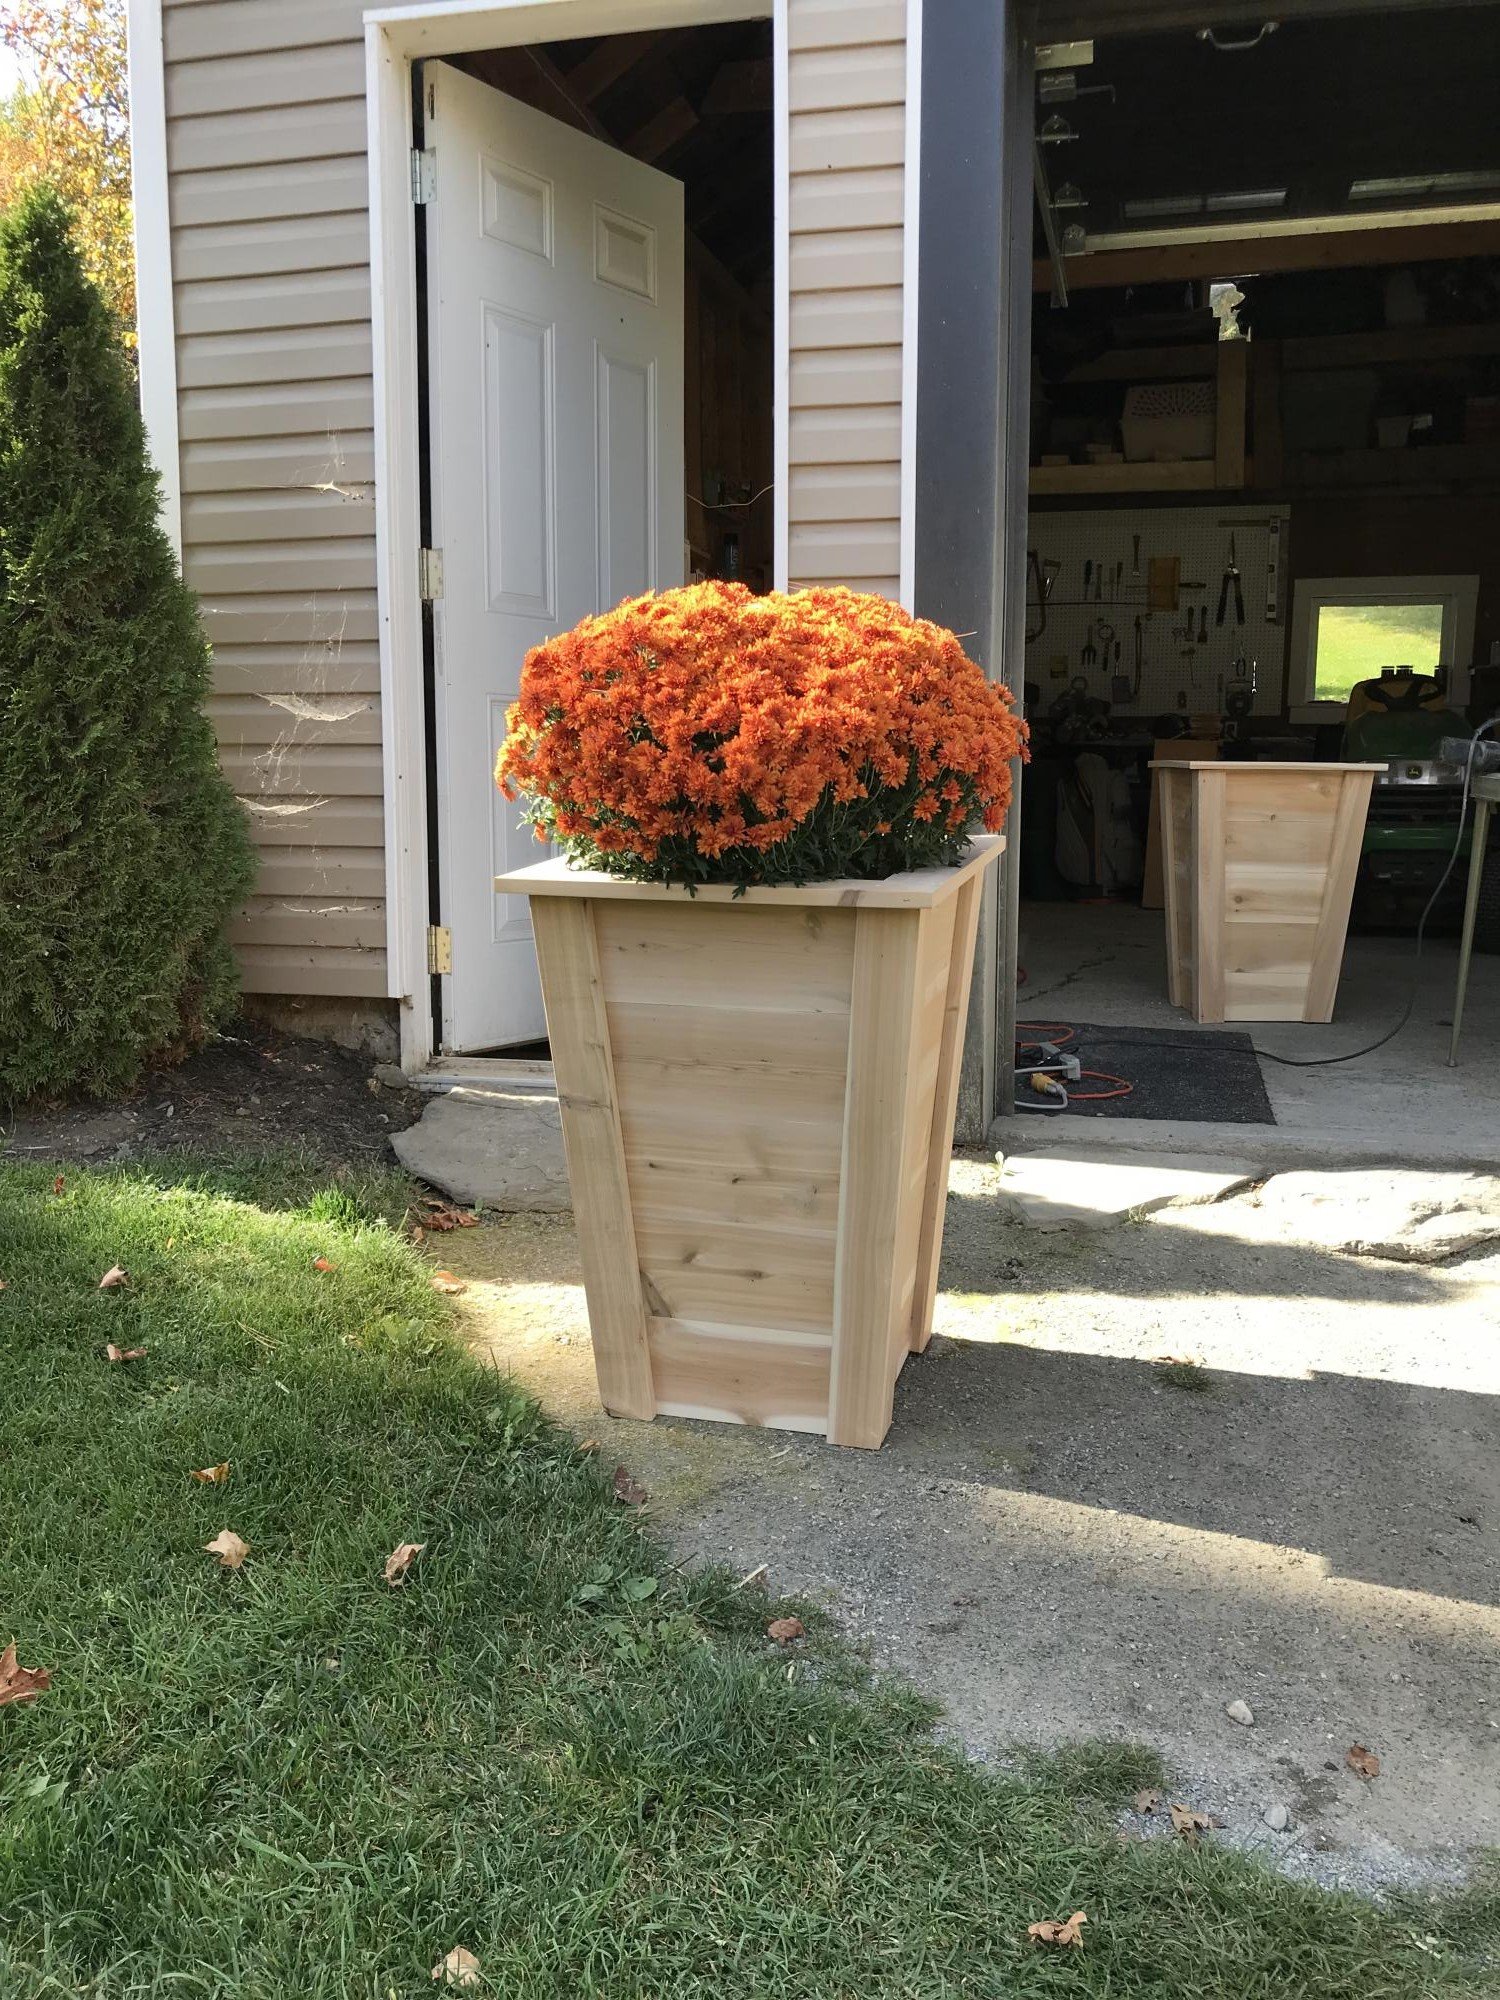
I love my new hobby and your site makes it so fun and simple, thanks for sharing your knowledge and enthusiasm.
Cindy
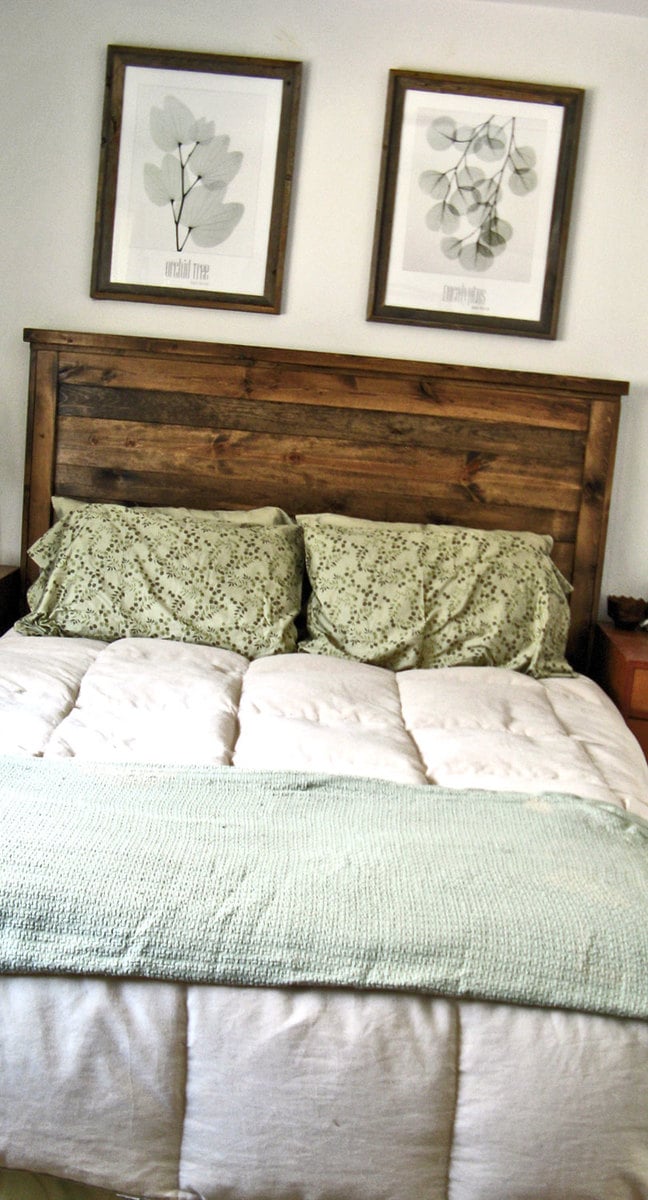


I put the two planter boxes on this site together to get a perfect little lattice box for the space by my door. I get lots of compliments and hopefully soon I will have yummy jasmine welcoming my guests.
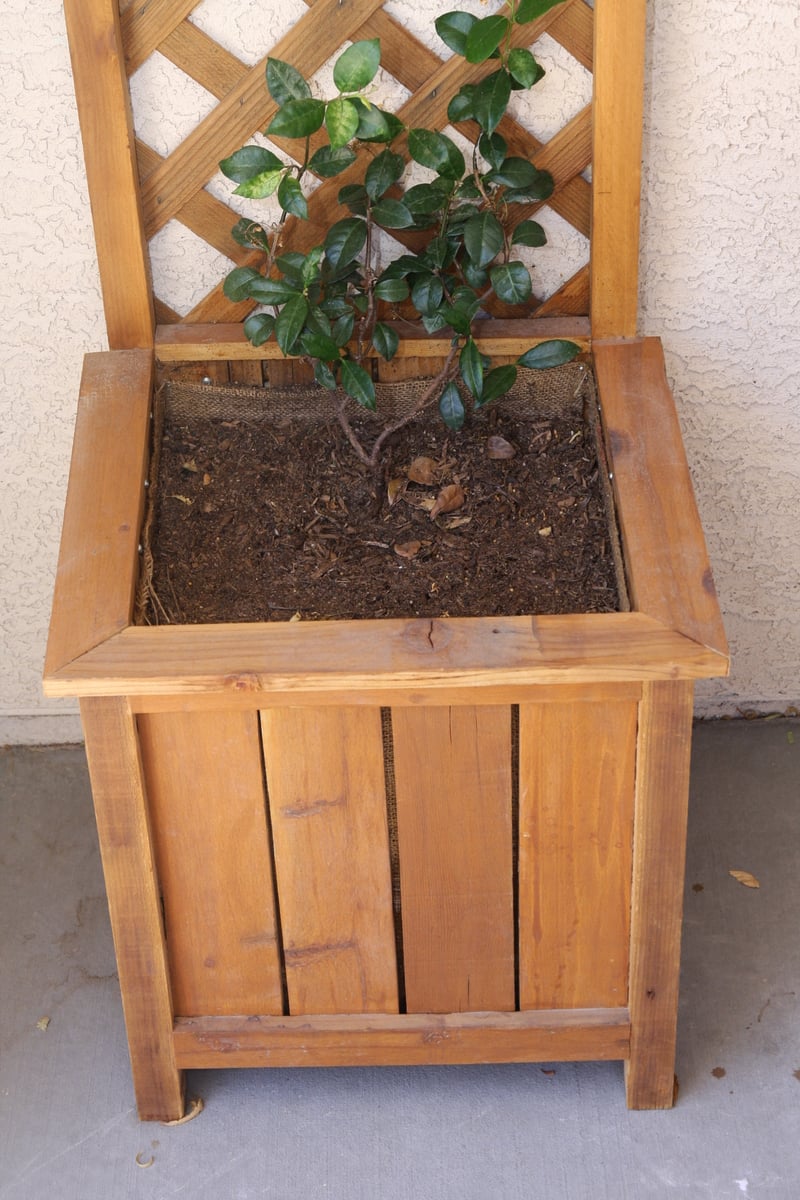
I had a few scraps of wood left over from a fence I took down. I wanted to make a clock for the state I live in. I also used shotgun shells for the numbers. It only took half a day to make and it was fun to see what the finished product looked like.
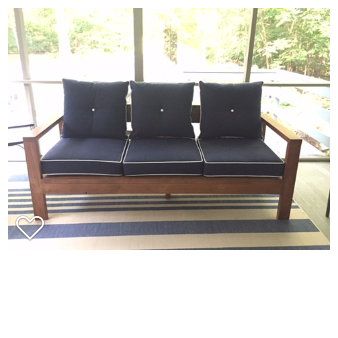
We finally got our outdoor porch cleaned out and needed some additional seating. Loved all the different designs based on Ana's 2x4 sofa. Used Cedar boards instead of Pine.
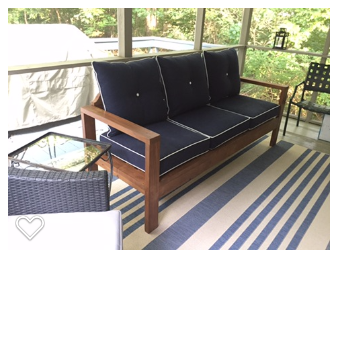
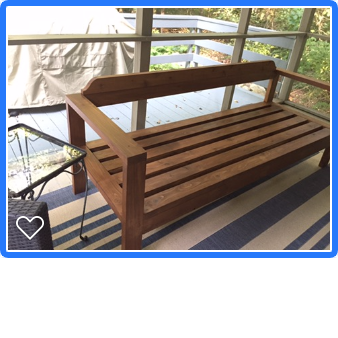
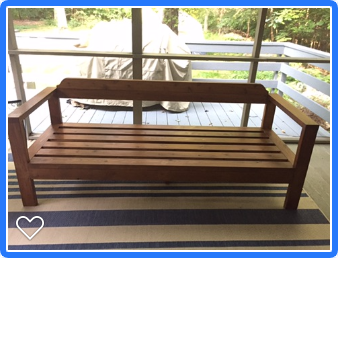
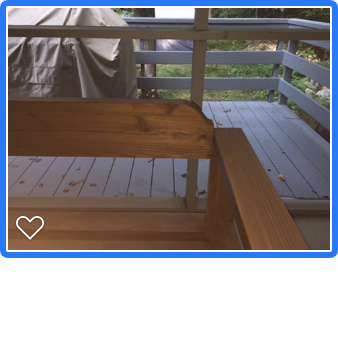
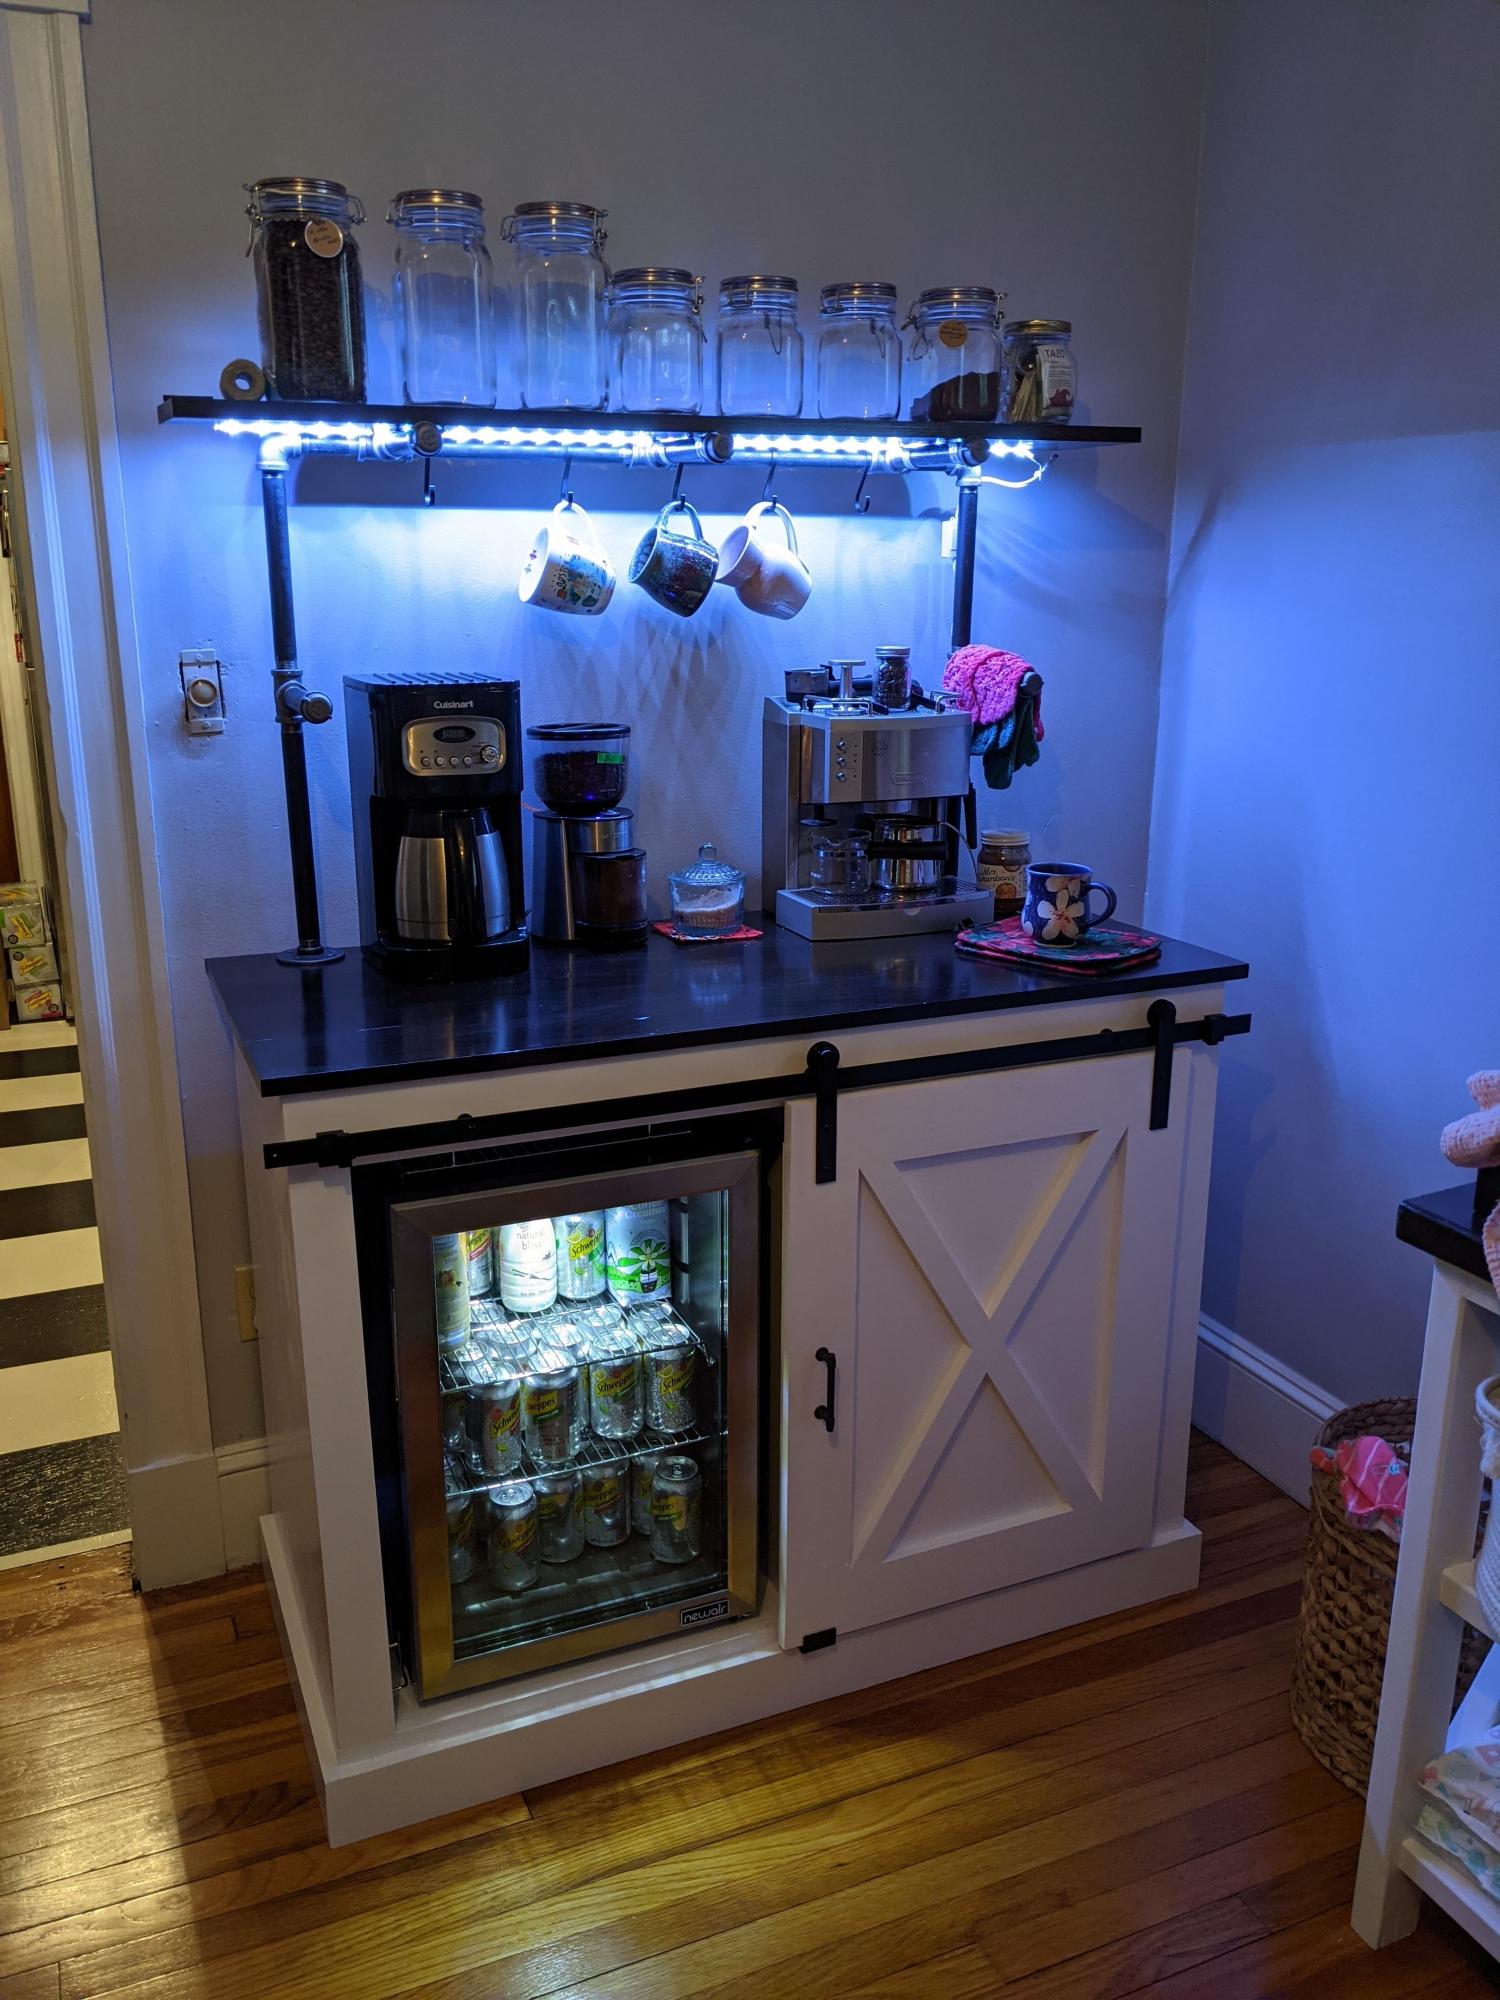
I was inspired by your coffee station plans to build this unit. I added an upper shelf with gas pipping, along with LED lights under the shelf. This station has been very popular in our house.
I built this changing table with a friend who wanted an easy introduction into building. I already had the MDF for the shelves gifted from a friend looking to get rid of a large pile of sheets, so that really helped cut down on cost. I spent $15 on the furring strips and screws for the rest of the piece. I already had the sanding and finishing supplies as well as paint. I added two strands of white cording from Hobby Lobby ($1 per roll on half off days) to hide the gap created between my trim and the top changing piece. I also modified it to fit a 16" wide changing pad.
I would totally recommend using Mod Podge as a sealer on work-horse pieces of furniture. One, it's completely fume-free and non-toxic (which was perfect, since I'm about five months pregnant and need to avoid VOC's) and it's got a really thick, clear glossy finish that's super easy to clean. You only need one coat of it, as well. Just be advised that it's a lot easier to see brush strokes, so I wouldn't use it on your fancy stuff. But for changing dirty diapers, or on a kids table? It's perfect!
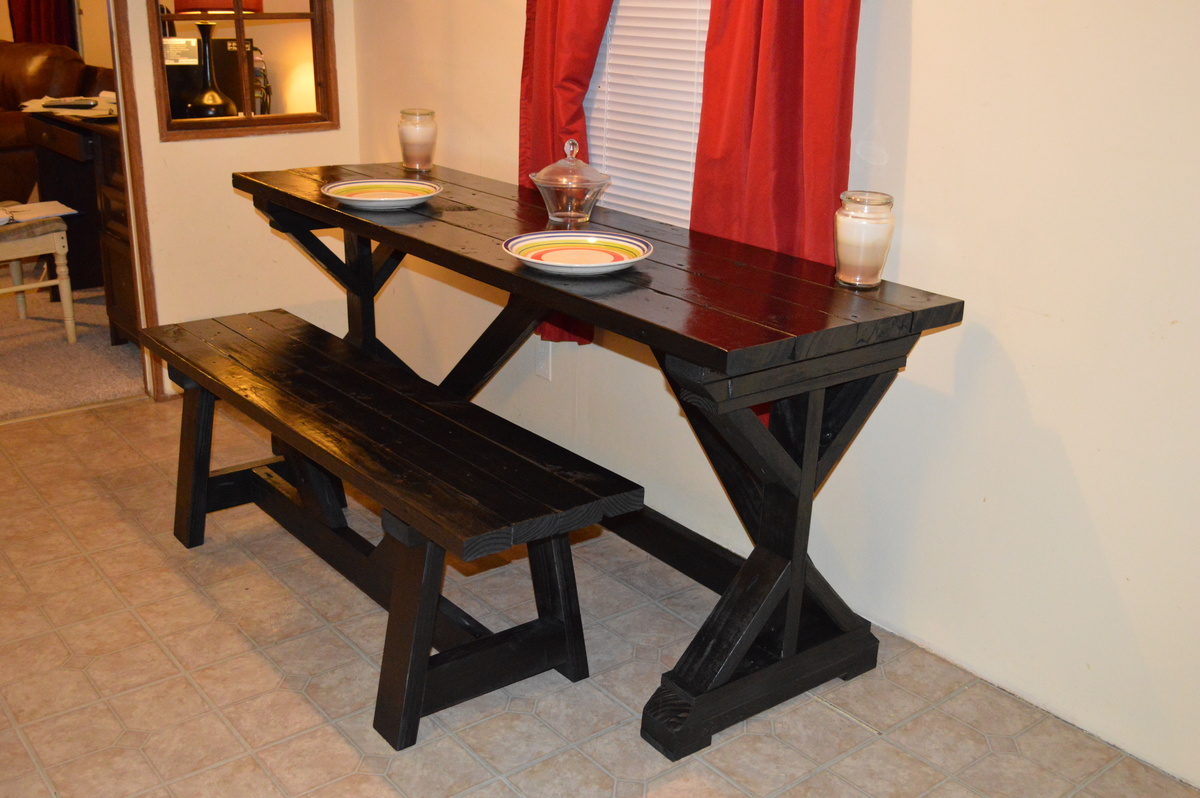
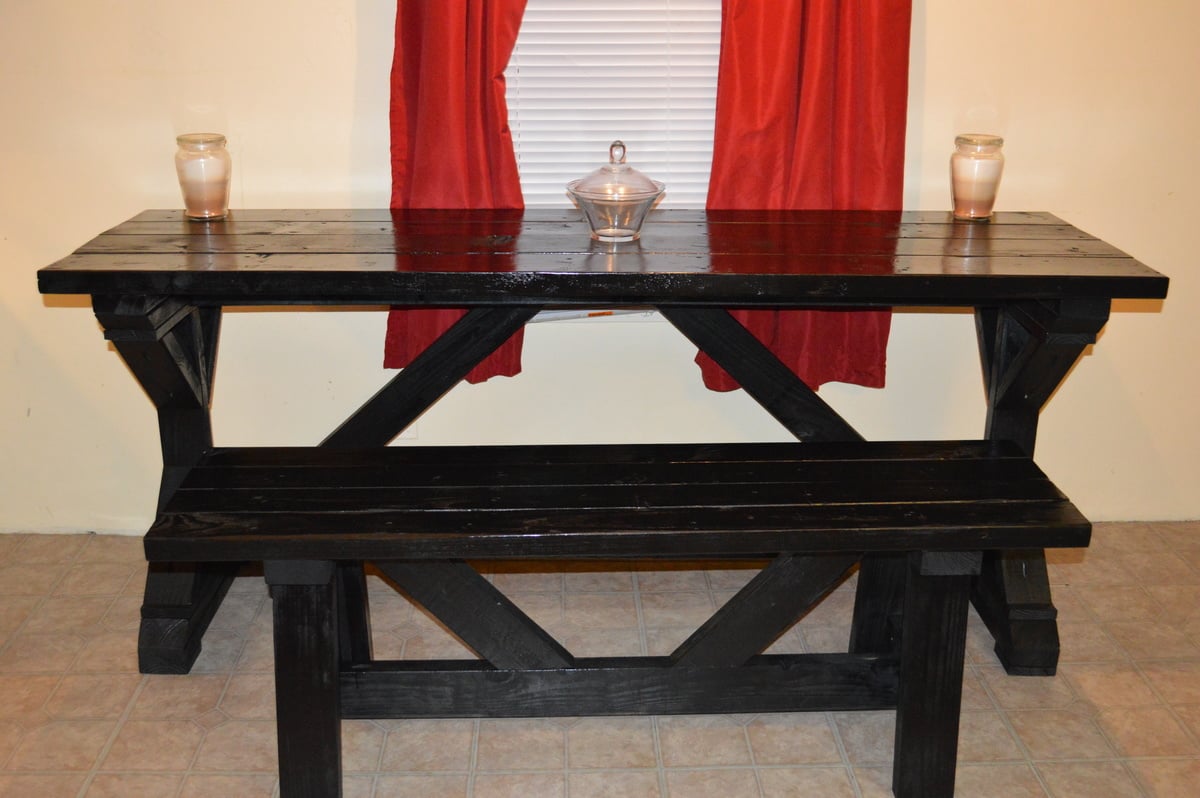
I was making the fancy x desk, and my wife suggested building a bench to go with it to make it a bar style kitchen table to take up less space in our kitchen. So I looked up plans for a bench on here (providence bench looked best with it), and built it. I painted it with rust-oleum American accents spray paint for wood, metal, and plastic in glossy black and surprisingly it looked amazing!
Thanks to www.shanty-2-chic.com for this plan! I needed a workbench for all these projects that I was starting and I was tired of getting out a piece of plywood and the sawhorses every time. So this was just perfect for what I needed!