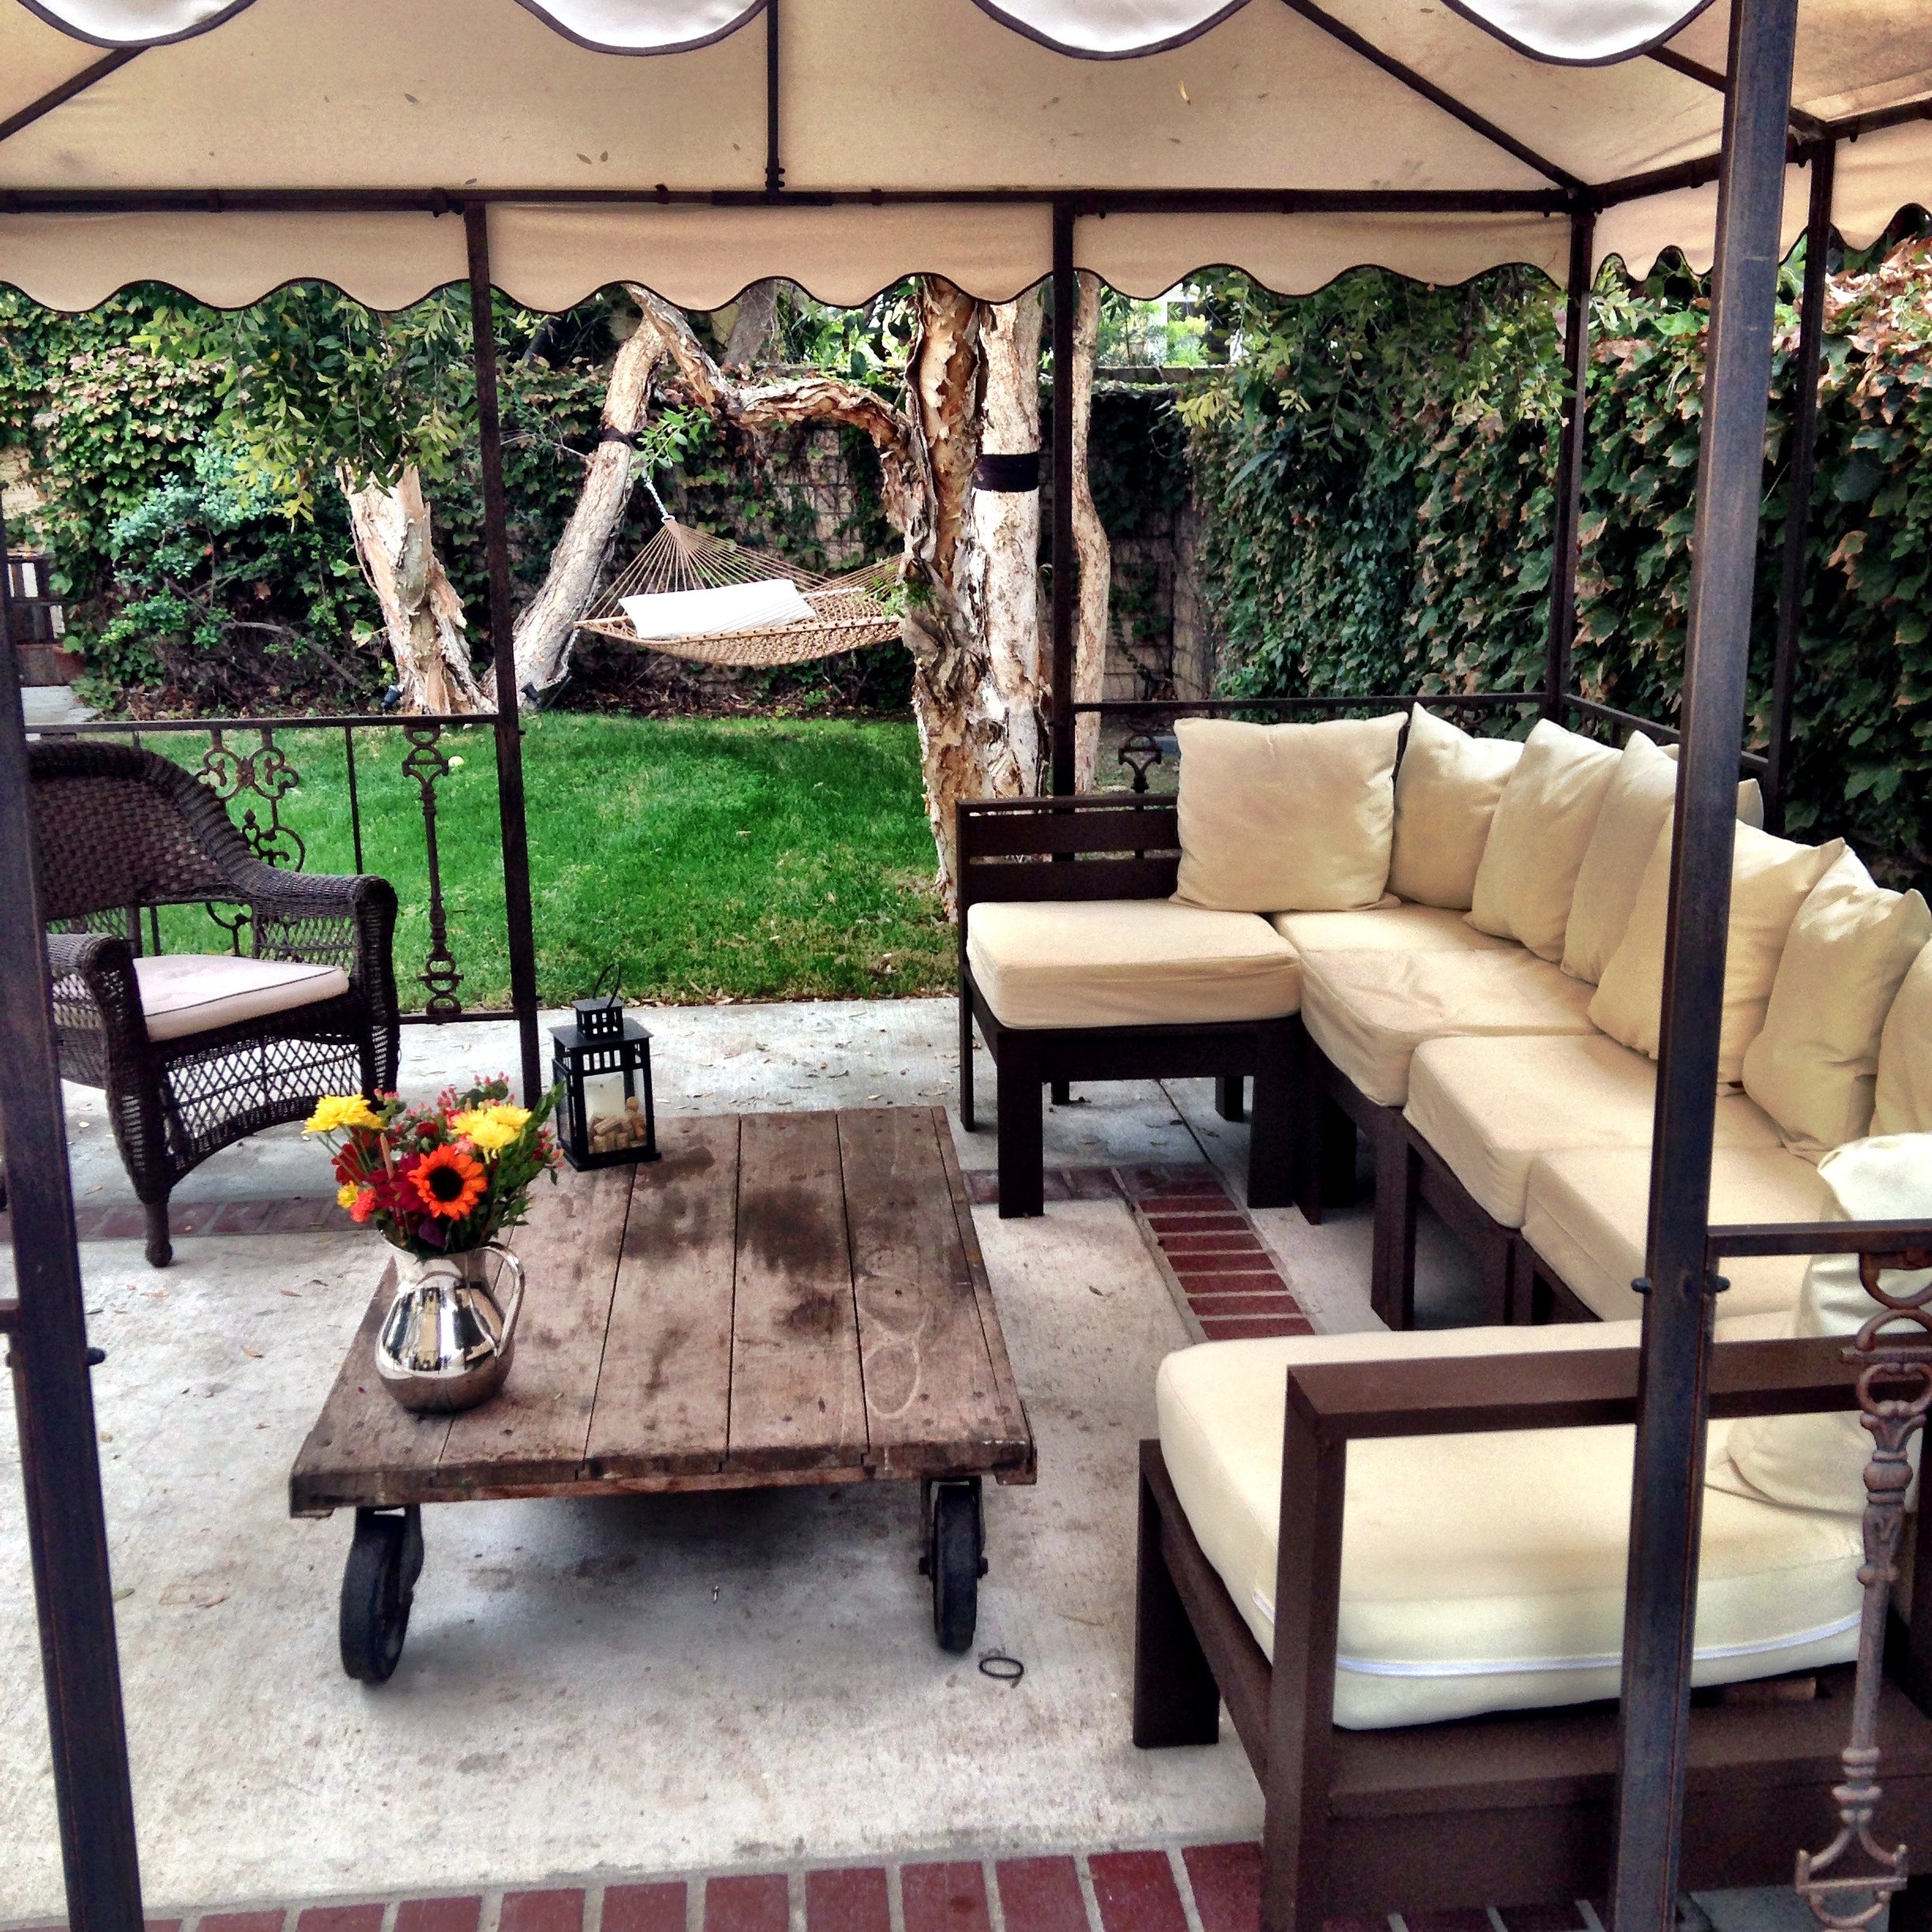
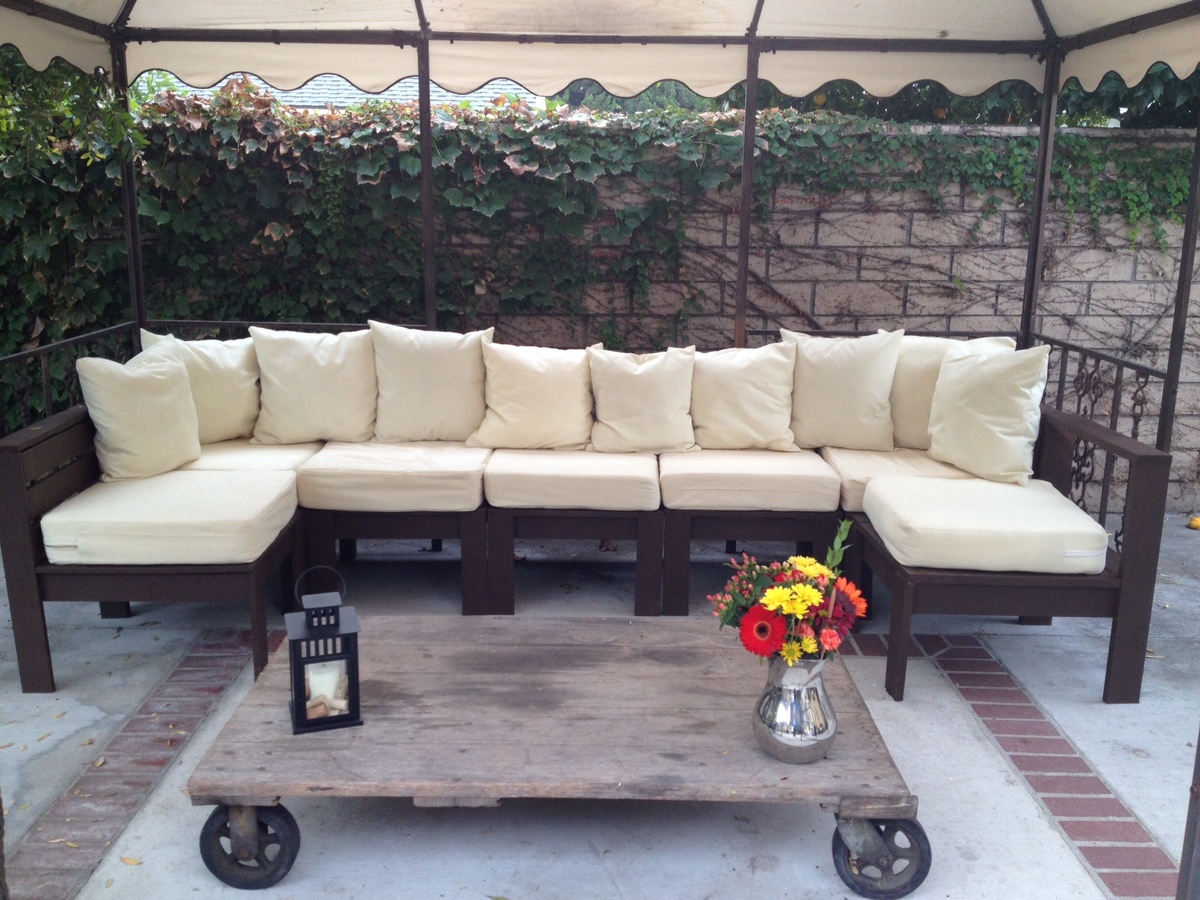
This is the first wood working project I took on. My husband thought I should start with, like a birdhouse or something, but I'm a "go big or go home" kind of person (plus I hate birds), so I thought a seven piece sectional was the way to go. After a few lessons from him on the miter saw, I got the clear to work on the project solo. (My husband builds a lot of our furniture but I insisted I wanted to do this 100% myself...and he surprisingly agreed).
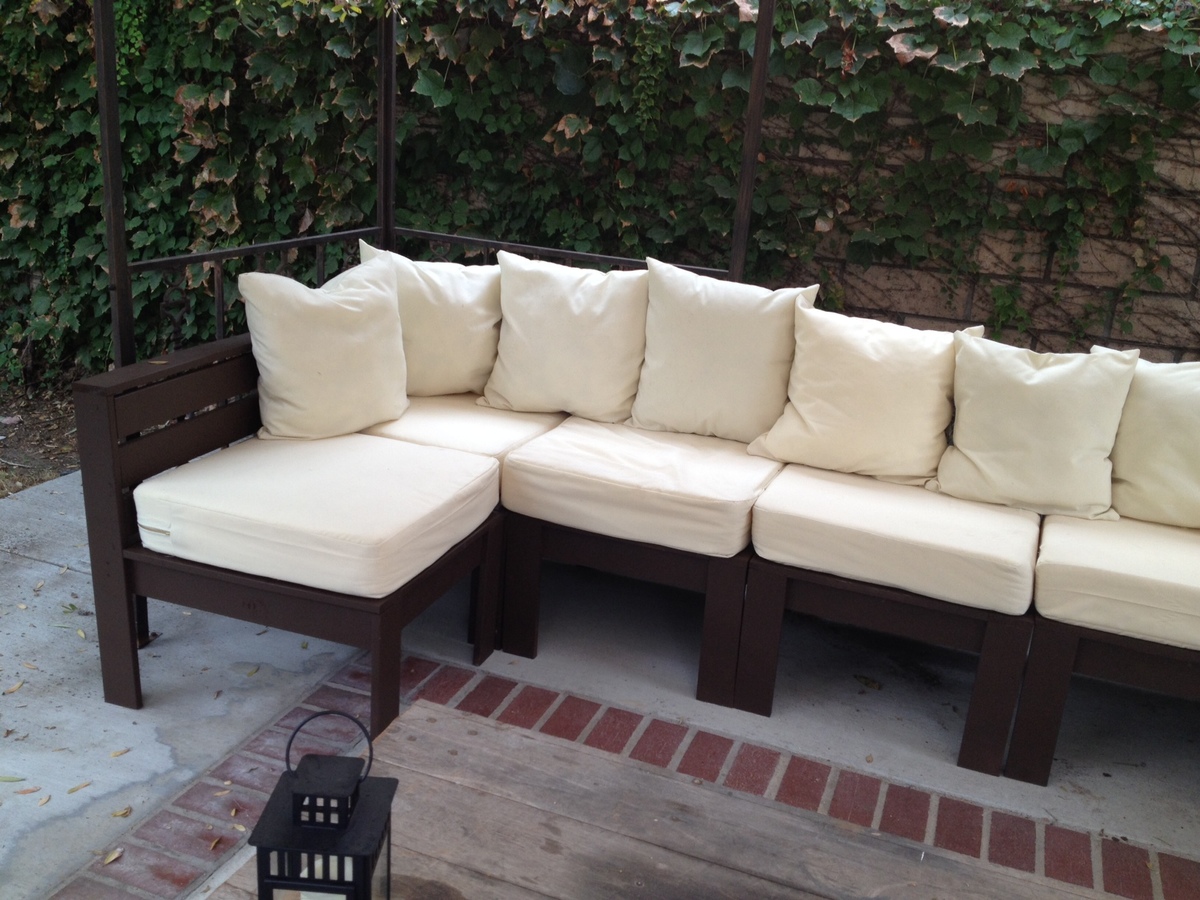
The first section took a really long time for me to do (maybe 4 hours), but considering I've never even so much as drilled a hole for a screw, I considered it a success. After that (and after I decided to go out and buy a Kreg Jig - best invention ever - and ditch the "knock off" I tried to buy/use), it was pretty smooth sailing from then on out. Aside from being time consuming, I was surprised at how easy the plans were to follow. Ana it truly amazing for publishing these.
From start to finish, it probably took me a month to complete (and THANK GOD we bought a paint sprayer in anticipation for painting the outside of our house, or I think it would've taken at least another week to finish). But that's also because I stupidly decided to sew all of the cushions/pillows myself. I just couldn't justify ordering pre-made ones for seven individual pieces (the price quote I was getting for that and what I wanted was close to $1,000 in itself).
Overall, I'm VERY excited/please with how it turned out. I priced out the West Elm sectional of this size and it would've cost us about six times what it cost us to build from scratch. I can't wait to take on the next project (after a much needed break...)


Comments
Ana White
Wed, 12/30/2015 - 11:11
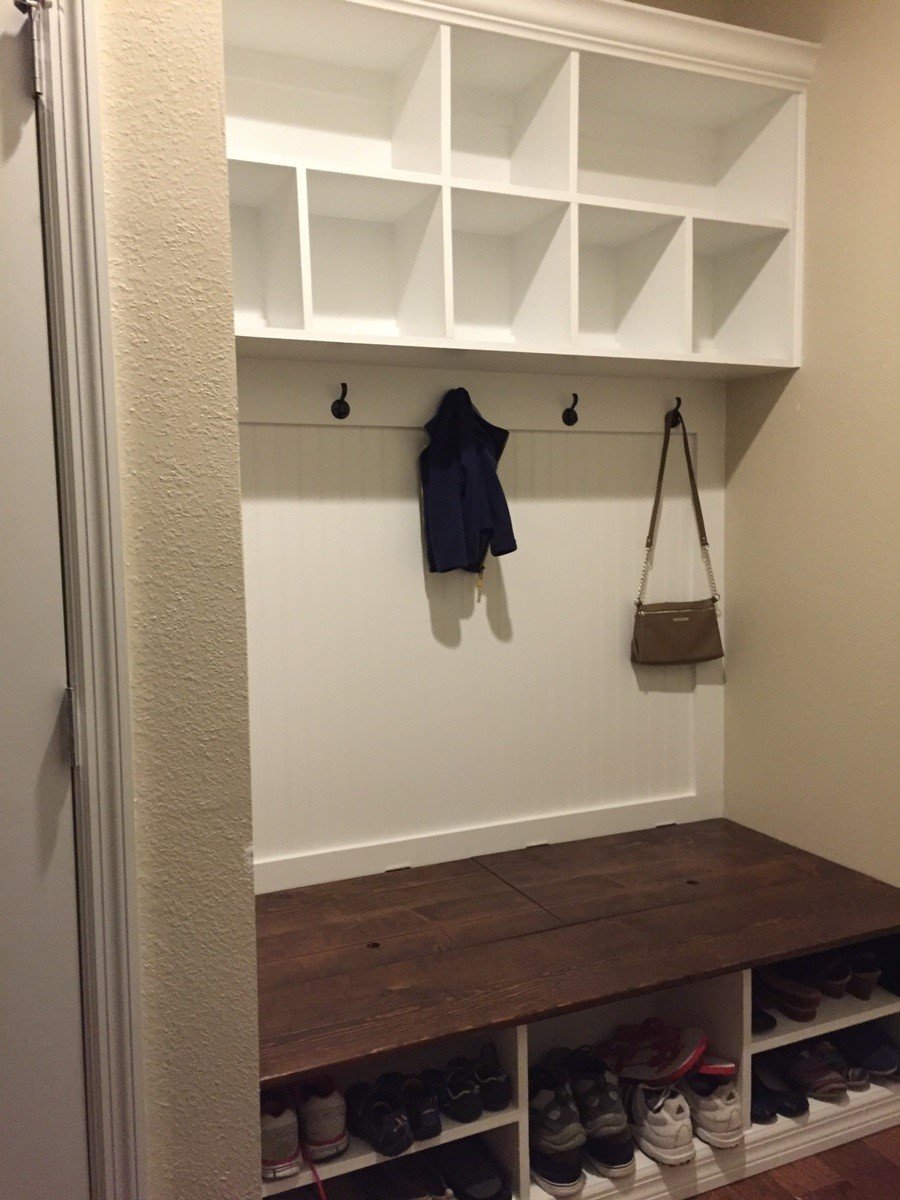
I love your entryway! The
I love your entryway! The white is great, the moulding really makes it beautiful! Thanks so much for sharing it!
Ashley.Mac
Sat, 11/26/2016 - 13:51
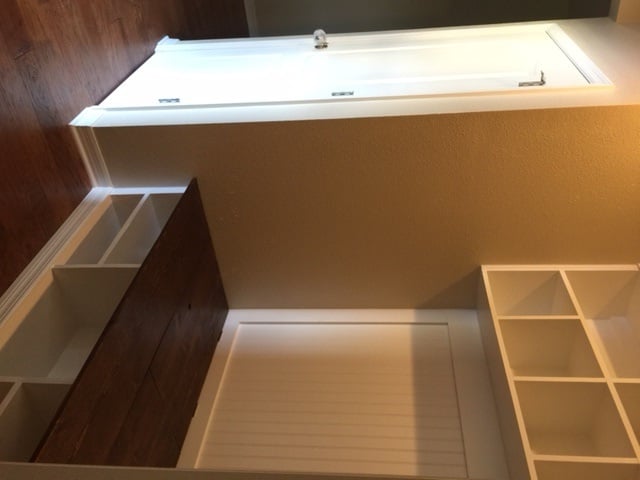
Attach to the wall?
How did you attach these to the wall?
Ashley.Mac
Sat, 11/26/2016 - 13:53
Attach to the wall?
How did you attach this to the wall?