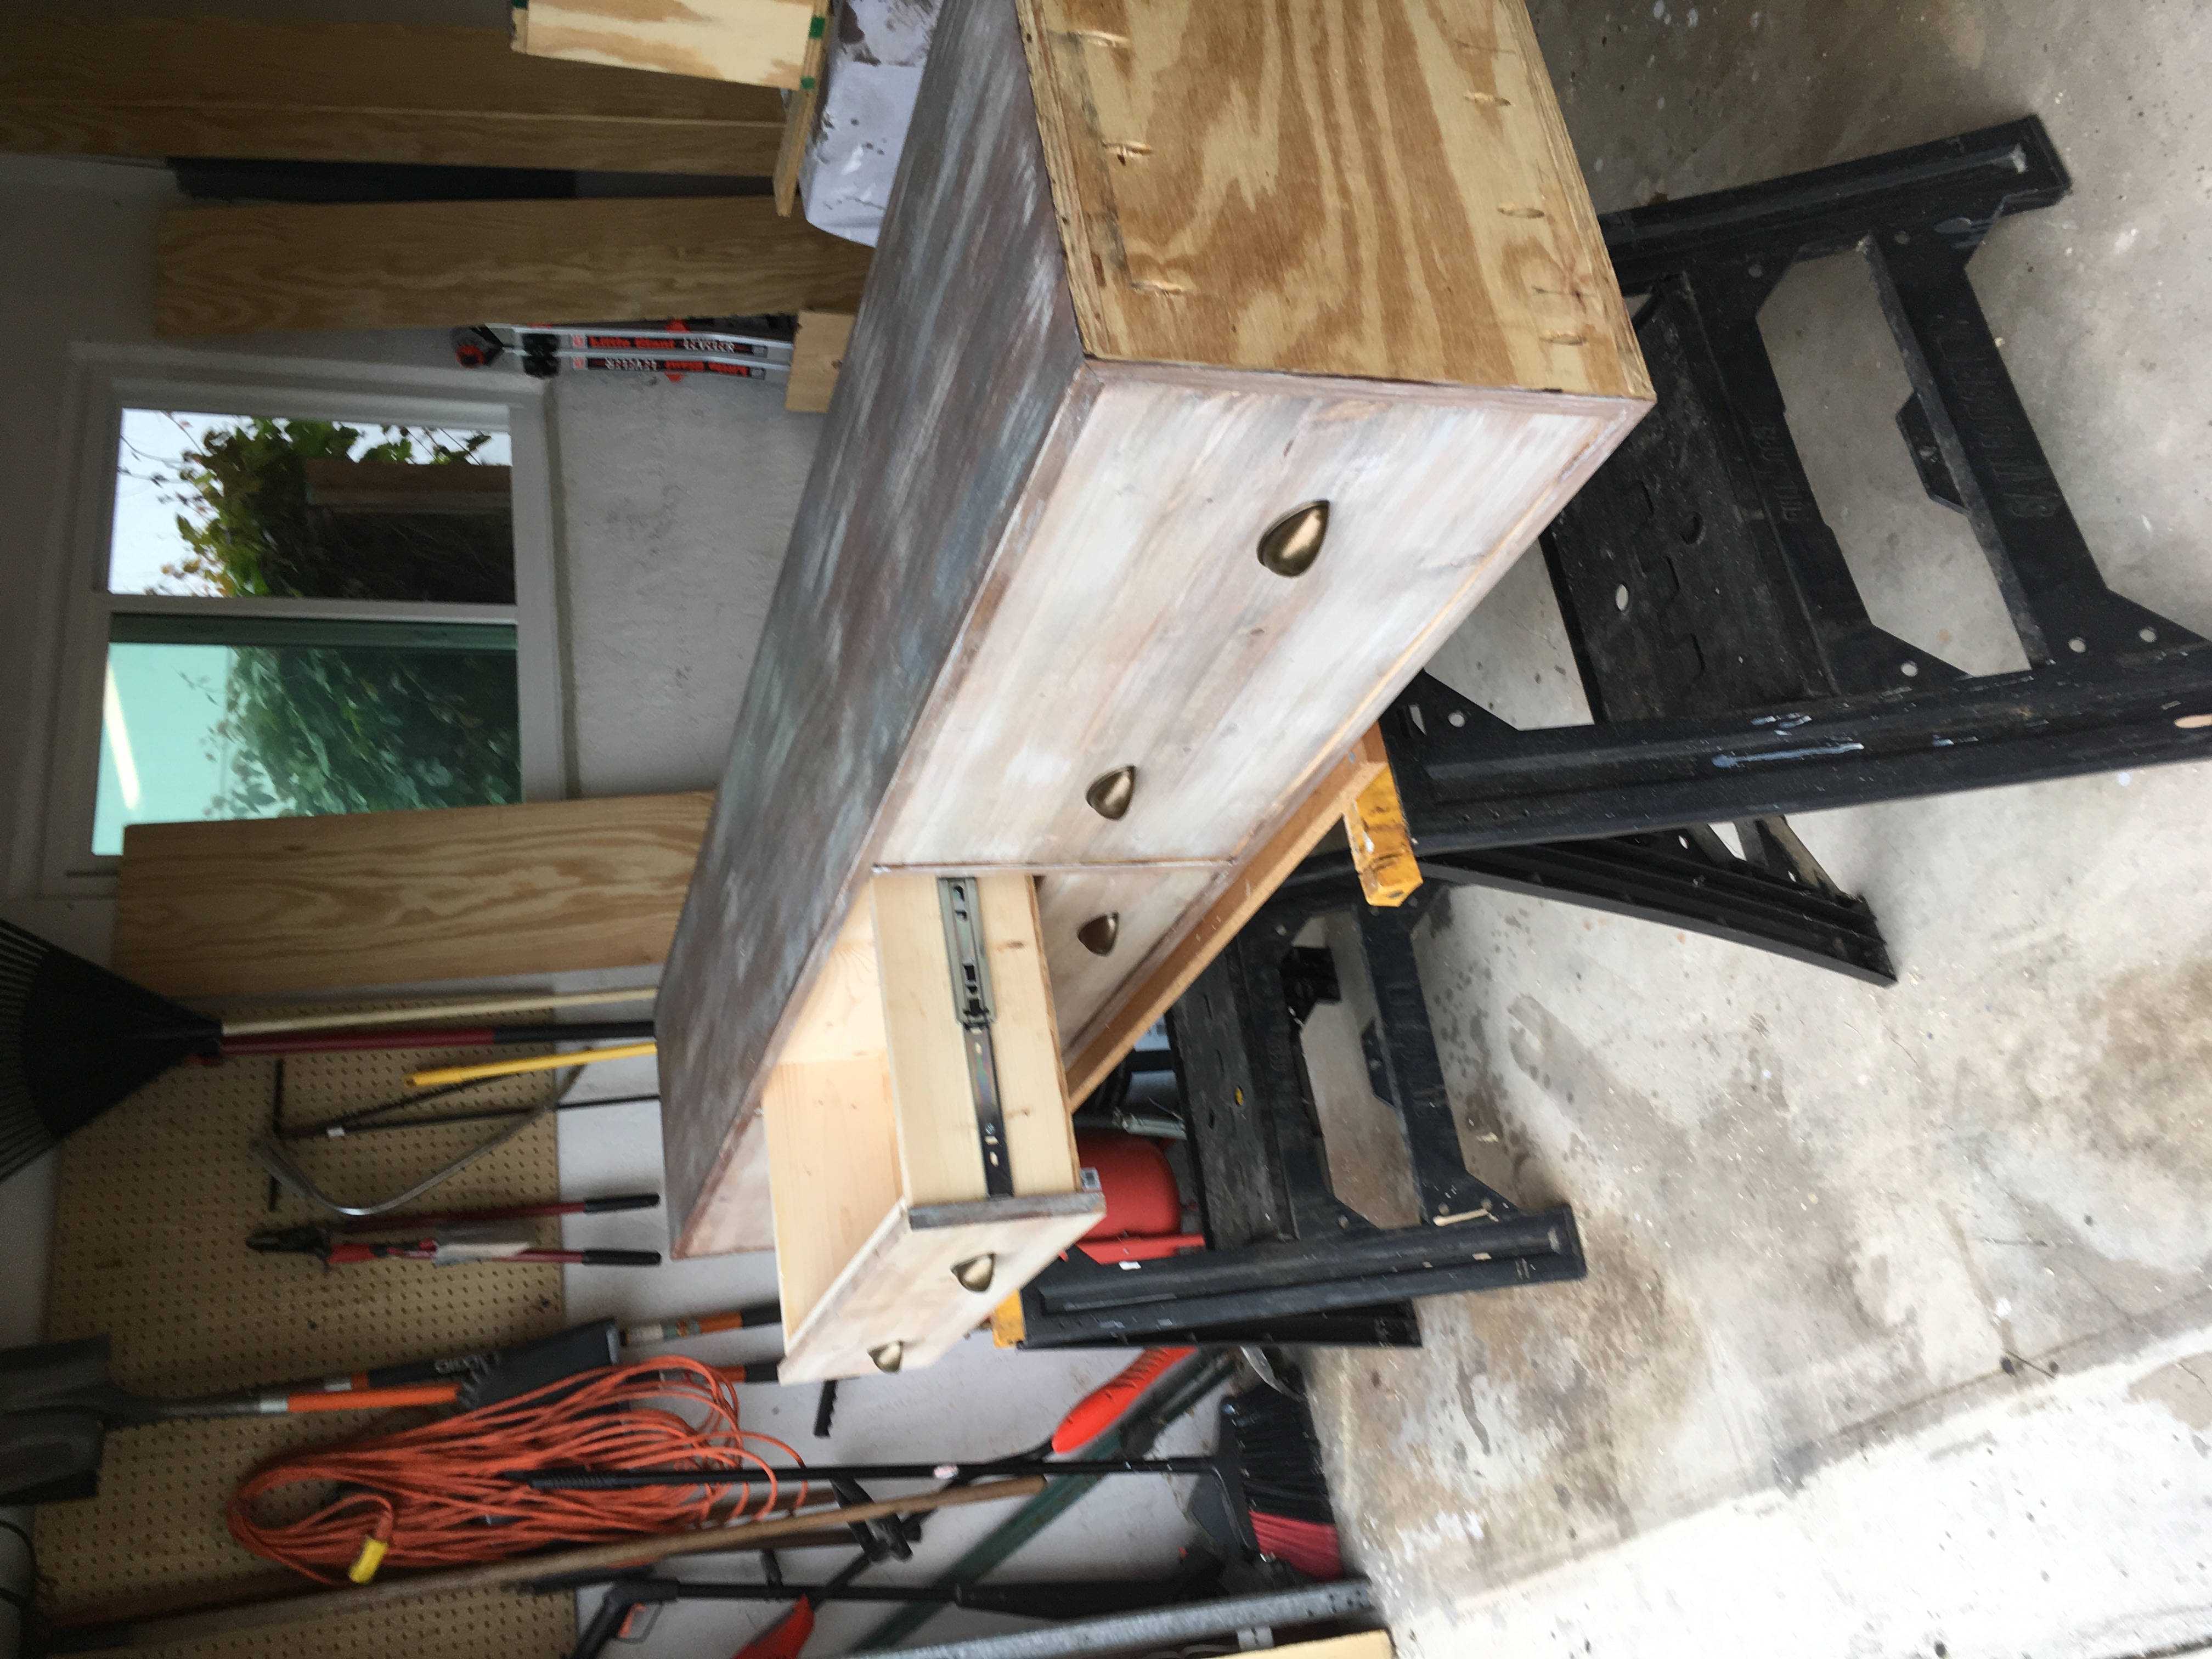
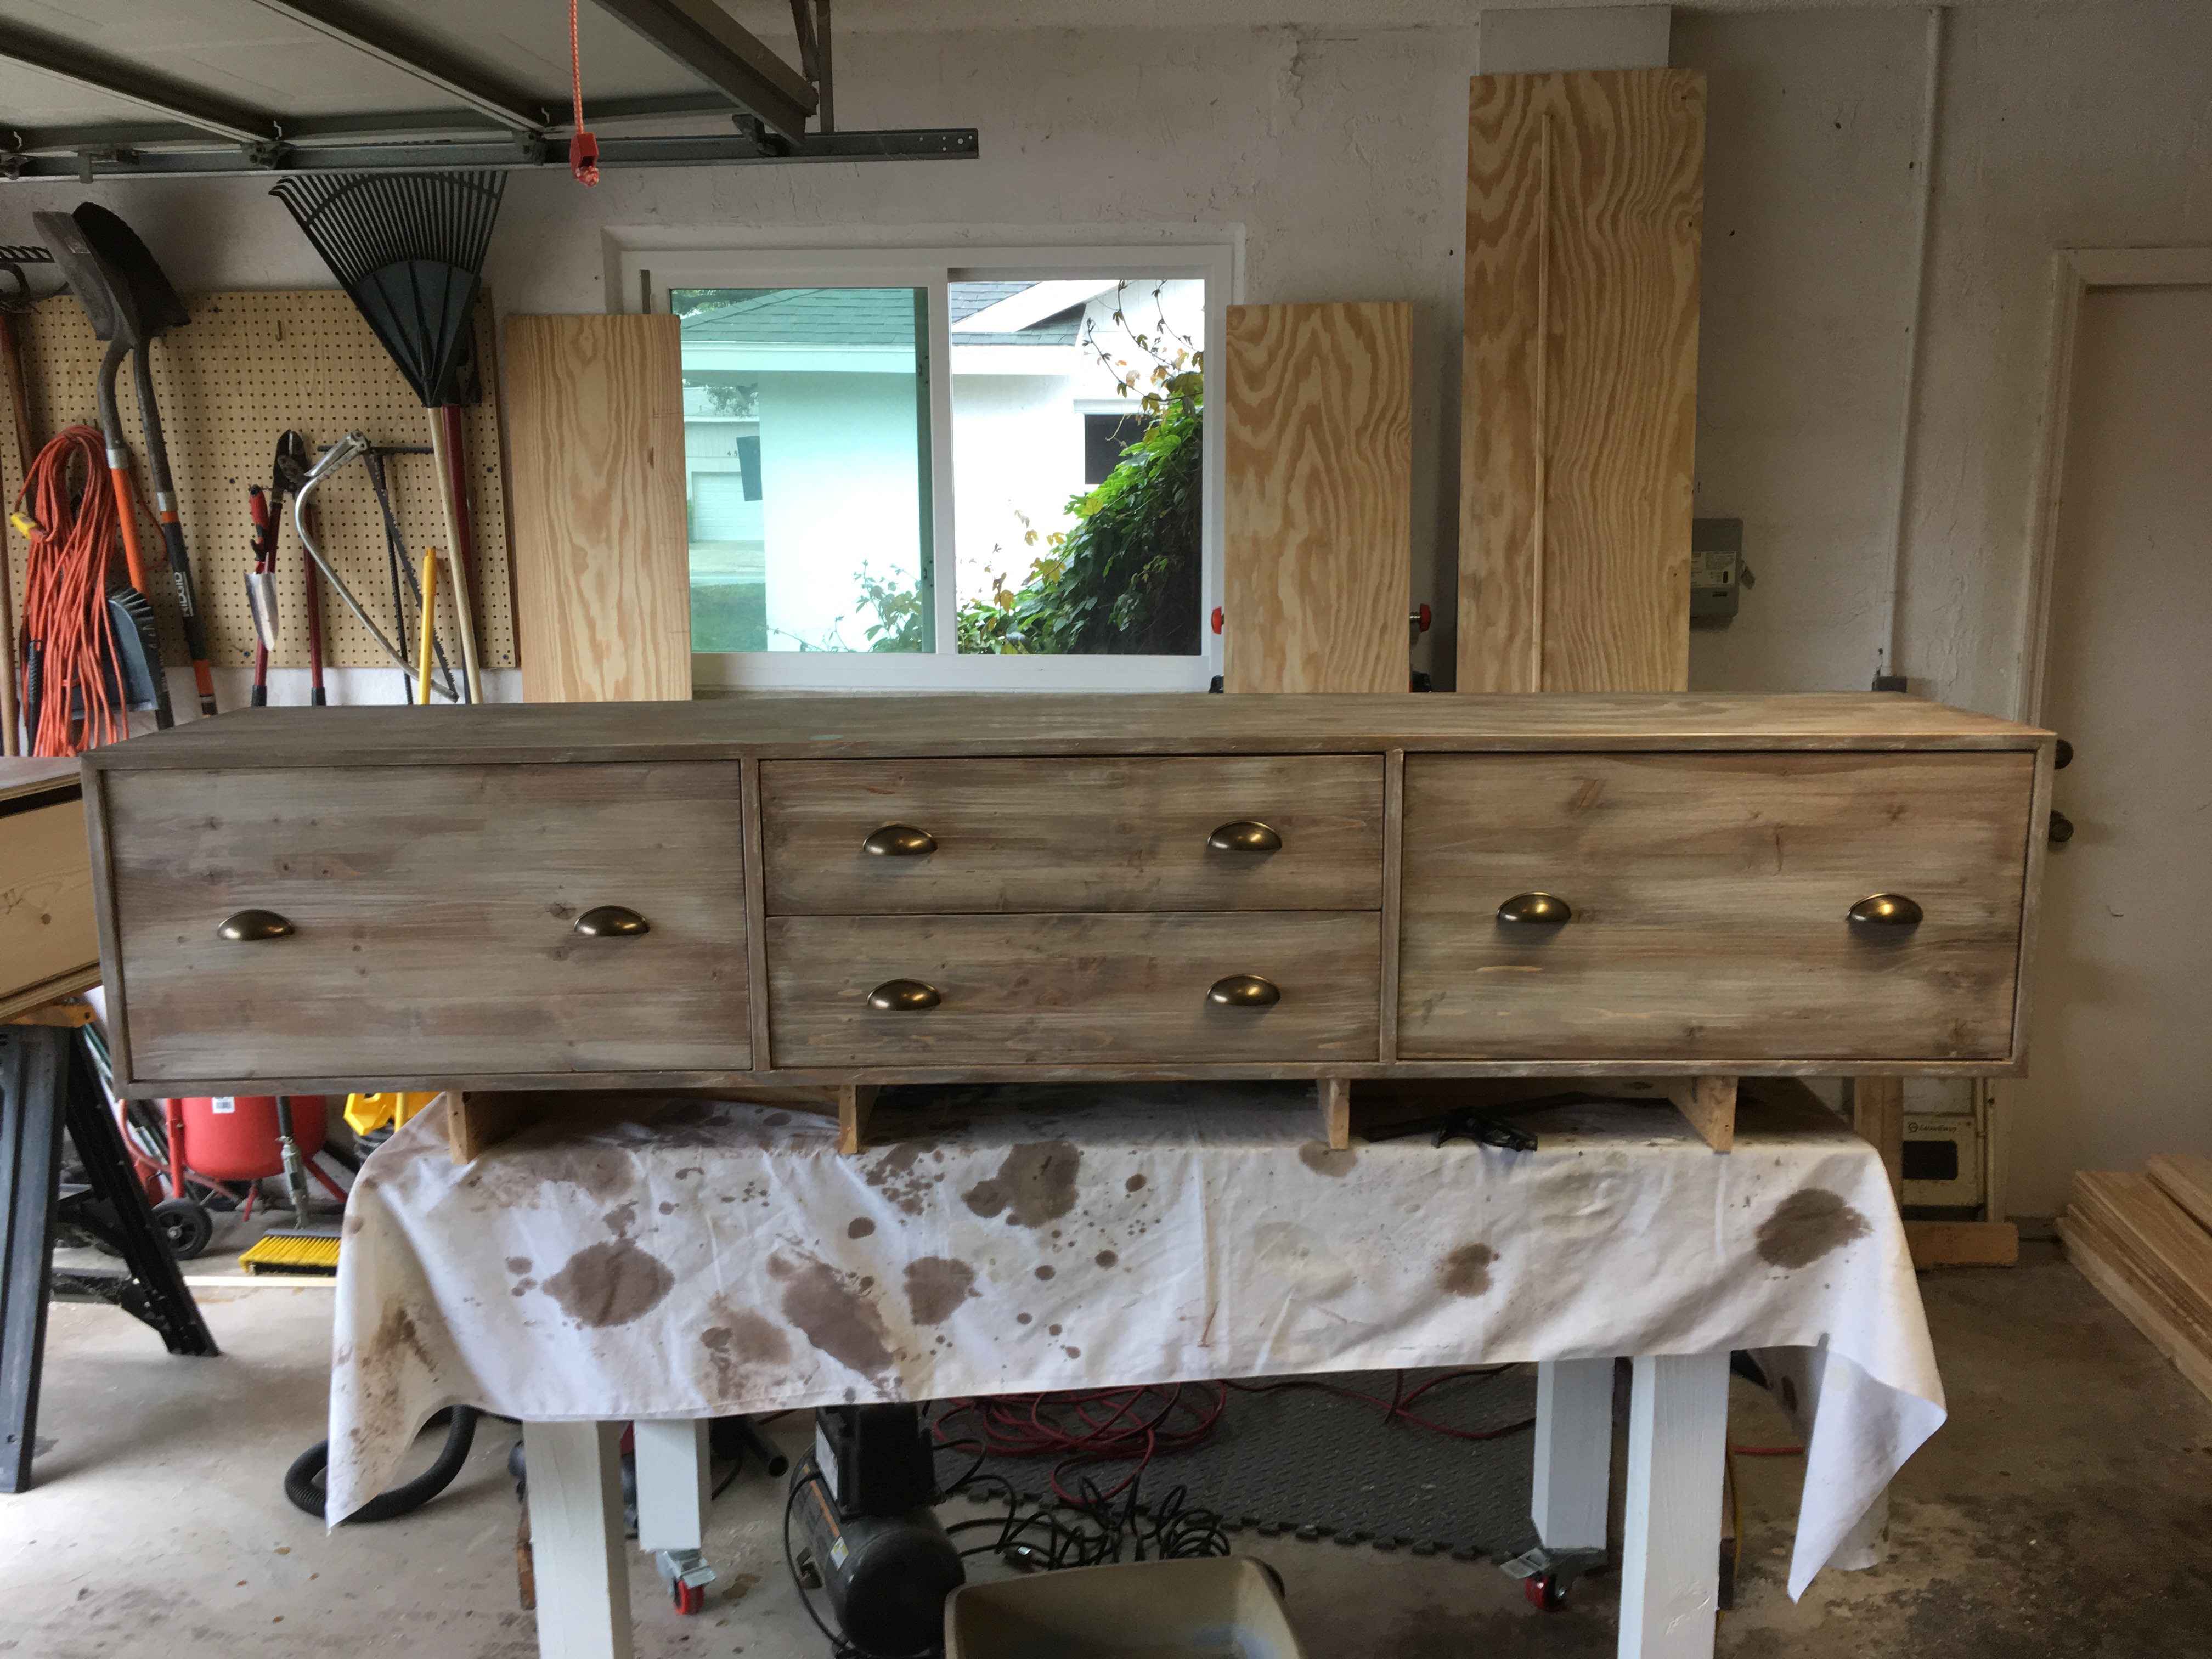
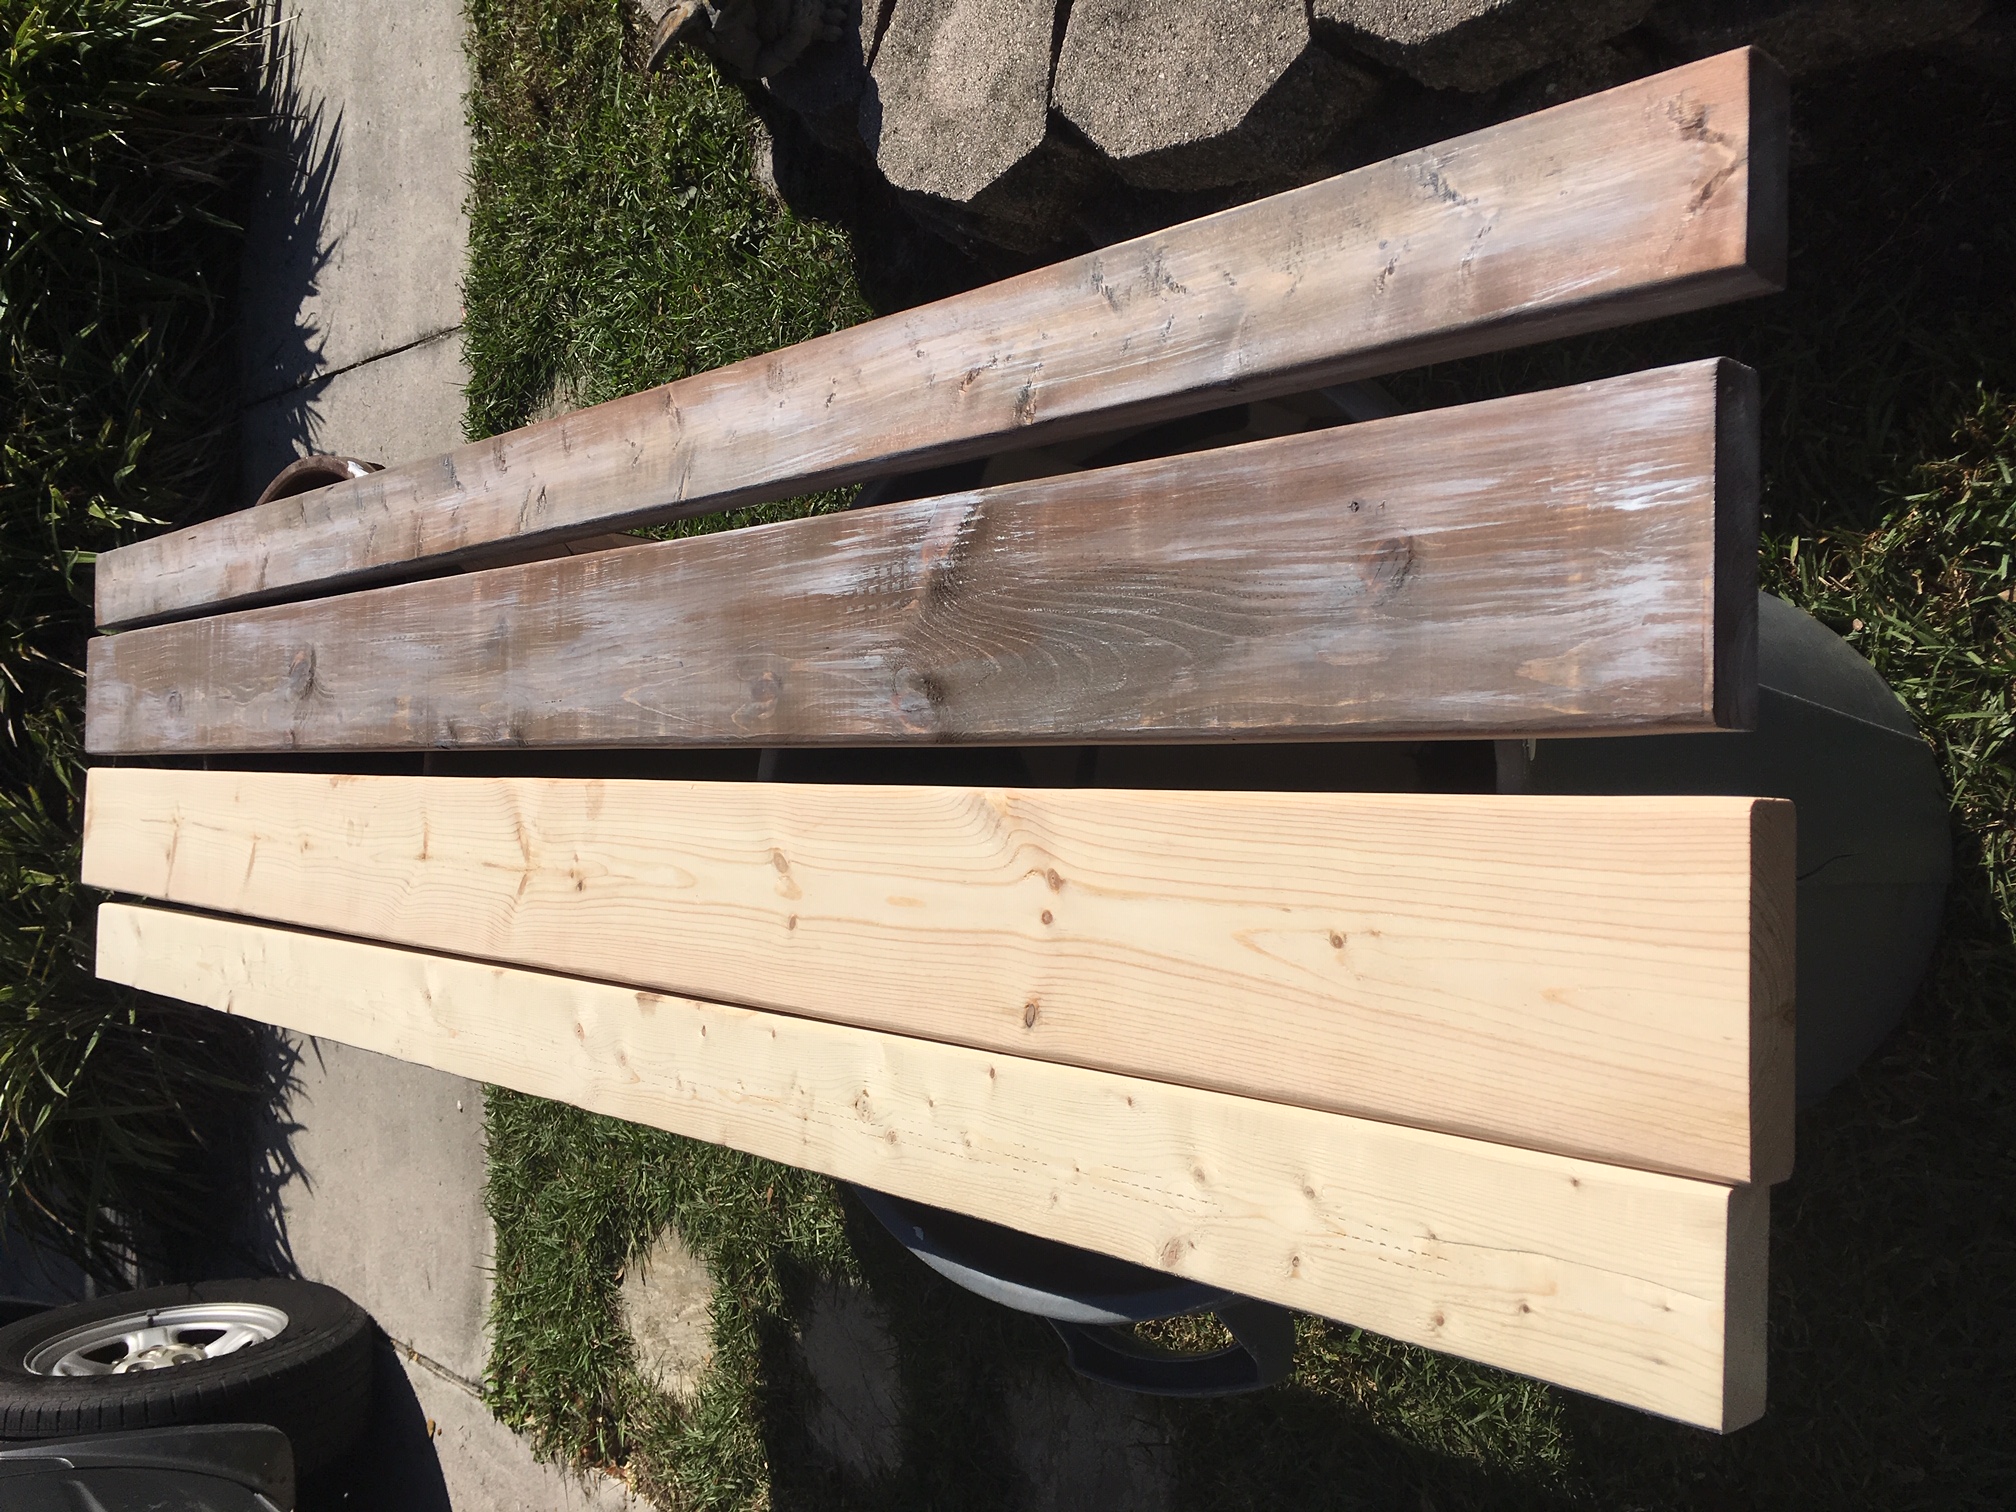
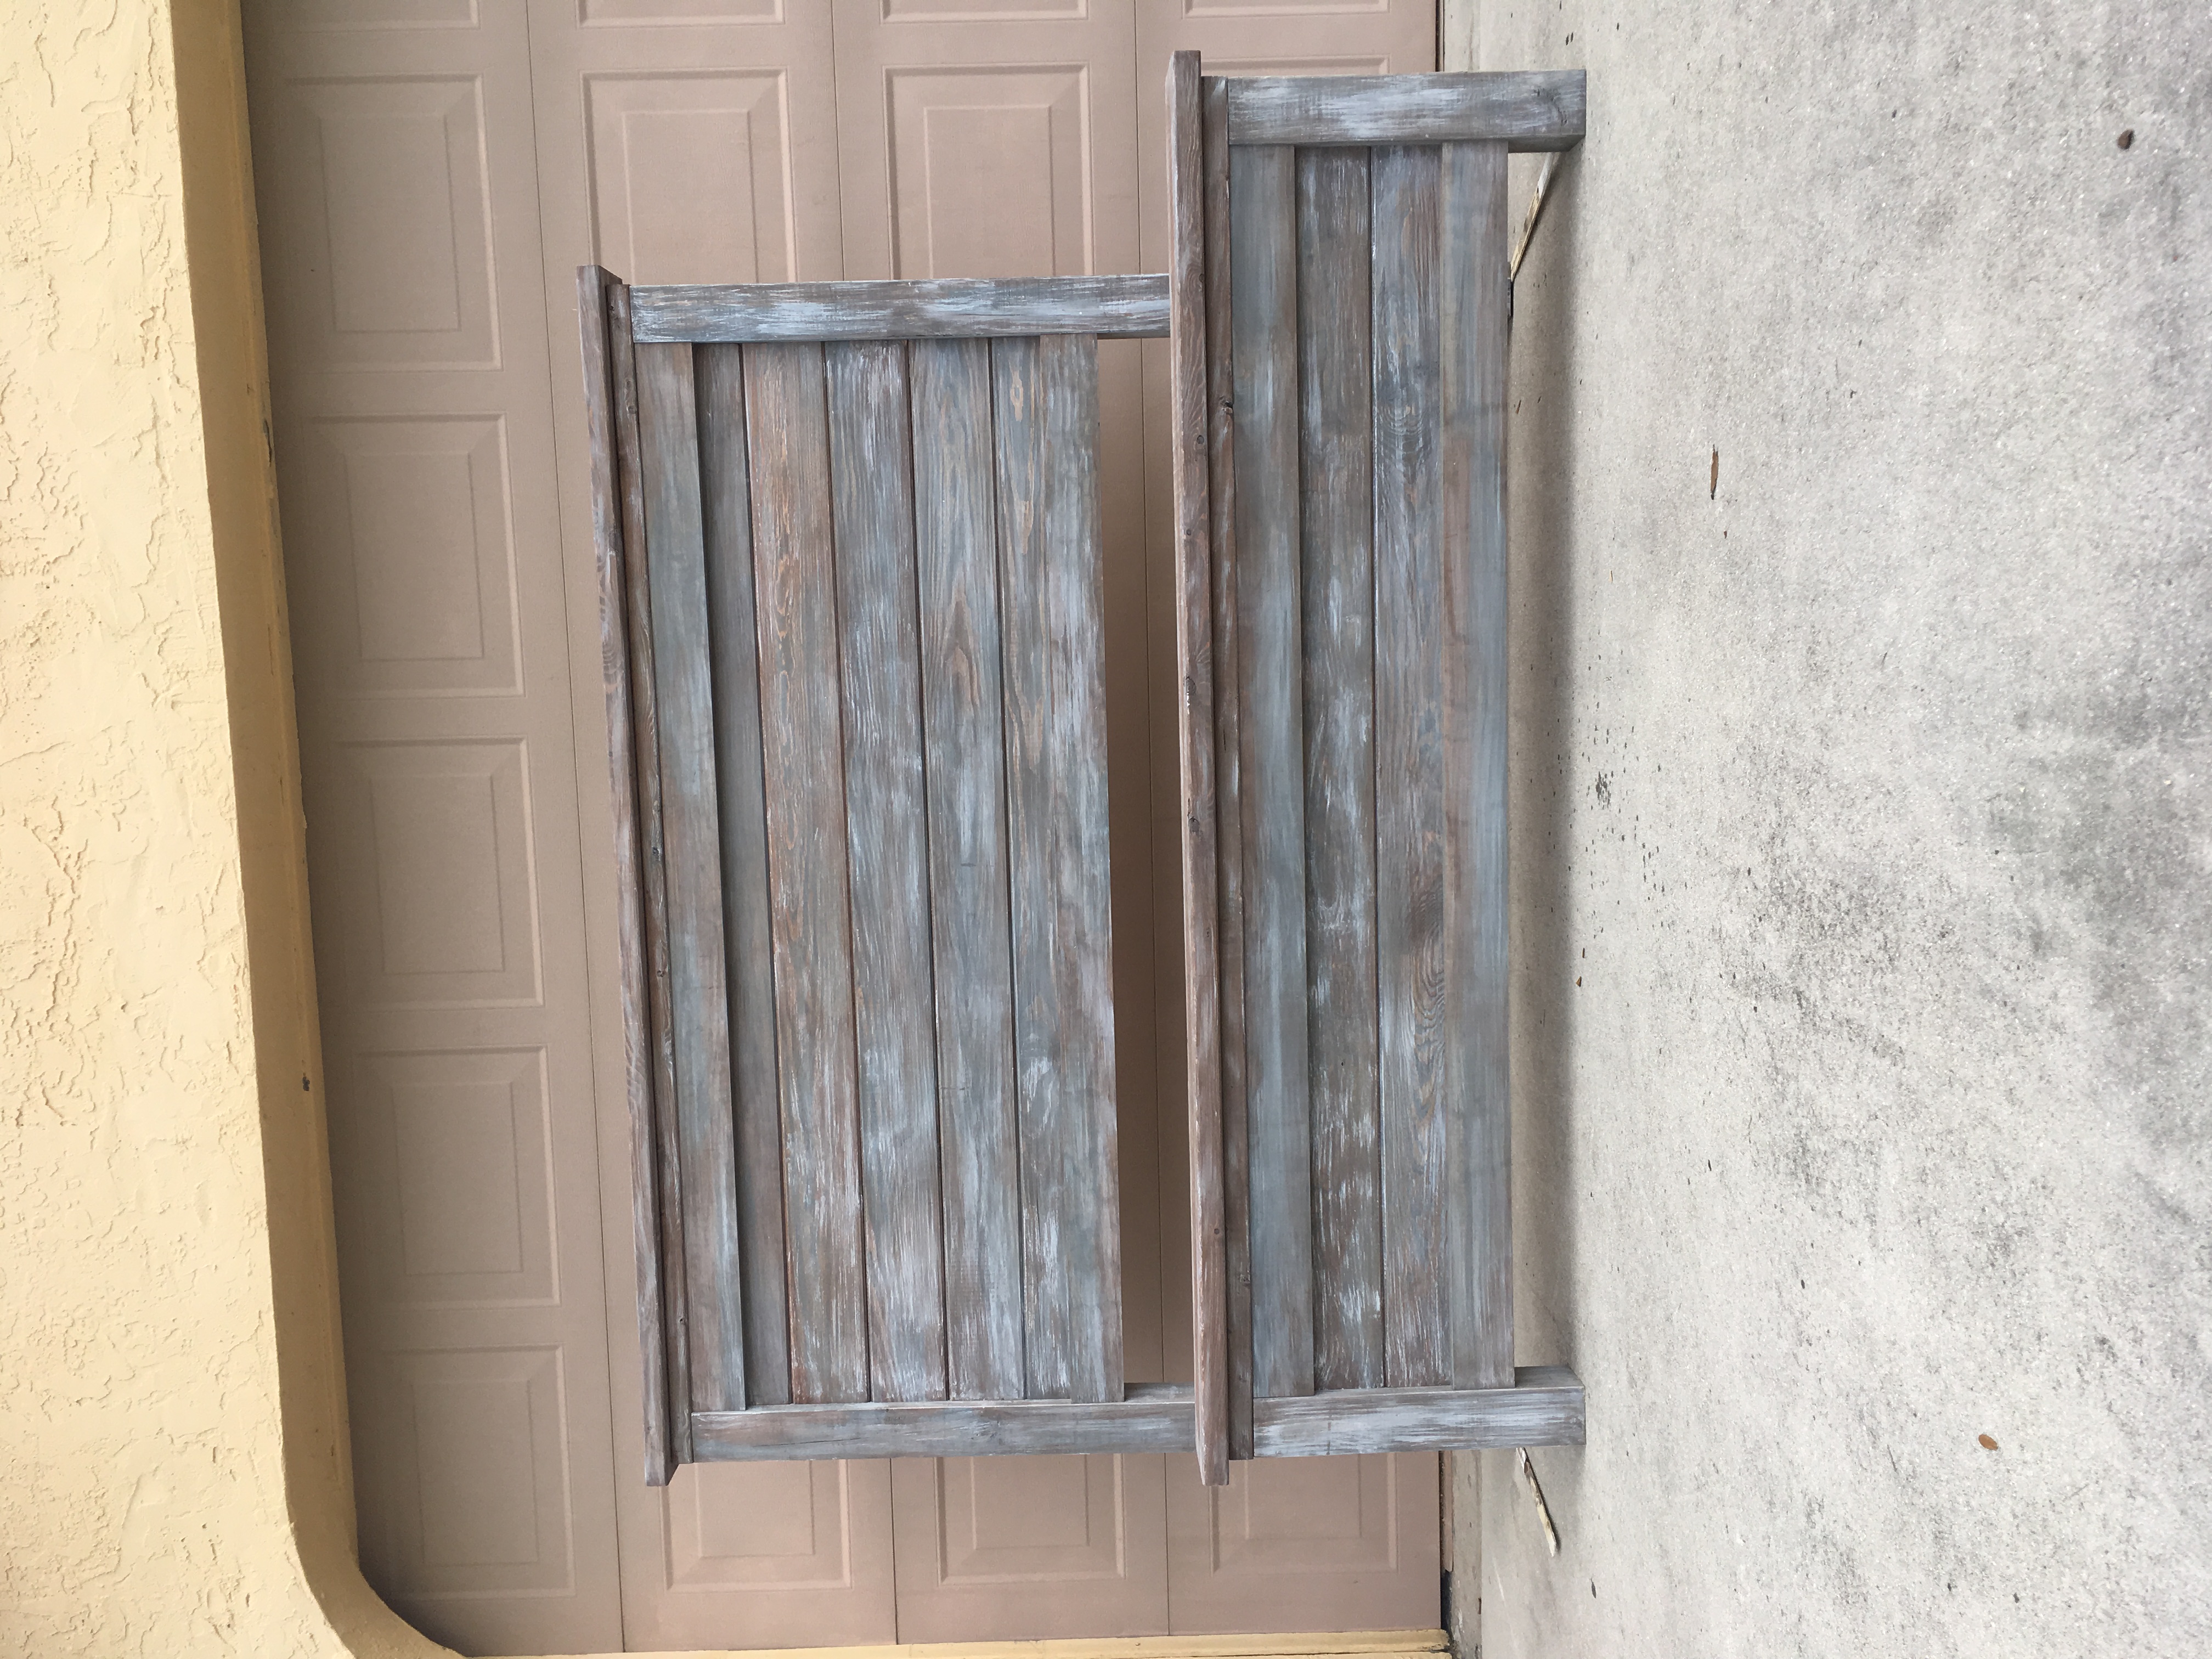
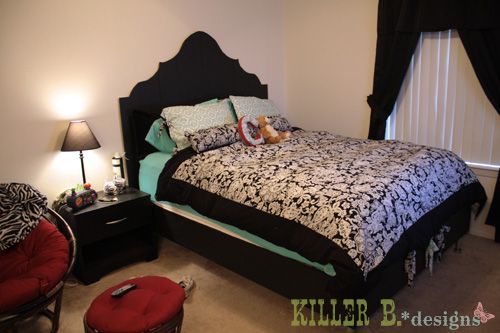
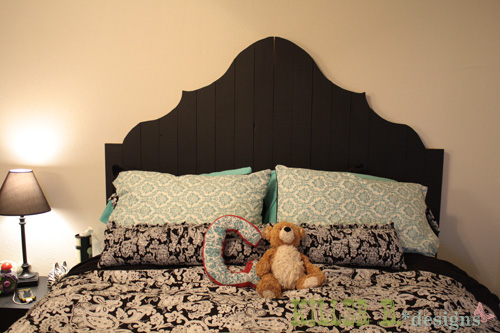
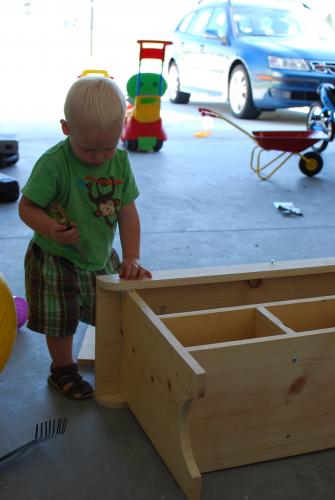
Farm House Bed w/Drawers
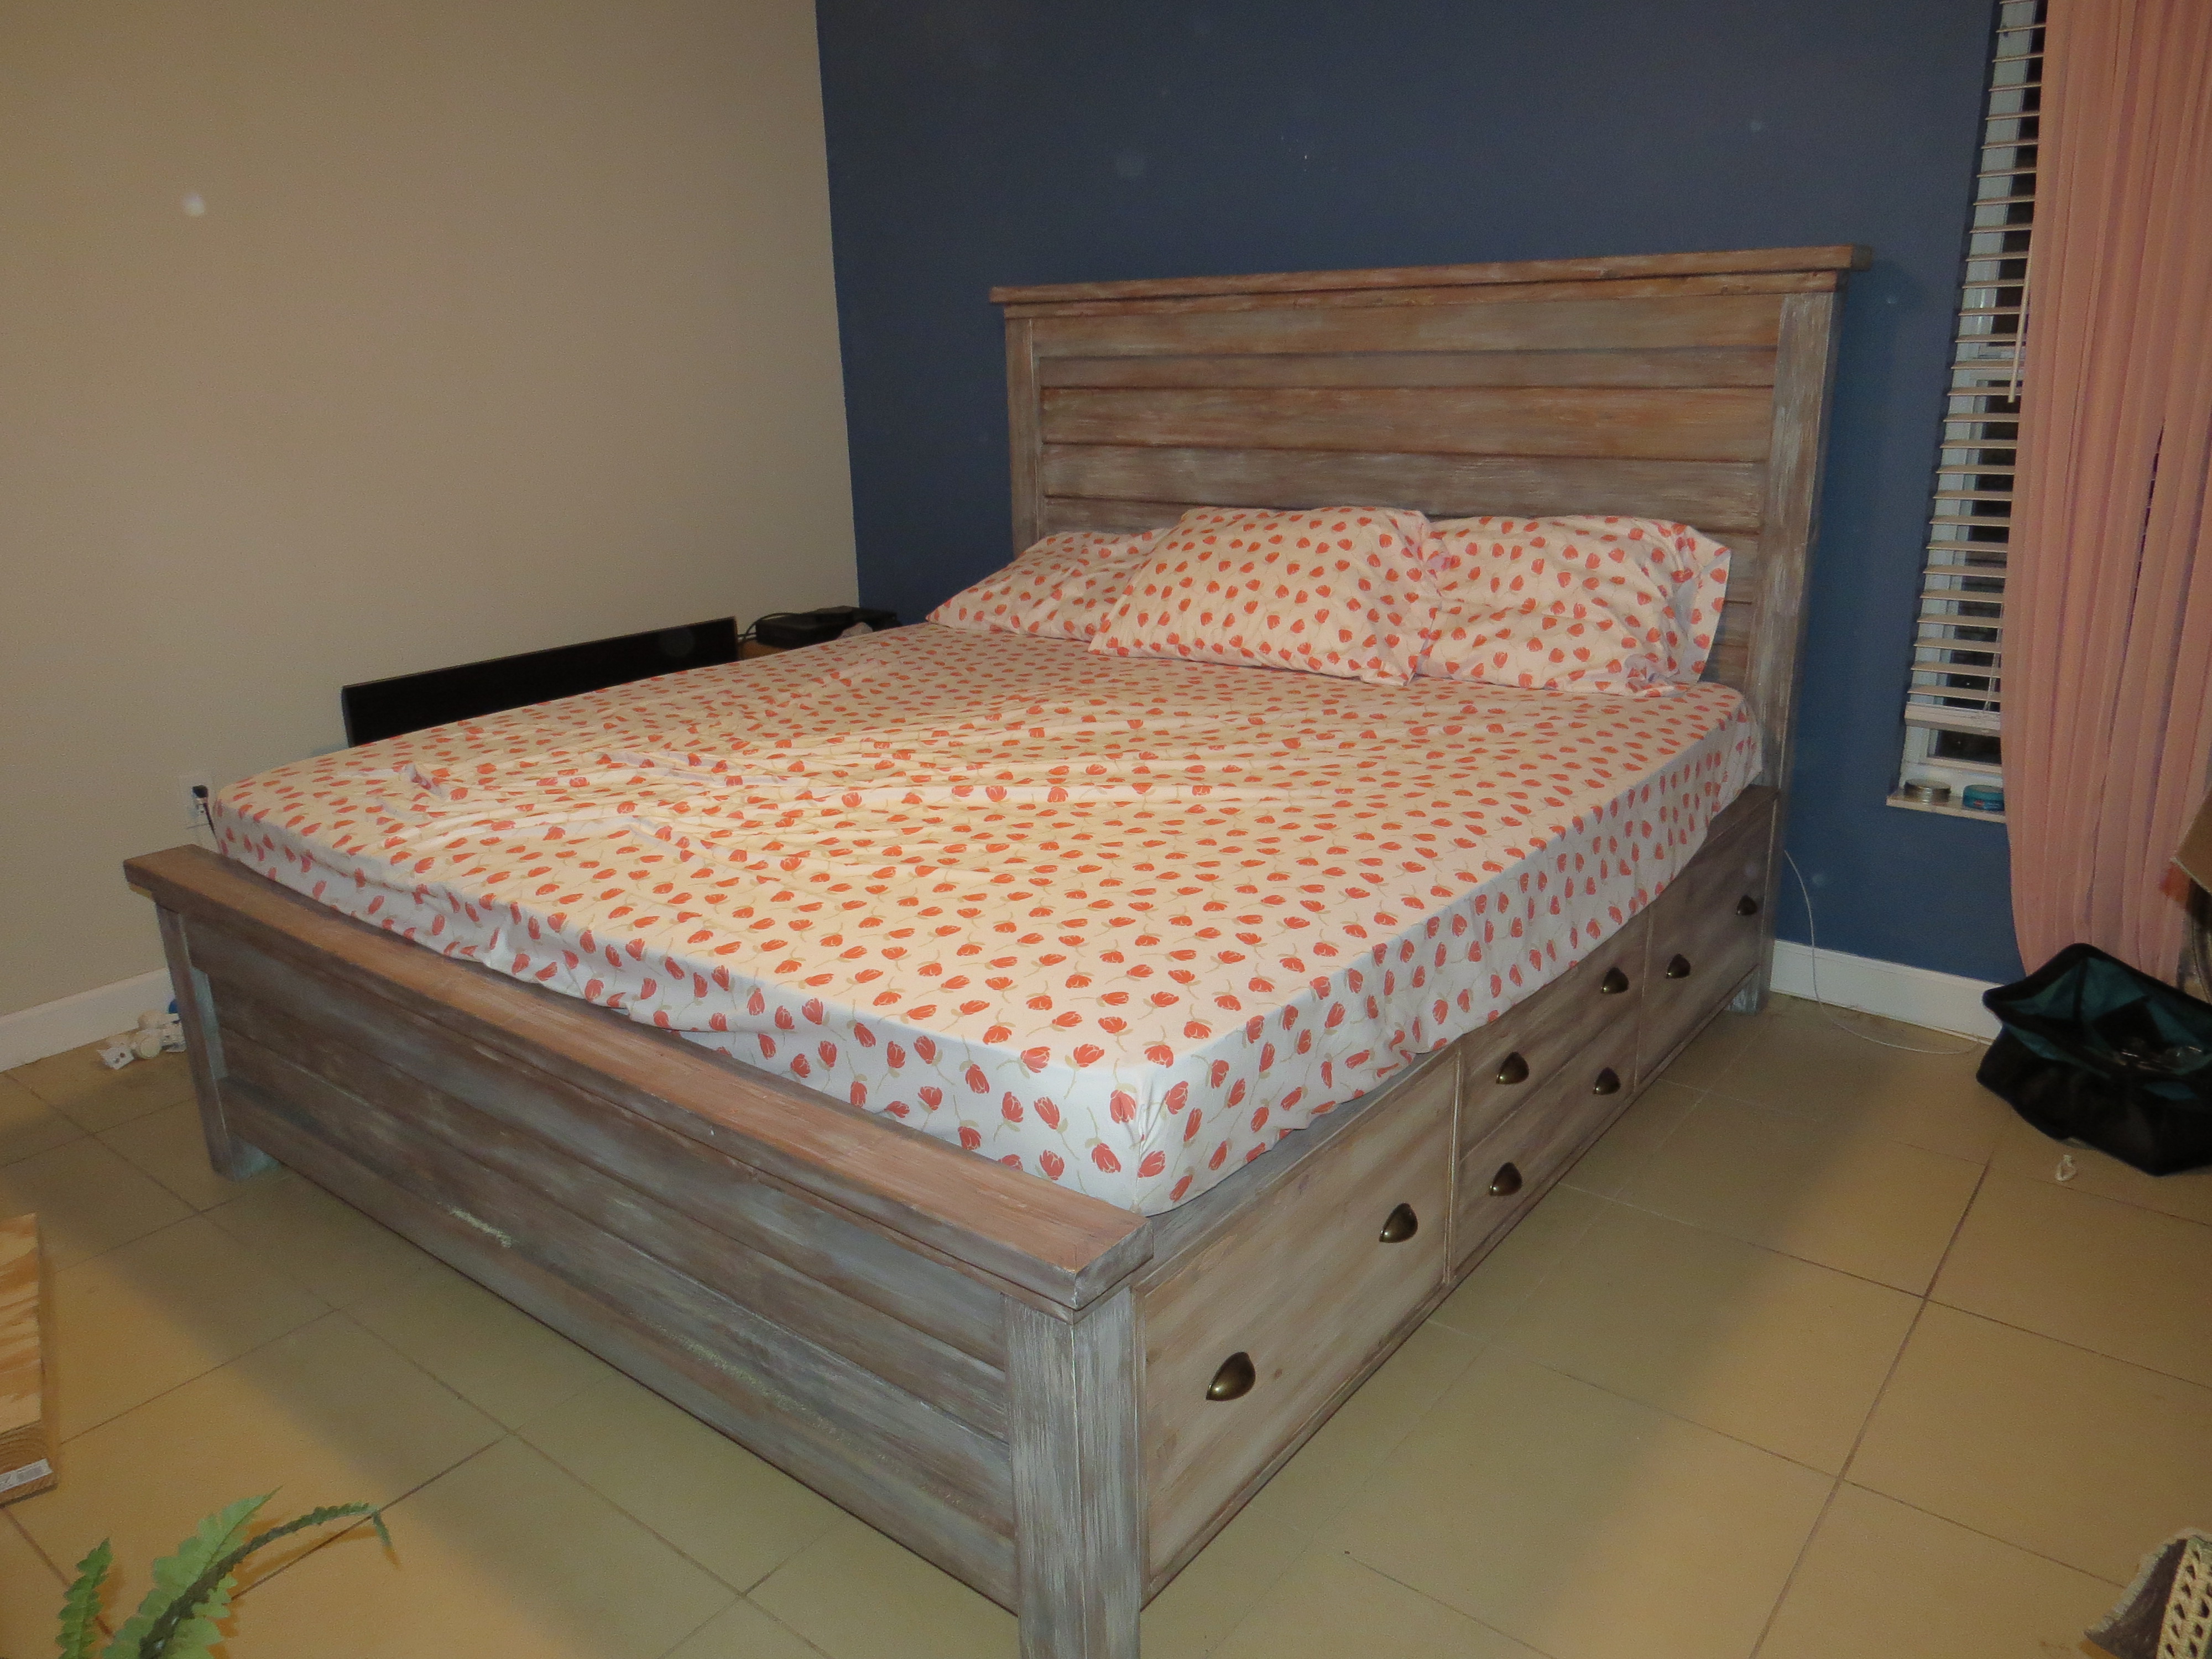
Used the farm house bed plans from here with a few modifications. Instead of plywood for the headboard and footboard, I used tongue and grove 1x6 planks. I used edge glued spruce planks from Lowes for the drawer fronts and I invested a bit more on the drawer slides and opted for the full opening type. Also, rather than 3 large drawers on either side, I opted to put 2 smaller drawers in the center. I felt the shallower drawers would be more useful for smaller items (socks and underwear). I also used a 3/4" molding to hid the ends of the plywood drawer boxes. The weathered finish was created using a video I found on YouTube (https://www.youtube.com/watch?v=k7Via9Lz4Pw). My upgrades increased the overall price, but it was still under $600 and should last a lifetime.