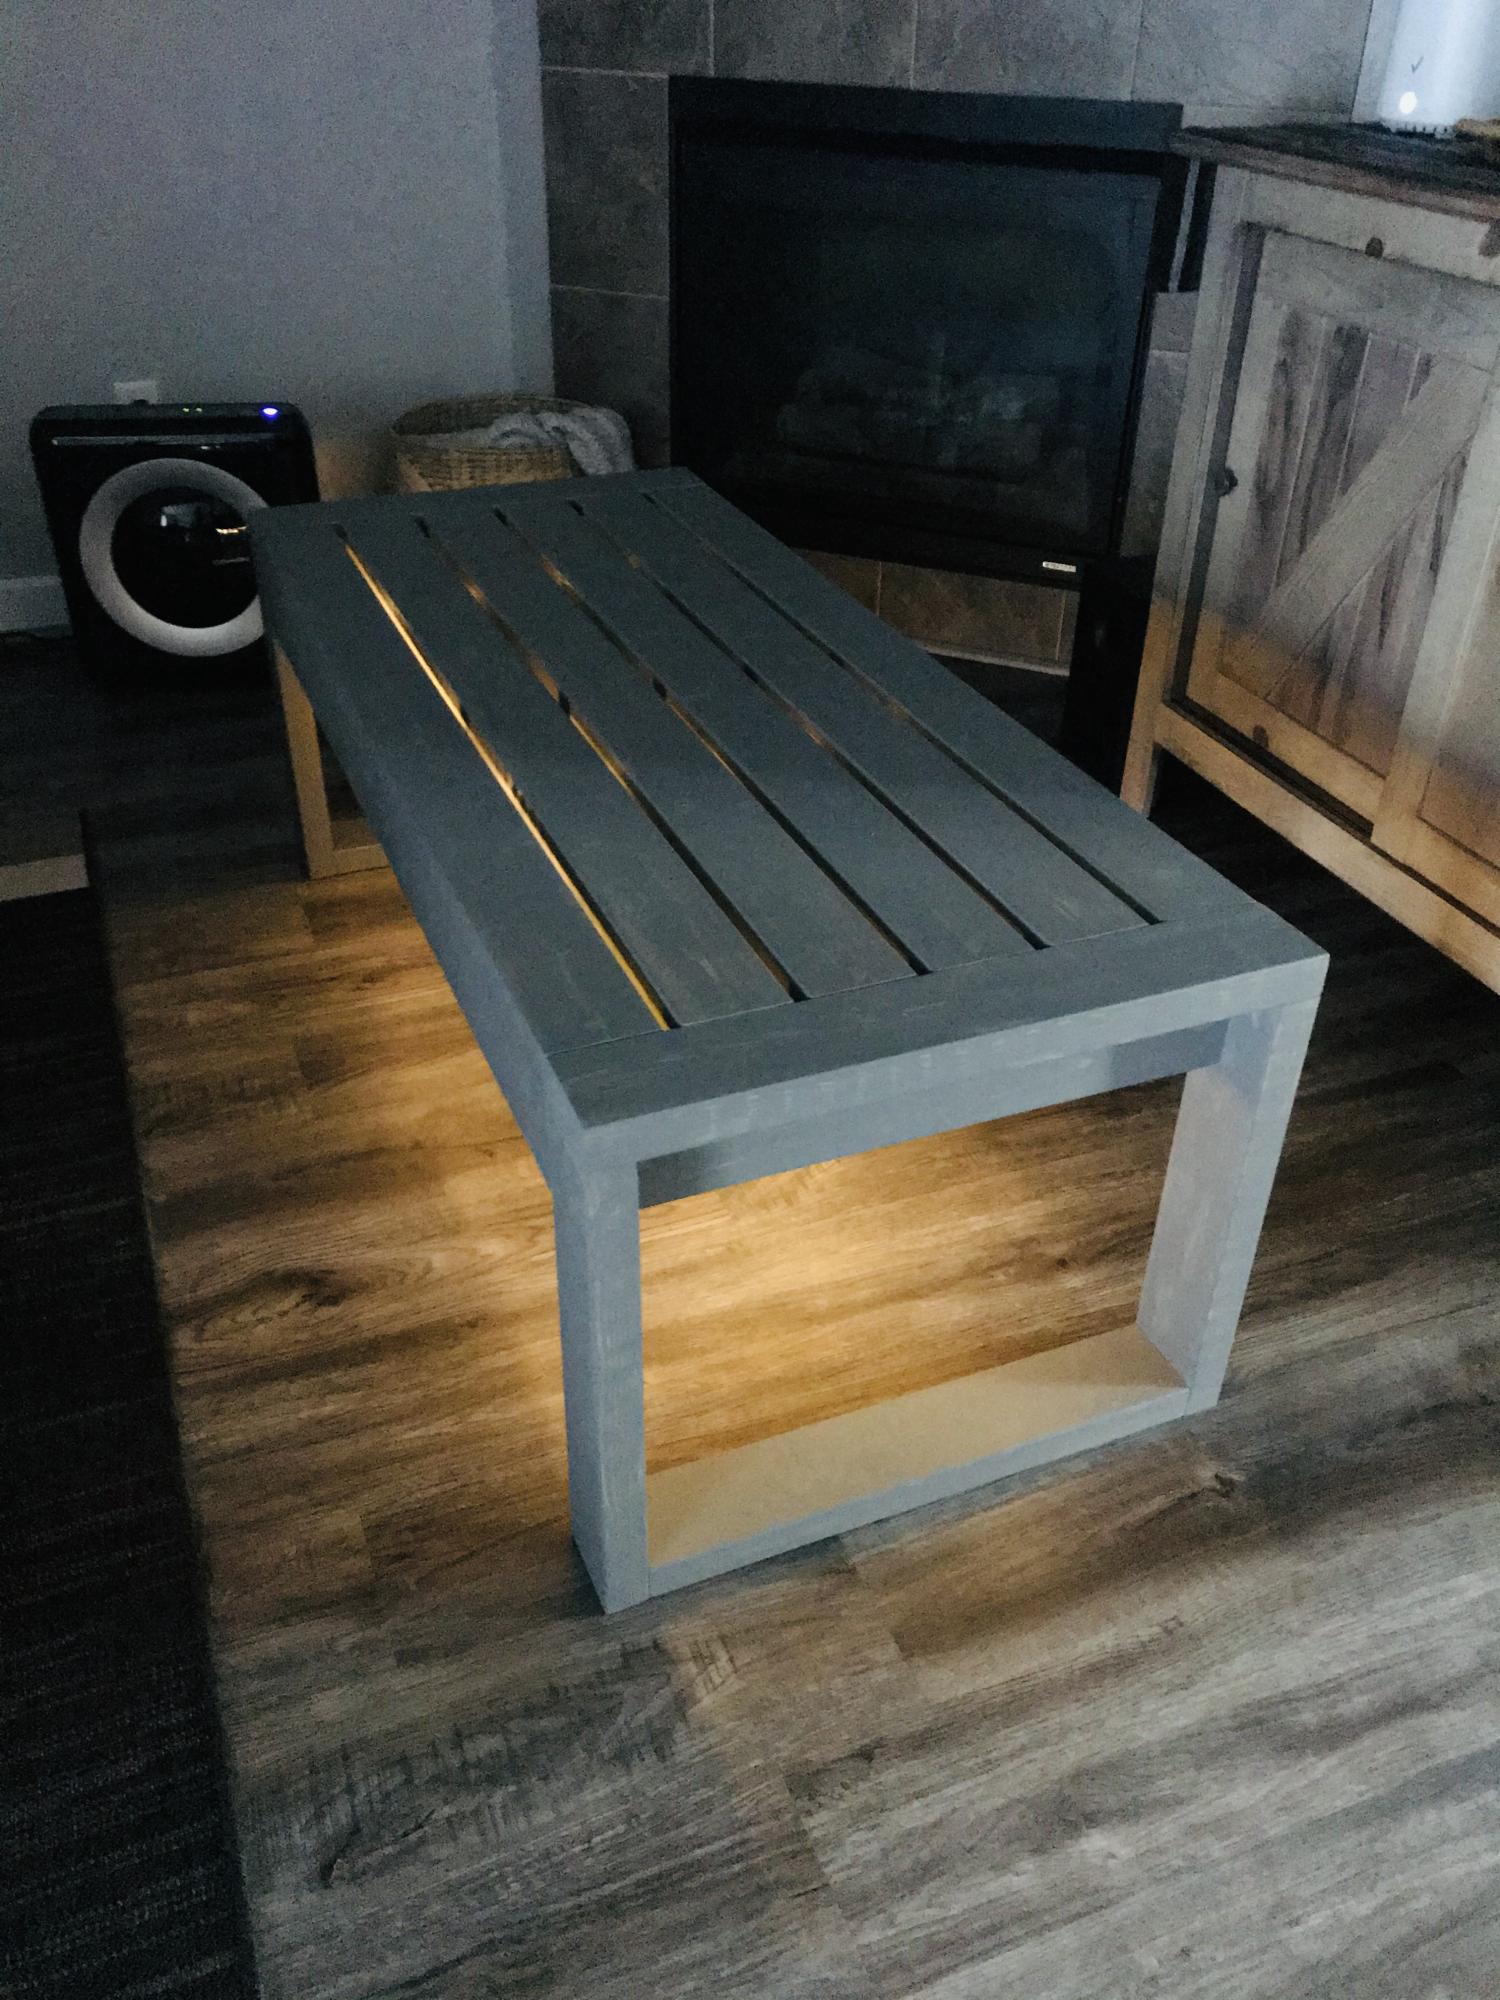
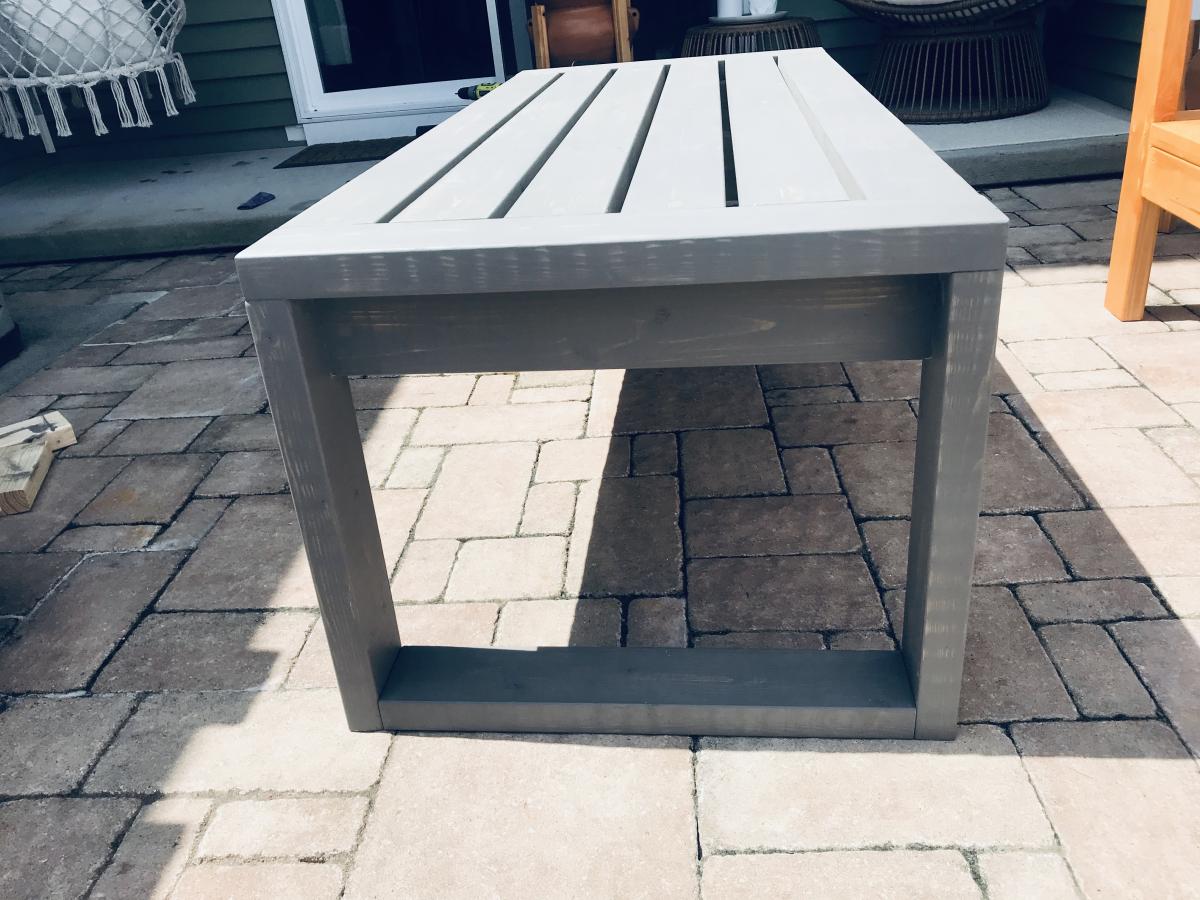
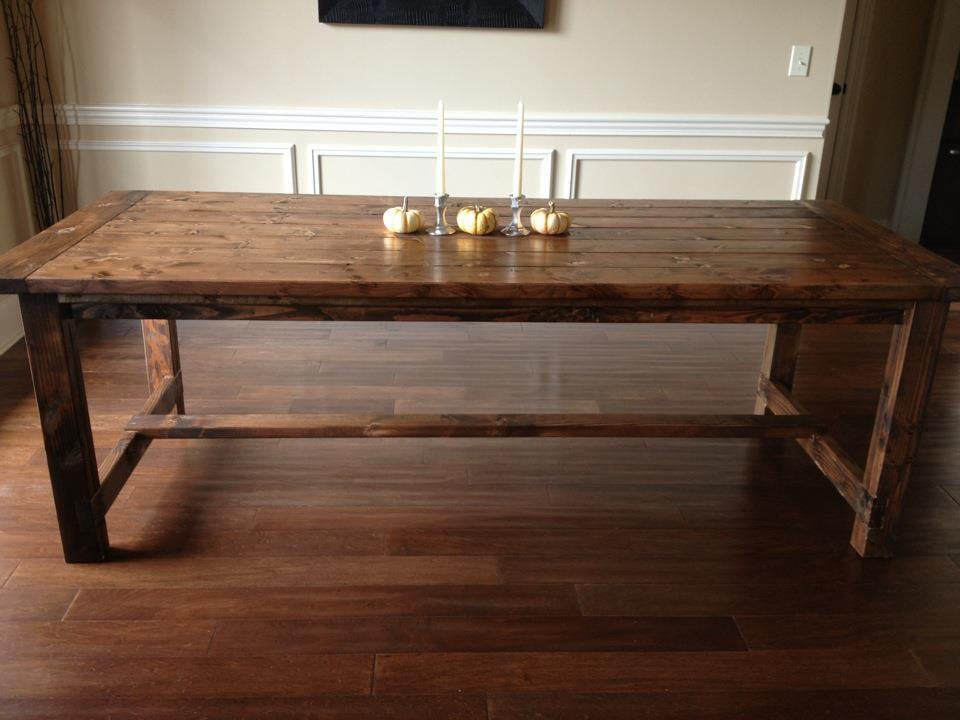
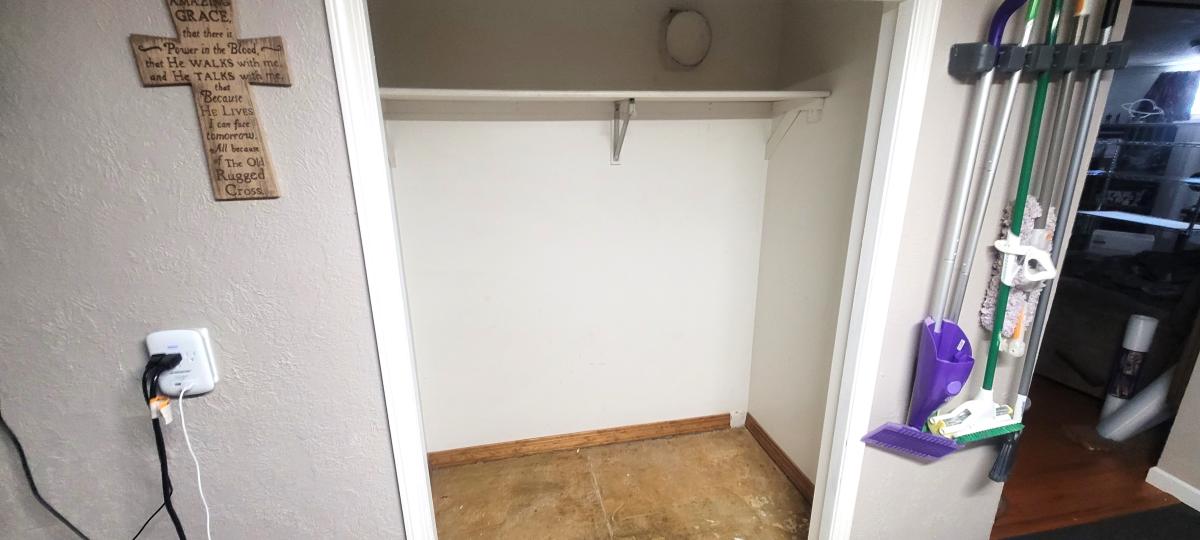
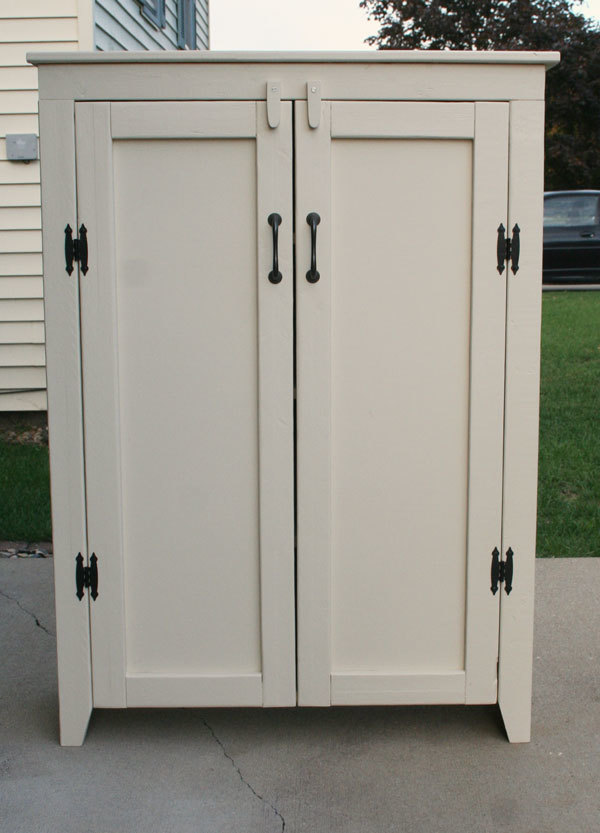
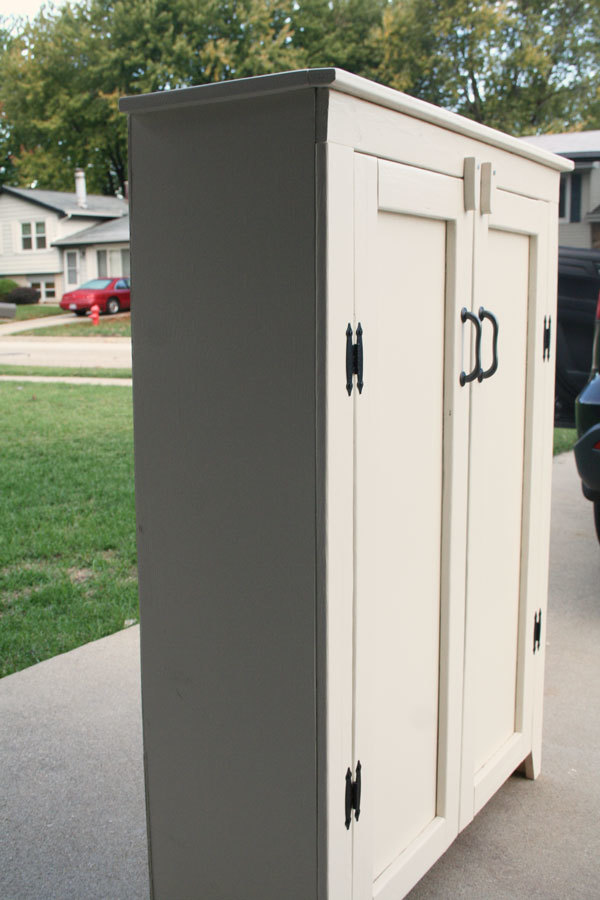
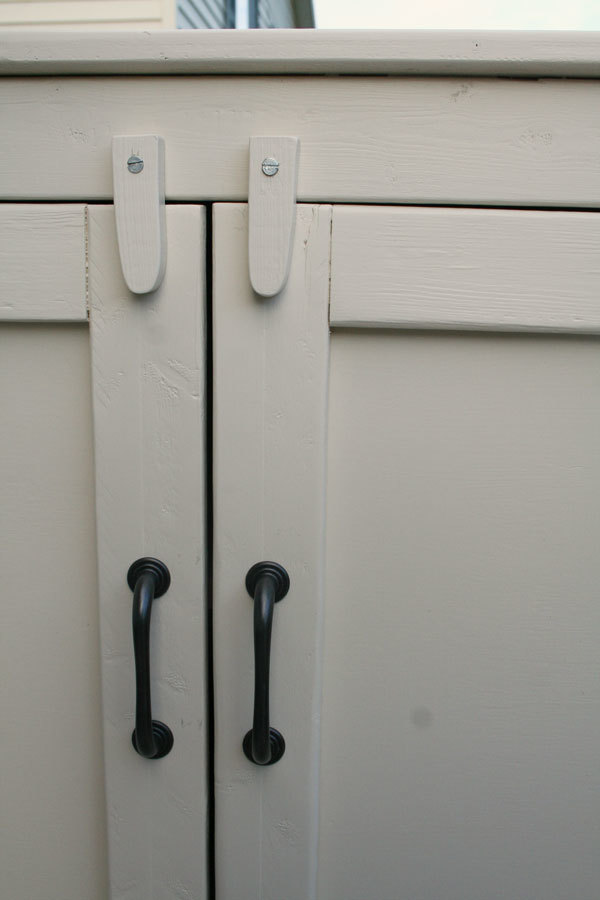
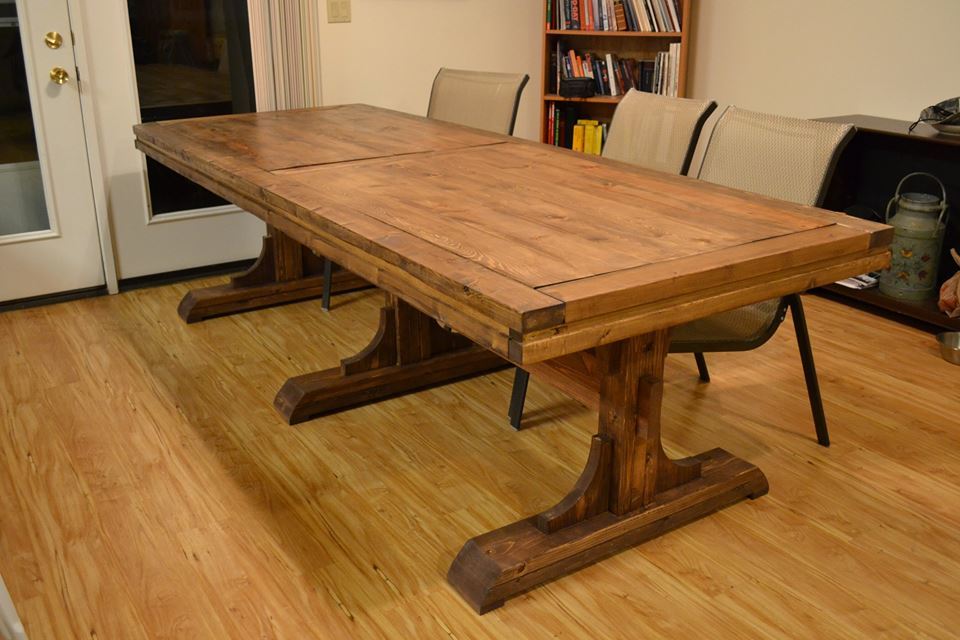
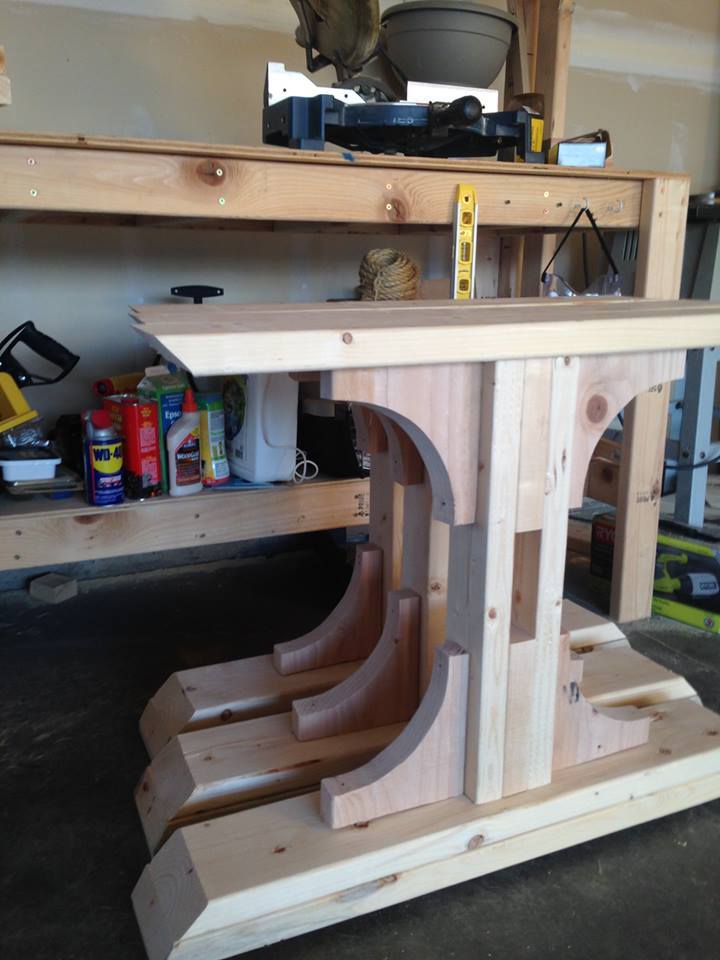
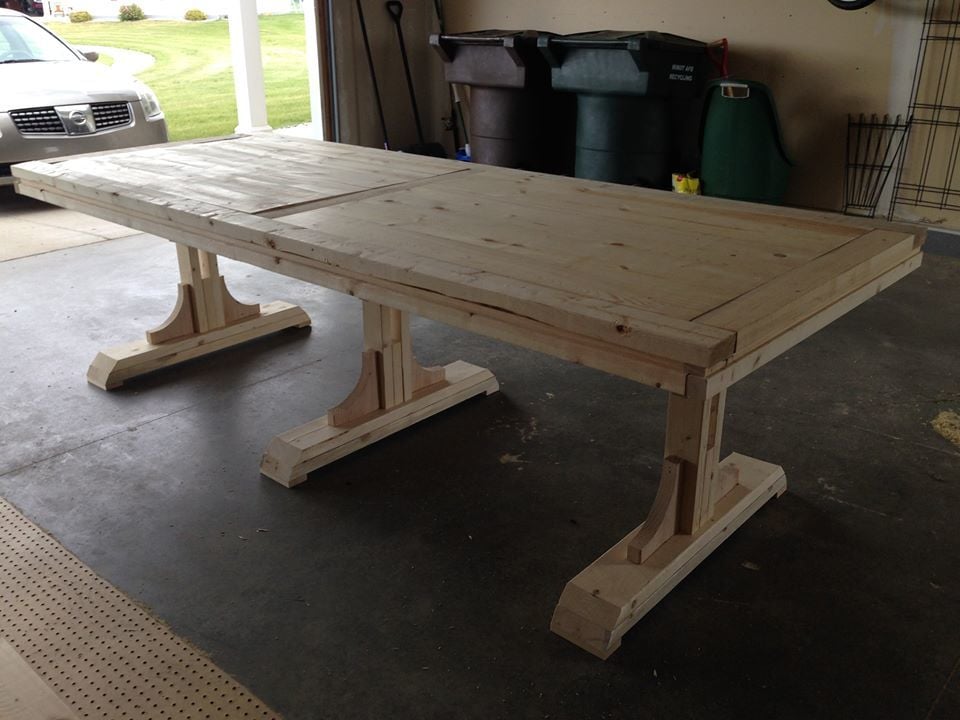
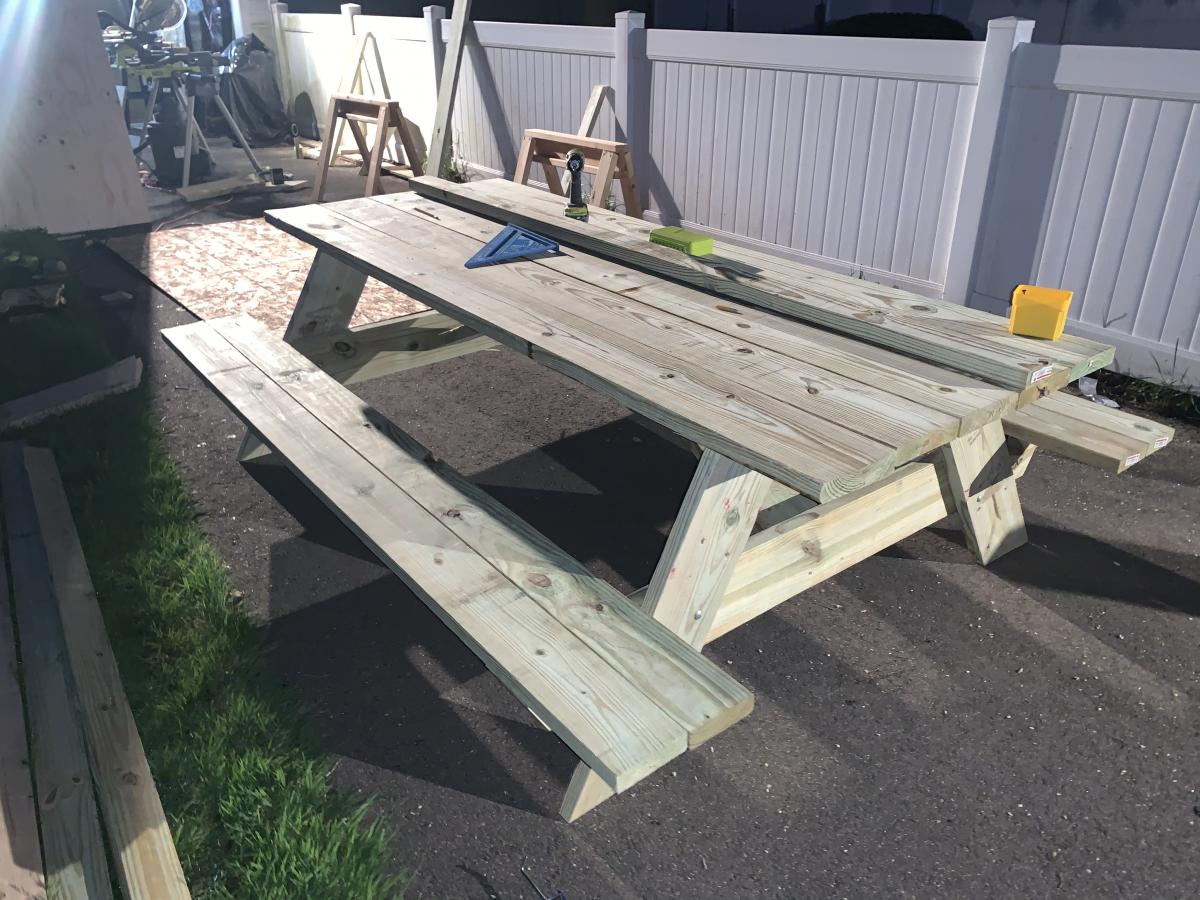
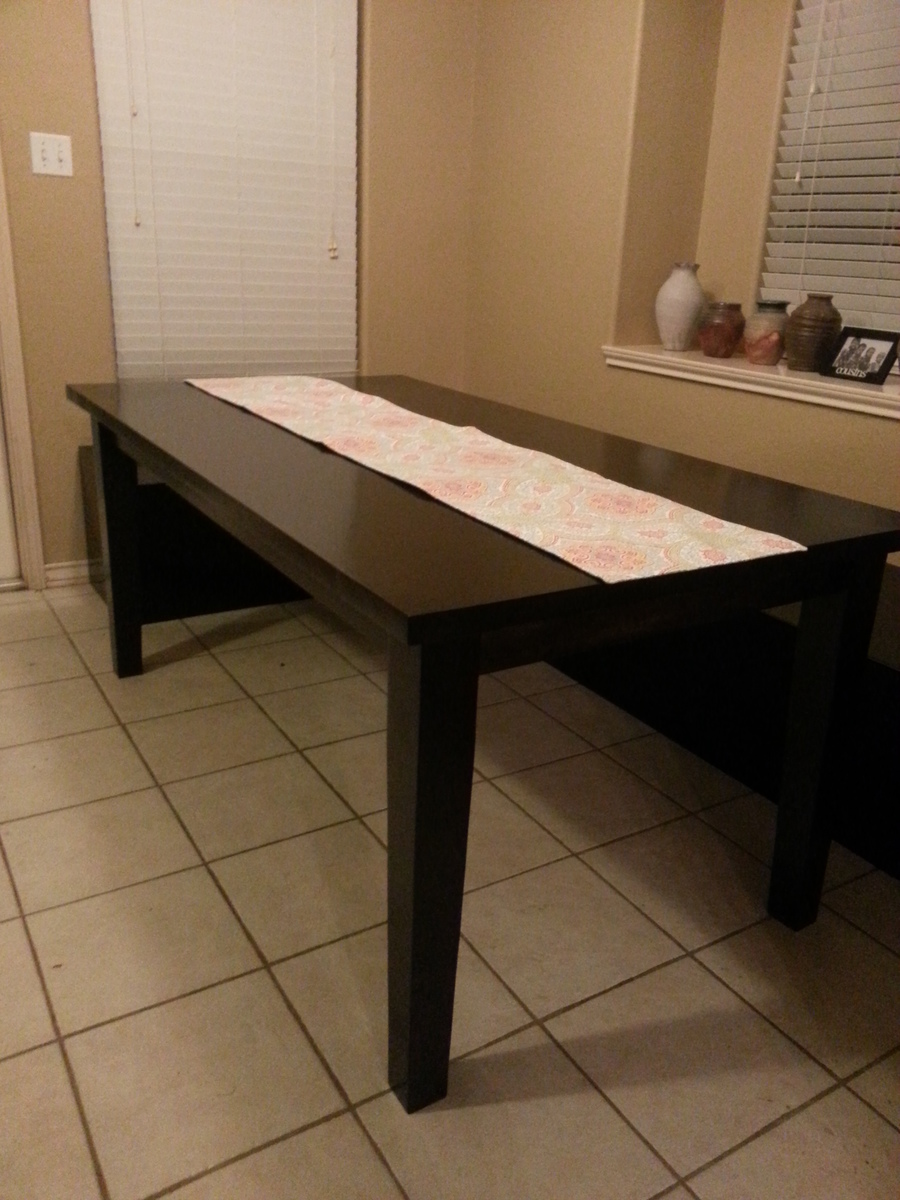
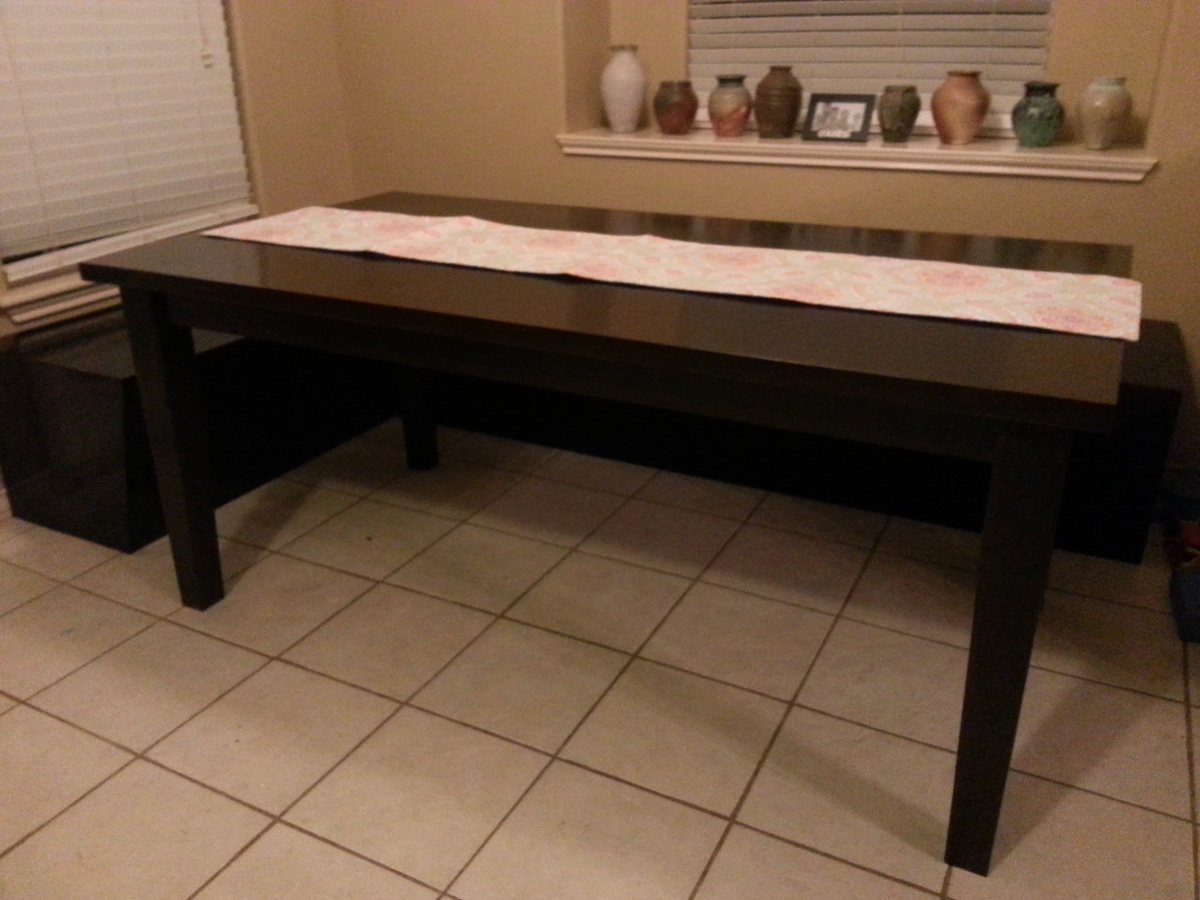
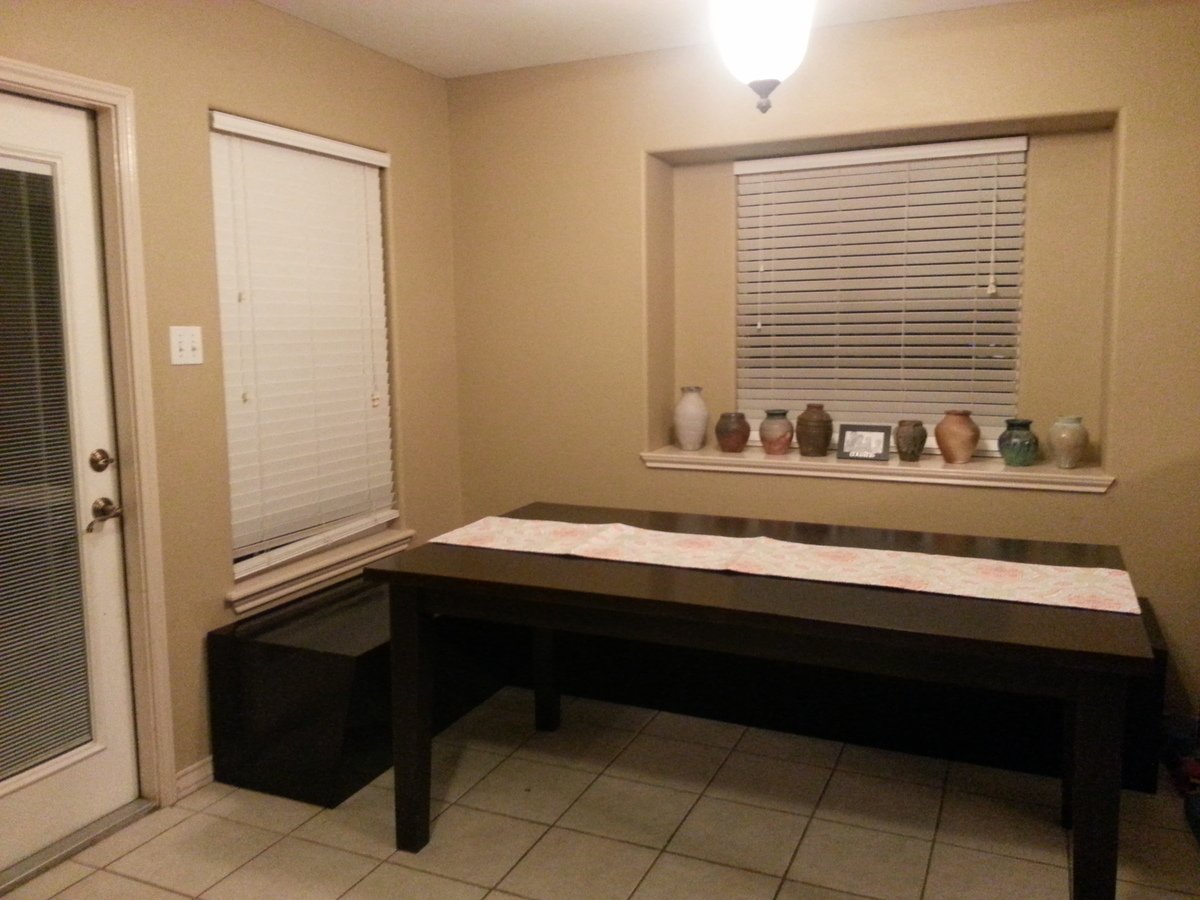
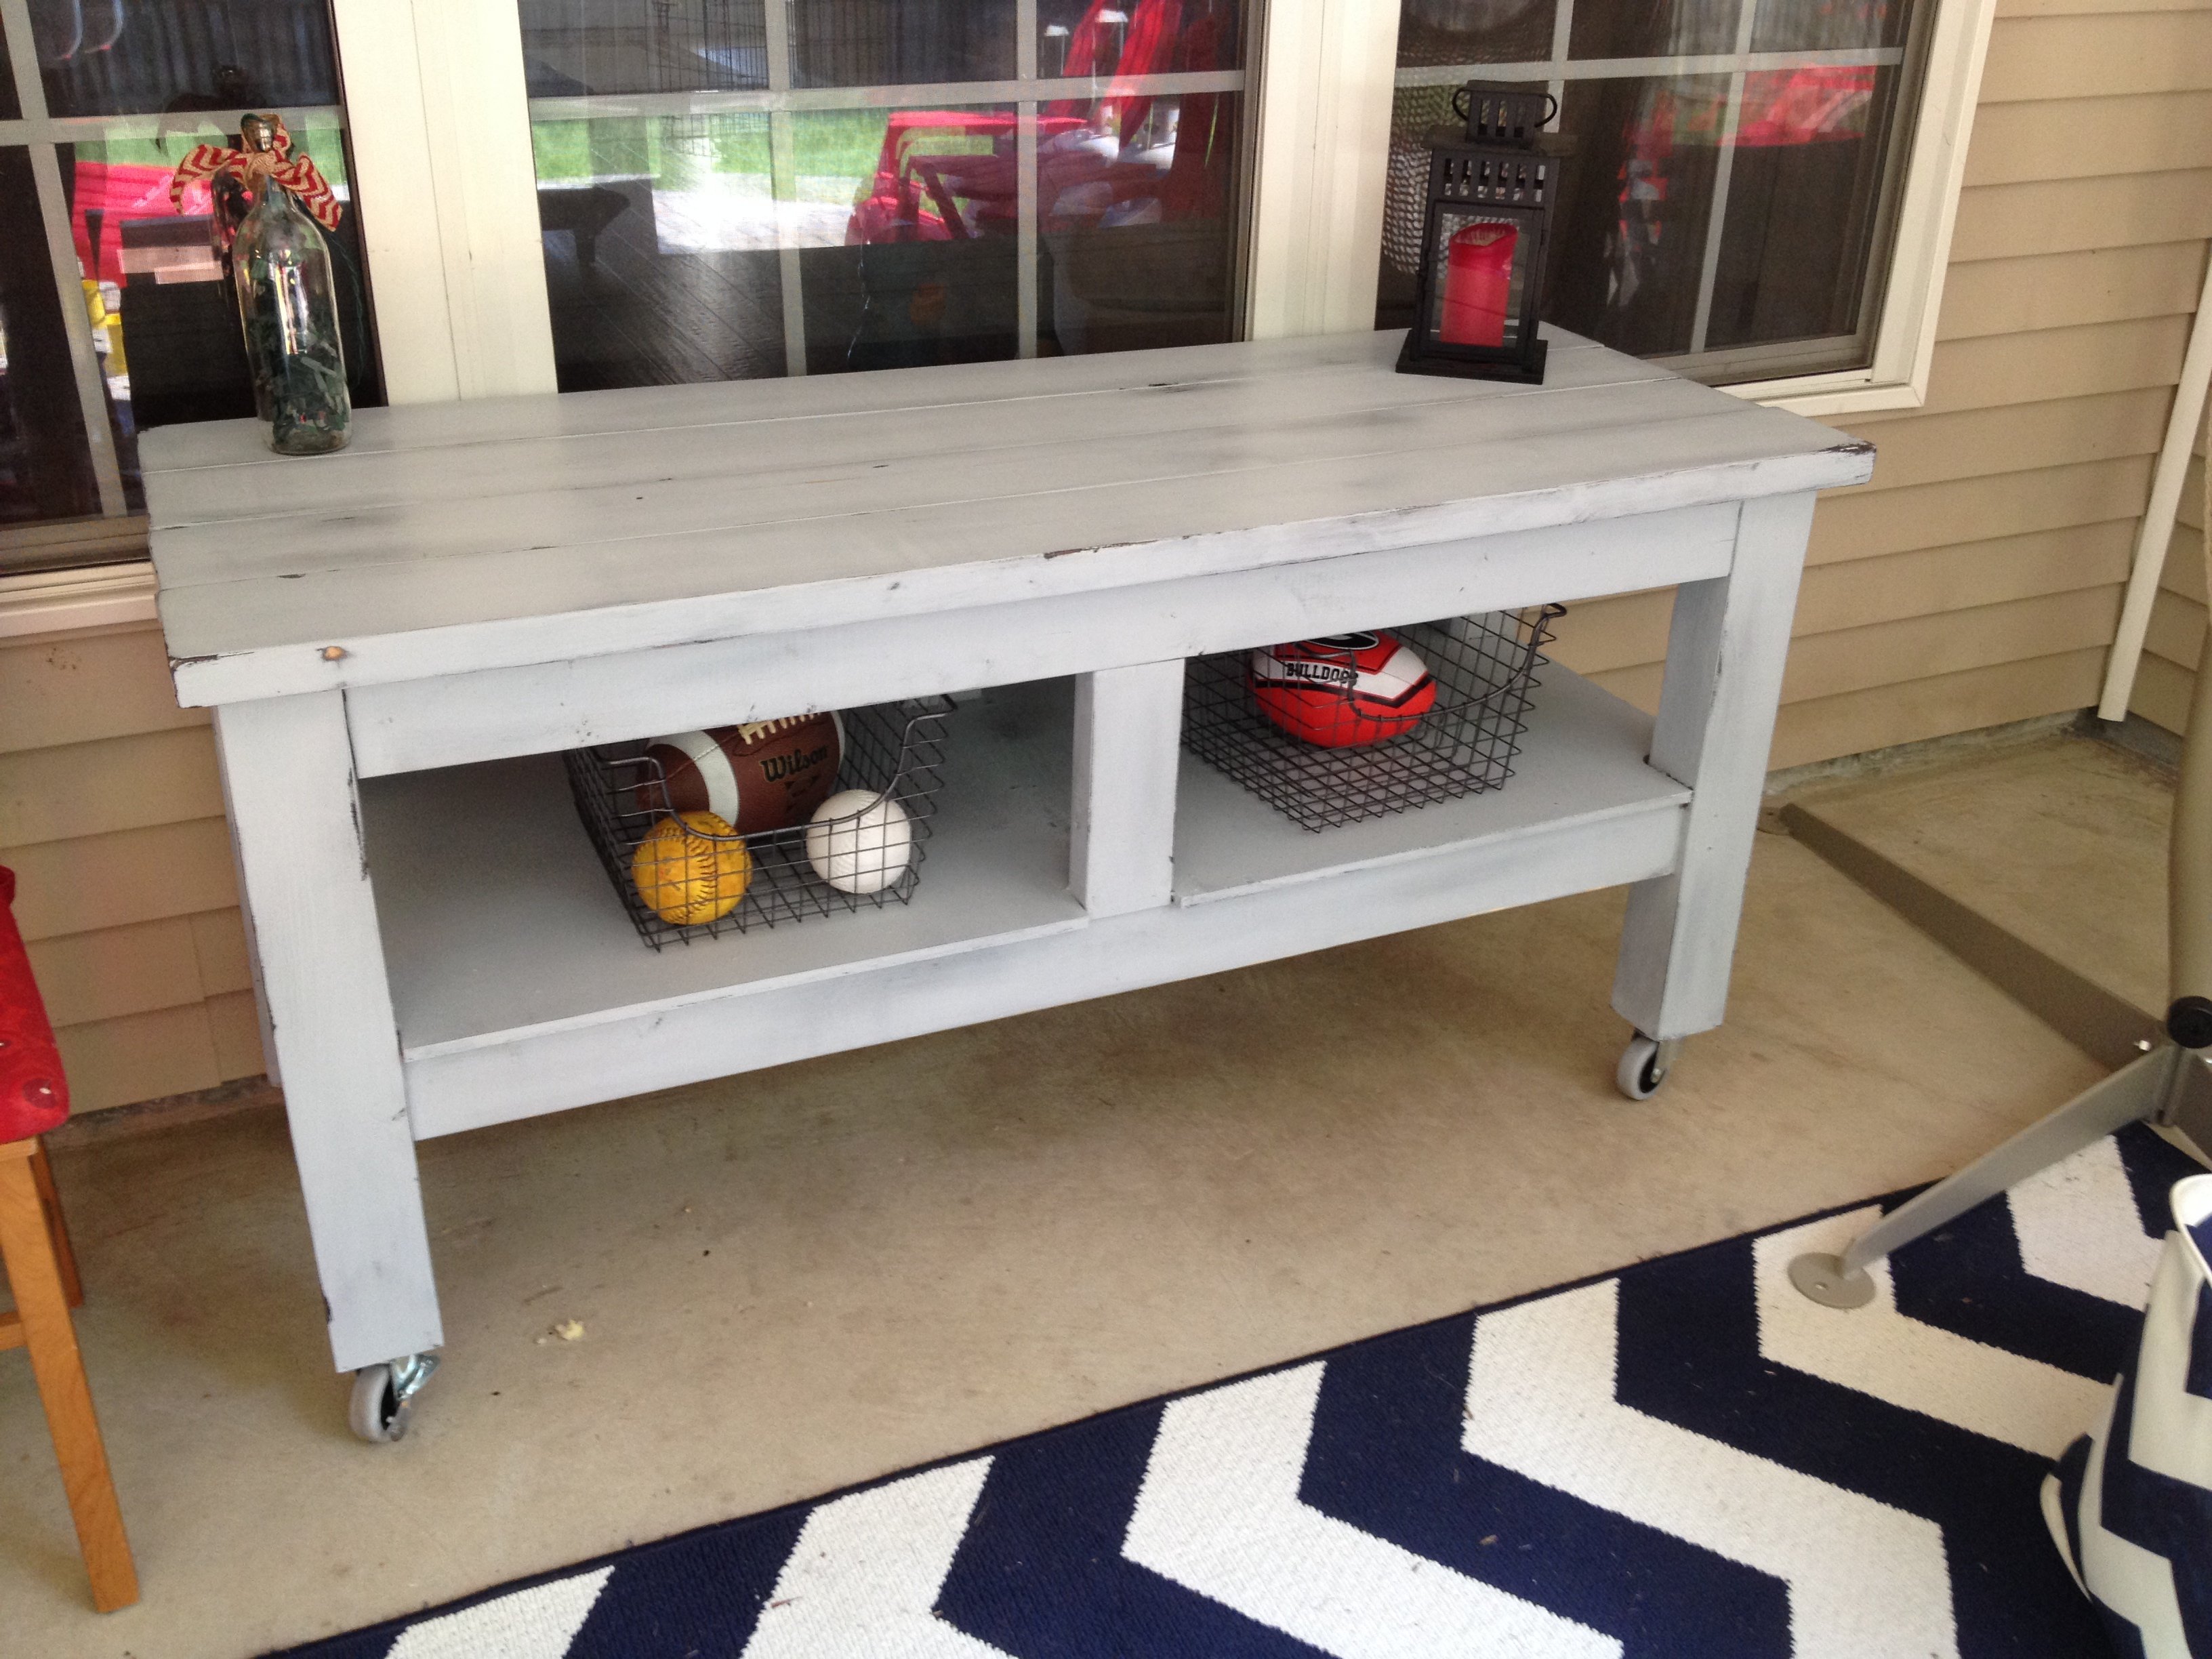
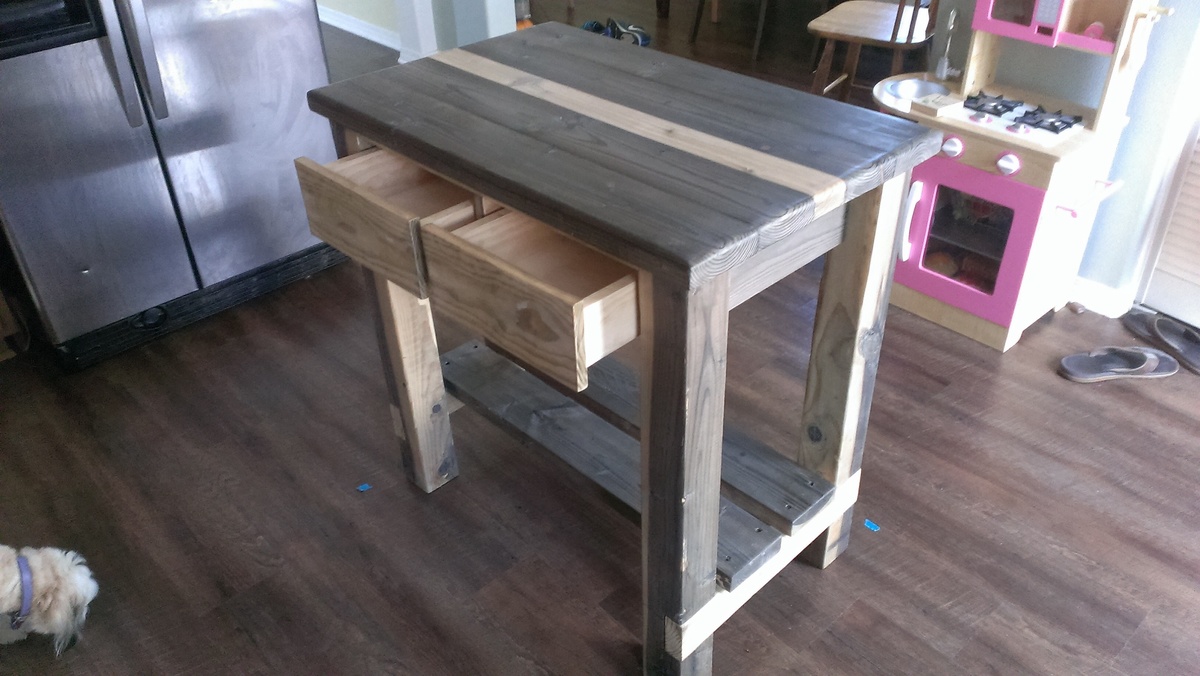
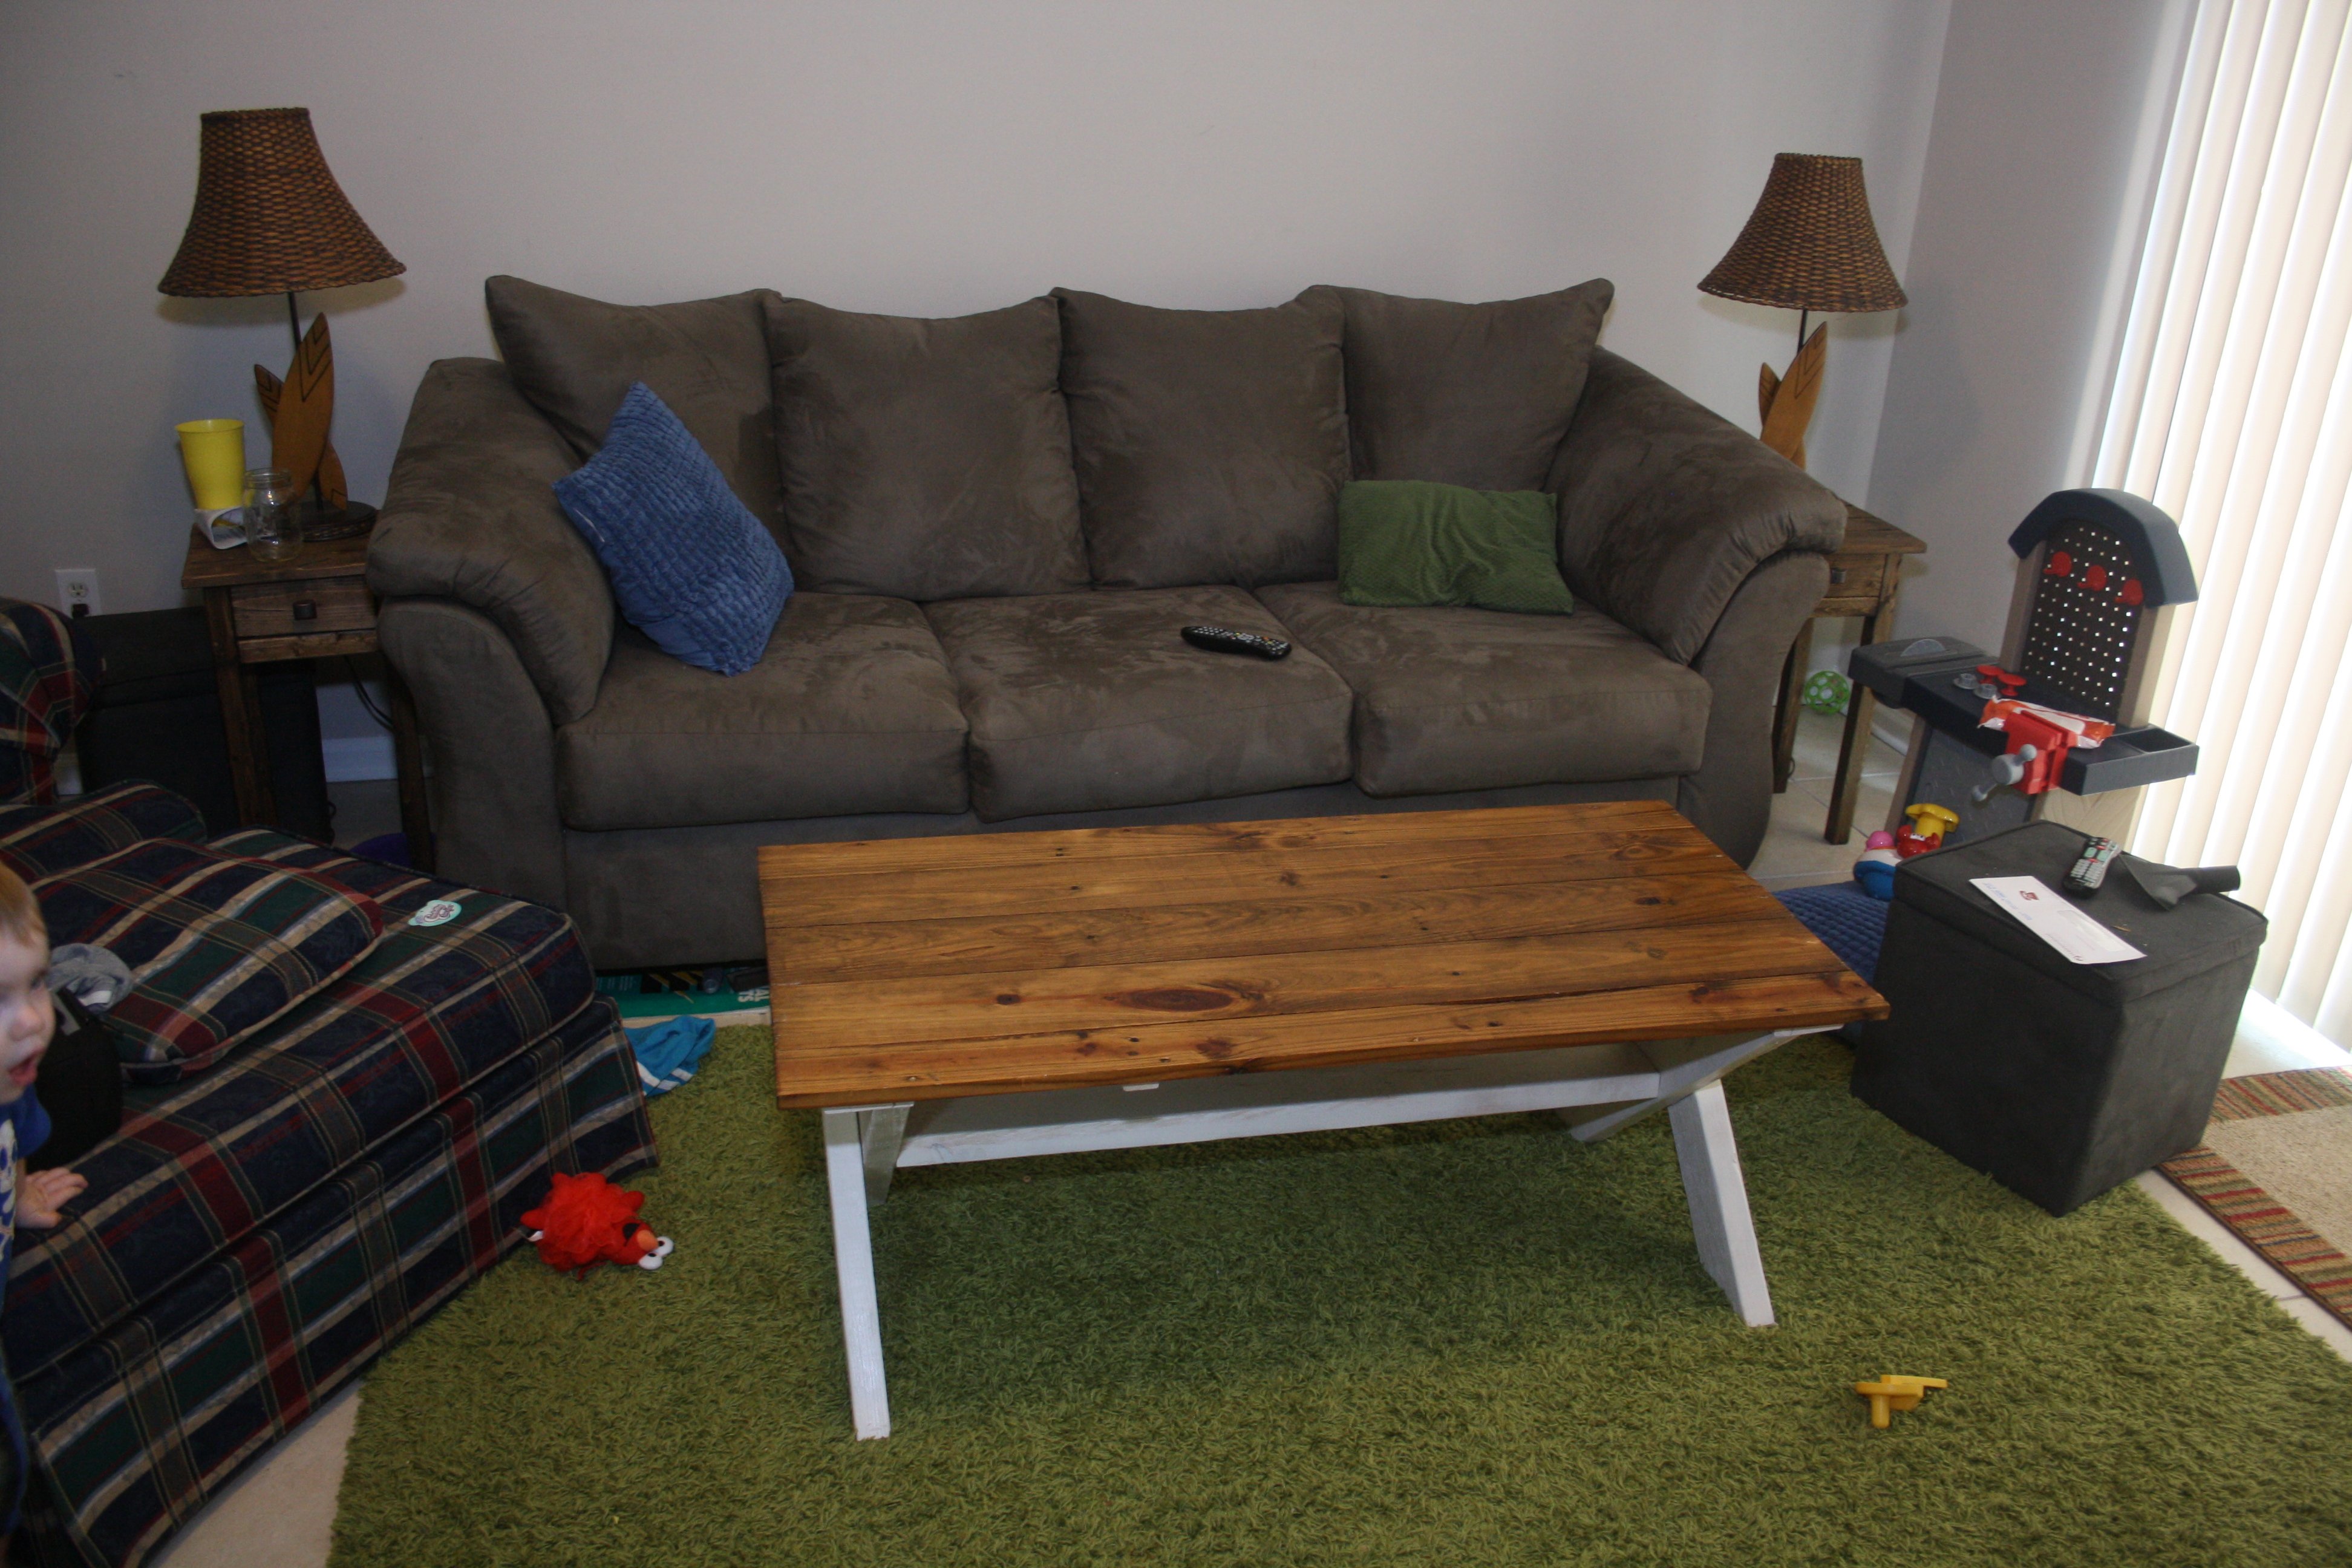
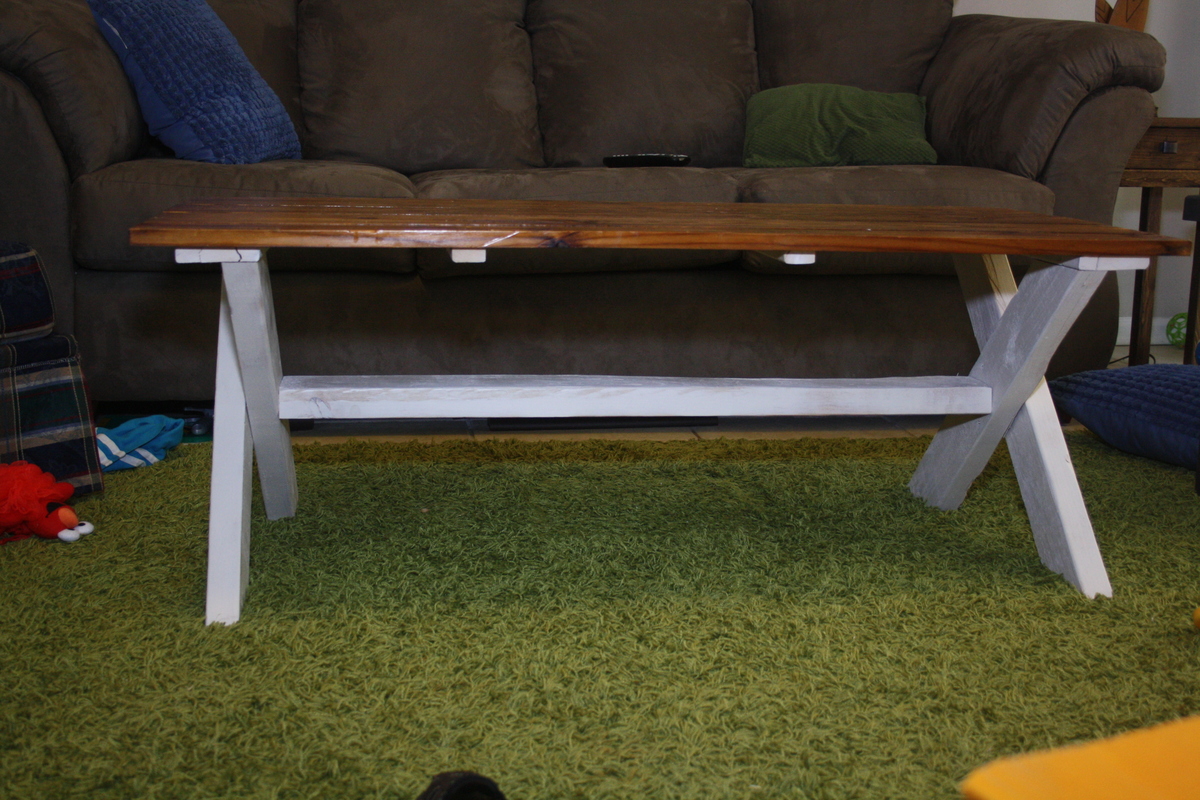
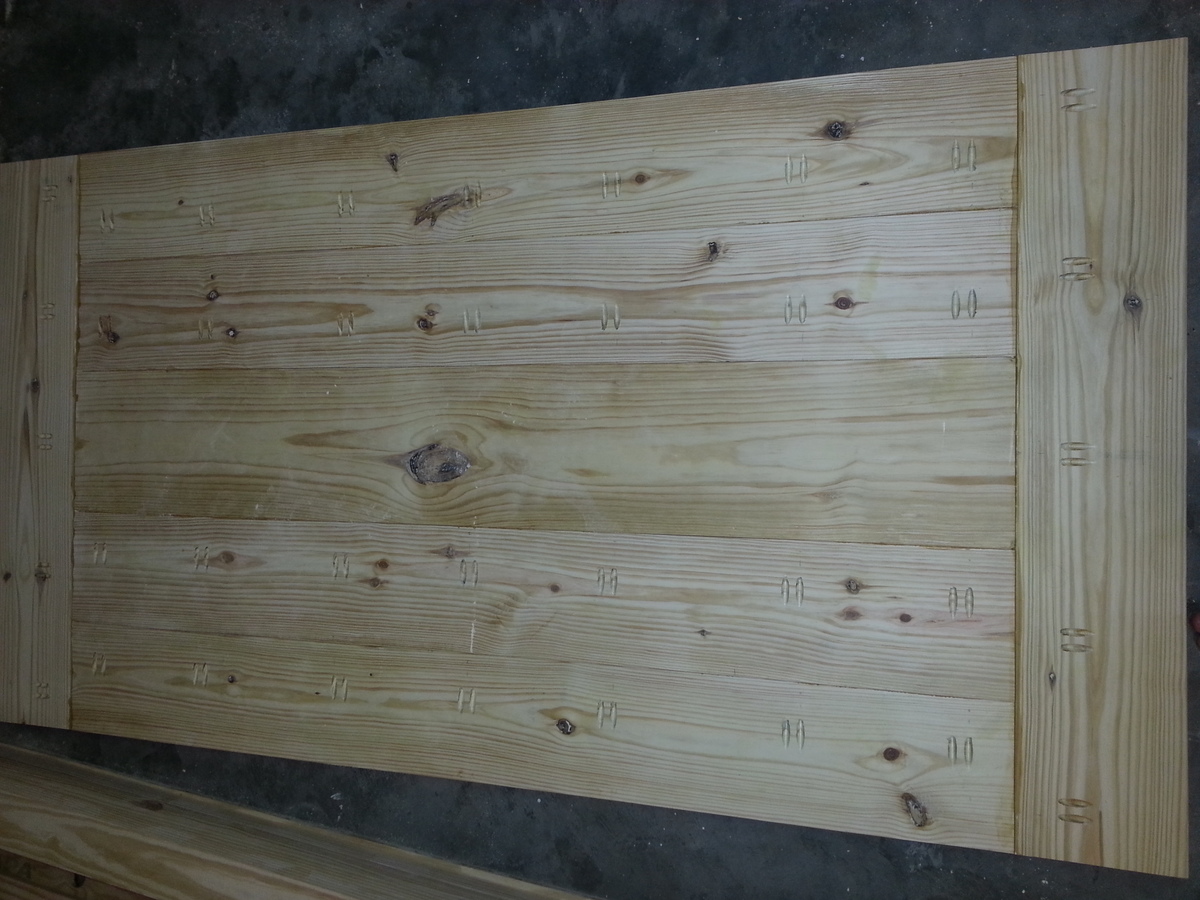
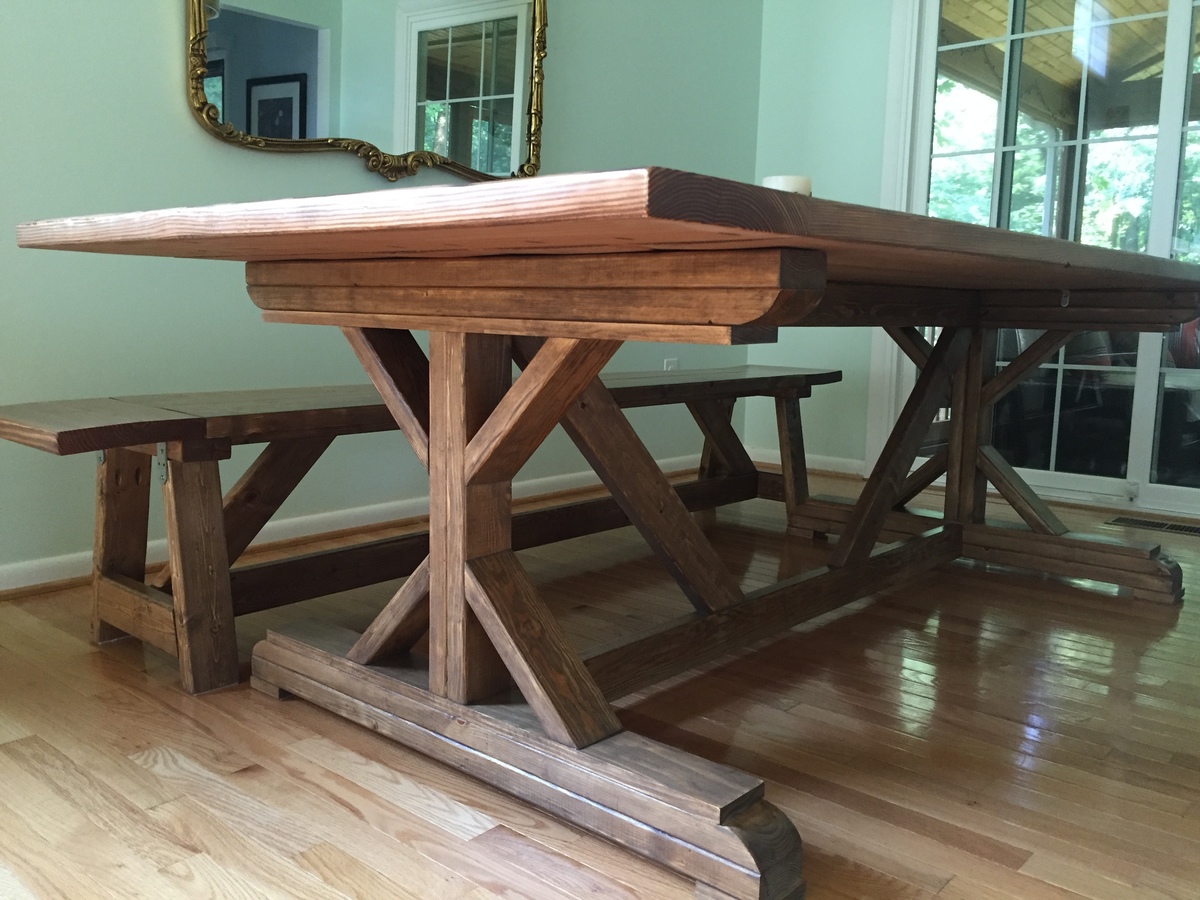
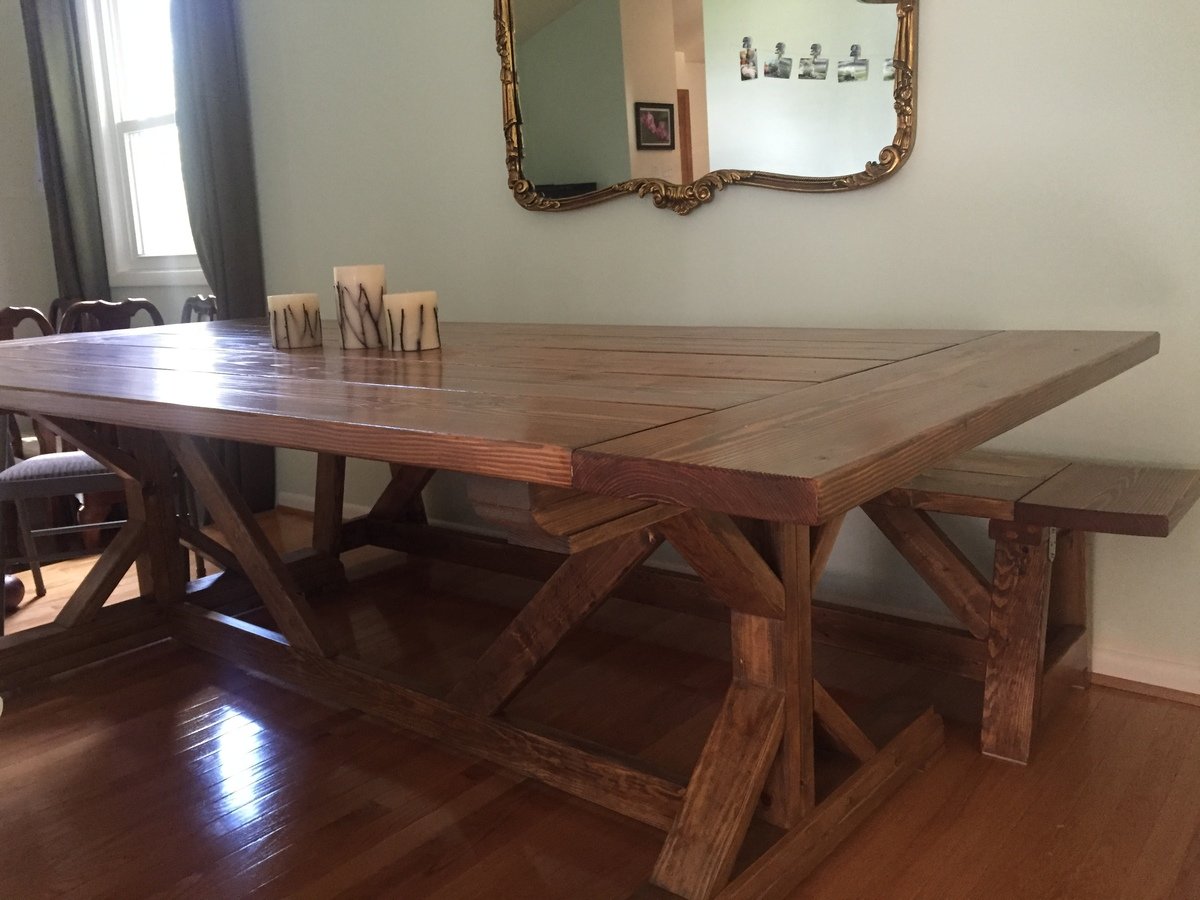
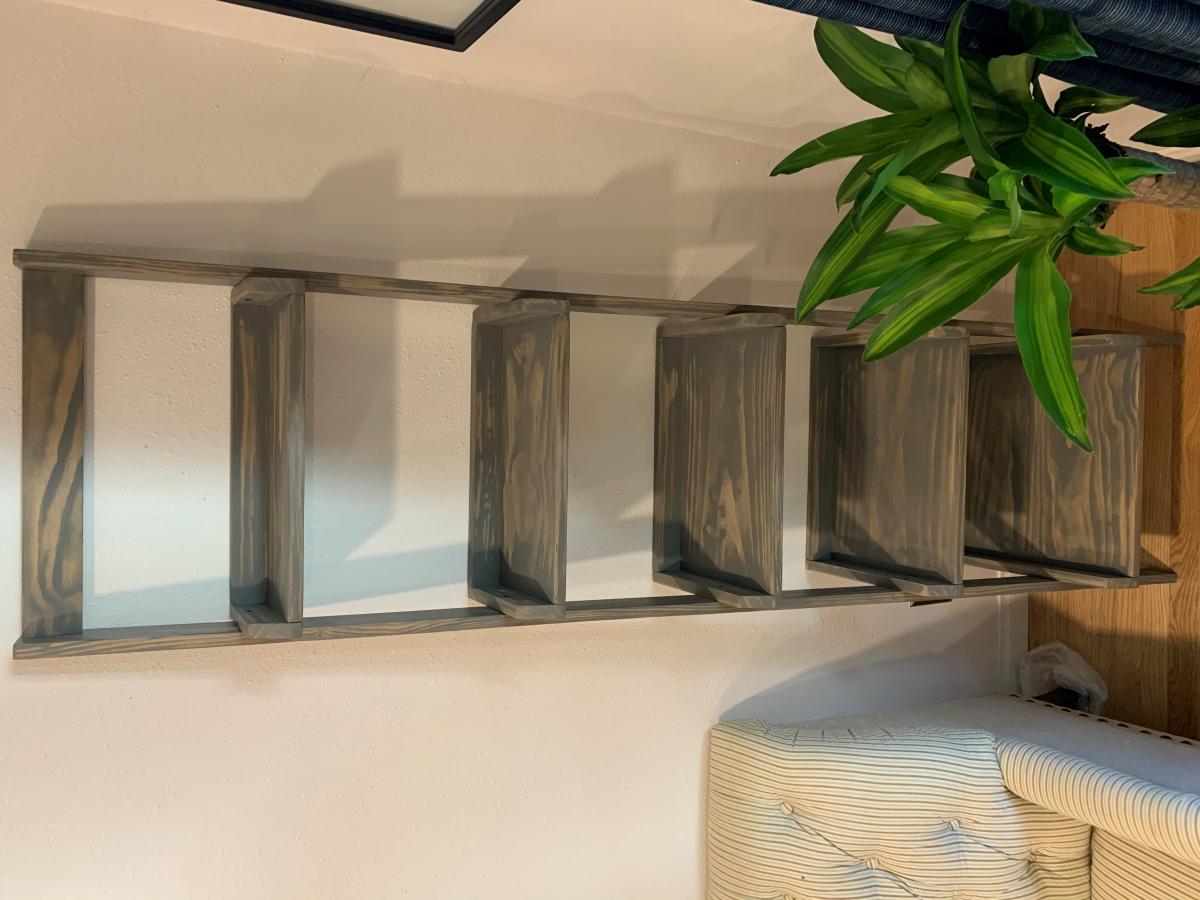
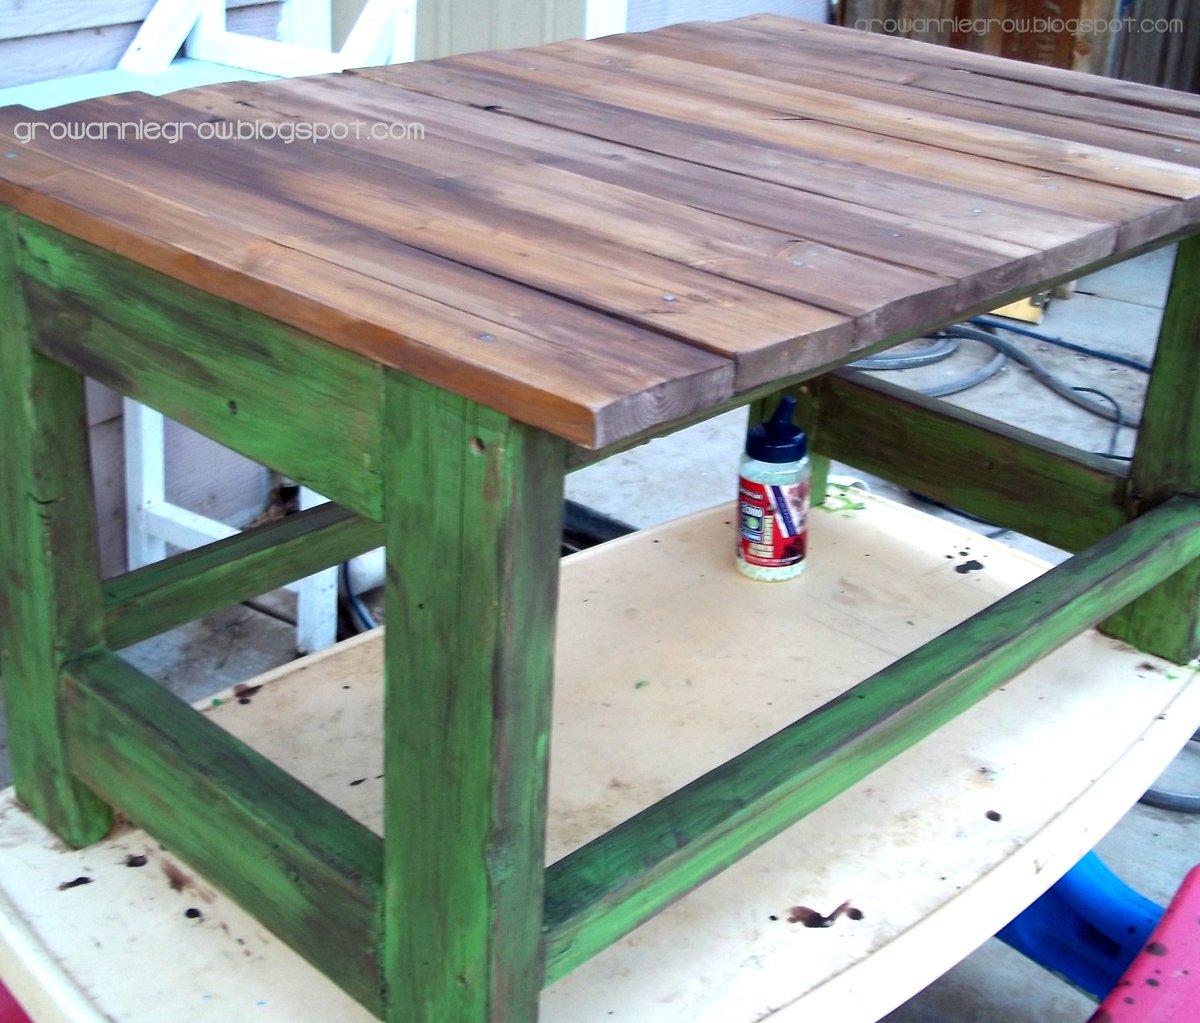
Hailey Platform bed
![](/sites/default/files/D3434E64-2CEF-4F42-BFCB-CD4D6D21EABA.jpeg)
We extended the legs to match the headboard previously installed.
![](/sites/default/files/B9831A39-C993-403B-B680-FF5AA4913880.jpeg)
We extended the legs to match the headboard previously installed.
I just finished my first project with a Kreg Jig, I used the colors from another kennel project that we found on the site because we thought it would go well with our living room. I adjusted the plans to fit our furniture and dogs, so it is shorter and not as deep as the the original plans show.
Thu, 05/31/2012 - 18:35
This is a fabulous idea. We live in a small space and this is a two for one idea. I think we will be making this soon. Thanks so much for the idea. I would have never thought of this on my own.
We really enjoyed building this playhouse swing set for our kids. We have a decent slope to our backyard, so we needed to sink our posts, which required a bit more work thank Ana's plans. We also used a real window (my dad just happened to have in his garage) instead of the 3 open aired windows Ana's plans called for. Inside we built a fold under table, shelf, and a chalkboard for thier entertainment.
*NOT SURE MY PICTURES ARE UPSIDE DOWN??* This is the second time i've built this greenhouse. We recently moved to a bigger property so I built it 4ft longer at 16ft. I had some old windows to I modified the front and rear so I could incorporate them into the design. The cedar shake really adds to the appeal of the greenhouse as well. I still have to flash it off, but we are very happy with this greenhouse.
Wed, 03/25/2020 - 10:13
Got the photos straightened out, thank you for posting!
This is amazing, thank you so much for using our plans and sharing photos, it is much appreciated!
Tue, 05/05/2020 - 12:35
Great greenhouse, I'm just starting to build one the same. What height are your beds?
I needed some extra storage space and have always wanted a storage bench in this corner of my dining room. It took me a week to build from start to finish. I’ve never done any woodworking before, so this plan was good for me, as it was easy to follow with the color coding. The only thing that was “off plan” were the X’s on the face of the bench. I had some leftover 1x1 trim, from a handyman project a few years back, that I was happy to use up. It fit perfectly and I had just enough for all X’s. My biggest challenge with this project were the lids. They have a very minor bow, so one of the corners isn’t flush. But, it’s not enough to bother me or need to re-do the lid. All-in-all, I’m super happy with this banquette and may have caught the woodworking bug!
This is a smaller version of the easiest chalkboard shelf. We needed a smaller shelf to fit between the garage door and coat closet so this was it. It was also my first time using my Kreg Jig, which I love. Such a simple little project but I am excited.
After seeing the plans for the Factory Cart Coffee Table on this site, I decided I should build one. I didn't actually follow the plans exactly...really just used them as "inspiration". I went with 5" swivel casters and 8" fixed casters, and the stain is Minwax hickory poly that has been sanded back a bit. I'm really happy with how it turned out.
Now on to the next project !
This was my 5th build. Took a few weekends working in the morning. Table is Weathered Oak (base) and Early American (top) stain. Modified the plans to make it slightly smaller so it would fit better in my kitchen. Very sturdy and table looks gorgeous in person, very happy.
My girls asked for horse stalls for their horses they got for Christmas. I was inspired by plans I saw here.
8’ by 12’ shed with extra 15” of height. Thanks for the plans!
My son needed organization and of course instead of buying something I thought I could build one. I've been eyeballing Ana's site and found this project. This is my very first one. I only had a manual mitre saw so it took a long time to cut all the pieces but it did get done and in the process my hubby bought me a mitre saw! It wasn't hard to put together but the instructions are very detailed. As u can see from the photo, my little man helped me with it!
We decided to build this a bit bigger and taller. I will caution you to be careful as we came inches to not making it through our doorways. We expanded the depth 15" to make it a full bed and we extended the length of the legs to allow for 48" clearance underneath.
We also went with a rock wall instead of a ladder. I 1st built the angle too steep; recommend at least a 30 degree angle on a wall. Kid's love it; mom not so much when attempting to make the bed! :)
We went with military theme - green rope lights, camo netting for a roof, and sandbags filled with old clothes from my high school years for a bunker underneath.
Great project! Thanks for the idea!
Modified the Farmhouse Storage Bed with Storage Drawers. Changed the design to california king and added booshelves to the headboard. Will eventually turn a shelf into a nightstand for water/light. I LOVE IT!! Thanks for the Design, Ana!
When we moved into our home, this whole area was empty. I don't remember seeing anything in this spot during our walkthrough. But I knew it would be a perfect spot for a mudroom. We were also getting a puppy and I did not want my shoes to be torn to bits. This was my very first build. I will forever be proud of this.
Fairly easy build, I am buying a compound miter saw and making more Ana White!! Thank you so much.
Built this for our Daughters 4th birthday. Both our girls love it! If we had not painted it with outdoor paint we would have been done in a few hours. It took awhile for the paint to dry and we did multiple coats.
Sun, 05/27/2012 - 11:39
So awesome!!!!!!! I love the paint too! But nothing beats those smiles!
I needed a better way to store my fire wood. The rack that we had only held enough wood for to load the fire place and add 2 or 3 as needed before the wood was gone. I wanted something that I could hold more wood.
I was looking online at different racks and came across something that looked like a bookcase with no shelves filled with wood. I then looked at where I had my wood and saw that I had a nook to put something like that in. The photo of the shelves with only a little wood is all the wood that was in the metal holder. I had a lot of space left.
After looking at various store for bookcases and shelving, hoping in vain that I could find something cheep that would fit the size I needed, I came to see what plans I could use from Ana's site. I looked at the cube tower and the locker cabinet and finally used the pdf from the locker cab resized to fit my needs.
My wife remembered seeing something about banding on here,( http://ana-white.com/2013/11/momplex/finishing-plywood-edges-edge-bandi… ) So we found some white to match the wood. I think the banding turned out good.
I did have a hard time getting the drill in to the pocket holes for the second side of shelf. I started to look on line and found 3" bits at Lowes and HD, but it was 10:30 at night. After looking some more I found a great post on Kreg's site for using a ratchet with a 1/4" socket to hold the bit. http://kregjig.ning.com/photo/ratchetasrtangledriver-1?context=user
My wife also said I should add one more shelf for keeping the wood stable. I told her that I would be fine. Now that I have filled it up all the way I think another shelf would be good to keep the wood rotated. Have one stack of room temp wood, and one of just from outside trying to warm up. So she was right that I should put in another shelf. ;)
I think it has opened the space by the fire place and should help my daughter not to stub her toes like she did with the rack.
The wood was $30 and HD cut if for no charge. It only took one sheet. The banding was around $5 and I had to buy some more Kreg screws.
The Size is 12 1/2"W 18"D and 79" high.
The blue bag under the shelving is an Ikea bag. It is just the right size and strength to carry the wood in.
Mike
Built for my parents 50th anniversary
Very nice bed side tables. Very impressed.
Golf bag stand
Can’t remember if found this plan here or not but get most my plans here. Fun and easy build.