Farmhouse Table
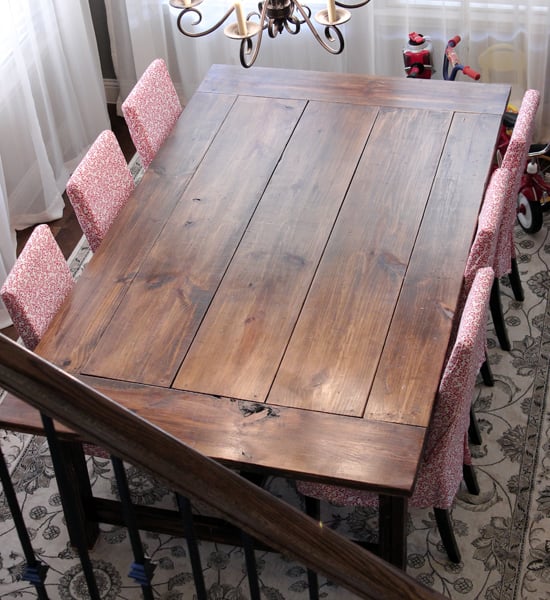
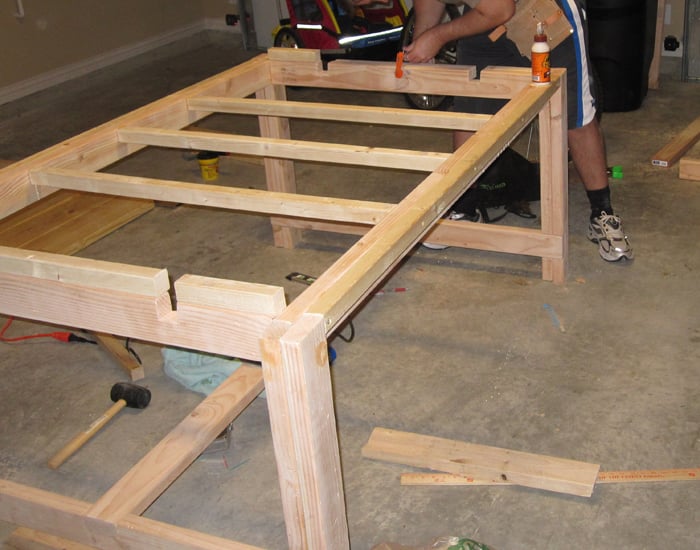
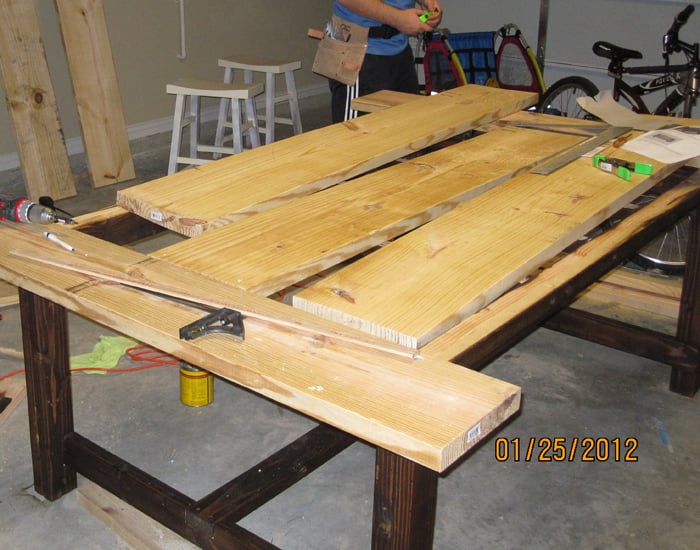
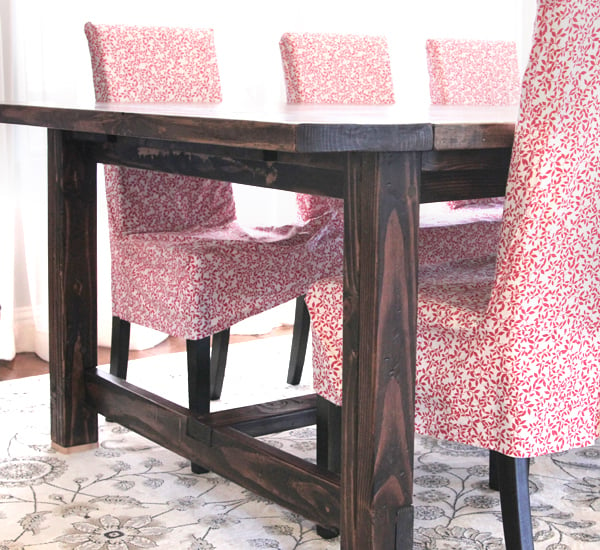
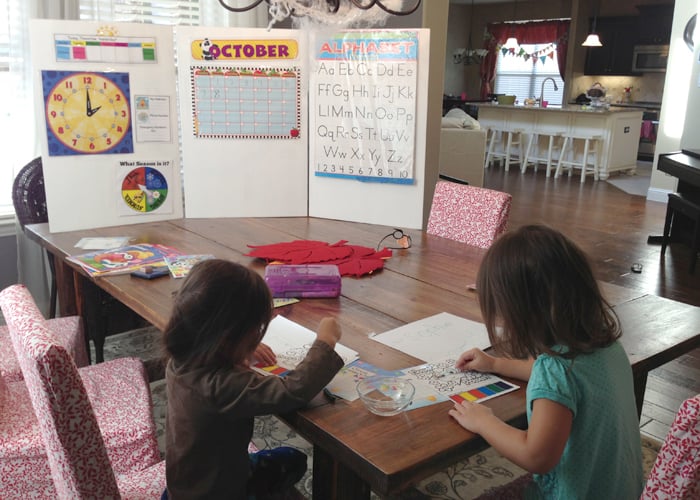
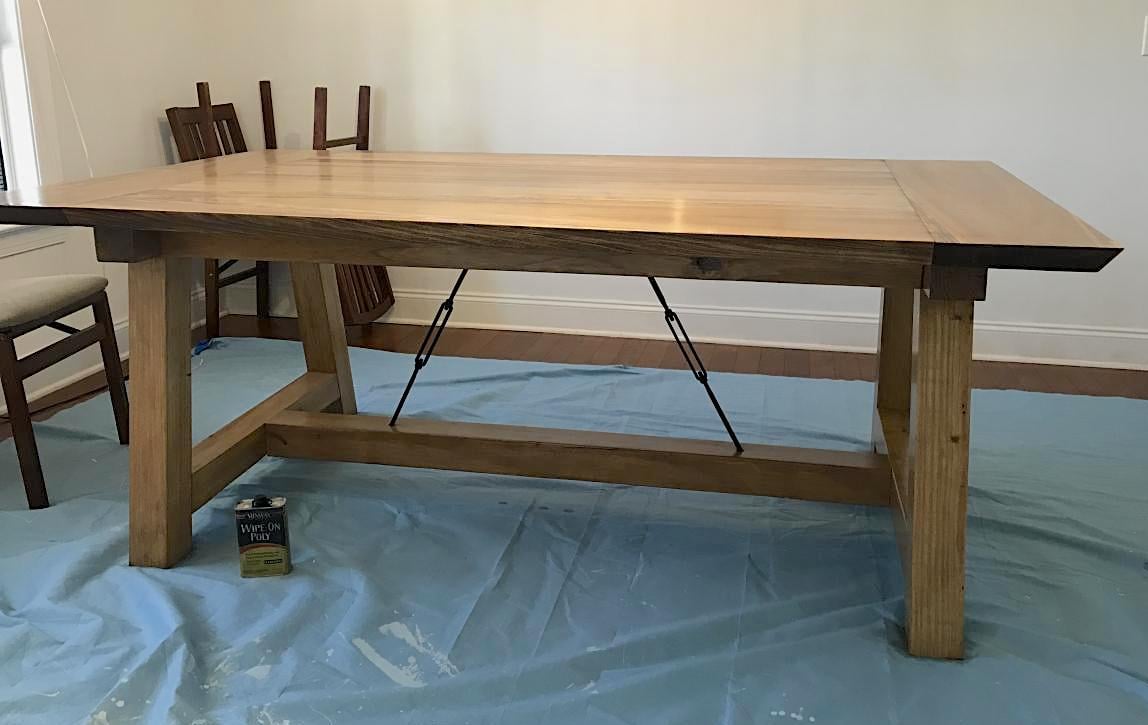
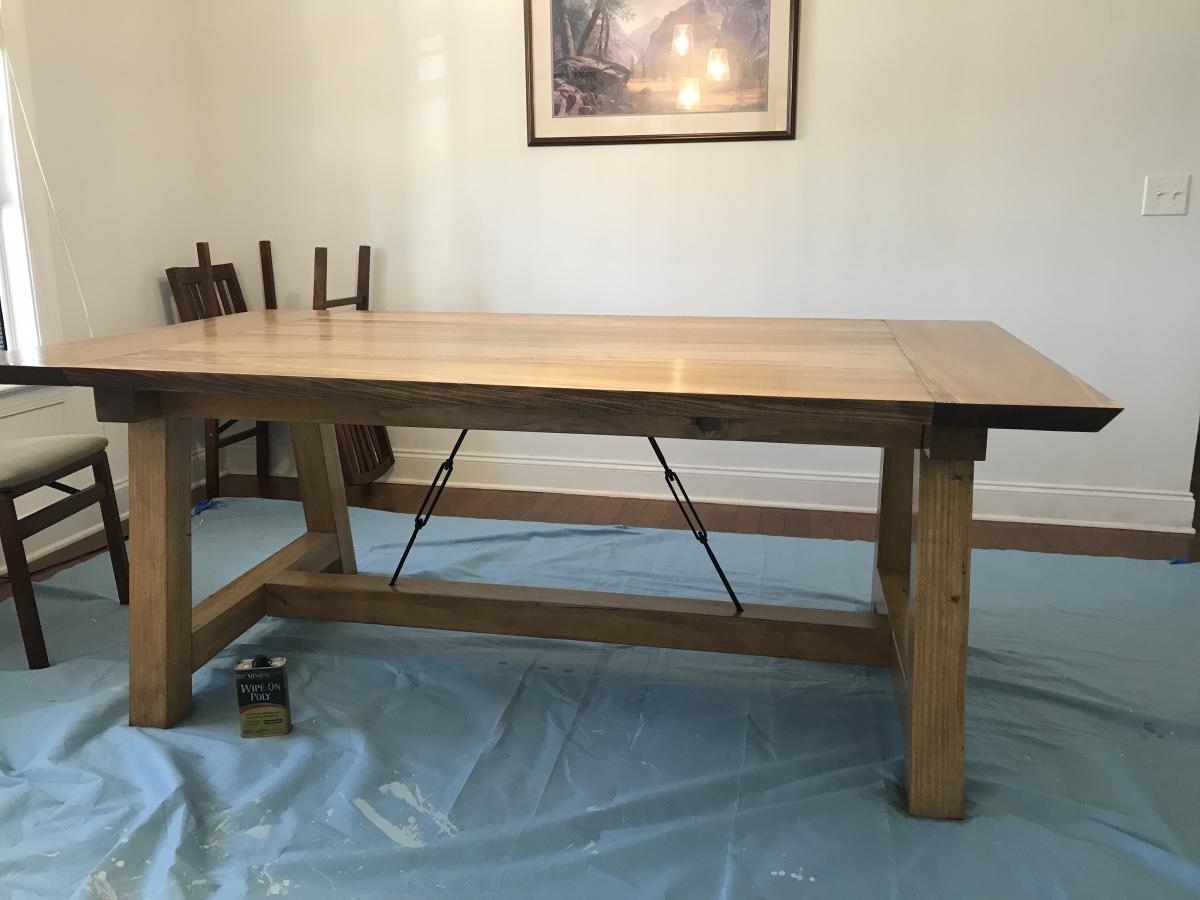
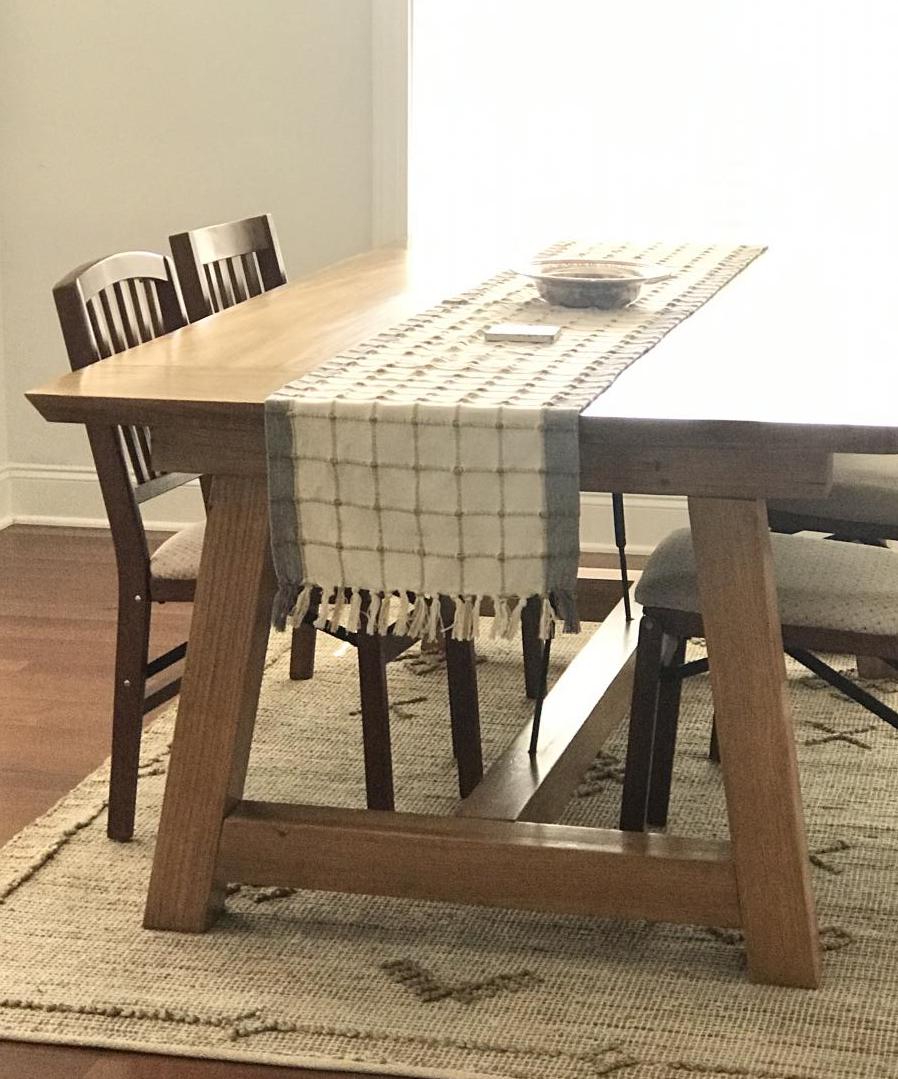
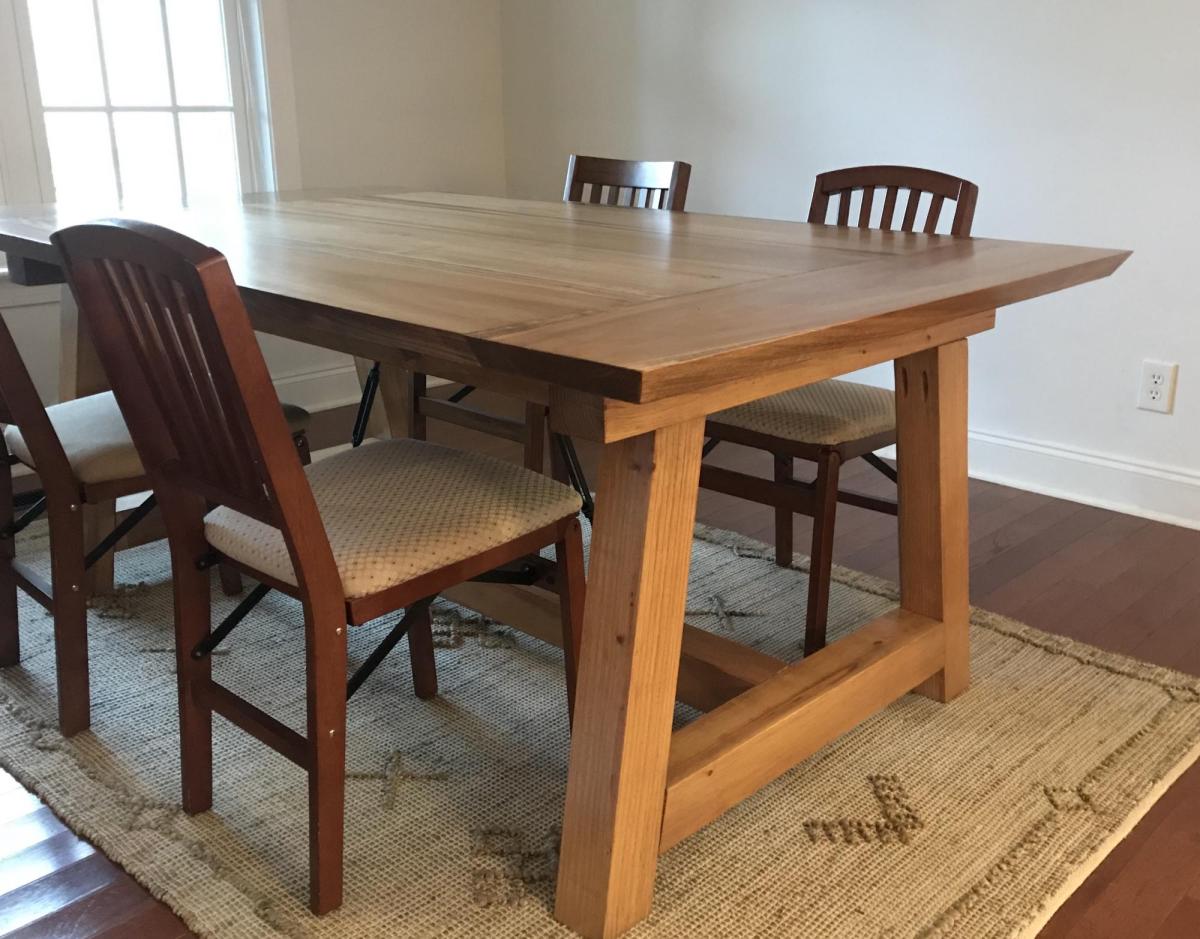
My brother-and-law has been building a TON of projects from Ana's site. After comparing prices of farmhouse tables online, my husband and I decided to try building our own. I measured our dining room, modified the plans (to make the table slightly shorter and slightly wider), then we picked up some basic tools and lumber, setup a little shop in our garage, and went to work. It took us a whole week (of after-work and after-the-kids-are-down nights) plus maybe a weekend to complete this project.
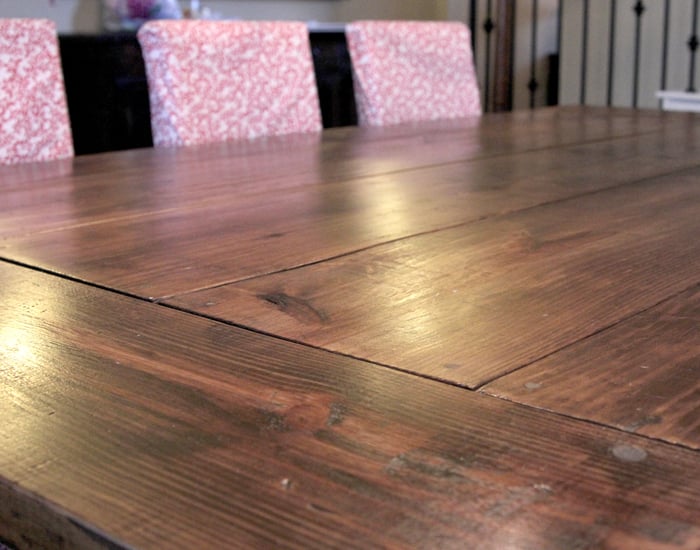
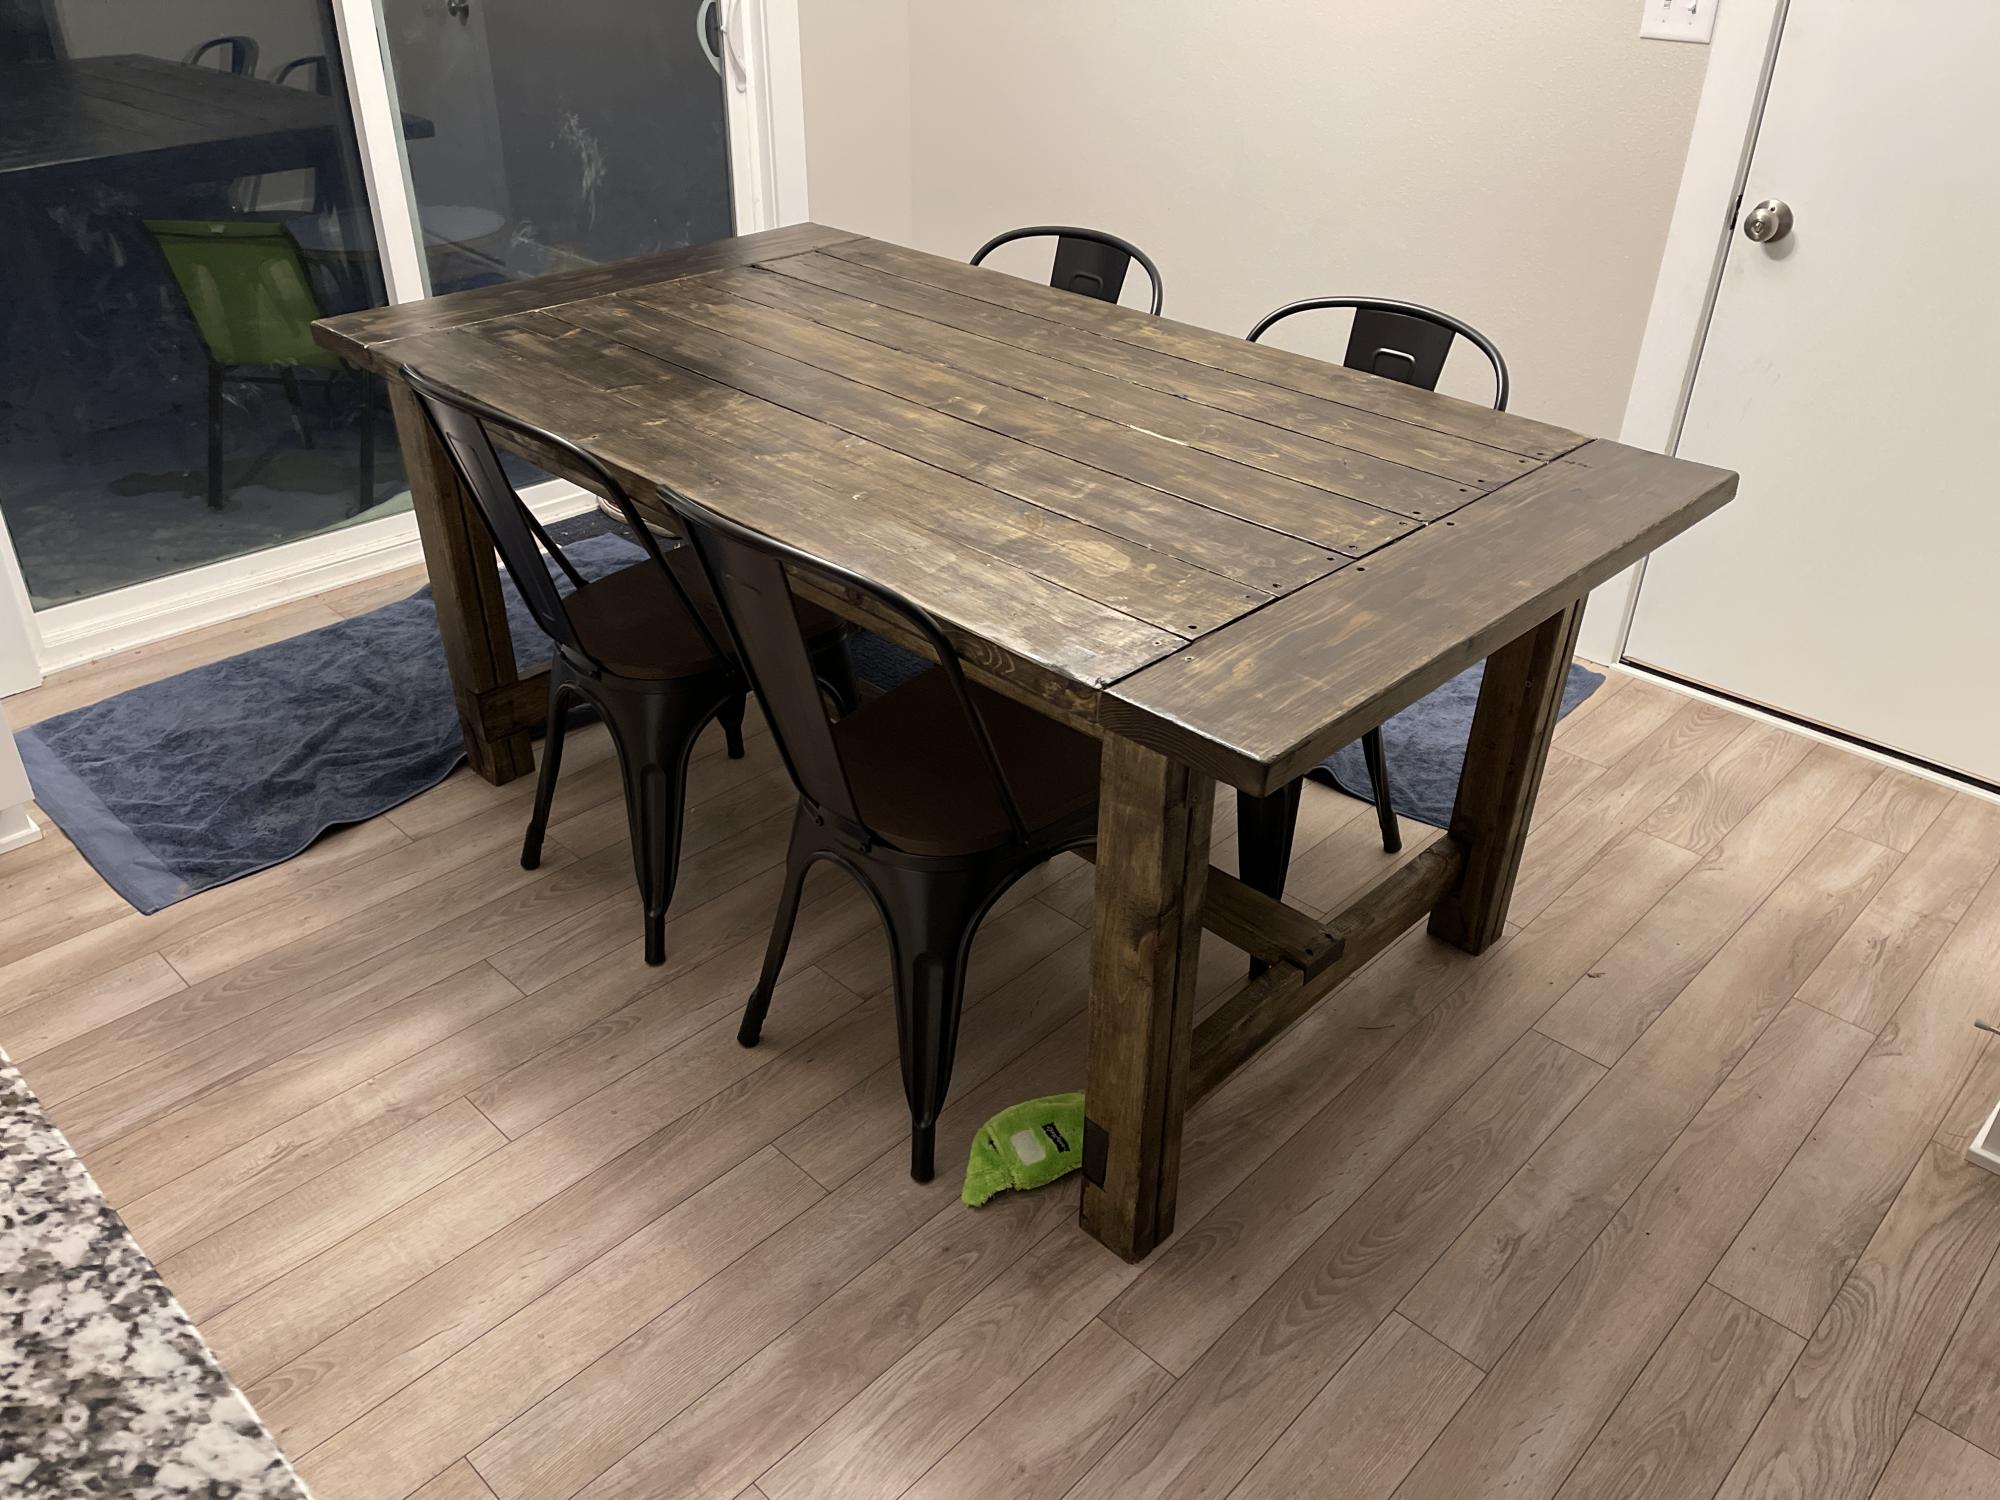
We started staining the legs of the table with a minwax stain in Dark Walnut, but it left it looking very contrasty/zebra-like. An employee at the hardware store recommended Rust-o-Leum, so we finished up the top with it. Added a clear satin varnish on top (Deft), then moved it inside. We love it!!! (We stained it after distressing it, then added 5-6 coats of varnish).
Things we'd do differently:
1. Invest early in a Pocket Hole Jig (like the Kreg Jig) to piece your wood together. We actually bought one for our second wood project (which I was able to screw together pretty much the entire thing myself...whereas, both my hub and I had to work together to get this table put together...it was a pain!), and wished we had purchased this earlier.
2. Check your wood and get it as straight (not bowed) as possible. Then don't let the sprinklers or rain get on it. :) Don't worry about knots, holes, or other things that could give your table character.
3. You can stain the wood using paper towels. (I did this on the second project...worked great, and easy clean up).
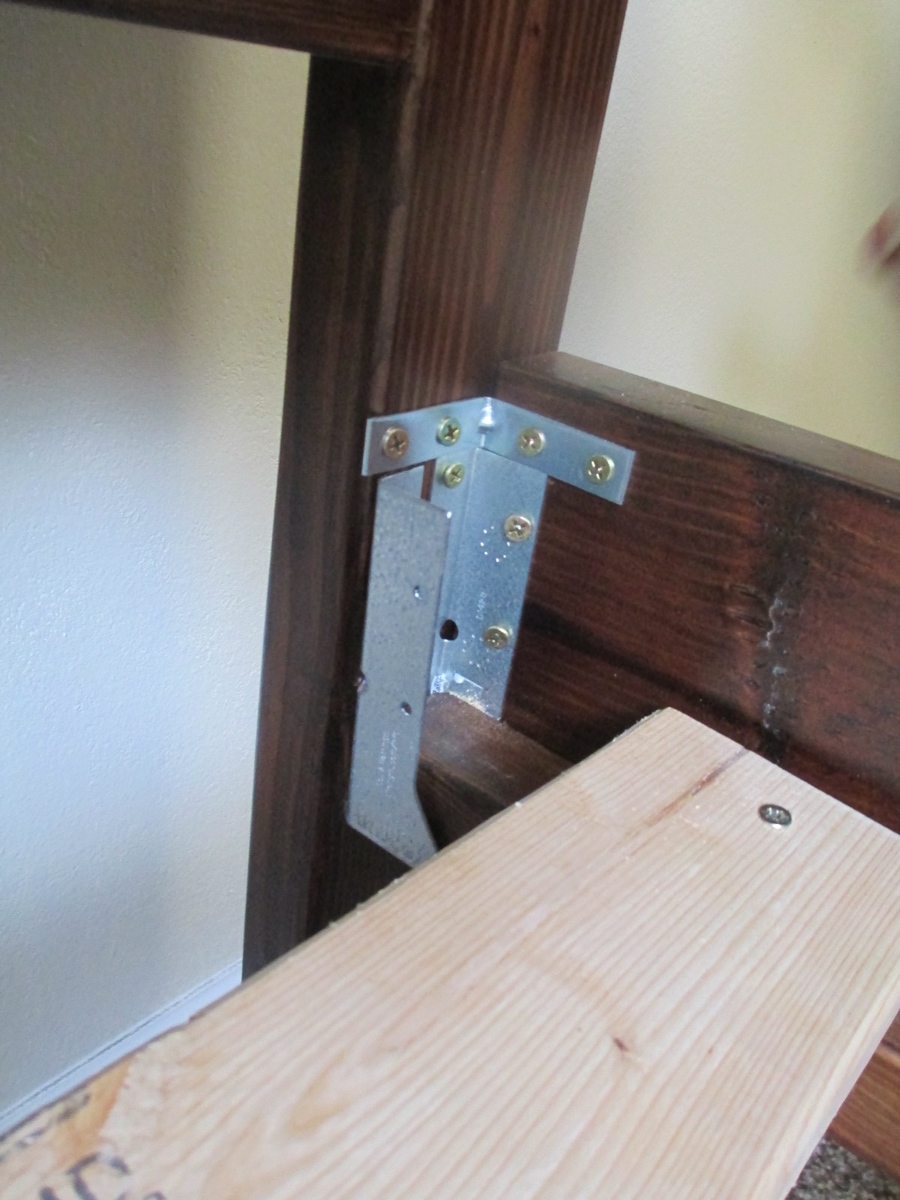
4. Make sure you square up your wood every step of the way. We THOUGHT we did this...but with trying to screw pieces together, and making them fit... now we've got an extra piece of wood underneath one of our legs. :P
Deft Clear Satin





Comments
Linda7
Fri, 02/08/2013 - 09:36
Oh, my goodness!
This is a gorgeous build! The table top finish is just outstanding. You all did a marvelous job (even without the kreg jig)!