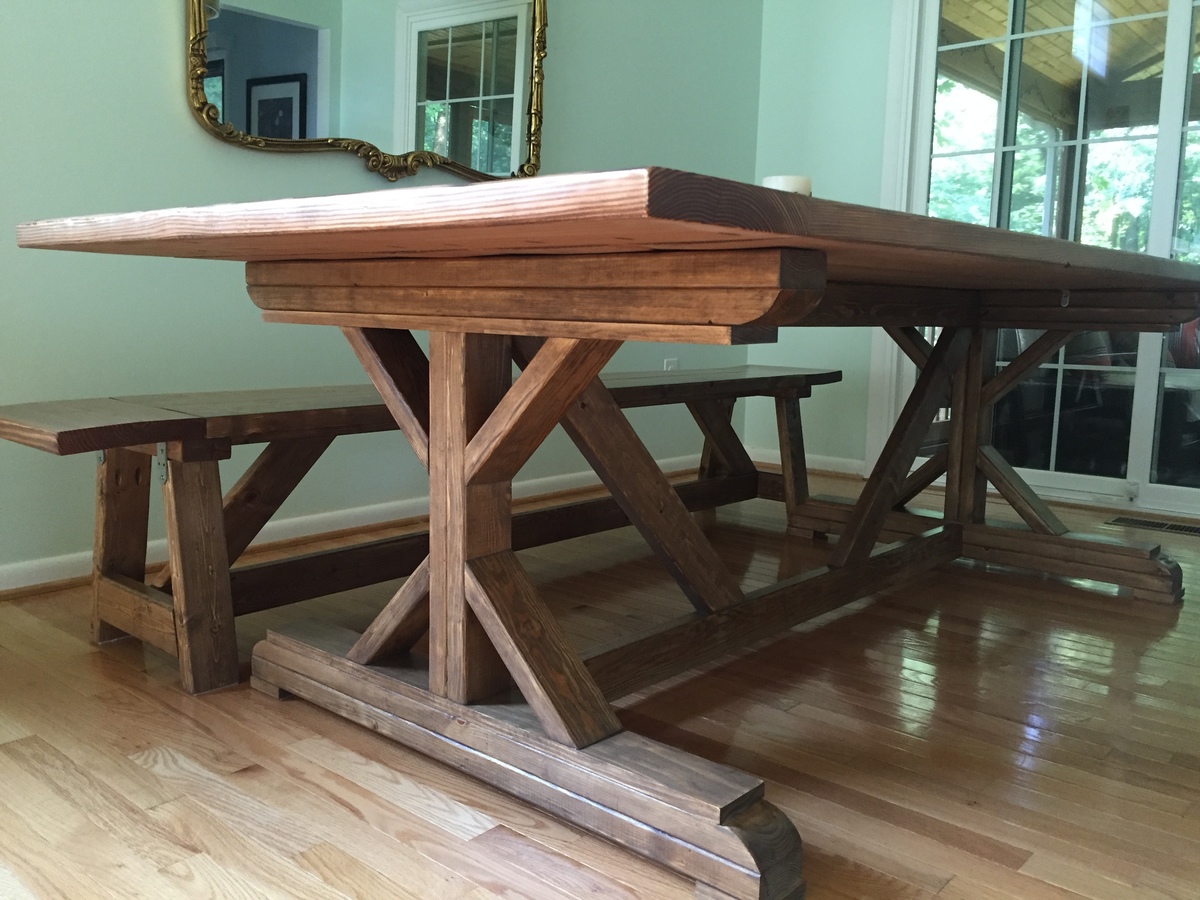
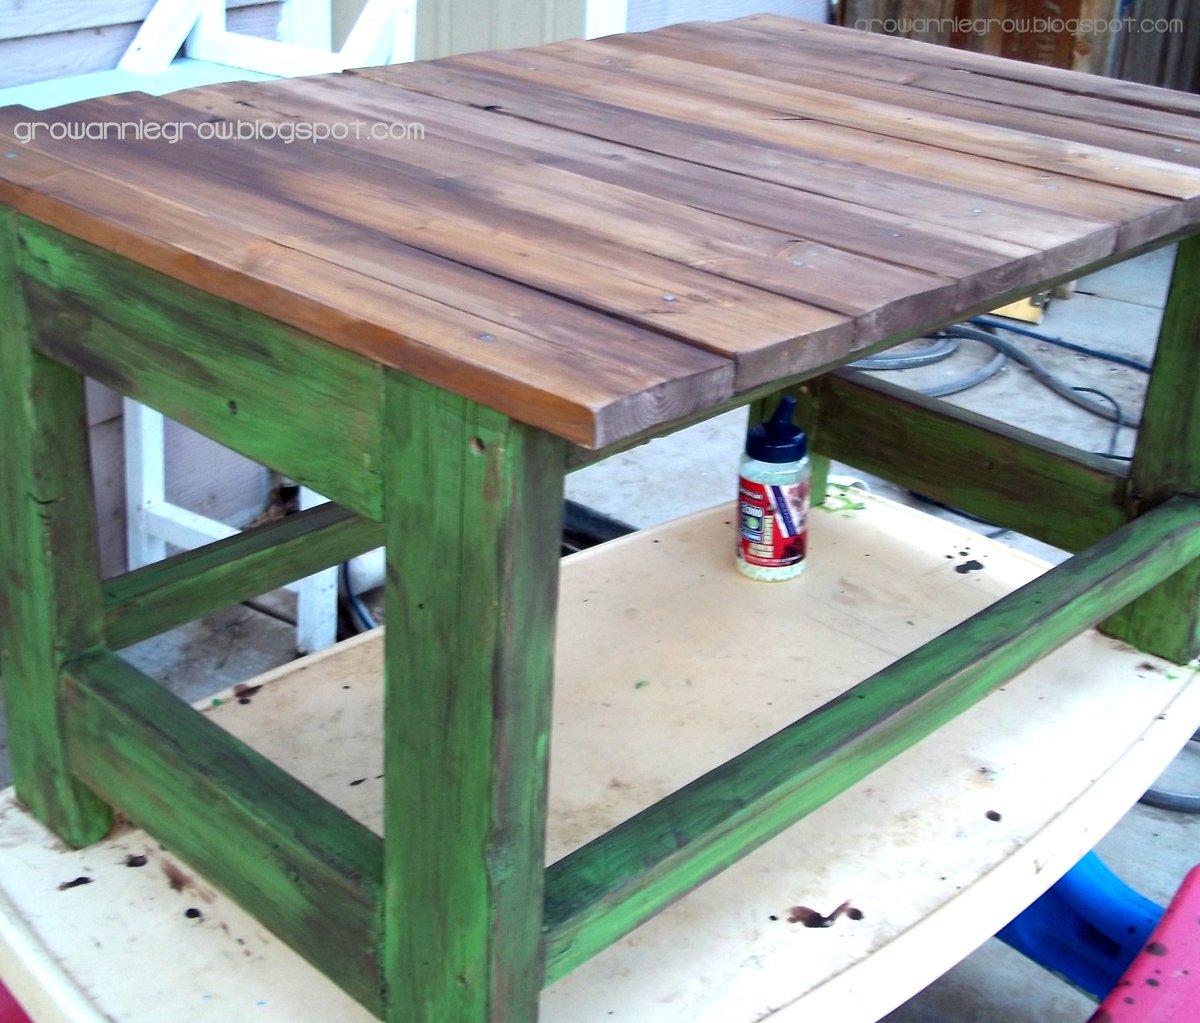
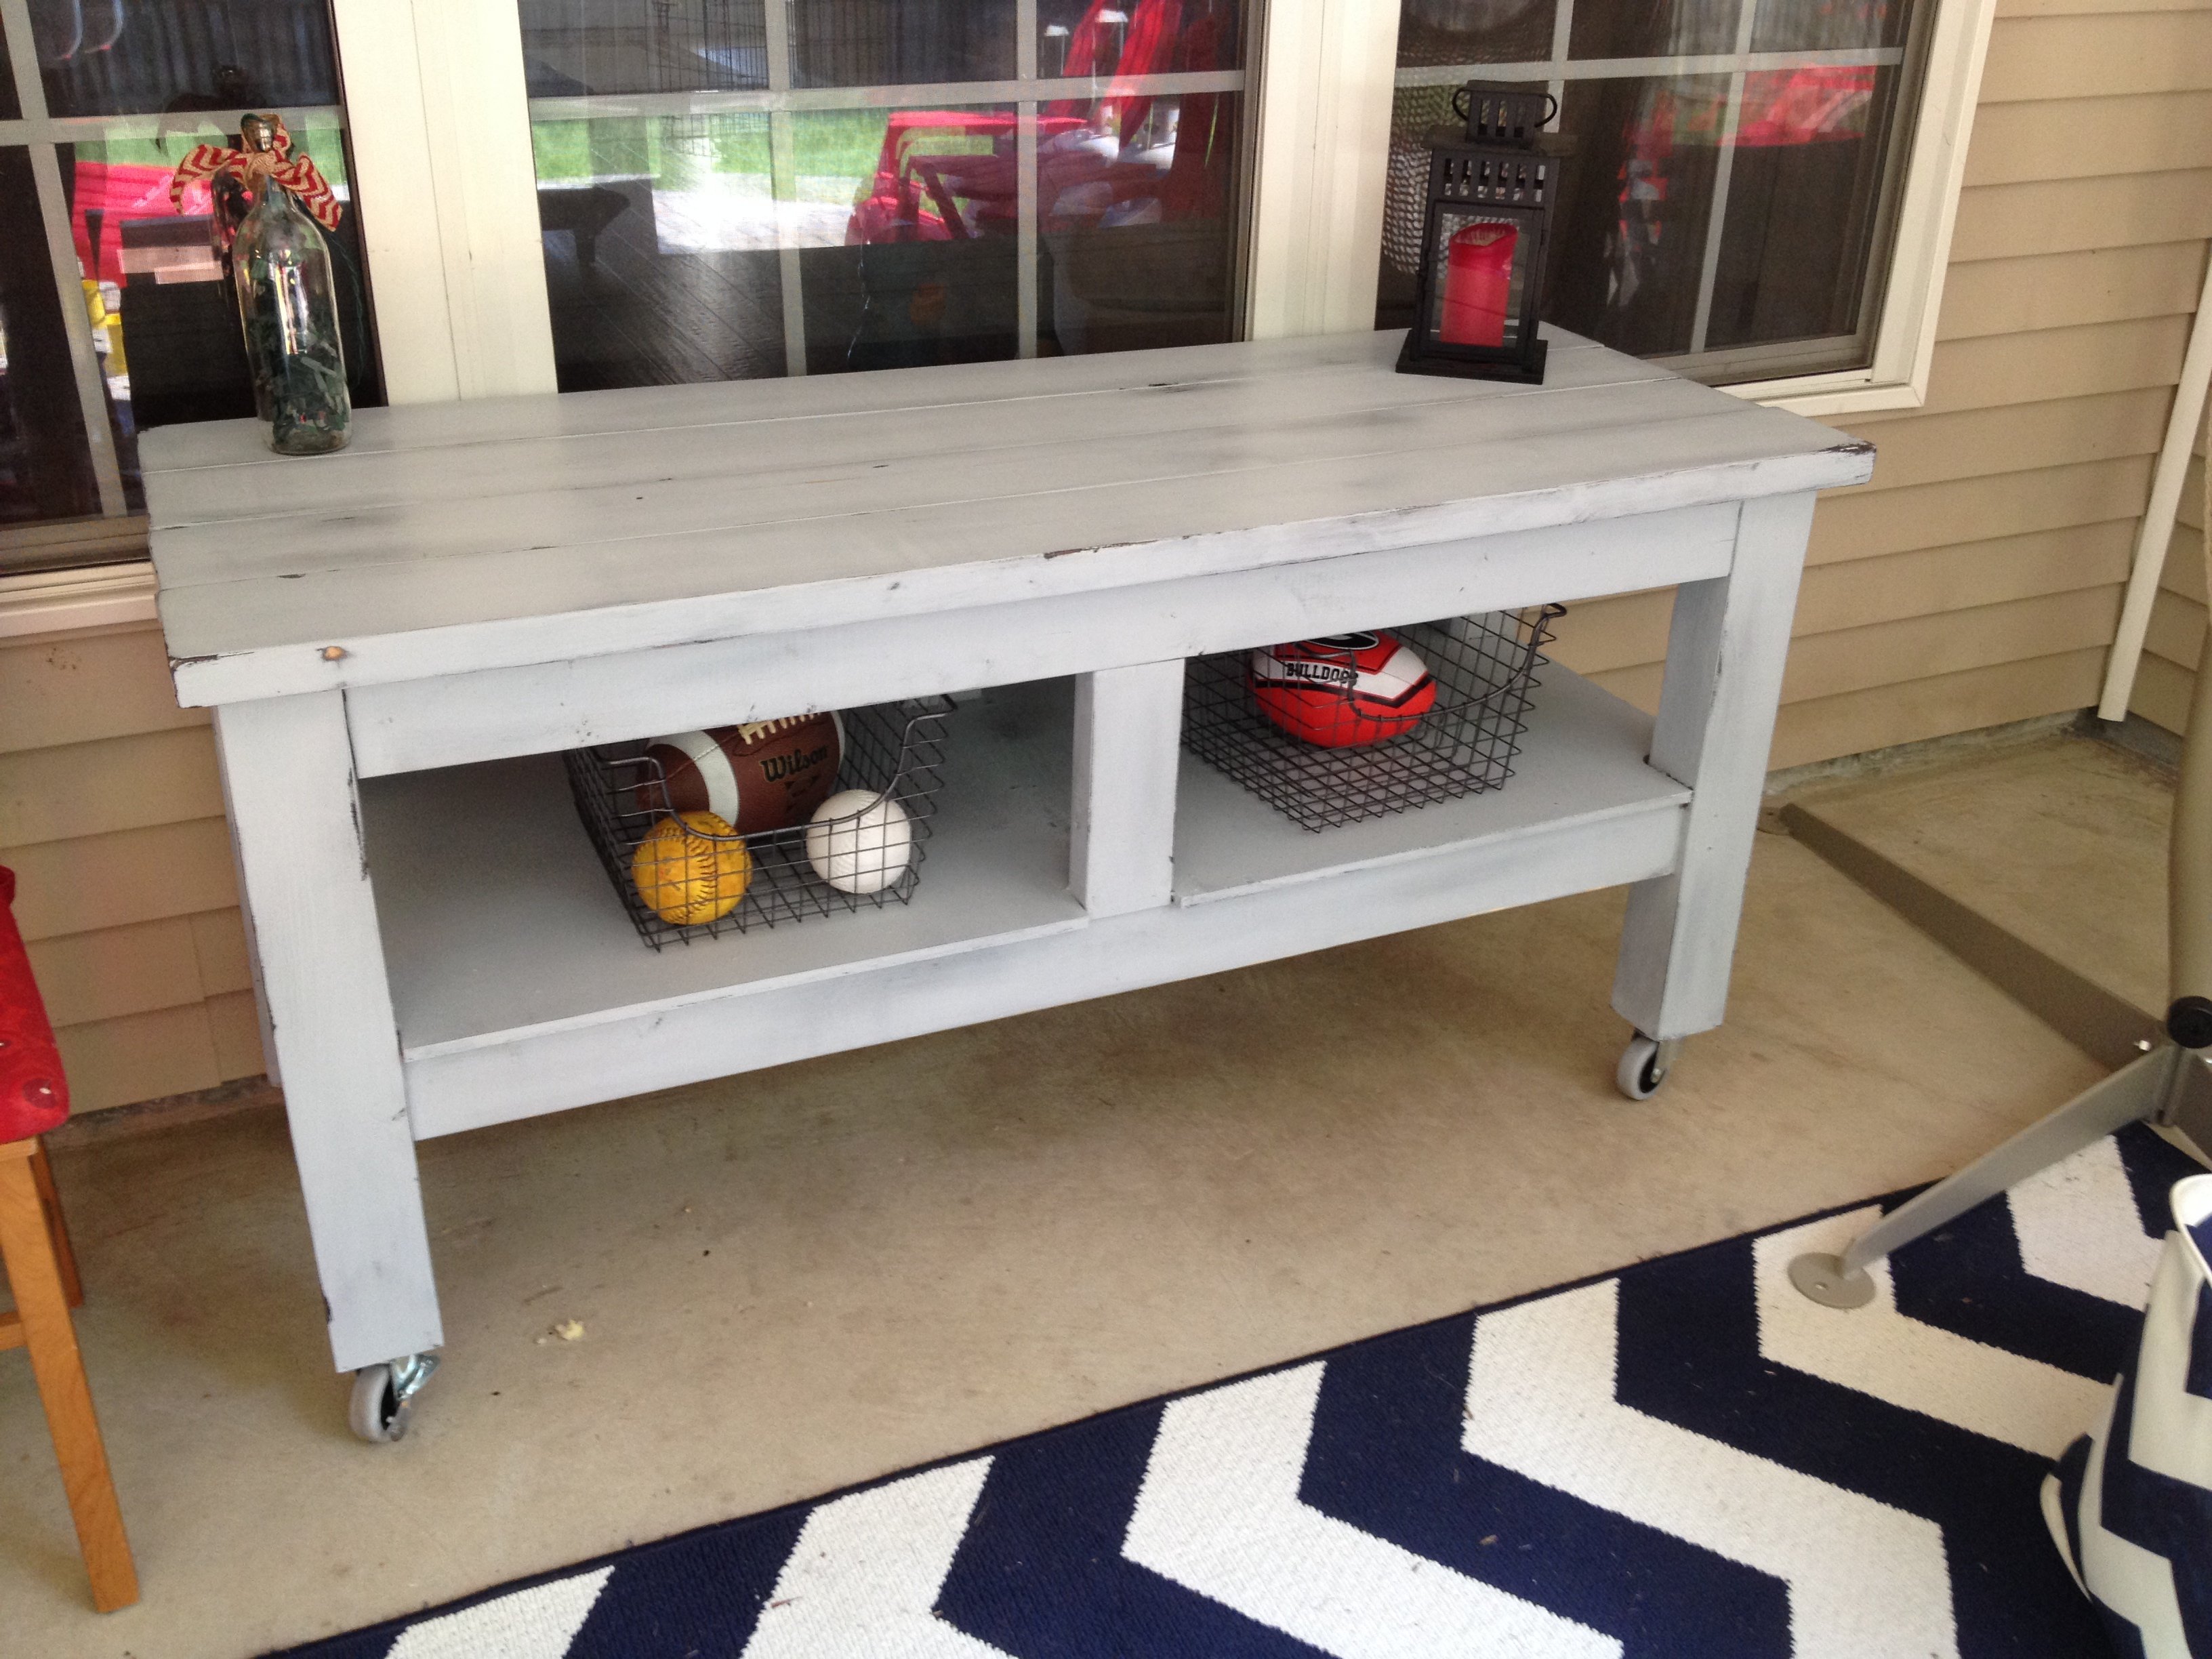
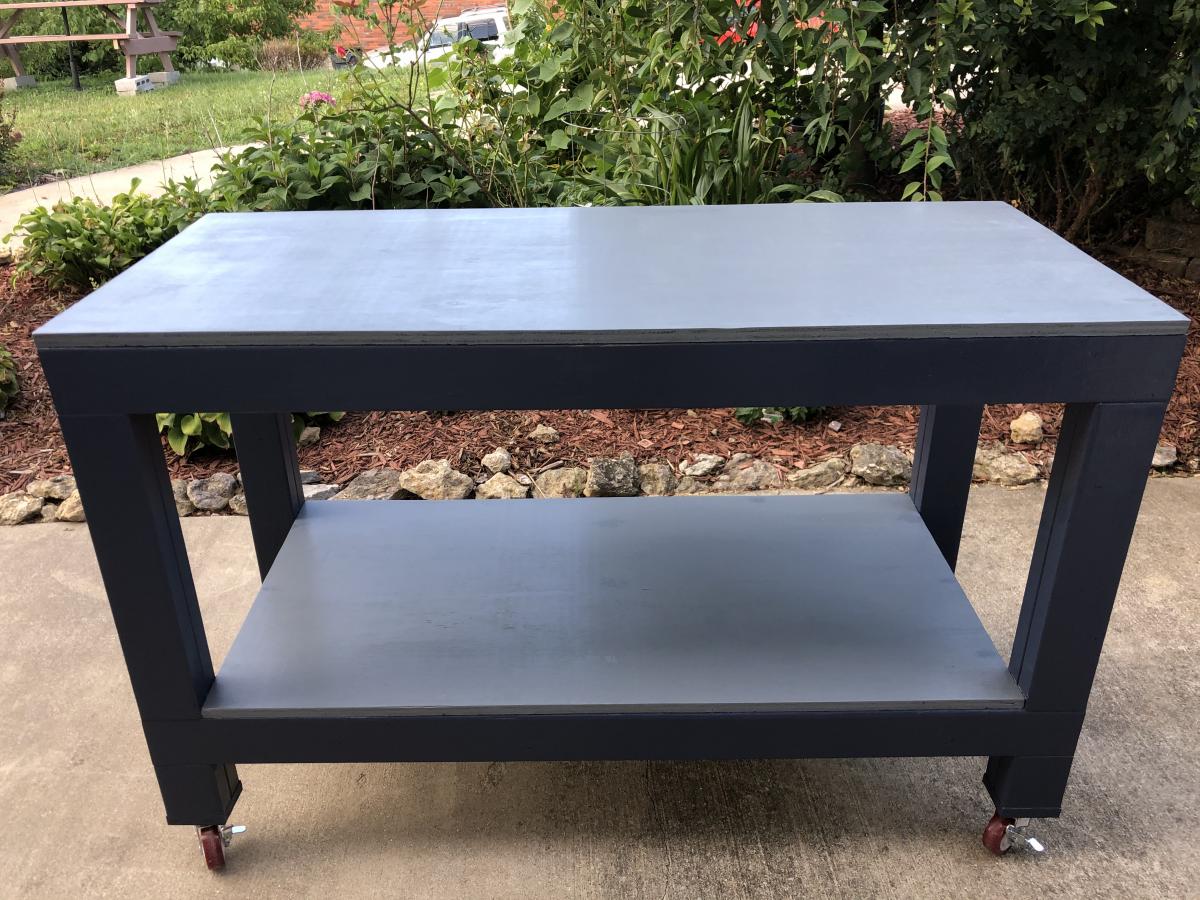
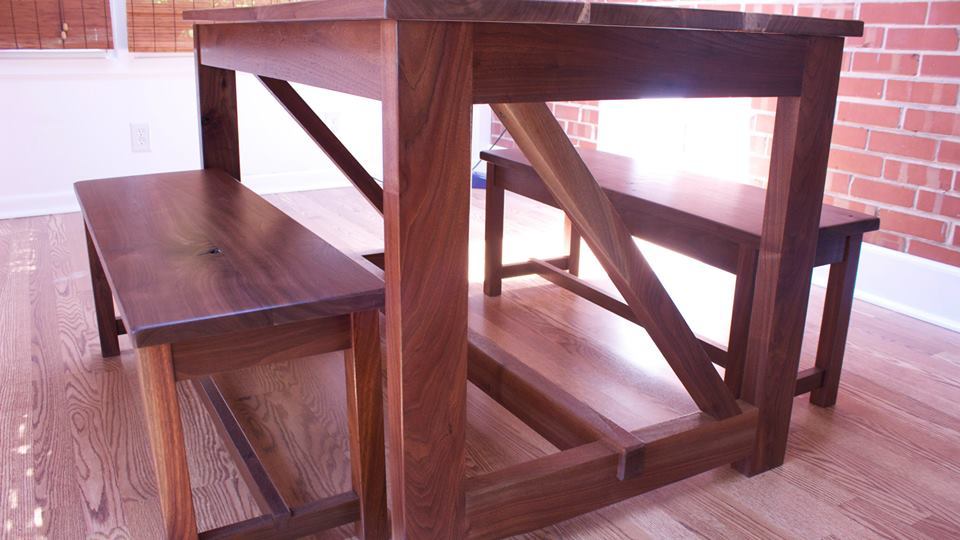
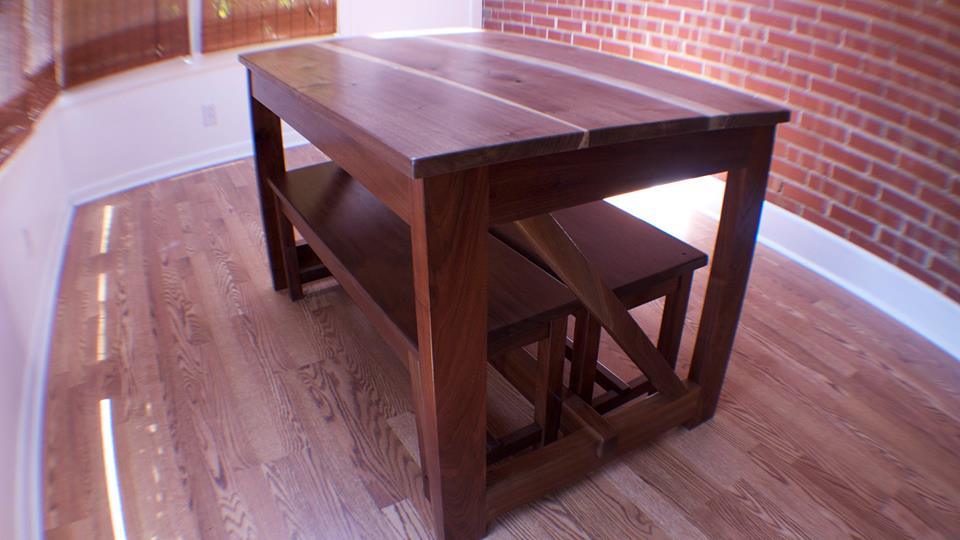
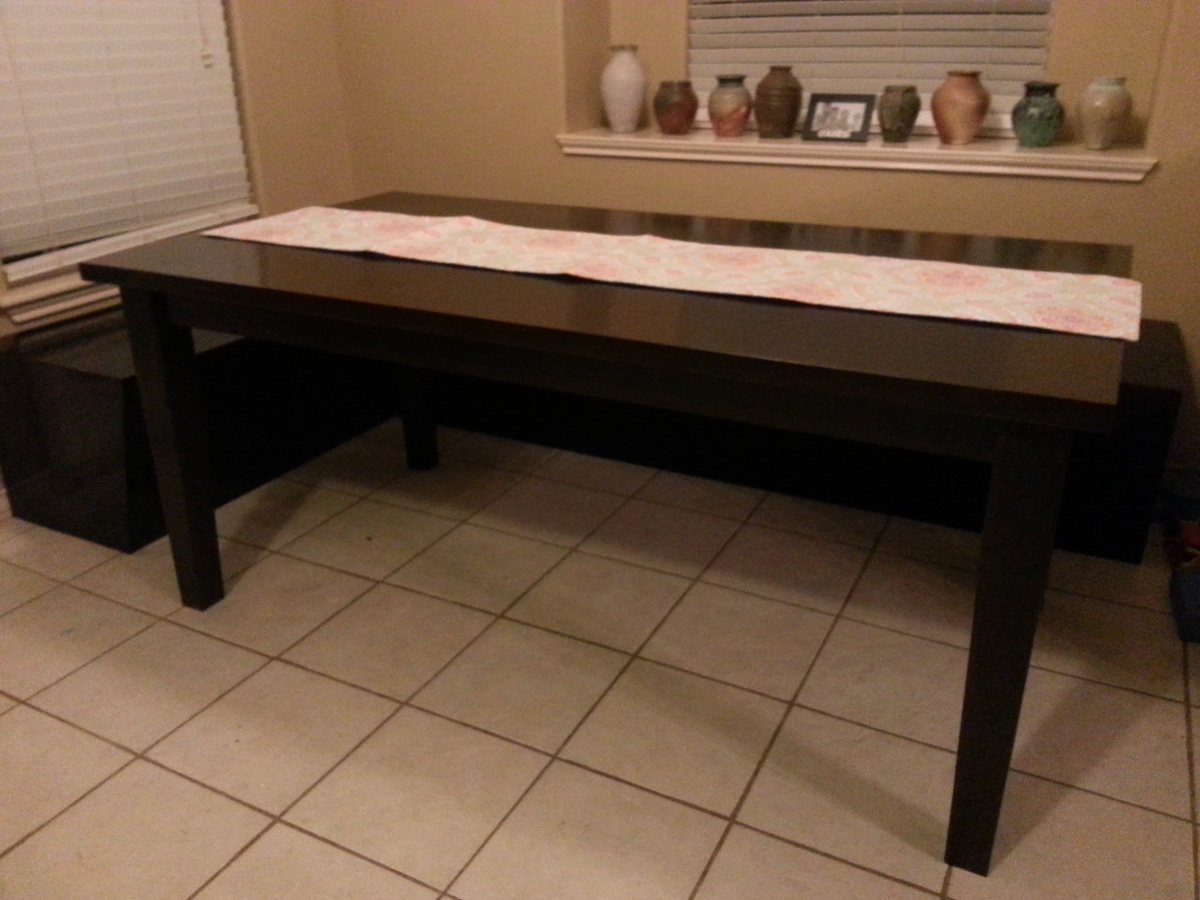
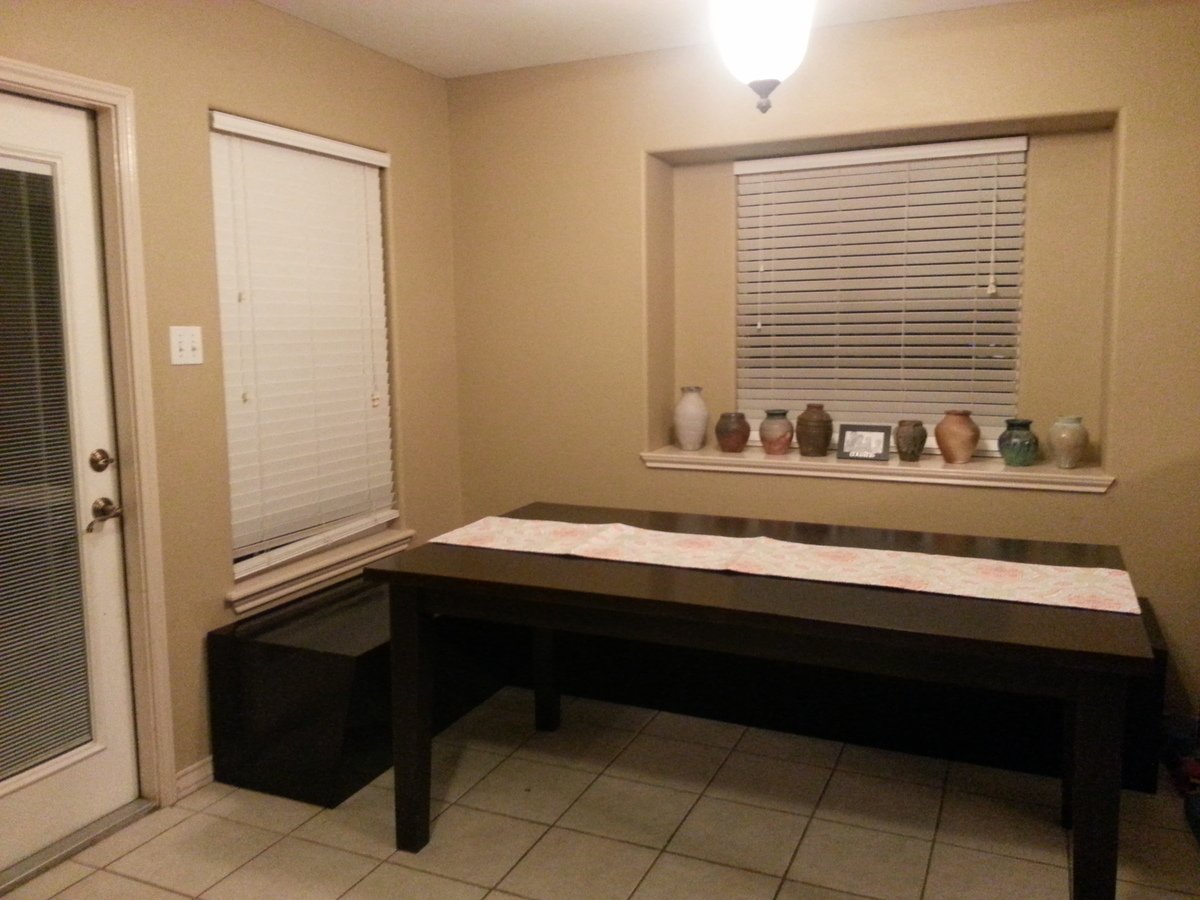
Not so Farm House Table
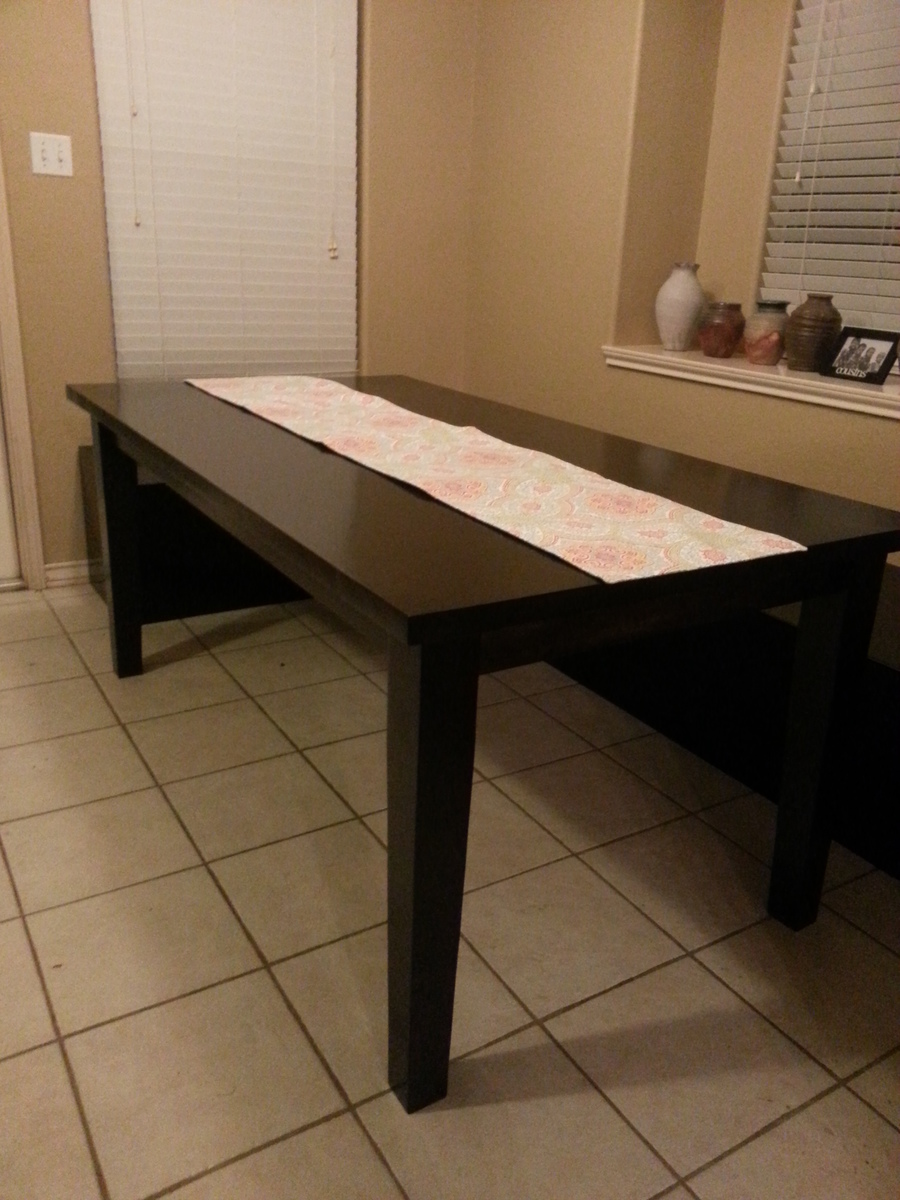
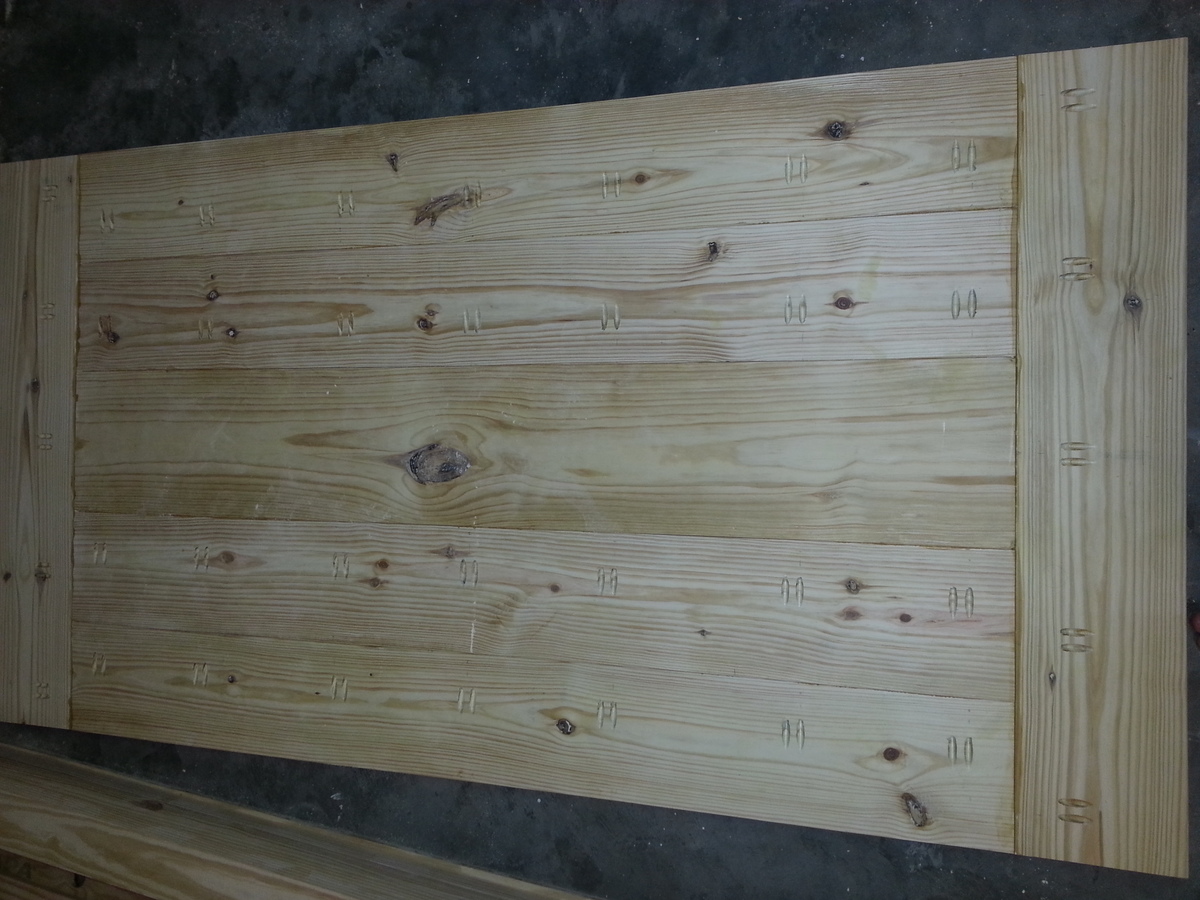
This table was made using the original farmhouse table plans with pocket holes.I tapered the two inside sides of the 4x4s (25%) and subtracted the bottom support structure. All pieces were glued and screwed using the kreg system. Even without the lower support this table is rock solid. I choose to make this table look a little more traditional then the farmhouse table to match our design plans.
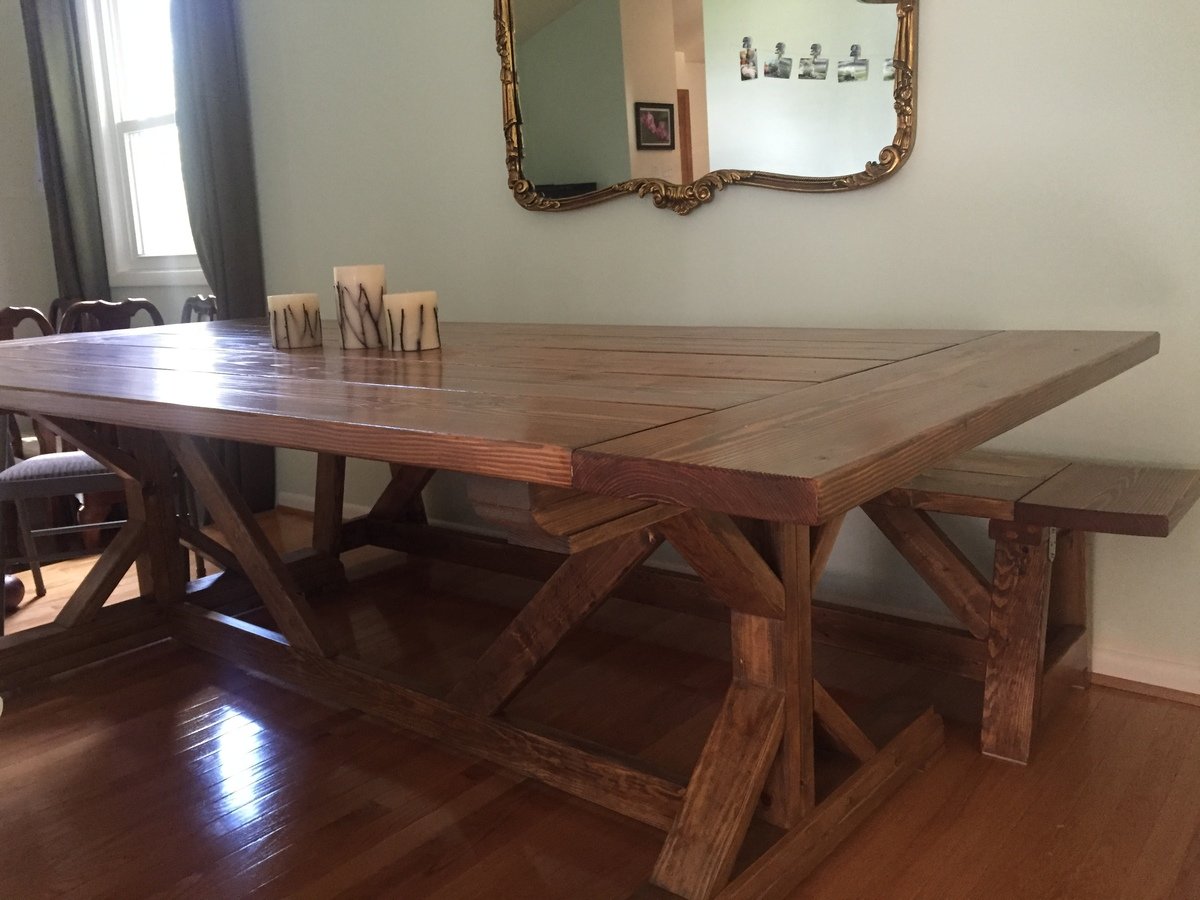
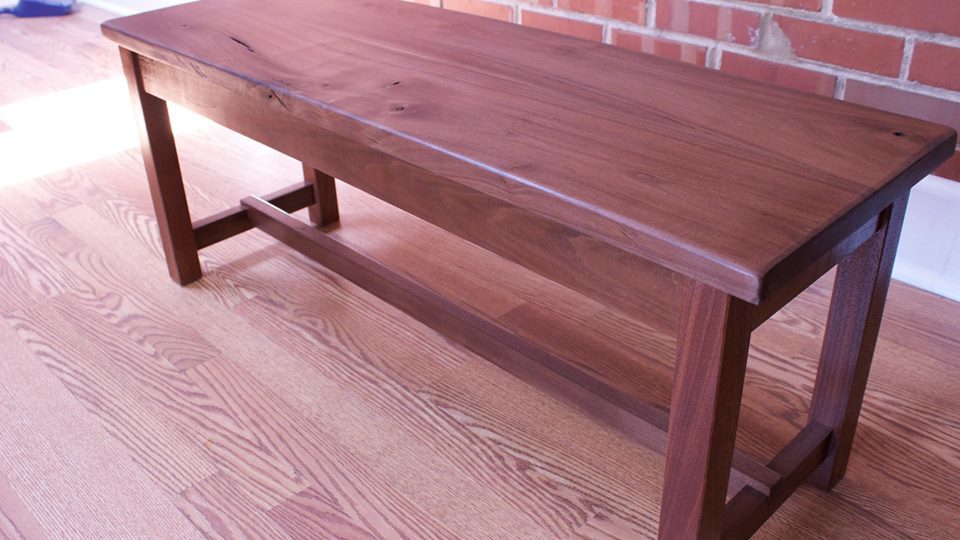
All parts of the table were sanded down smooth to 180 grit and treated with minwax prestain wood conditioner. The table was then stained with cabot premium wood stain and sealer in one(espresso -satin). Warning large surfaces are hard to stain evenly with out brush marks using this product. I used 3 coats in all with a light sanding using 600 grit after the first coat since it is a water based stain. It covered just a little more of the natural wood grain then I would have liked but I did prefer it to the polyshades product I used on the custom bench behind it.
When using pine it maybe best to just go for the distressed look. I am worried that my smooth table top will get destroyed by my son but he knows he isn't allowed to play cars on the table now so I am crossing my fingers. So far the table top is holding up very nicely to any abuse but it is still early on in its life.
I think in the future I will bite the bullet and use hard woods. As long as it takes to build furniture its nice if it lasts a little longer.


cabot premium stain + sealer (Espresso-Satin)