Camp Loft Bed

I had a friend who needed a bed for two energetic boys for a small bedroom. I saw these plans and thought this would be perfect for them. They absolutely loved it and now have plenty of room for their toys in their bedroom.


I had a friend who needed a bed for two energetic boys for a small bedroom. I saw these plans and thought this would be perfect for them. They absolutely loved it and now have plenty of room for their toys in their bedroom.


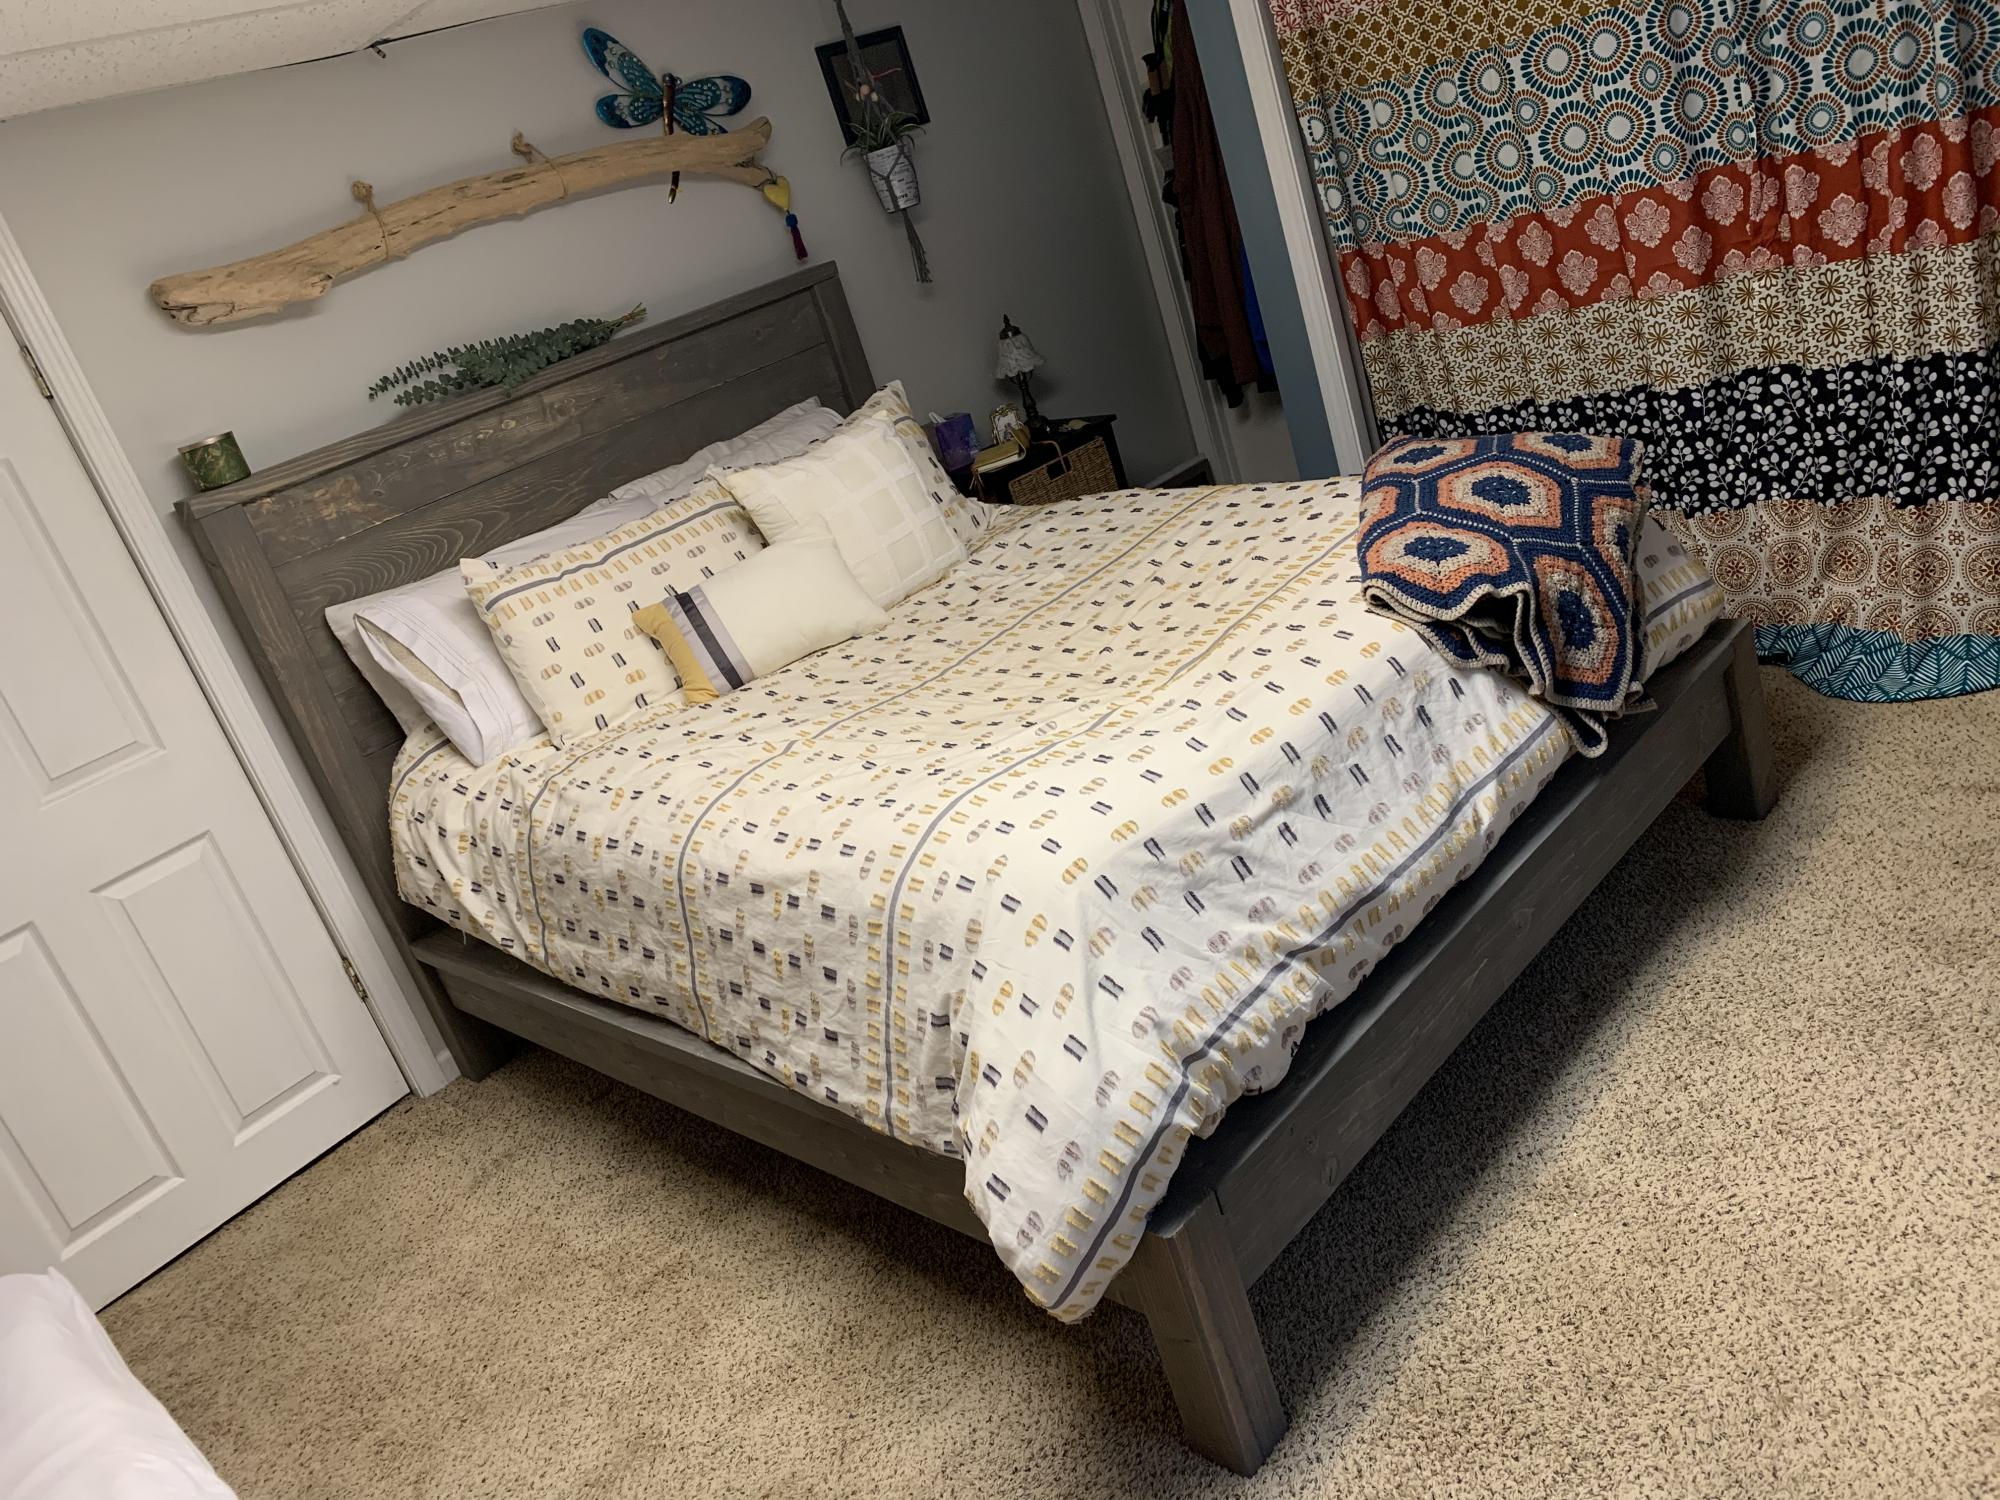
We are mediocre novice in the handy area. I more so than he, but together we wanted to tackle this project.
The directions were great and the pictures helped with some of the minor confusion. Great plan and solid beautiful bed frame.
The total cost was around $175. Wood is a bit expensive in our area...
the stain we chose was a semitransparent gray wash. I thought it was going to be a true stain but it was more a paint quality but in the end the wood grain showed through and we just used one coat! Went on thick
This was my boyfriend and my first major construction project and tackling it together we were a little intimidated ... never used a kreg jig but had purchased one a few years ago and never used it. Haha well you def want to have it. Watched a iTunes video and it Was easy and we faired well.
Only one argument that taught us both a few things and ended up giving us the desire to make more furniture together.
Thank you Ana white
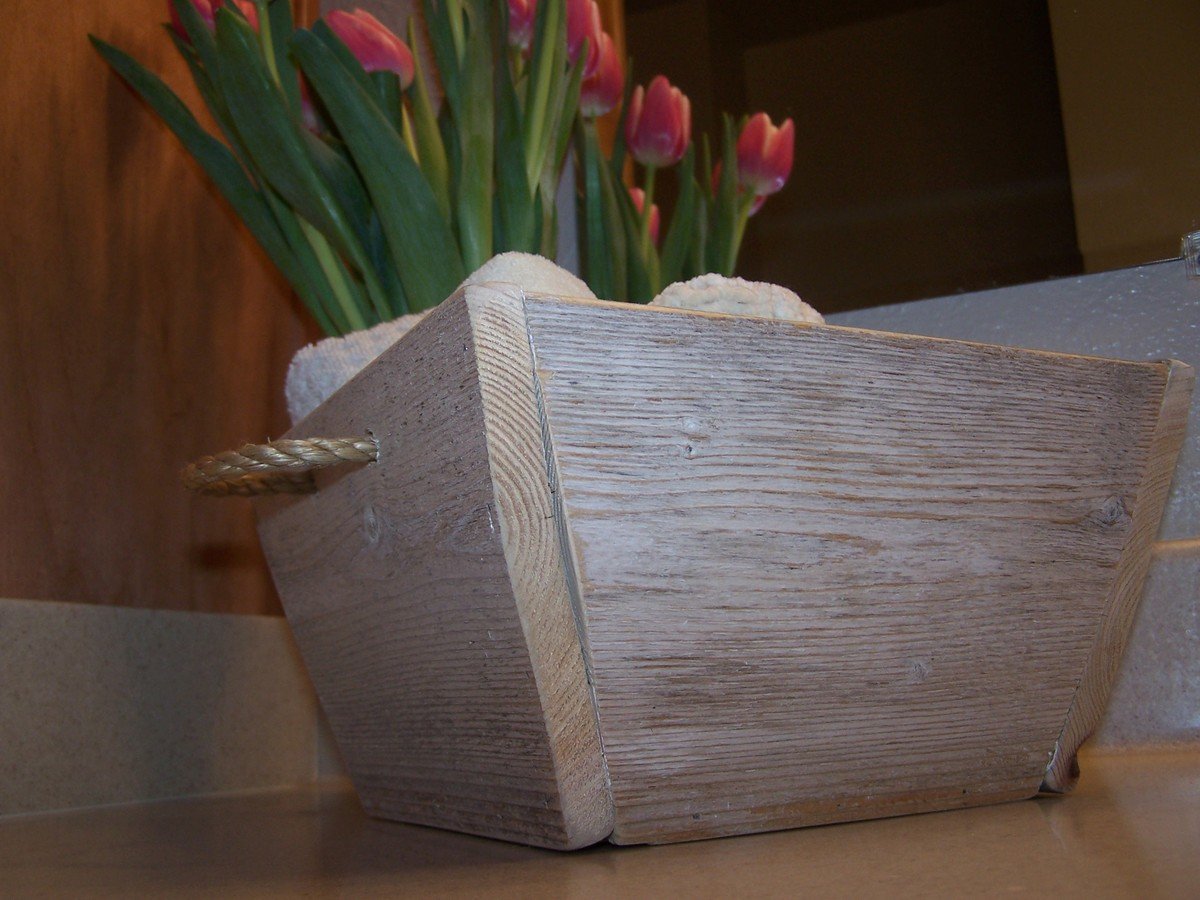
I was so excited when I saw the plan for this! I love making crates out of wood. It was quick and easy and I already had a cedar fence post! It was less than 30 minutes start to finish! For more pictures check out my blog post. Thanks Ana!
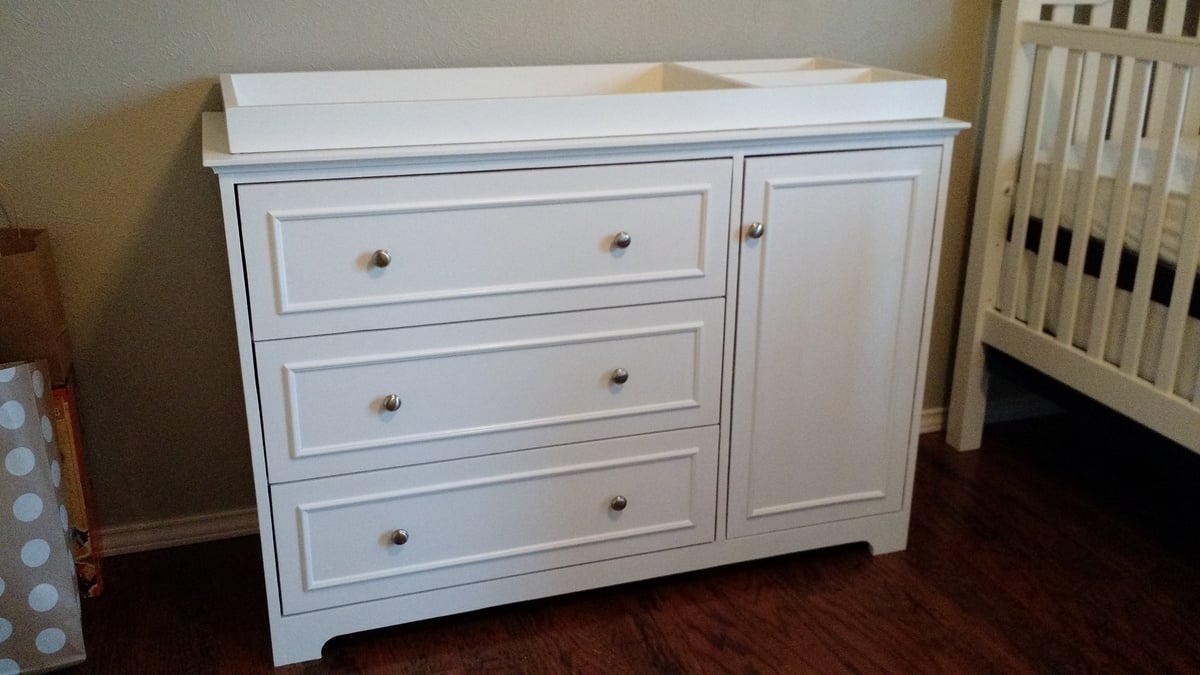
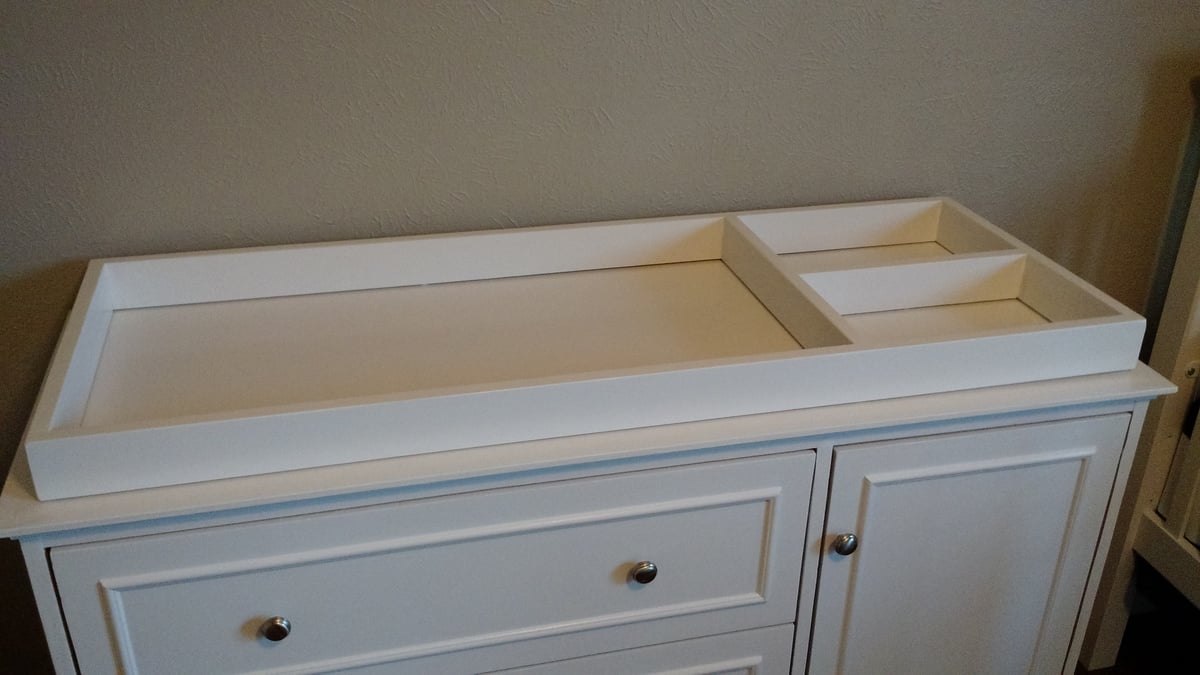
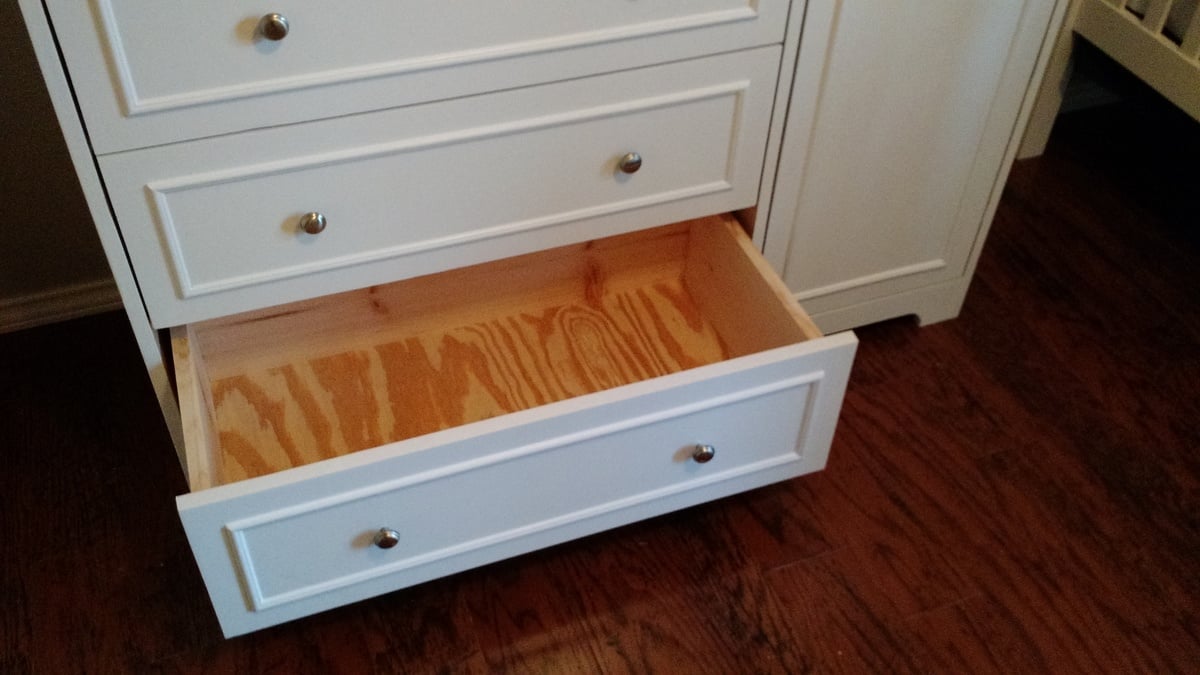
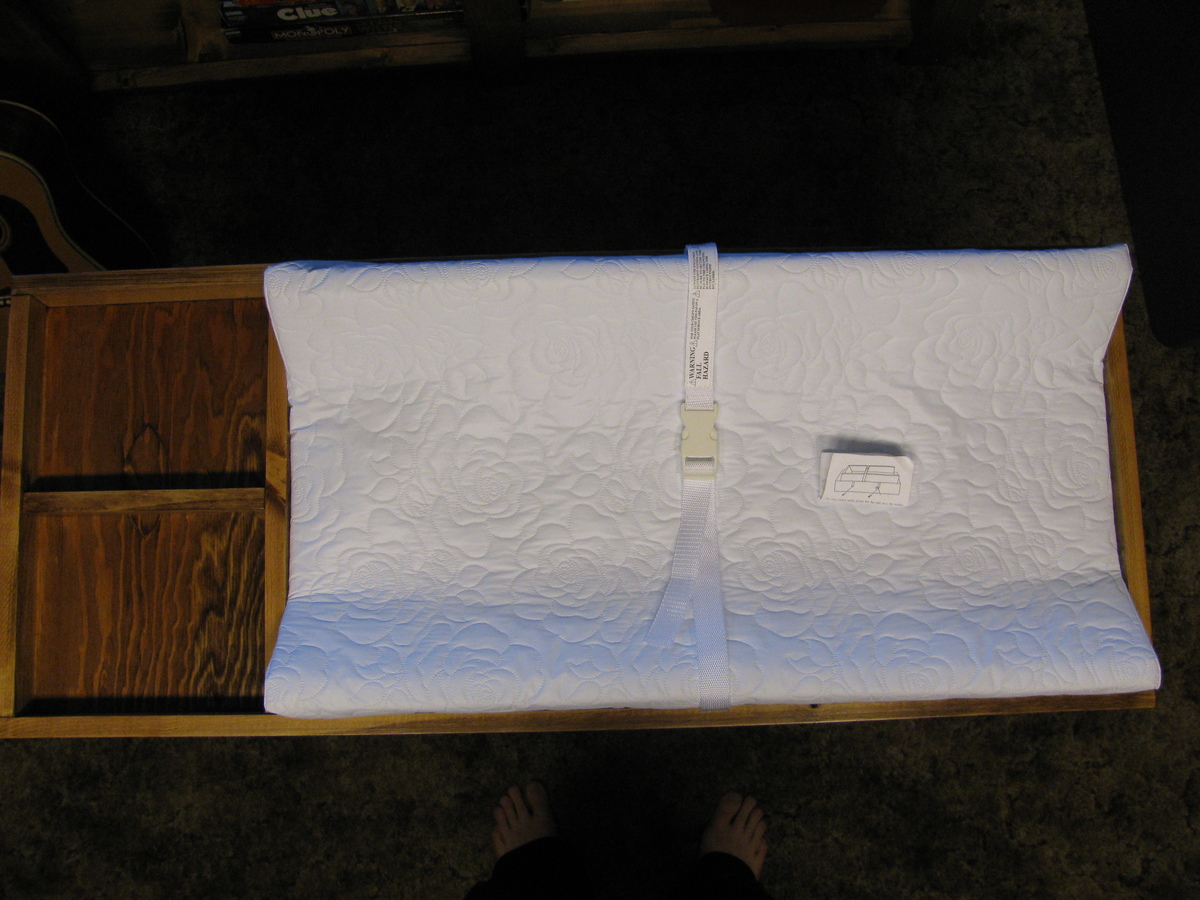
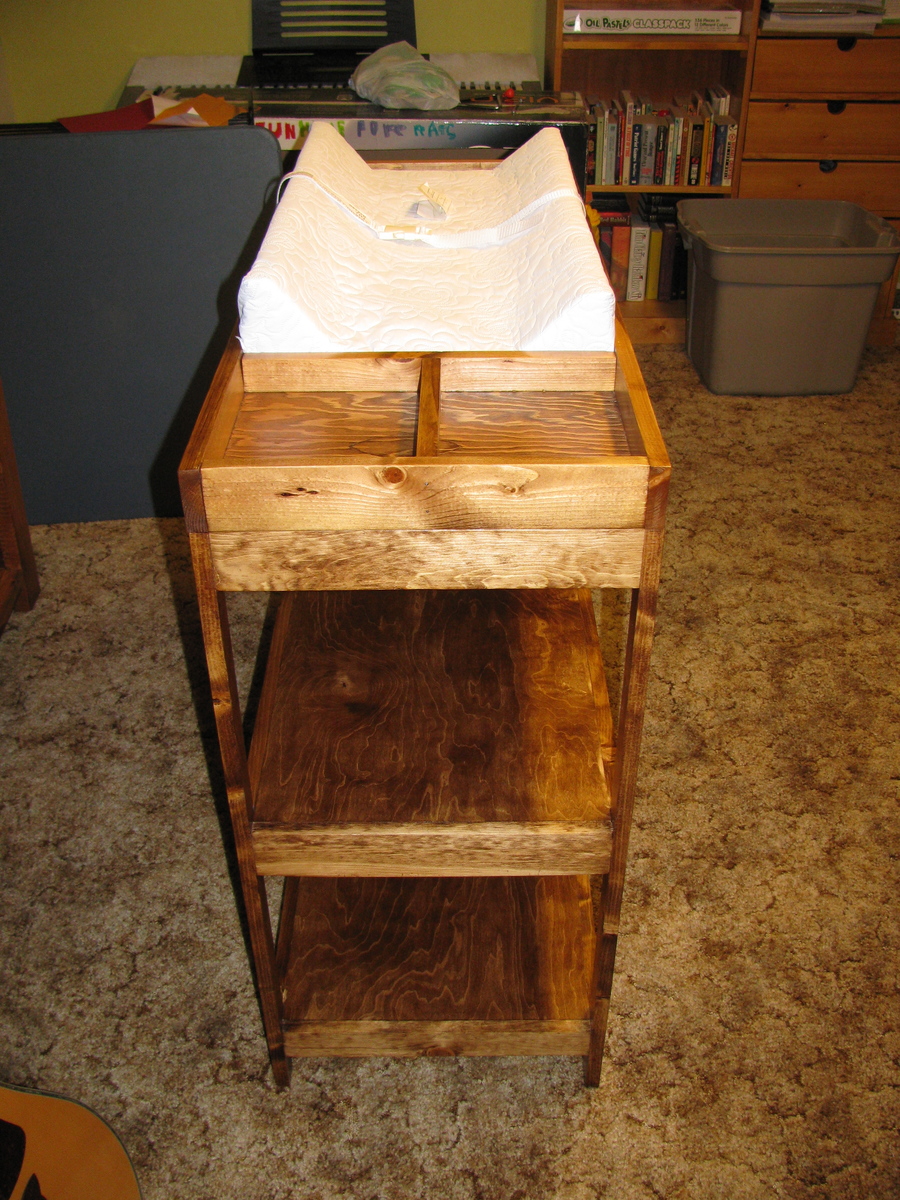
I wanted to build a dresser & changing table combination for our son, who is due in January. I liked the Fillman (Pottery Barn's Fillmore) dresser plan, but also wanted to incorporate some ideas from Pottery Barn's Larkin Hi-Lo Changing table ($1100 - yikes!), namely the side cabinet, so I made a few modifications.
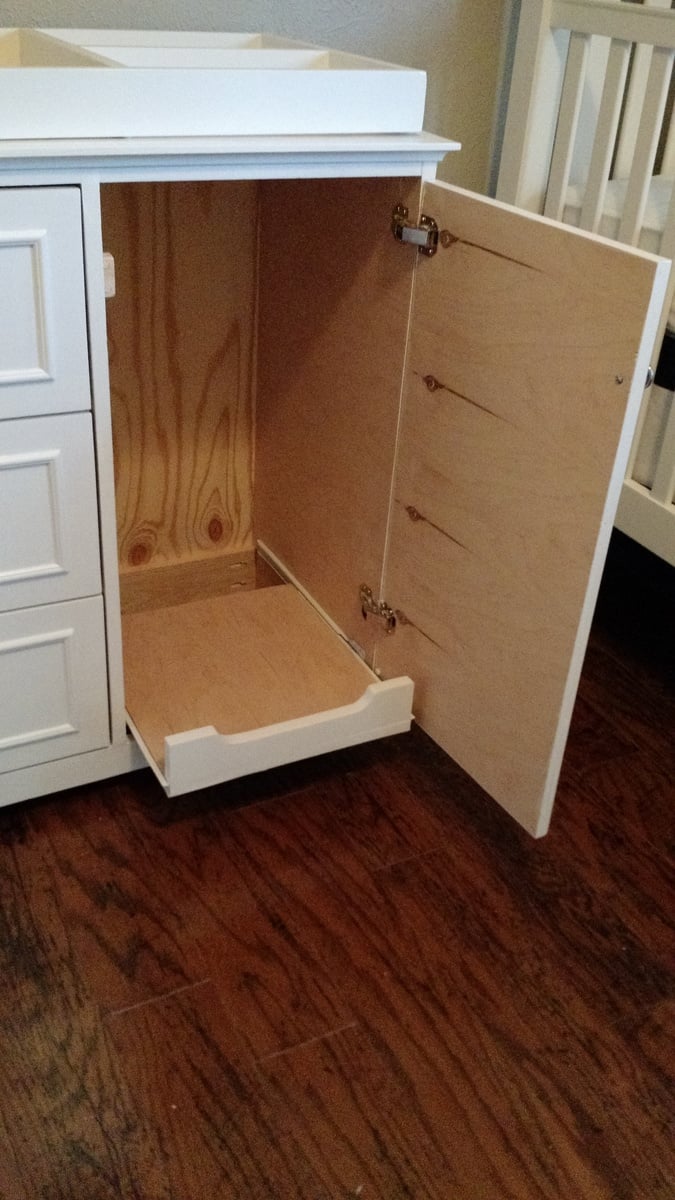
The side cabinet has a pullout shelf to accomodate a diaper pail or hamper. The changing table topper is removable so that this can continue to be used as a dresser when we no longer need the changing table.
I have built a few pieces from or inspired by Ana's site before, but none have been as rewarding as this!
Mon, 12/22/2014 - 10:26
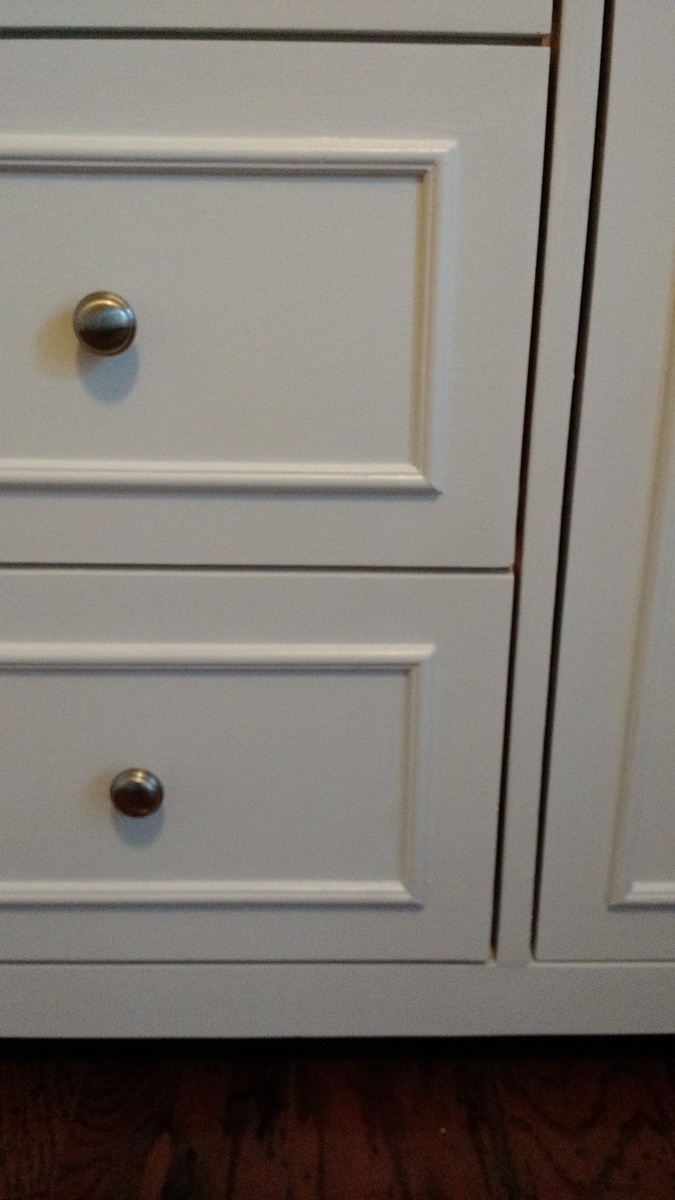
Beautiful build. Your modifications make this table very versatile, and I noticed that your spacing all around the drawers and door is so even. This should become a family heirloom.
Mon, 02/17/2020 - 07:11
I love the modifications you made. What are the dimensions for the cabinet you added?
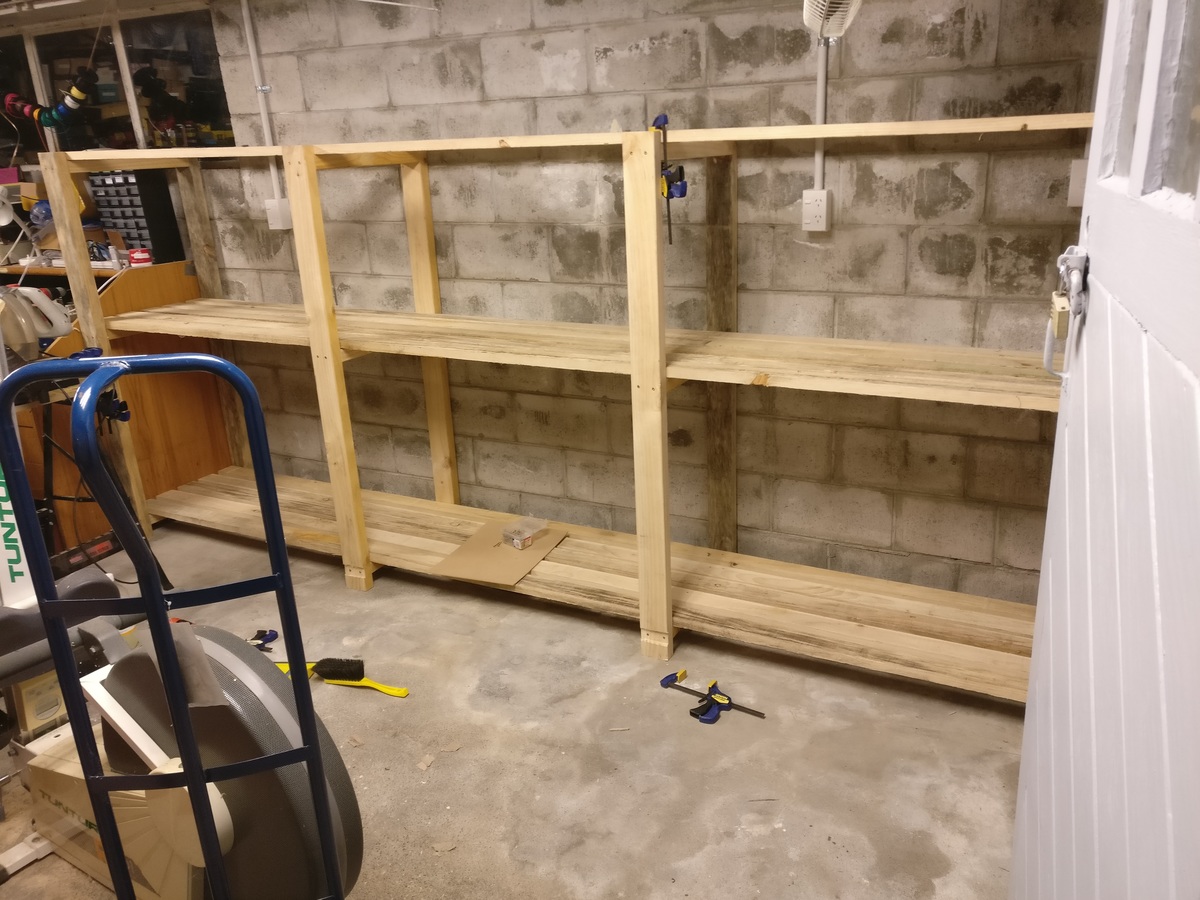
I used 1x3 box pine instead of 2x4's for the bits that things sit on, and everything fits perfectly.
Originally I was planning on a 3.6m long x 0.6m deep X 1.8m high shelf. At the lumberyard I found out that 2x4's came in 6m lengths as standard, so I adjusted this to 1.5m high instead, which worked out fine as I think 1.8m would have been a bit tall to get heavy things on top of. Luckily for me my power points and light switches were just under this, which I didn't think about at the time!
Originally I was going to try and cut grooves for the 'rungs' of the ladder frames to slot into, hence the insets at the bottoms of the legs. I think that the glue-and-screw construction will be plenty strong enough, though.
This took me about 4 hours to put together, and cost about NZD$170 all up, which is about USD$120.
I've got the bug. Making things is awesome.
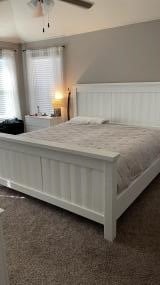
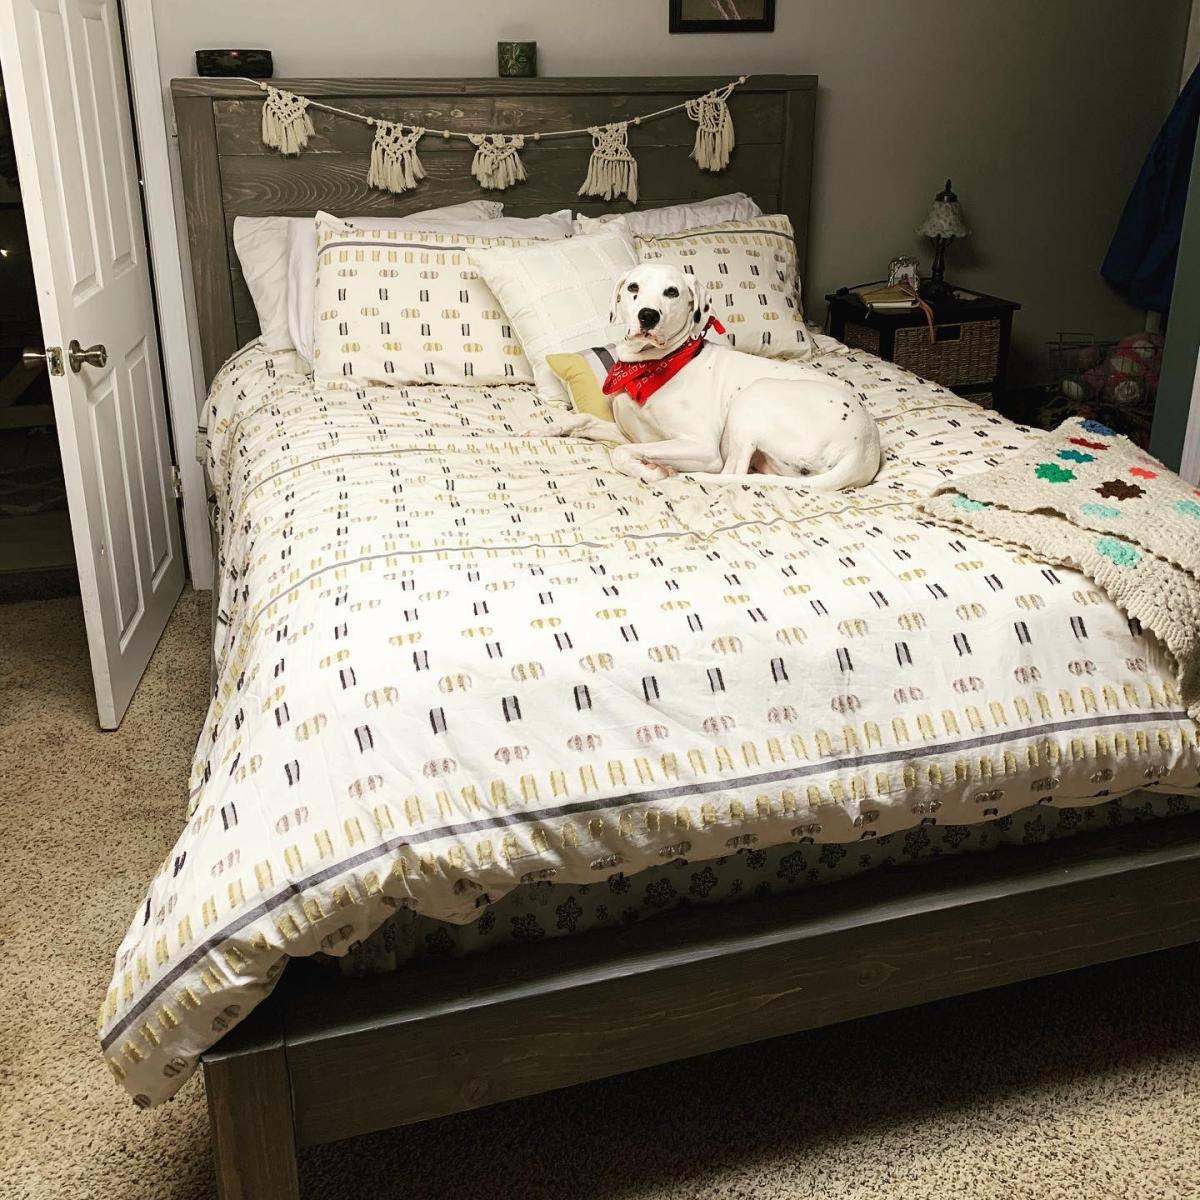
We bought our adjustable bed and needed something to make it look better. I loved this bed and modified it to fit our needs. It was easy to build and really made such a difference in our room!
Tue, 02/13/2024 - 06:42
Would you happen to have plans or instructions for this project? Thanks in advance!
This took me an afternoon because I have never used a compound mitre saw before so I was teaching myself through trial & error.
It was really fun to try and I will definitly be making more!
milled a bunch of cedar with the intention of building adirondack chairs, but we got chickens instead :)
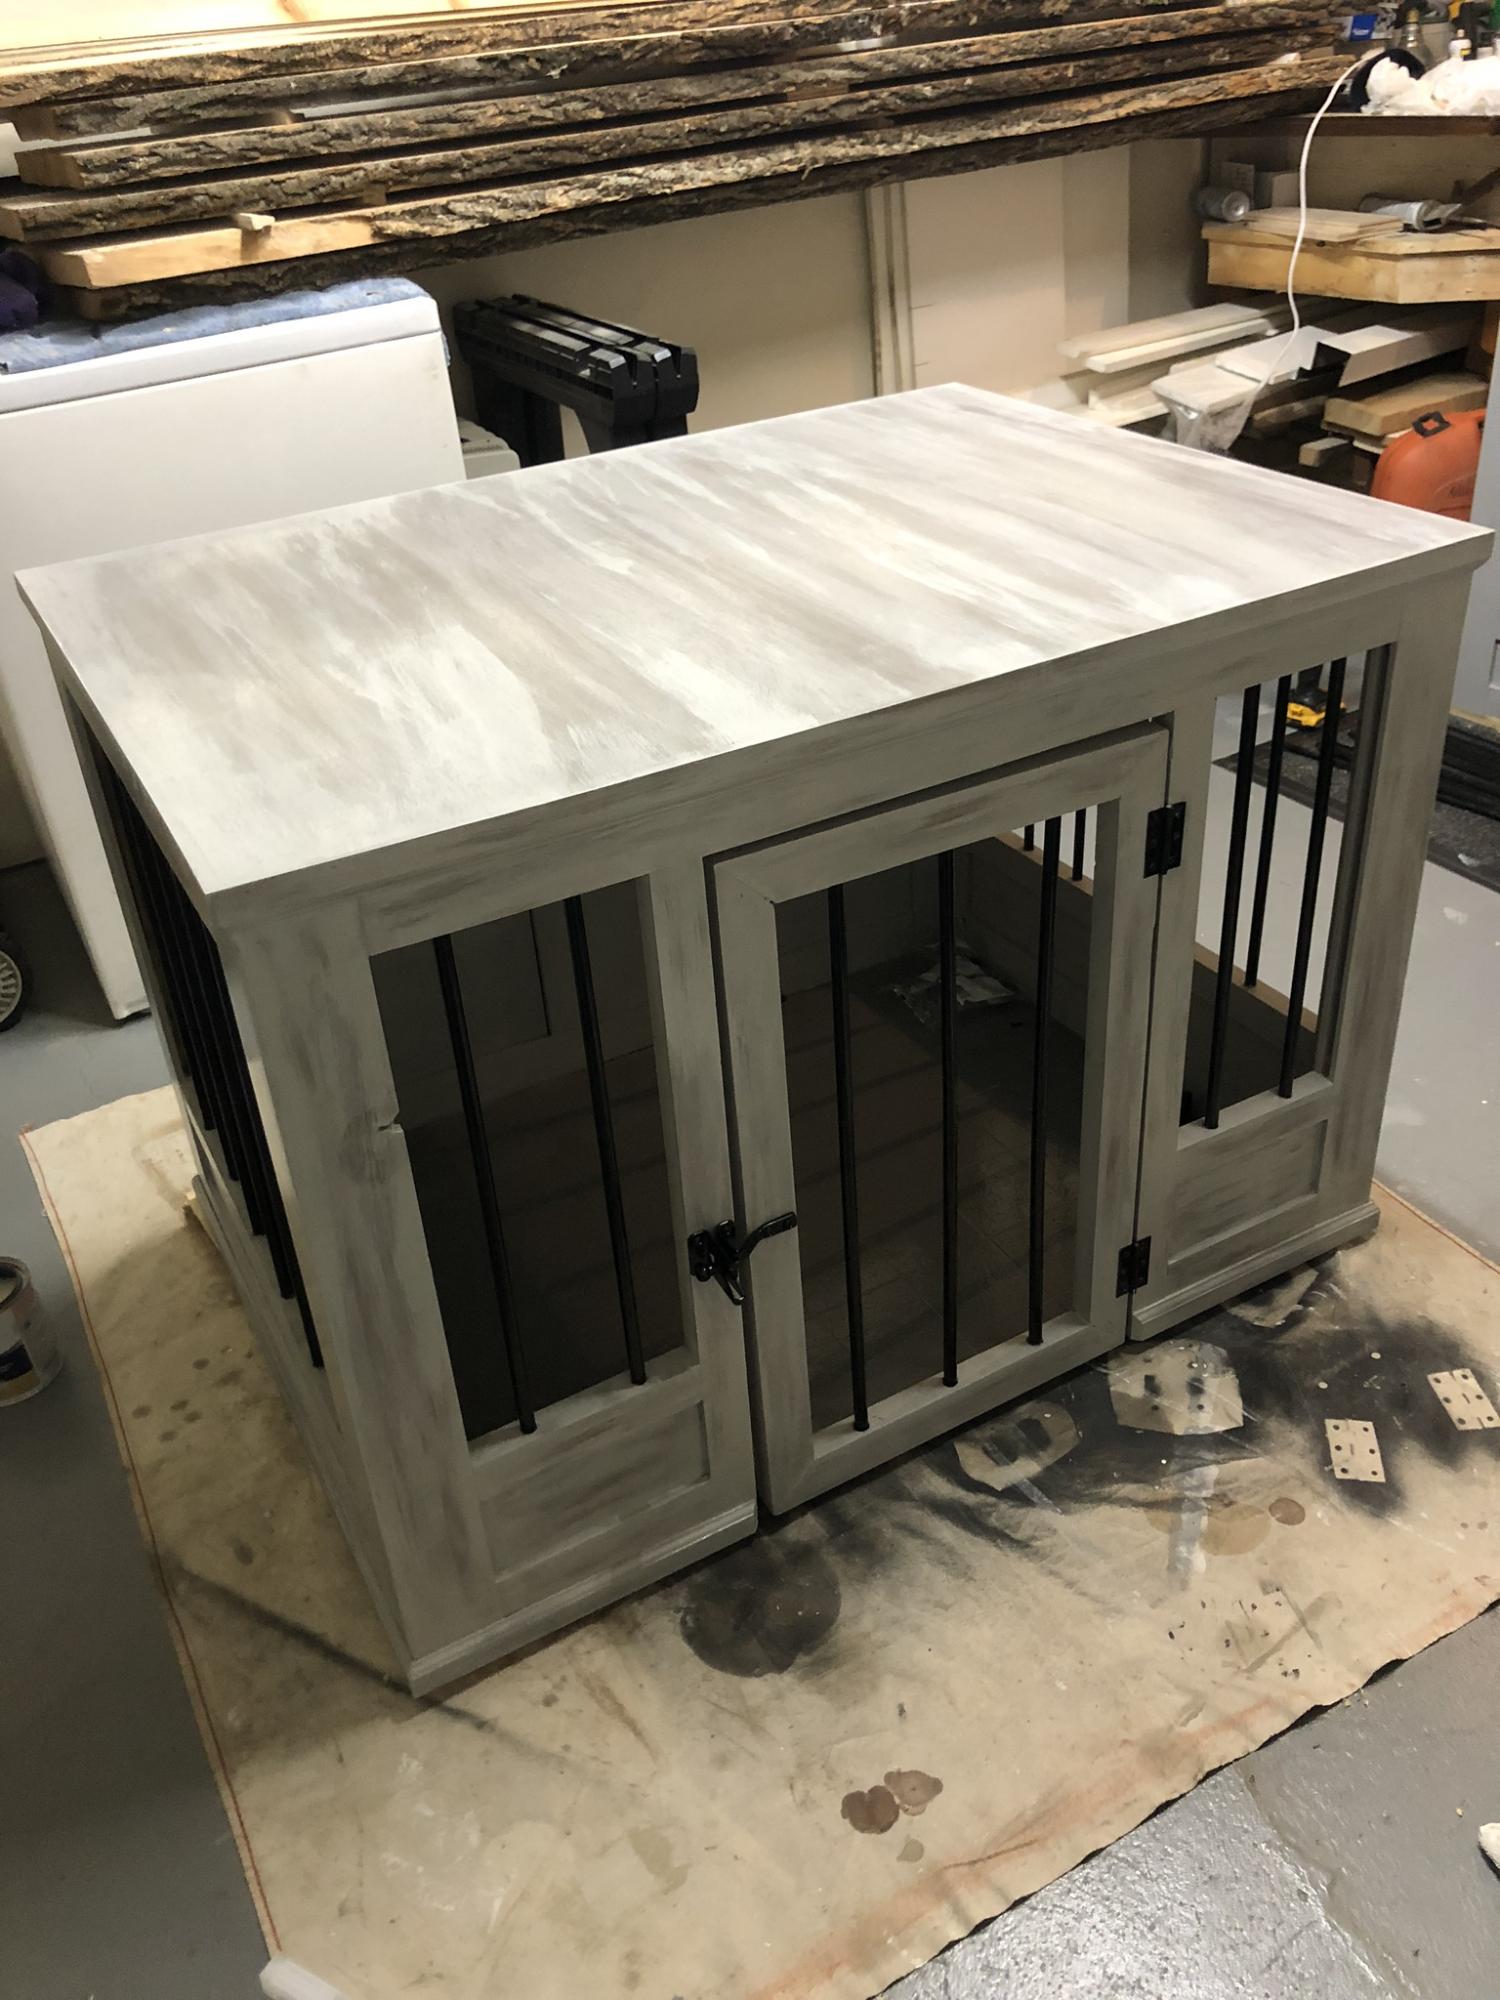
Xl farmhouse style dog crate table with metal bars.
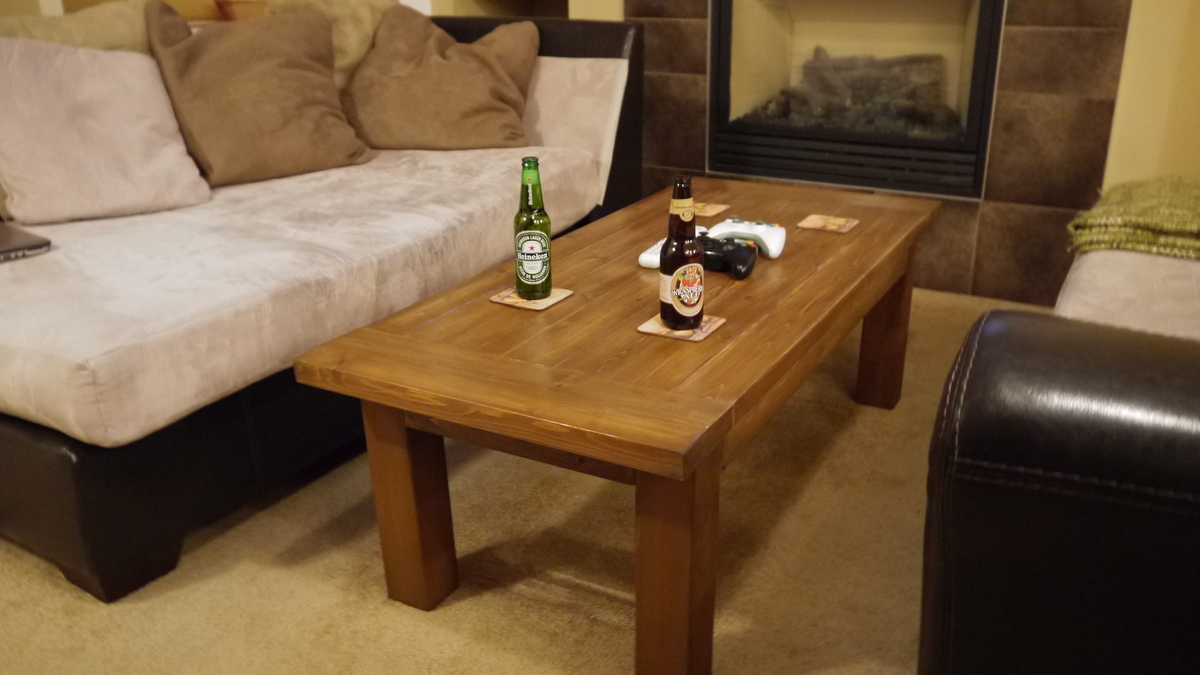
This is our very first Ana White project! We are so happy with how it turned out and have definitely been inspired to continue to create. Plans are already in the works for matching end tables, a dining table, and a bookshelf! We used cedar for this table. The stain was MinWax American Walnut, the slight red hue is from the wood only. We finished it with polycrylic because we didn't want any ambering. I think we probably spent about 6 hours doing the actual building A lot of that was spent trying to get the table top boards flush against each other. Any tips for picking straight pieces would be very helpful!! I would suggest cutting and screwing together on the same day do boards don't start to dry out. The rest of the time was really about doing test staining, waiting for coats to dry, etc. We did this in our basement so having water base stains was really key.
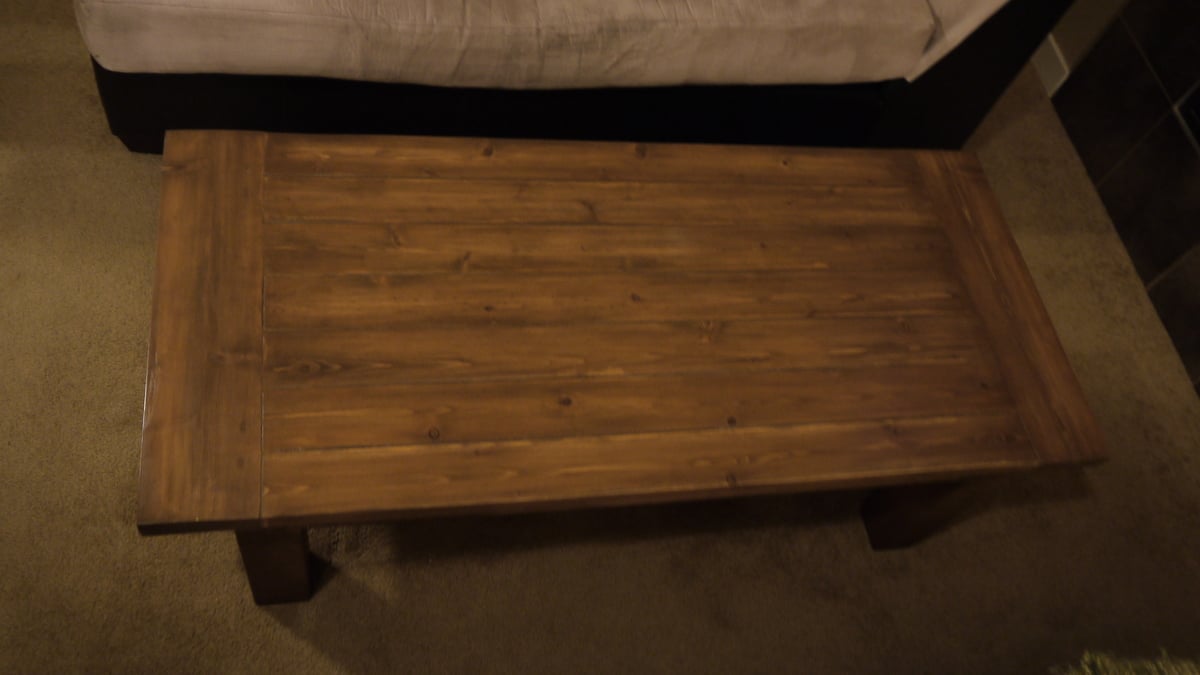
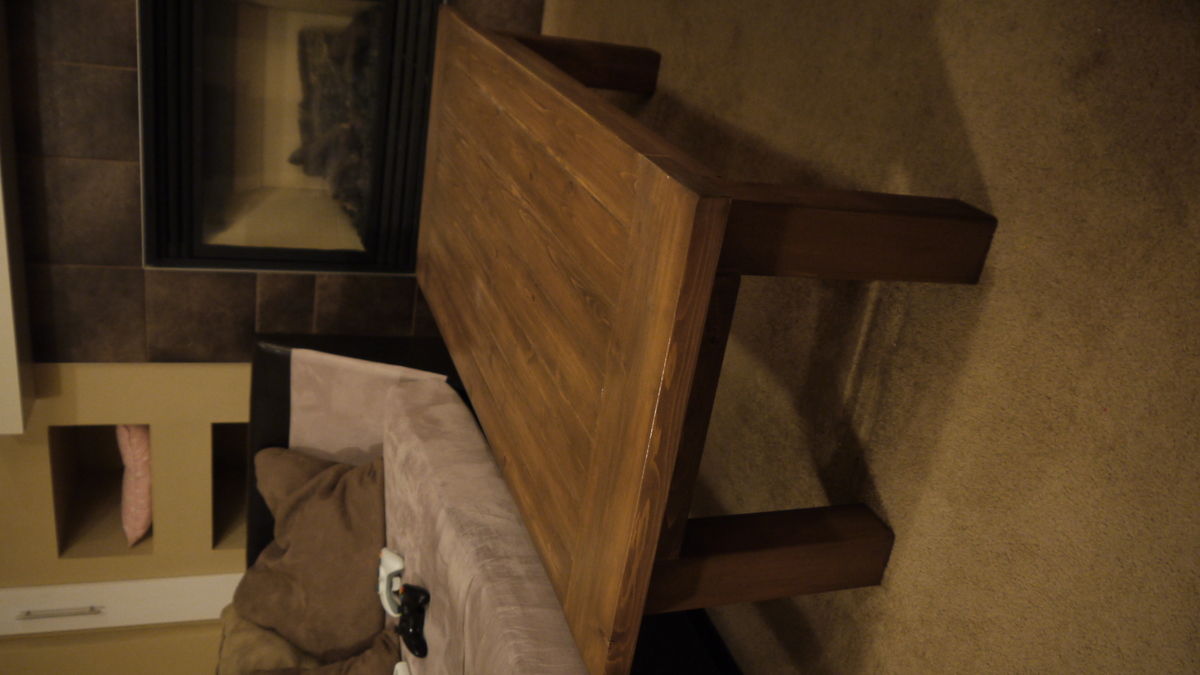
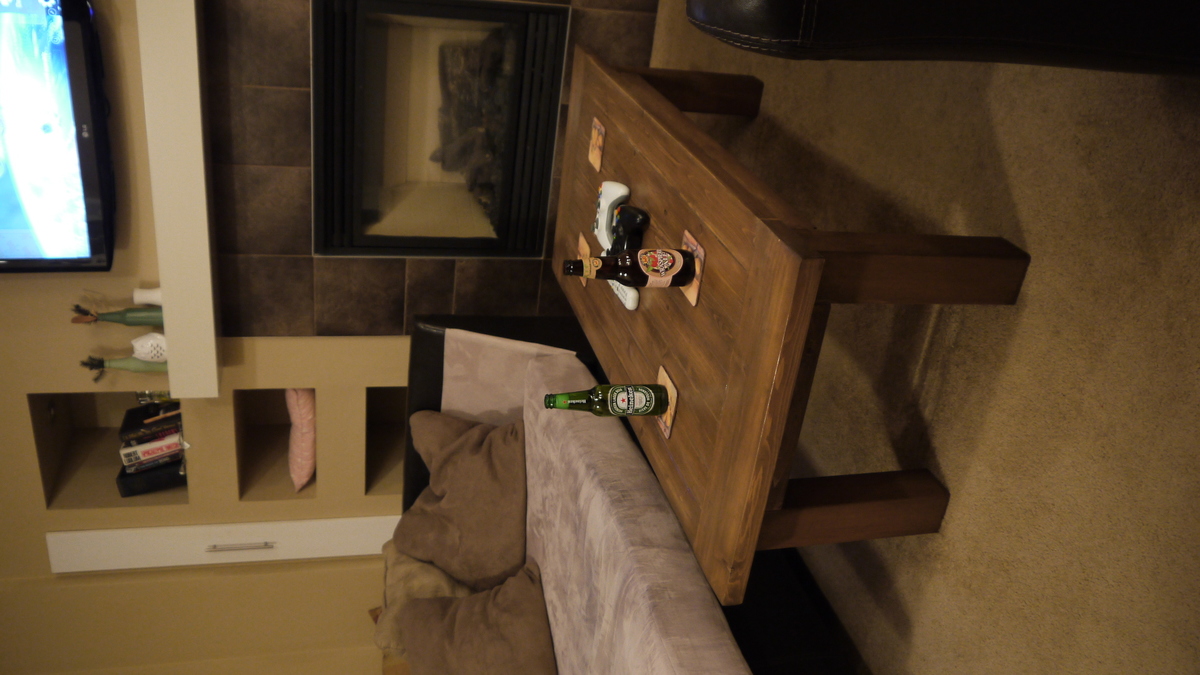
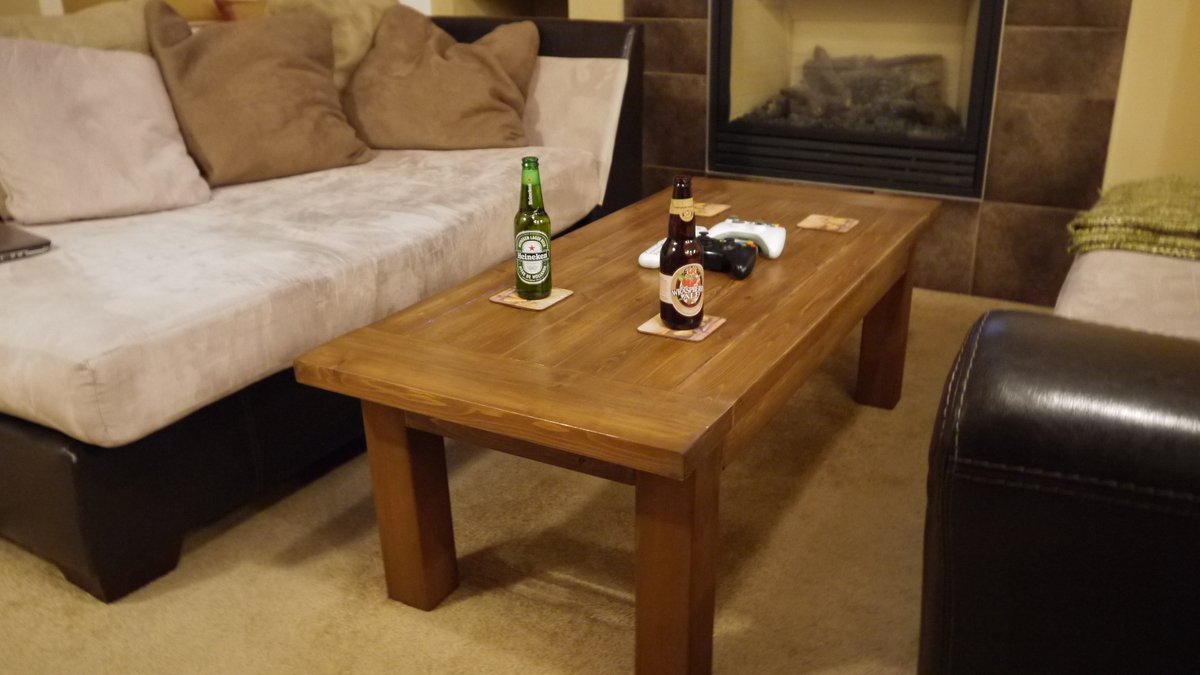
Made a few changes to the cuts on the supports as I made a mistake on the mitres. However, it worked out and added a different look than the plan's design. (notice pointed mitres on supports)
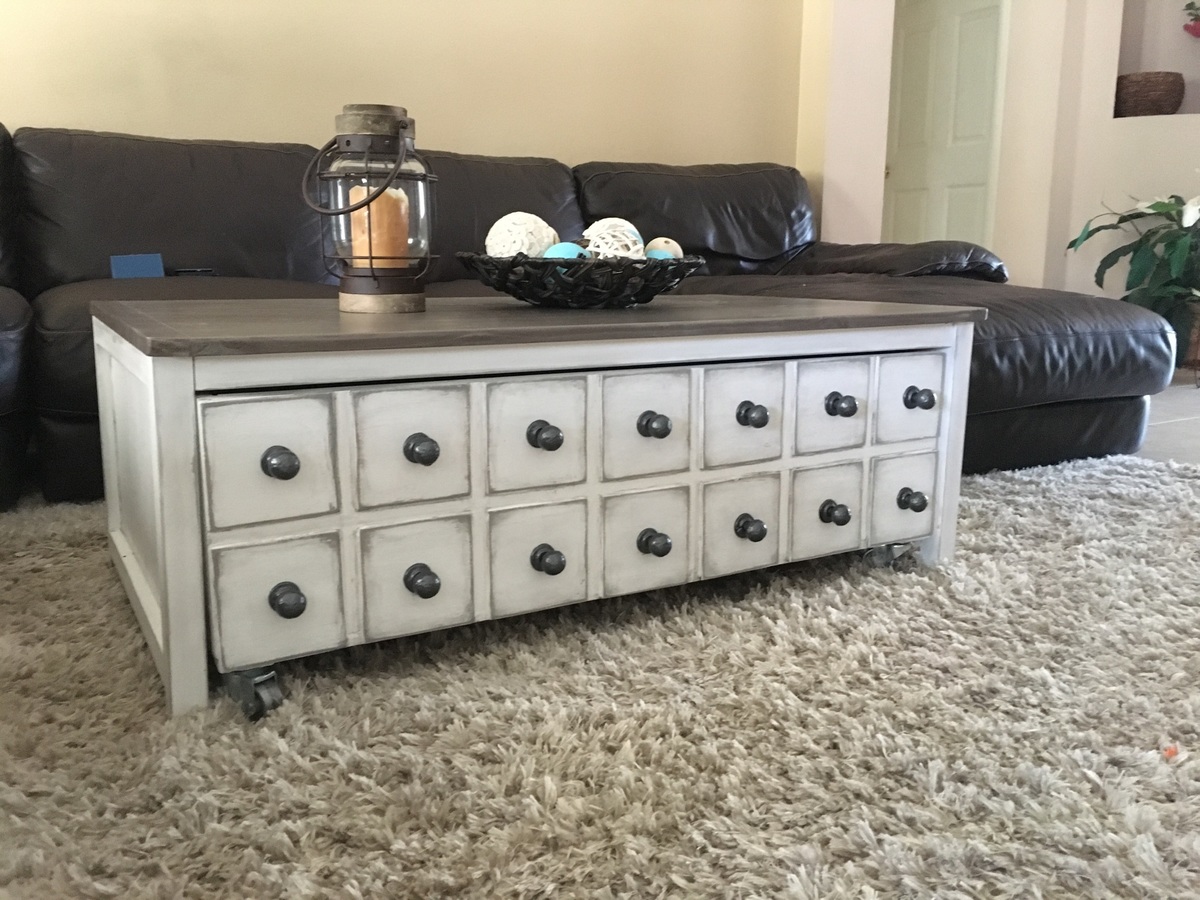
Can't believe I did it myself without hubbys help at all!! Wasn't expecting to like the outcome, much less LOVE it!!
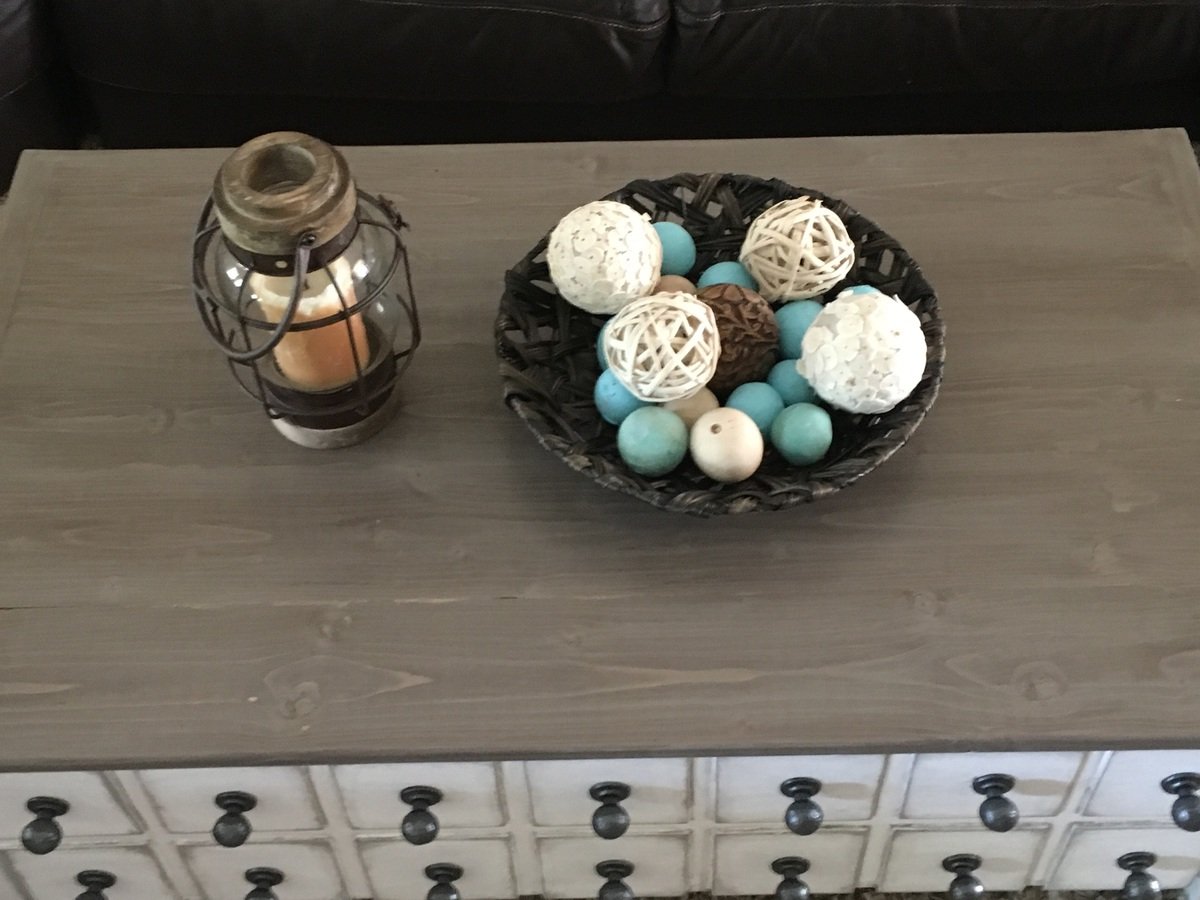
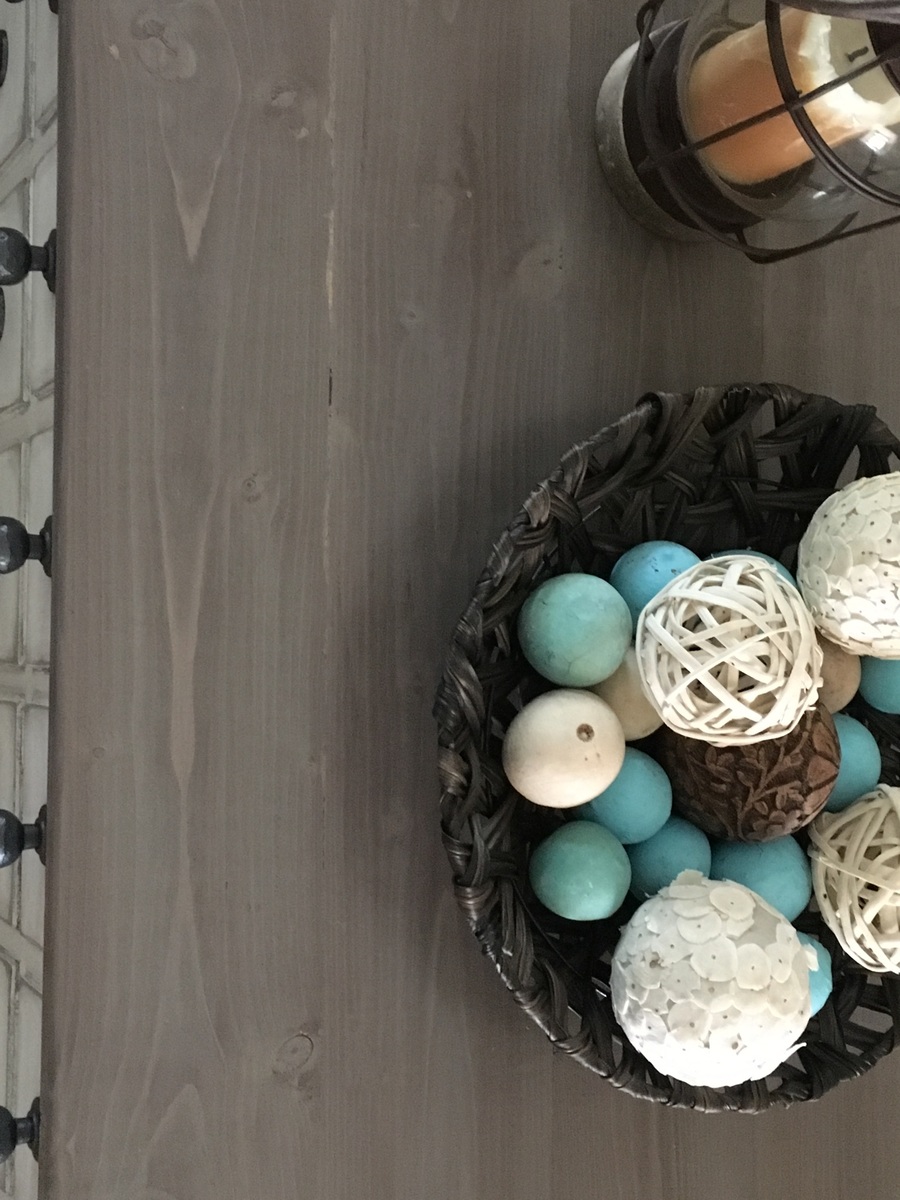
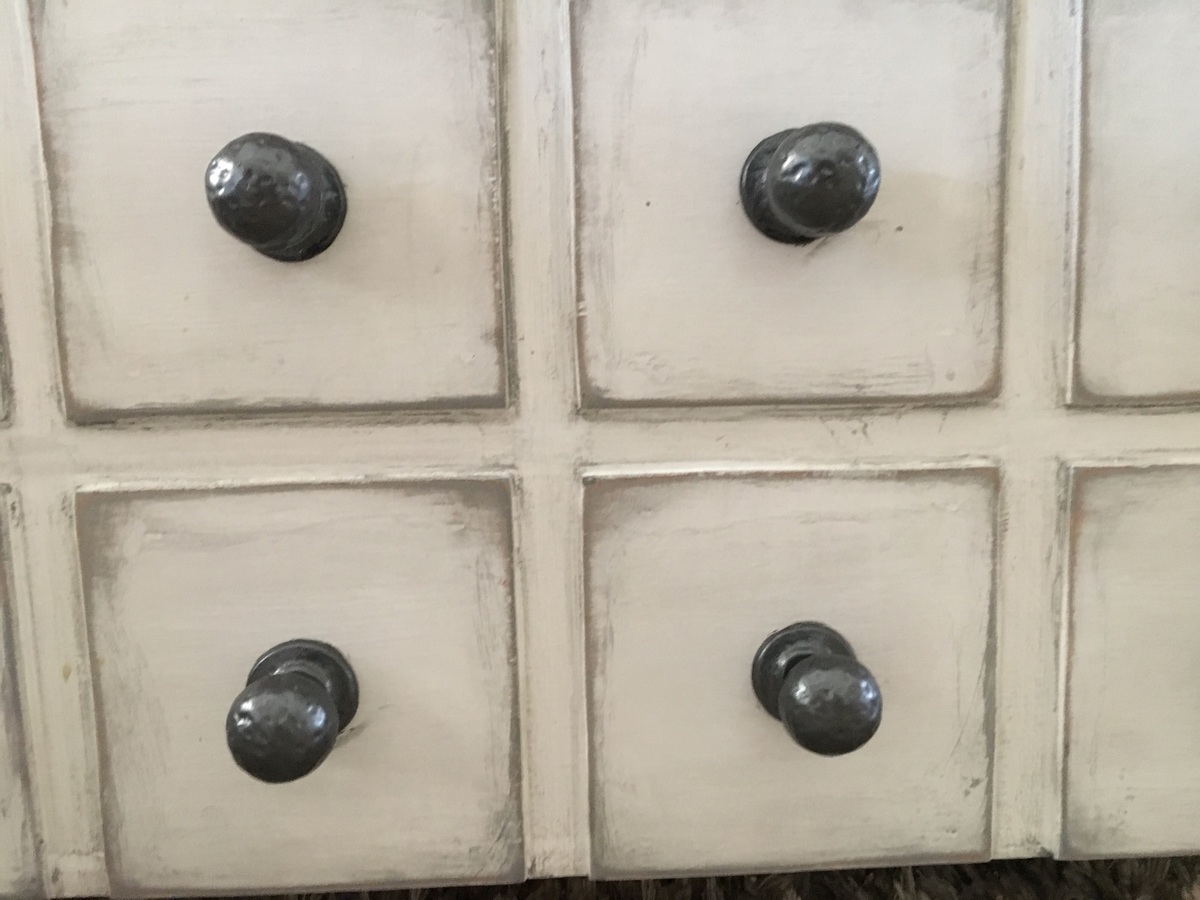
I made my stain with grey paint and special walnut stain...came out beautifully!! I used Behr white paint on the base and grey paint as the glaze. I got the knobs on sale at Hobby Lobby and painted them a dark silverish color. The inside of the box is the same as the top.
I will say this is far from perfect...but I learned a lot and know I will do even better on my next project ;) Thank you for these plans!! Can't wait to build more!!
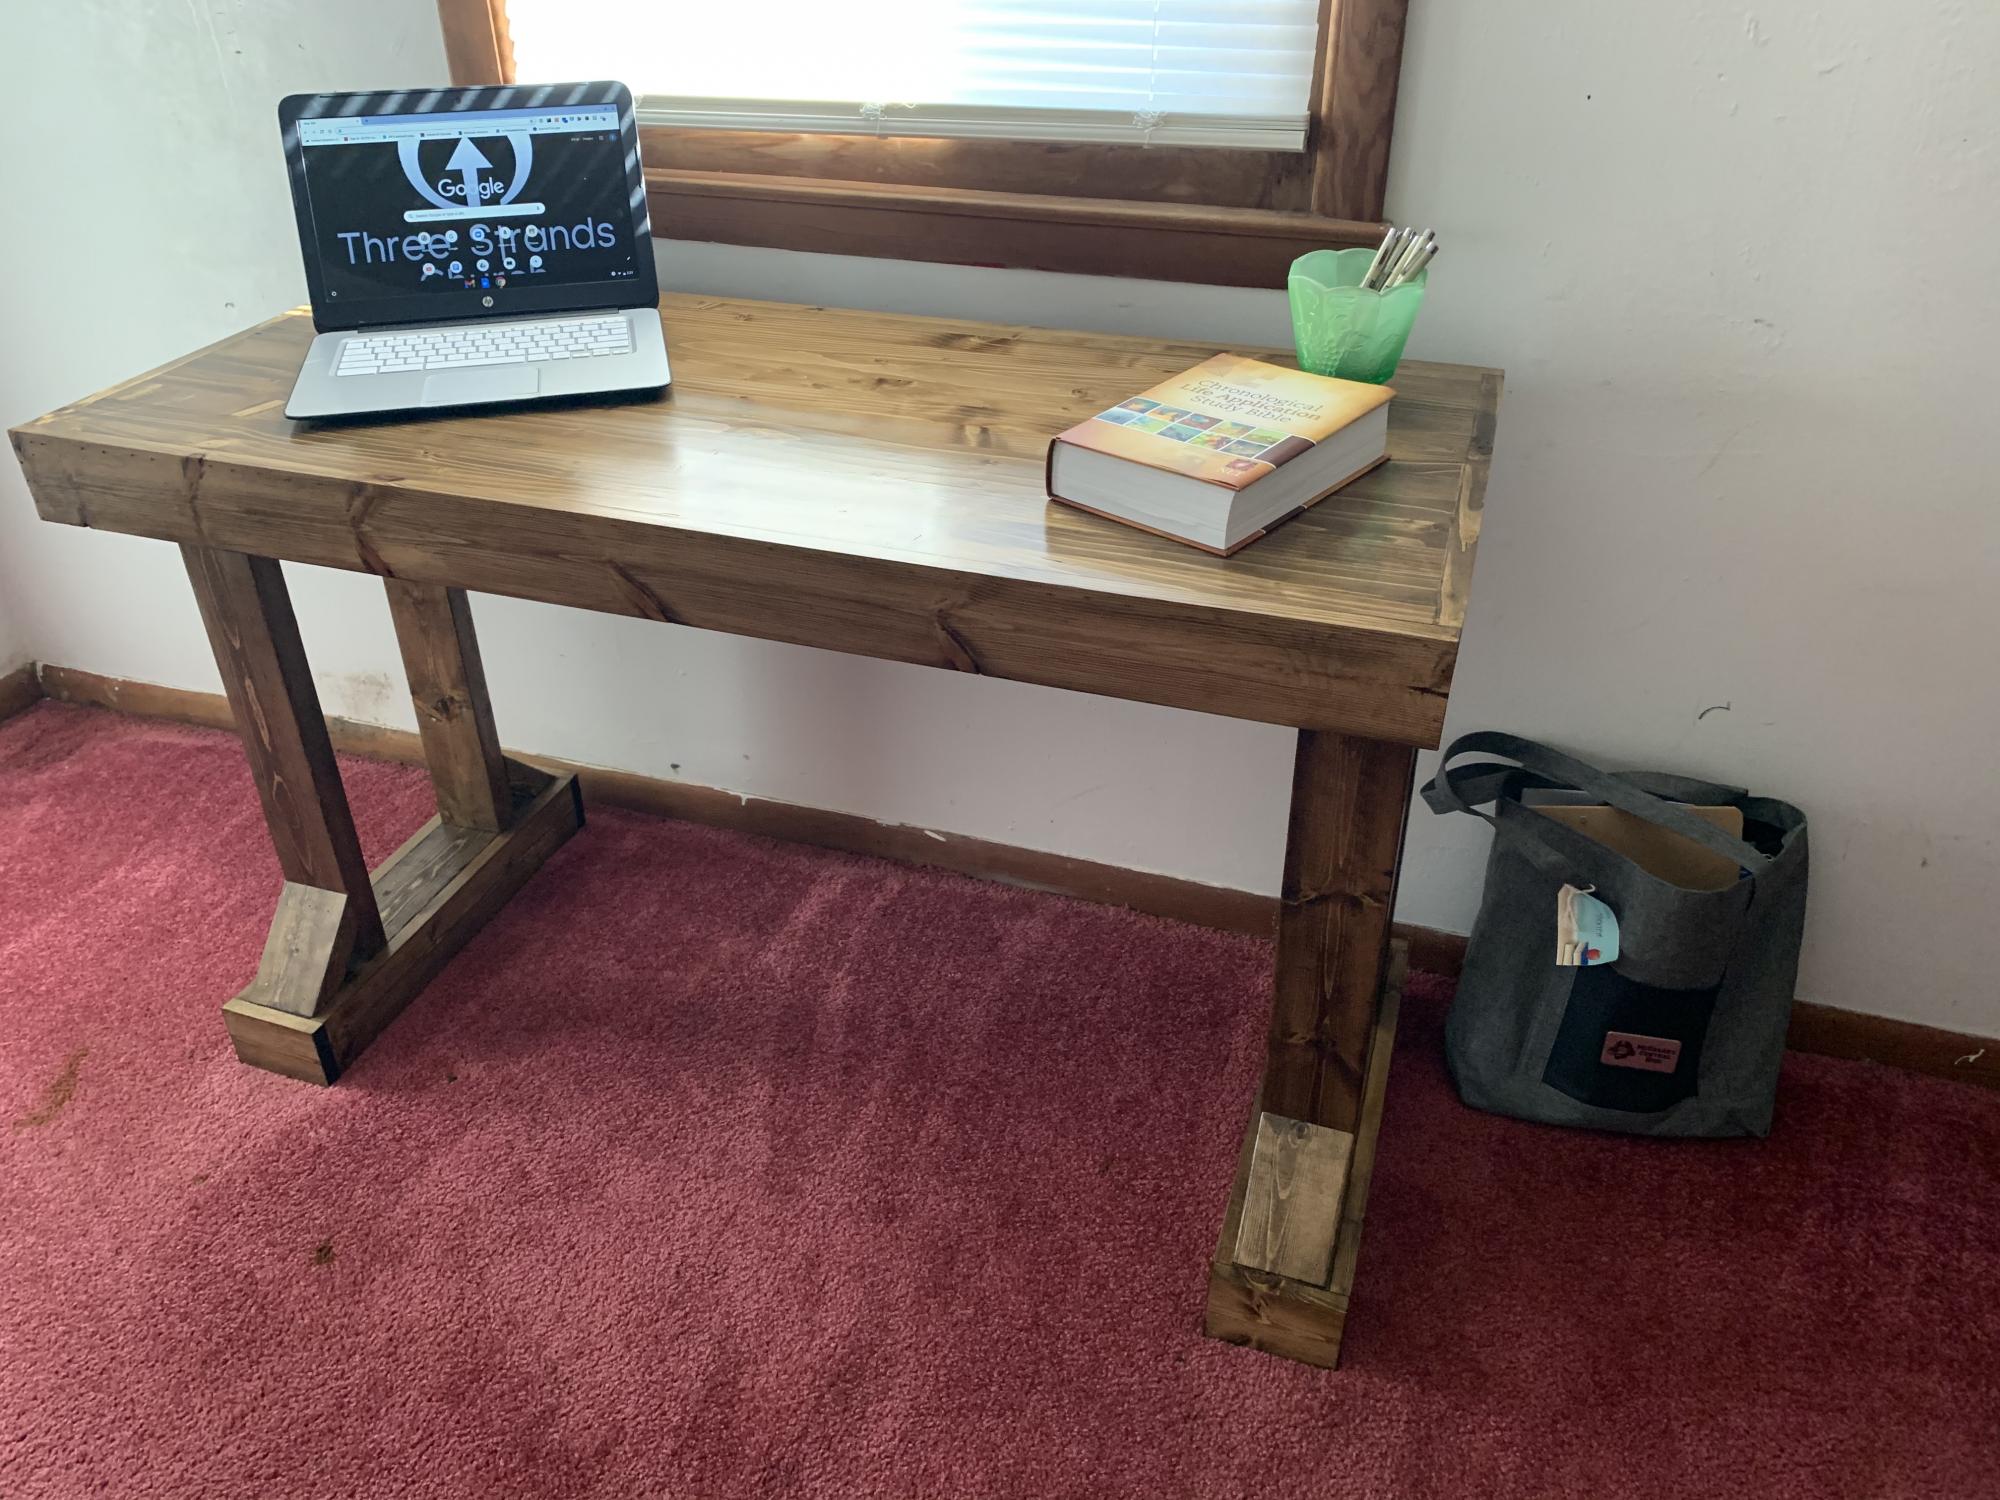
Made this for my wife who is an English teacher. I renovated a spare room into her an office space. She loves the desk.
Wed, 02/03/2021 - 10:28
Very nice and I am sure she loves being able to work and look out the window!
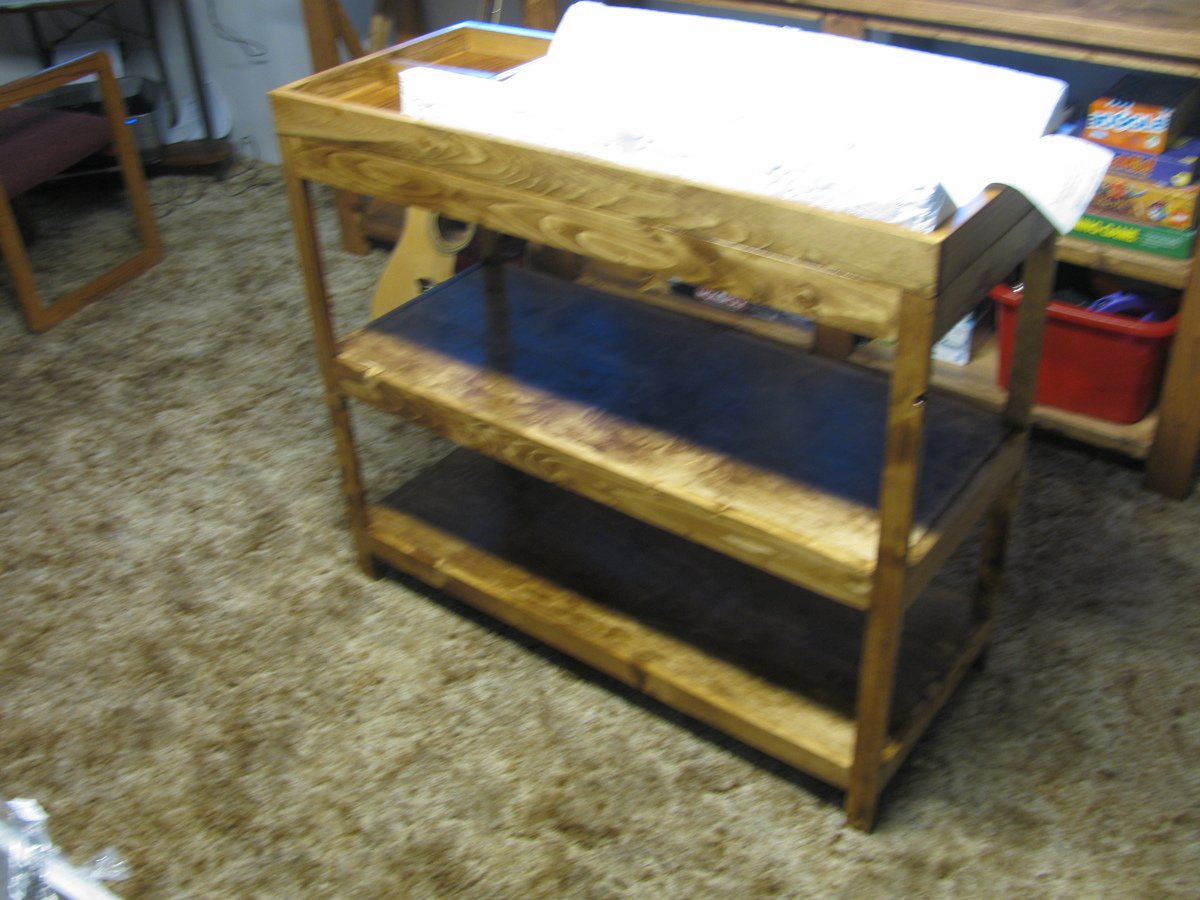
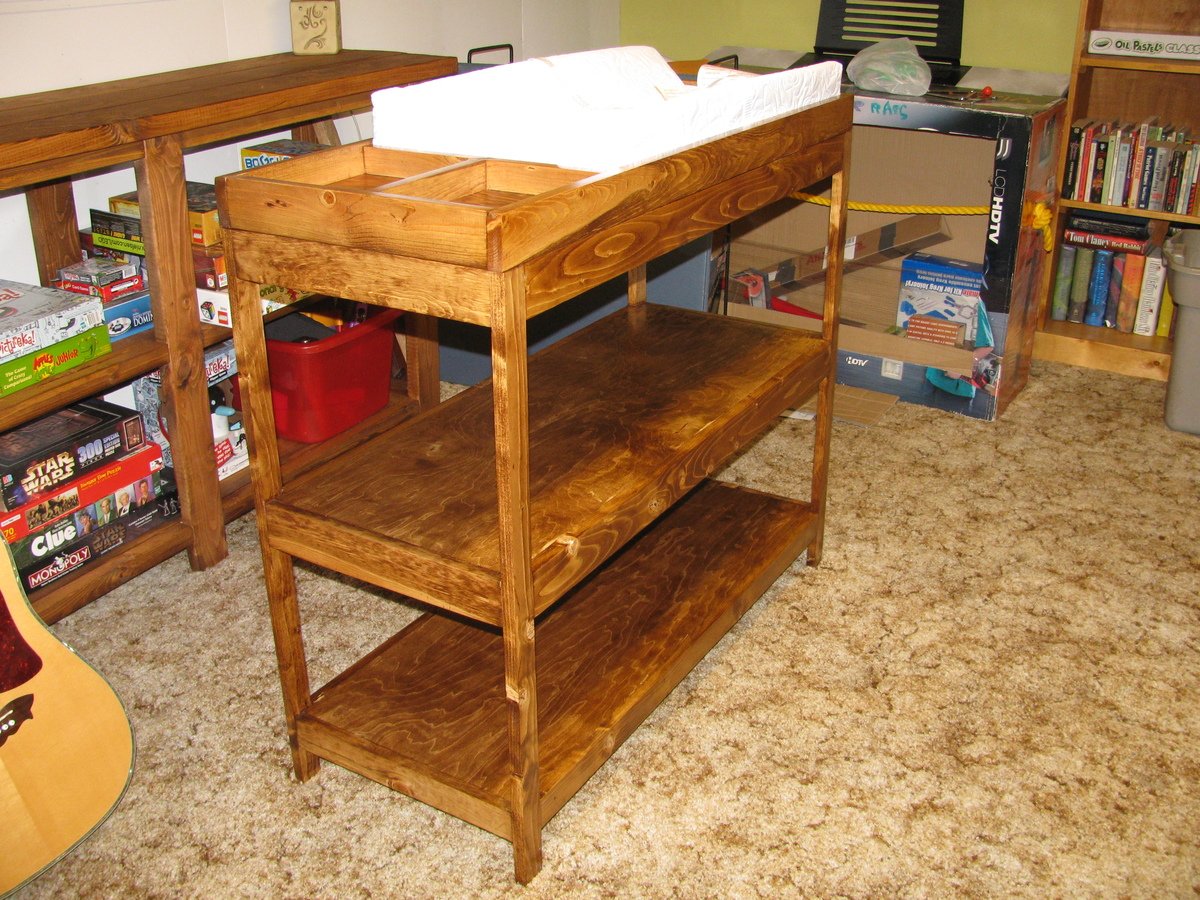
Wanted to make our friends who were expecting a nice gift that would serve them for many years to come. Used a Kreg Jig (greatest tool ever for amateur carpenter or wood worker!!) for most of the joinery. Wanted it to have a bit of an older look to it.
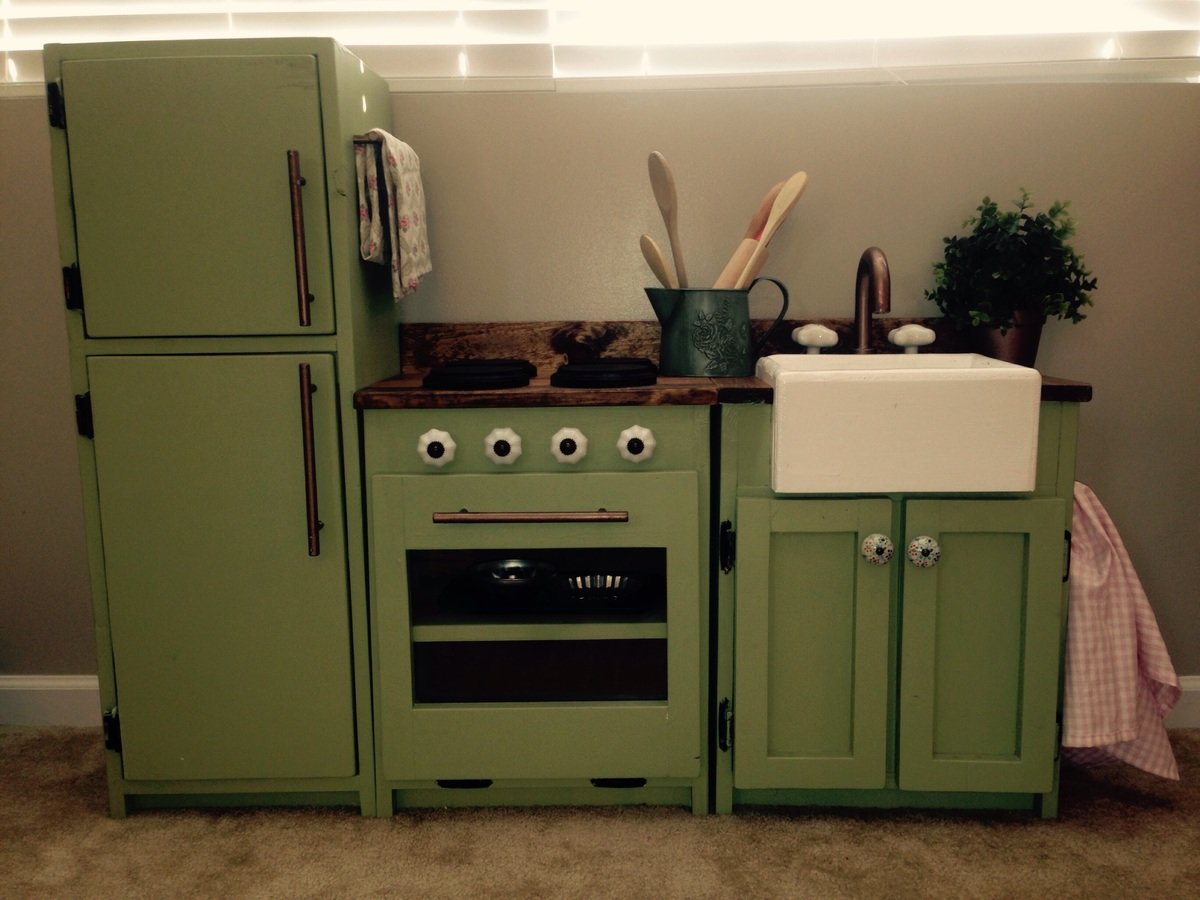
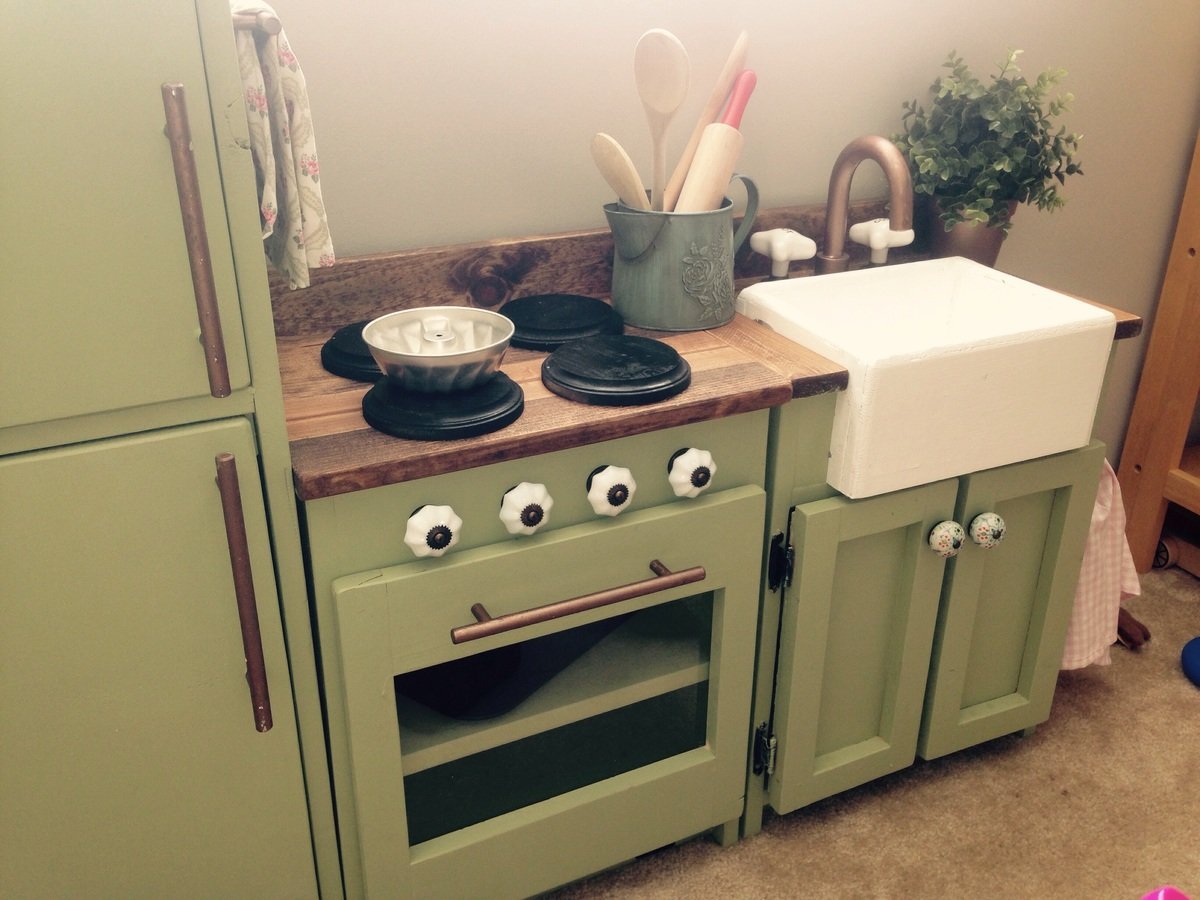
We really wanted to give our 2 year old a play kitchen for Christmas. We also didn't want to spend the money on the likes of the Pottery Barn set, and weweren't sold on the lesser-expensive options. Fortunately, a quick internet search led me to Ana White's website and plans for this play kitchen. As someone who has never built anything before, the plans seemed very doable. All of the brag posts were also inspirational and sold me on starting this project. I worked on this an hour or so after work for a couple of weeks, and then a few longer nights running up to Christmas Eve (always a bit of a procrastinator!). As neither my wife or I know how to sew, we decided to turn the space underneath the sink into a cabinet. The paint color was left over from painting our kitchen and family room, and we decided to stain the stove and counter tops. Overall, we are very pleased and proud with how this turned out, and our 2 year old loves playing with the set!
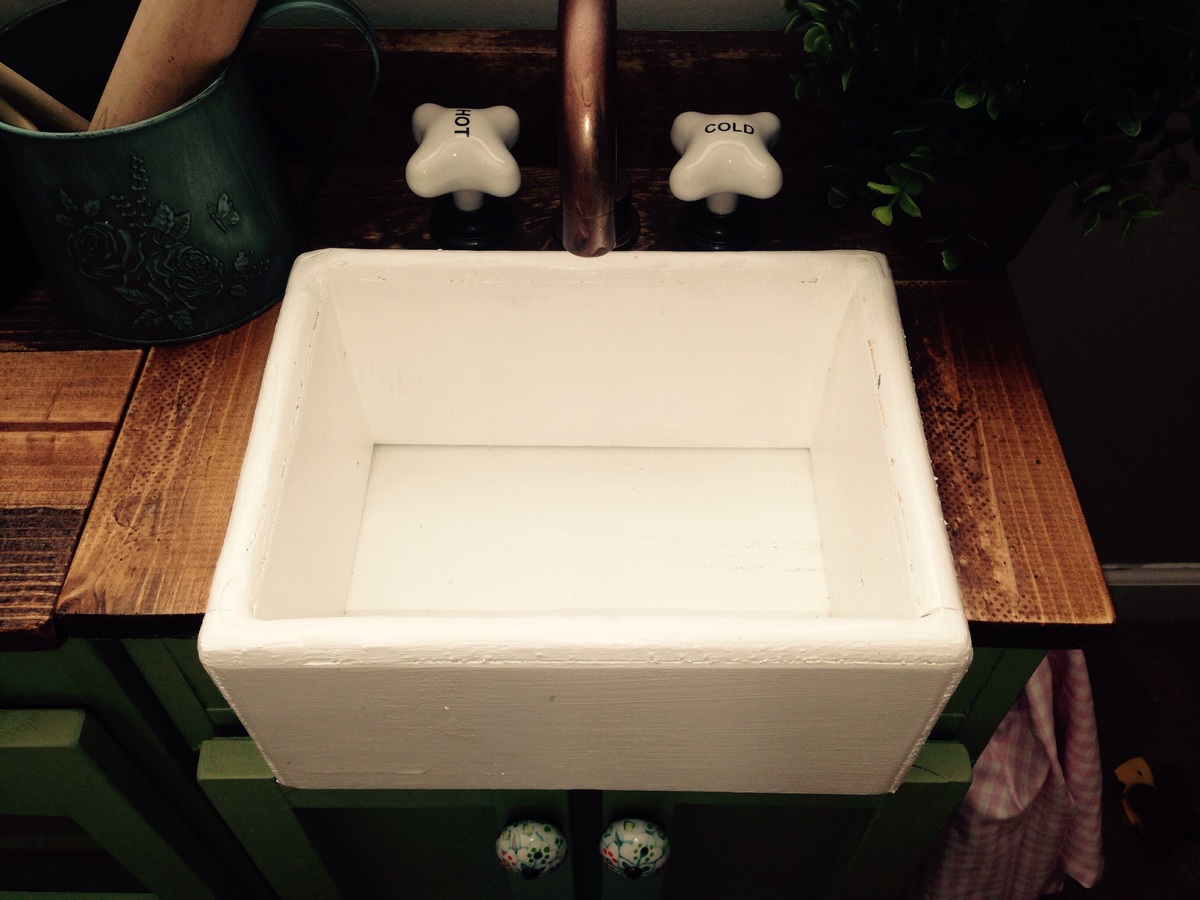
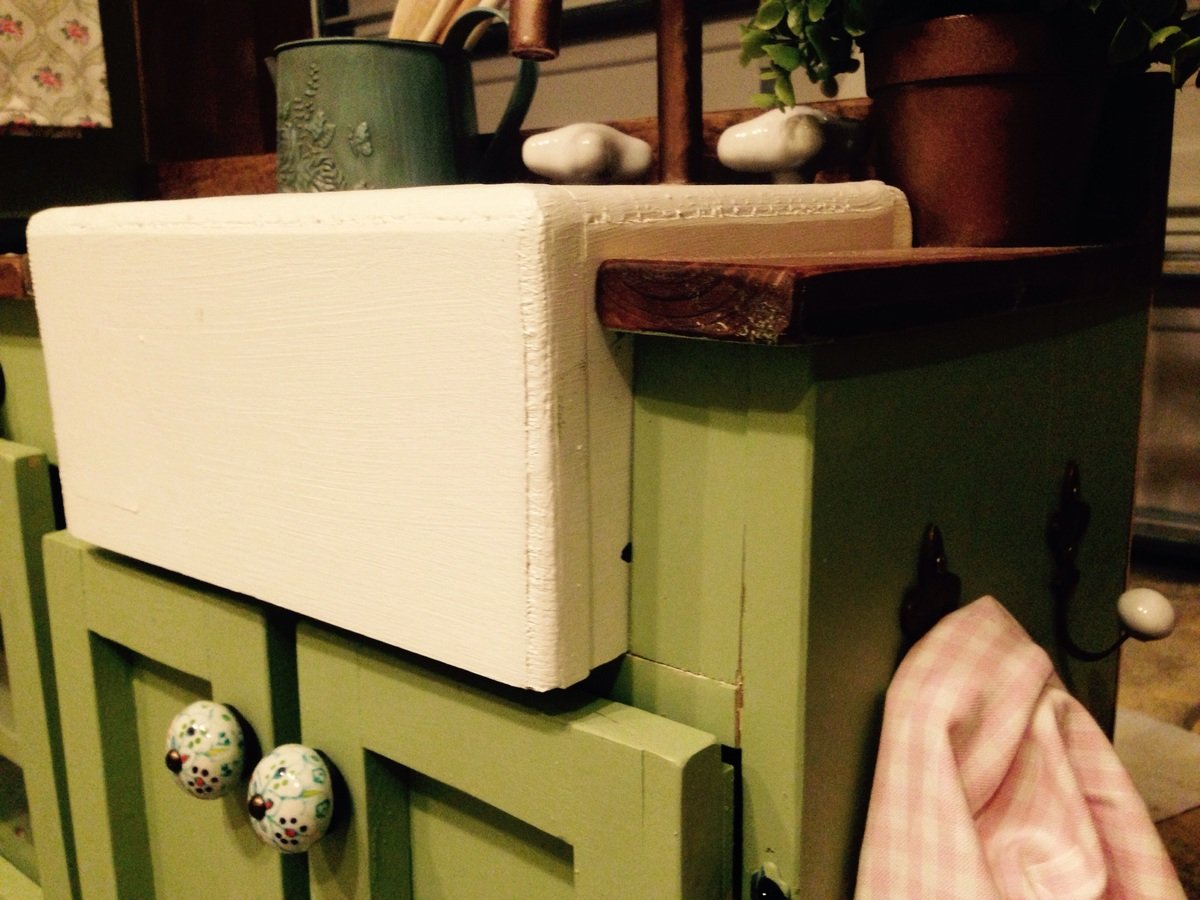
Wed, 12/31/2014 - 13:15
This looks awesome! Love all the details and the green color with the stained counter. Great job!
Wed, 12/31/2014 - 15:17
This is so adorable. I especially love the little sink.
Table was really fun and difficult to complete. It took me about 30 hours to complete. However, it is a real hit in the neighborhood. I used pine and some of the material was really soft and difficult to sand/finish. Decided to paint the pedestals chalk white (wife's inspiration), which was a really good choice. Fitting the center sections of table top to frame was most difficult aspect of project. Thanks Ana for the inspiration!
Johnny Wilson
Shelbyville, TN
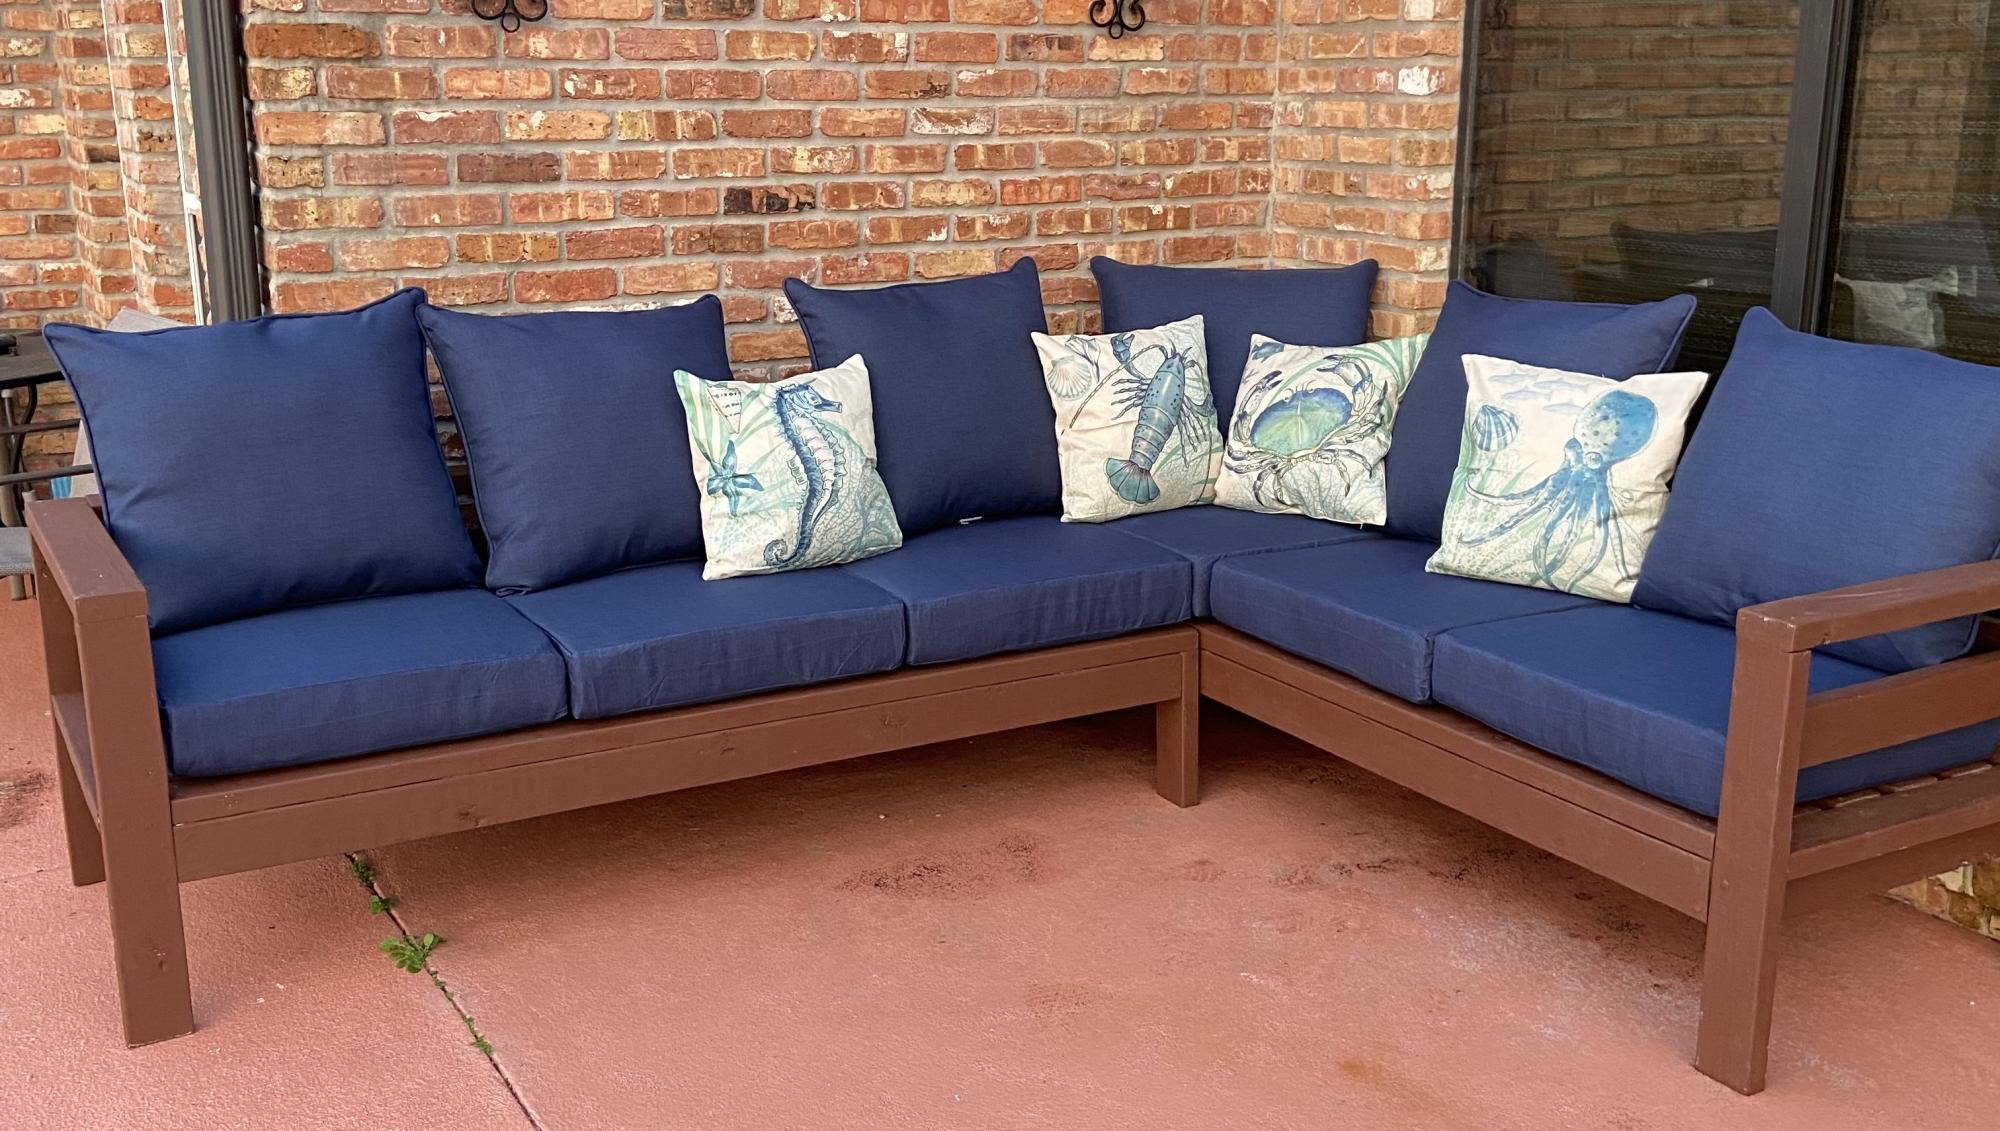
Thanks Ana White, love the way my sectional turned out. Your plans are perfect for someone want to start building things around their house. You are an inspiration to women like me!!!❤️
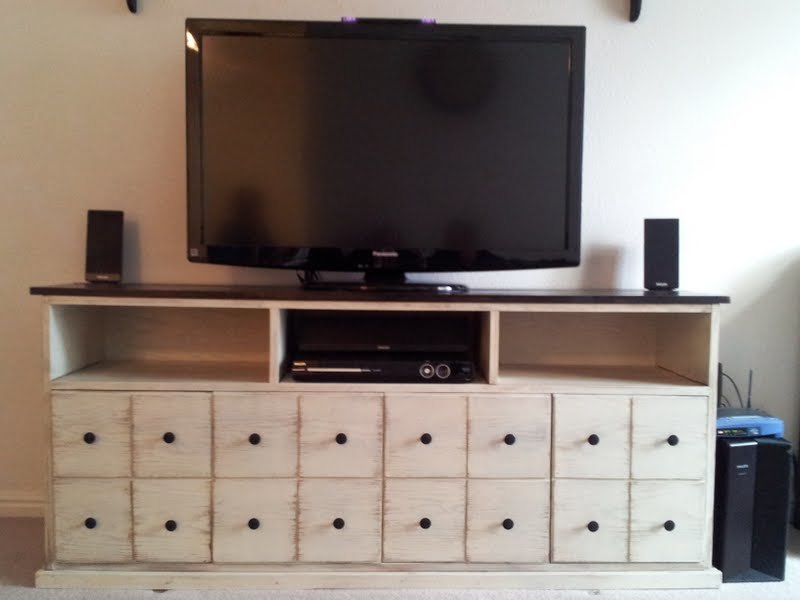
Apothecary Console
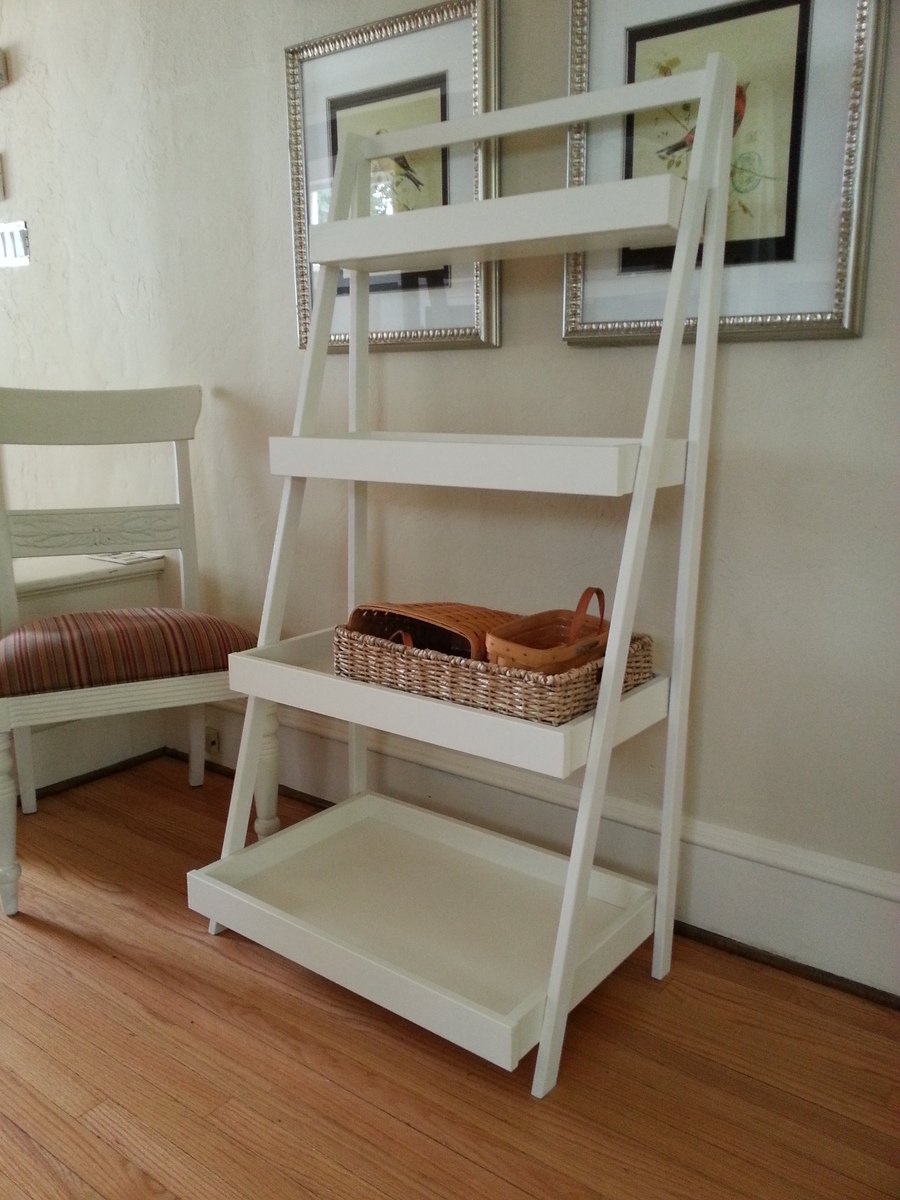
My master bath was in desparate need of storage, and as usual, it was Ana's site to the rescue. I built this Ladder Shelf exactly from Ana's 'Painter's Ladder Shelf' plans. I built and had it painted in about 2 days. Now I finally have a place to store towels. Thanks again, Ana!
We altered the plans to match our kitchen island to our 10-seat farm table my husband made. The top design is a replica of our table. We then added some wrought iron hooks and iron bottle opener for detail as well as corner plates to match our dining table. We decided to leave out the drawers and add a little open cubby for storage instead. Will look great with our rustic, country theme in our house!
Comments
handmadewithash
Fri, 12/19/2014 - 17:35
Great job! This looks super
Great job! This looks super awesome. I think I'll have to add this to the to-build list when my little boy is older. I bet he'll love it too.
milyron
Tue, 05/19/2015 - 11:00
few questions
Hi, This bed is awesome. I have few question and would appreciate if you could help me.
Did you use any connector bolts to be able to take it apart easily?
How did you connect the slats of the platform to the frame? with PH screws?
would appreciate any details you can give me.
Thanks
Mily:-)