4x4 Truss Beam Table
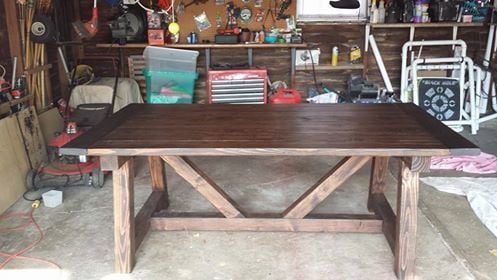
Built for my son and daughter-in-law. Love it

Built for my son and daughter-in-law. Love it
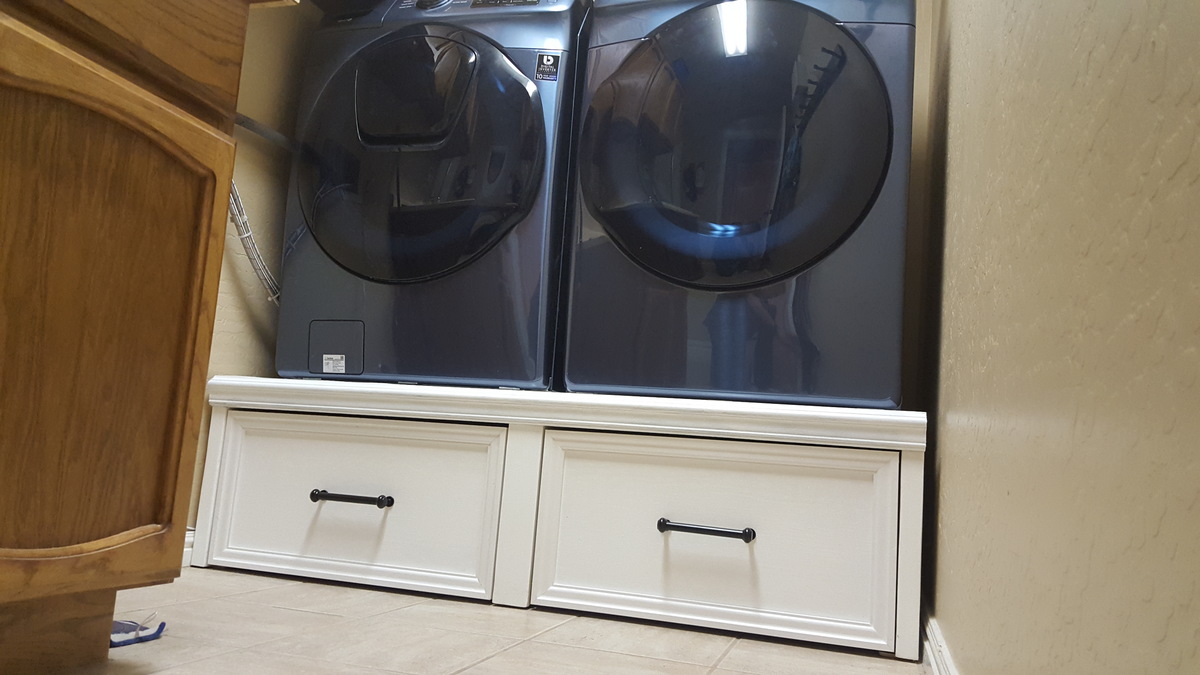
Thank You Dmccoy for the plans used for this project. Great idea using the 2×6s for strength and stability! I built this Pedestal and placed furniture slides underneath to allow for sliding out for cleaning and access.
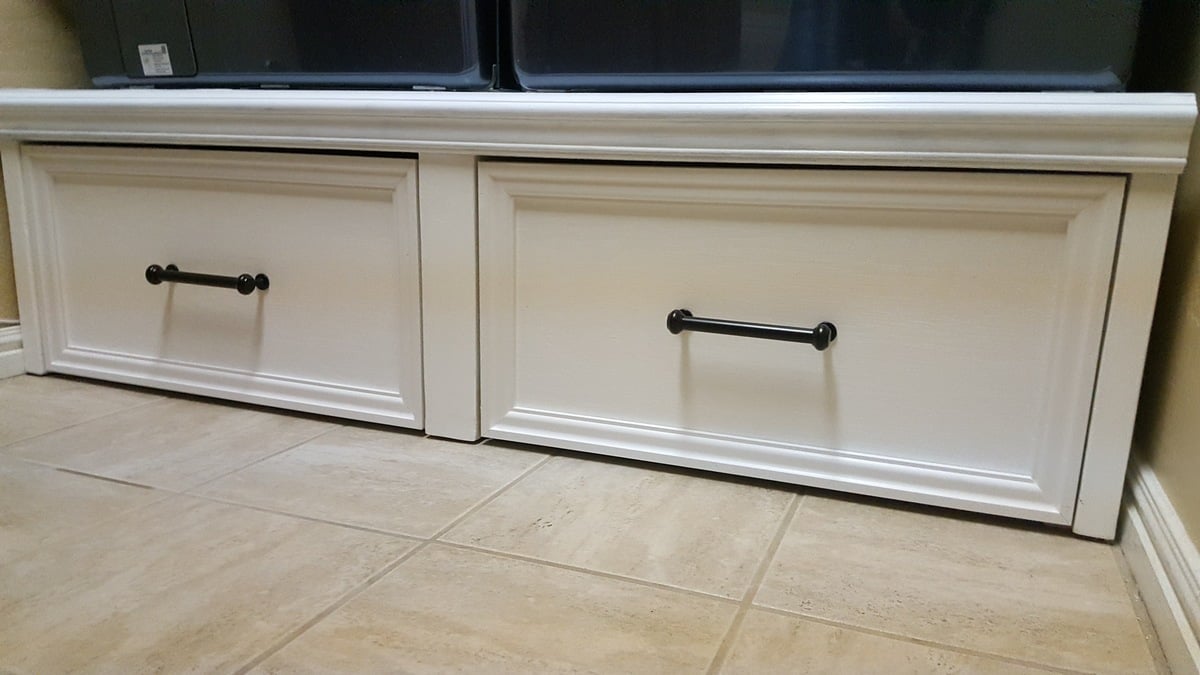
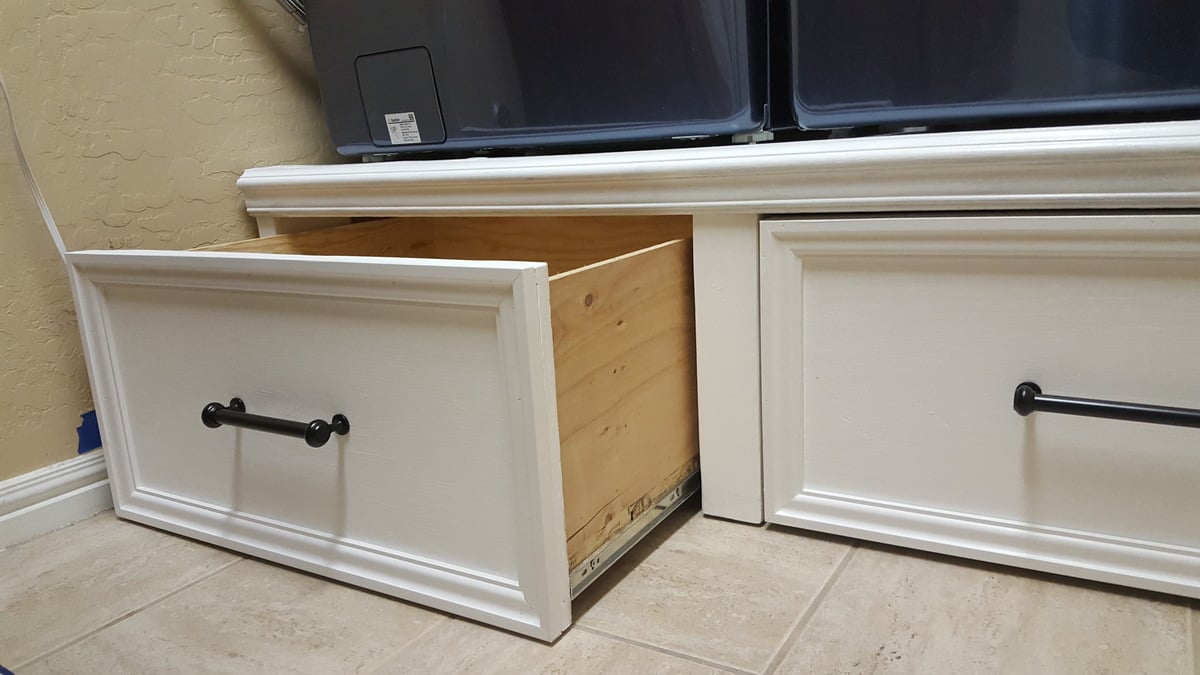
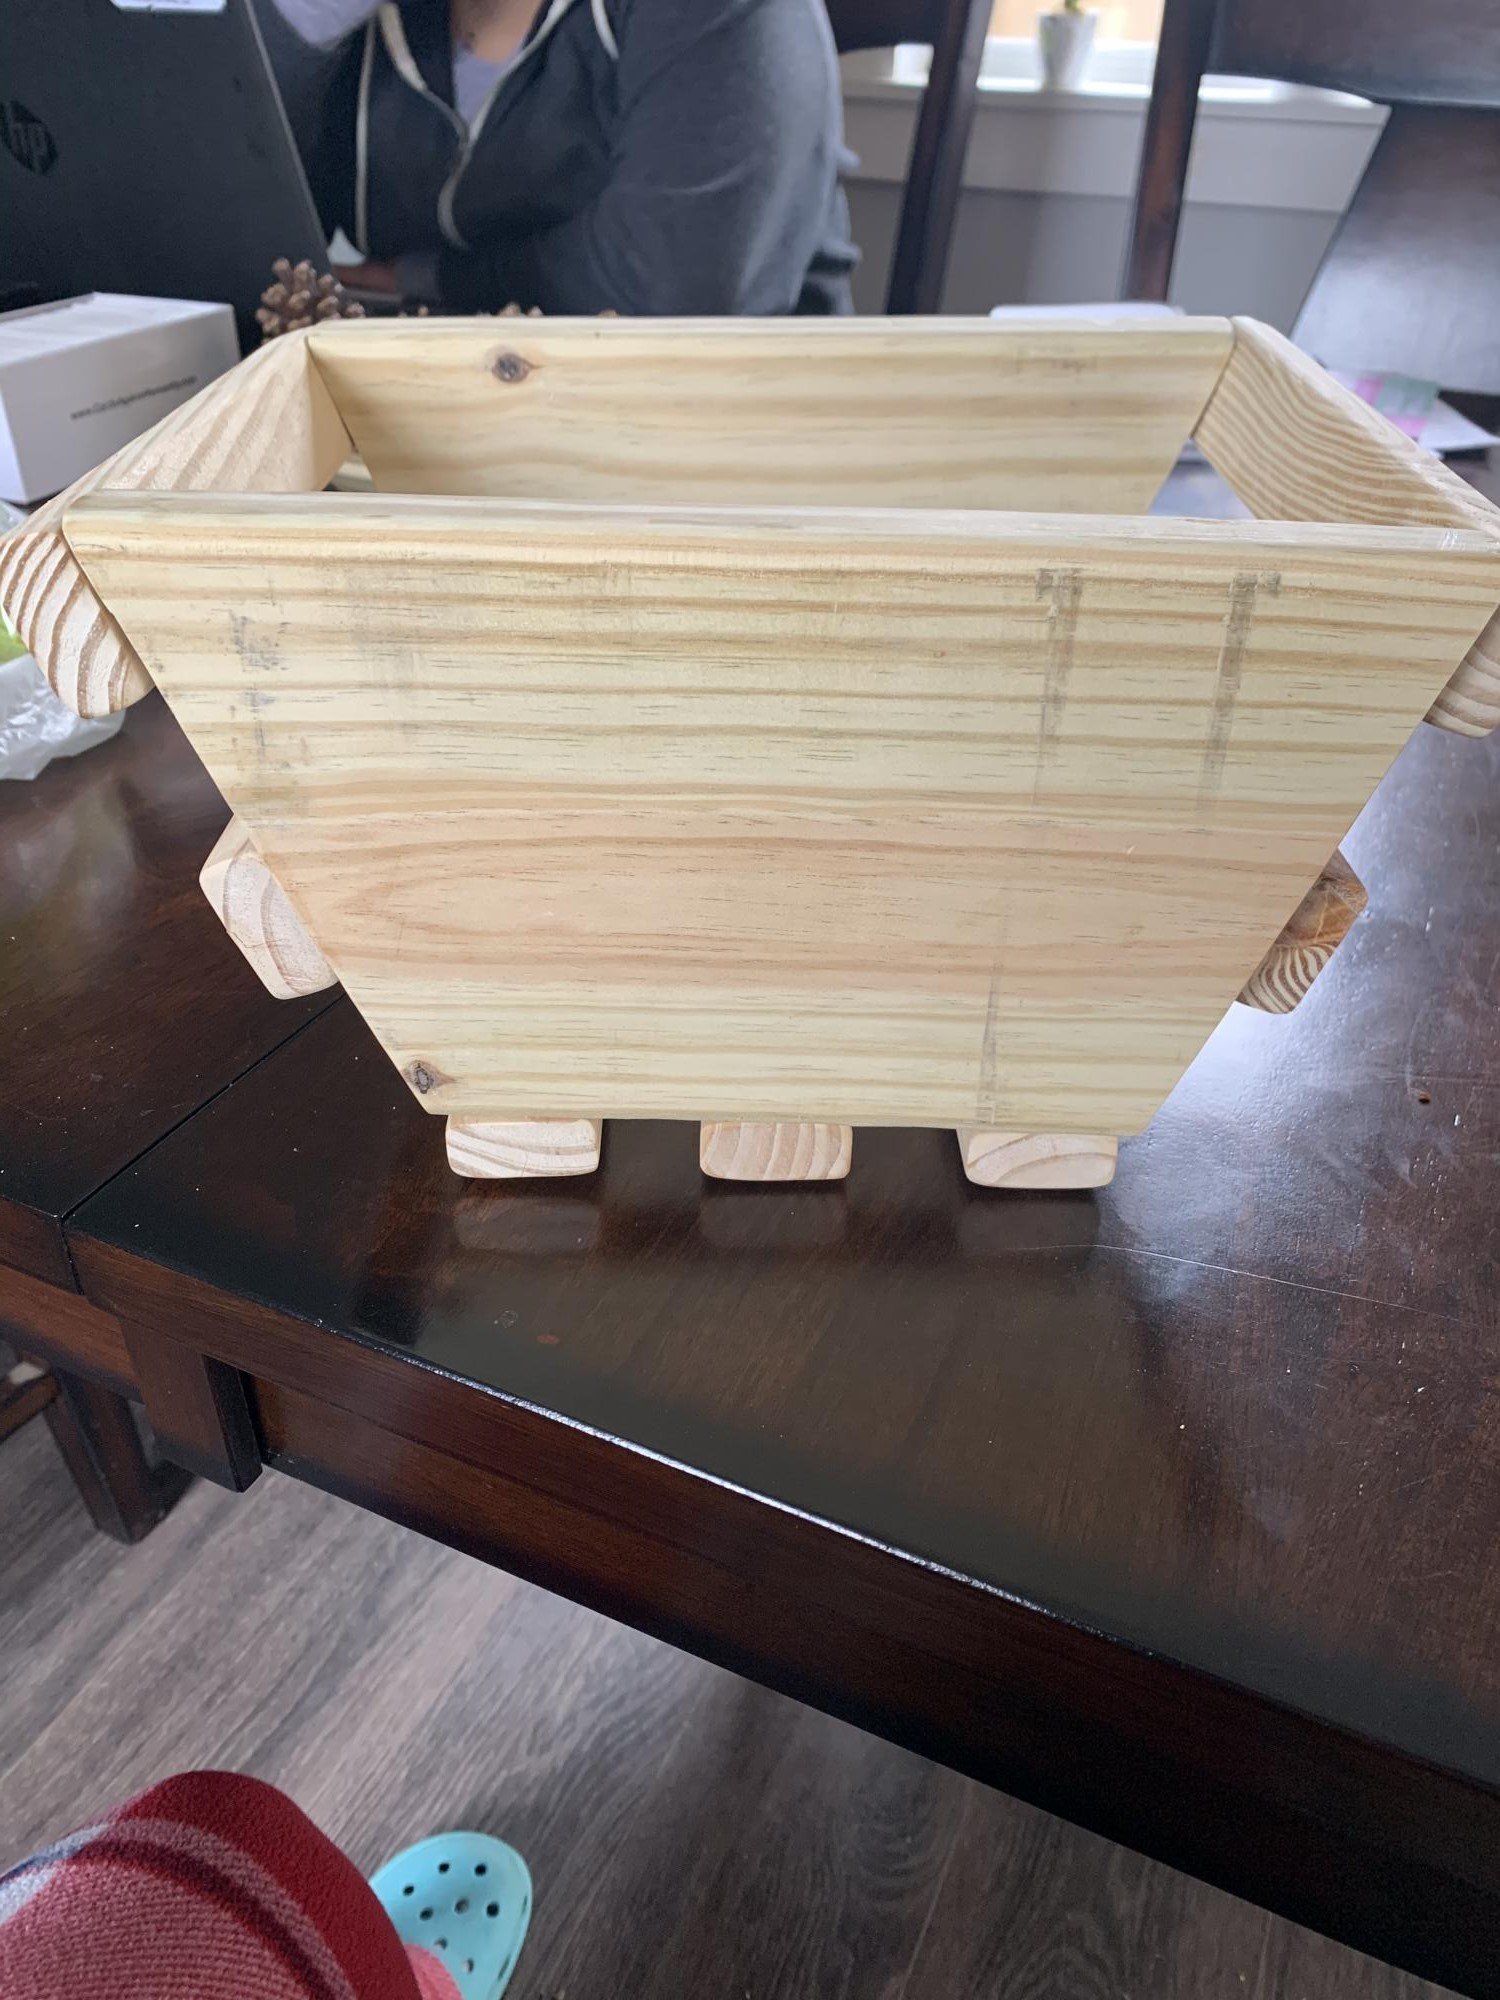
Cute little Mother’s Day gift
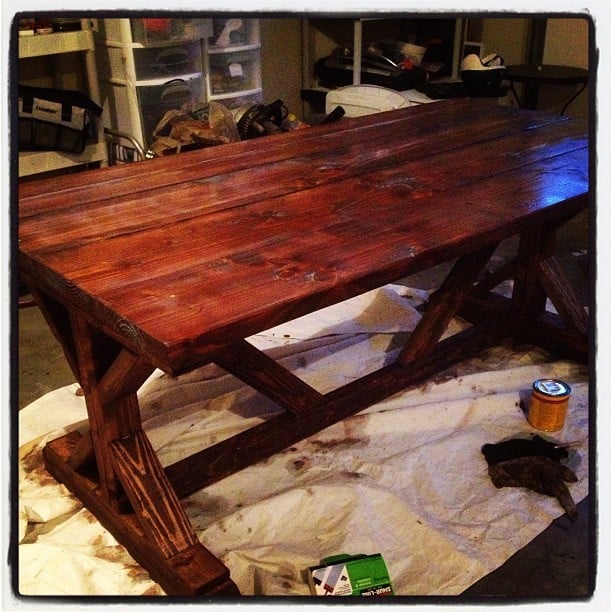
Just finished up this table. I'm probably going to sell it as the wife would rather have the Pedestal Table. So, it will remain in the house until it sells. Then, I'll get to work on the other one. Thanks Ana!
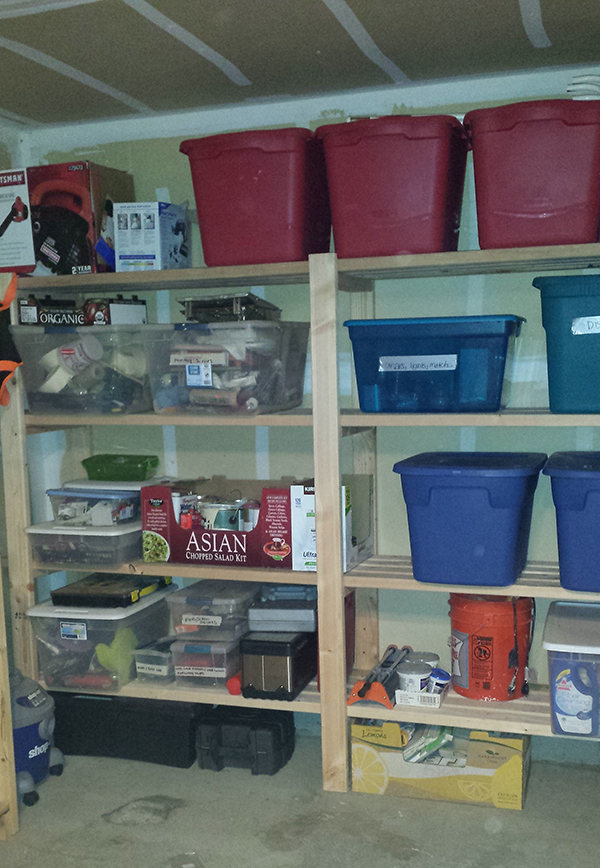
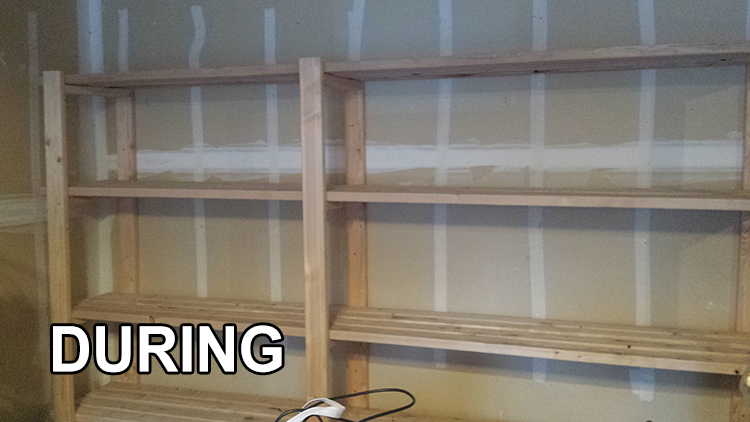
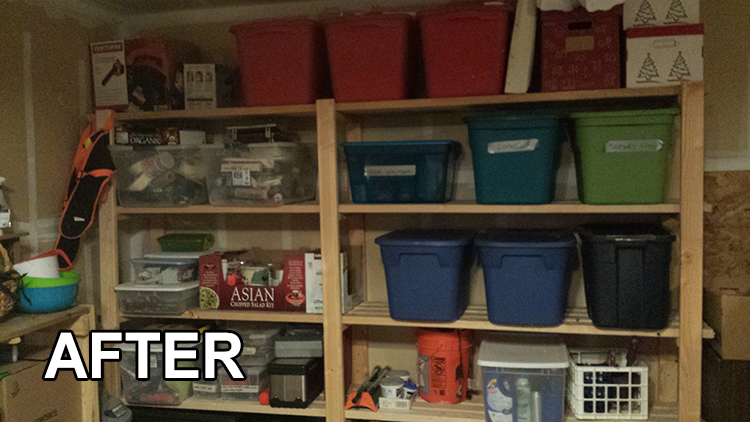
This project was a bit of a challenge. My garage has uneven flooring and a concrete lip around the edge of wall so I had to make the back legs 10 inches shorter than the front. Overall, it turned out well and everything is completely leveled much to my amazement. I'm thinking of making more shelves on the other end of the garage to free up more space.

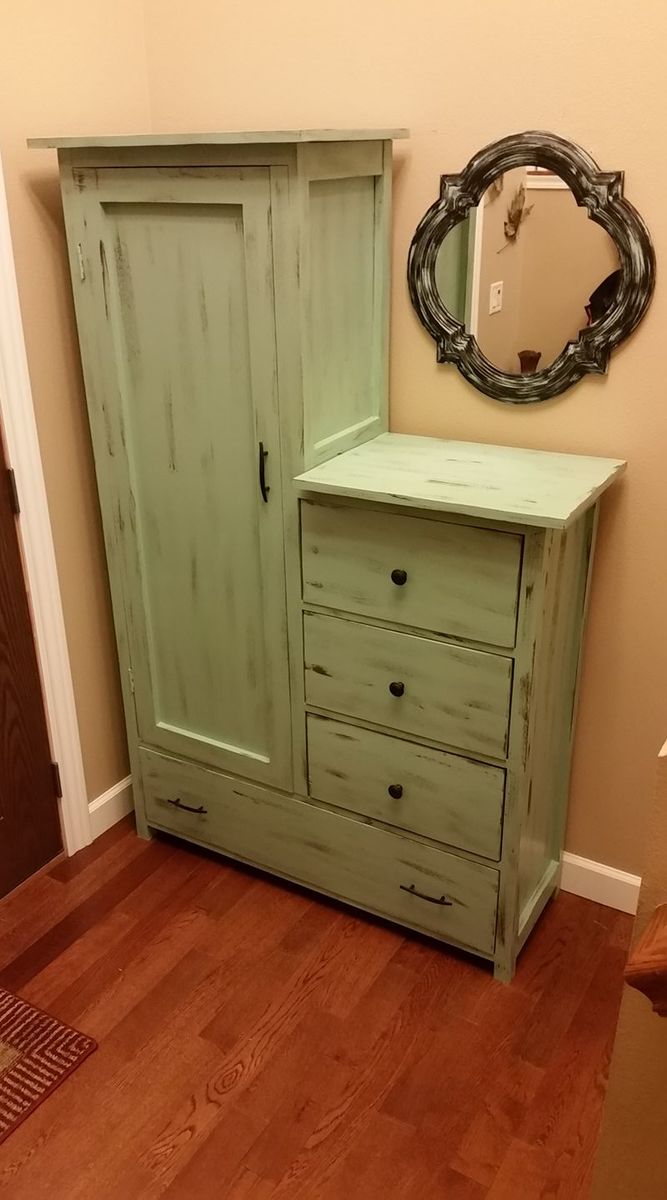
I designed and built this chiffarobe based off of the mirrored wardrobe plans provided by Ana White. I received a Kreg jig for Christmas and immediately put it to use. We used 1x12's for the top sides and back to make it narrower for our entryway. My wife did an excellent job painting it green with brown distressed look.
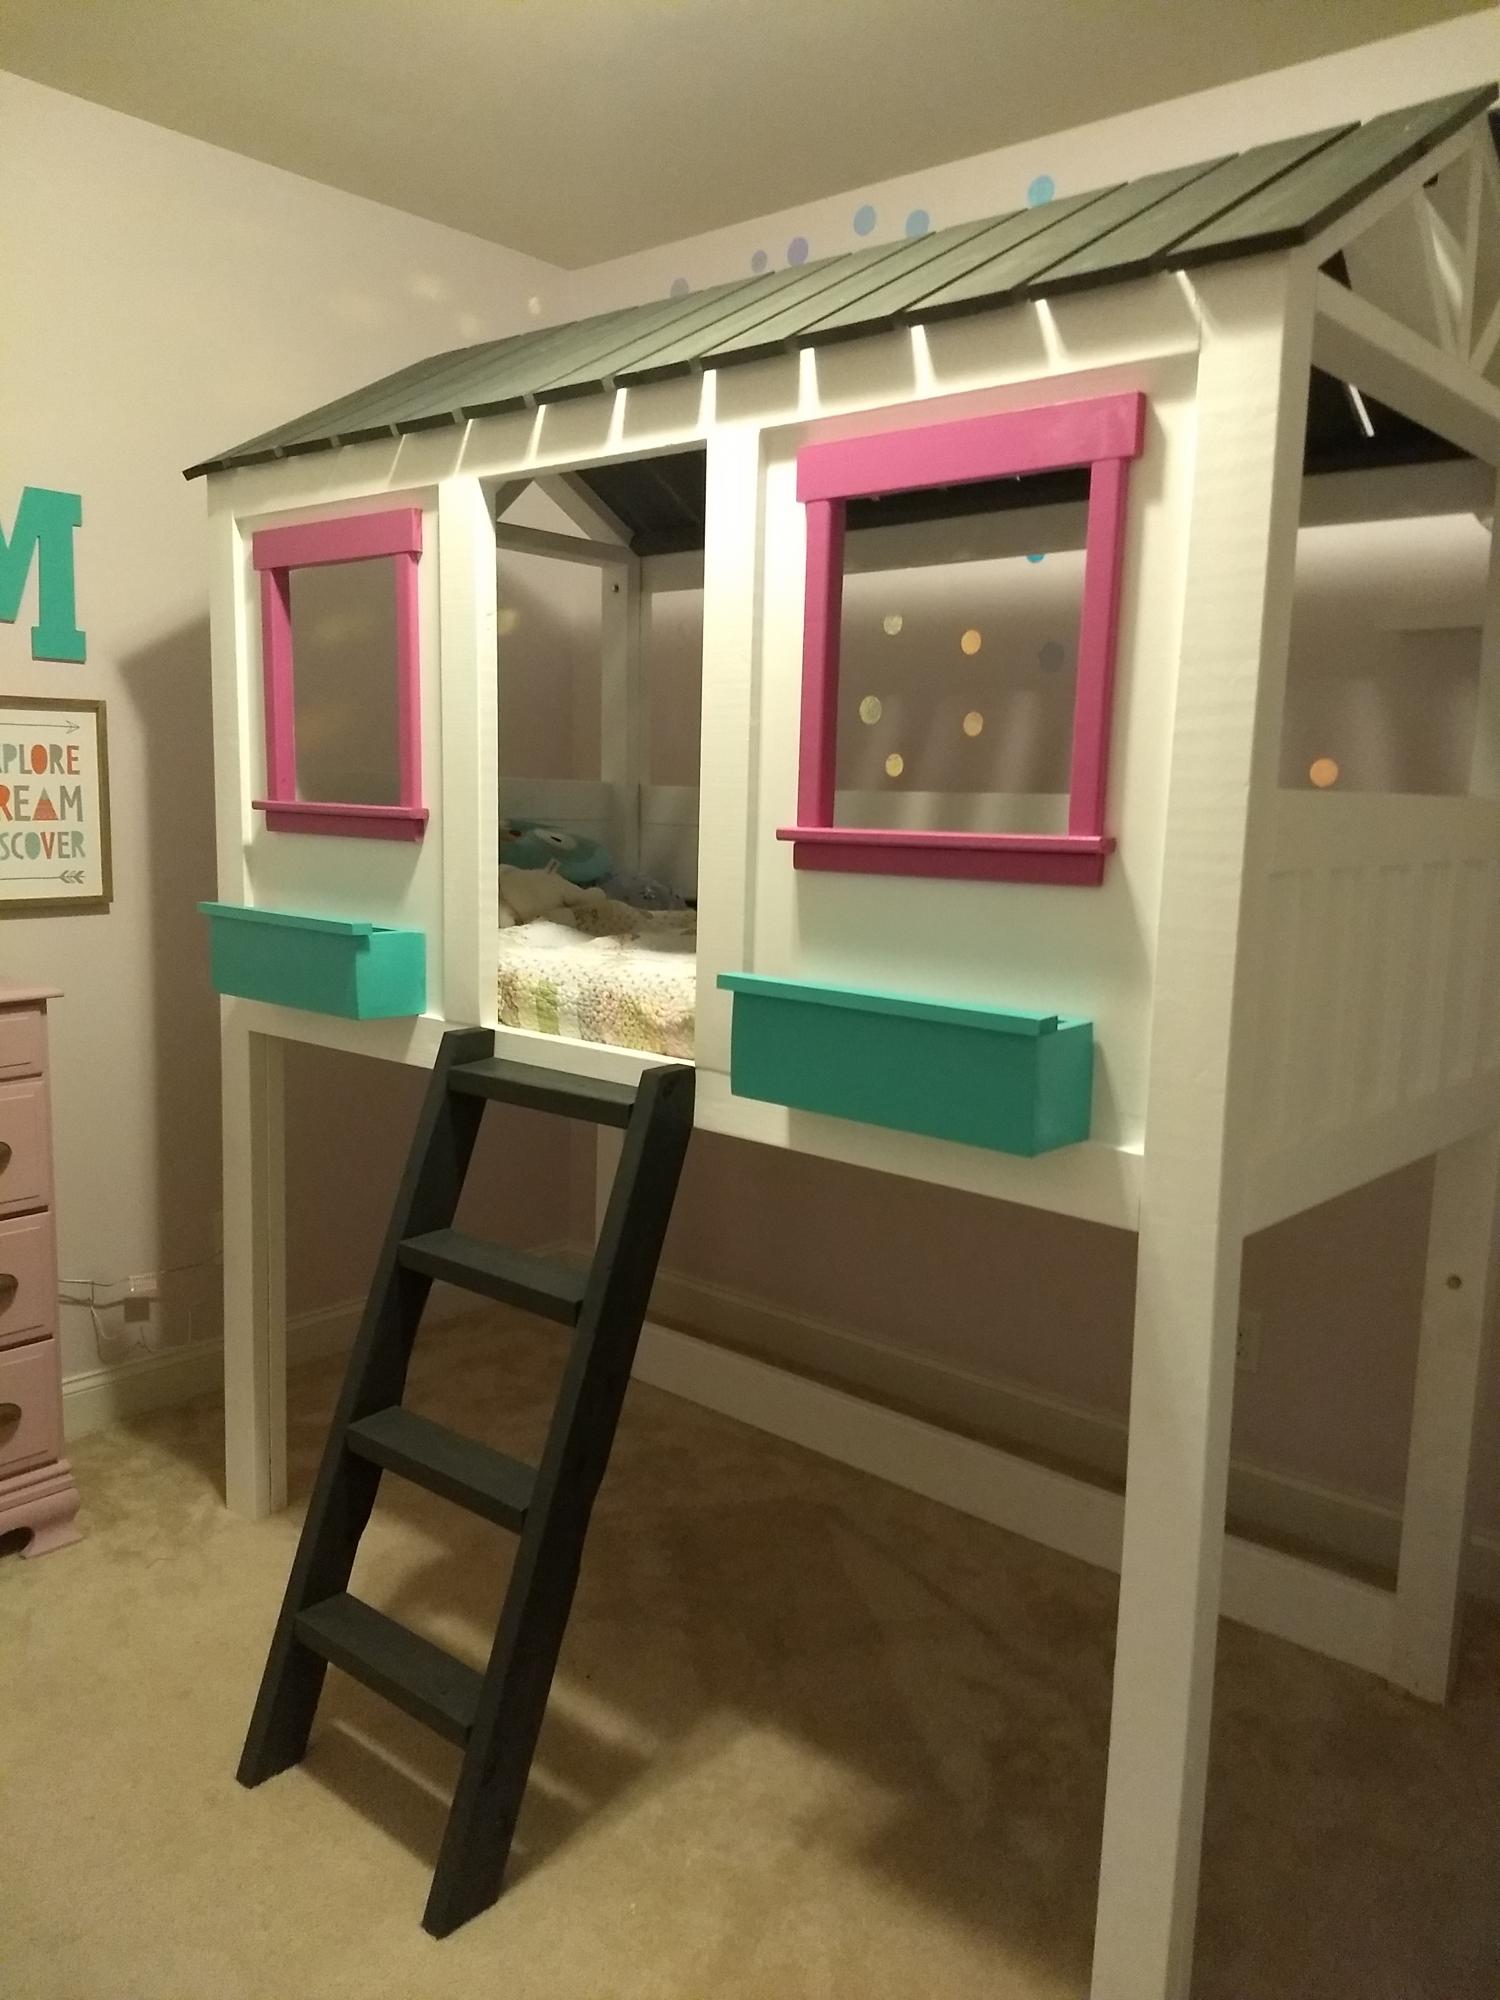
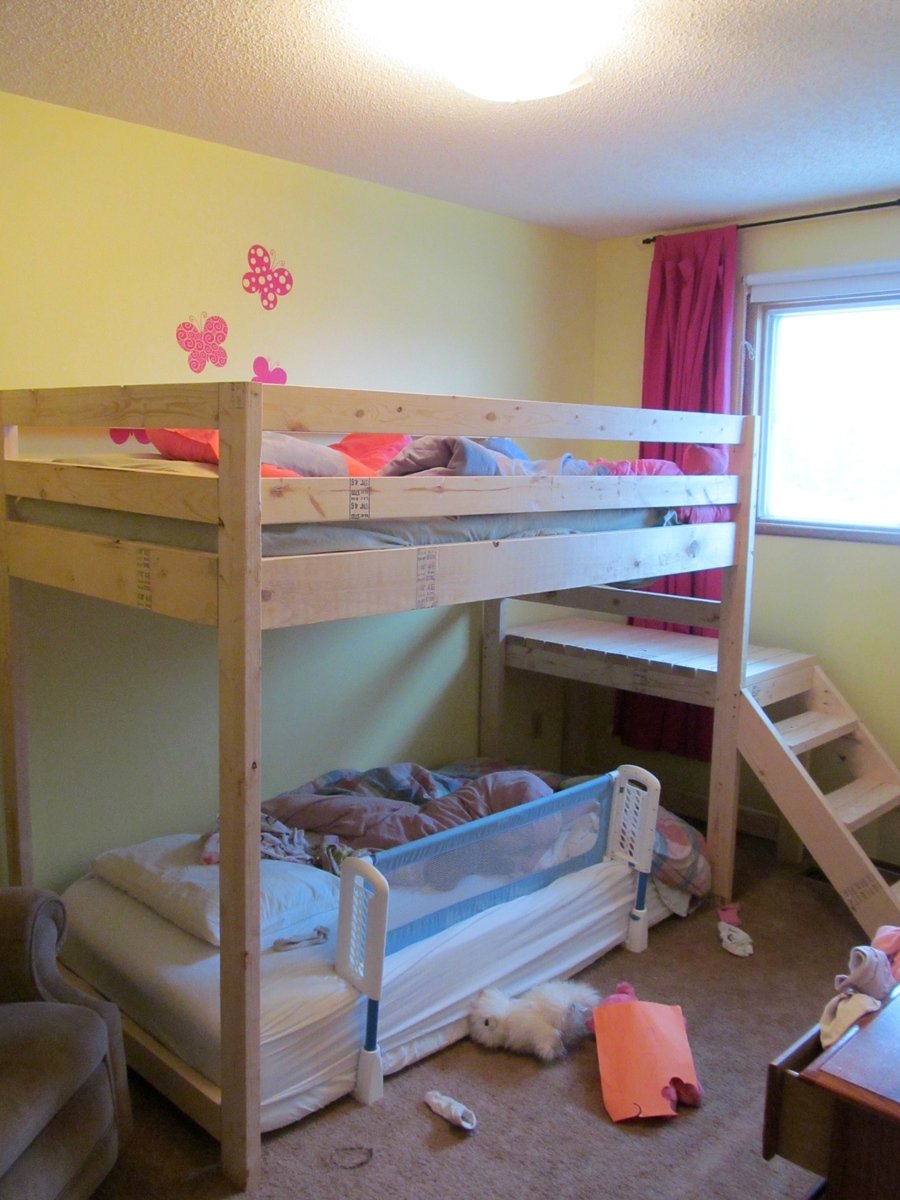
My daughter-in-law and I (mother-in-law) built this bunkbed for my granddaughters following Jen Woodhouse and Ana White's plans. Excellent, easy to follow plans! Be sure and read through plans carefully and start with the sides.
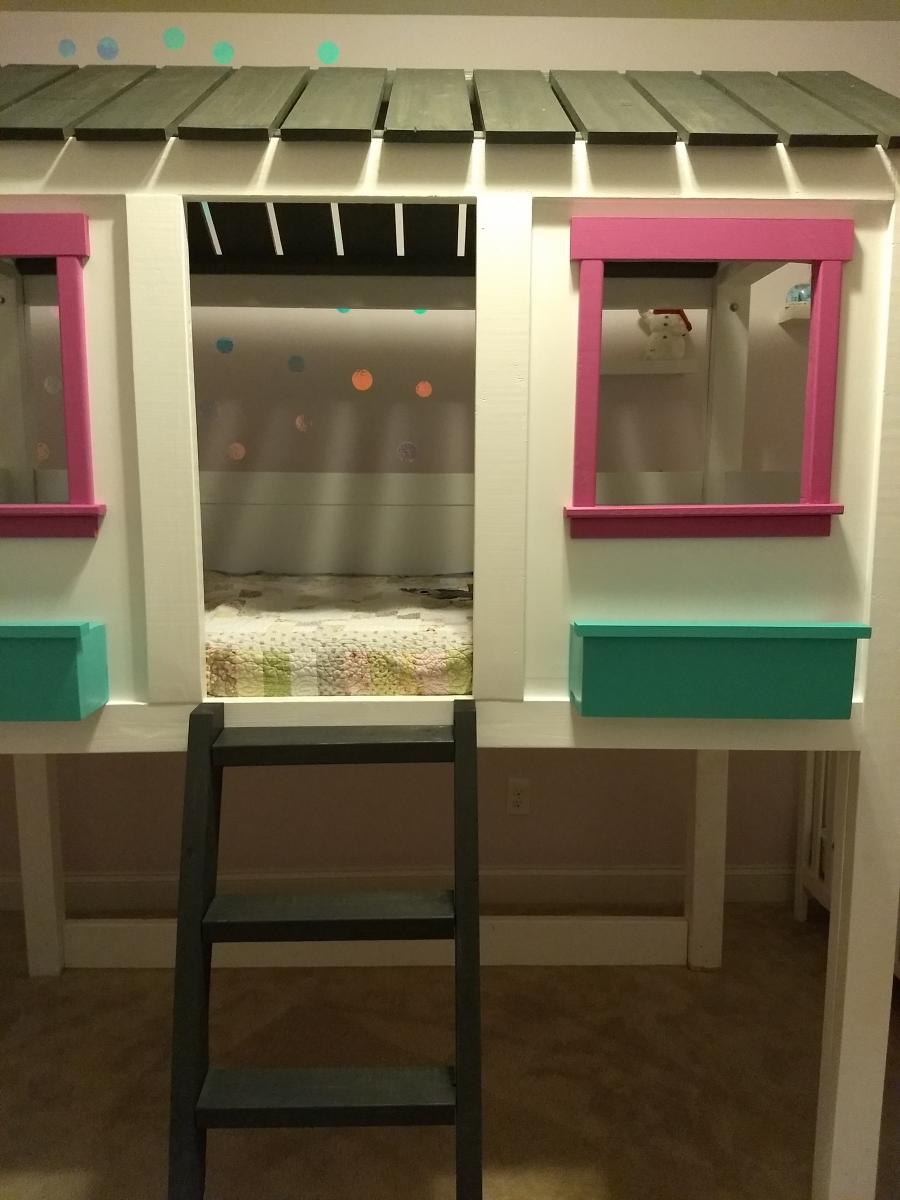
Note: I think the plans were slightly incorrect. Add 2 more 2x4s @8' long (construction studs will do, you don't need 96" length) to be certain you have enough wood. I bought 15, planning to add the lower rear support rail, but then I found I didn't have enough decking. So I scabbed it for decking. Then I didn't have enough for the stairs, so I found some 2x4s in the garage that gave me 5 out of the 6 stairs. The next day I made the last stair. So buy 2 or three more 2x4s than the plan says. The worst that can happen is you have an extra 2x4 sitting around for a while. As for all the other cut items, just don't mess up your cuts and there is enough material.
This was pretty easy to build. It took a lot of work for just me, working by myself. I think the thing is VERY sturdy. We had about 200 lbs of adult and kids up there and it didn't seem to be complaining at all.
I used no glue. I think I was too focused on getting the project completed that I forgot to apply glue at the several steps where she mentions to apply glue.
I did not use Kreg(R) brand screws.
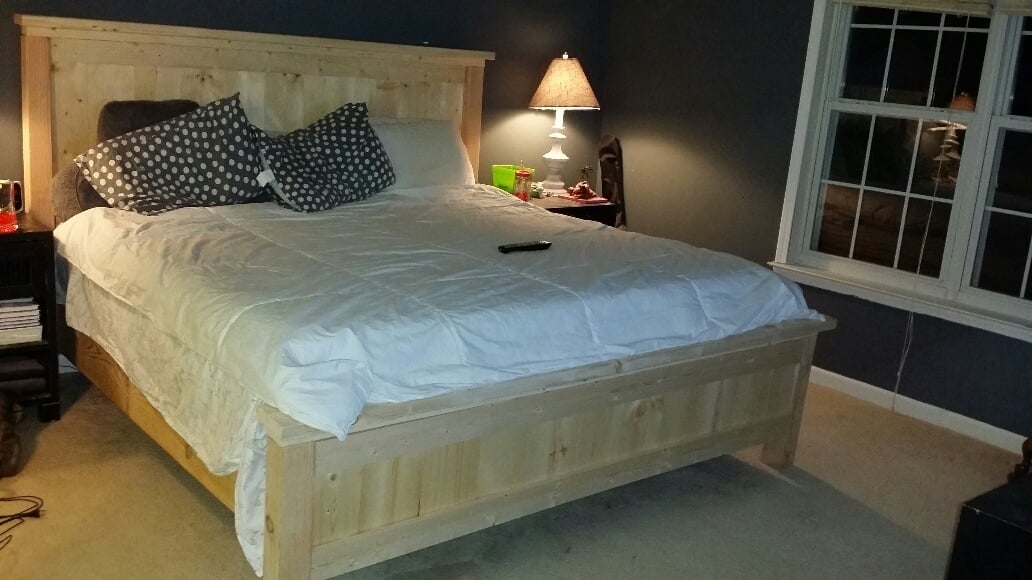
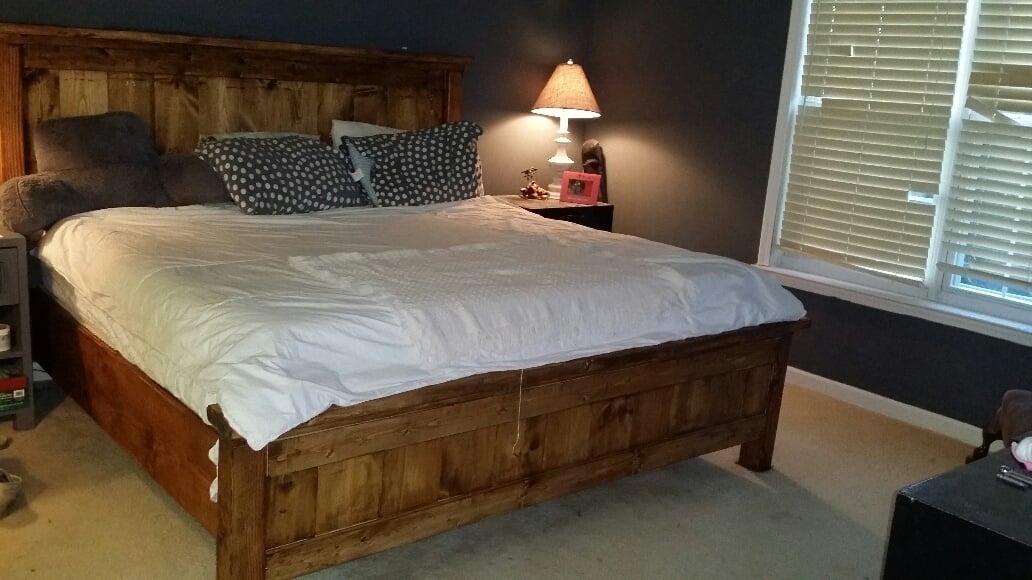
Hello everyone and thank you Ana-White for all of your plans. I love this site and have built several pieces of furniture for our home from them.
This bed is absolutely Rock Solid! In reading the blog I noticed several people asking for the "modified" dimensions or resizing for a standard king ( I put them in the blog but this is what I did)
Headboard: 9 1x8's at 30 inches long and 2 1'x6's at 30 inches long (I omitted the 1x3 end pieces at 30 inches and that way I had 76 inches wide.
The plans call for the 1x4 panel trip pieces (for headboard and foot board) to be 80''. I resized them to 76''
The headboard 4x4 legs were still 54''
The bottom headers 2x4's for both the headboard and footboard calls for 87''...I changed it to 83''.
The top header 2x6's for both the headboard and footboard call for 89''...I changed those to 85''.
The plan calls for the footboard to have 10 1x8 panel pieces at 15 inches. like the headboard I changed these to 9 1x8's at 15'' and 2 1x6's at 15''.
We have a new 12'' memory foam mattress so I did like others and used 2x4's for cross beams secured with truss hangers and then used peg board for additional support. The side rails are 2x12's at 62' ( I wanted a little extra room to be able to bolt them to the head and foot board.)
NOTE: The cut list calls for 4 1x8's You Need 5. And to do the plans my way you need a few 1x6's.
Sorry if this is wordy but I hope it helps!
Thanks Ana for all of your awesome plans! My Fiance' loves the furniture and I am addicted to building because of you!
Dave
Needed a storage spot in the living room to hide the wii remotes/games and the iRobot mop, while allowing easy access and charging capabilities. This piece fit the bill and looks beautiful!
We cut a hole in the back, in front of an outlet, and placed a power/USB strip inside the cabinet.
Used routed plywood scraps for the false drawer fronts and they look so real that everyone tries to pull open a drawer rather than swing open a door :)
NOTE: The cut list in the plans say to cut the 1x3s for the decorative top @ 35.5". They should be 37" each, which we realized after cutting and went to put the cabinet together :(
Built a couple of these earlier this summer for the wife. We went with a torched wood look, so after cutting all the pieces, everything got torched and then finished with spar urethane. After assembly I sprayed a few more light coats just to seal up the screw holes. These are super sturdy, and really comfy. By far the majority of the build time was in the finishing. Cutting and assembly can be done in an hour or two.
I'll probably be making ~4 more of these for around the fire pit by the lake, but this time after torching the wood, we're going to use some color-dyed stains to change it up.
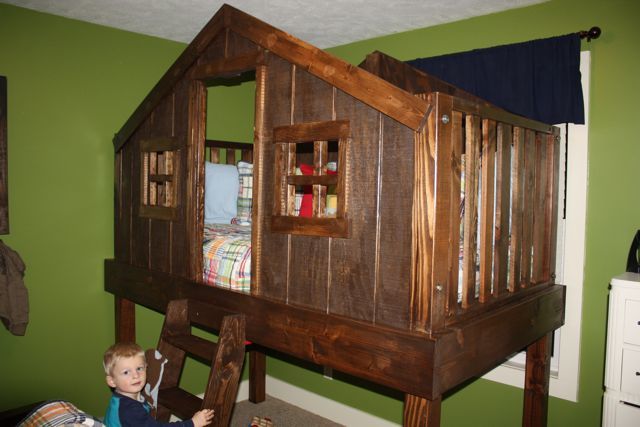
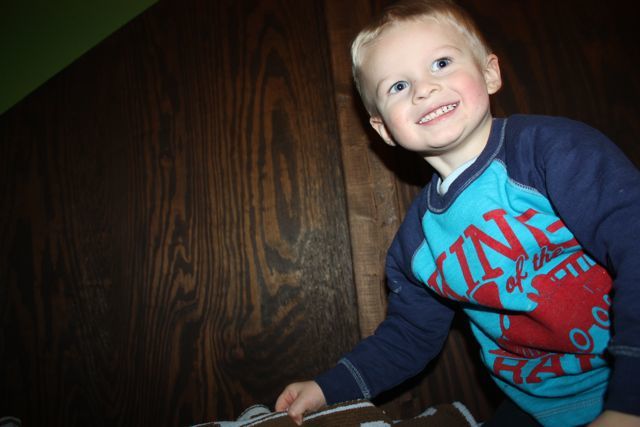
I was sitting down looking through the pottery barn catalog one day and saw the Eli fort bed. My sons name is Eli so I found it funny it had his name but also decided he had to have one! I of course was not going to pay the pretty penny of $1400 that pottery barn wanted so I knew if he was going to have it , I would need to build it. He is 2 years old btw. I decided to google Eli fort bed to see if I could get any other measurements. Then I saw Ana Whites website for the first time. I was in my glory and super excited when I saw the clubhouse plans. Though I changed alot of things, her plans gave me a great layout to give me the confidence I needed to go and do it! So here is my building before and after pictures. Just thought Id share and of course the last picture is my son super excited about his new fort bed!
Some of my changes:
I added 7 inches to the posts height to give more space underneath it and to give me space to lower the mattress .Then I changed the angle of the peek as well to make it shorter to make up for the height difference as well.
I used plywood that looked like panels for the walls instead of pine planks. Im not sure if the cost is cheaper or more but I wanted wood above the door instead of just a piece of trim like in the Clubhouse plans and this I believe was much faster then cutting planks and putting them all together.
I dropped the mattress height down 6 inches because I wanted the railing to be taller after the mattress was in the bed for extra safty since he is only 2. It is easier for him to climb up into the bed with the mattress being lower in the doorway as well. I hid the fact that is was much lower behind the 2x8 trim in lou of the 1x6 trim the plans called for.
I also added the top step to the ladder as well because 3 wasn't going to get him up there. :)
Thanks Ana White for the plans!! They helped to give me a starting point so that I knew which bases to cover when I altered something!
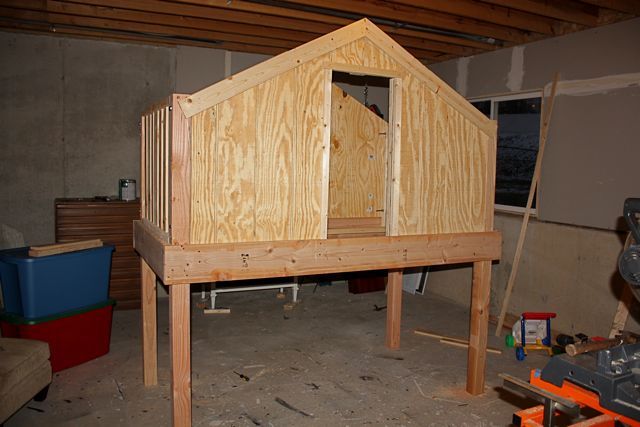
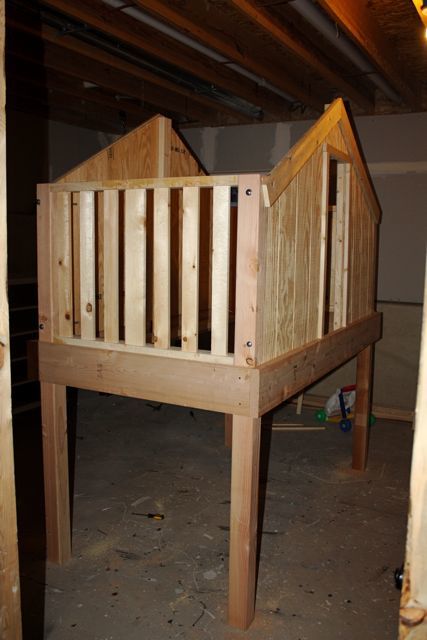
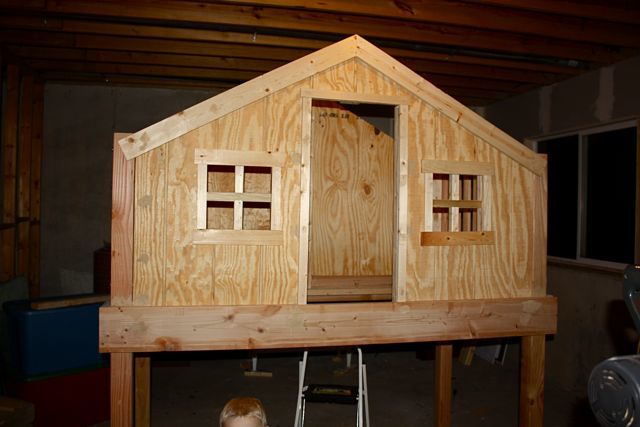
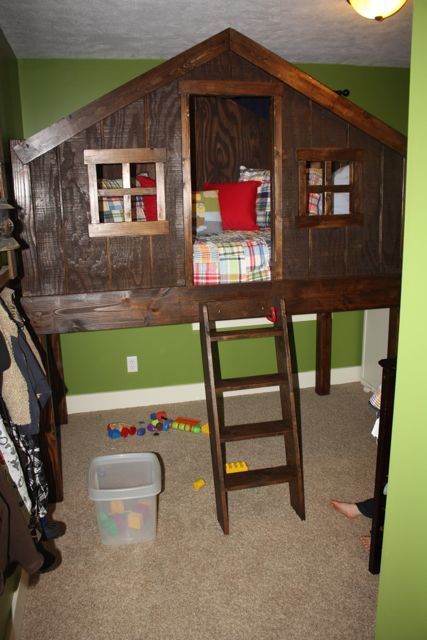
Fri, 01/11/2013 - 14:45
It looks so awesome! I can't believe this was your first project!! This may seem like a silly question but how did you get the mattress inside the bed?
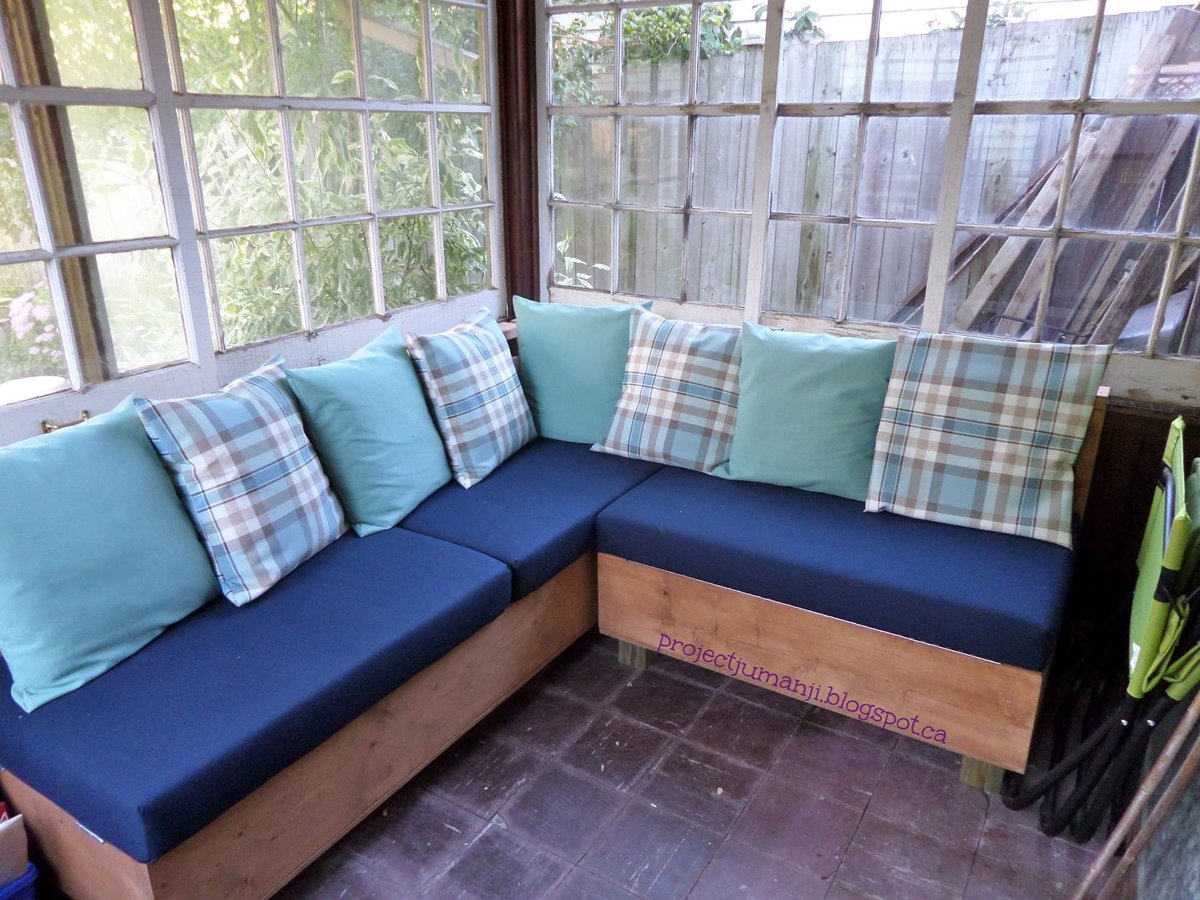
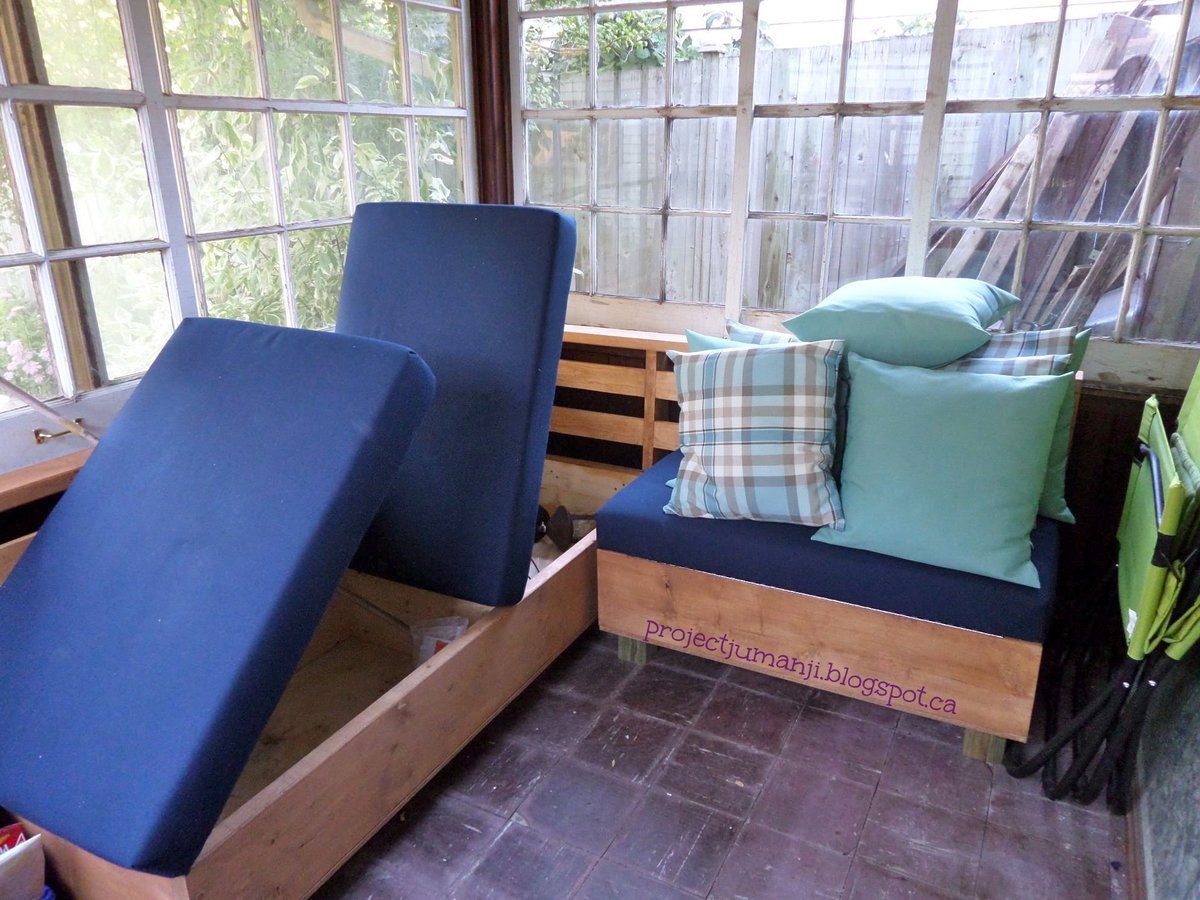
I had a horrible time finding an outdoor sectional that fit in my sunroom and didn't cost a fortune, so I adapted the Storage Sofa plan to work for my needs!
It took a couple of weekends, but I didn't work straight through both days - I would do one task at a time; cut all pieces, assemble boxes, stain, put together cushions, install in sunroom.
I used my kreg jig for as much as I could, and adapted from the original plan to leave the backrest open to give it a more outdoor look.
This was my first project ever. I had a lot of fun and it didn't quite turn out right but next time it will be perfect.
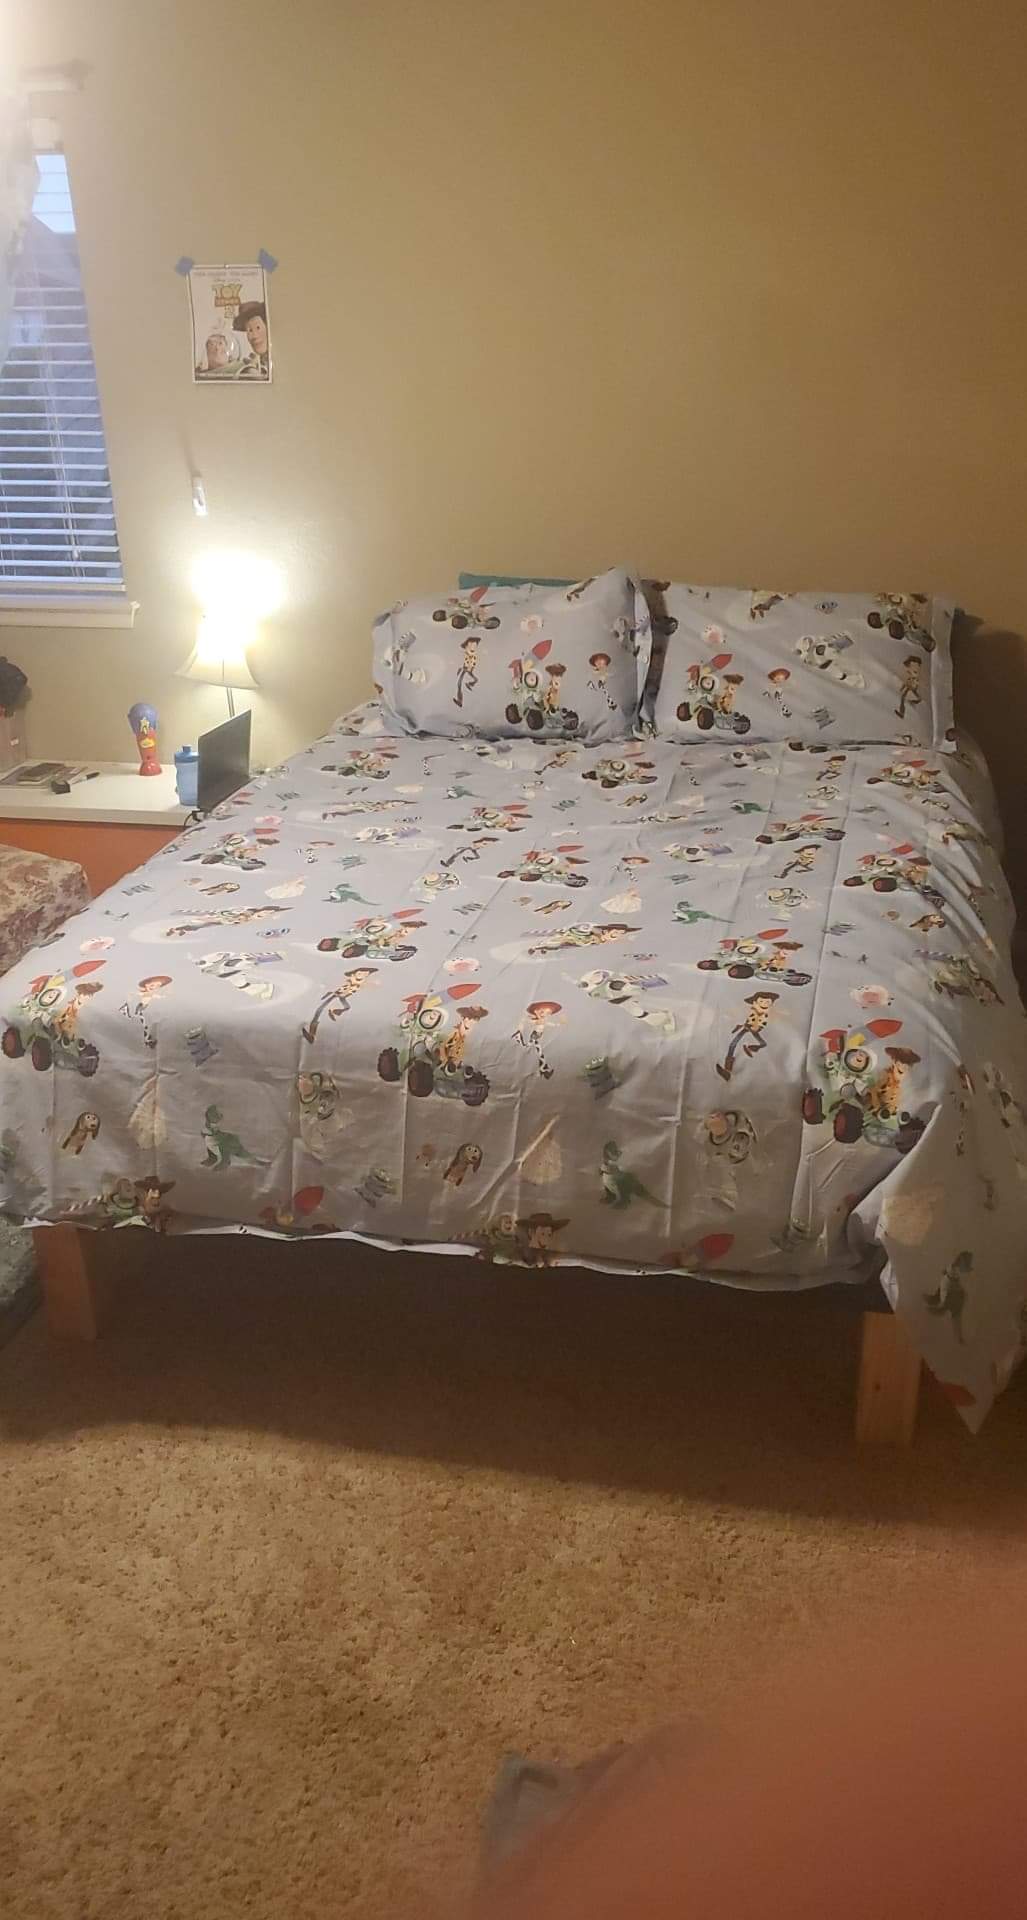
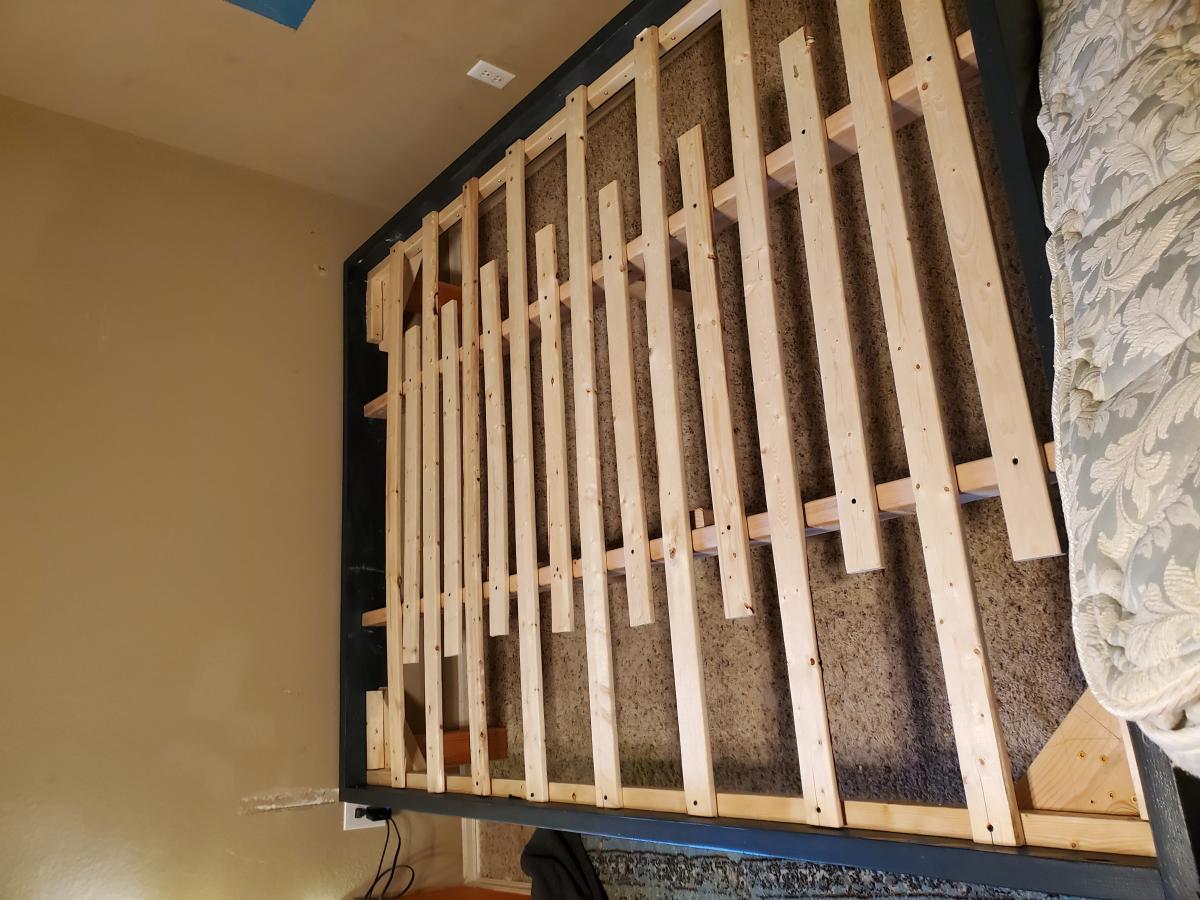
Needed a sturdy bed for our Autistic adult son. Added an extra bracket at the head and base to support the corners. Then used 4x4 for the legs. Painted it a fun color and he loves his new bed! Need to find some ideas for a headboard but this is such a sturdy bed. We love it! Thank you so much for these great plans.
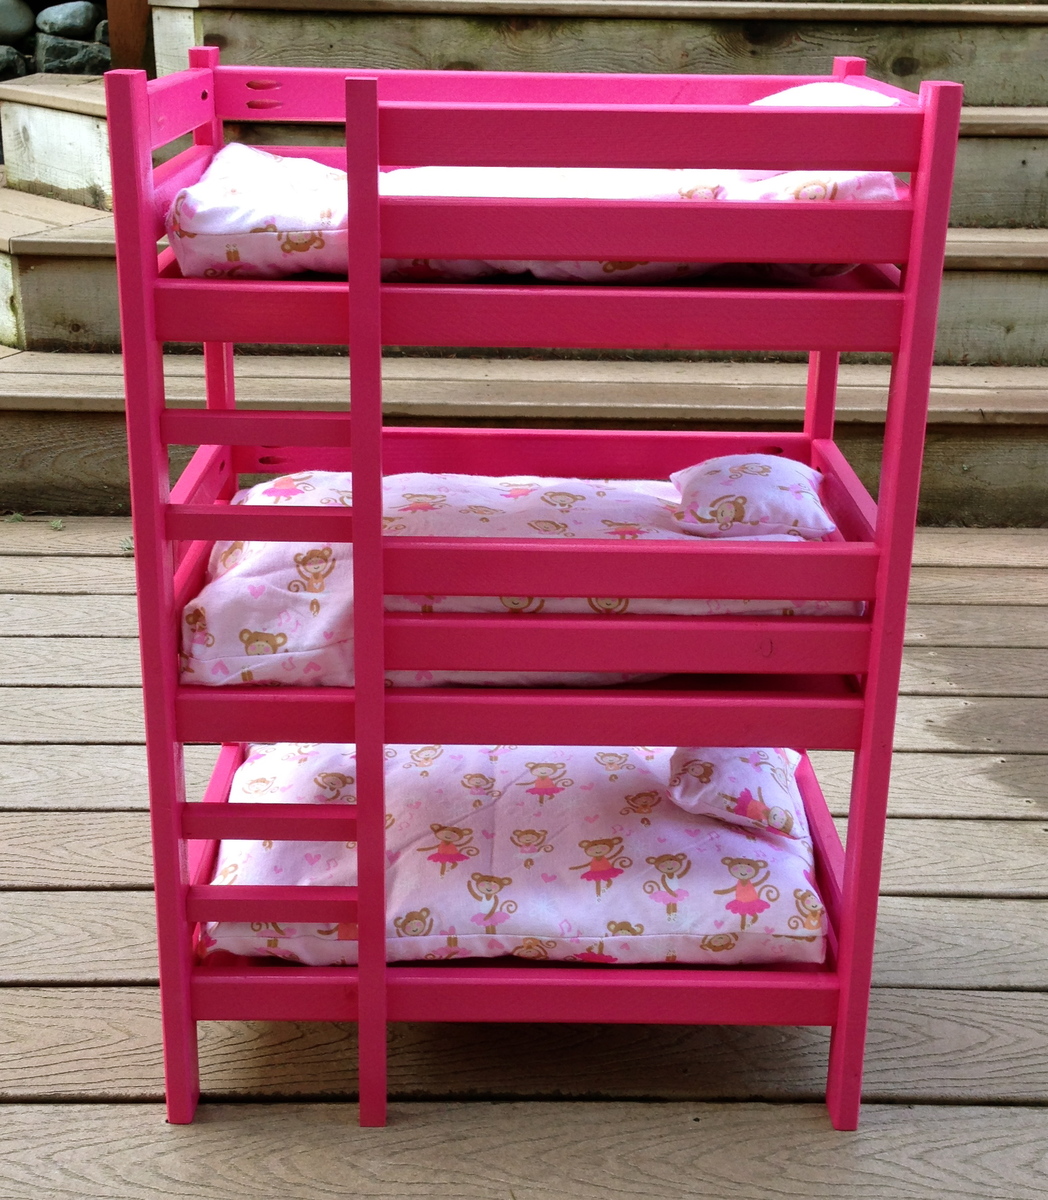
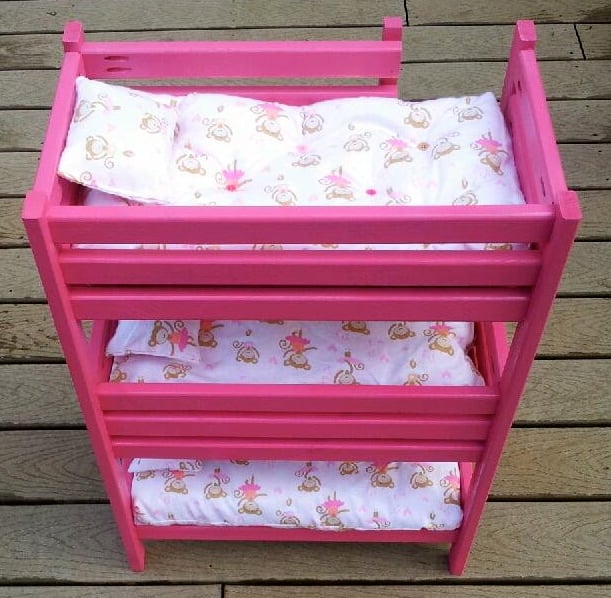
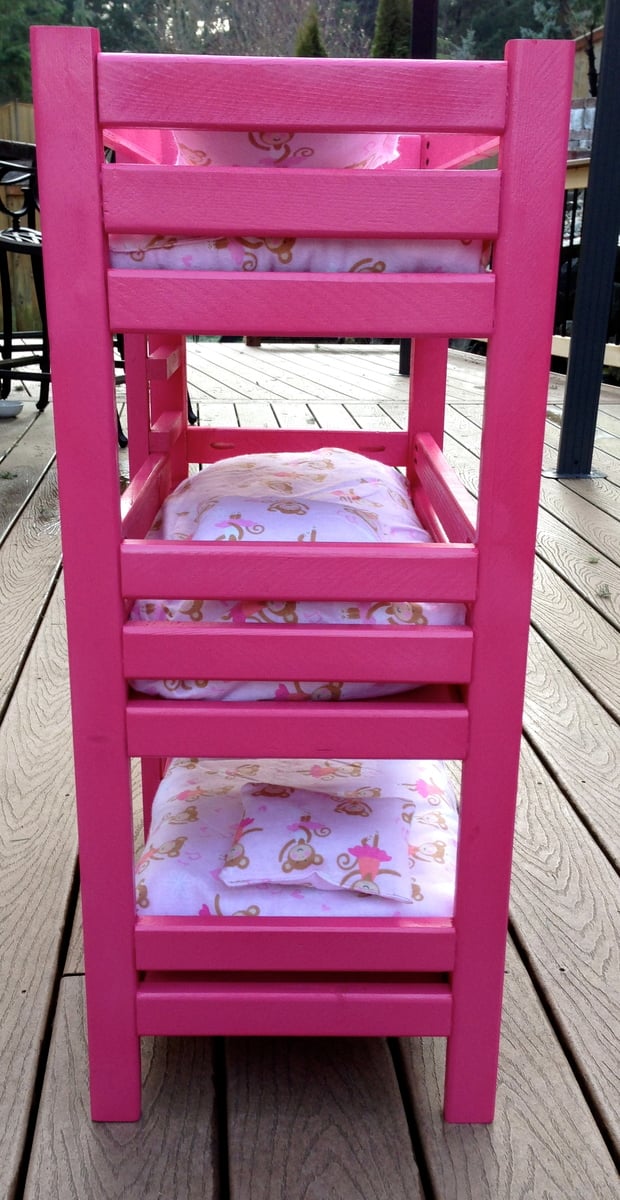
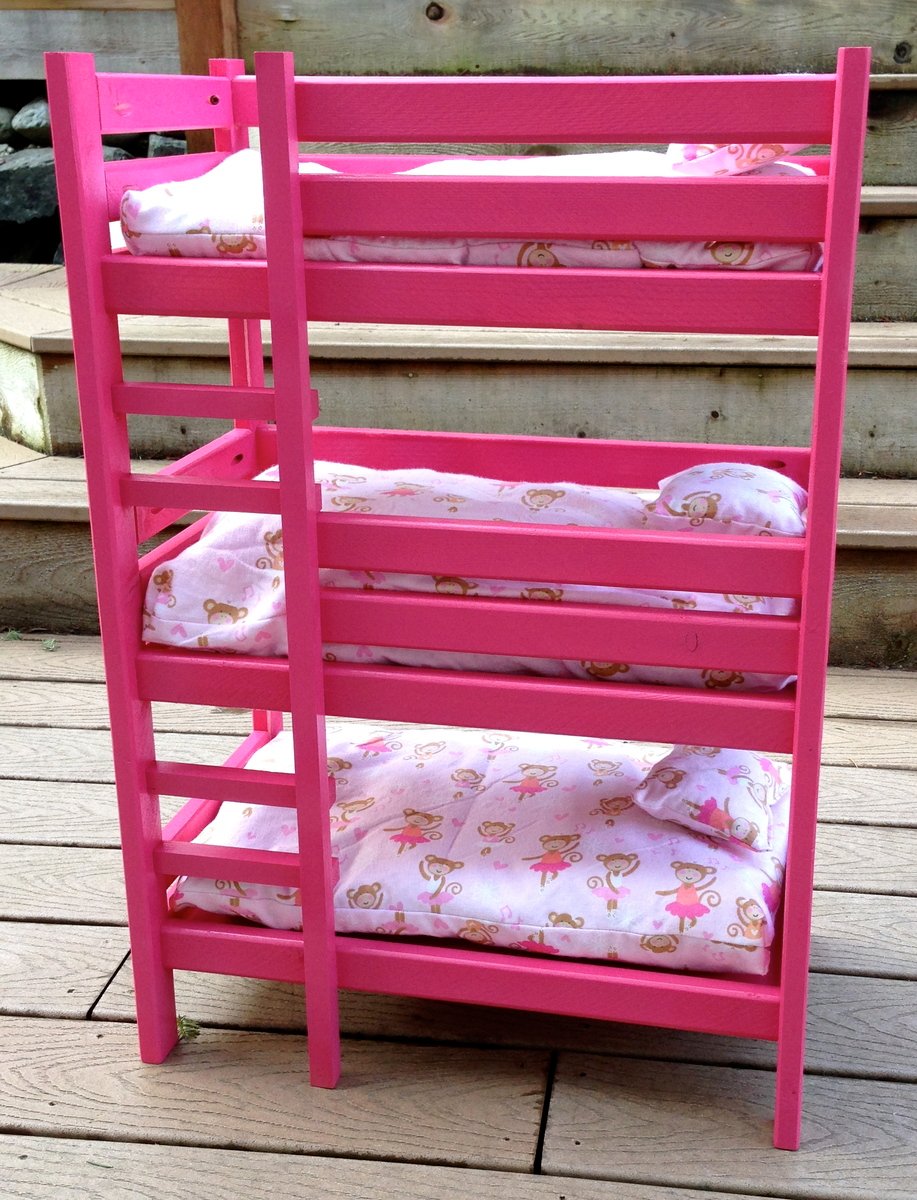
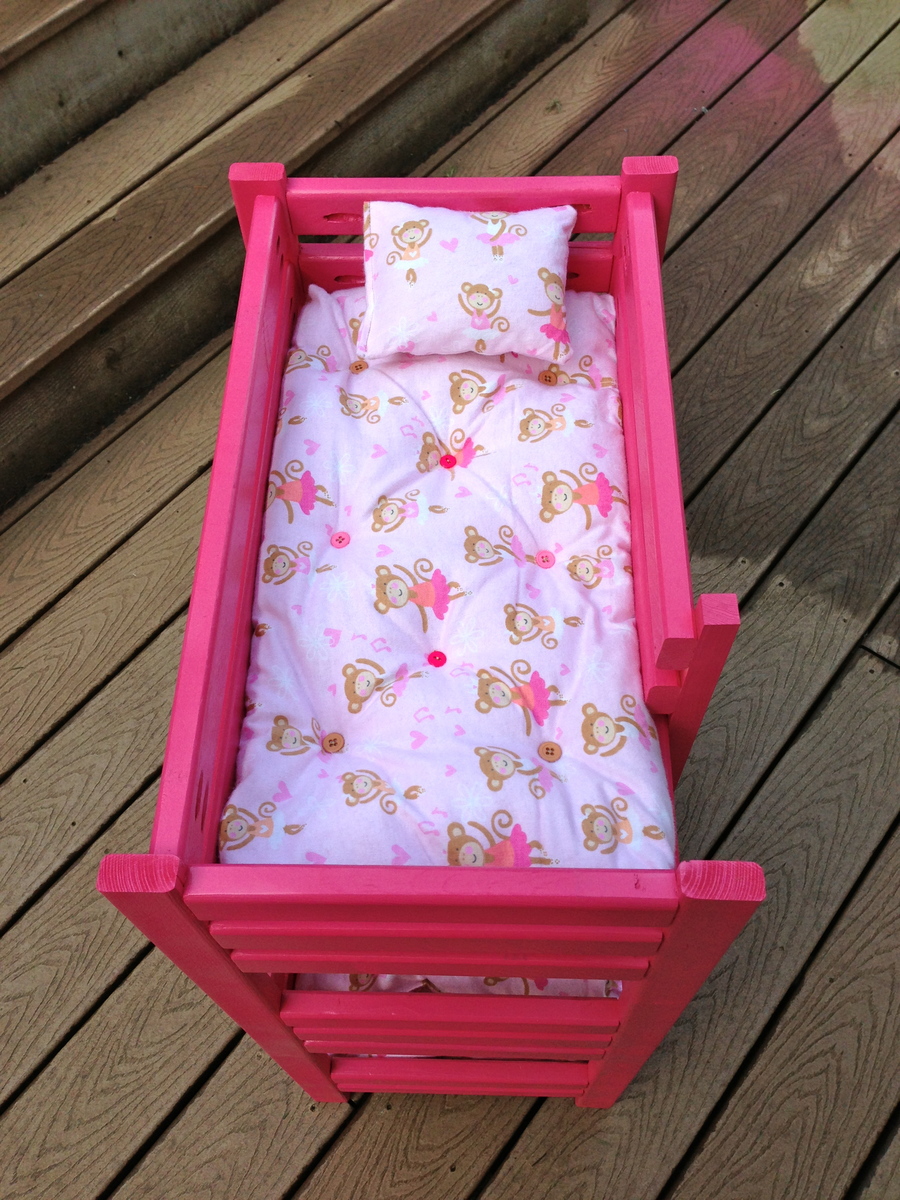
My friend's 7 year old daughter custom ordered this bunk bed! She asked for a bunk bed for her 3 dolls and she even picked the color! I had a lot of fun building it and learned a lot in the process. As usual, finishing took longest. Lucky for me, my hubby likes spray painting :-)
Wed, 02/17/2016 - 17:41
Can you please post the plans for this bunk bed. I want to make it for my daughter to play with her dolls with.
Thank you
Brett
thanks for the plans! Took me about three hours to build, sand and stain!
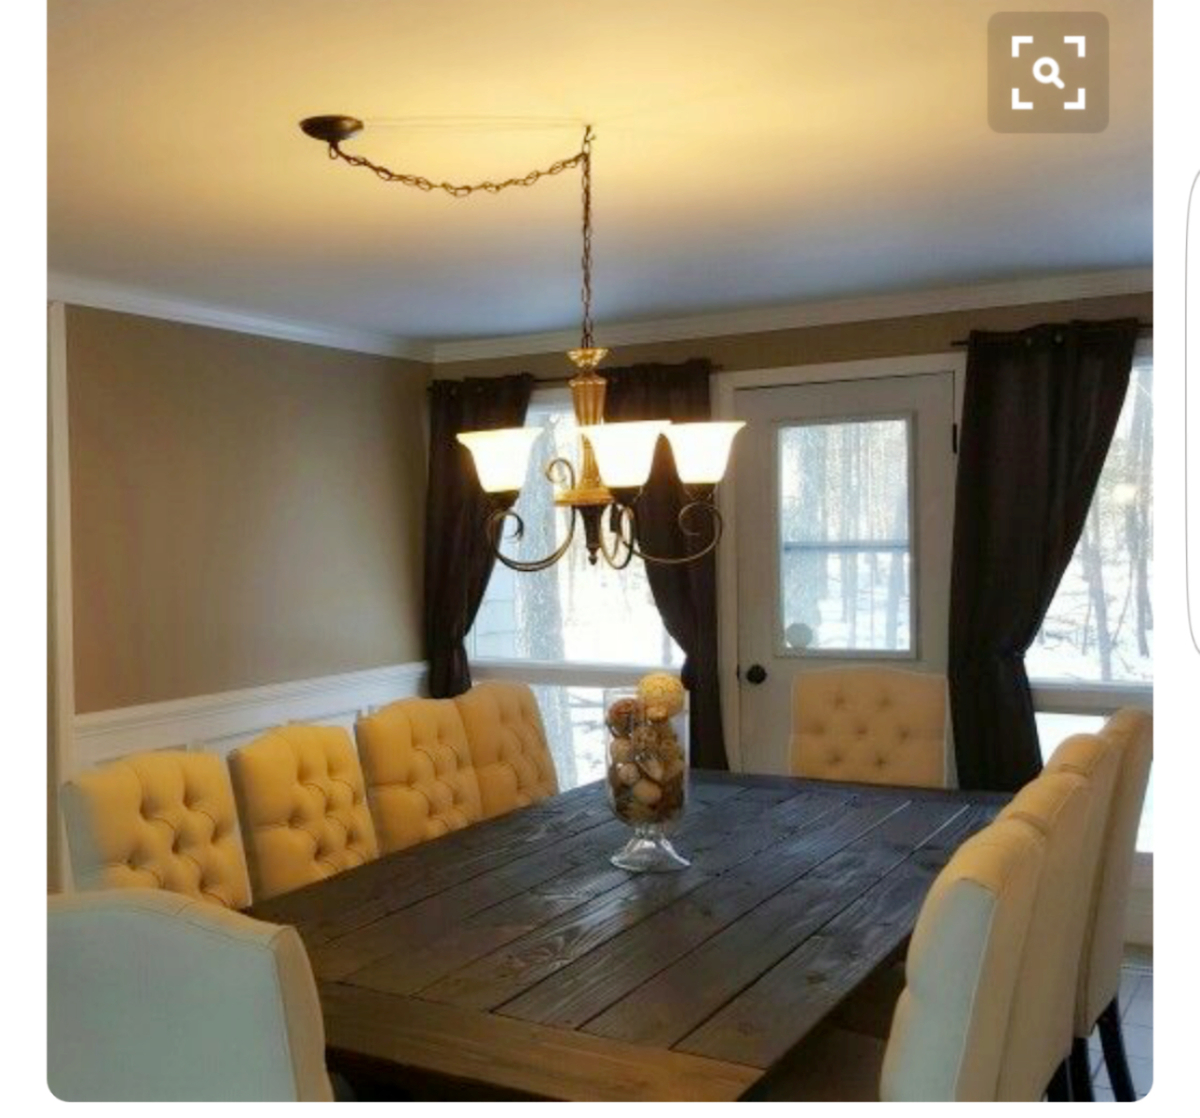
This was the first piece of furniture my husband built. He also built a matching sideboard/buffet table.
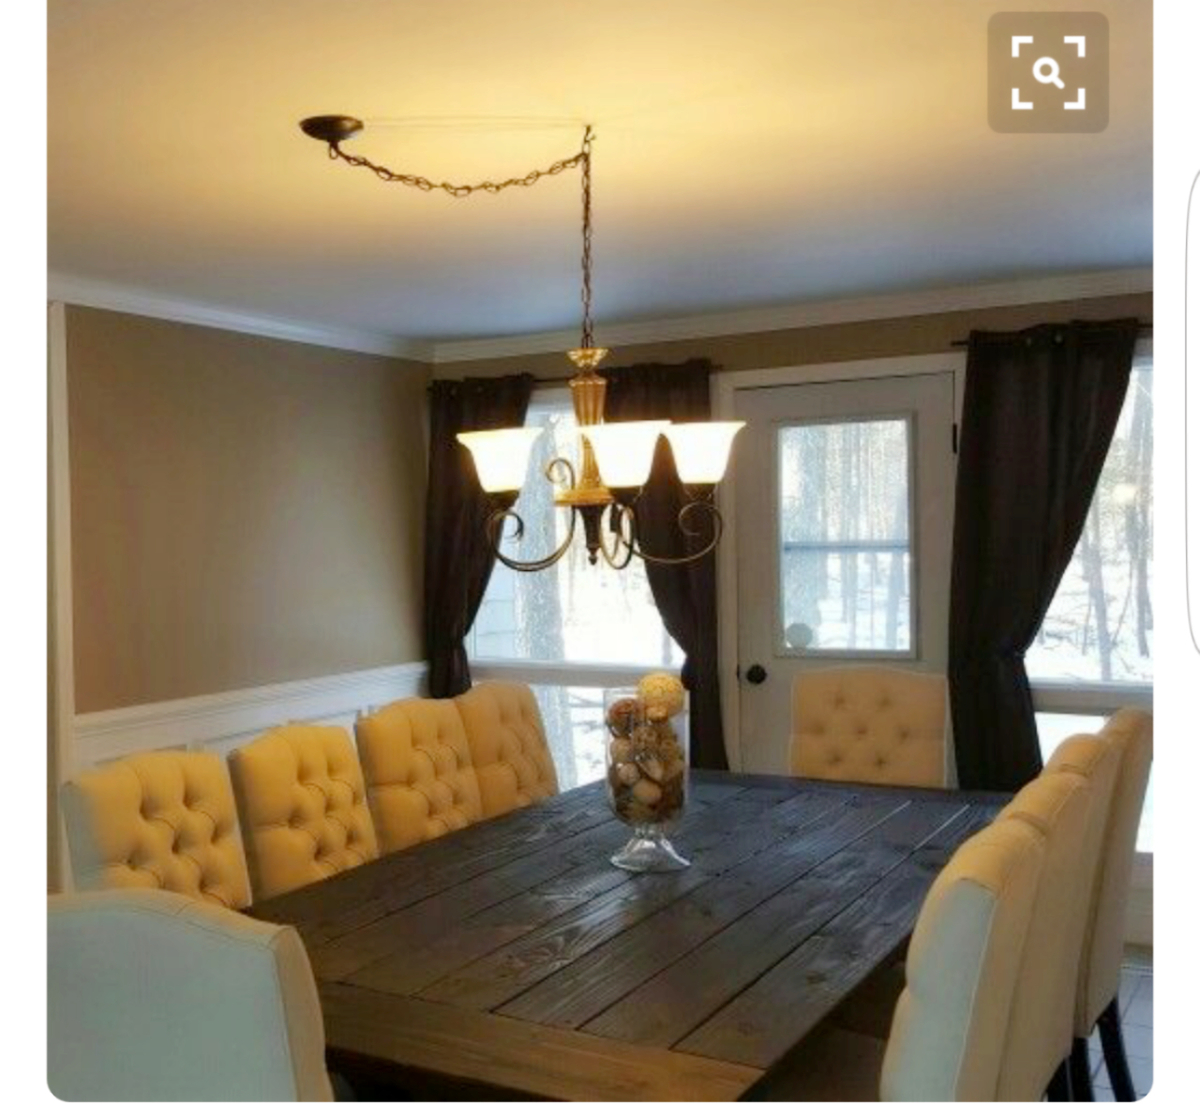
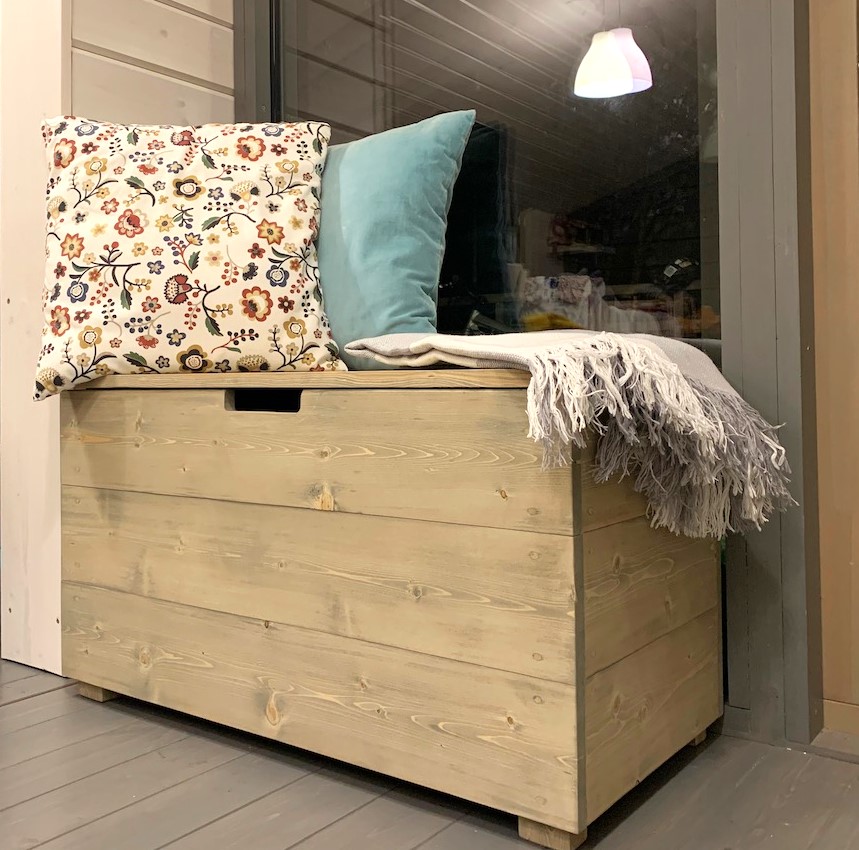
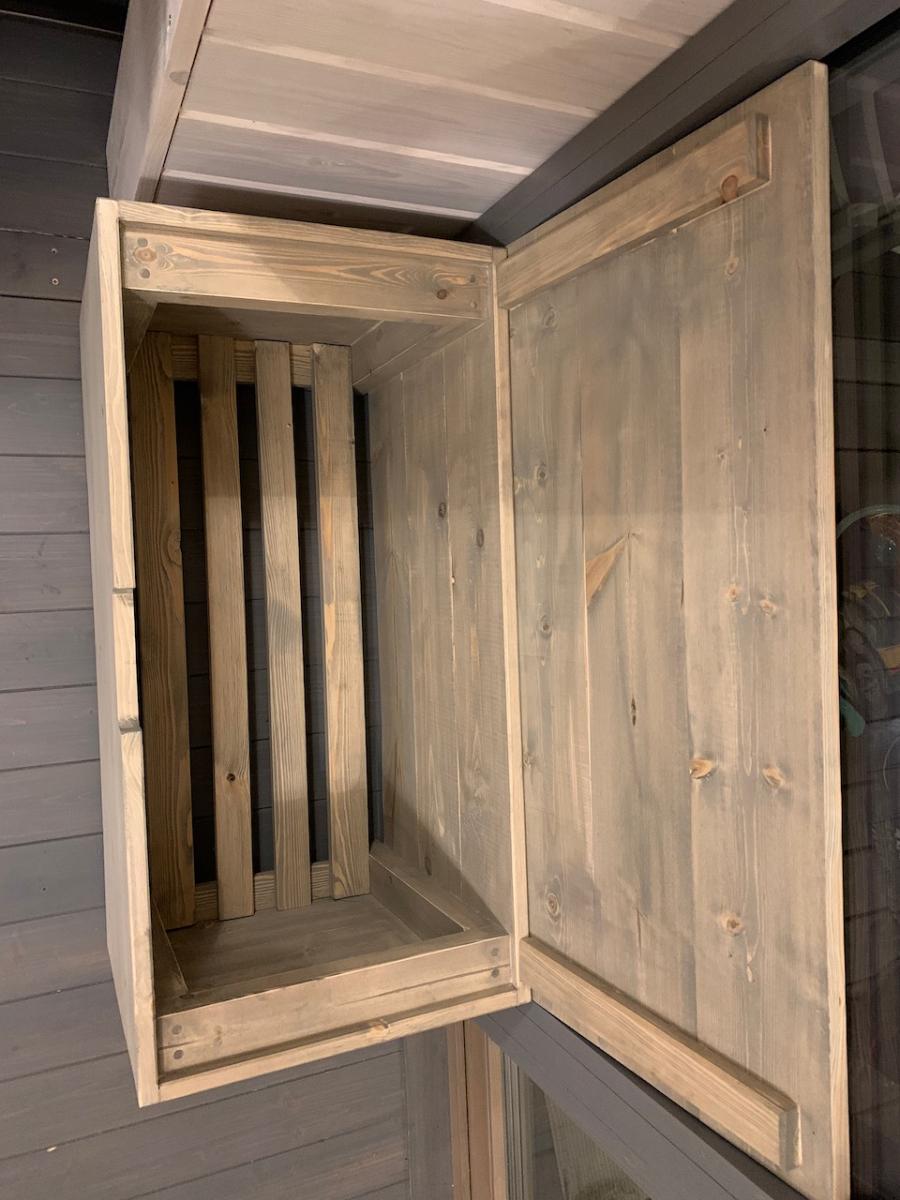
Super useful chest for winter clothes ! Sand it for perfect smooth indoor use, hide all screws. Thank you for plans.
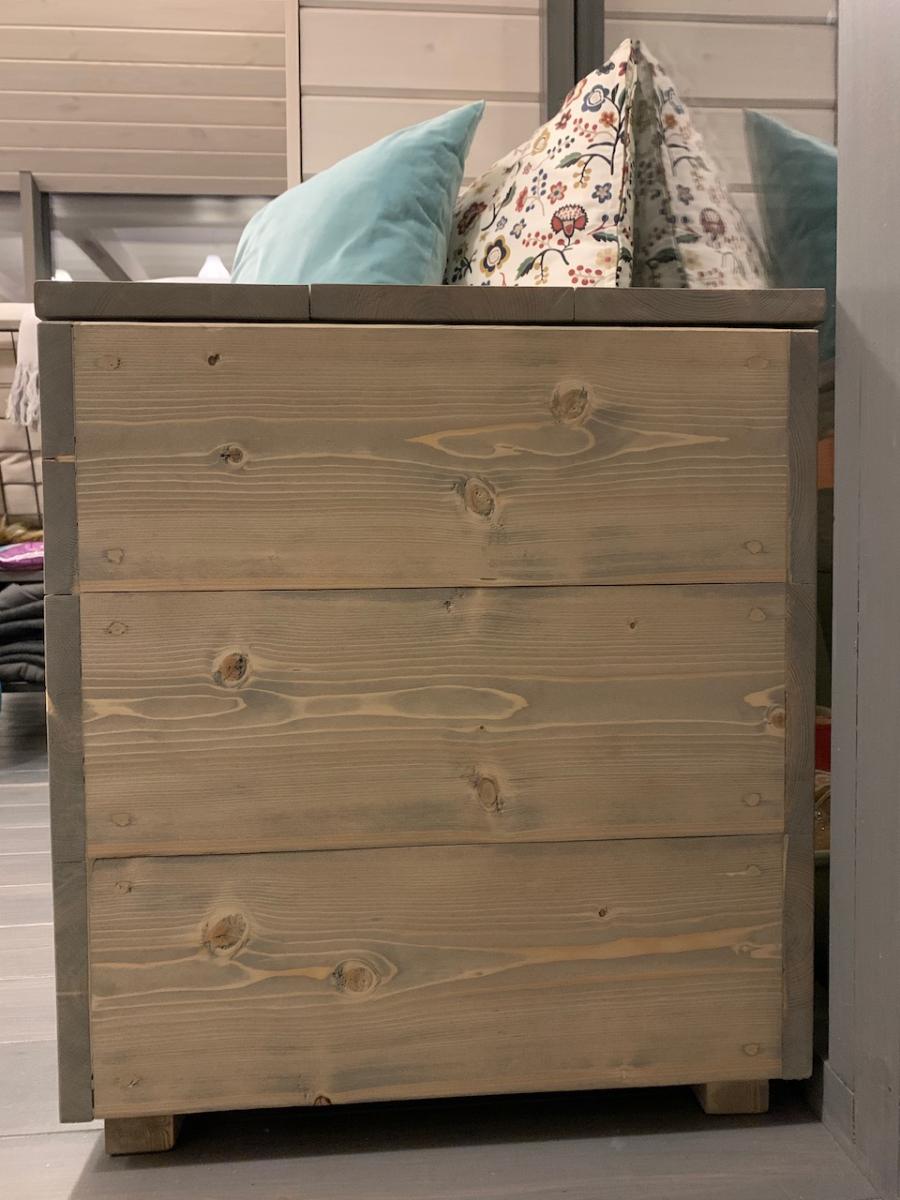
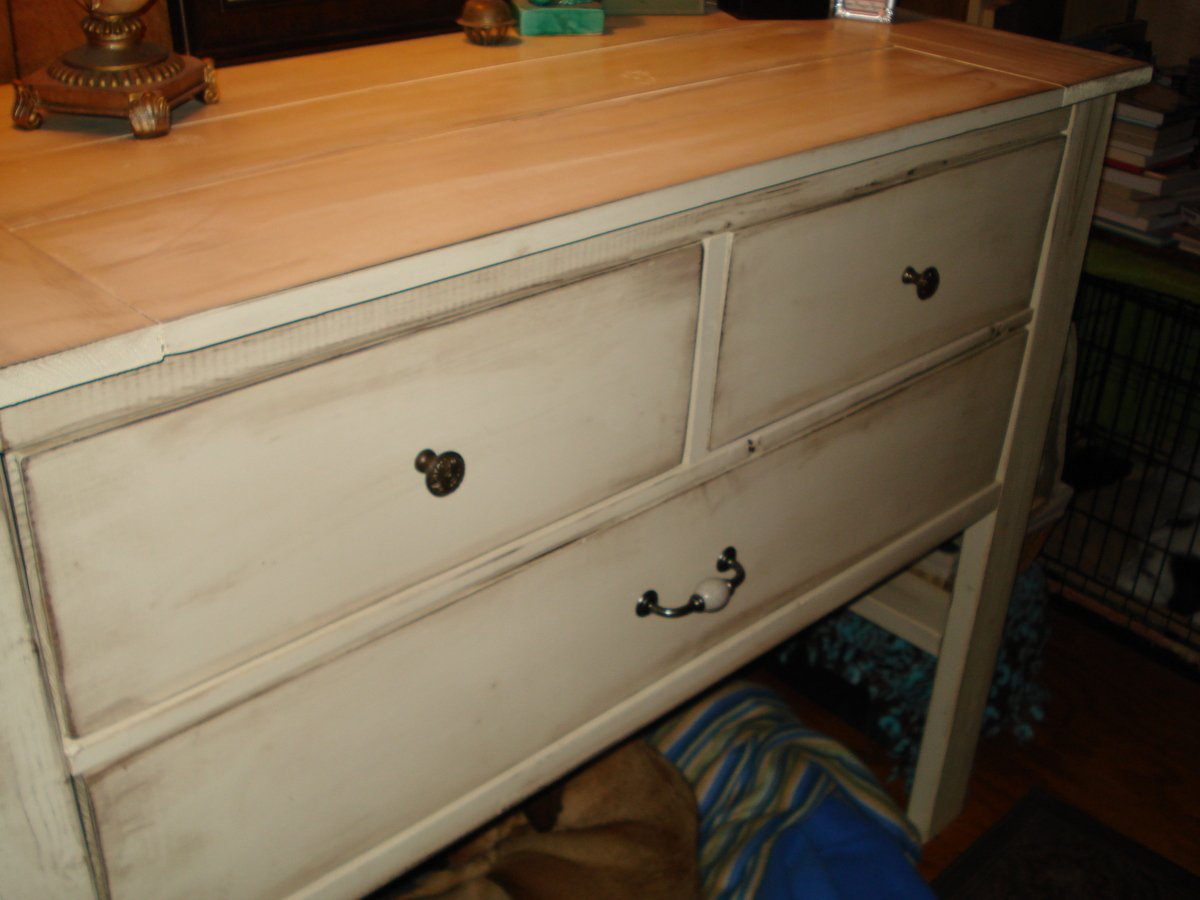
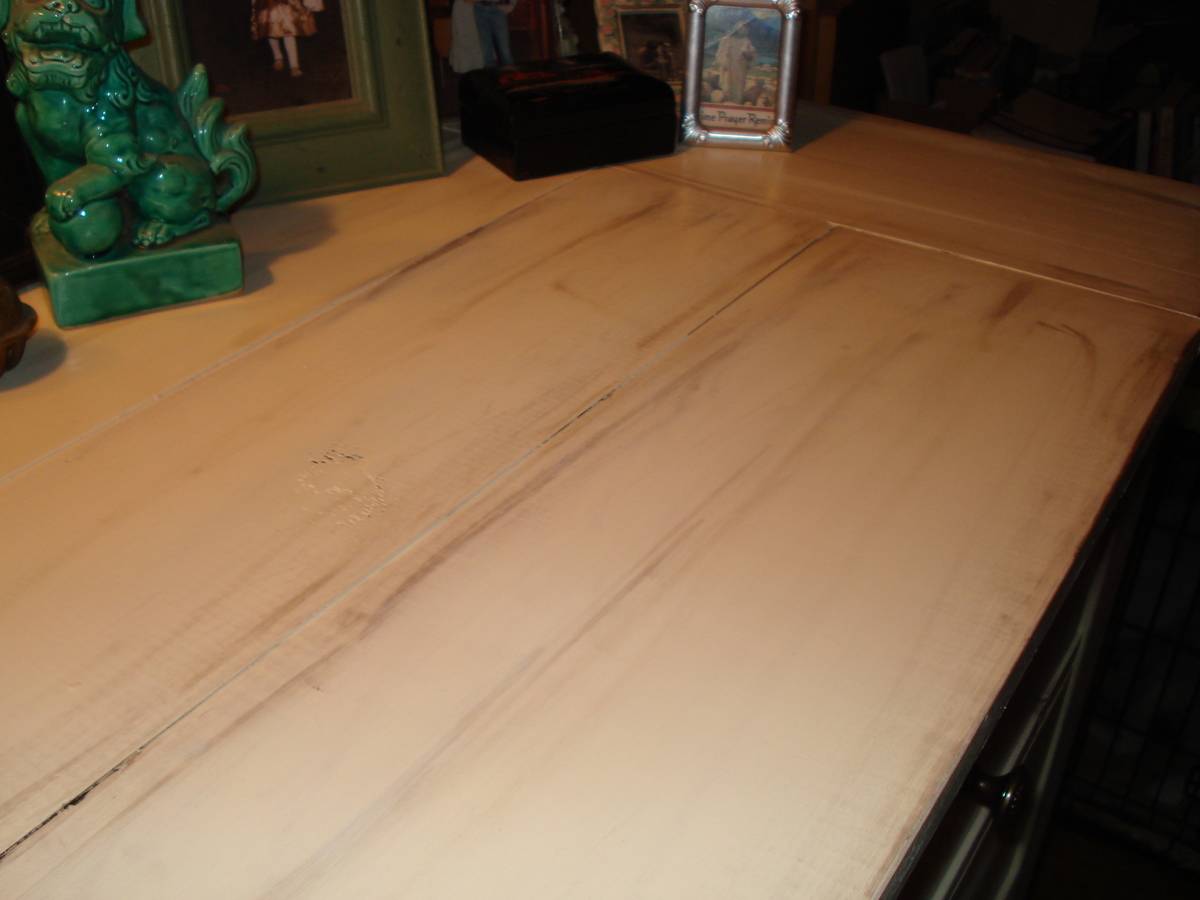
I live in a small mobile home, so I didn't make the dresser as wide. I also used a little combo of the 2x4 look from the Rustic X Console (which I already made a modified version of) I liked the 2x4 look and I wanted the dresser a little sturdier because I was making it a little taller without a bottom shelf. It's 44" wide and 40" tall. I wanted a space where my dog could have her bed out of the way (you can already see her in her spot :) ) Because I didn't make it as wide I also thought 3 drawers to the top would be too busy, so I put two to the top and one large bottom drawer. It is already given me more room for clothes.
I have to estimate on skill level and time, because I do it here and there, but I probably finsihed this with in a week. I haven't been real good at keeping track of costs because I have bought wood here and there, but this may have been around a $100 more or less?
This was also my first project with drawers. The first was a toughie...but the other two went right in (???).
But I am proud of it and love it! Without Ana and her website I wouldn't have been able to do it....
I also have 4 other dogs who started out as fosters....so more space saving projects on my list....tons to do! So, please don't look at any mess, still lots of work in progress :)
Sat, 01/19/2013 - 04:51
Lovely build and excellent space saver too. Also, so kind to keep your furry buddies comfort in mind as well.!
Sat, 01/19/2013 - 04:53
Lovely build! Love the adaptations to fit your space AND make a wonderful place for your furry buddies!
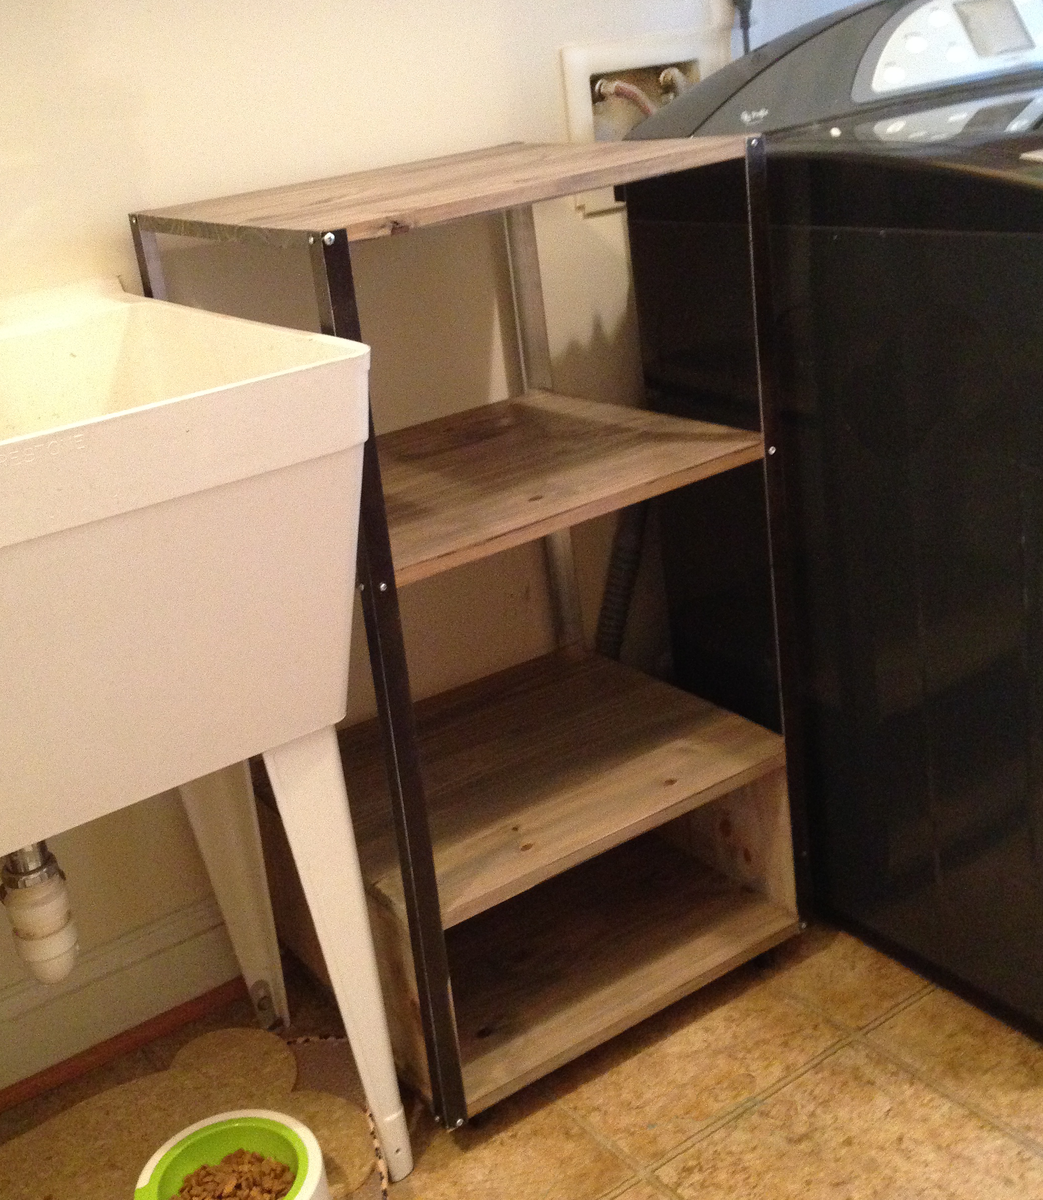
Super easy. Under $50 .. wanted an industrial look to match new shelves, and could storage laundry baskets. Wanted a certain width / color. Added extra pieces to bottom shelves to create a cubble shelve.
Love the outcome!
Wed, 09/01/2021 - 11:44
This is amazing! Love the custom size and turned out beautiful!