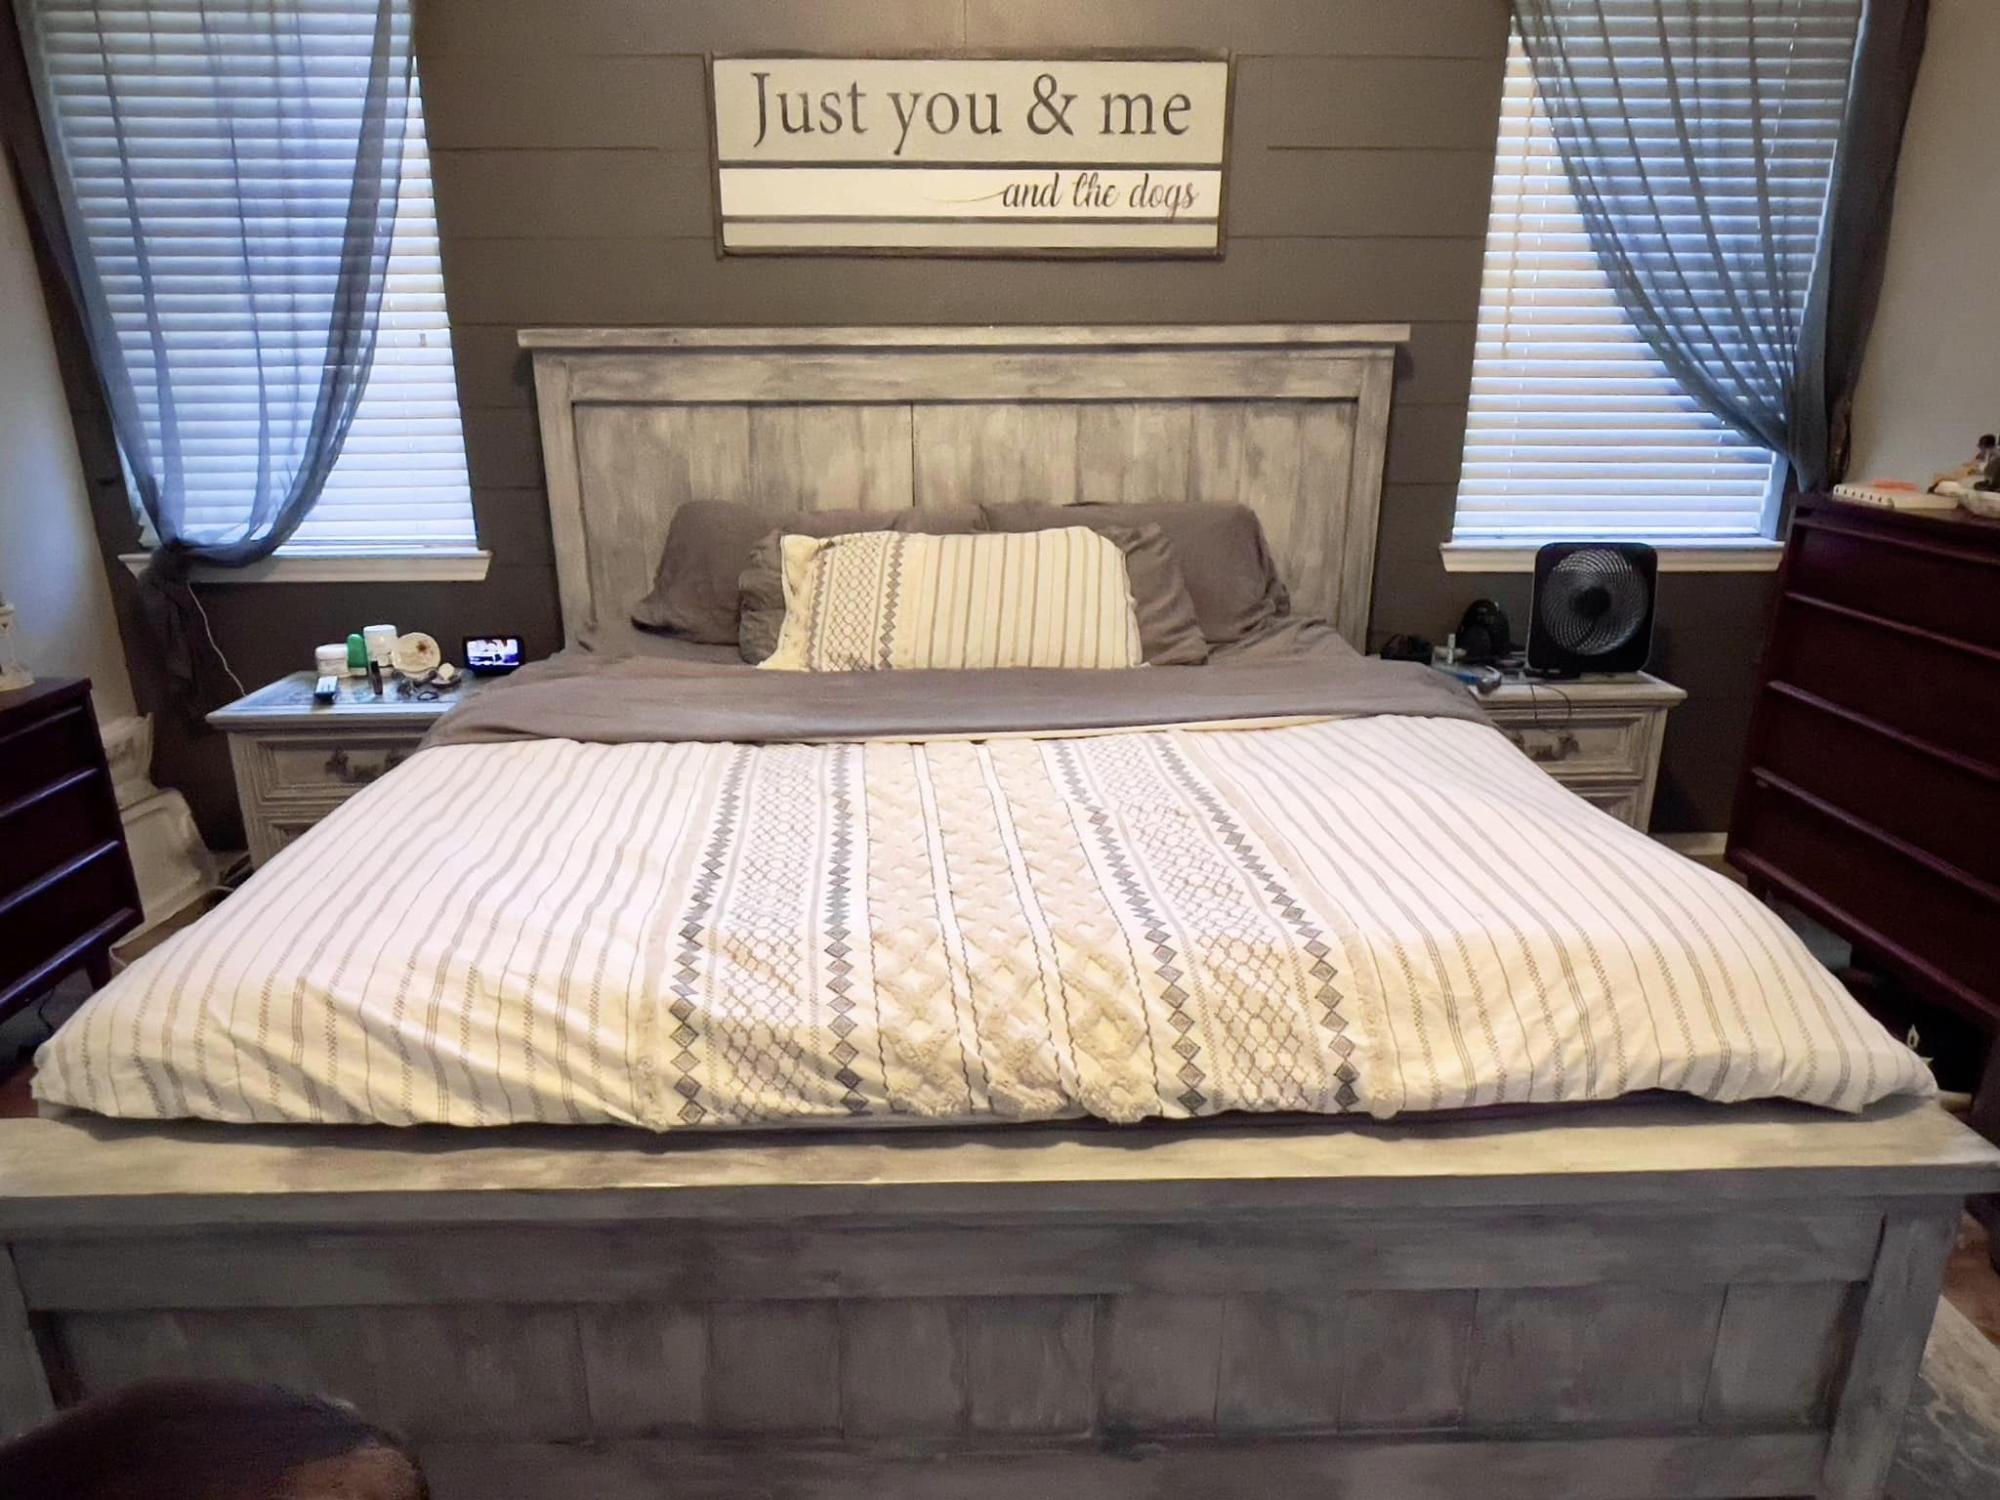
So Worth It!
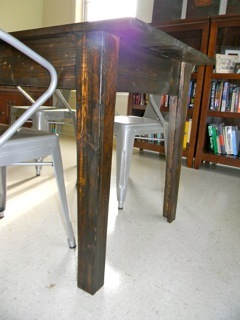
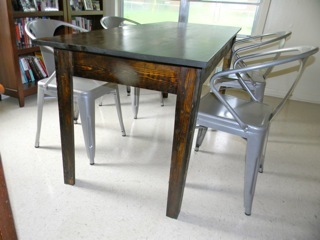
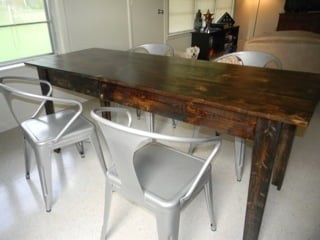
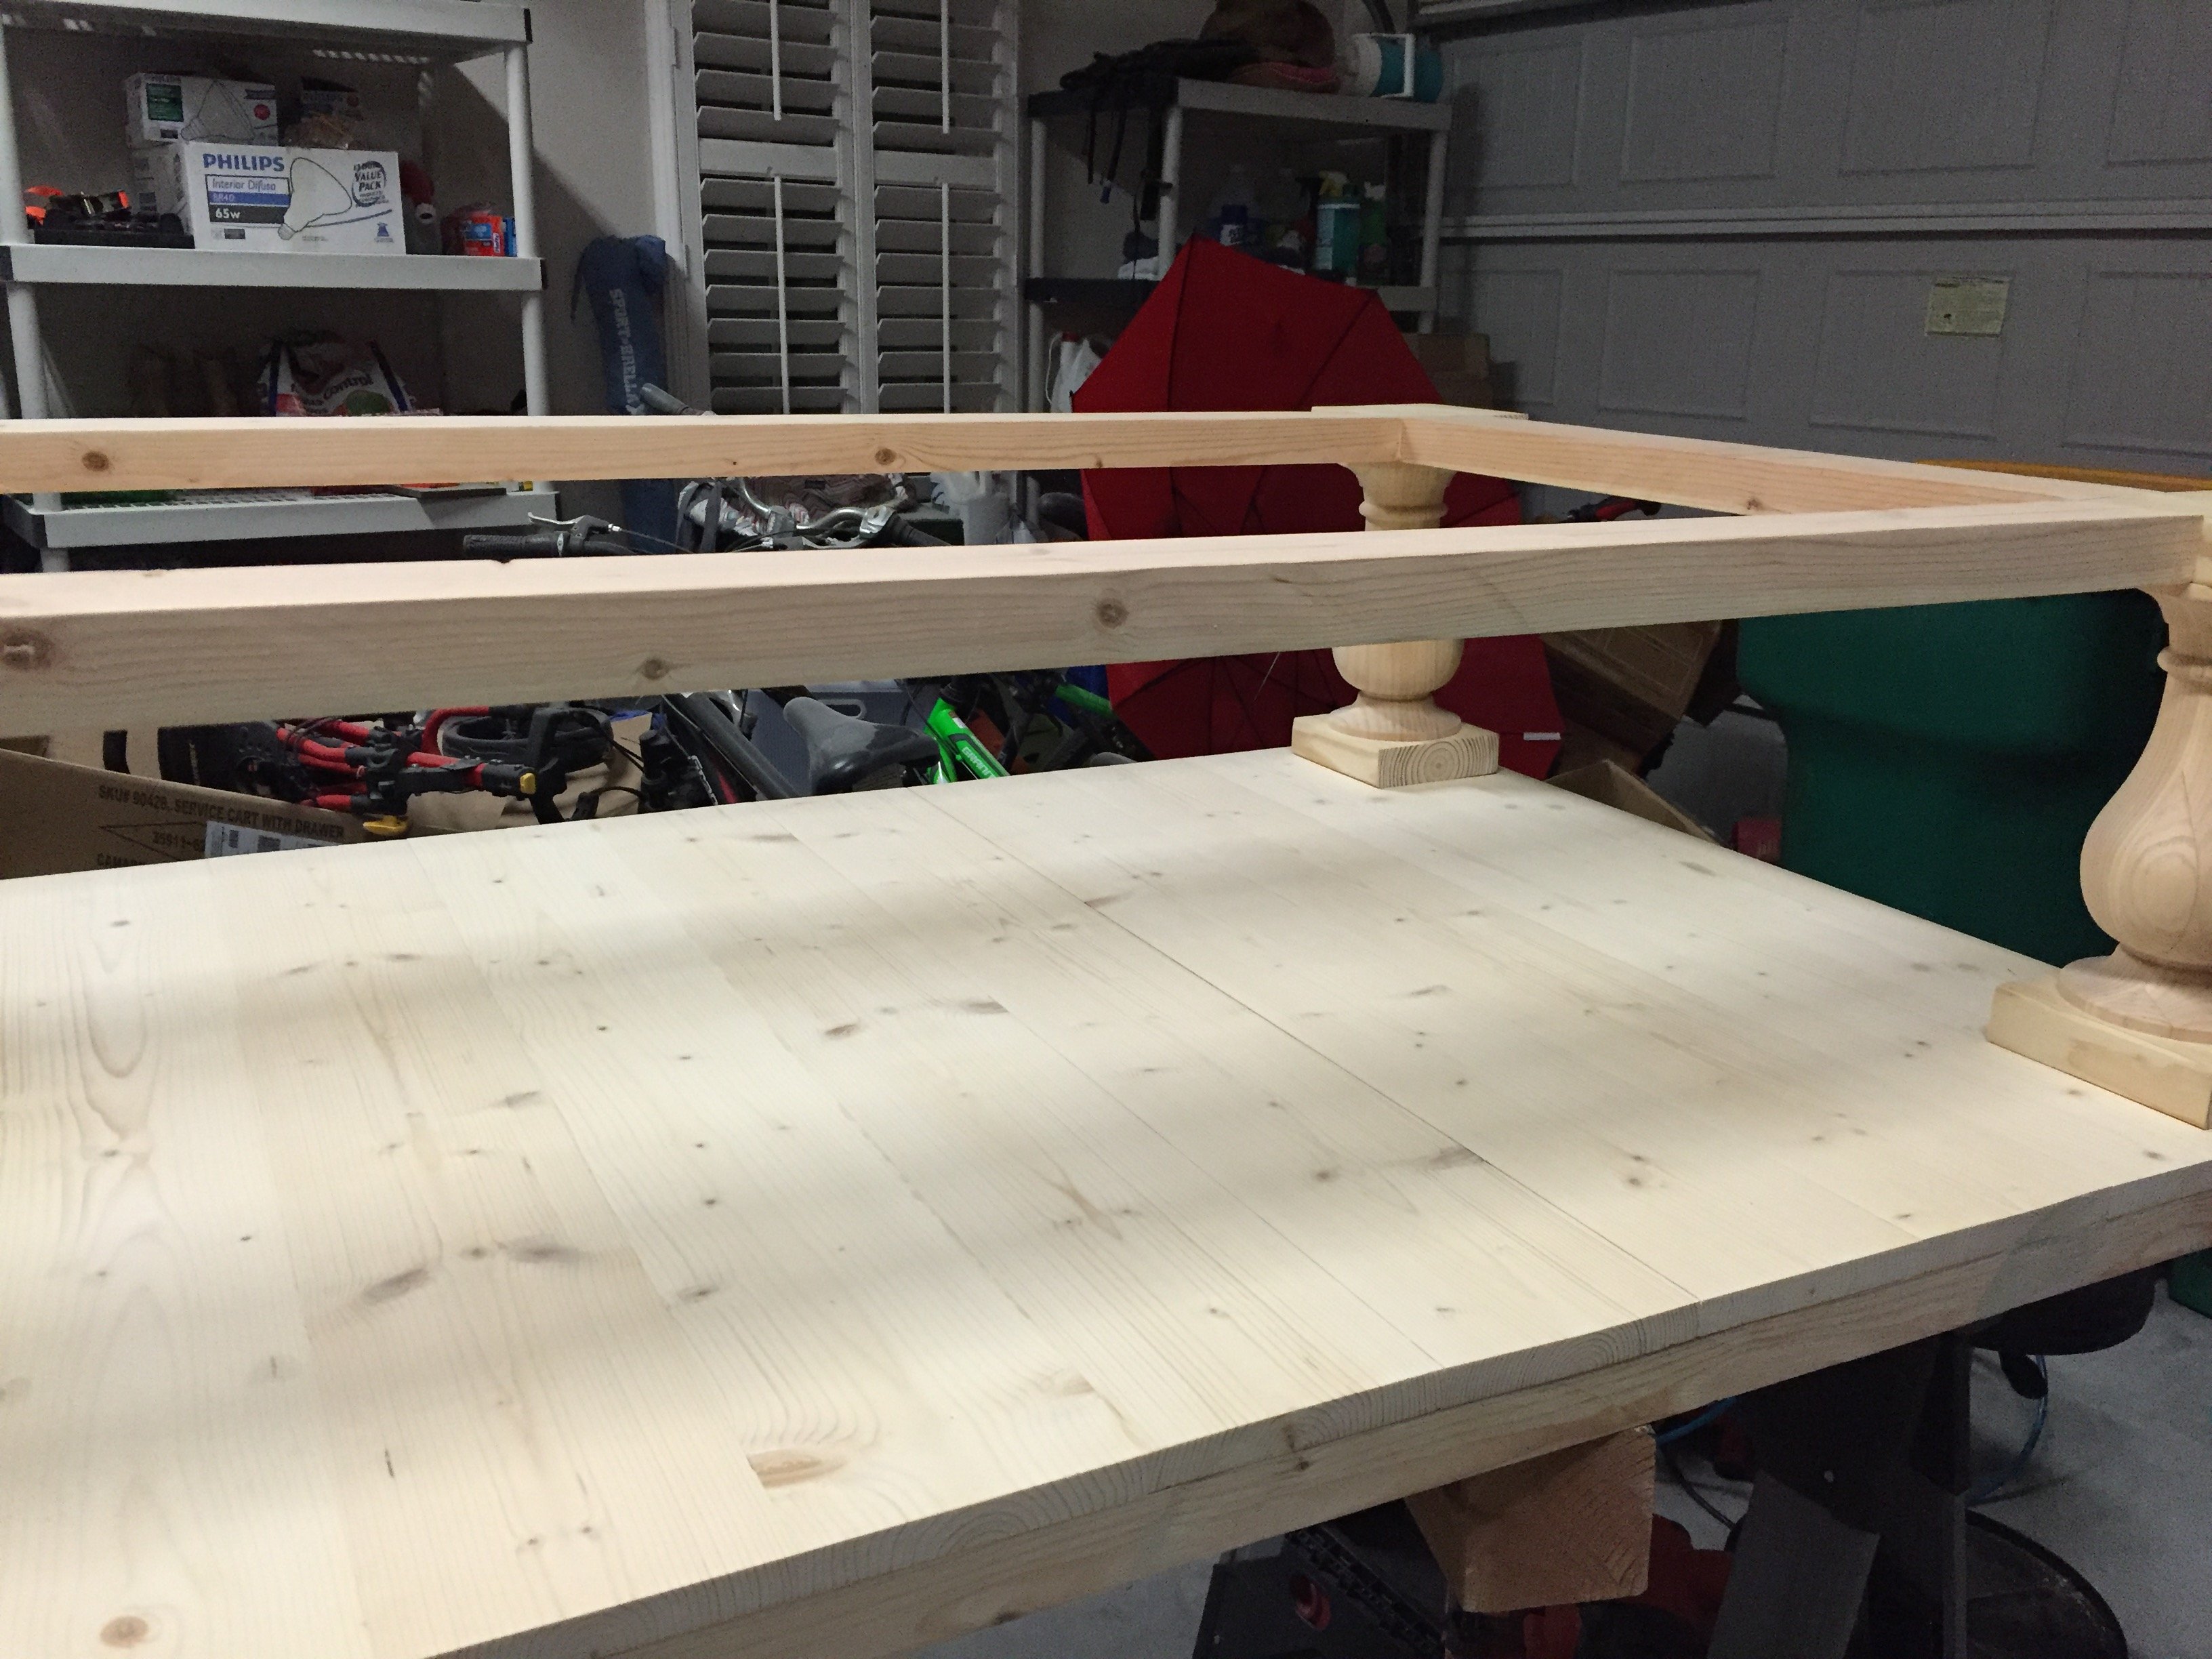
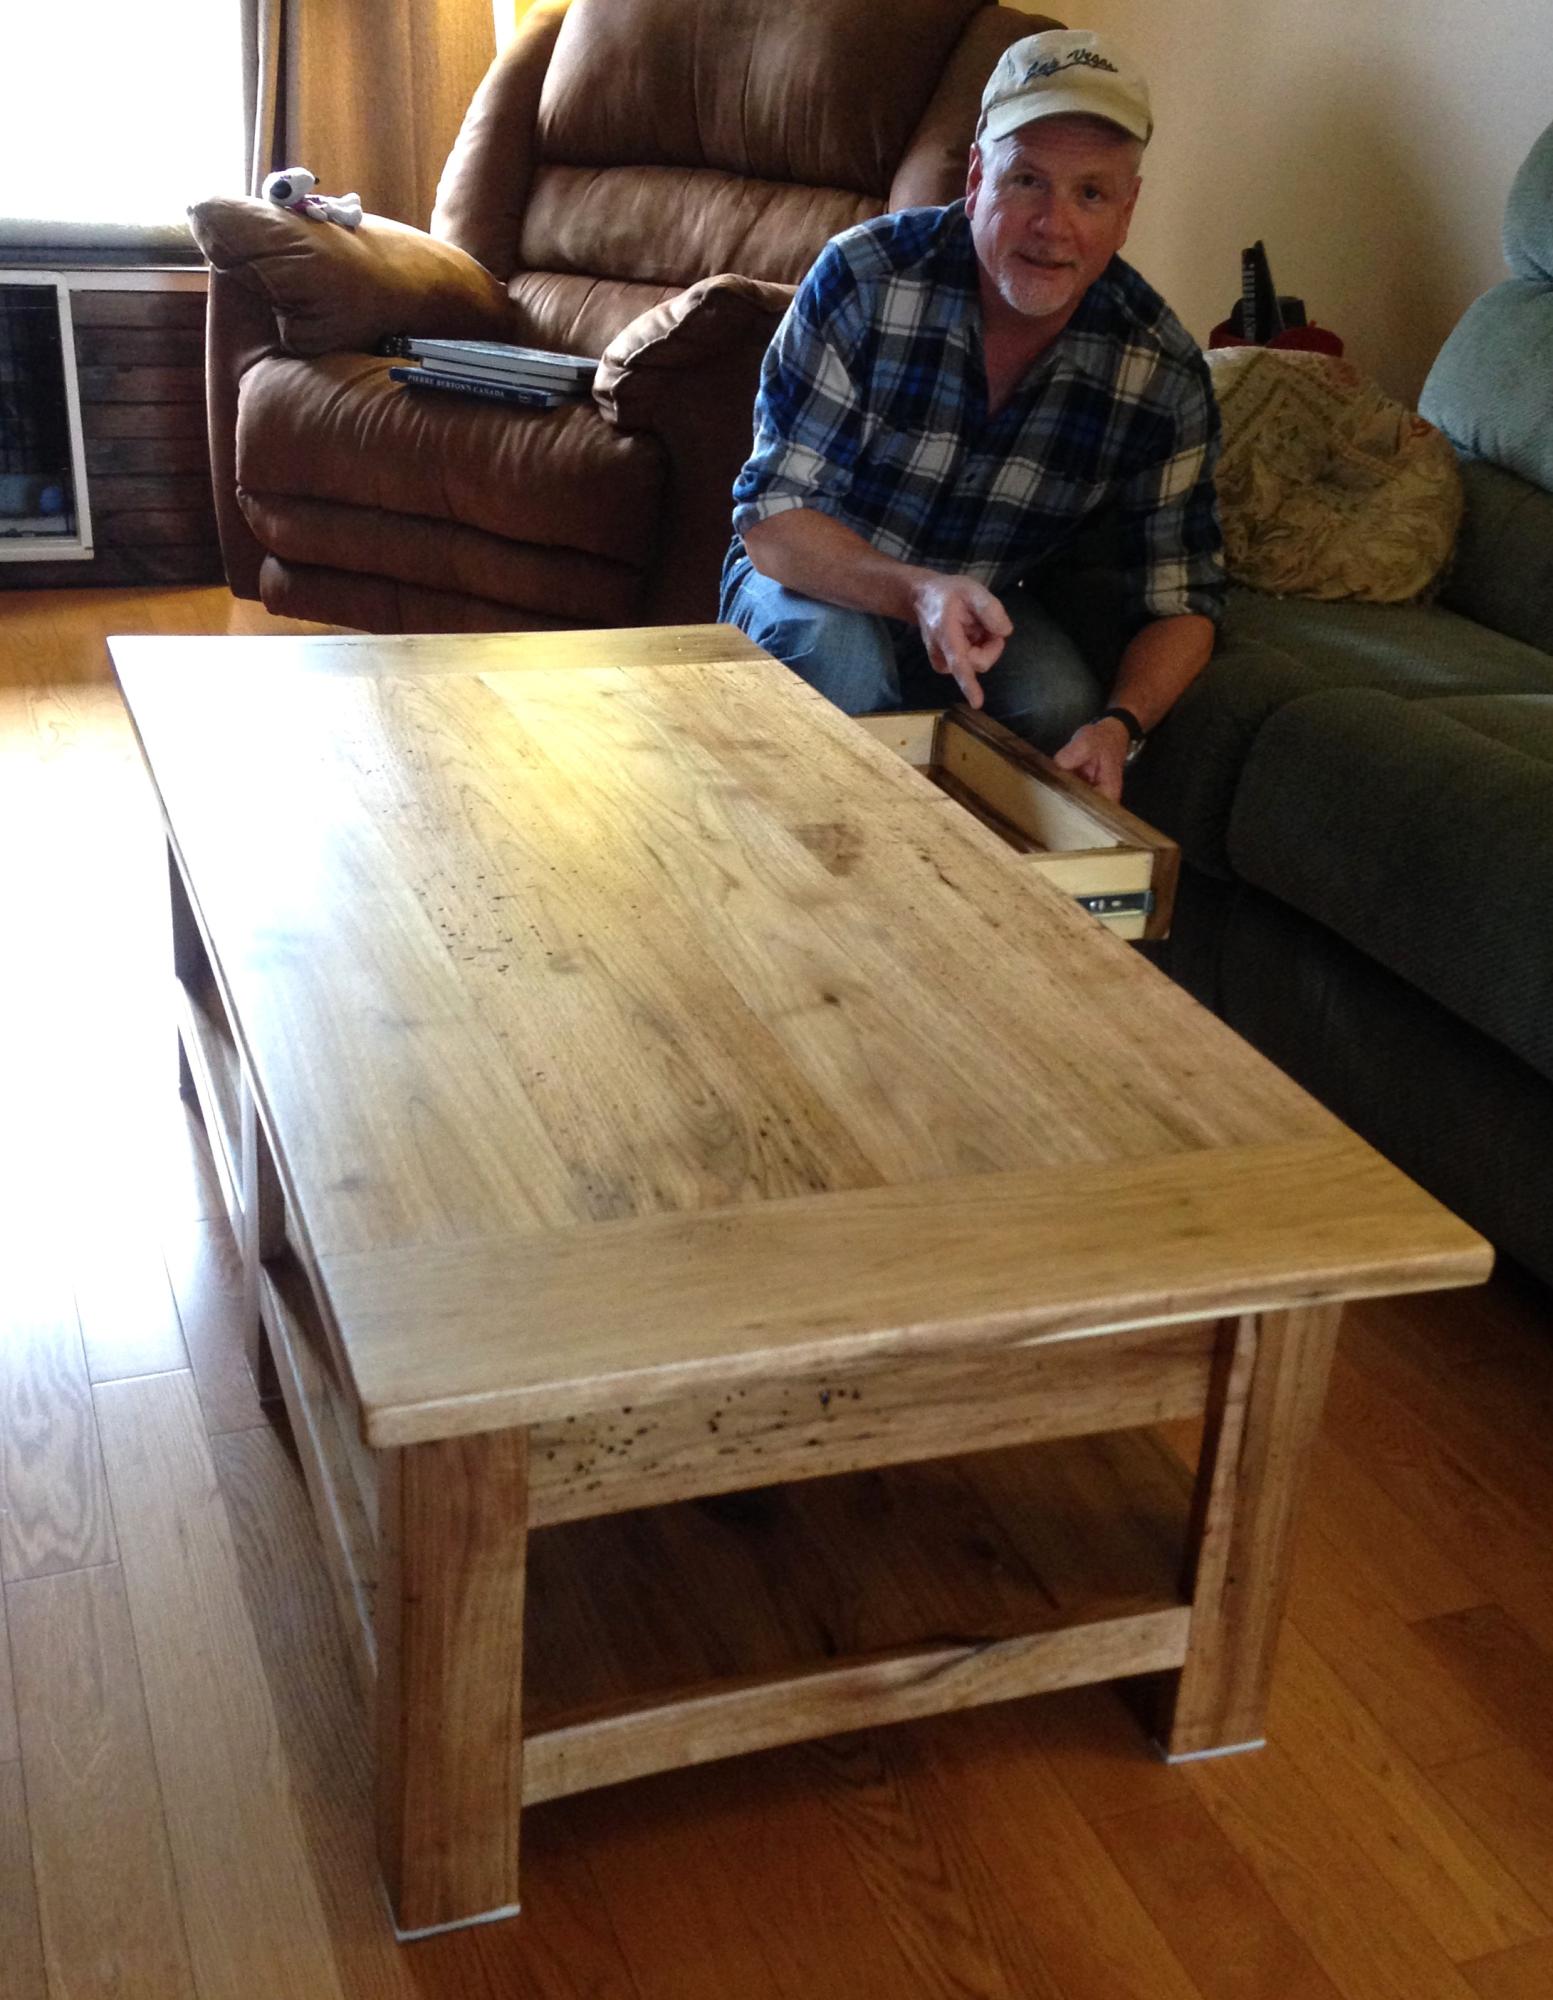
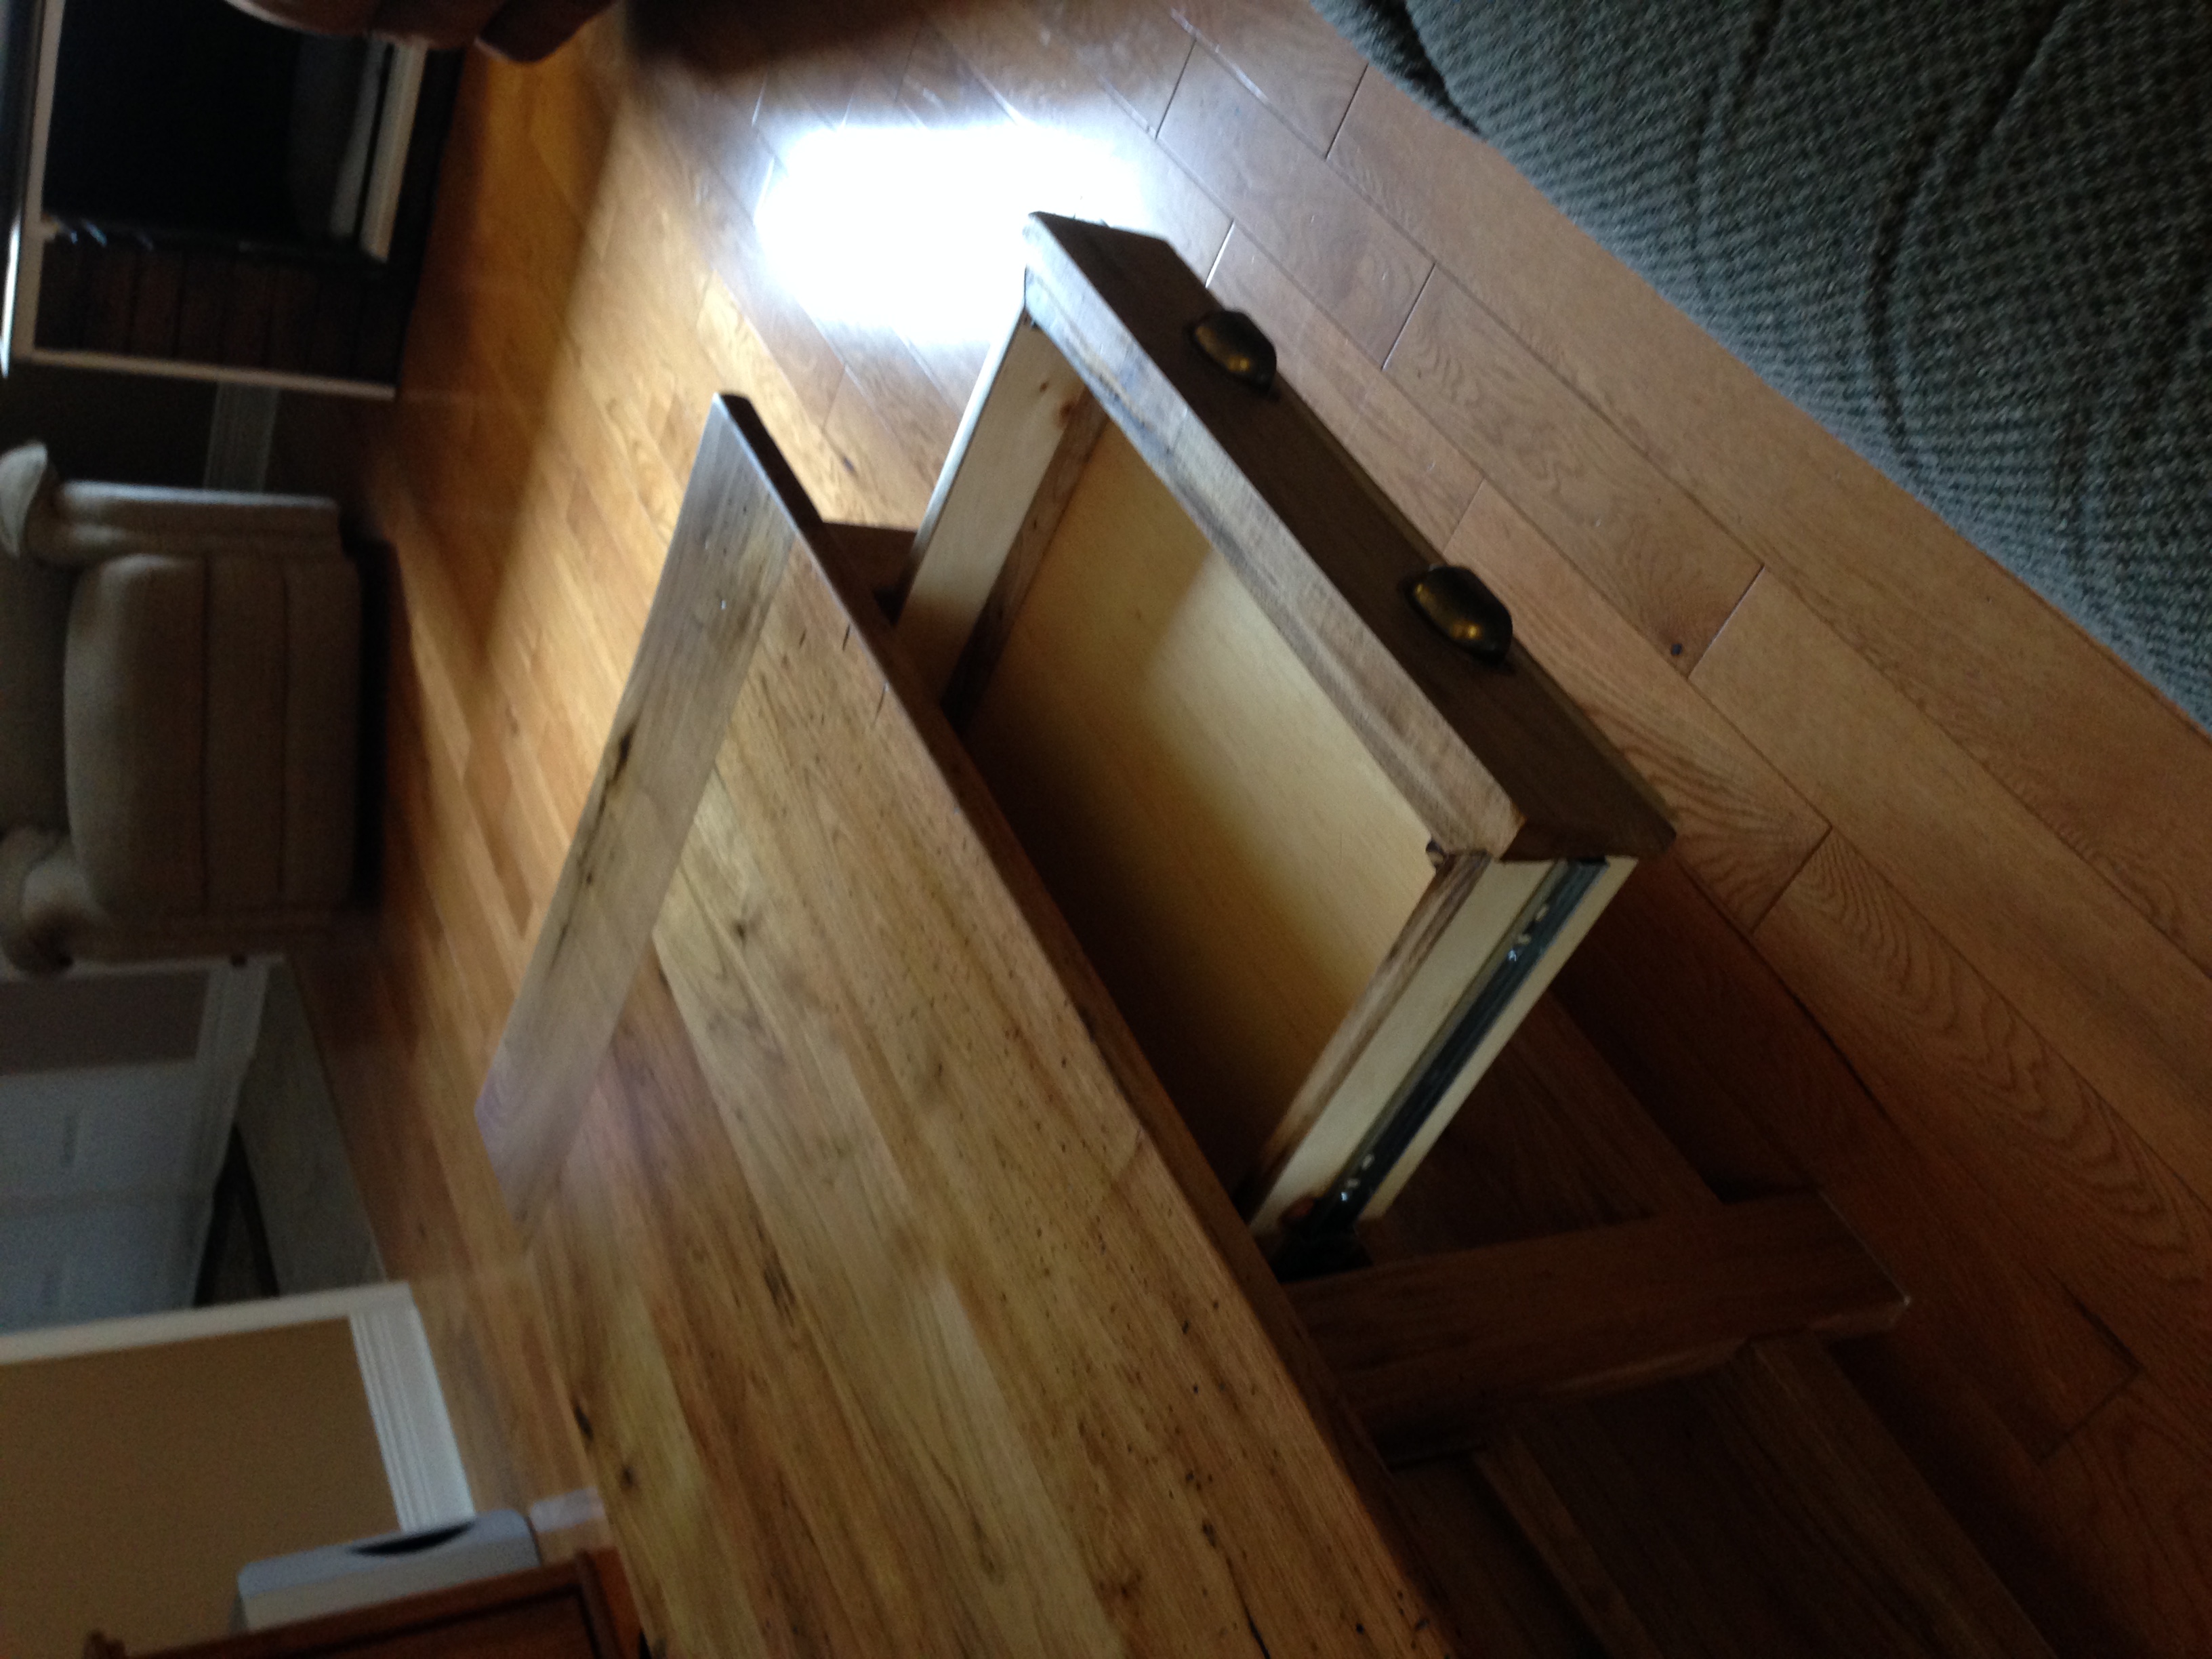
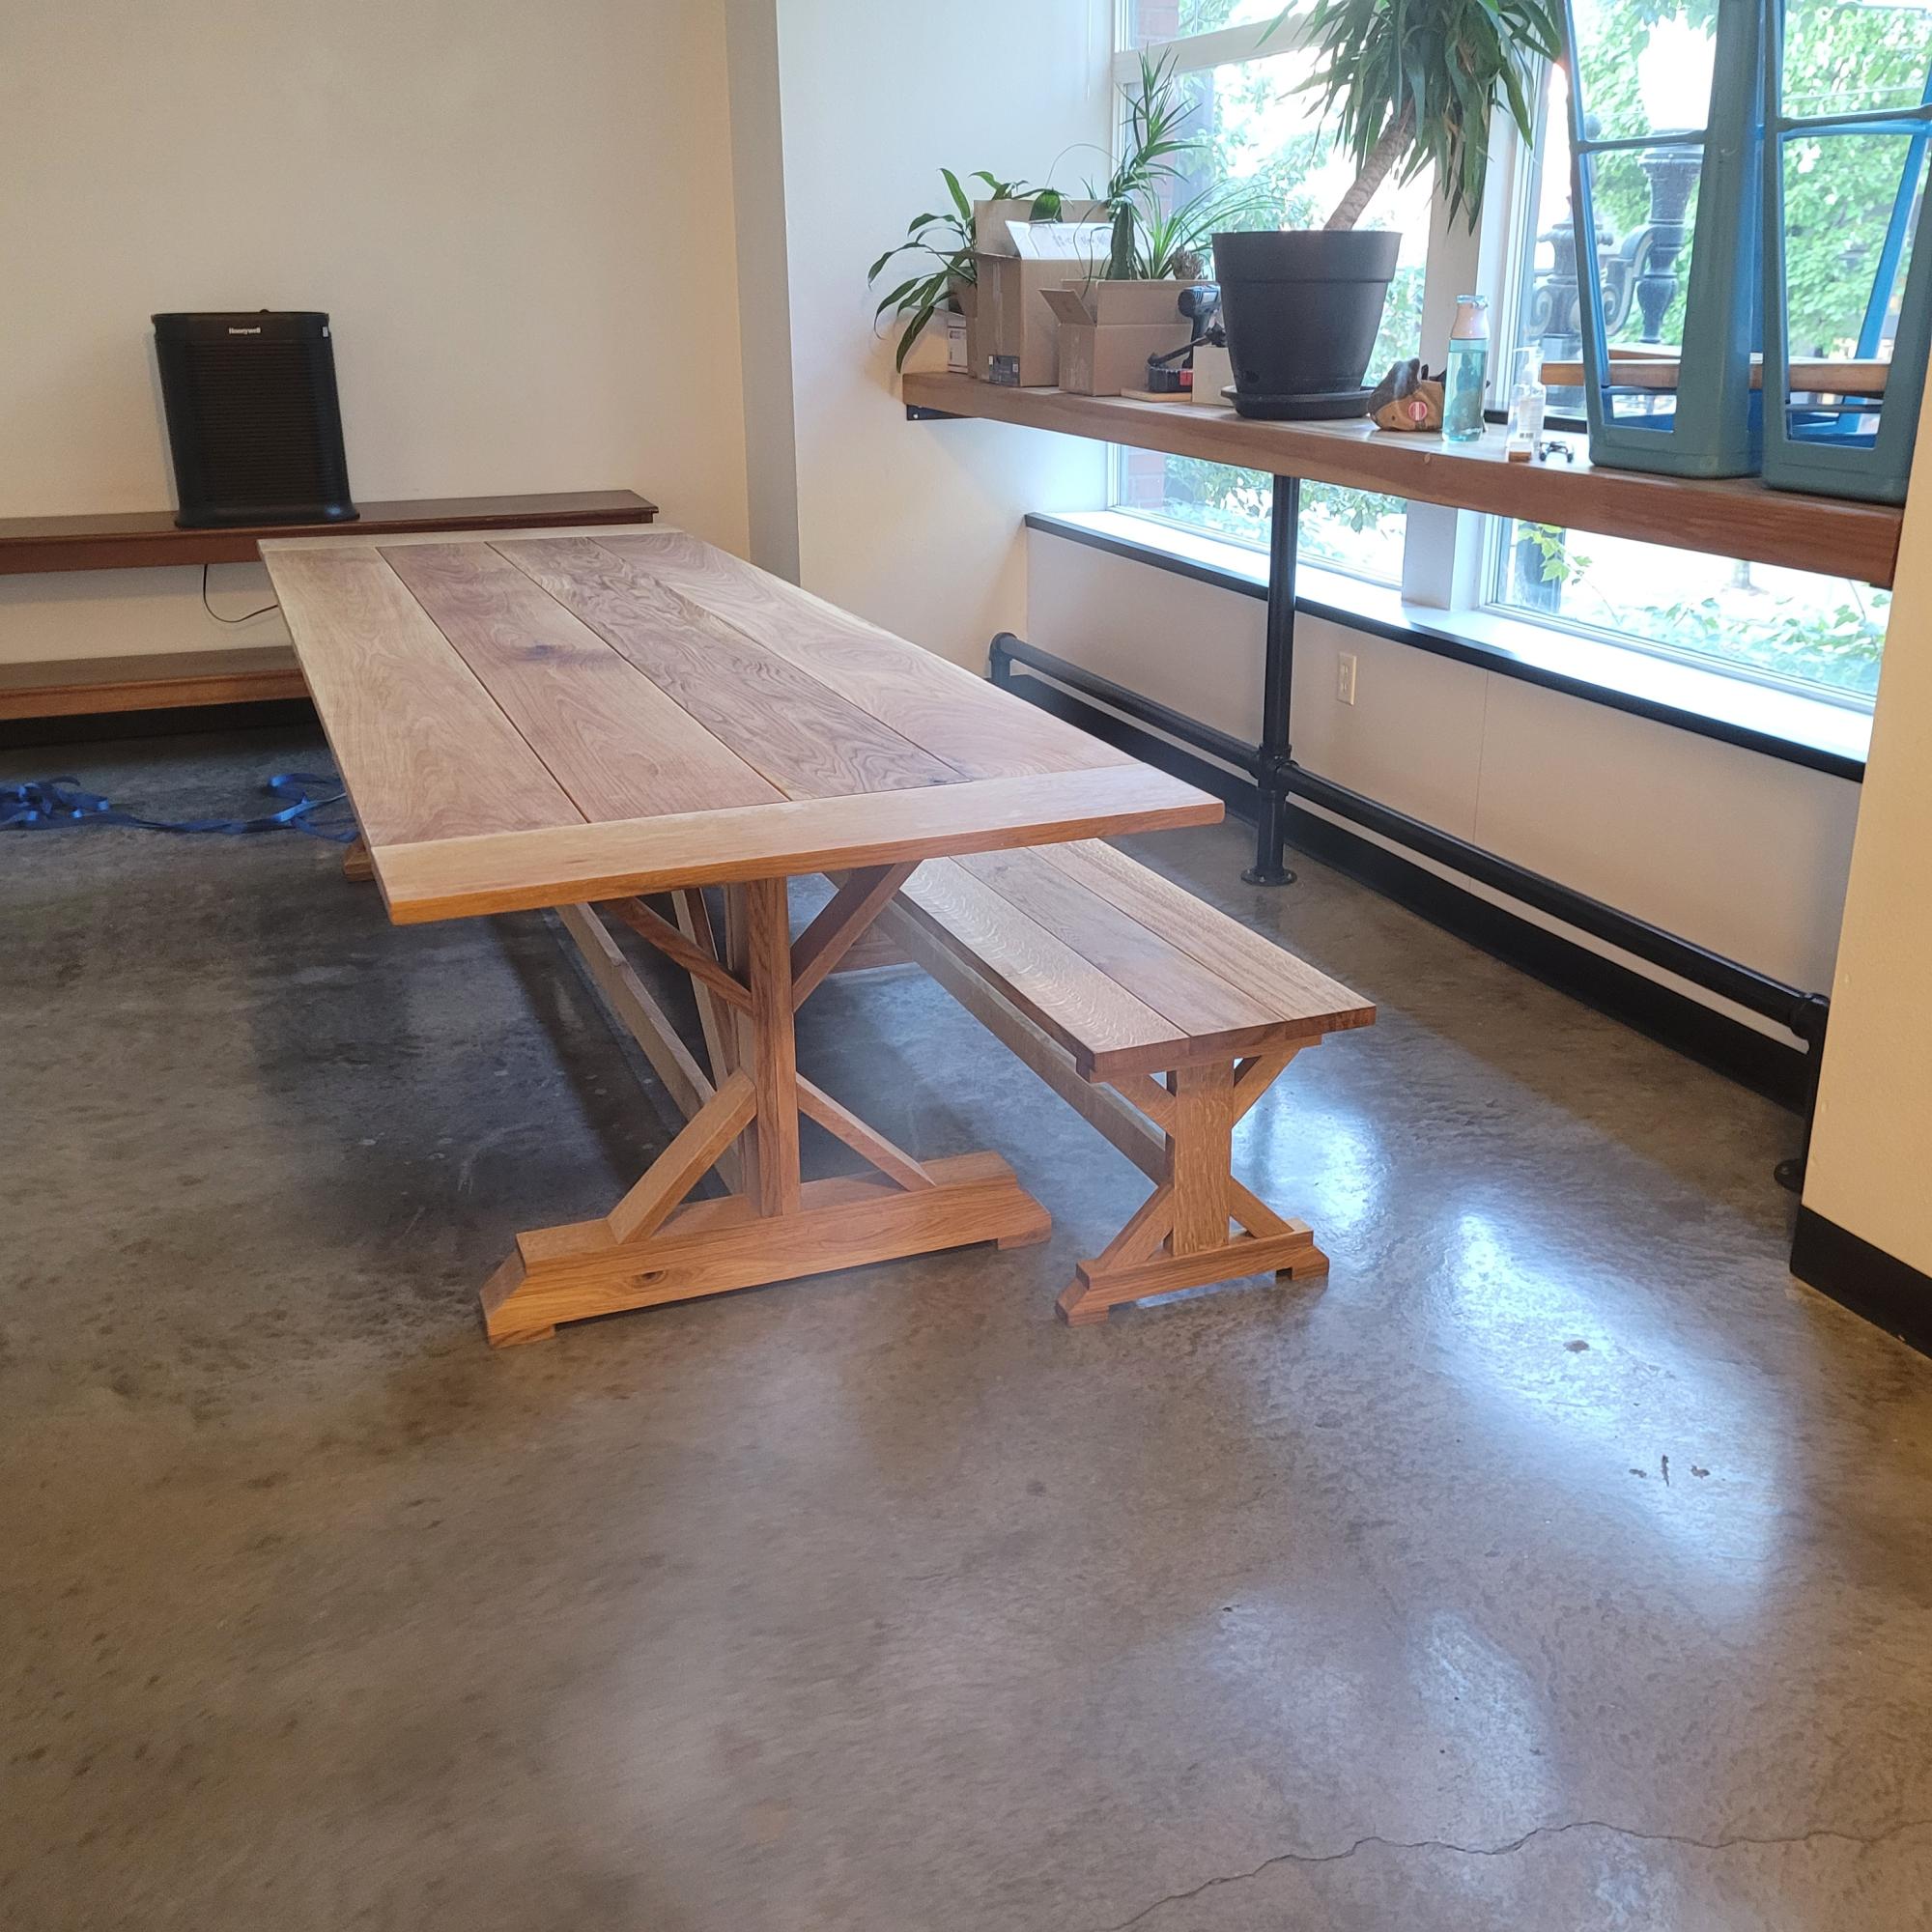
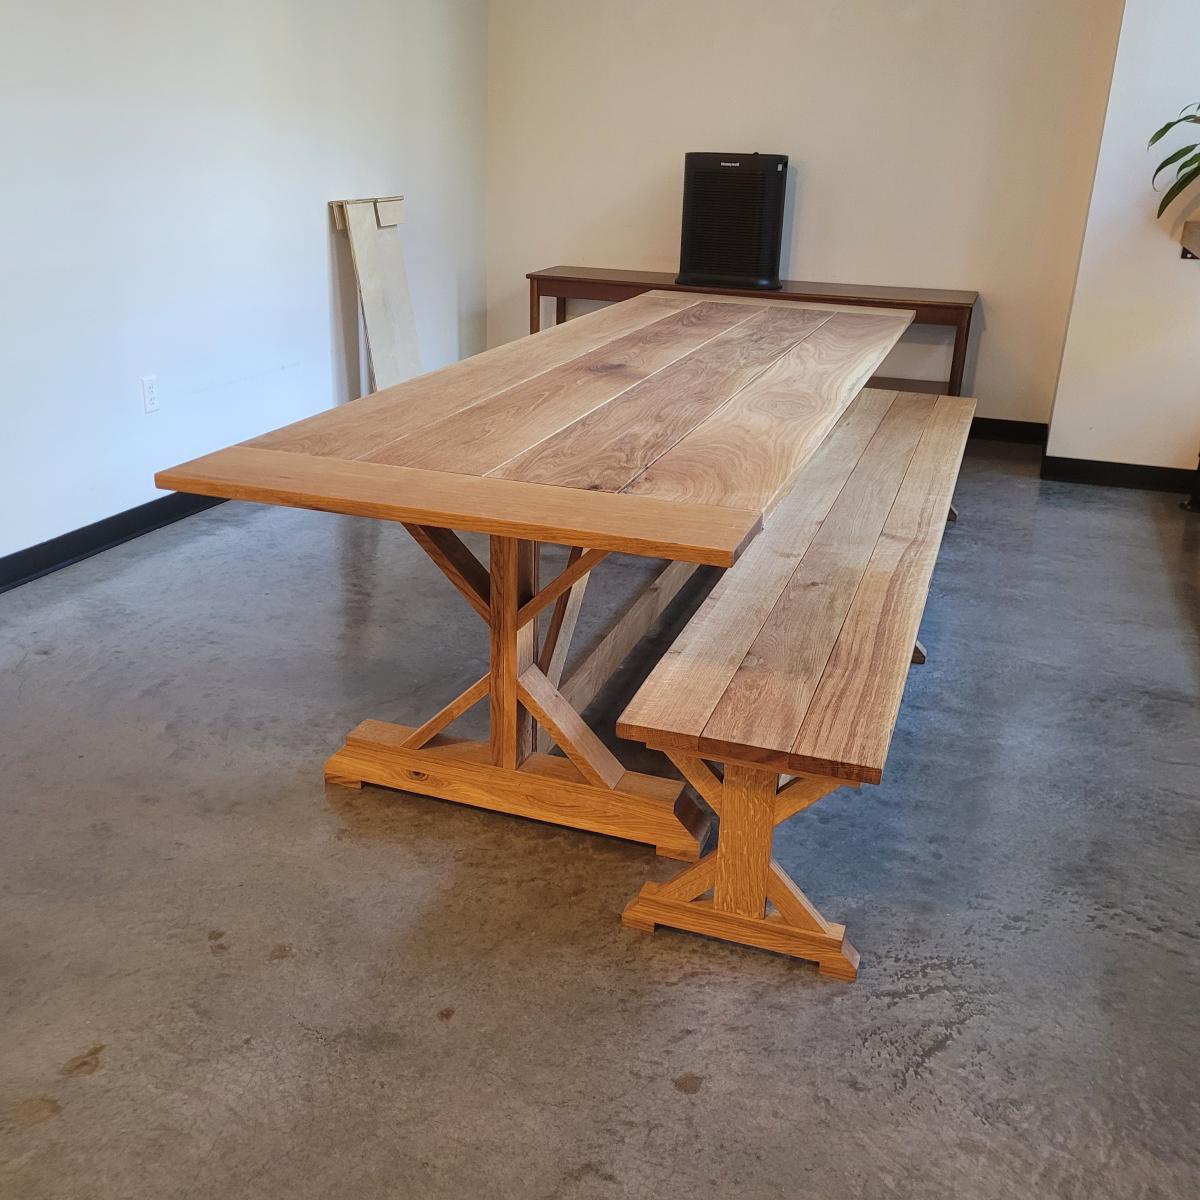
This project was possibly beyond my expertise however persistance, reading and asking for help worked. This table was a 5 month project with a start, a quit, a re-buy and finally a full steam forward to the finish line.
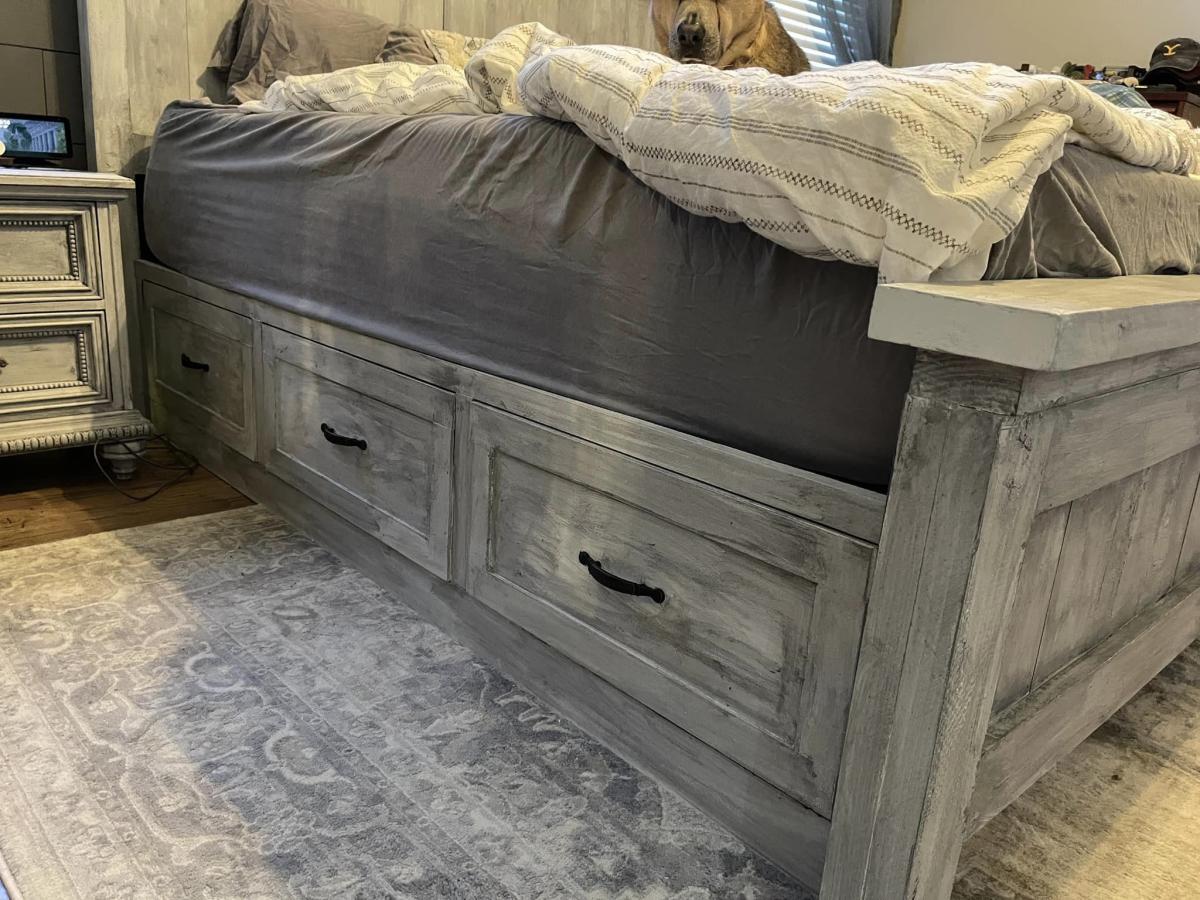
Although difficult, I learned so much during this build-how to use a biscuit joiner (then reverted back to my Kreg Jig), how to clamp pieces so that they remain even, how to properly finish a table, how important measuring and squaring are, etc...
I have a large sectional so I had to revise the size of this table. Ours is a 3' x 5' table. The most difficult part of building where we live is finding good lumber. There were 3 different types of wood used on the project but thankfully I was able to stain to match.
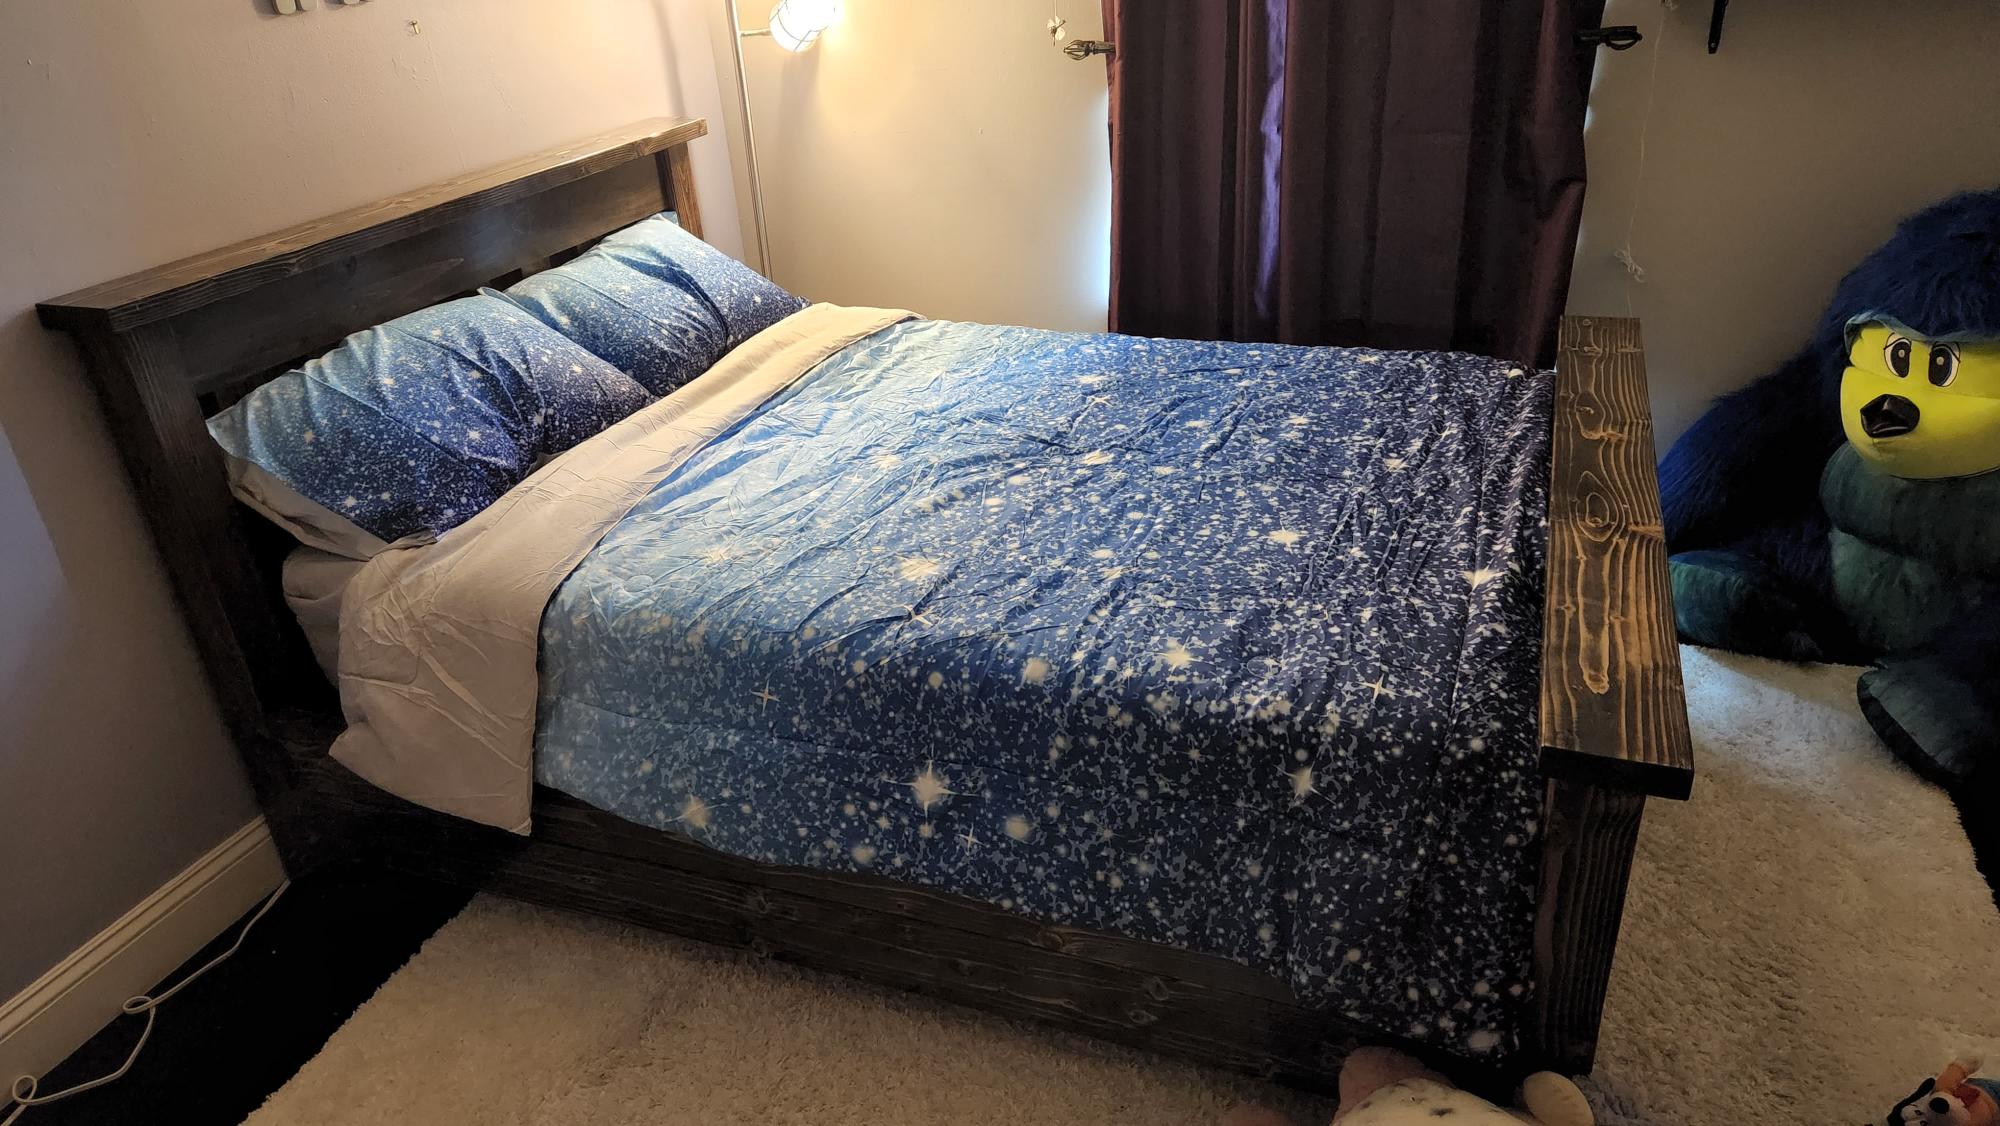
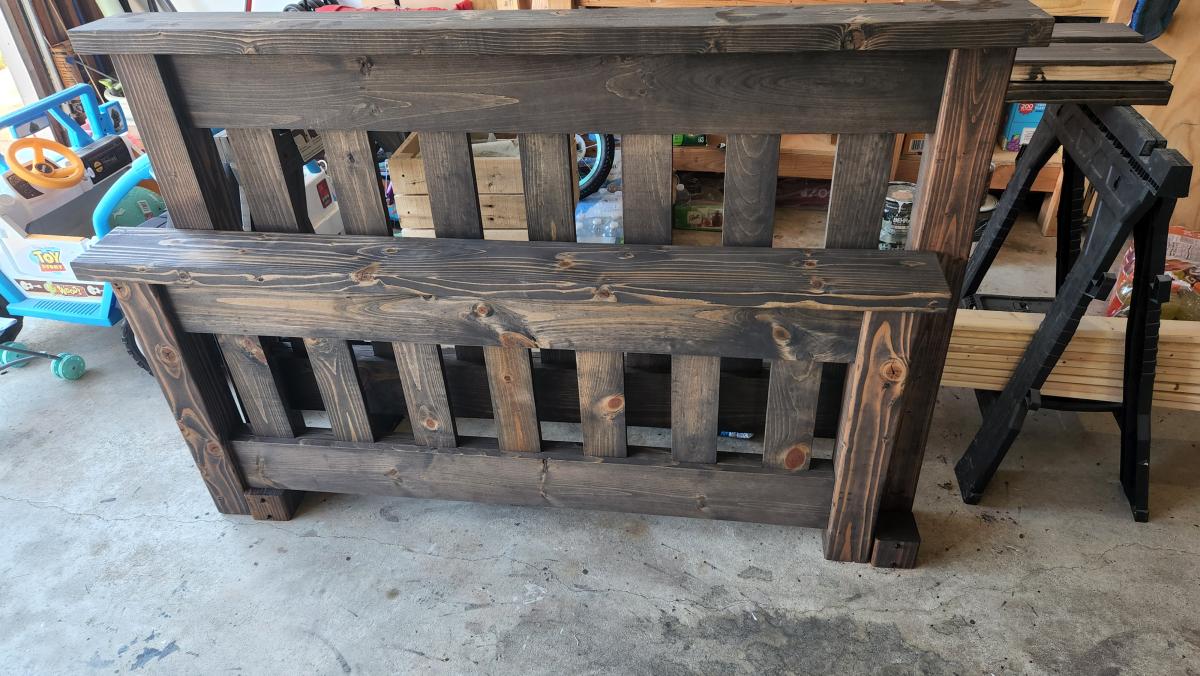
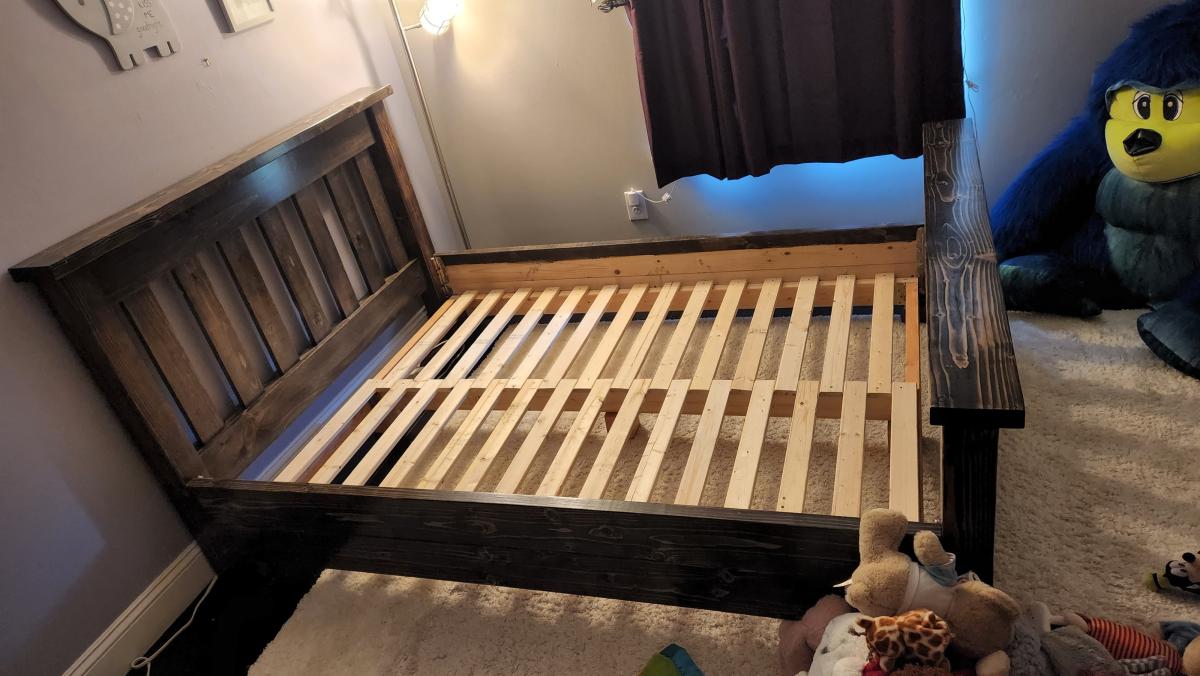
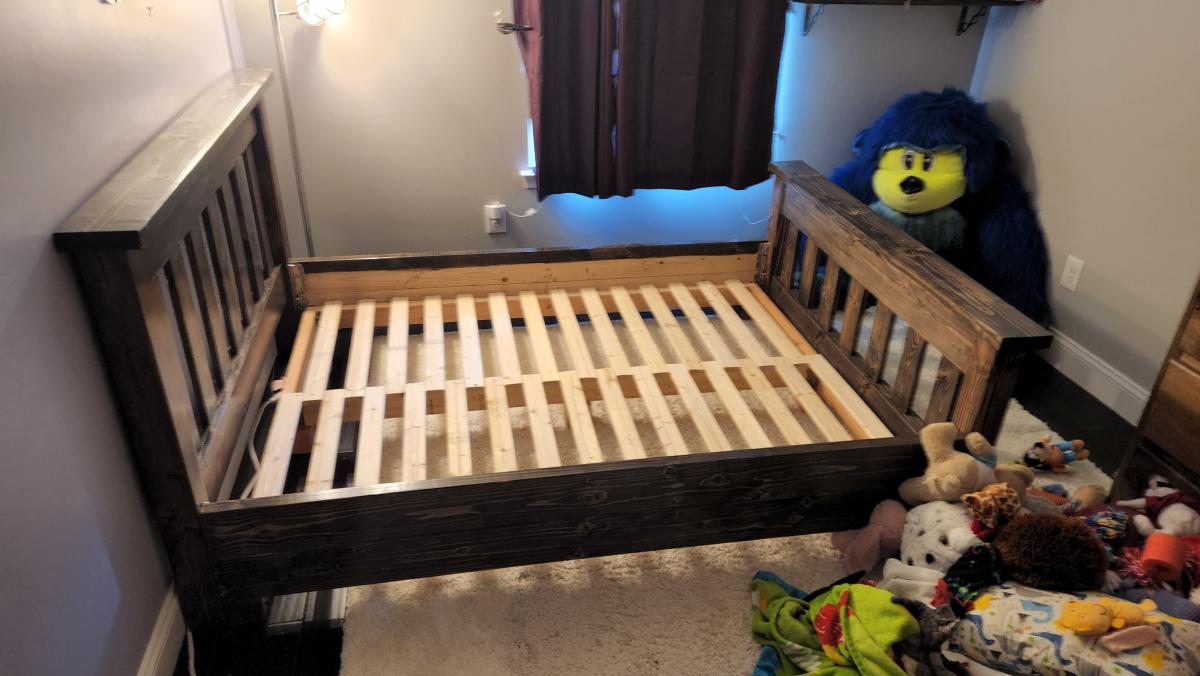
Off to start my next project-our son's headboard. Should be a piece of cake. I'll let you know and it WILL be sooner than 5 months! Happy Building! Karla


Comments
Ana White Admin
Sun, 08/28/2022 - 10:41
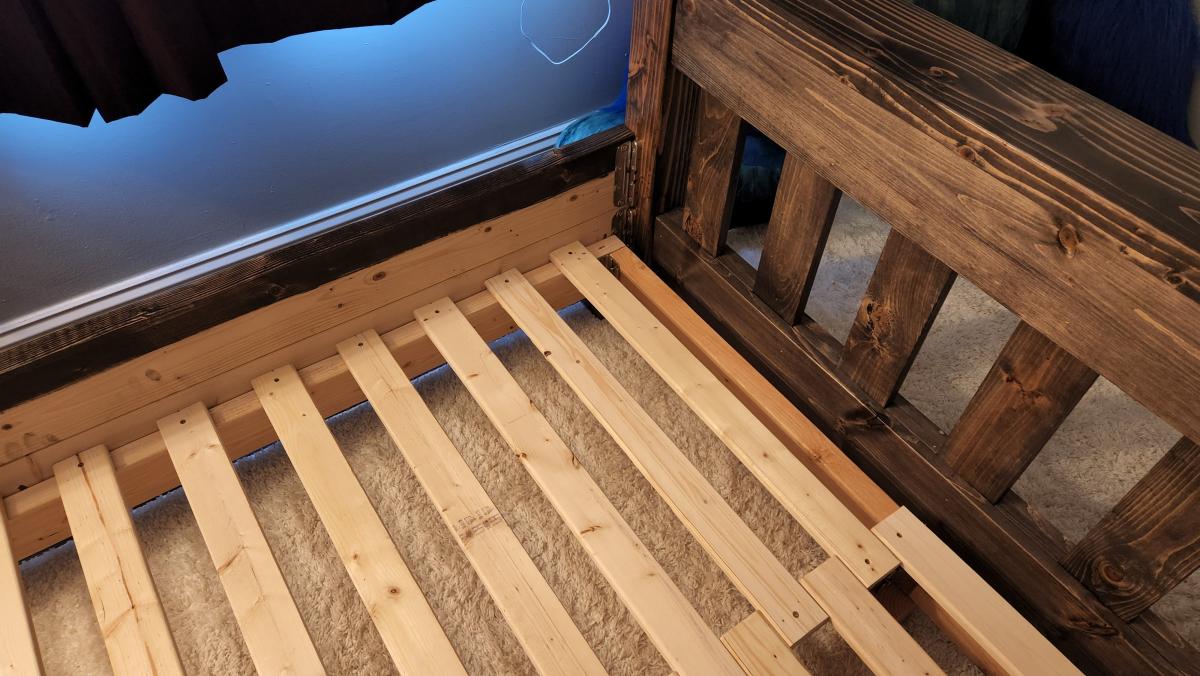
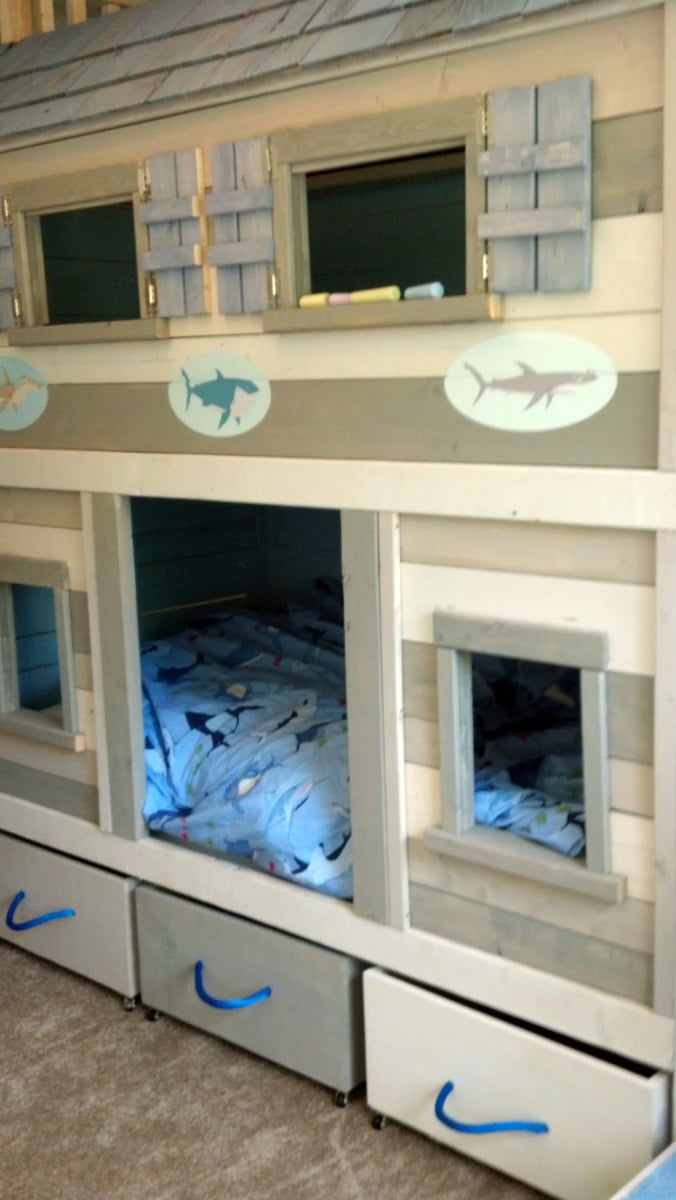
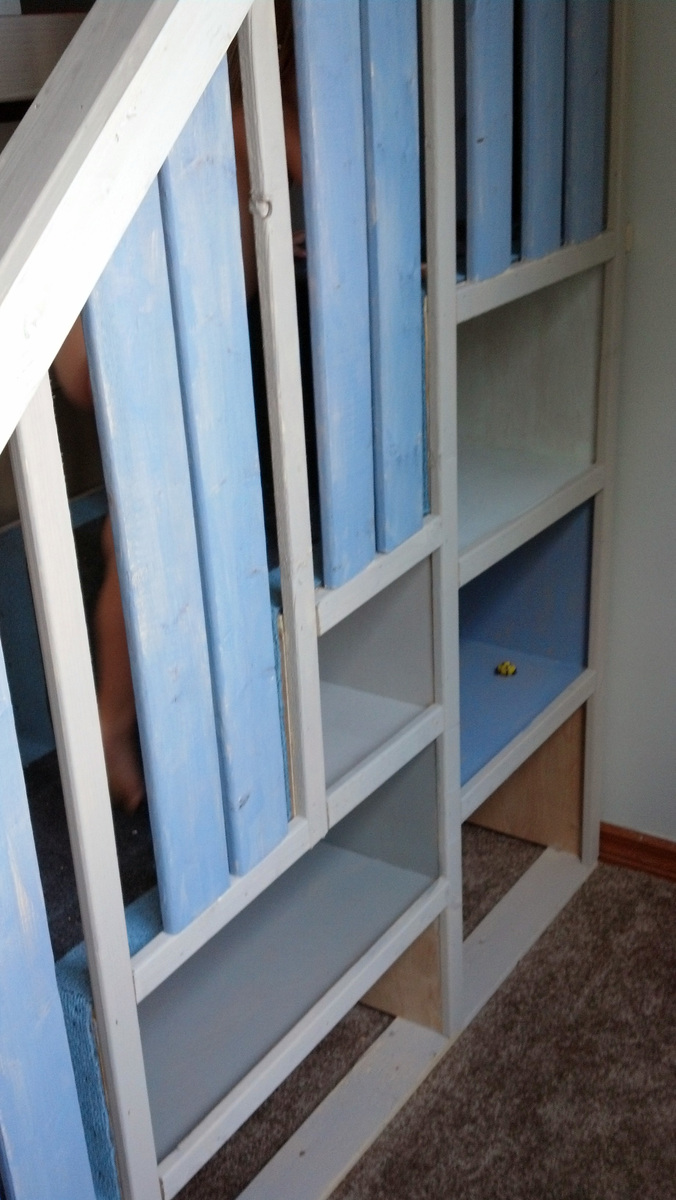
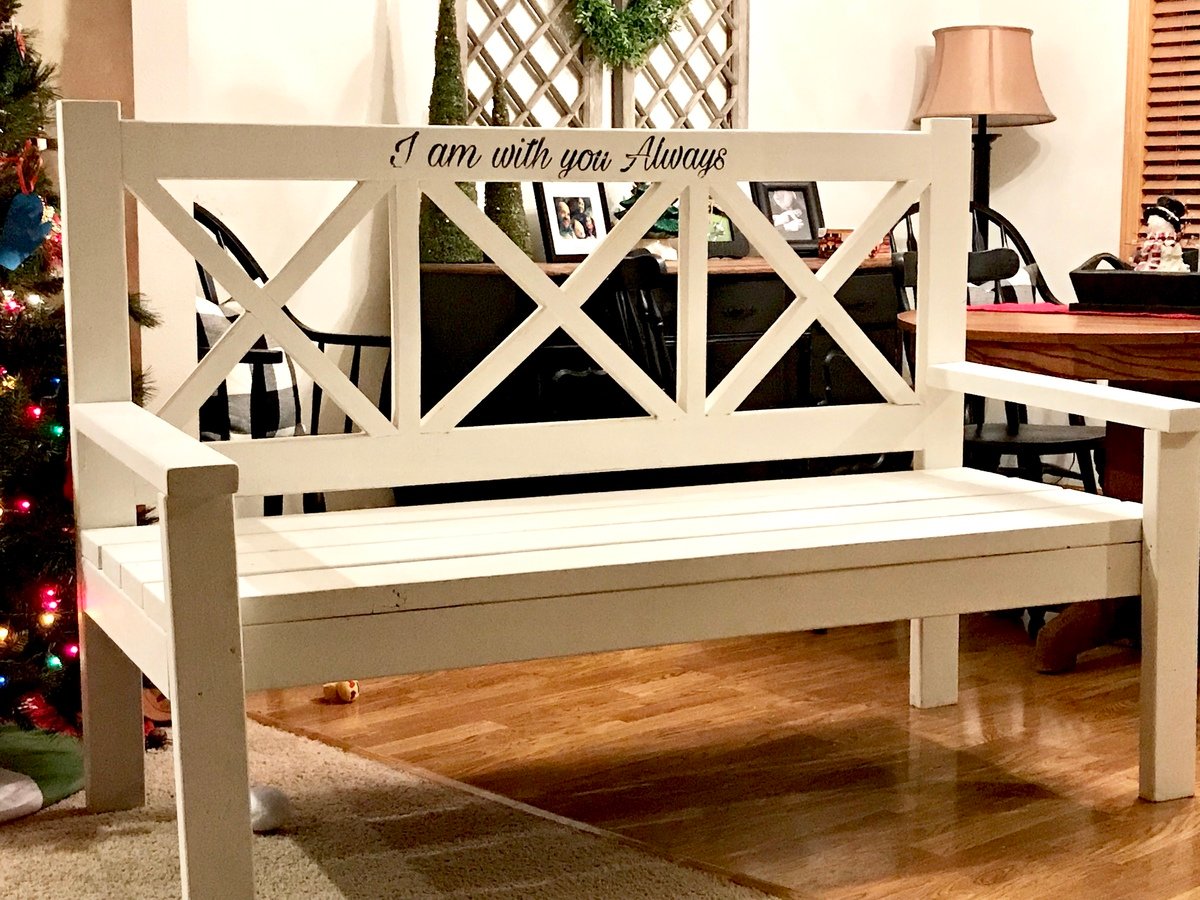
Great bed!
Love it! Thank you for sharing:)