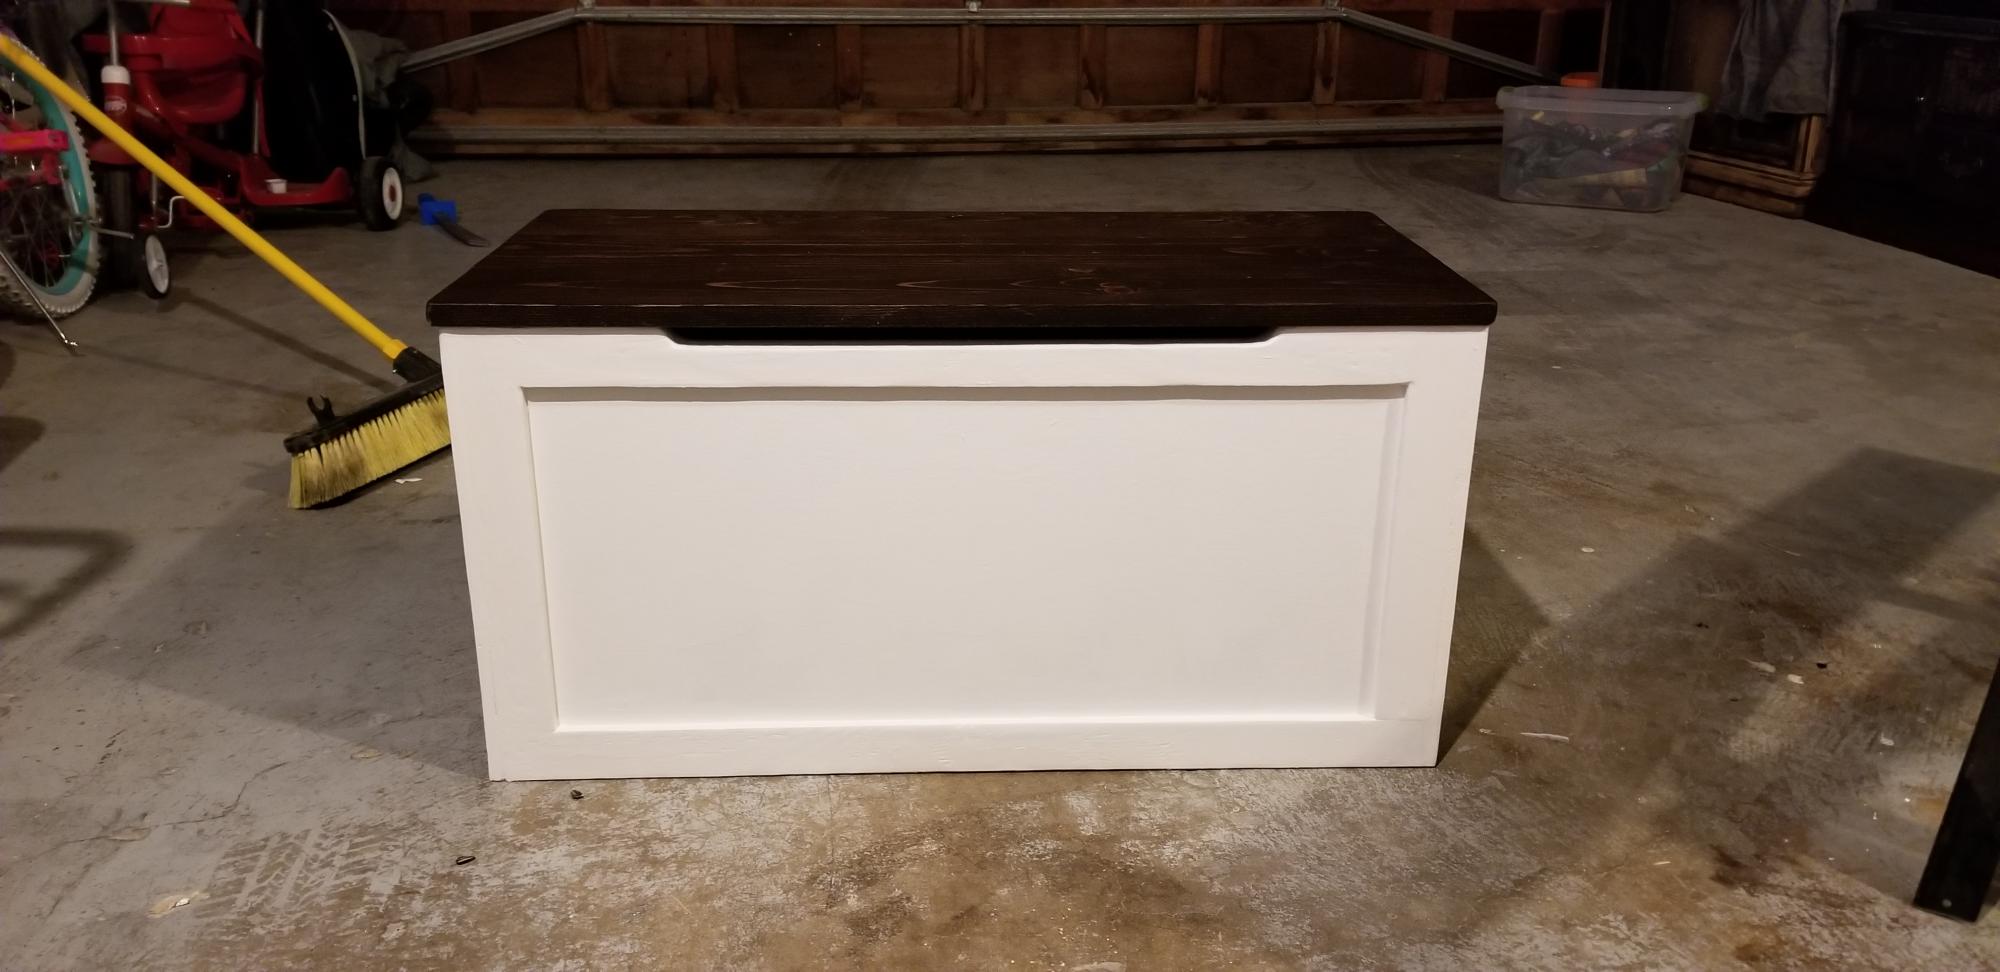
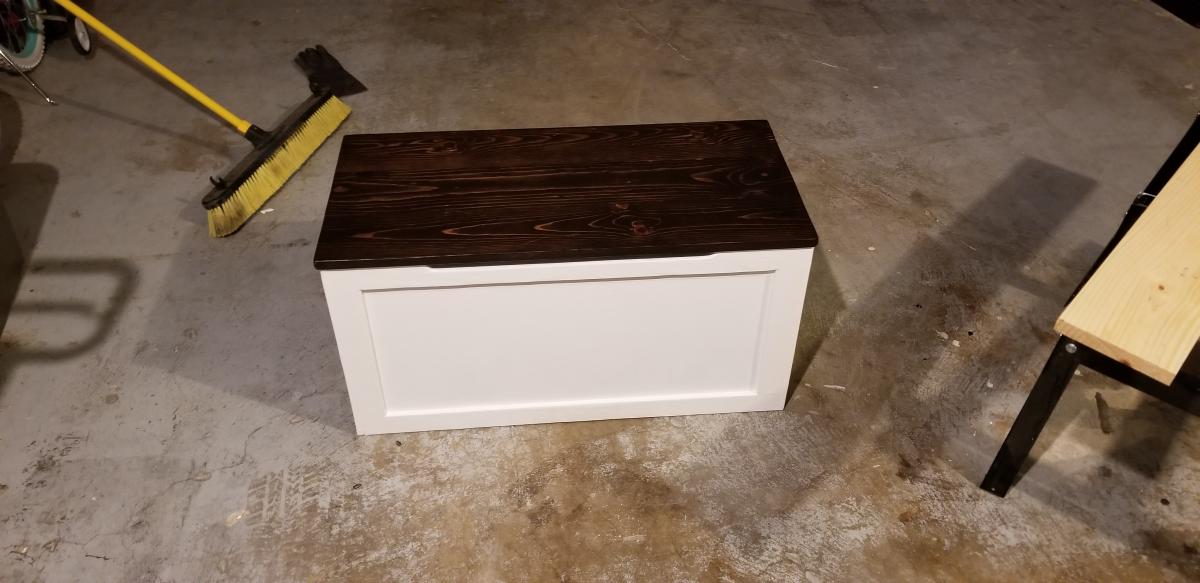
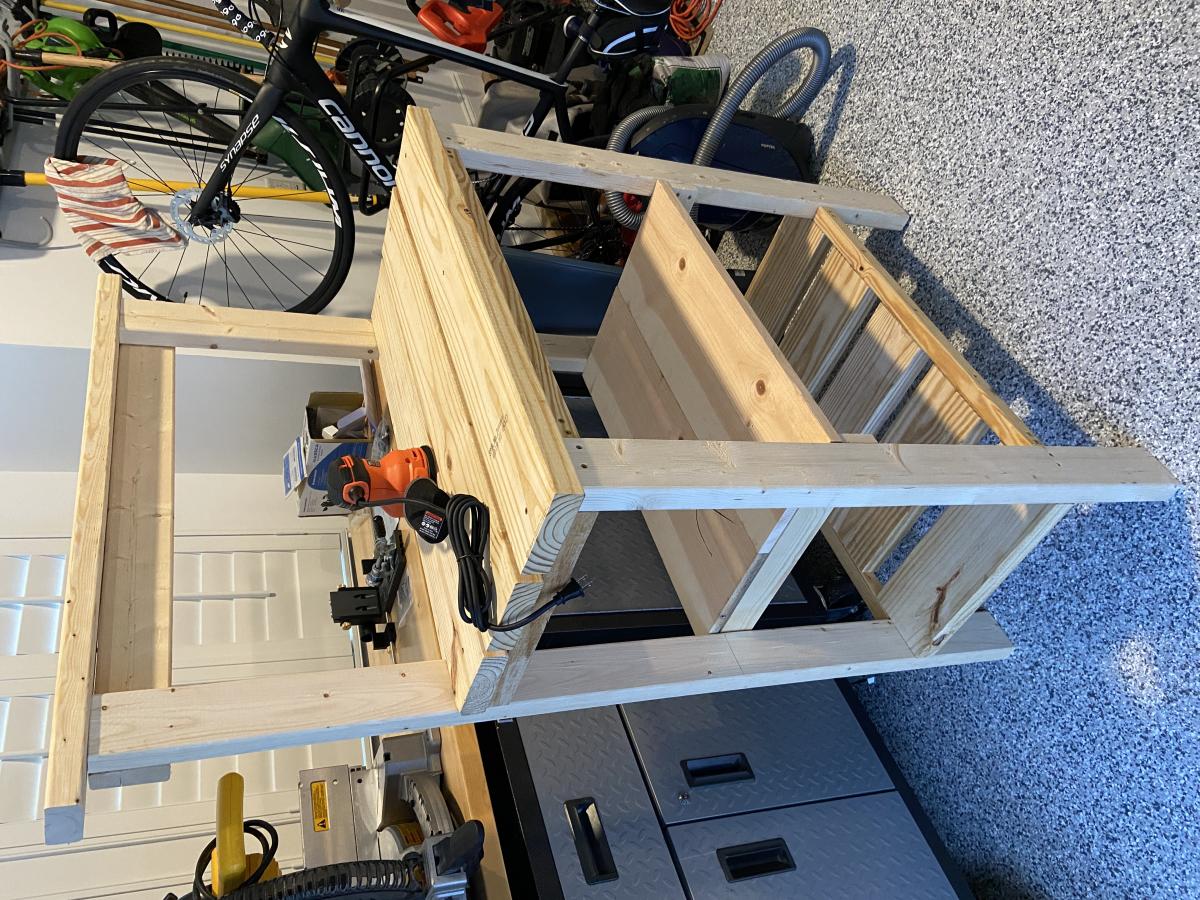
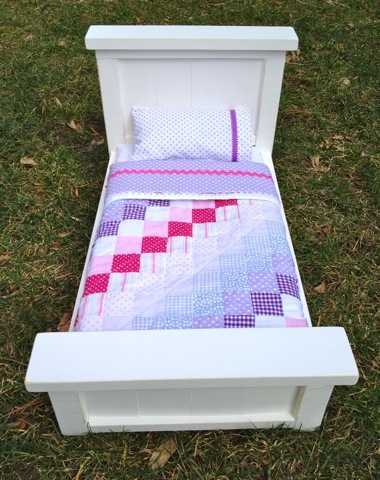
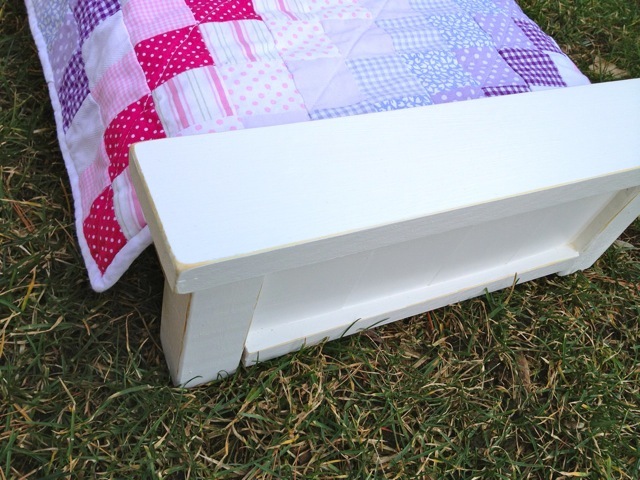
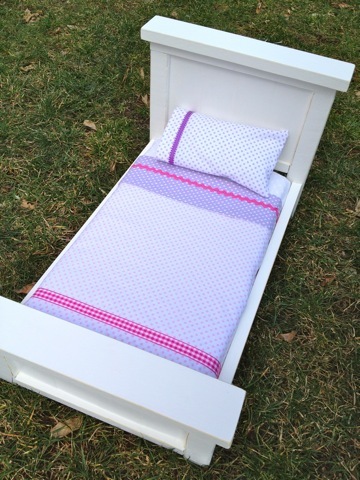
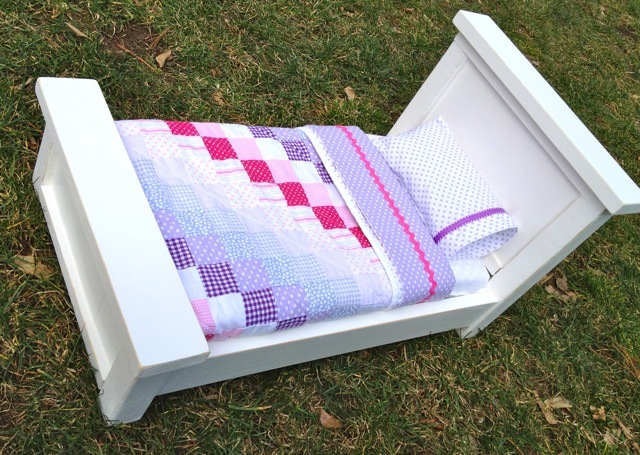
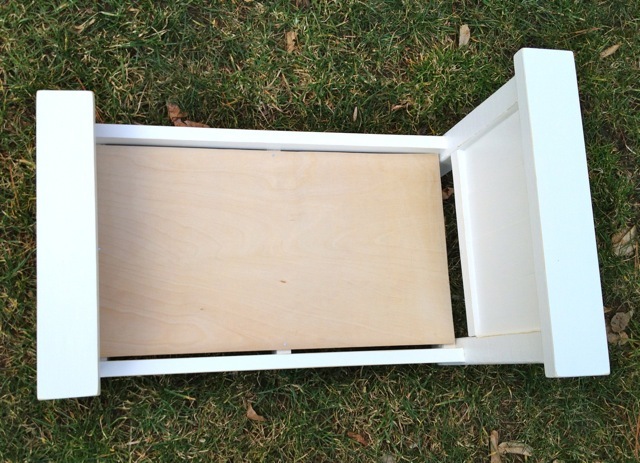
Storage Bed & Step Stool
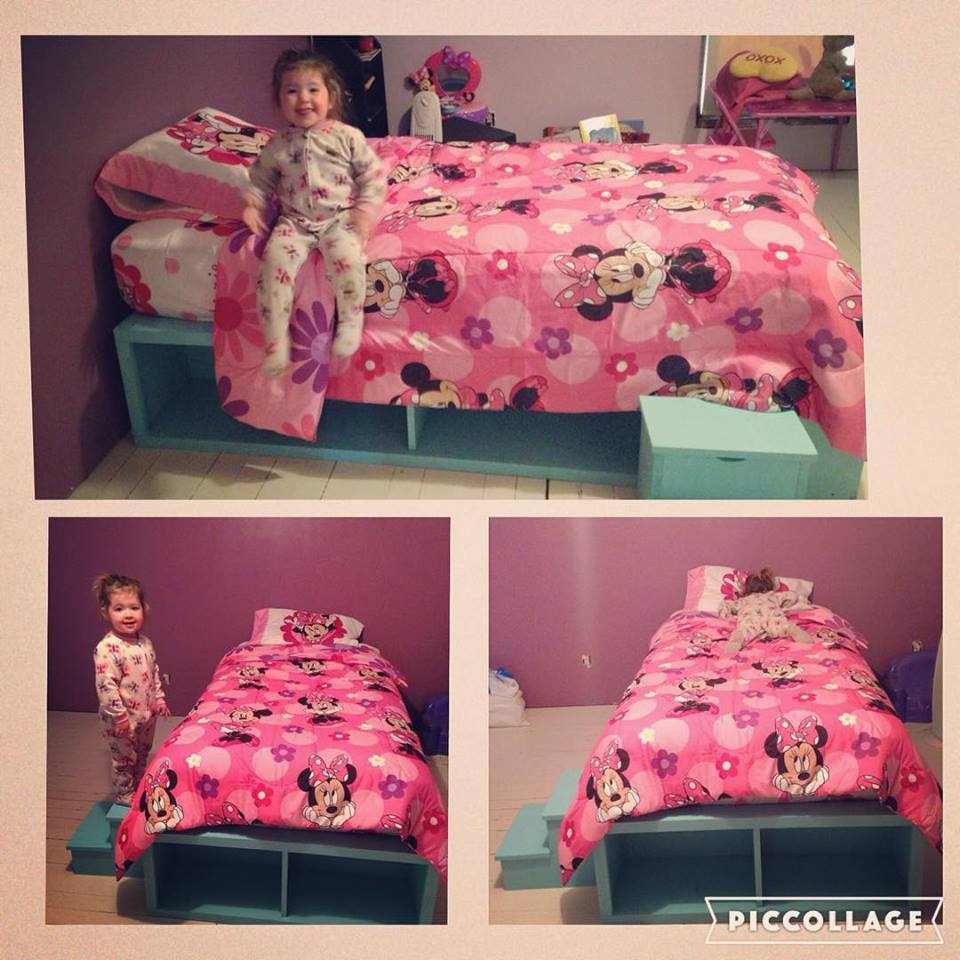
Built this bed and stool for my grandaughter's first "big girl" bed.
Built from Plan(s)
Estimated Cost
Around $100
Estimated Time Investment
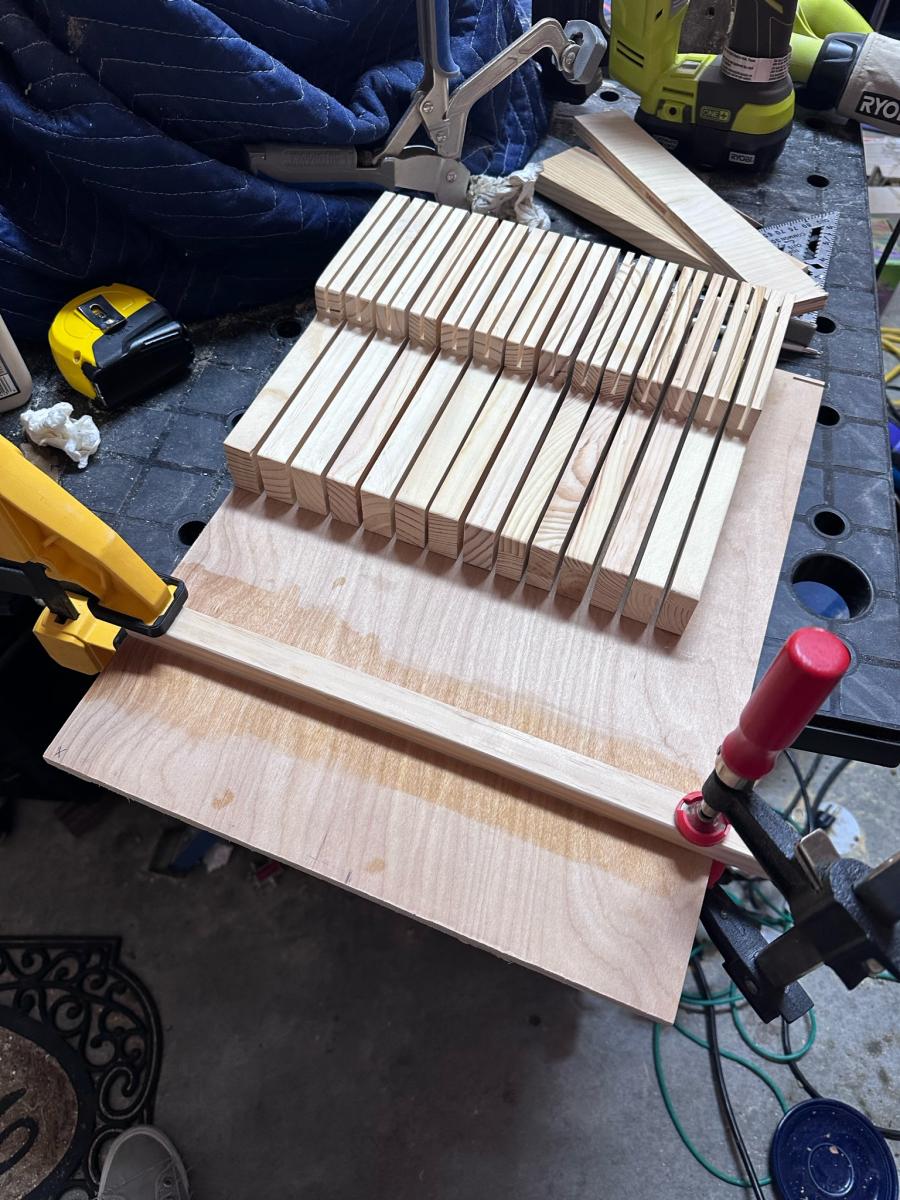
Day Project (6-9 Hours)
Finish Used
Latex Paint
Recommended Skill Level
Intermediate